How to Connect Vapi as Data Source
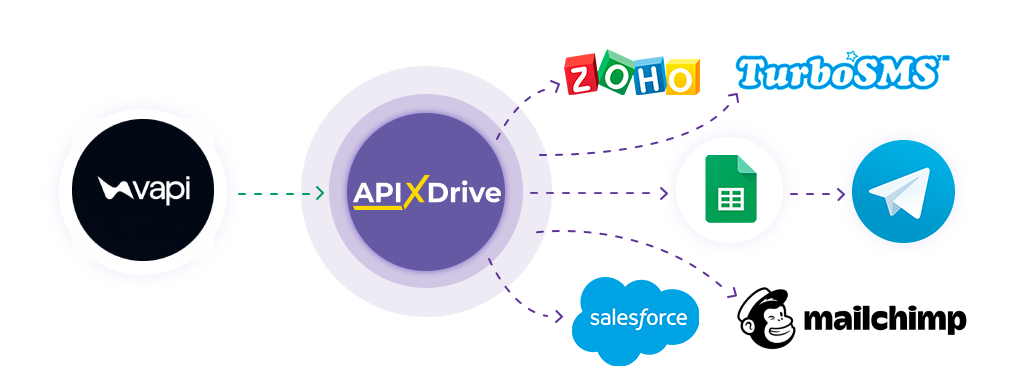
The integration will allow you to automatically download data about new calls from Vapi, transferring this data to other systems. For example, you can transfer data about new calls to CRM or Google Sheets and send them as notifications to yourself or a group of managers. You can also send data to an SMS service. This will allow you to maximally automate the transfer of data from Vapi to other services and systems.
Let's go through the entire Vapi setup steps together!
Navigation:
1. What data can be get from Vapi?
2. How to connect Vapi account?
3. Data source settings.
4. Example of data for a new call.
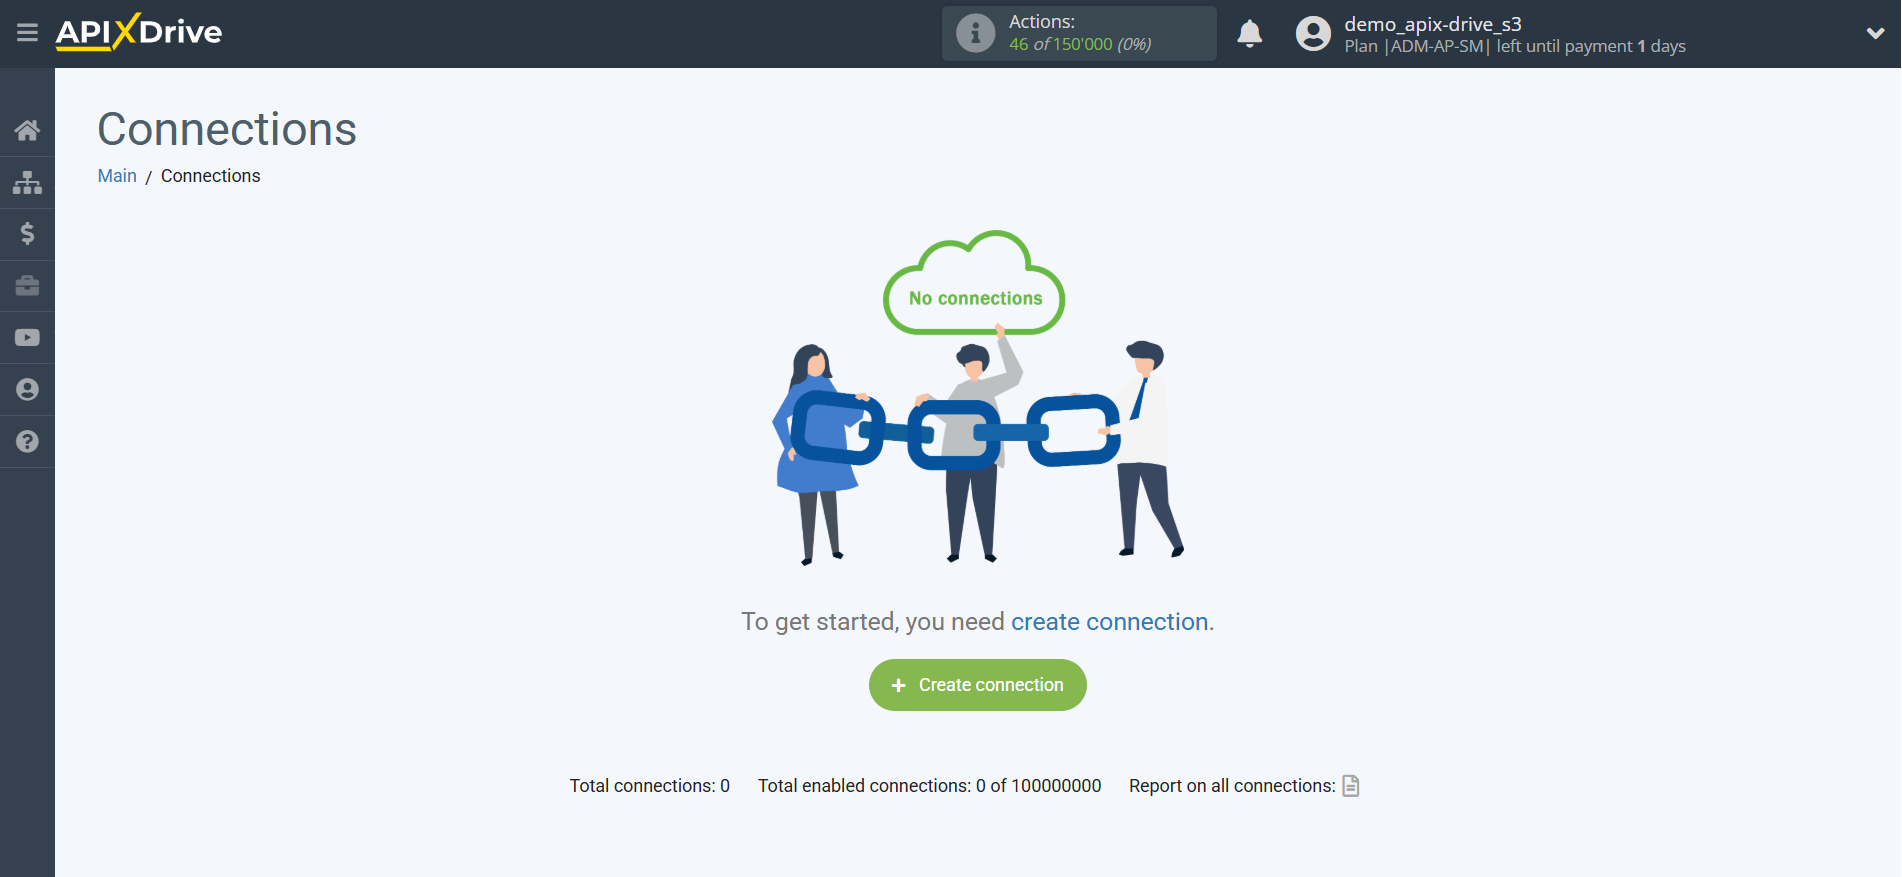
To start setting up a new connection, click "Create Connection".
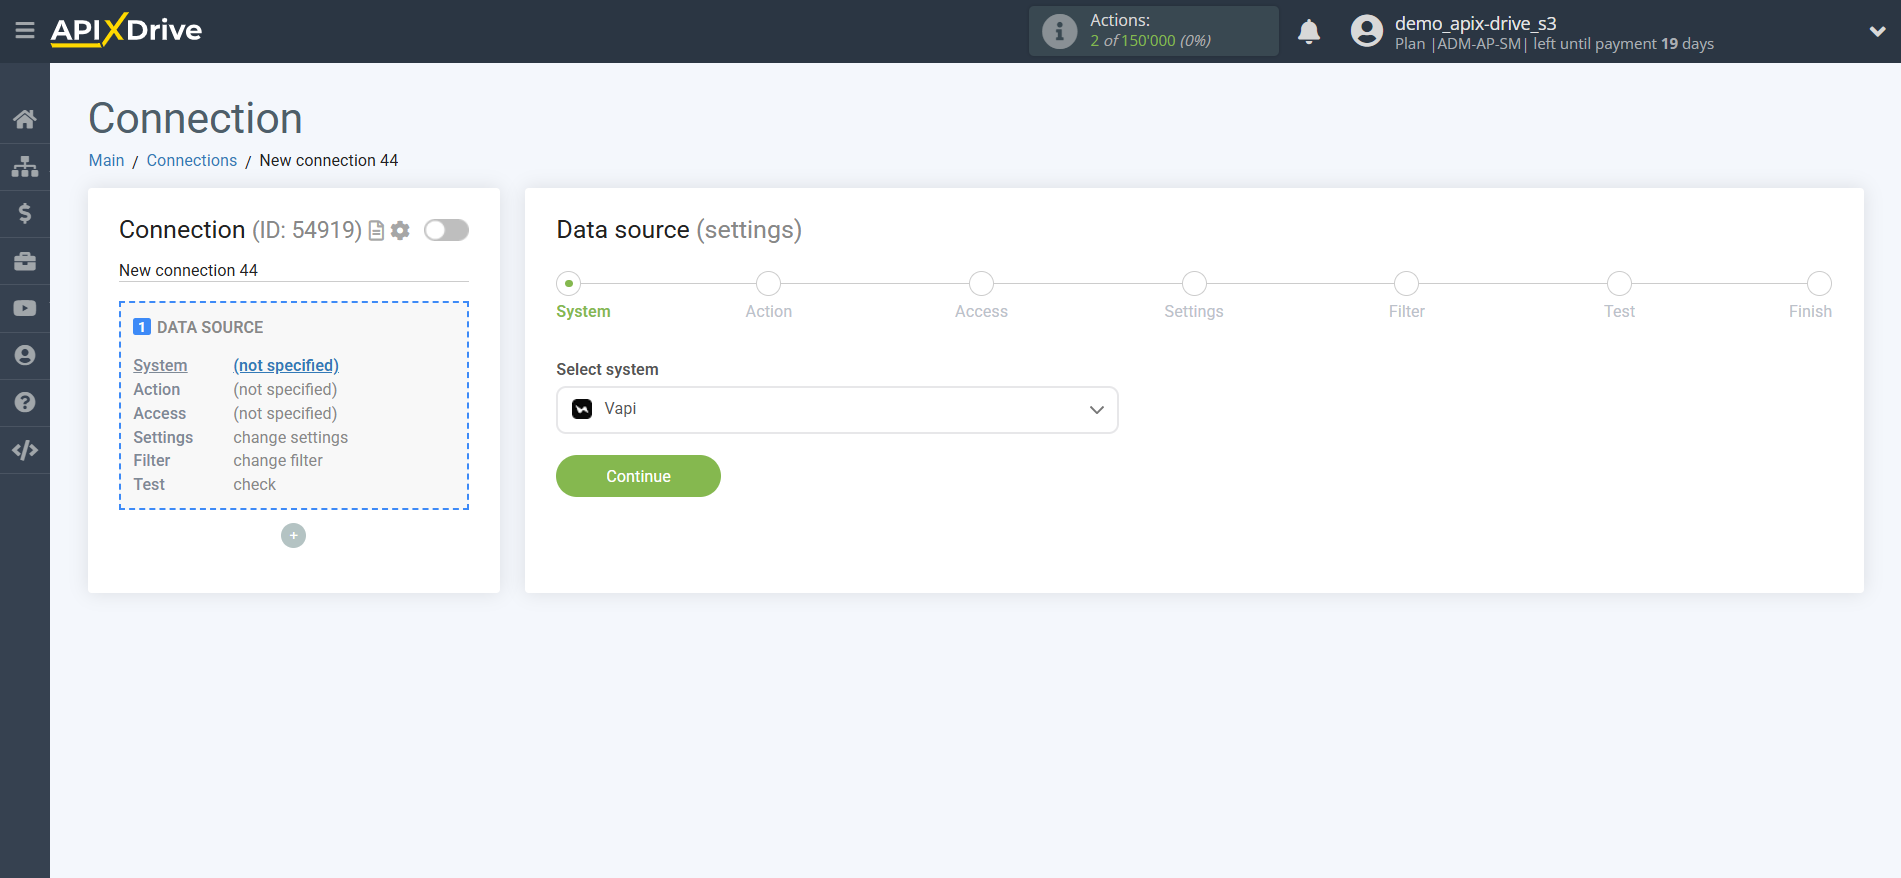
Select the system as the Data Source. In this case, you must specify Vapi.
Next, you need to specify the action "Get CALLS (new)".
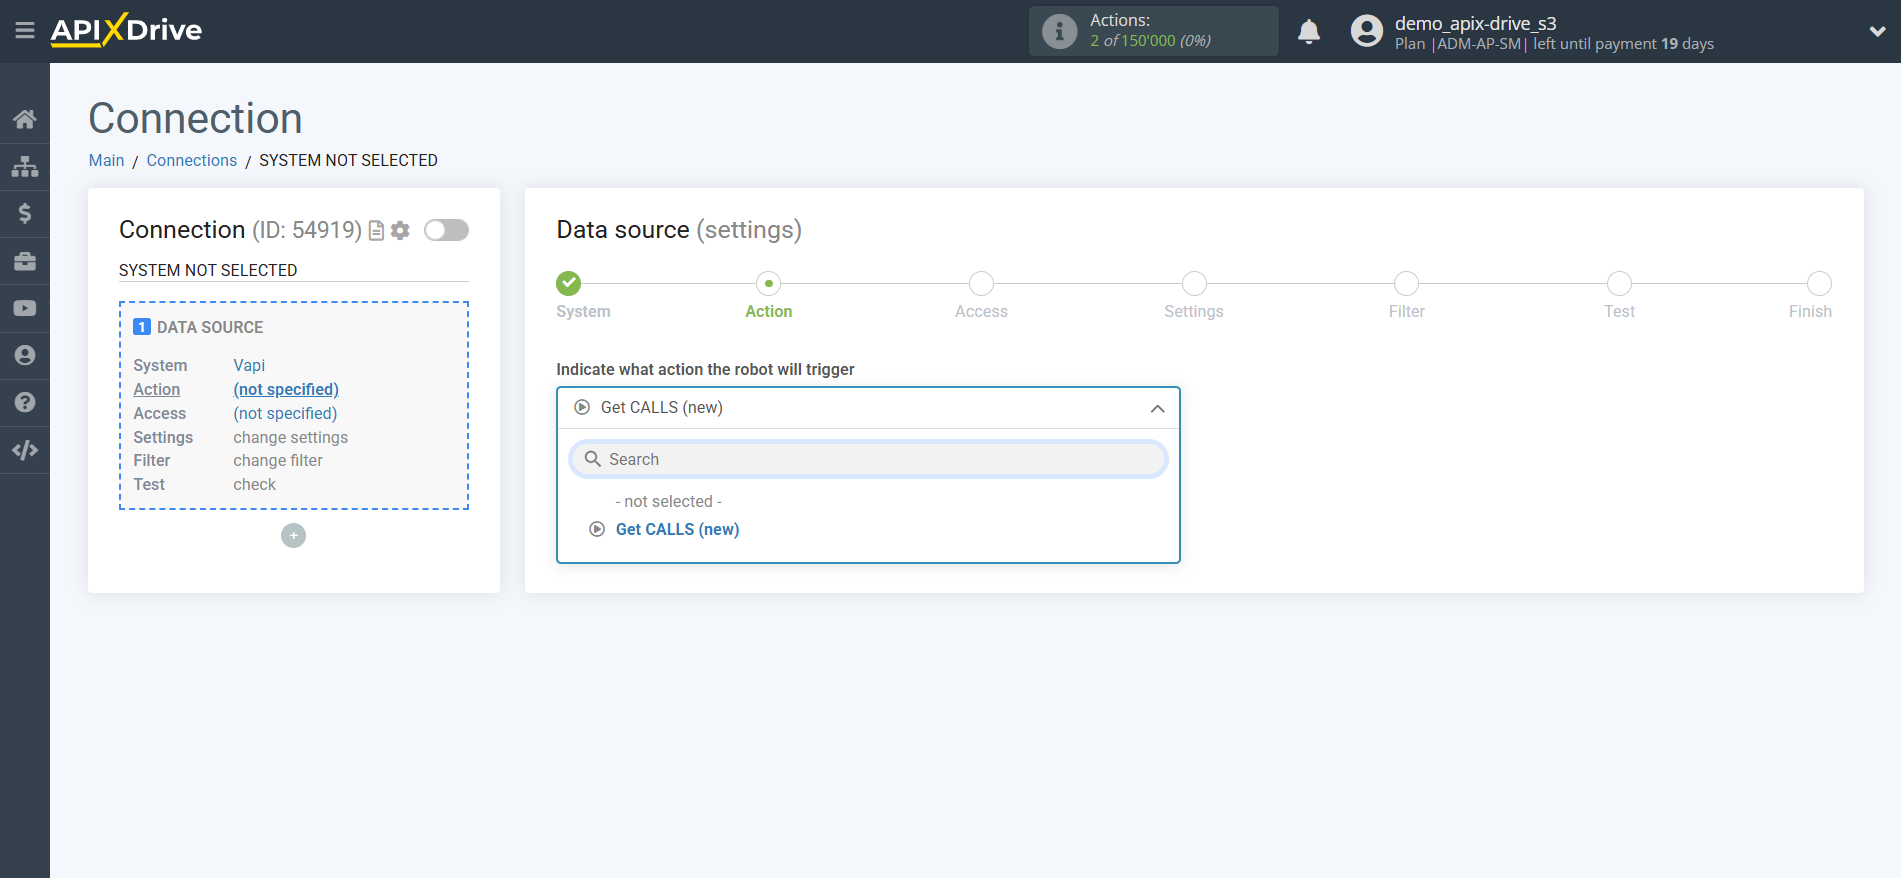
- Get CALLS (new) - new calls will be downloaded from Vapi, which will appear after setting up the connection and starting auto-update.
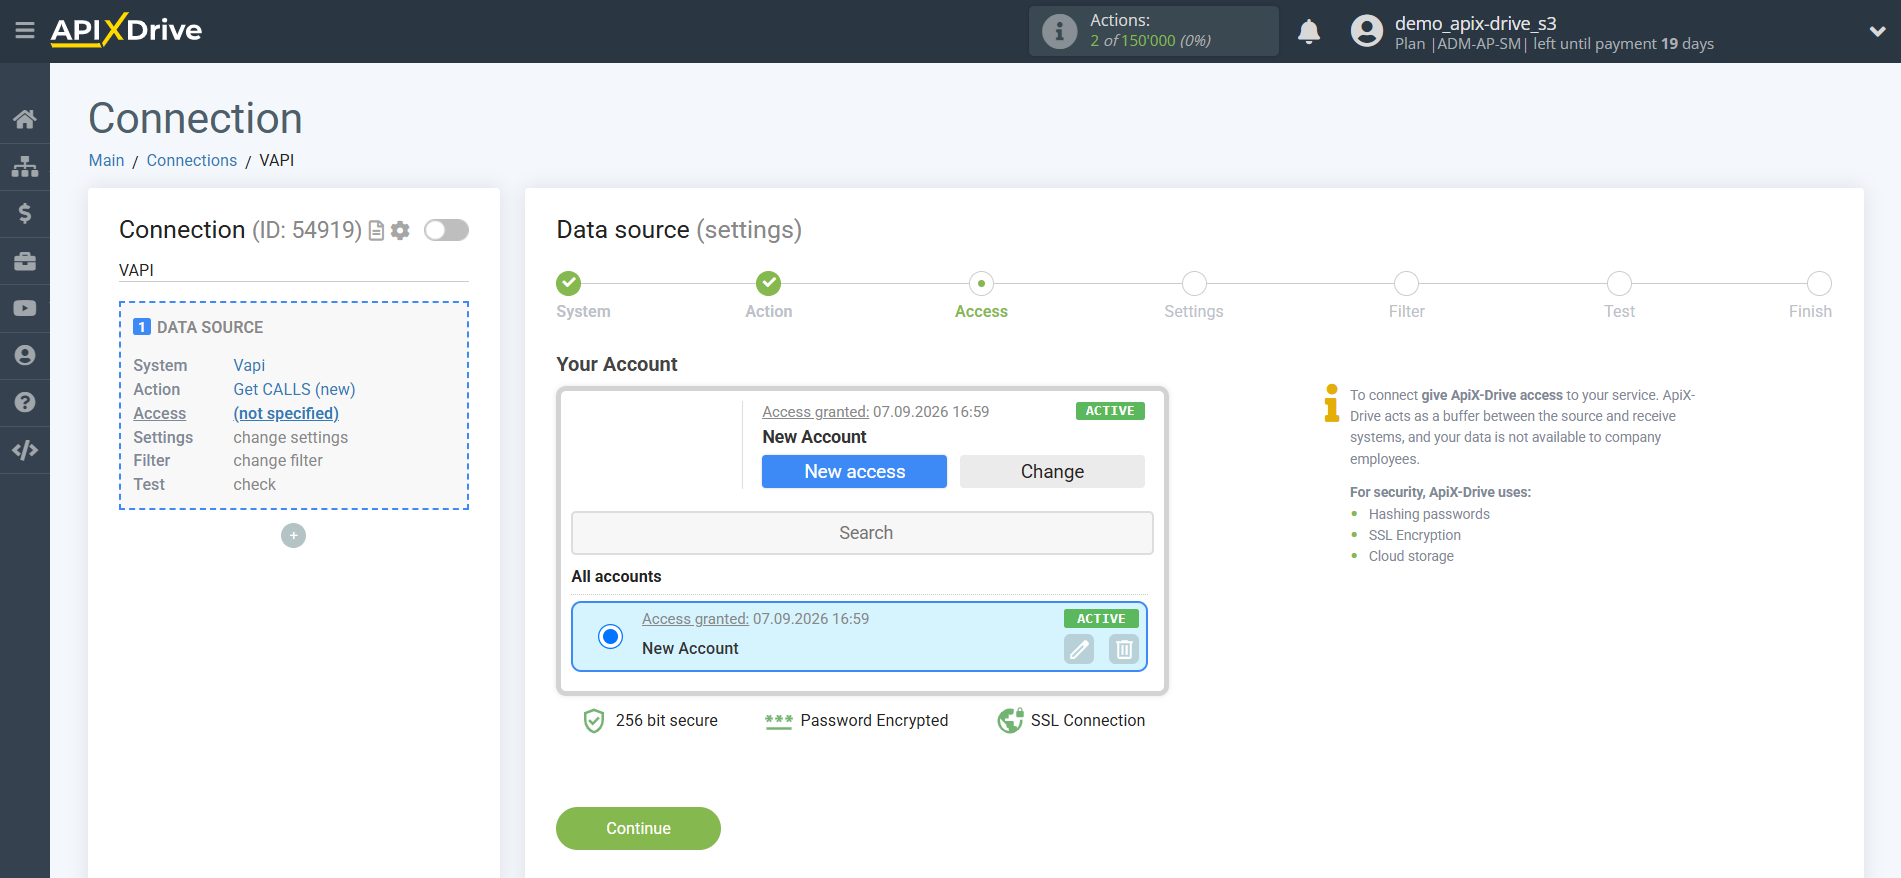
The next step is to select the Vapi account from which the data will be uploaded.
If there are no accounts connected to the system, click "Connect".
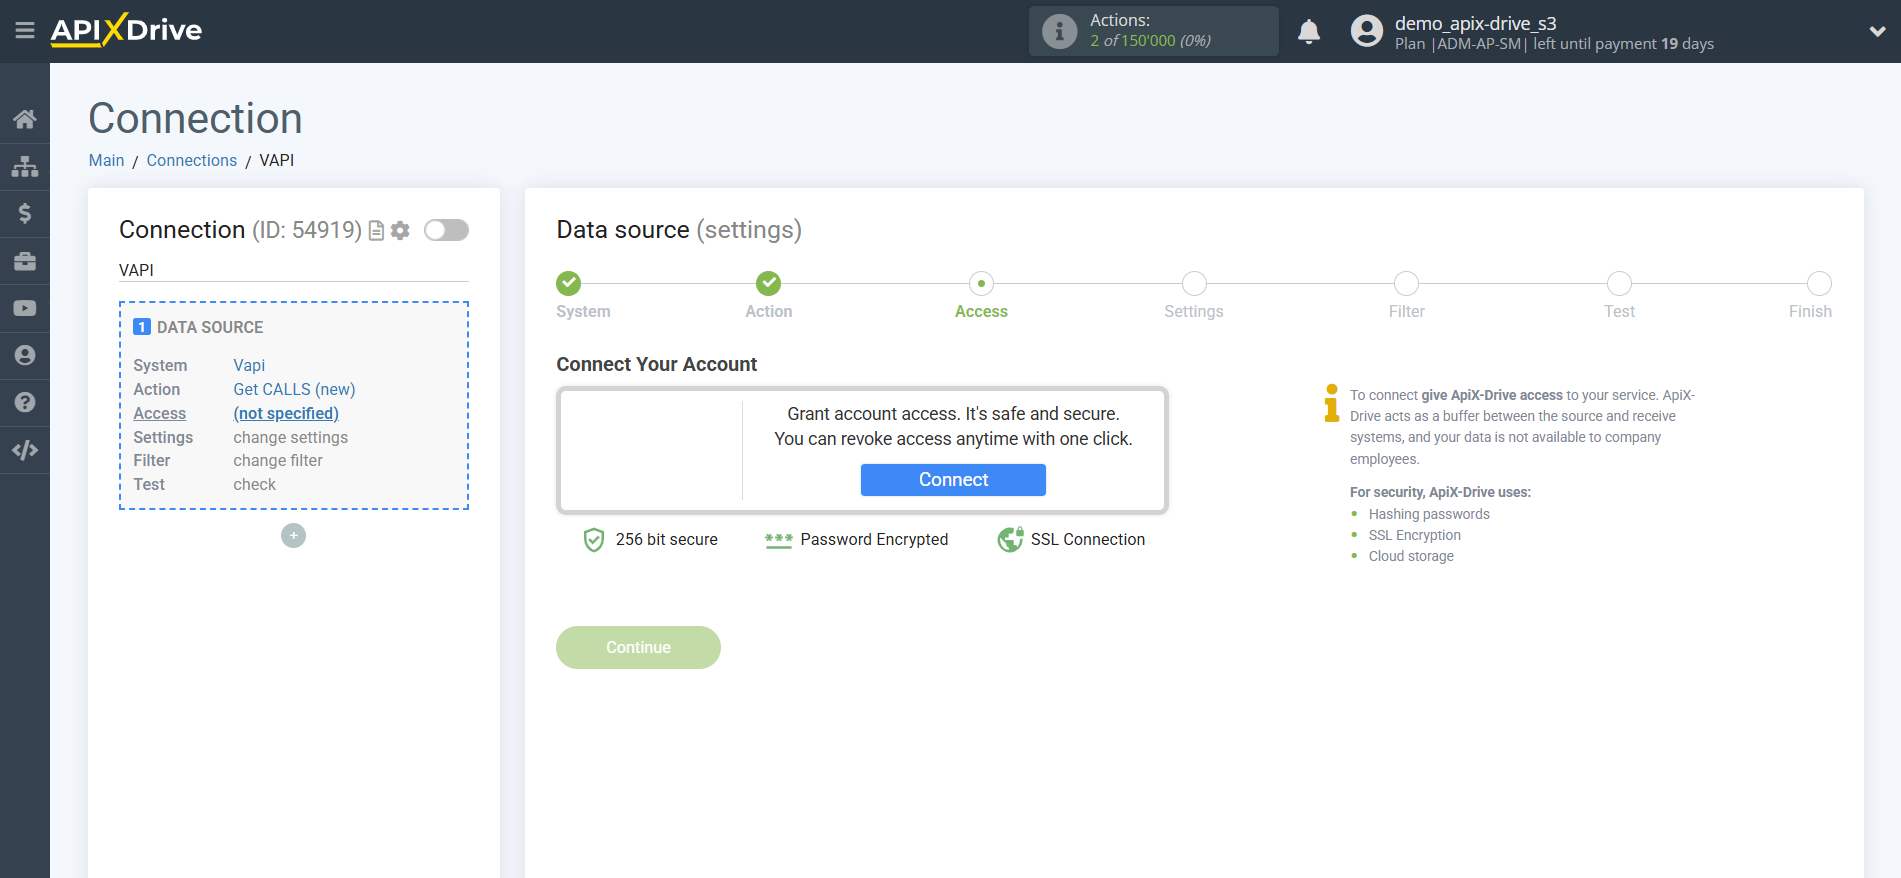
In the window that opens, you must specify the API key.
To do this, let's go to your Vapi personal account.
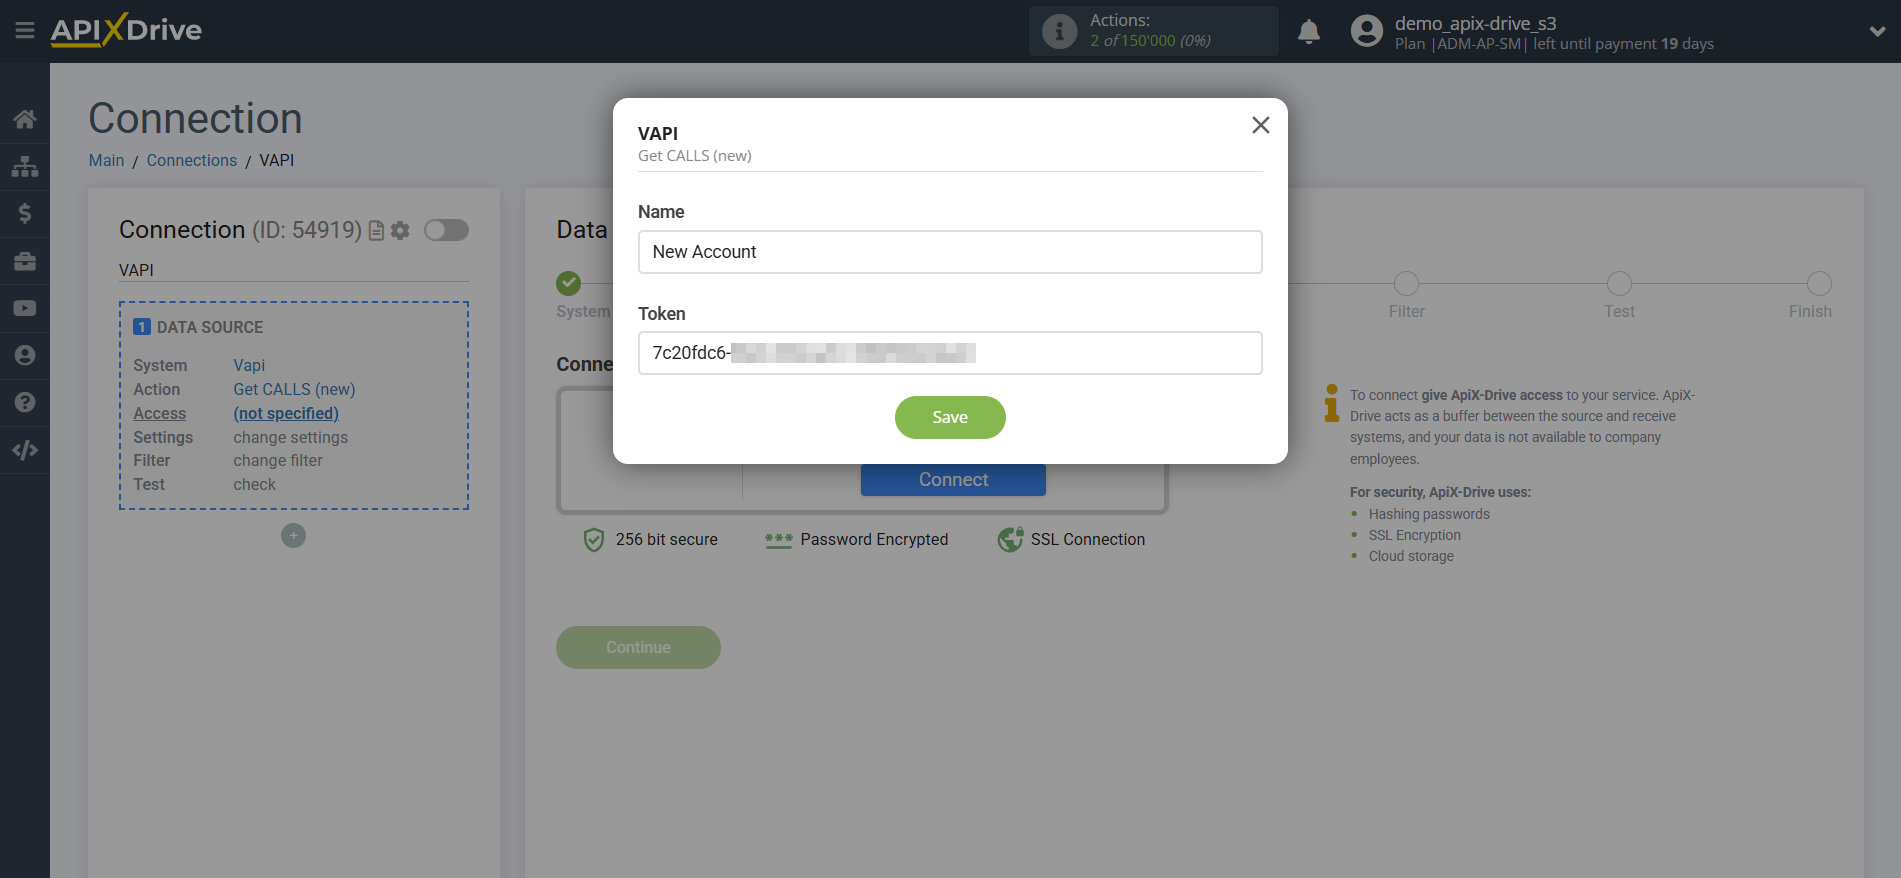
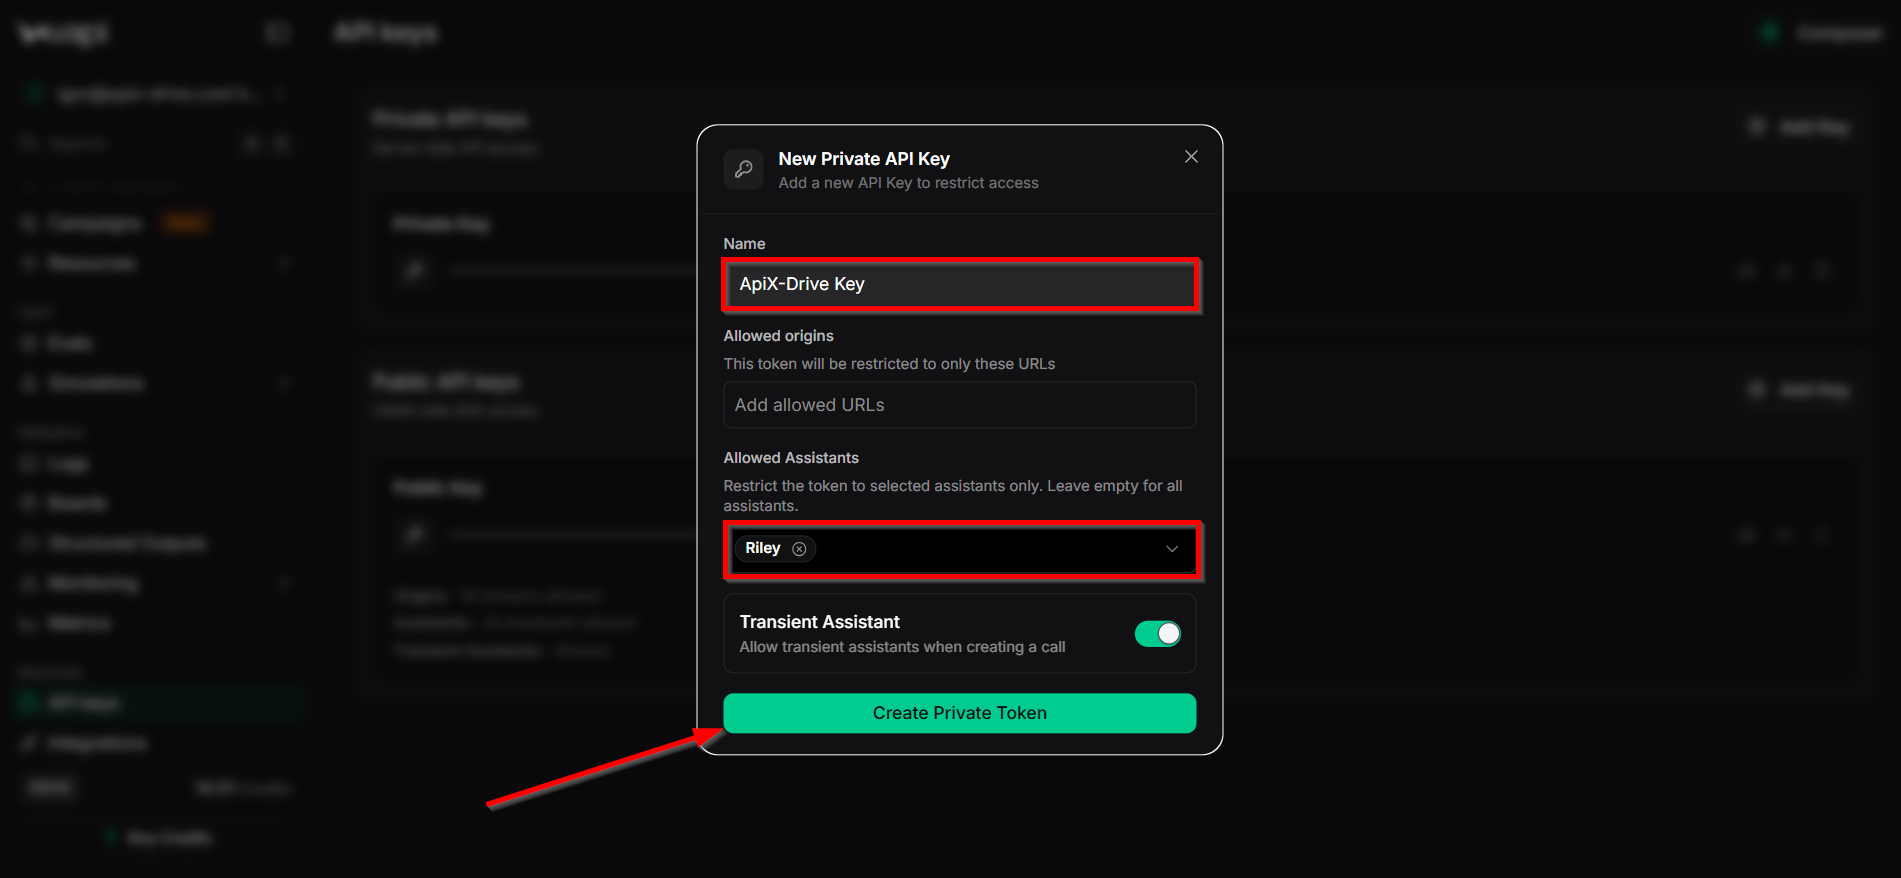
To create an API key, go to the "API keys" tab, click "Add Key".
Next, specify the name of the API key and select which AI assistant it will work for.
Then click "Create Private Token".
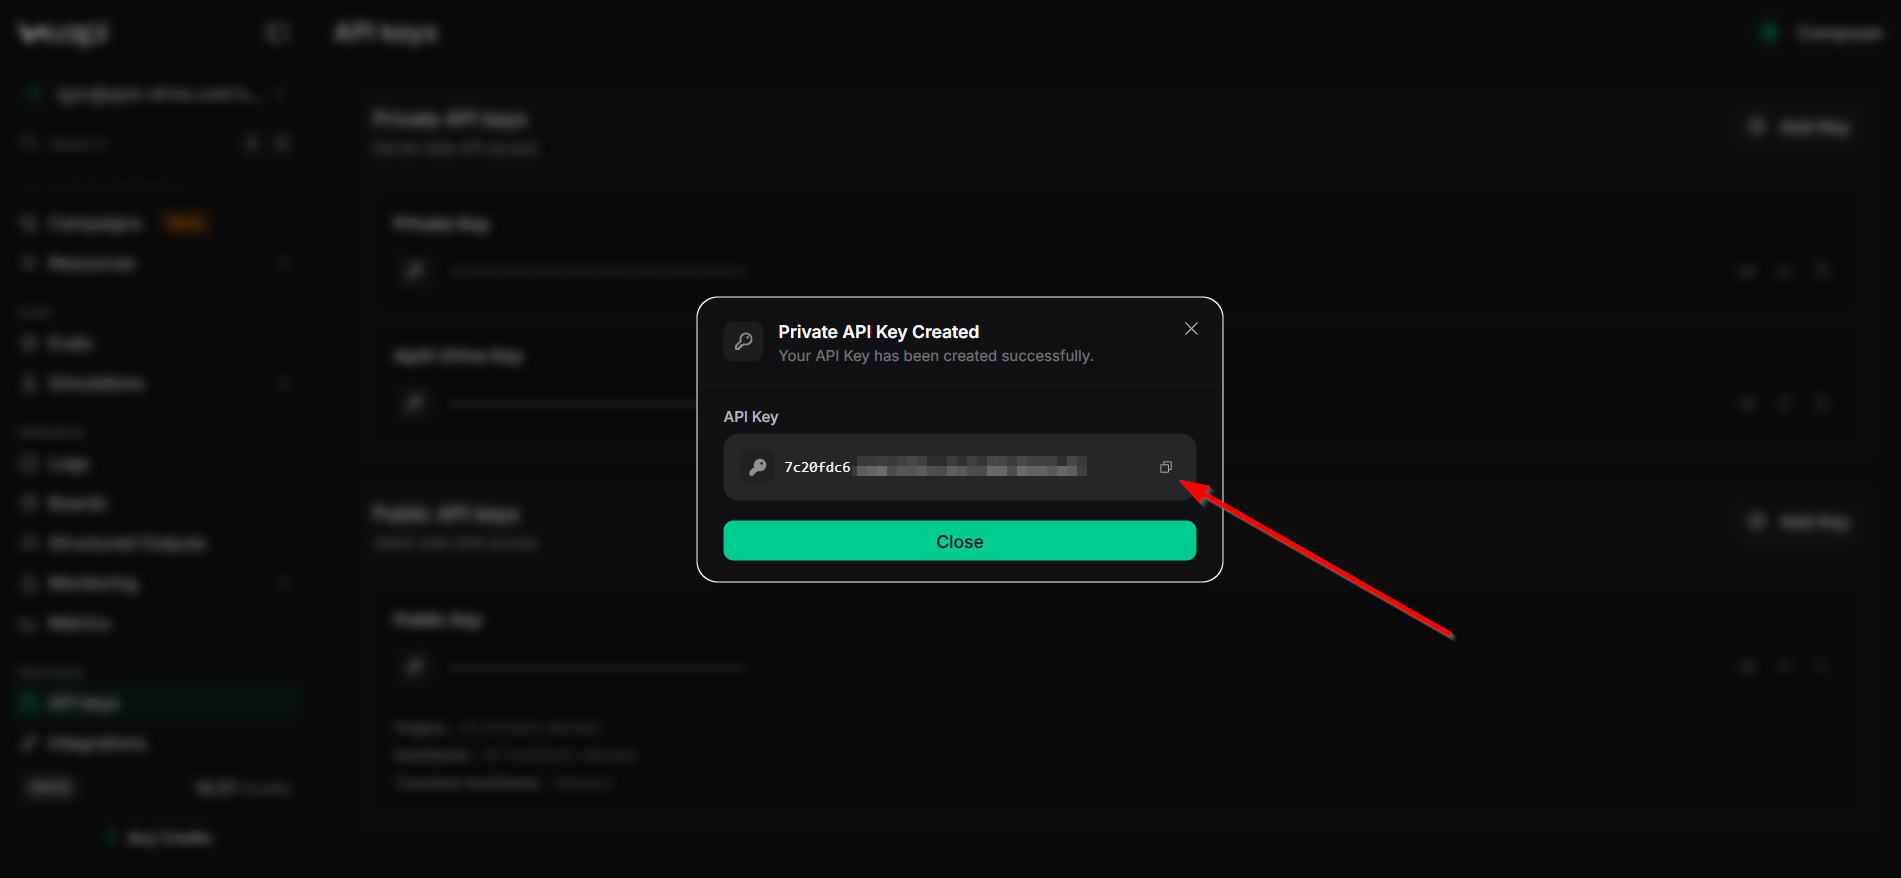
Copy and paste the API key into the appropriate field in the ApiX-Drive system.
When the connected account appears in the list of active accounts, select it for further work.
Attention! If your account is on the "inactive accounts" list, check your access to this account!
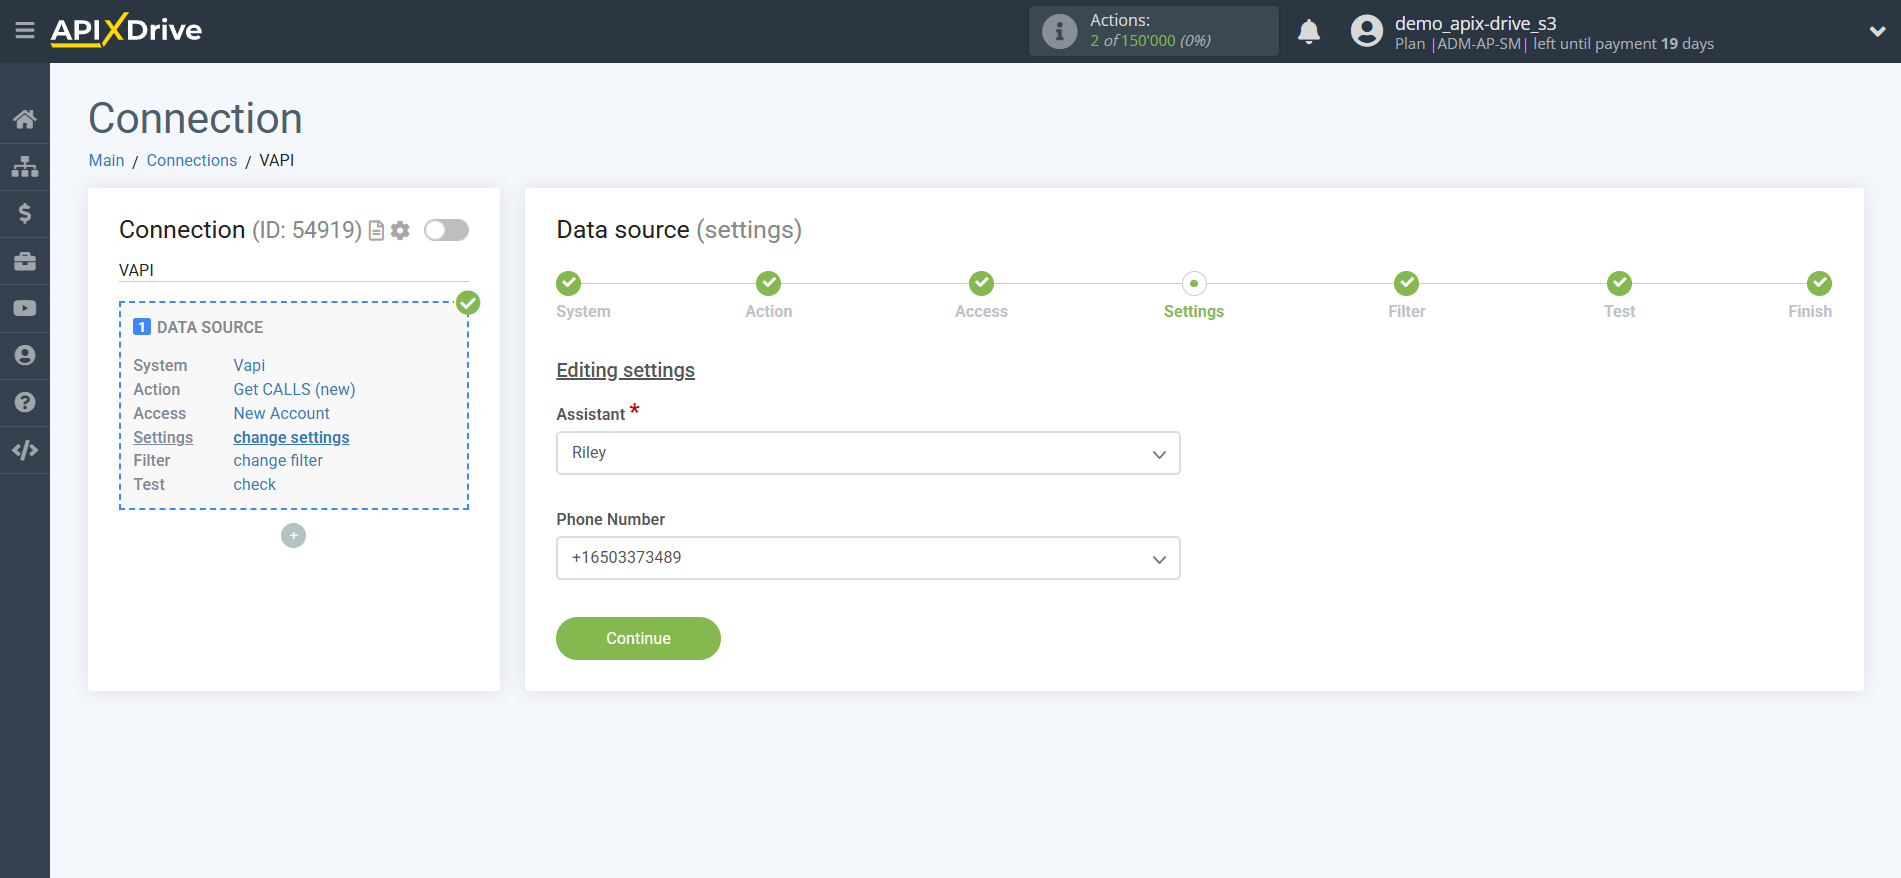
Now select the AI assistant and the phone number from which new calls will be downloaded.
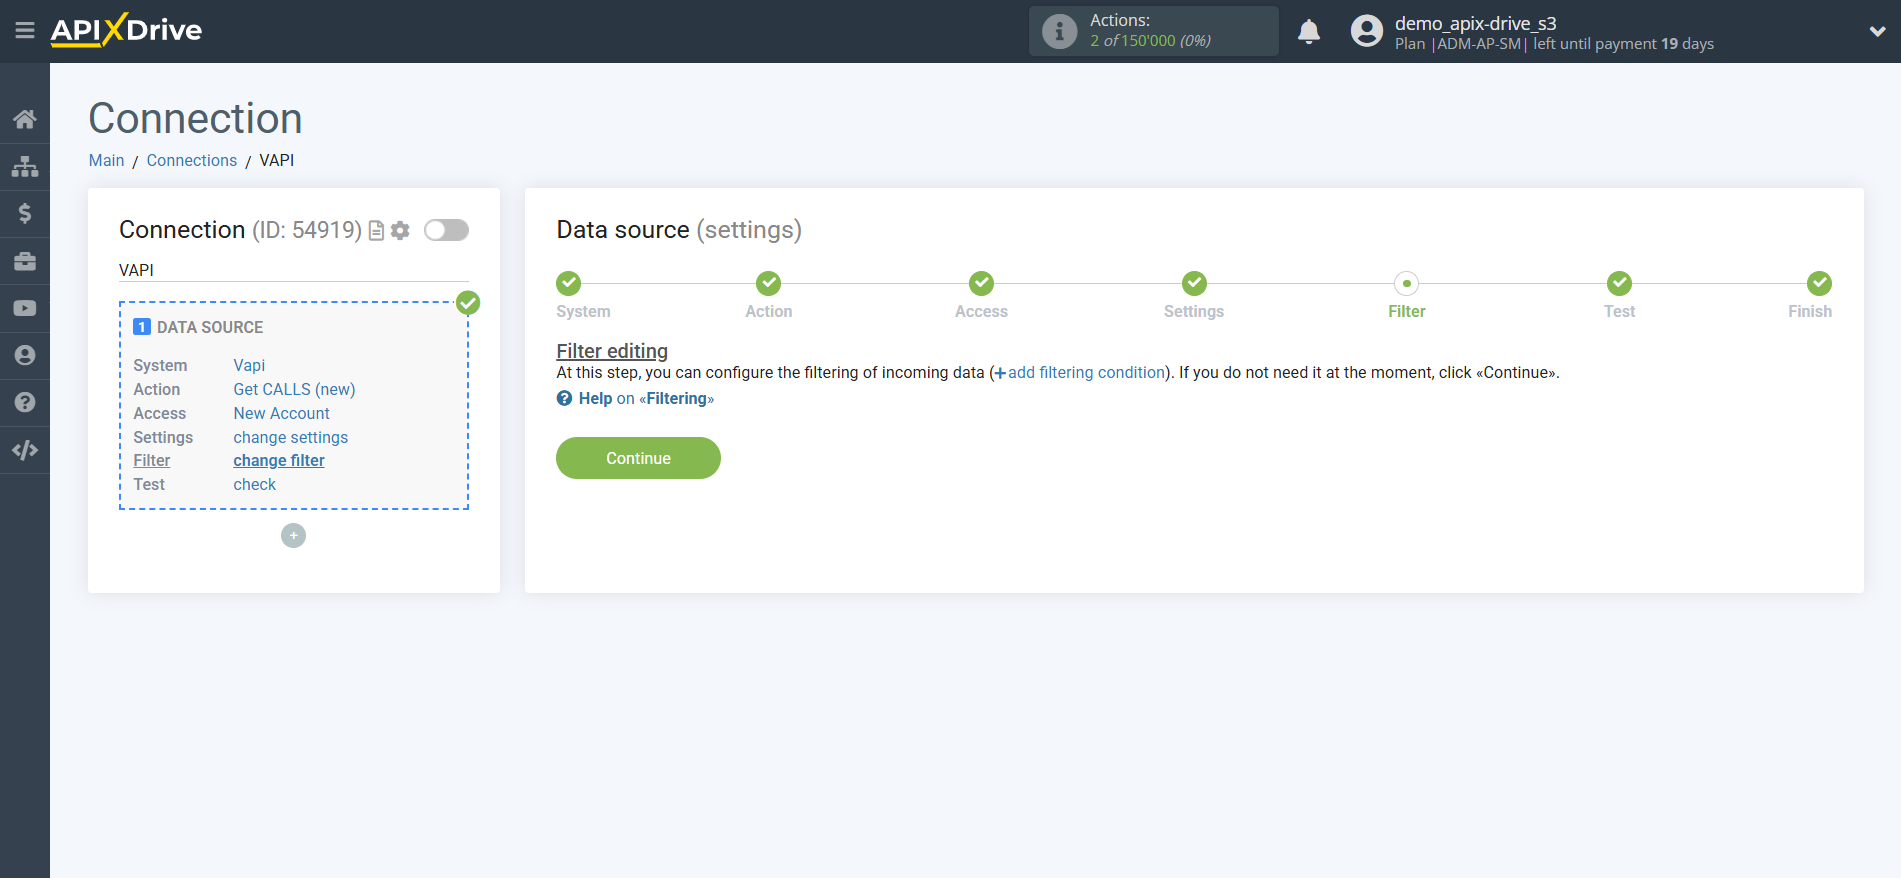
If necessary, you can configure the Data Filter, or click "Continue" to skip this step.
To learn how to configure the Data Filter, follow this link: https://apix-drive.com/en/help/data-filter
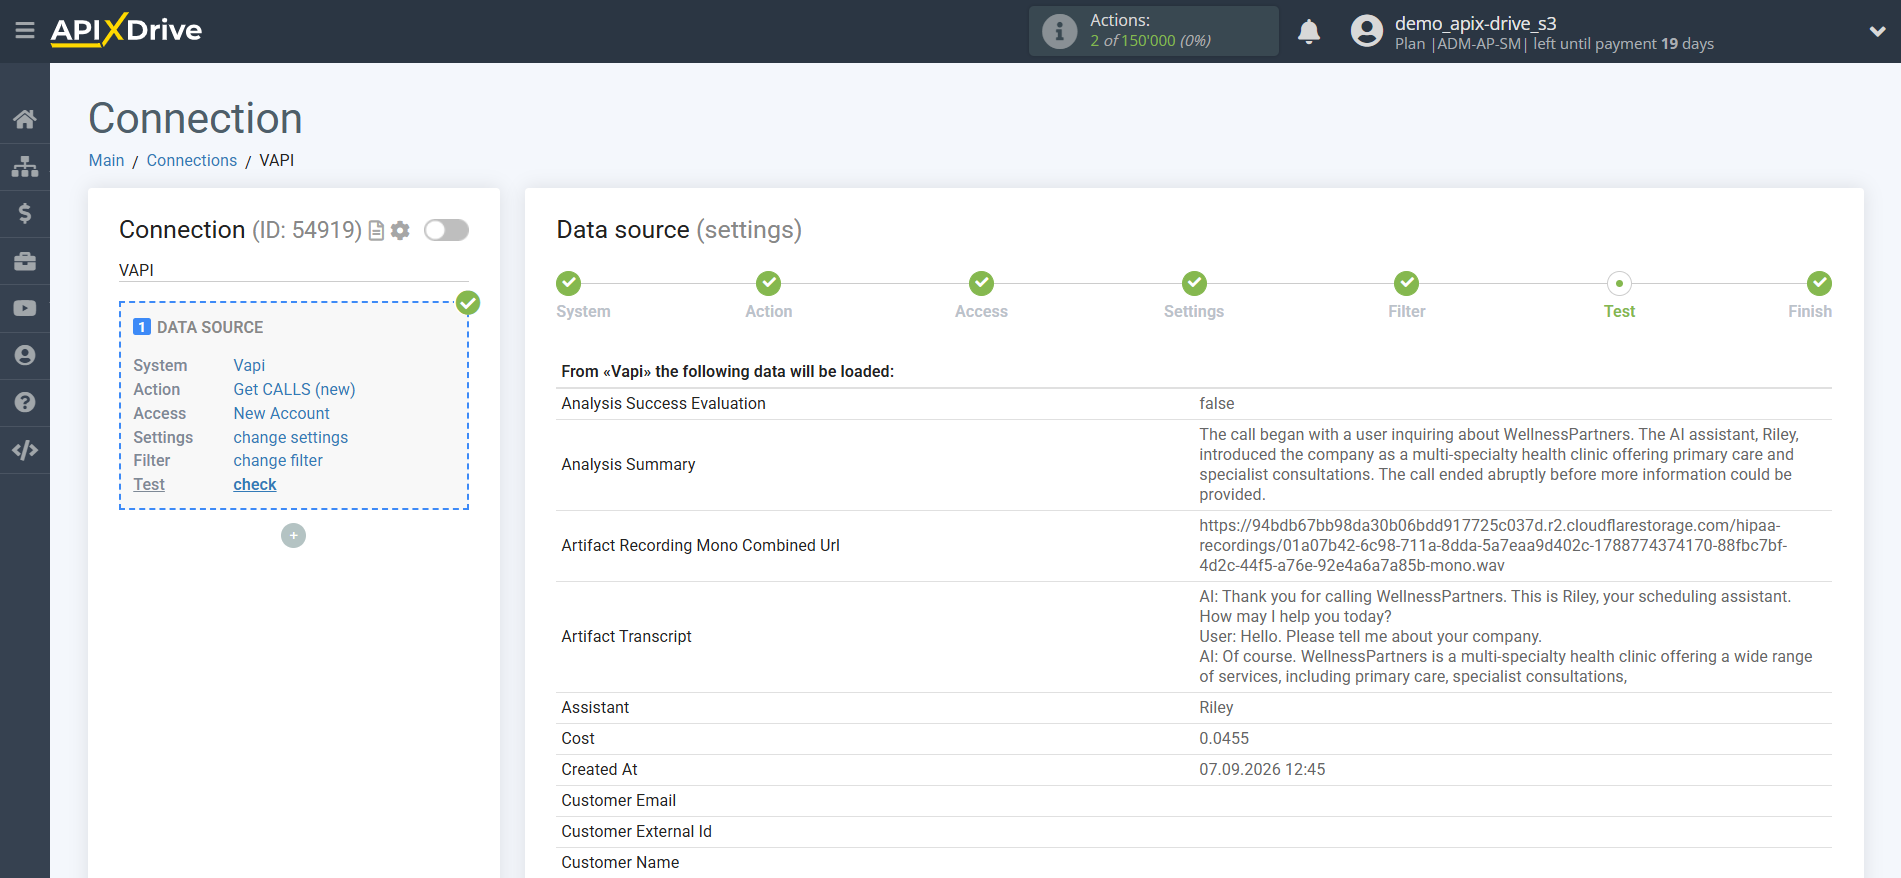
Now you can see the test data.
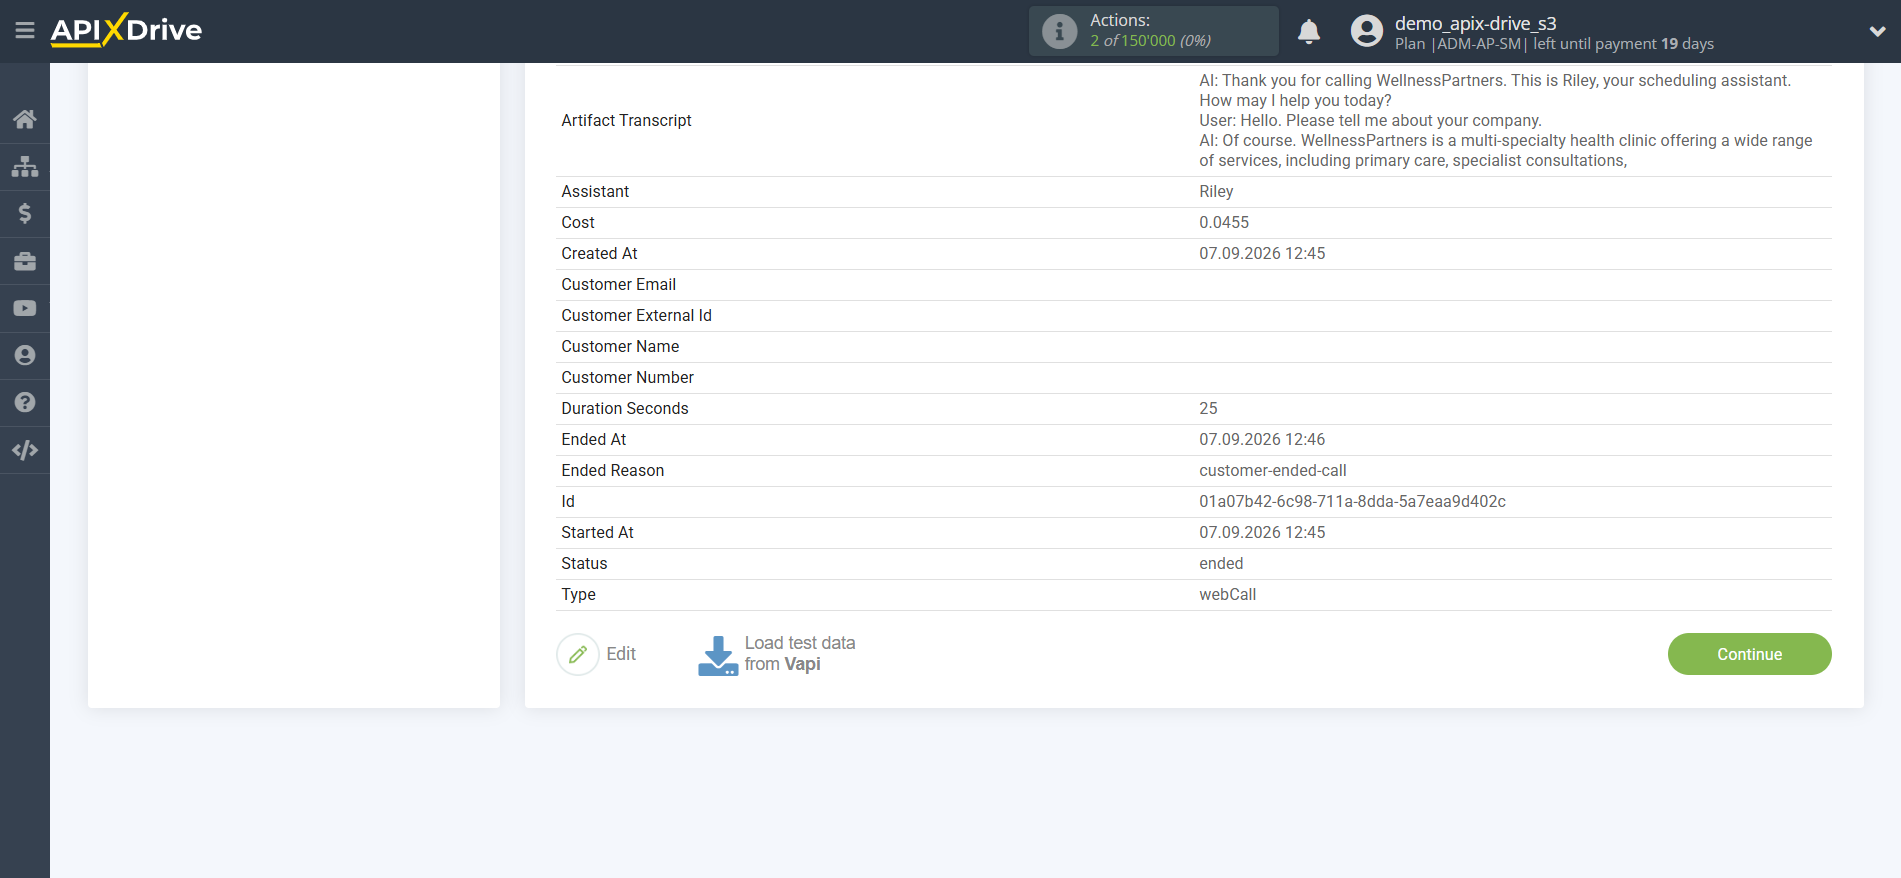
If the test data did not appear automatically, click "Load test data from Vapi". If you want to change the settings, click "Edit" and you will go back one step.
If everything suits you, click "Continue".
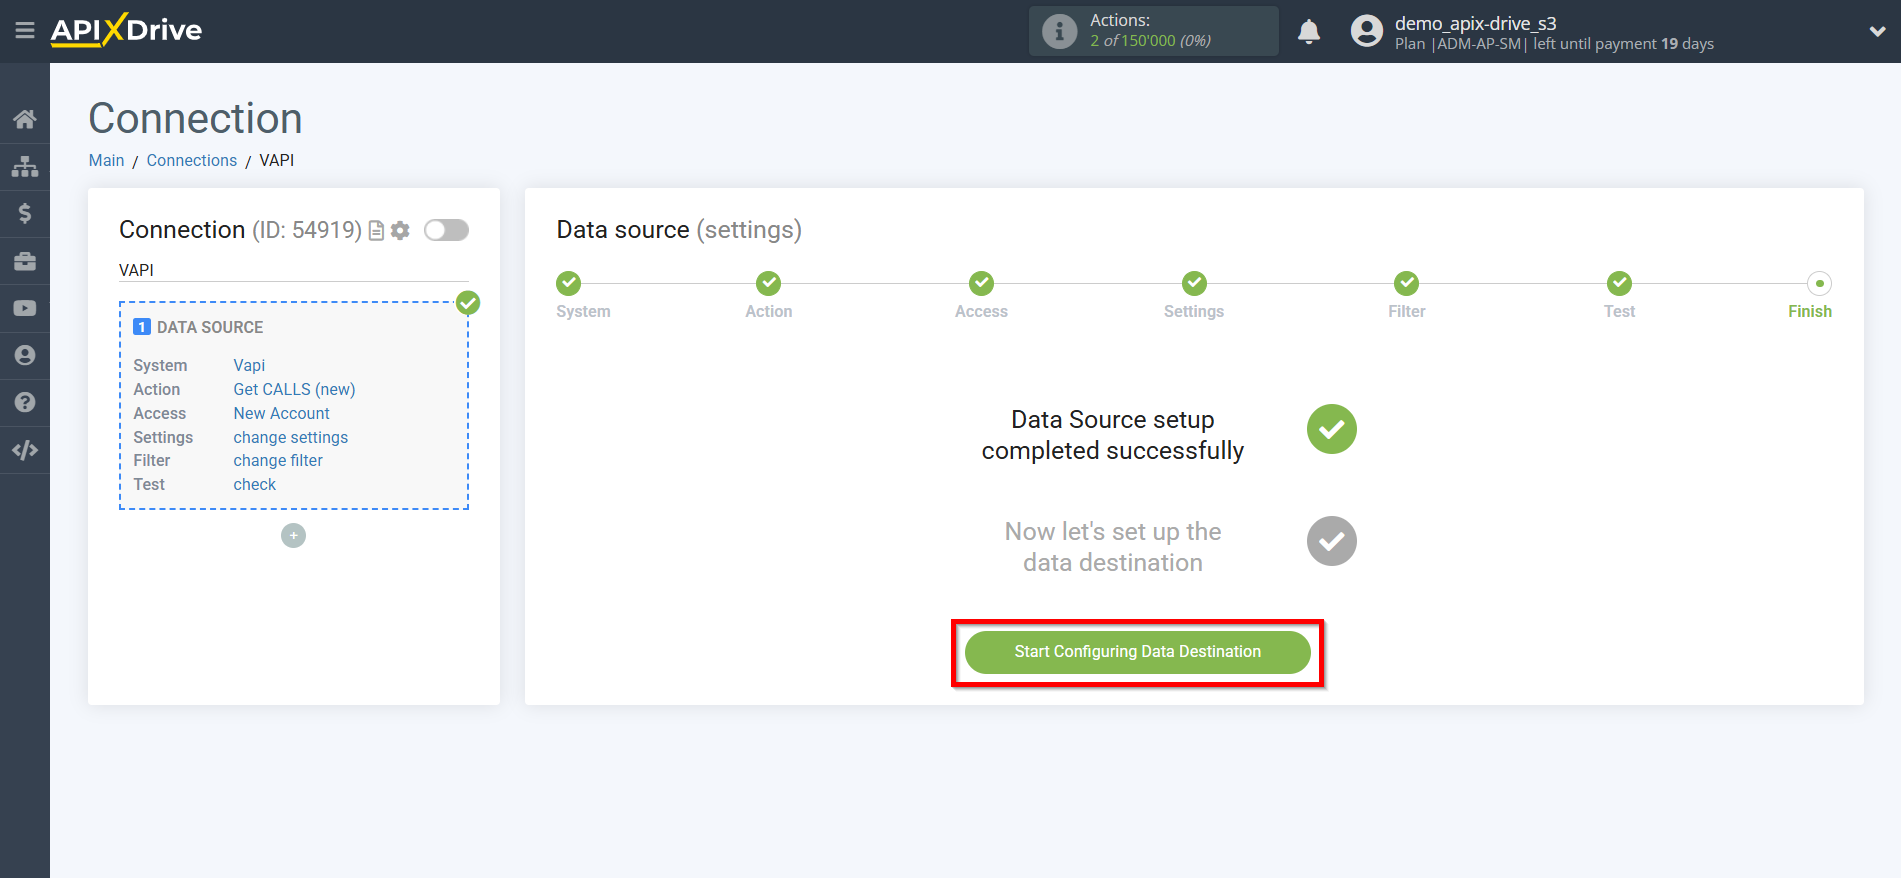
This completes the entire Data Source setup! See how easy it is!?
Now you can start setup the Data Destination system.
To do this, setup it yourself or go to the help section "Data Destination", select the service you need as Data Destination, and follow the setup recommendations.
Good luck!