How to Connect Facebook Messenger as Data Source
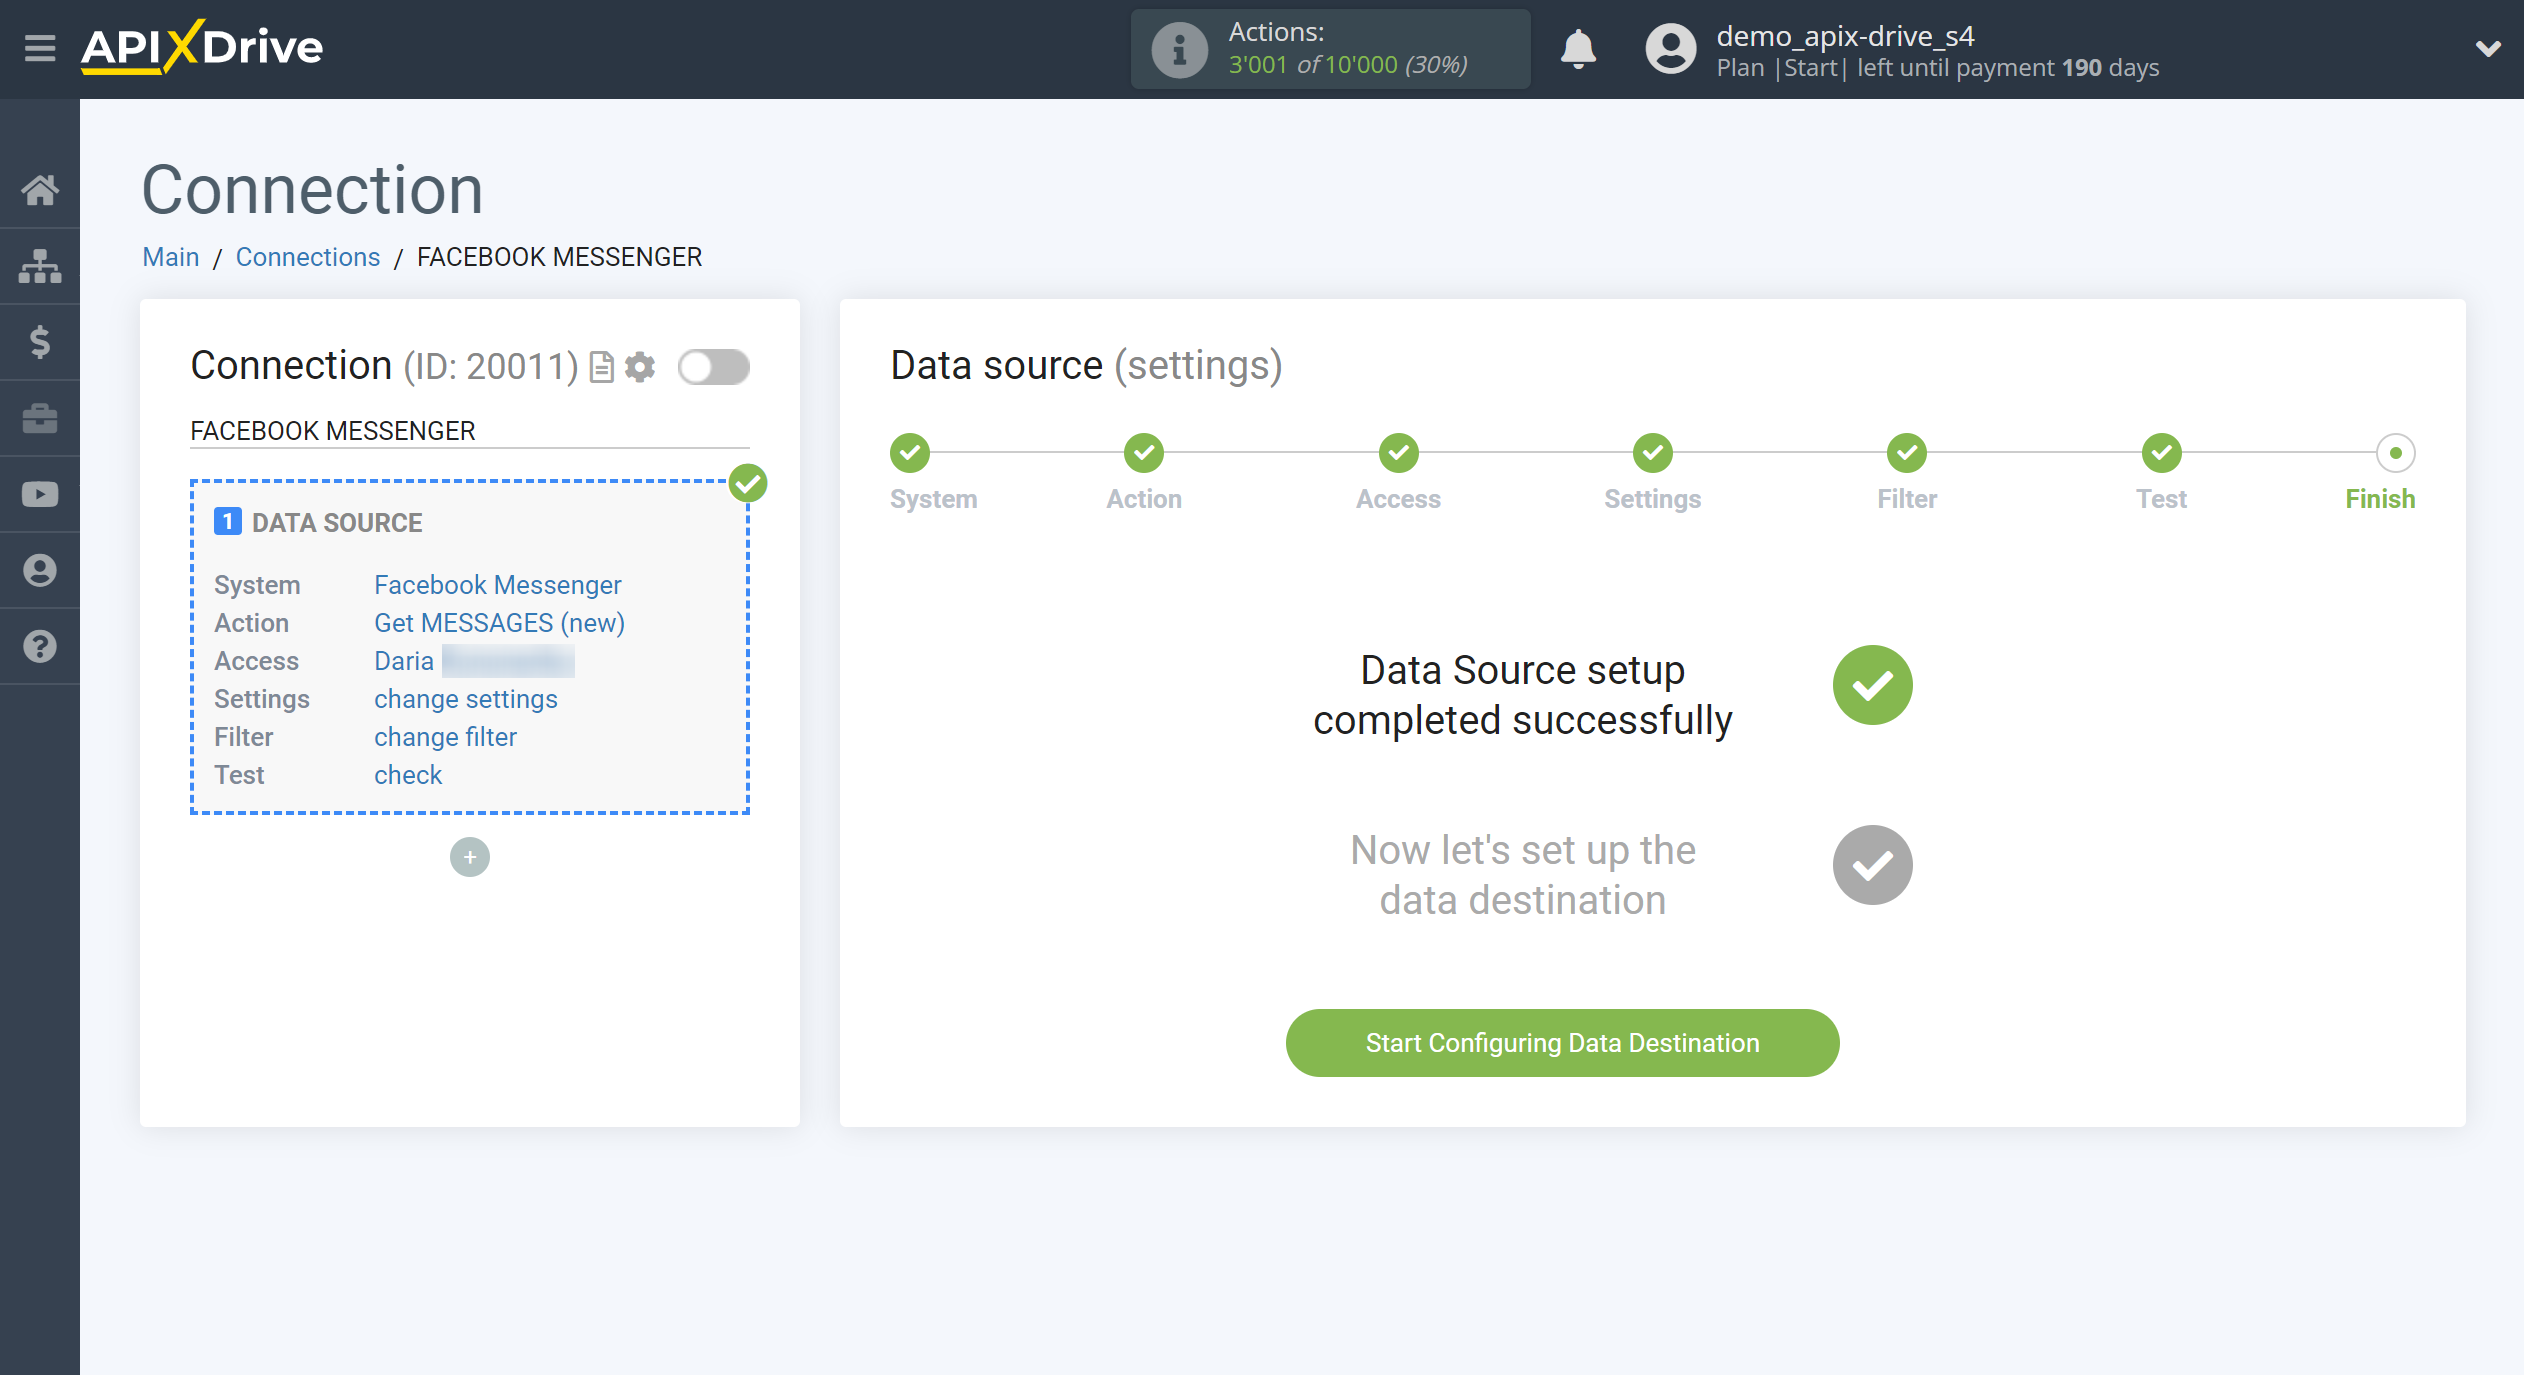
The integration will allow you to get new messages from Facebook Messenger. For example, you can transfer new messages to CRM or GoogleSheets, send them as notifications to yourself or to a group of managers so as not to miss a single message. So you can automate the process of receiving messages with the help of the different services that you use as efficiently as possible.
Let's go through the entire Facebook Messenger setup steps together!
Navigation:
1. What data can I get from Facebook Messenger?
2. How to connect Facebook Messenger account to ApiX-Drive?
3. Edit settings.
4. Example of message data.
Answers to frequently asked questions:
1. The page you want is not in the list.
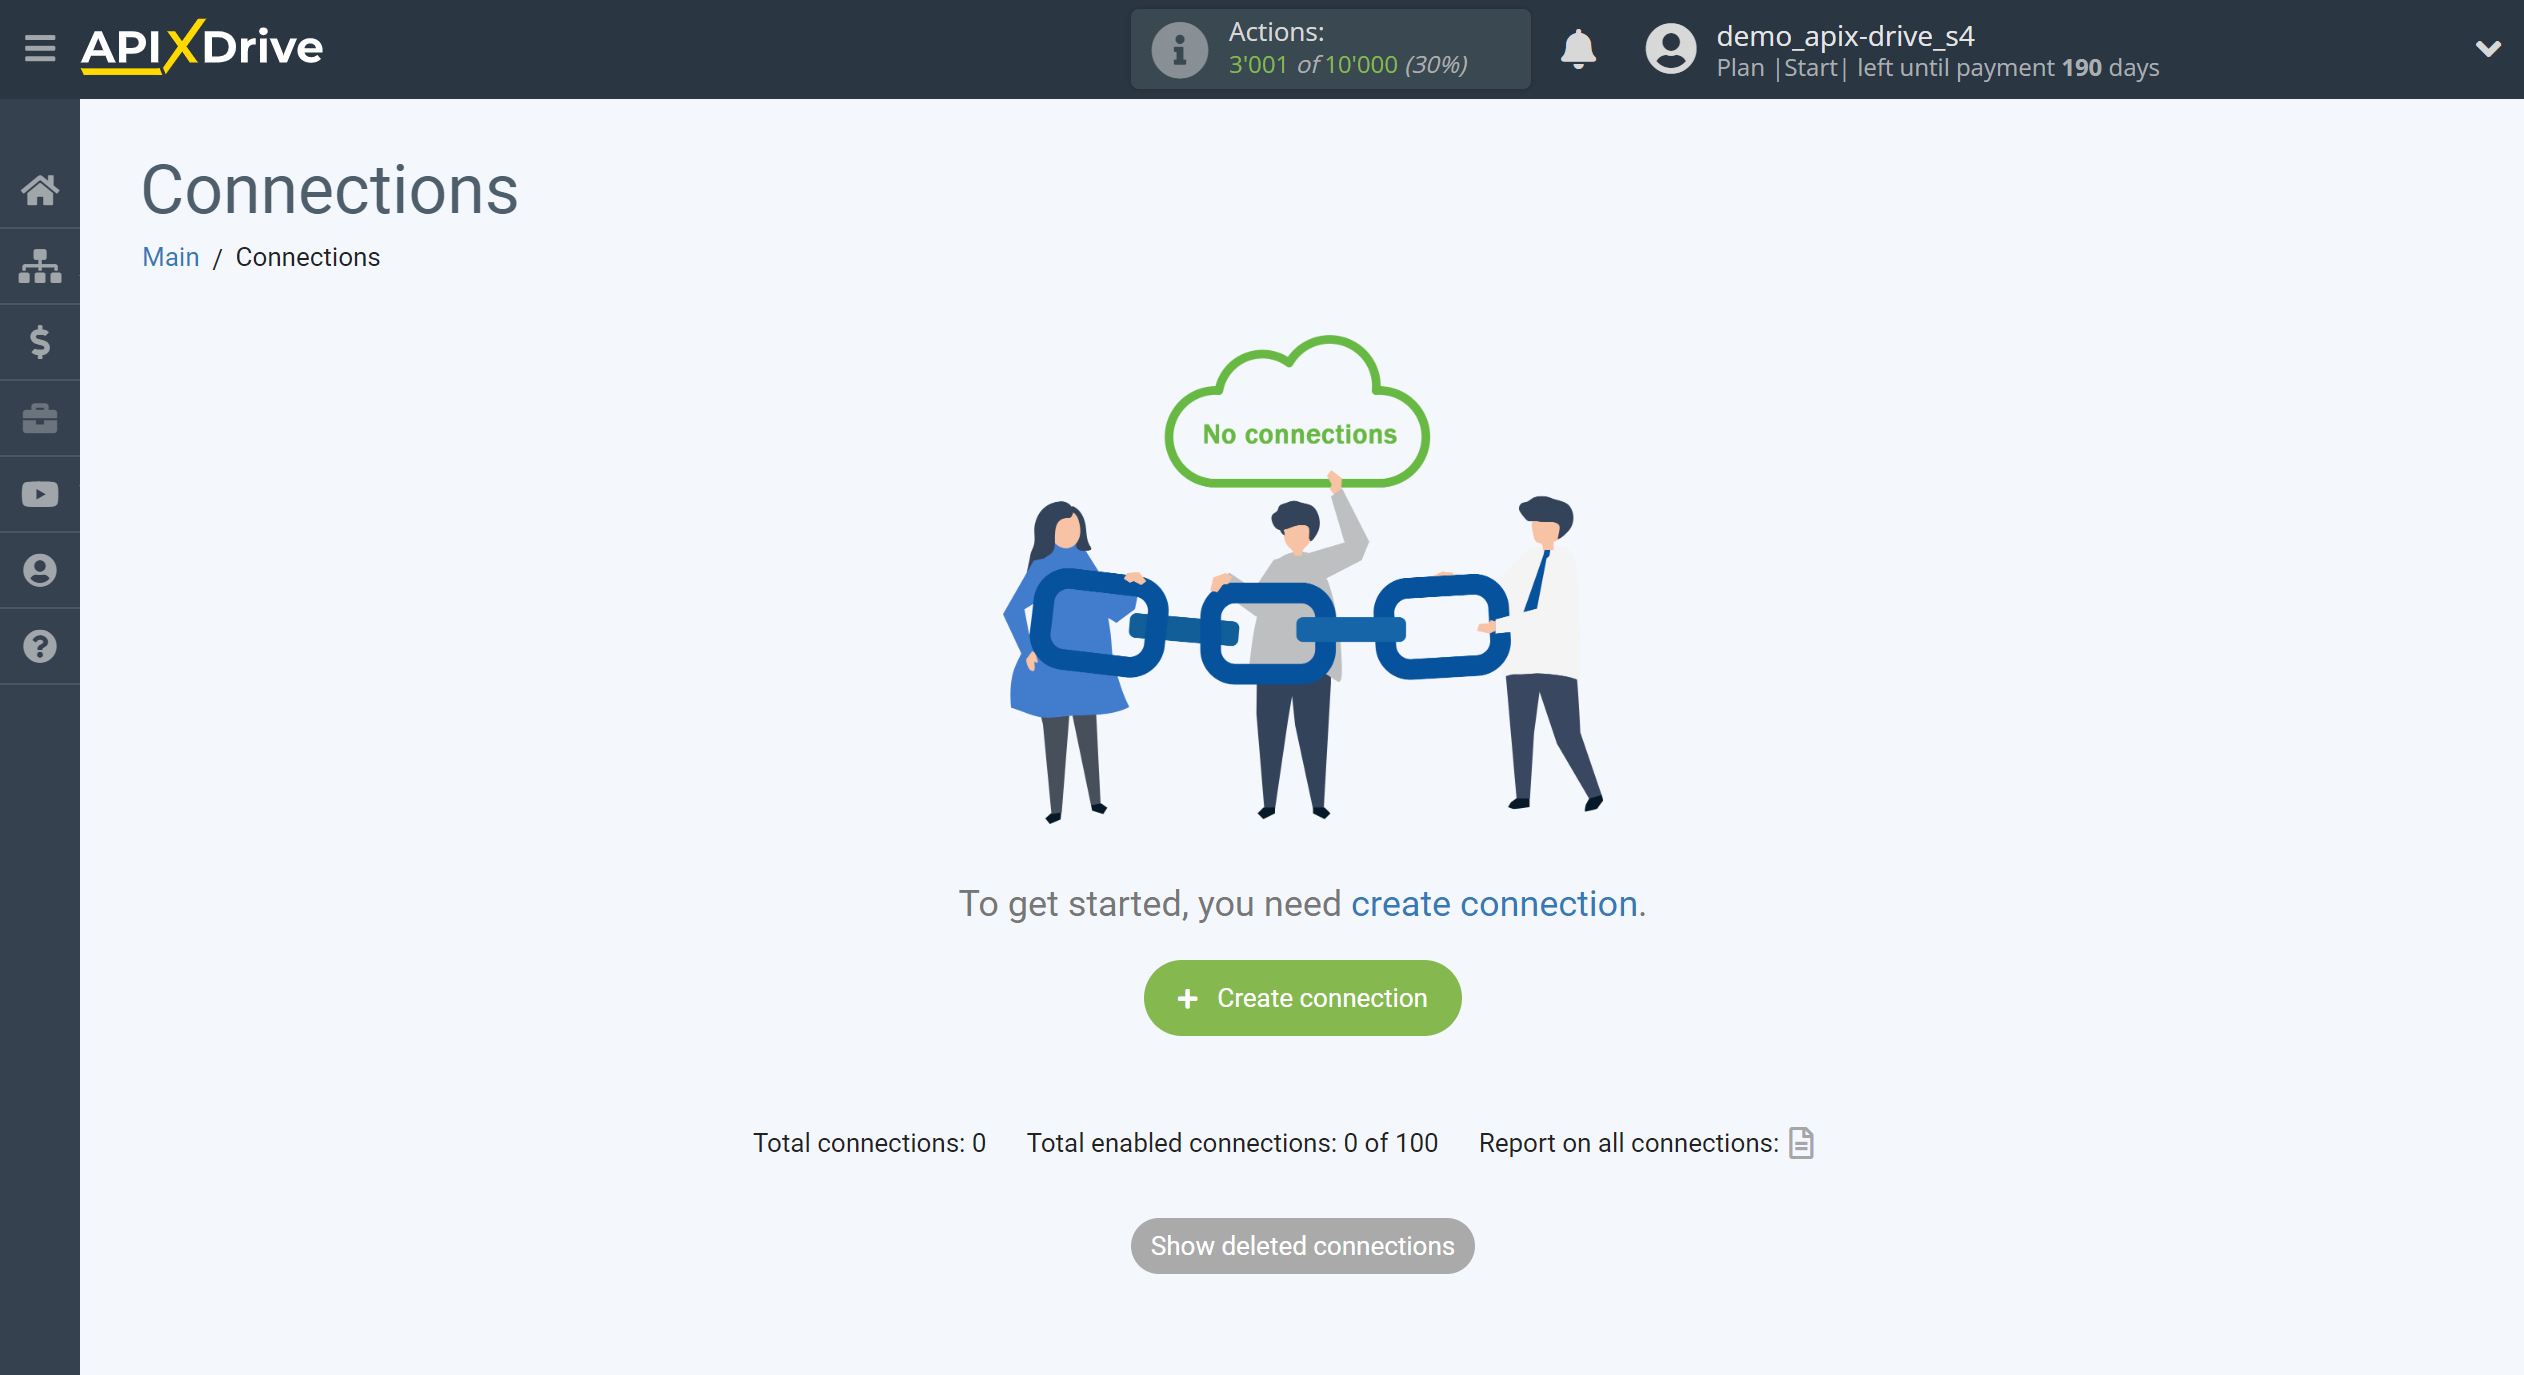
To start setup new connection, click "Create Connection"
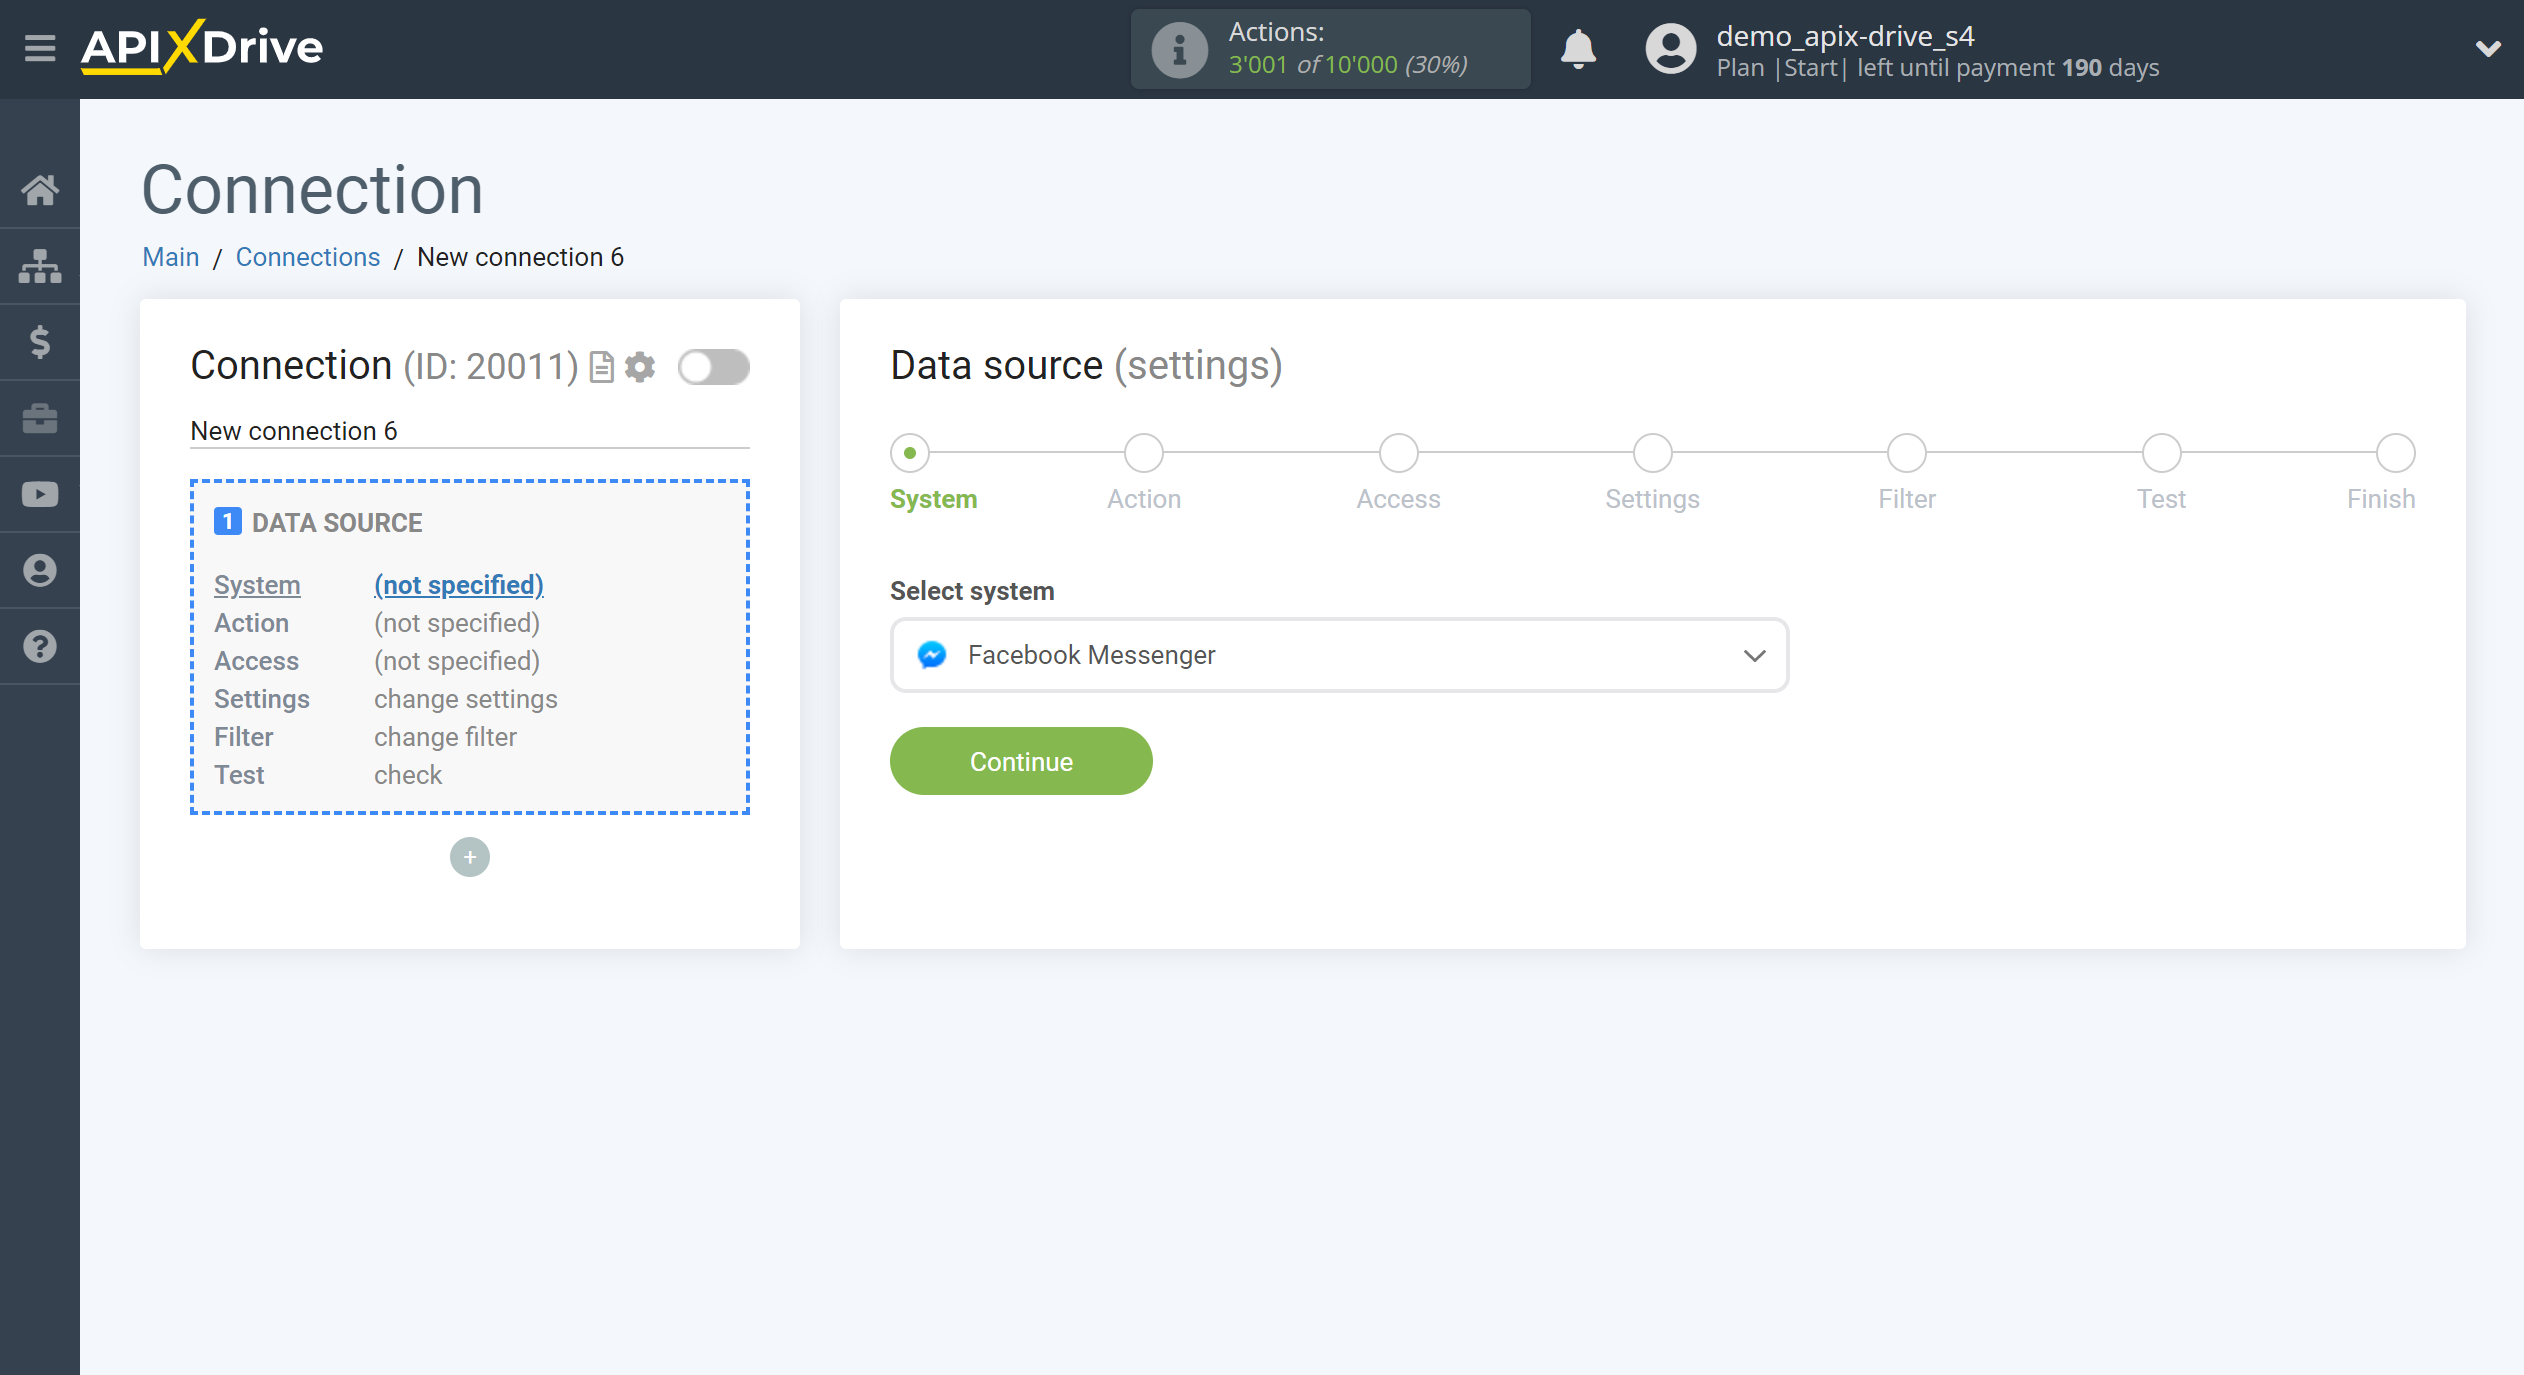
Select a system as the Data Source. In this case, you must specify Facebook Messenger.
Next, you need to specify the action "Get MESSAGES (new)" - ApiX-Drive will get all new messages from your Facebook Messenger account that appear after setup the connection and starting auto-update.
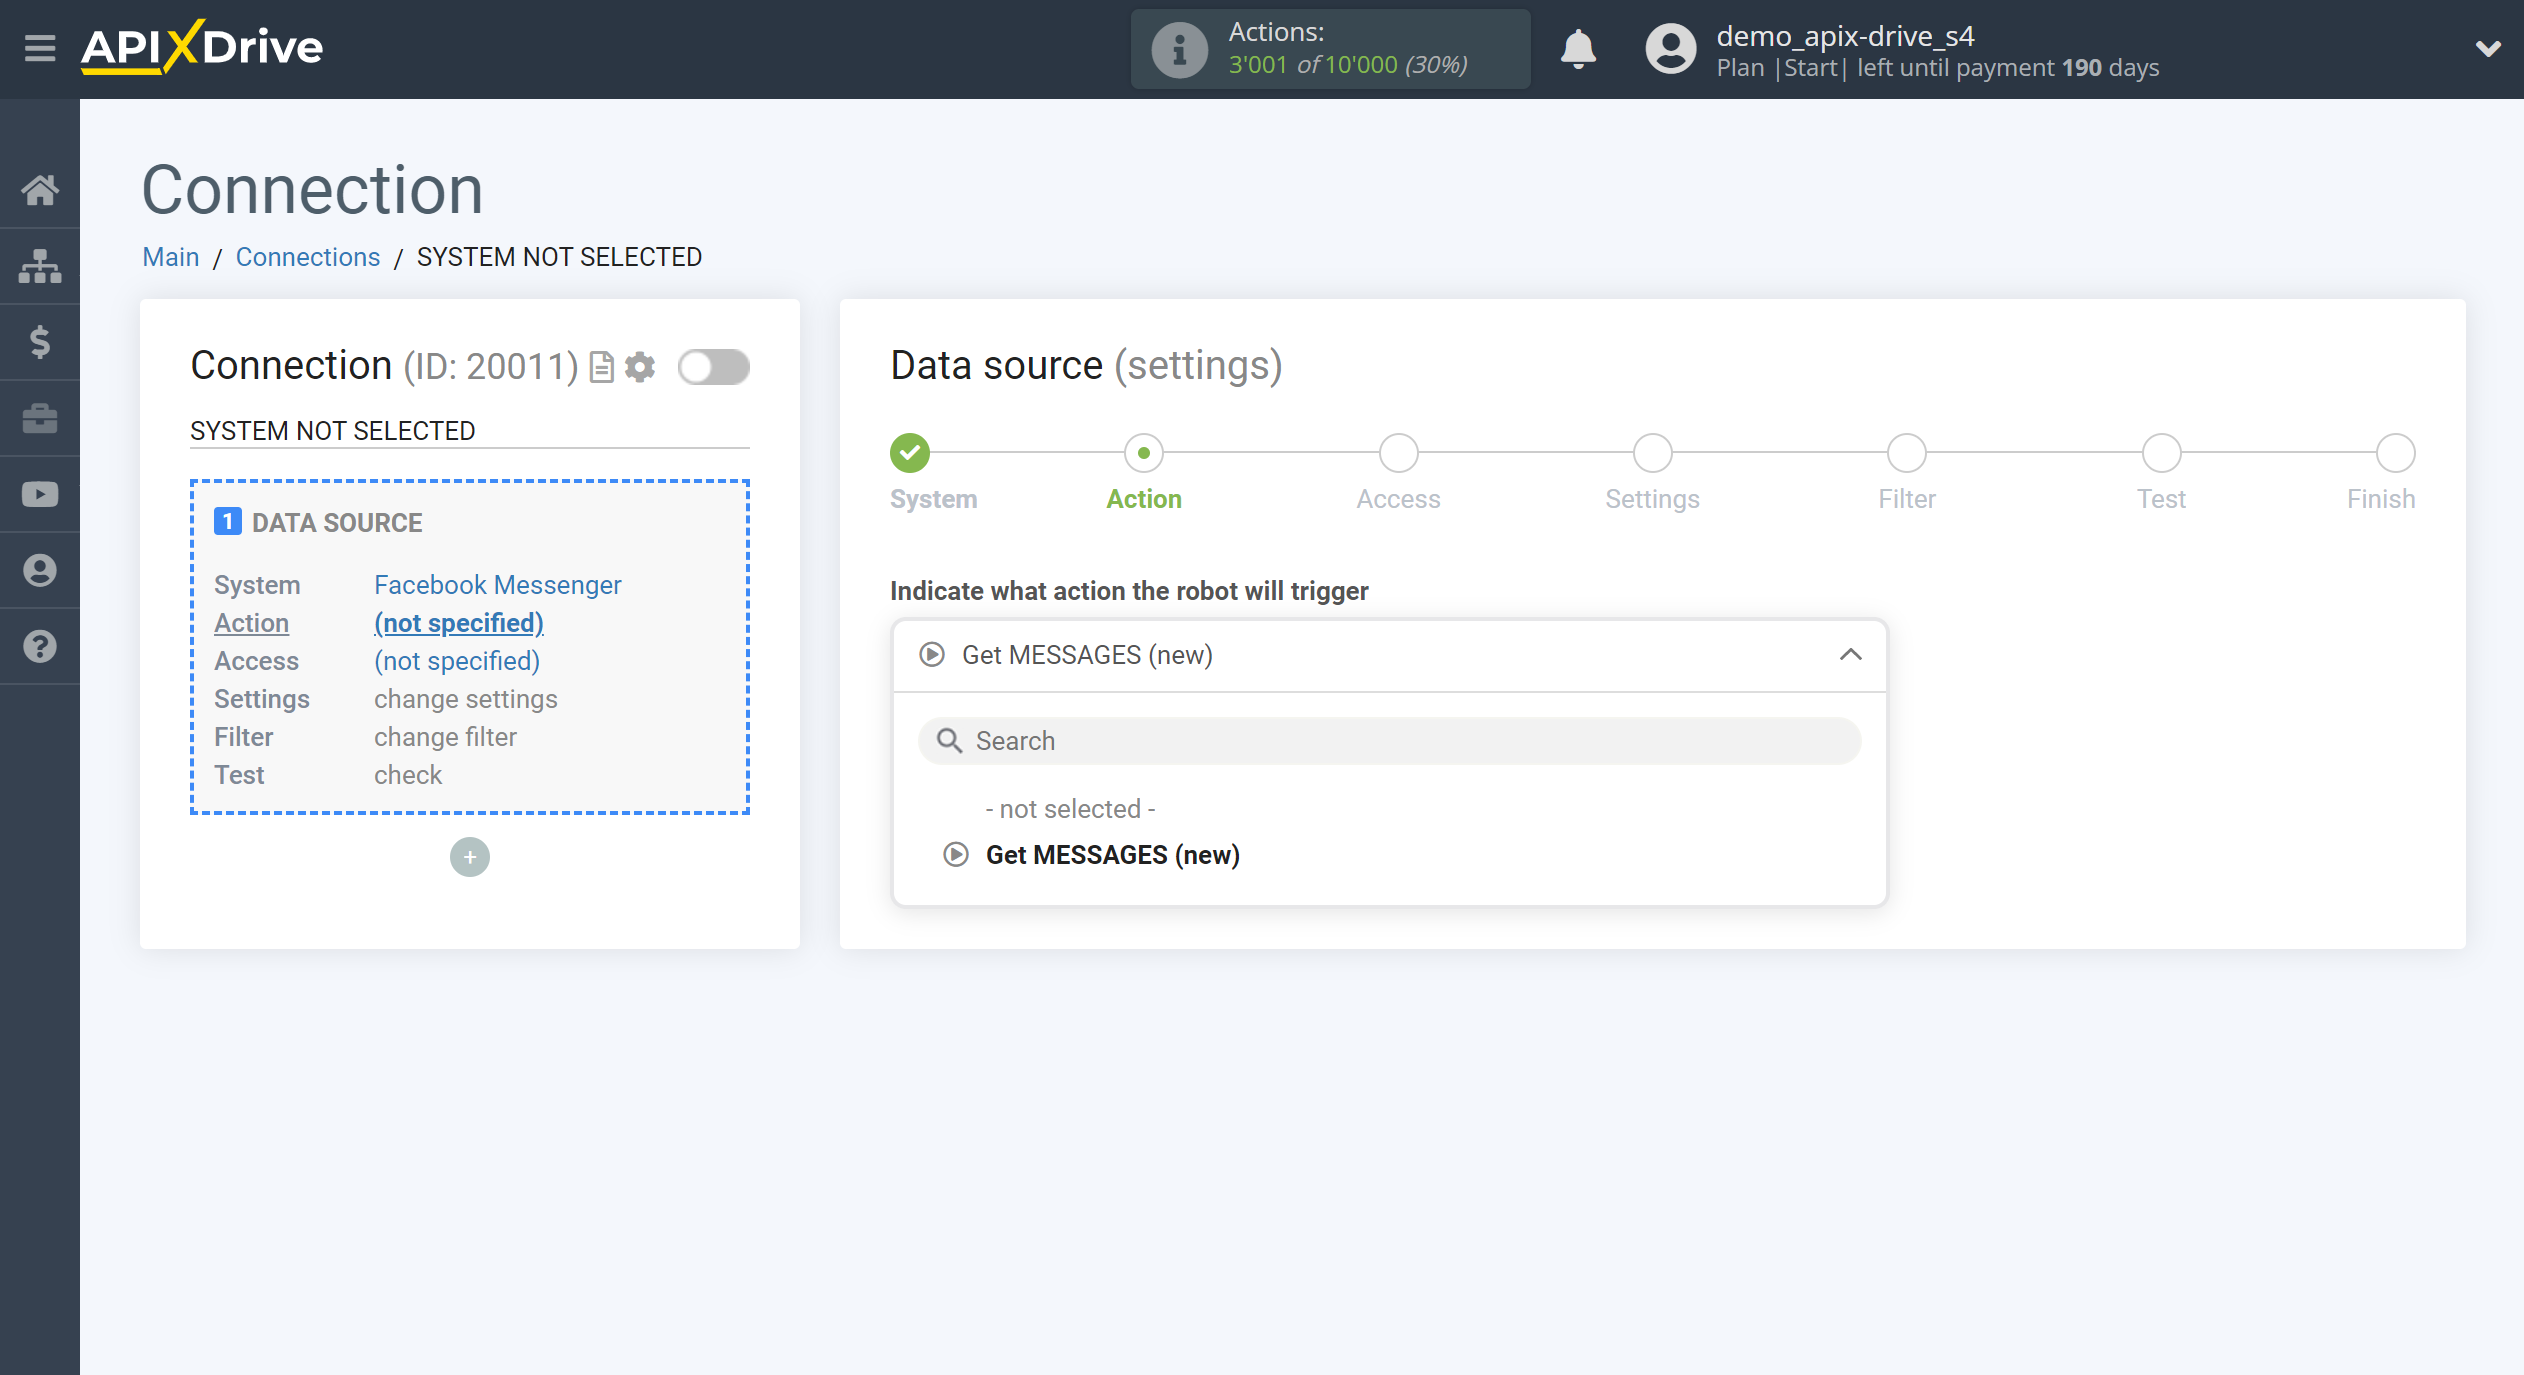
Note! ApiX-Drive will get only messages sent from Facebook Messenger, messages from other systems, such as Instagram, ApiX-Drive will not get.
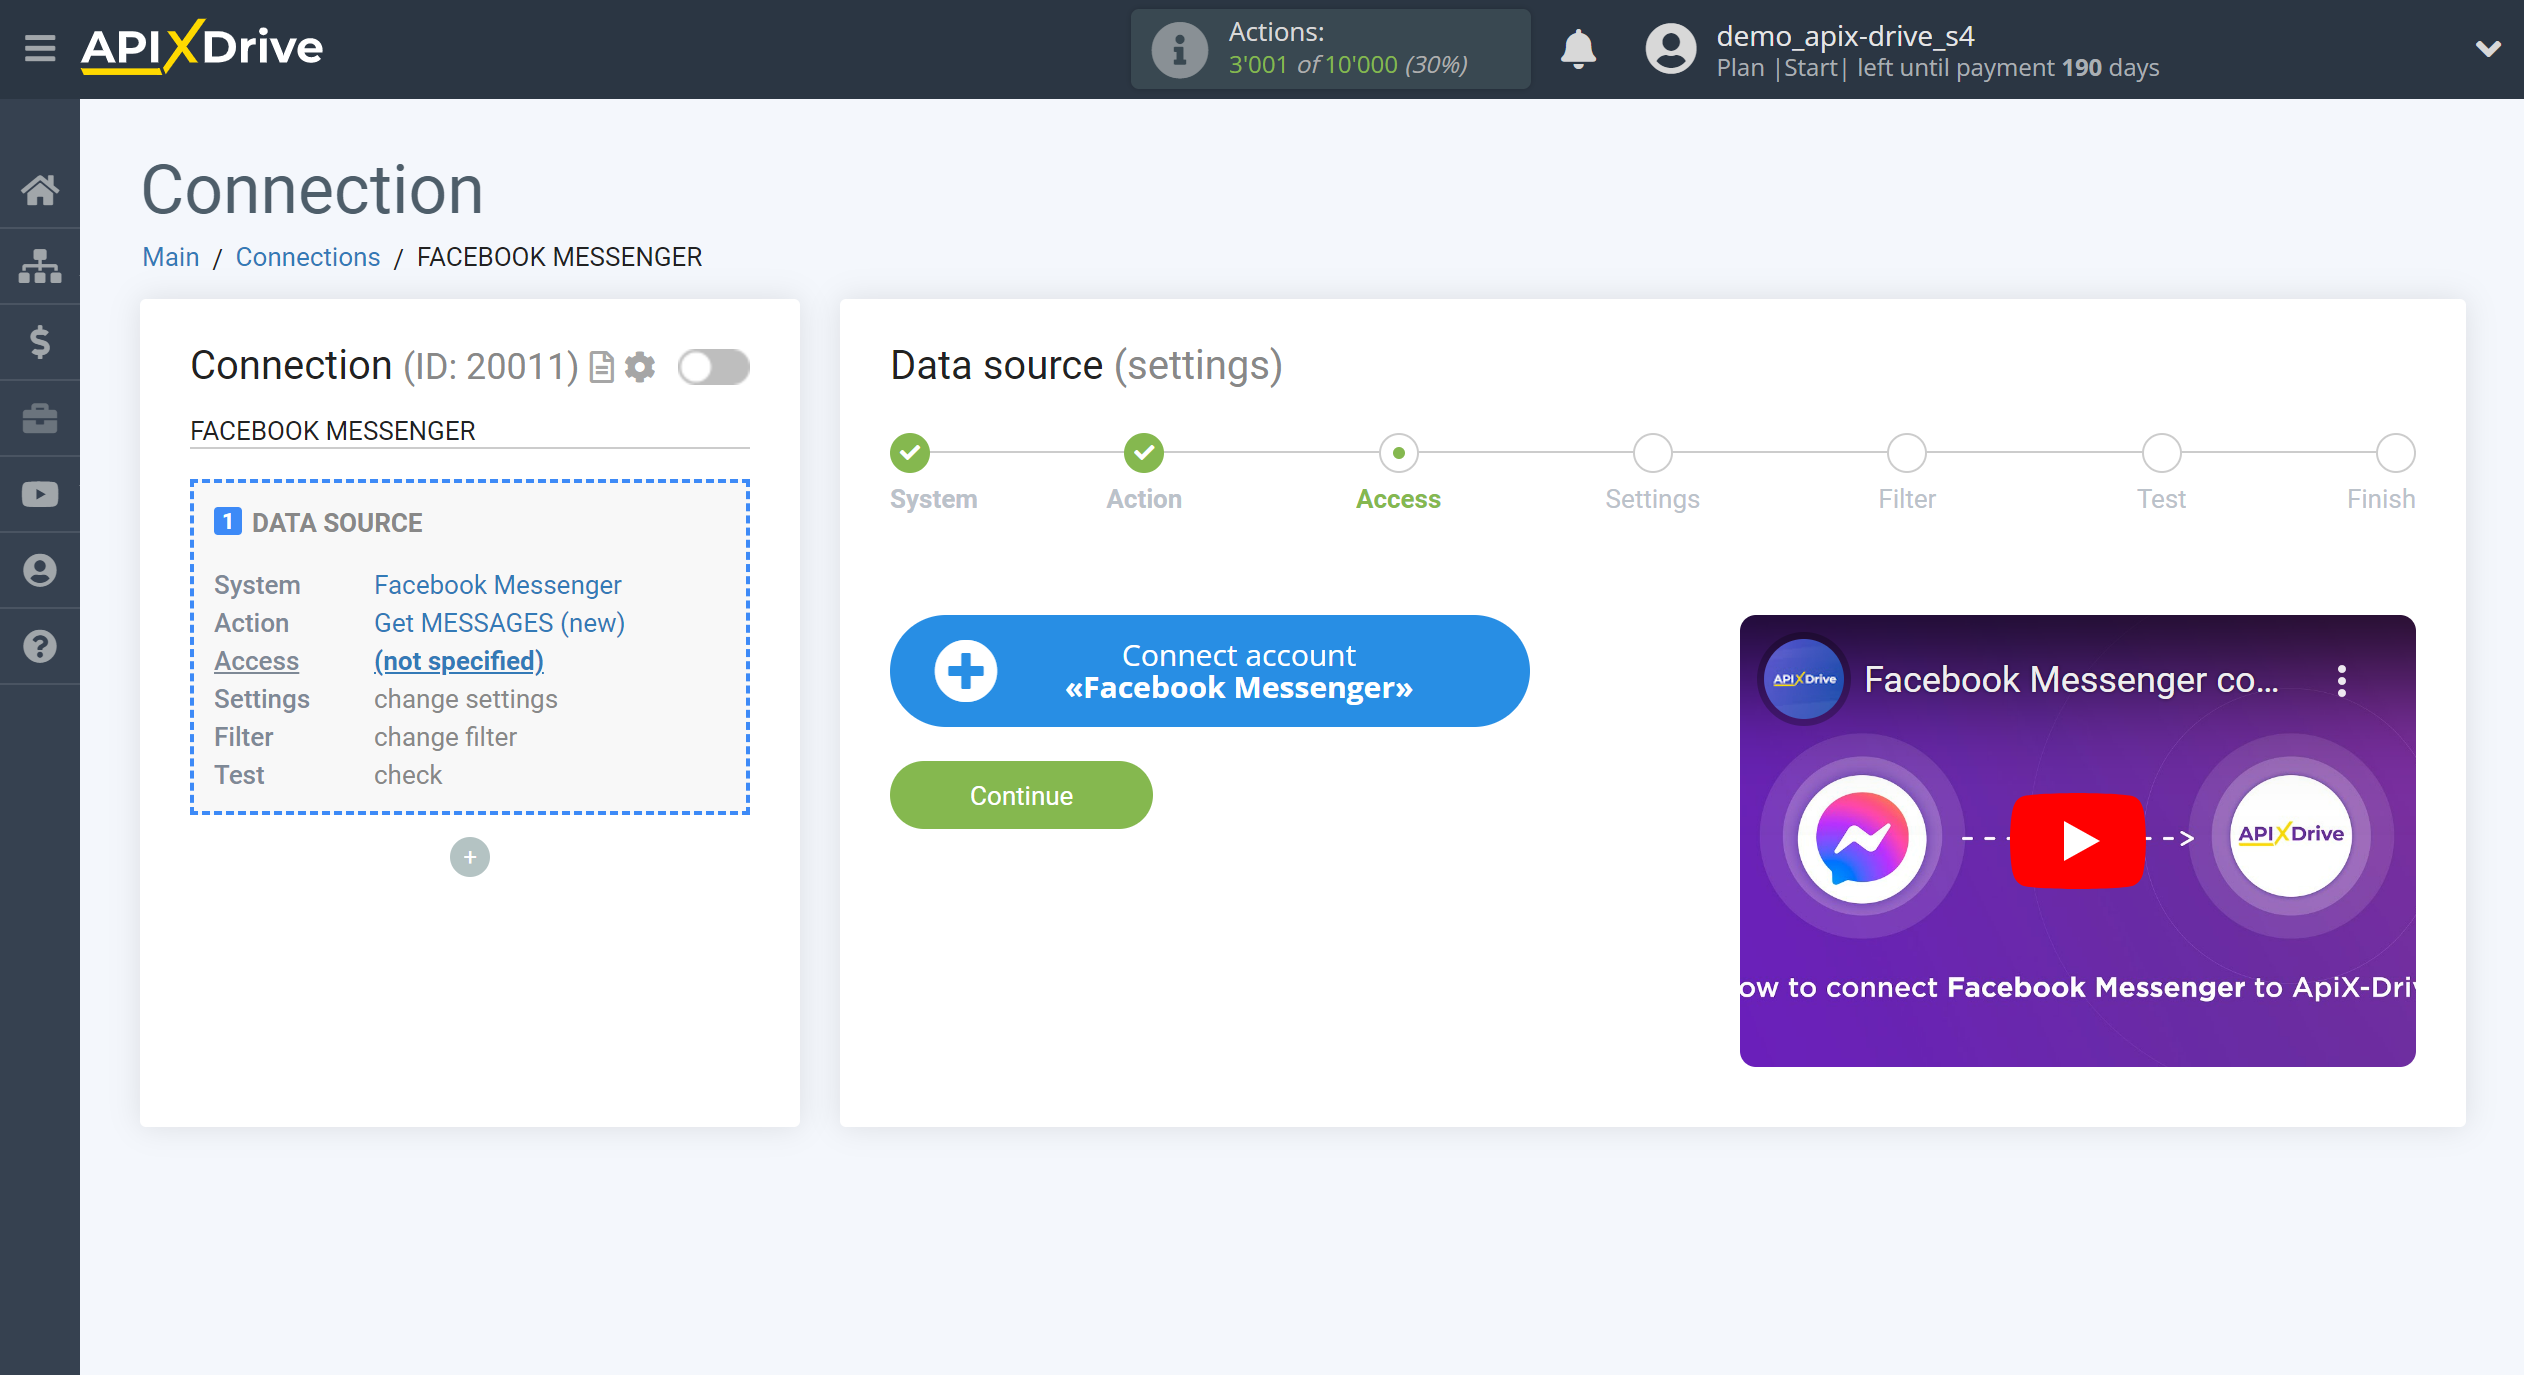
The next step is to select the Facebook Messenger account from which ApiX-Drive will get messages.
If there are no accounts connected to the system, click "Connect account".
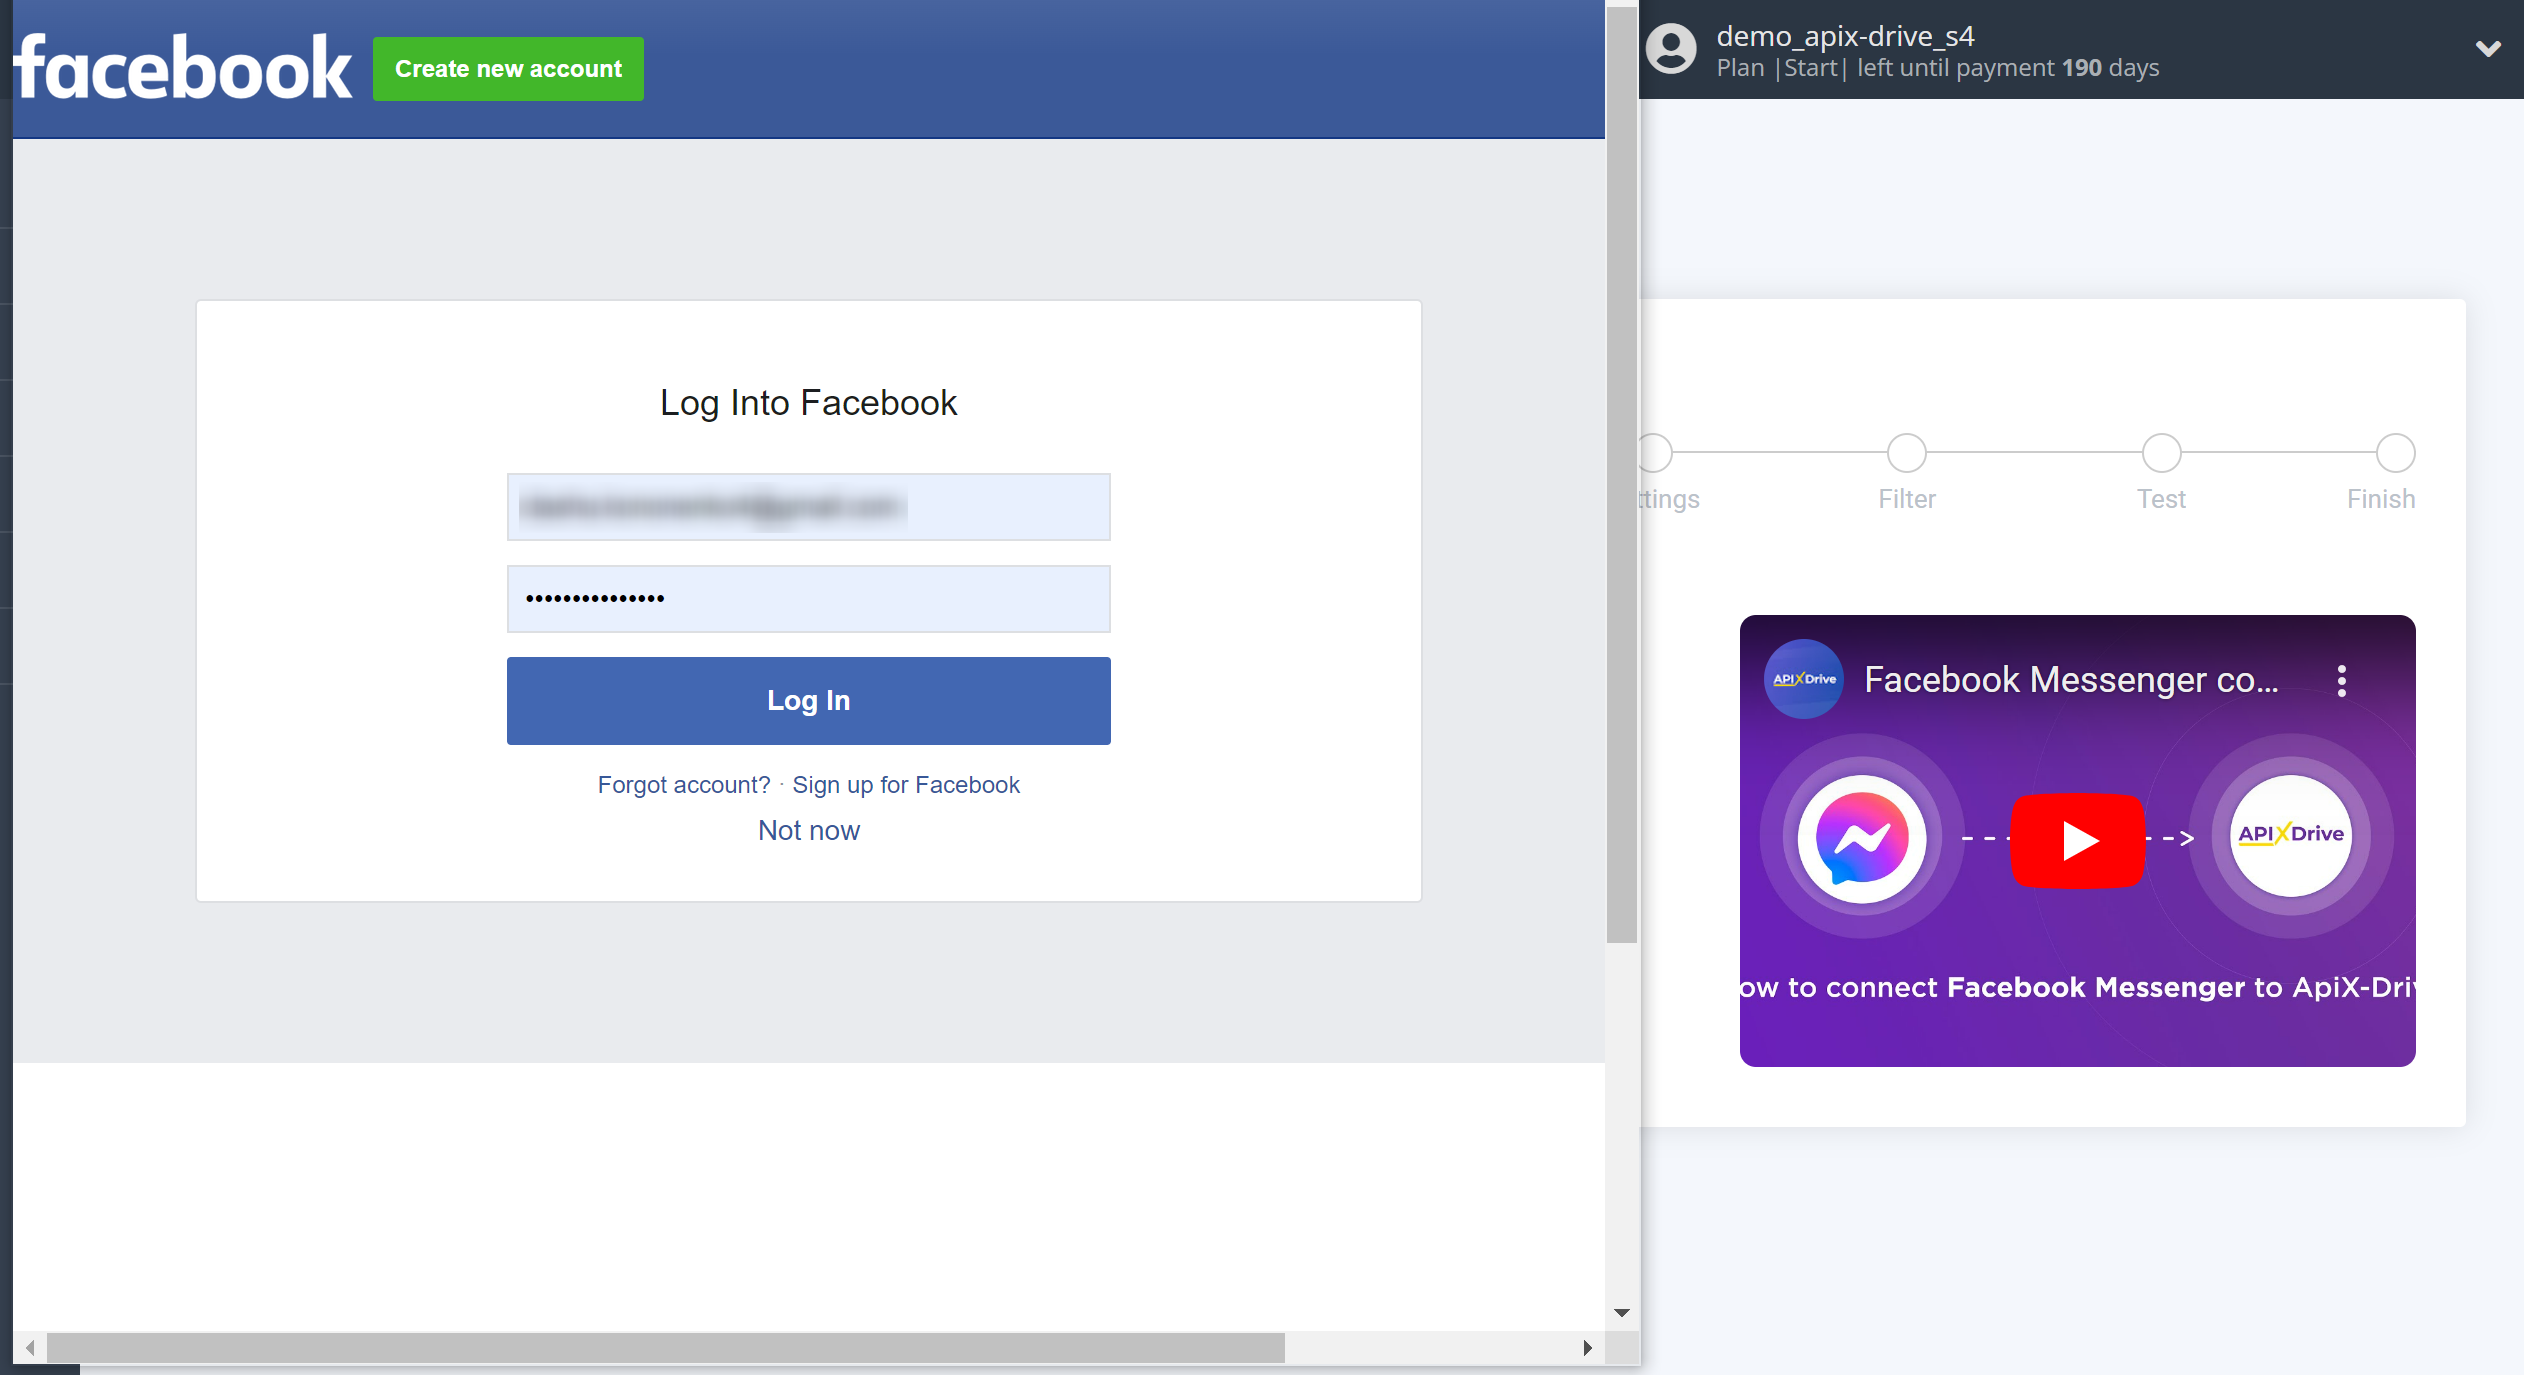
Give your permission to ApiX-Drive to work with this account.
Click "Change settings" and check the boxes to access the pages you need.
We recommend that you give access to all available pages at once in order to be able to work with them and receive messages in the future.
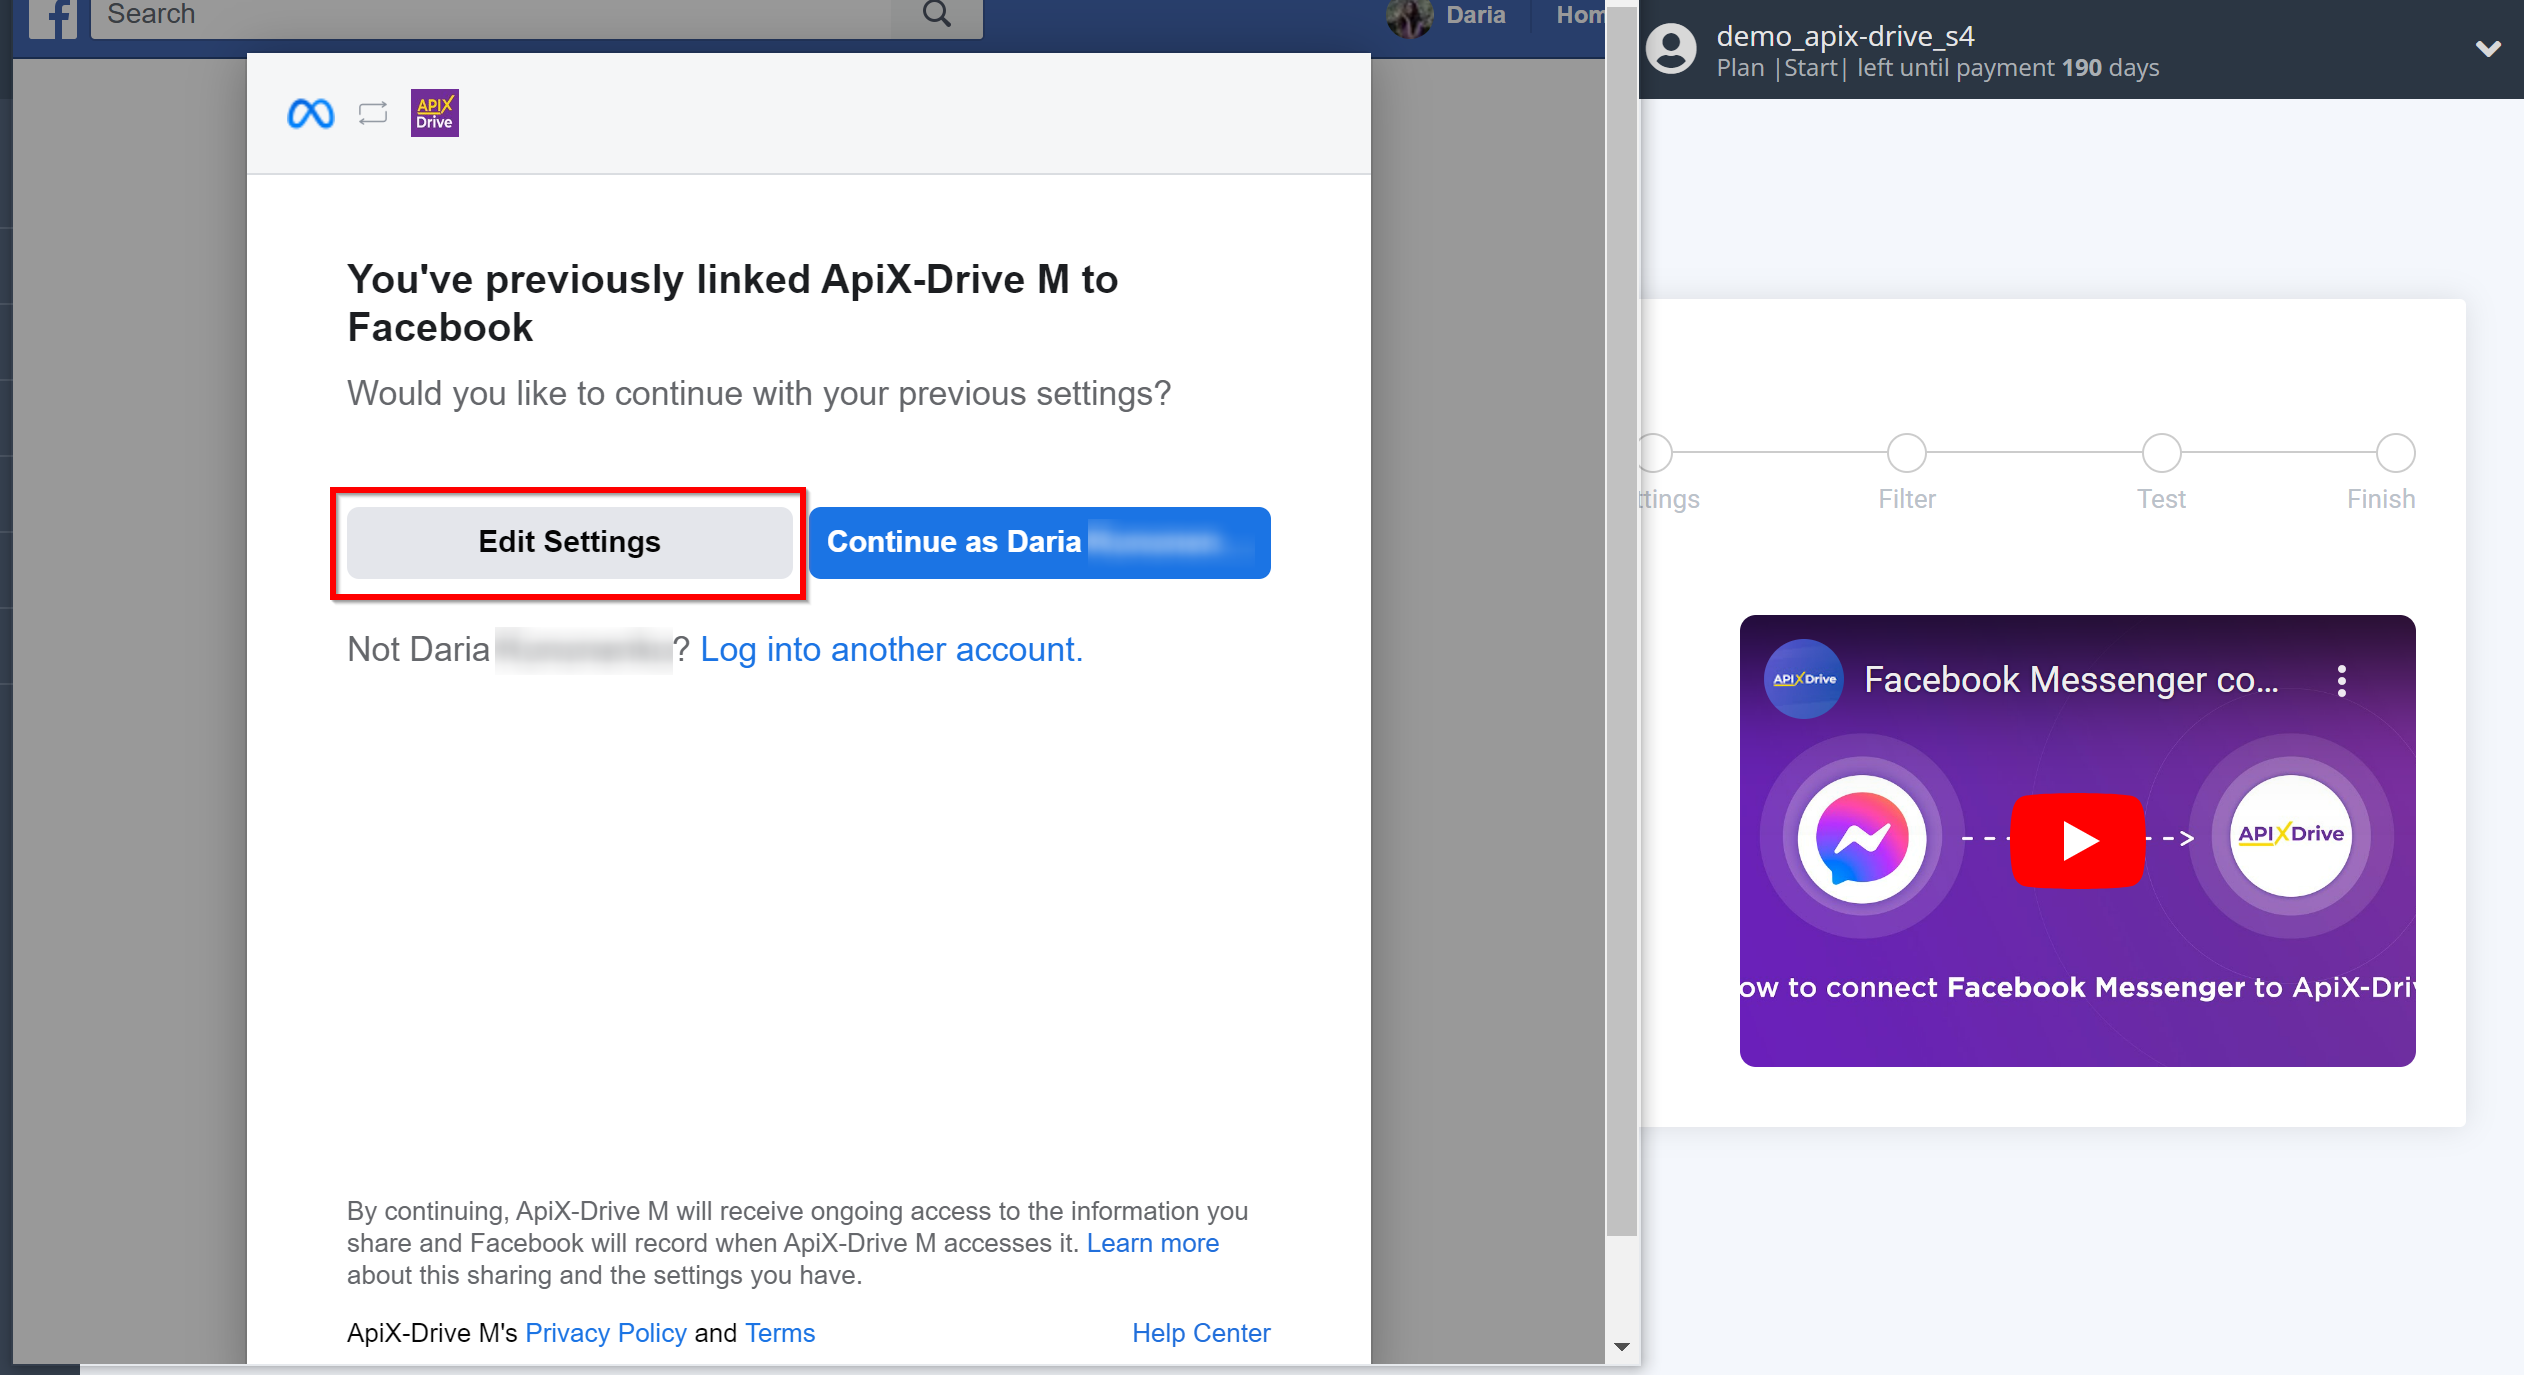
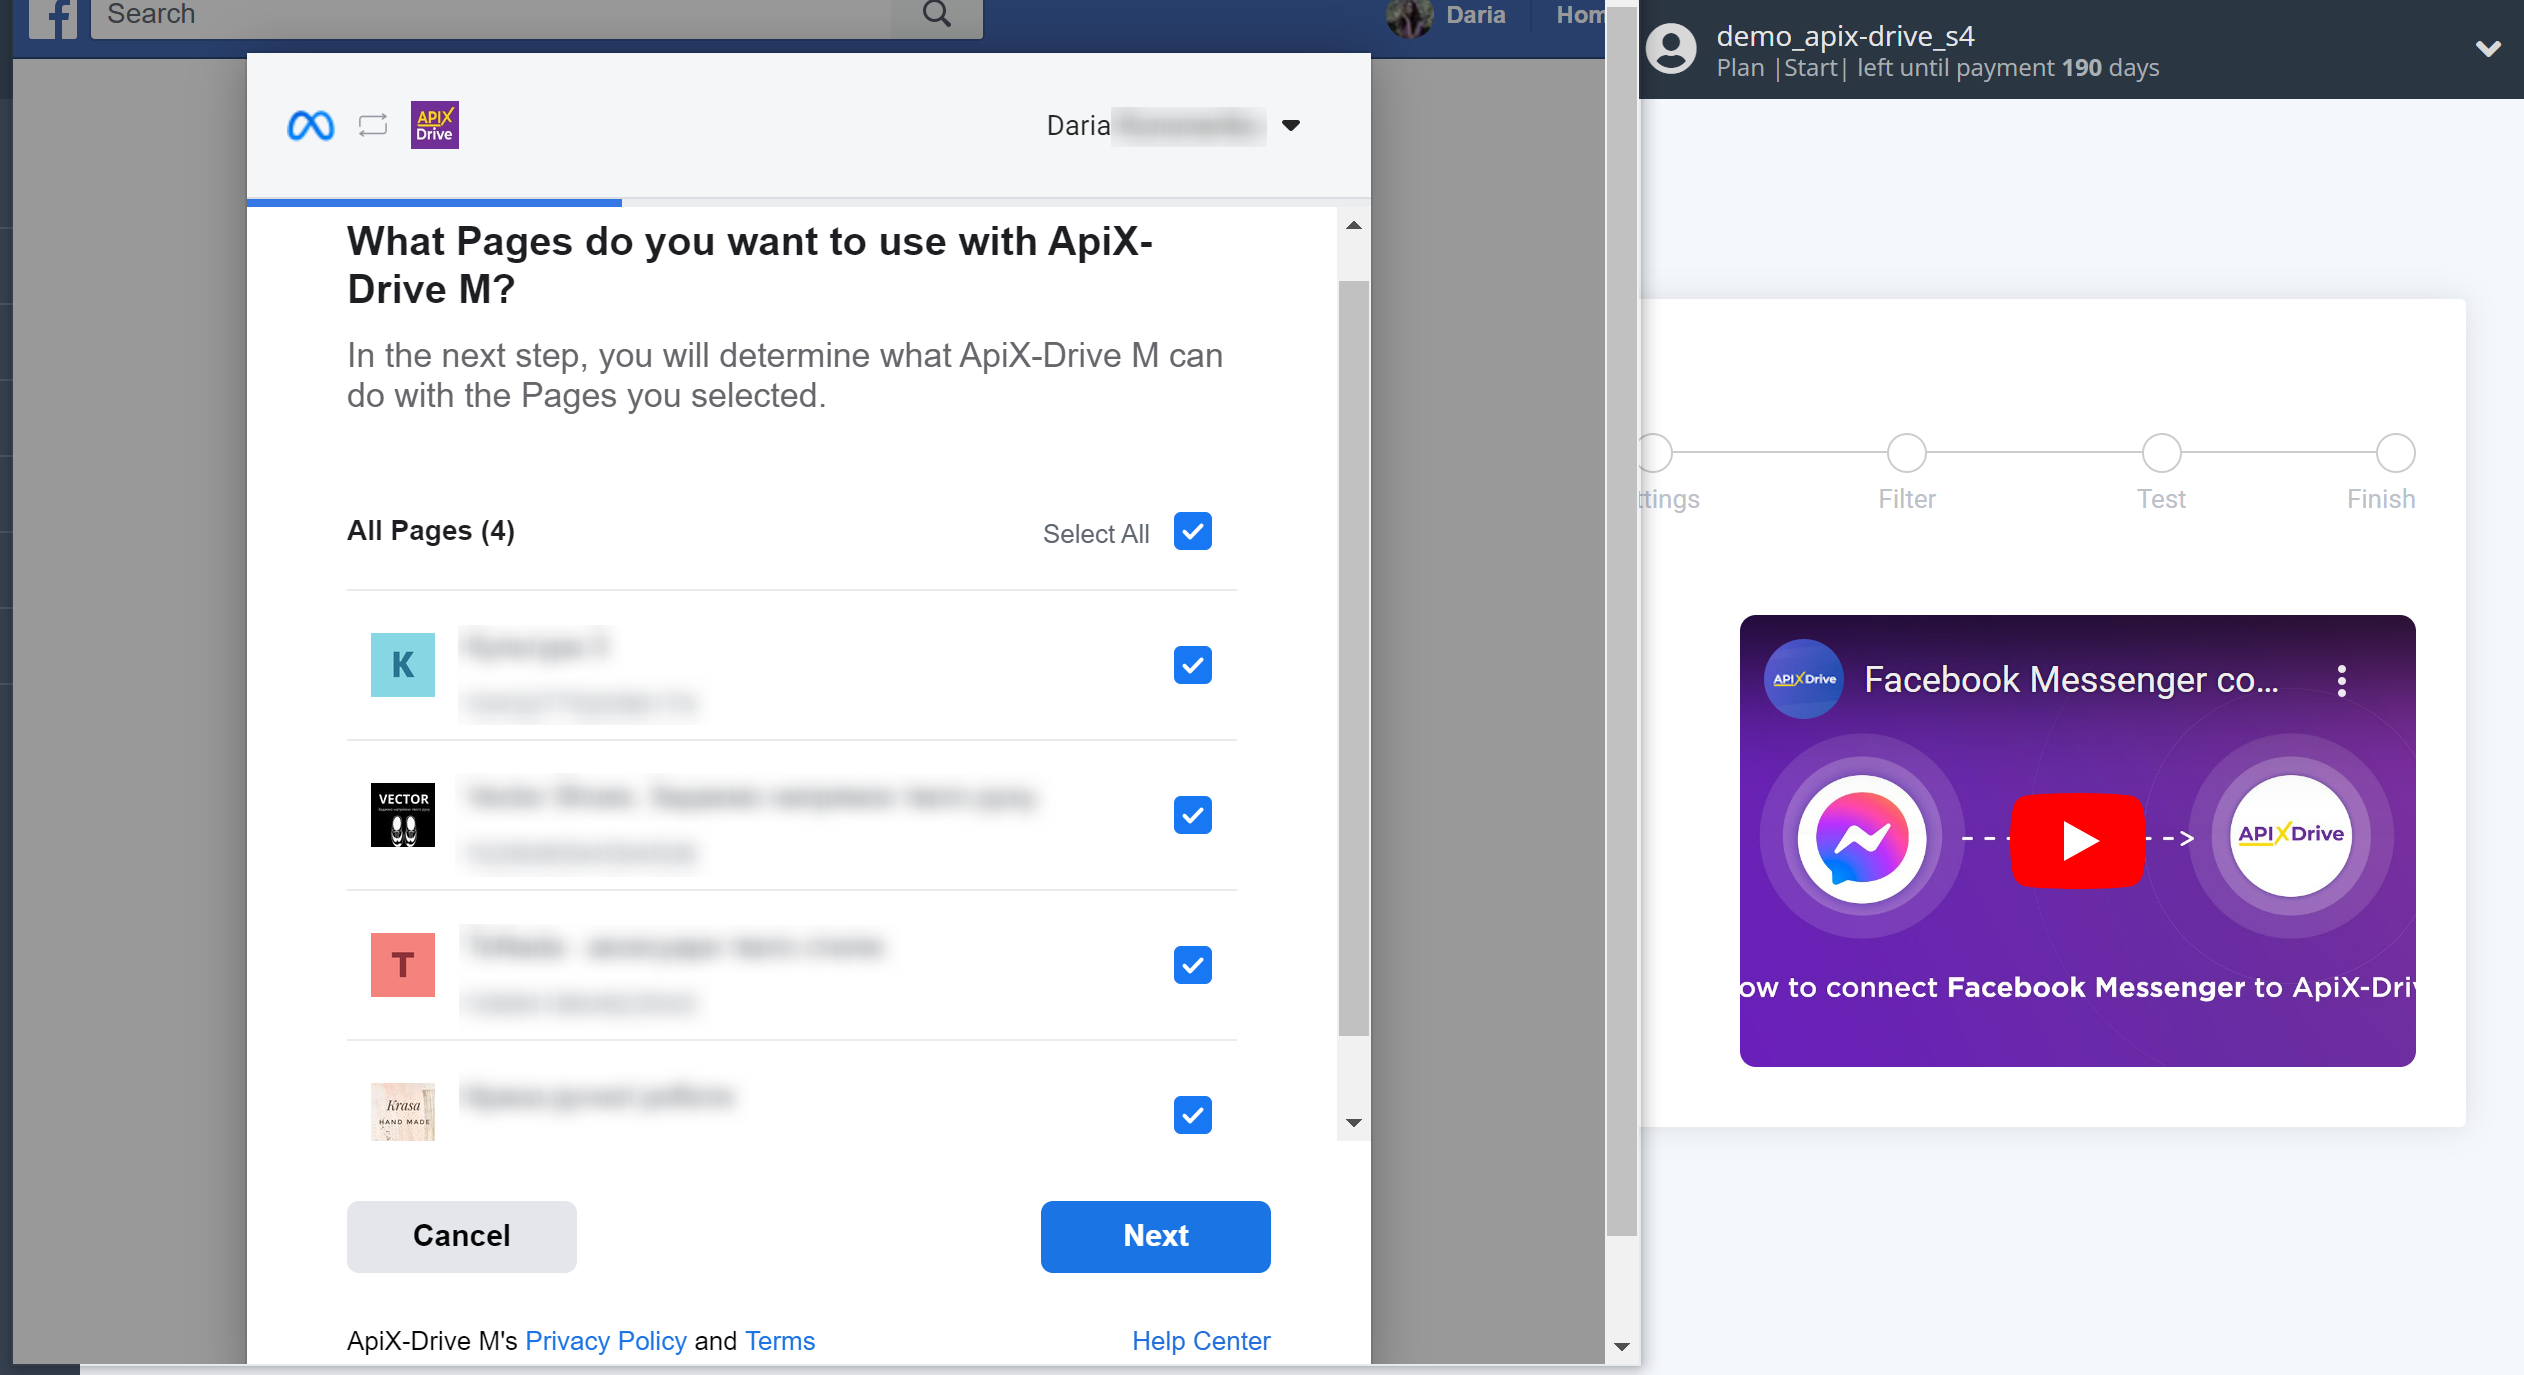
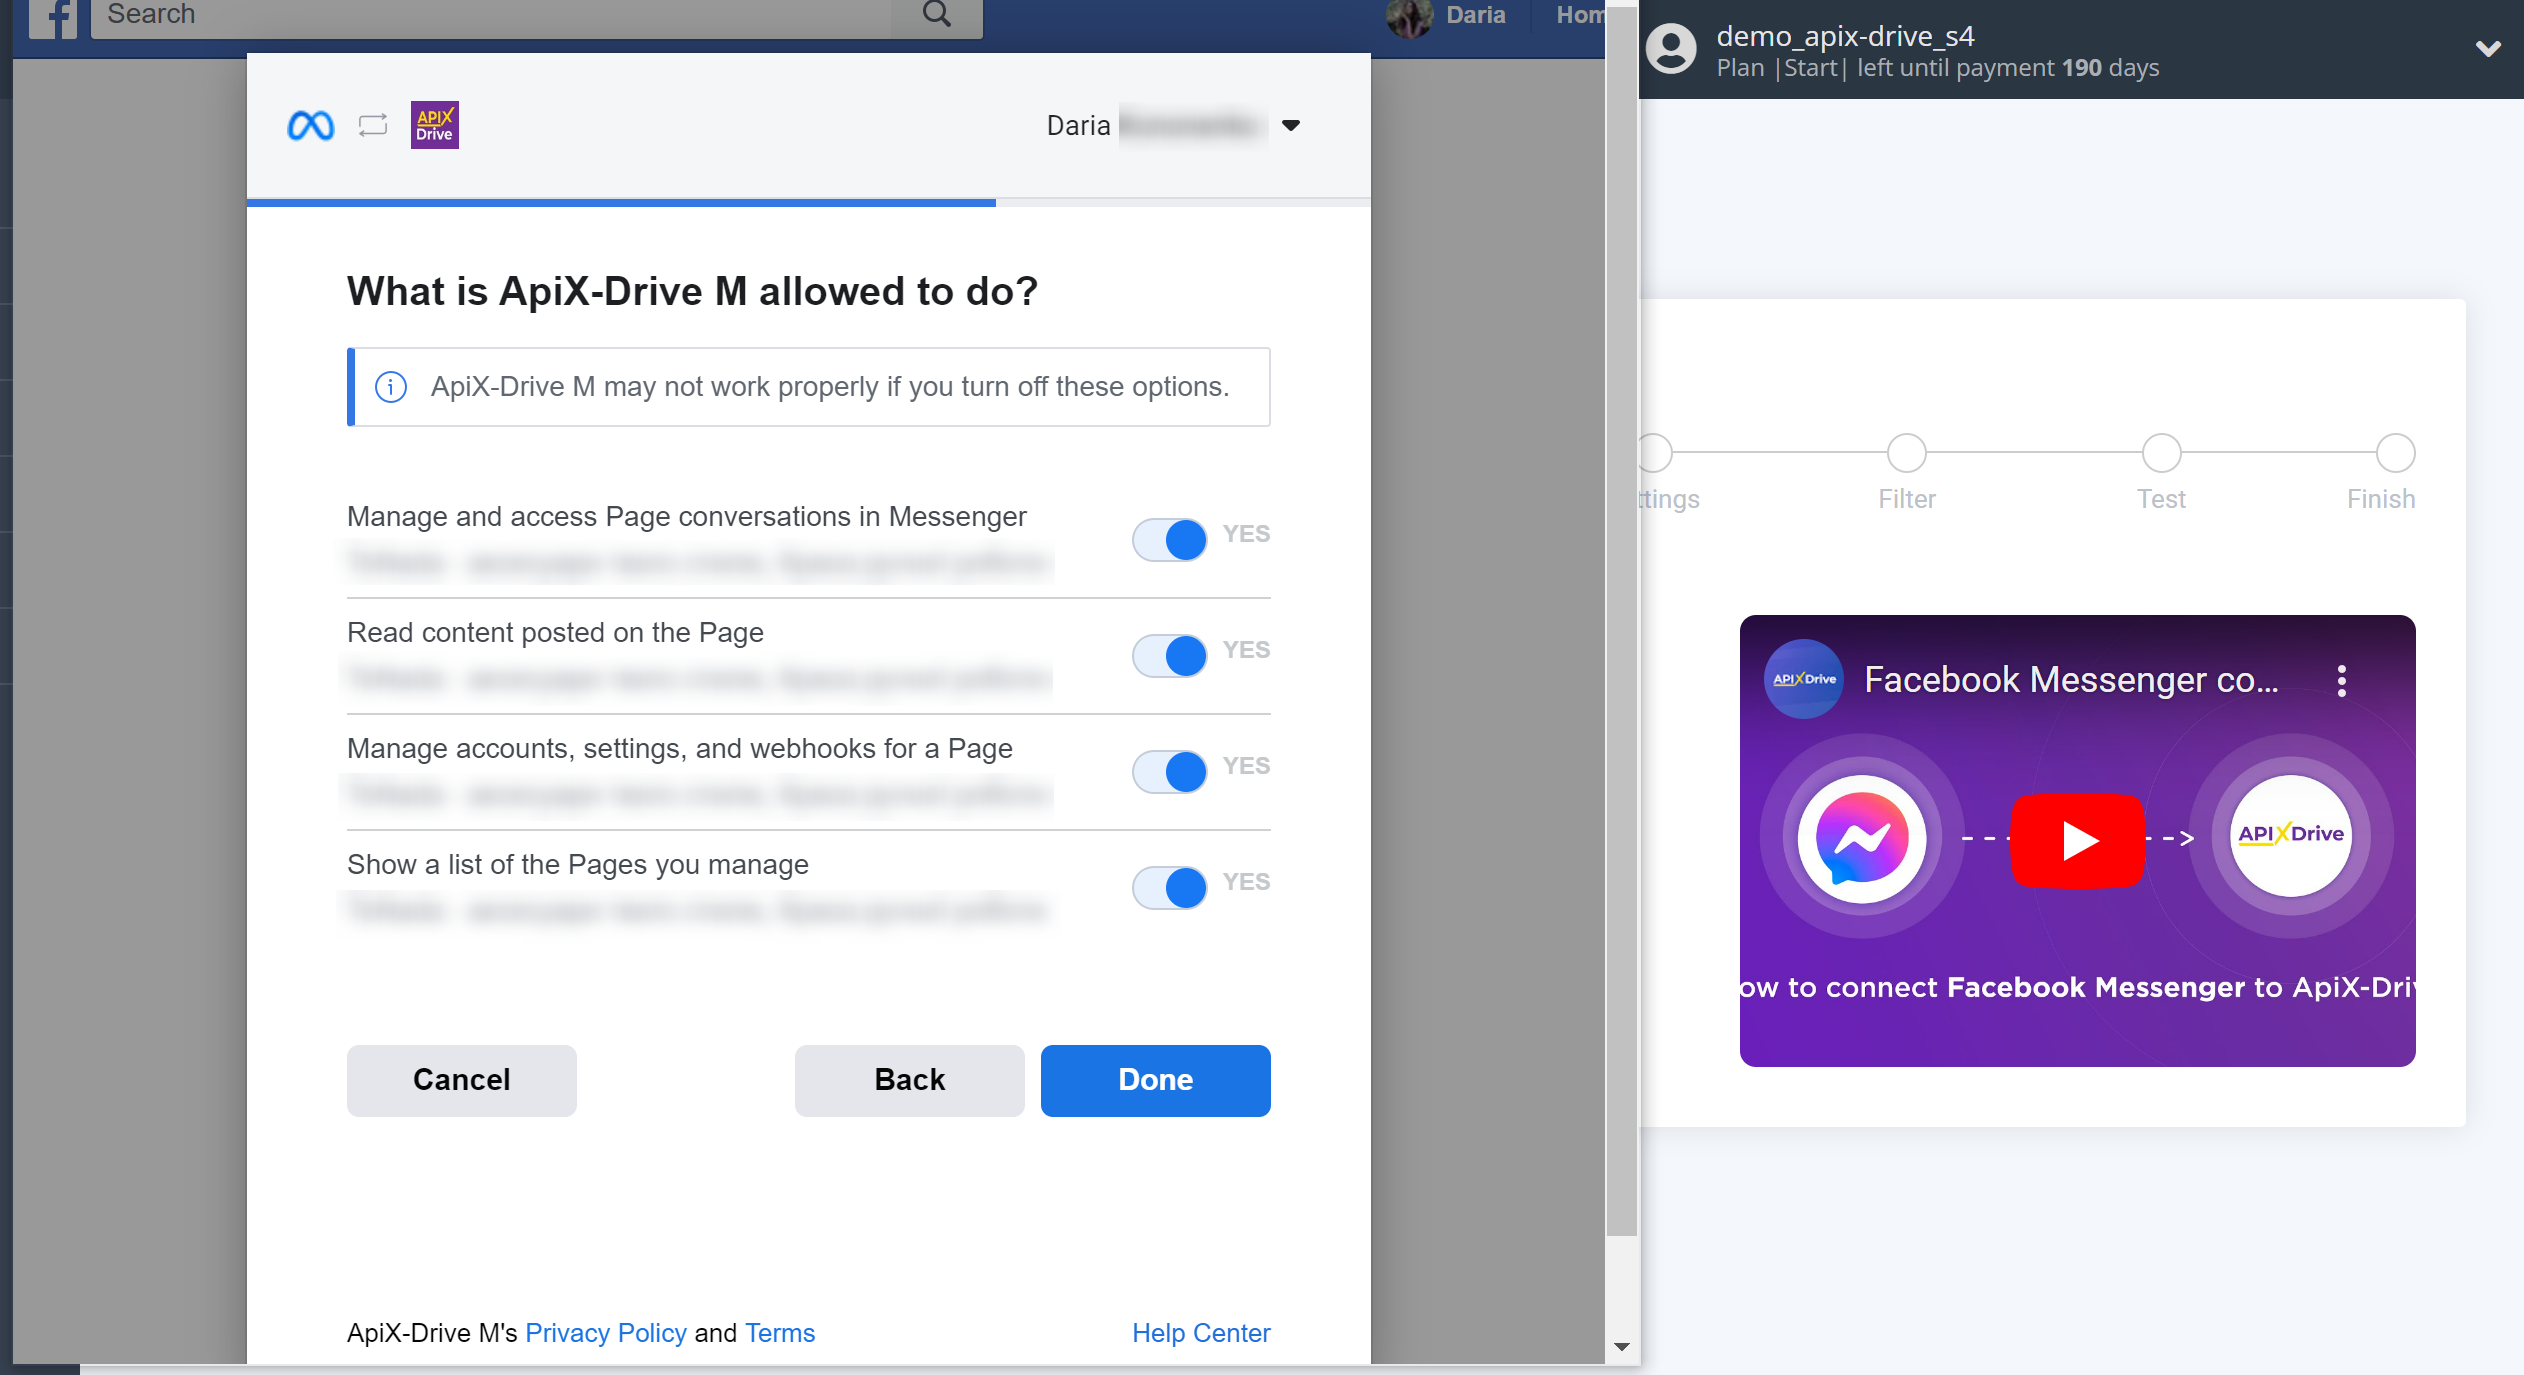
Leave all access settings checked.
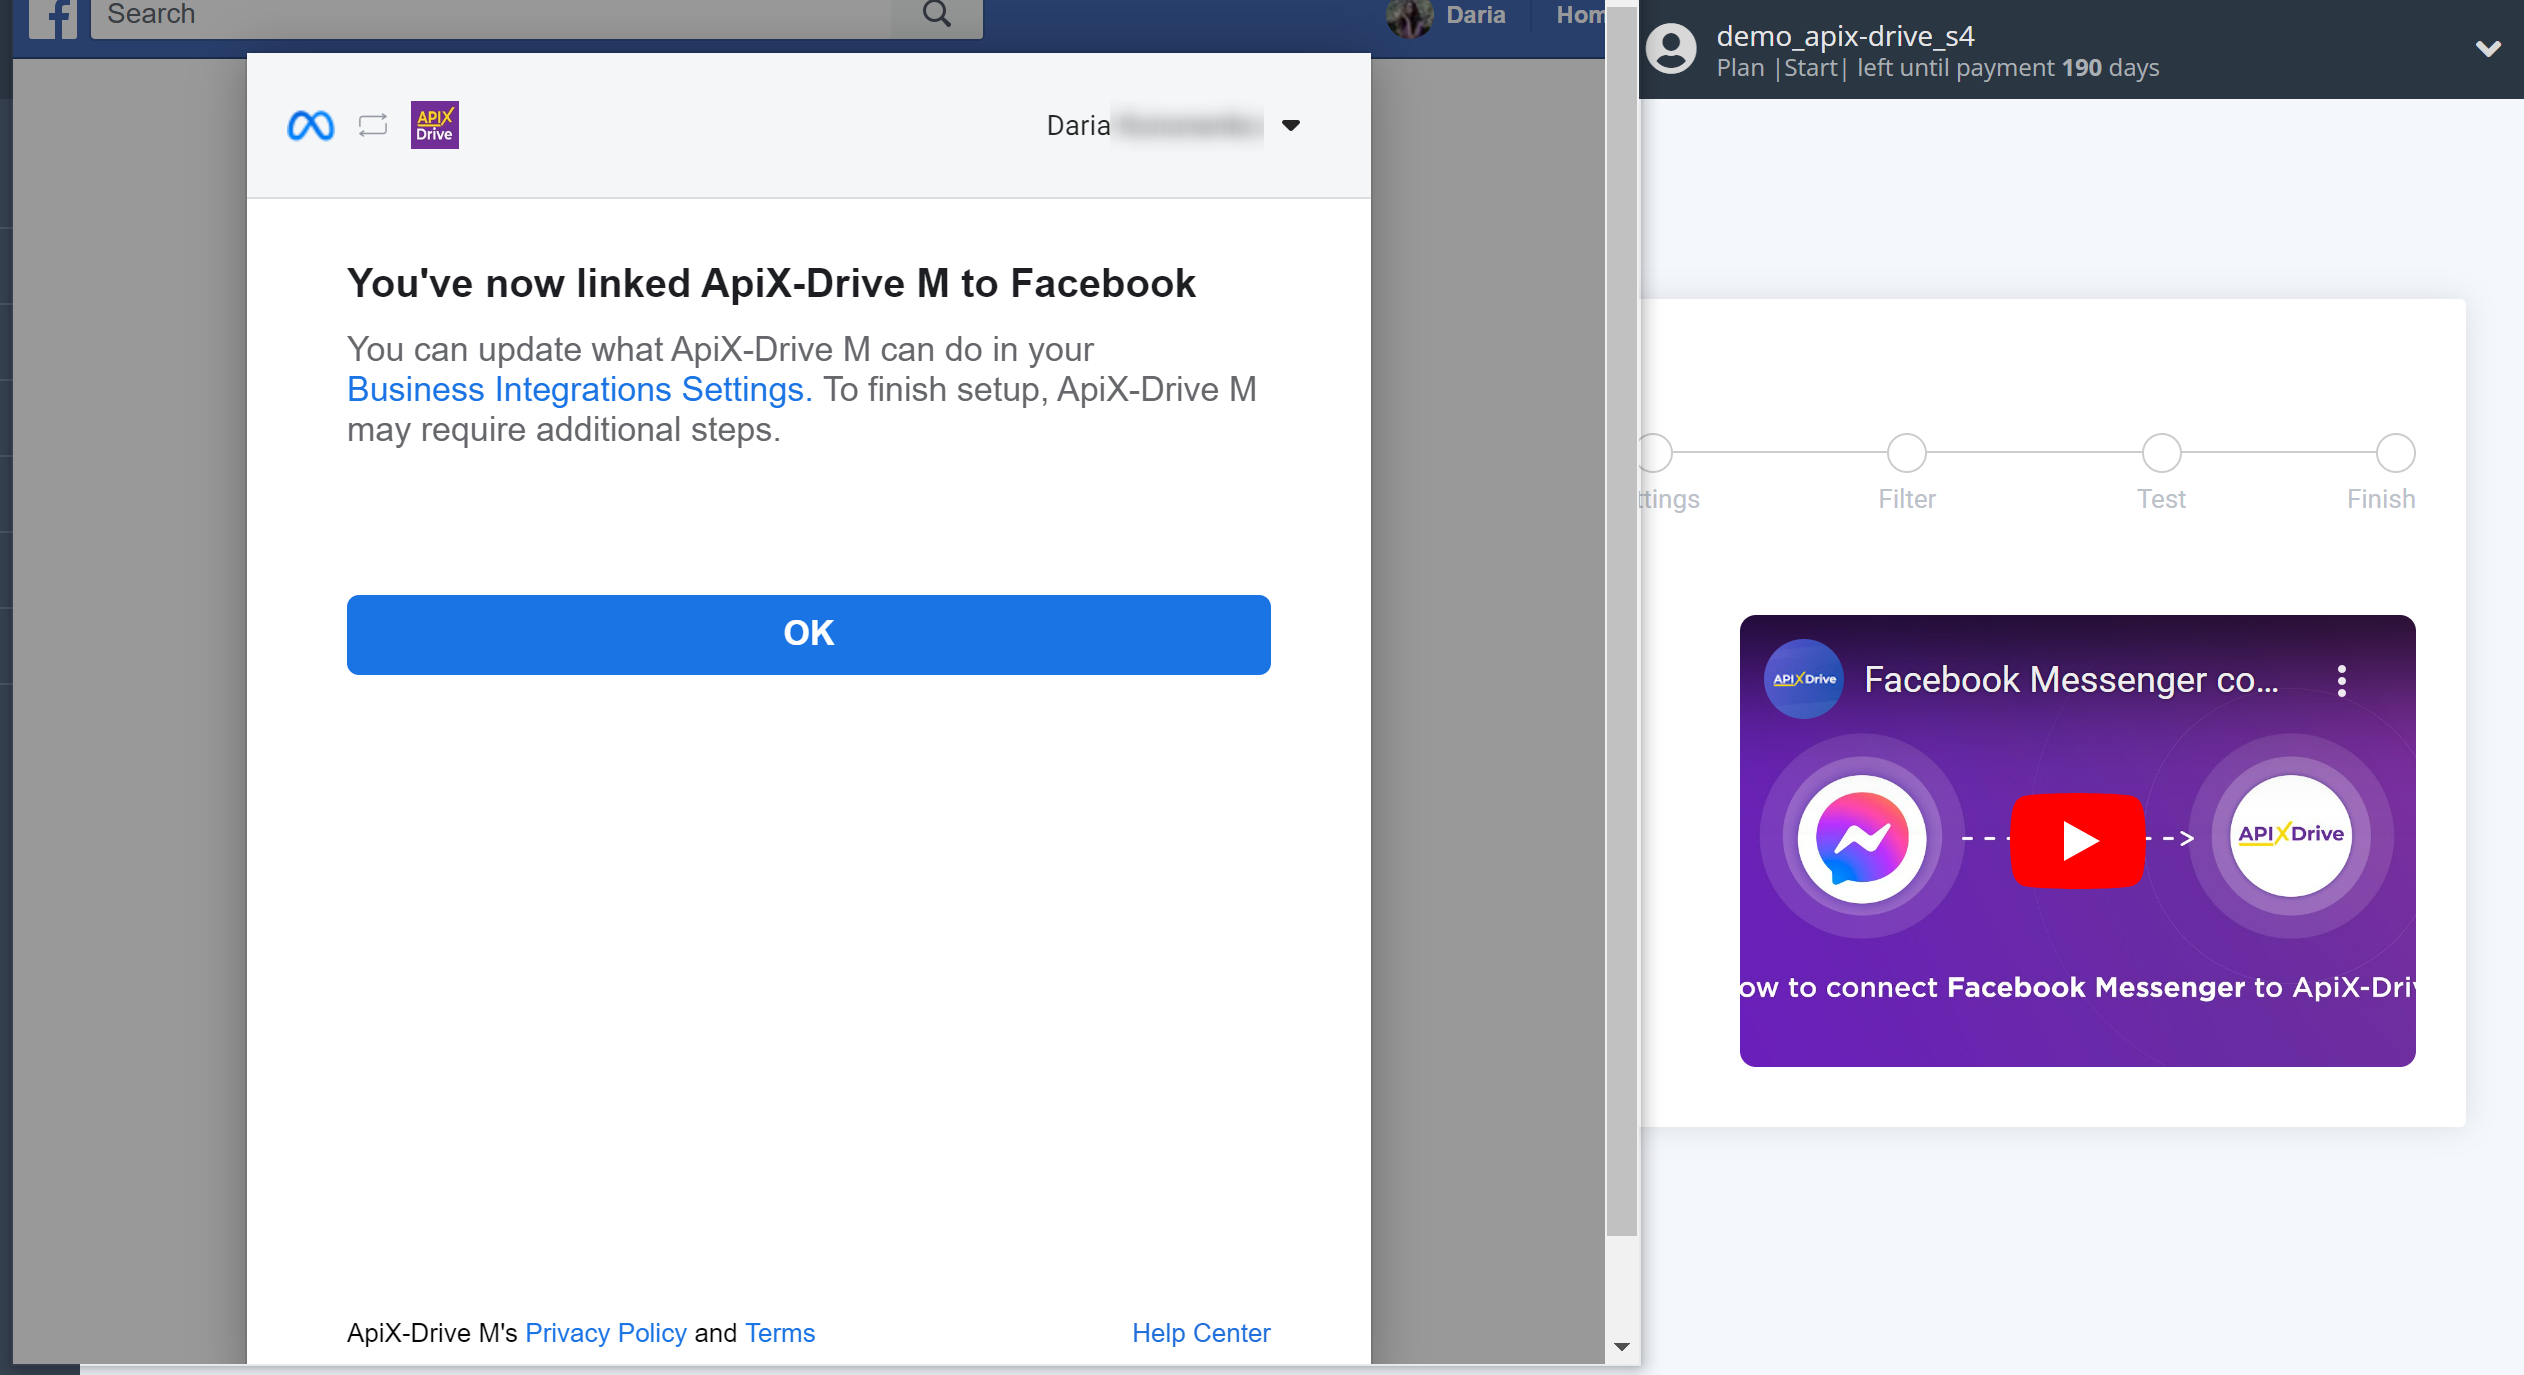
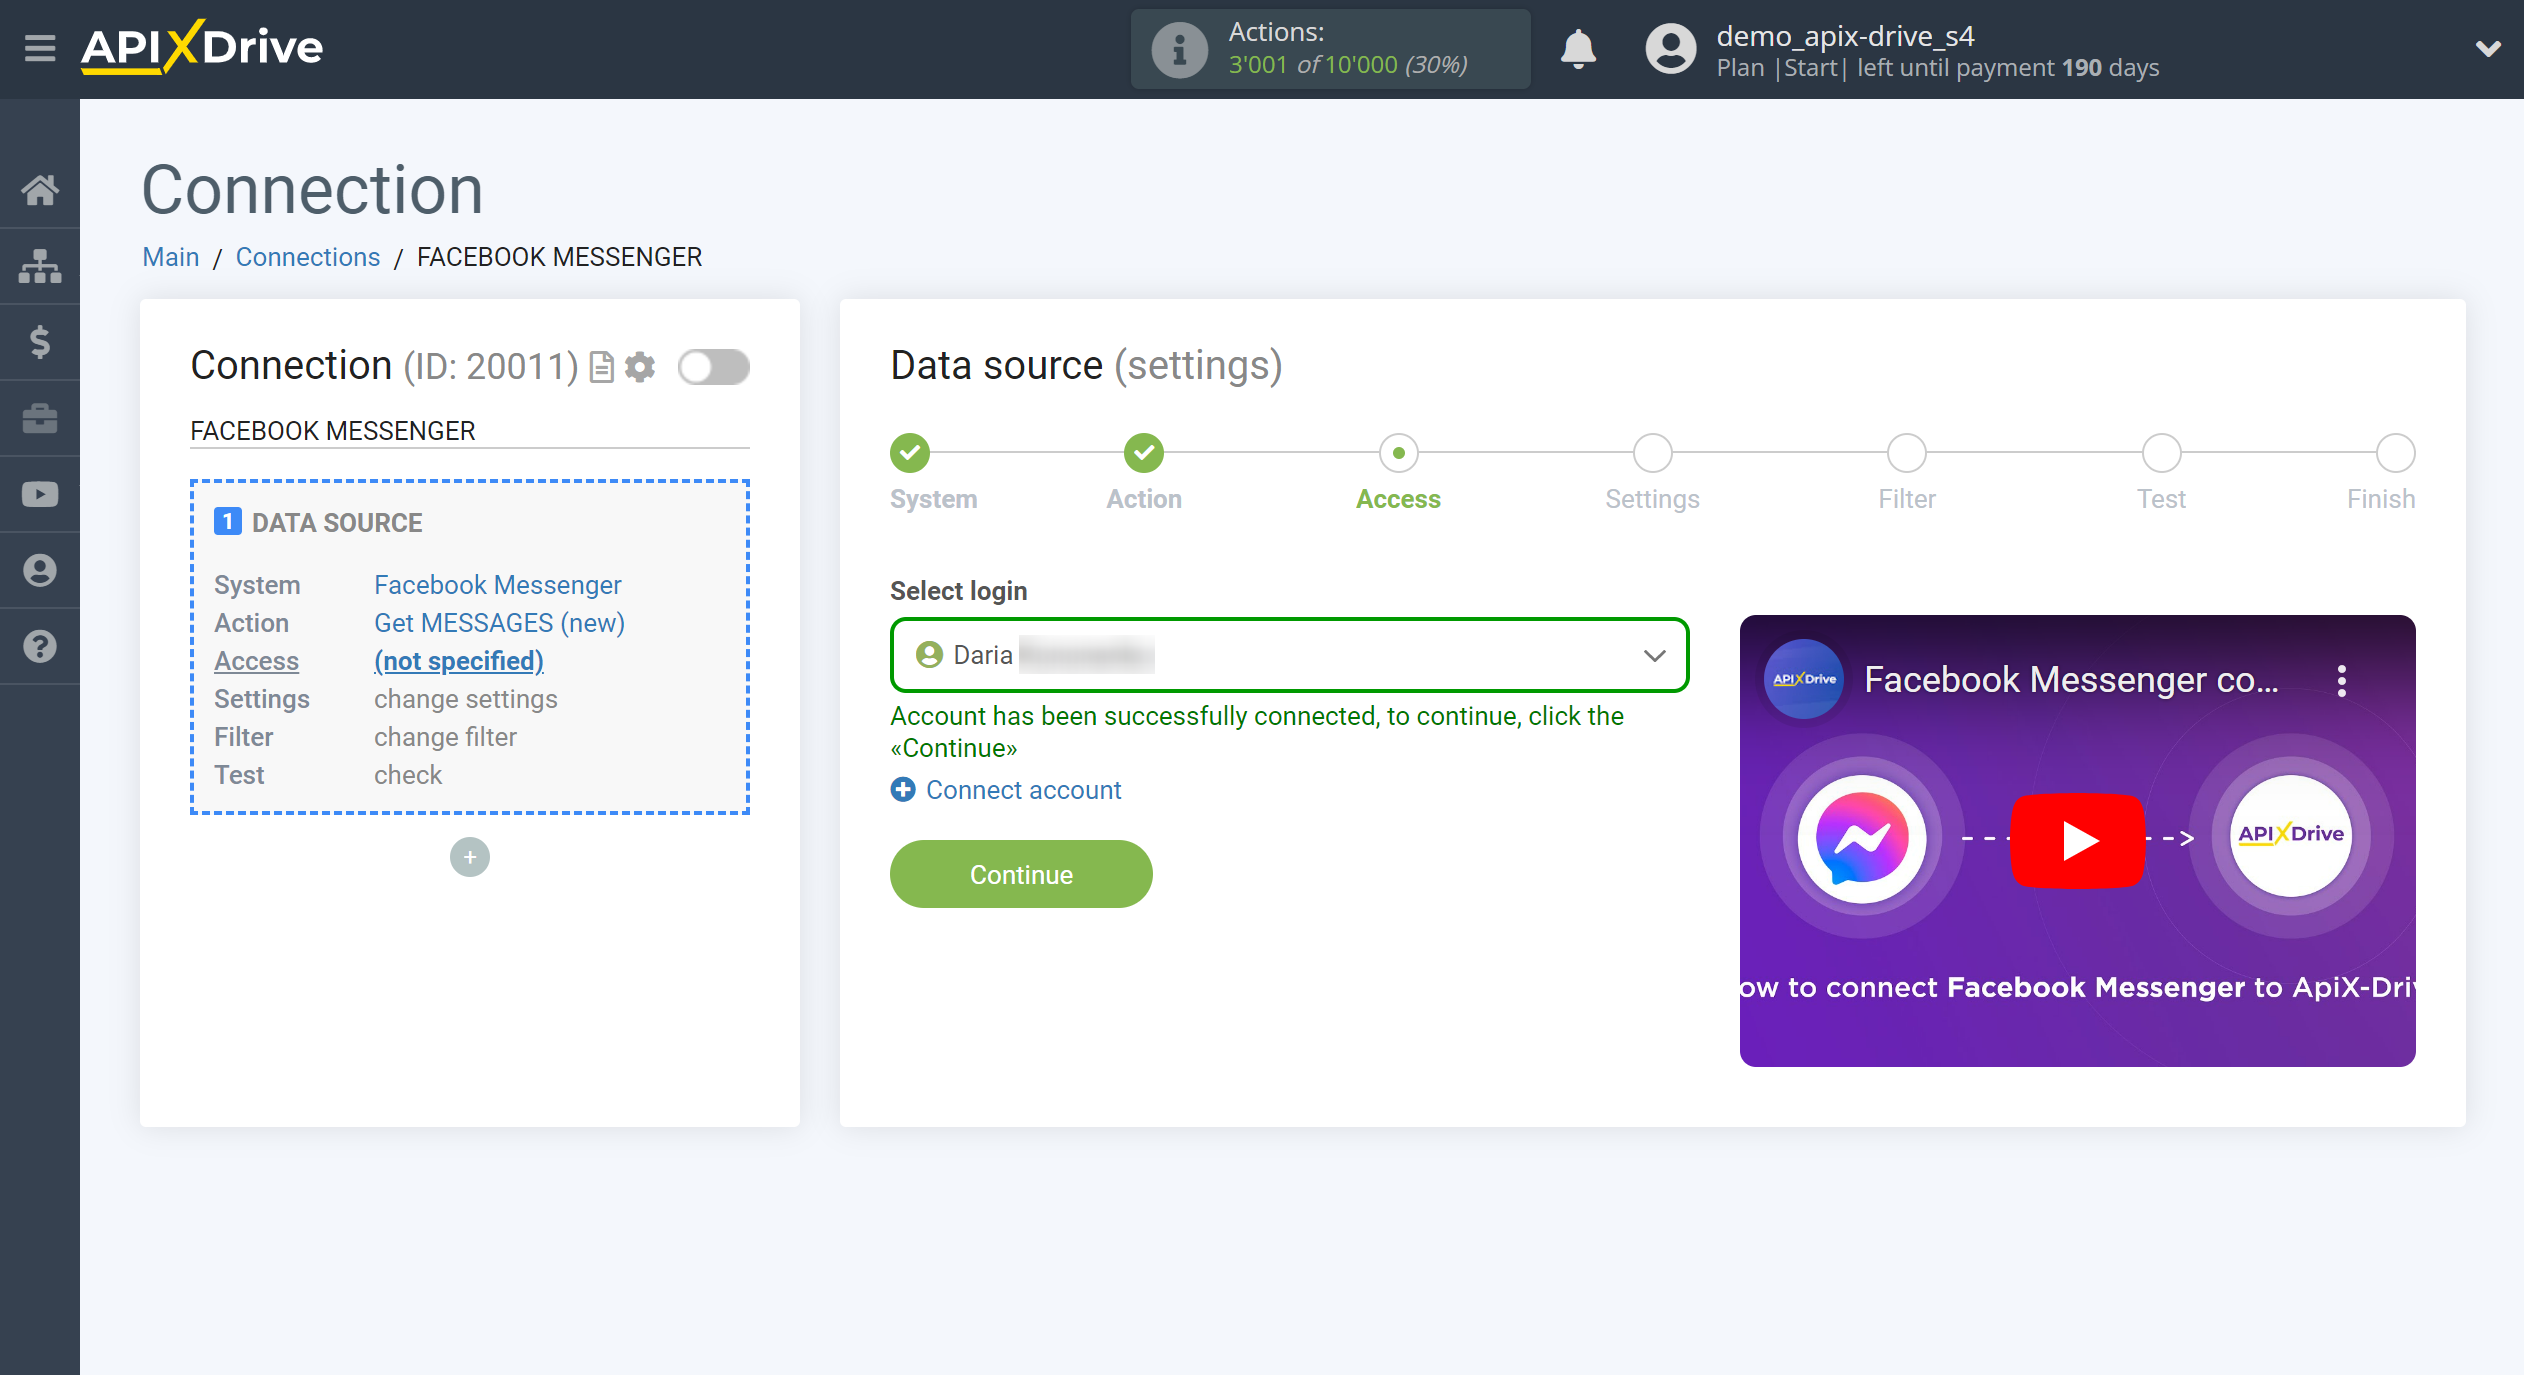
When the connected account is displayed in the "Active accounts" list, select it for further work.
Select a page from the drop-down list from which ApiX-Drive will get messages.
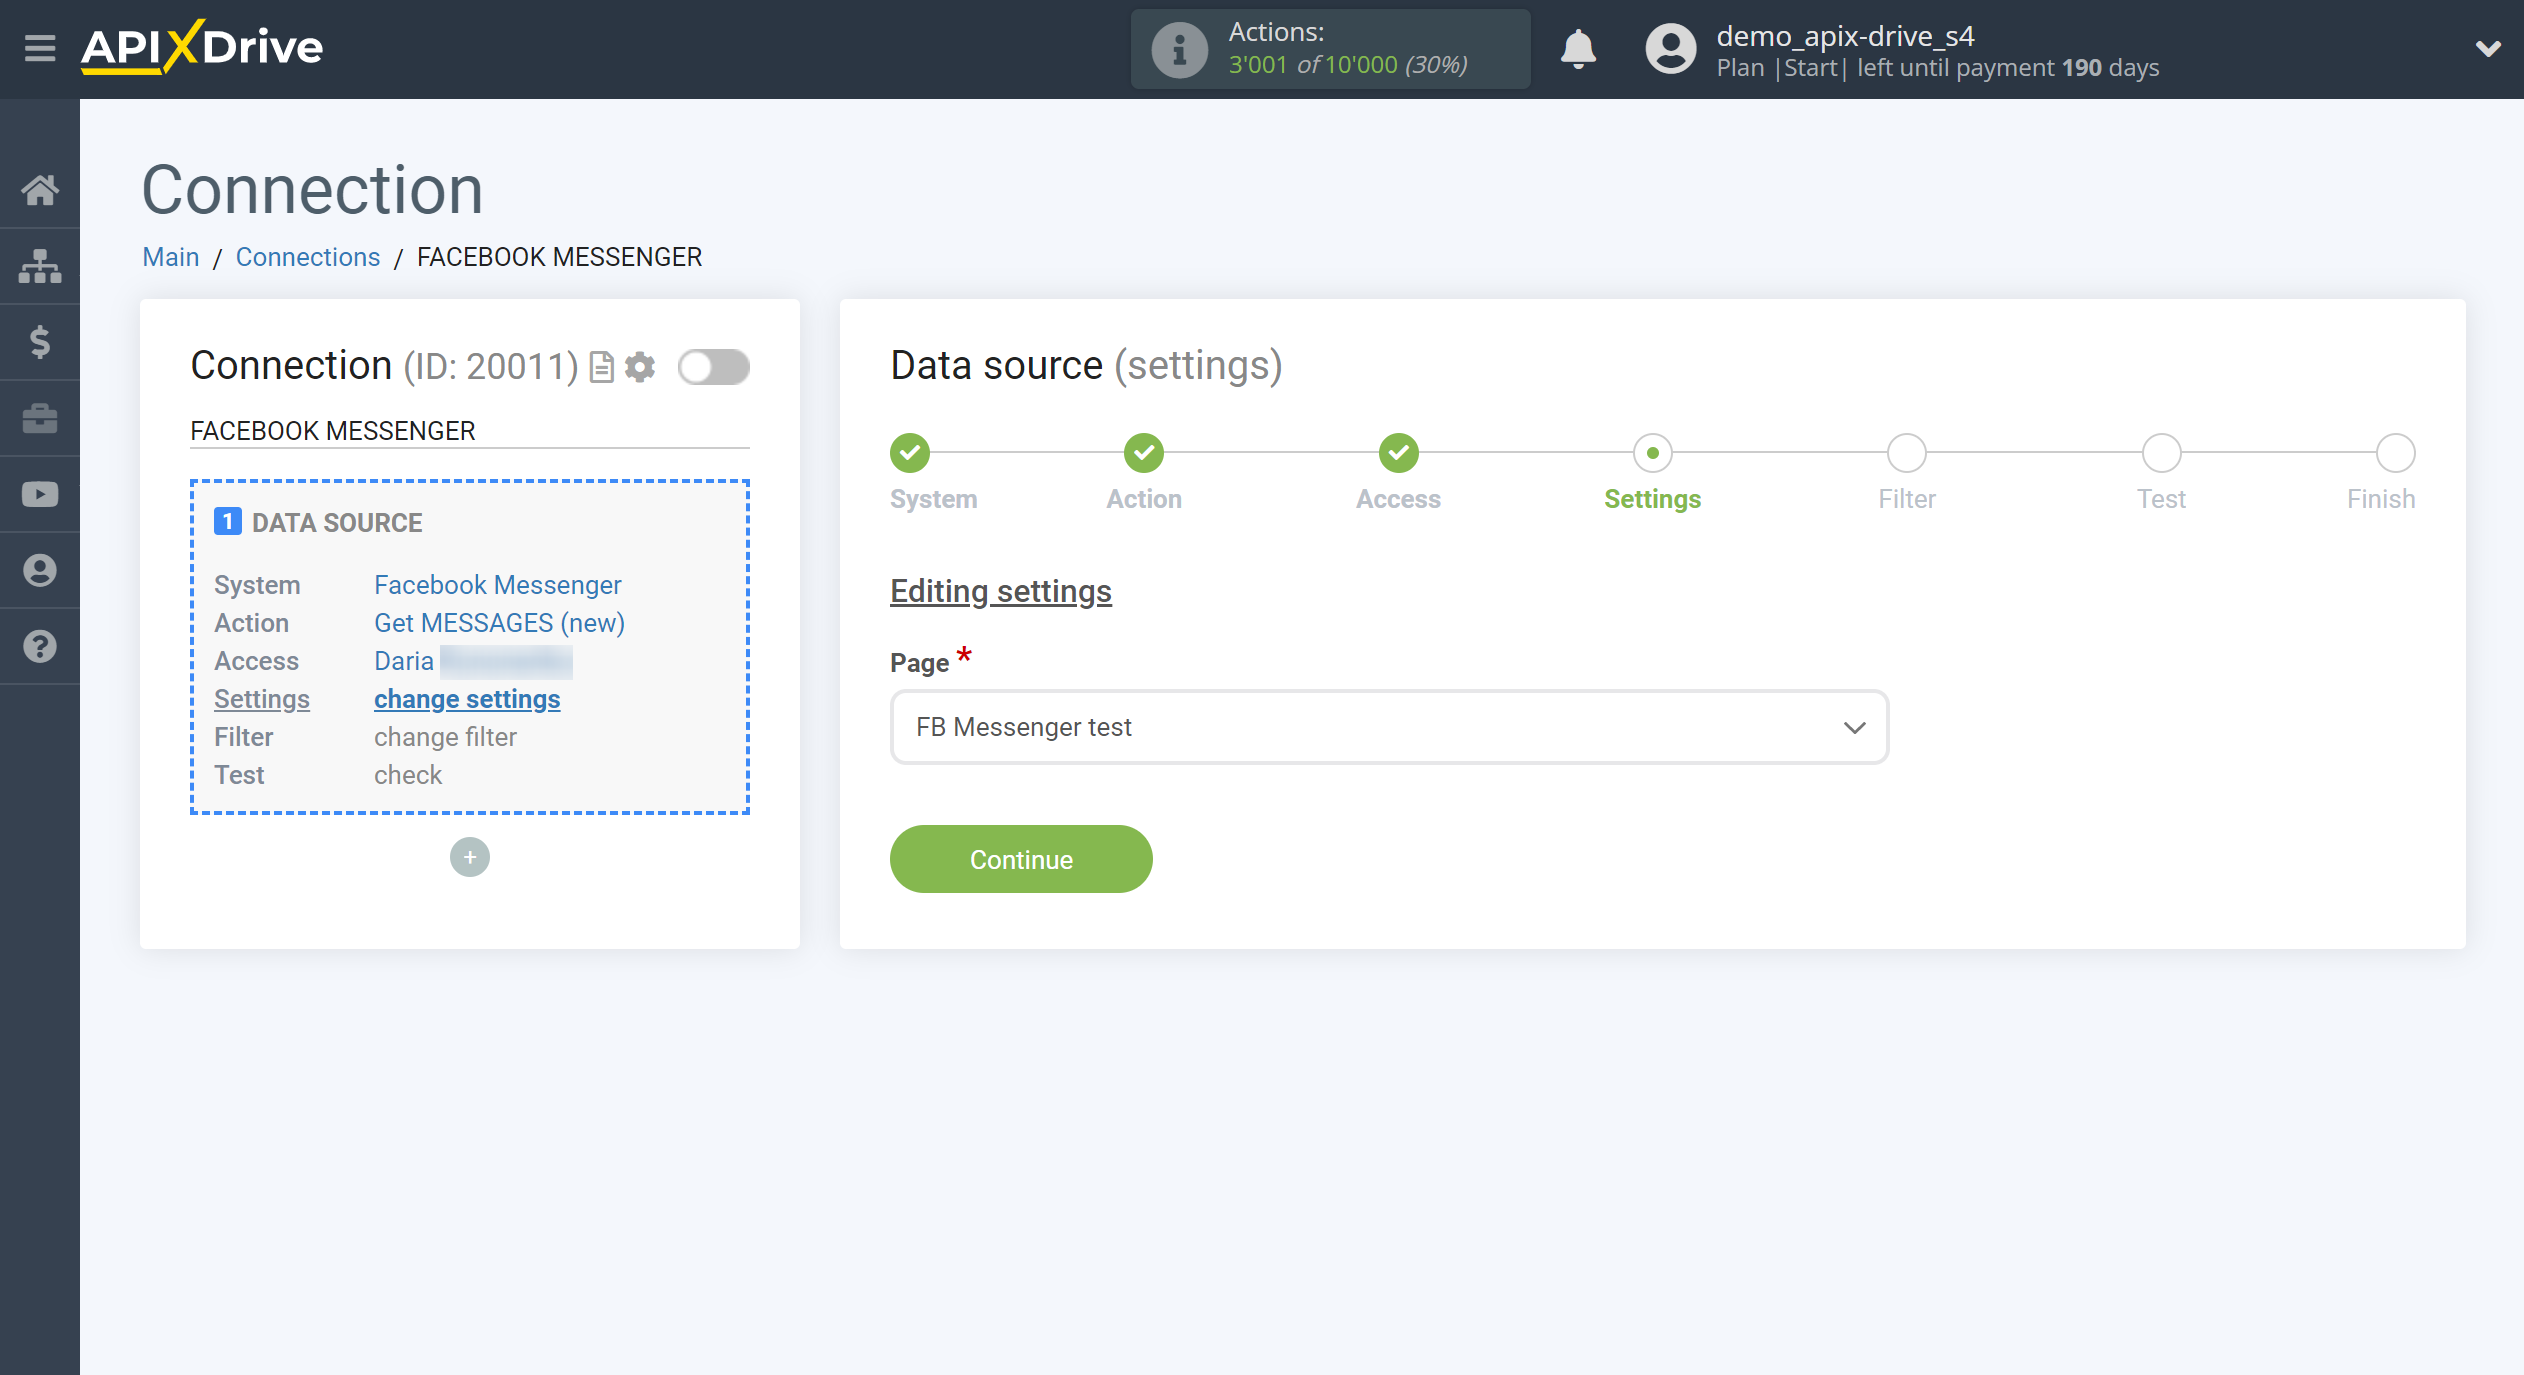
Note! If the required page is not in the drop-down list, or after connecting the account you have access to new pages, you will need to connect your Facebook account again.
To do this, follow these steps:
1. Check for admin access to the required pages.
2. Go to Access - Messengers - Facebook Messenger and delete the connected account.
3. Go to the main page and turn off auto-update link.
4. Go to the link to the Access step in the Facebook Messenger Data Source and connect your account, click on "Change settings" in the window that appears and check all the pages you have. If the window does not appear, and your account is picked up from the browser automatically, then repeat steps 1-2 by logging in to the browser through incognito mode.
5. Reconfigure the Data Source and load the test data in the Test step.
6. If you have created other connections with Facebook Messenger, then you need to go to these connections to the Access stage in the Data Source, select the connected account and reconfigure the Data Source.
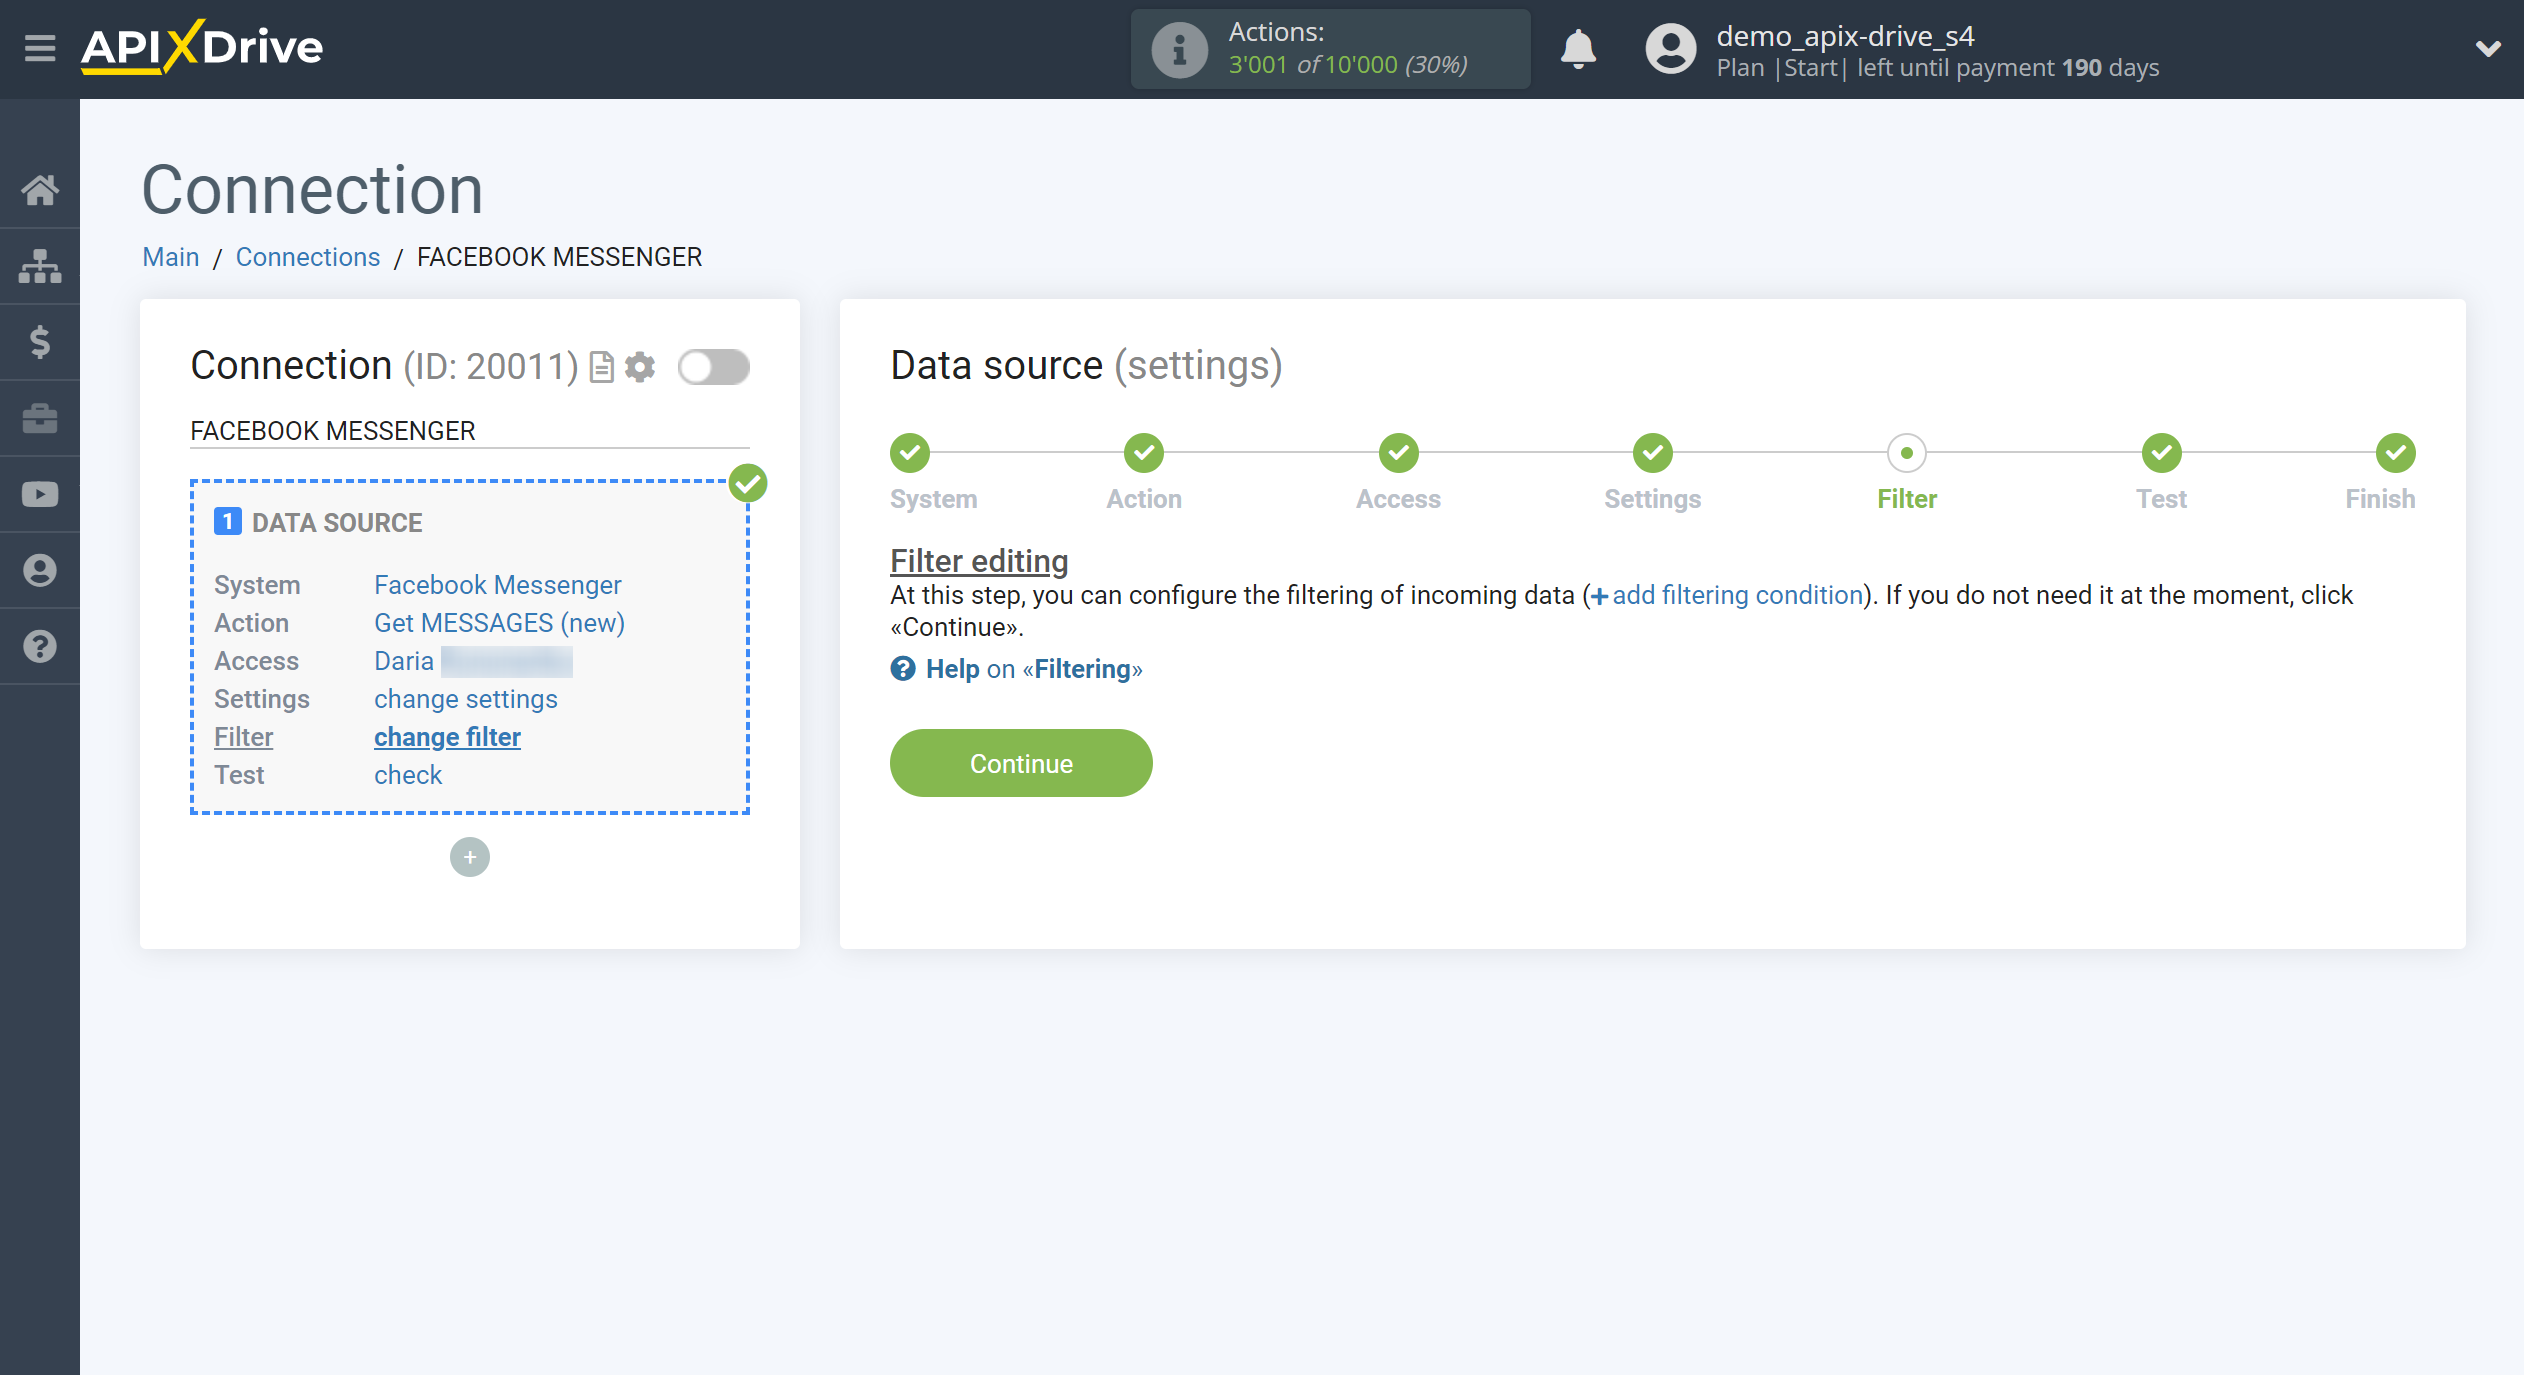
If necessary, you can set up a Data Filter, or click "Continue" to skip this step.
To find out how to setup the Data Filter, follow the link: https://apix-drive.com/en/help/data-filter
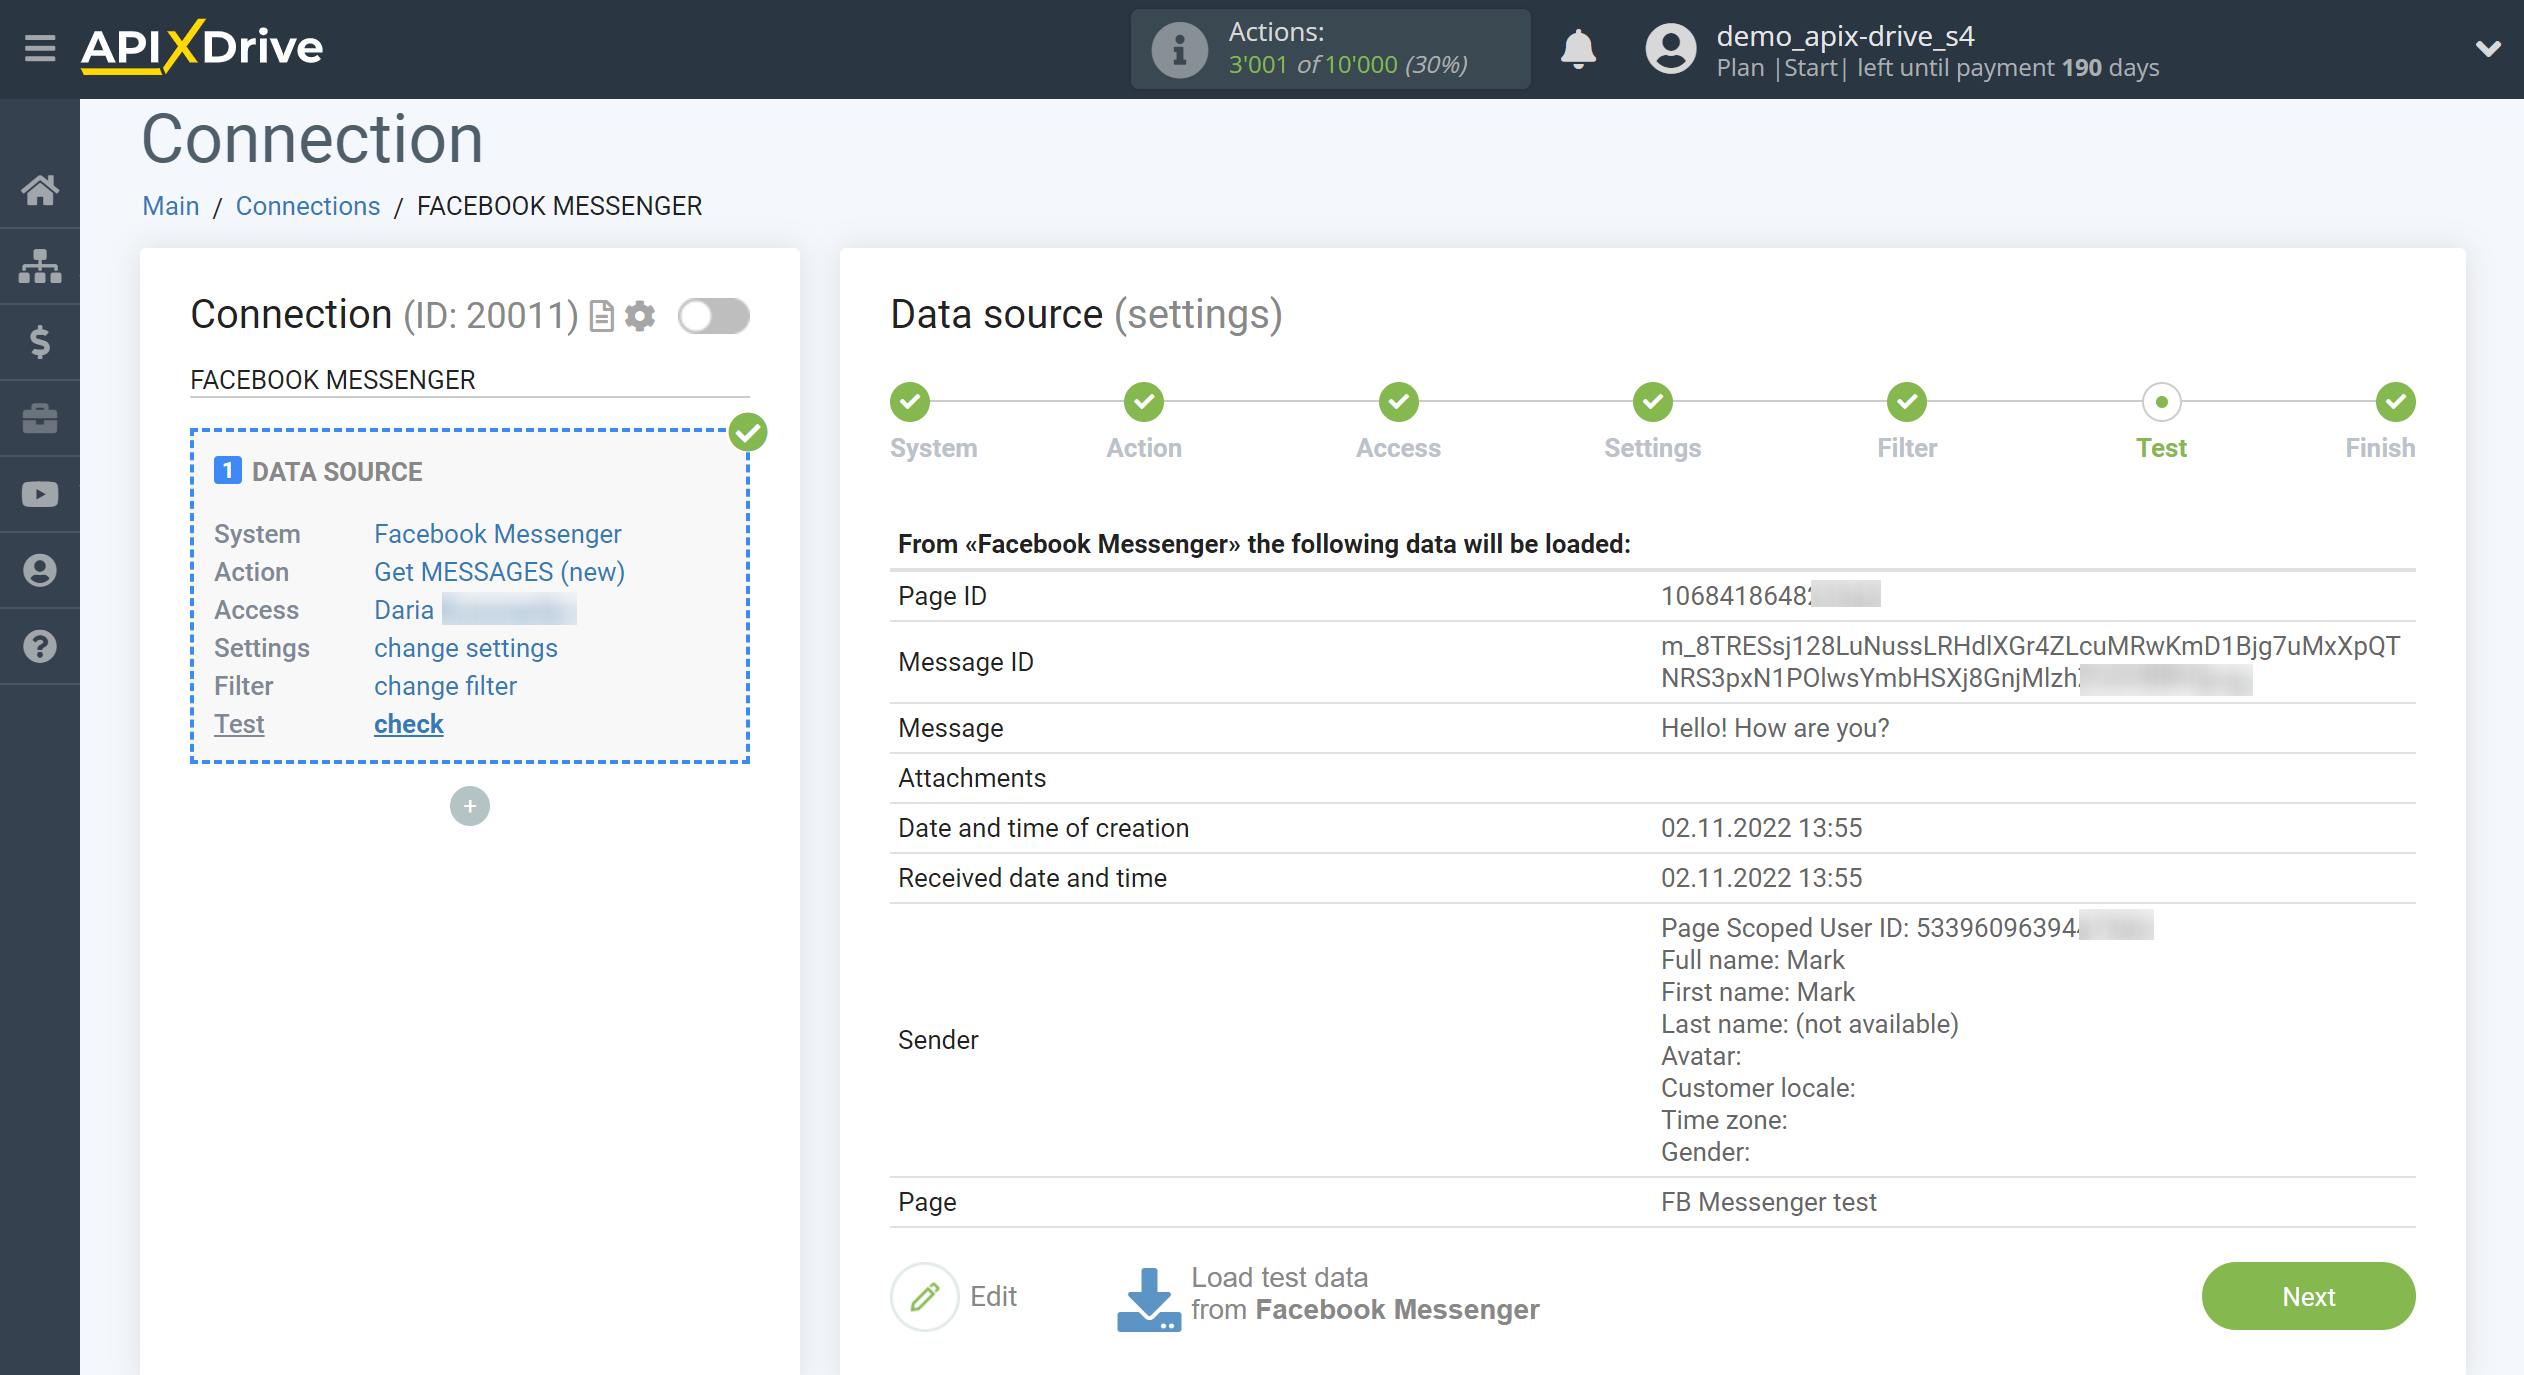
Now you can see the test data for one of the message.
If you have feedback setup, but there have been no messages yet, the fields with contact information will not be empty, but will be filled in with our data for example. It is advisable to wait for data on a real message or generate test data in your Facebook account manually.
This completes the entire Data Source setup! See how easy it is!?
Now you can start setup the Data Destination system.
To do this, setup it yourself or go to the help section "Data Destination", select the service you need as Data Destination, and follow the setup recommendations.
Good luck!
