How to Connect AirTable as Data Source
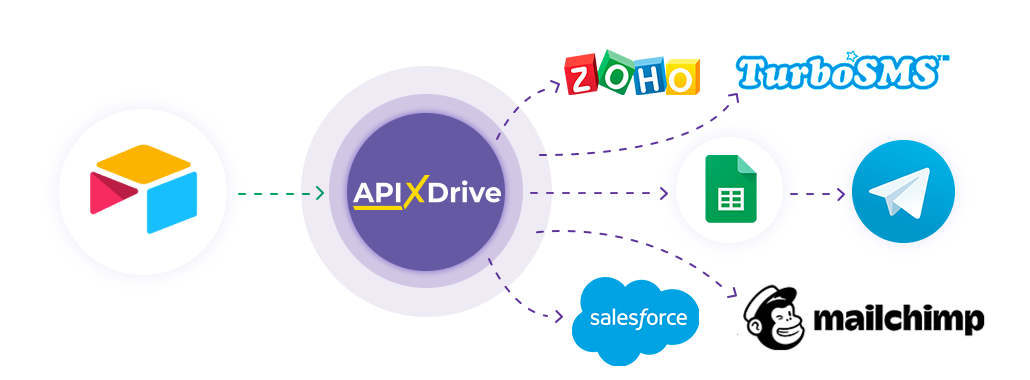
The integration will allow you to get new rows from the selected database and table, as well as get changed rows and comments in the table, transferring this data to other systems. For example, you can send new rows to CRM or send them as notifications to yourself or a group of managers. You can also send strings to an SMS or Email distribution service. This will automate the interaction of AirTable with other services and systems as much as possible.
Let's go through the entire AirTable setup step together!
Navigation:
1. What data can be get from AirTable?
2. How to connect your AirTable account to ApiX-Drive?
3. Selecting the database and table from which rows will exported.
4. Sample data for one of the rows in your table.
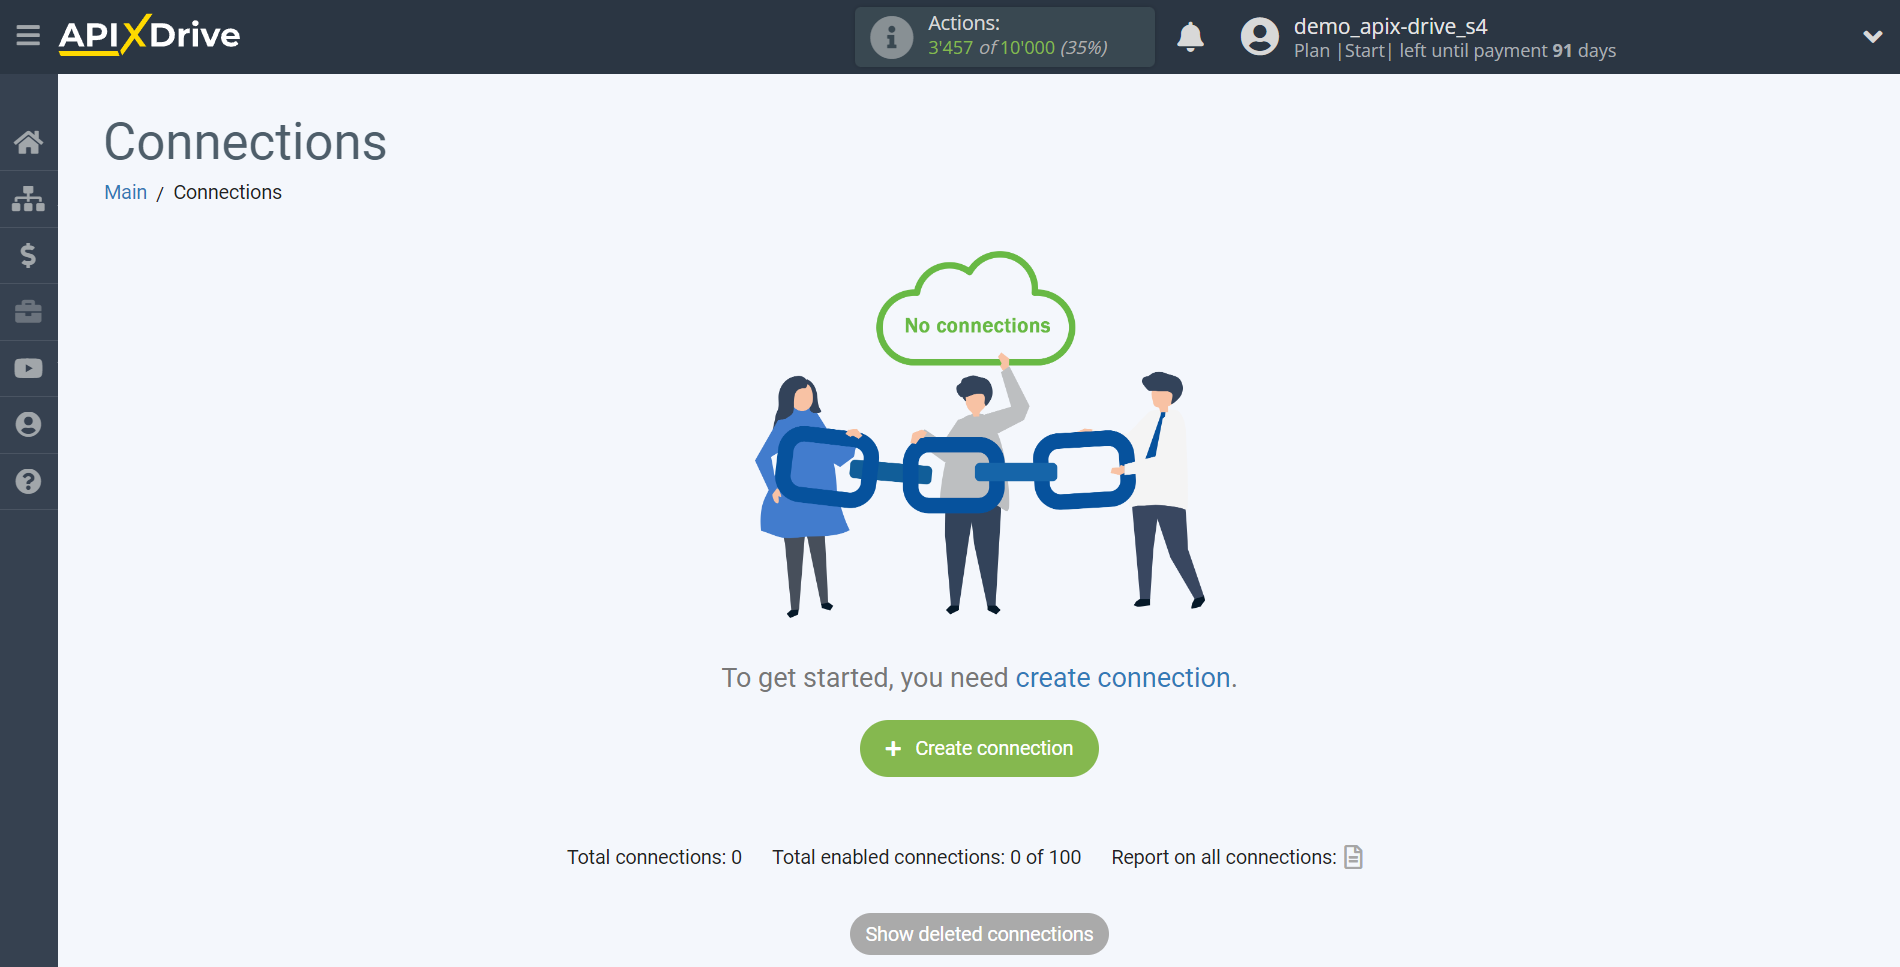
To start setup a new connection, click "Create Connection".
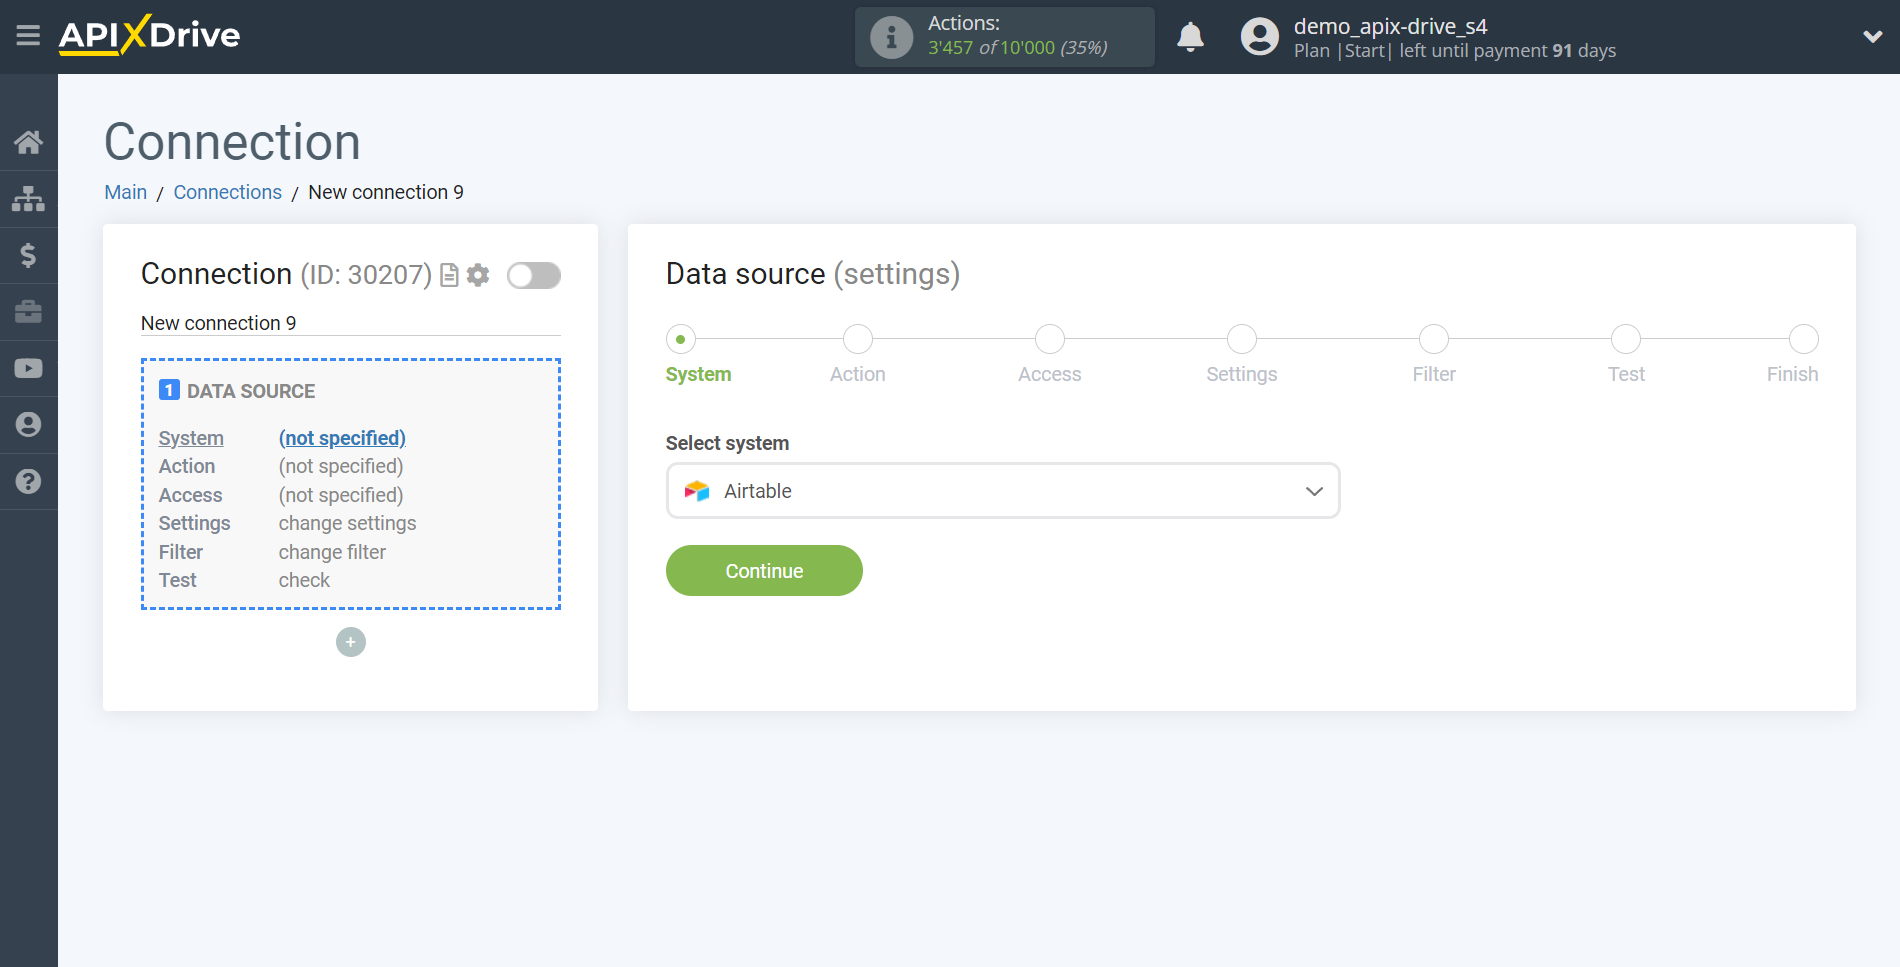
Select a system as the Data Source. In this case, you must specify AirTable.
Next, you need to specify an action, for example, "Get ROWS (new)".
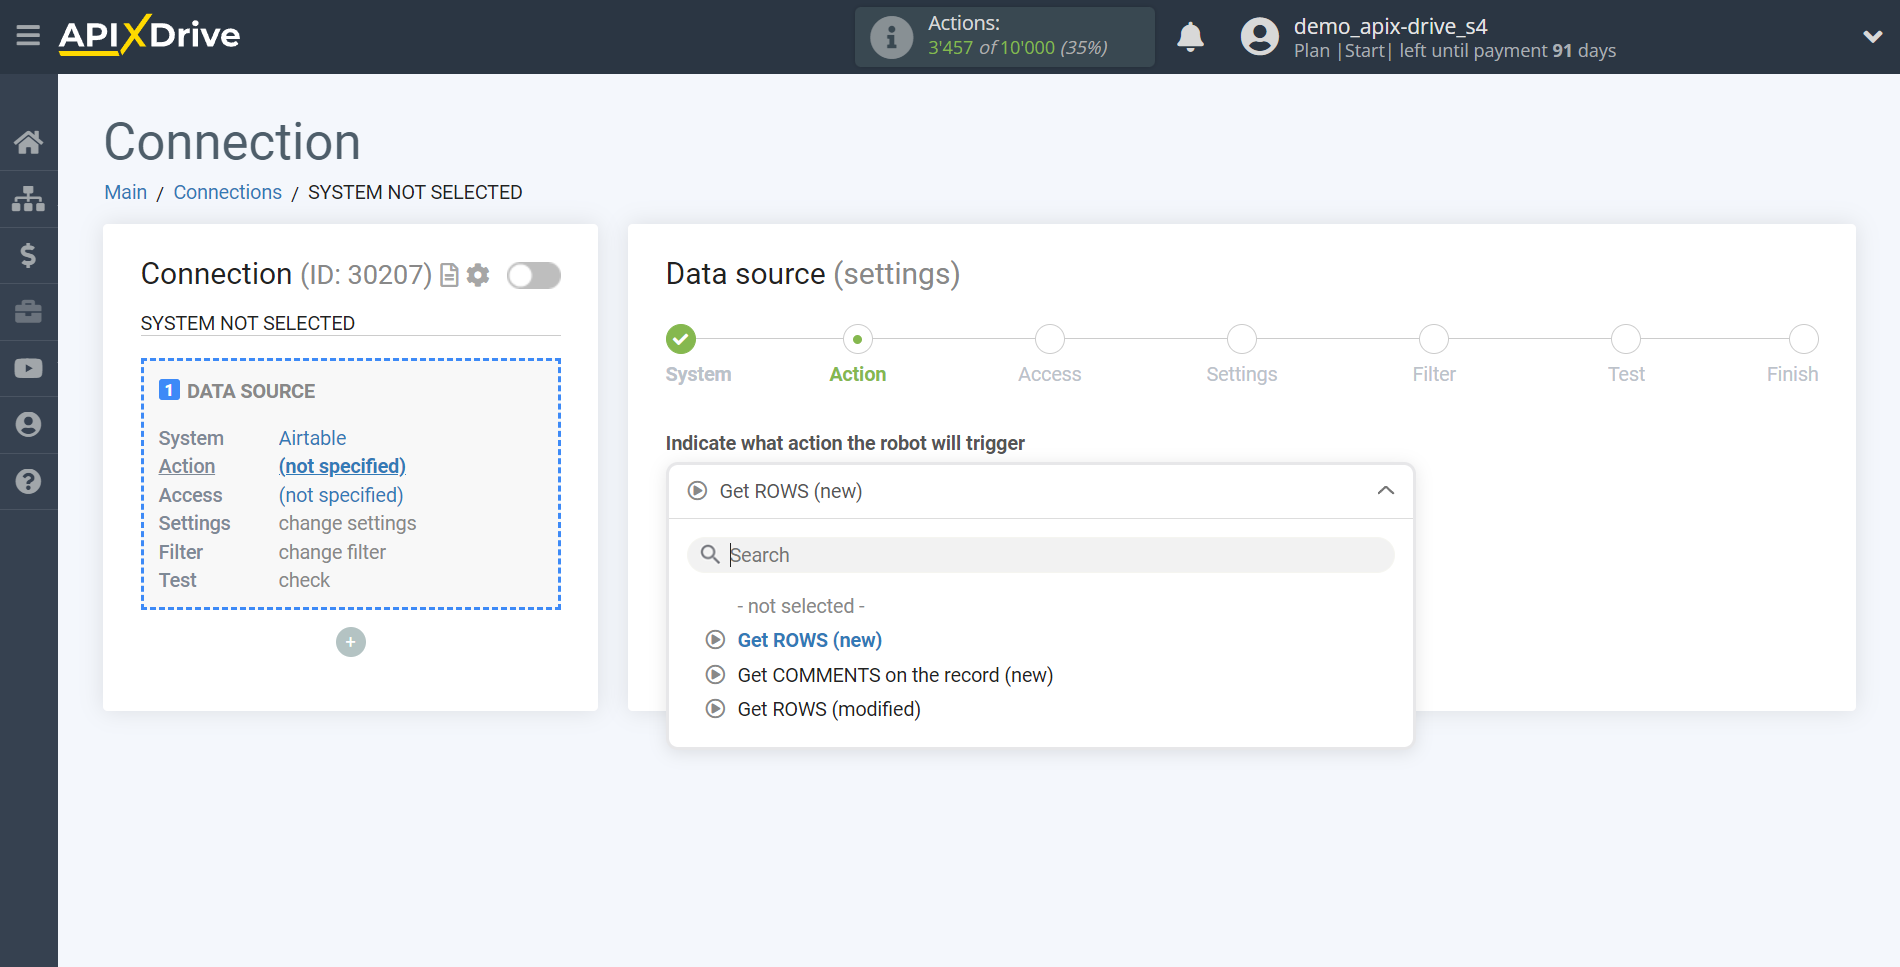
- Get ROWS (new) - new rows will get from the selected base and table.
- Get COMMENTS on the record (new) - from the selected base, table and record, new comments that have been created since the creation of the integration will be uploaded.
- Get ROWS (modified) - every auto-update will unload all rows that have been modified in the selected base and table.
Note! The formulas that you have written in the AirTable in advance are also considered as rows filled with data, and the system will unload empty rows that contain formulas. If you want to perform calculations with numbers, you can use the additional block of Mathematical operations in the ApiX-Drive system. More about this in our help .
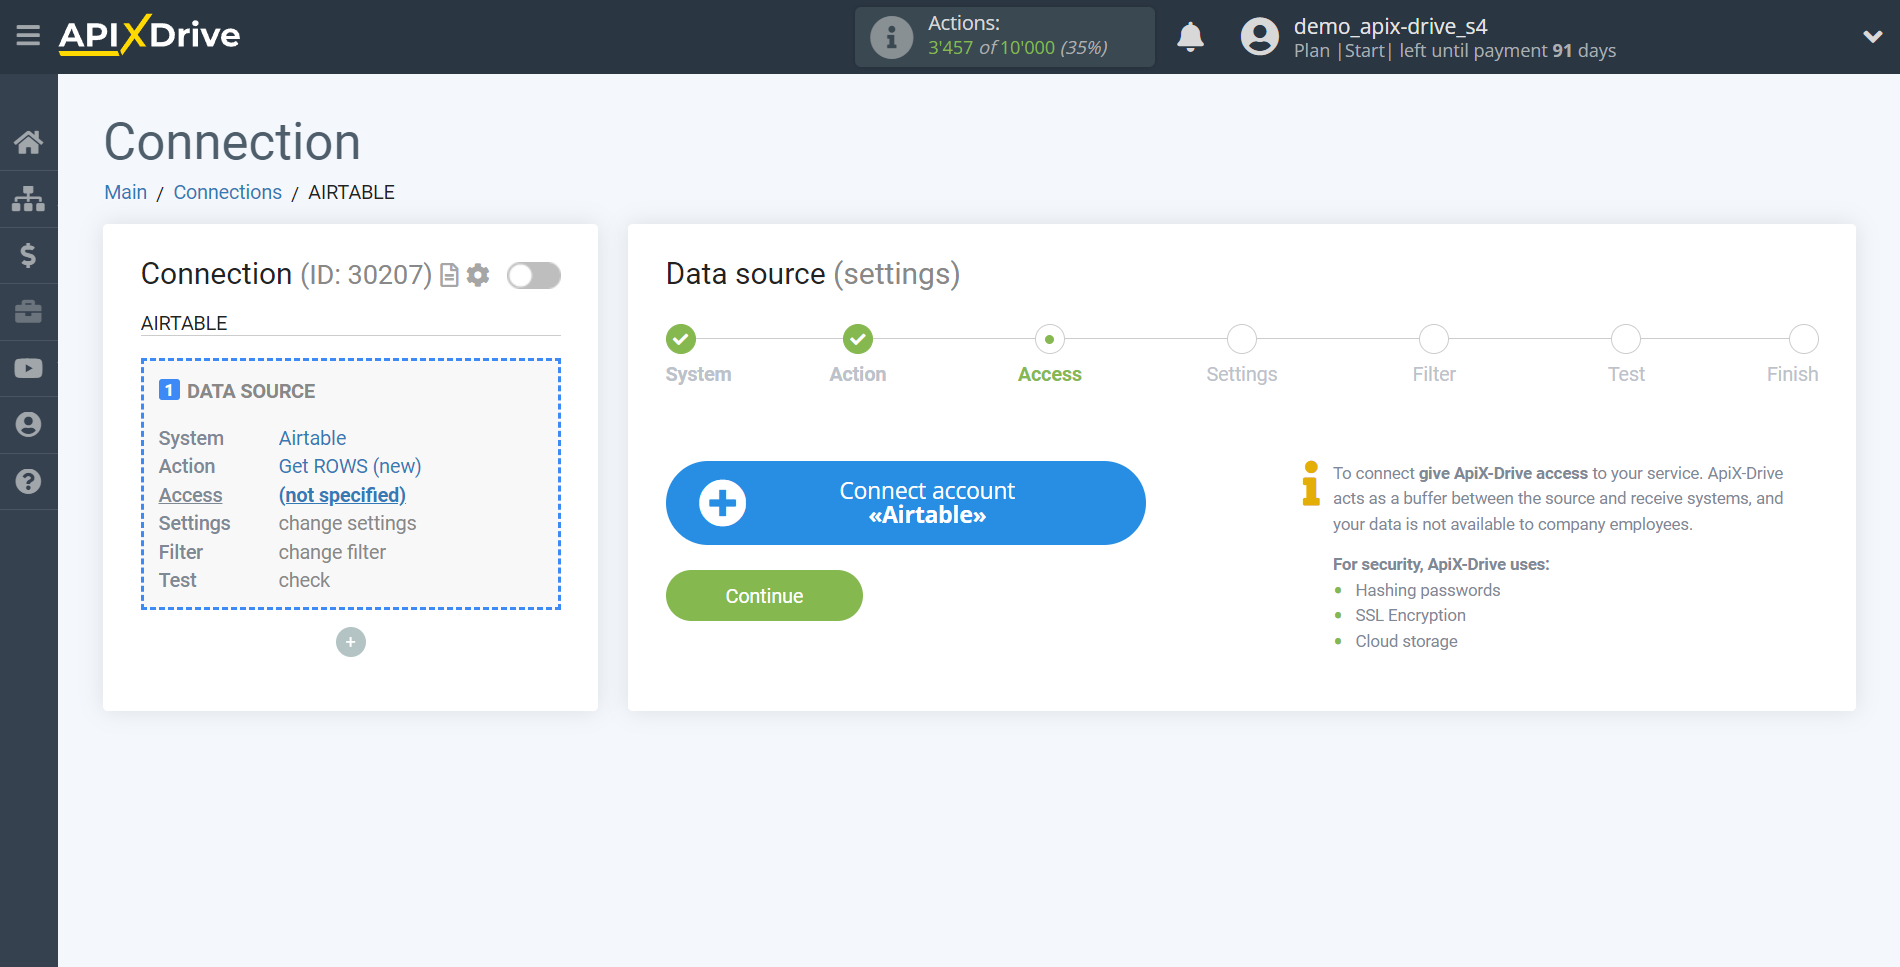
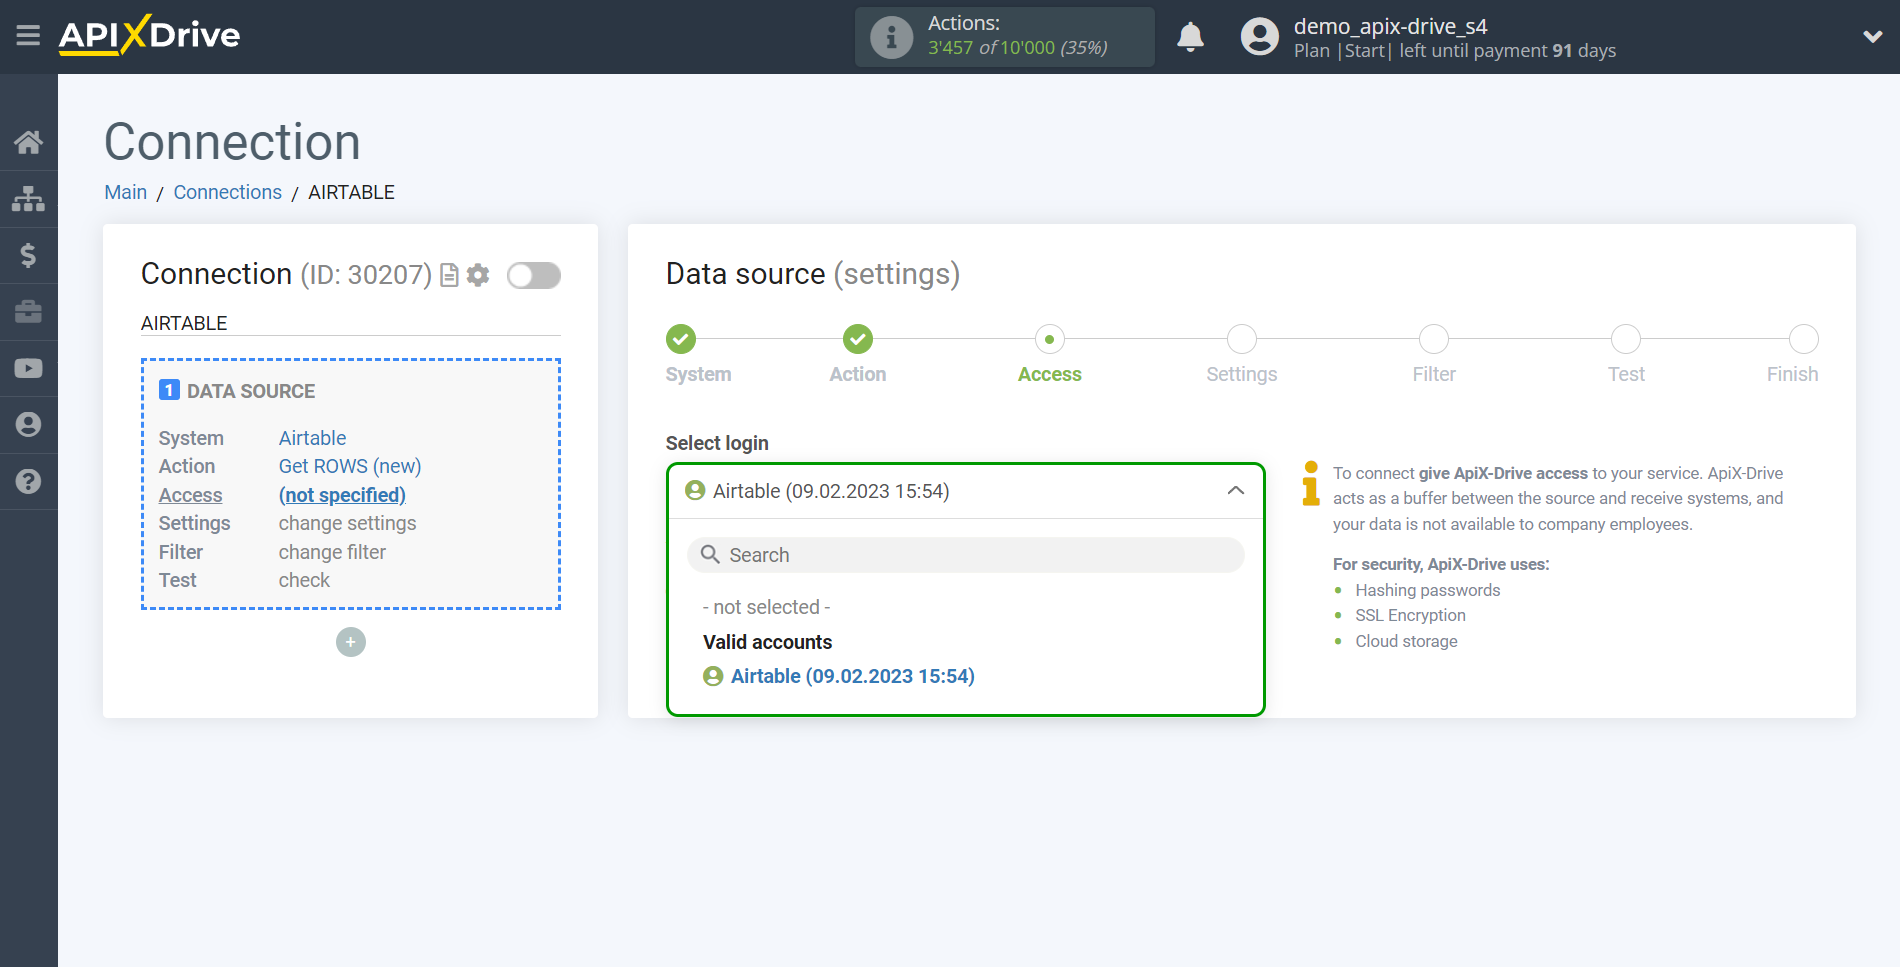
The next step is to select the AirTable account from which the data will get the data.
If there are no logins connected to the system, click "Connect account".
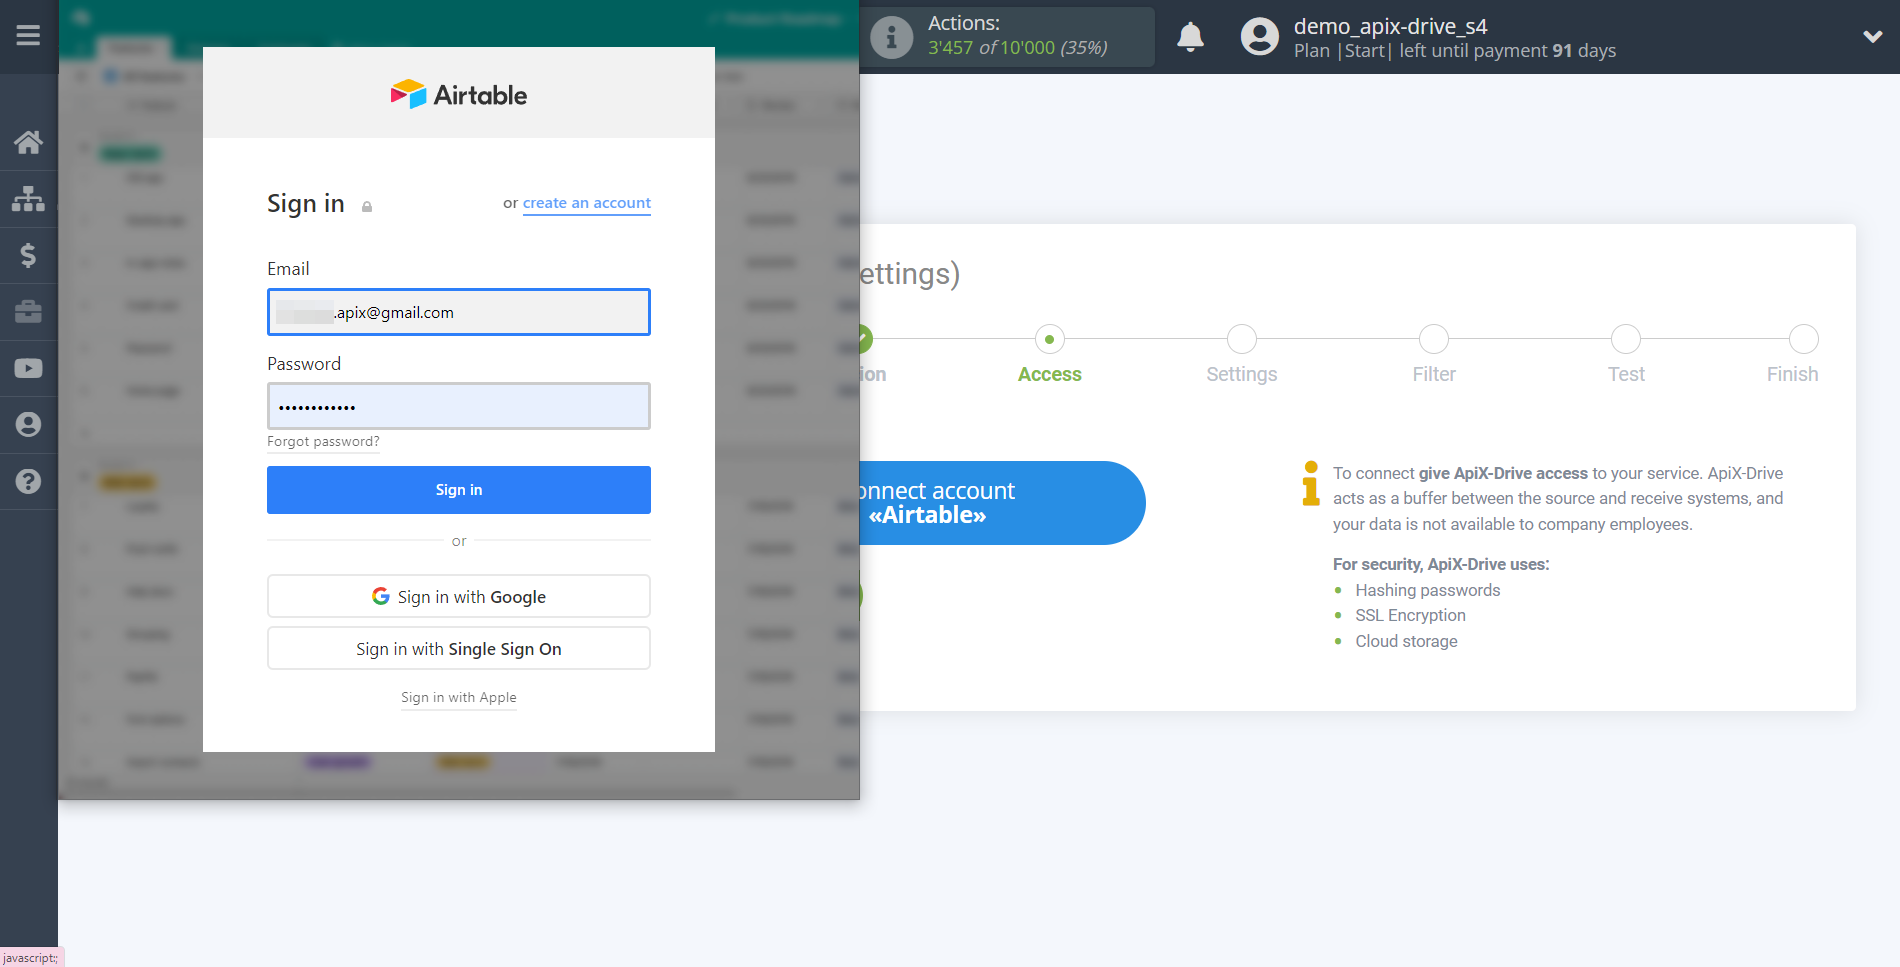
Enter E-mail and Password from your AirTable account.
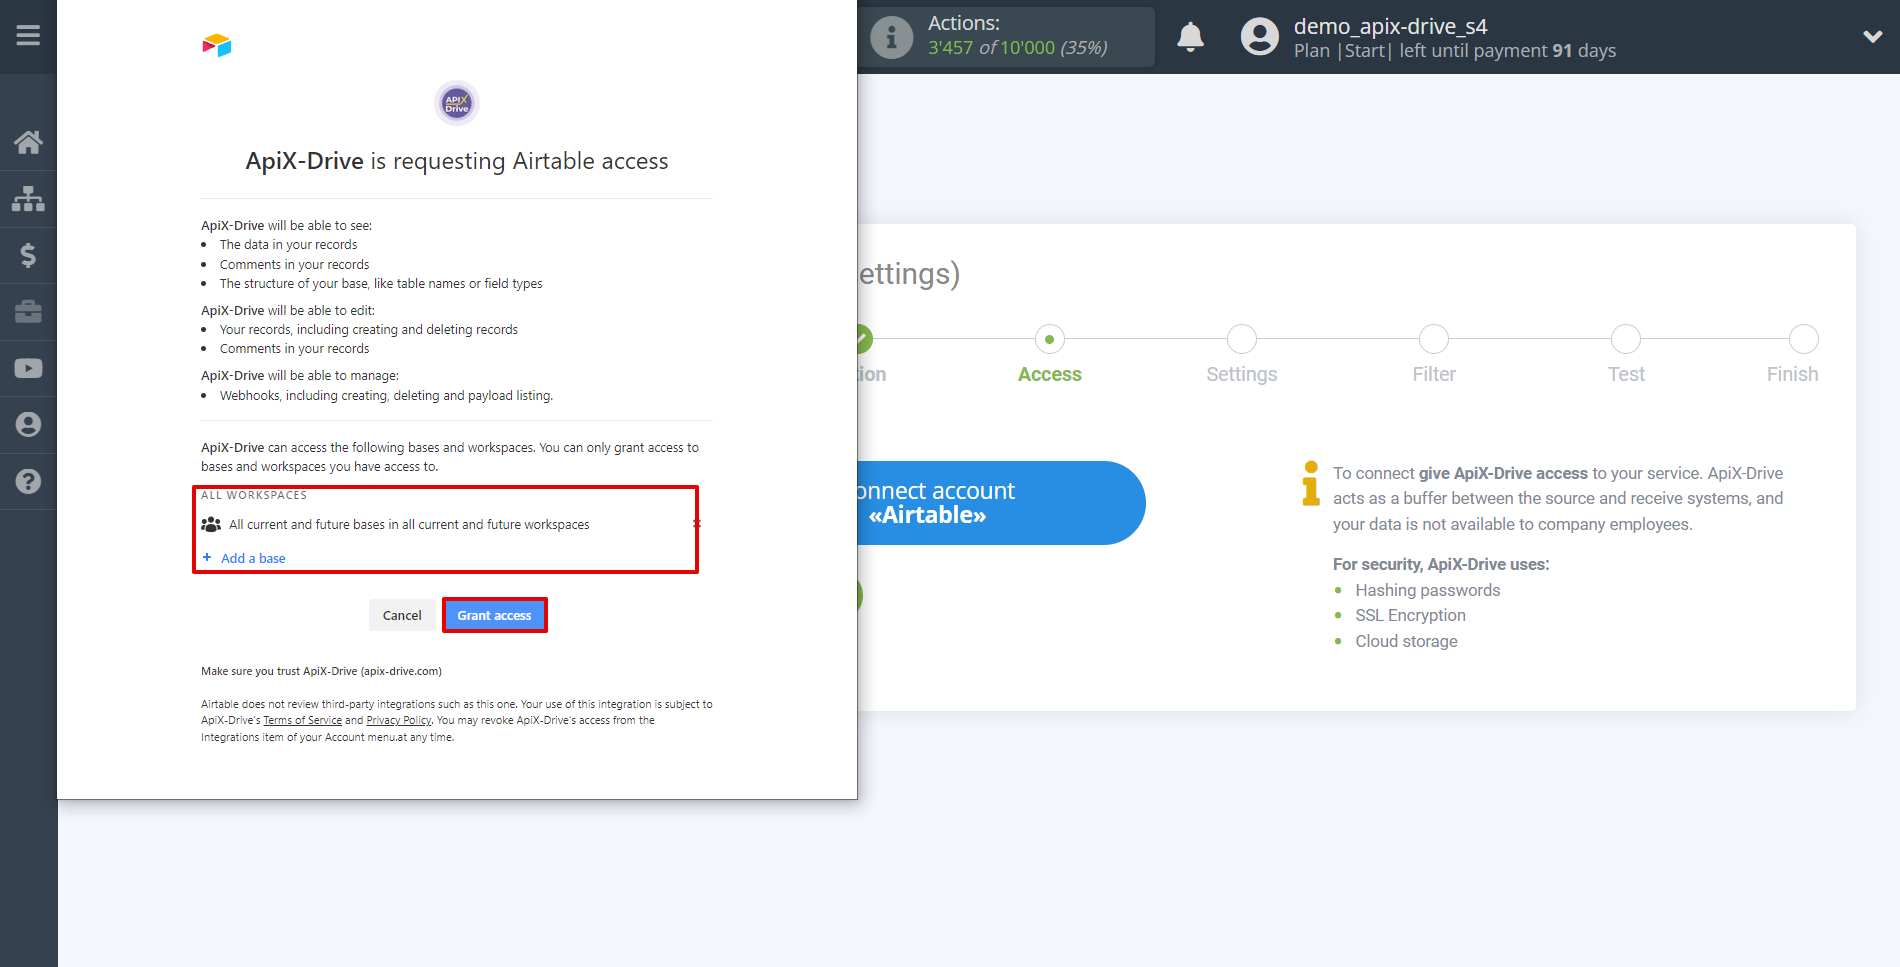
Give your permission to ApiX-Drive to work with this account. To do this, click "Add a base", then select "All current and future bases in all current and future workspaces".
When the connected account is displayed in the "active accounts" list, select it.
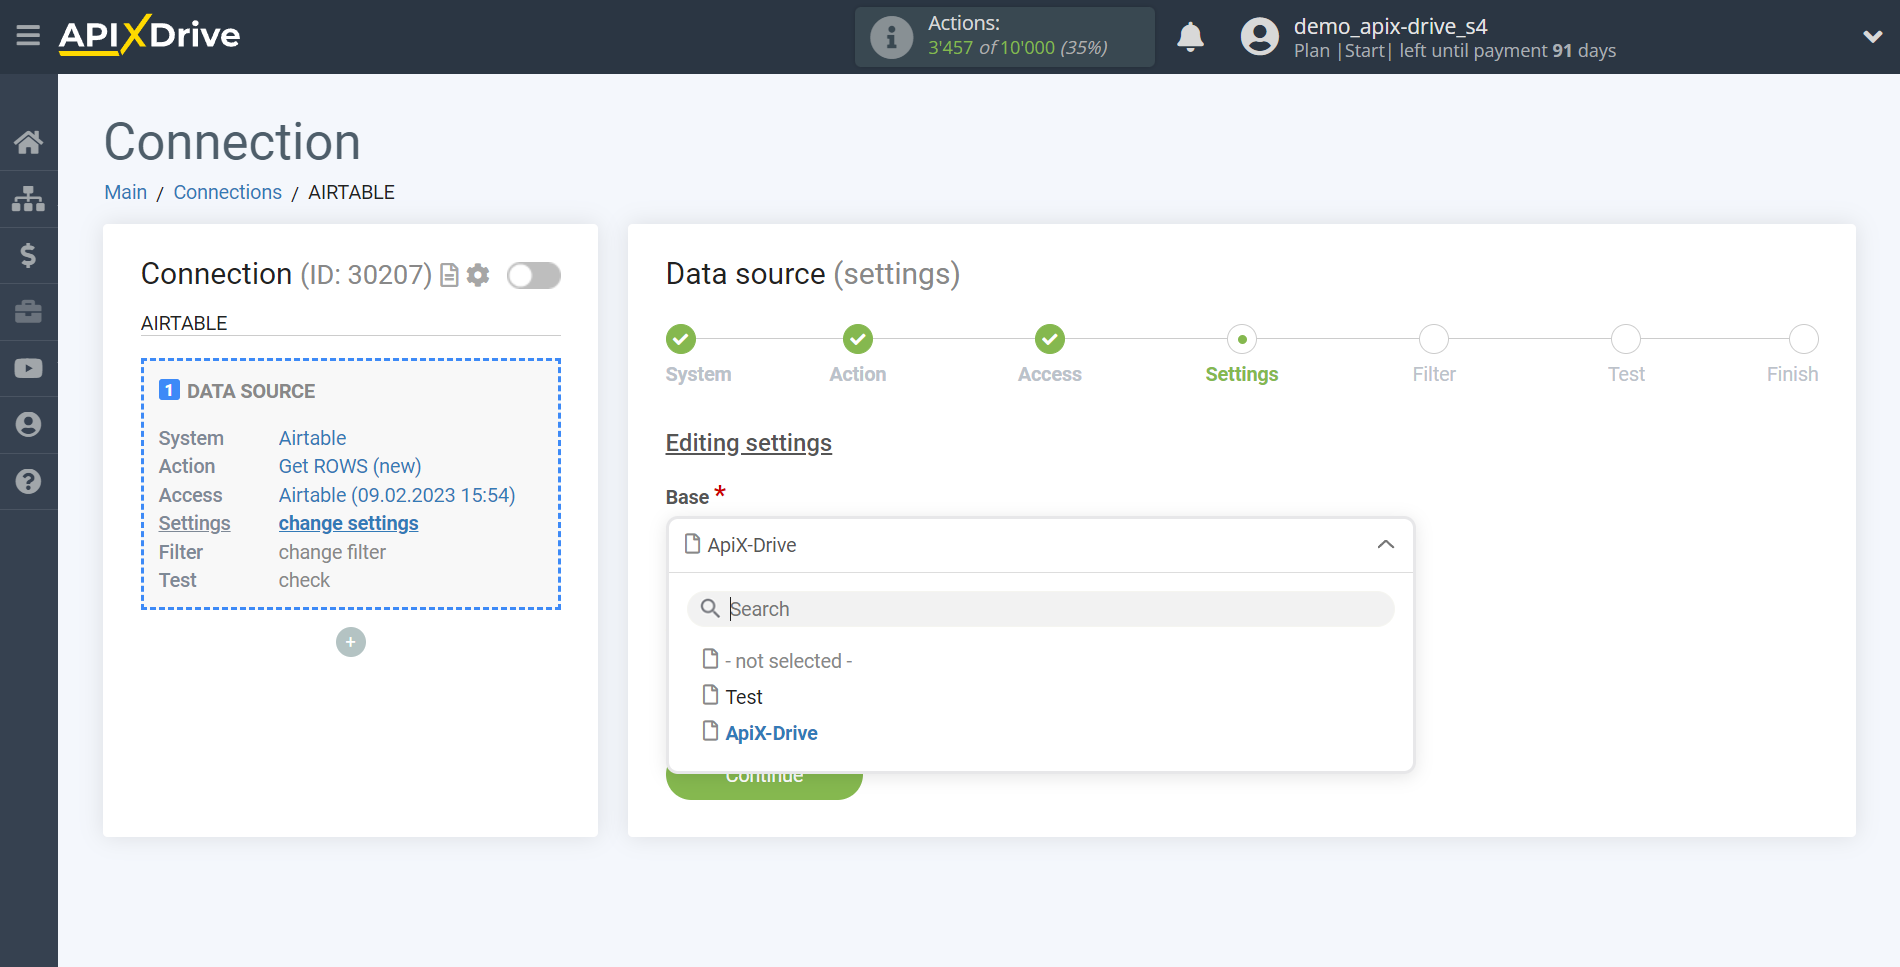
Select the base and AirTable table where the data you need is located.
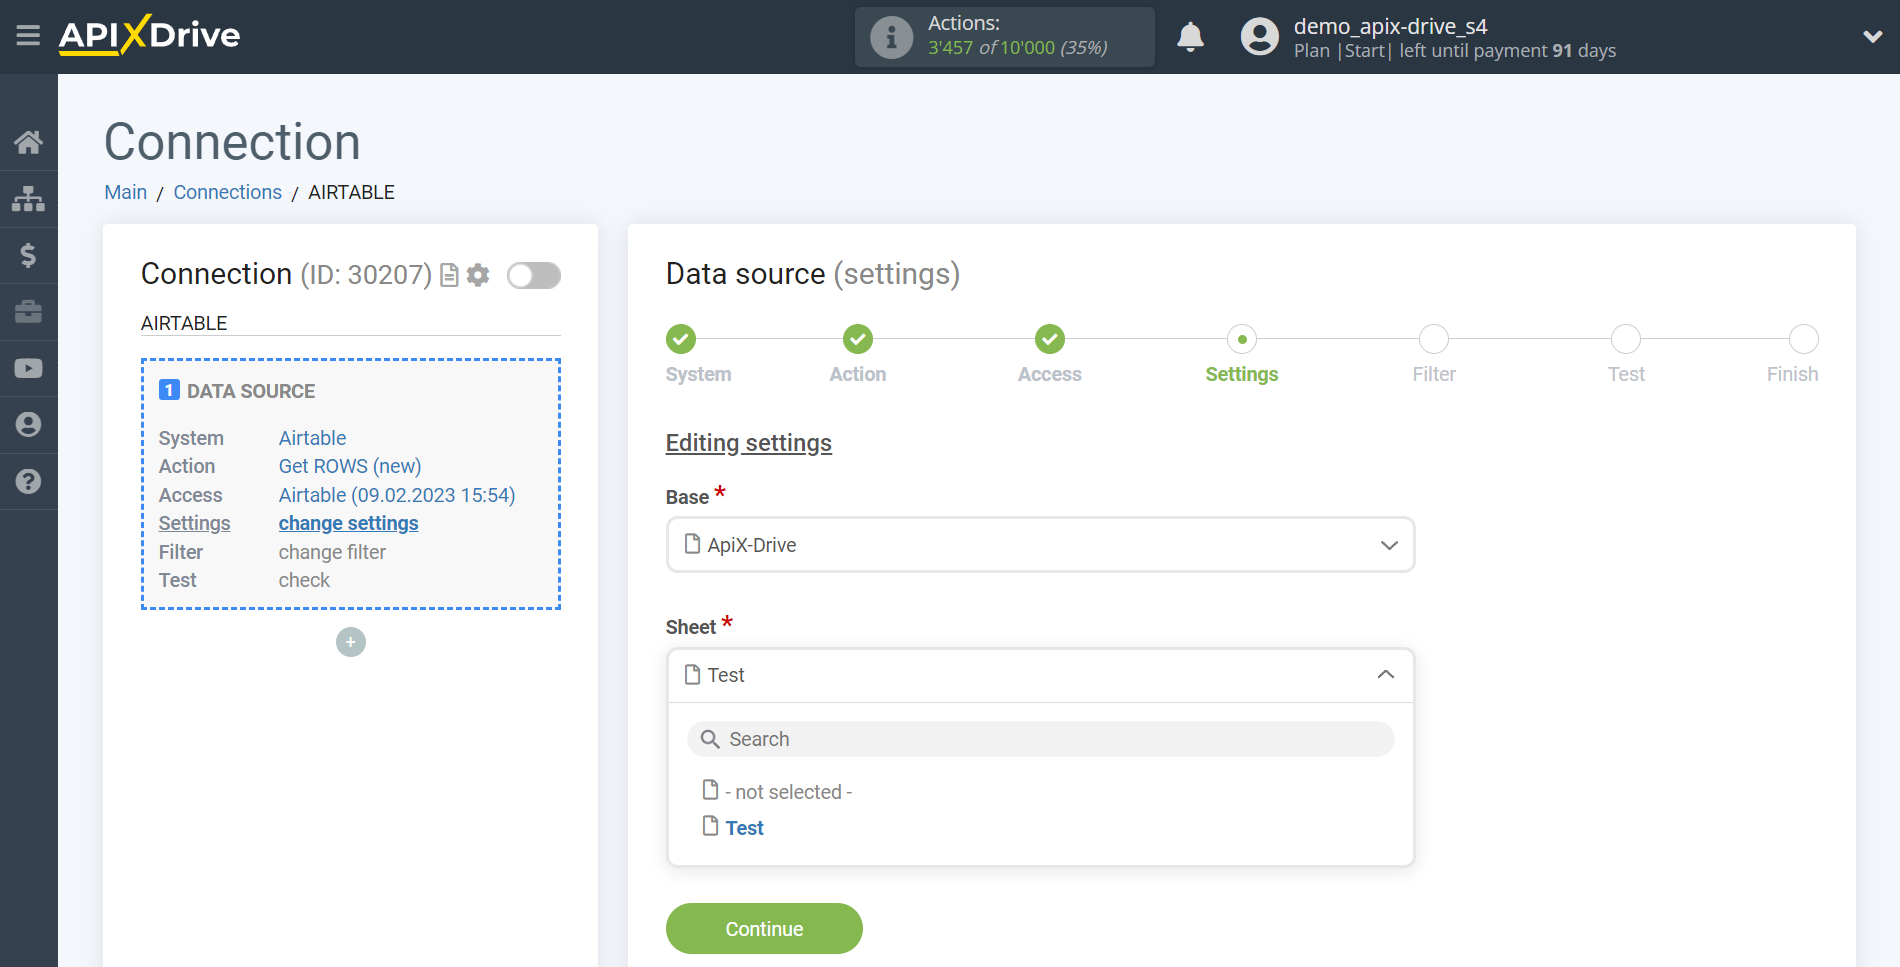
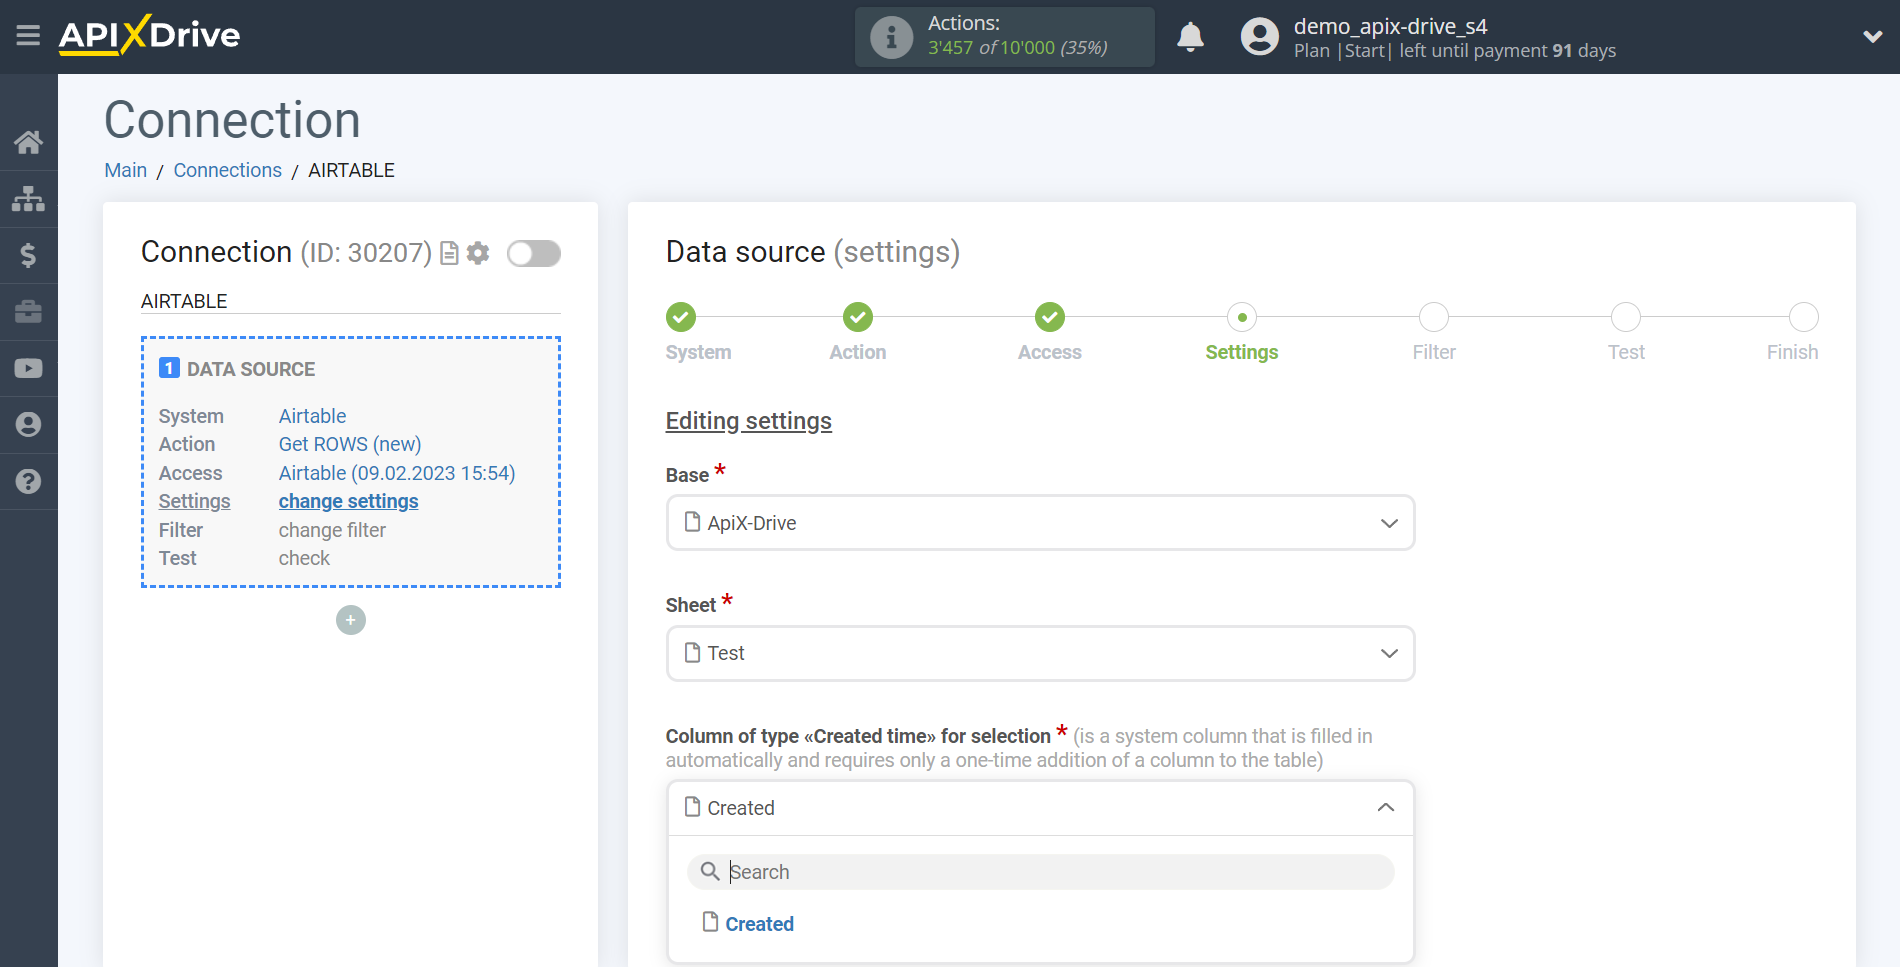
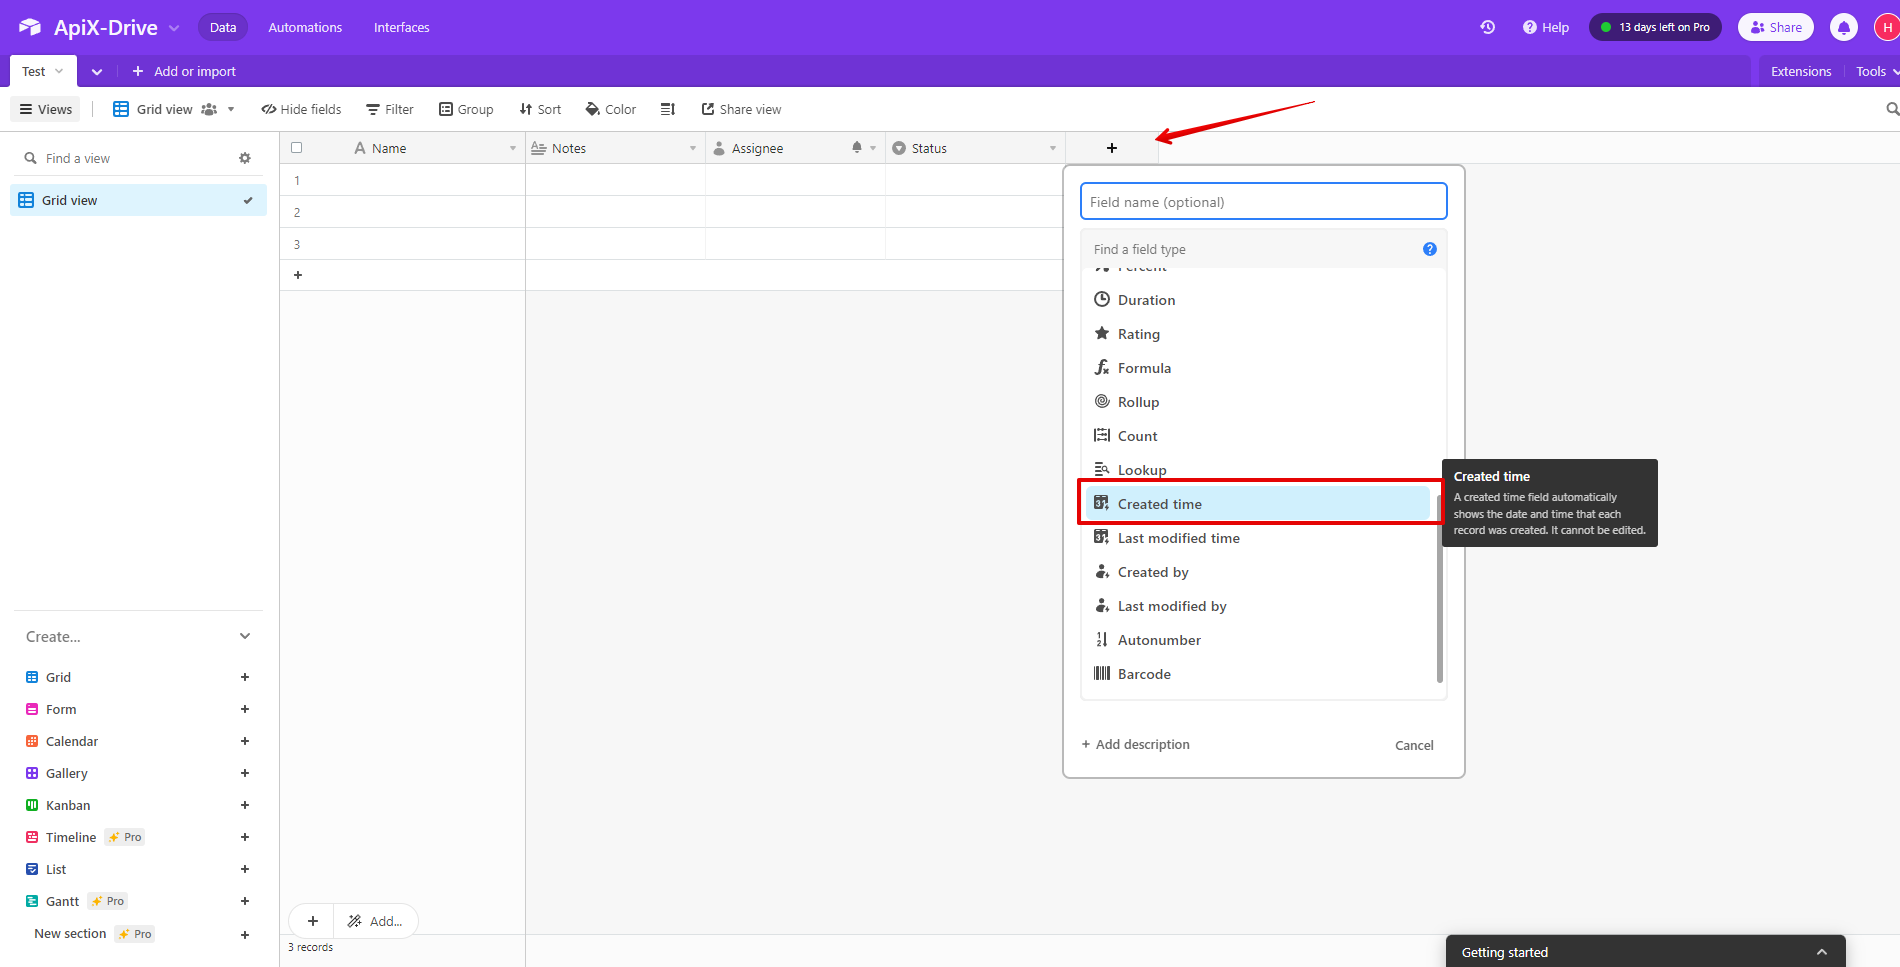
Select a column of type "Created time" for the selection. If you don't have one, go to AirTable to the database and table of your choice and add the "Created time" column.
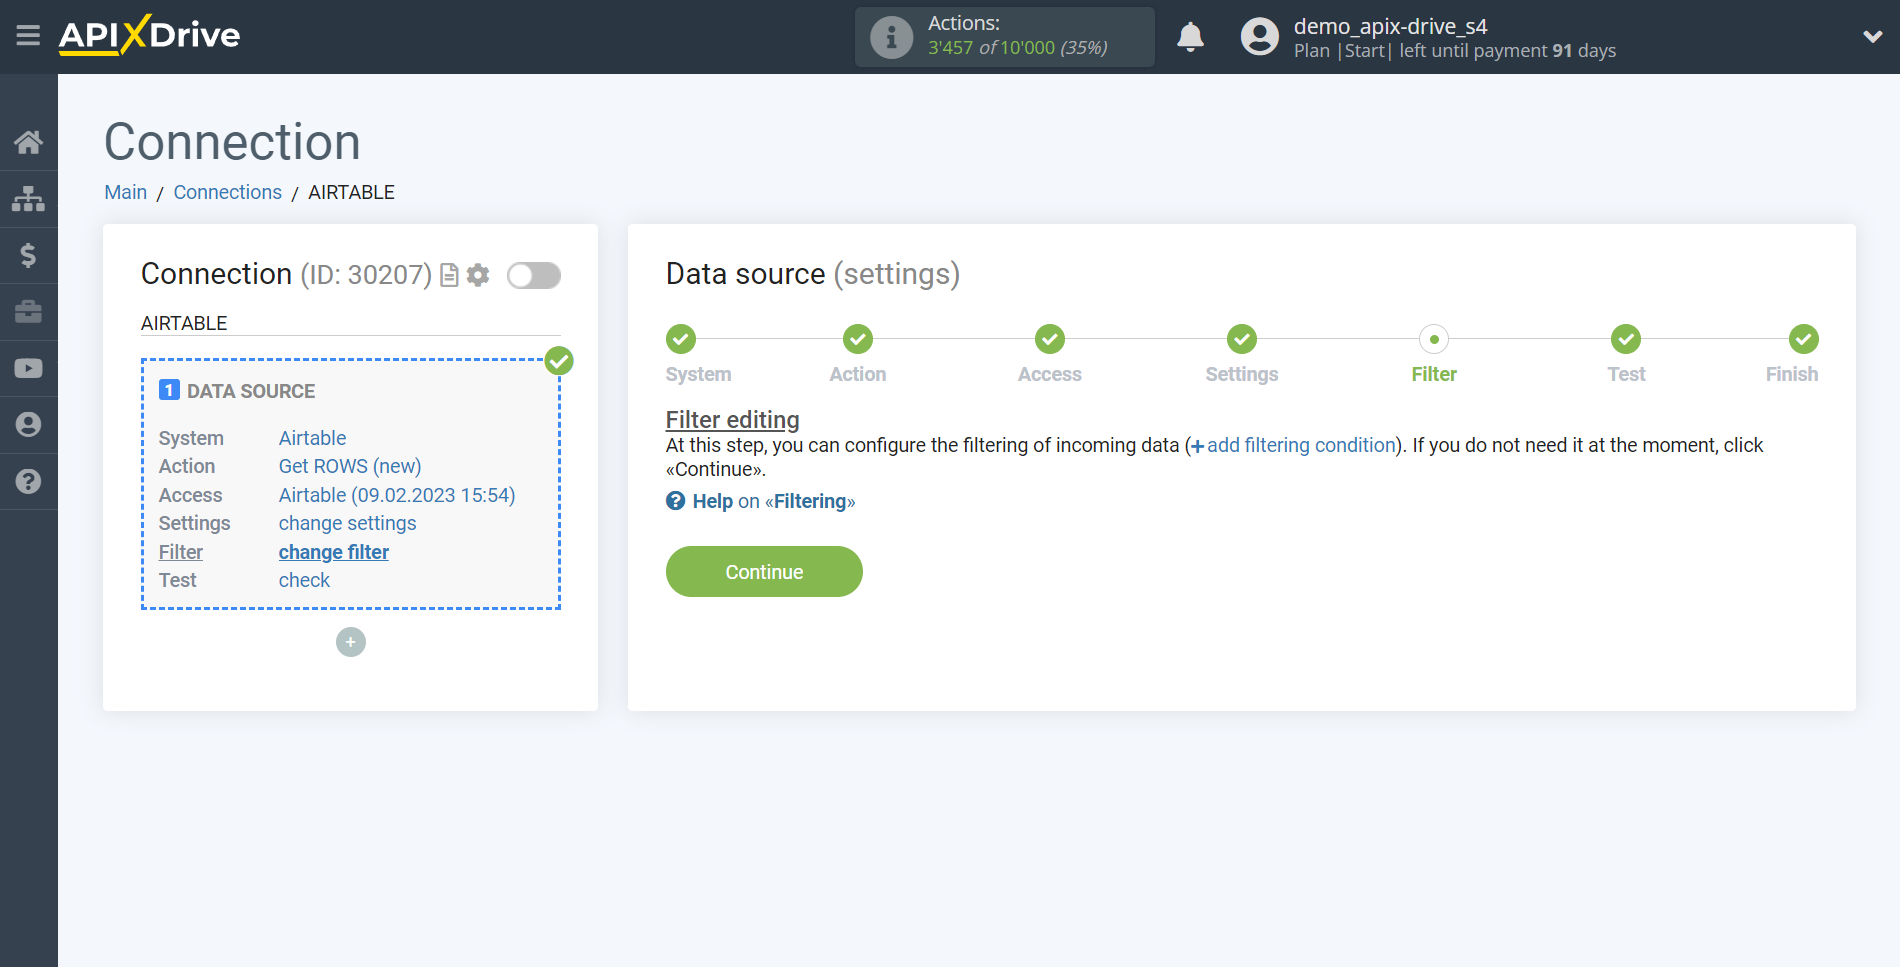
If necessary, you can set up a Data Filter, or click "Continue" to skip this step.
To learn how to configure the Data Filter, follow the link: https://apix-drive.com/en/help/data-filter
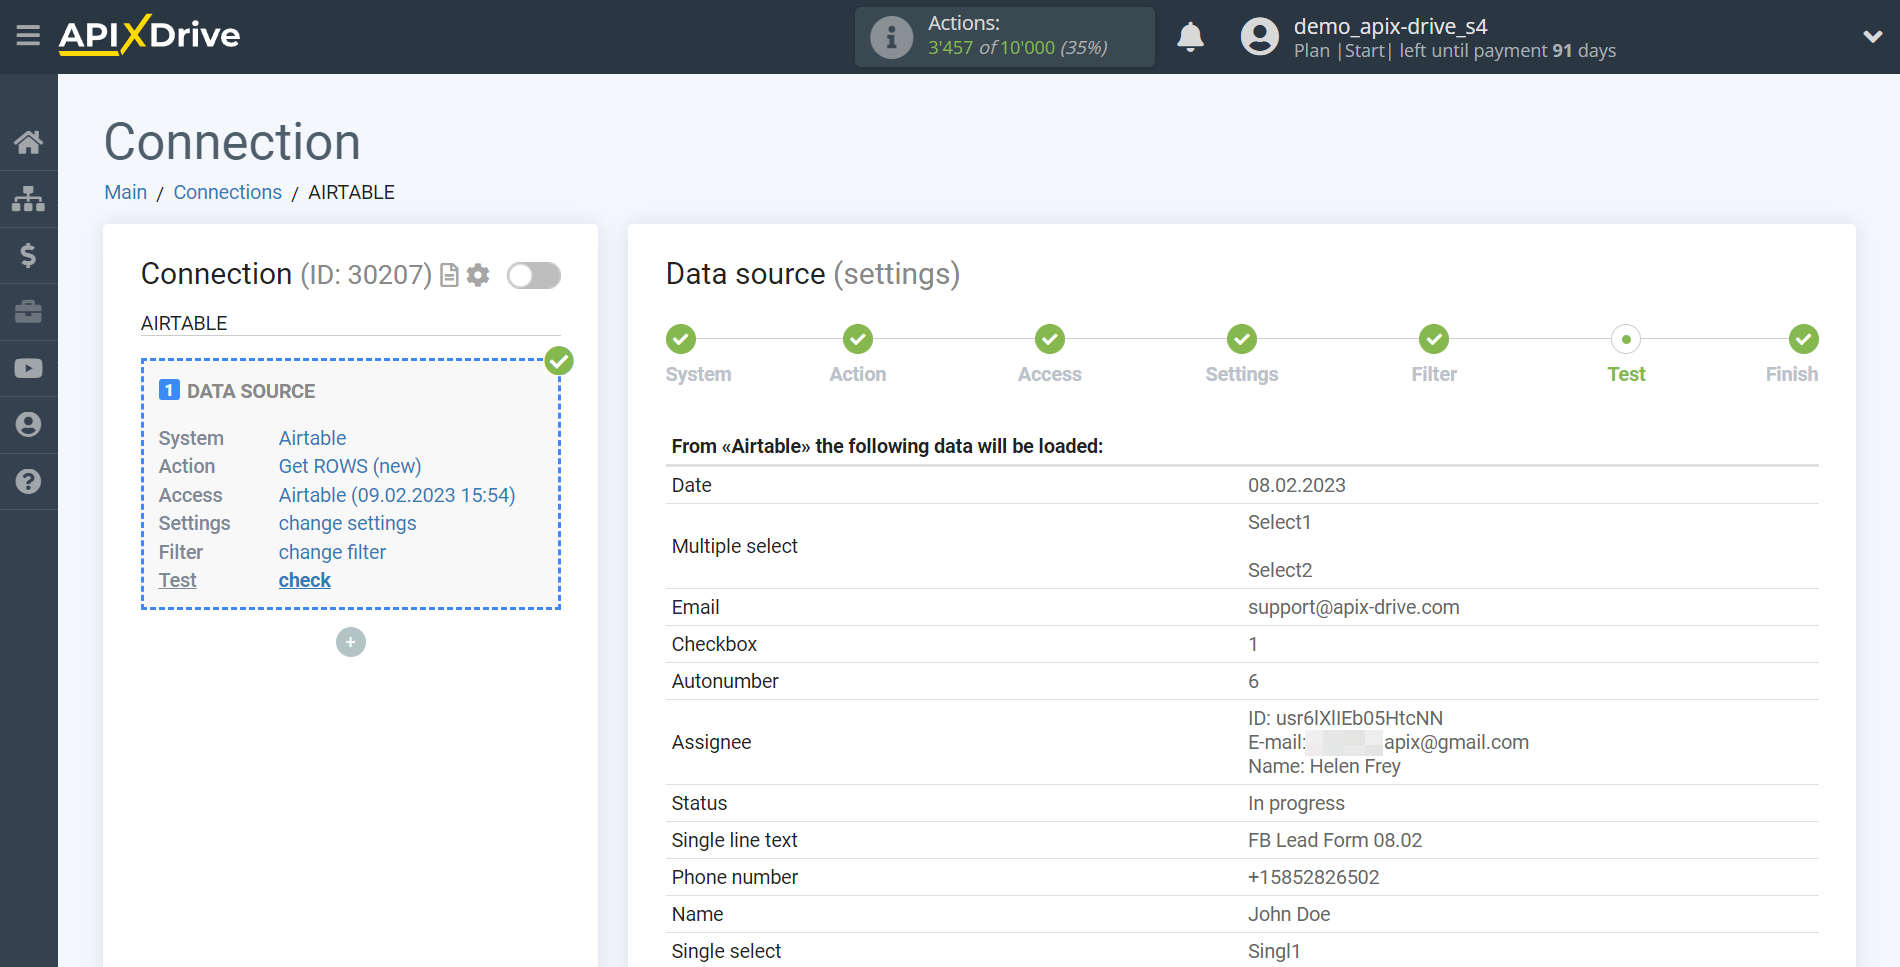
Now you can see the test data for one of the rows in your table.
If you want to update the test data, click "Load test data from AirTable".
If everything suits you, click "Next".
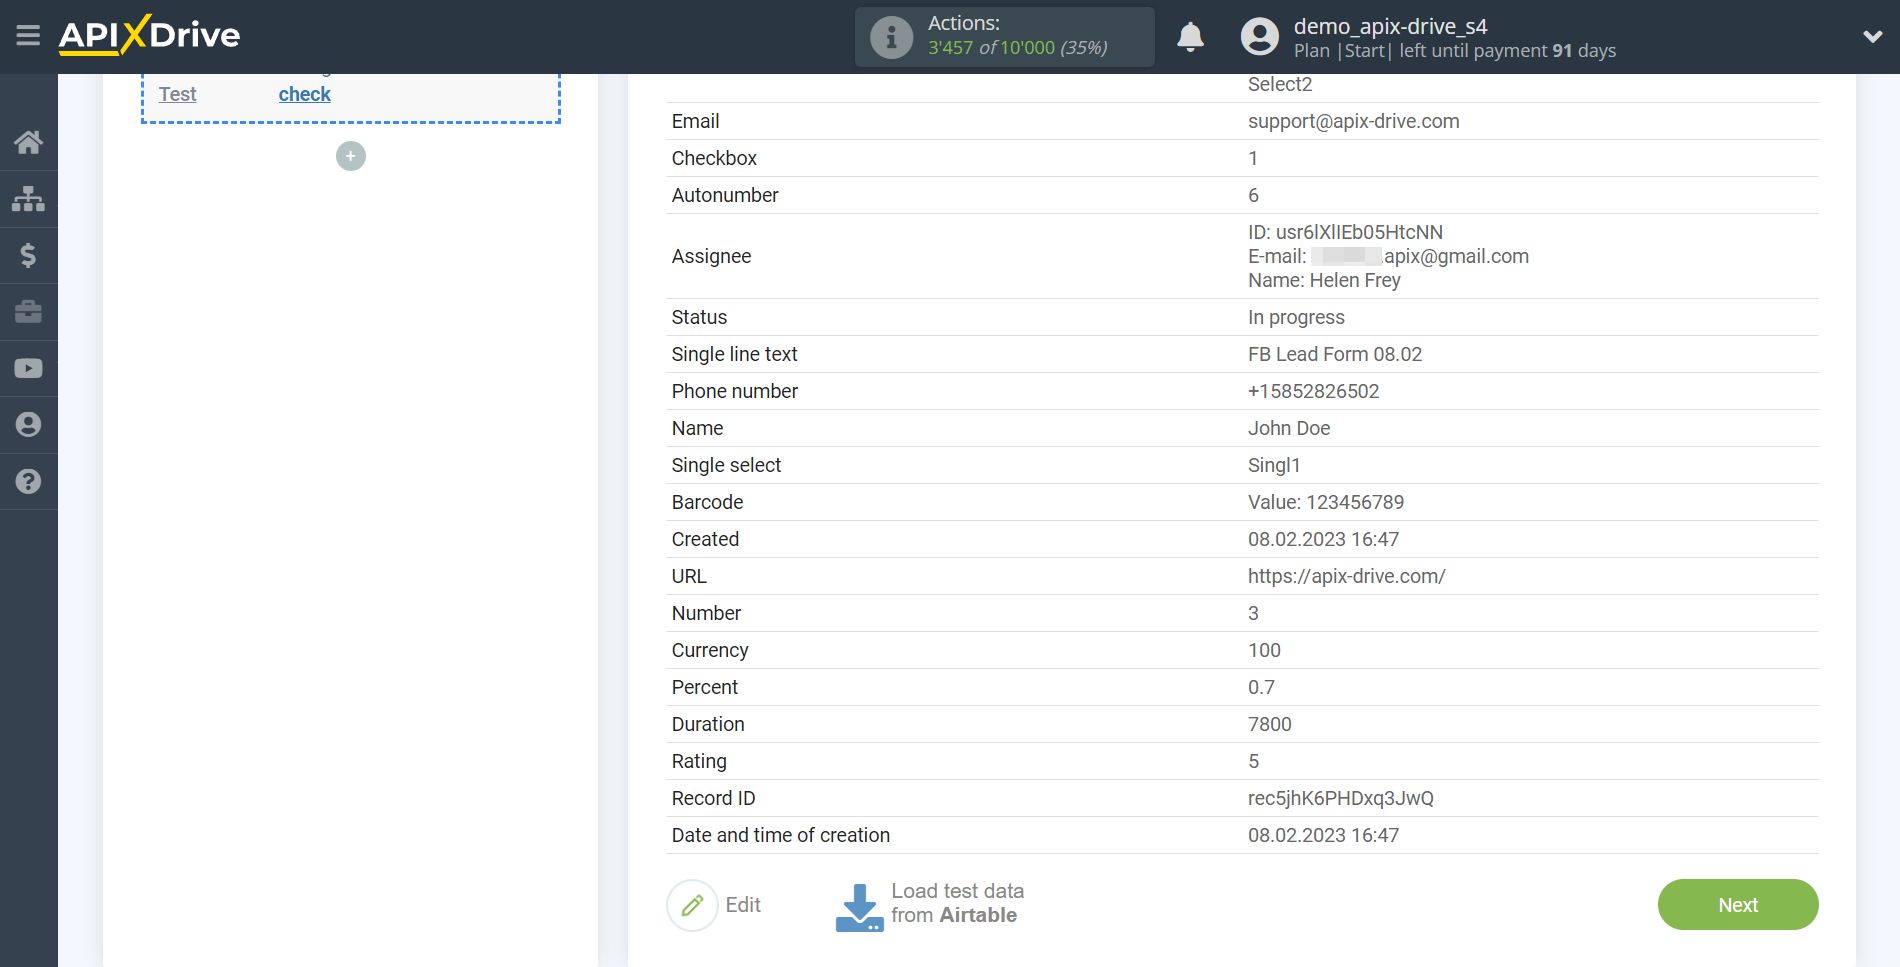
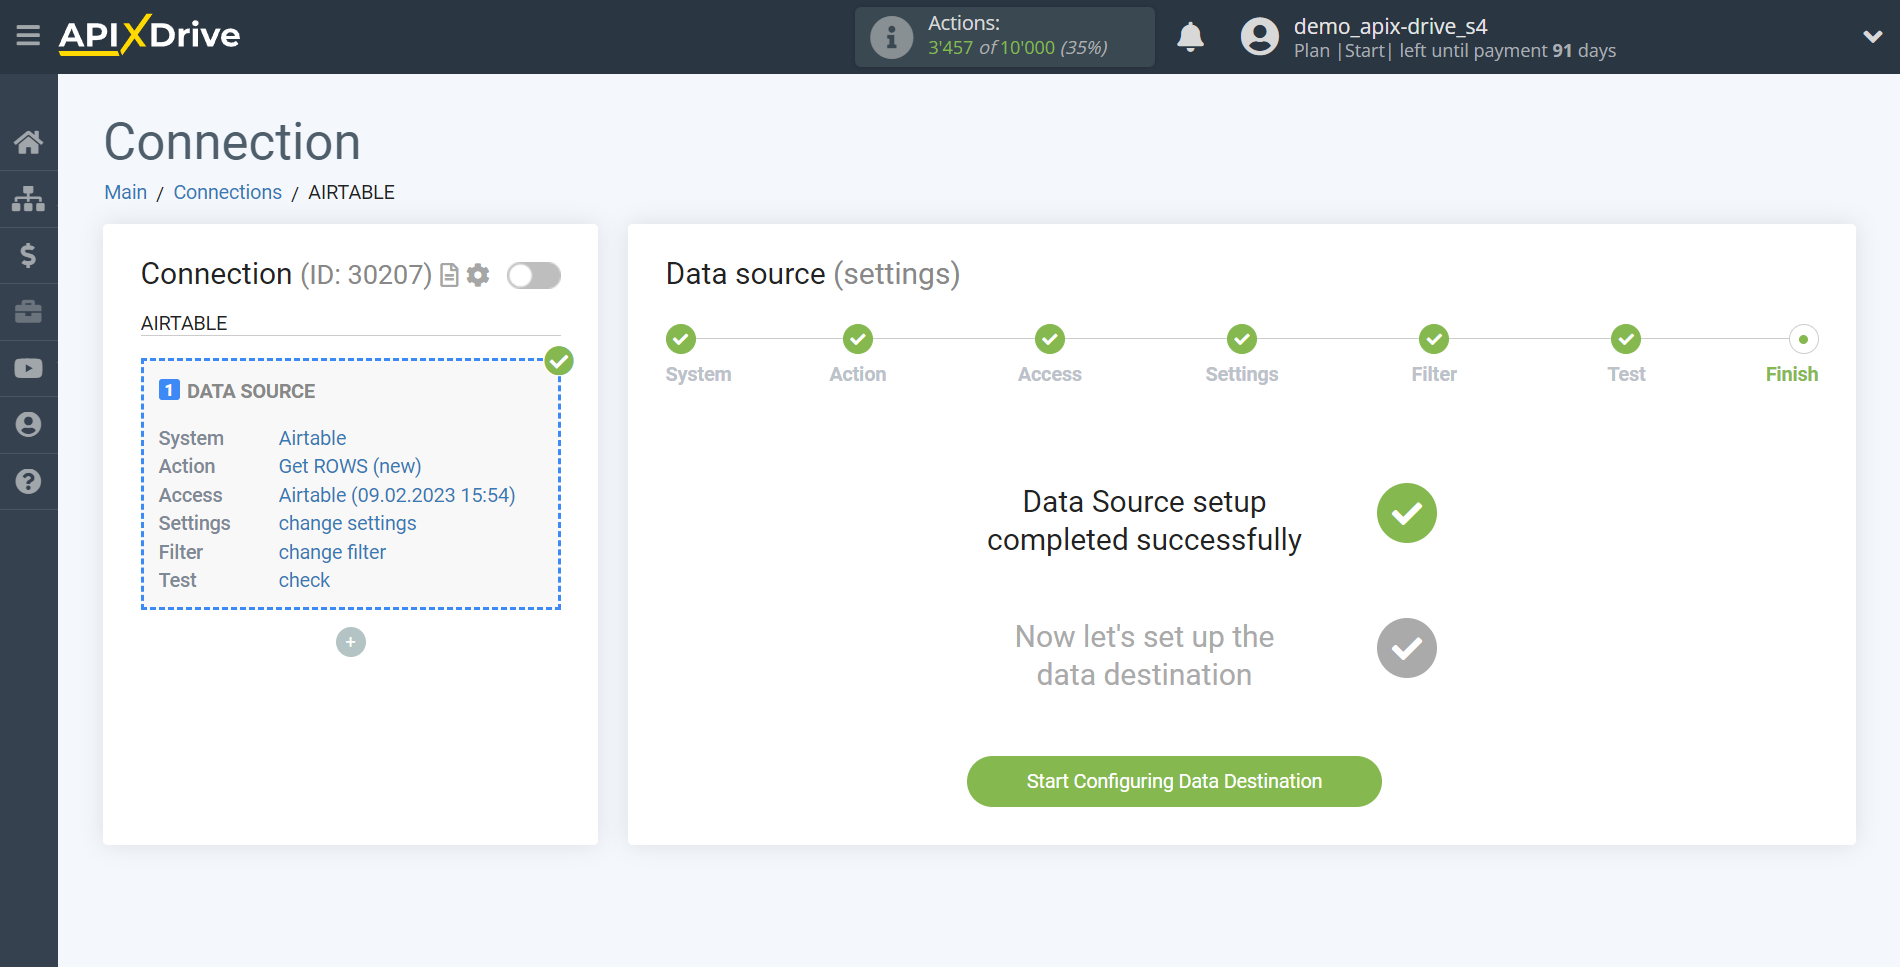
This completes the entire data source setup! See how easy it is!?
Now you can start setting up the data receiving system.
To do this, configure it yourself or go to the help section "Data Destination", select the service you need as a data receiver and follow the configuration recommendations.
Good luck!
