How to Connect Facebook as Data Source
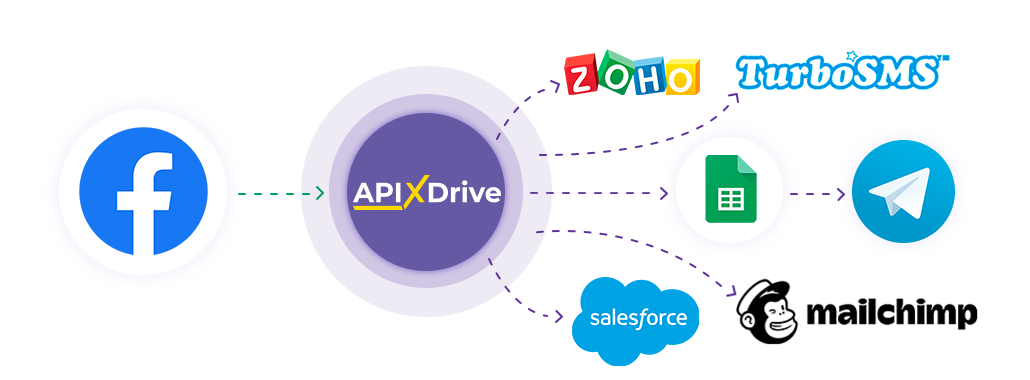
The integration will allow you get new leads from Facebook, statistics on the specified parameters, as well as the current balance of your advertising account, transferring this data to other systems. For example, you can transfer new leads to CRM or GoogleSheets, and send them as notifications to yourself or a group of managers. You can also send data to the SMS or Email mailing service. This will automate the transfer of data from Facebook to other services and systems as much as possible.
Let's go through the entire Facebook setup steps together!
Navigation:
1. What data can be get from Facebook?
2. How to connect a Facebook account to ApiX-Drive?
3. Selecting an advertising page
4. Select of form
5. Lead data example
Answers to frequently asked questions:
1. The required advertising page is not in the list
2. Added a new form or does not get Name, Phone Number or Email
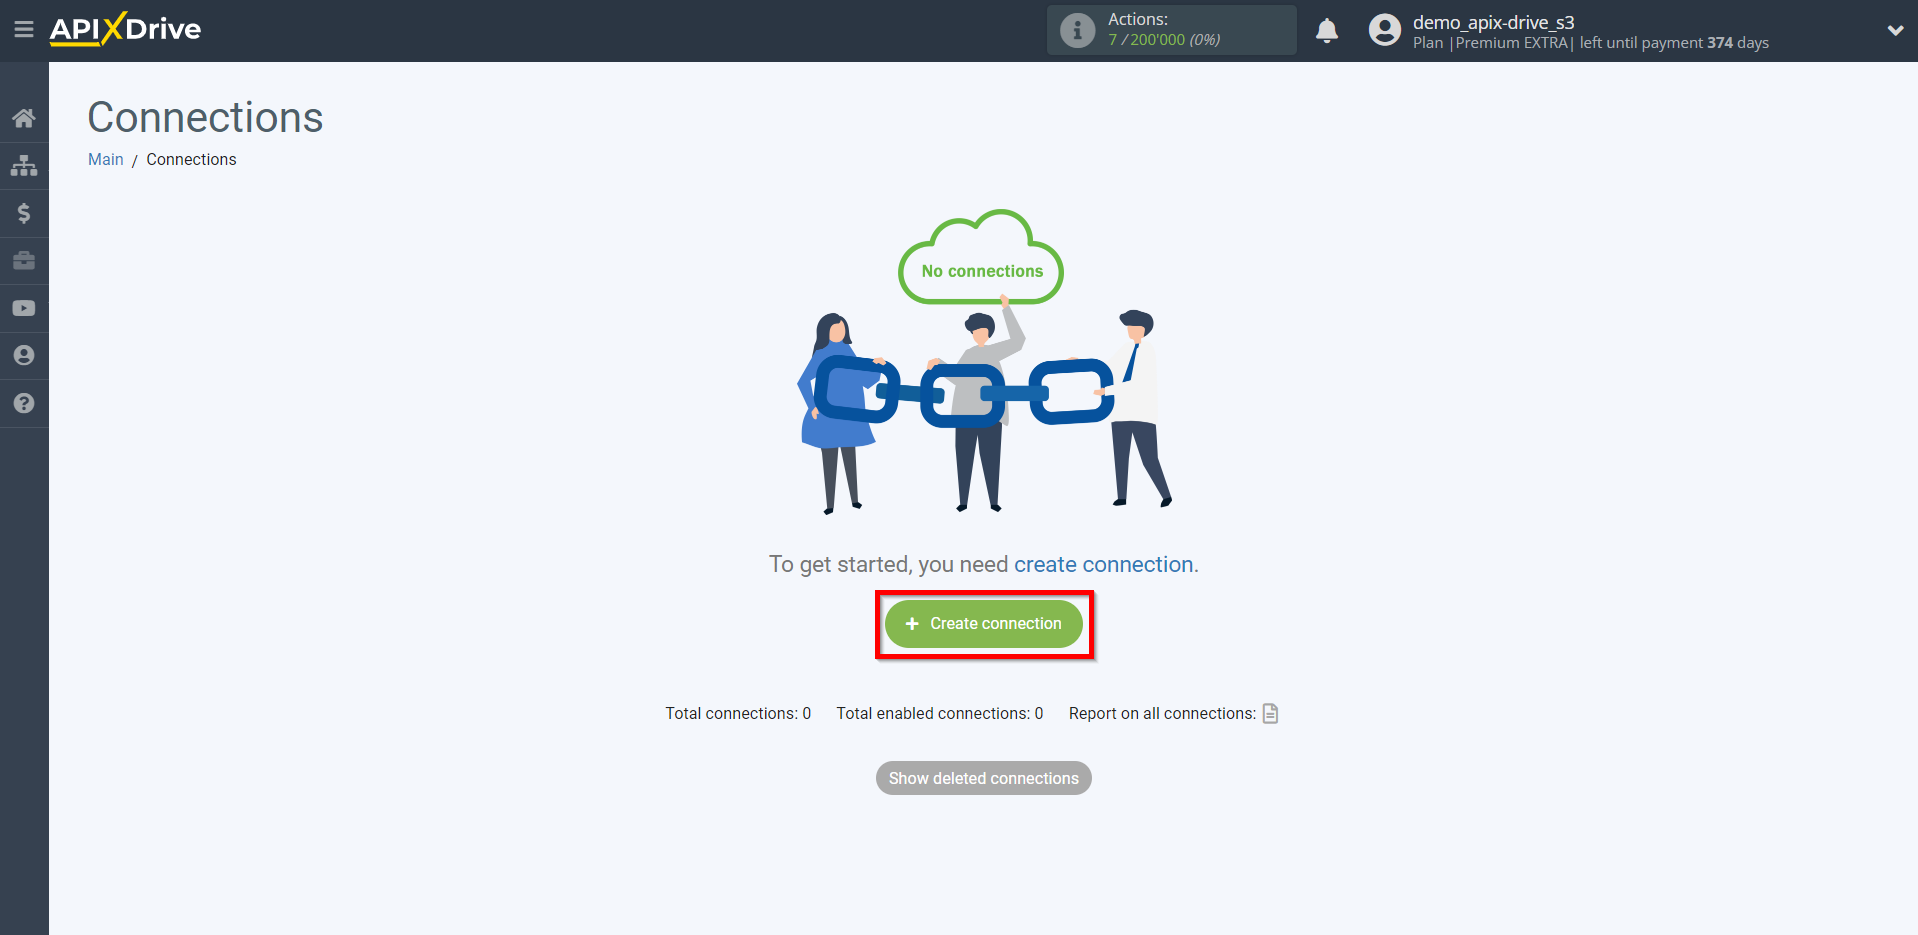
To start set up a new connection, click "Create Connection"
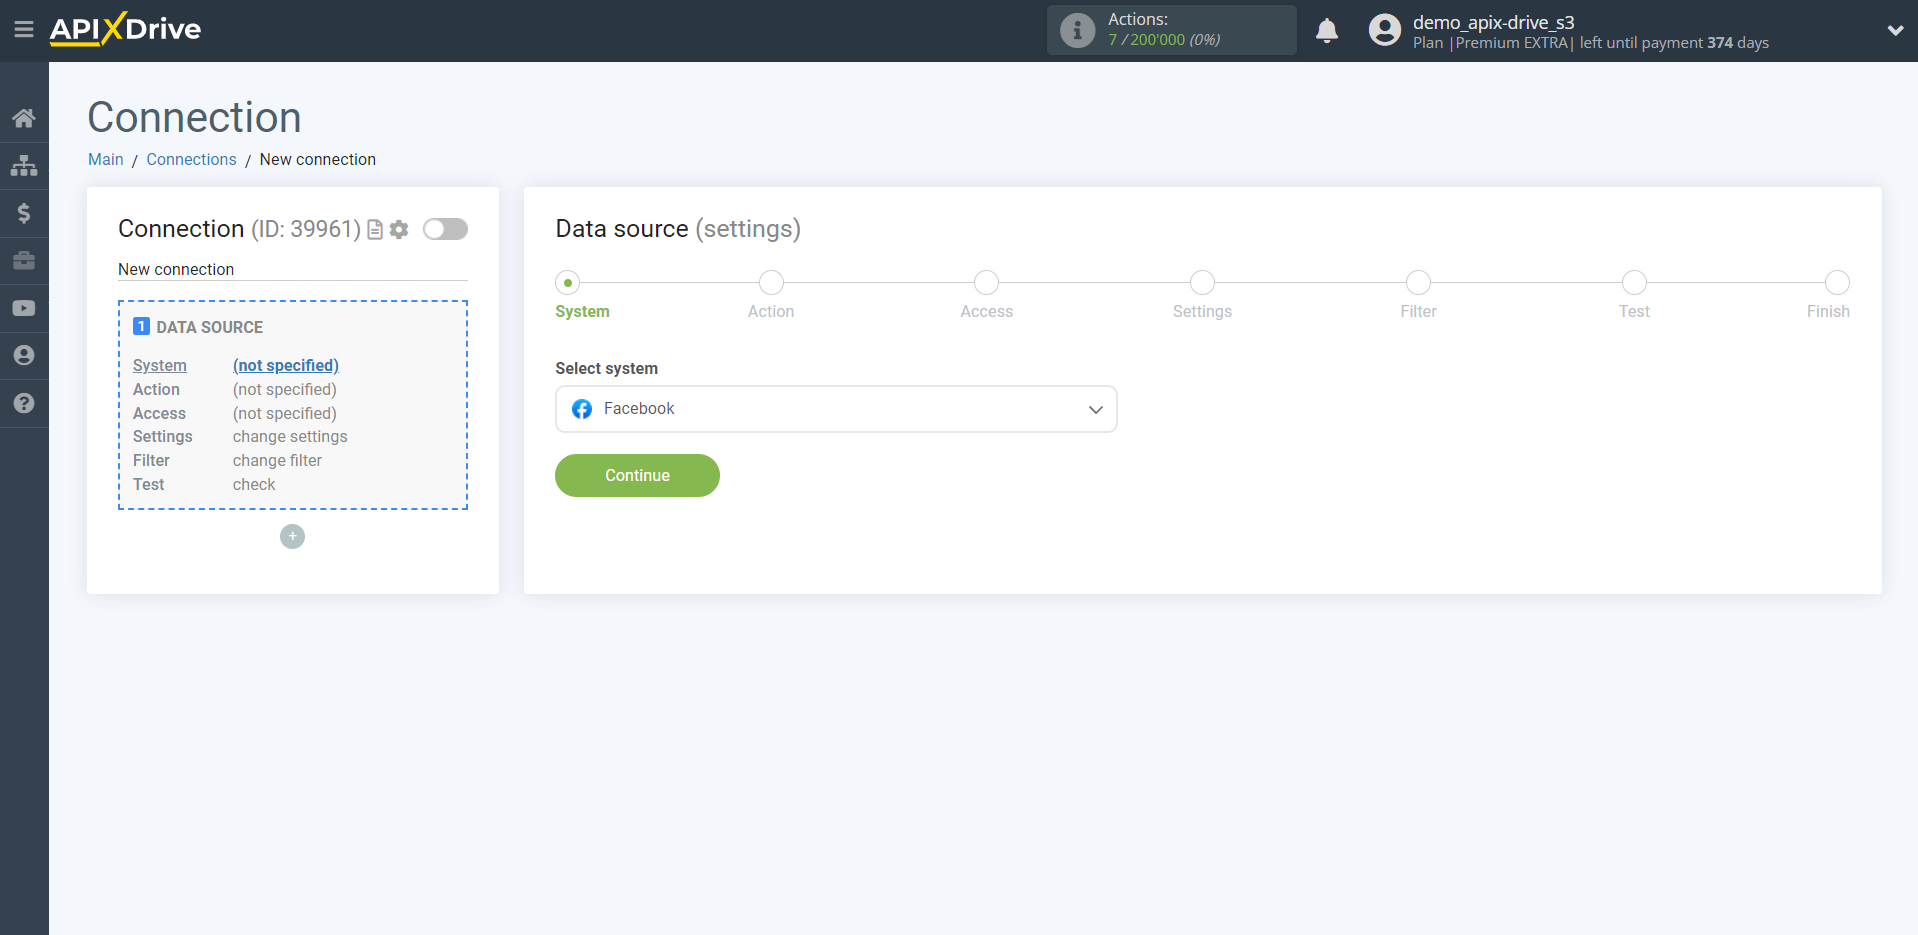
Select a system as the Data Source. In this case, you must specify Facebook.
Next, you need to specify an action, for example, "Get LEADS (new)":
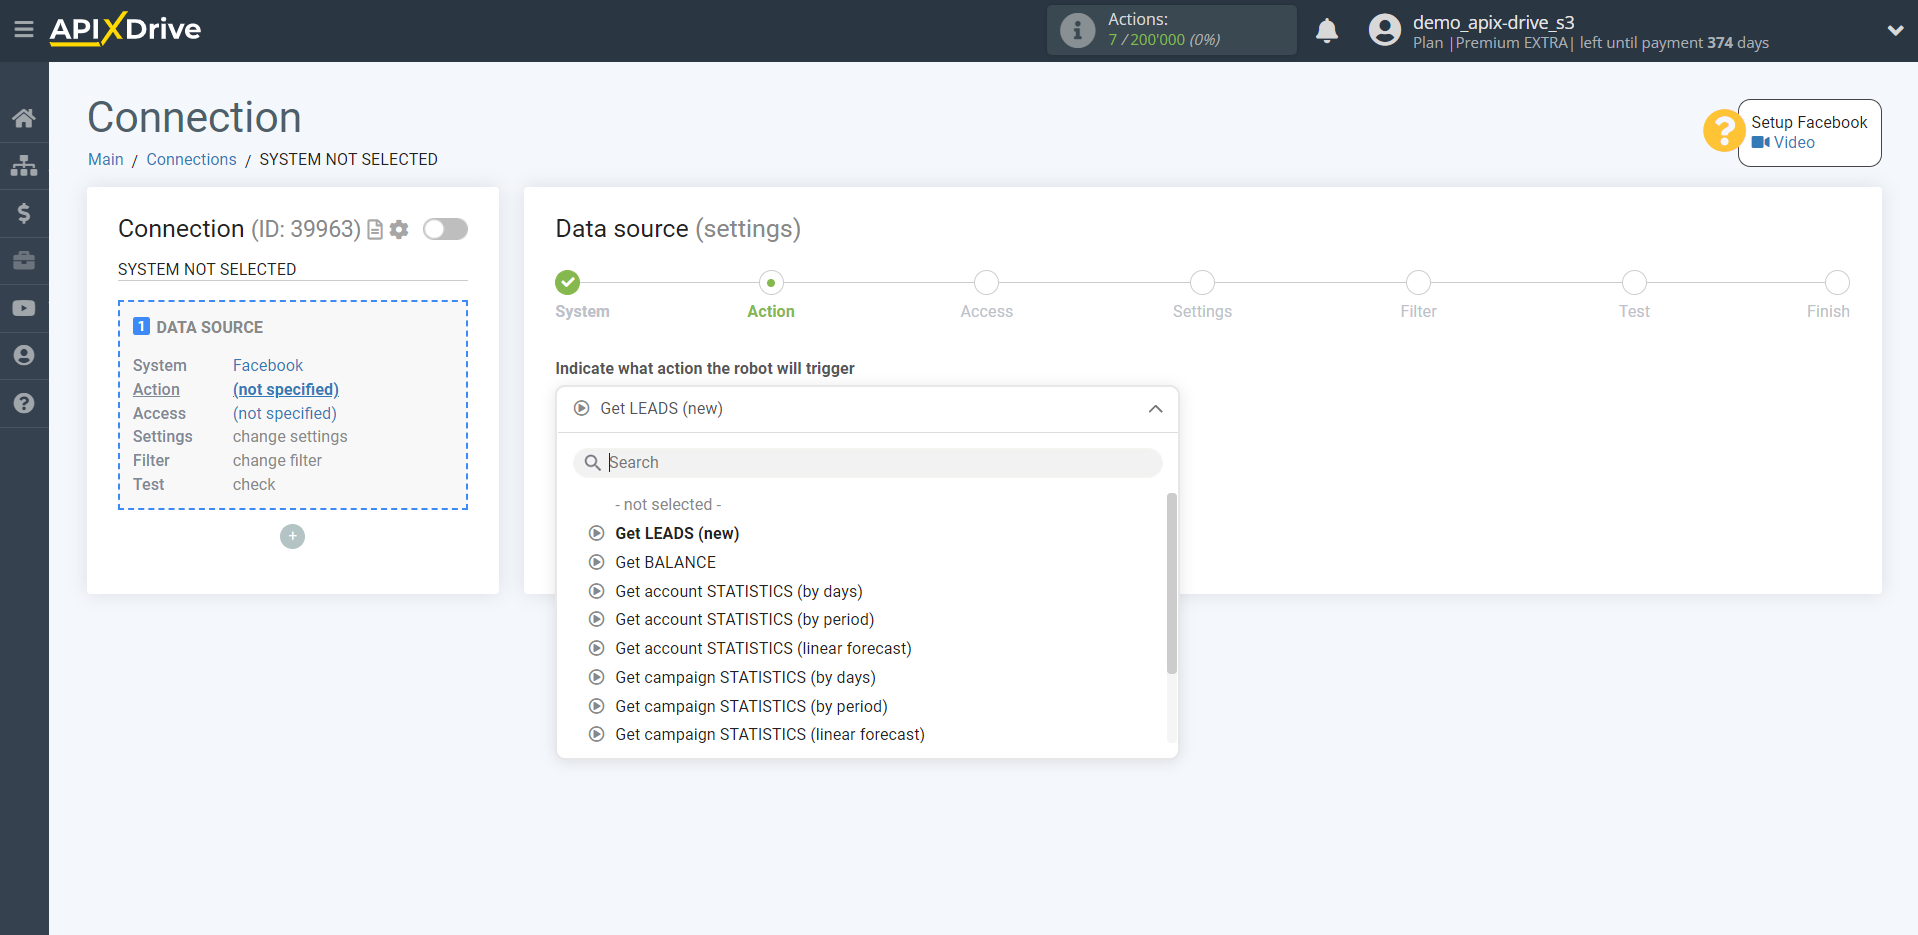
- Get LEADS (new) - Apix-Drive will get new leads from your Facebook advertising account, which will appear after set up the connection and starting auto-update.
- Get BALANCE - Apix-Drive will get data on the current balance of funds from your Facebook advertising account. When auto-update is triggered, Apix-Drive will get the current balance every time, so select the update interval so that the will get does not occur very often, but to keep track of the balance and not miss the moment when you need to replenish it, for example, two to four times a day.
- Get STATISTICS by account/campaigns/groups/ads (by day) - Apix-Drive will get statistics by account/campaigns/groups/ads from your Facebook advertising account, by day, depending on the settings. For example, if you select "for the last 3 days without today", will get statistics separately for the last 3 days, excluding today. When auto-update is triggered, will get statistics again with the same data, so it is recommended to select an update interval of 1 time per day in order to will get updated statistics once a day.
- Get STATISTICS by account/campaigns/groups (by period) - Apix-Drive will get statistics by account/campaigns/groups from your Facebook advertising account for the selected period, depending on the settings. For example, if you select "for the last month", will get statistics for the next month that has already ended. When auto-update is triggered, will get statistics again with the same data, so it is recommended to select an update interval of 1 time per day in order to get updated statistics once a day.
- Get STATISTICS by account/campaigns/groups (linear forecast) - Apix-Drive will get statistics by account/campaigns/groups from your Facebook advertising account with data on current indicators from the beginning of the month and a linear forecast using the formula (Current value / Number of past days of the month * Number days in a month). When auto-update is triggered, will get statistics again with the same data, so it is recommended to select an update interval of 1 time per day in order to get updated statistics once a day.
- Get ads STATISTICS (by days) - Apix-Drive will get statistics by ads from your Facebook advertising account, by day, depending on the settings. For example, if you select "for the last 3 days without today", will get statistics separately for the last 3 days, excluding today. When auto-update is triggered, will get statistics again with the same data, so it is recommended to select an update interval of 1 time per day in order to will get updated statistics once a day.
The next step is to select the Facebook account from which will get the leads.
If there are no accounts connected to the system, click "Connect account".
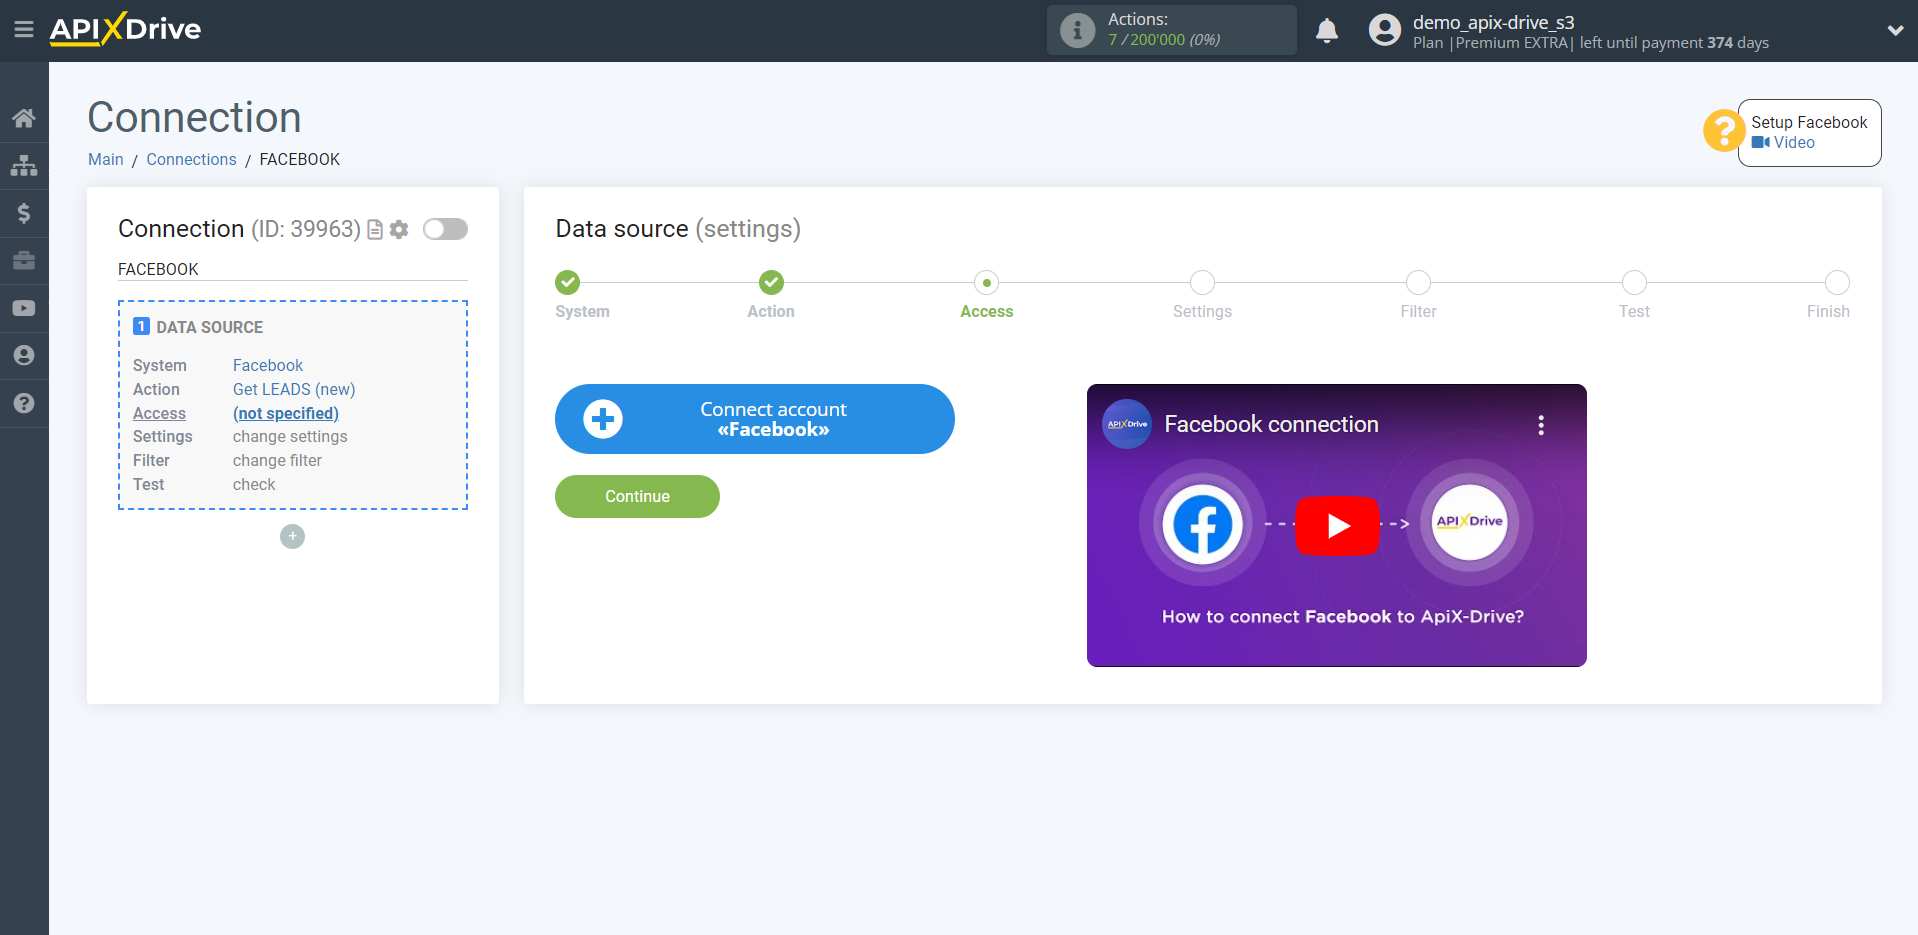
Give your permission to ApiX-Drive to work with this account.
Click "Edit access" and select all checkboxes of the access setting the pages you need .
We recommend that you give access to all available pages at once in order to be able to work with them and get leads in the future.
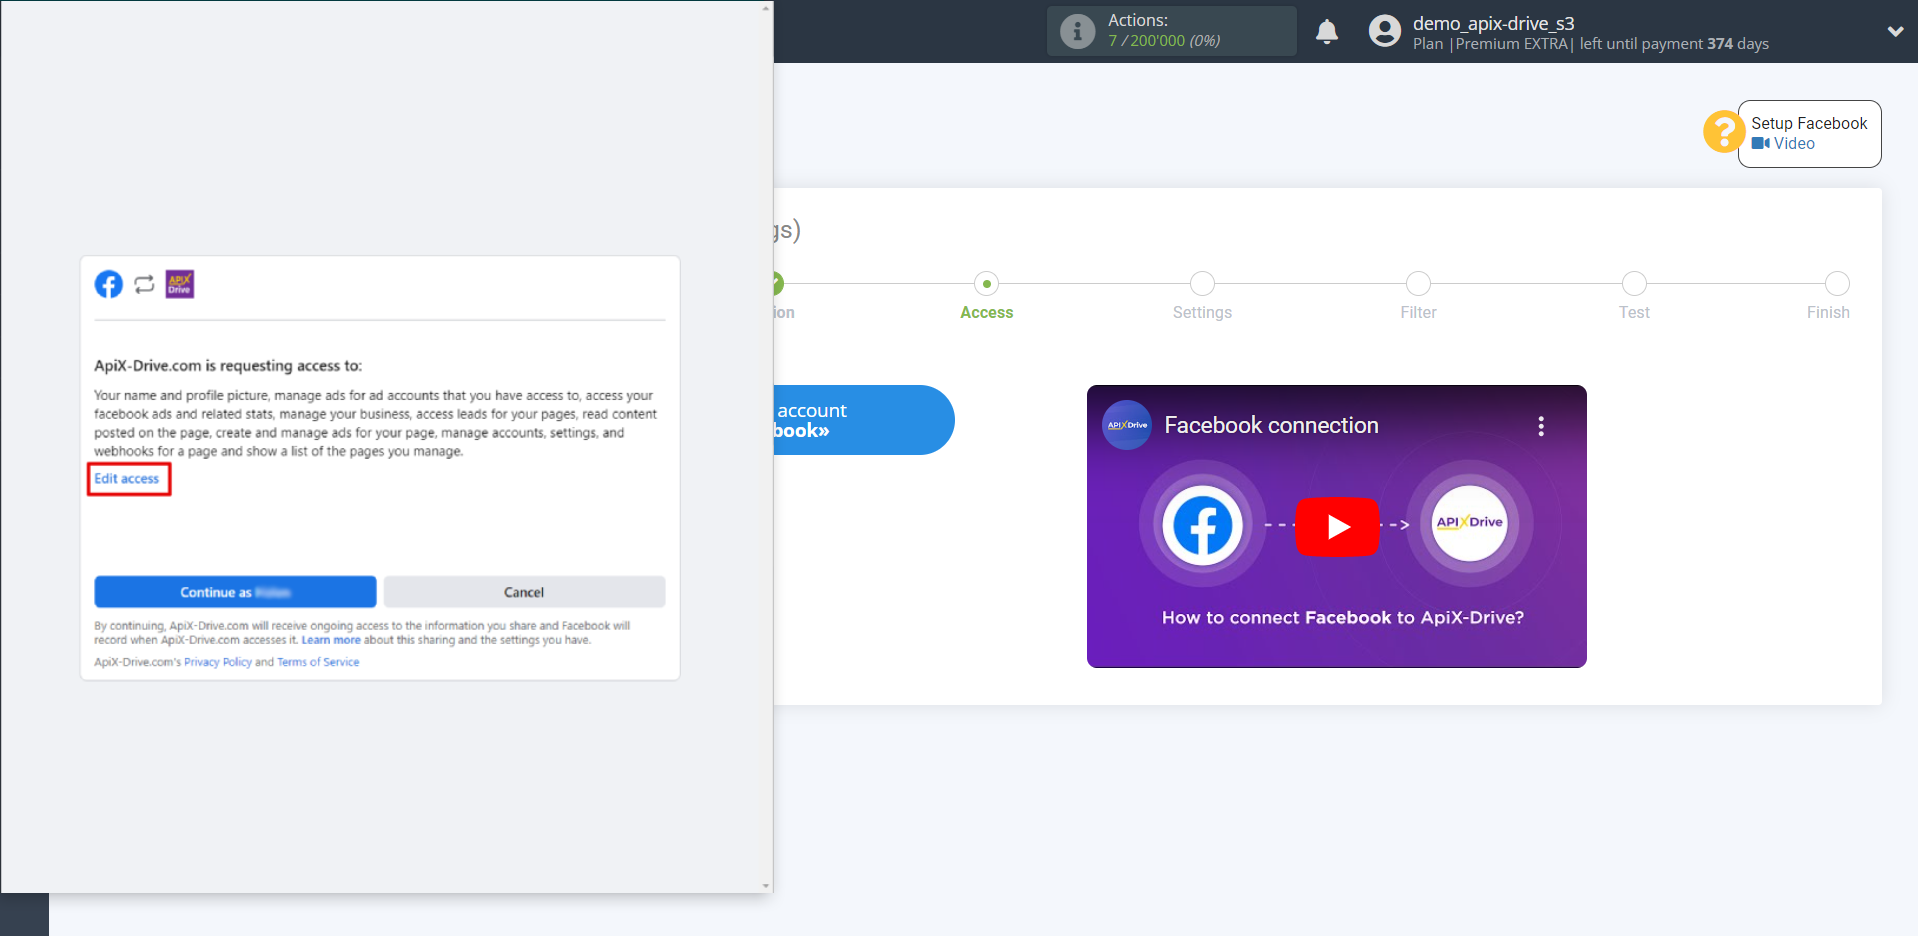
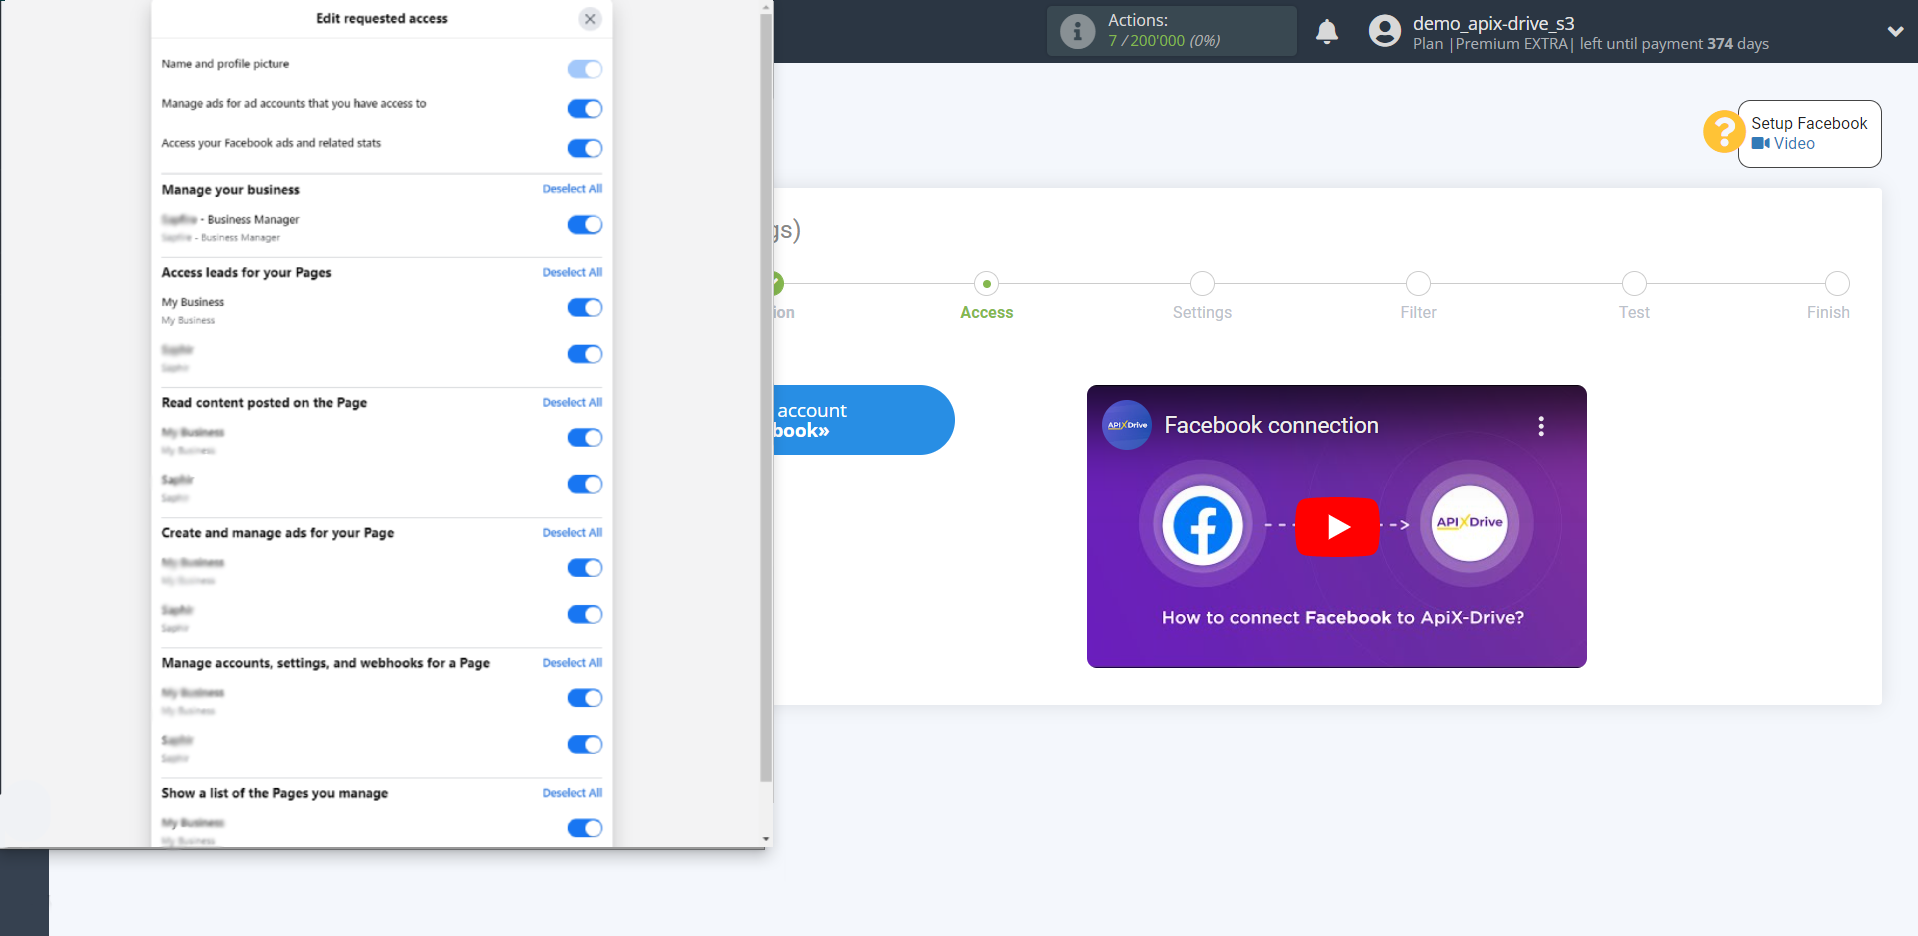
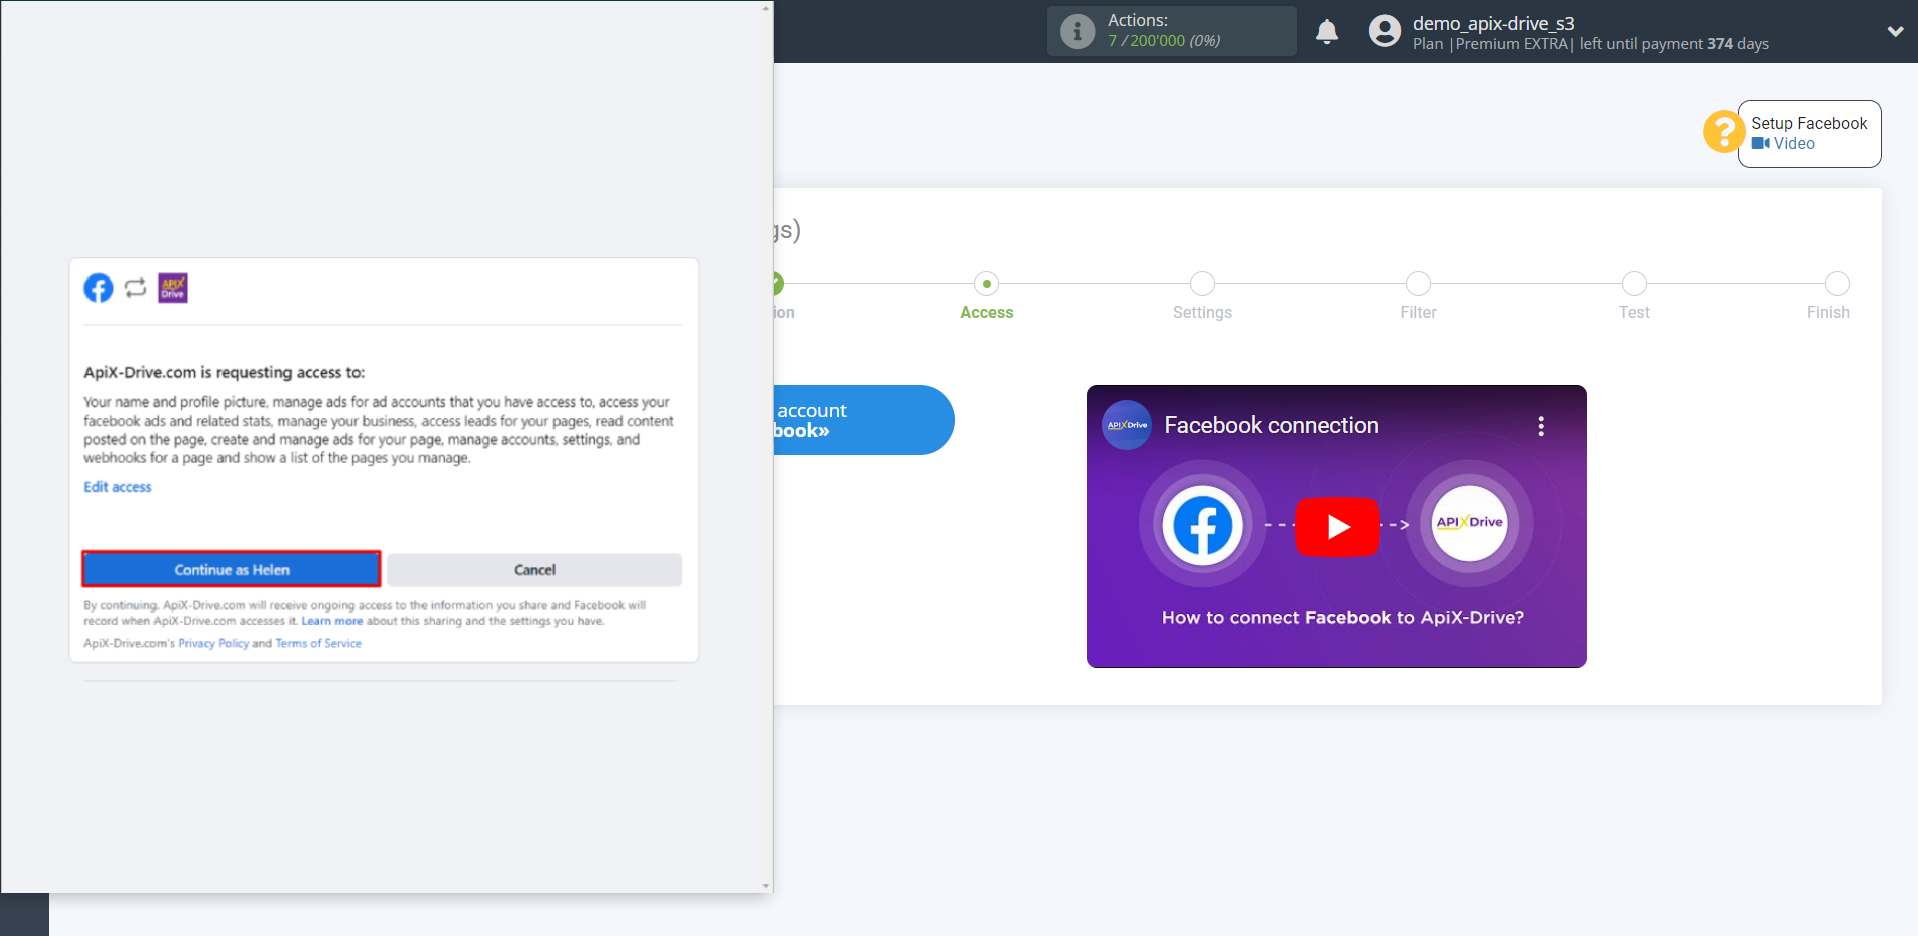
Select all checkboxes.
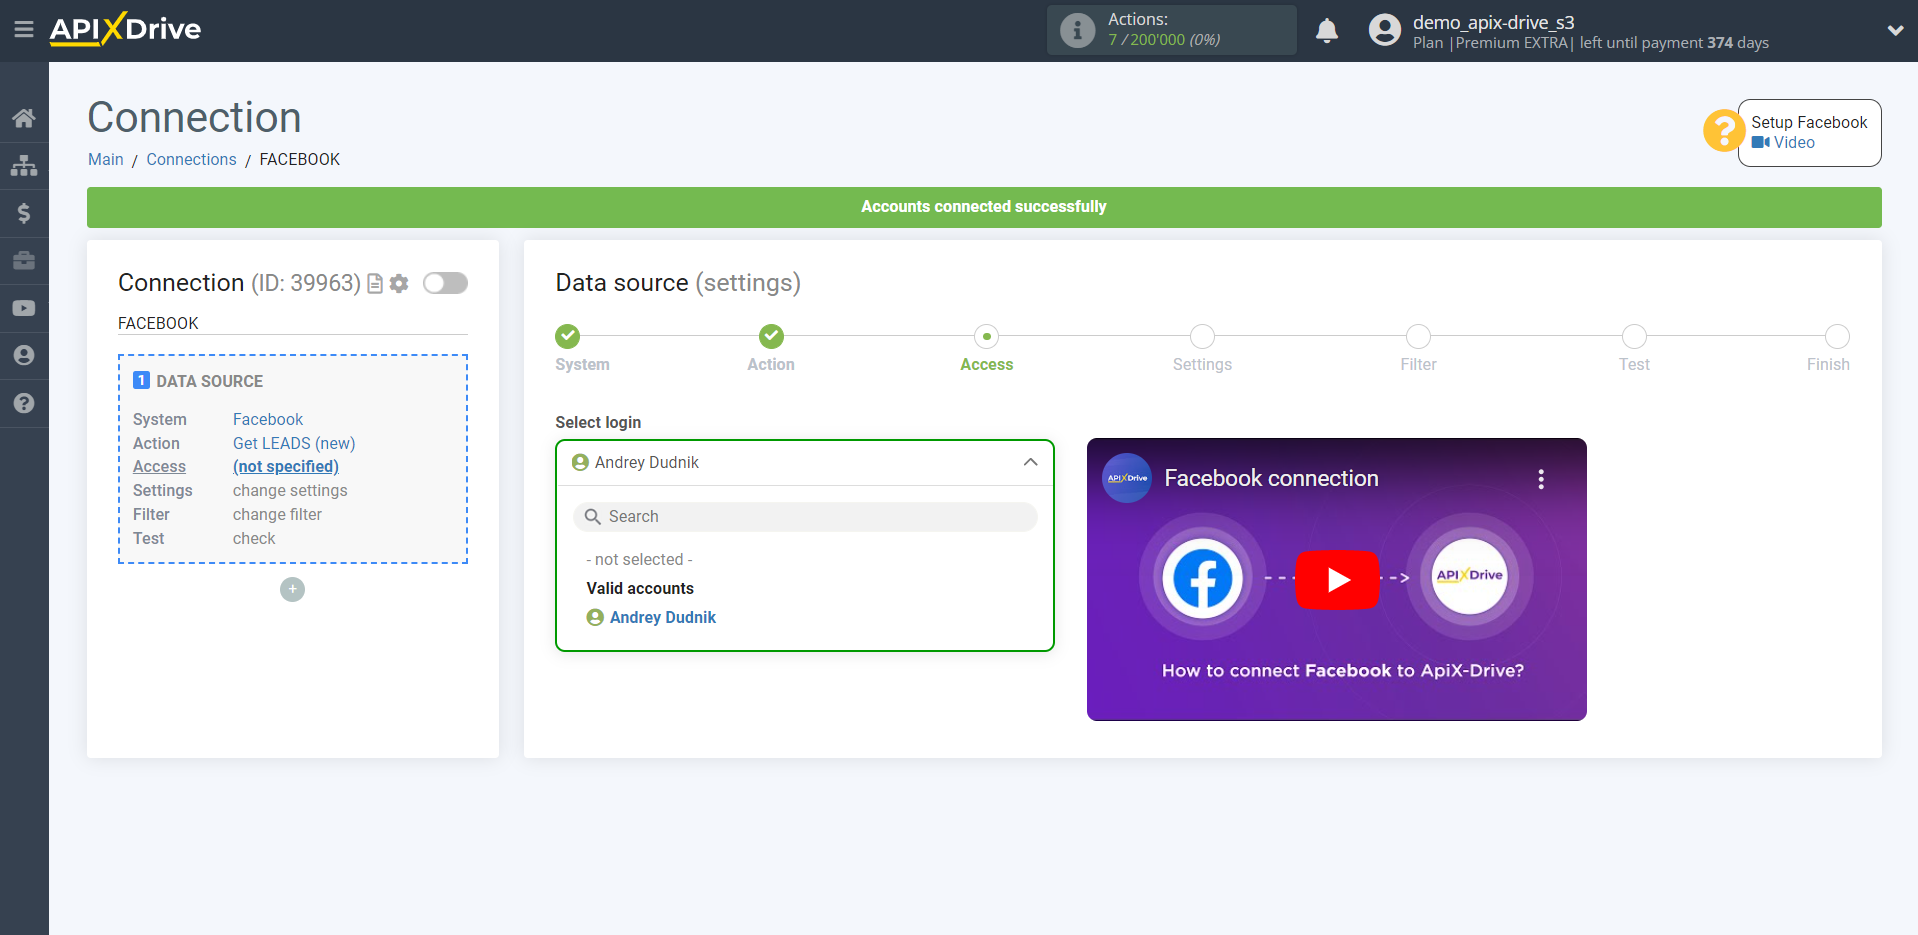
When the connected account is displayed in the "active accounts" list, select it.
Select an advertising page from the dropdown list from which Apix-Drive will get leads.
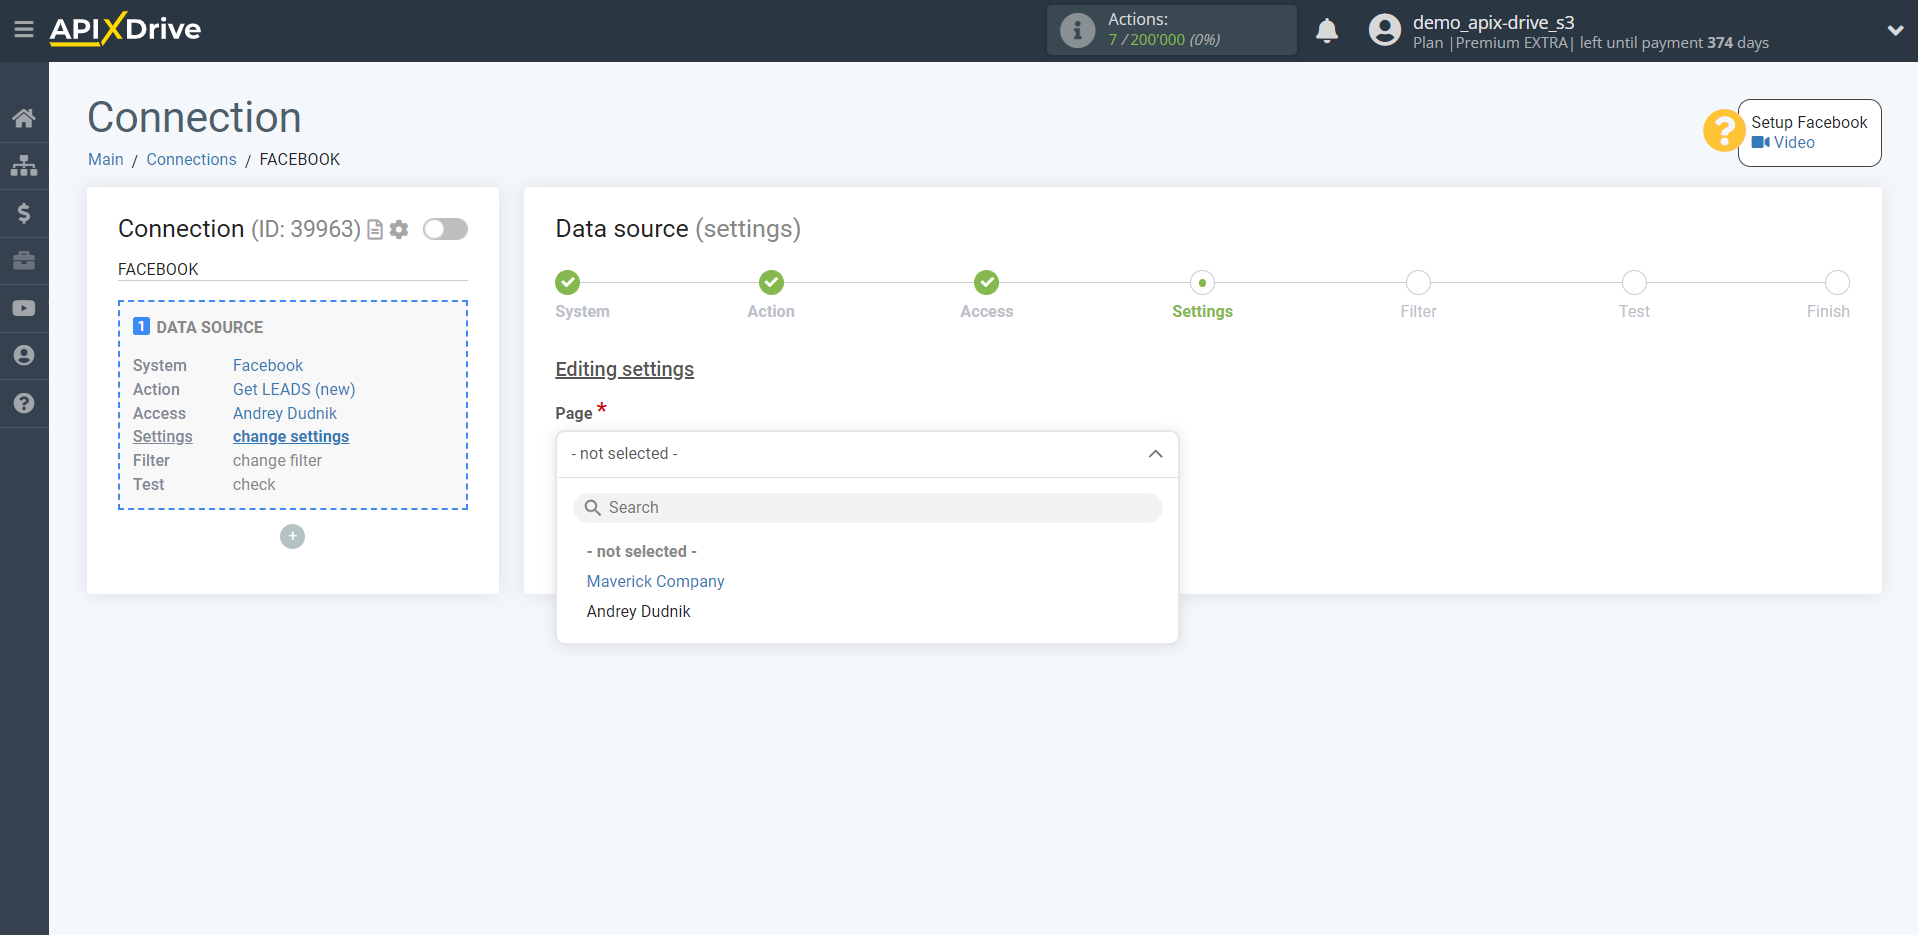
Note! If the required advertising page is not in the dropdown list, or after connecting the advertising account you have access to new advertising pages, you will need to connect your Facebook account again.
To do this, follow these steps:
1. Check the availability of admin access to the required advertising pages.
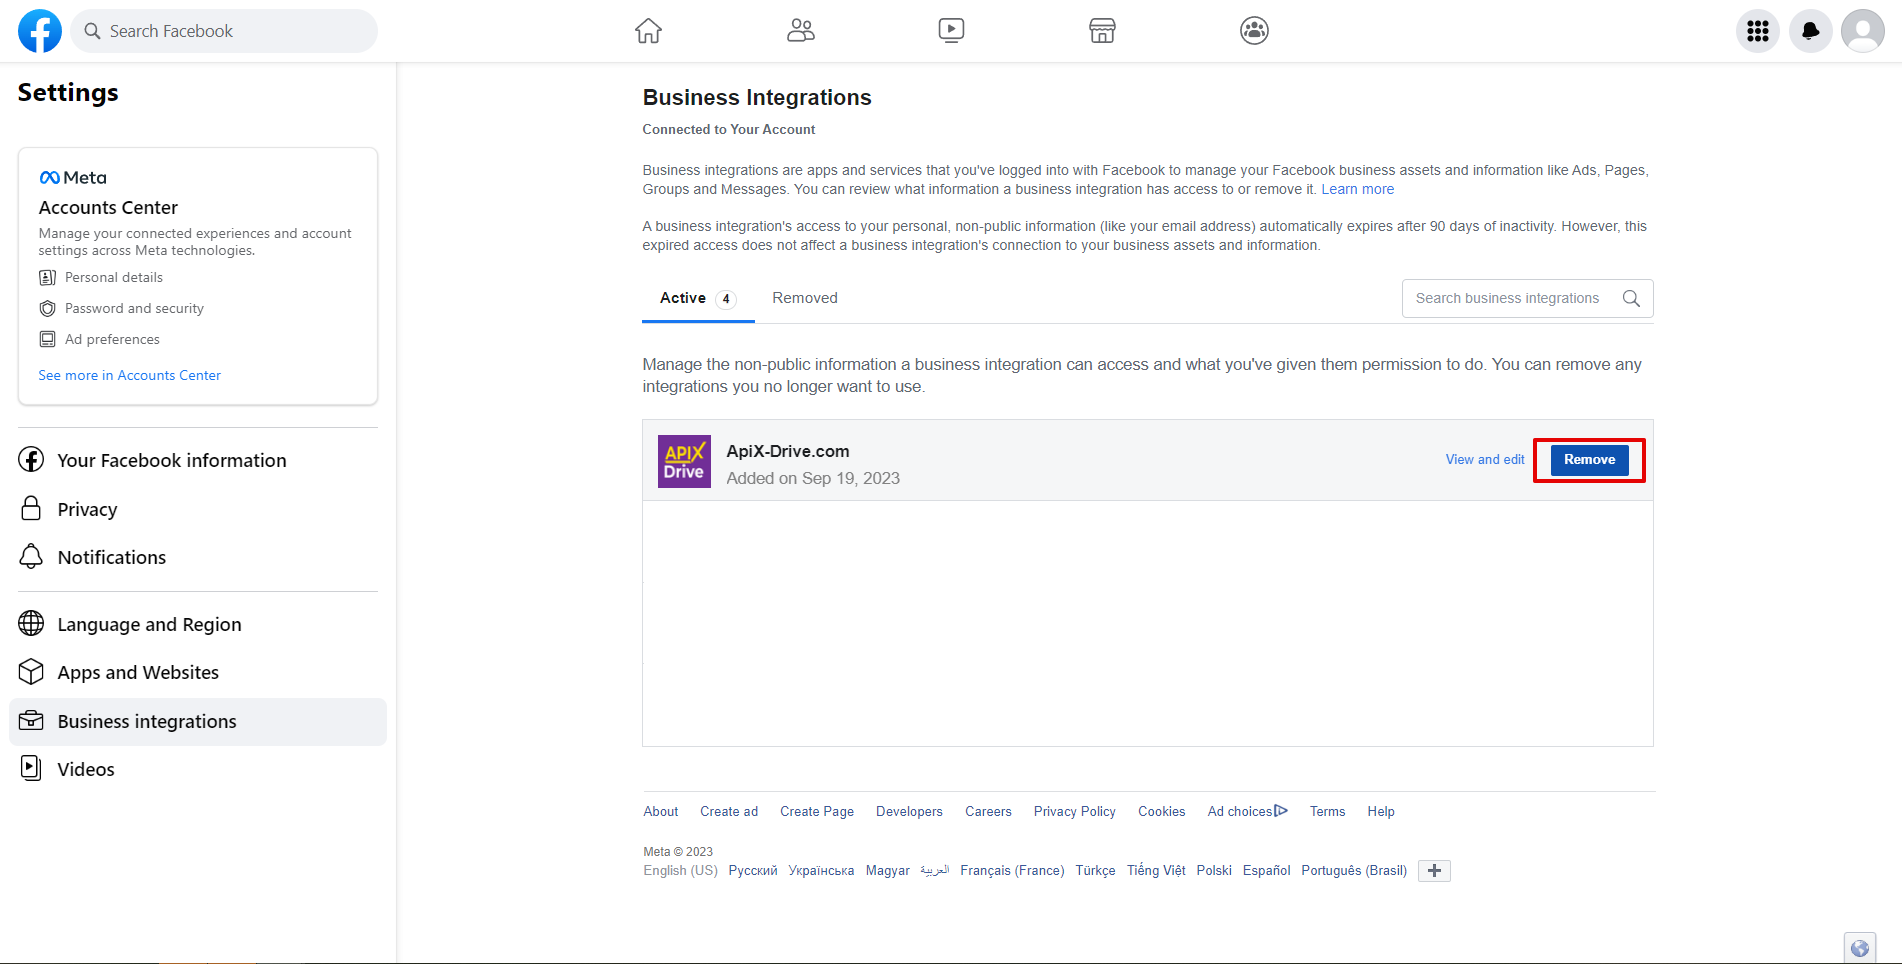
2. Go to your Facebook account under Settings and Privacy - Settings, then go to Business Integrations.
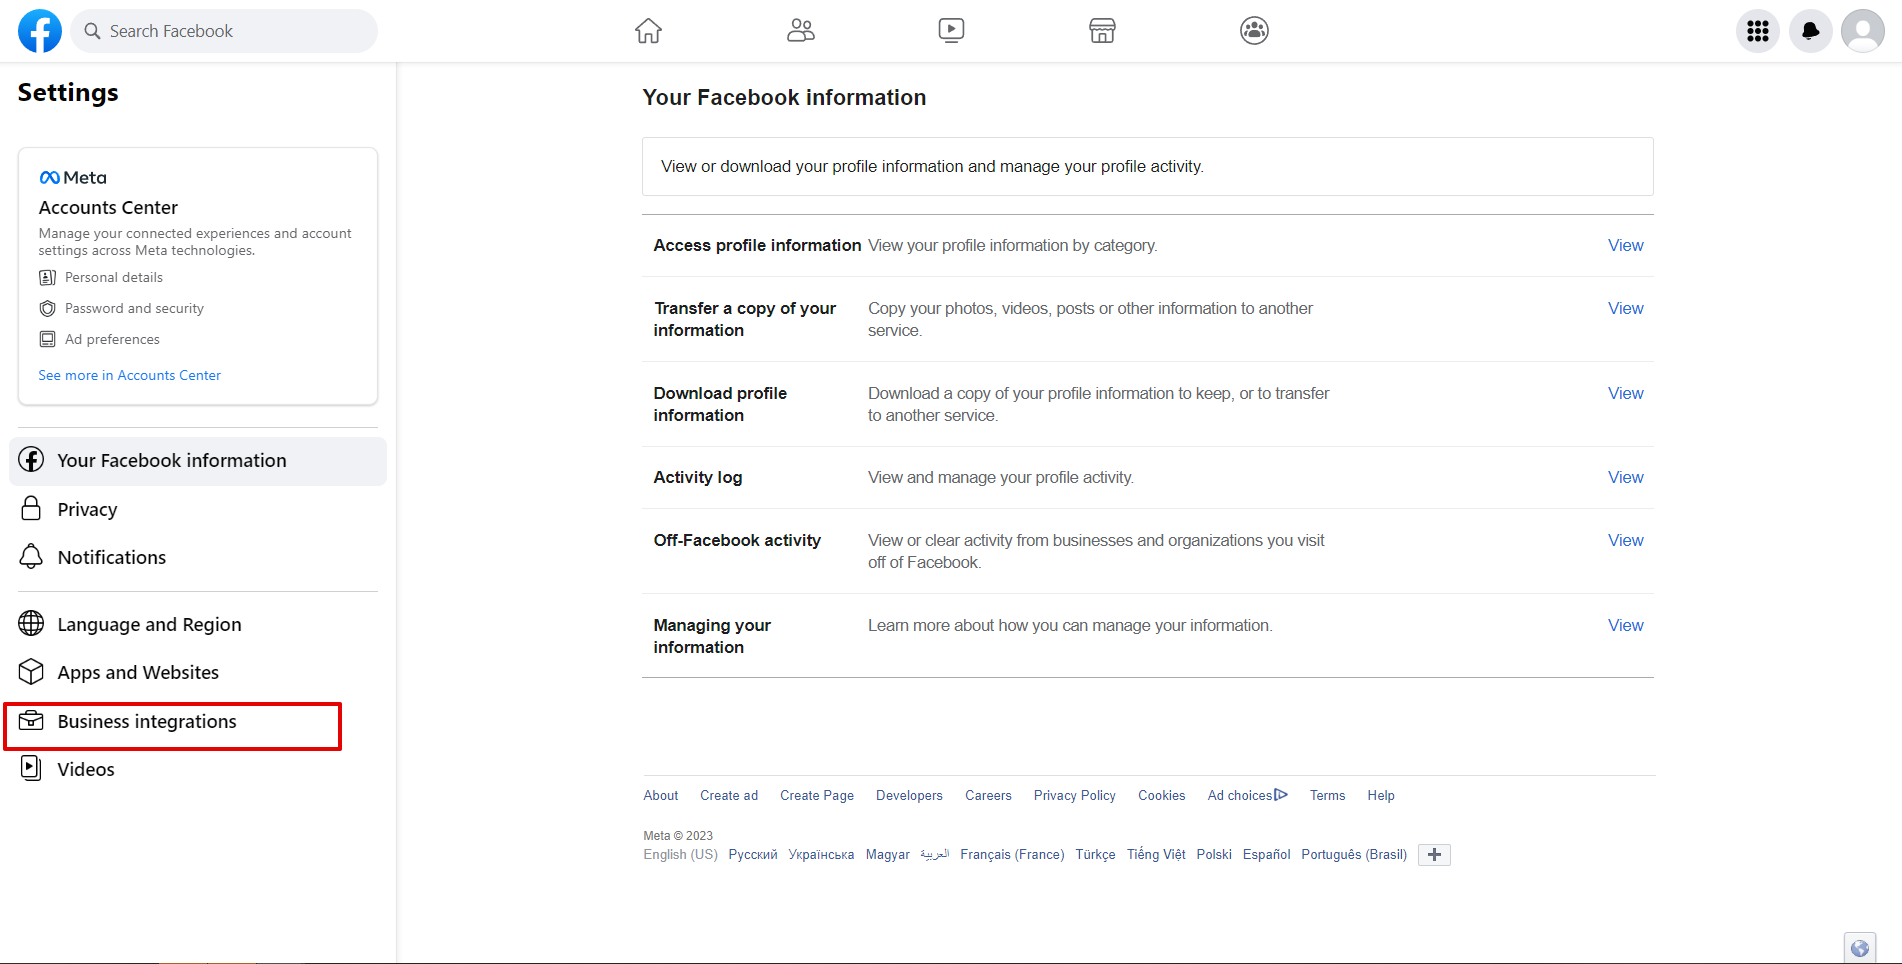
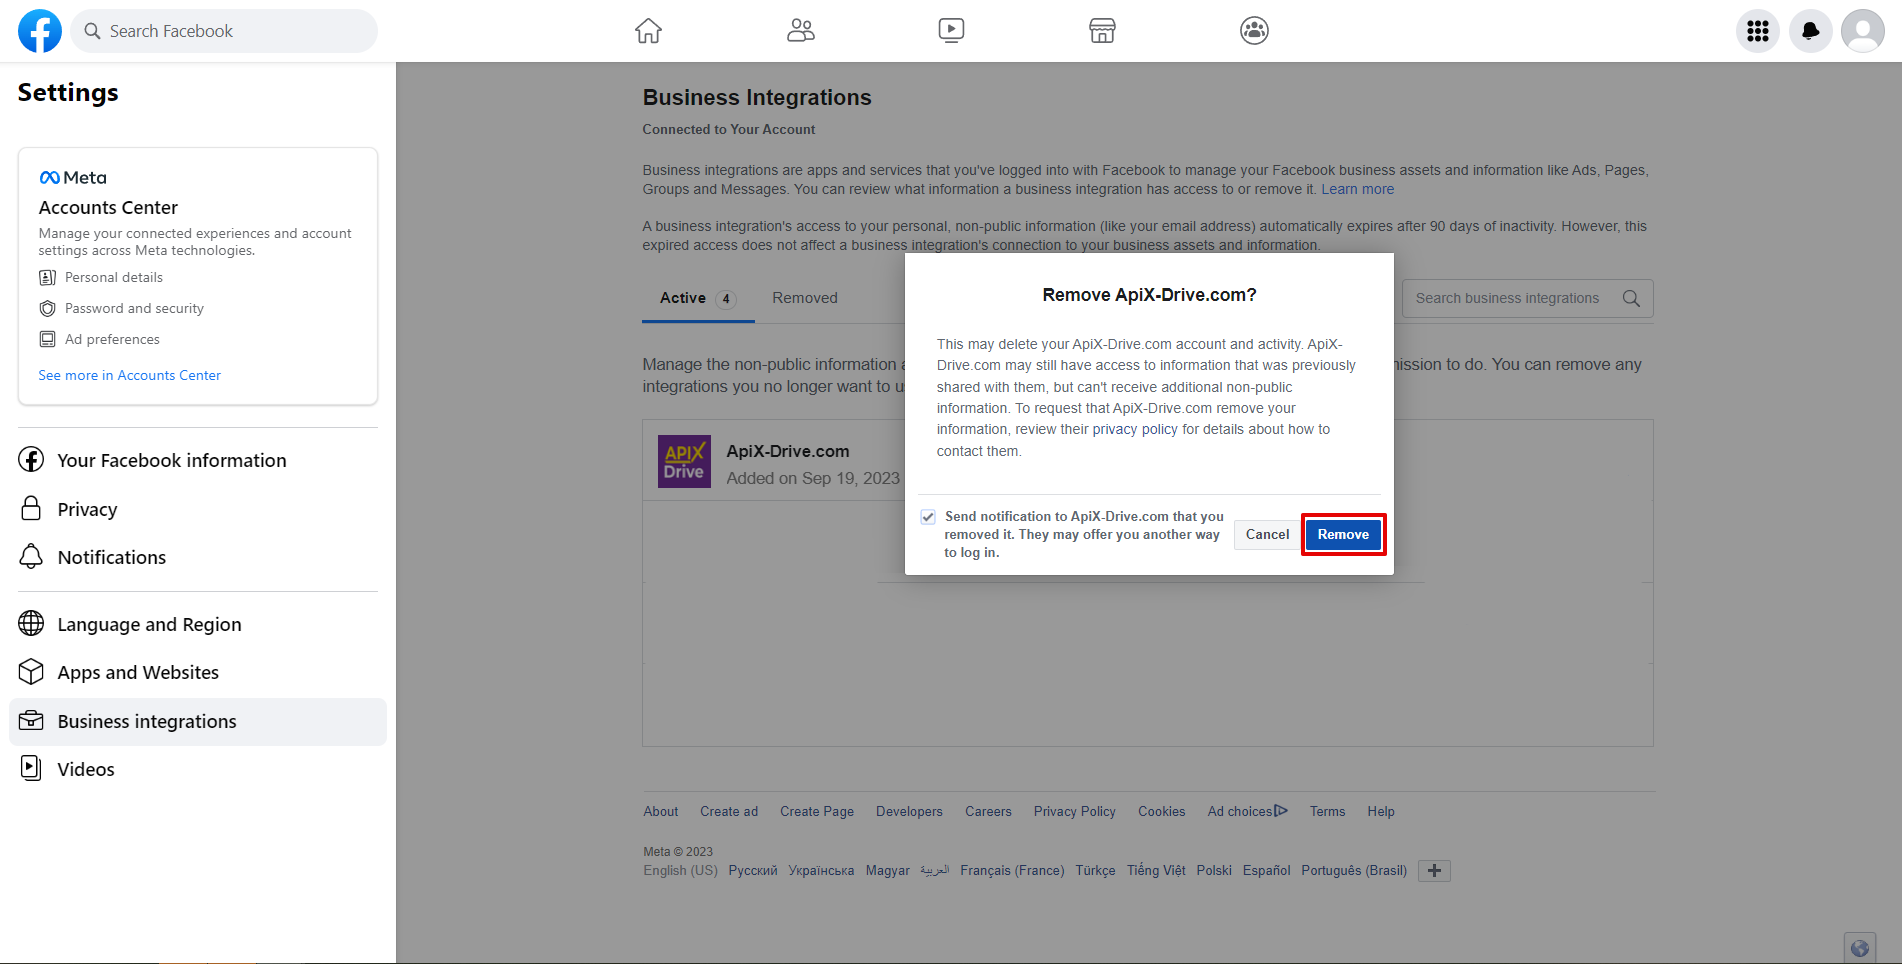
3. Remove the ApiX-Drive application.
4. Switch to Incognito mode in your browser.
5. Go to the connection to the Access step in the Data Source and click “Connect Account”.
6. Go to Edit access when connecting and check the boxes for the required pages. Select all checkboxes.


7. Click "Edit and Continue".
8. Now you can select the required advertising page from the dropdown list.
Select the forms that will used to get leads, or select to сonnect all current and new forms automatically.
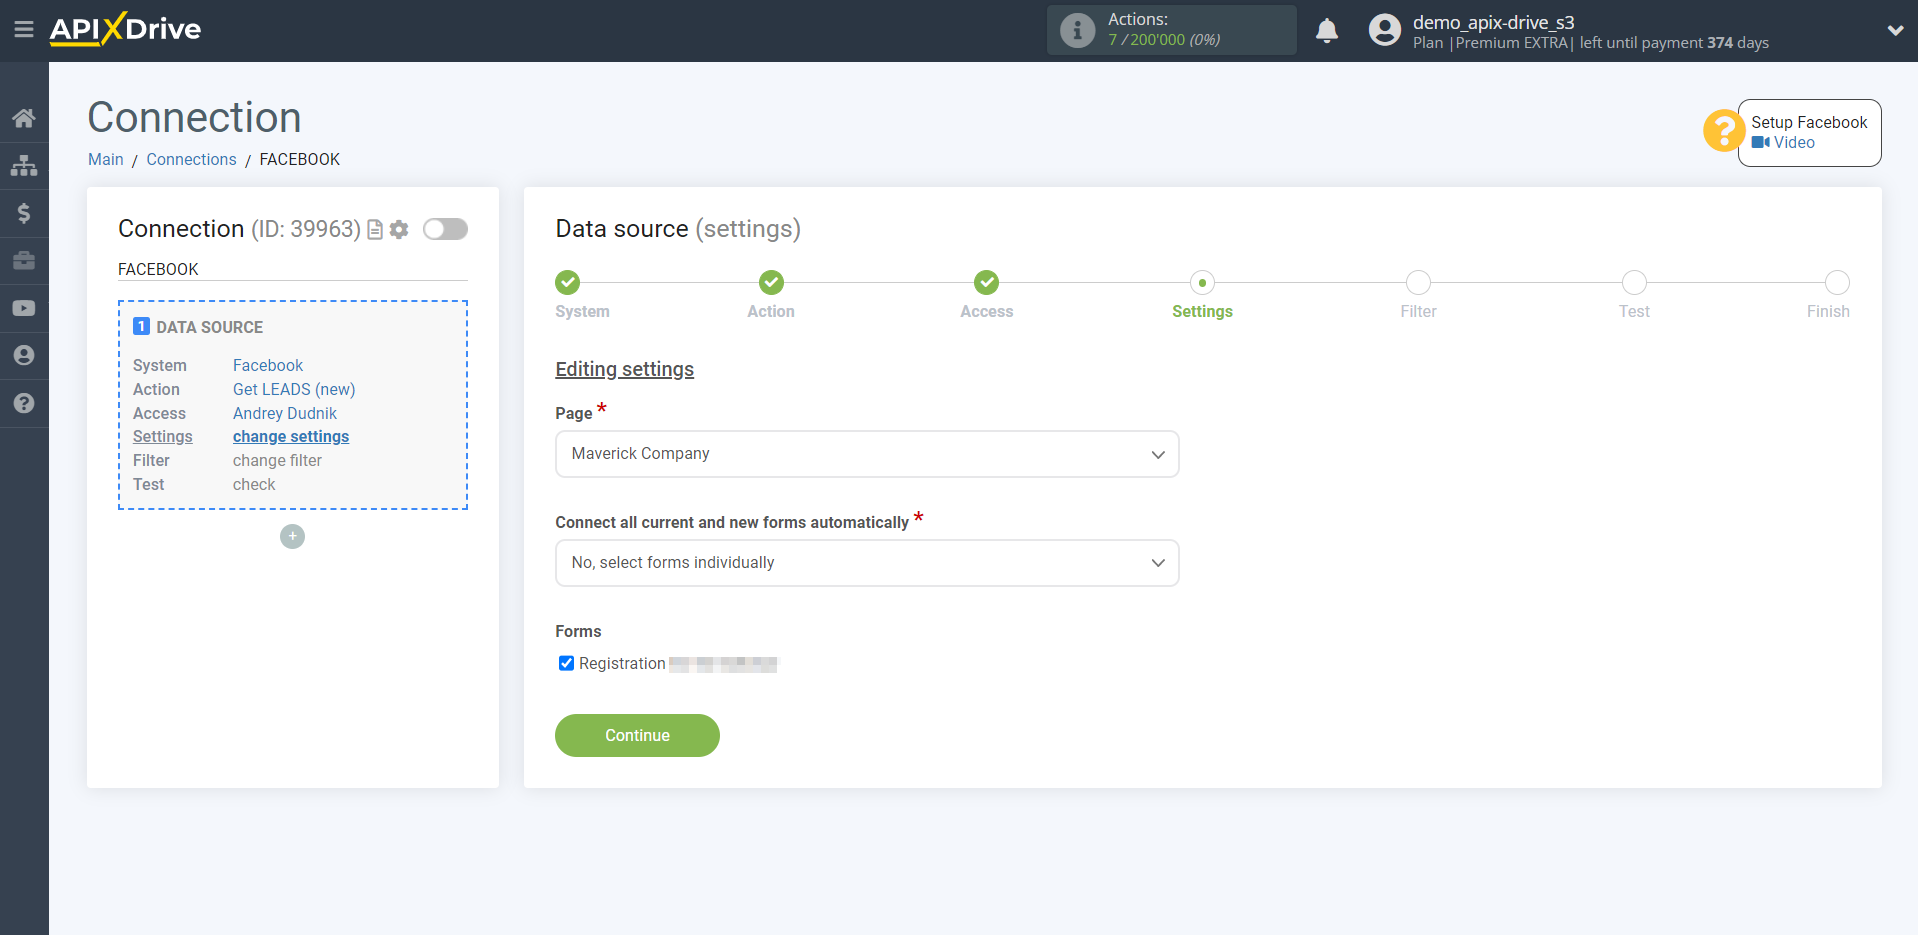
Note! If you changed the fields in the current form or added a new form in your Facebook account, you need to reload the current data in ApiX-Drive.
To do this, follow these steps:
1. Go to the Access stage in the Data Source, without changing anything, click "Edit and continue".
2. Reselect your advertising page and forms.
3. Go to the Test step and click "Load test data from Facebook".
4. After the actual fields for collecting contacts on all forms appear, go to the Change settings step in the Data Destination and assign these variables to the required fields of the Data Destination system.
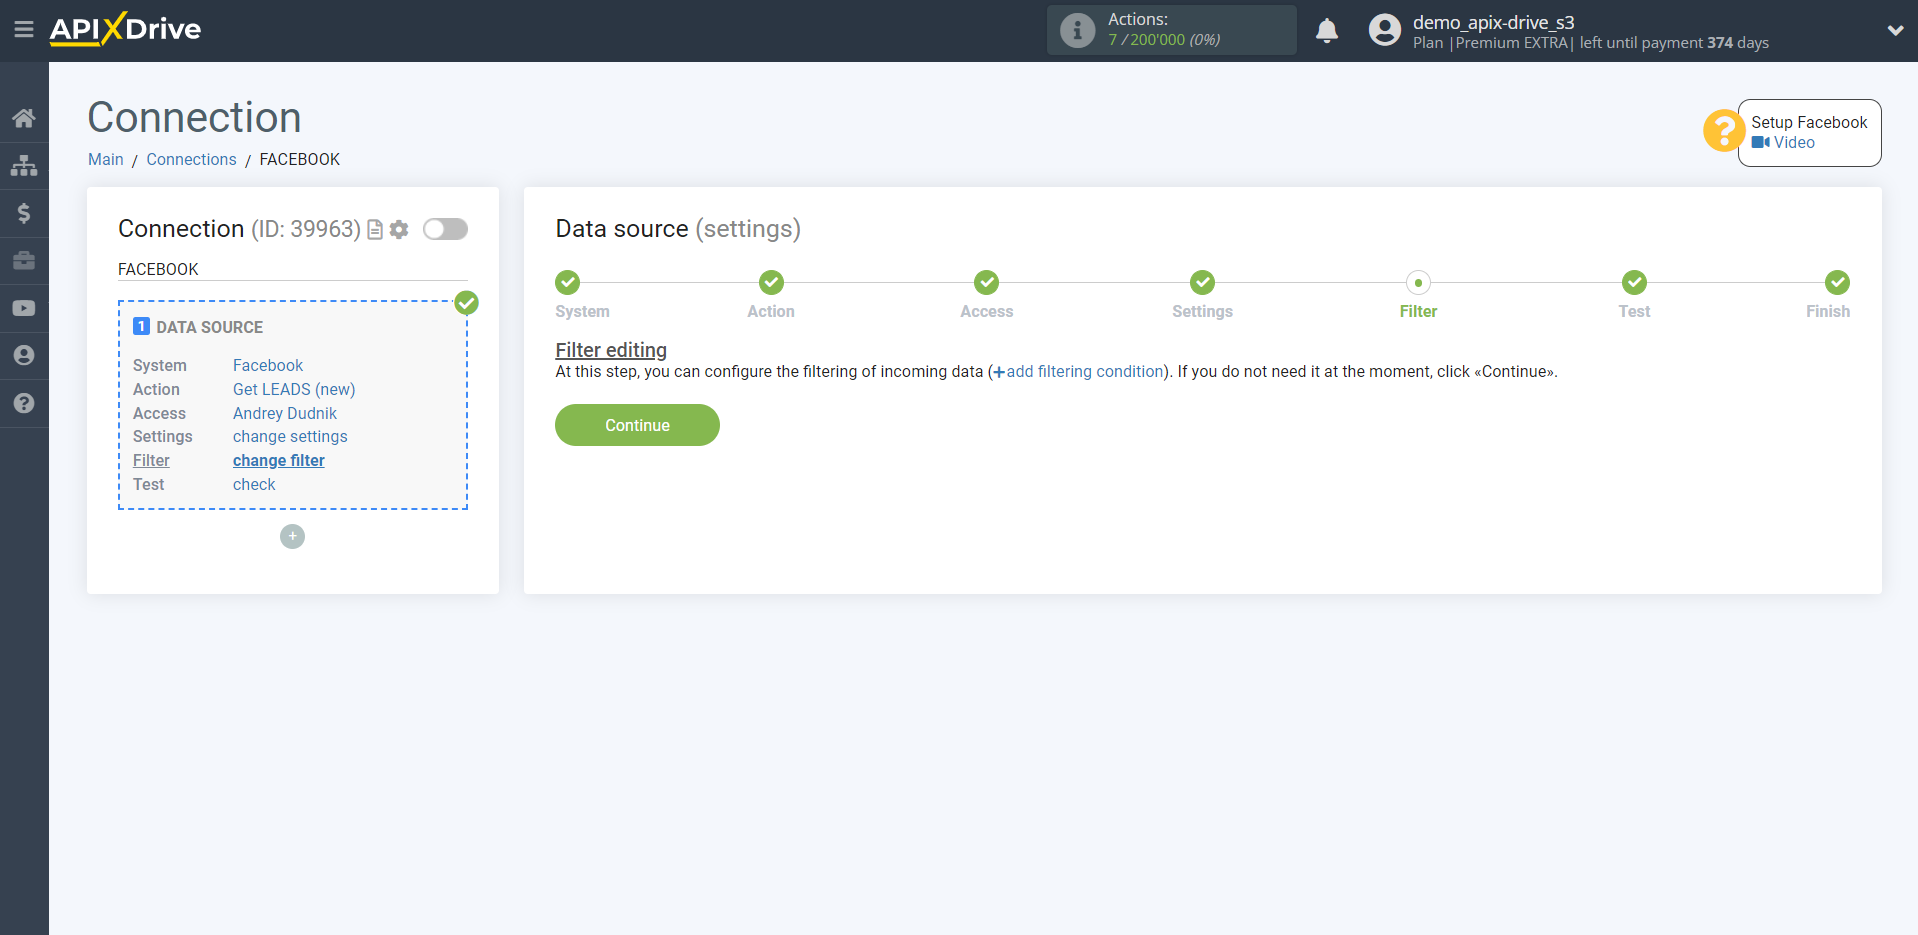
If necessary, you can set up a Data Filter, or click "Continue" to skip this step.
To find out how to setup the Data Filter, follow the link: https://apix-drive.com/en/help/data-filter
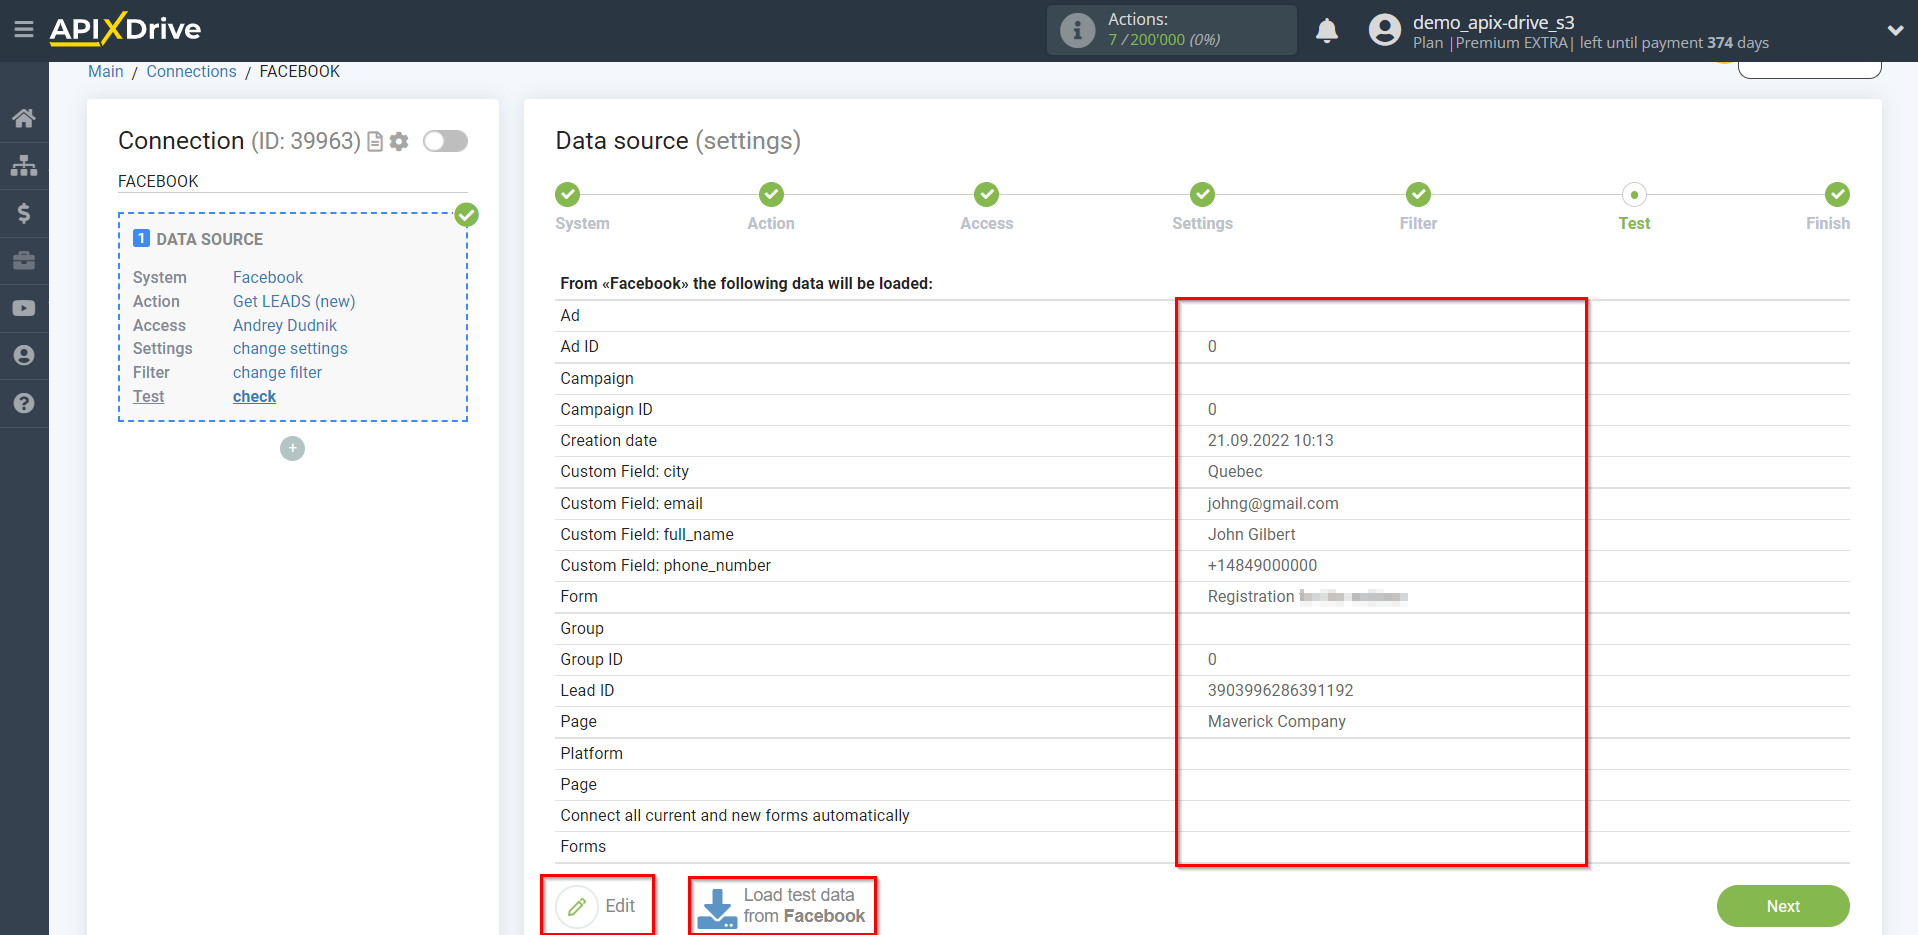
Now you can see the test data for one of the leads.
If your form is set up, but the ad is not running, will empty the fields with contact information , and filled in with for example our data . It is advisable to wait for data on a real lead or generate test data in your Facebook account manually.
Note!
If you have selected several forms at once, then at this stage will get the lead for one of the forms, and will get the fields that are set up for all forms. That is, if you have the fields "first-name" and "phone_number" set up on one form, they will filled in, and on the other form, the fields "full_name" and "phone_number_additional" will empty fields , then you need to assign all these four fields, because when will get lead with other fields filled in, nothing will get to the fields of the "Data Destination" system.
This completes the entire Data Source setup! See how easy it is!?
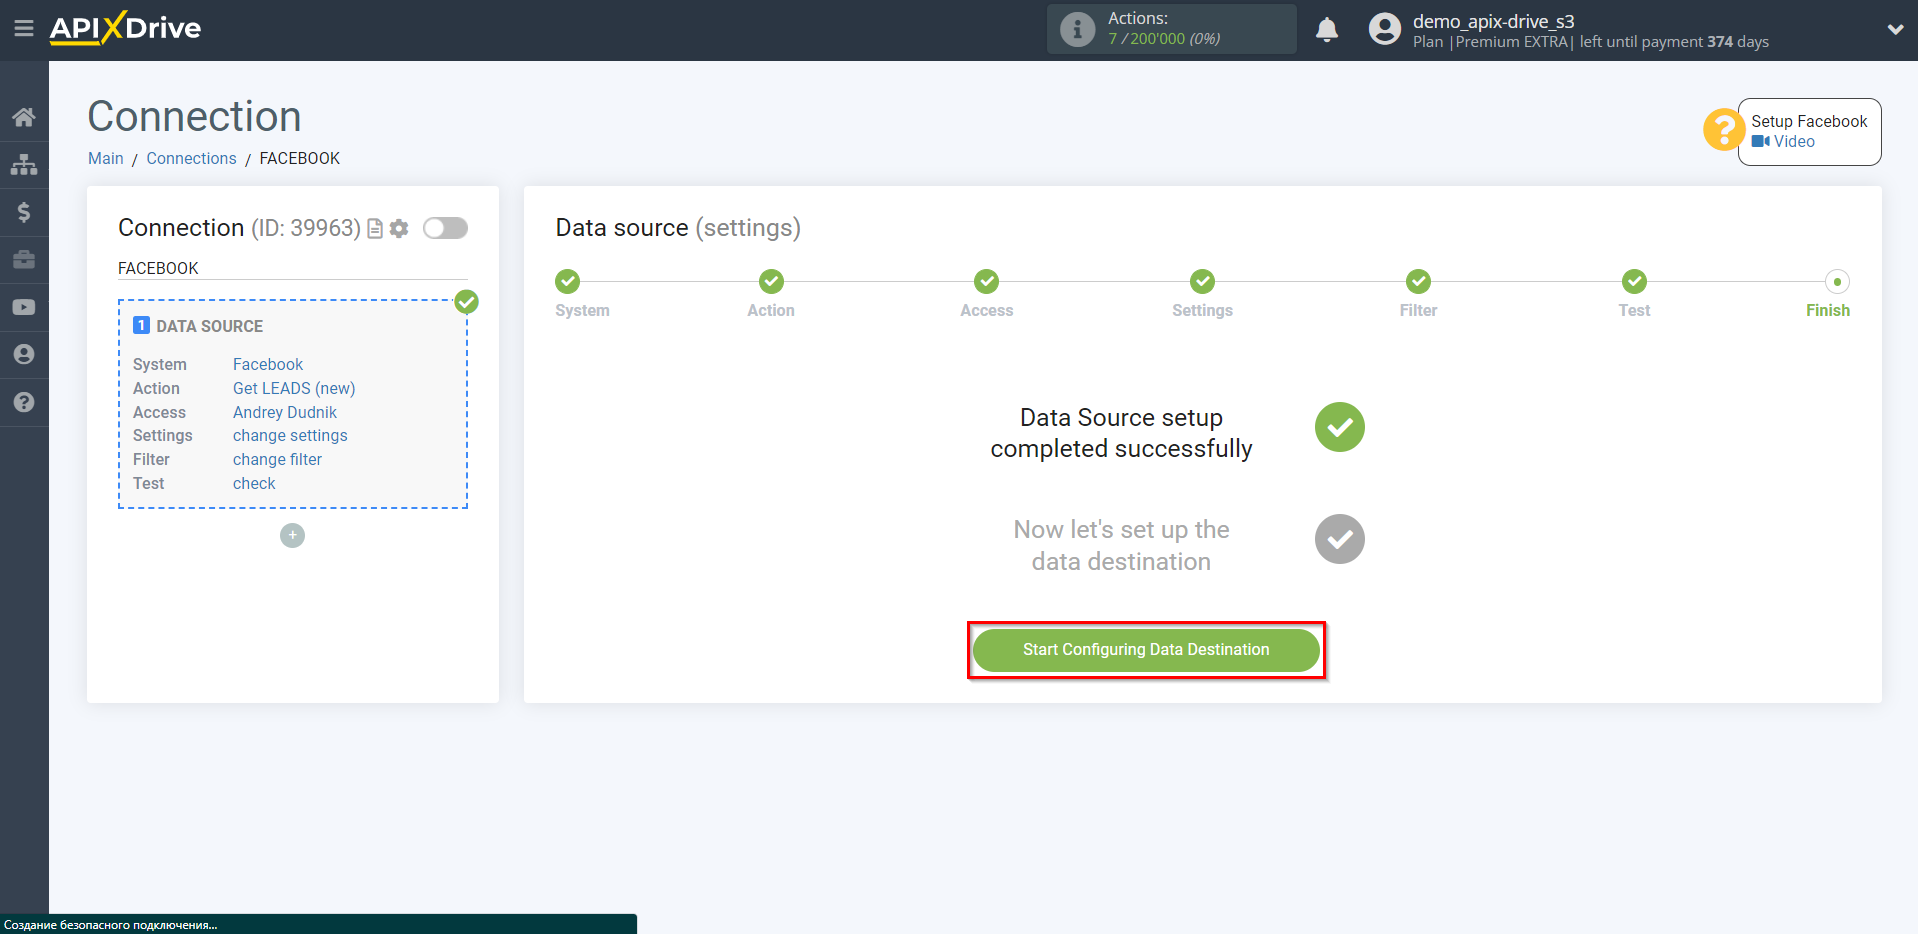
Now you can start configuring the Data Destination system.
To do this, setup it yourself or go to the help section "Data Destination", select the service you need as Data Destination, and follow the setup recommendations.
Good luck!
