How to Connect Instagram as Data Source
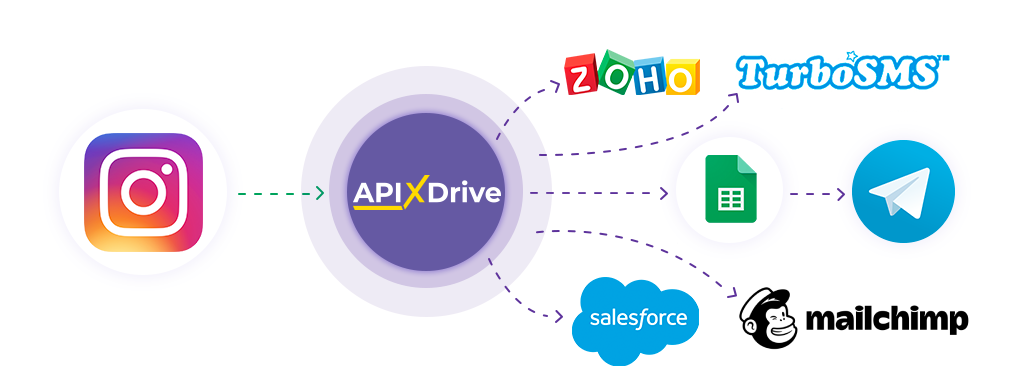
Integration will allow you to get data from Instagram on new messages, posts and comments, transferring them to other systems. For example, you can transfer data on new posts to CRM or Google Sheets, or send them as notifications to a Discord. This way you can automate the process of Instagram interaction in conjunction with the services you use and store all the information in one convenient place for you.
Let's go through the entire Instagram setup steps together!
Navigation:
1. What data can you get from Instagram?
2. How to connect your Instagram account to ApiX-Drive to get comments?
3. How to connect your Instagram account to ApiX-Drive to get posts?
4. How to set up get data from Instagram in the selected action.
Get COMMENTS (new)
Get POSTS (new)
5. Example of comment data.
6. Example of post data.
Answers to frequently asked questions:
1. The required Instagram page or account is not listed for get comments
2. We are not get posts from our Instagram account
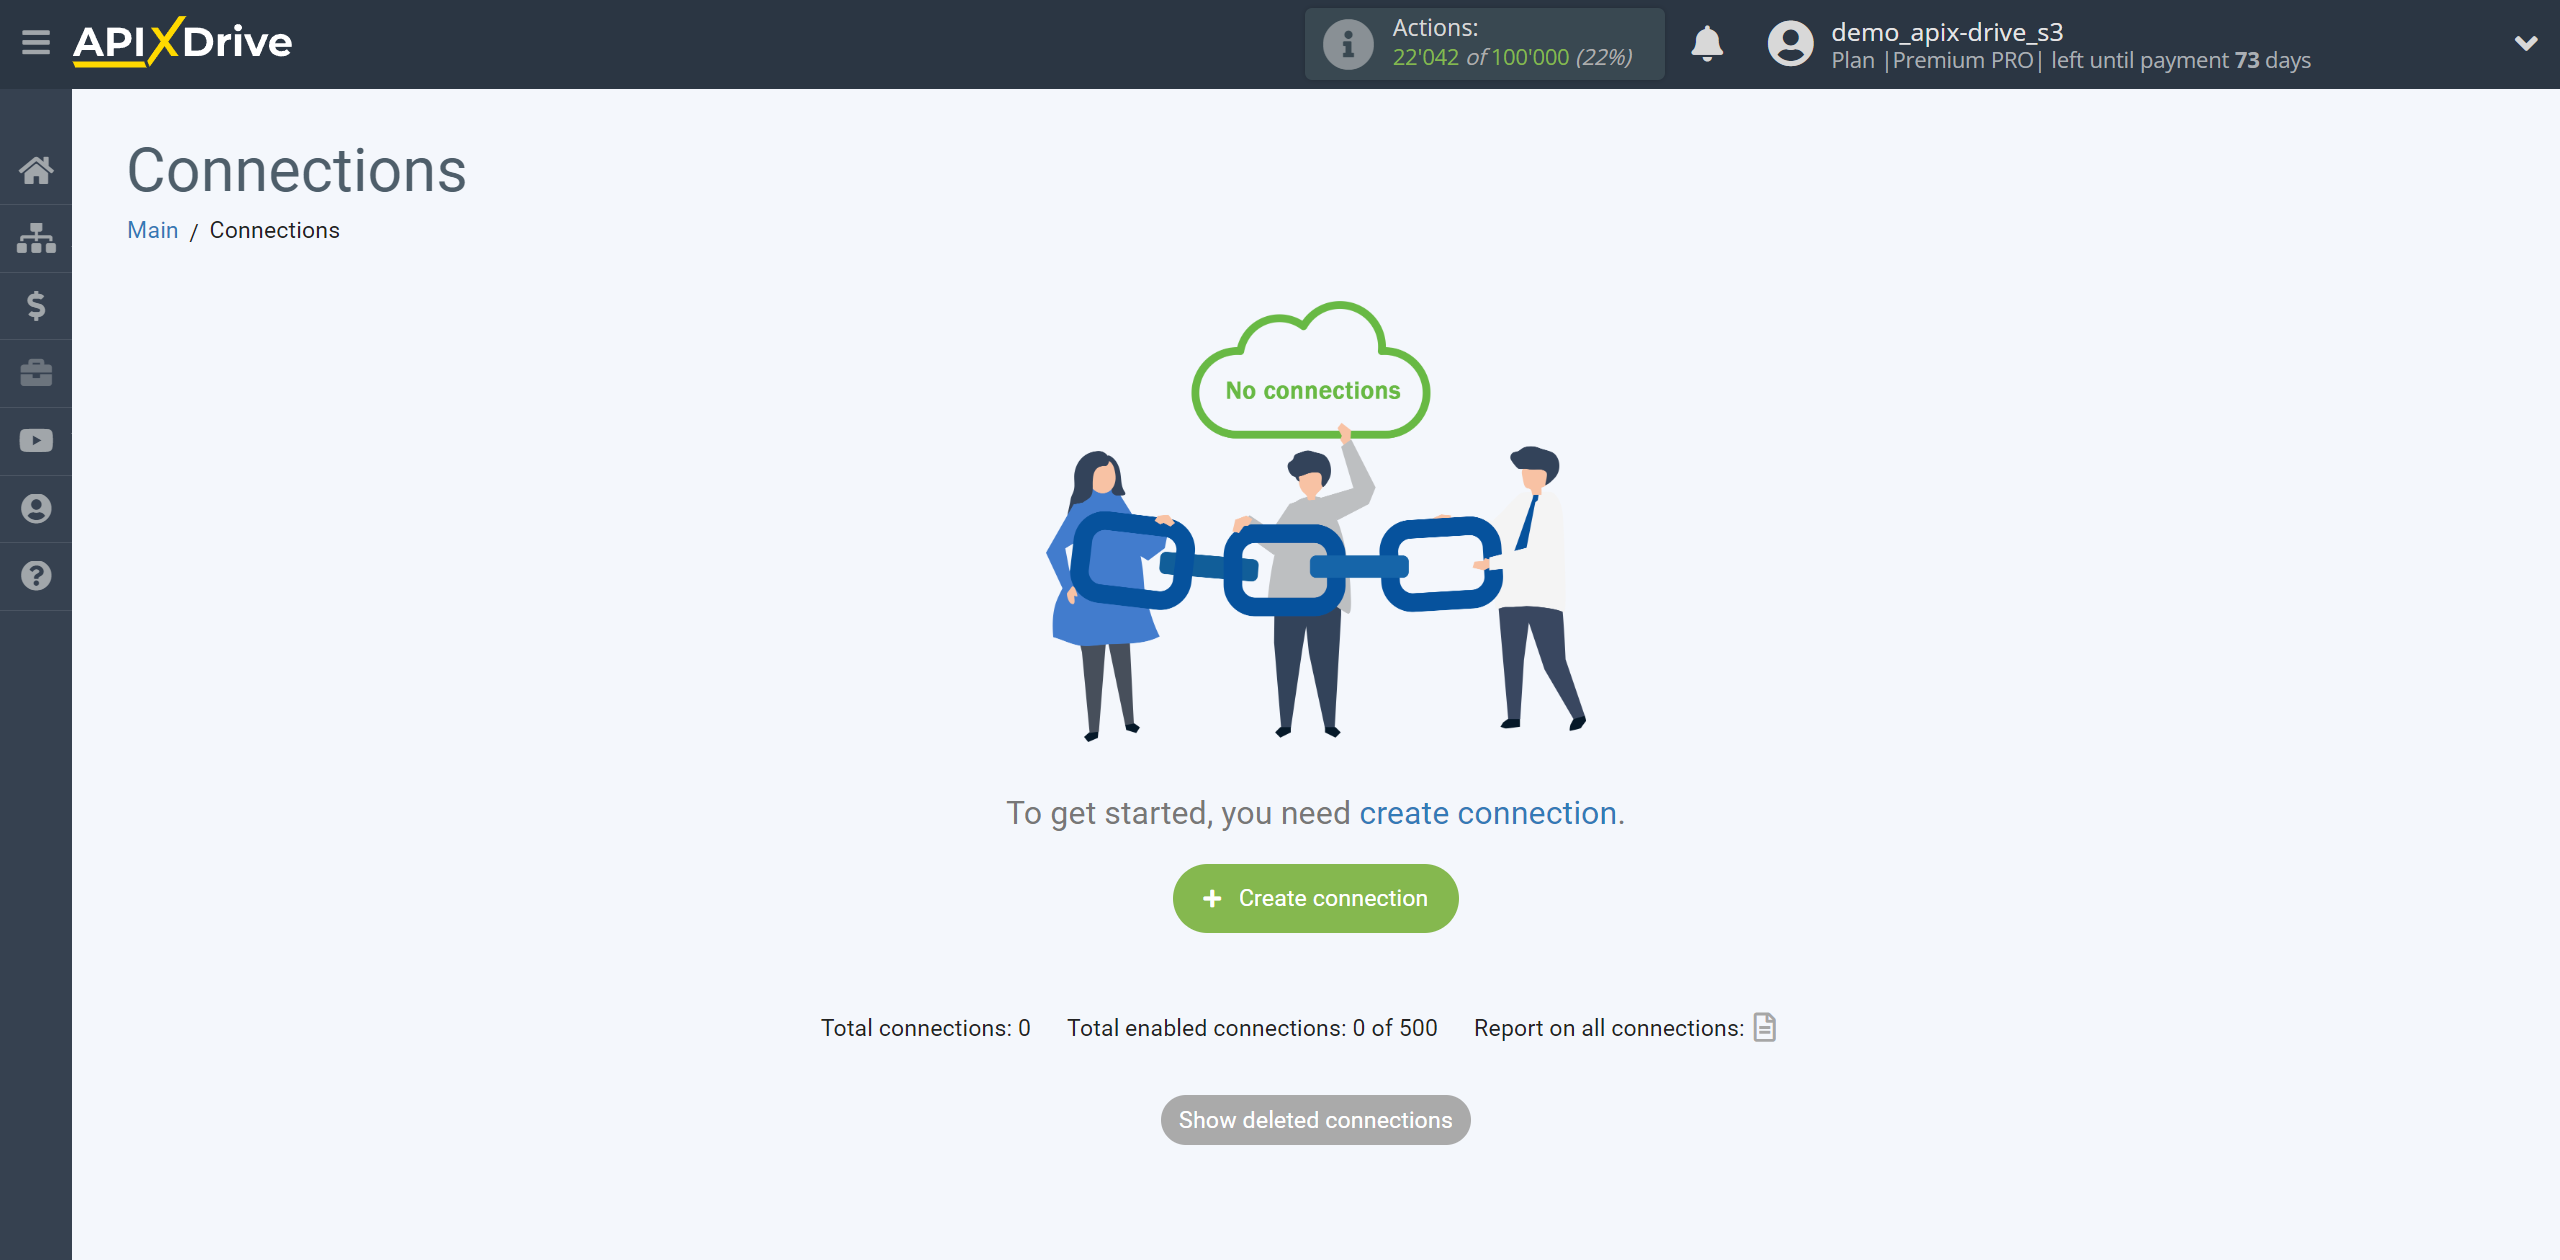
To start setup a new connection, click "Create connection"
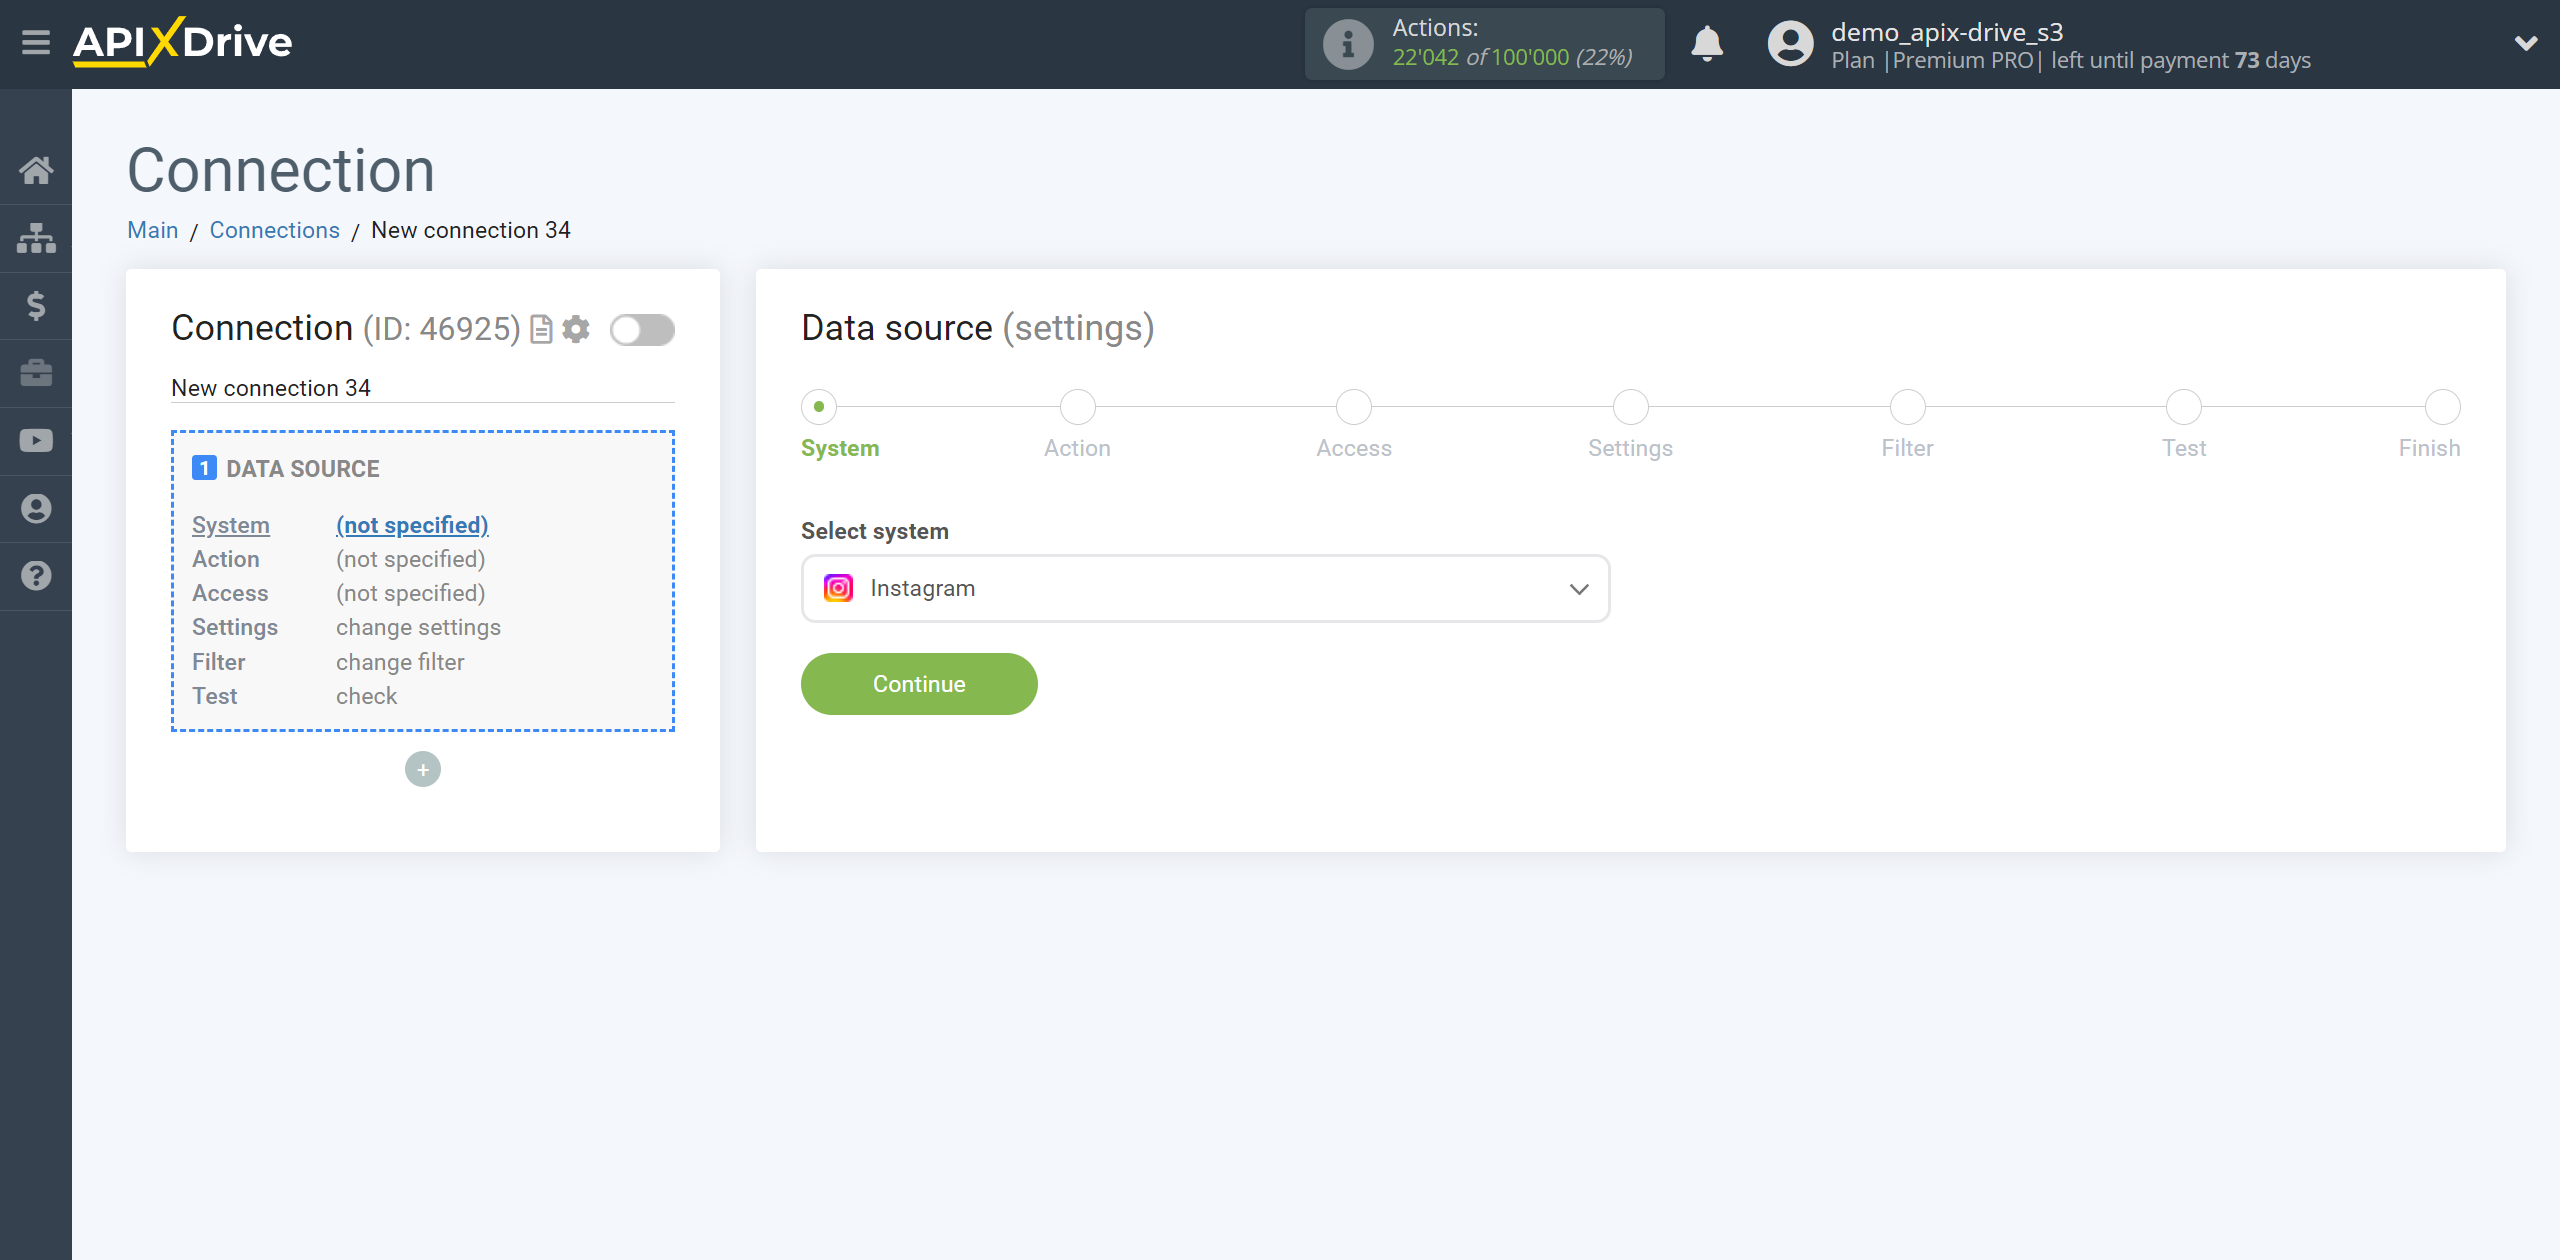
Select the system as the Data Source. In this case, you must specify Instagram.
Next, you need to specify an action, for example “Get COMMENTS (new)”:
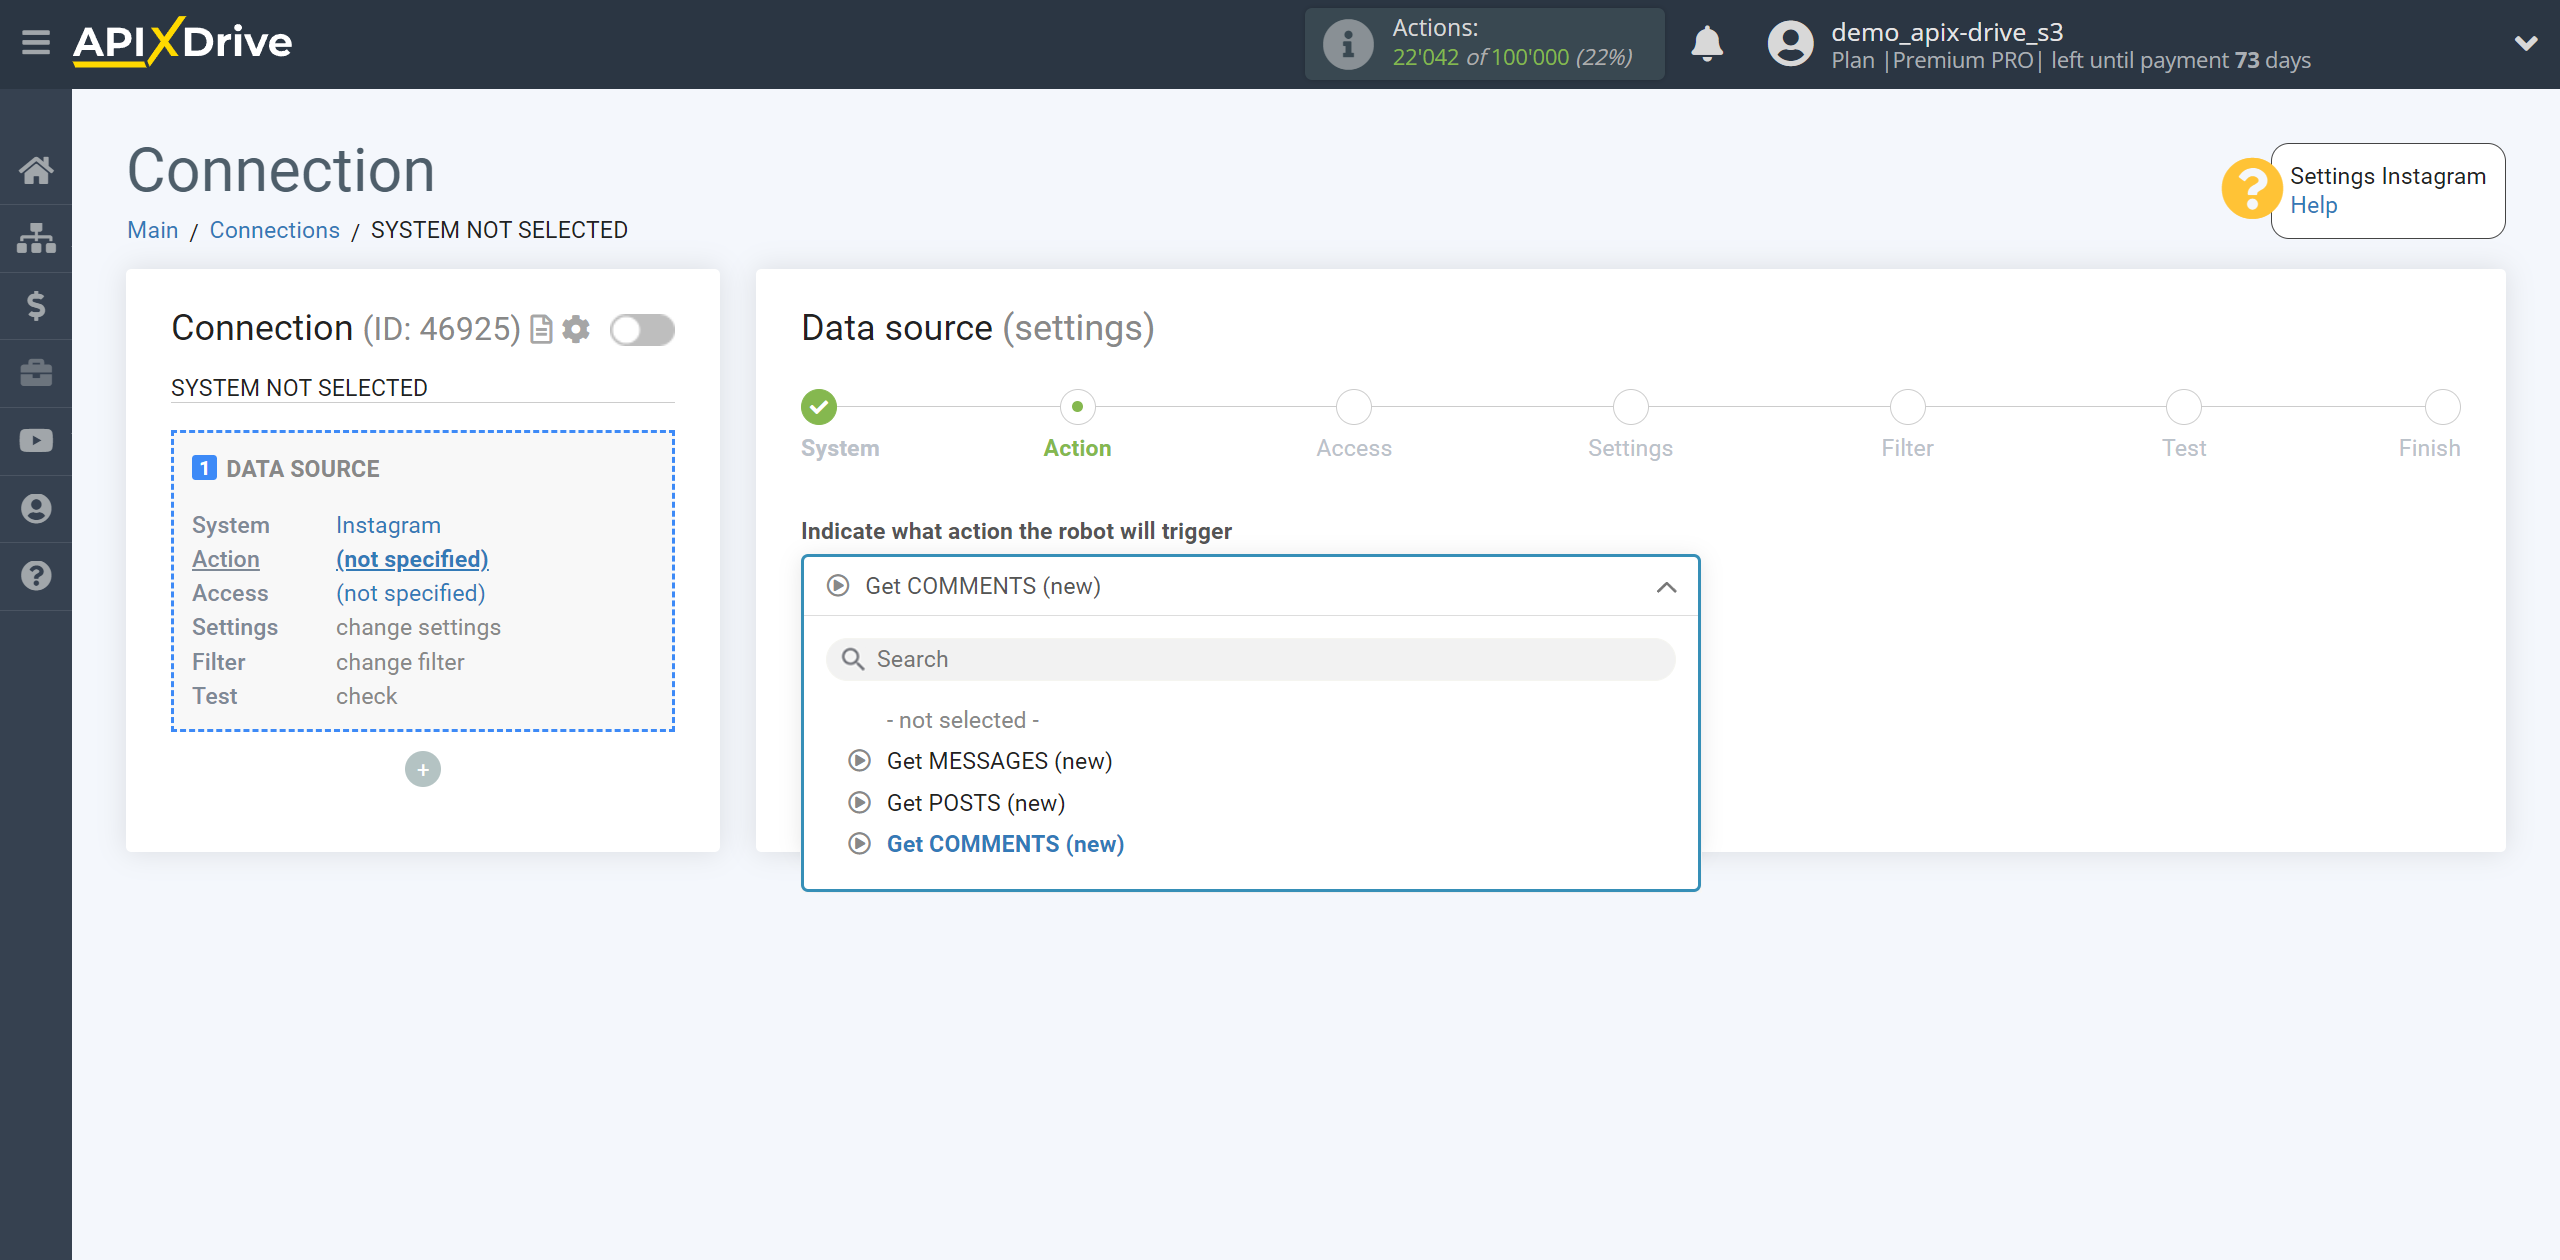
- Get POSTS (new) - Apix-Drive will get from your Instagram account all new posts that appear after setting up the connection and running auto-update.
- Get COMMENTS (new) - Apix-Drive will get from your Instagram account all new comments that appear after setting up the connection and running auto-update.
- Get MESSAGES (new) - Apix-Drive will get from your Instagram account all new messages that appear after setting up the connection and running auto-update.
The next step is to select the Instagram account from which will get the comments.
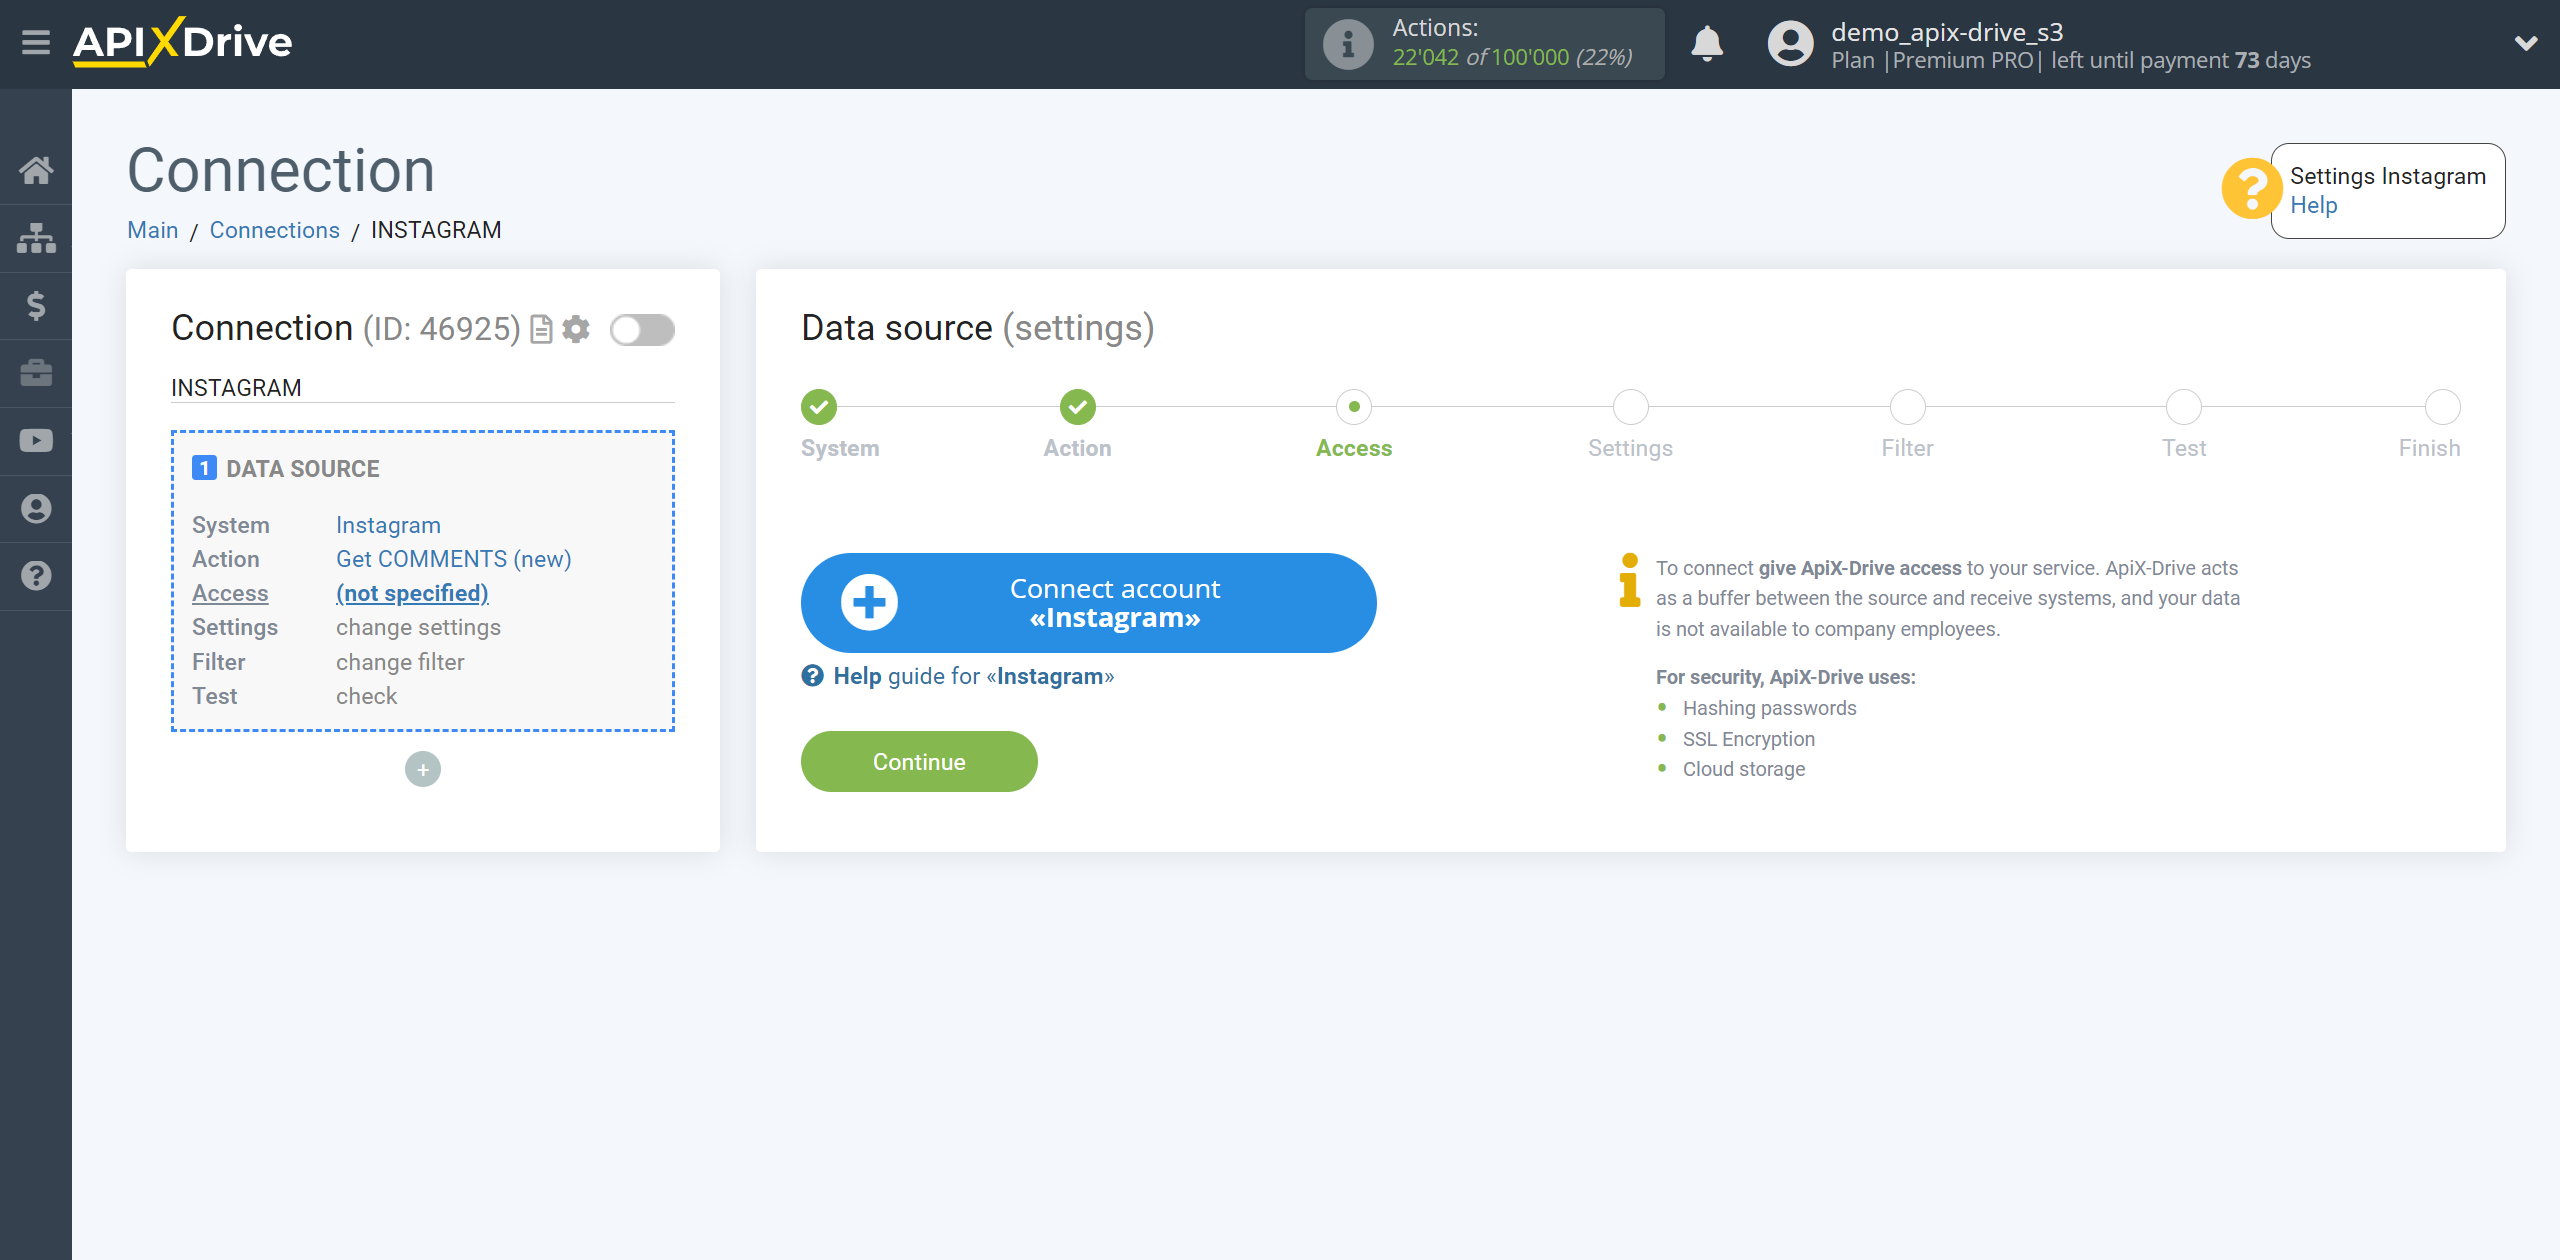
If there are no connected accounts to the system, click “Connect account”.
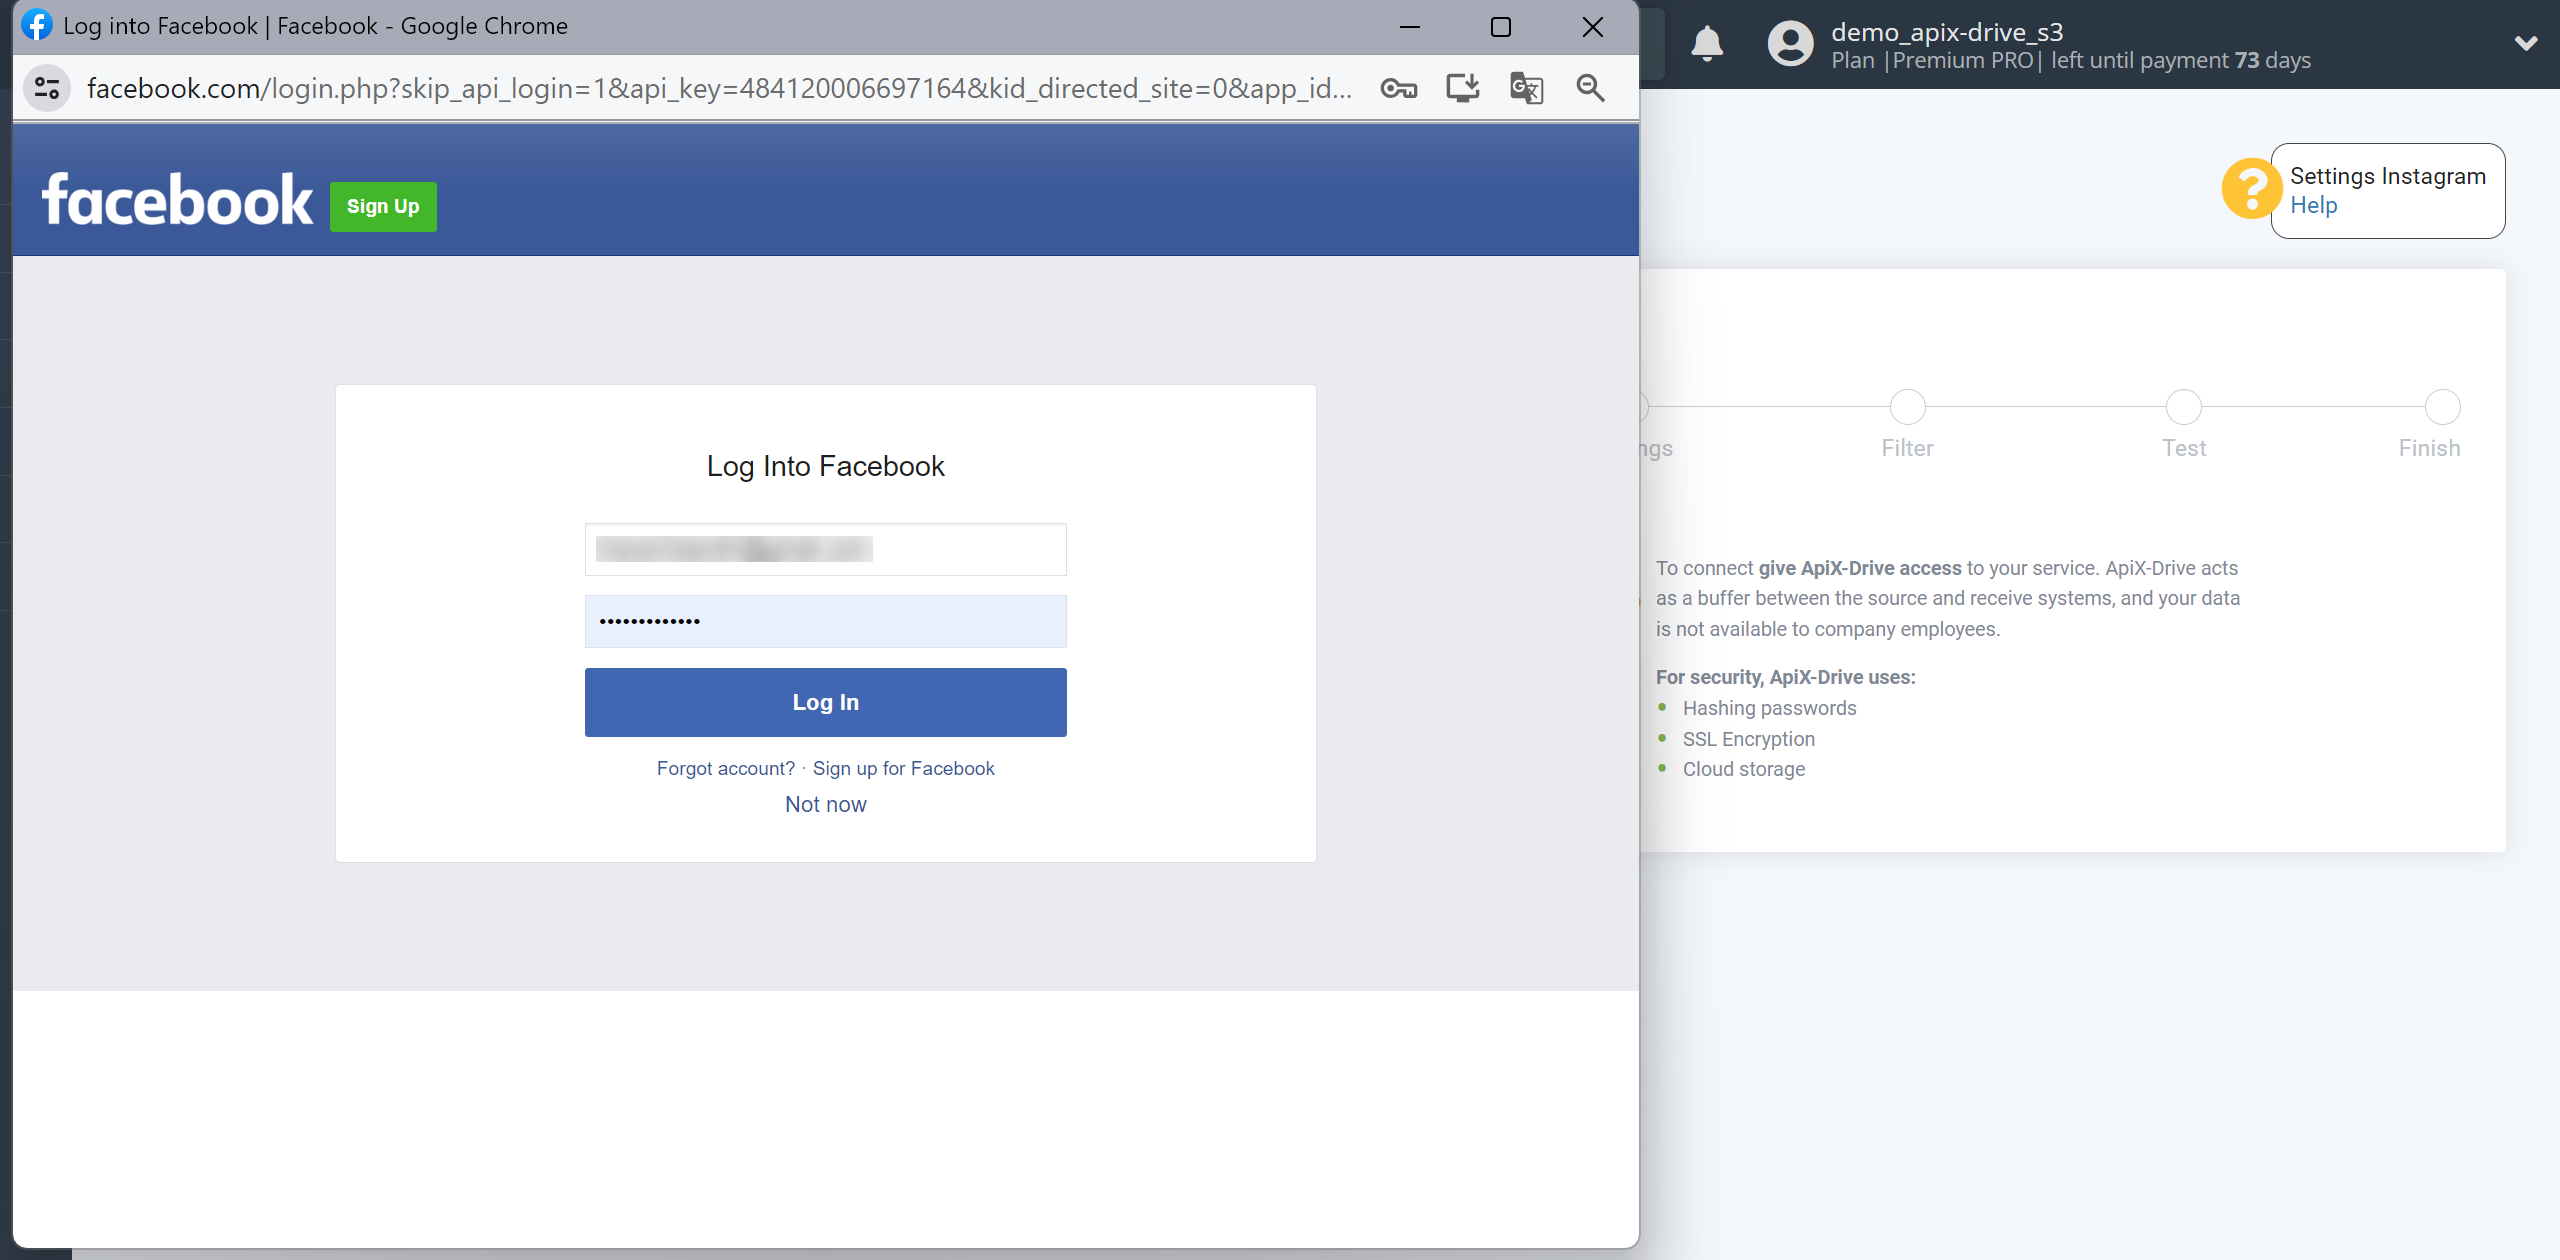
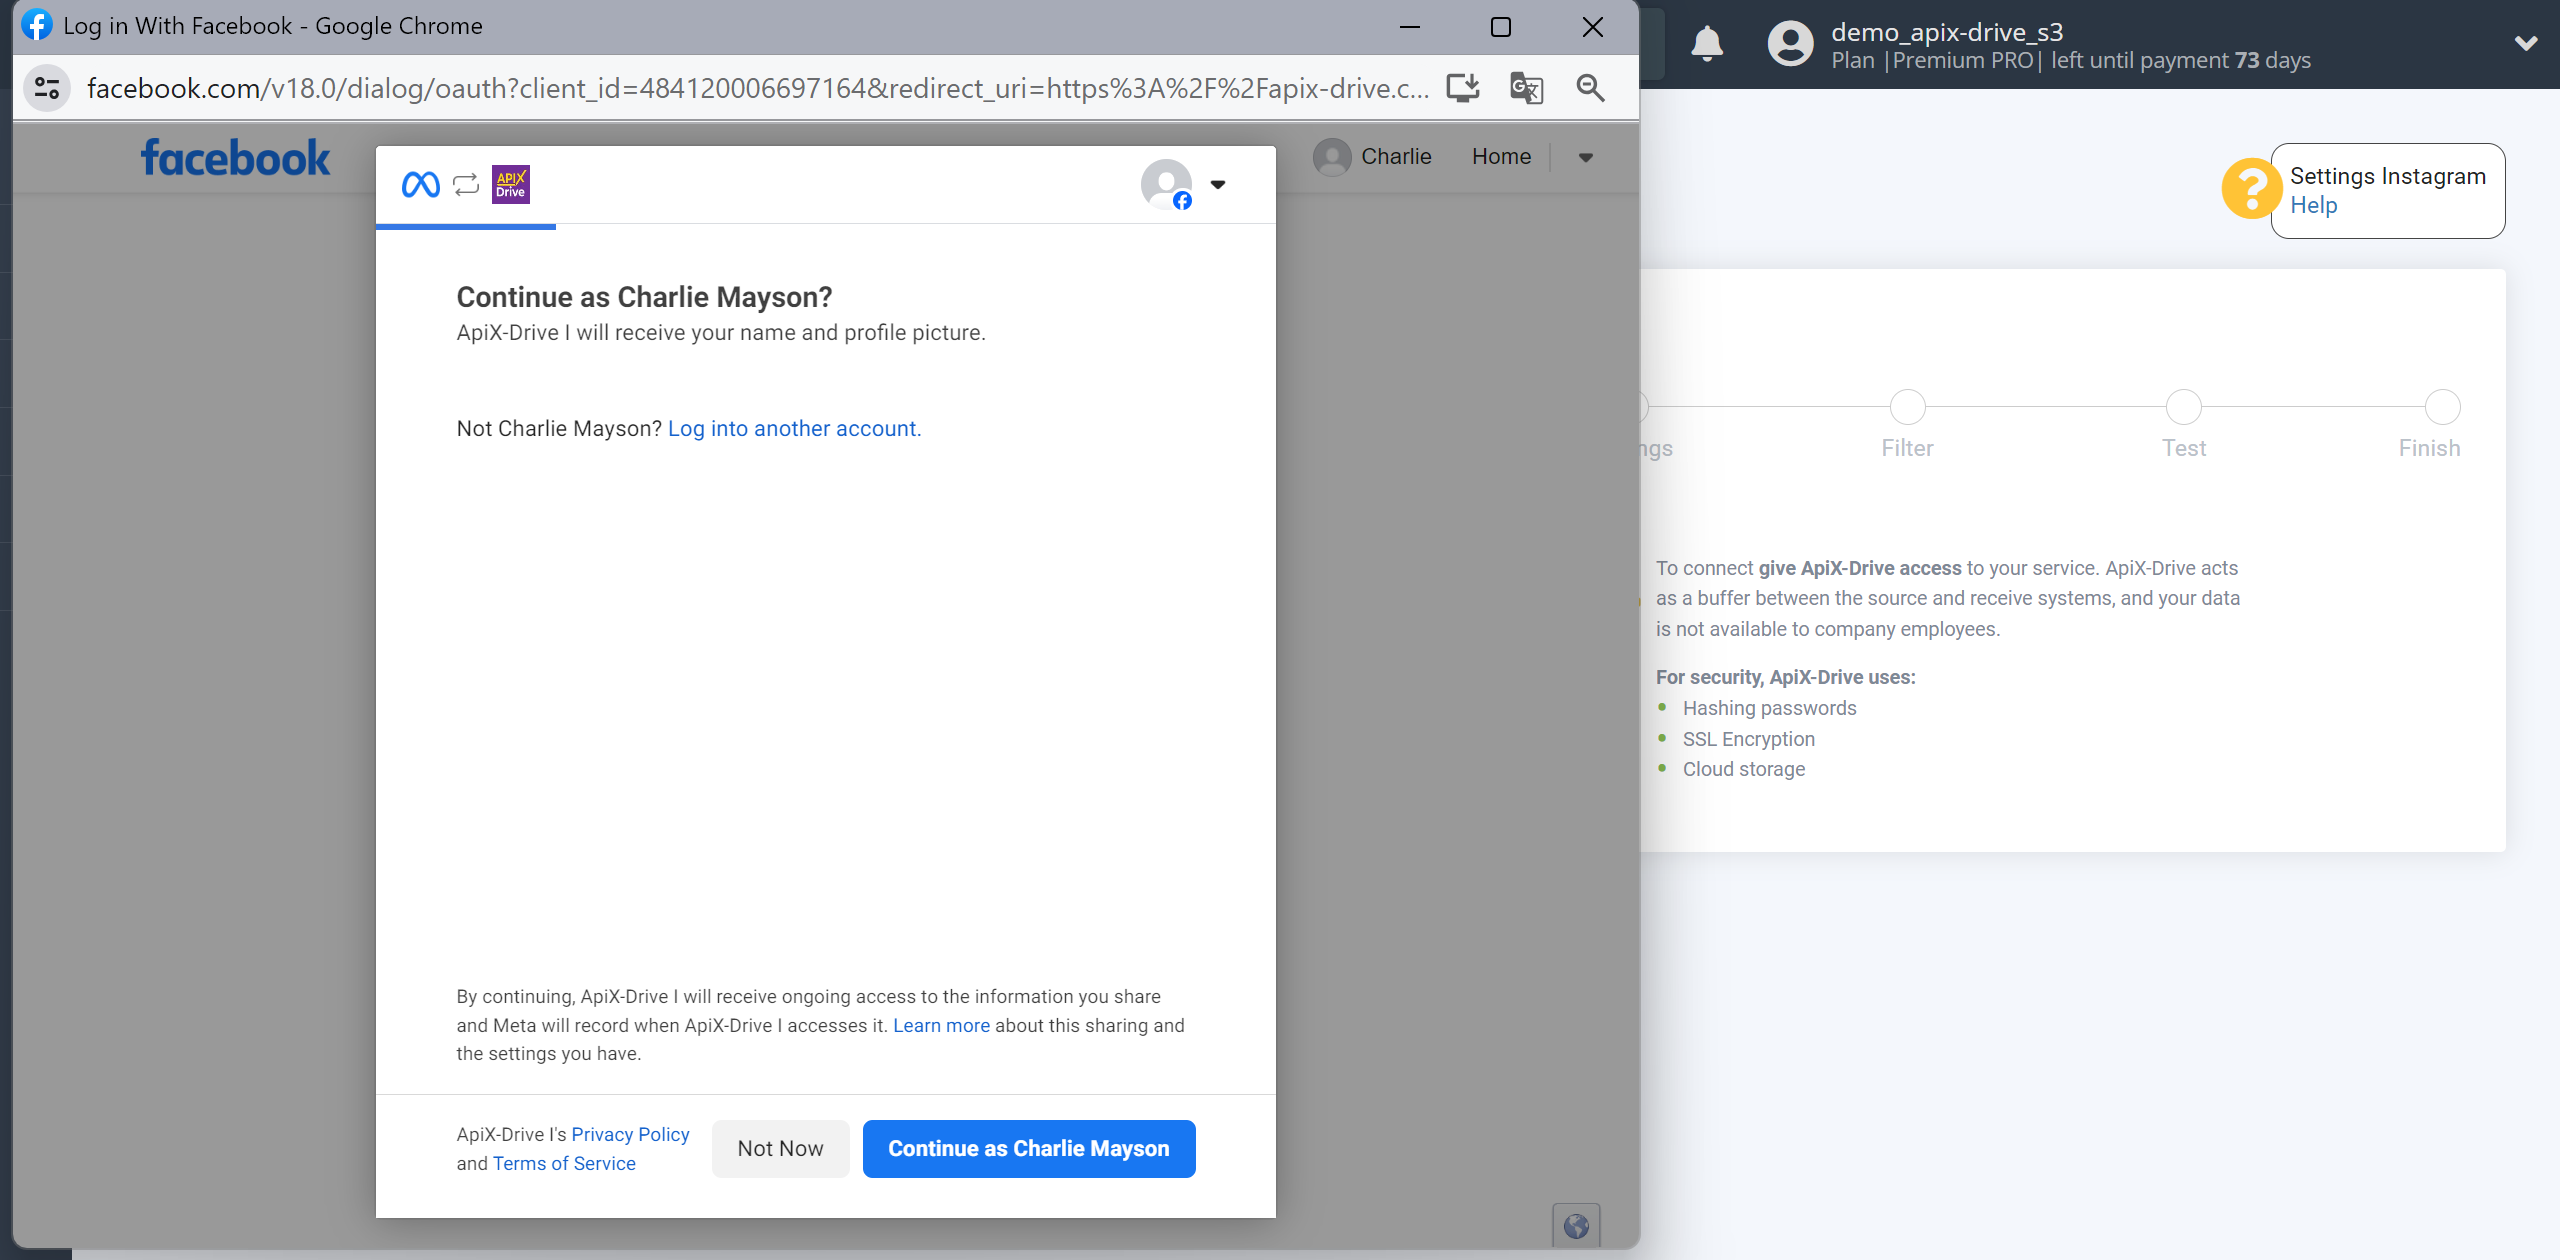
Enter your authorization information and give your permission to ApiX-Drive to work with this account.
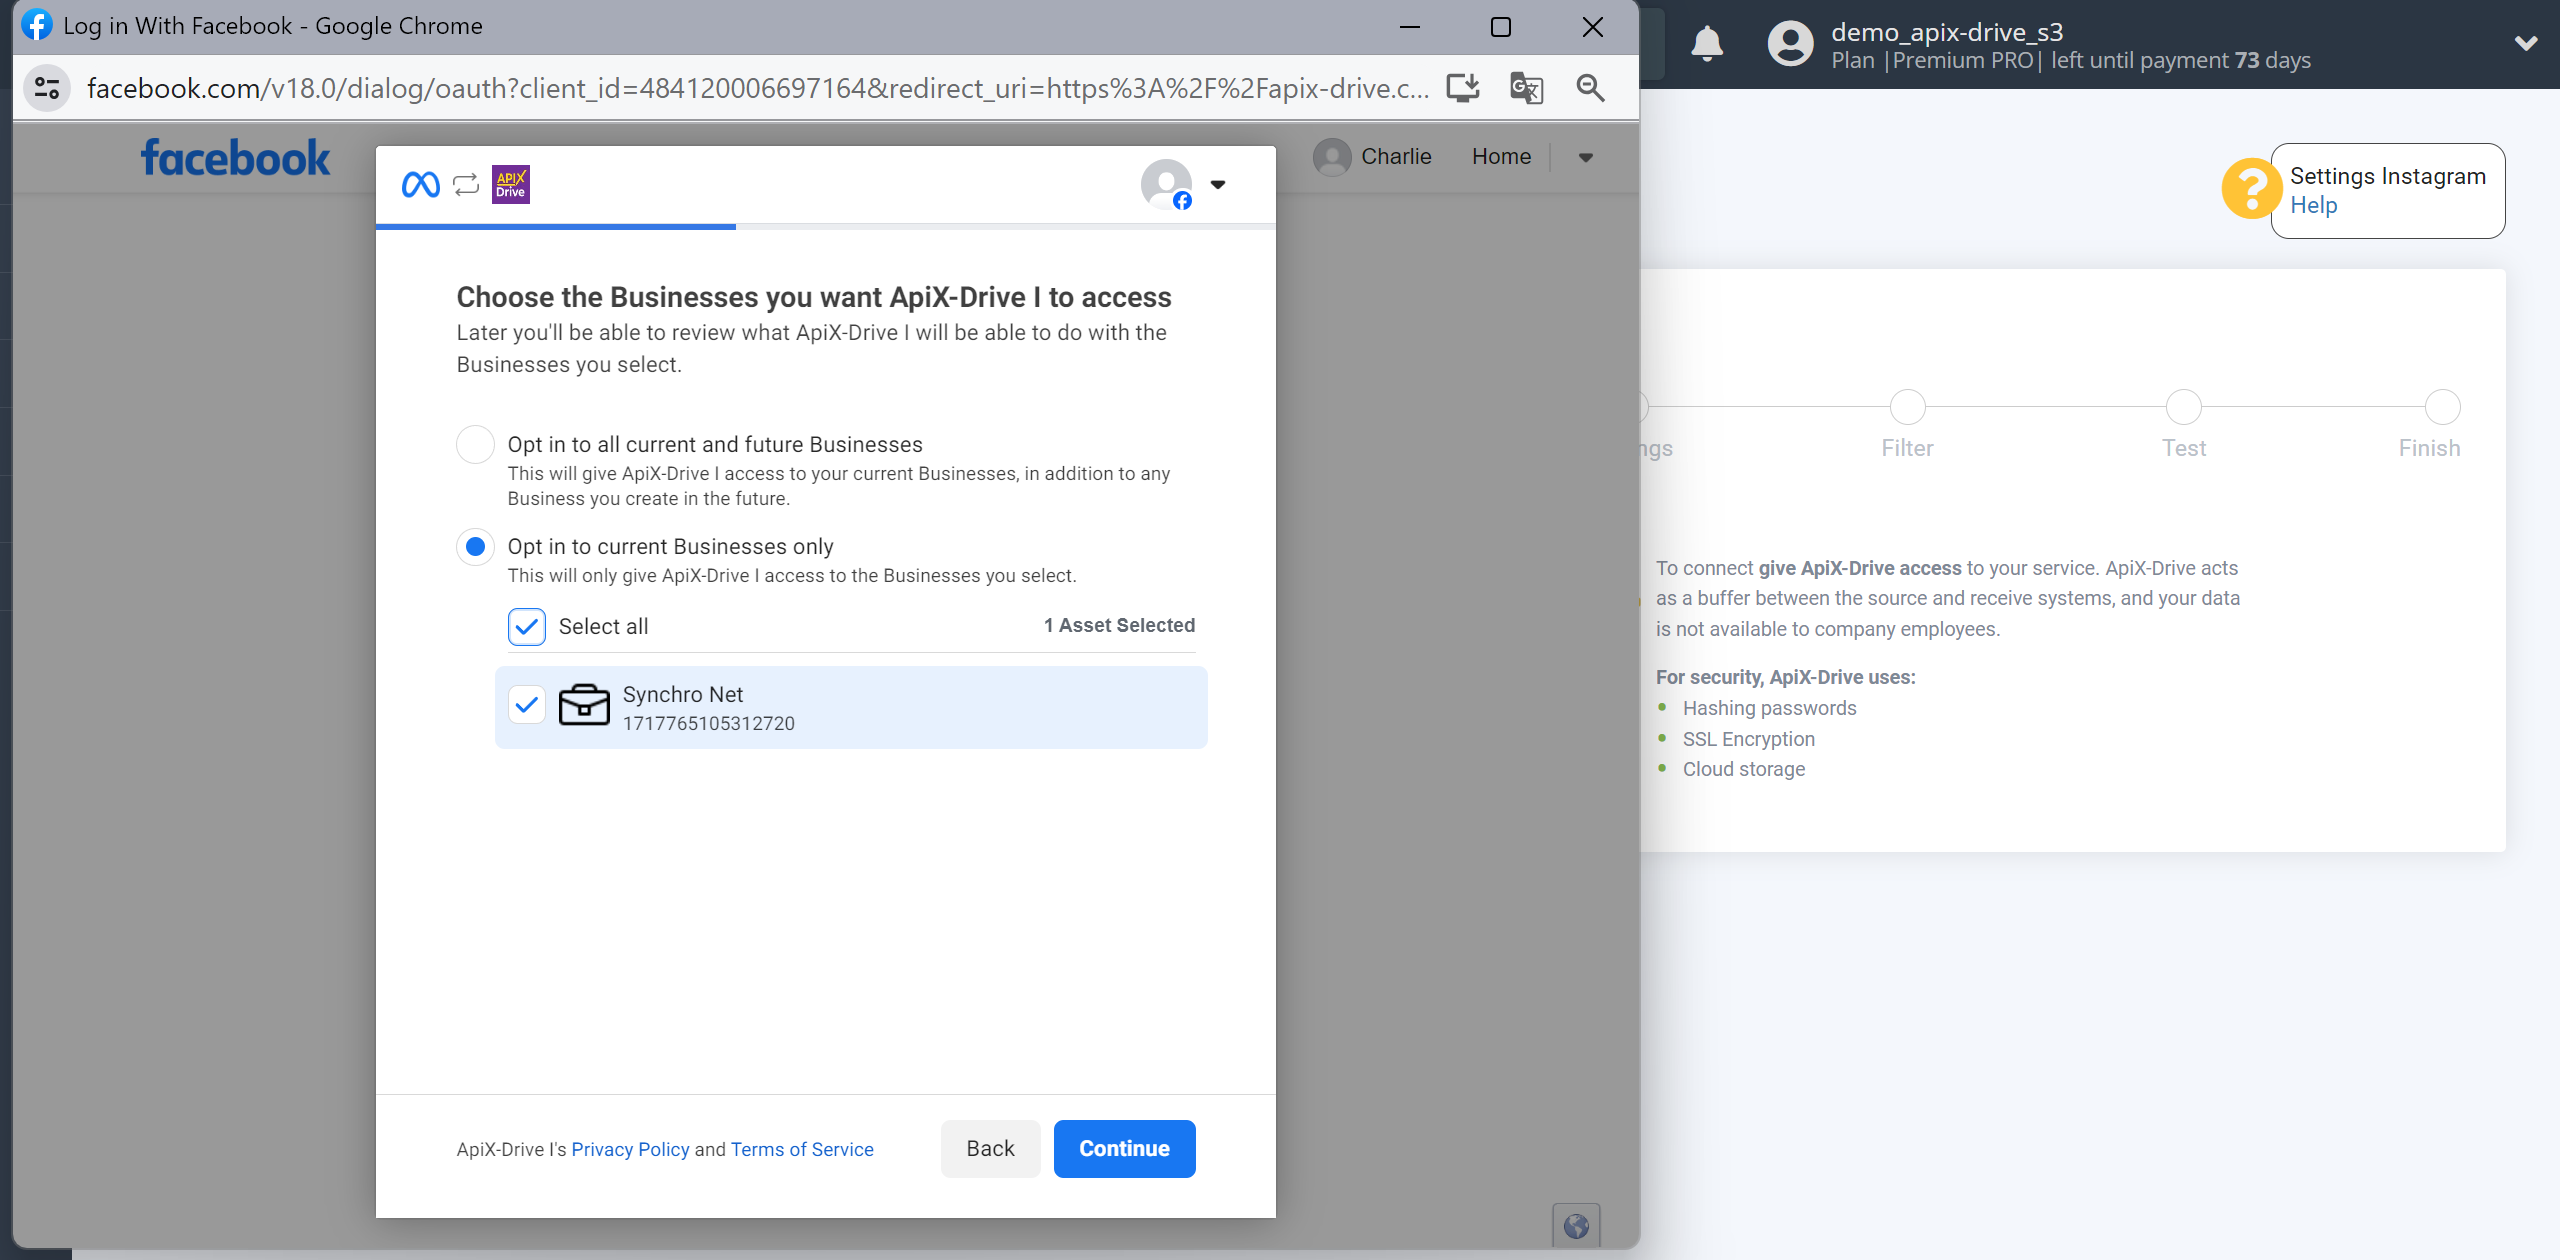
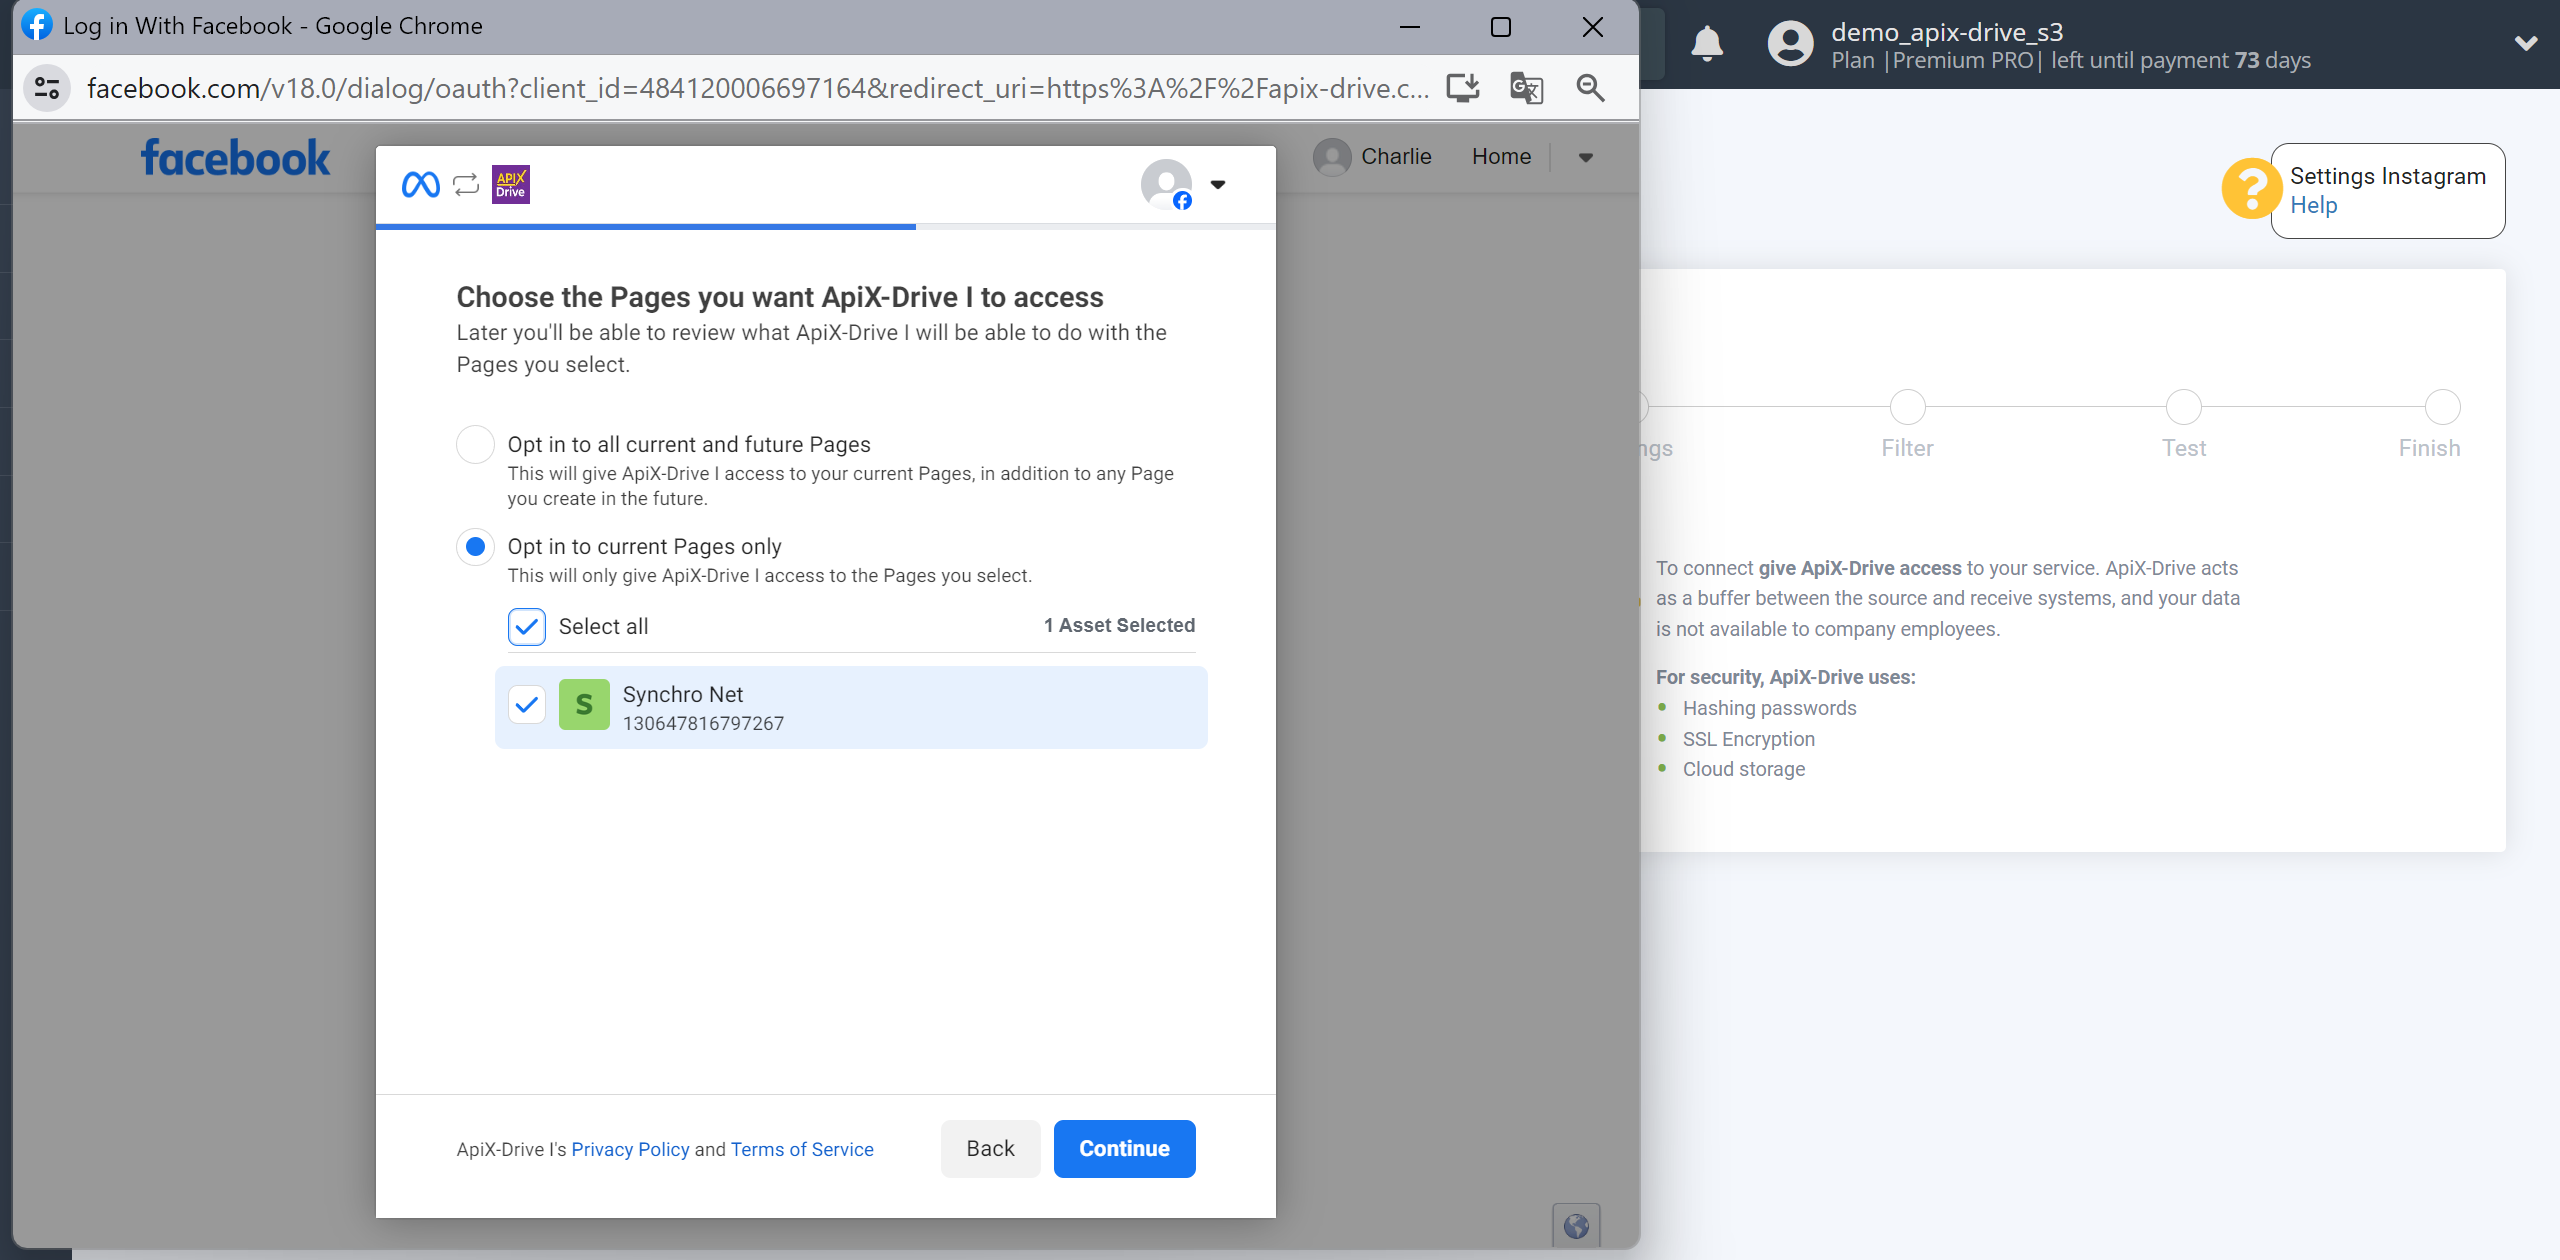
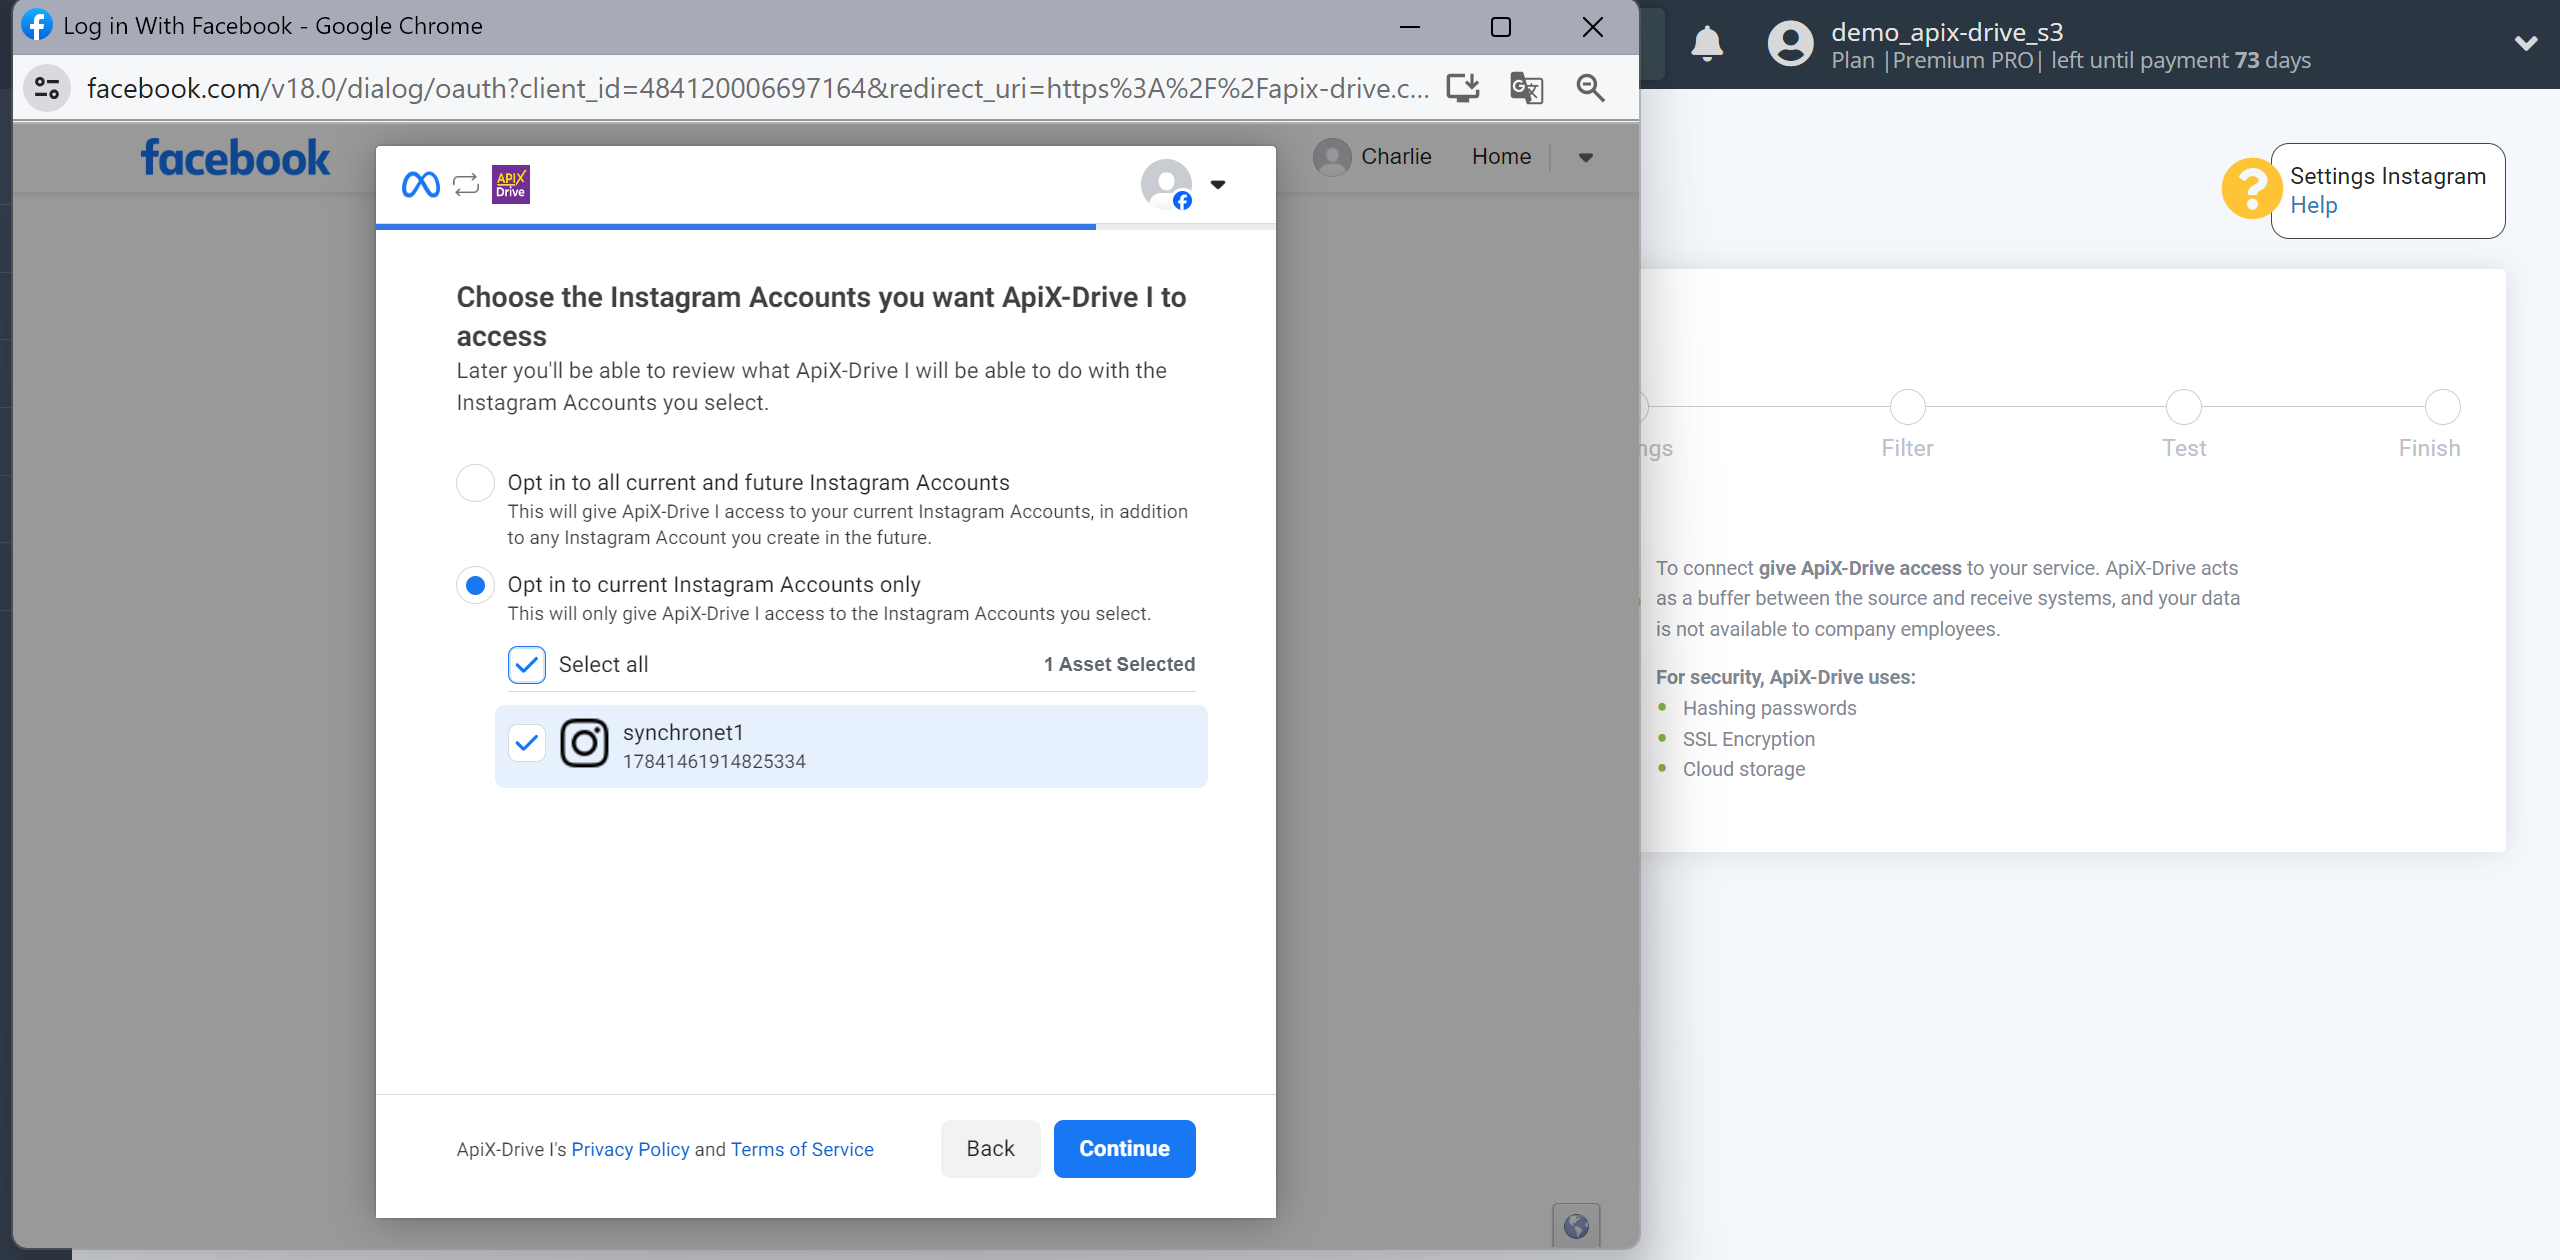
Check the boxes for access to the required pages and accounts.
We recommend that you grant access to all existing pages and accounts at once, so that in the future you will be able to work with them and get comments and messages.
Select the business accounts you need on which you have connected Instagram accounts.
Select the pages you need.
Select the Instagram accounts you need.
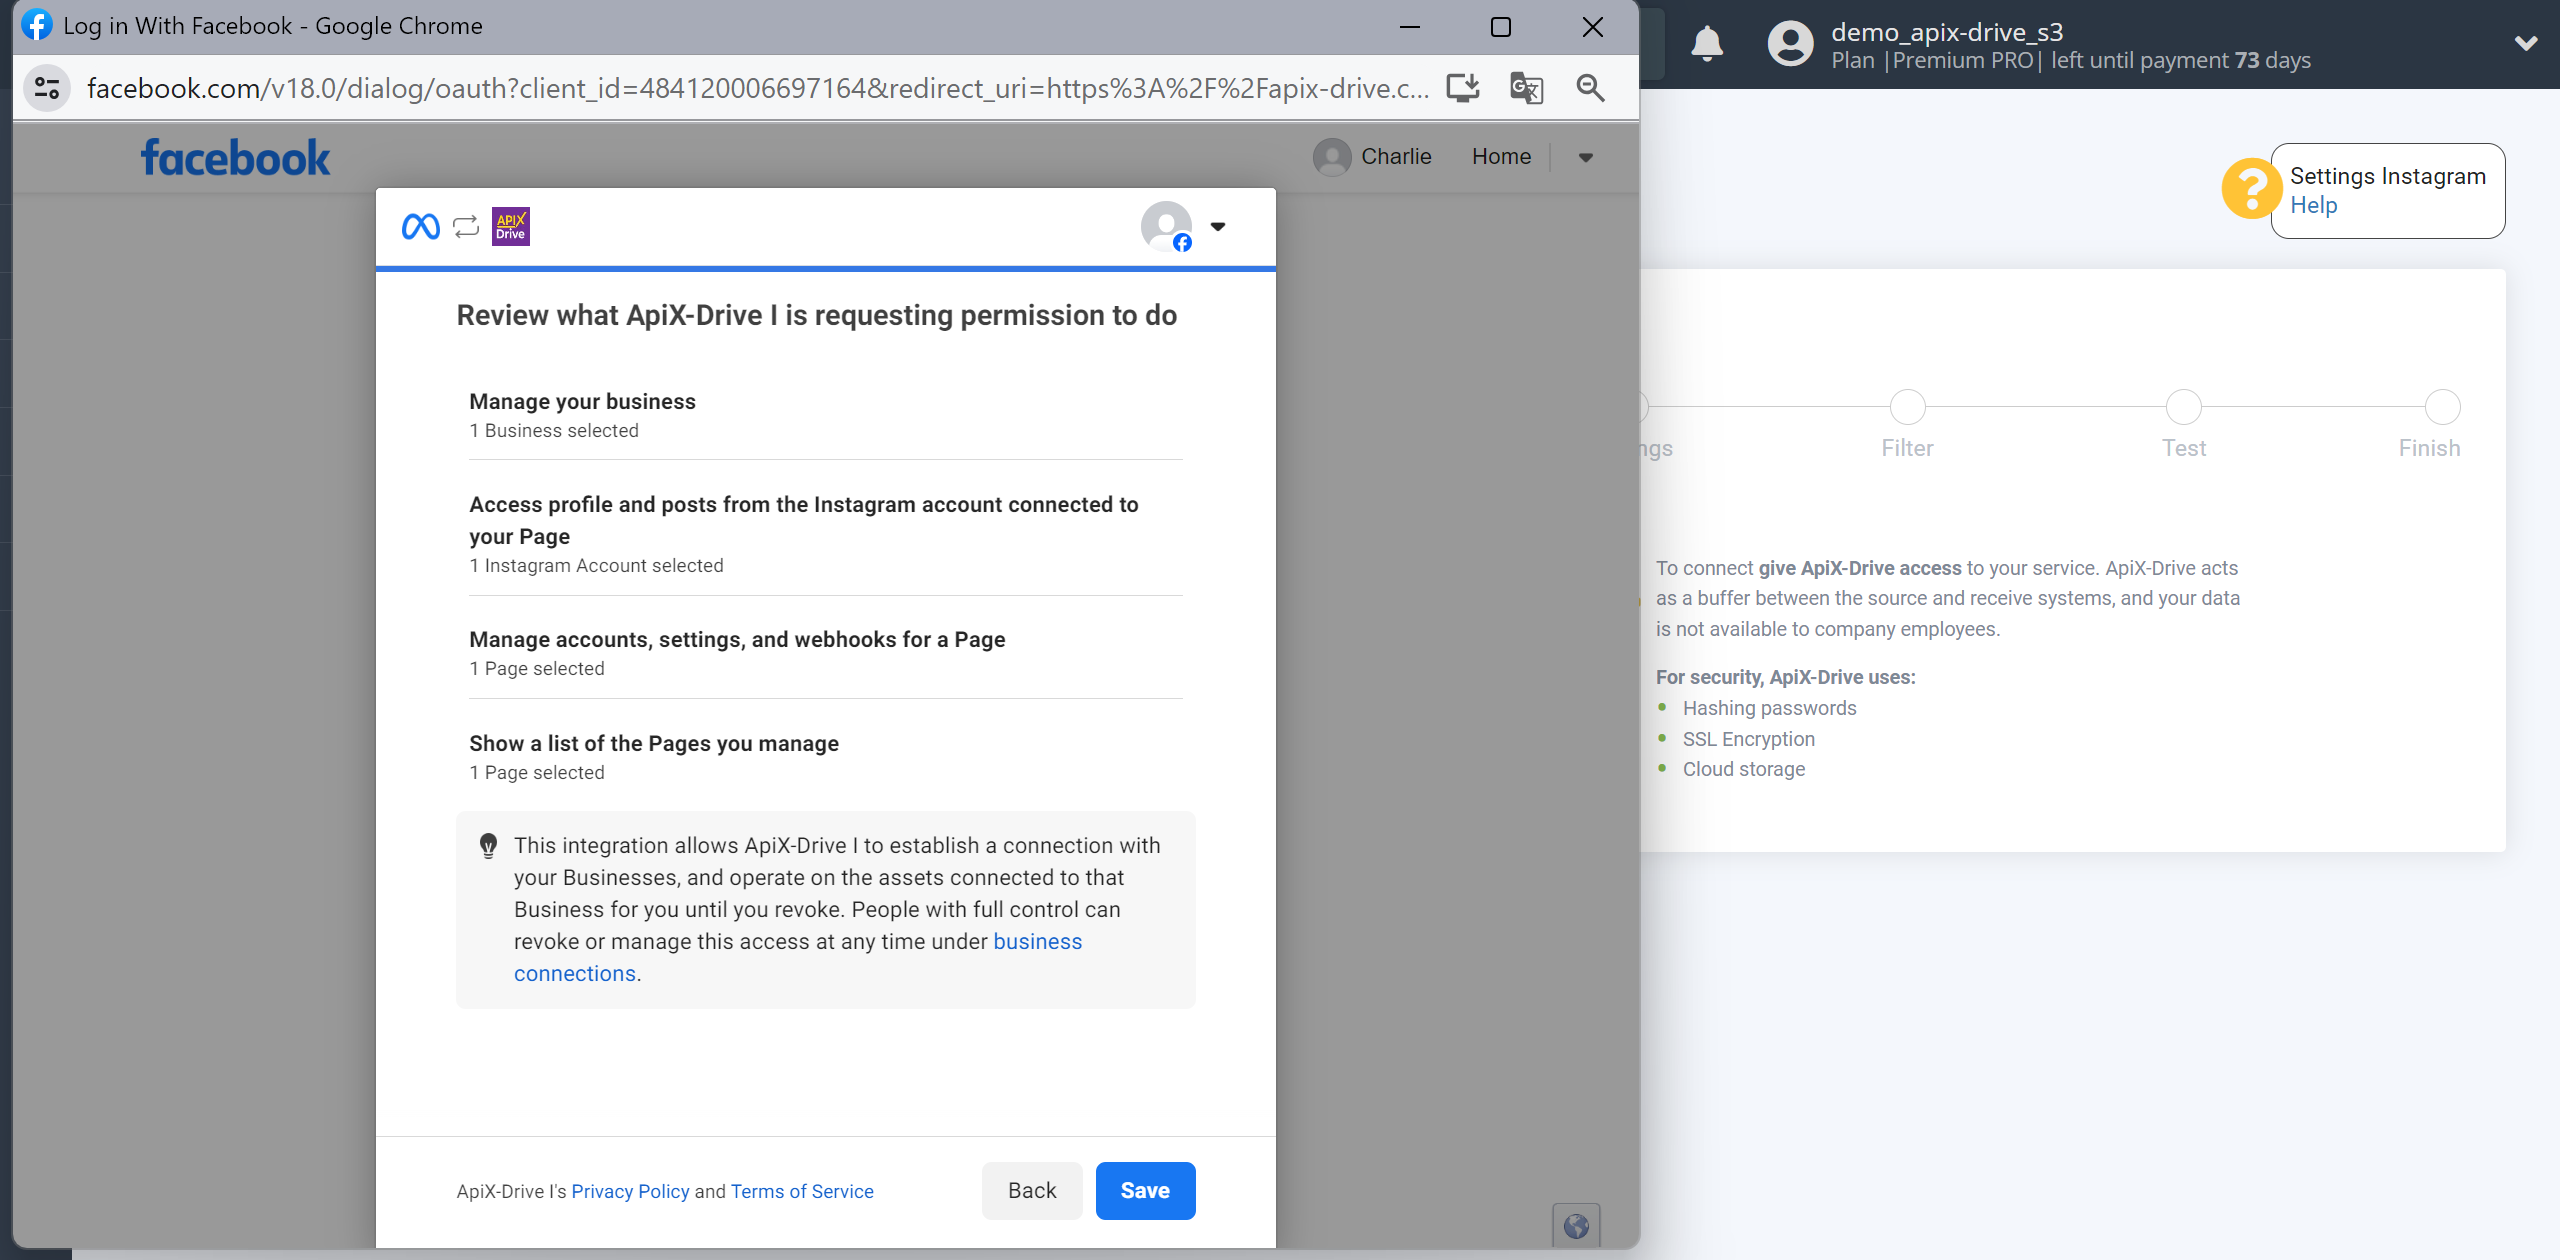
In the next step you see what accesses have been granted, click Save to save.
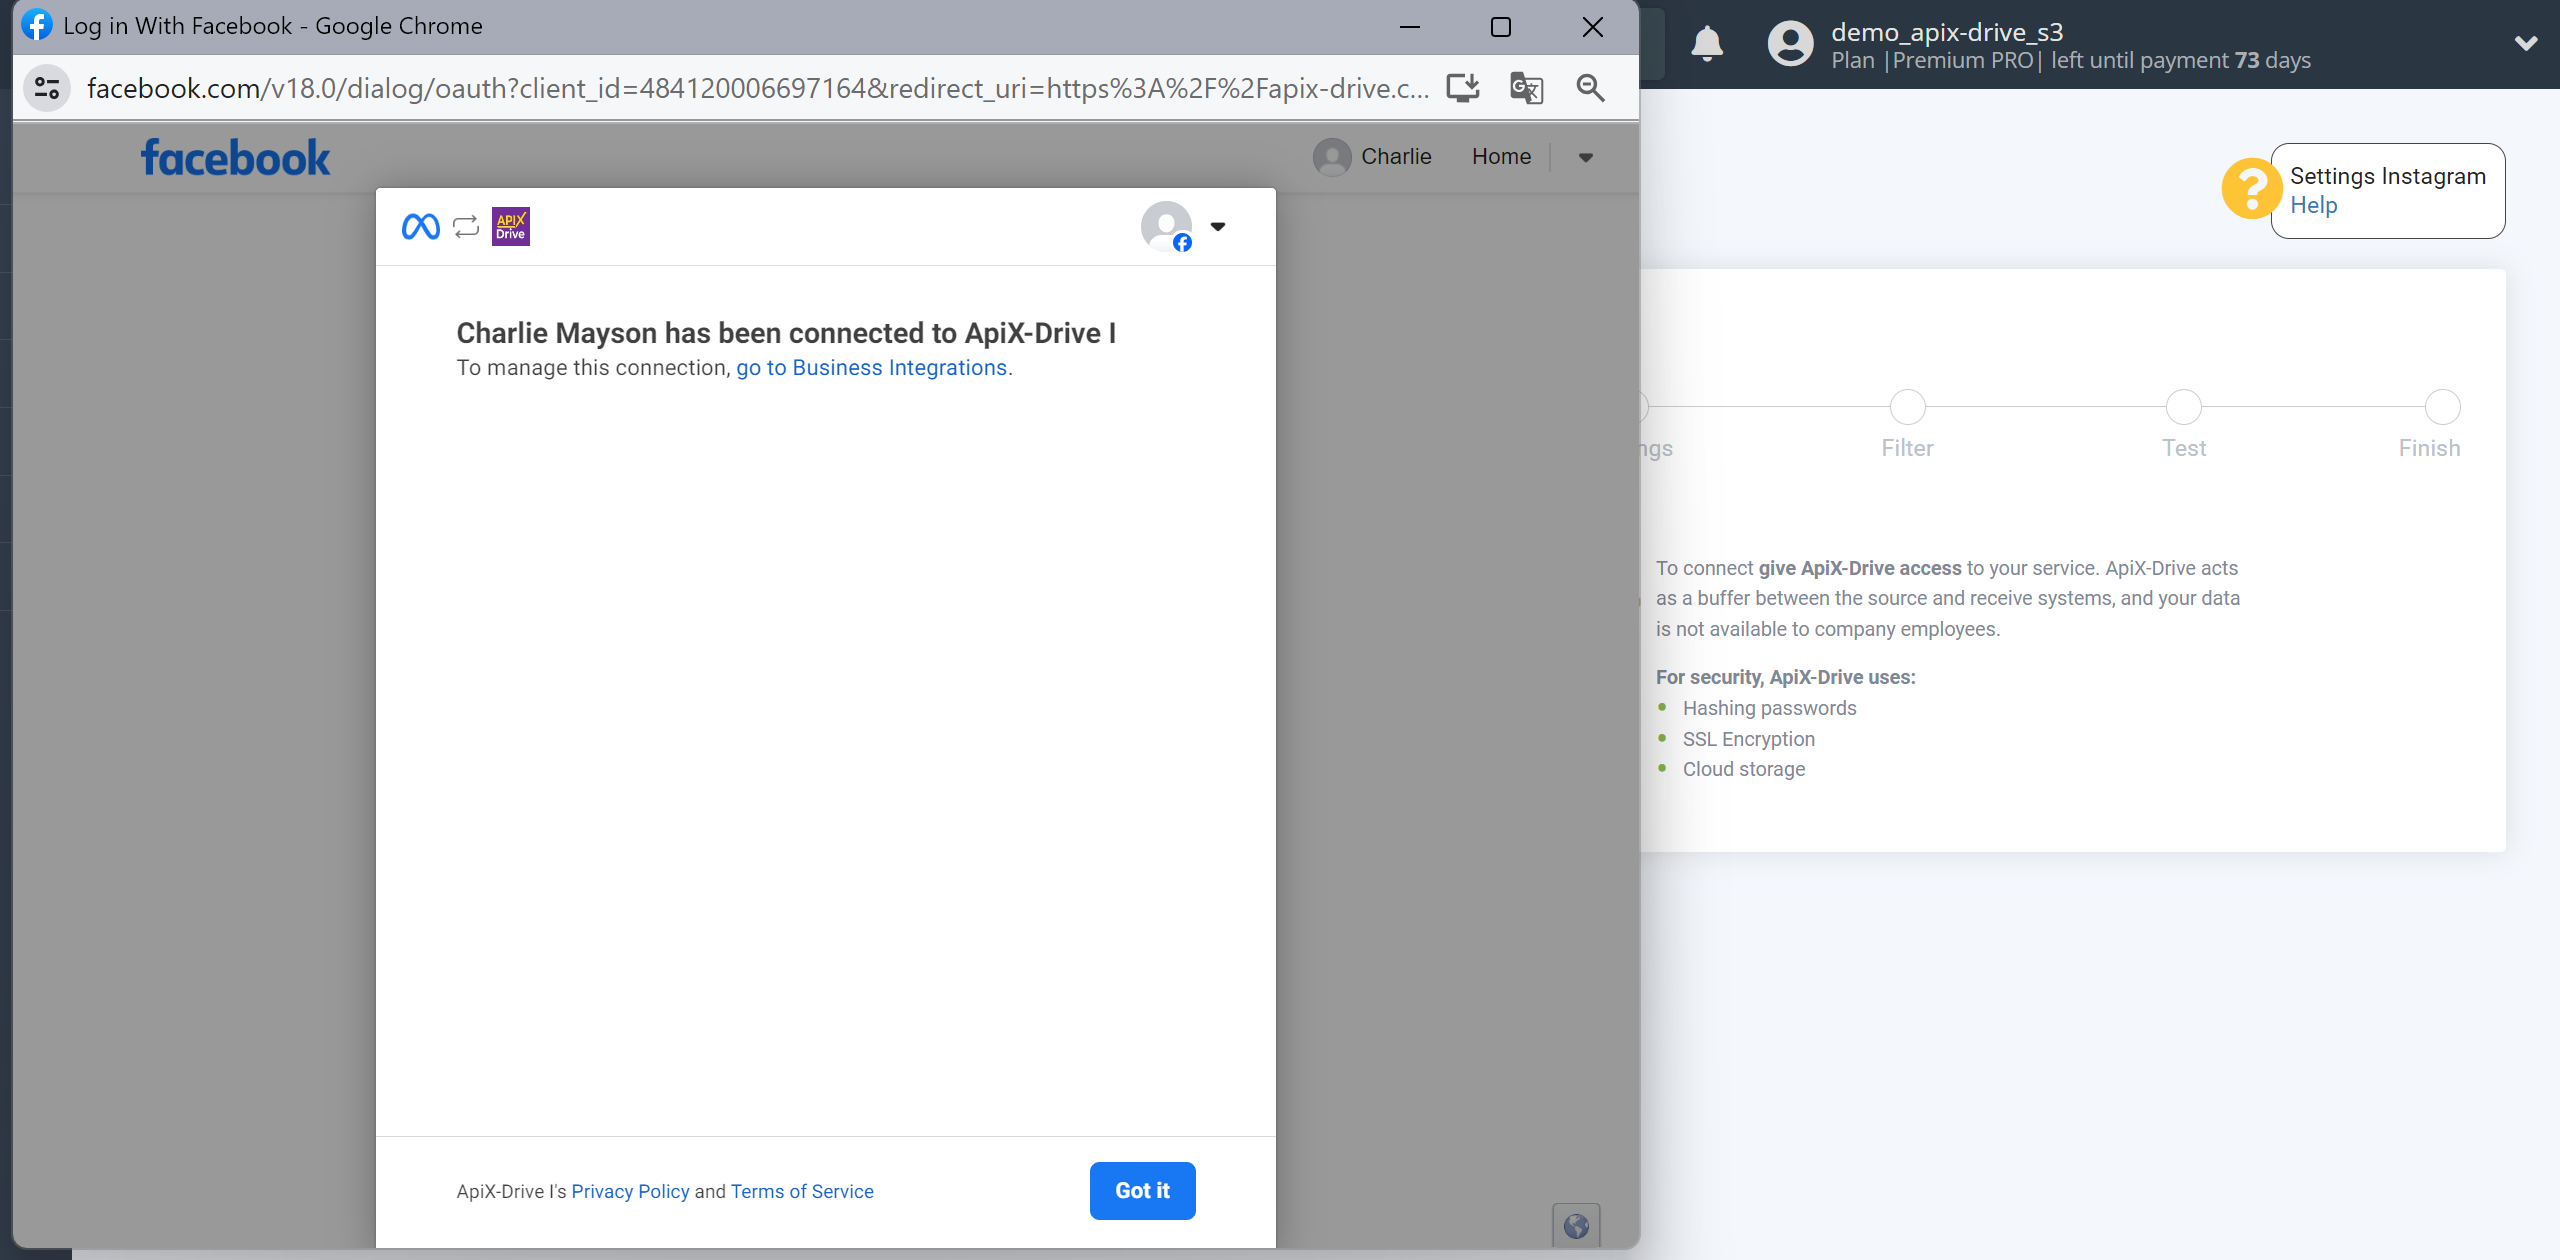
Click Got it to complete the connection
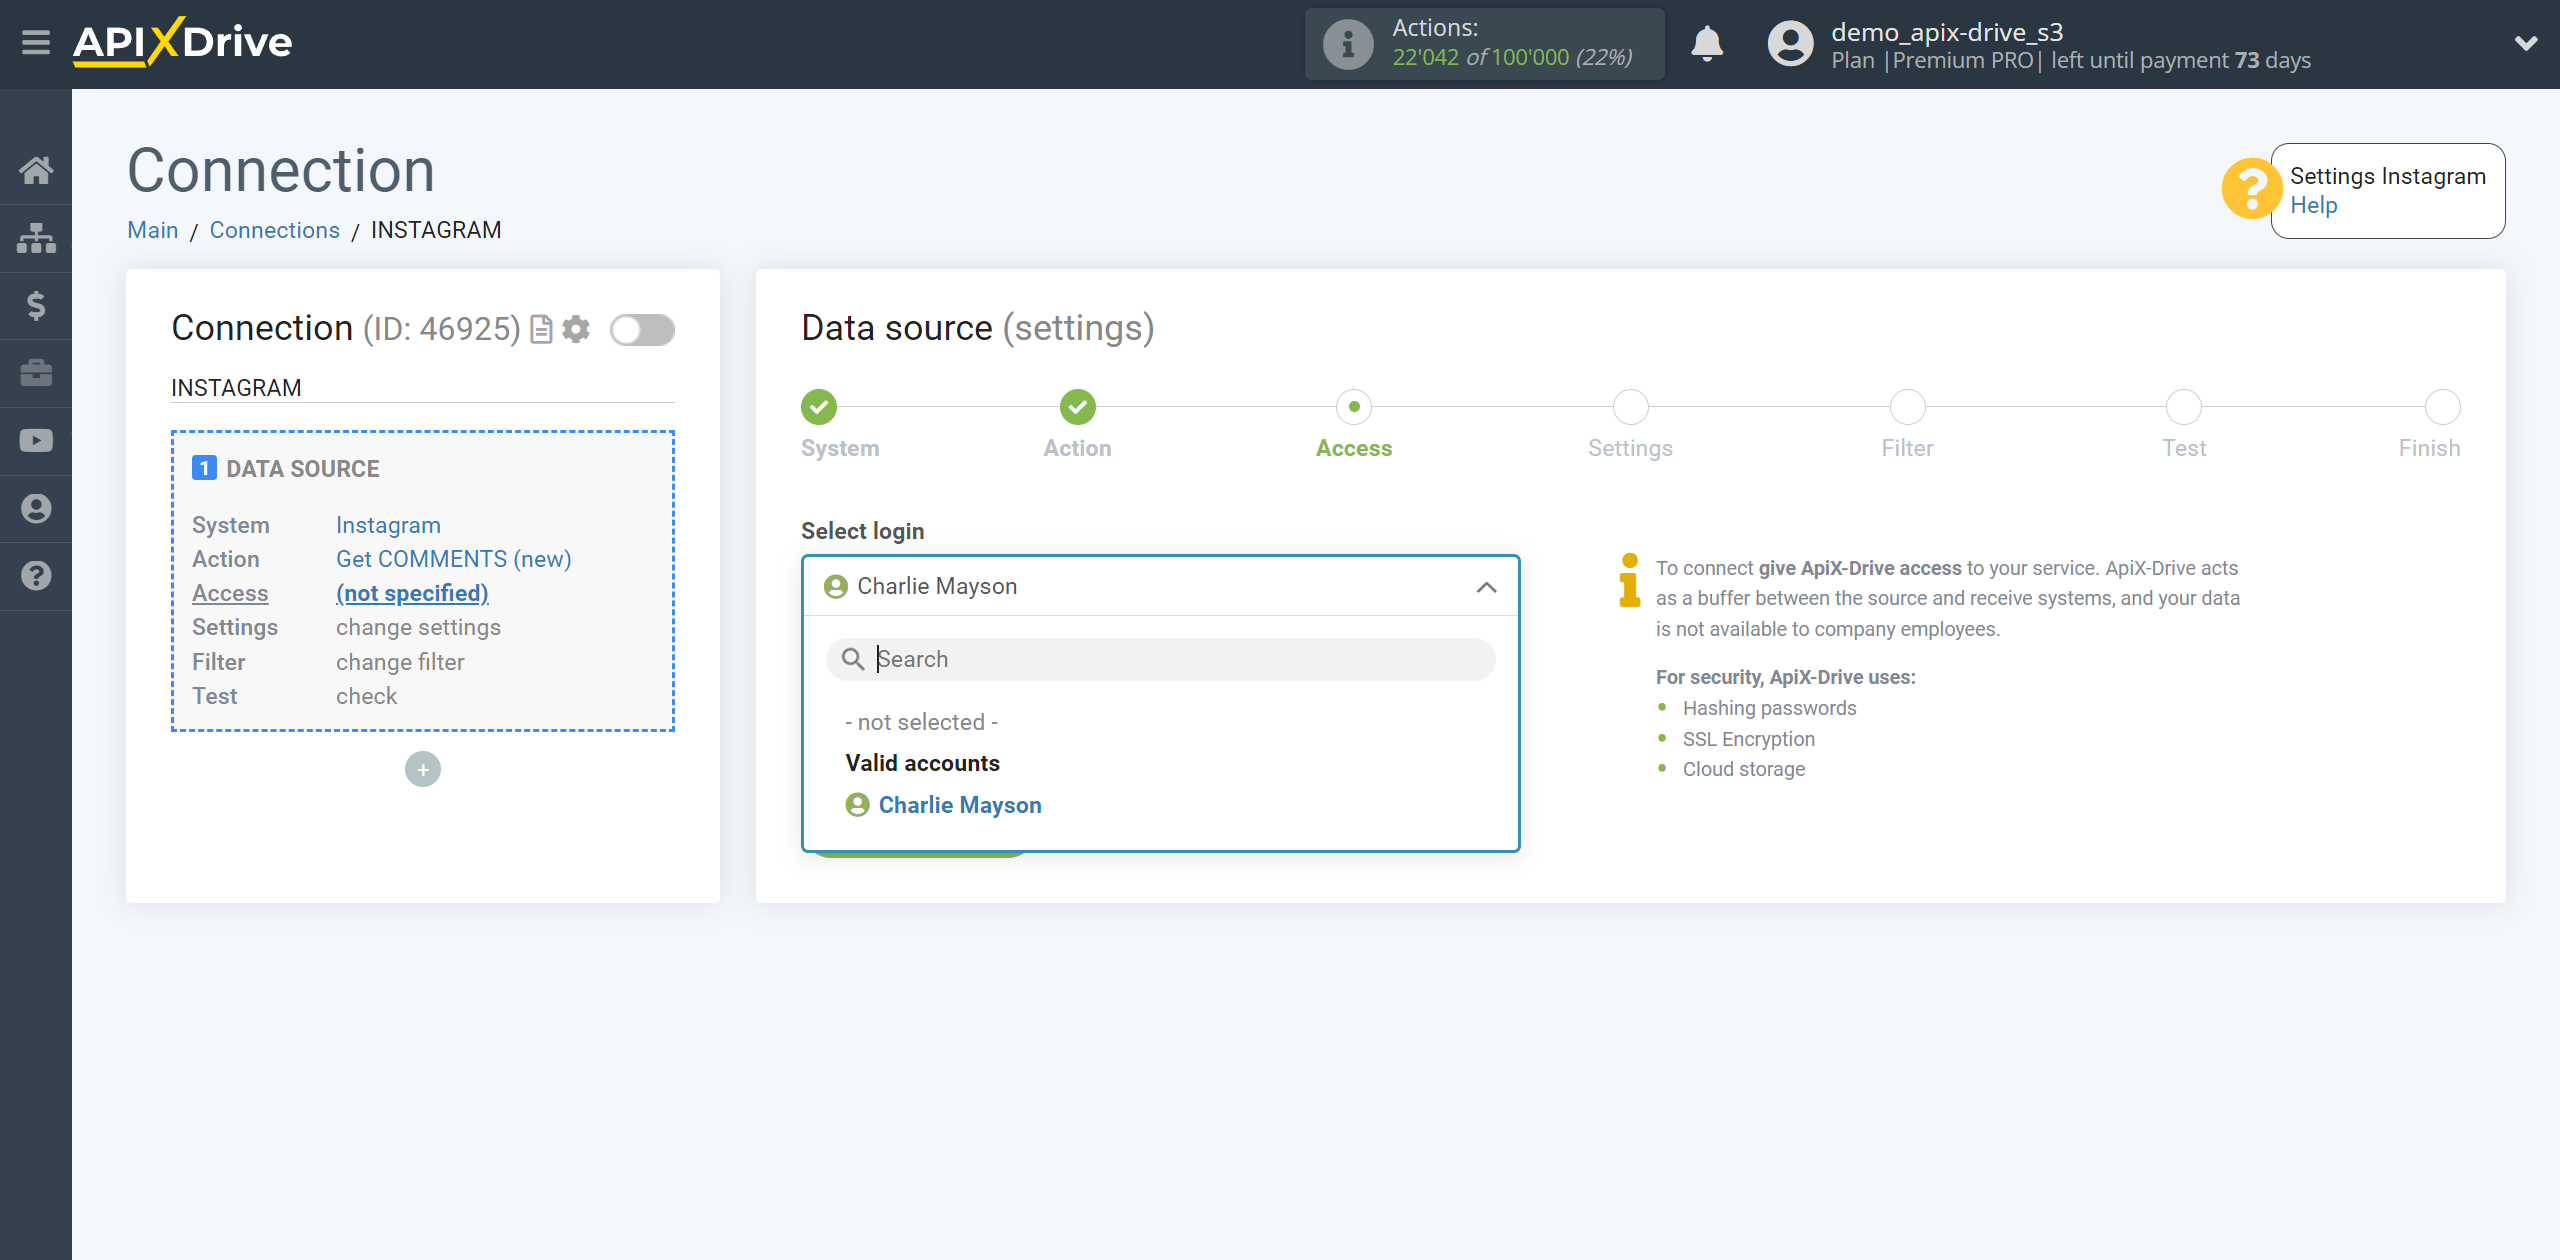
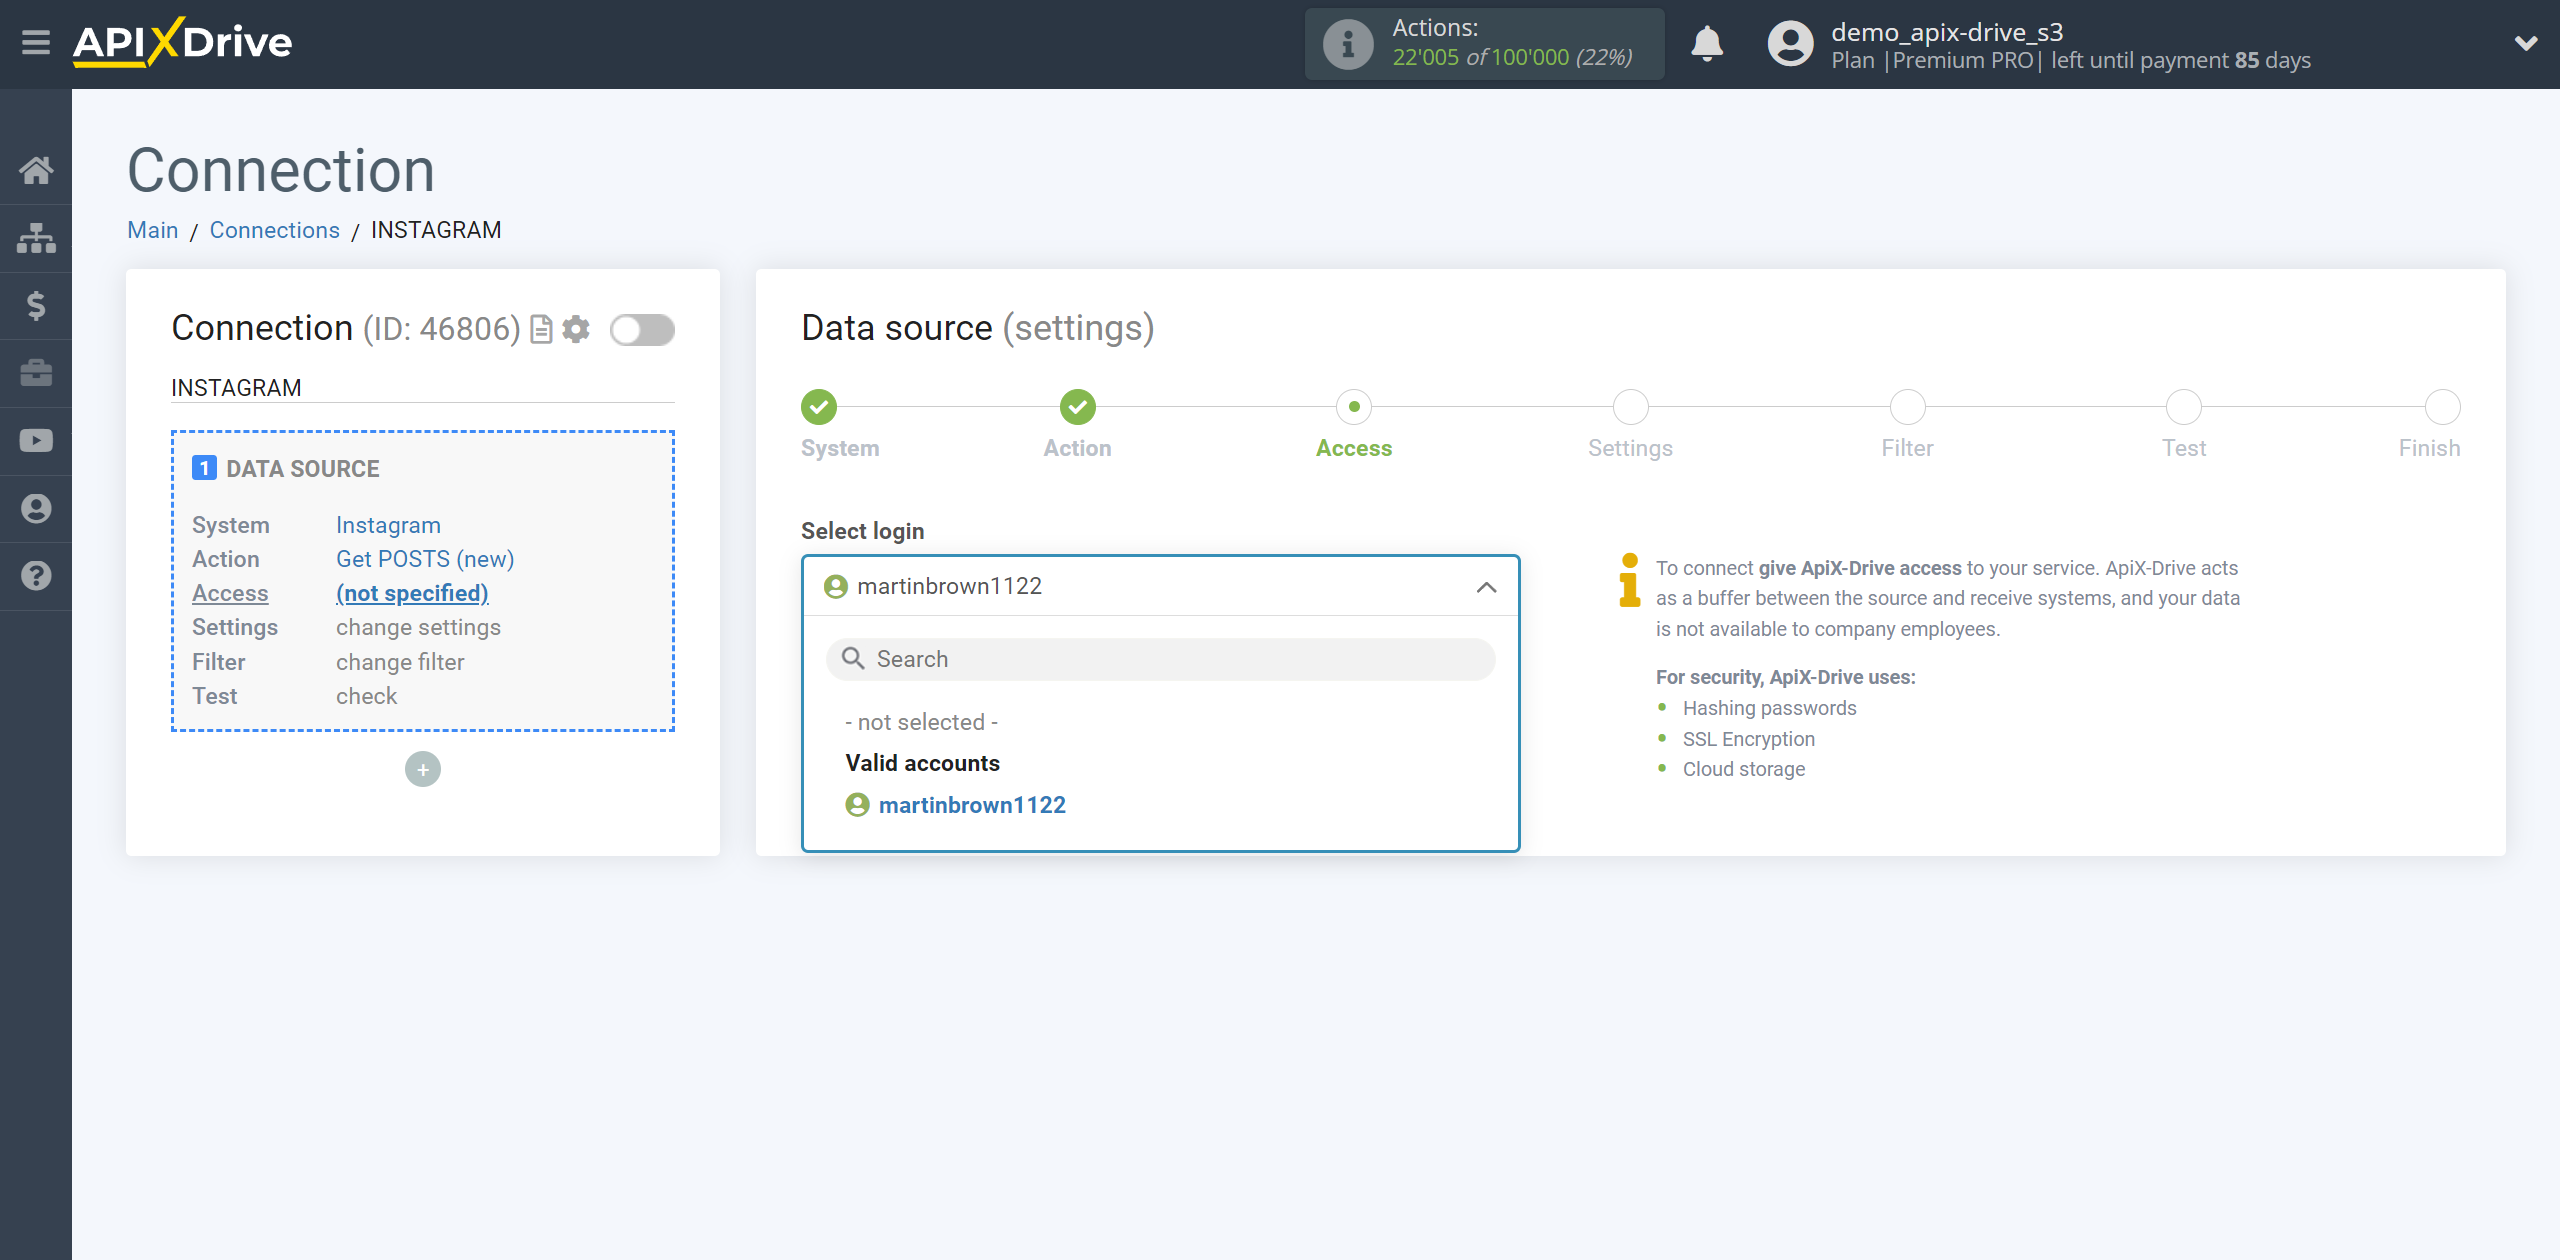
When the connected account appears in the "active accounts" list, select it.
Note!
To connect an Instagram account and work with the "Get POSTS (new)" action, use a different application and a different type of authorization to the Instagram account.
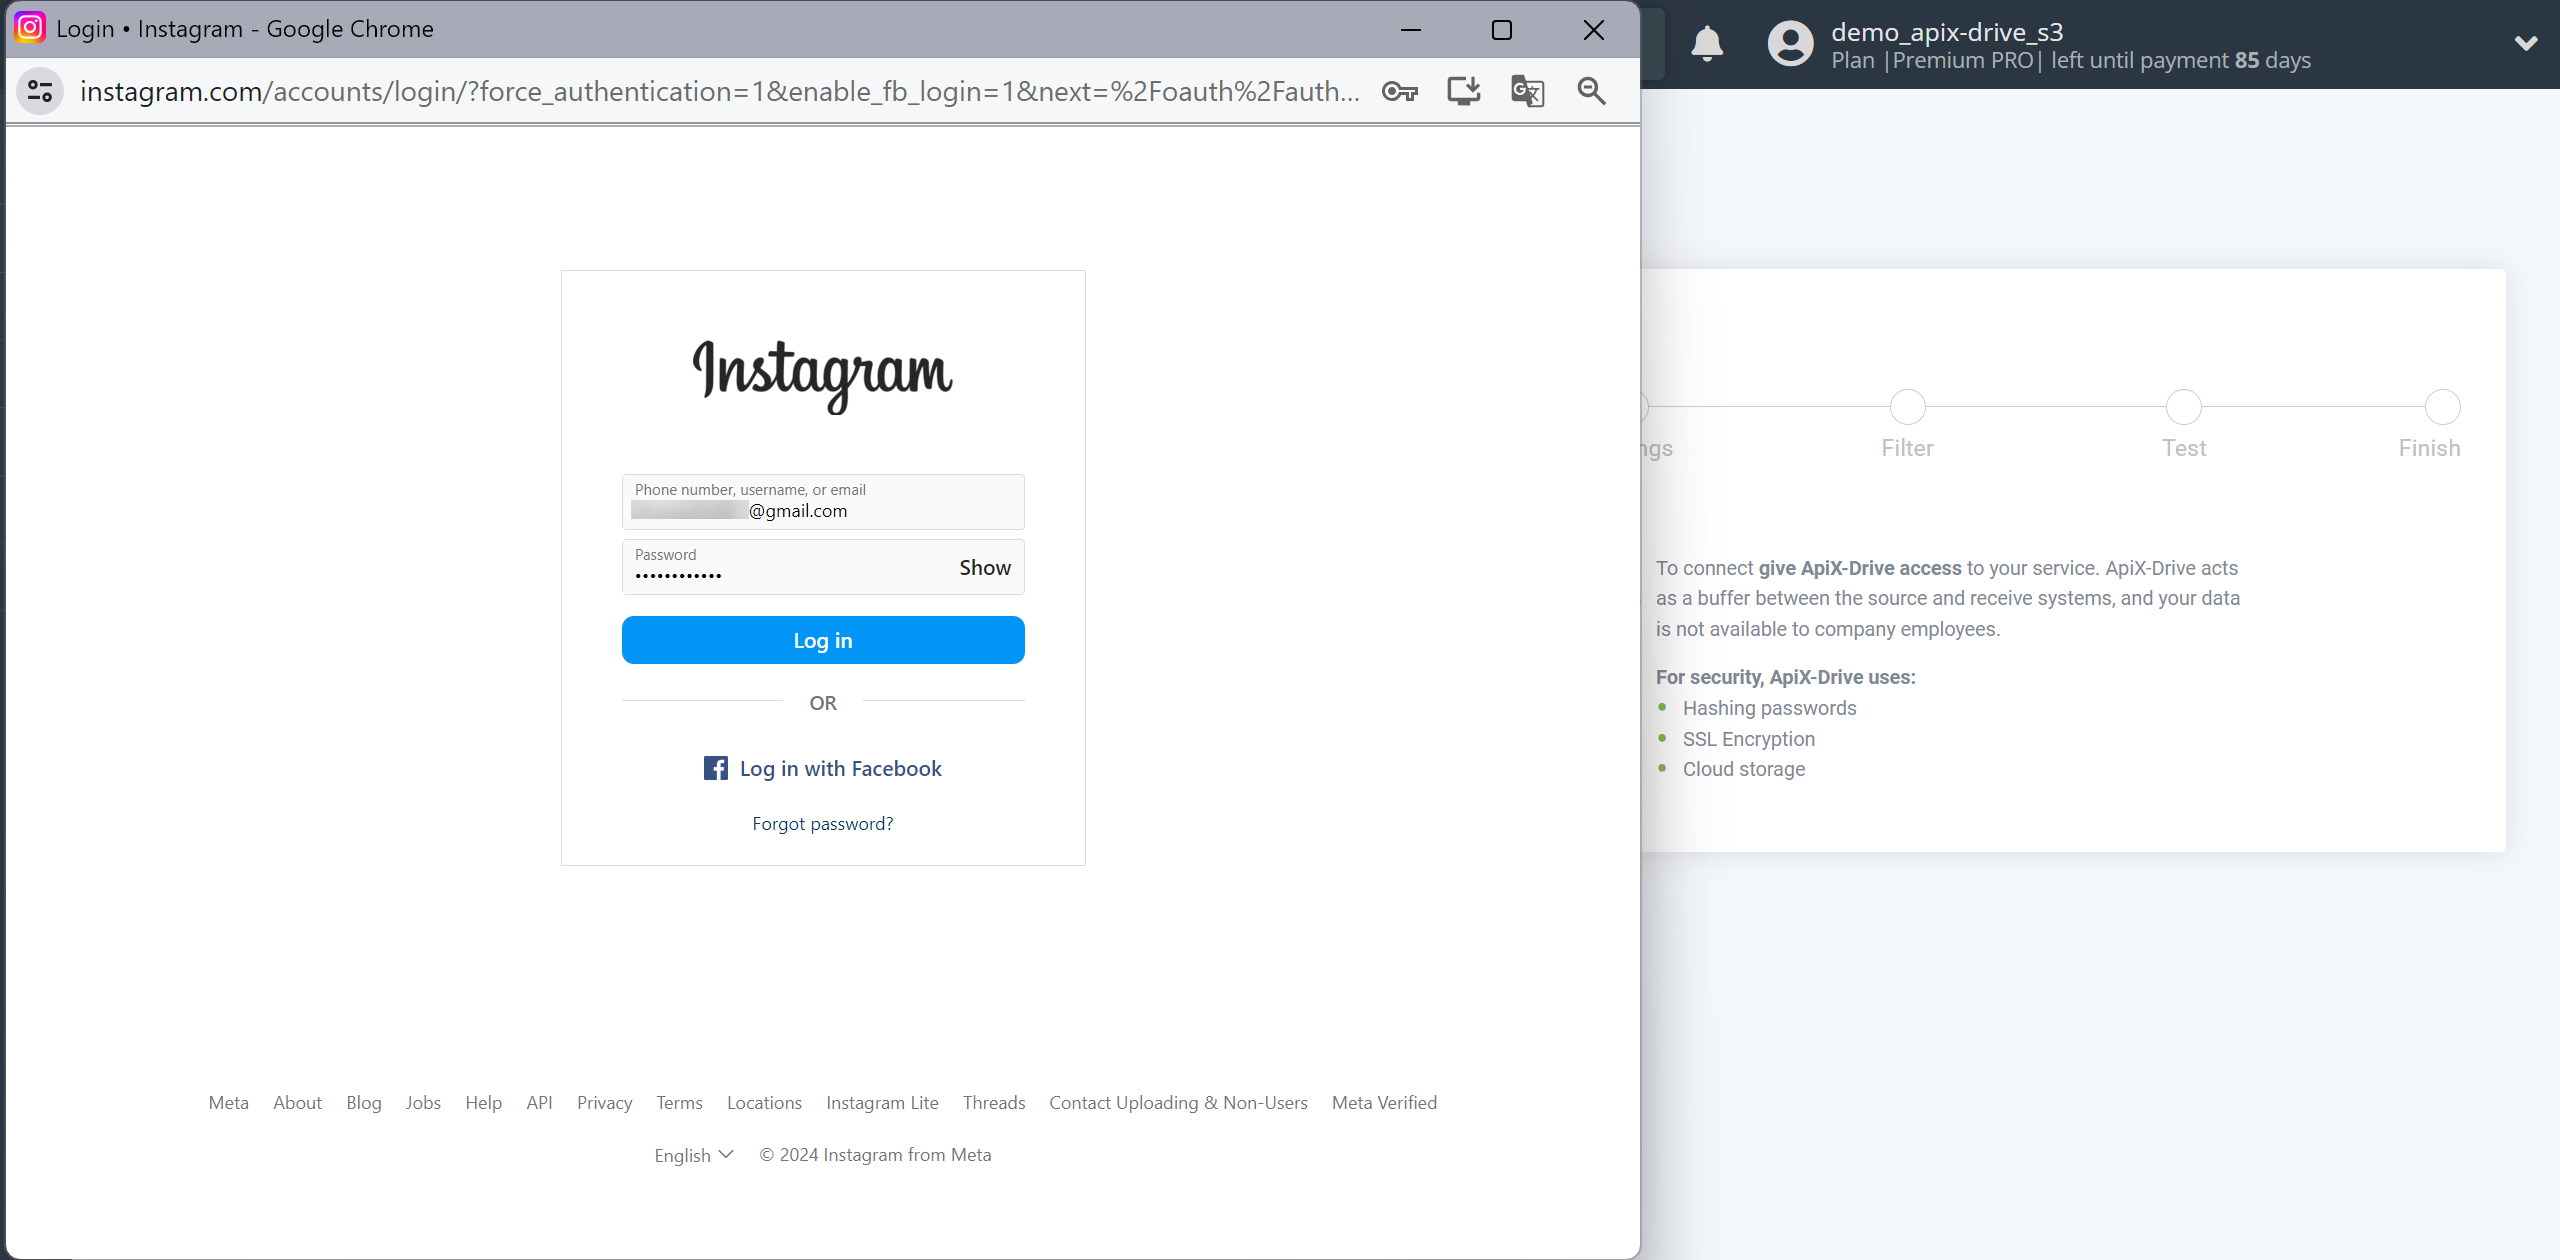
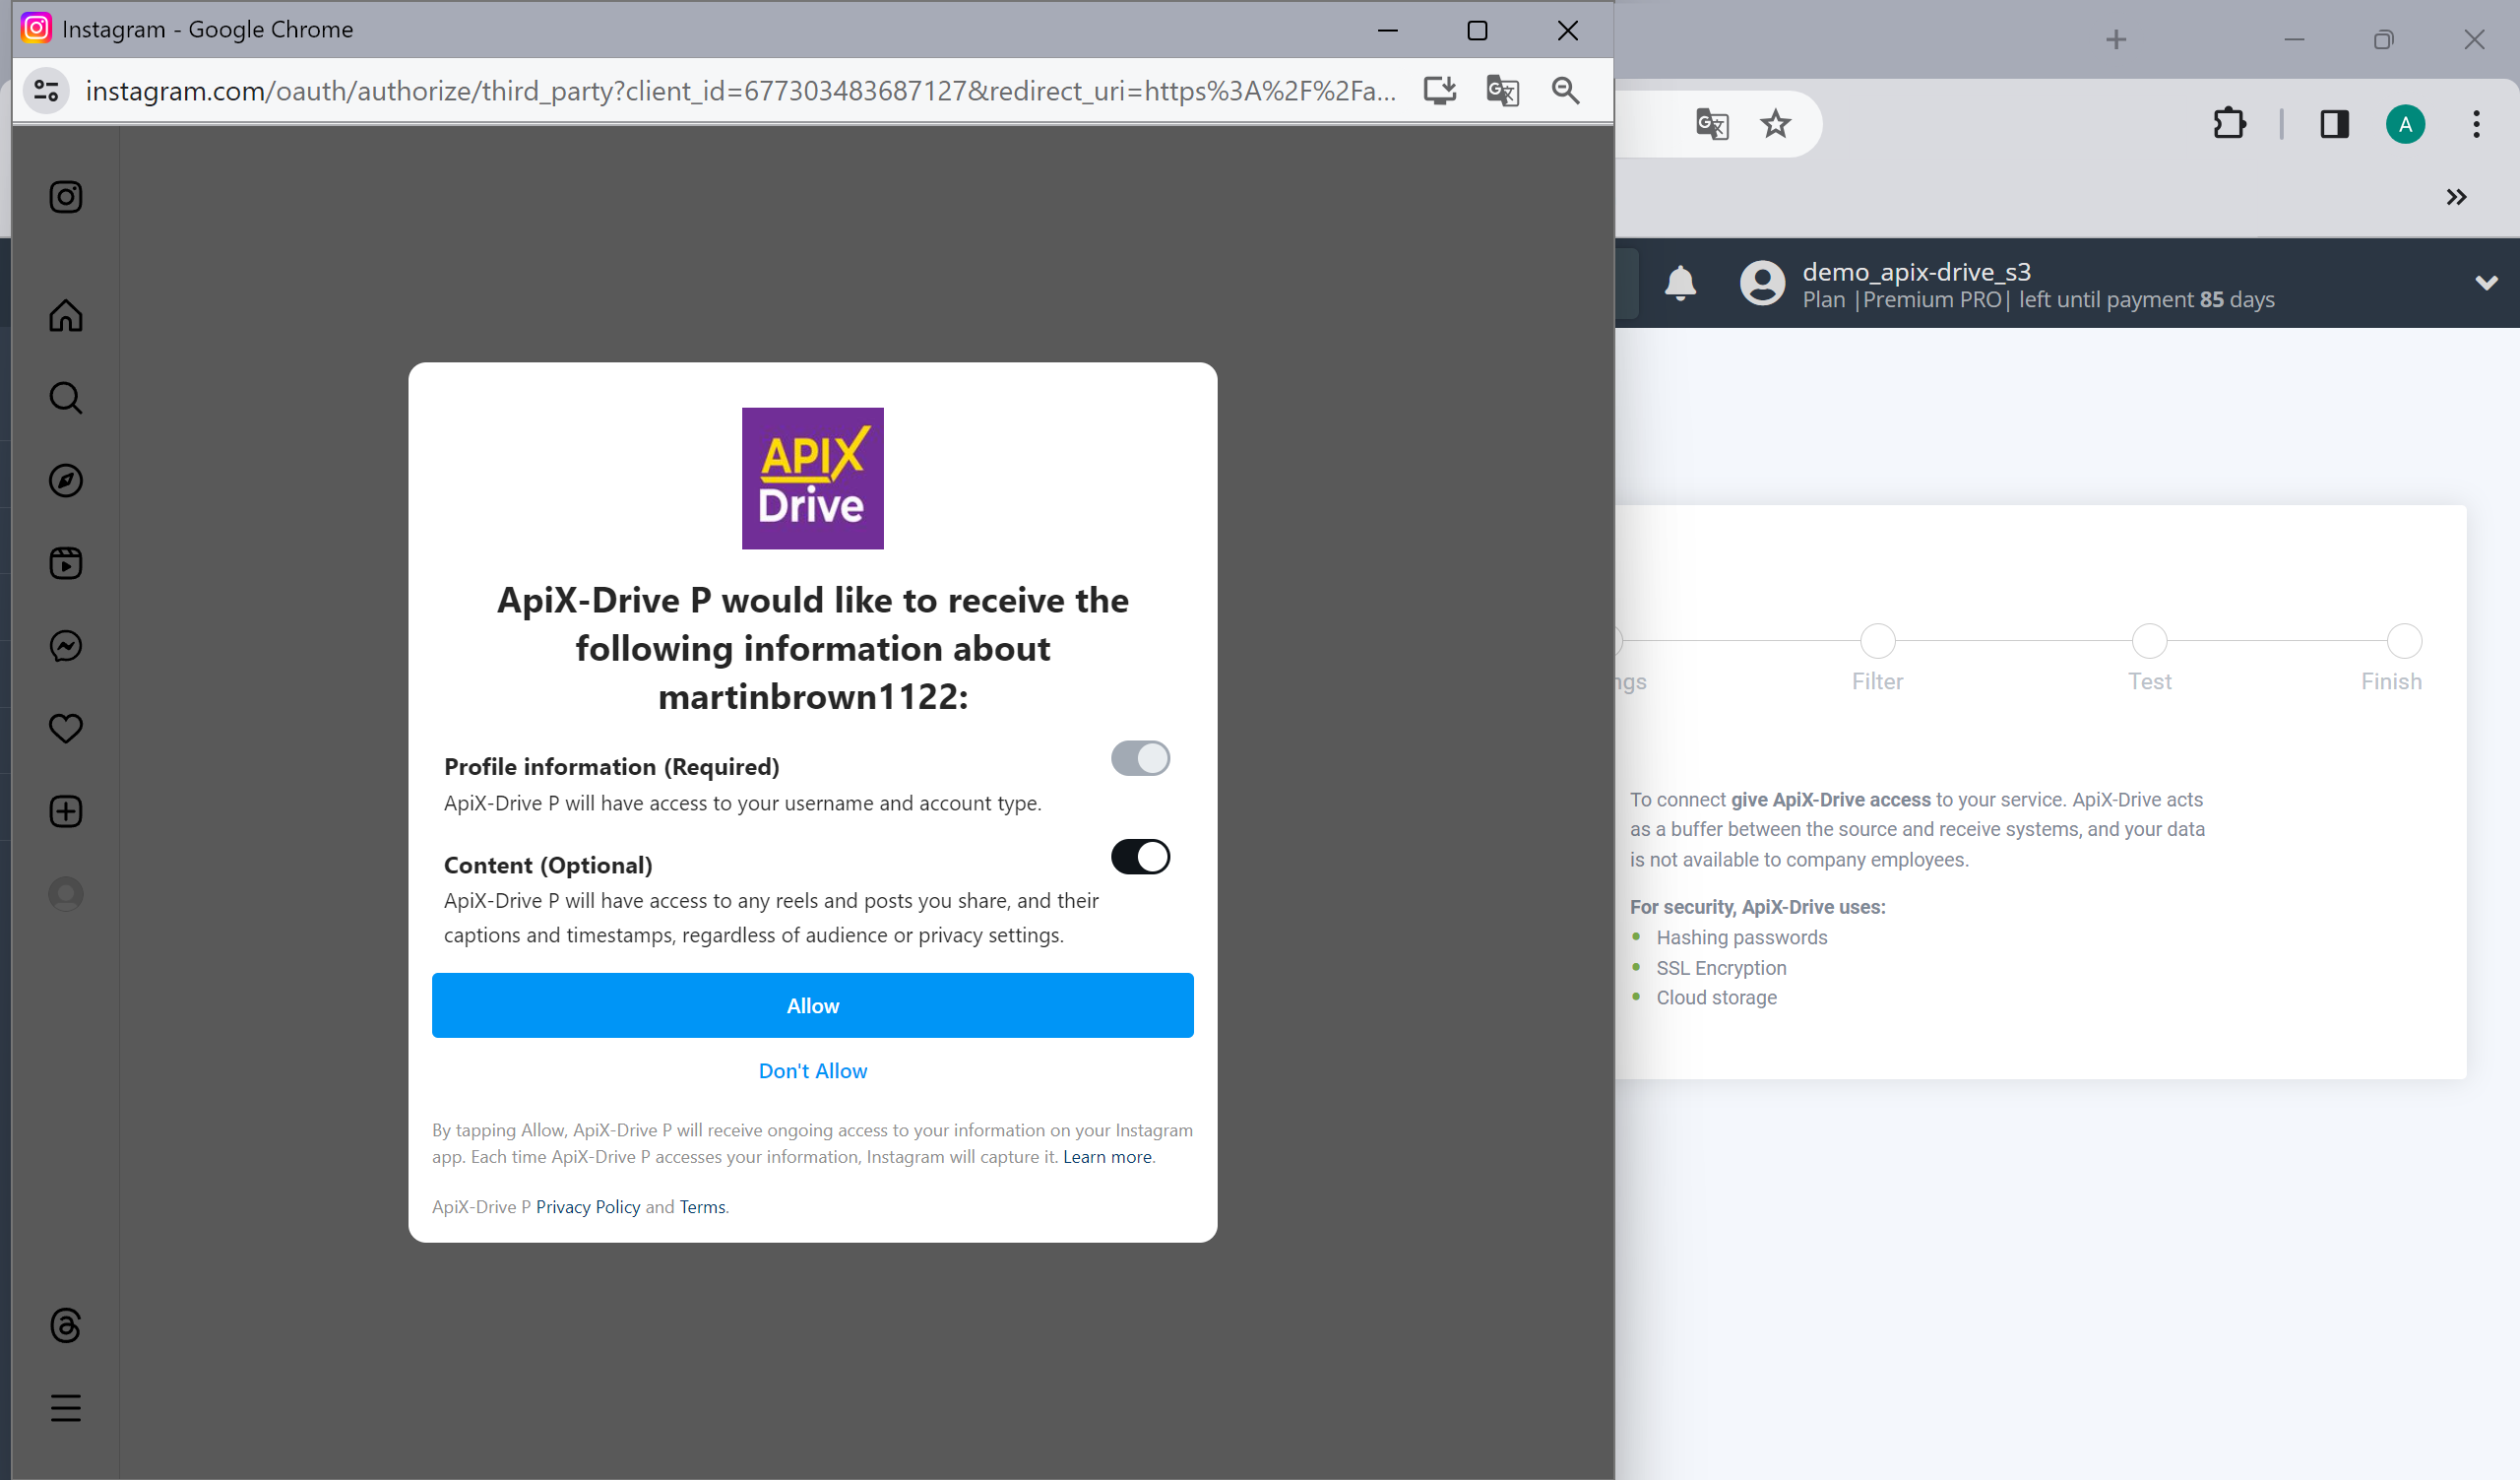
After you click Connect account, enter the login information for your Instagram account and give your permission to ApiX-Drive to work with this account.
When the connected account appears in the "active accounts" list, select it.
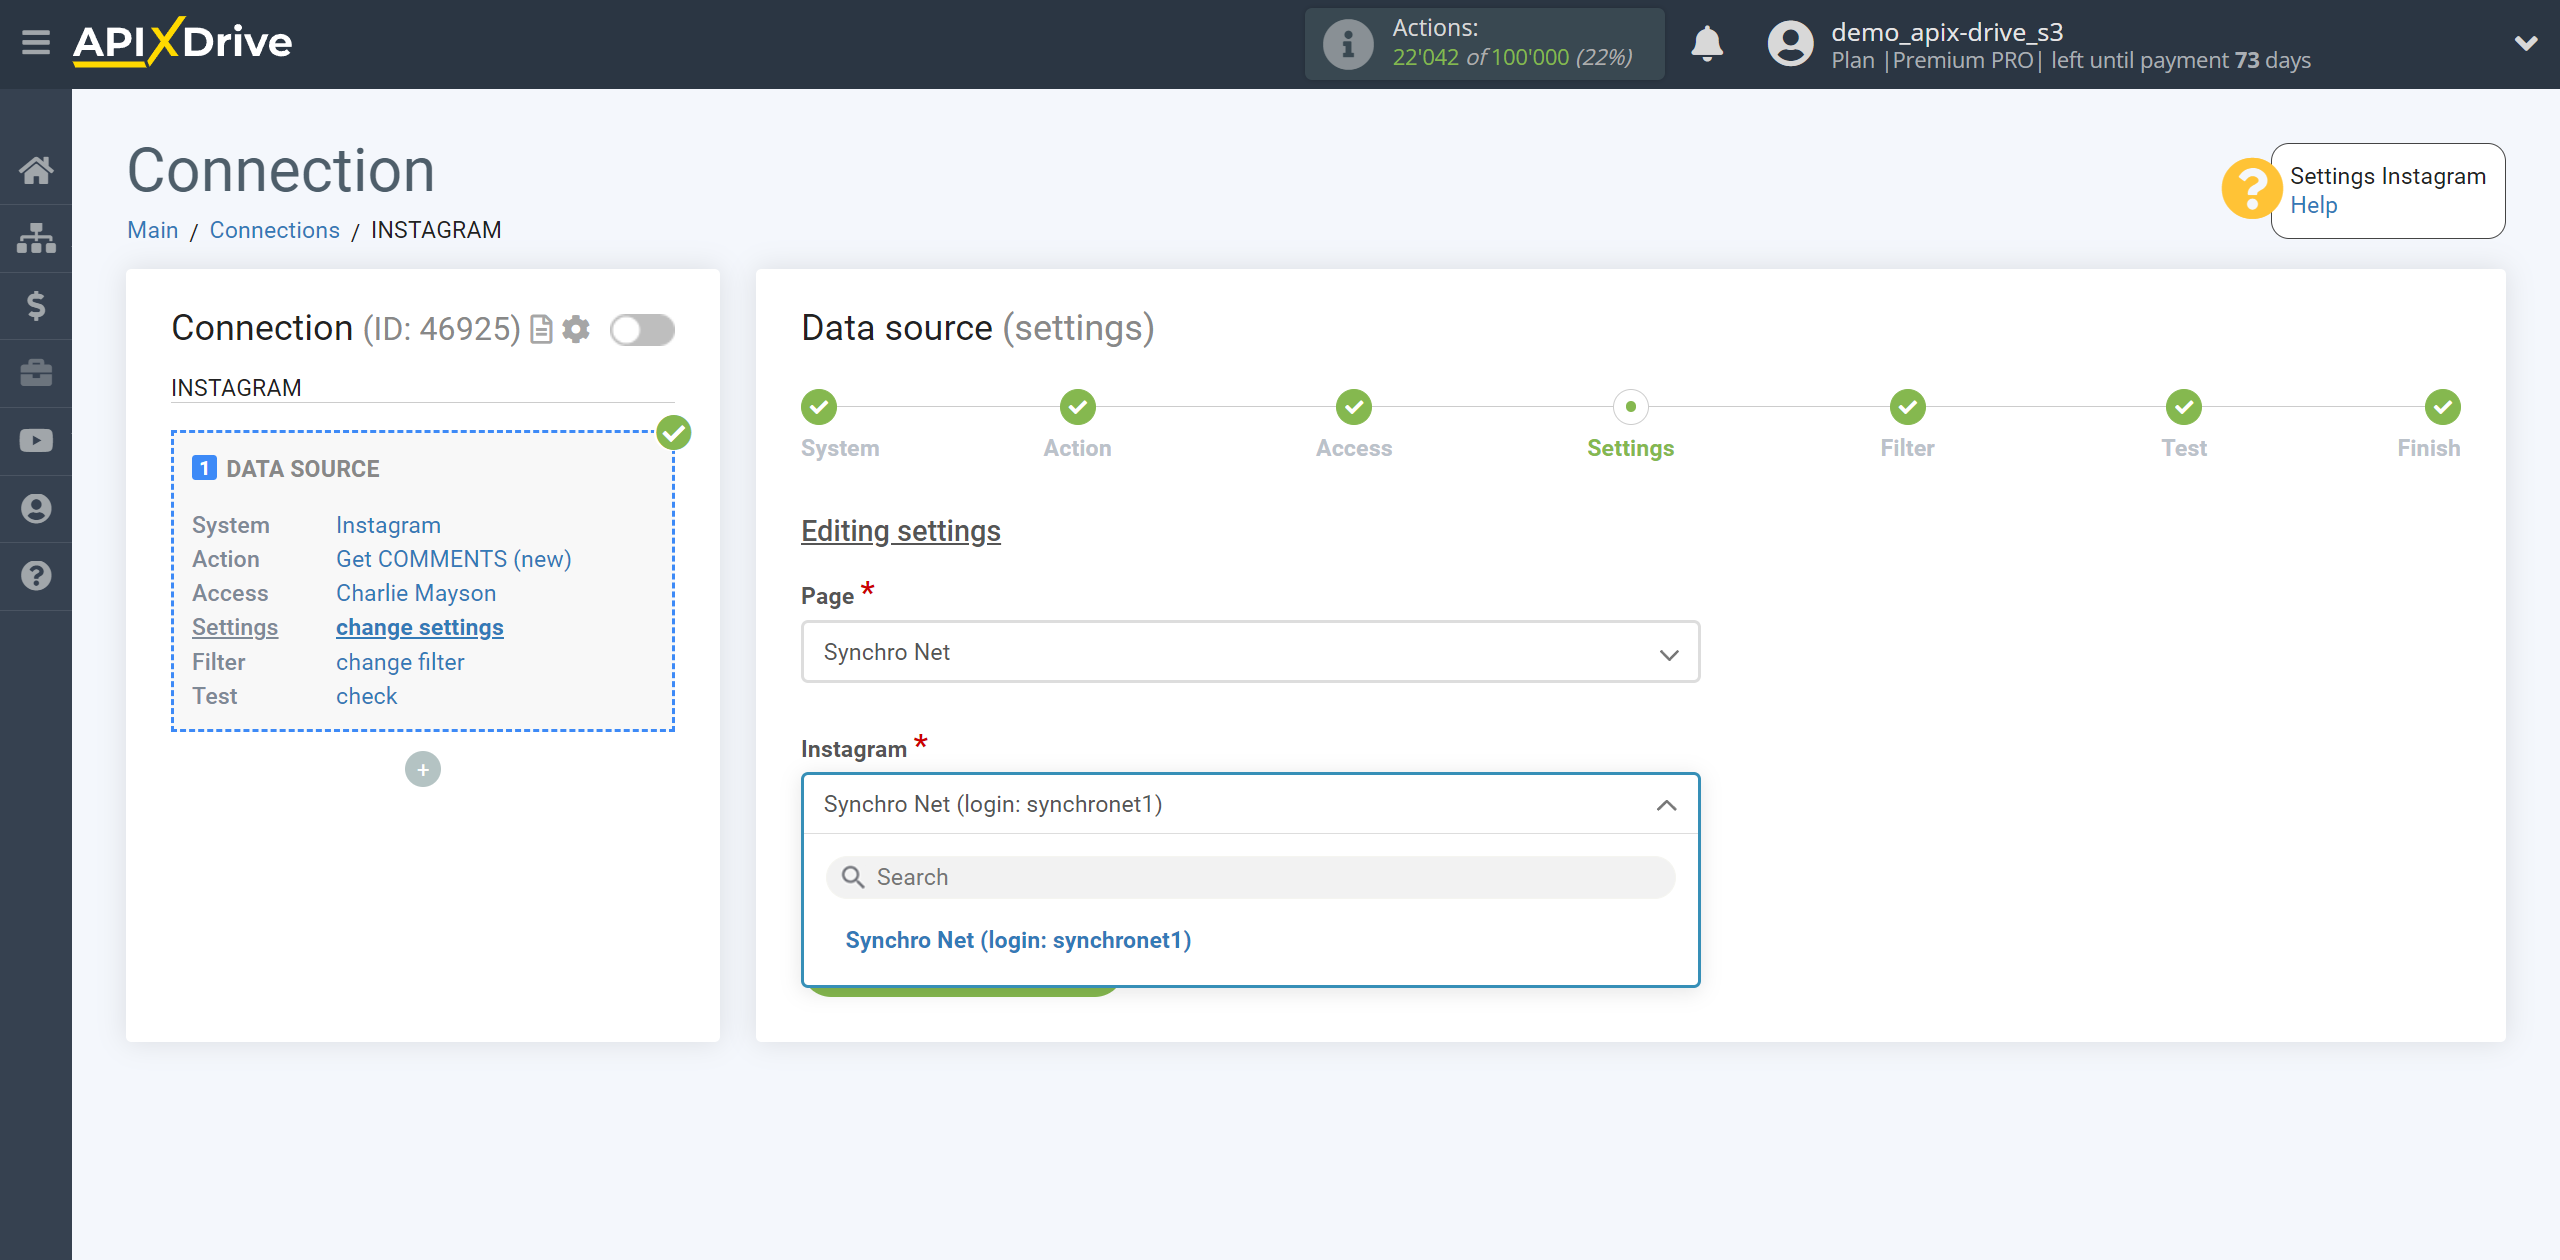
Example setup and test data for the "Get COMMENTS (new)" action
Now you need to select the page and Instagram account from which comments on posts will be get. Next, click "Edit and Continue".
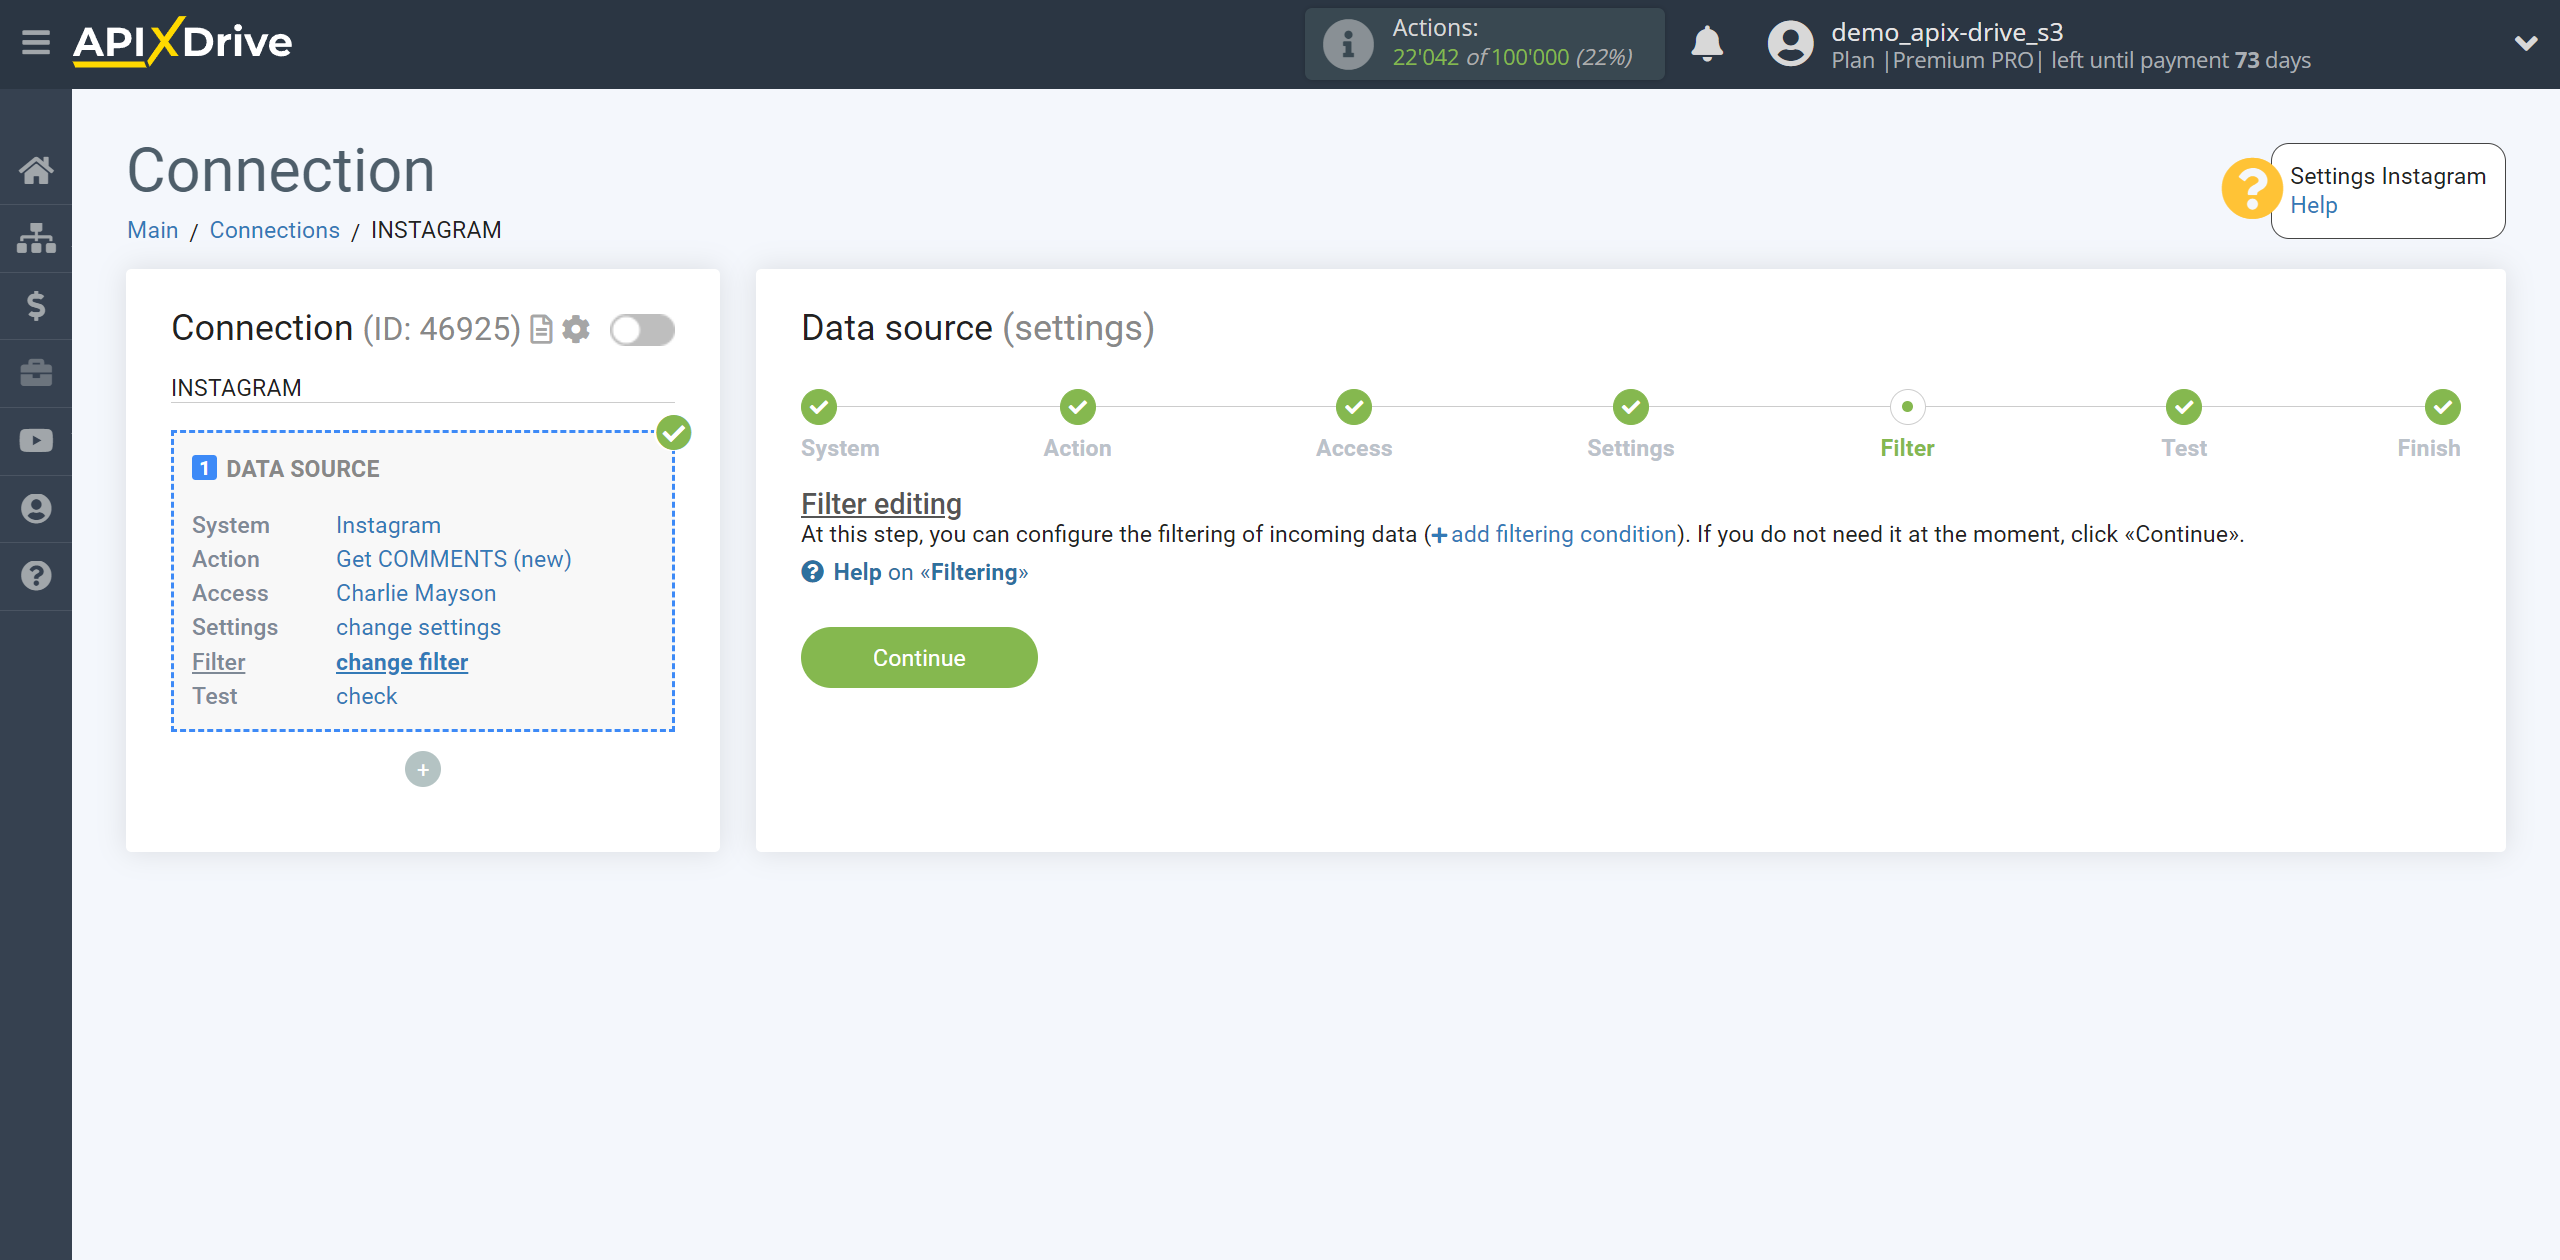
If necessary, you can set up a Data Filter, or click "Continue" to skip this step.
To find out how to setup the Data Filter, follow the link: https://apix-drive.com/en/help/data-filter
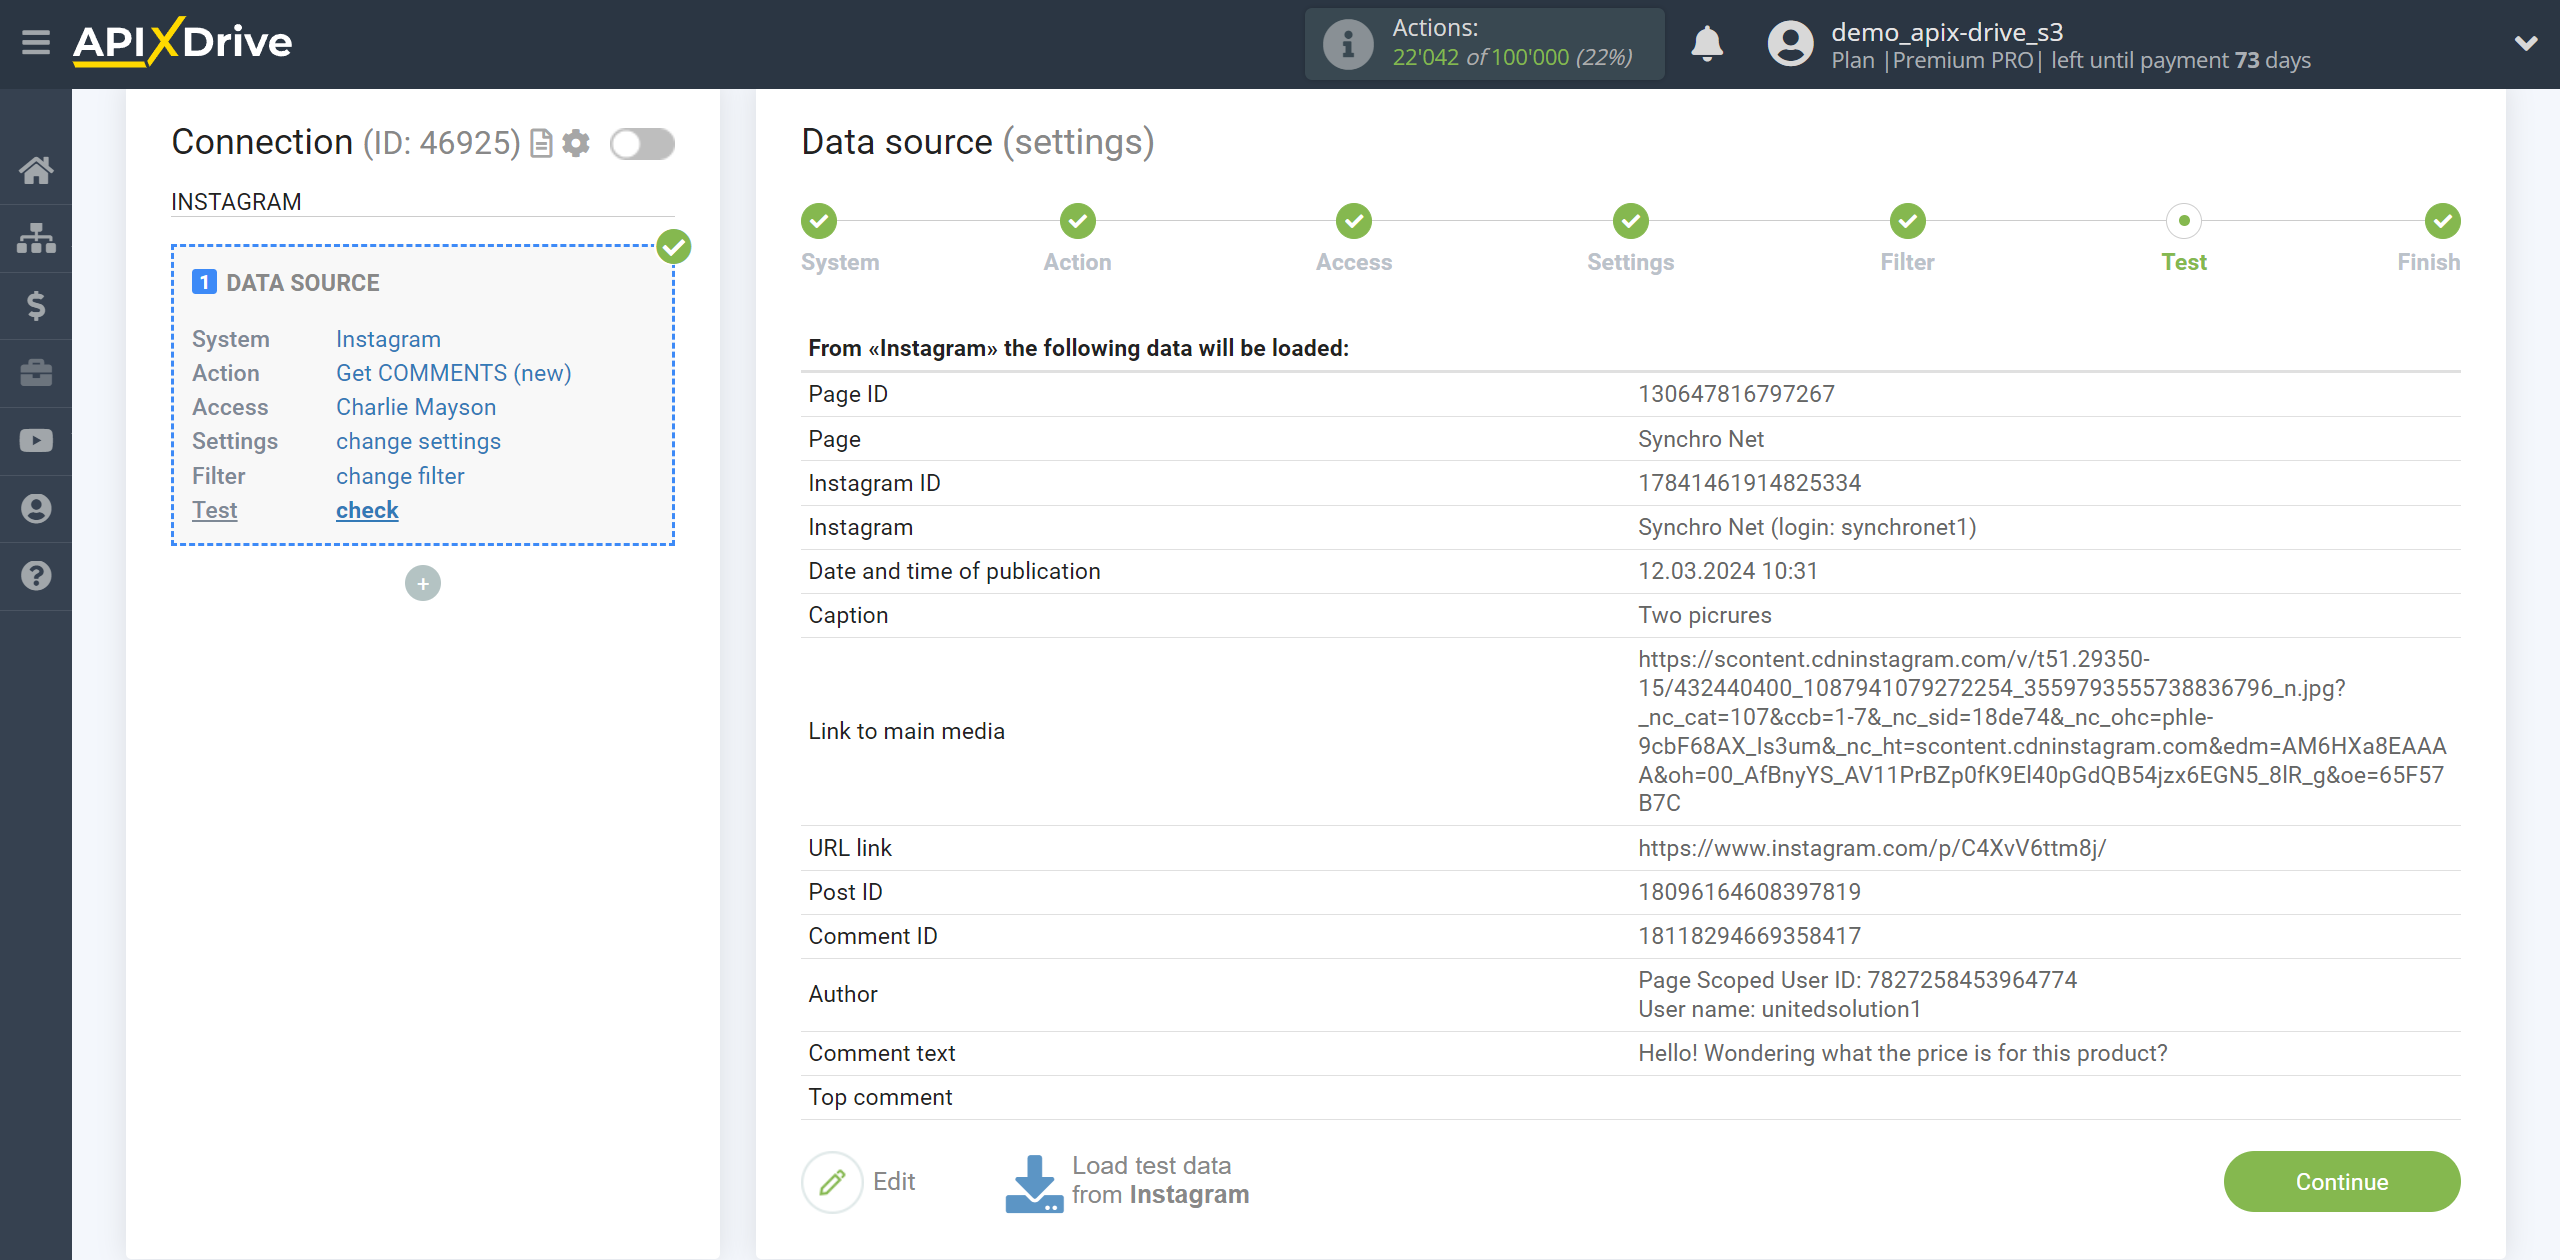
Now you can see test data for one of the comments that was written on the post.
If the test data does not appear automatically, click “Load test data from Instagram.”
If you want to change the settings, click "Edit" and you will go back a step.
If you are satisfied with everything, click “Continue”.
Note!
If the required page is not in the drop-down list for receiving comments, or after connecting your account you have access to new pages, you will need to connect your Instagram account again.
To do this, follow these steps:
1. Check the availability of admin access to the required advertising pages.
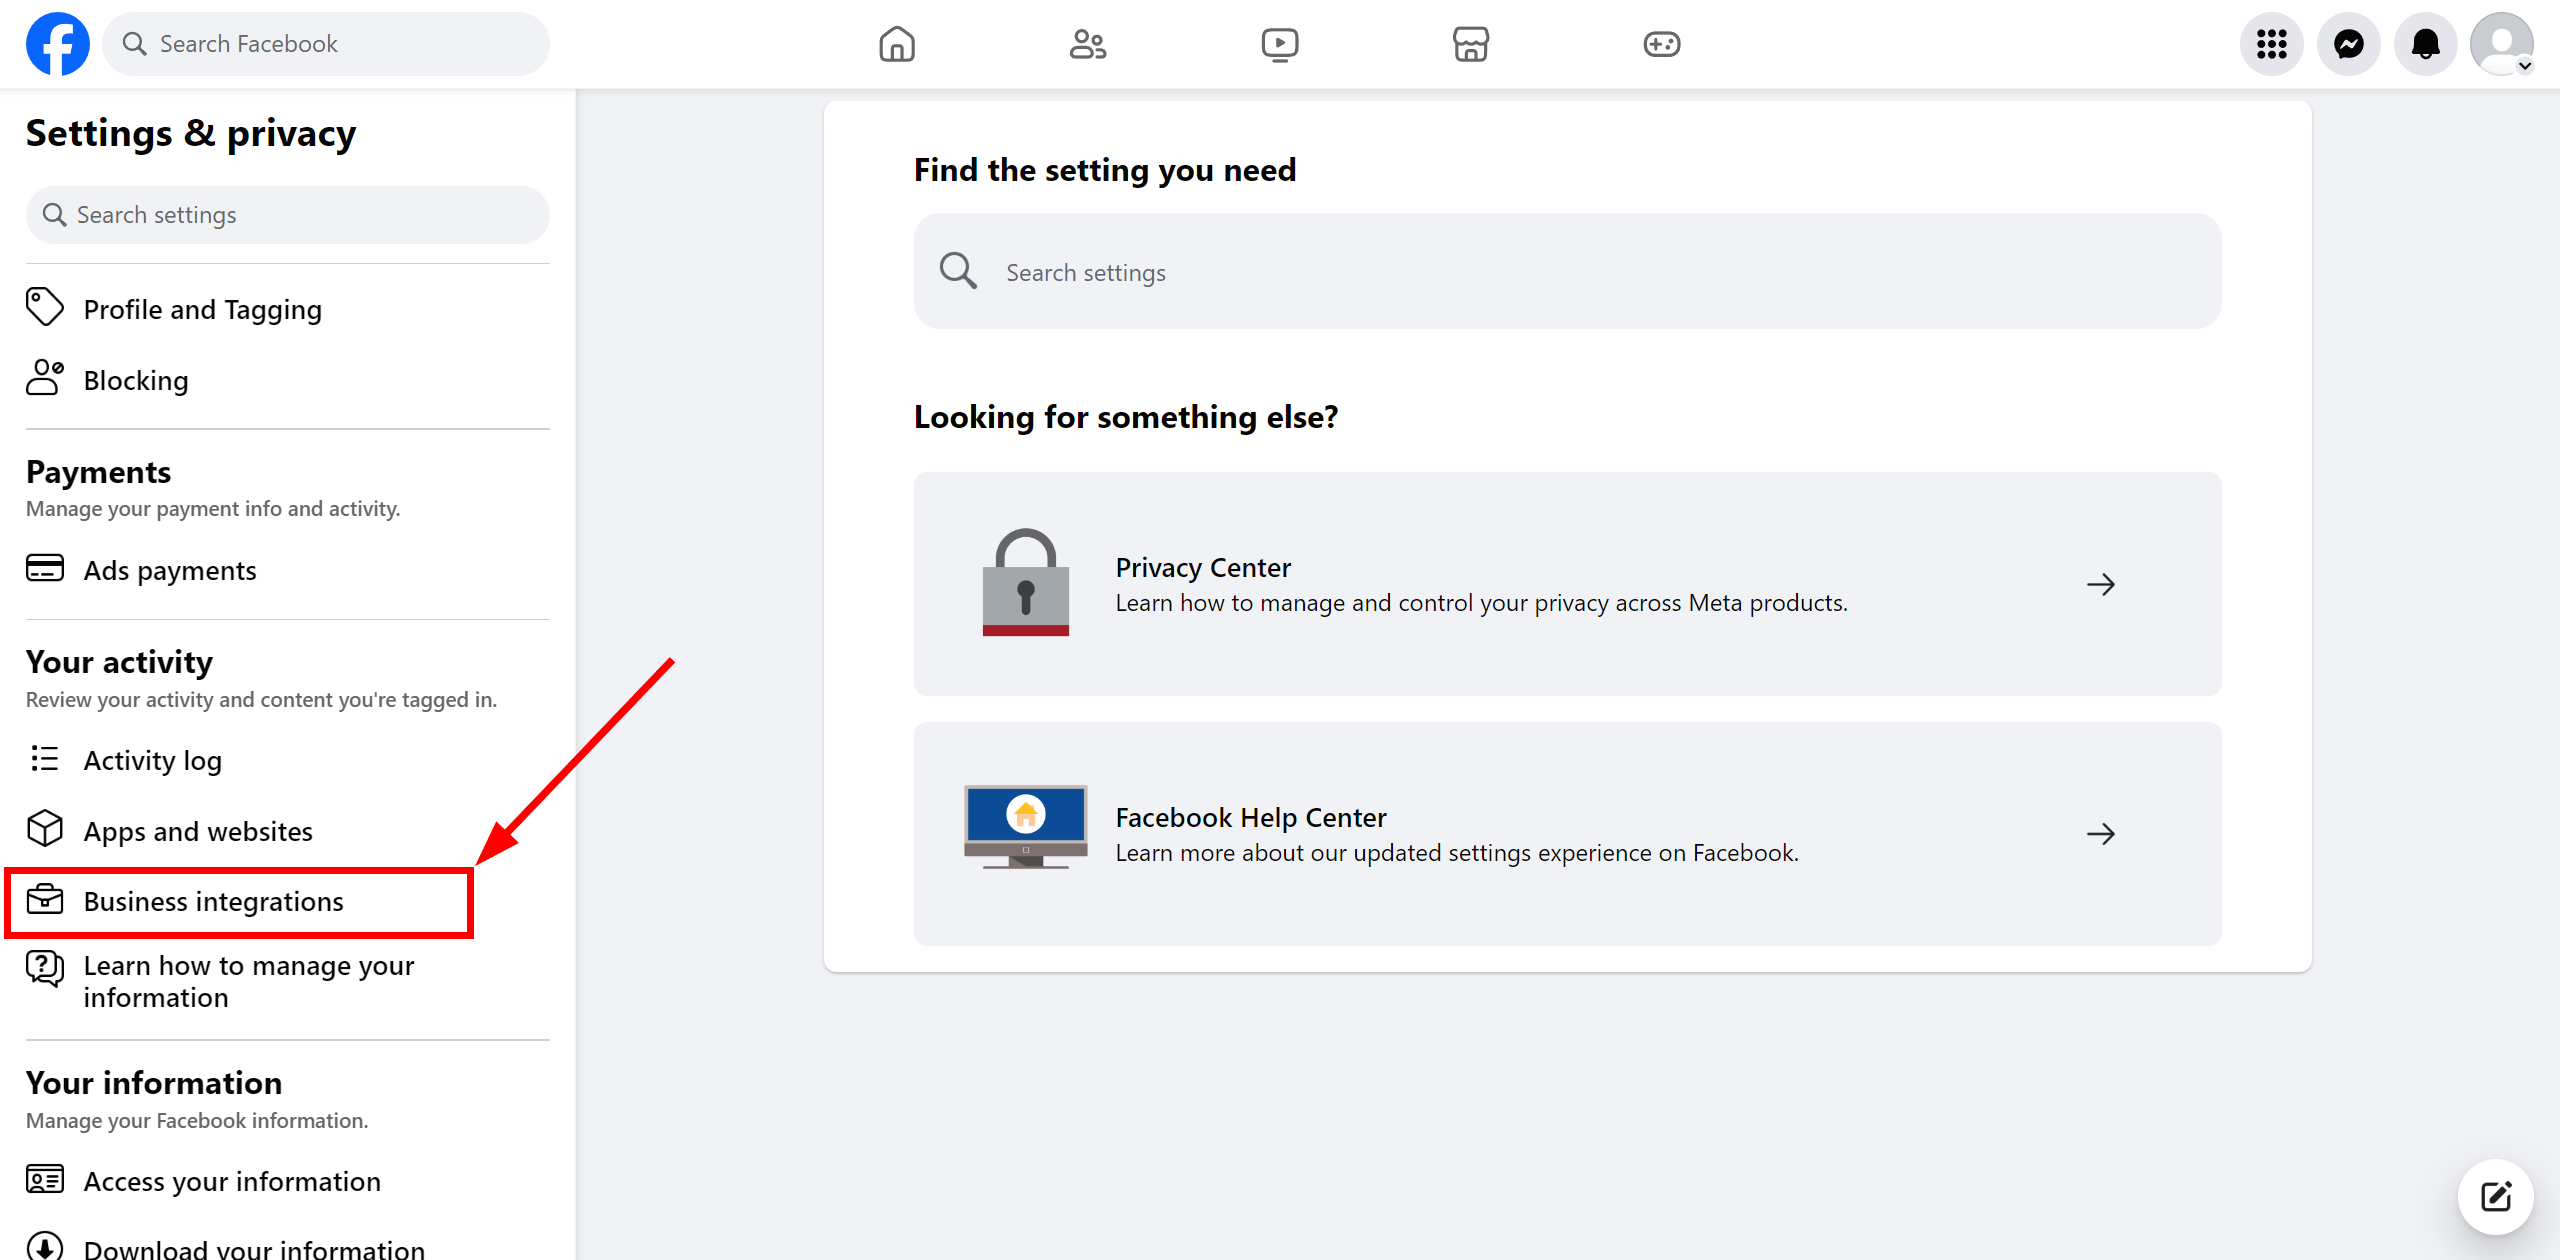
2. Go to your Facebook account under Settings and Privacy - Settings, then go to Business Integrations.
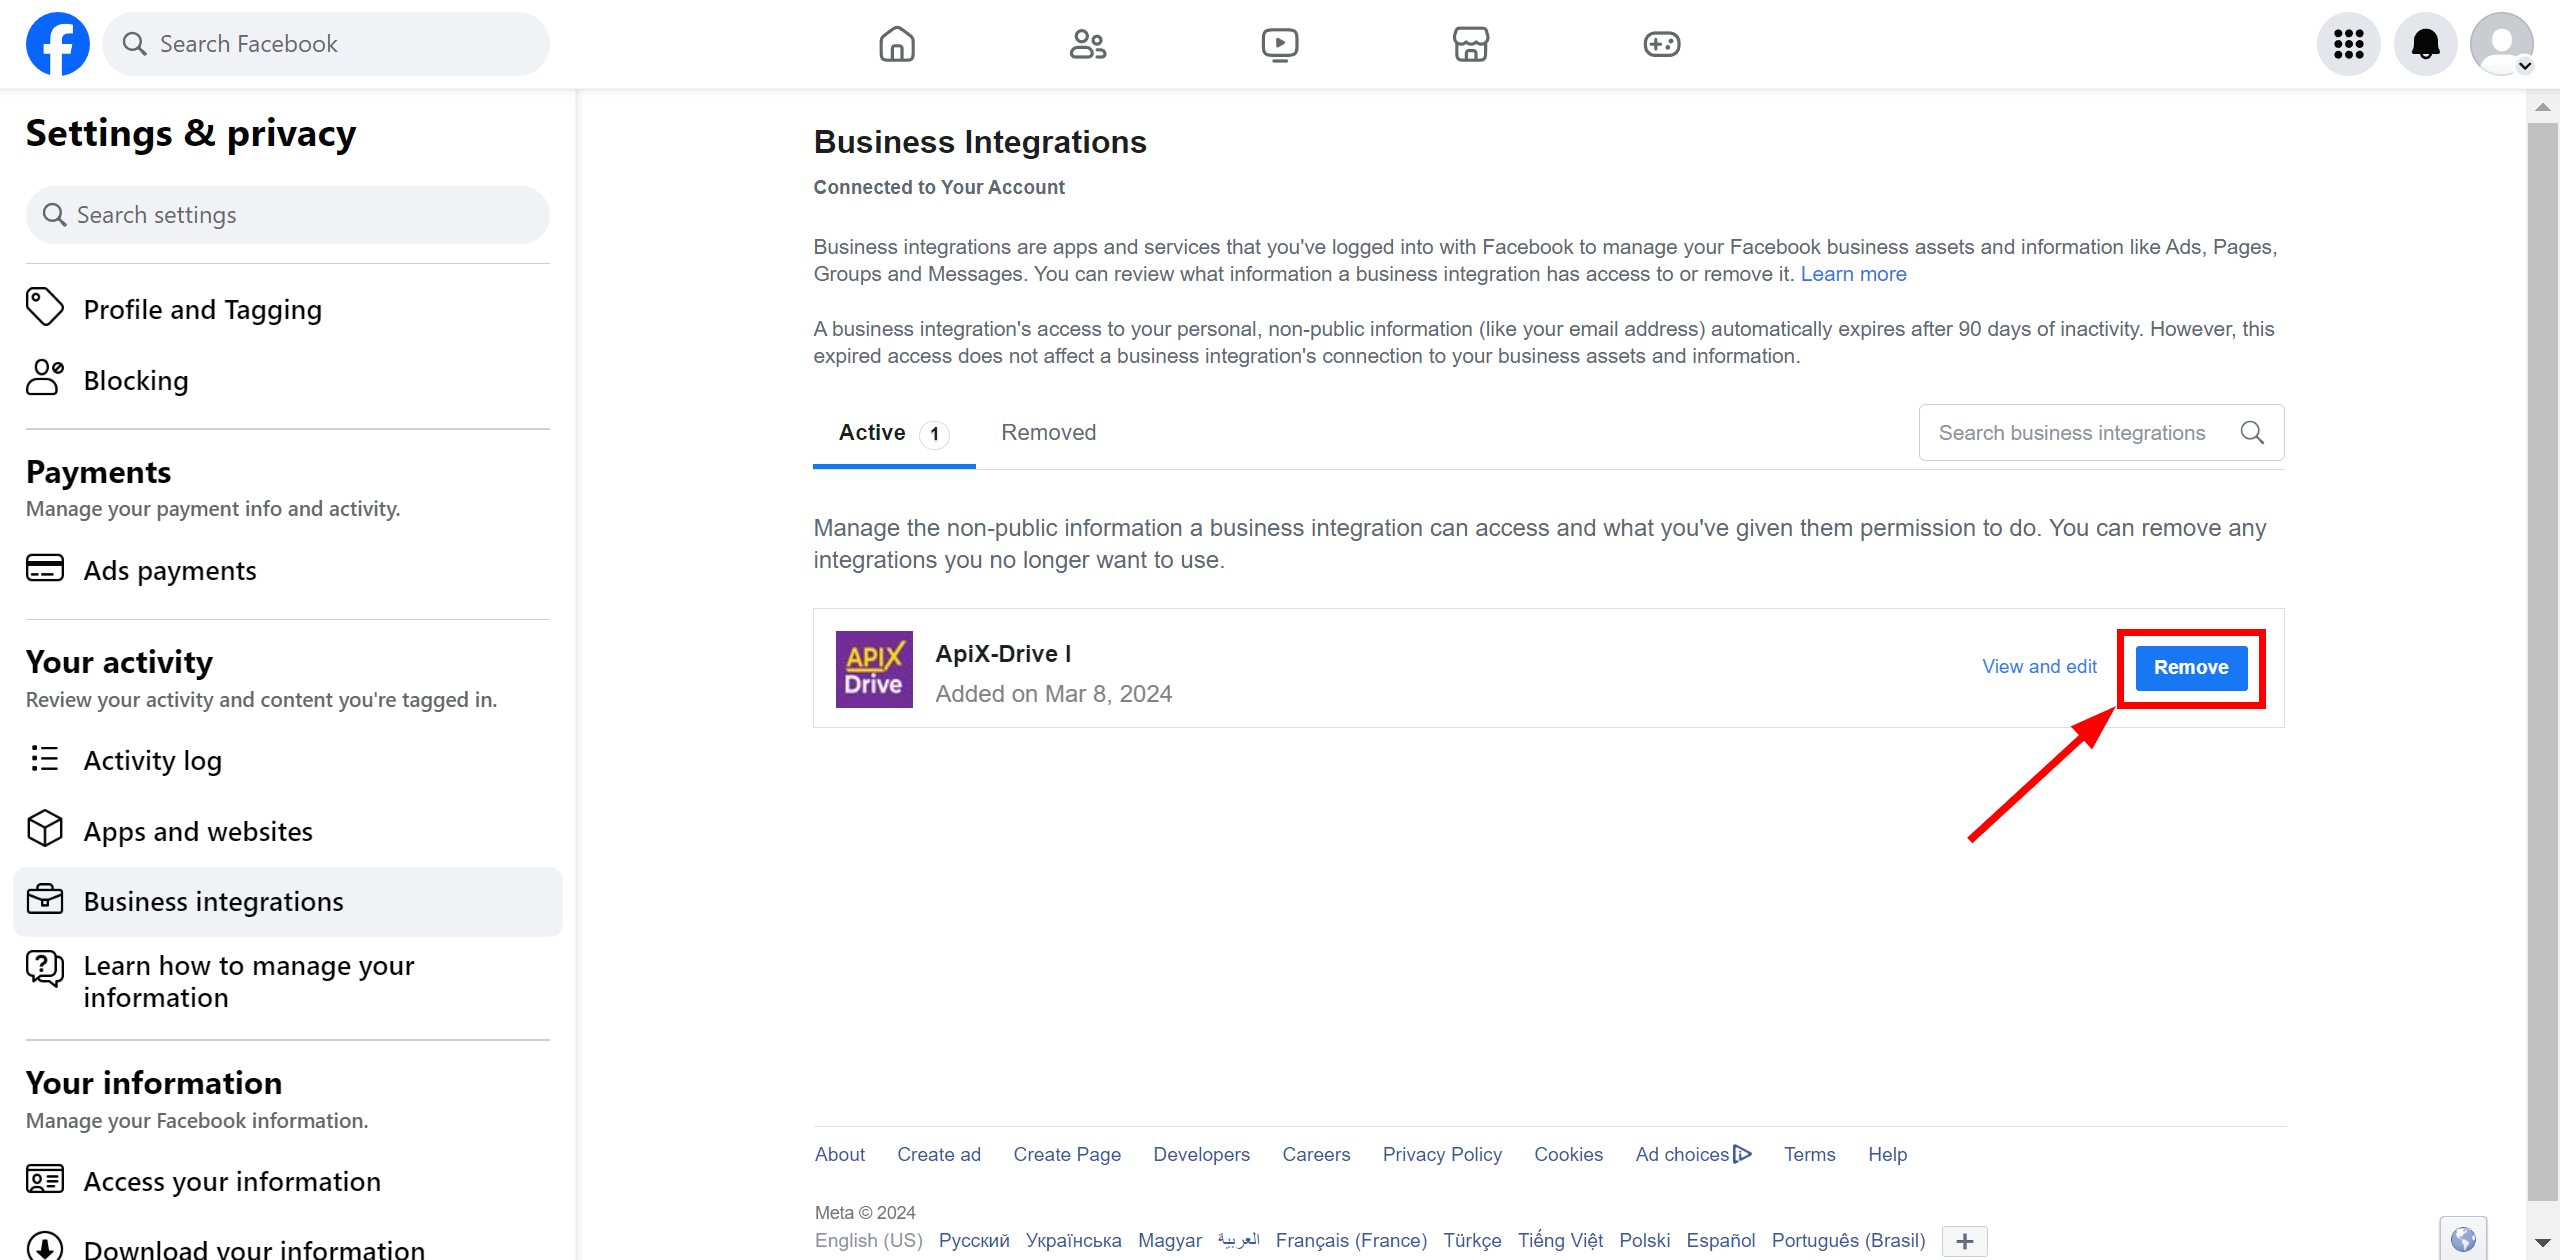
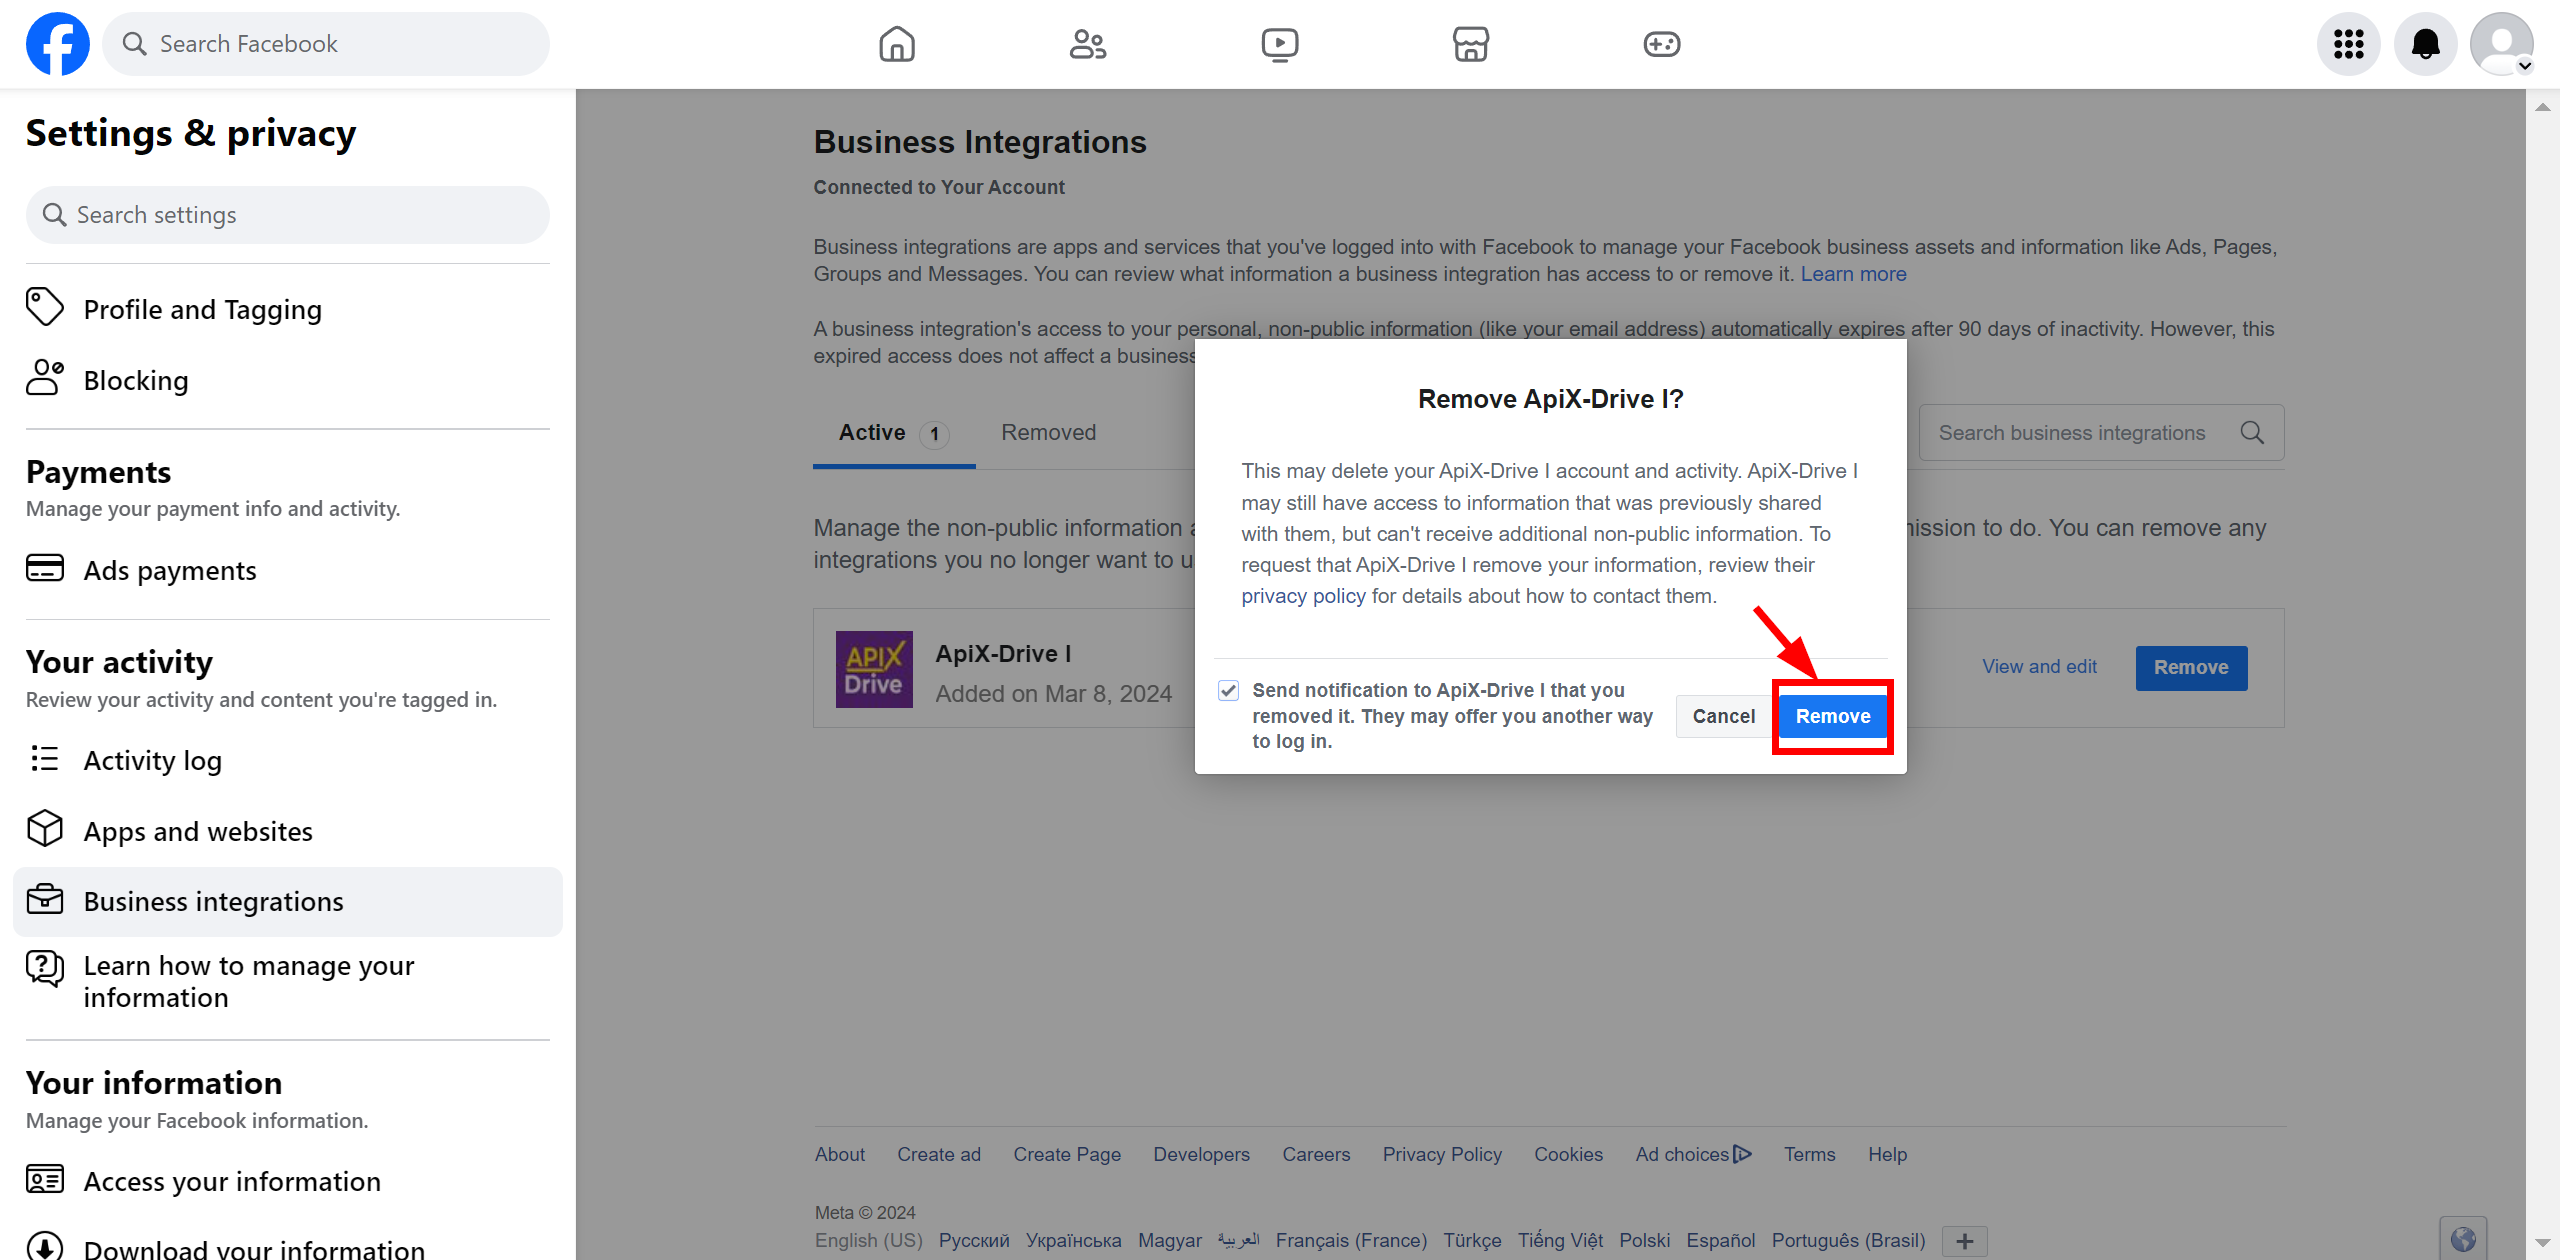
3. Remove the ApiX-Drive application.
4. Switch to Incognito mode in your browser.
5. In your connection with Instagram, go to the Access stage in the Data Source and click “Connect account”.
6. Enter your authorization information and select the business accounts you need. Now you can select the necessary pages that you have access to, in the next step select the Instagram accounts you need.
7. Click Save and Got it to complete the connection.
Example setup and test data for the "Get POSTS (new)" action
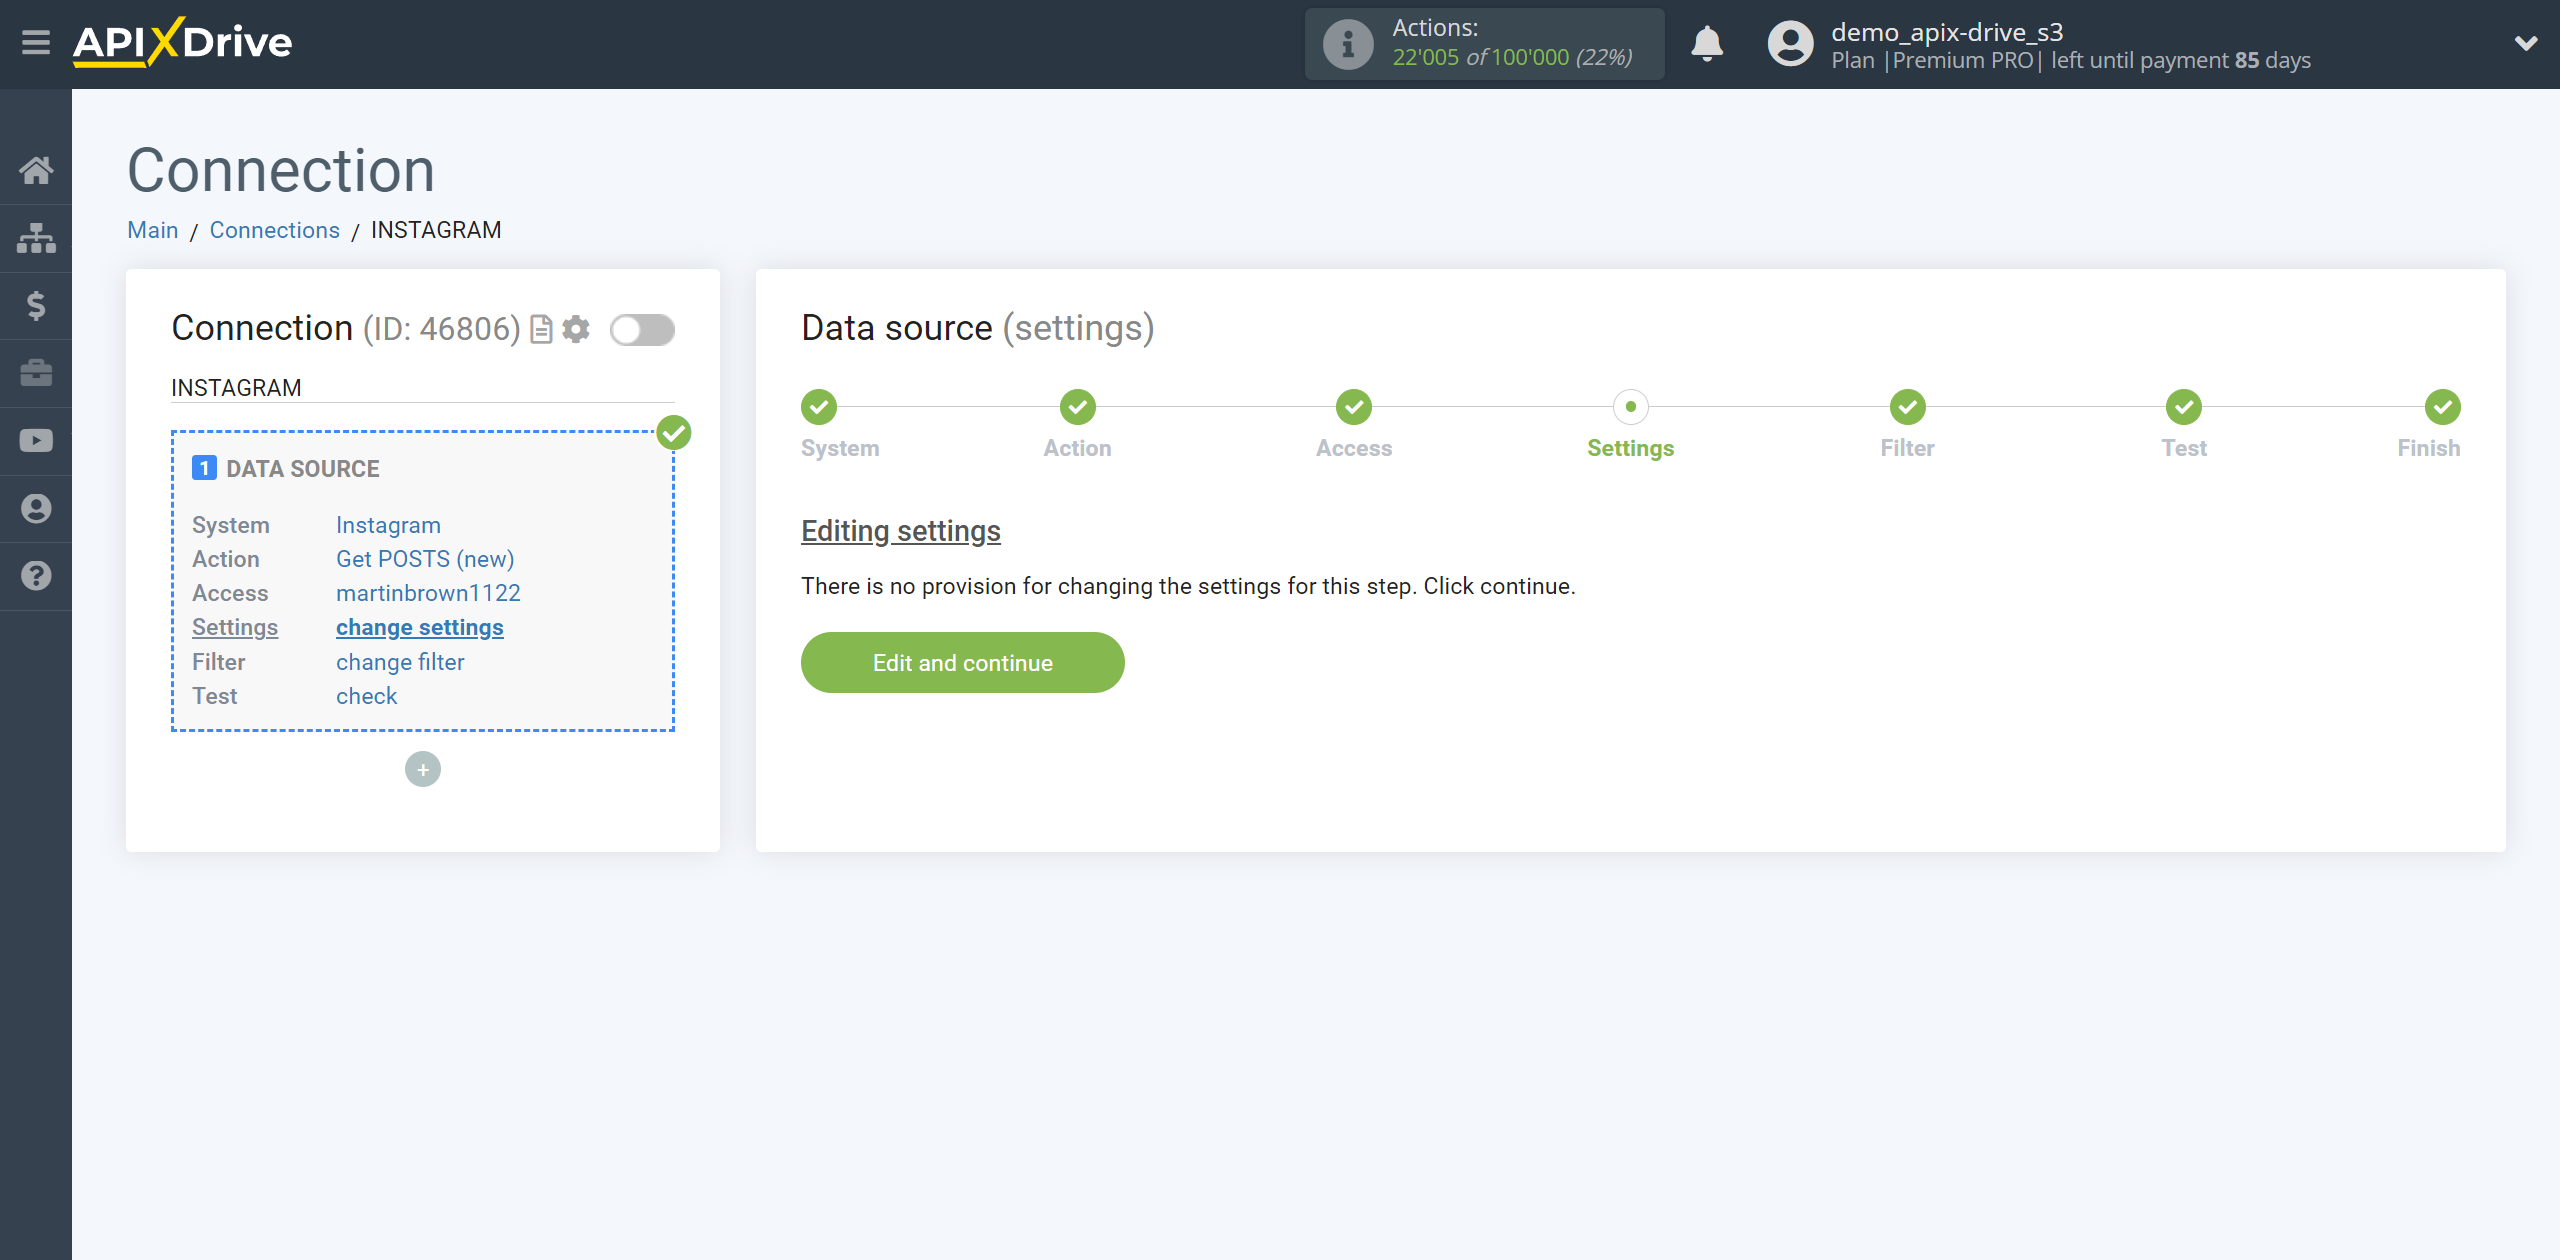
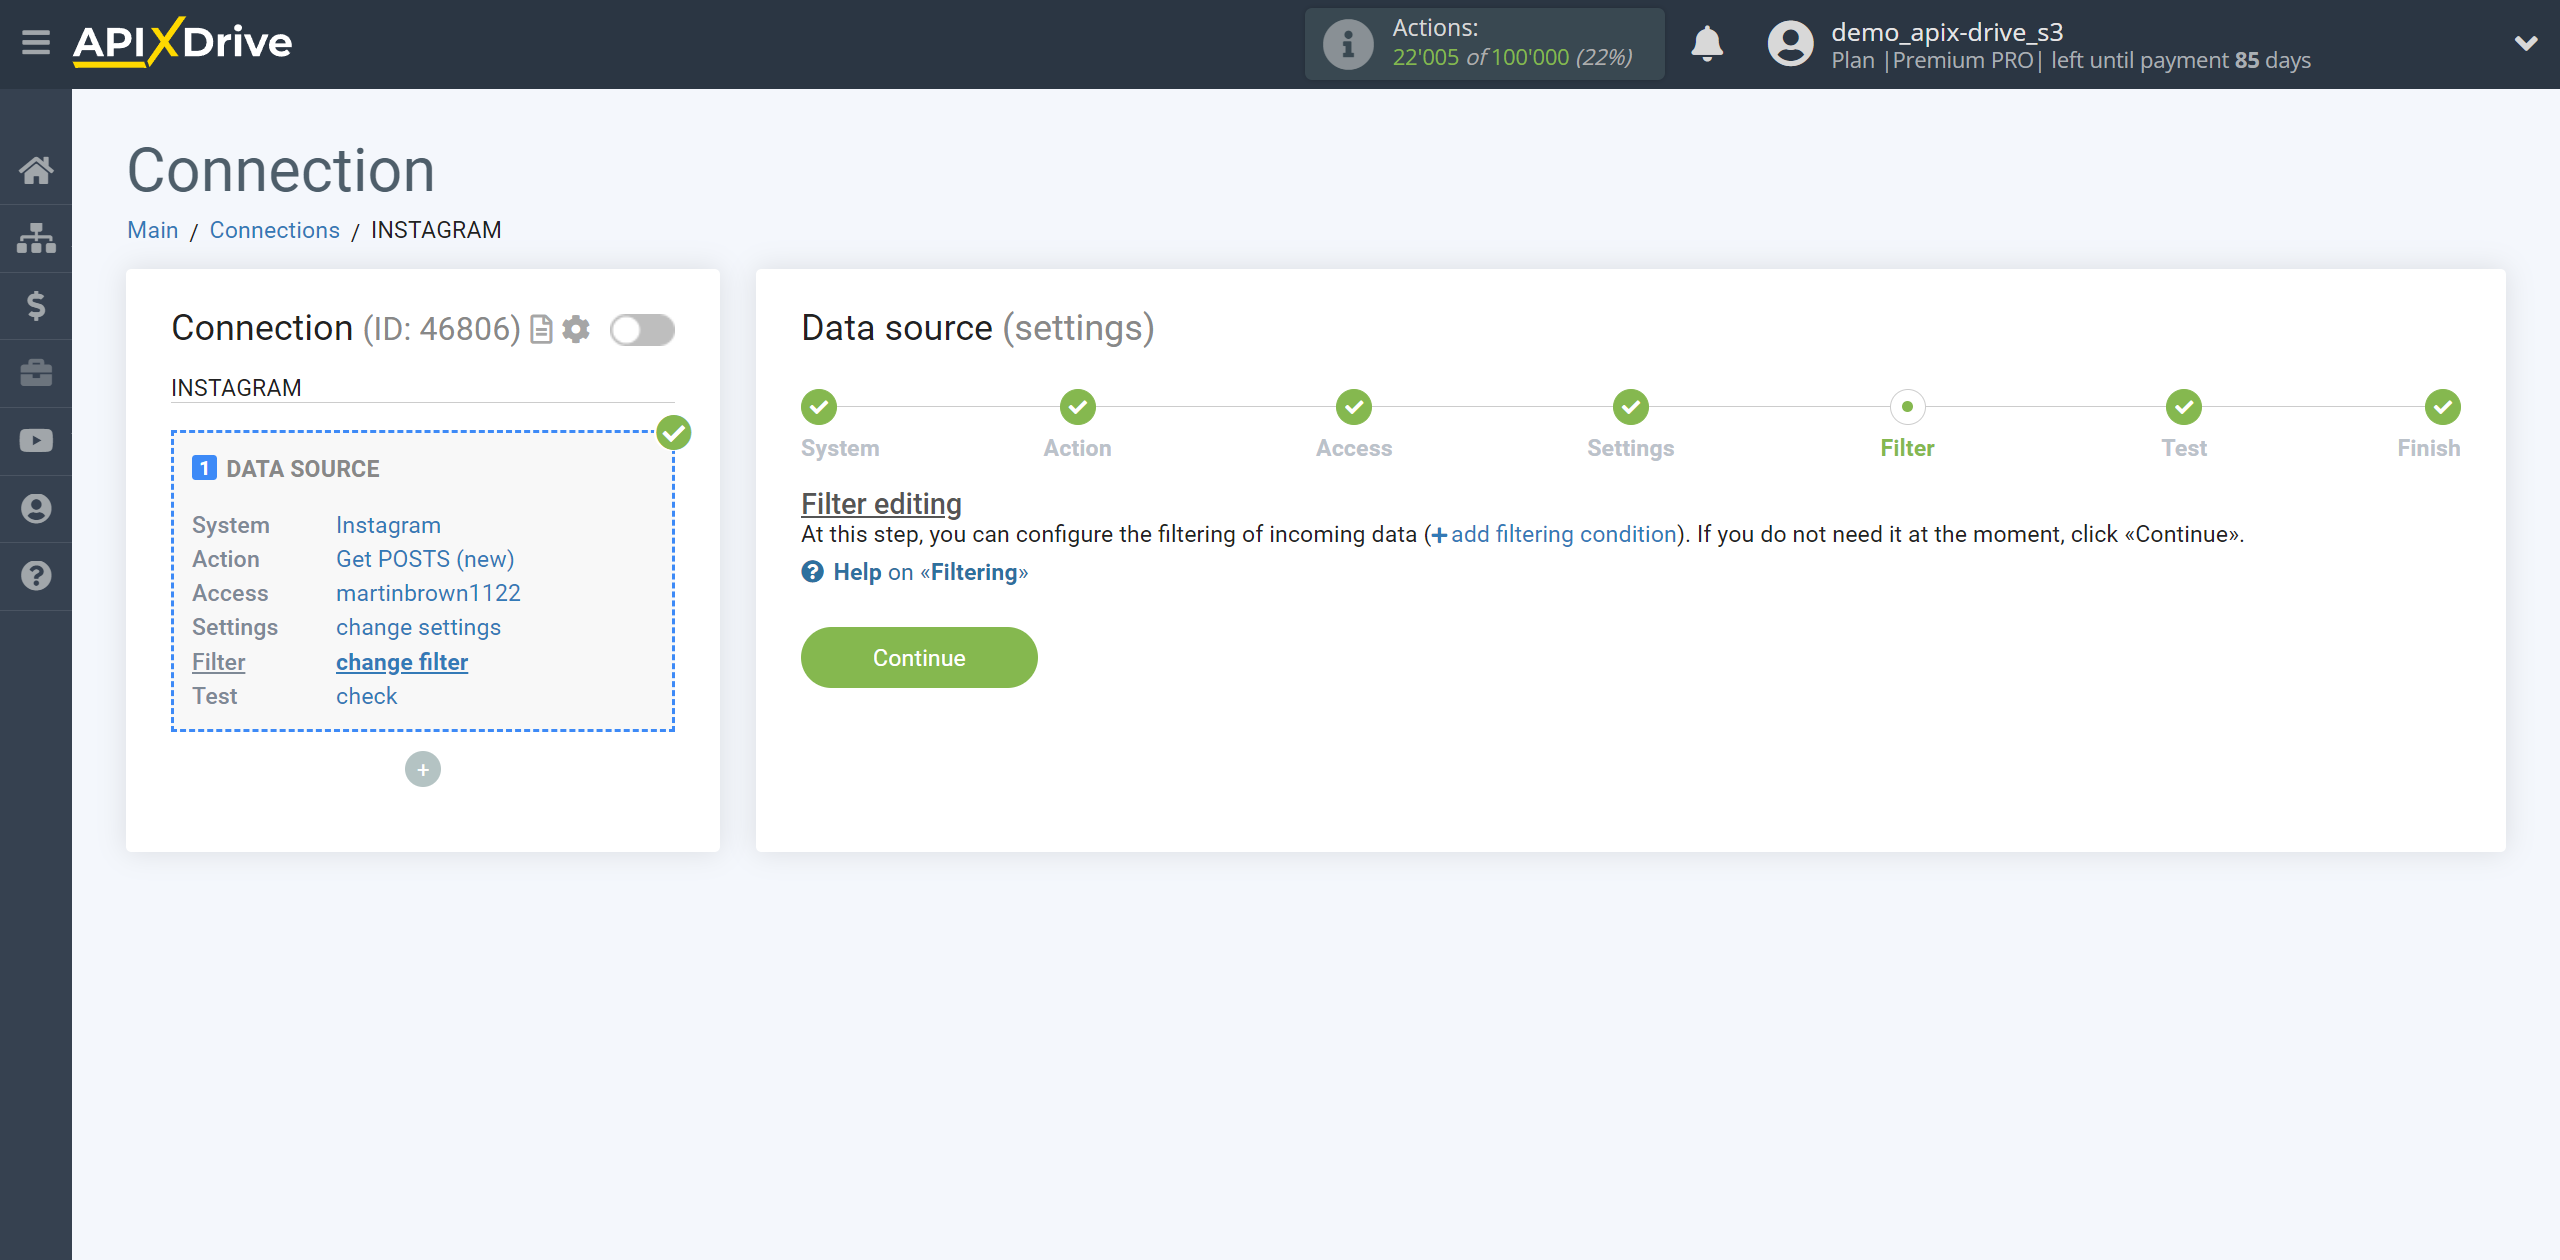
There are no settings available for this step, click “Edit and continue.”
If necessary, you can set up a Data Filter, or click "Continue" to skip this step.
To find out how to setup the Data Filter, follow the link: https://apix-drive.com/en/help/data-filter
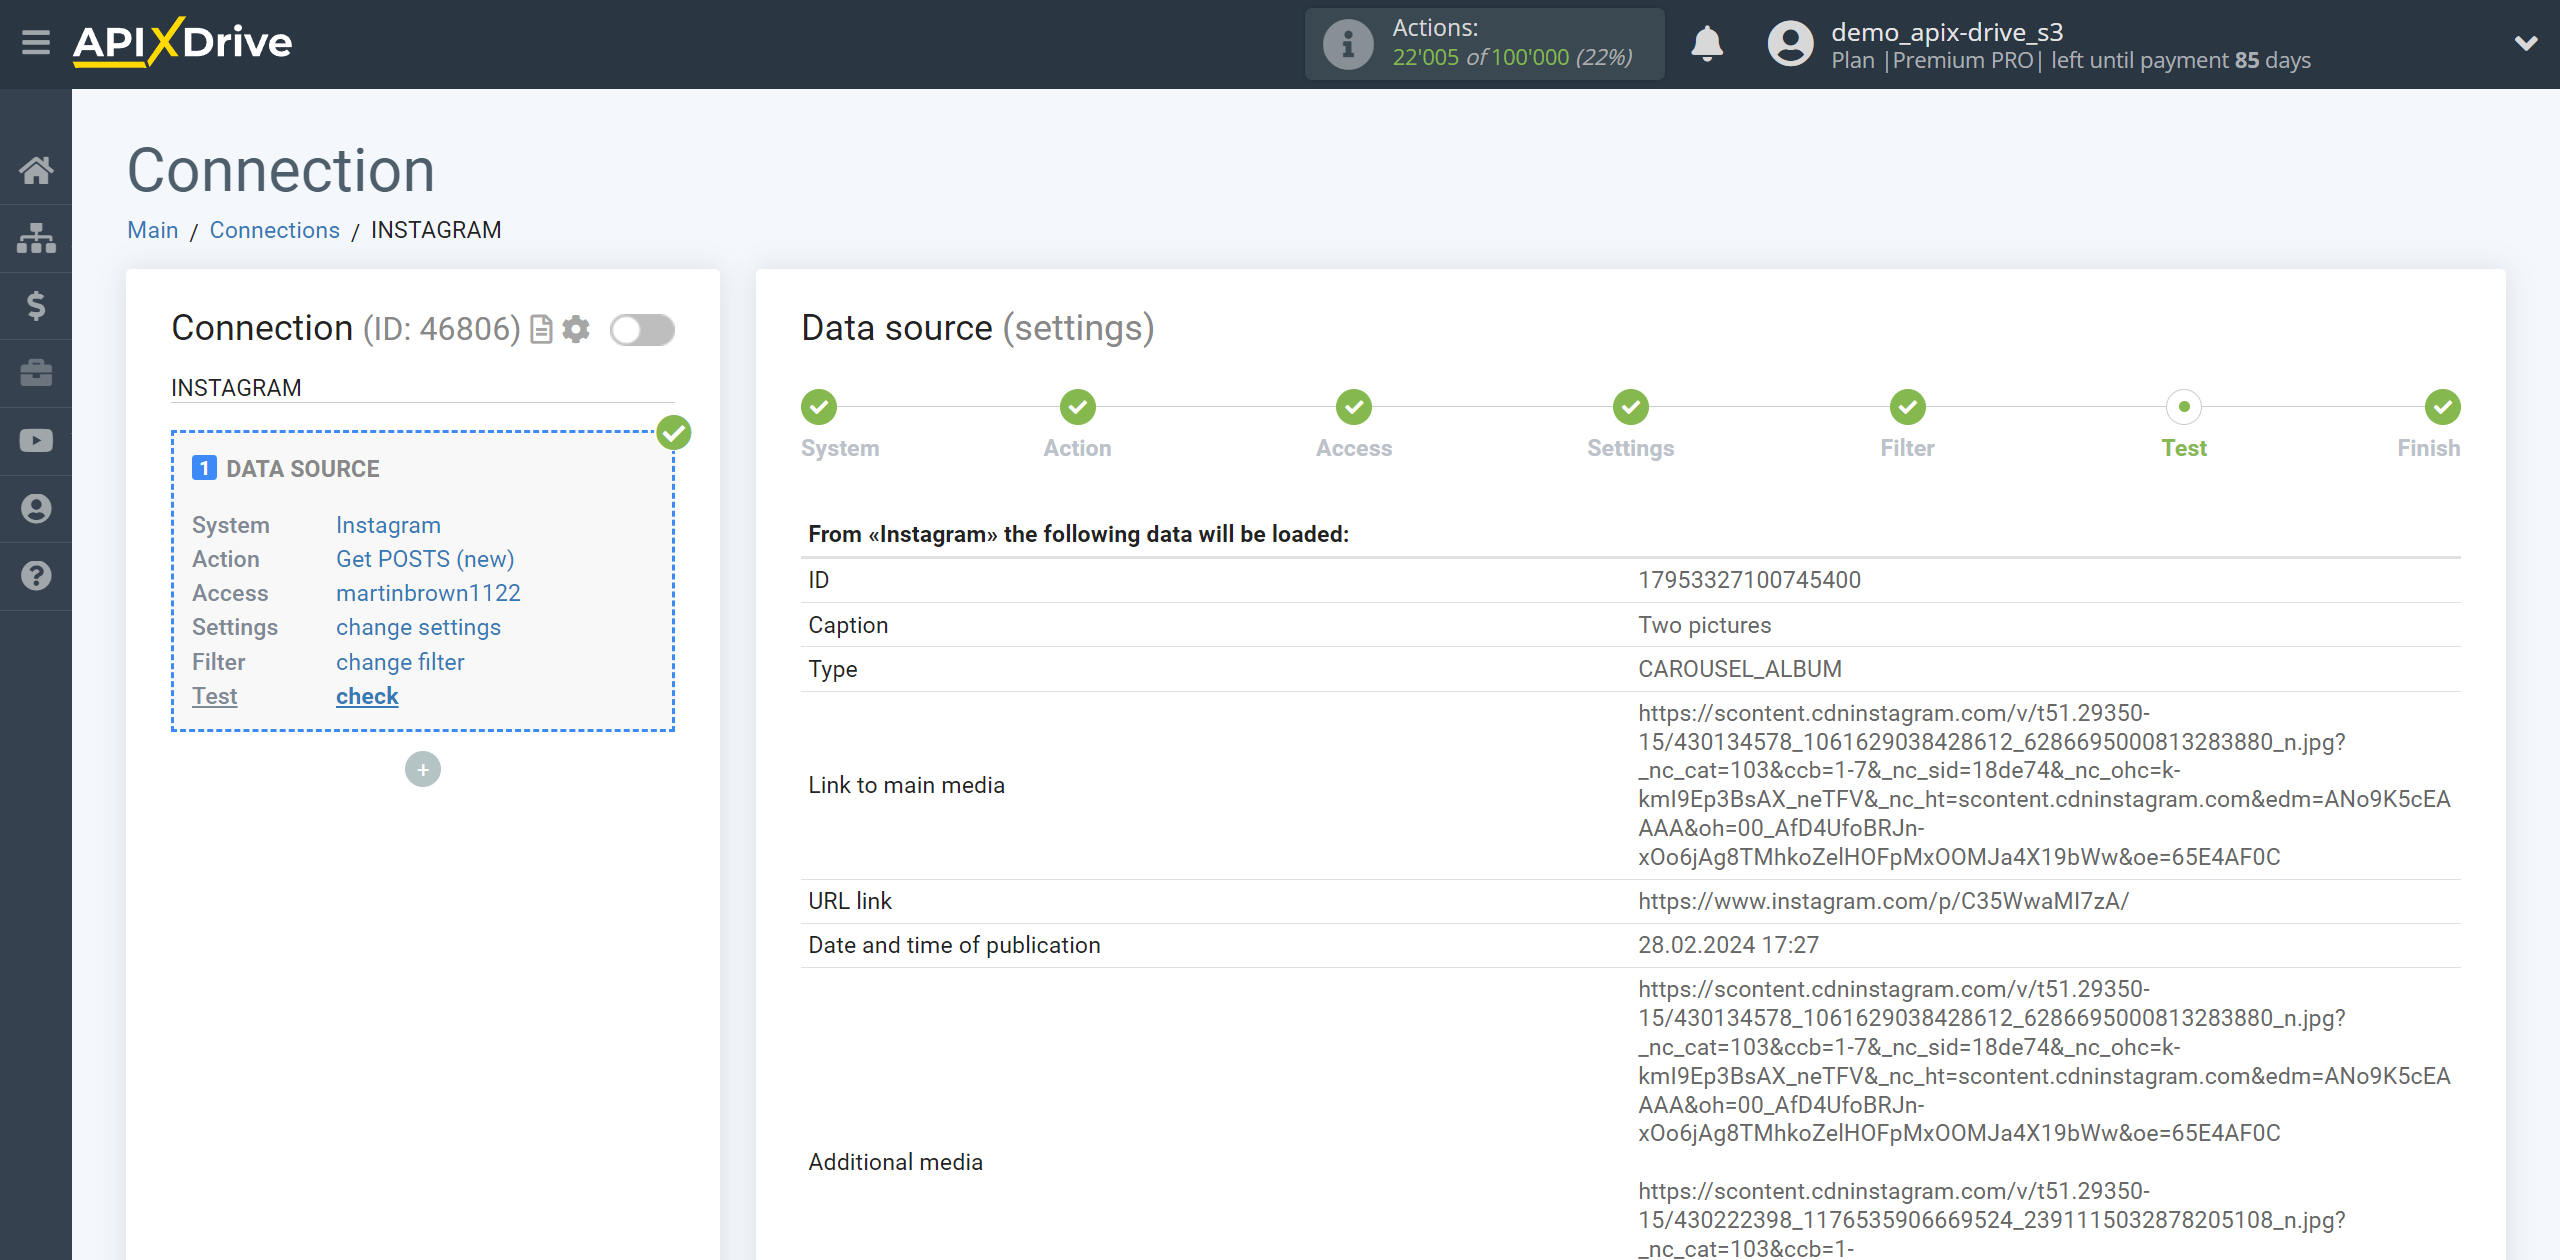
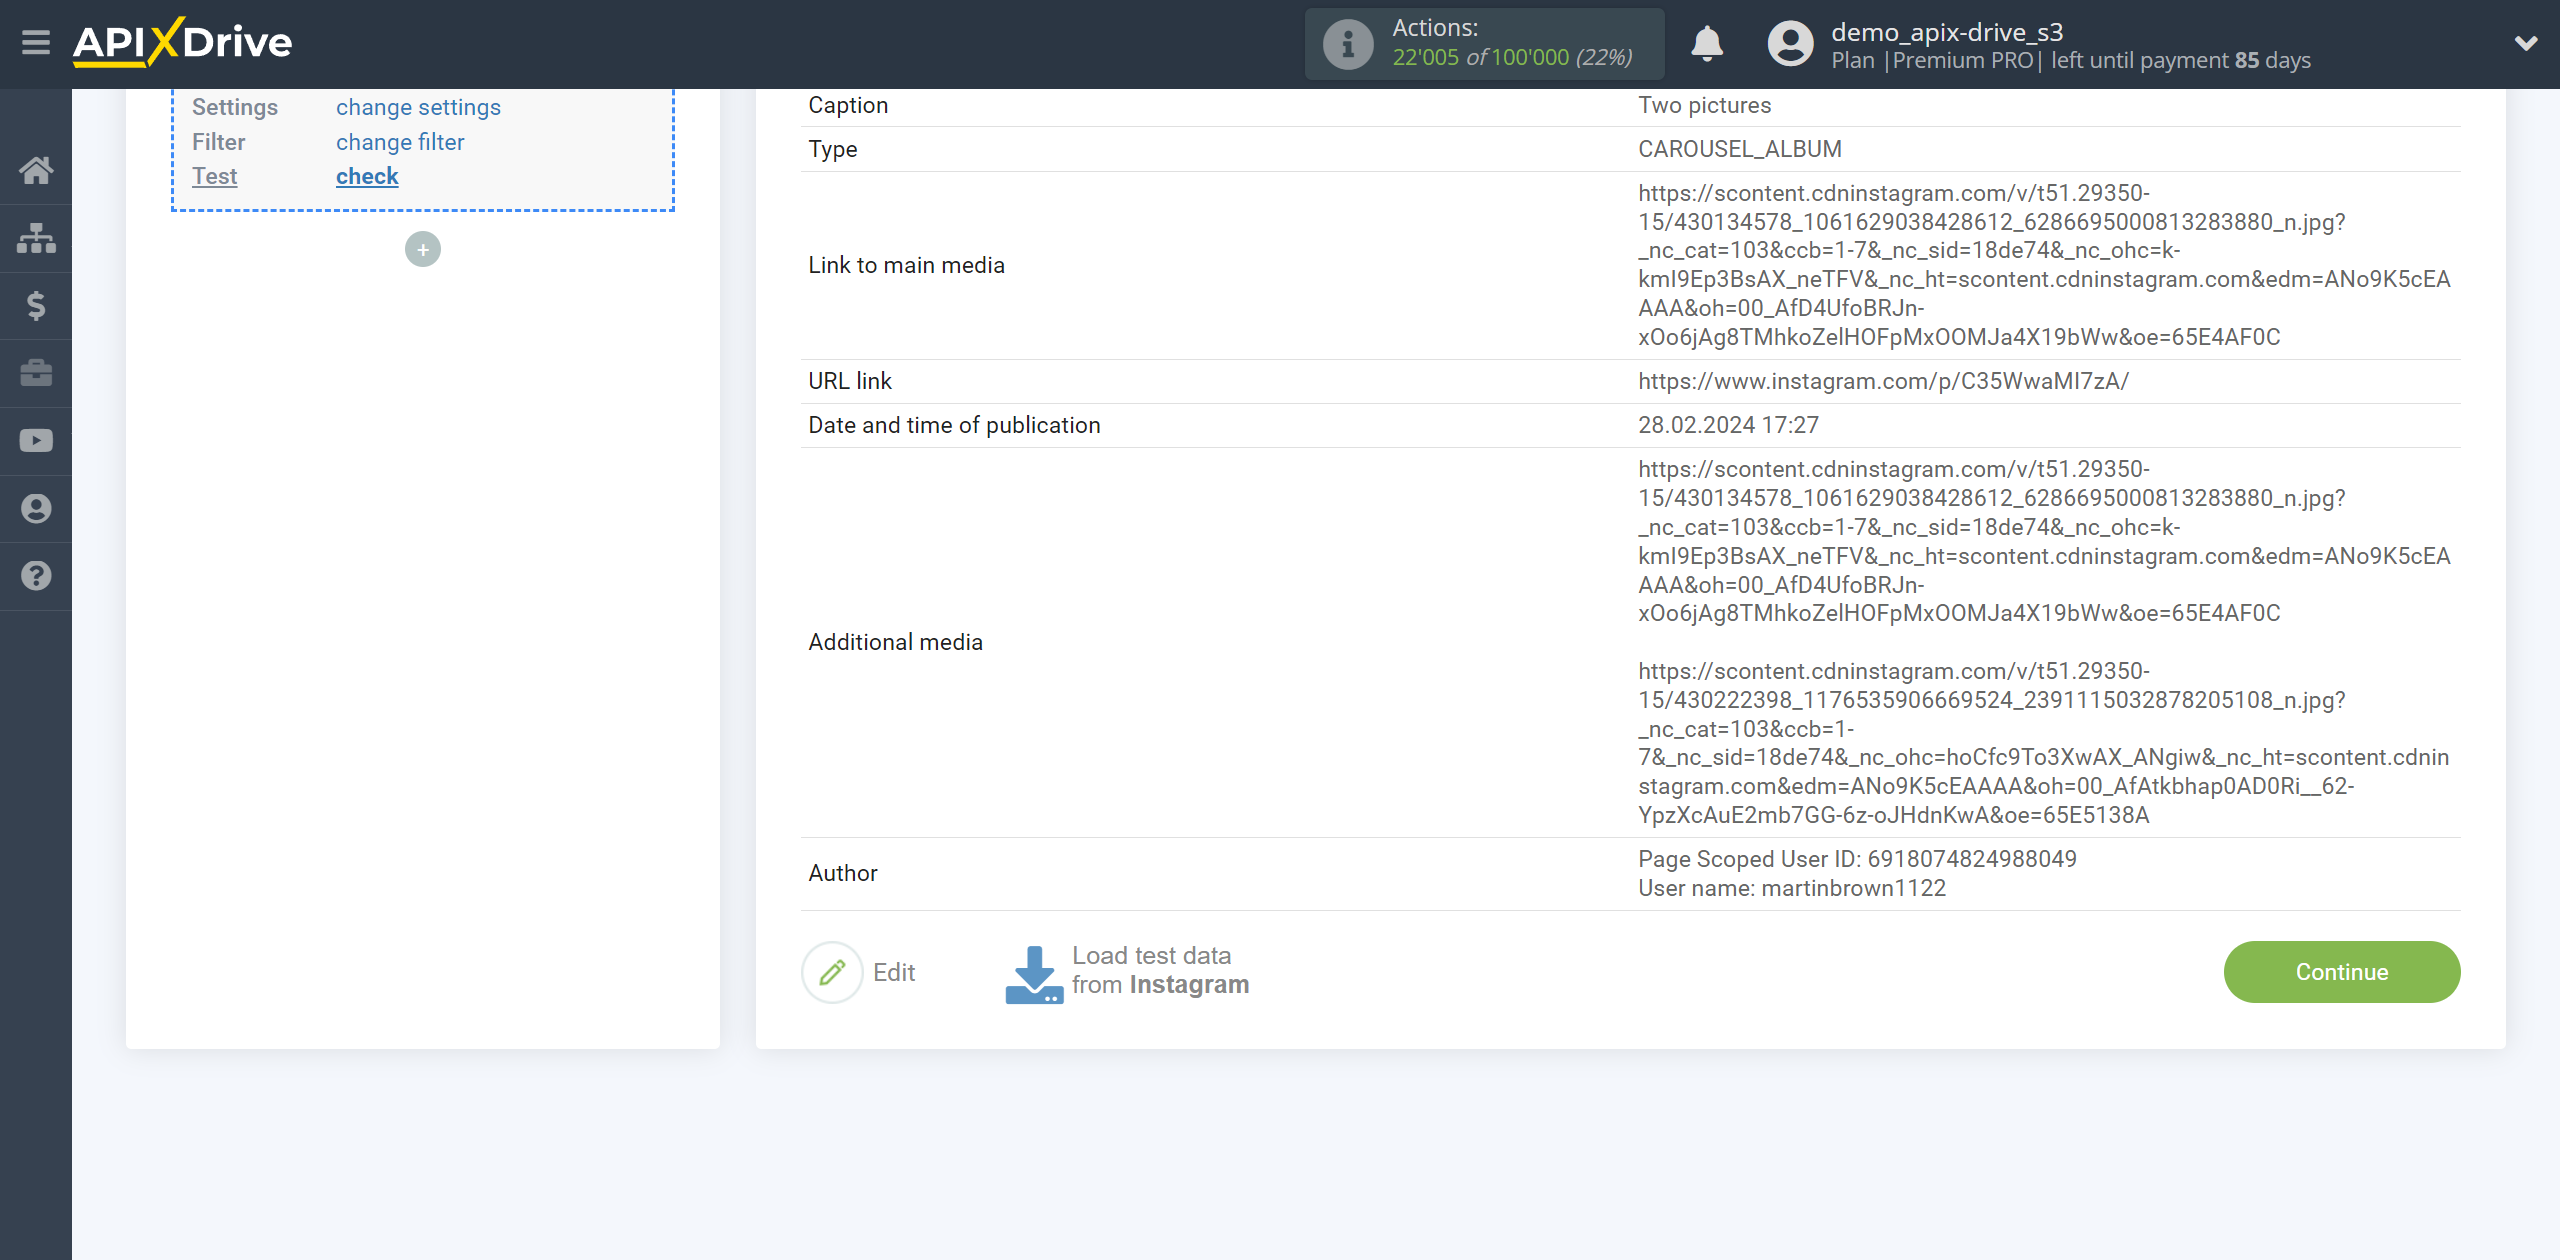
Now you can see the test data for one of the posts.
If the test data does not appear automatically, click “Load test data from Instagram.”
If you want to change the settings, click "Edit" and you will go back a step.
If you are satisfied with everything, click “Continue”.
Note!
If you are unable to upload posts from your Instagram account, it may be because you did not provide all access when connecting your account, and you need to connect your Instagram account again.
To do this, go to the connection in the Data Source to the Access stage and click Connect account. Log in to your Instagram account, make sure all the boxes are checked and give permission to work with this account.

This completes the entire Data Source setup! See how easy it is!?
Now you can start setup the Data Destination system.
To do this, setup it yourself or go to the help section "Data Destination", select the service you need as Data Destination, and follow the setup recommendations.
Good luck!
