How to Connect Telegram as Data Source
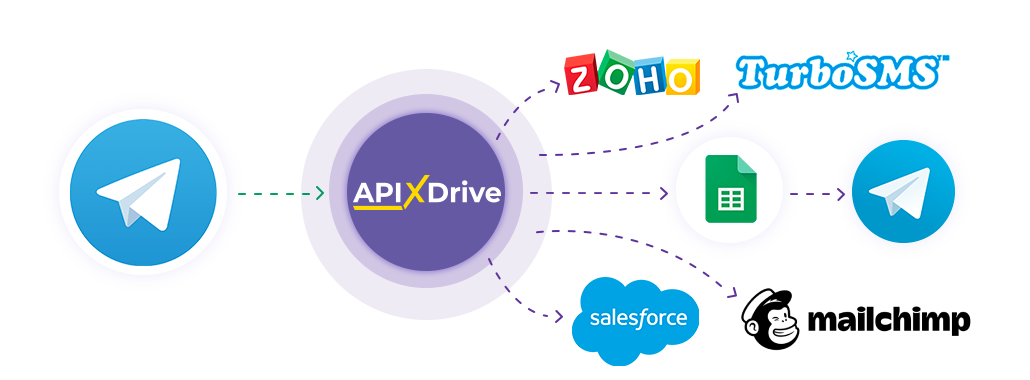
The integration allows you to get messages from Telegram, transferring data for them to other systems. For example, you can transfer new messages to GoogleSheets or CRM. This will allow you to maximize the automation interaction of Telegram with other services and systems.
Let's go through the entire Telegram setup steps together!
Navigation:
1. What data can I get from Telegram?
2. How to connect a Telegram account to ApiX-Drive?
3. An example of data on a new message.
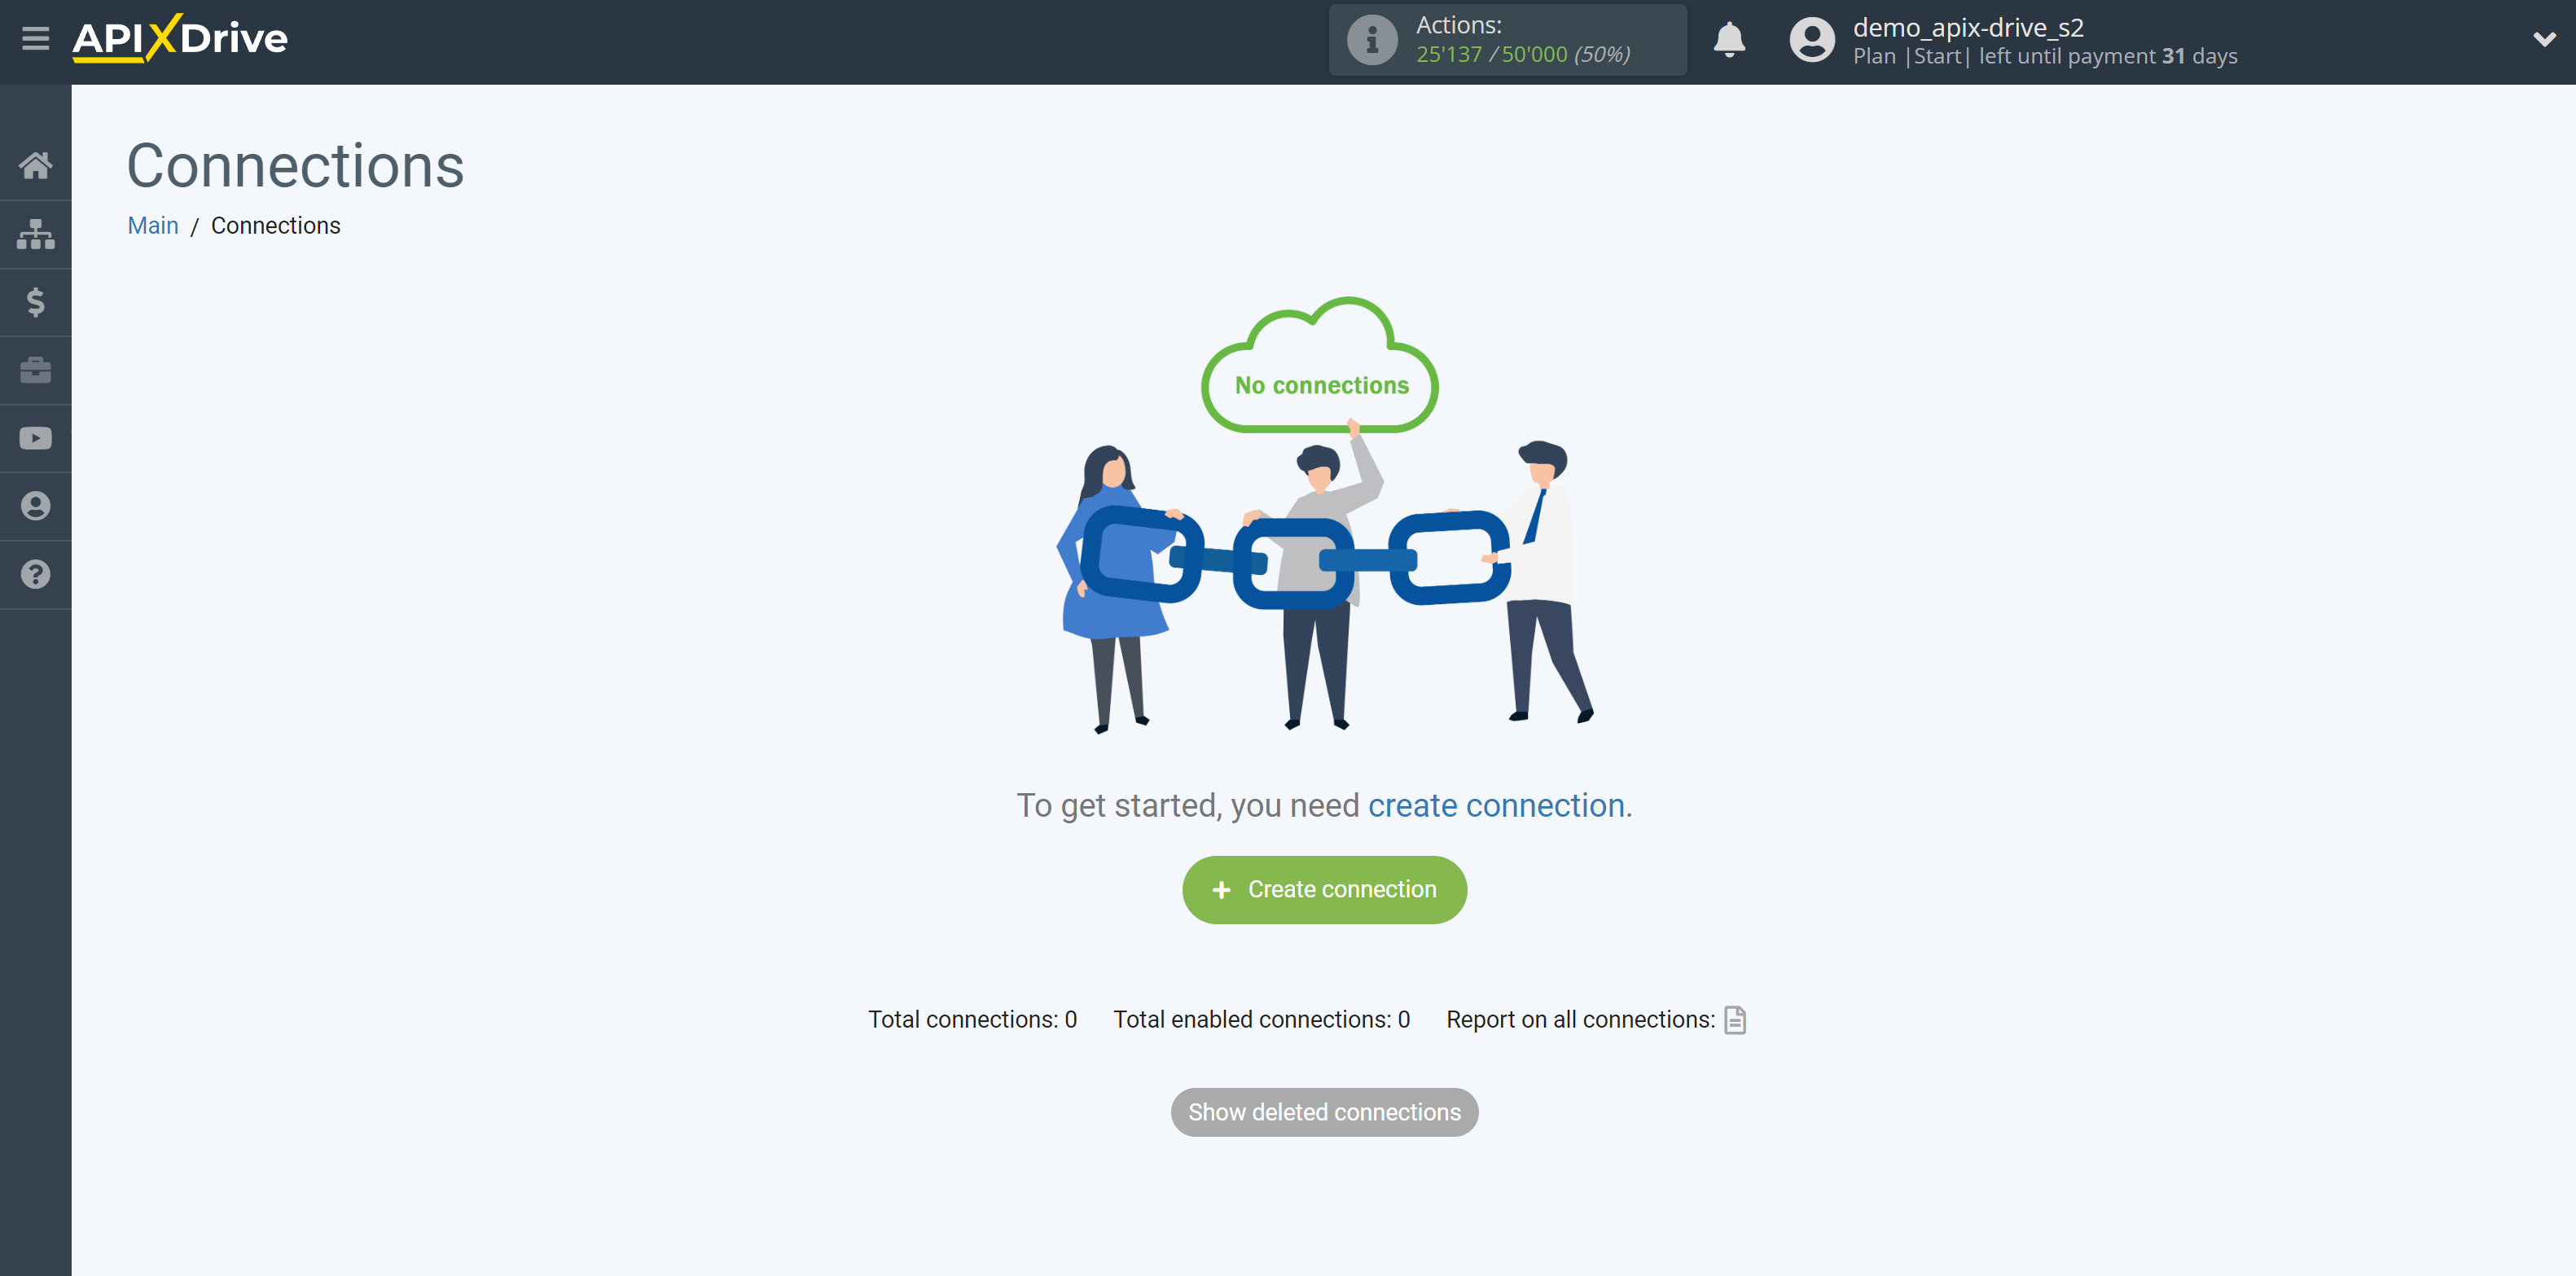
To start setup click "Create Connection".
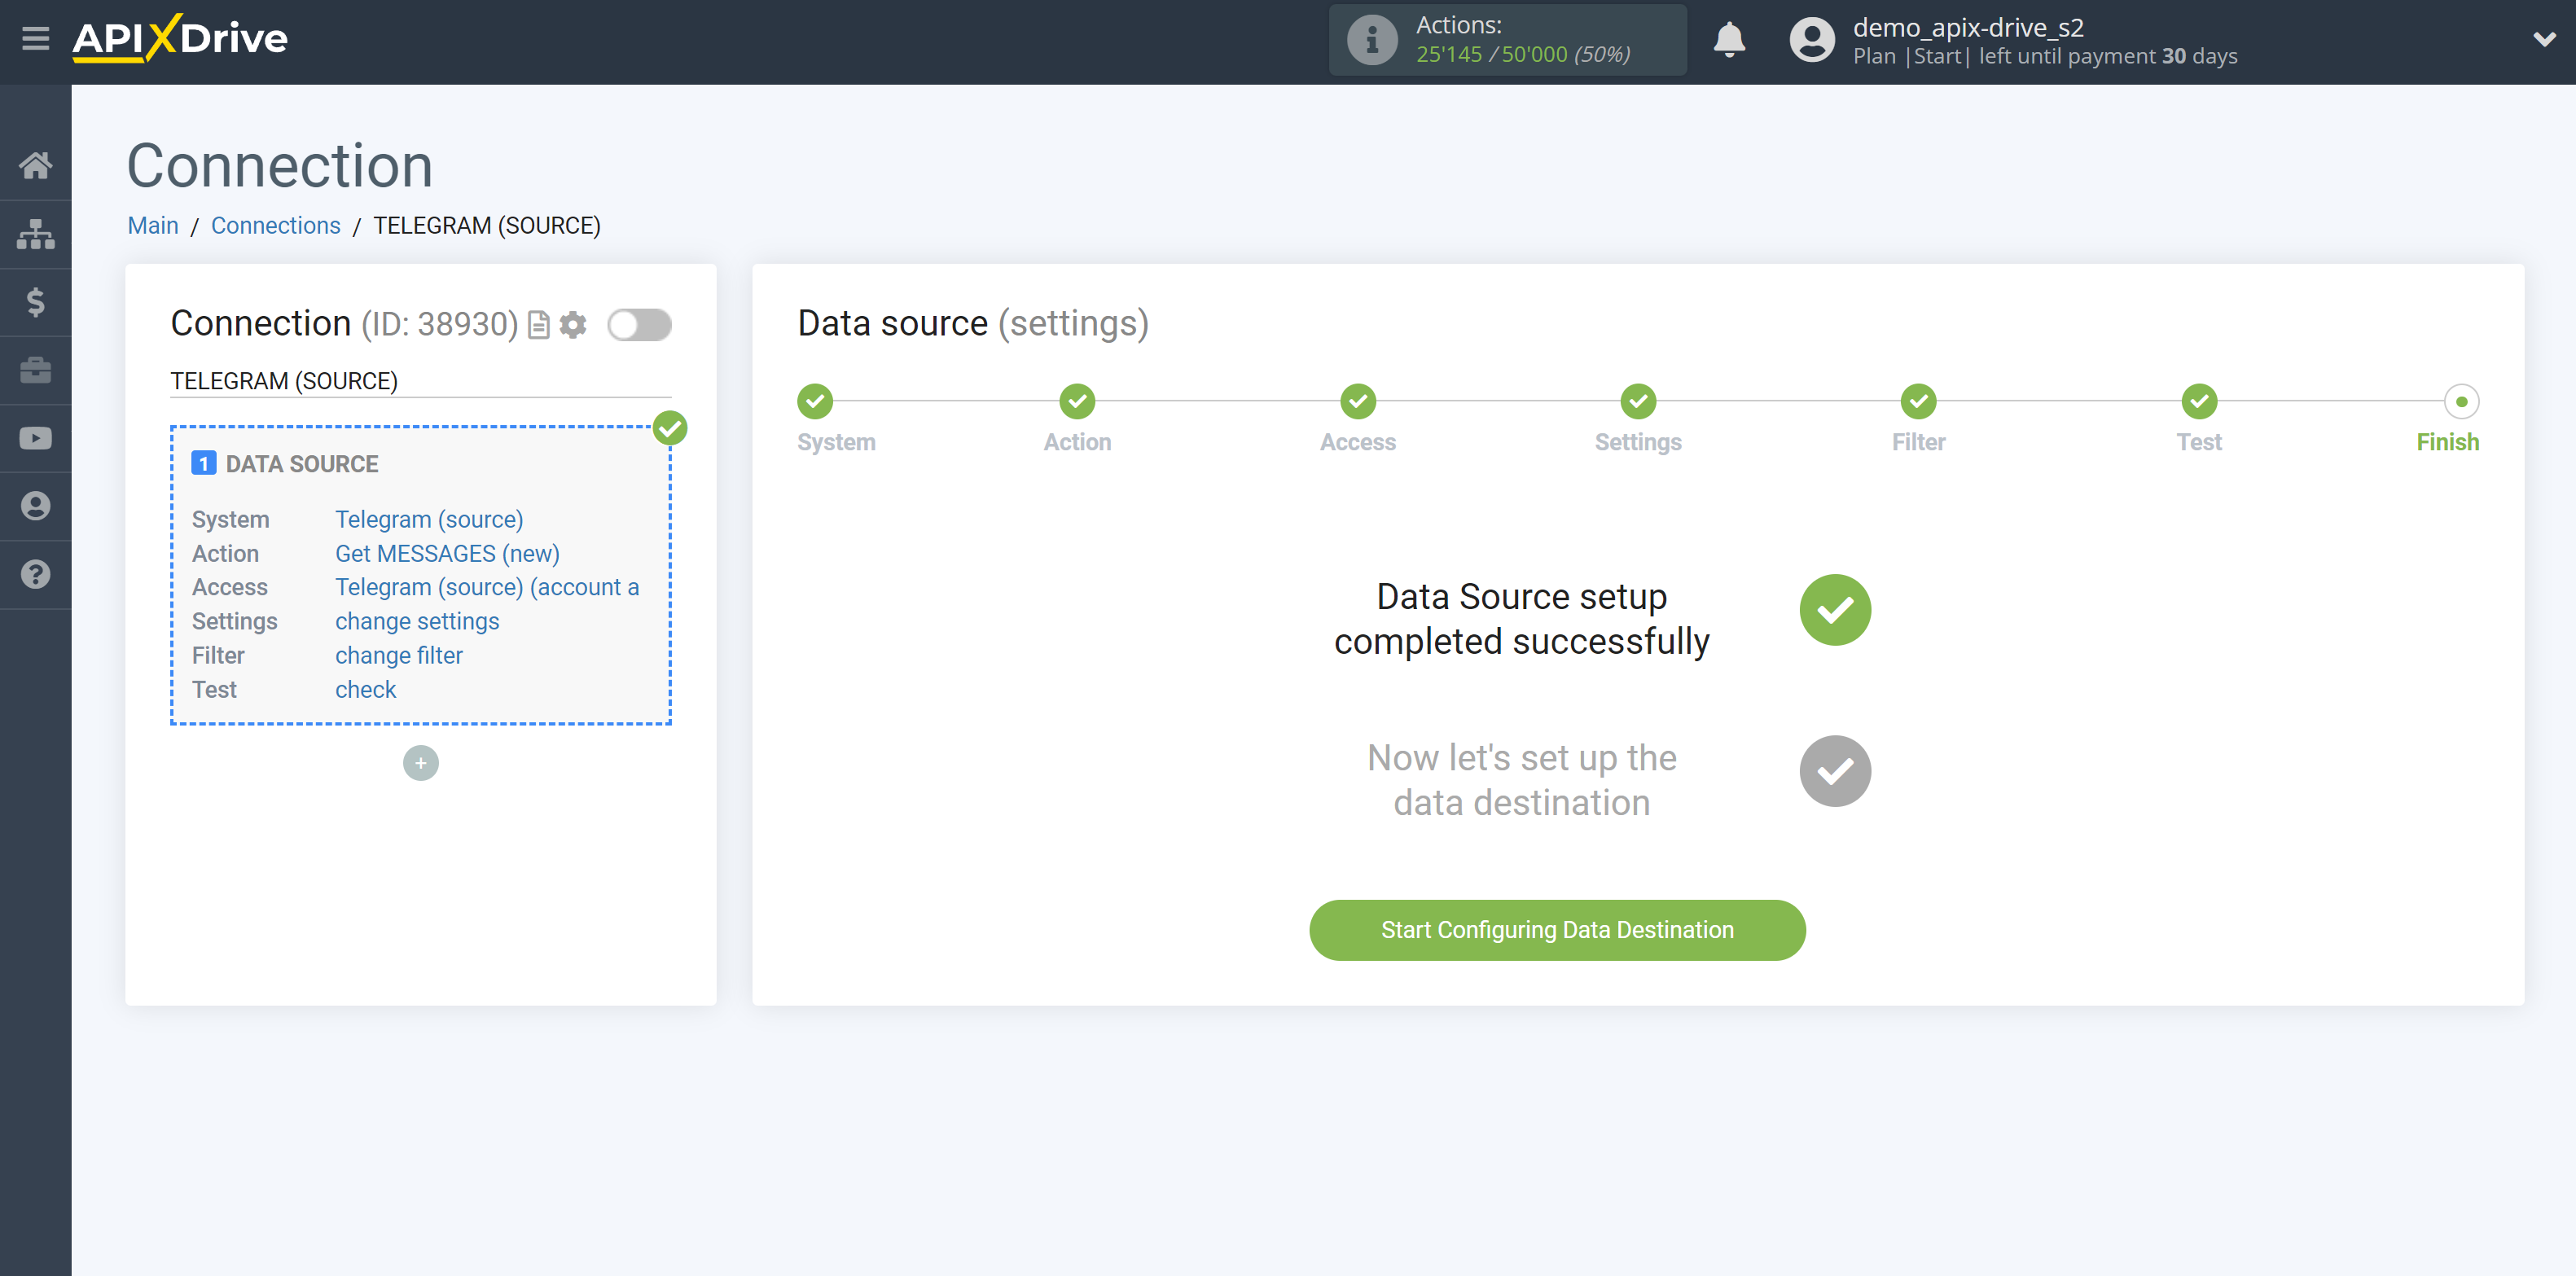
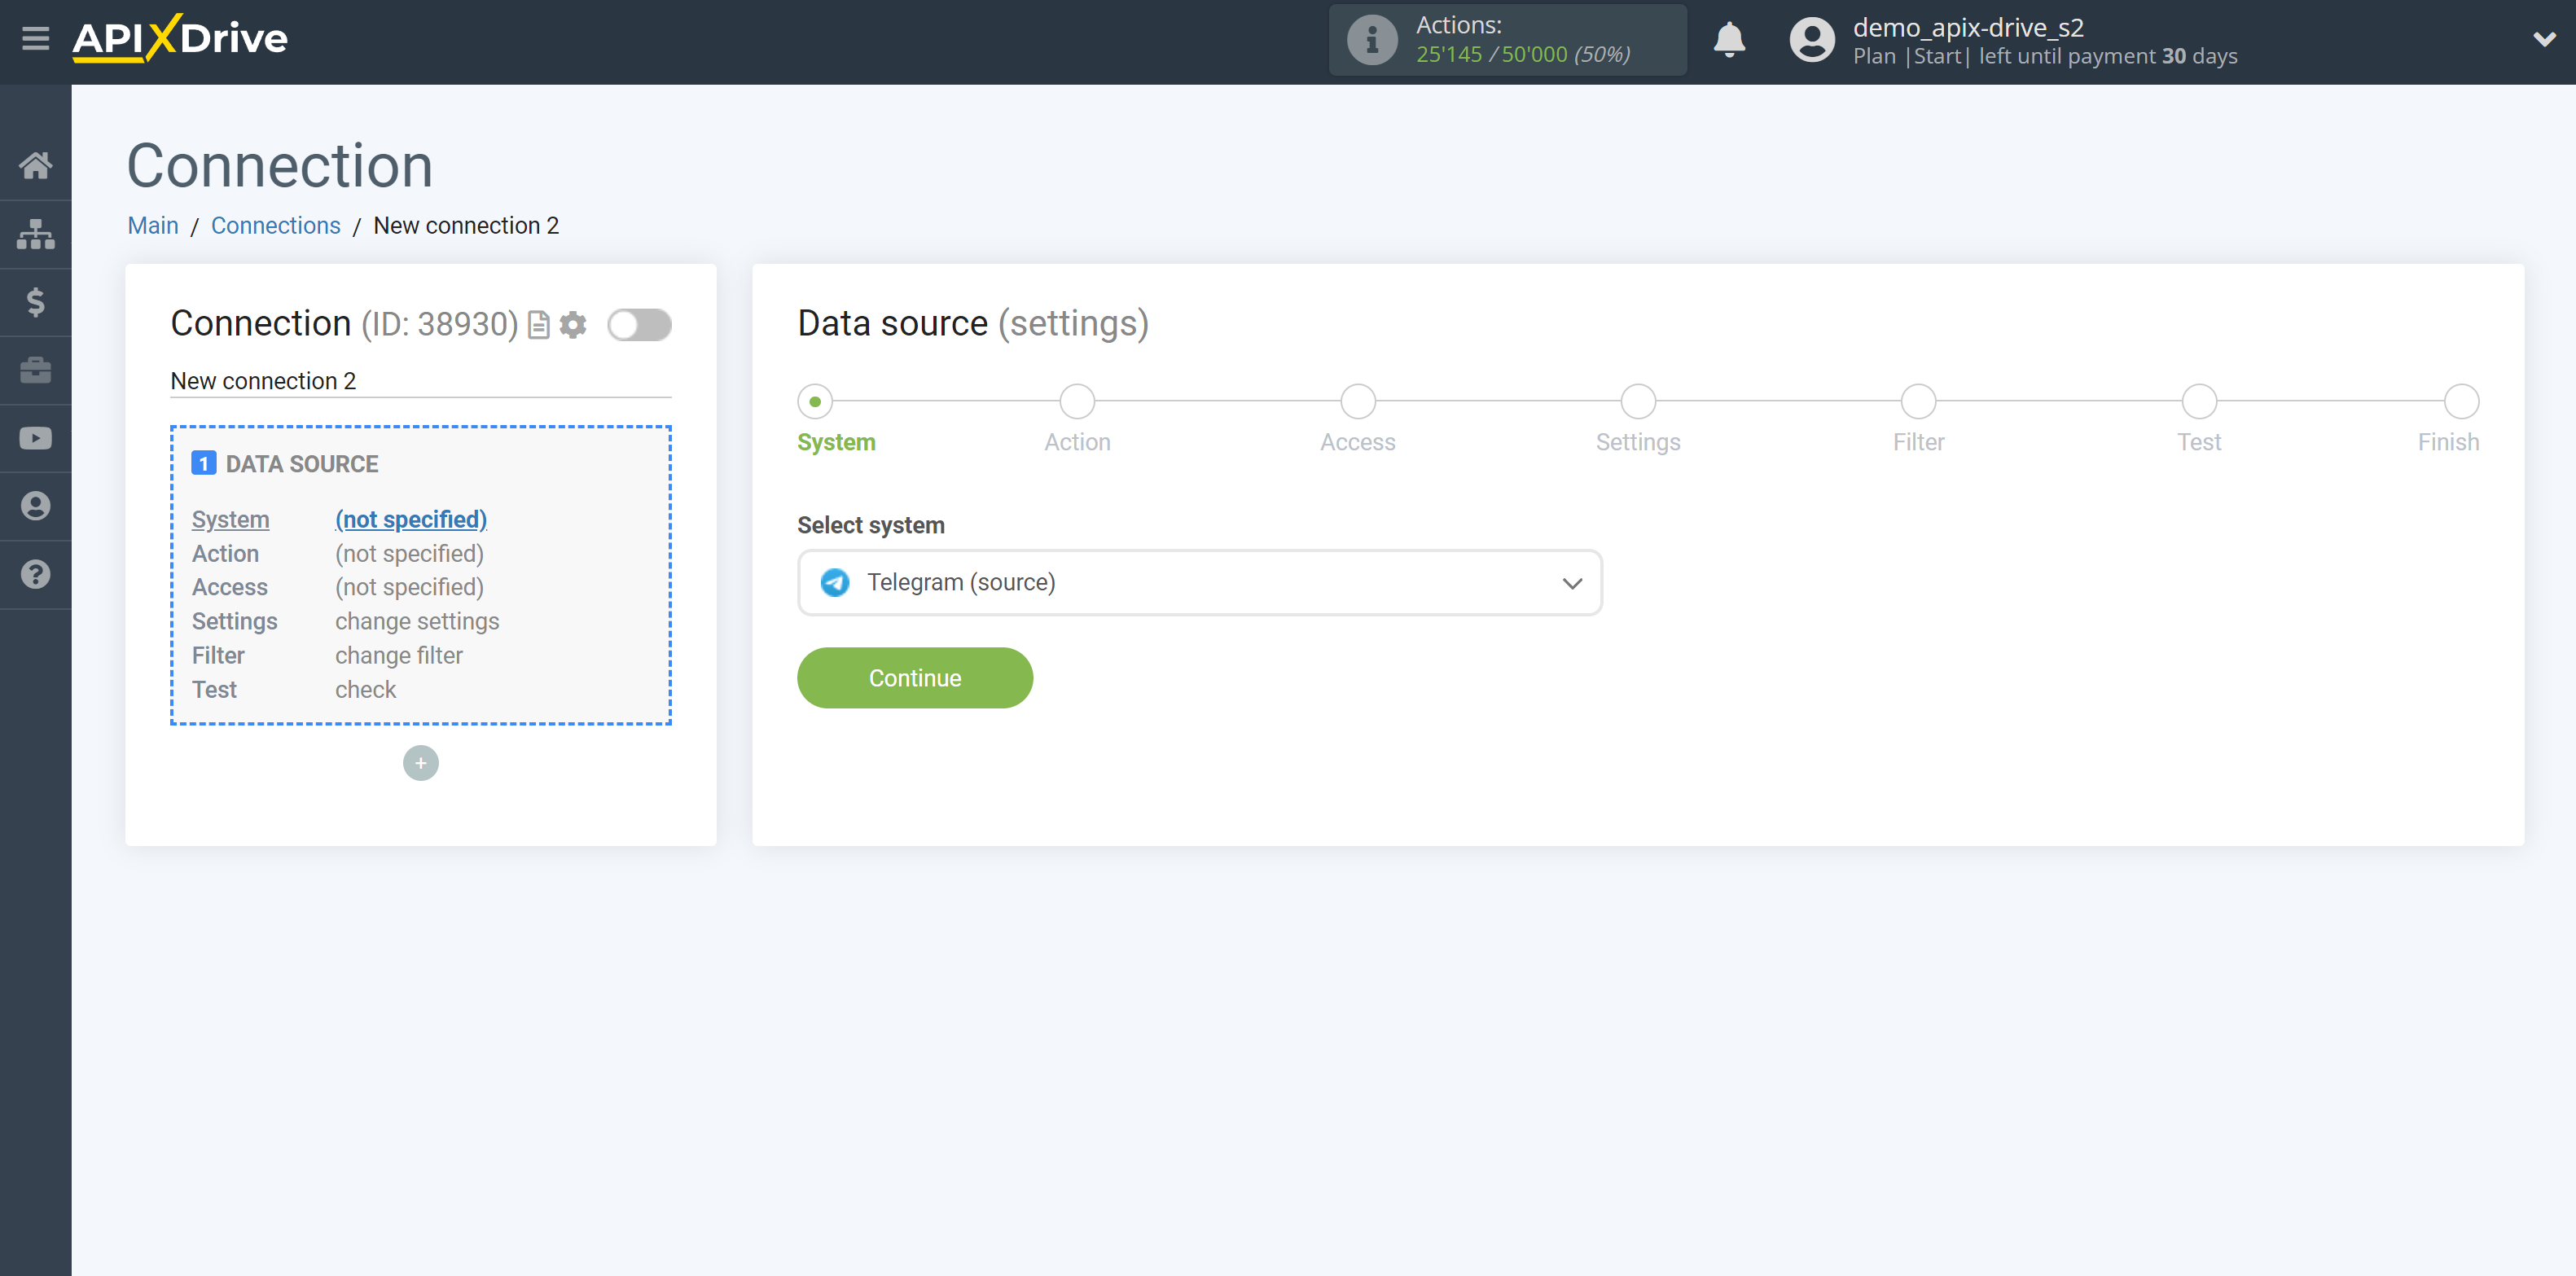
Select a system as the Data Source. In this case, you must specify Telegram (source).
Next, you need to specify the action "Get MESSAGES (new)".
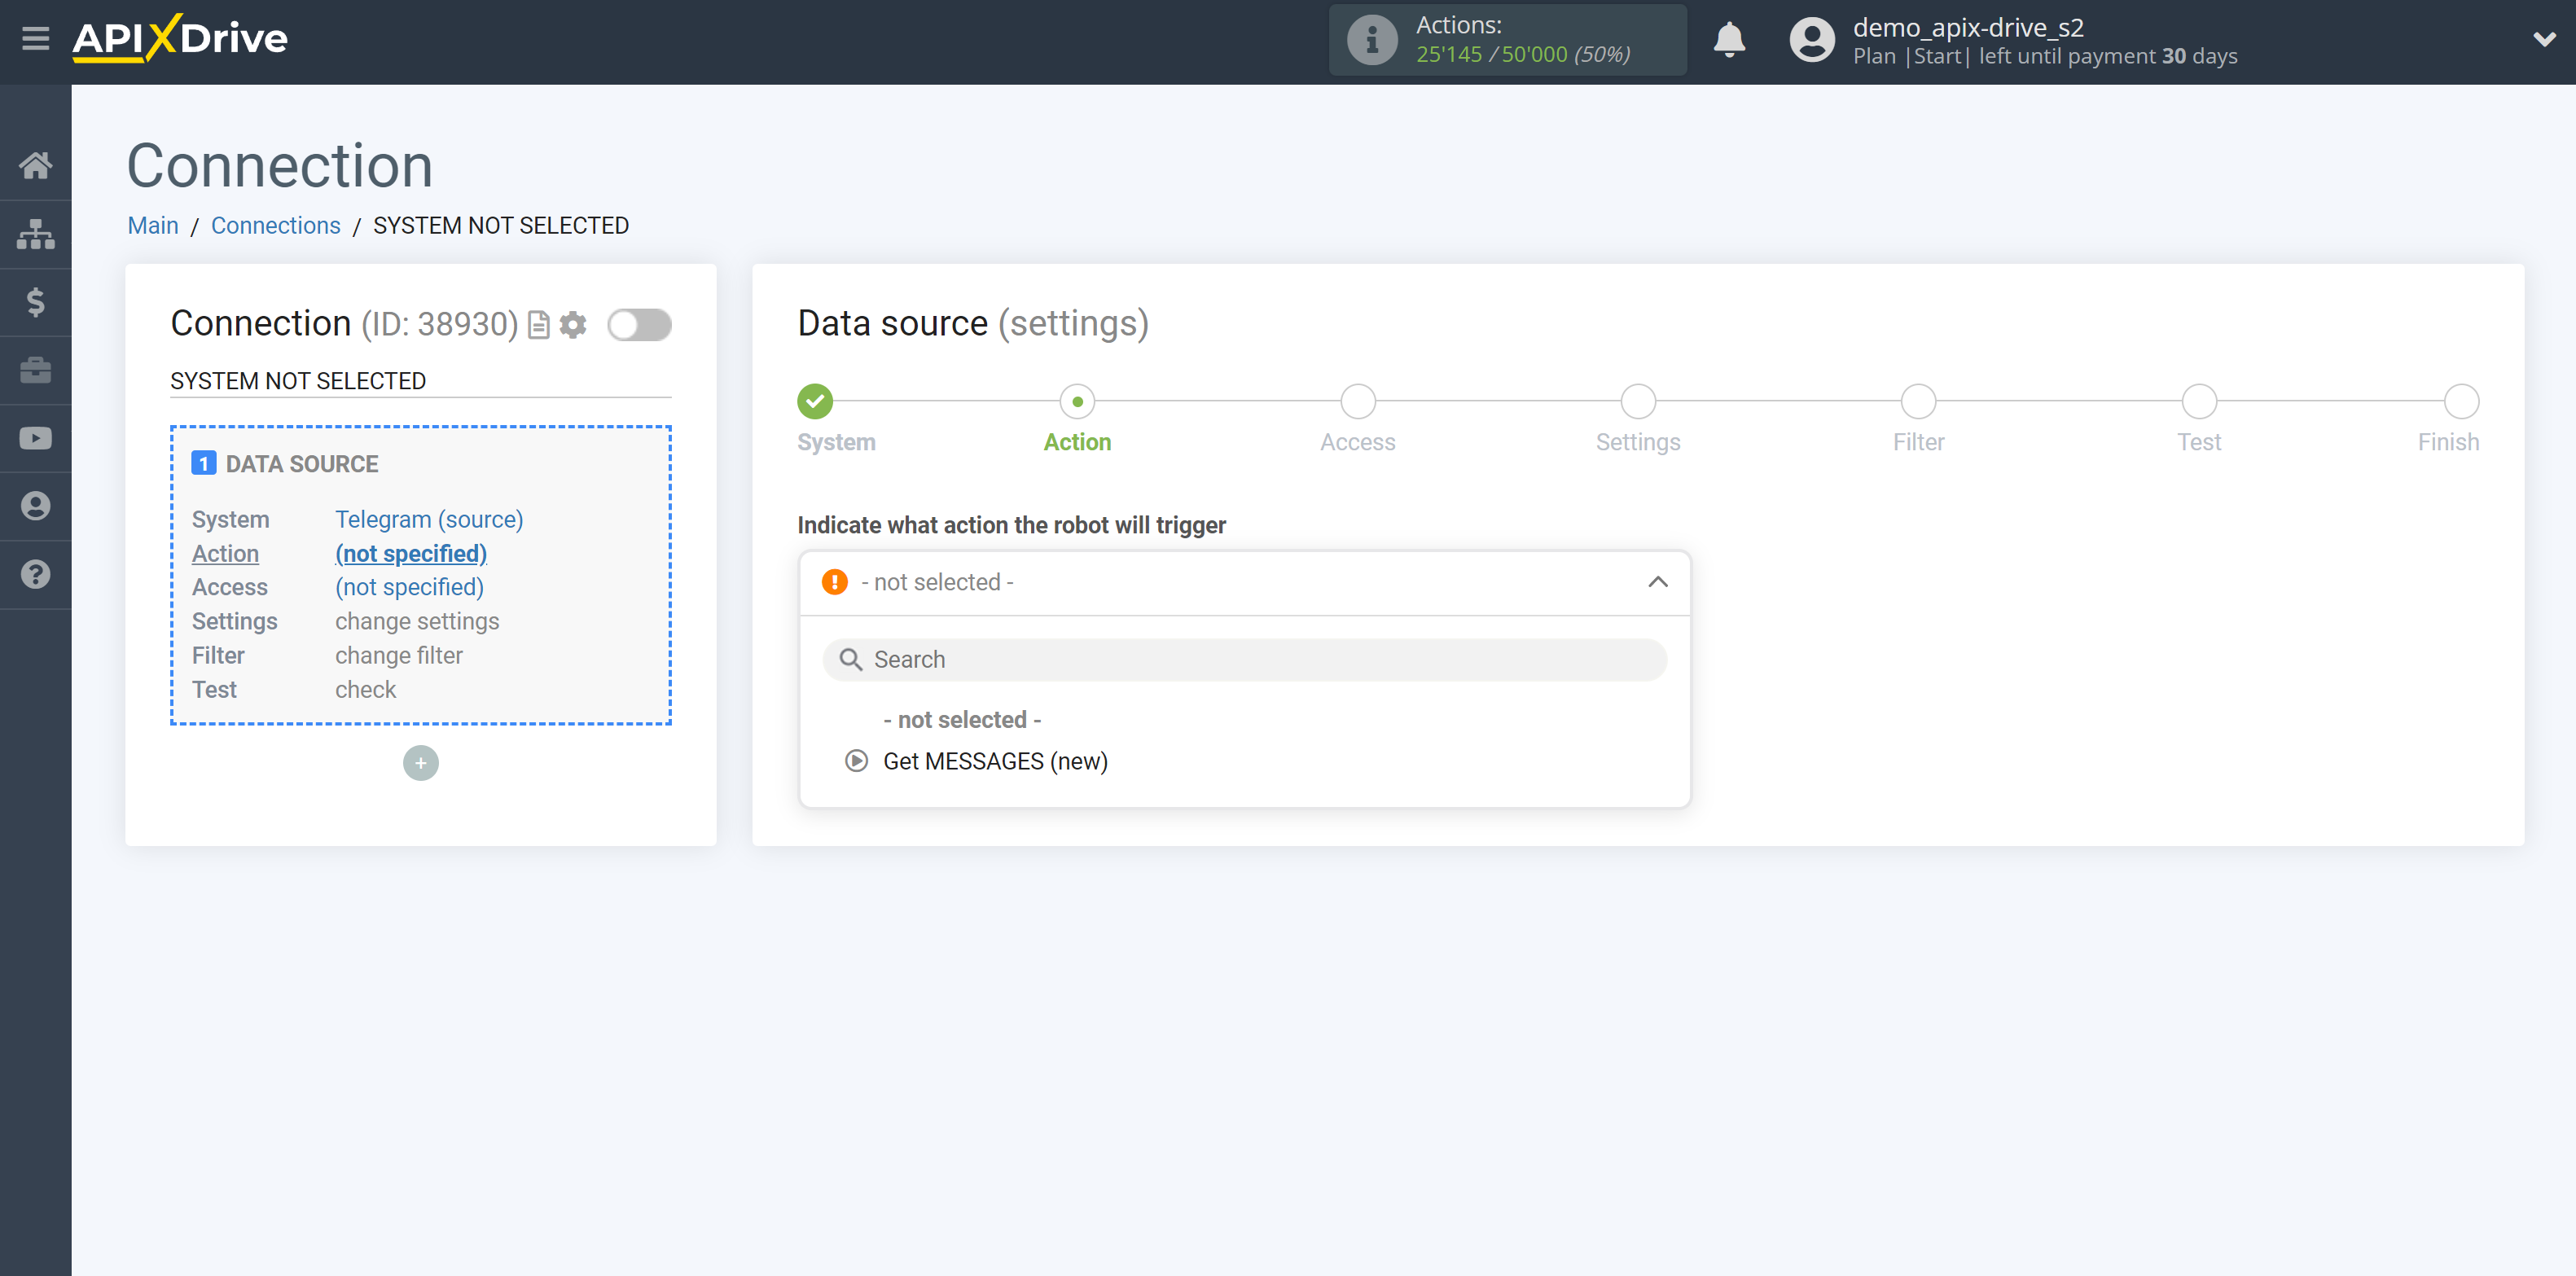
The next step is to select the Telegram account from which will get the data.
If there are no accounts connected to the system, click "Connect account".
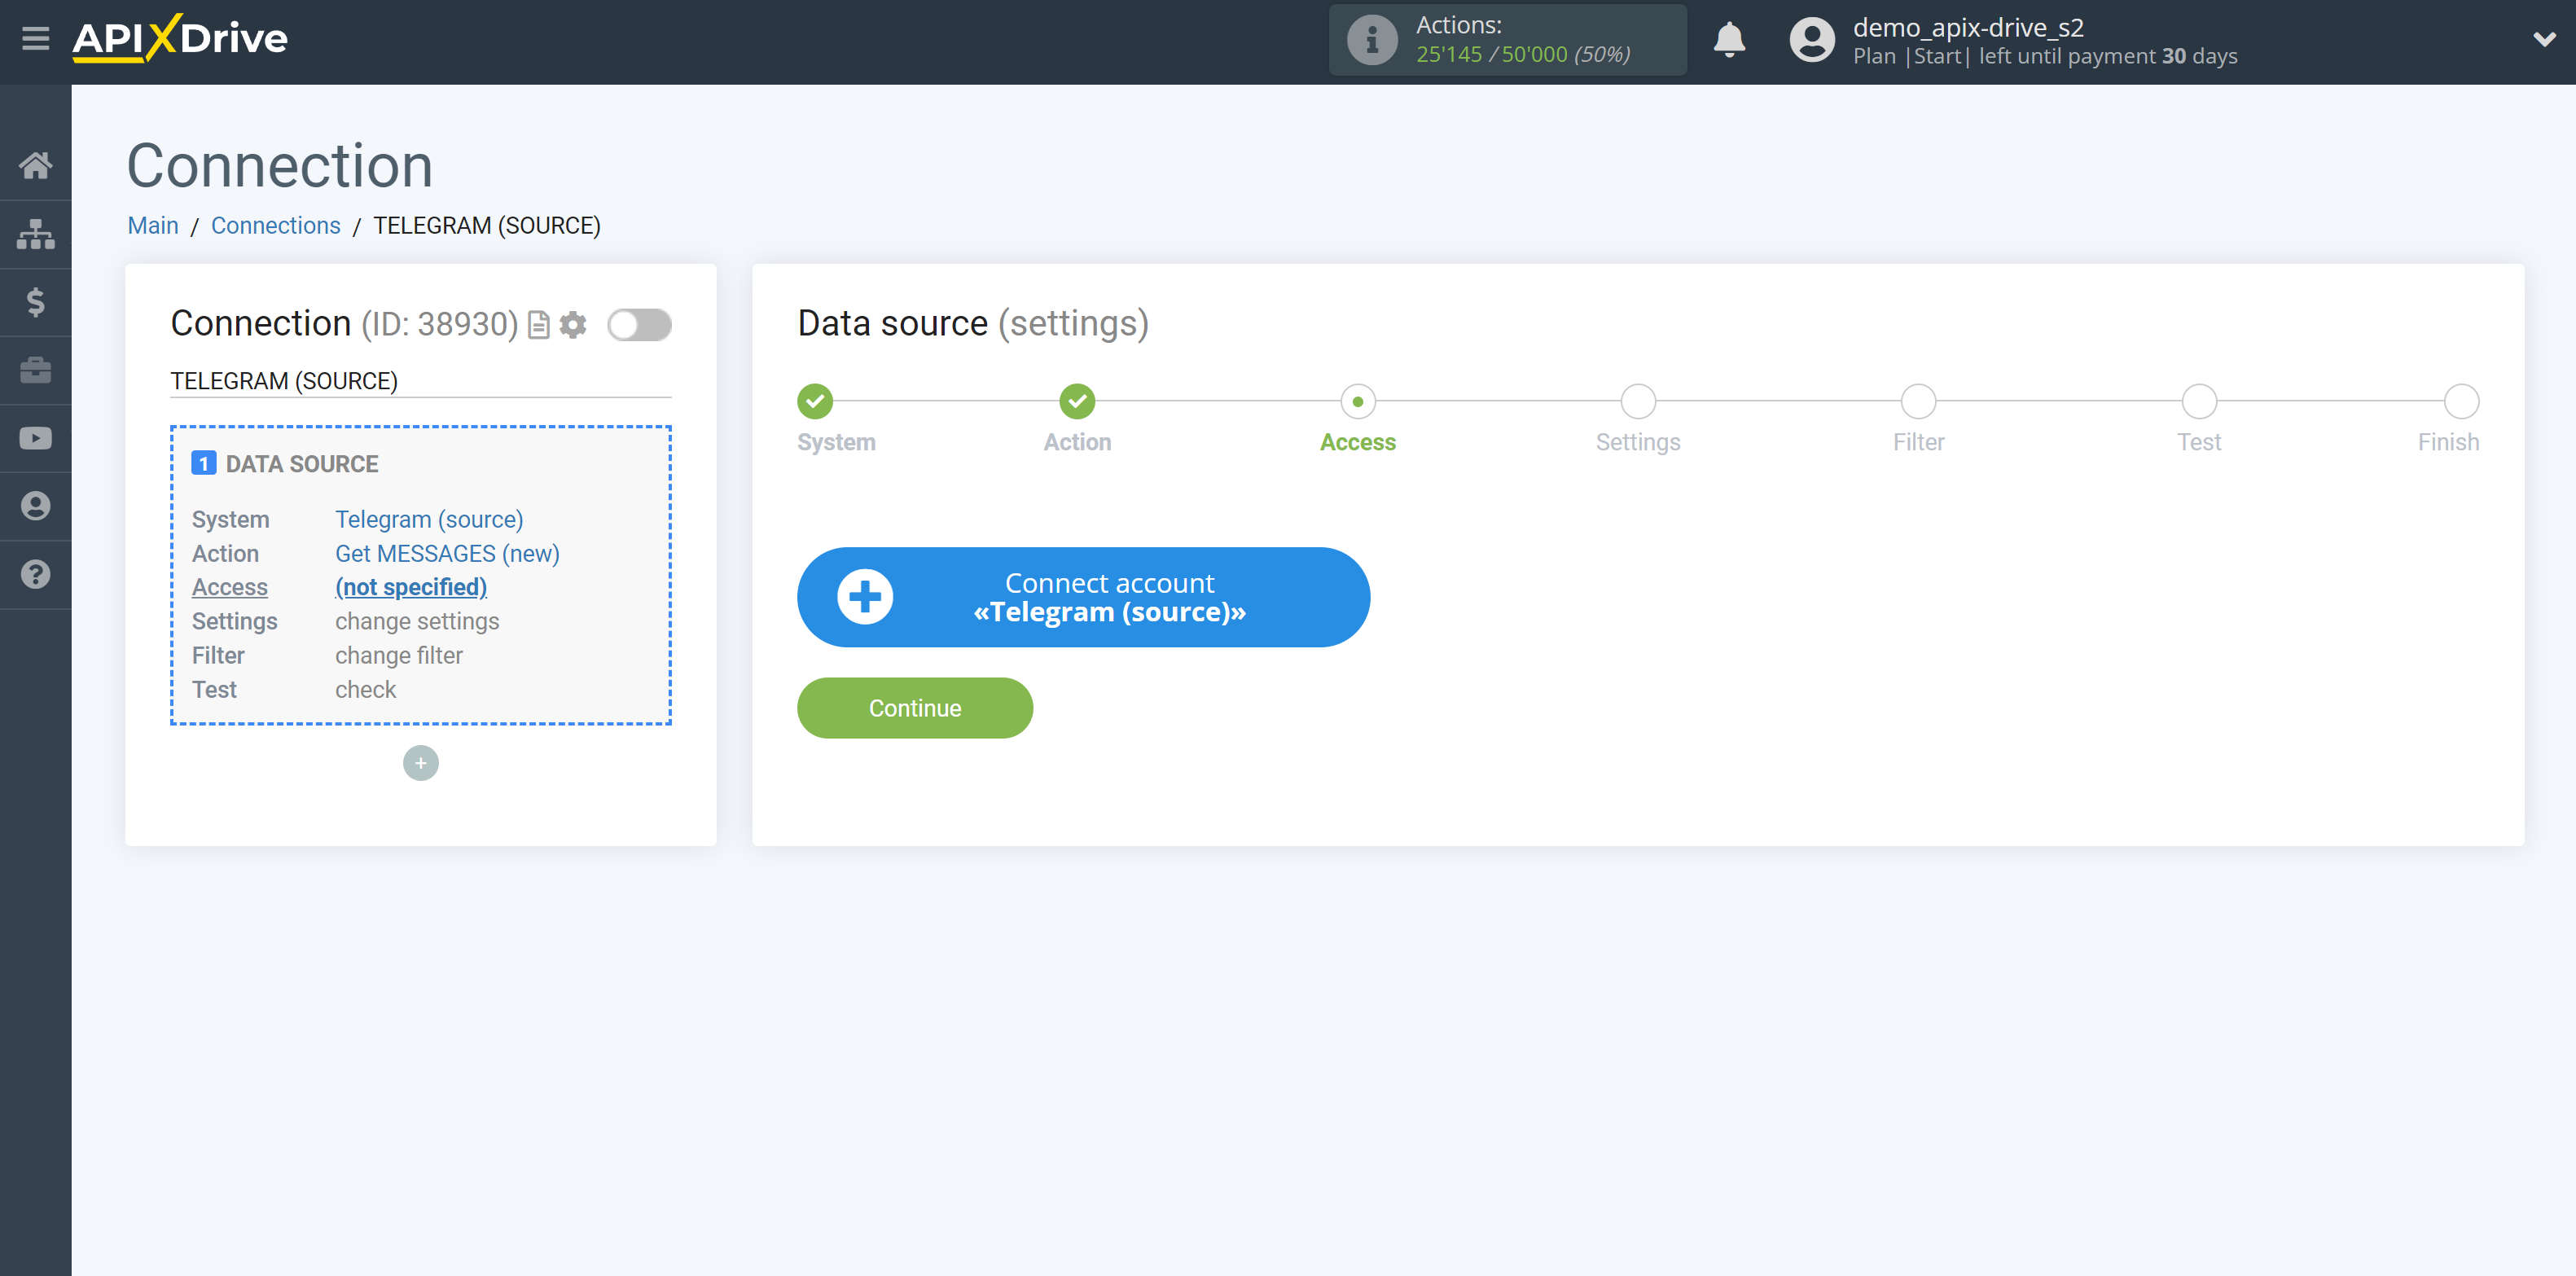
Fill in the fields with the appropriate data, where:
- Token - a token for connecting your Telegram bot.
- Create a new bot or use an already created bot.
- How to create a new bot is described here - https://core.telegram.org/bots#6-botfather
- To find out the Token of an already created bot, you can write the /mybots command in BotFather . Then select the bot you need and click on " API Token ". Copy the Token and paste it into the appropriate field in the ApiX-Drive system.
Note!
If you have previously connected your bot to other services, check if you have a Webhook connection. For this you need:
- In the search bar of the browser, write https://api.telegram.org/botHere you need to write the Token of your Telegram bot/getWebhookInfo
- If there were connections, then just instead of getWebhookInfo, write deleteWebhook and hit search.
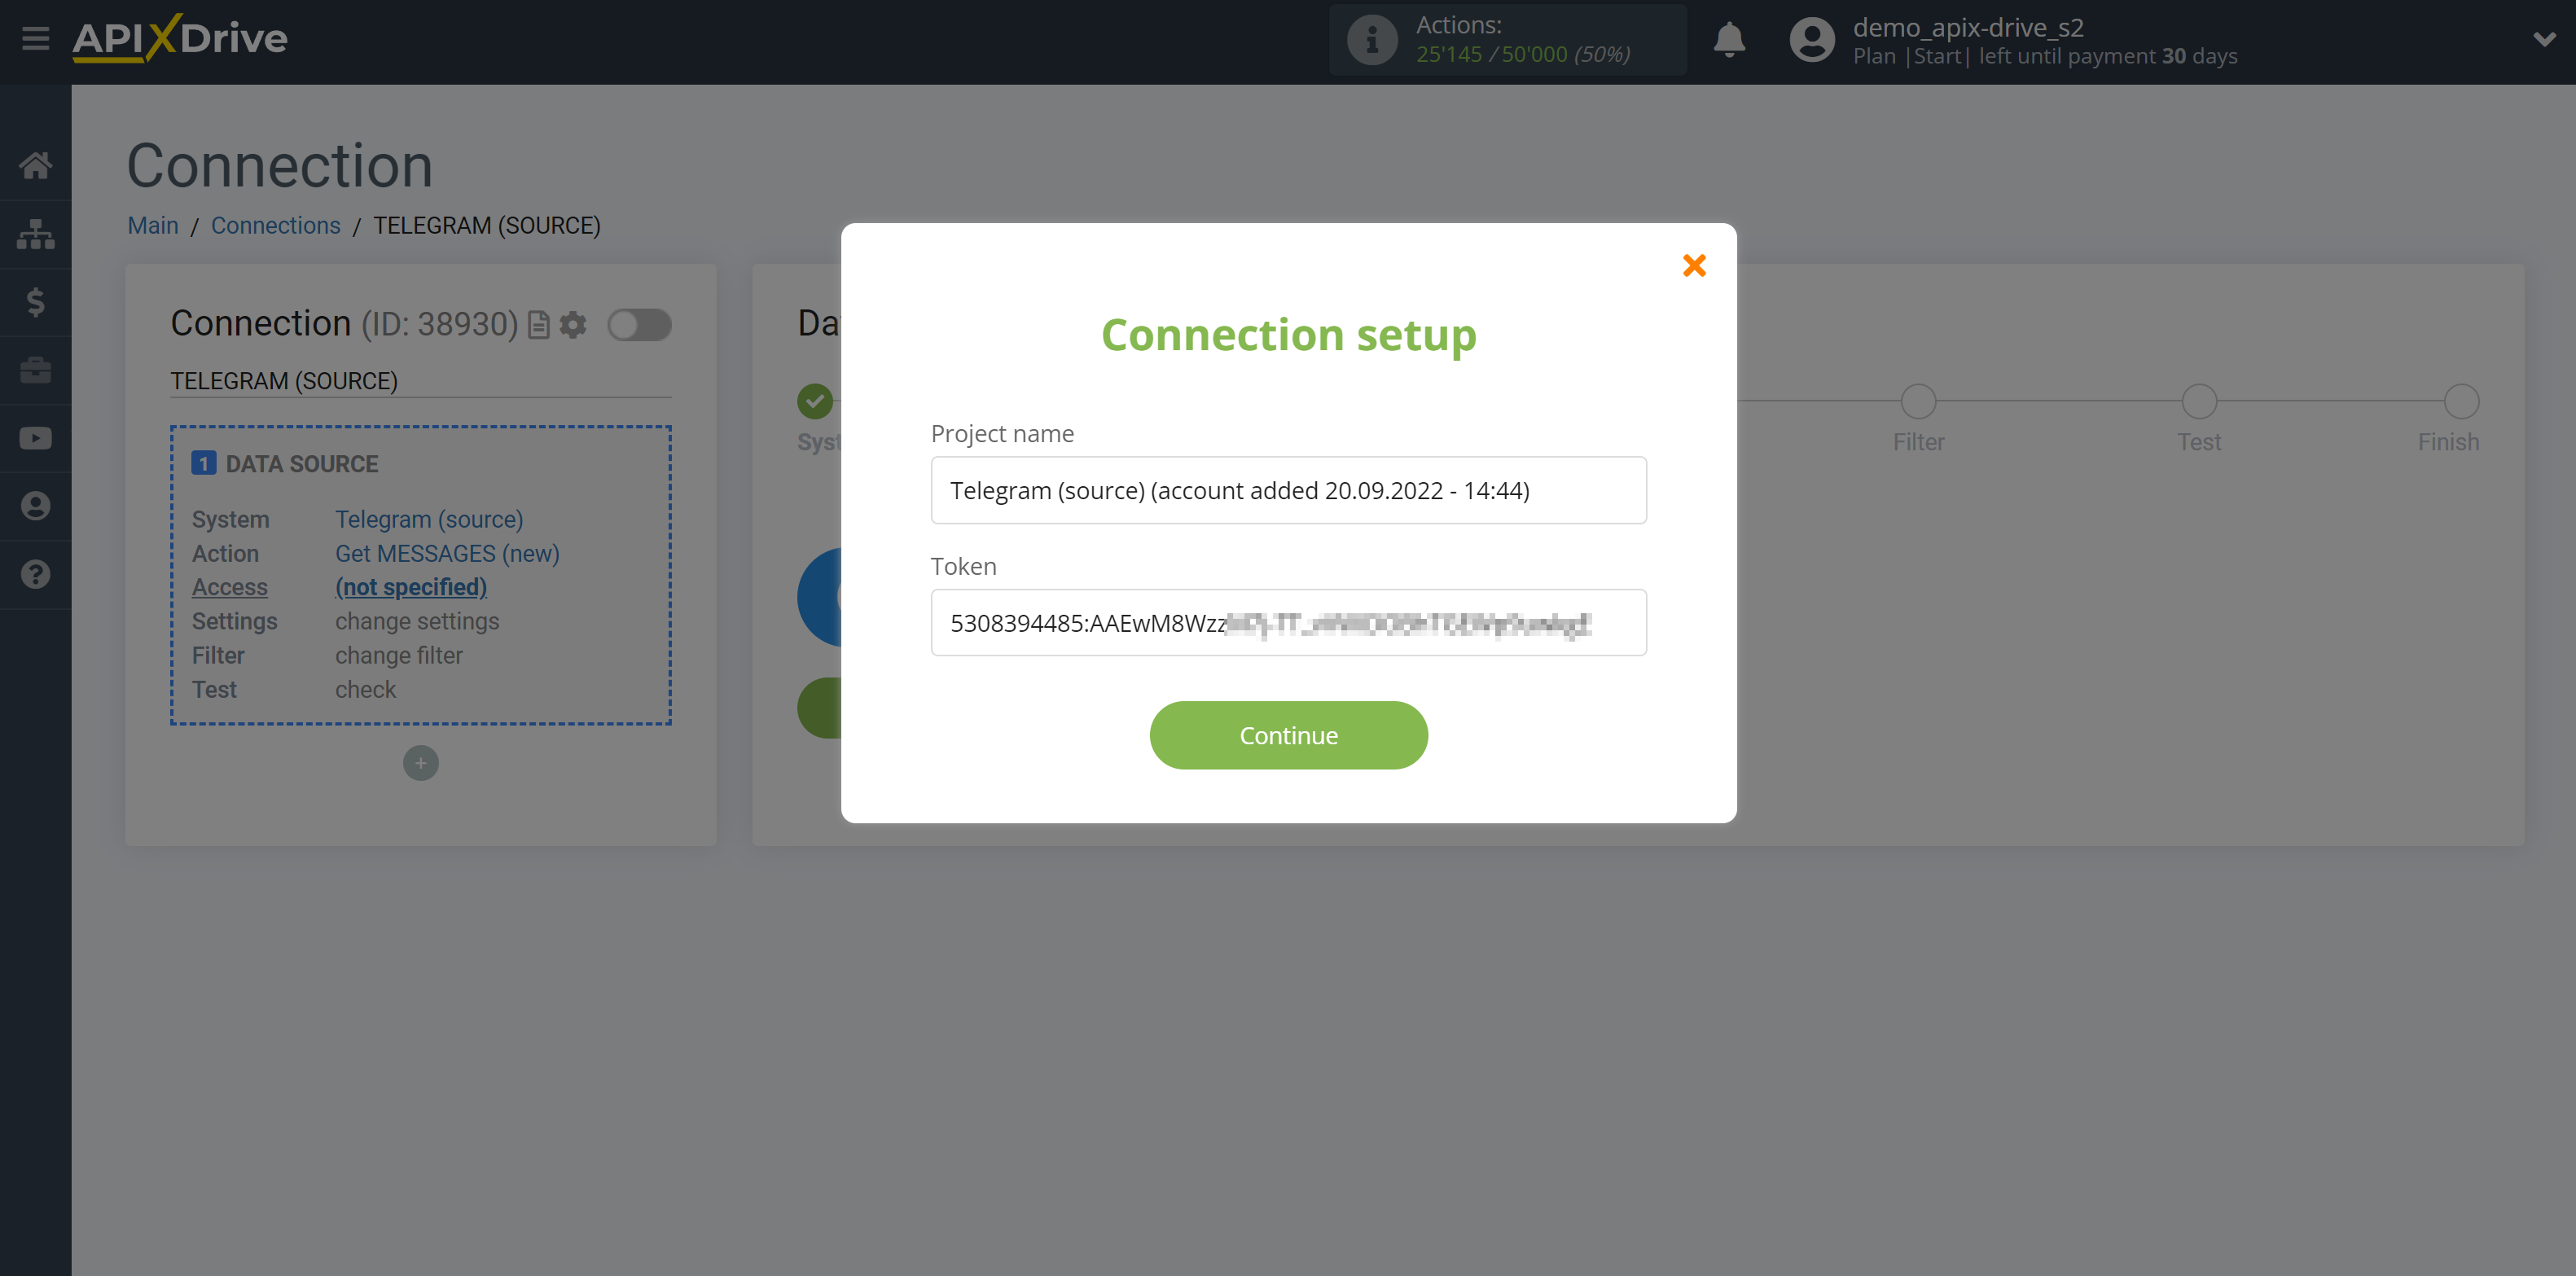
When the connected account is displayed in the "active accounts" list, select it for further work.
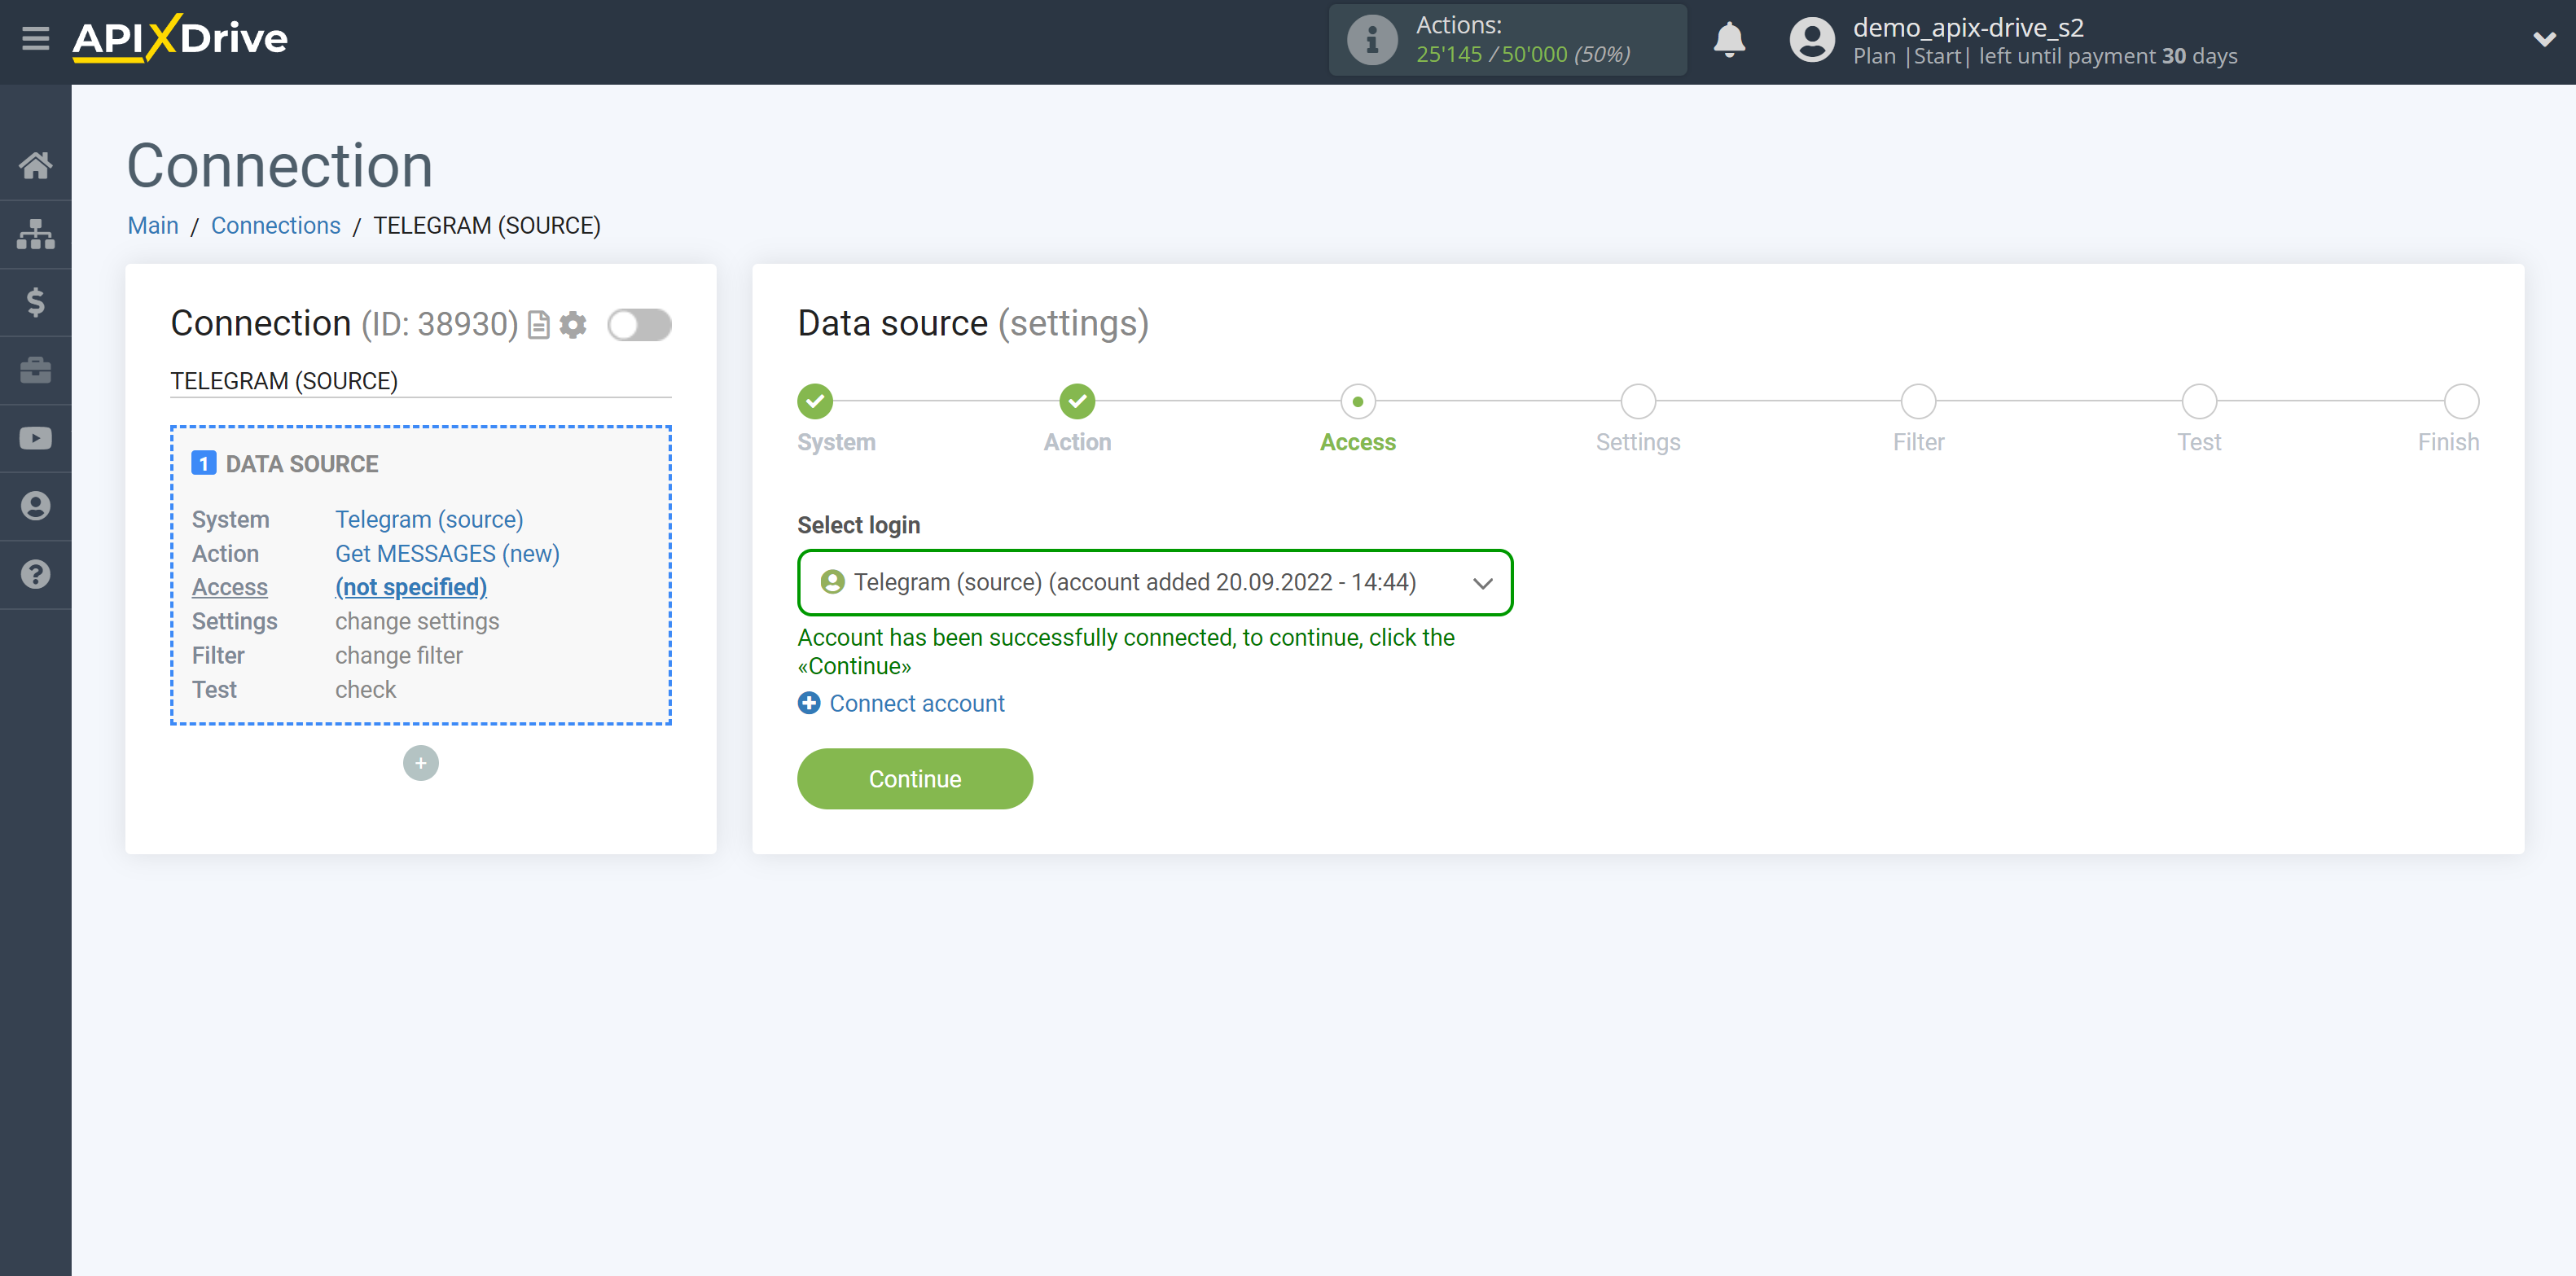
If there are no settings for the selected action, click "Continue".
Note!
If you get this error:
Conflict: can't use getUpdates method while webhook is active; use deleteWebhook to delete the webhook first
This means that your bot is connected via Webhook to another system. To disable it, you need to write in the search bar of your browser: https://api.telegram.org/botHere you need to write the Token of your Telegram bot/getWebhookInfo
If there were connections, then just instead of getWebhookInfo , write deleteWebhook and hit search.
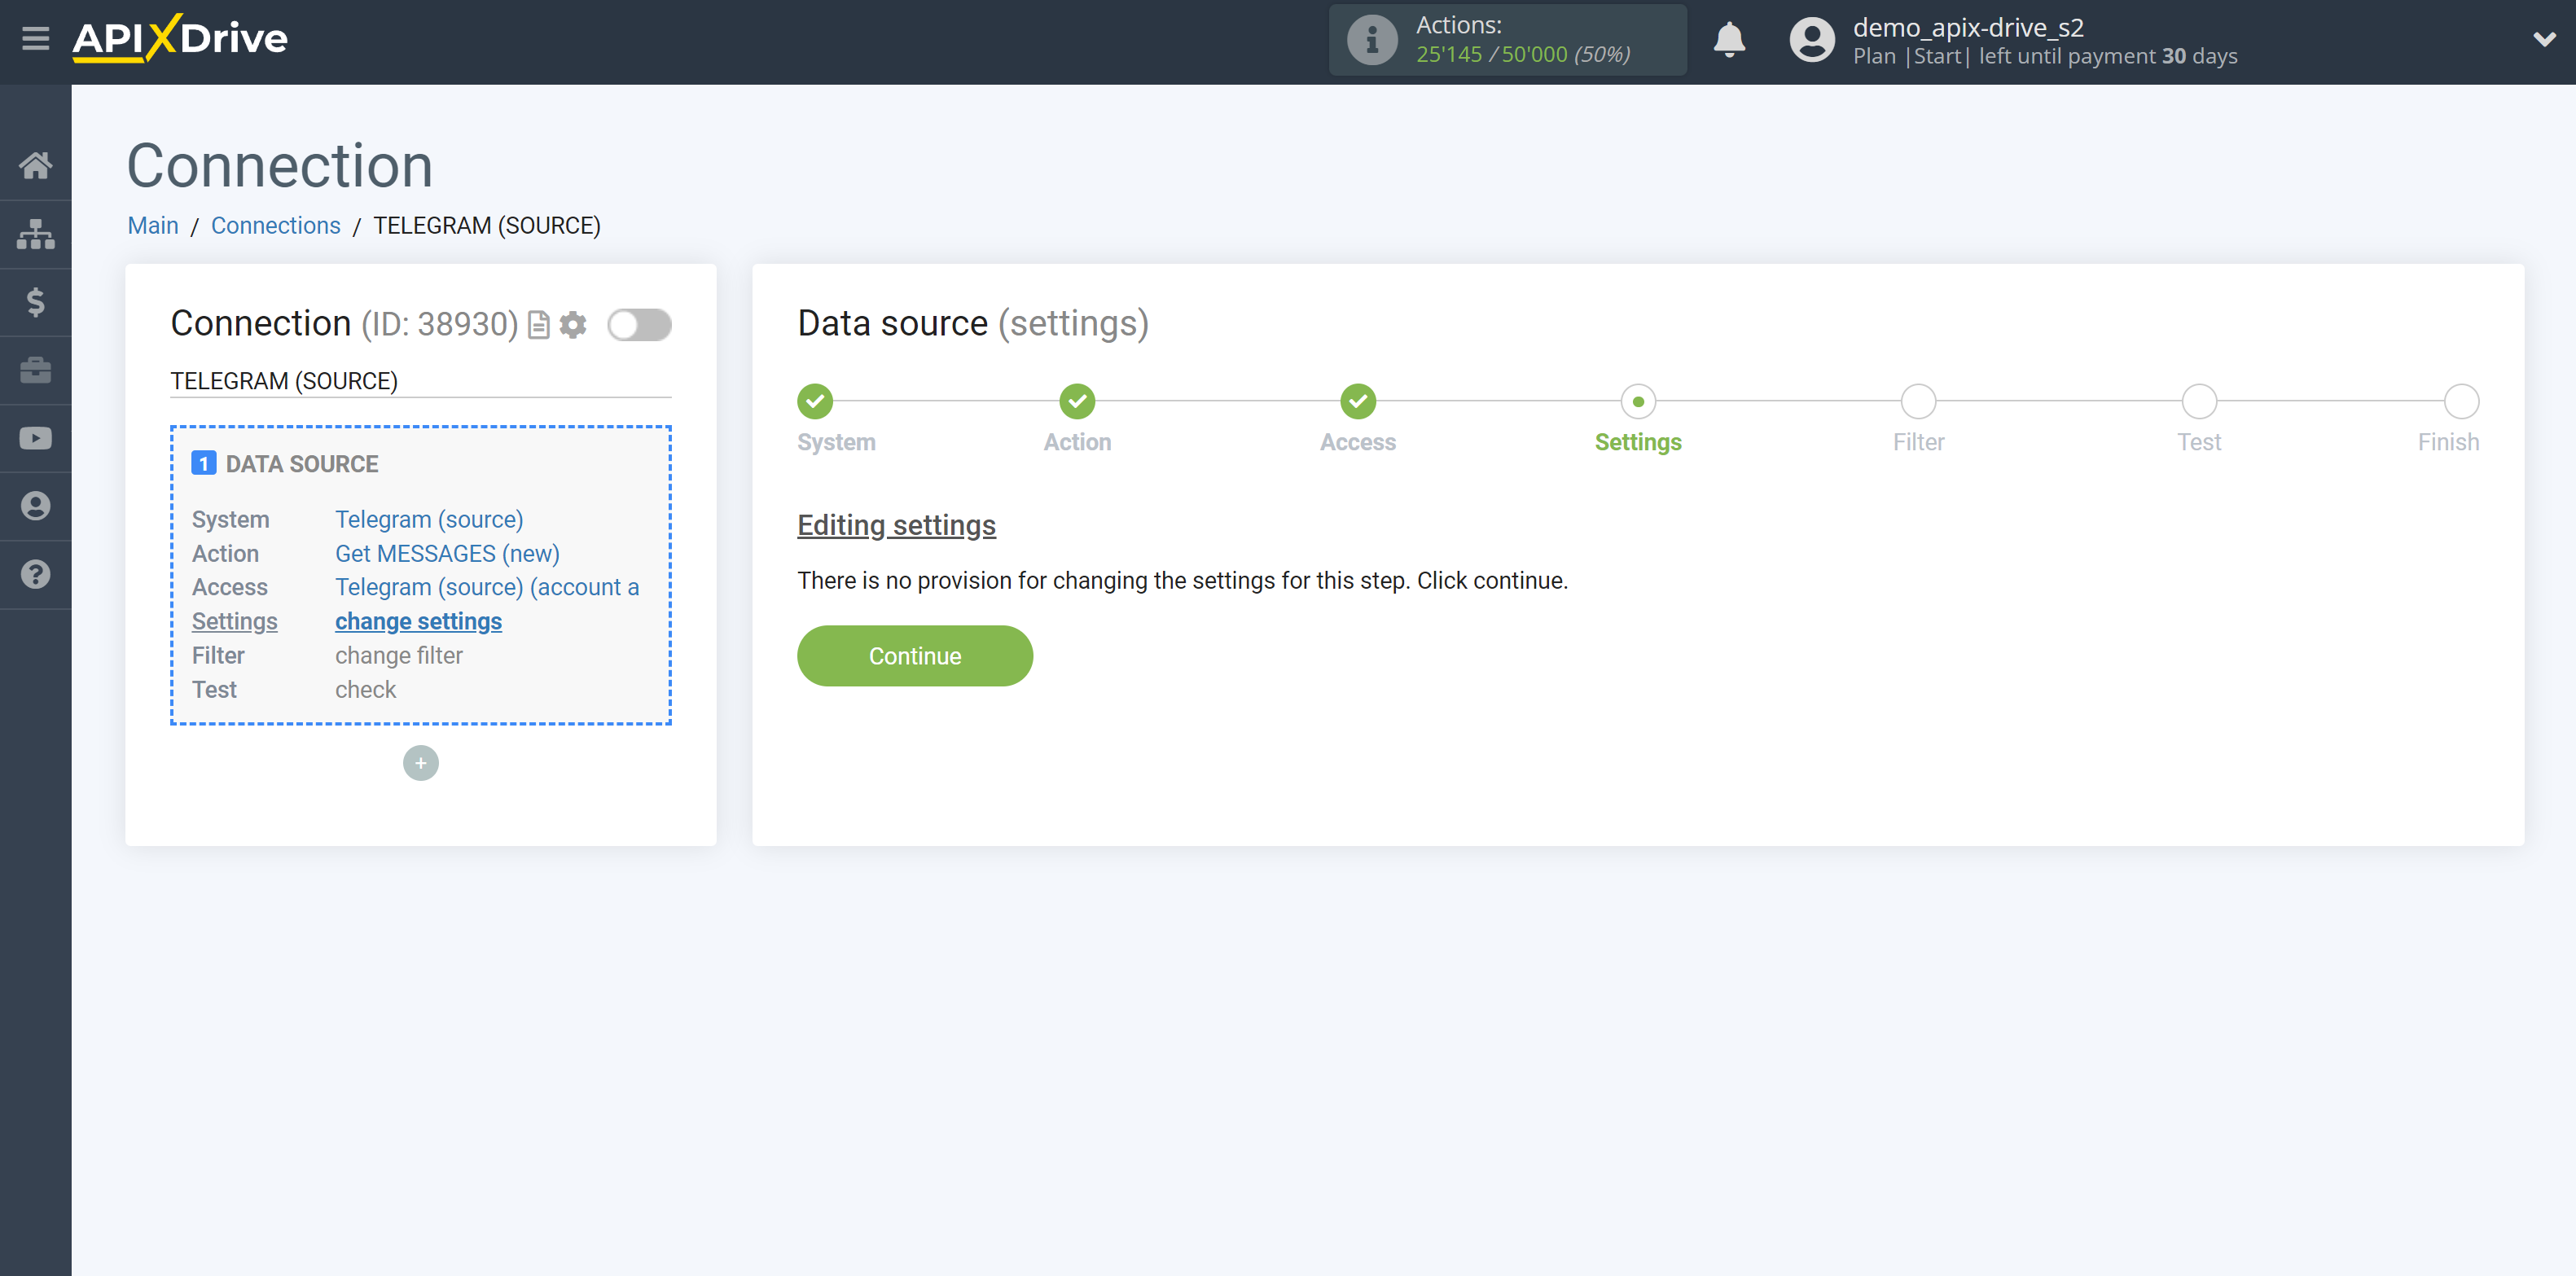
If necessary, you can set up a Data Filter, or click "Continue" to skip this step.
To find out how to set up the Data Filter, follow the link: https://apix-drive.com/en/help/data-filter
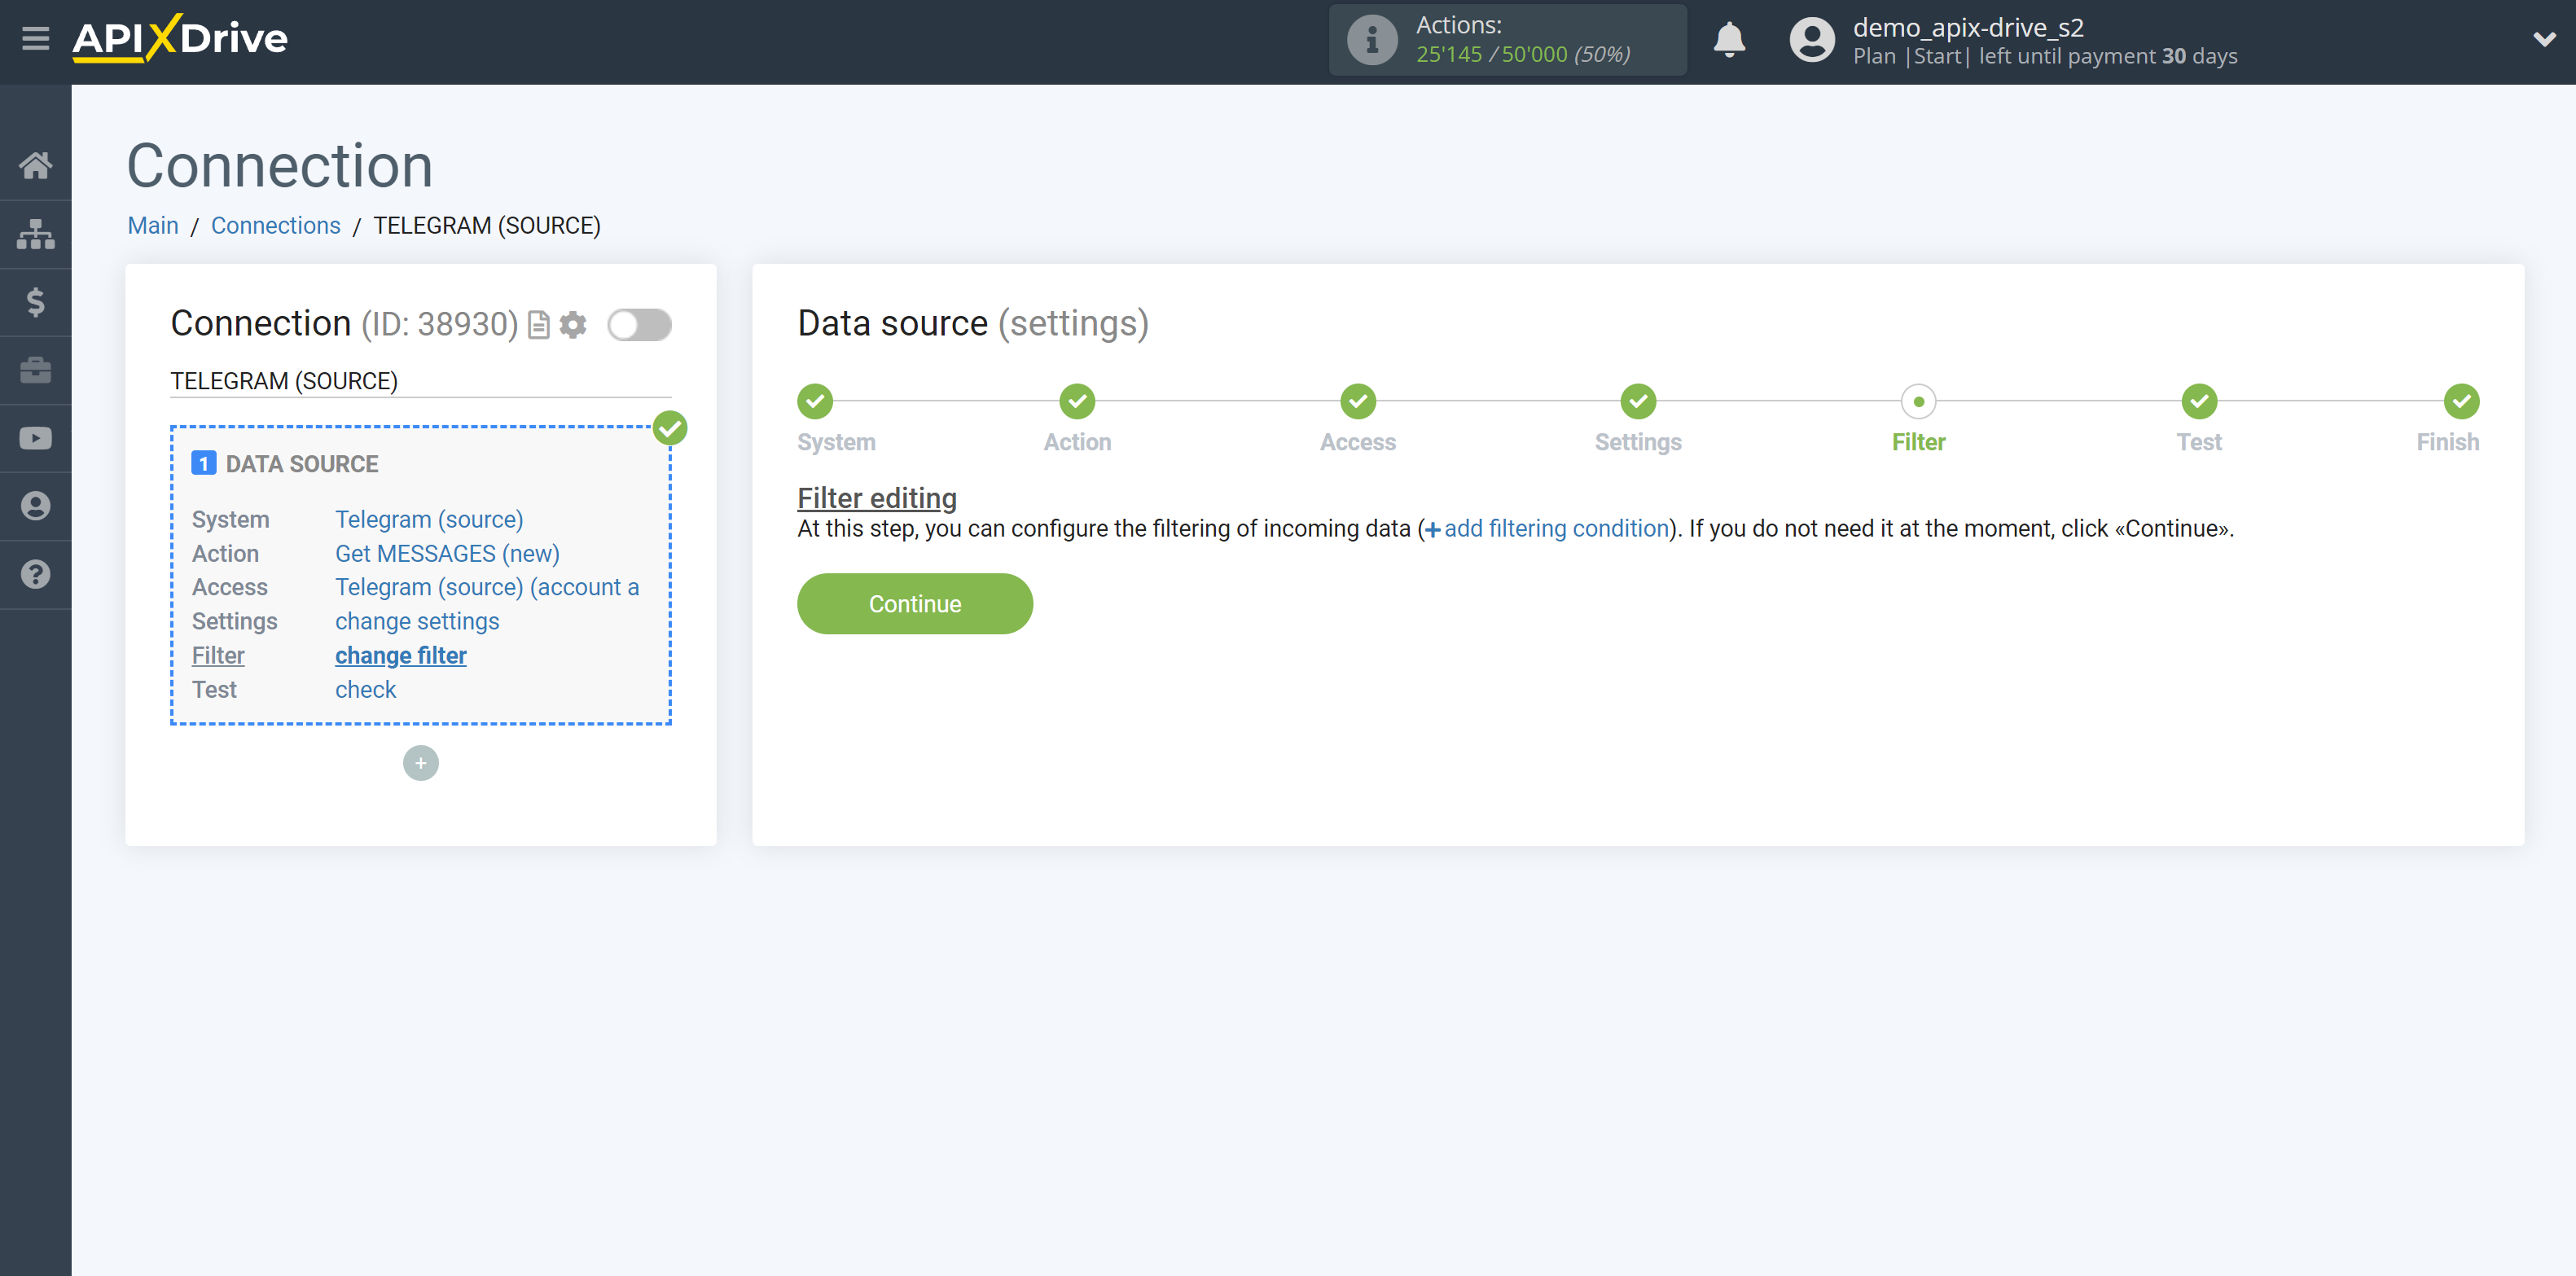
Now you can see the test data.
If the test data does not appear automatically, click "Load test data from Telegram (source)" or try to generate actions in your Telegram that the connection is set up to work on.
If everything suits you, click "Next".
Note!
If you want to get new messages from a Telegram bot that is connected to a group, you need to go to the settings of your Telegram bot in the BotFather chat.
BotFather Chat Sequence:
1. Write the /setprivacy command . In response, BotFather will ask you to select a bot to change your group messaging settings. You can select a bot from the menu, or write your bot's name like this @your_name_bot .
2. Next, BotFather will write this text to you:
'Enable' - Your bot will only get messages that either start with a '/' or mention the bot by username.
'Disable' - Your bot will get all messages that people send to groups.
Current status: ENABLED
You need to press " DISABLE ". After that, you will be able to upload new messages to the Telegram bot that is connected to the group.
If you want to get data from the channel, then you need to go through the bot setup, which is described above. And then:
- create a separate group
- invite a bot to this group
- enable the bot through his profile
Then go to the channel management in the "Discussion" menu item and add the previously created group where the bot is located. Thus, the data from the channel will be duplicated in the group, and the bot will upload data from the group.
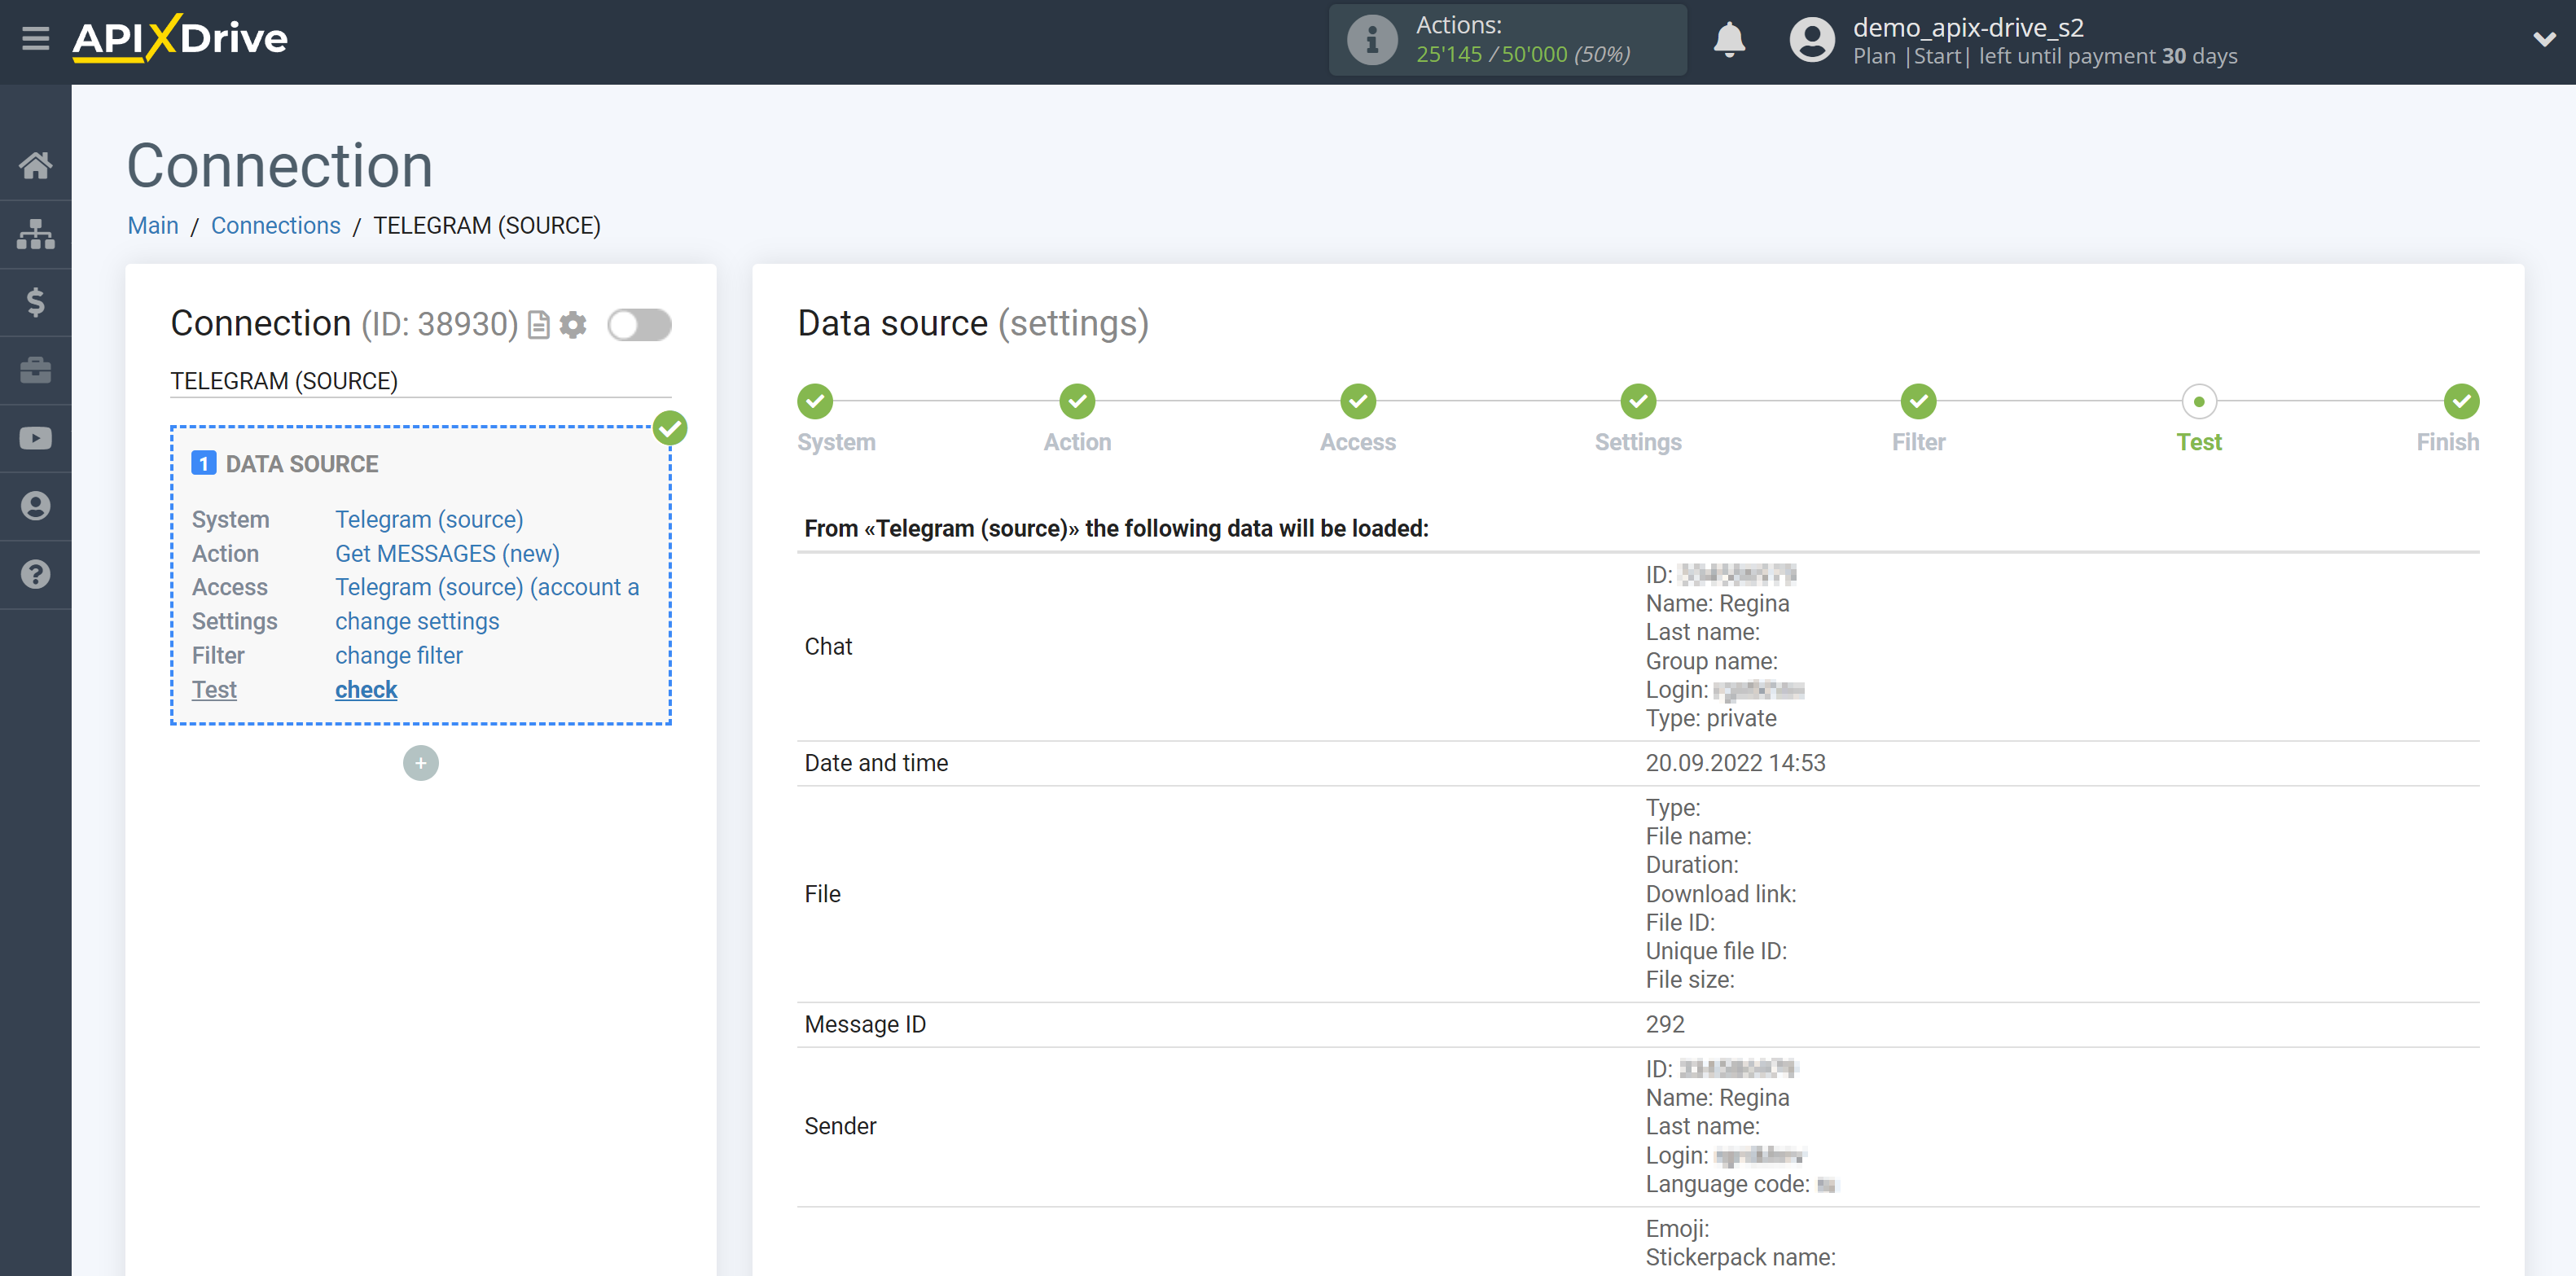
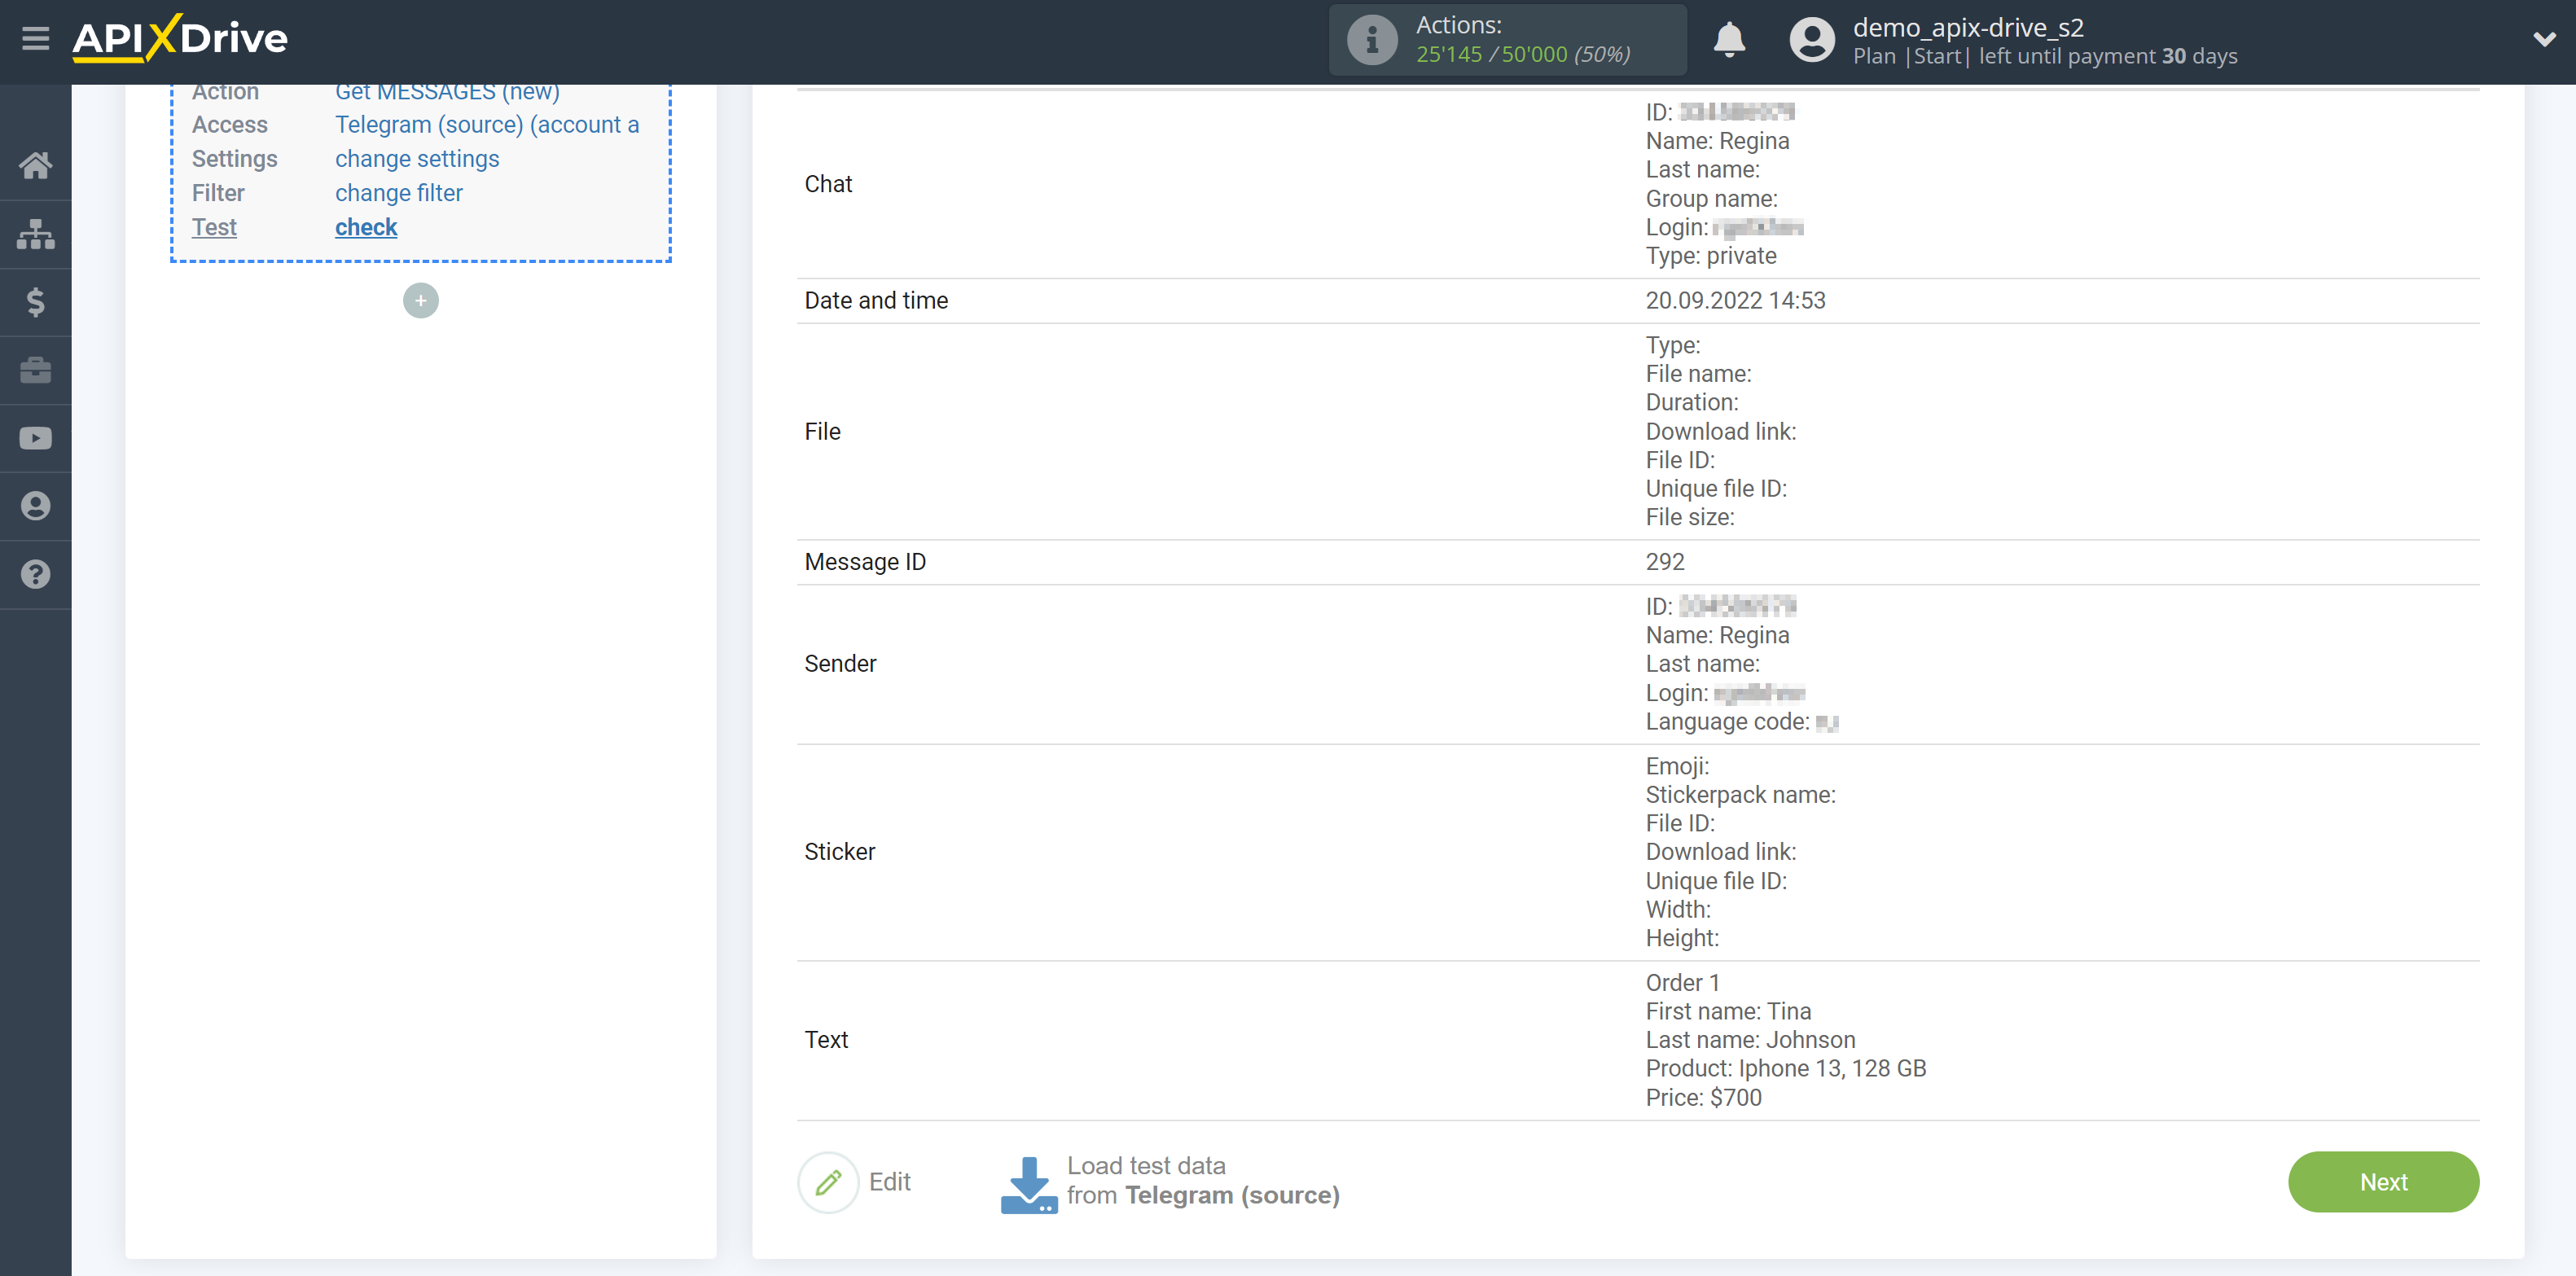
This completes the entire Data Source setup! See how easy it is!?
Now you can set up the Data Destination system.
To do this, set up it yourself or go to the help section "Data Destination", select the service you need as Data Destination, and follow the setup recommendations.
Good luck!
