How to Connect Typebot as Data Source
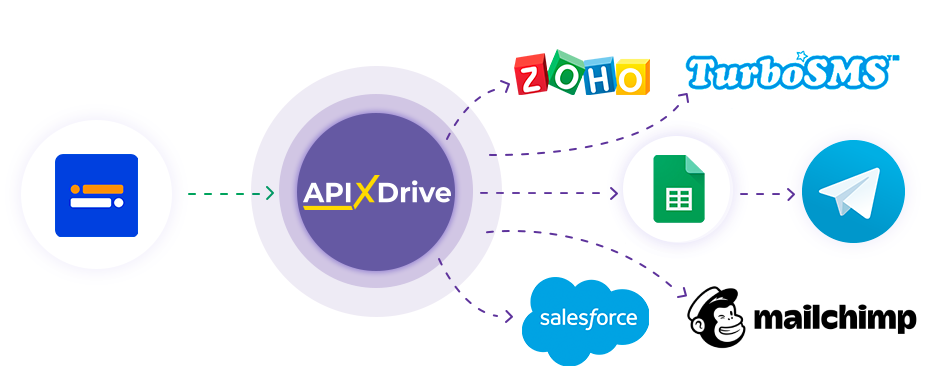
The integration allows you to get new data from Typebot based on messages and completed data in the bot. For example, you can transfer new messages to Google Sheets or CRM or duplicate them in a group with managers in Discord. Integration will allow you to automate the data processing process as efficiently as possible using the different services you use.
Let's go through the entire Typebot setup steps together!
Navigation:
1. What data can you get from Typebot?
2. How to connect your Typebot account to ApiX-Drive?
3. Link for get data.
4. Example of message data.
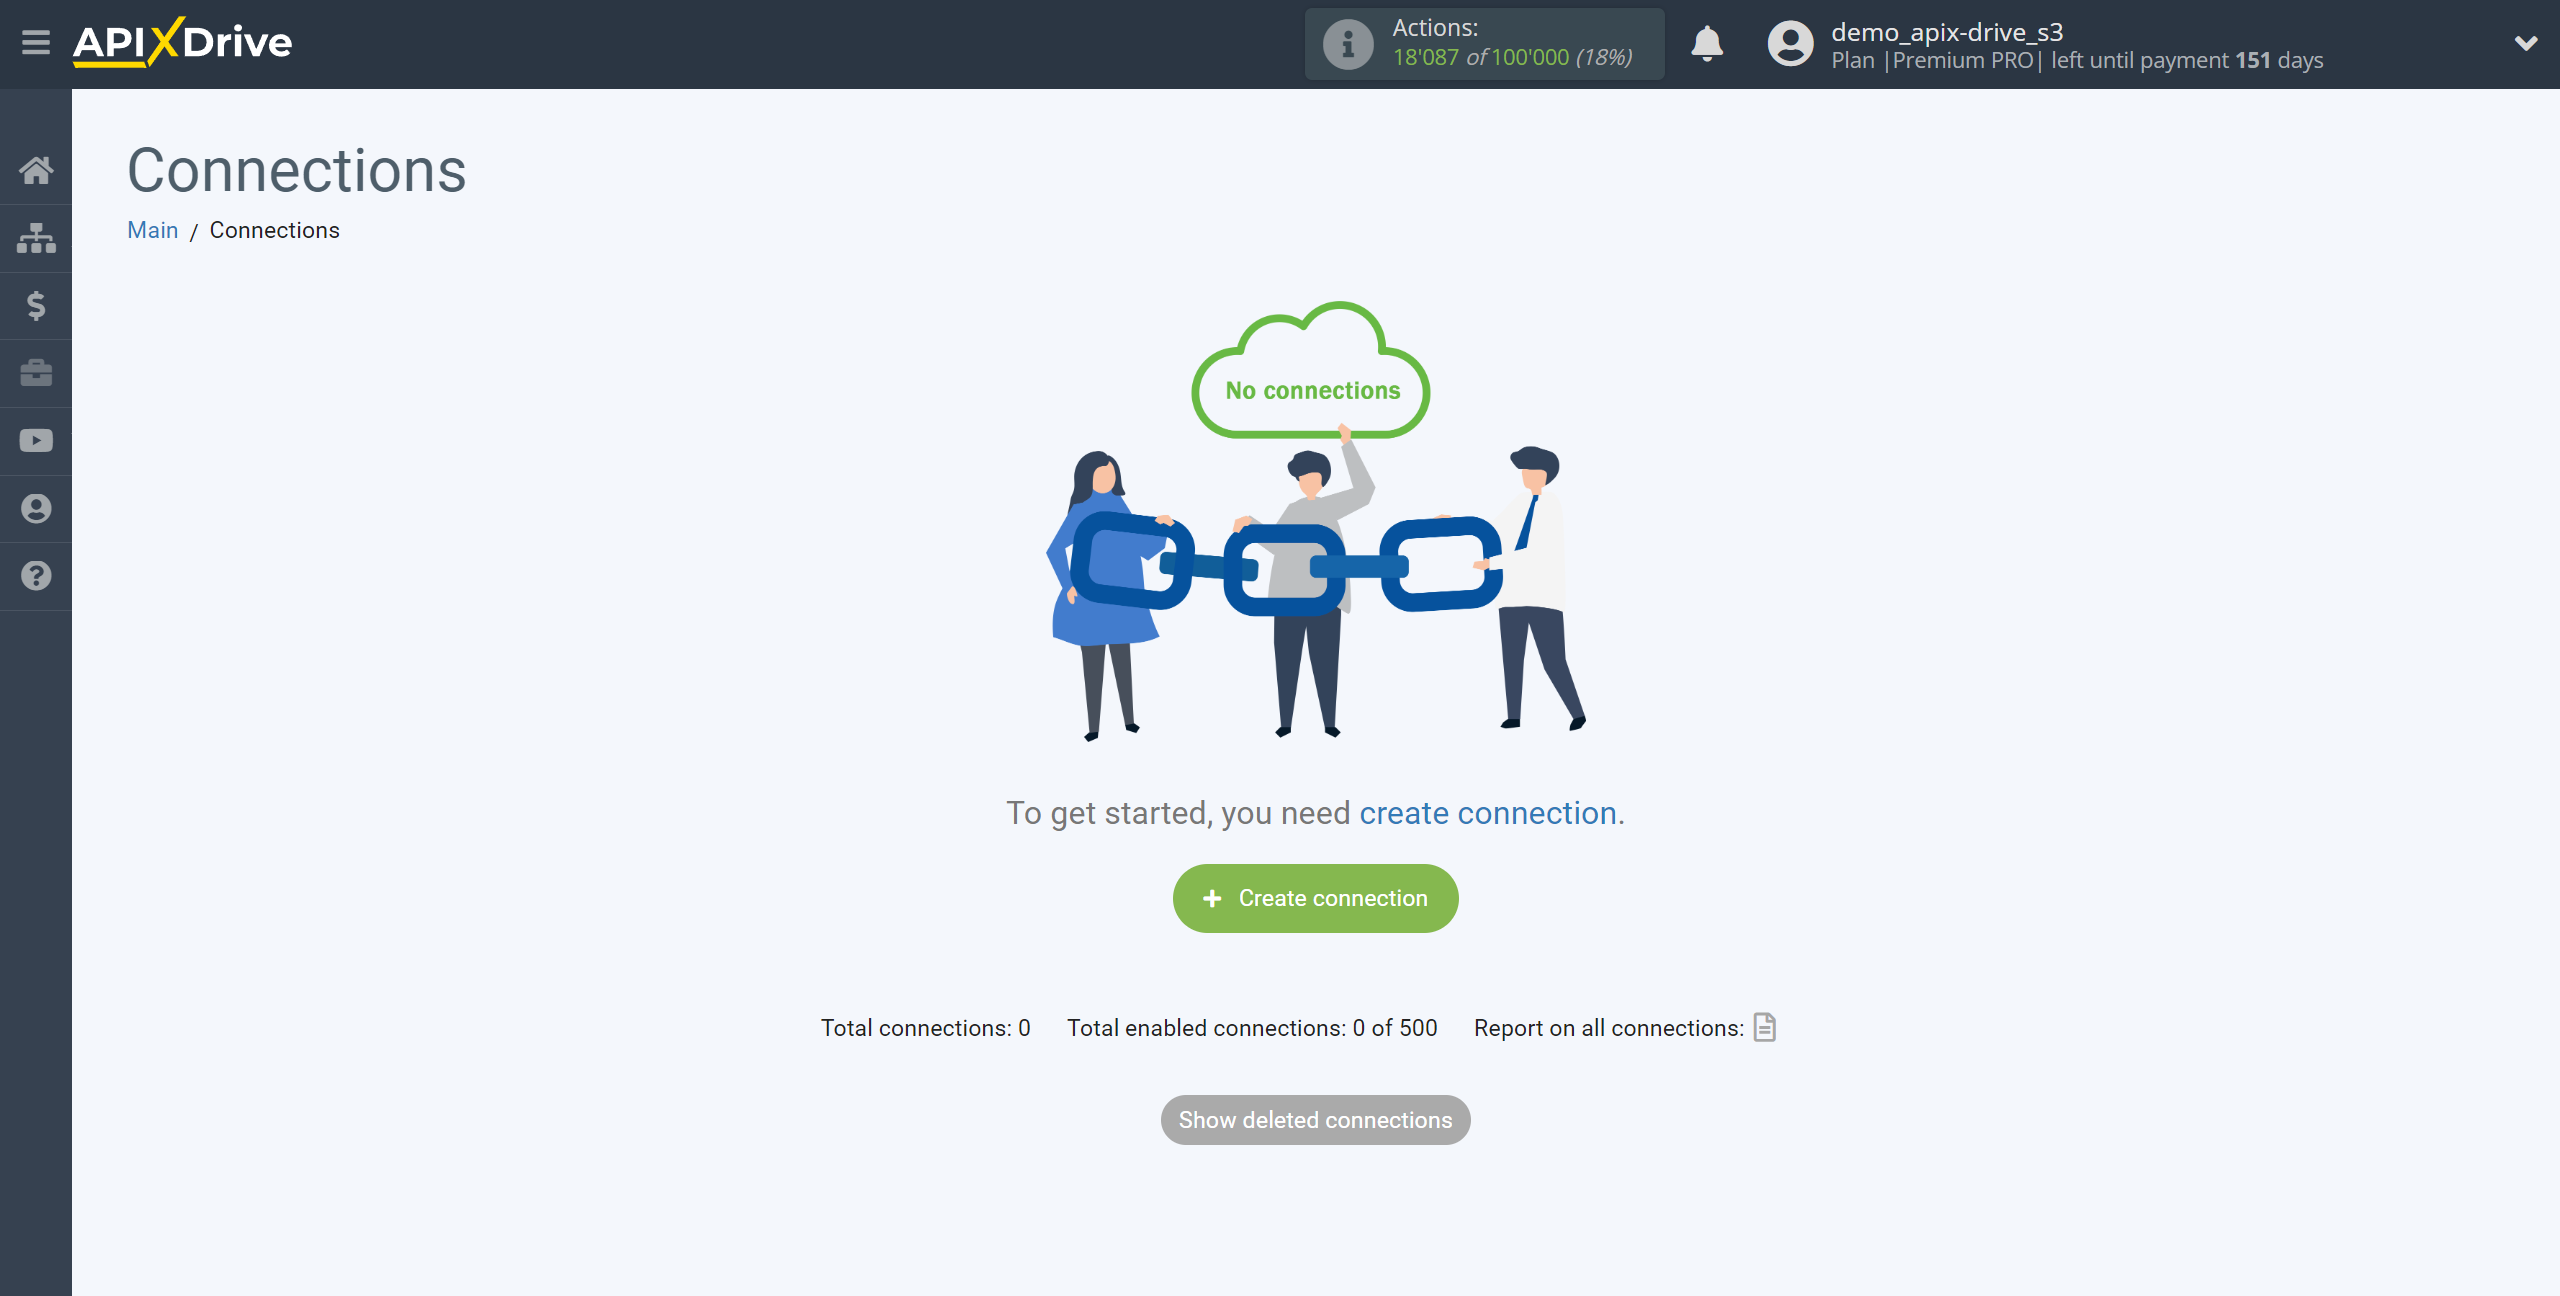
To start setup a new connection, click “Create connection”
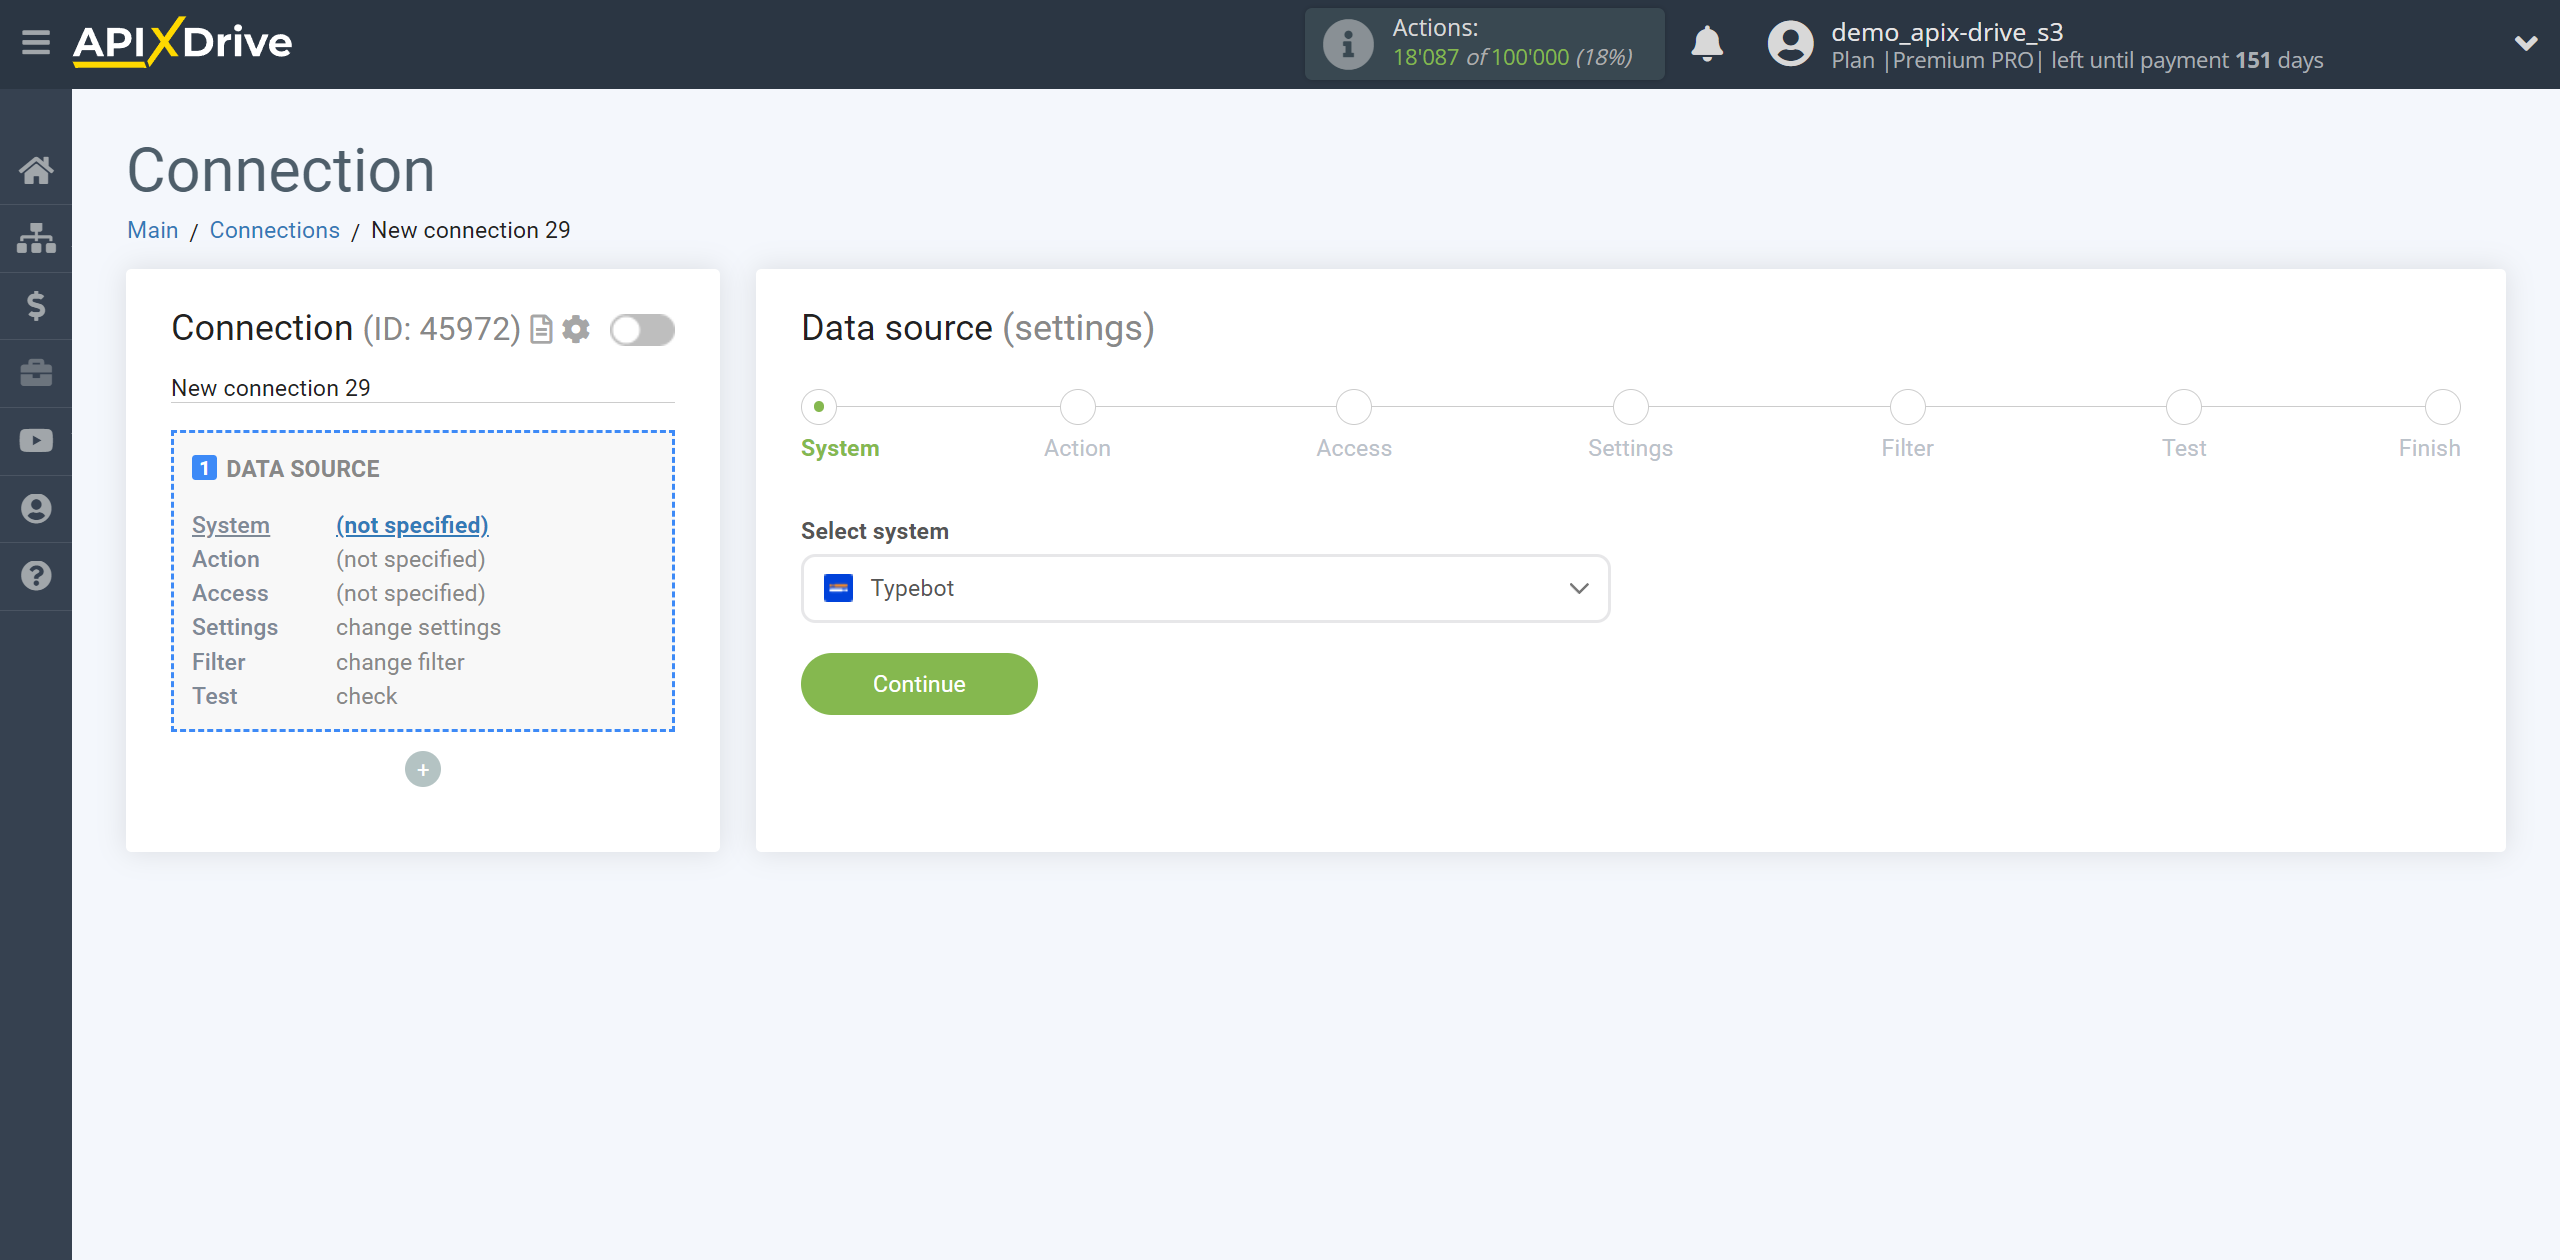
Select the system as the Data Source. In this case, you must specify Typebot.
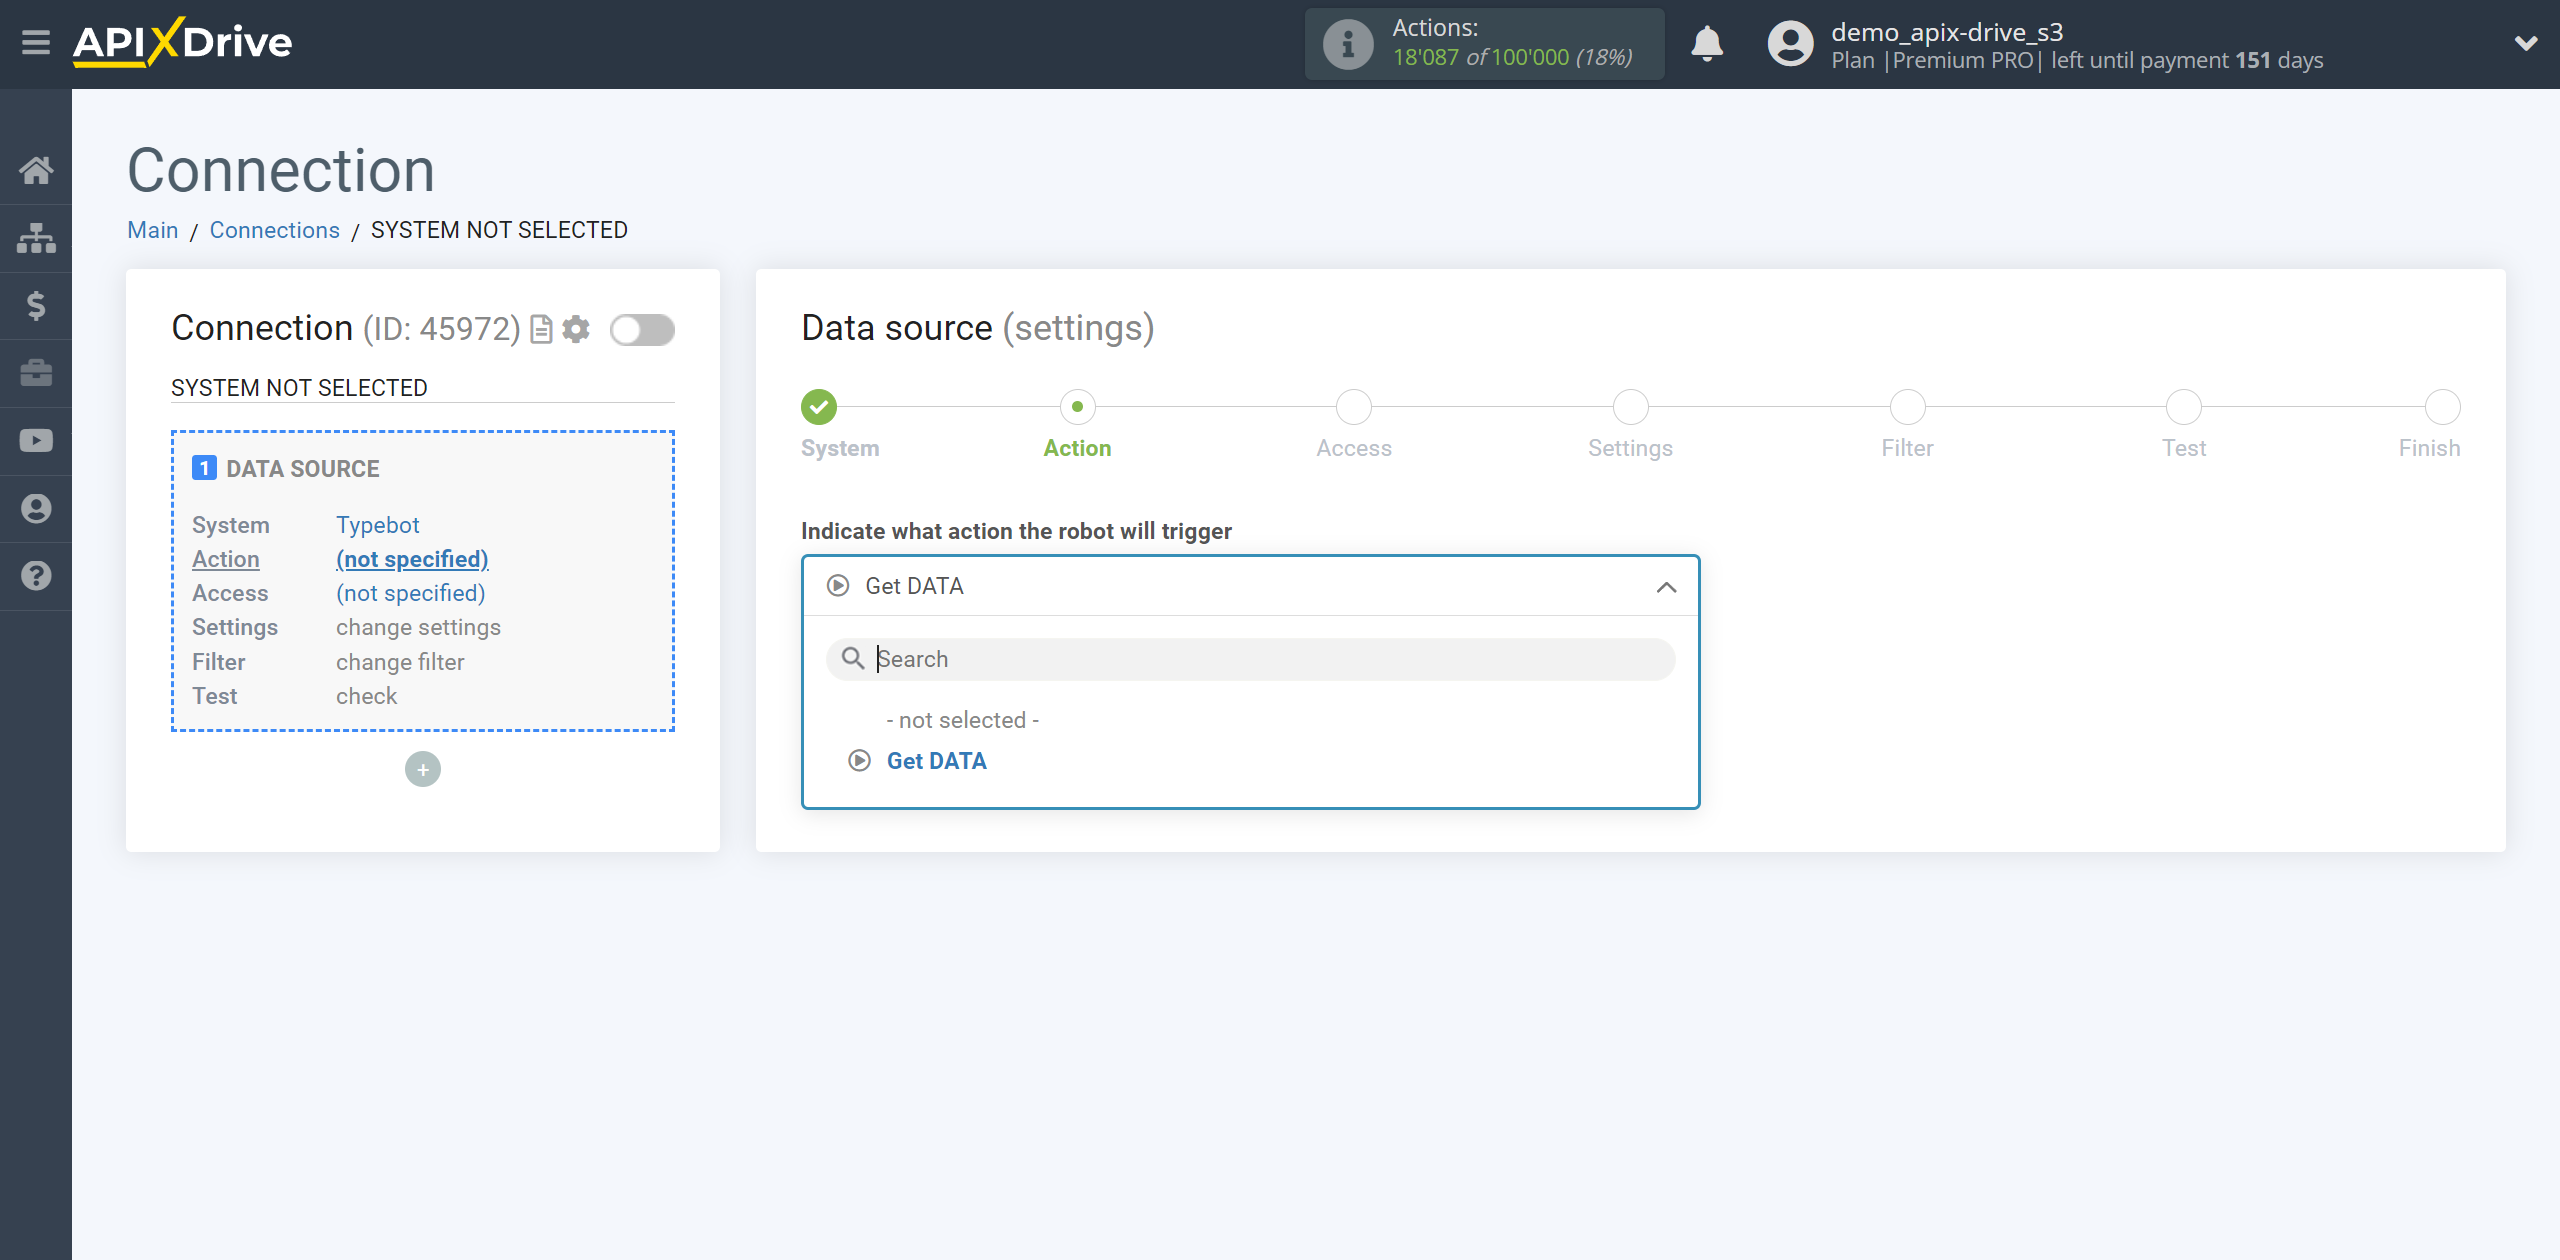
Next, you need to specify the action, “Get DATA”.
The next step is to select a Typebot account from which will get the data.
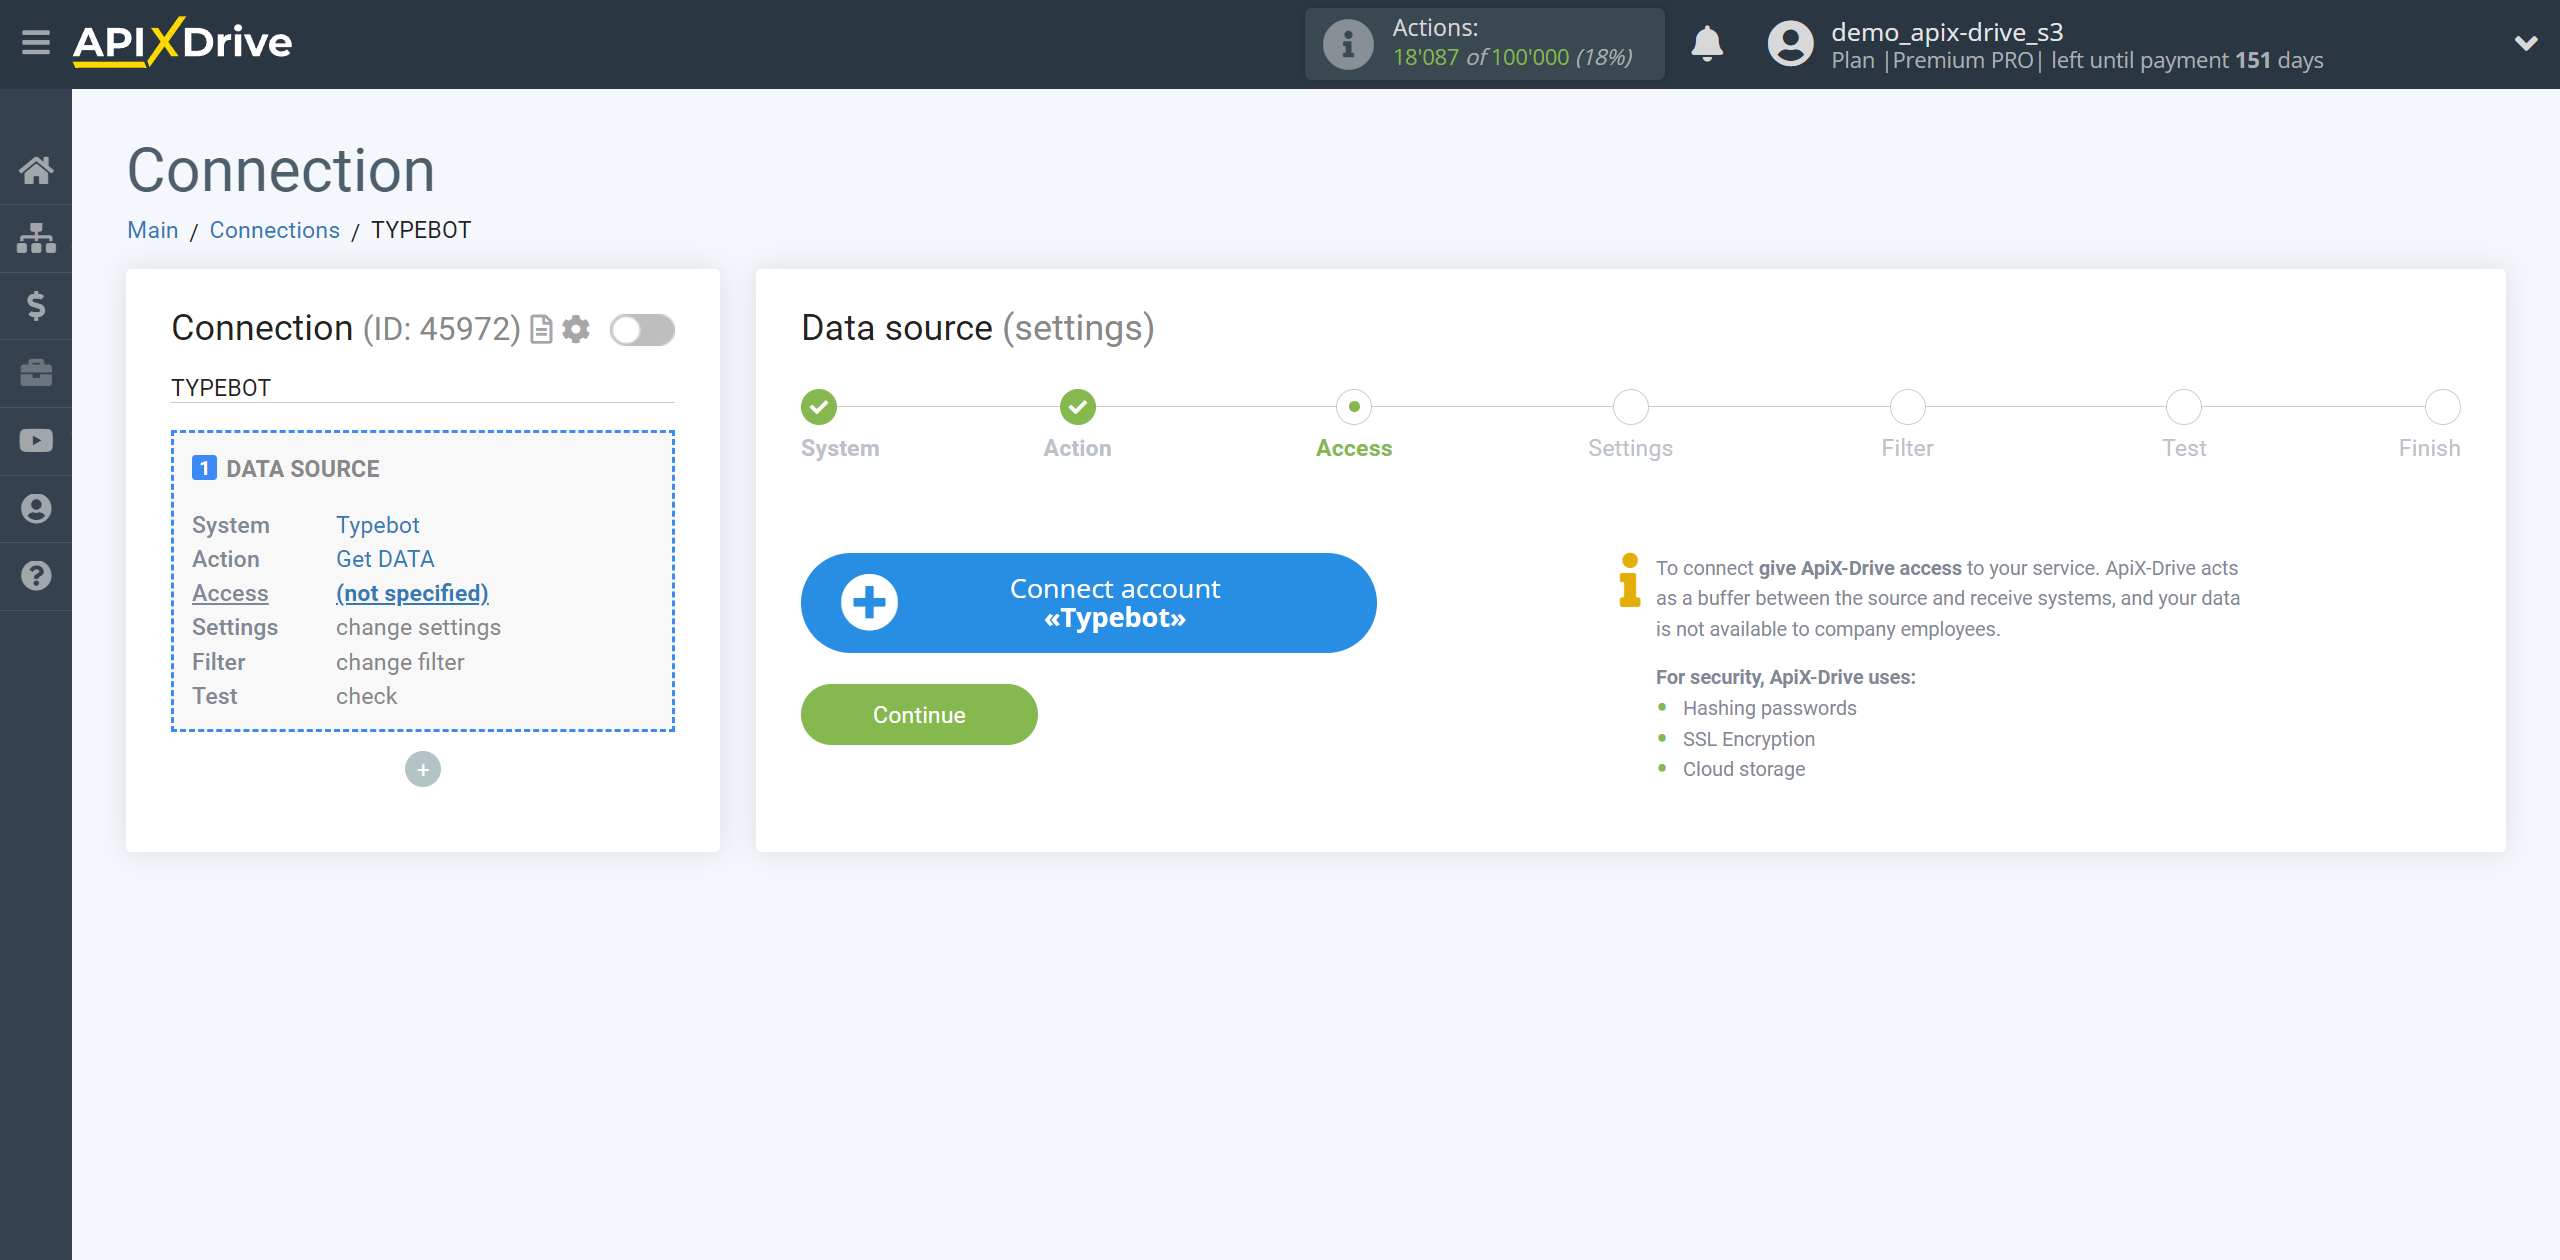
If there are no accounts connected to the system, click “Connect account”.
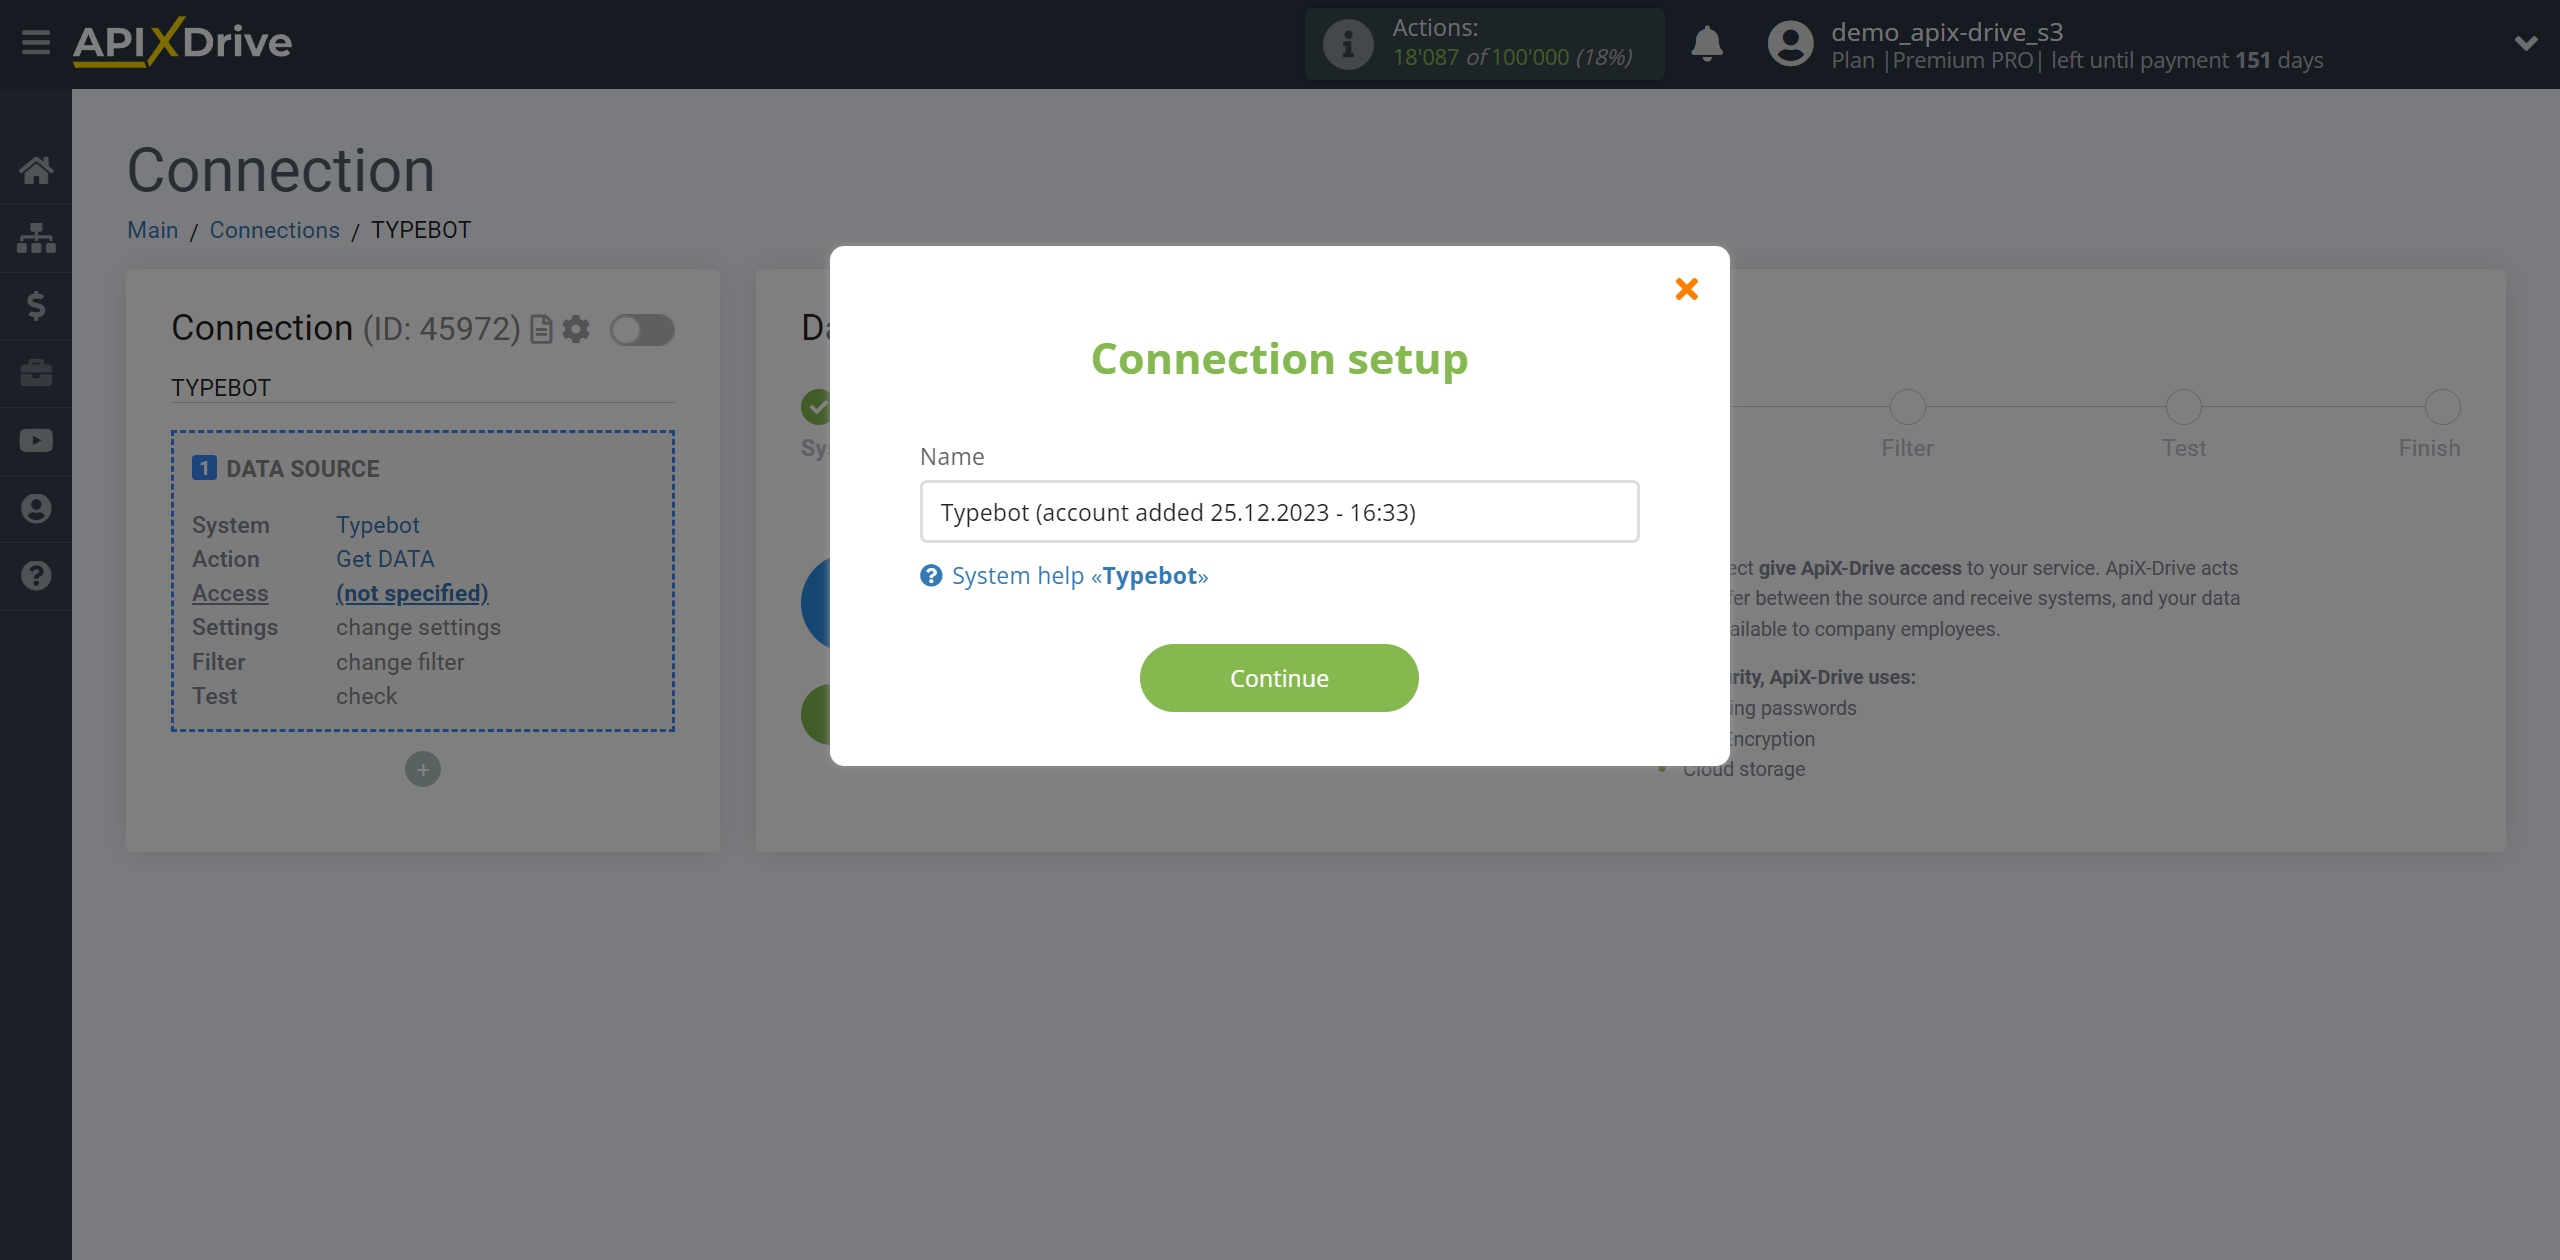
Enter the name of your account (if necessary) and click "Save".
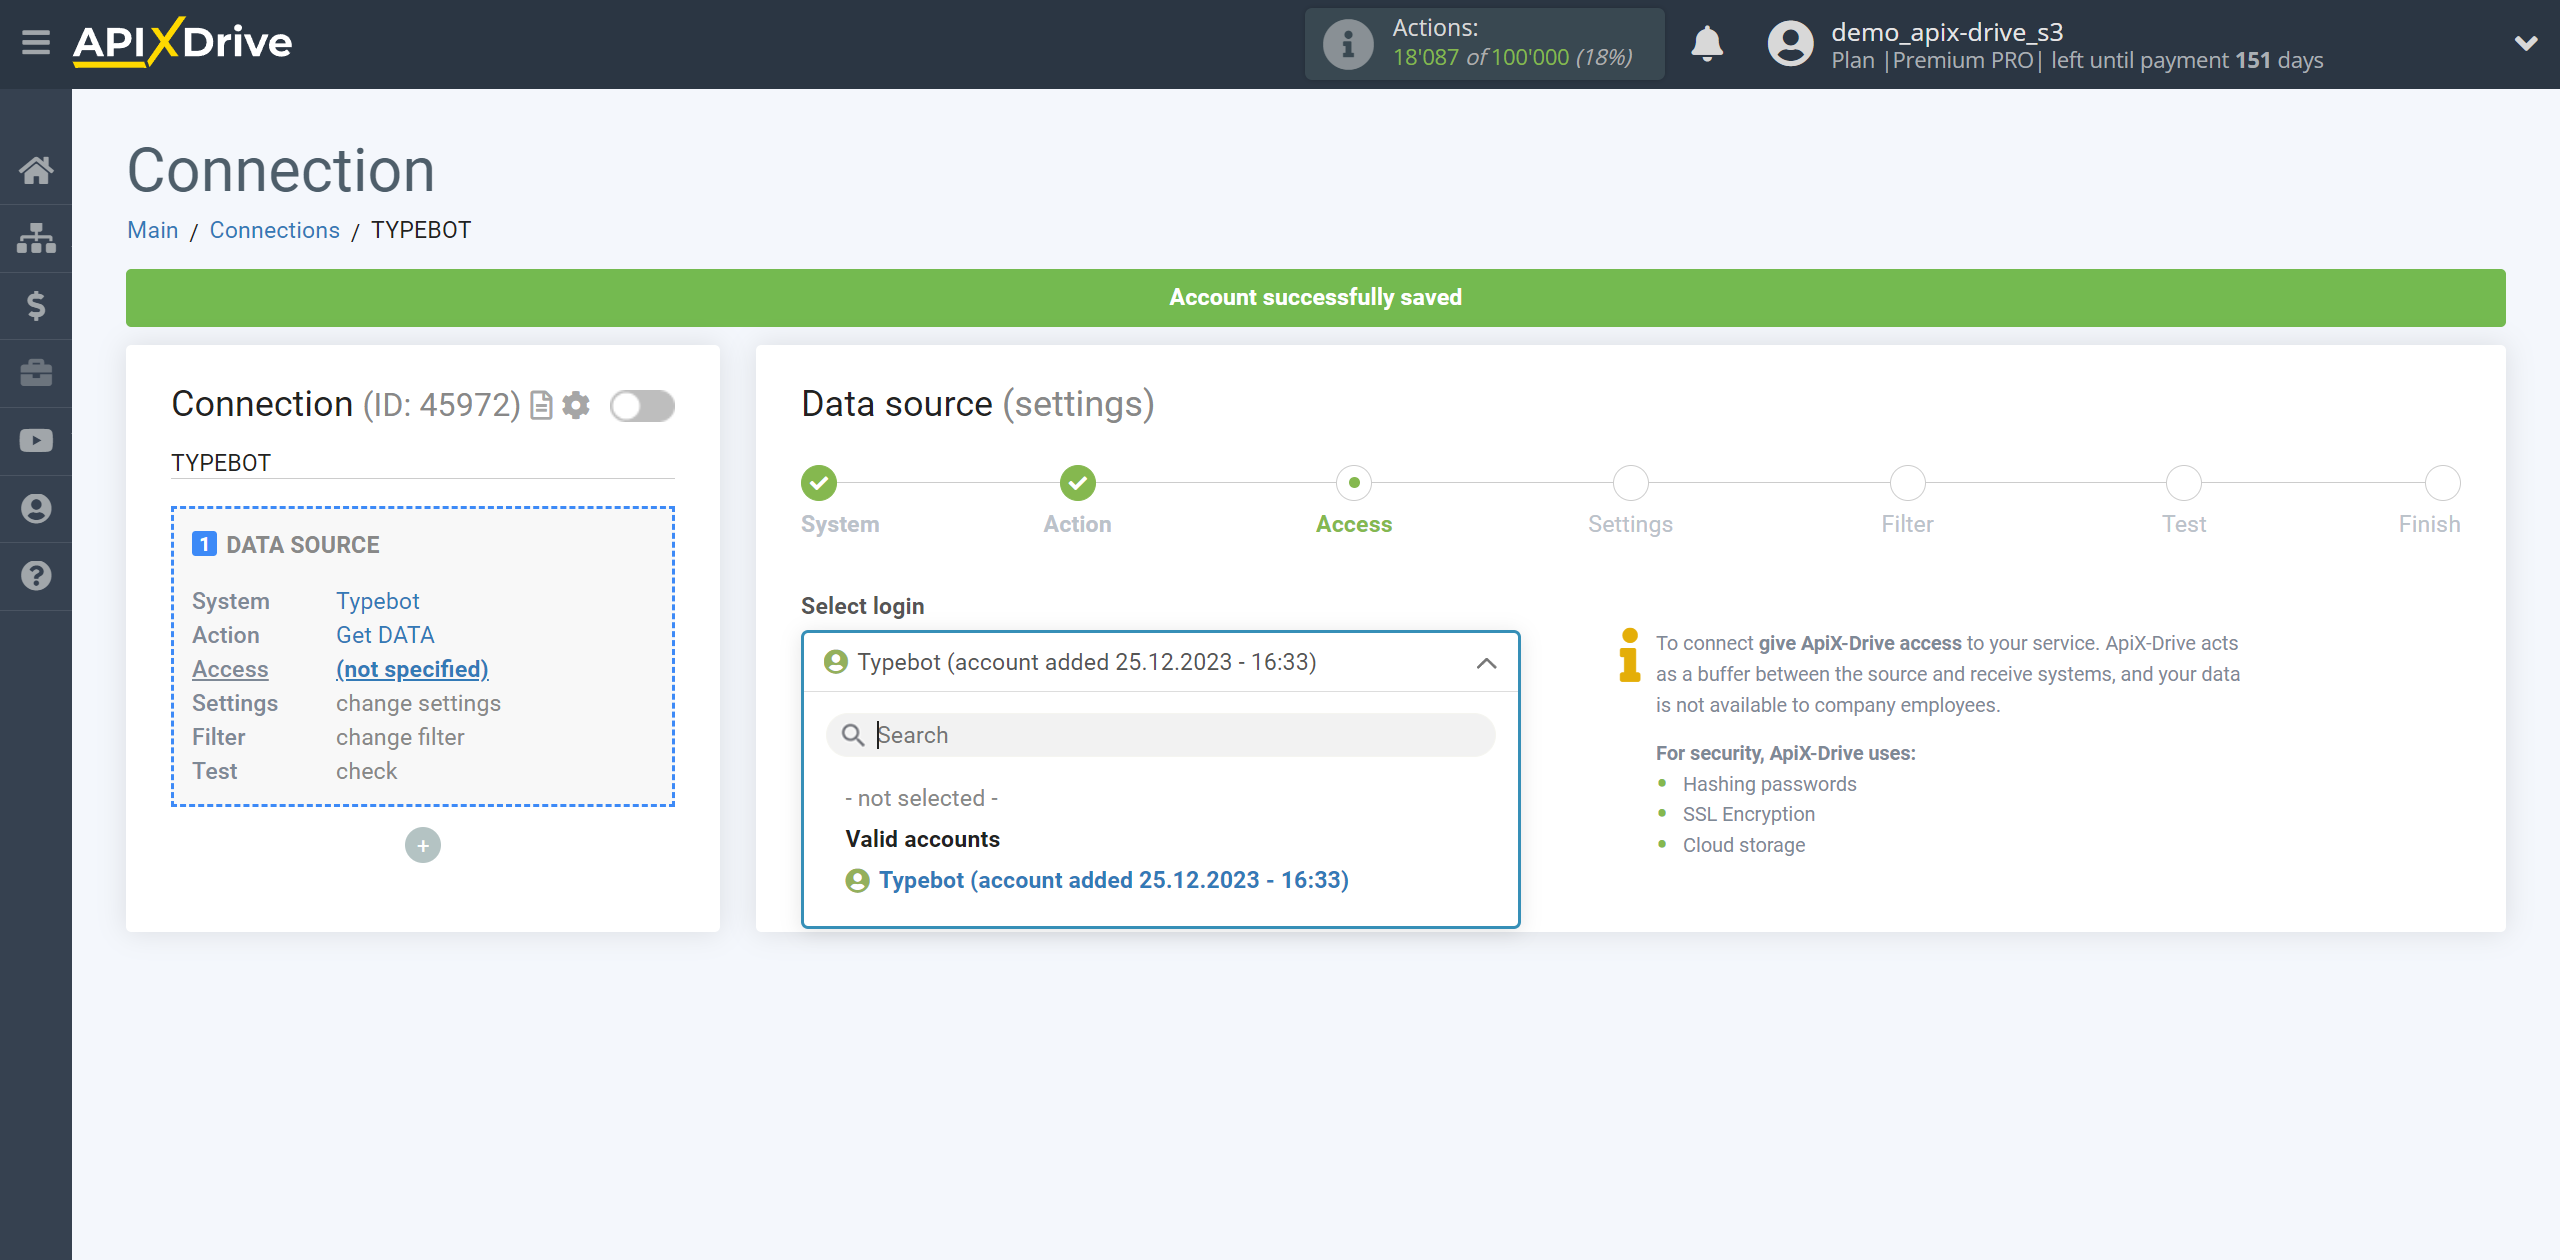
After this, the page will reload and the saved account will automatically selected.
If this does not happen, select the created account from the list.
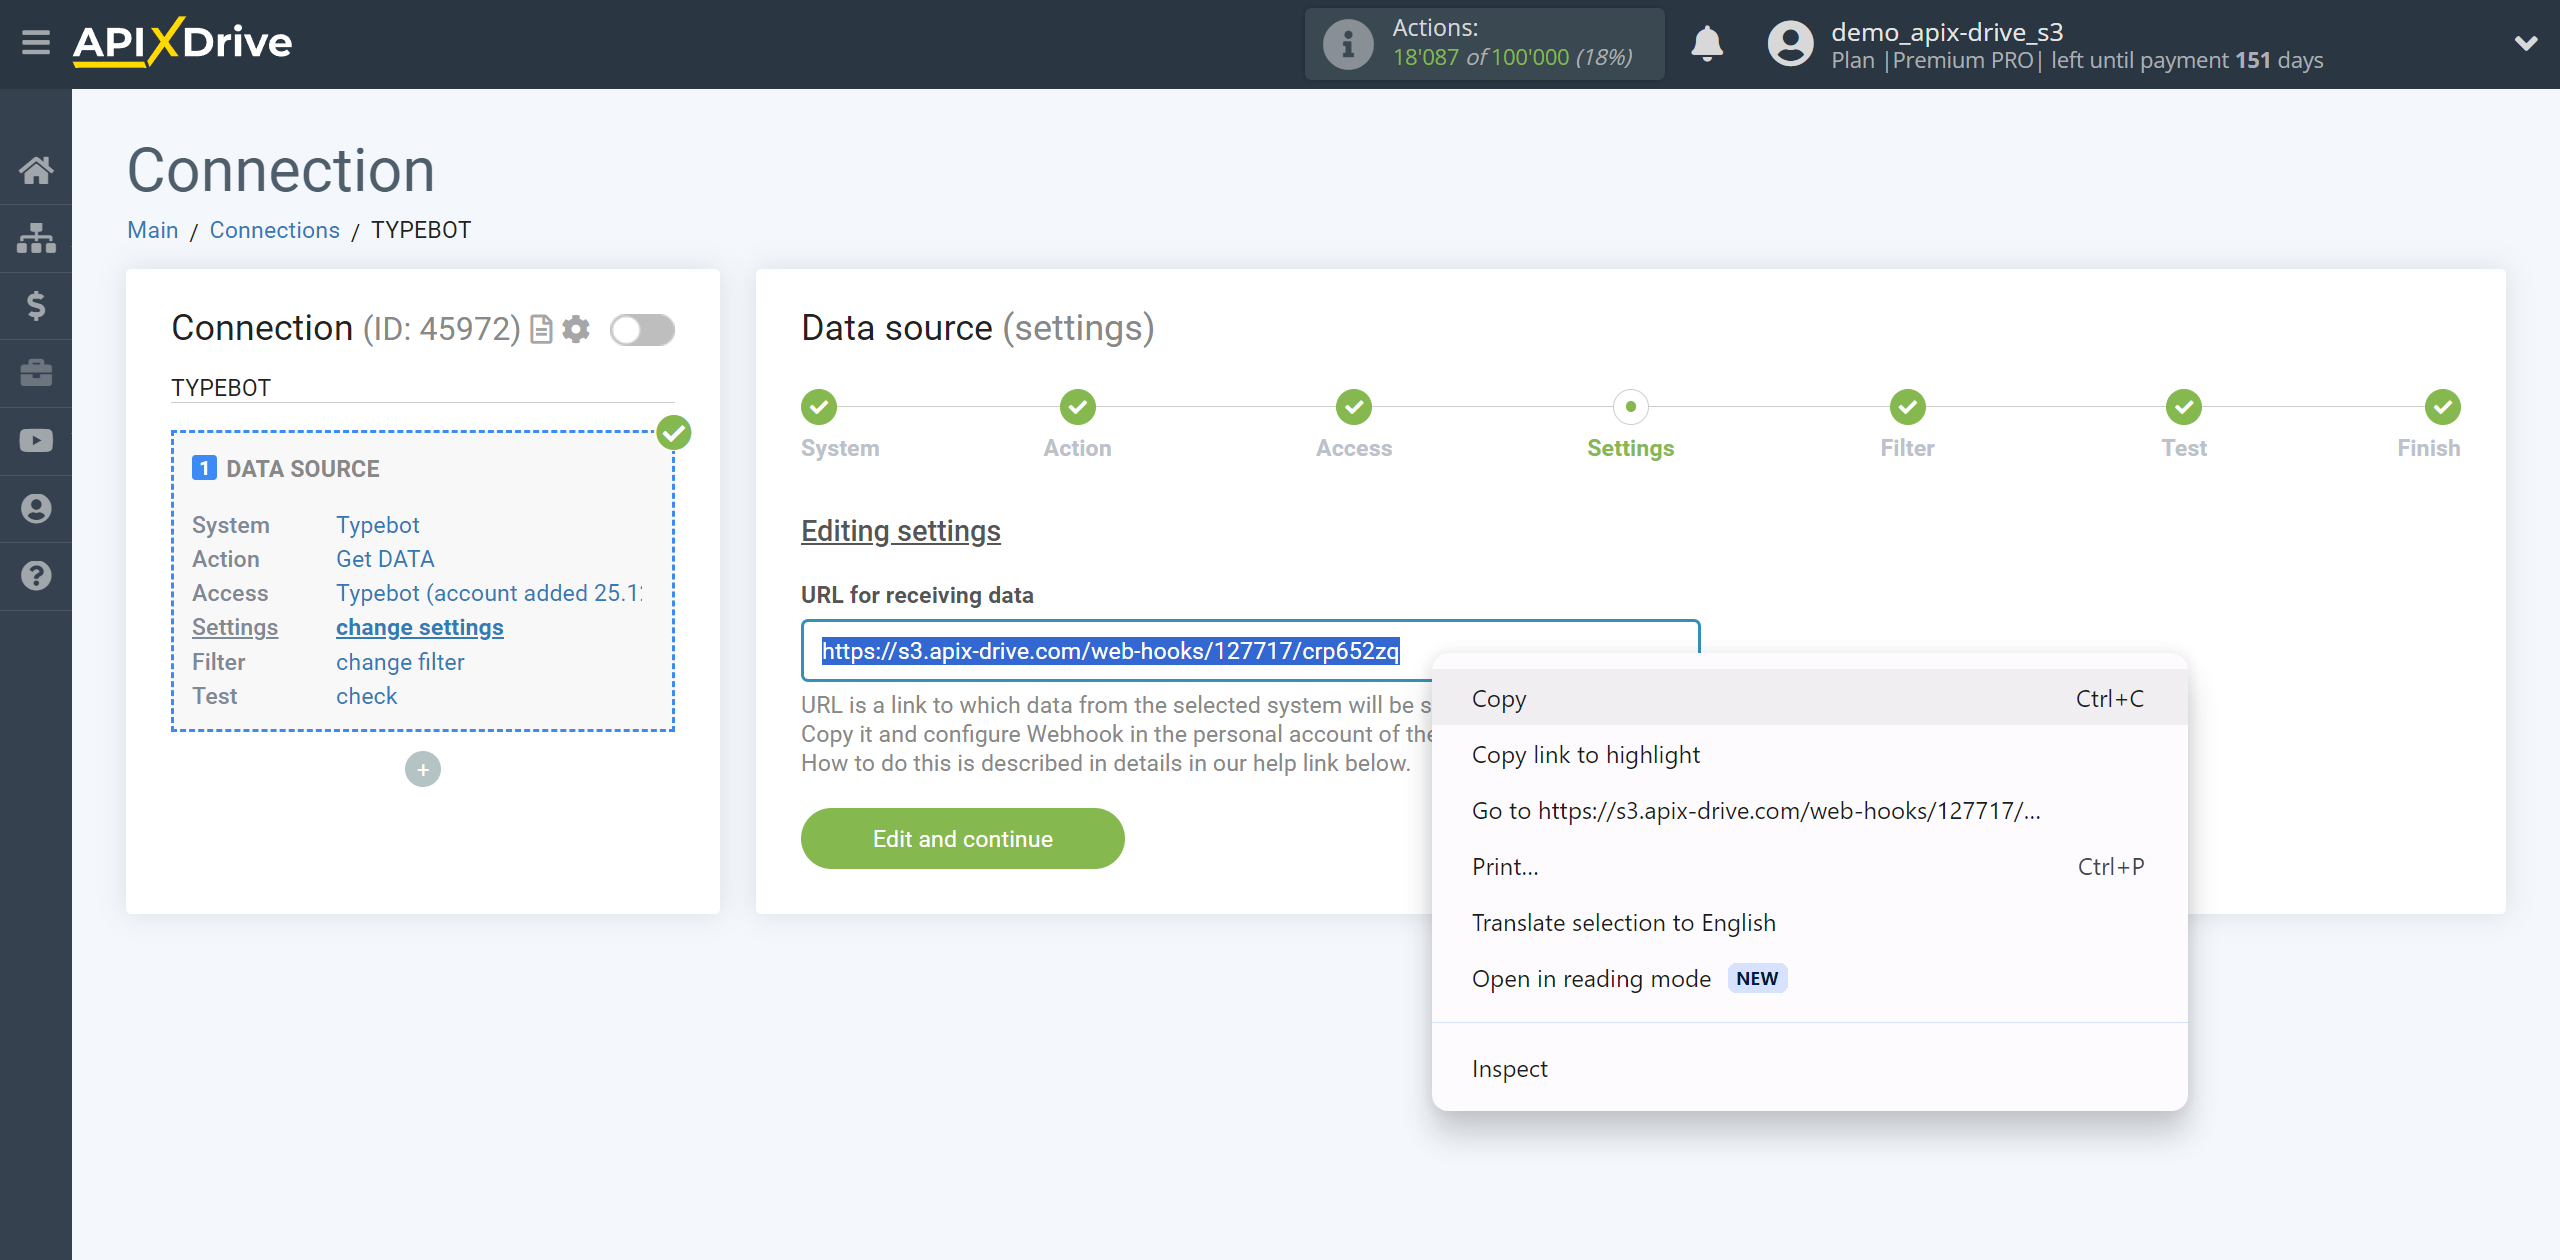
Copy the link in the "URL for receiving data" field and go to your Typebot personal account.
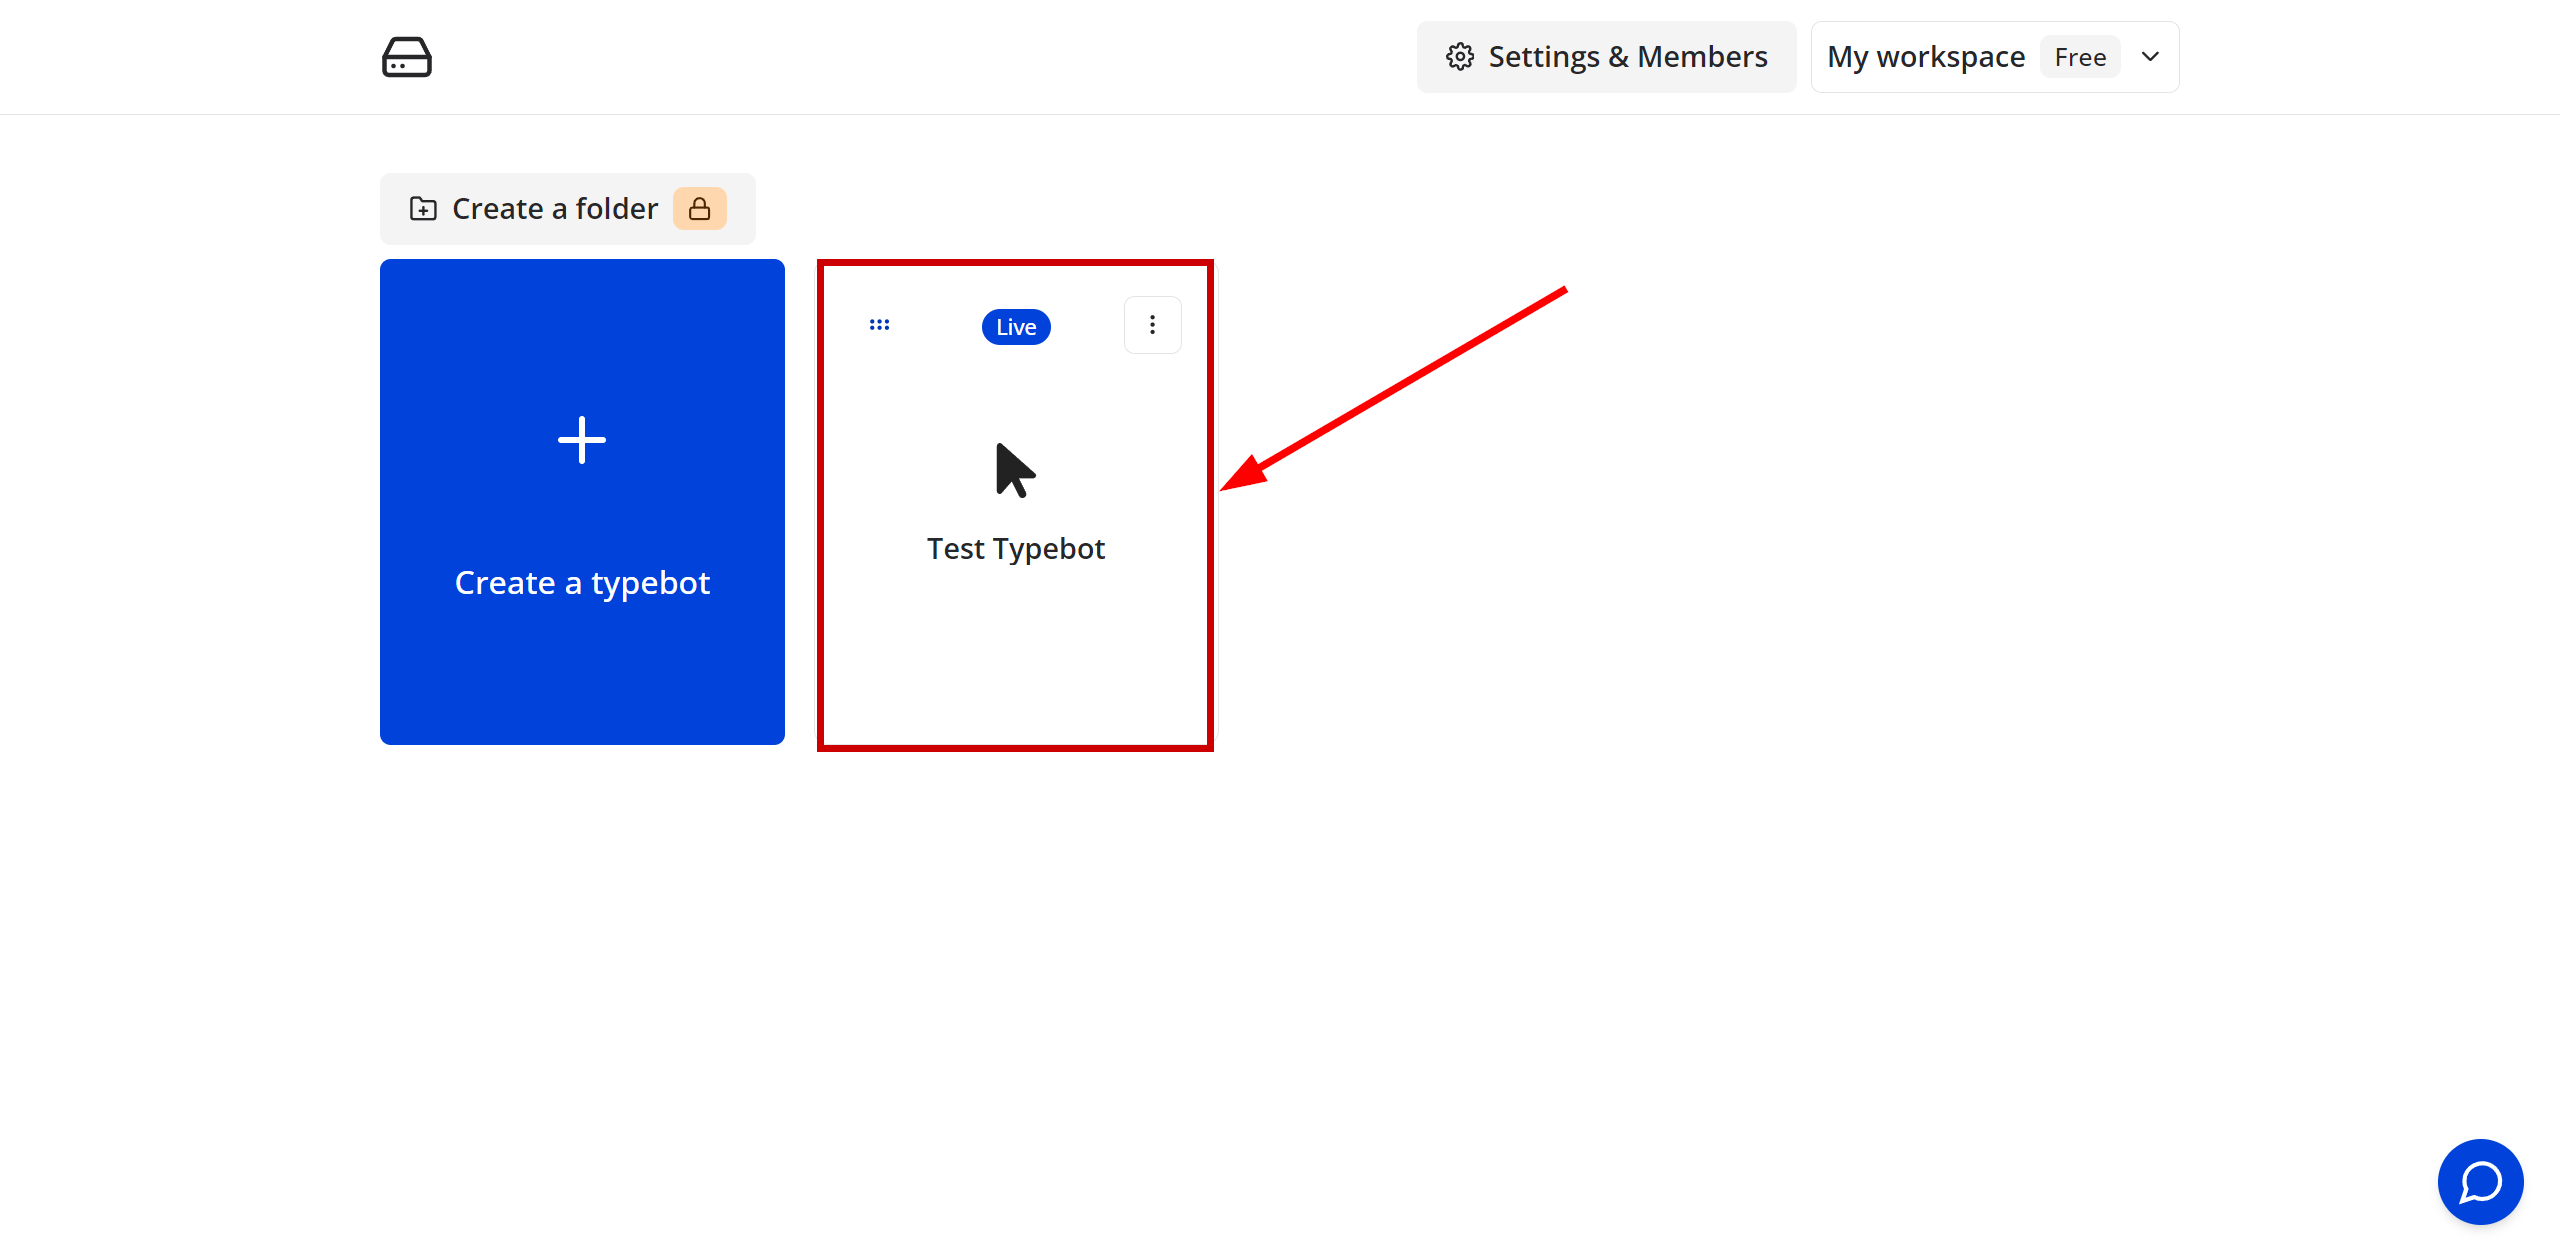
In your Typebot personal account on the main page, select your chatbot and go to it.
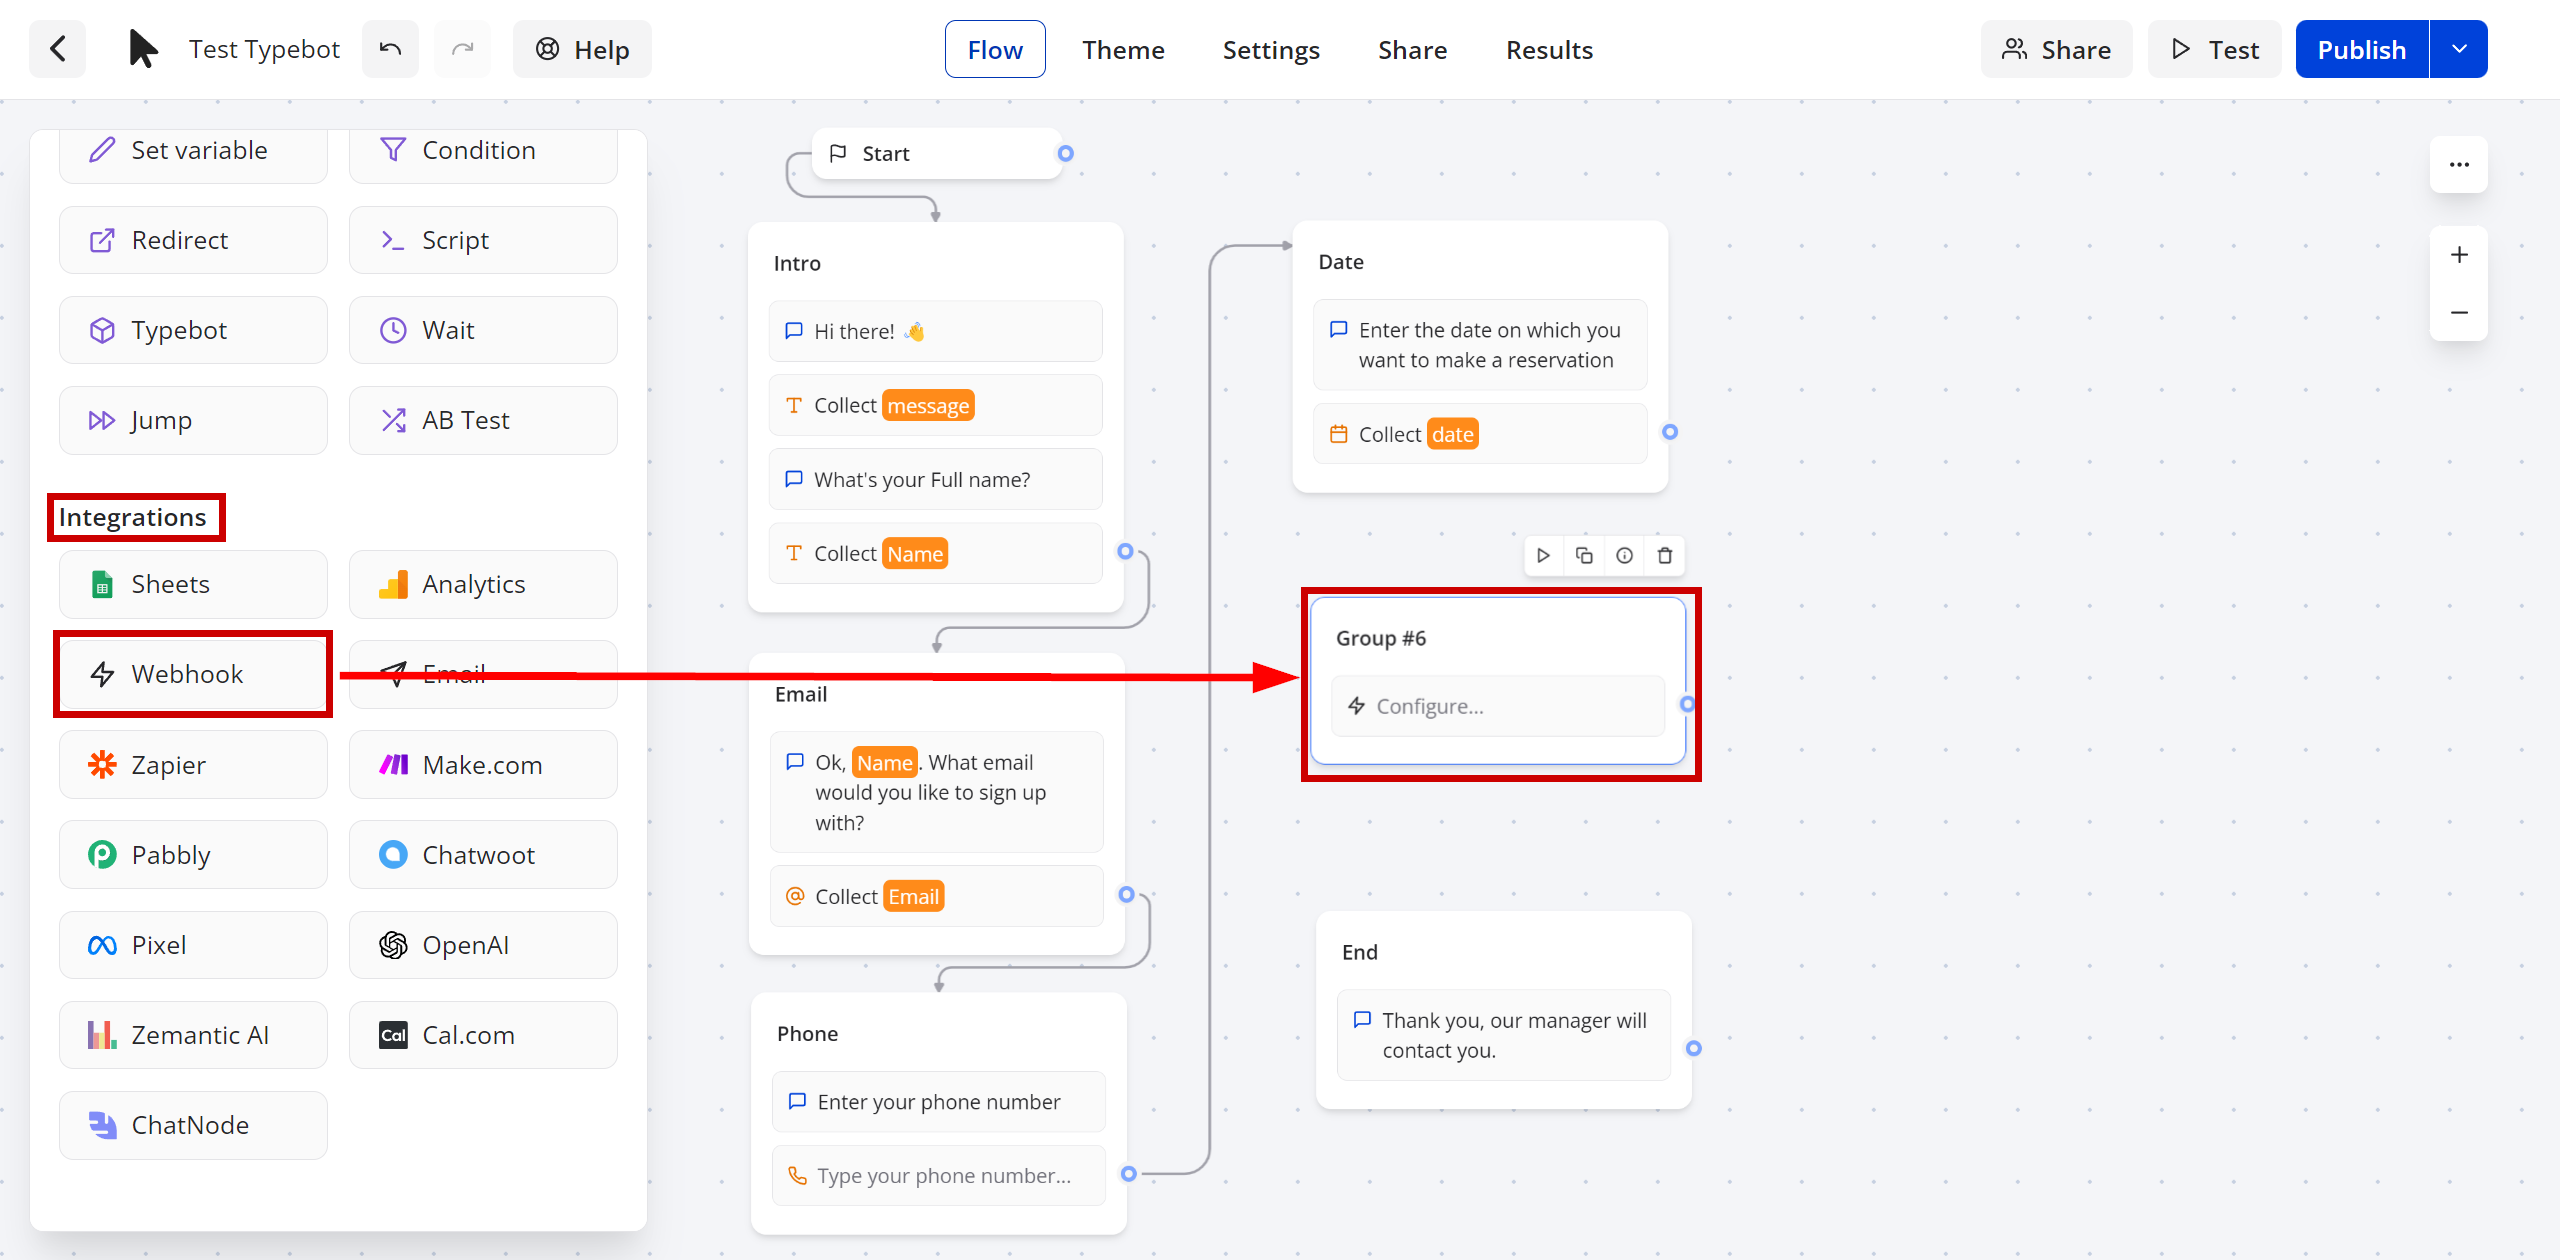
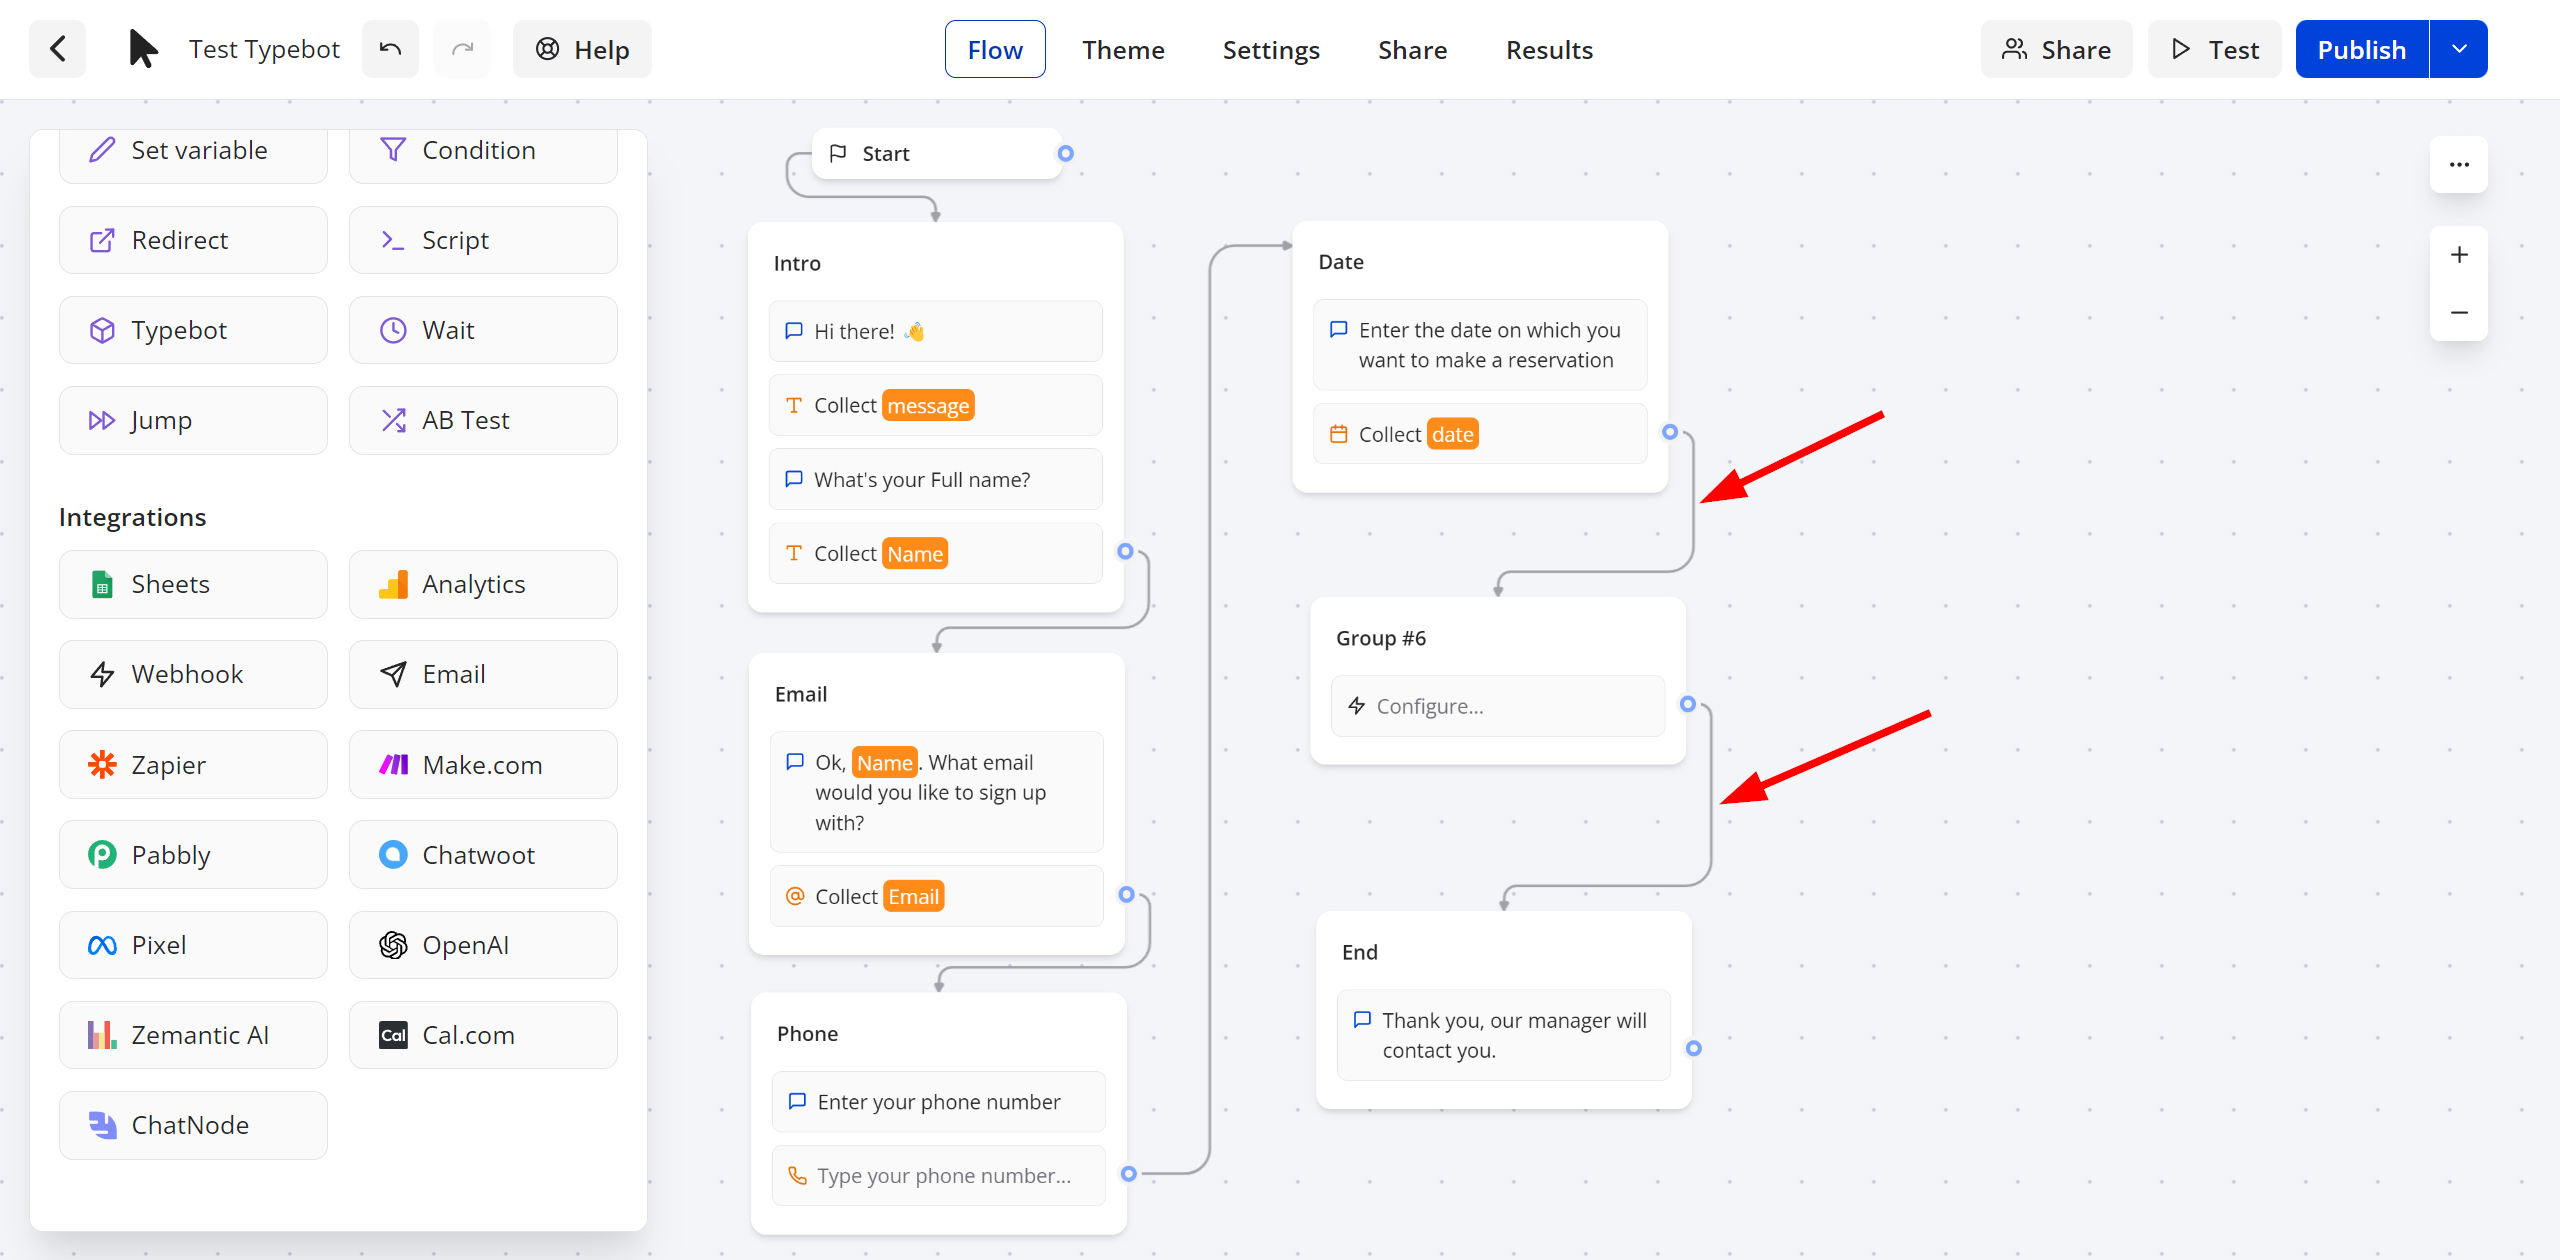
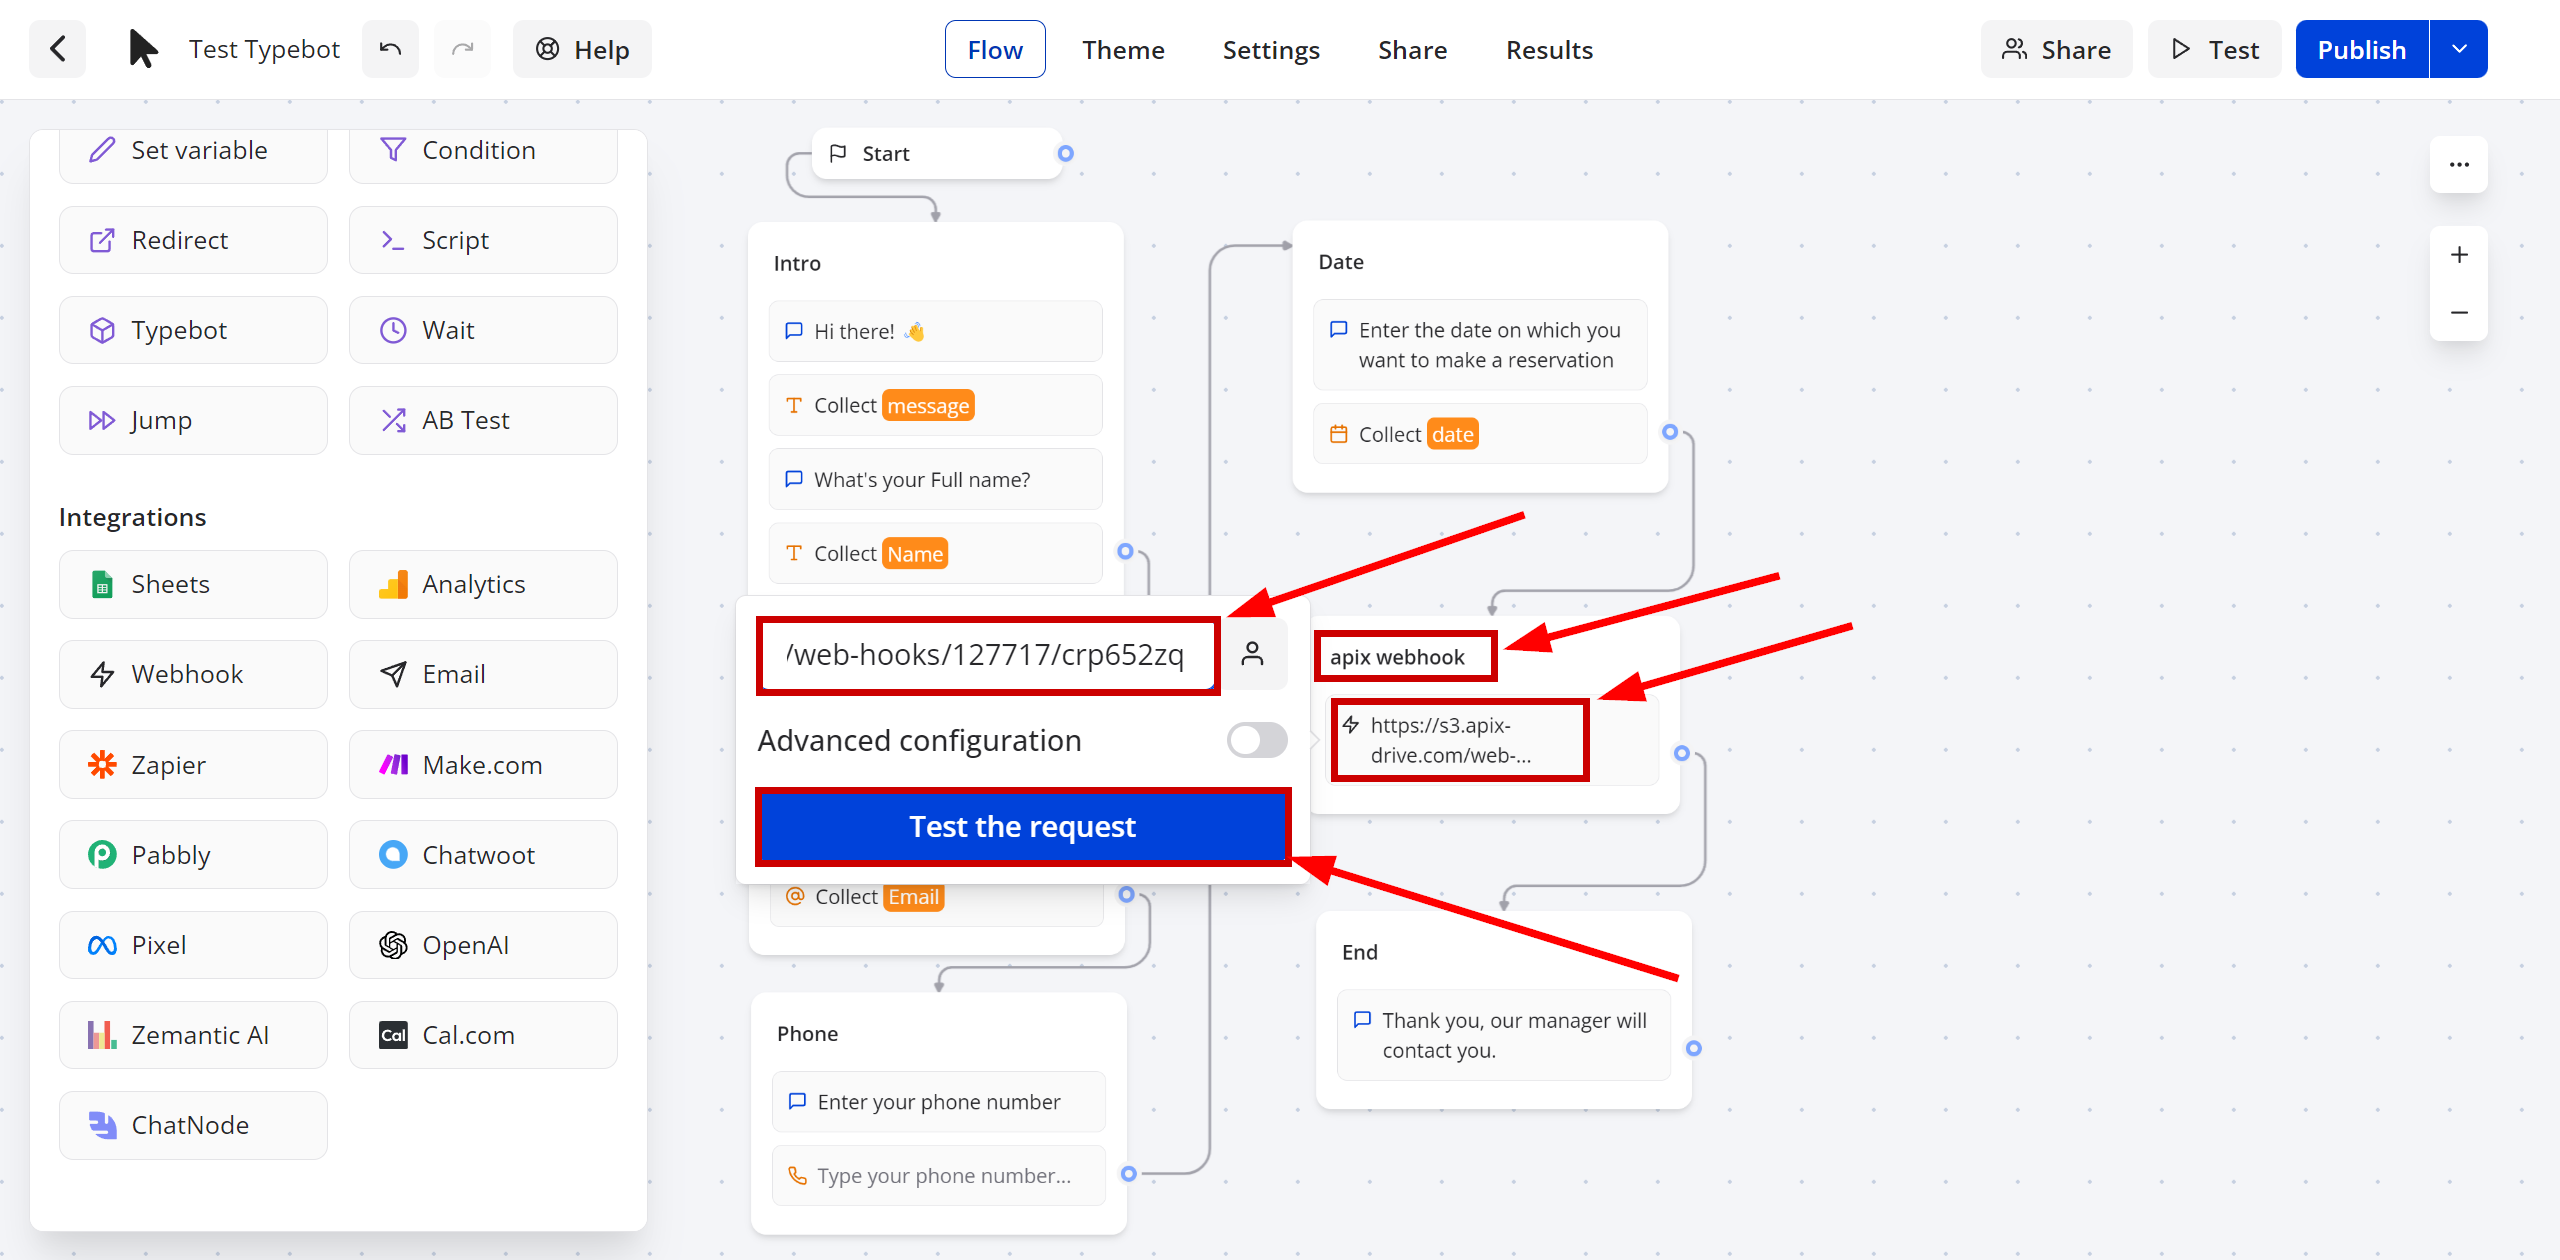
In the Integrations section, click on the Webhook block, drag and paste it after the block after which you need to send data to the Webhook link, also connect your Webhook block with other blocks. In this example, we insert a Webhook block after all blocks with fields in which the user fills in data.
Give your Webhook a name, click in the center of the Configure block and paste the previously copied link into the specified field as shown in the screenshot. Also click Test the request to send test data to the Webhook link or manually generate a test chatbot fill later.
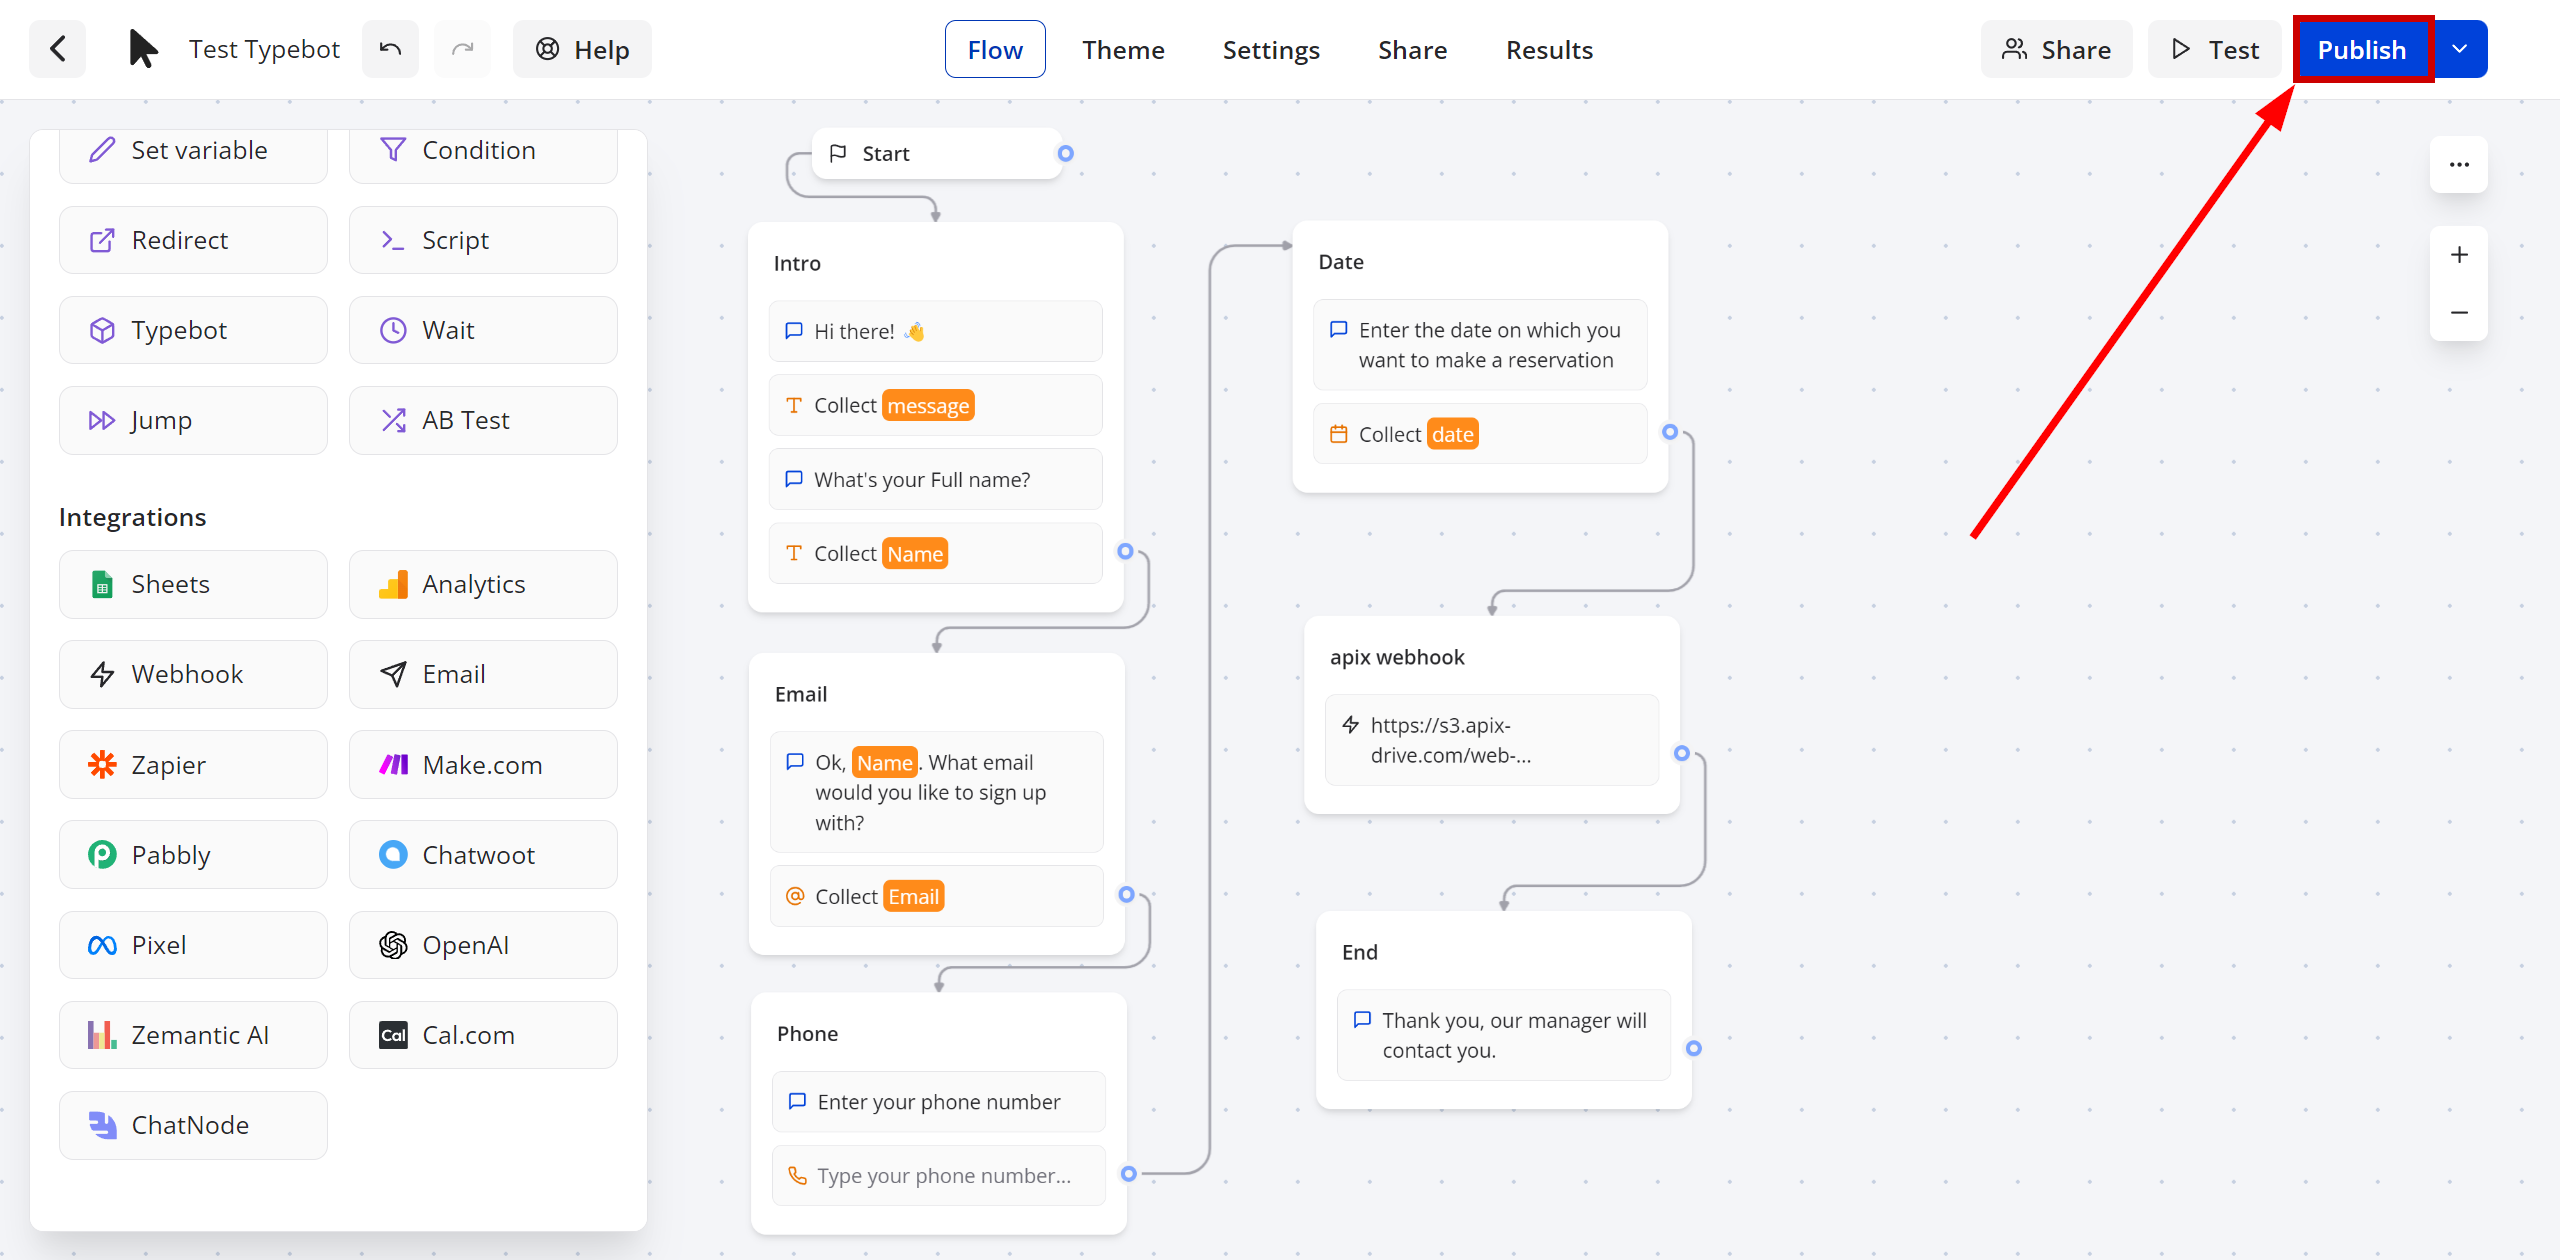
At the top right, click Publish to save. The Webhook transfer connection is completed.
Note! After setup, our system will not immediately have test data and a list of fields, because nothing has come to the new URL yet.
It is necessary to commit an event, for example, write to the chat and fill out the fields.
After that, at the Test stage in the Data Source, fields with data will displayed.
If this does not happen, click "Load test data from Typebot" or repeat the test data generation, or wait for a while, the data does not come immediately, but within 1 minute.
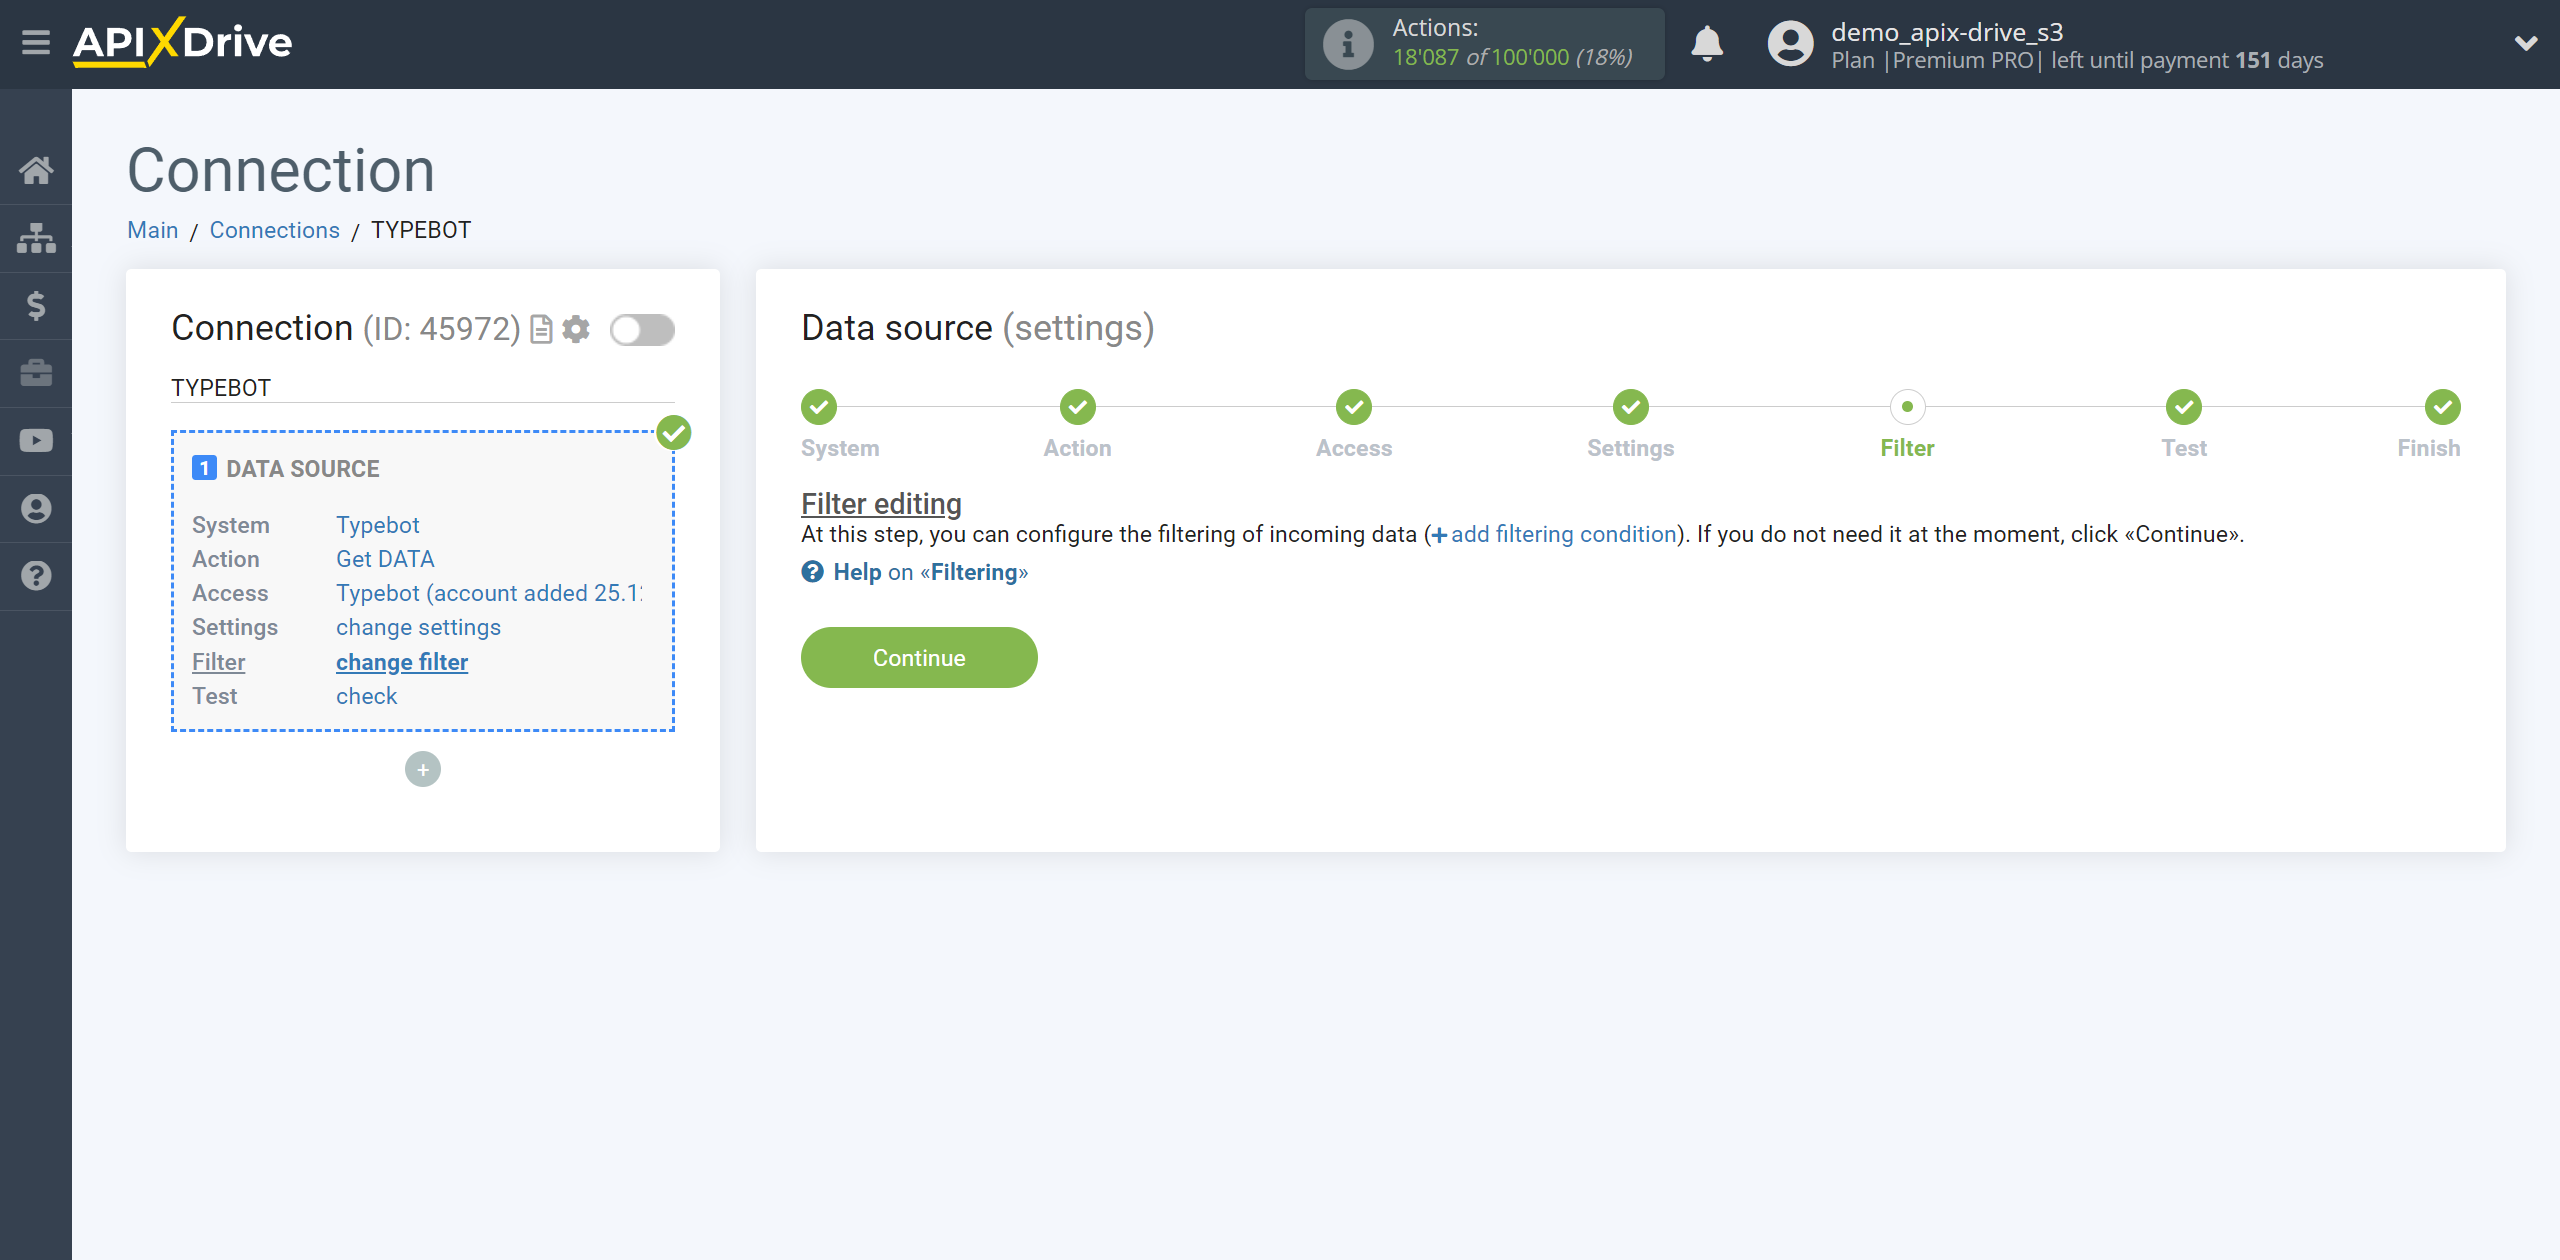
If necessary, you can set up a Data Filter, or click "Continue" to skip this step.
To find out how to configure the Data Filter, follow the link: https://apix-drive.com/en/help/data-filter
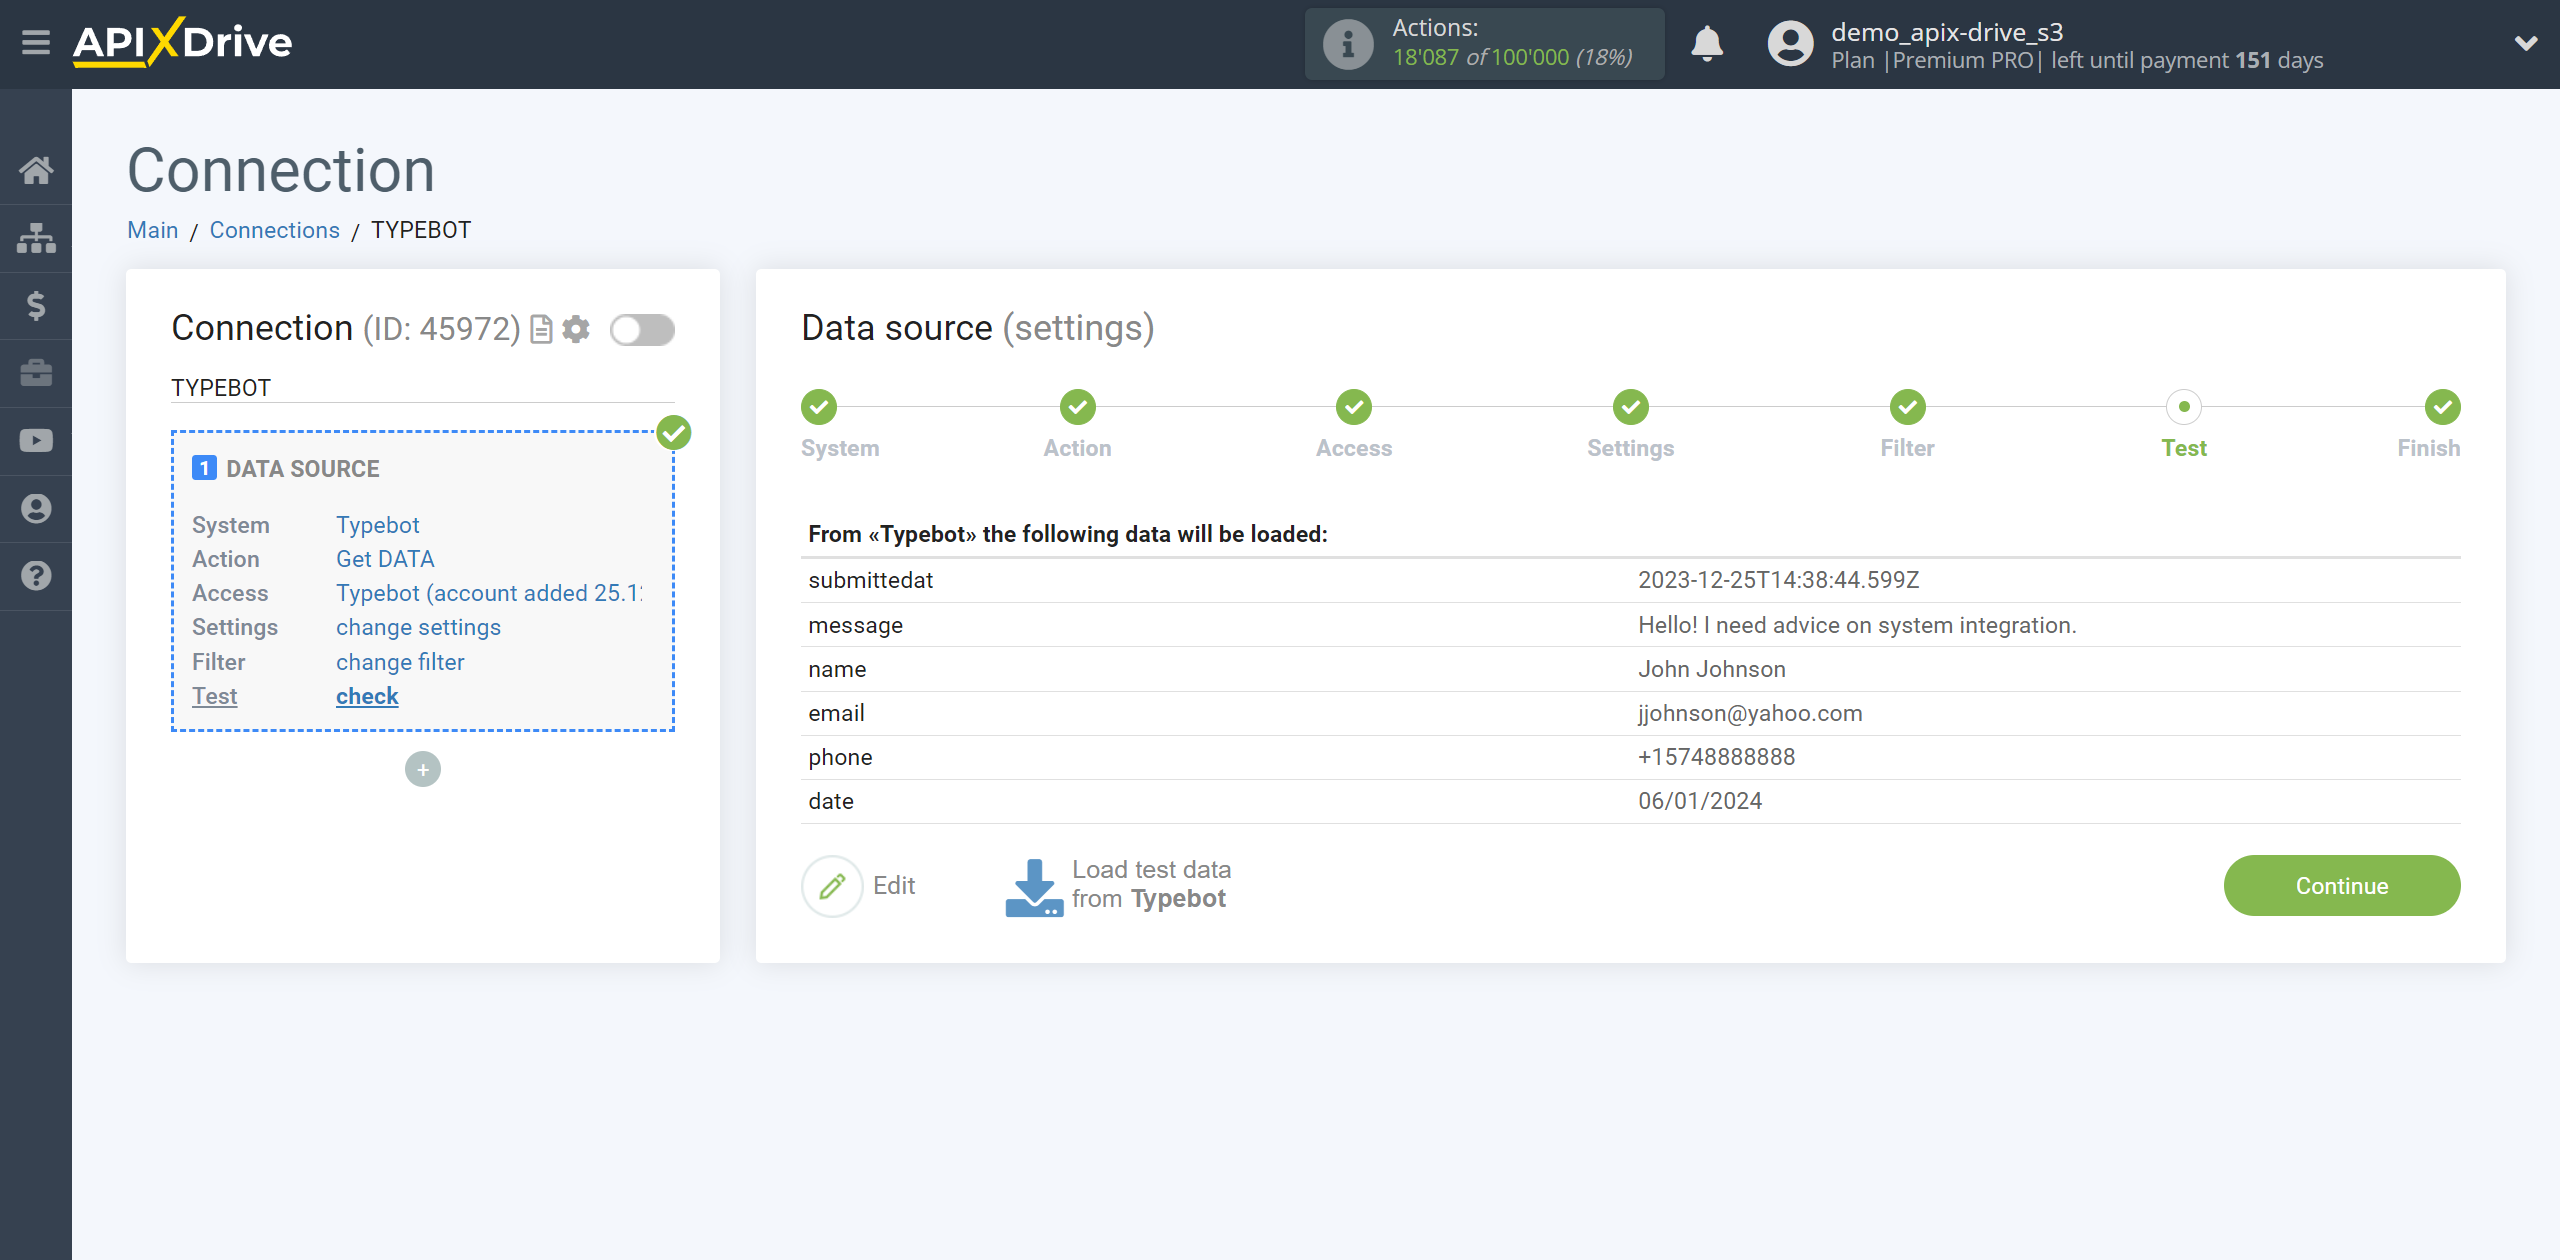
Now you can see test data for one of the completed chats.
If test data does not appear automatically, click "Load test data from Typebot" or try generating actions in your Typebot using testing.
If you are satisfied with everything, click “Next”.
Note! After setup, our system will not immediately have test data and a list of fields, because nothing has come to the new URL yet.
It is necessary to commit an event, for example, write to the chat and fill out the fields.
After that, at the Test stage in the Data Source, fields with data will displayed.
If this does not happen, click "Load test data from Typebot" or repeat the test data generation, or wait for a while, the data does not come immediately, but within 1 minute.
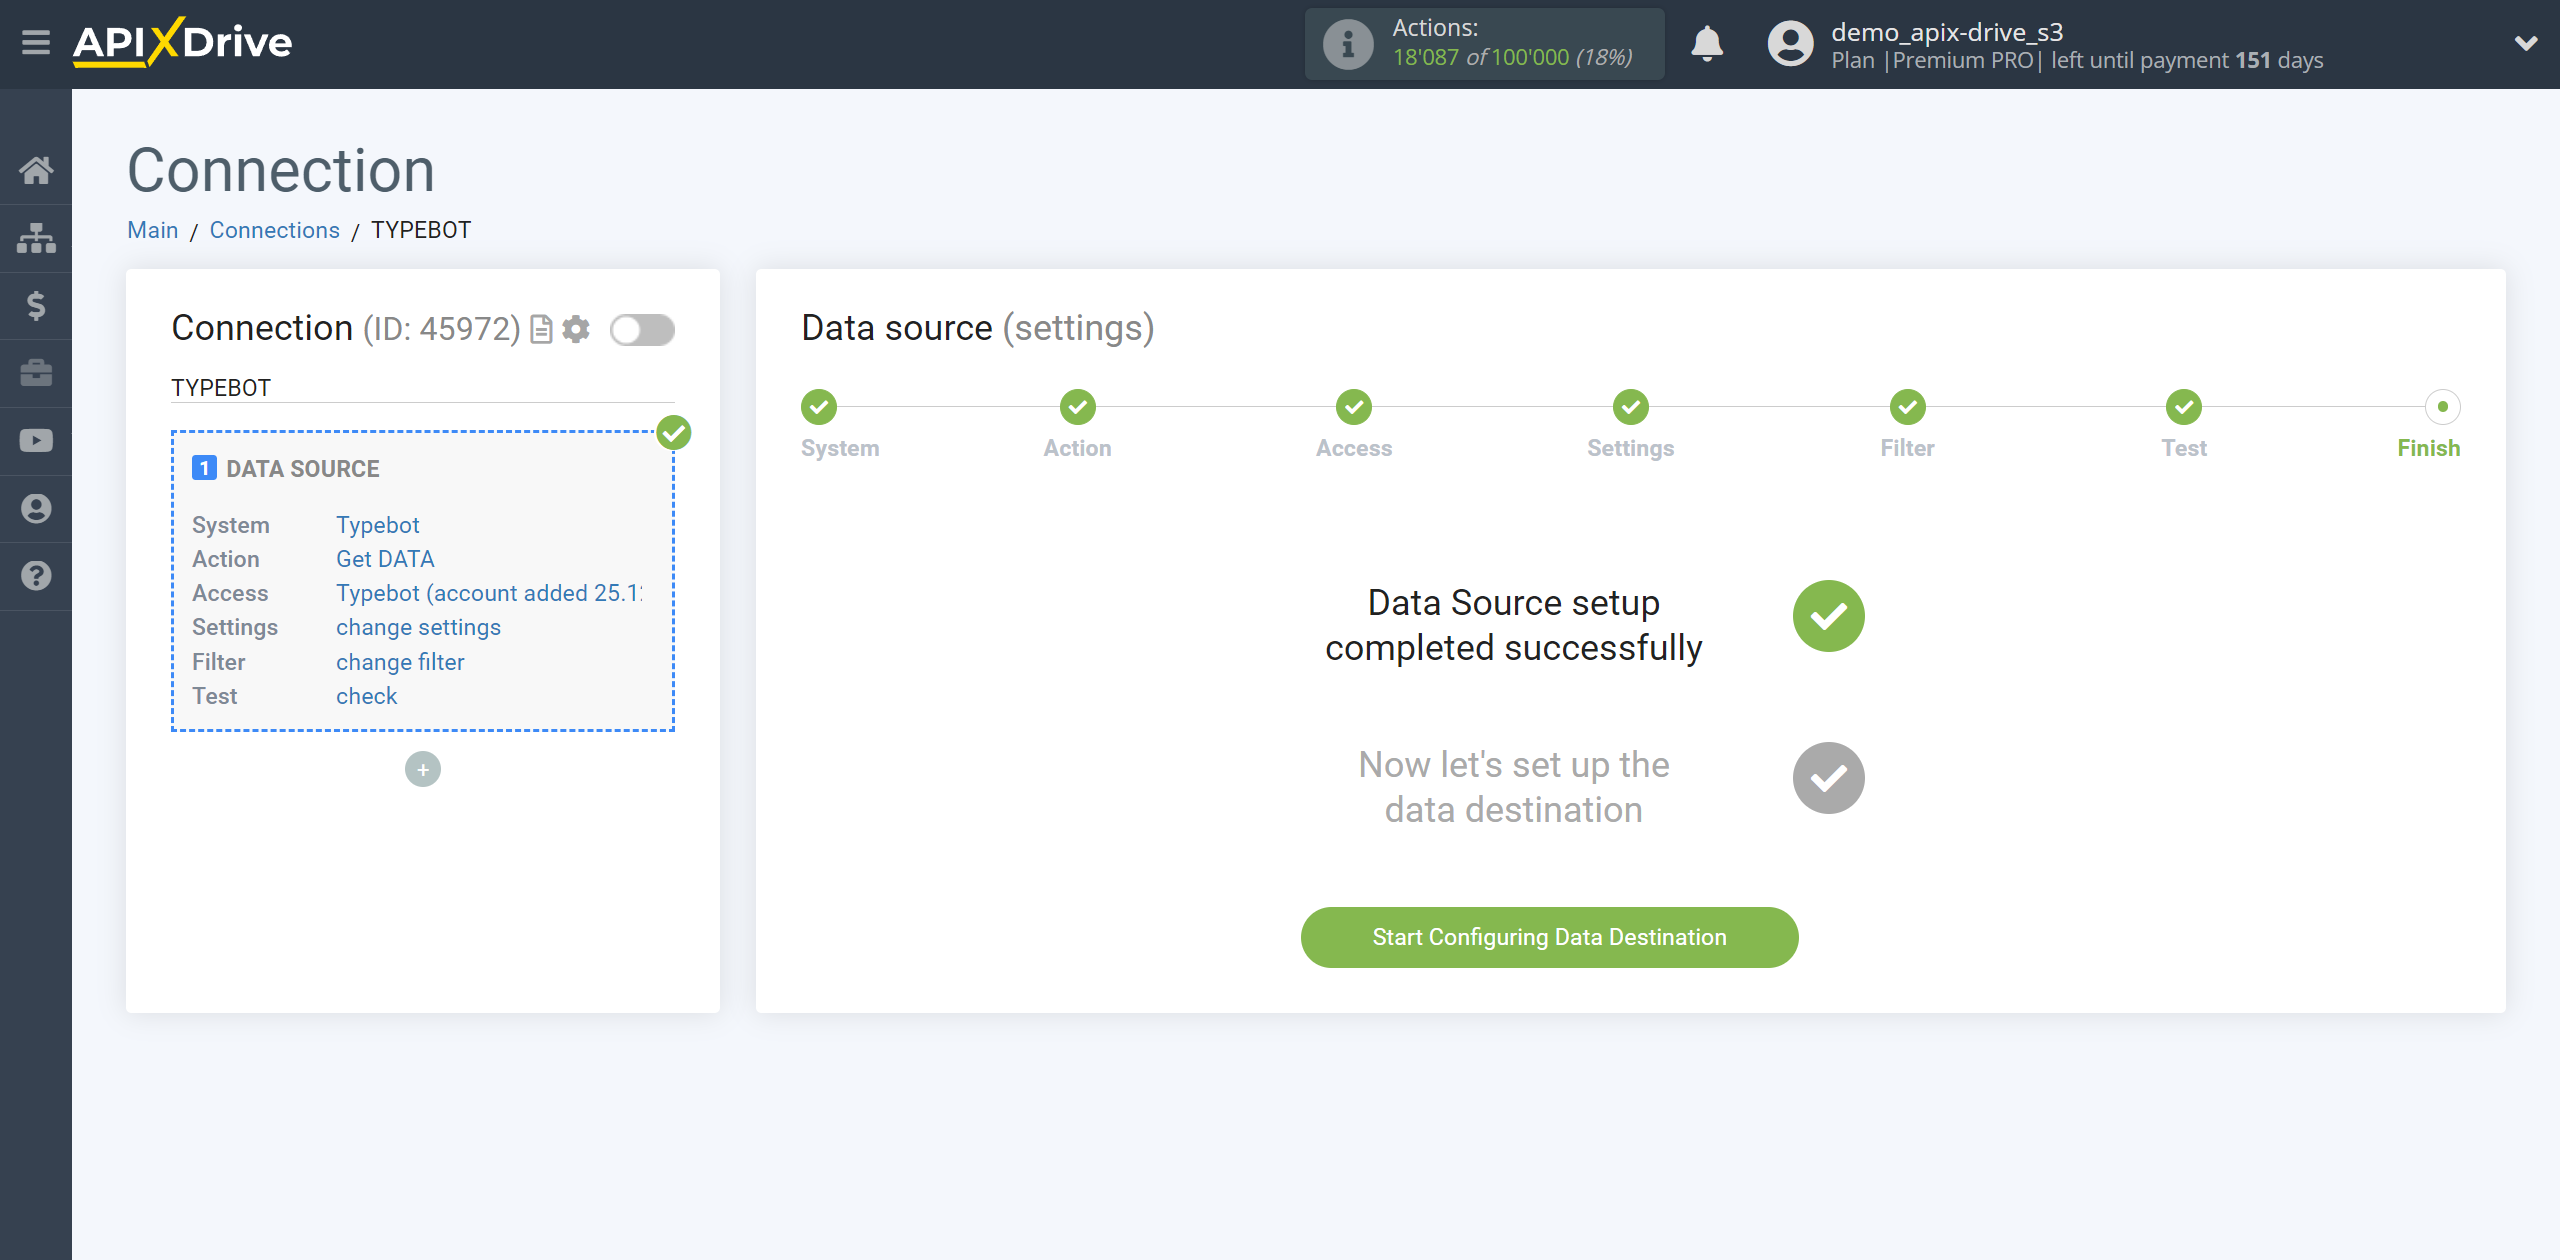
This completes the entire Data Source setup! See how easy it is!?
Now you can start setup the Data Destination system.
To do this, setup it yourself or go to the help section "Data Destination", select the service you need as Data Destination, and follow the setup recommendations.
Good luck!
