How to Connect Webflow as Data Source

The integration will allow you to get form data from Webflow, passing them to other systems. For example, you can transfer new data to CRM or GoogleSheets, send them as notifications to a group of managers, so as not to miss a single response. You can also send data in the form to the SMS or Email mailing service. So you can automate the process of processing responses to forms as efficiently as possible using the different services that you use.
Let's go through the entire Webflow setups step together!
Navigation:
1. What data can I get from Webflow?
2. How to connect Webflow account to ApiX-Drive?
3. Edit settings.
4. An example of data from the form.
To start setup new connection, click "Create Connection".

Select a system as the Data Source. In this case, you need to specify Webflow.

Next, you need to specify the action, "Get form DATA (new)" - ApiX-Drive will get from your Webflow account all the filled data in your form, which will appear after setup the connection and starting auto-update.

The next step is to select the Webflow account from which ApiX-Drive will get the data.
If there are no accounts connected to the system, click "Connect account".

In the window that opens, sign in to your Webflow account.

Give your permission to ApiX-Drive to work with this account.
We recommend giving access to all available websites at once in order to be able to work with them and get data from them in the future.

When the connected account is displayed in the "active accounts" list, select it for further work.
Attention! If your account is in the "inactive accounts" list, check your access to this account!

Specify the website and form from which ApiX-Drive will get the data.


If necessary, you can set up a Data Filter, or click "Continue" to skip this step.
To find out how to configure the Data Filter, follow the link: https://apix-drive.com/en/help/data-filter

Now you can see the test data.
If the test data doesn't appear automatically, click "Load test data from Webflow" or try generating actions in your Webflow by filling out a form on your website.
If you are satisfied with everything, click "Next".
Note! After setting up, our system will not immediately have test data and a list of fields, since Webflow has not sent anything yet.
It is necessary to perform an event, for example, to fill out a form.
After that, at the Test stage in the Data Source, fields with data will be displayed.
If this does not happen, click Load test data from Webflow or repeat the generation of test data, or wait for a while, the data does not come immediately, but within 1 minute.

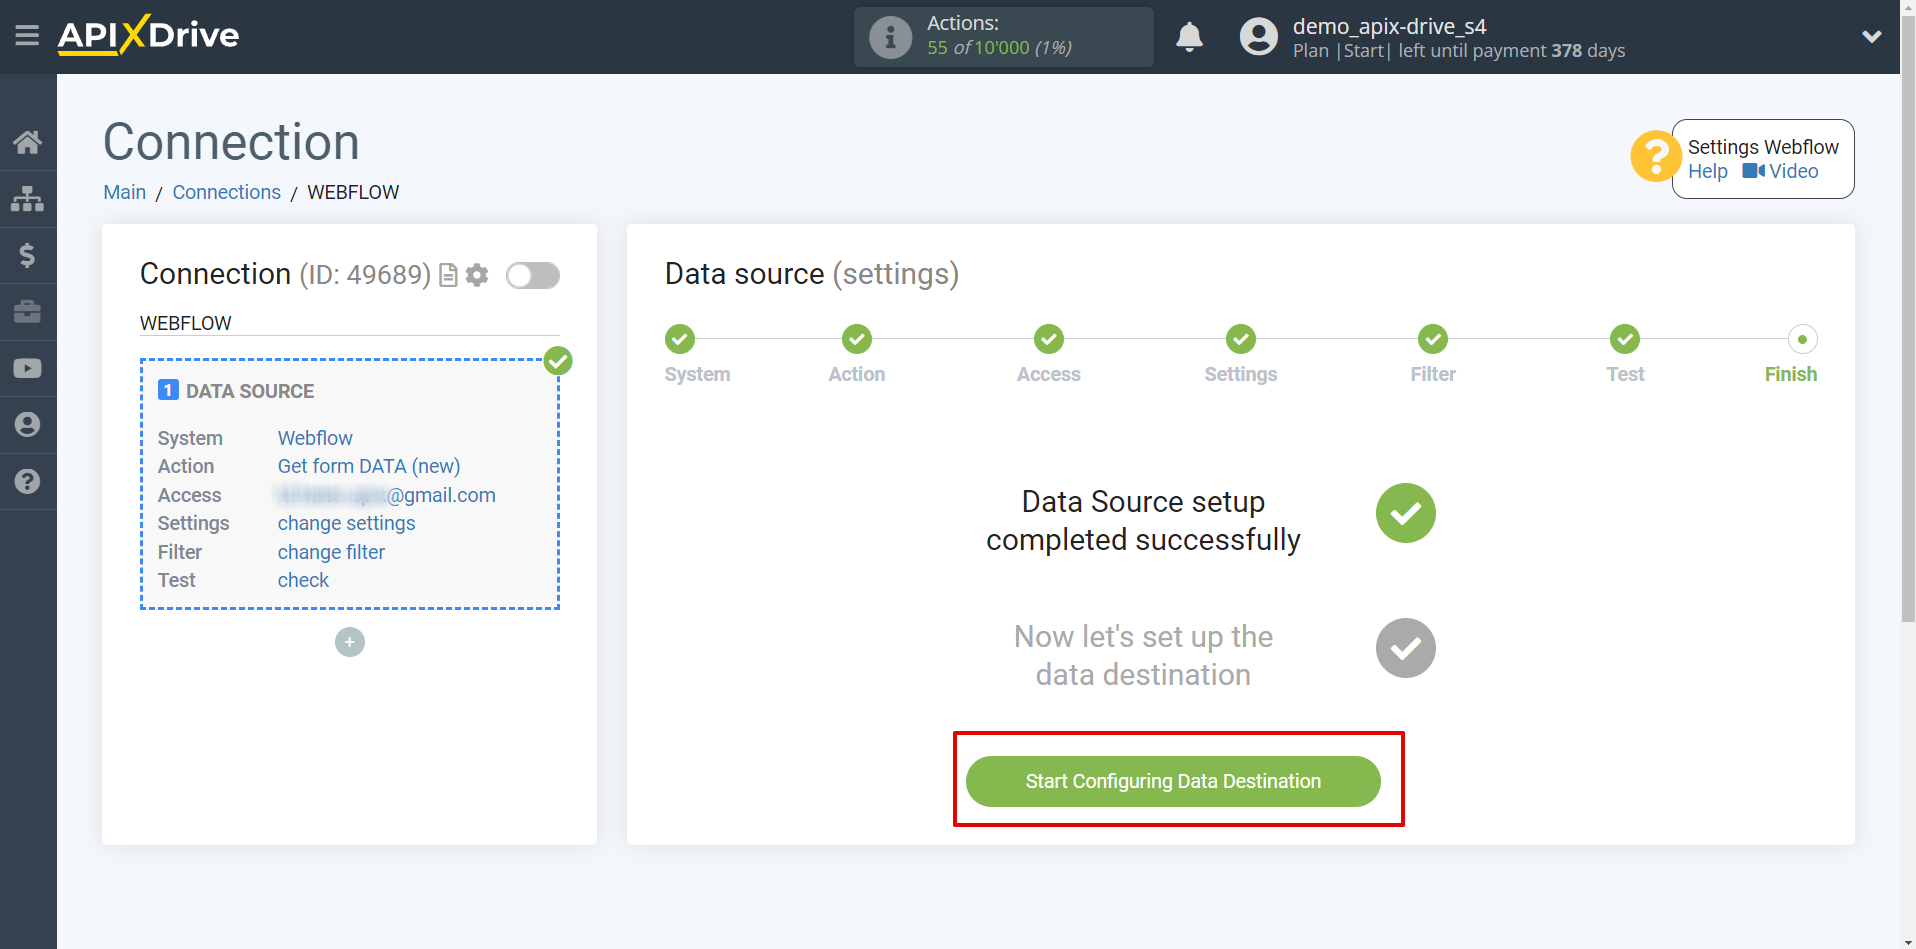
This completes the entire Data Source setup! See how easy it is!?
Now you can start setup the Data Destination system.
To do this, setup it yourself or go to the help section "Data Destination", select the service you need as Data Destination, and follow the setup recommendations.
Good luck!