How to setup Data Formatting

This feature allows you to quickly modify data and transfer from Data Source to Data Destination what you need.
Pay attention to this!
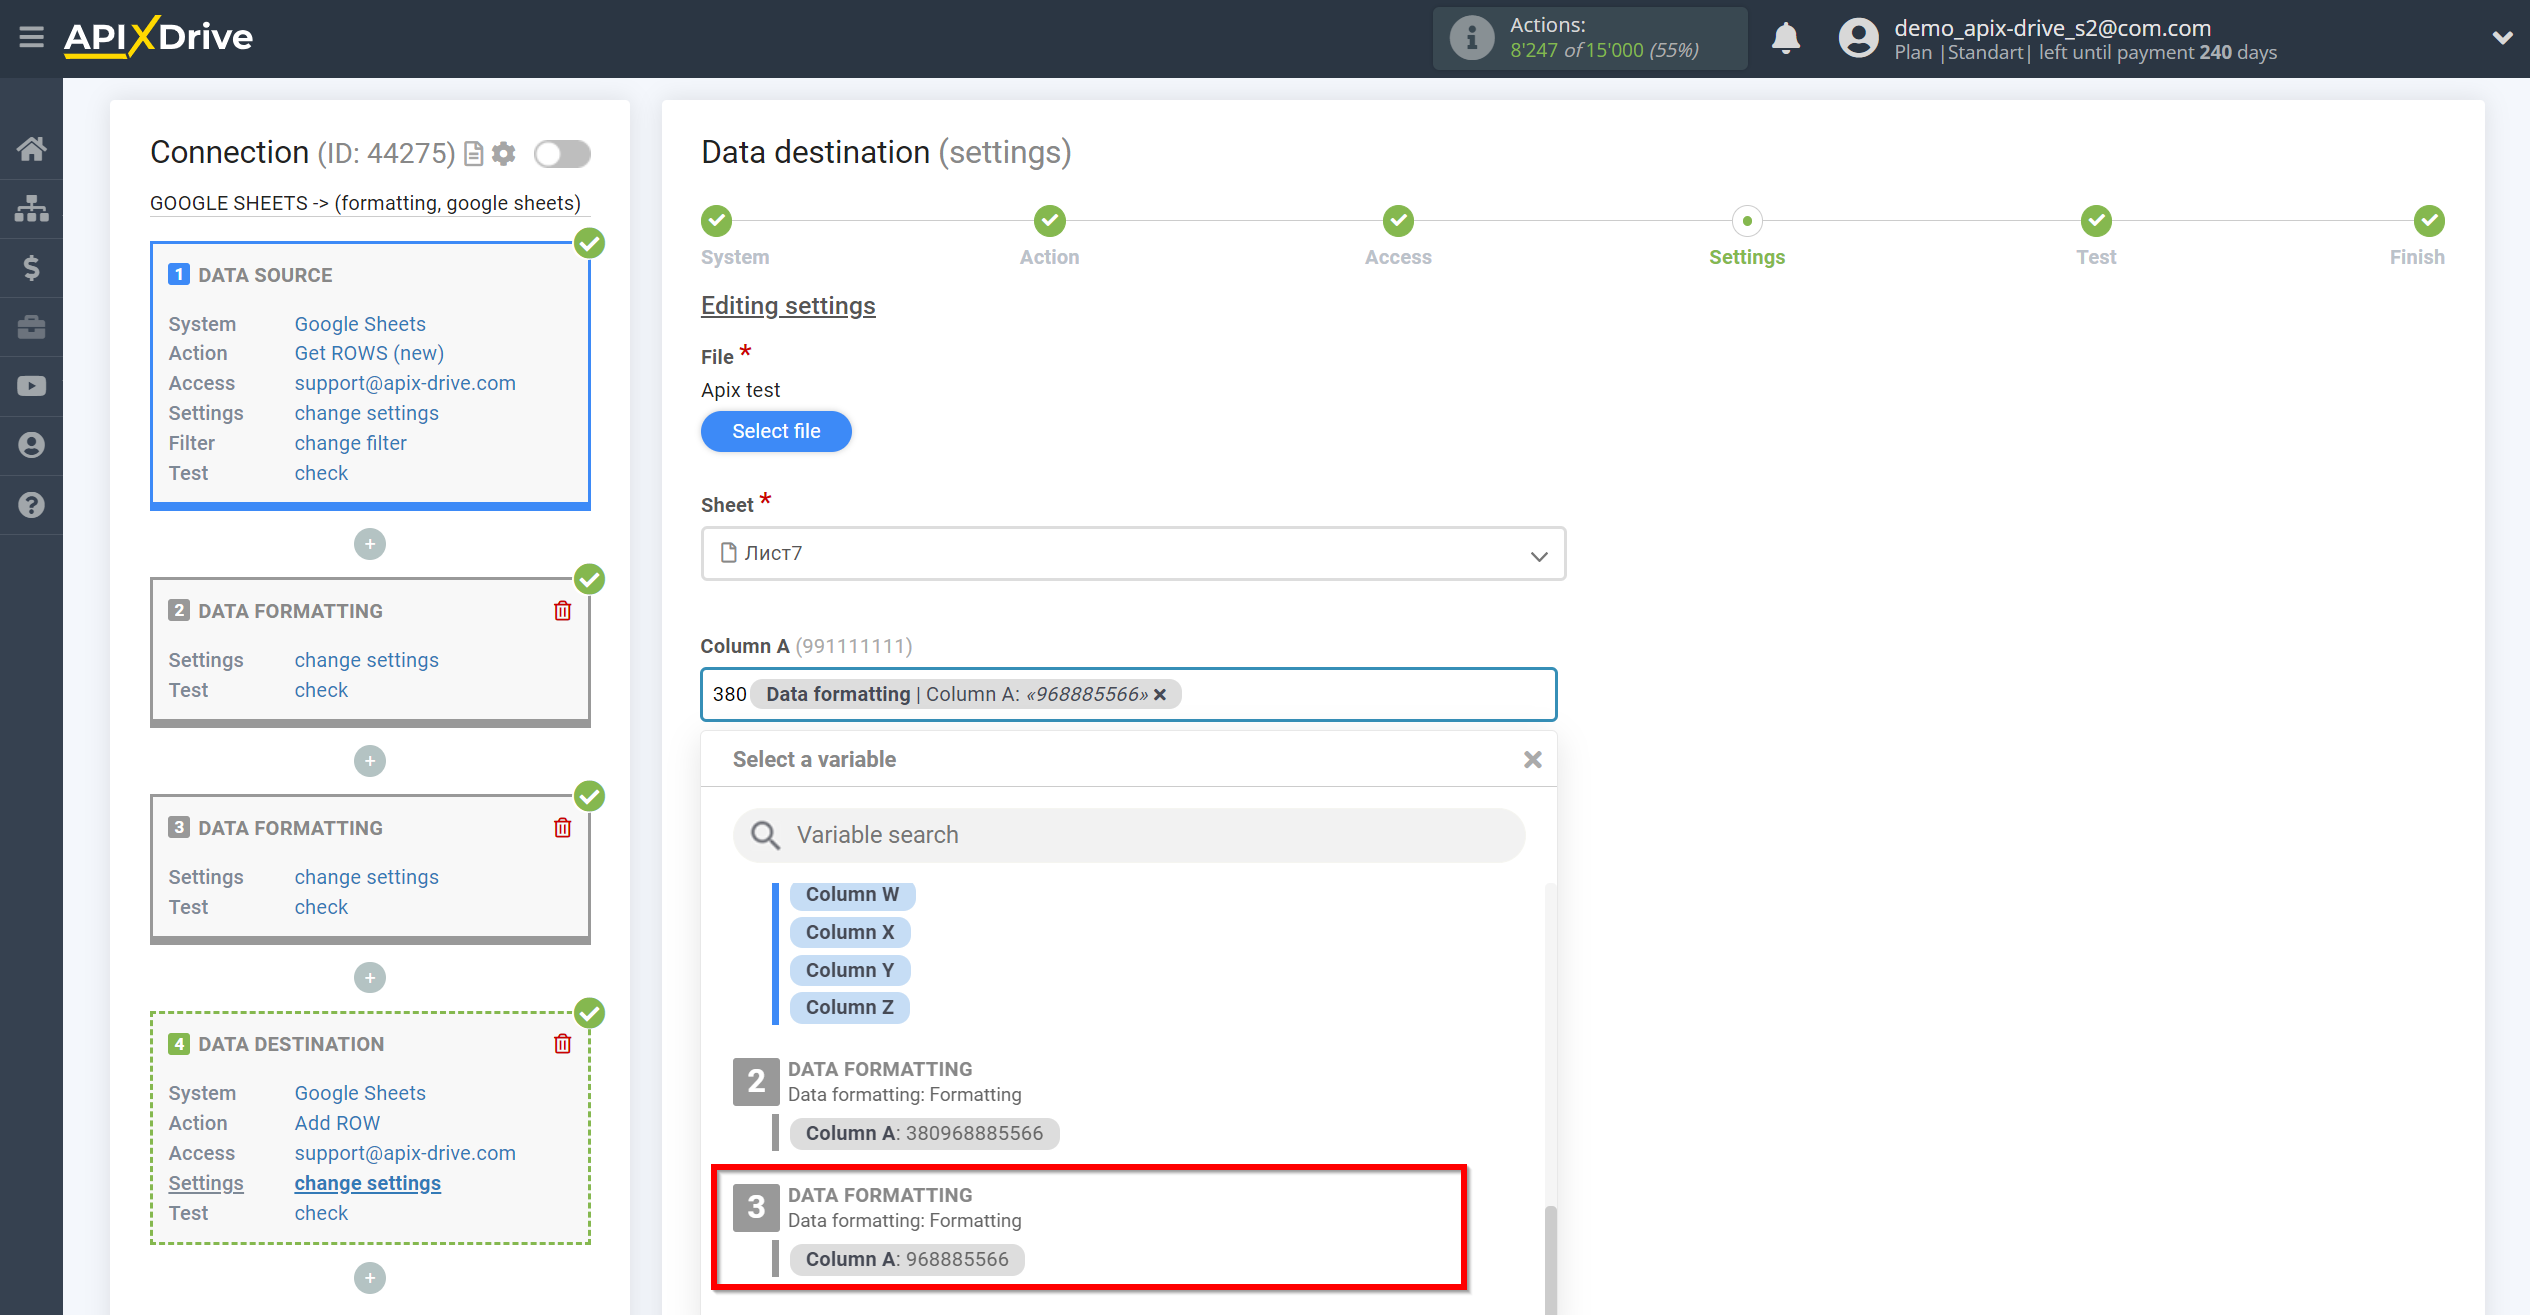
After setup, the Data Formatting will create a NEW variable with the result of formatting. Transfer this NEW variable to the appropriate field in the Data Destination settings. After formatting, still have the option to transfer both the original data and the formatted NEW variable.
The following features are available in Data Formatting:
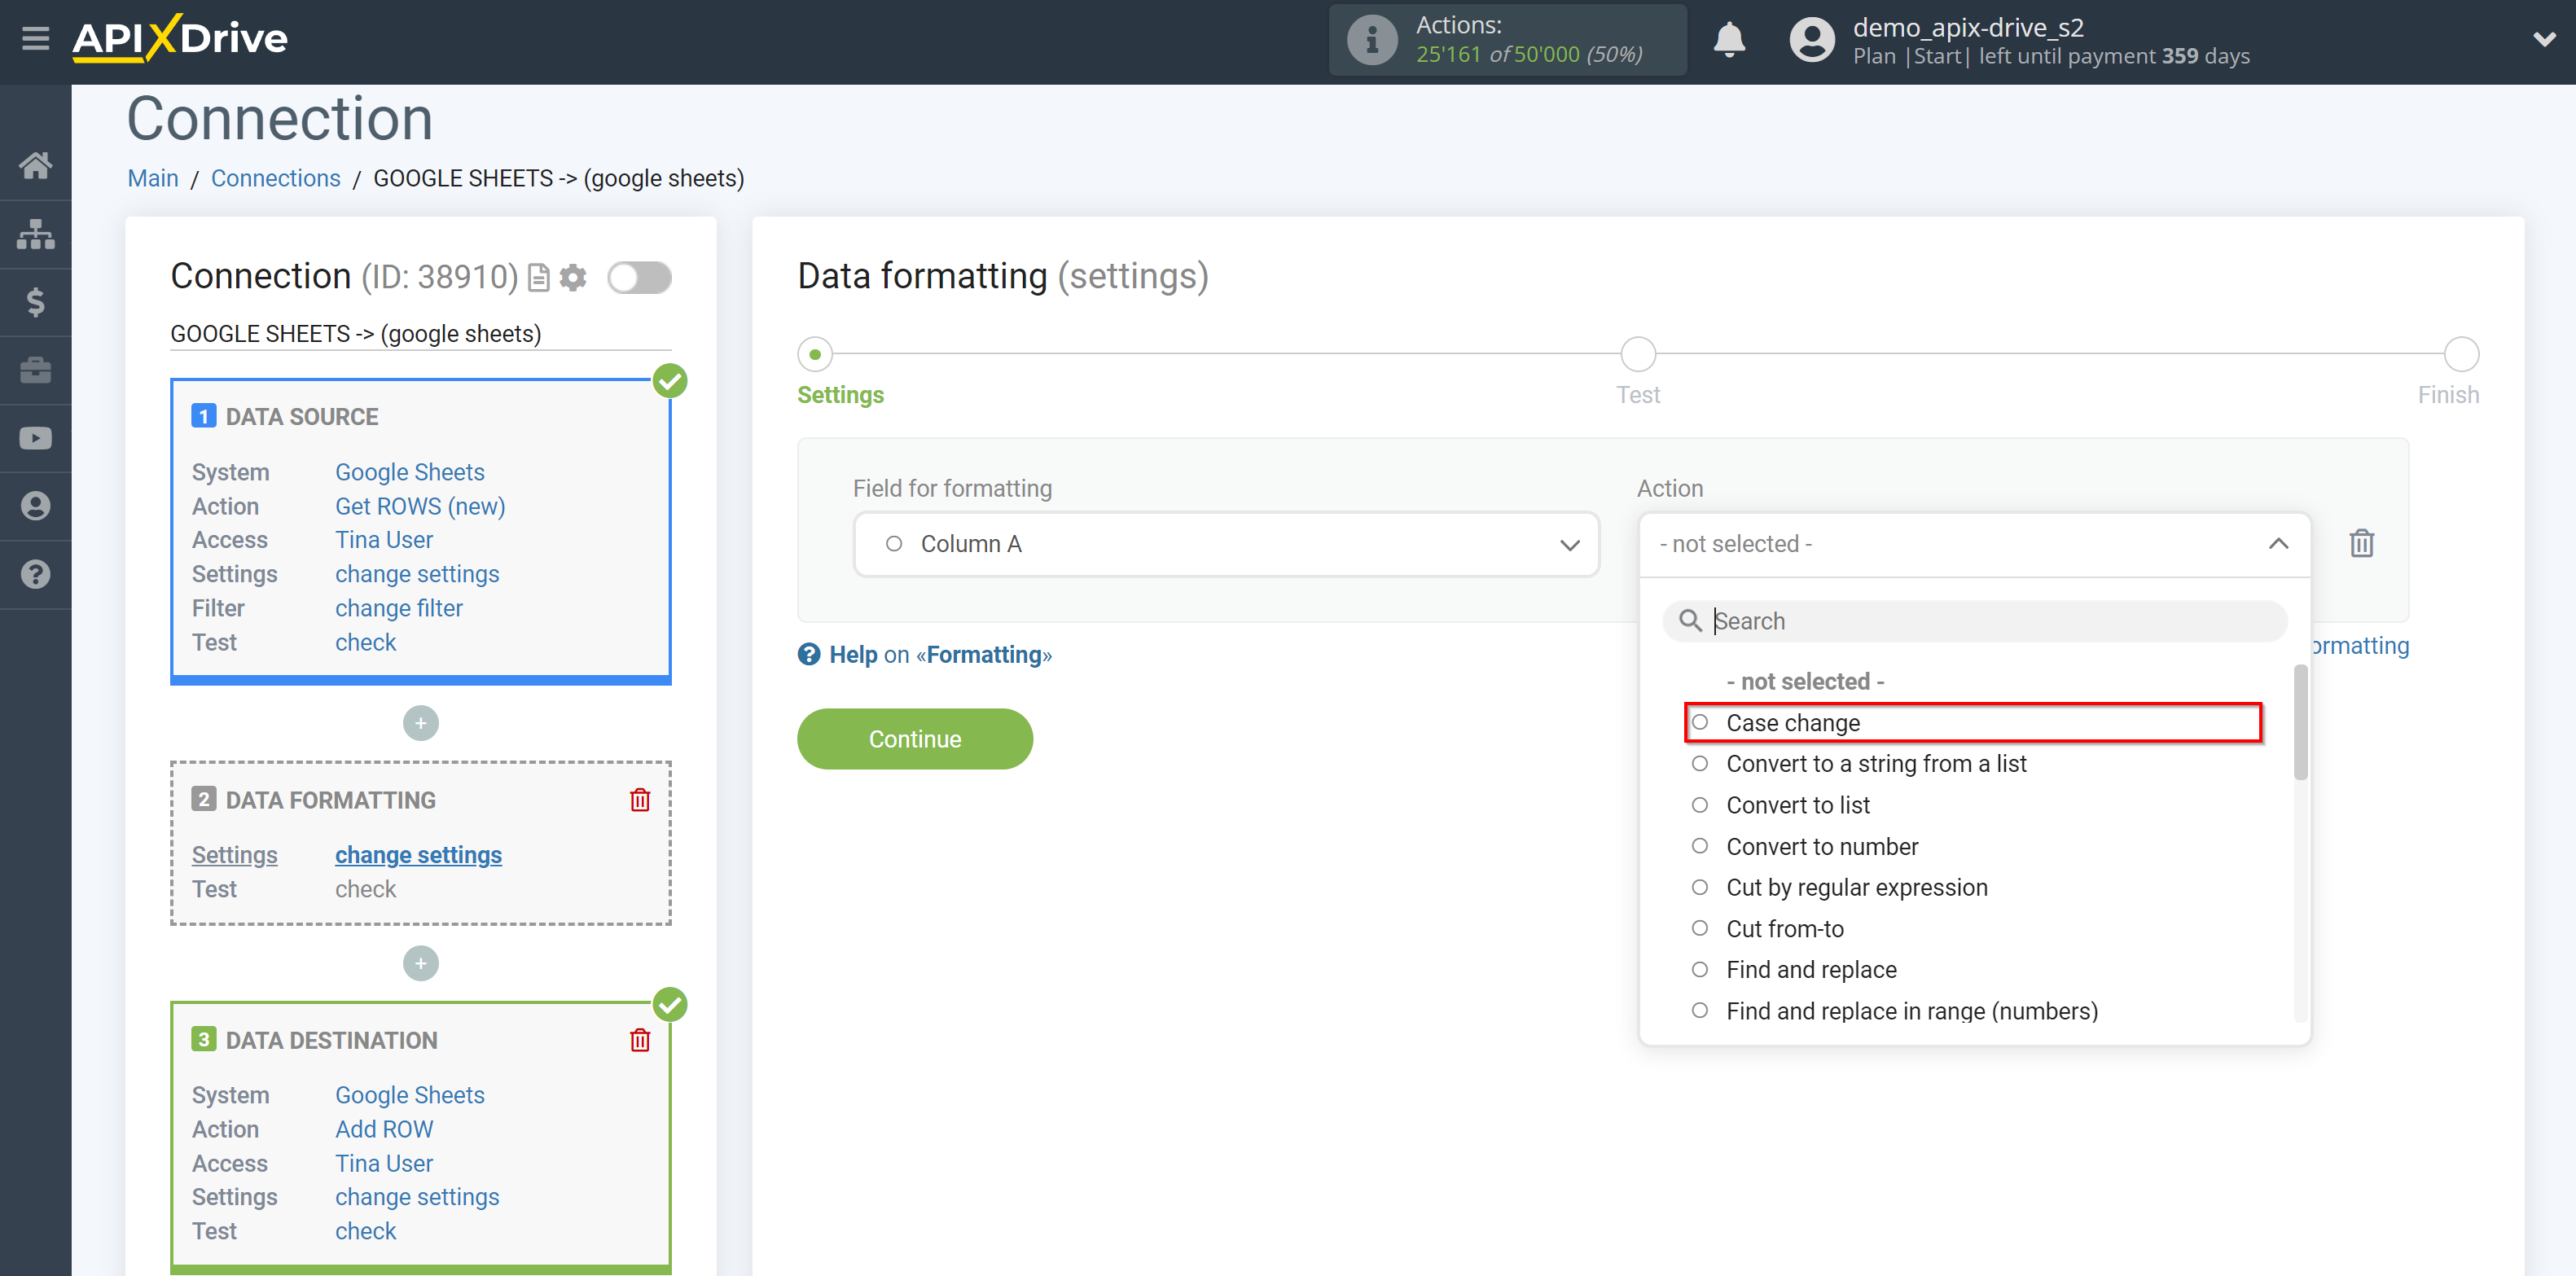
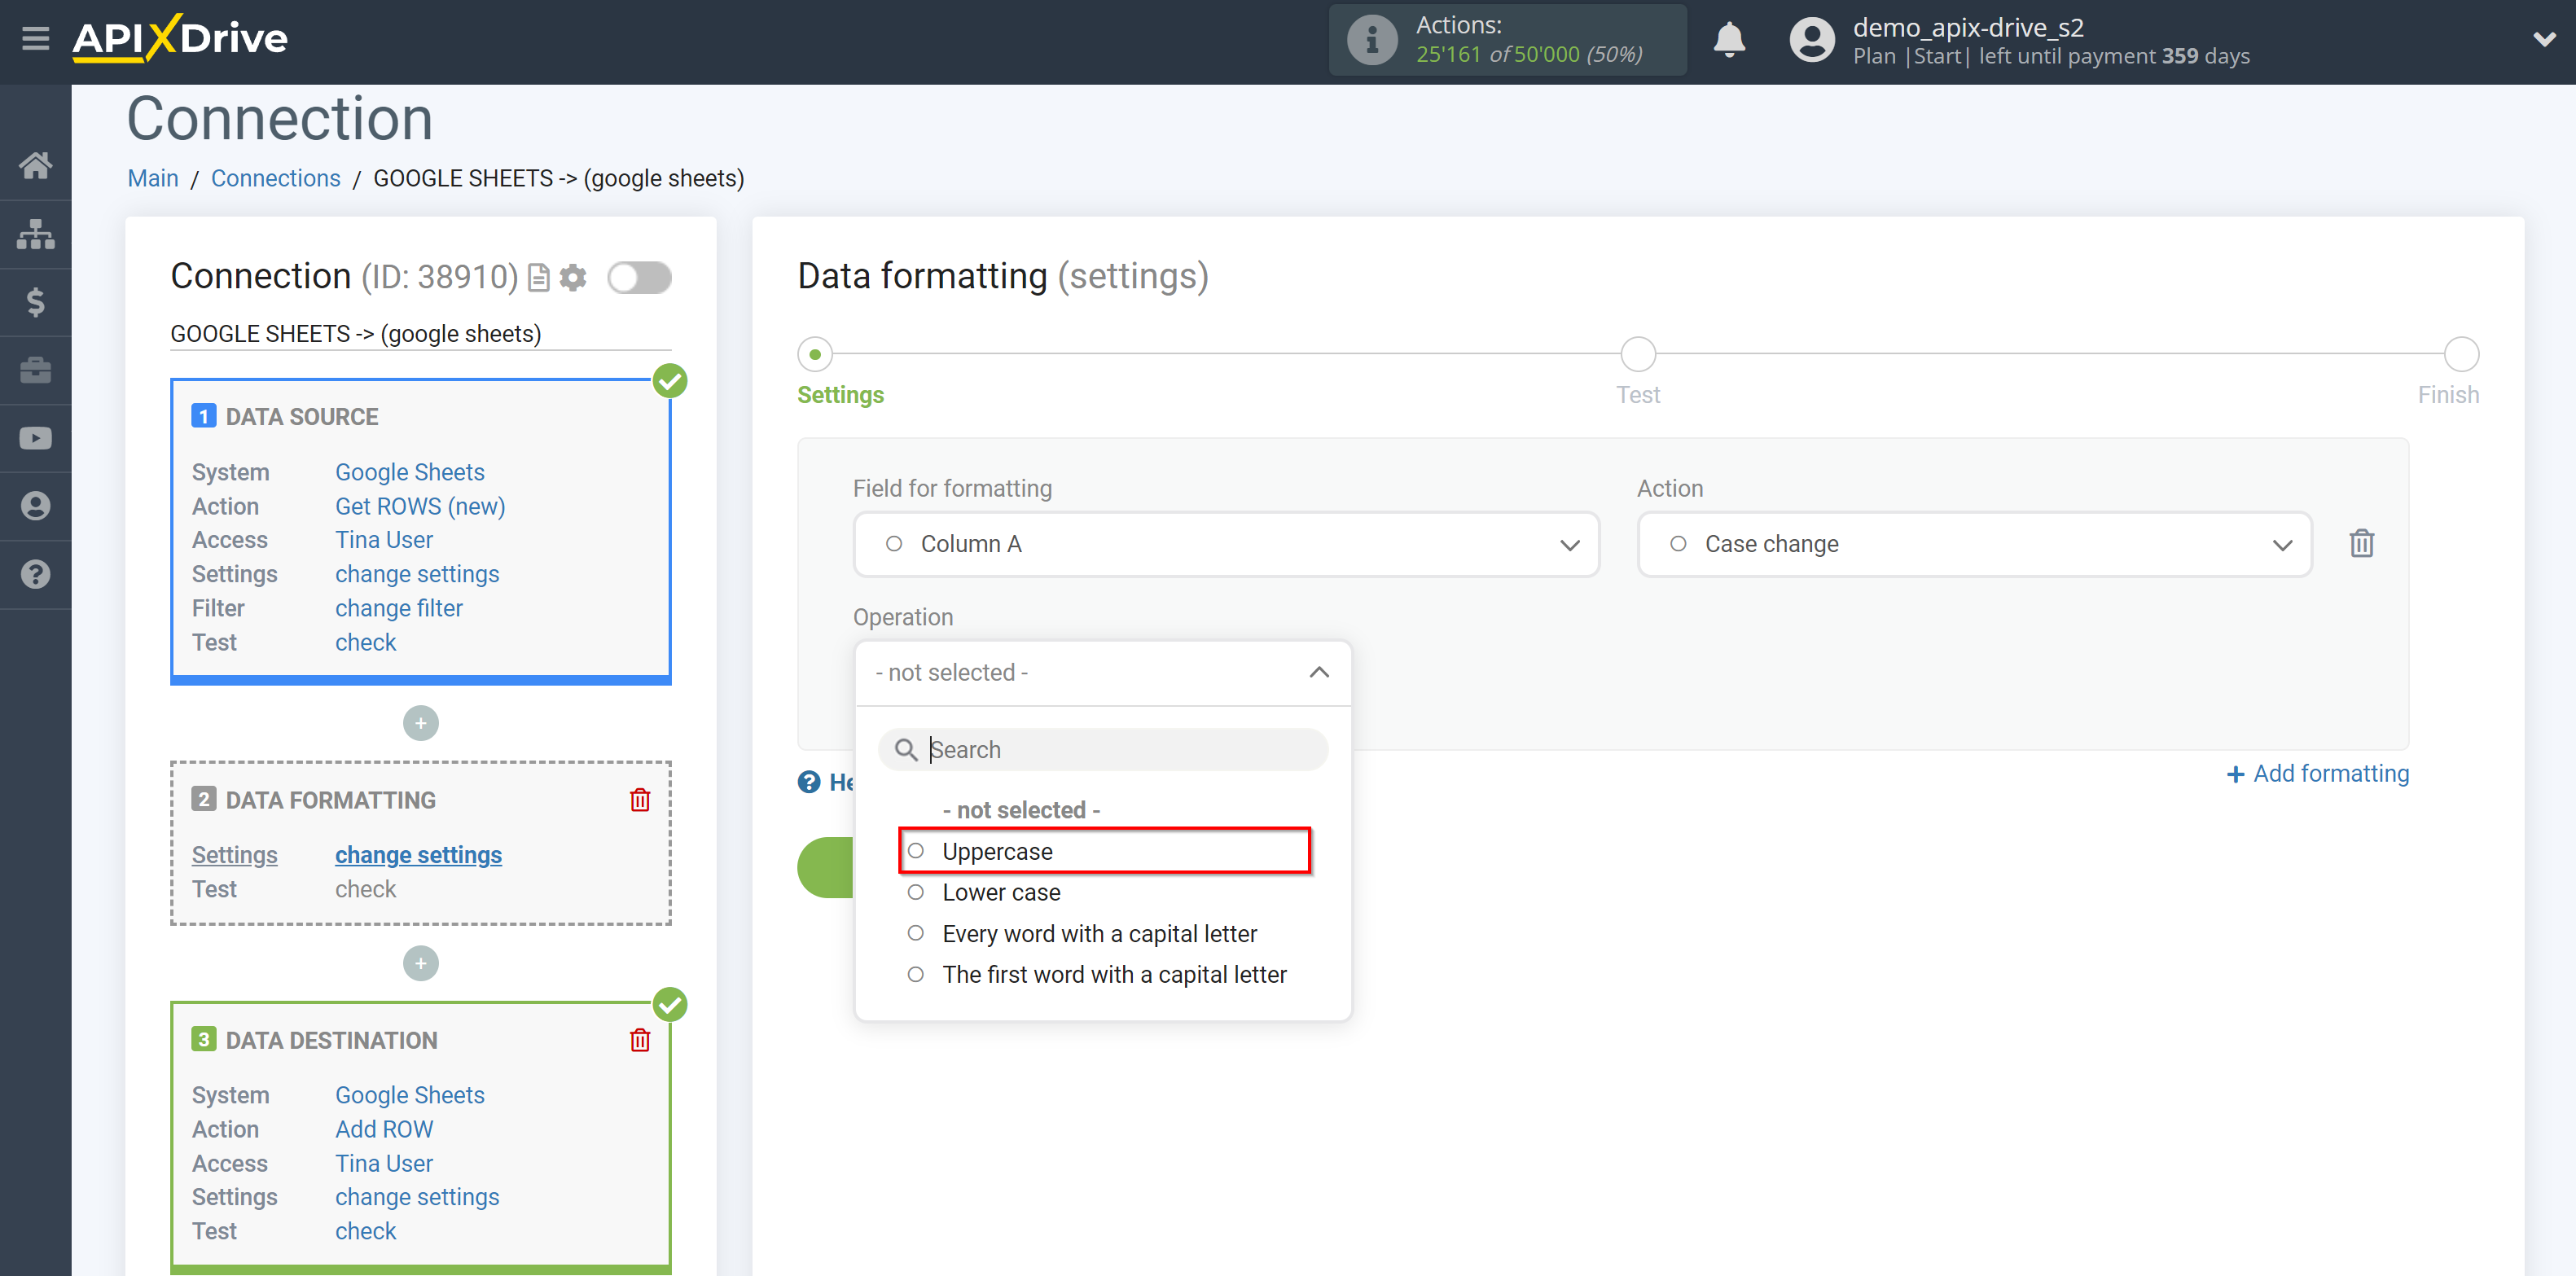
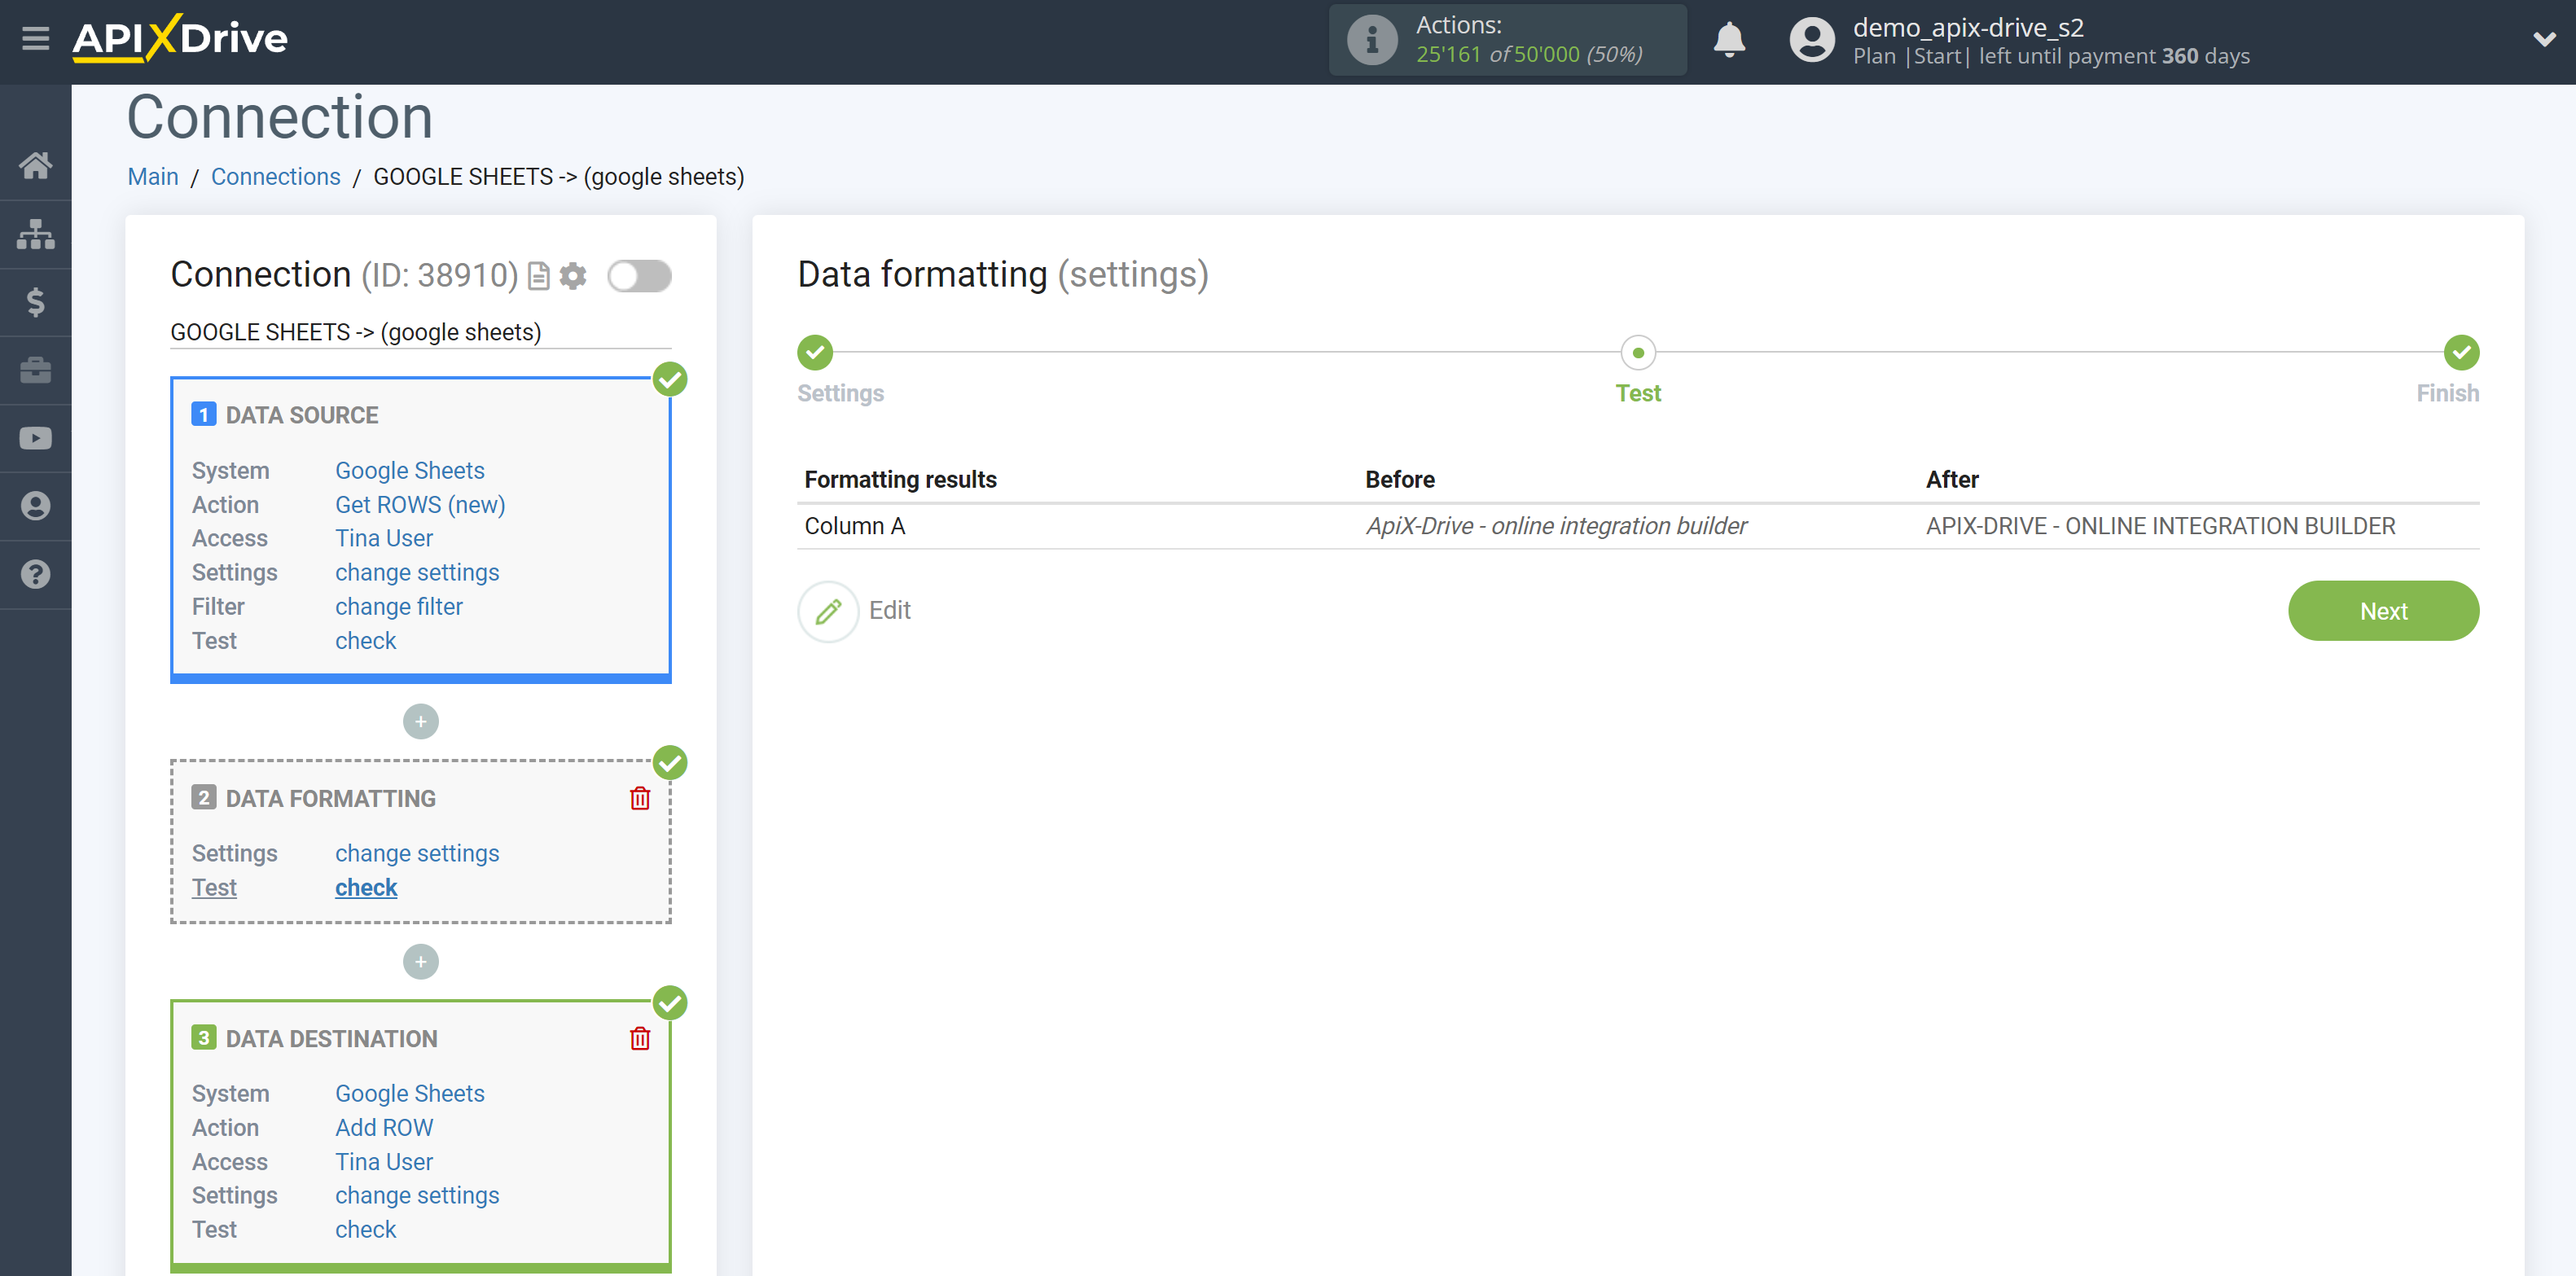
1. Case change - 4 variations of case change in a column.
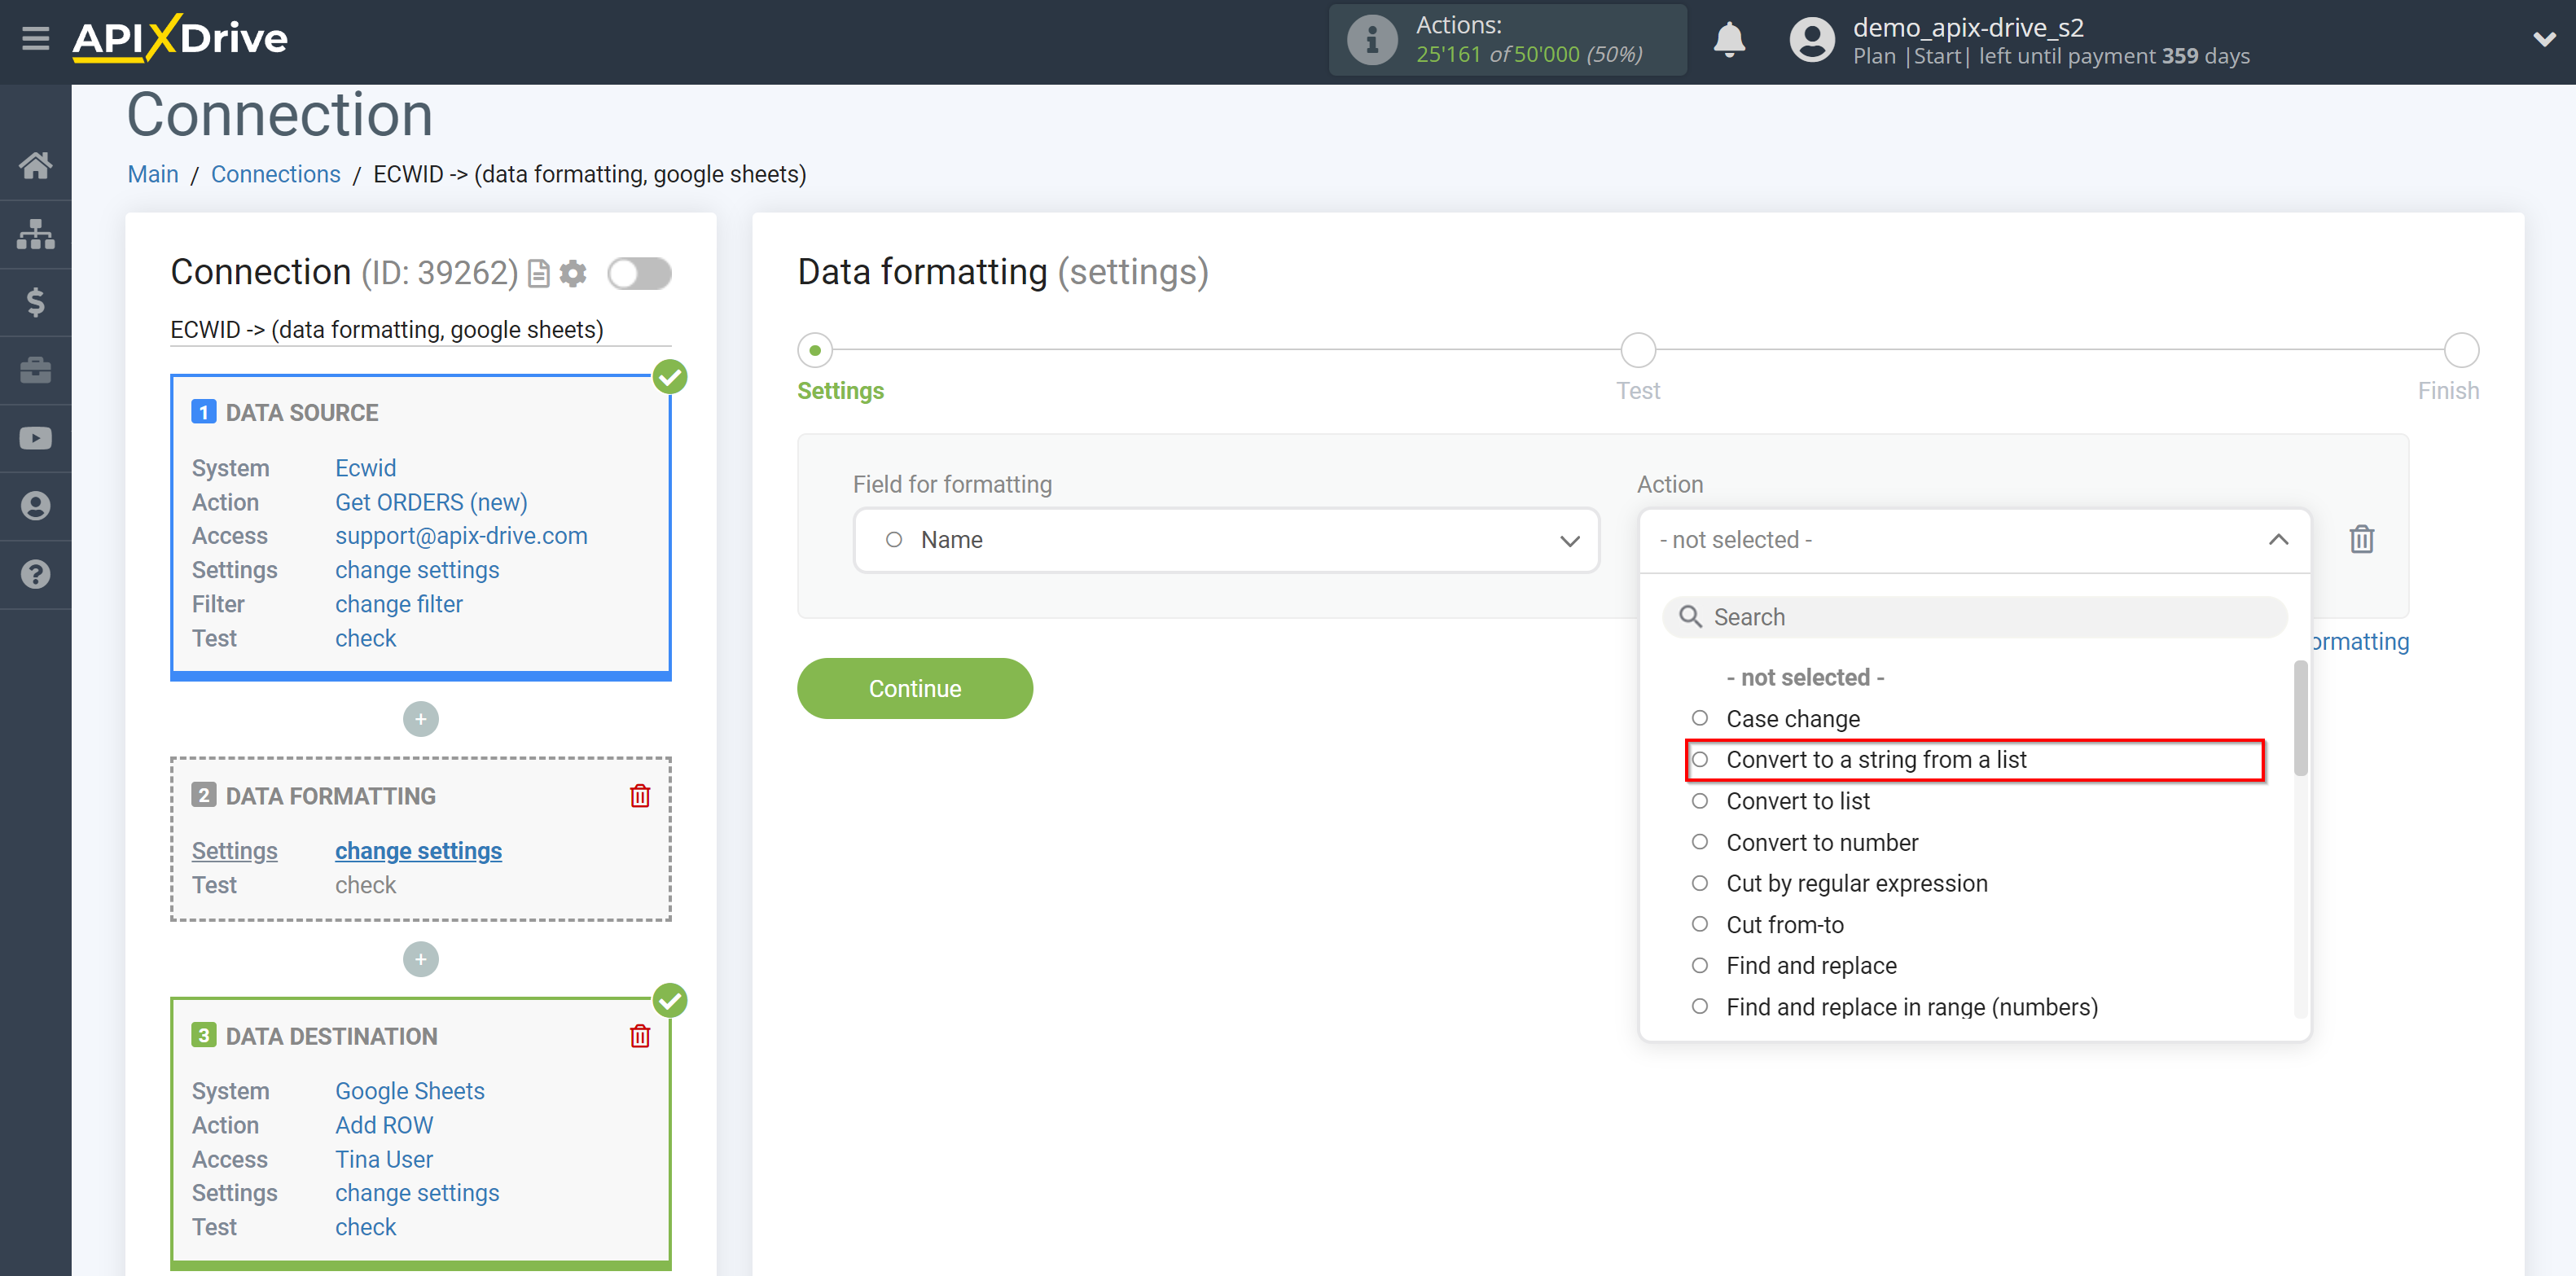
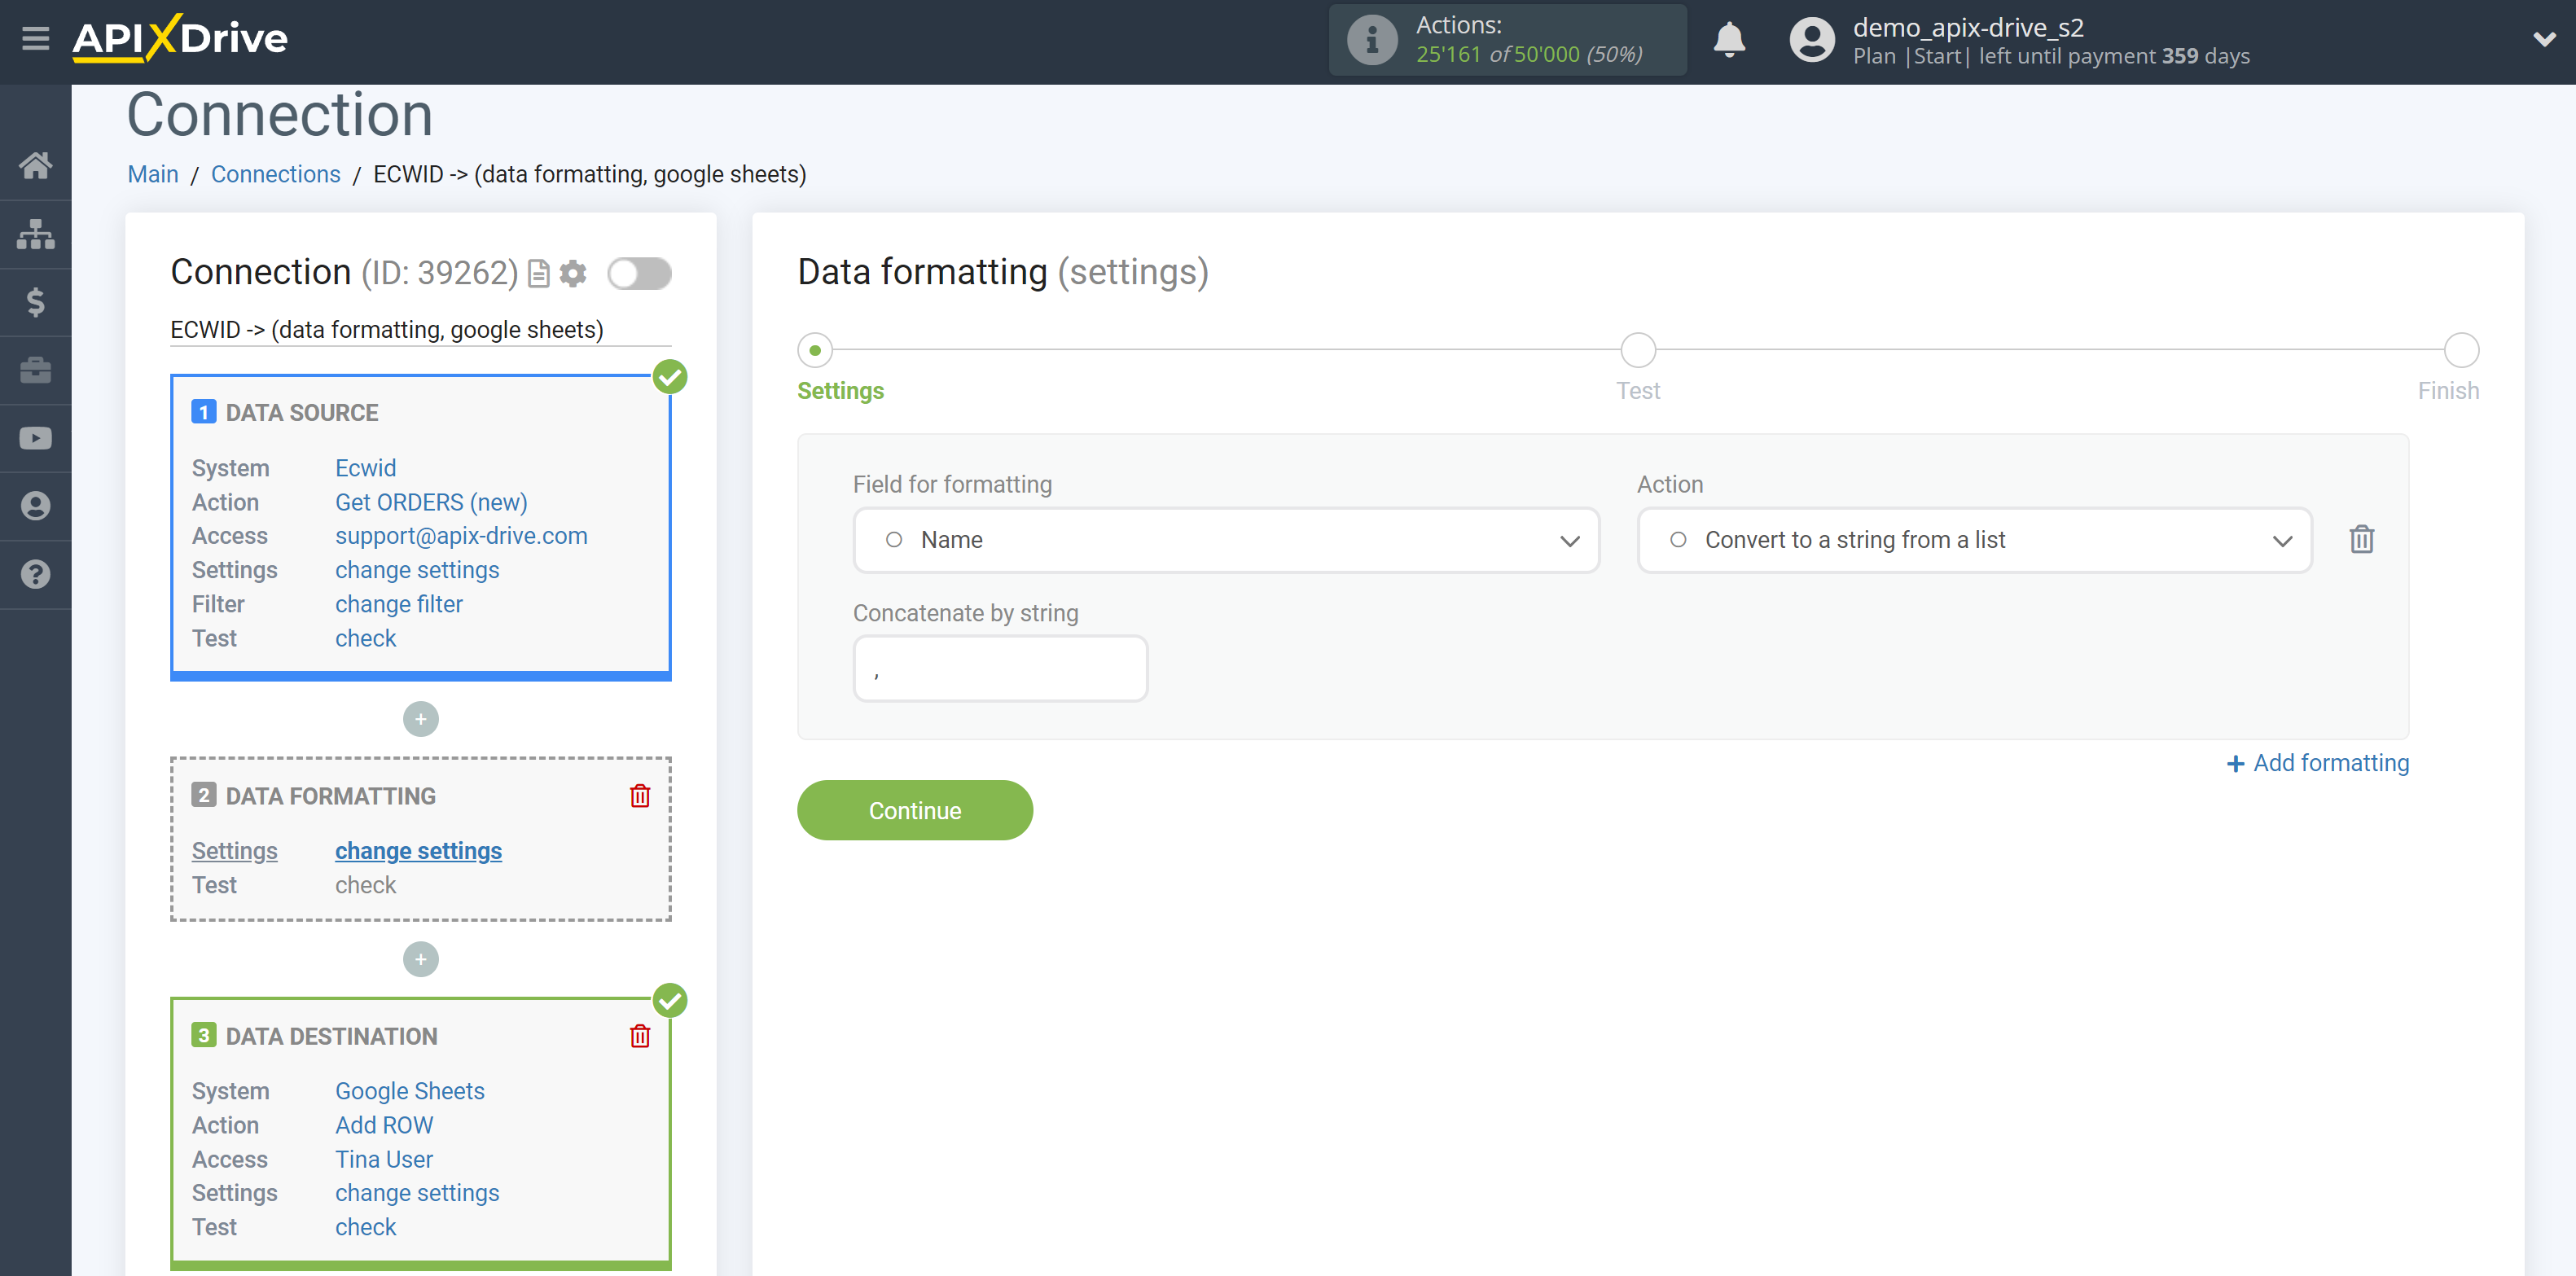
2. Convert to a string from a list - allows you to change the display of values in the list in the field to display them as a string with the specified separator.
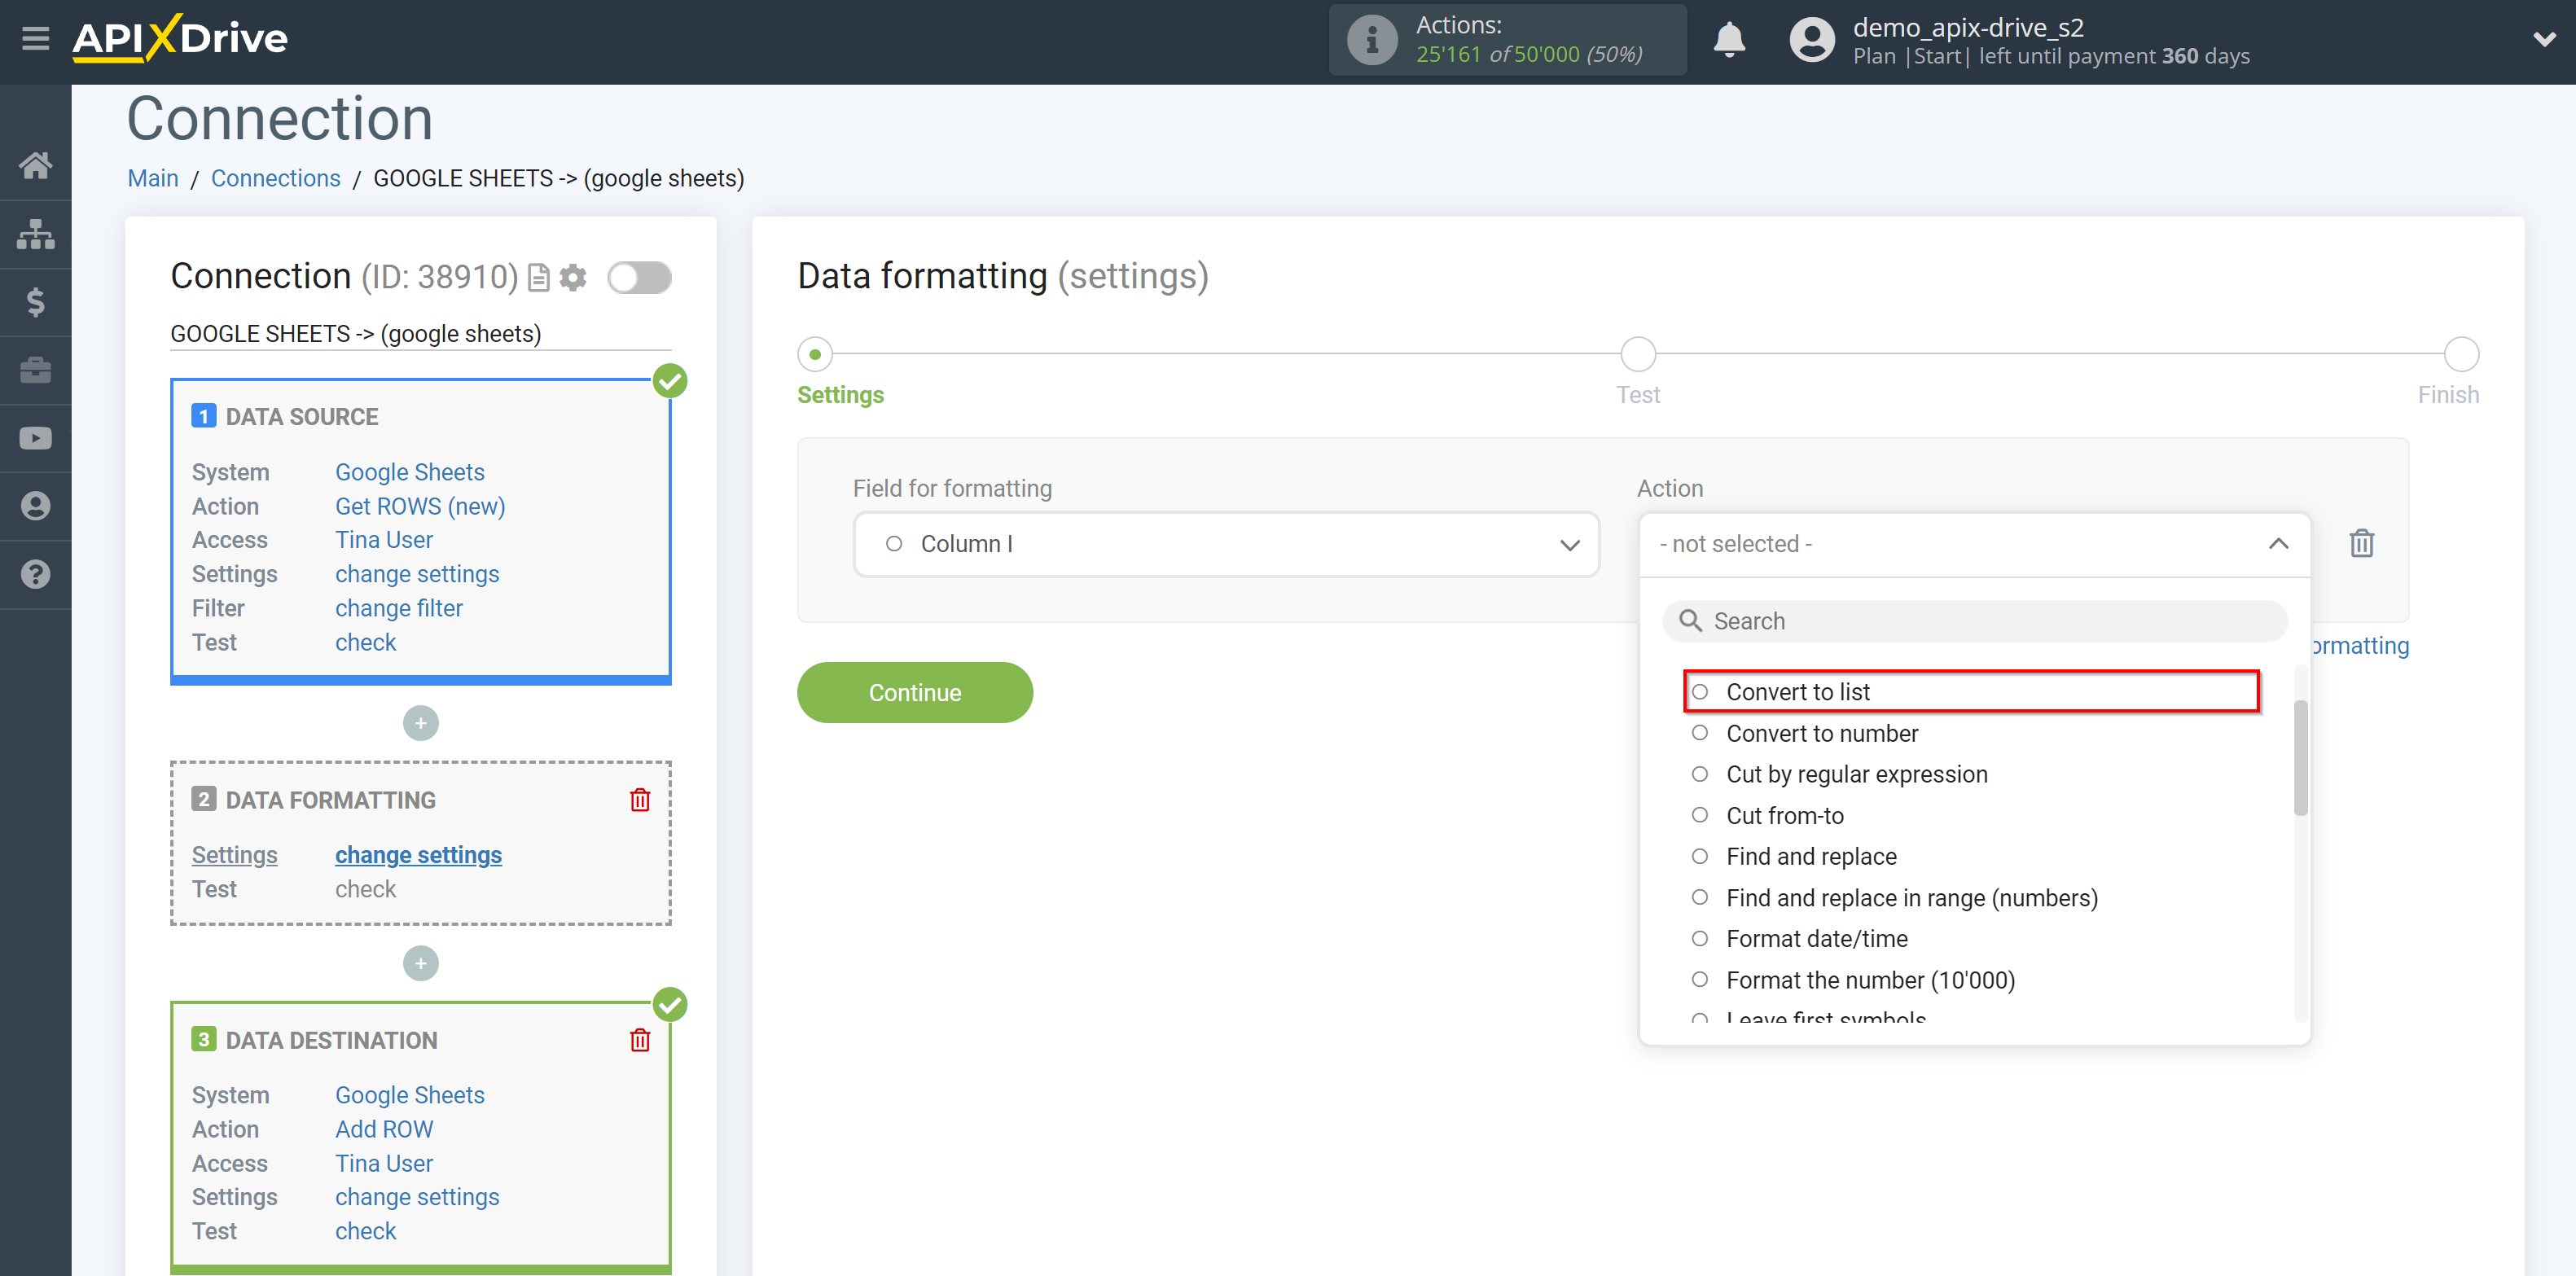
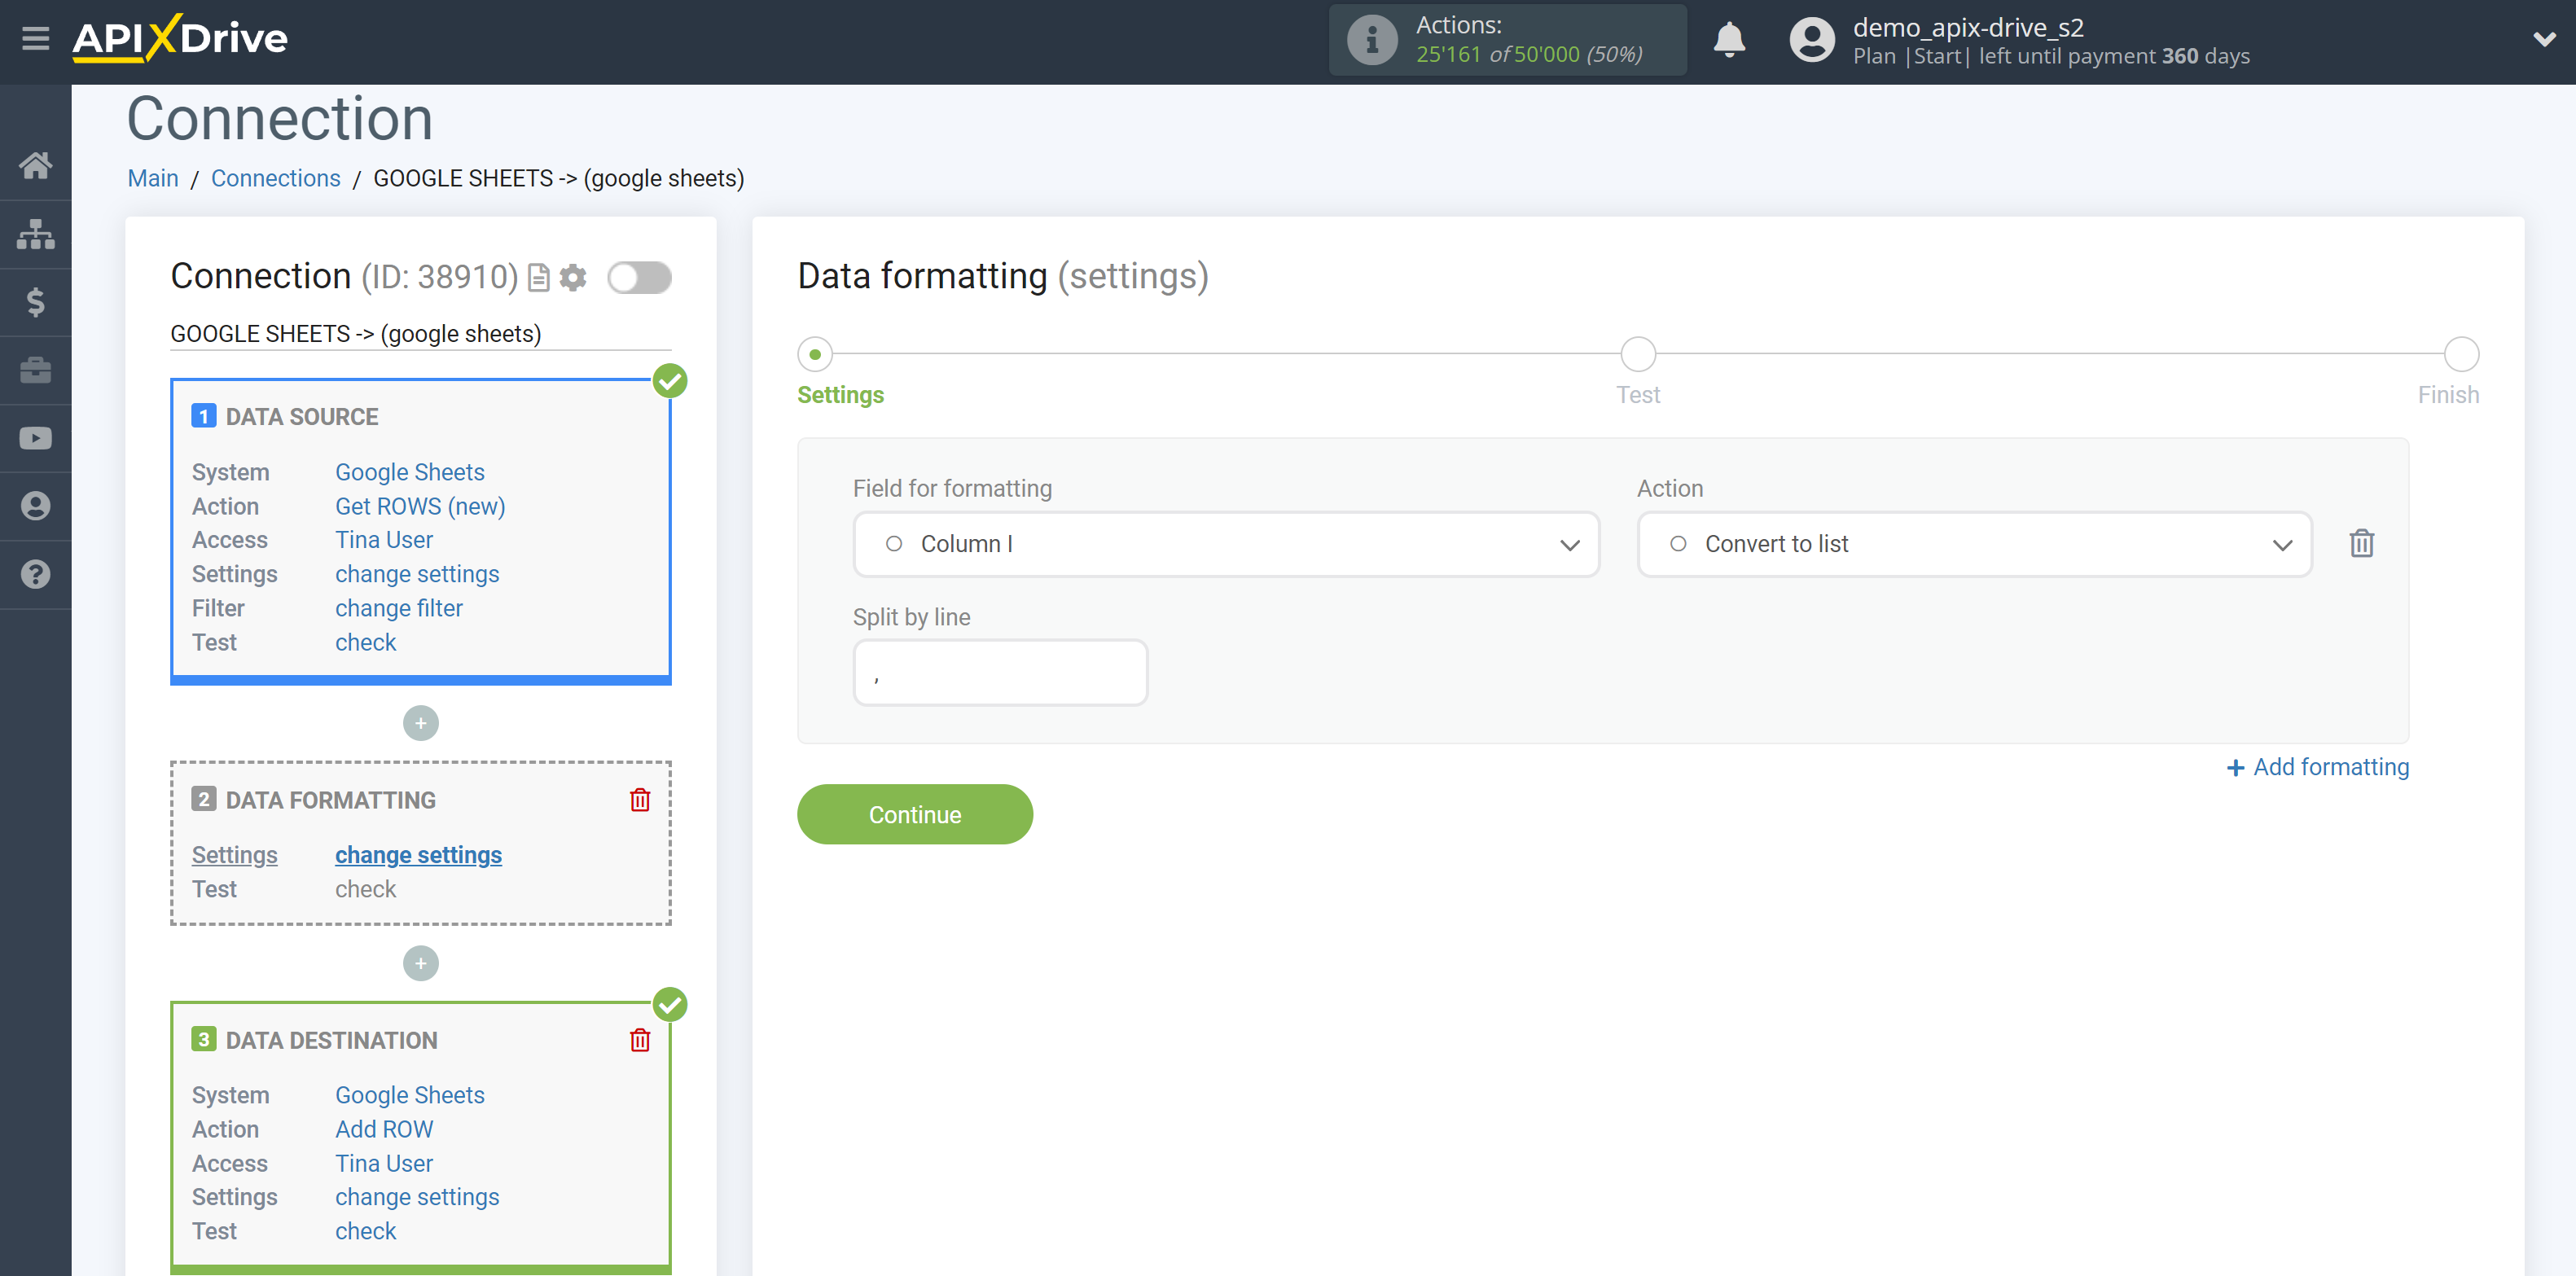
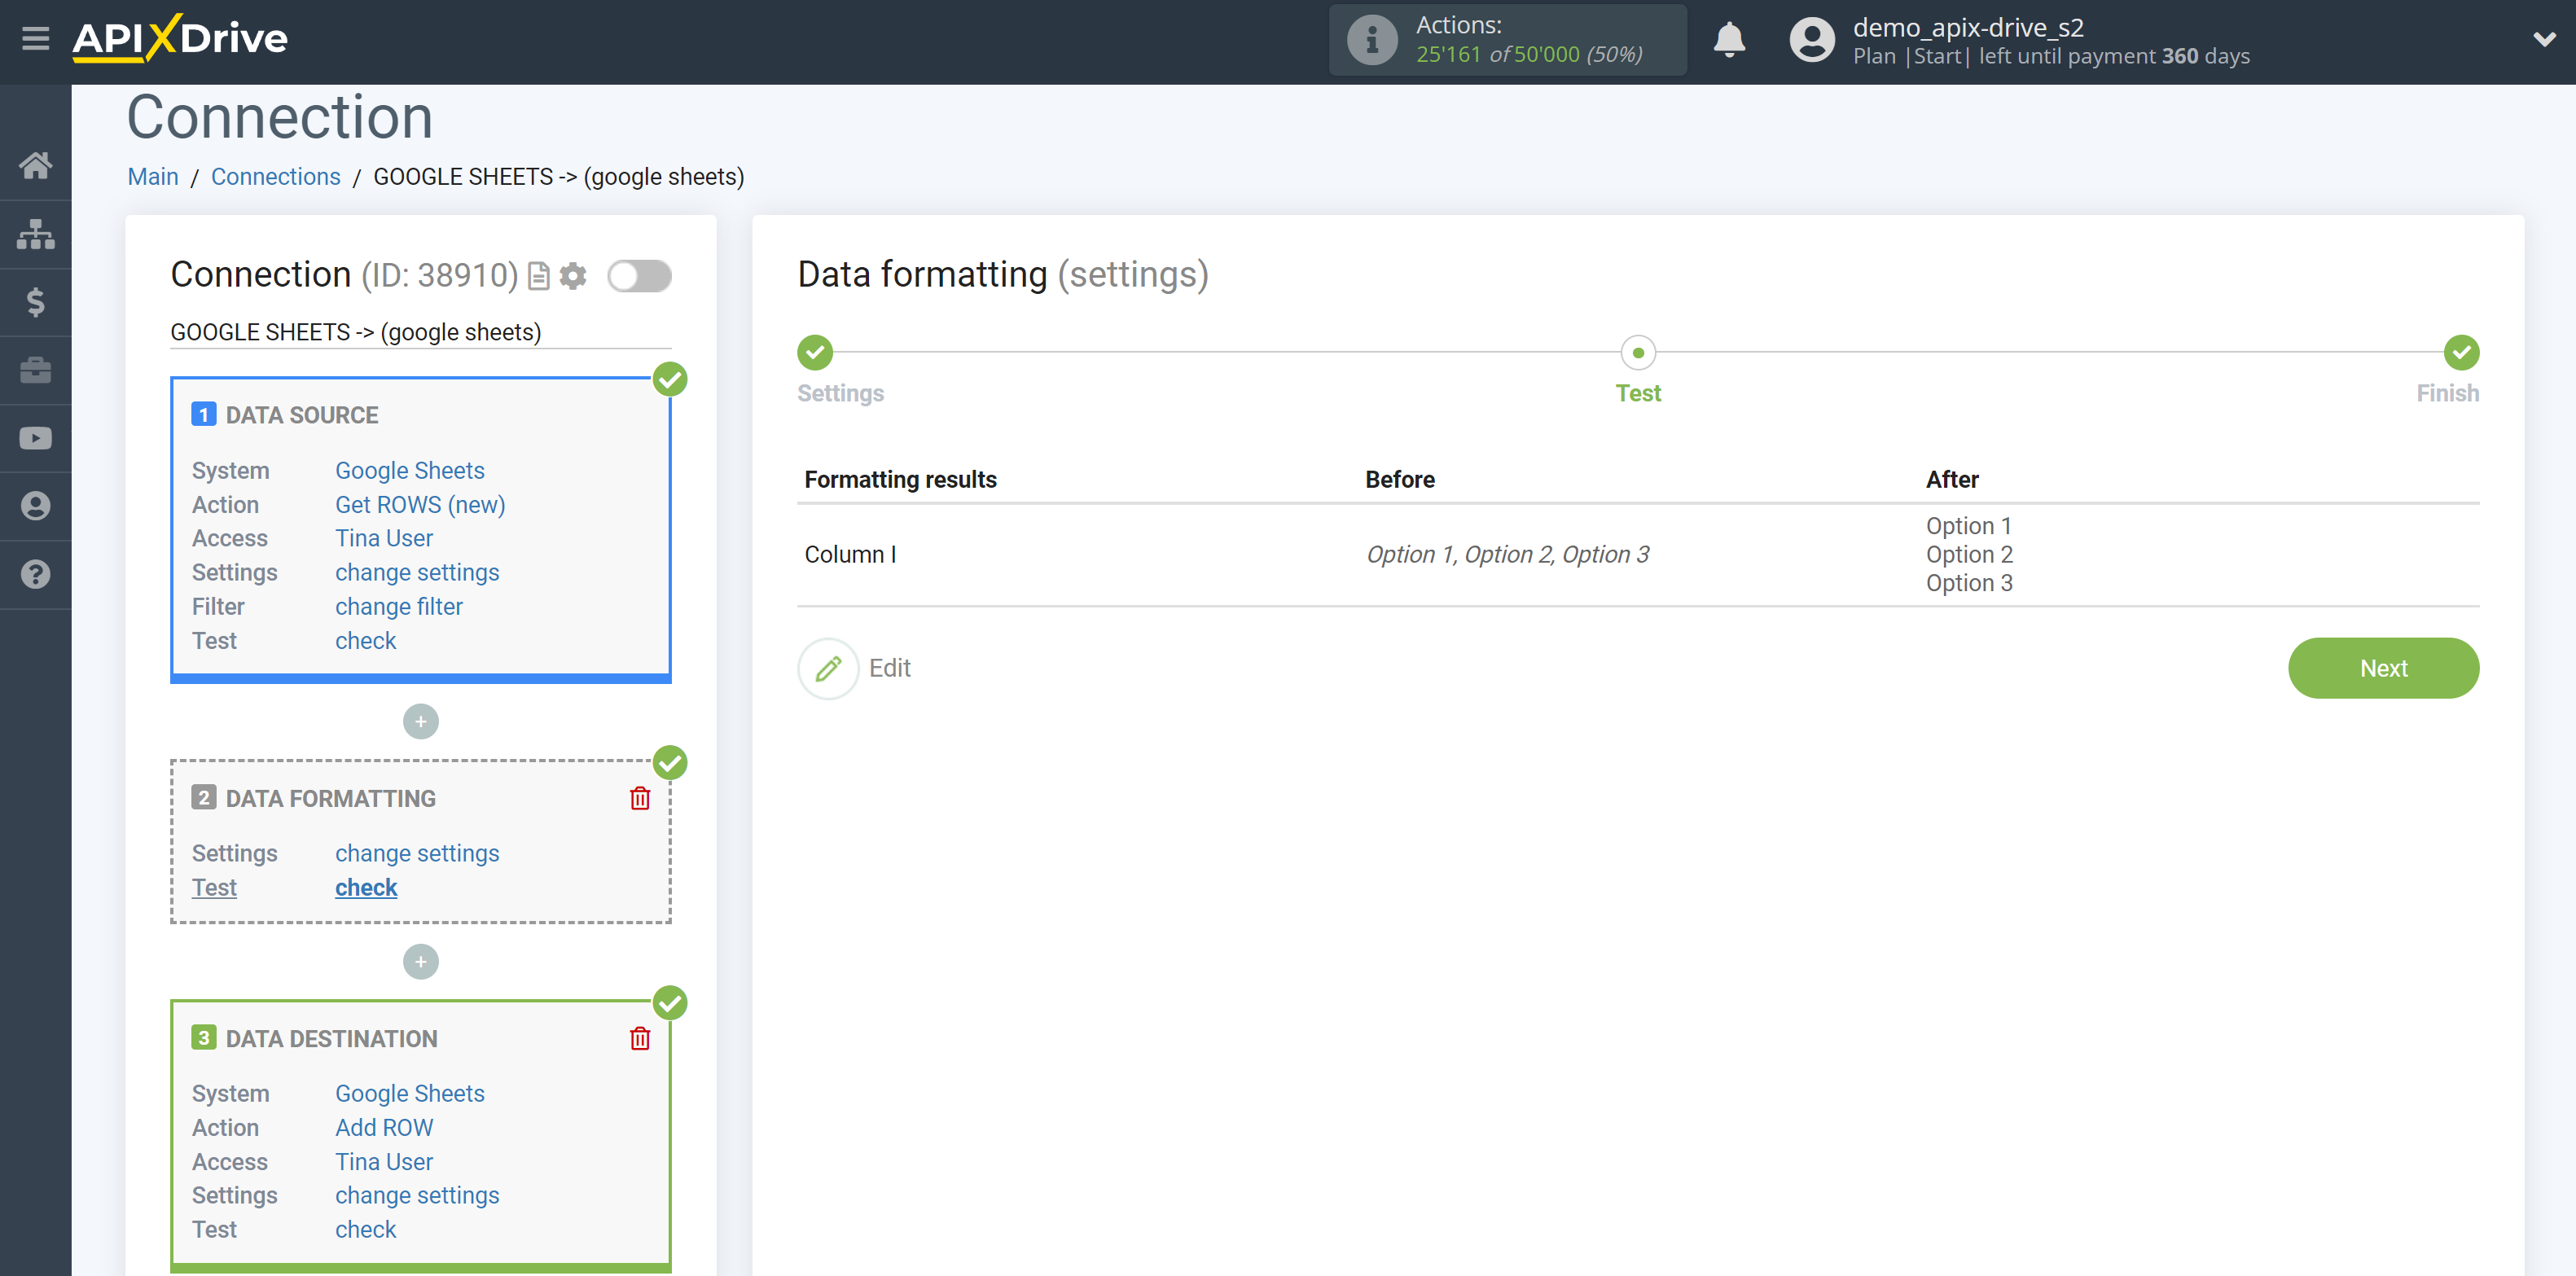
3. Convert to list - allows you to convert in string based on commas, space, etc.
4. Convert to number - allows you to convert different variations of numbers and letters into a single form of a number without letters.
5. Cut by regular expression - allows advanced users to use regular expressions.
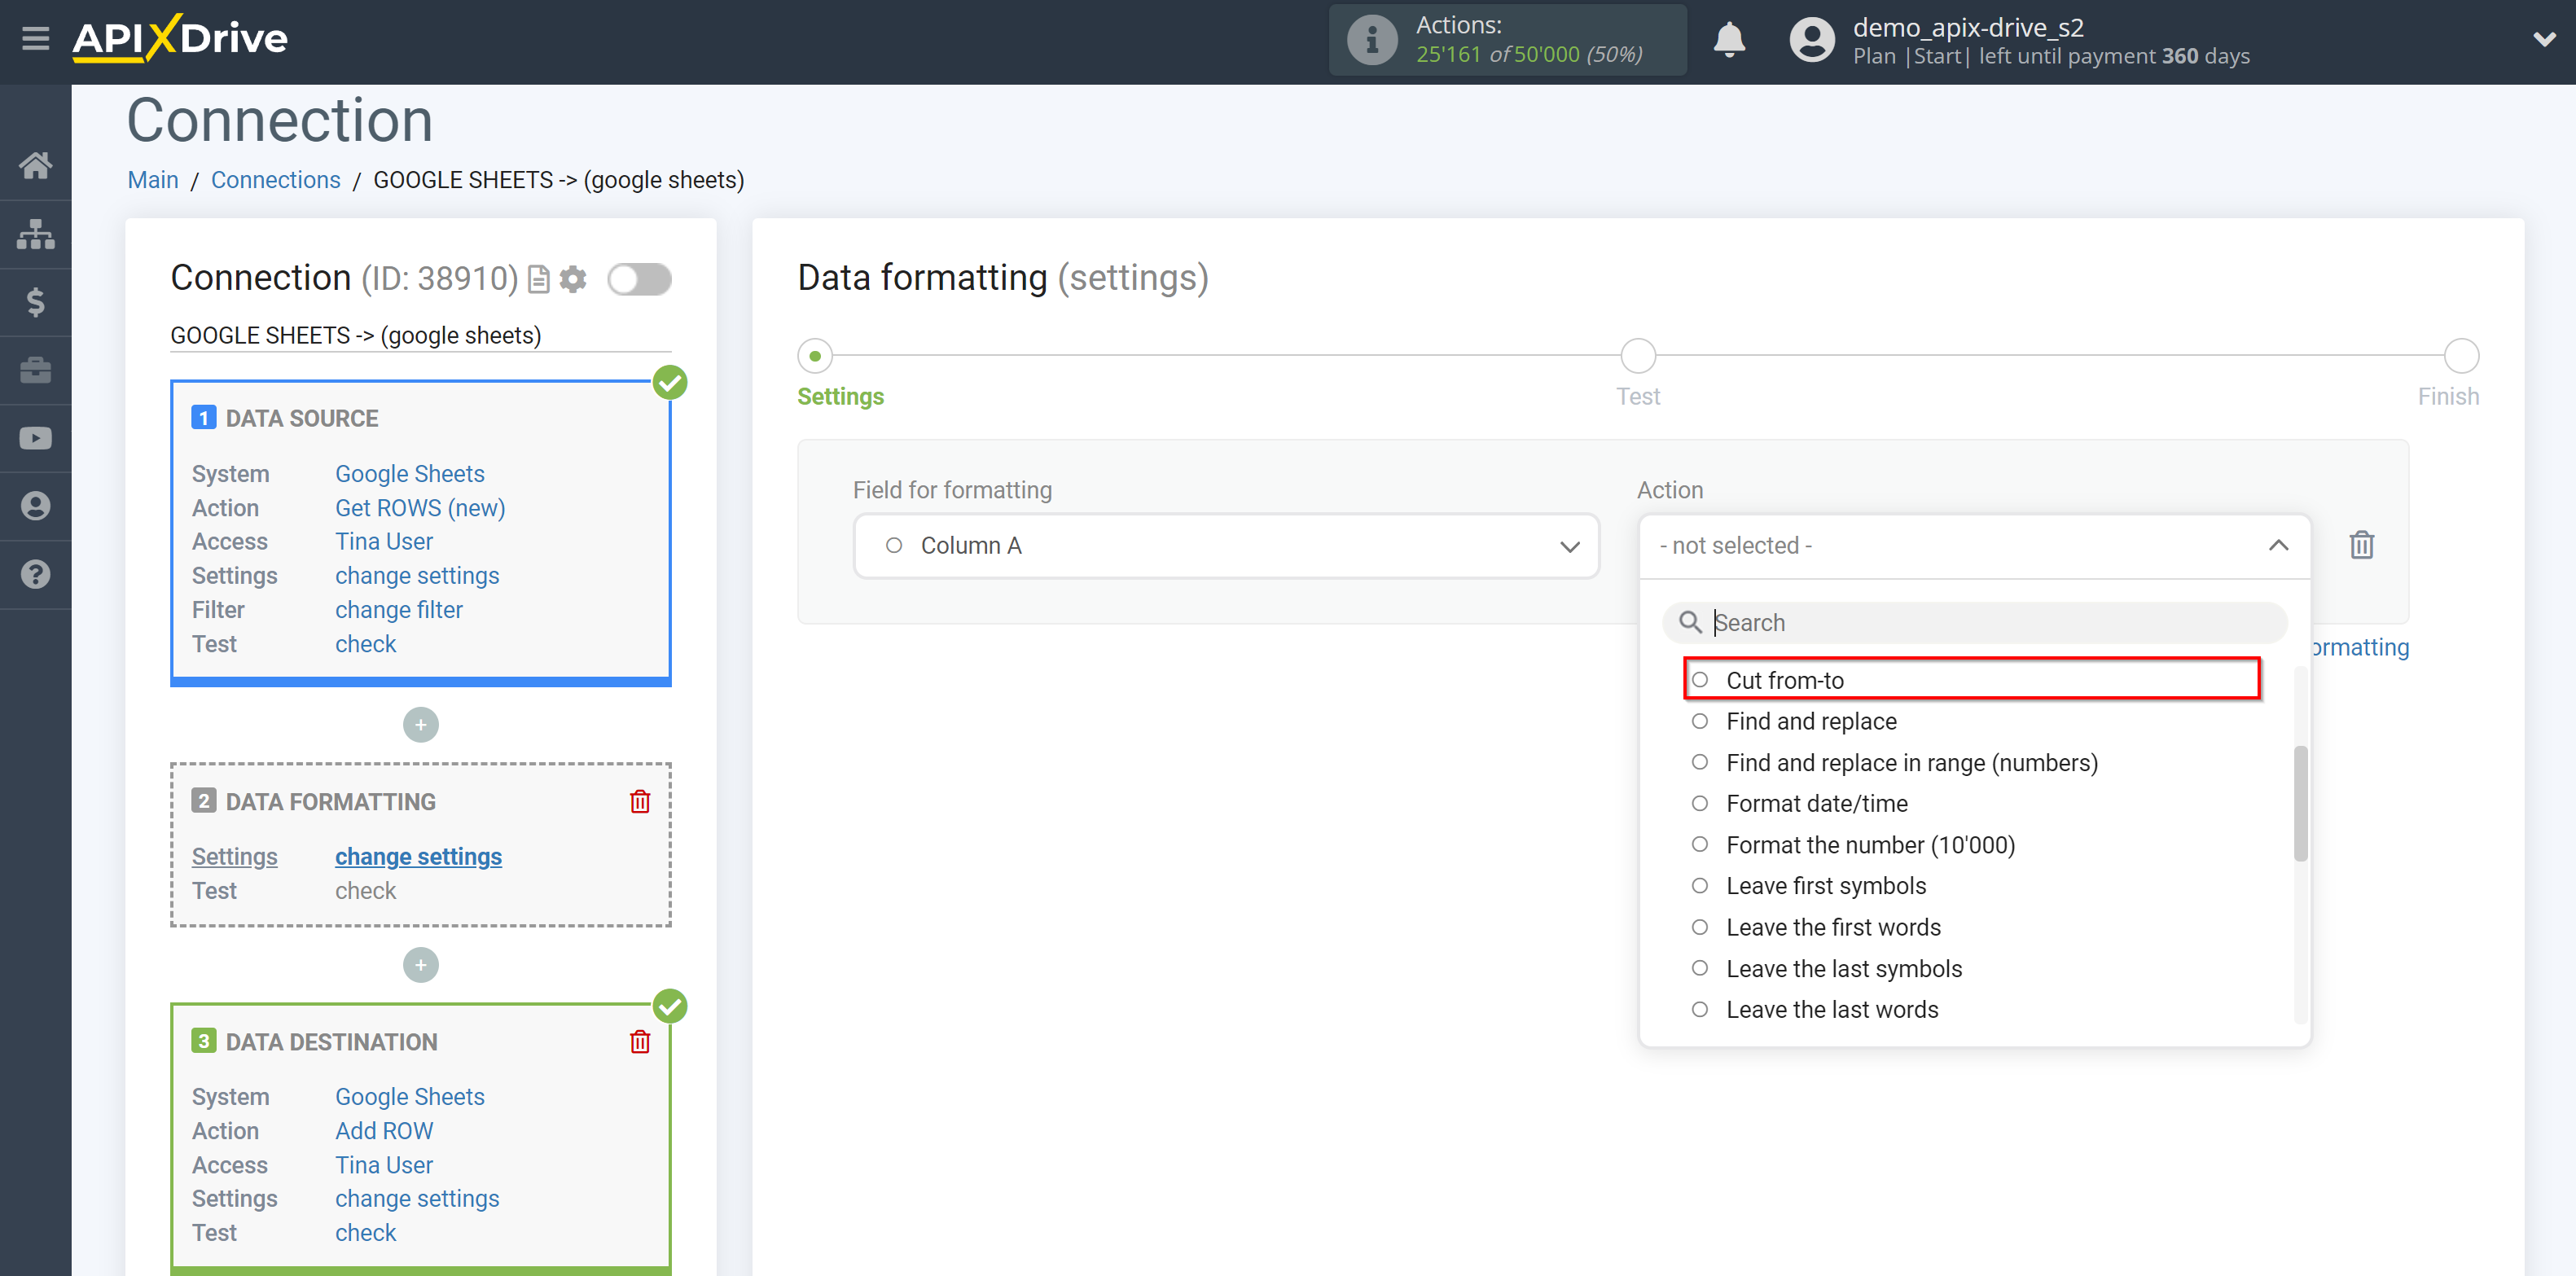
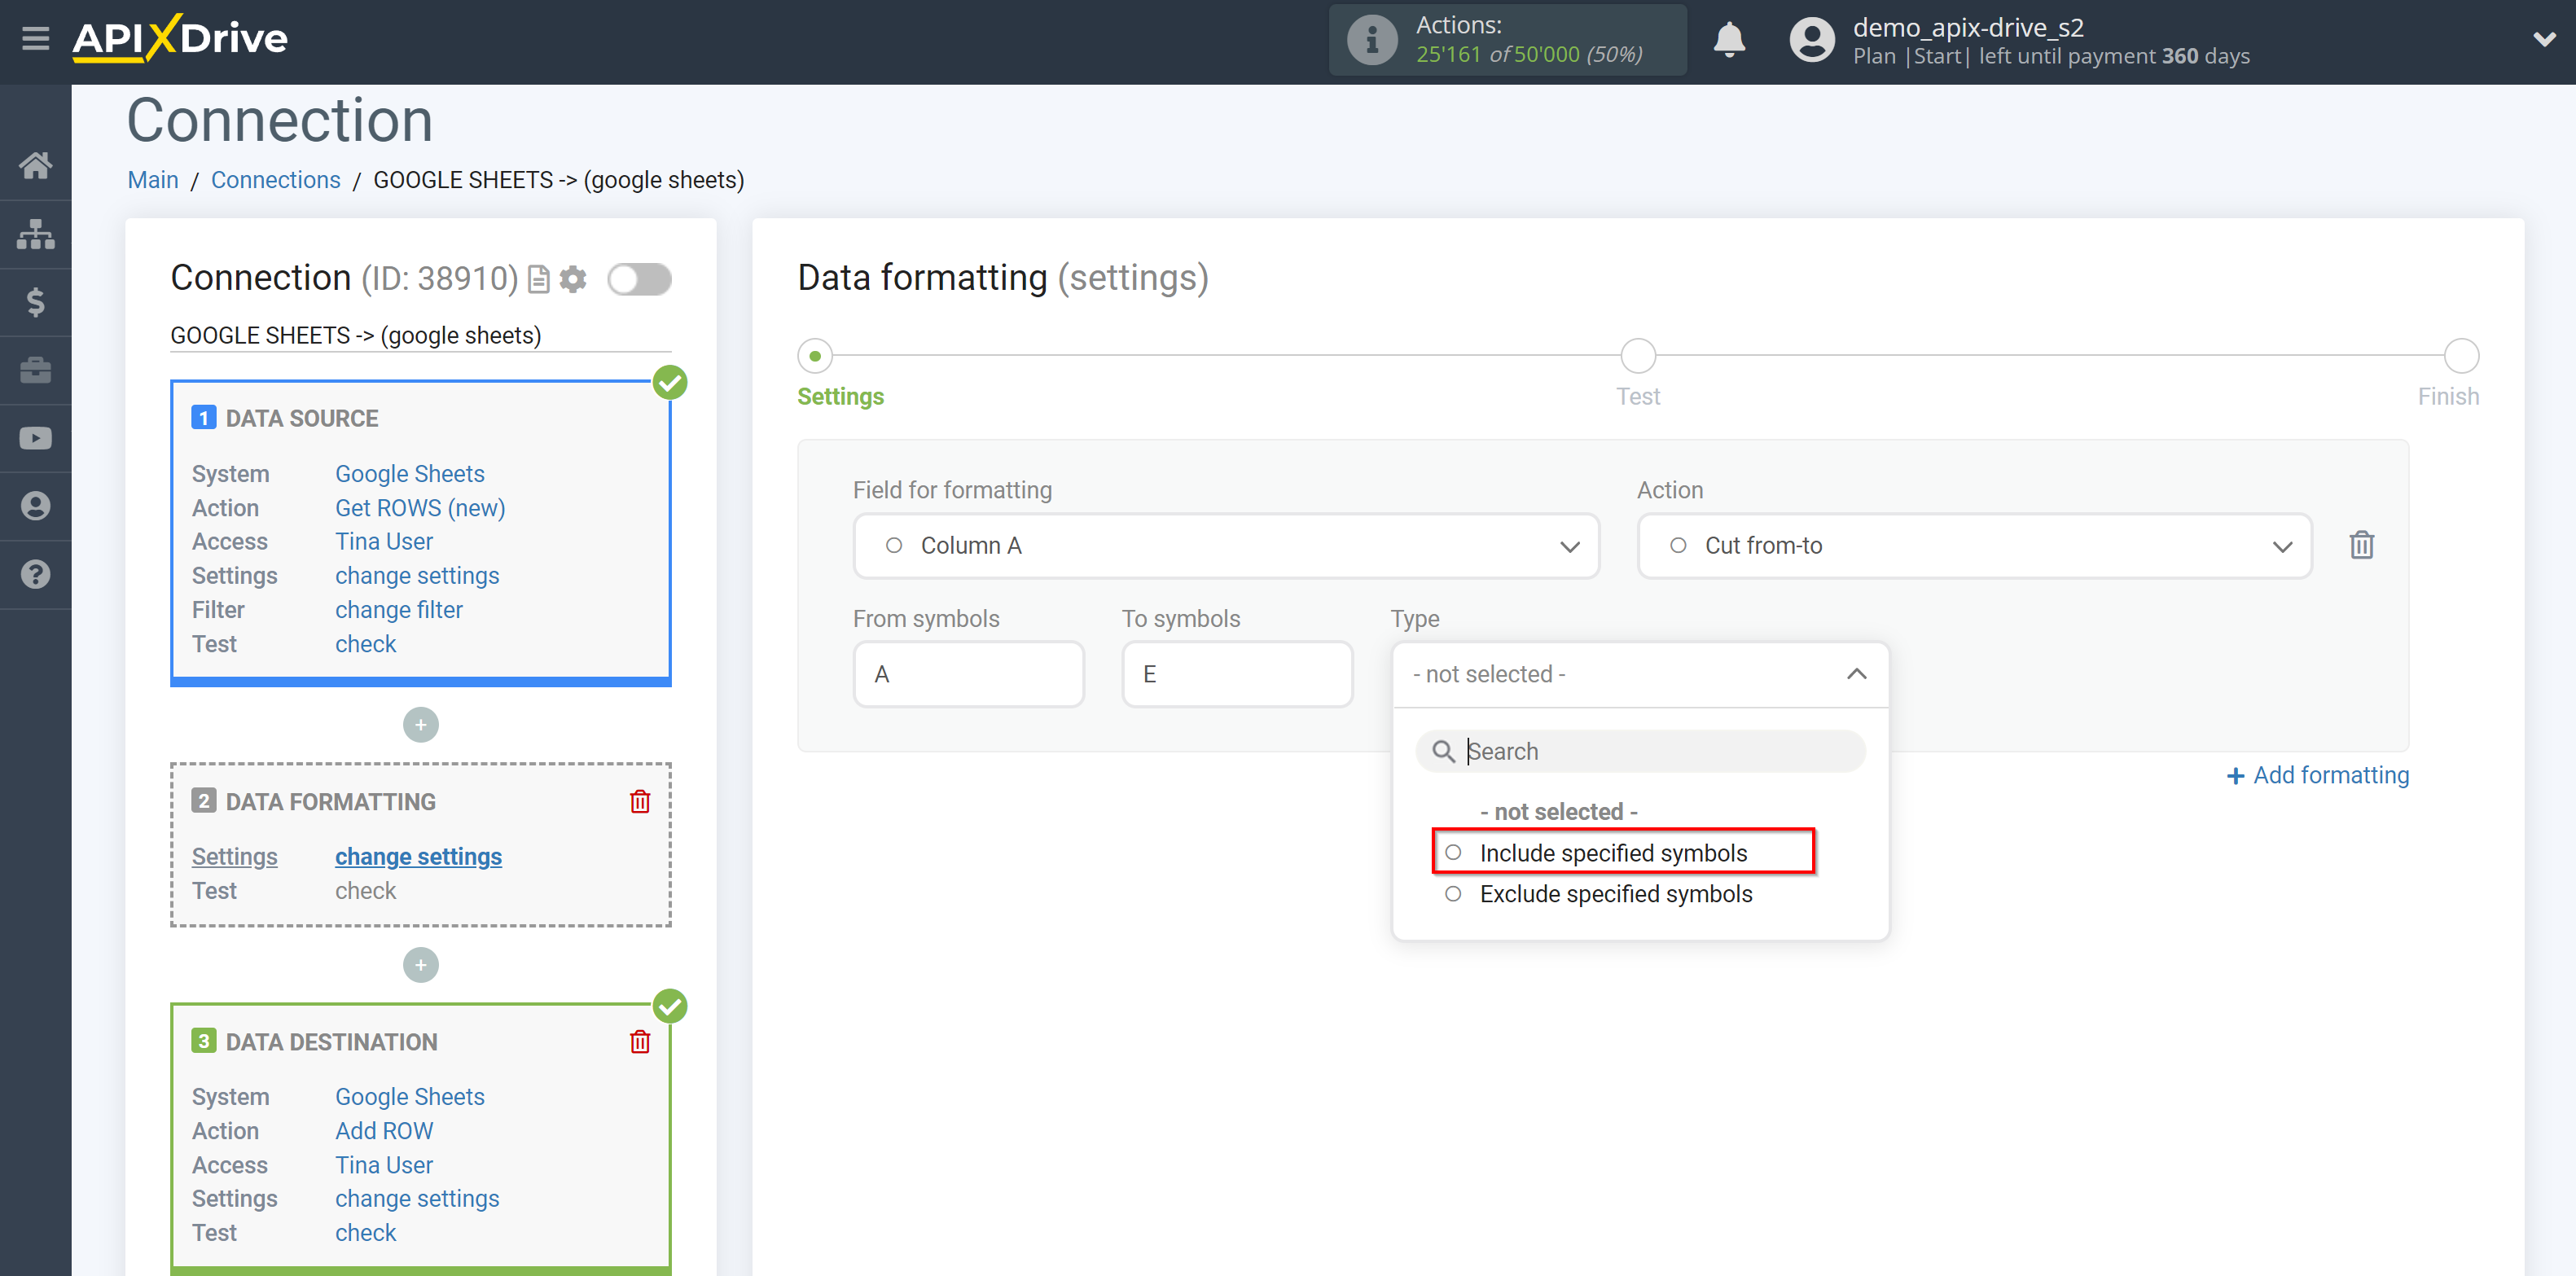
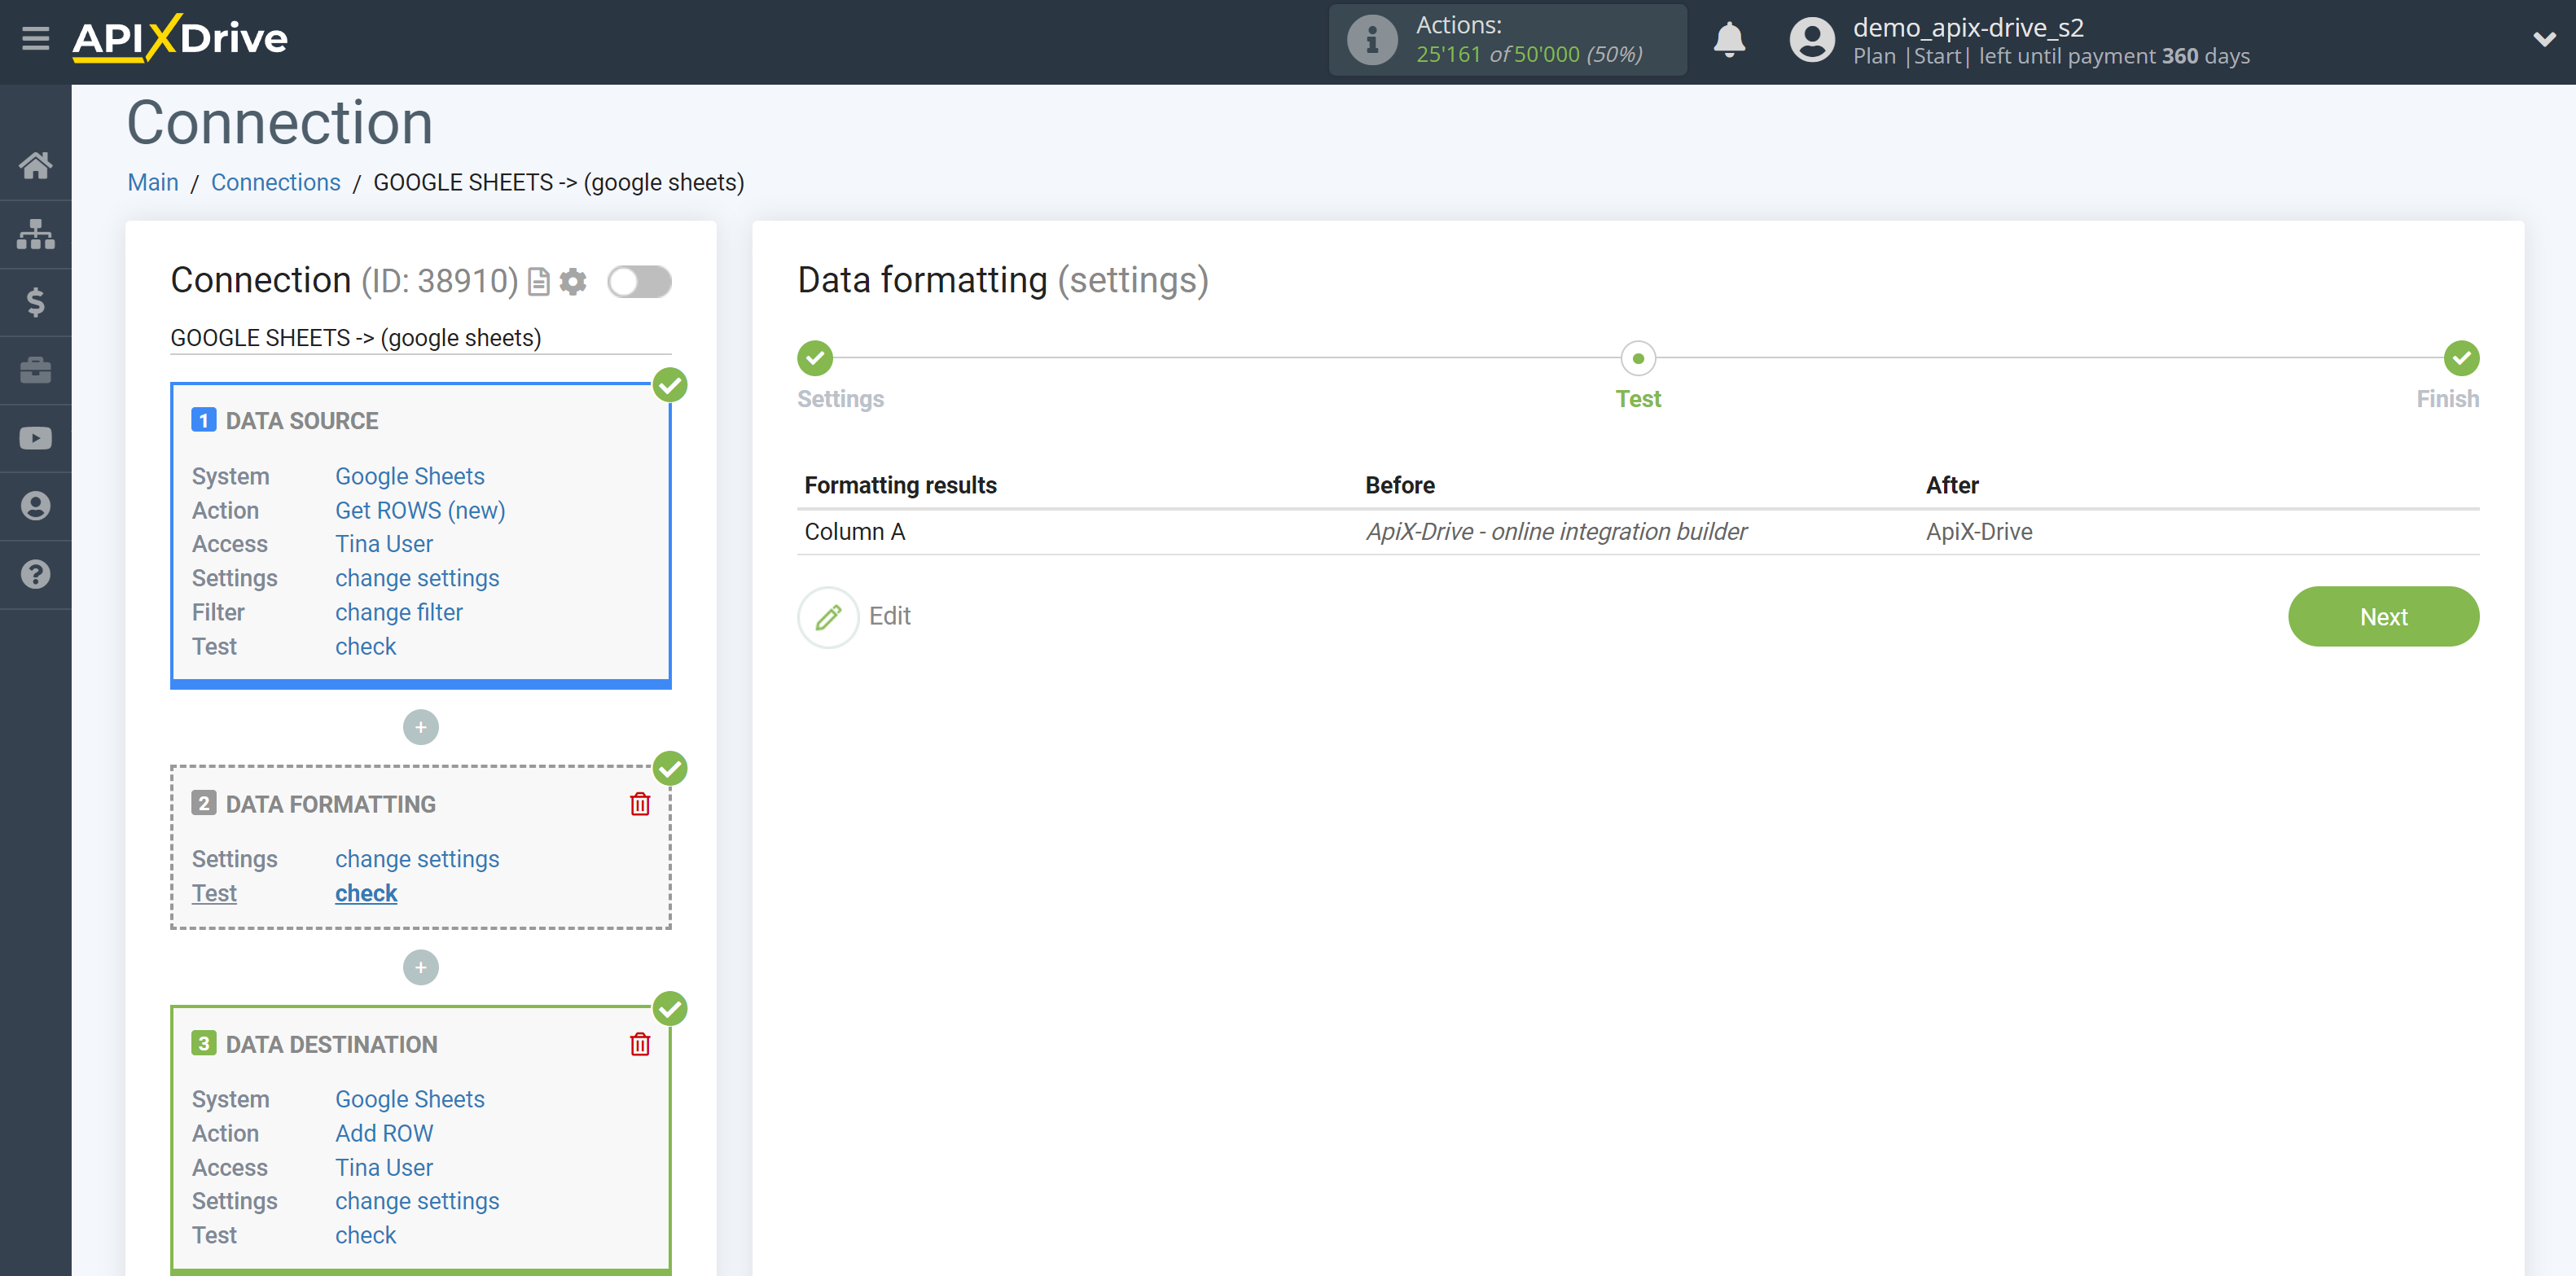
6. Cut from-to - allows you to set the gap between the characters that you want to leave, and delete everything else.
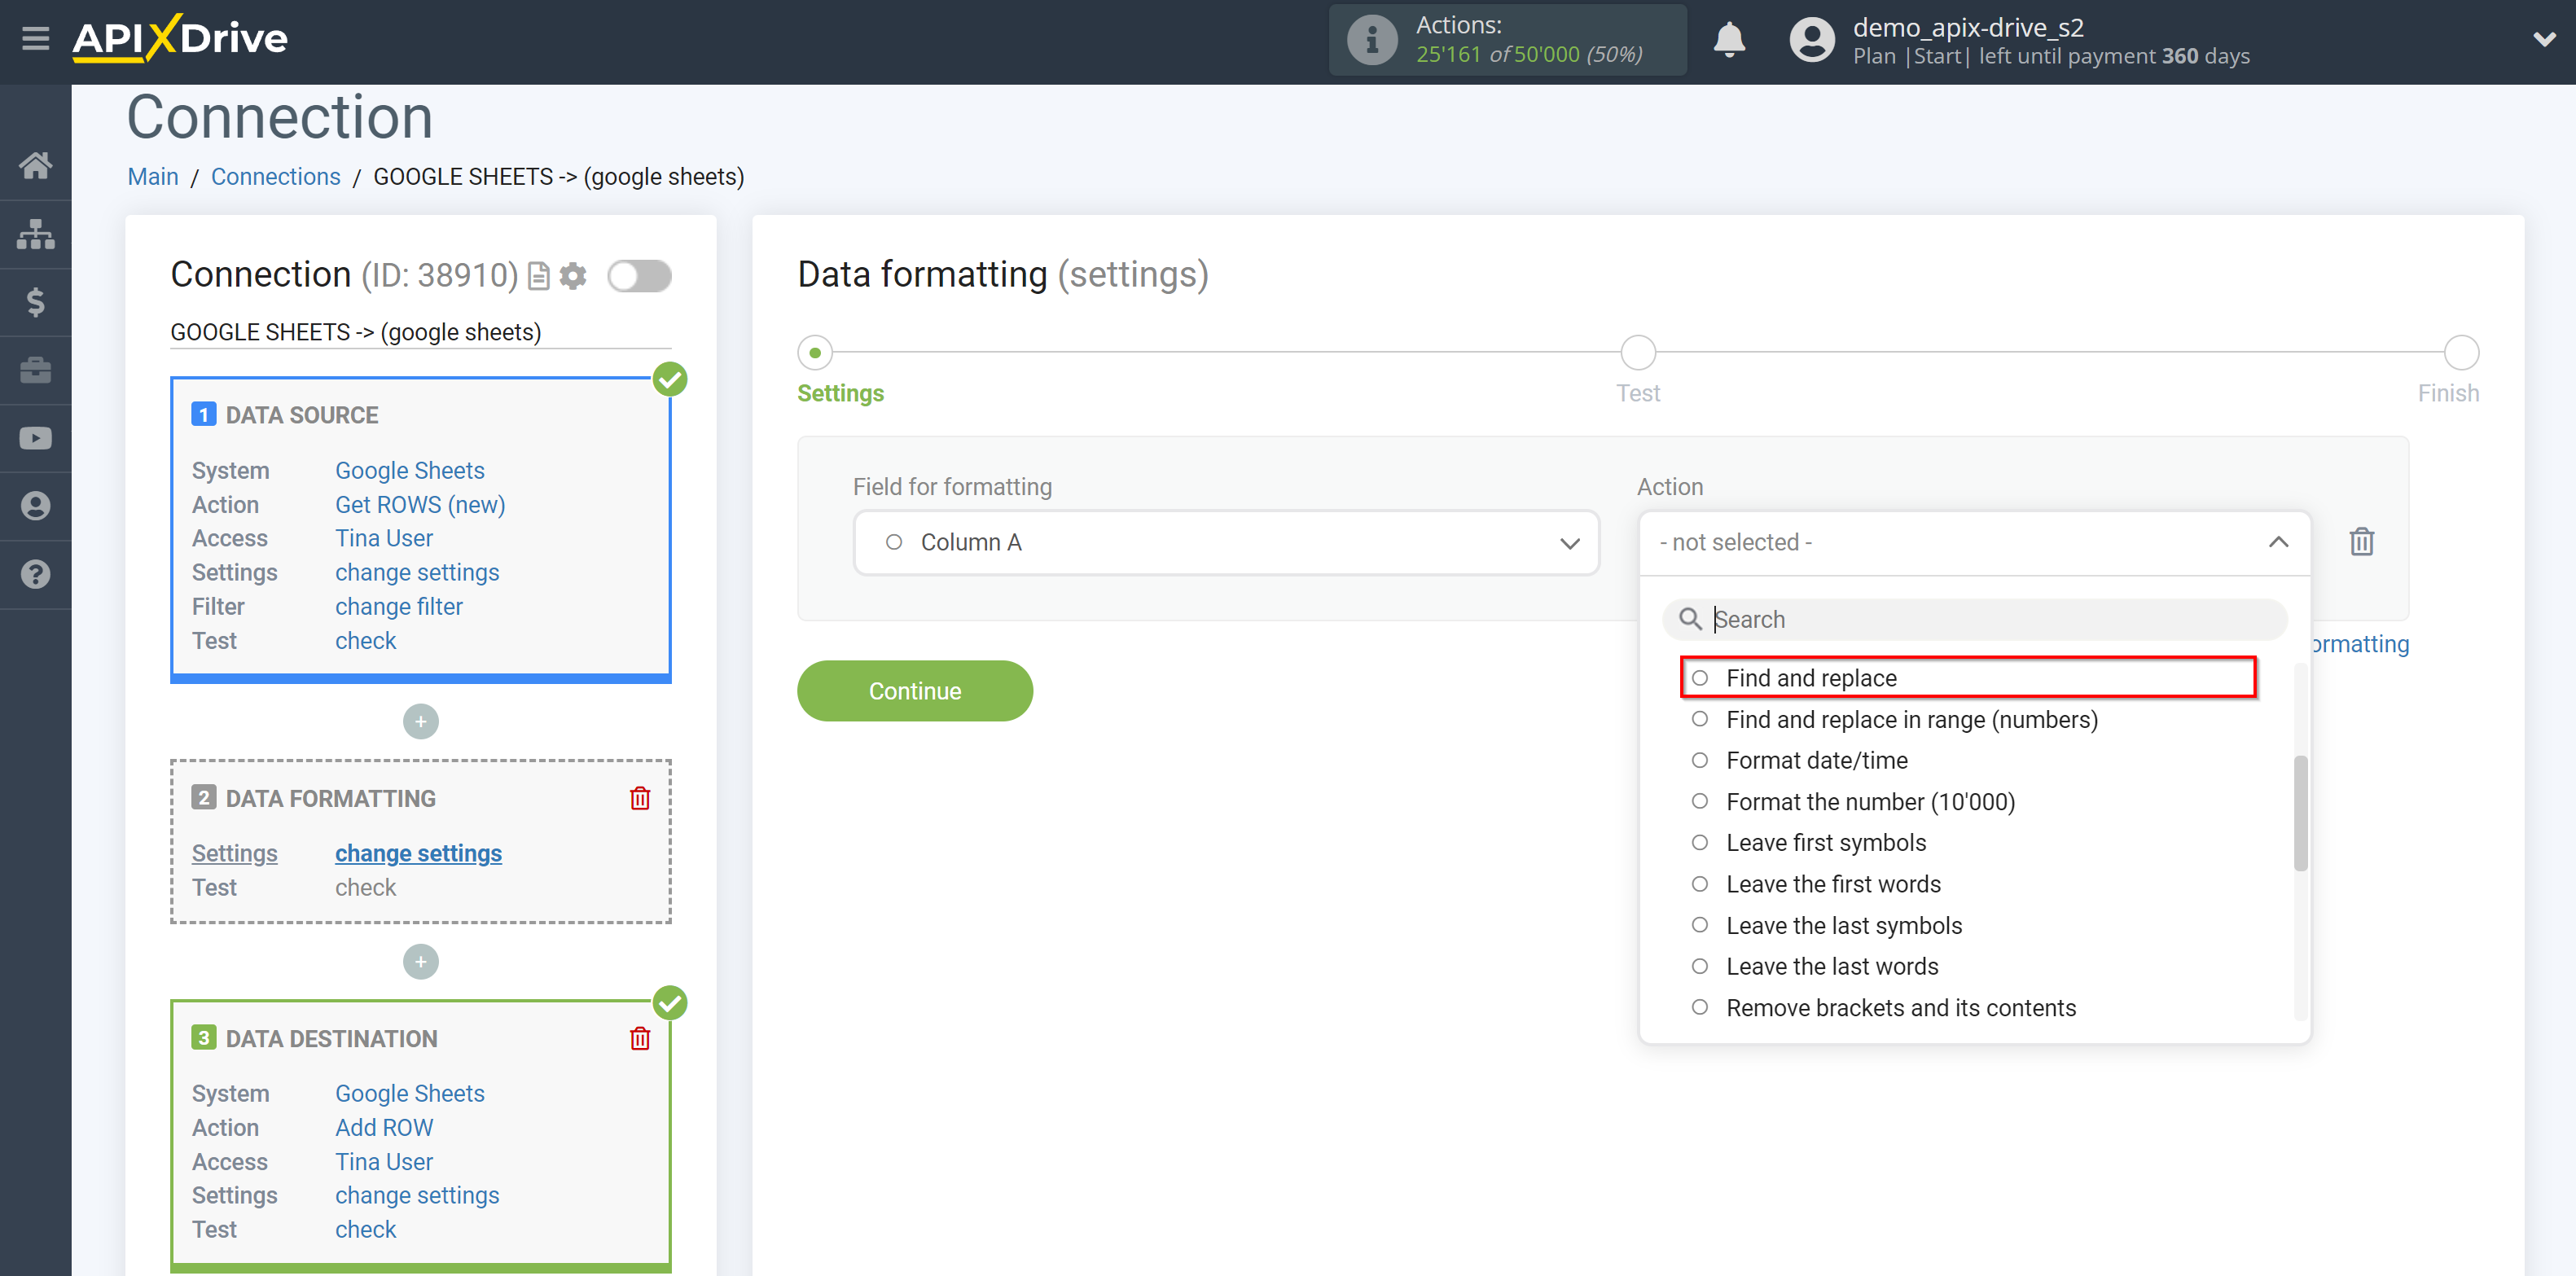
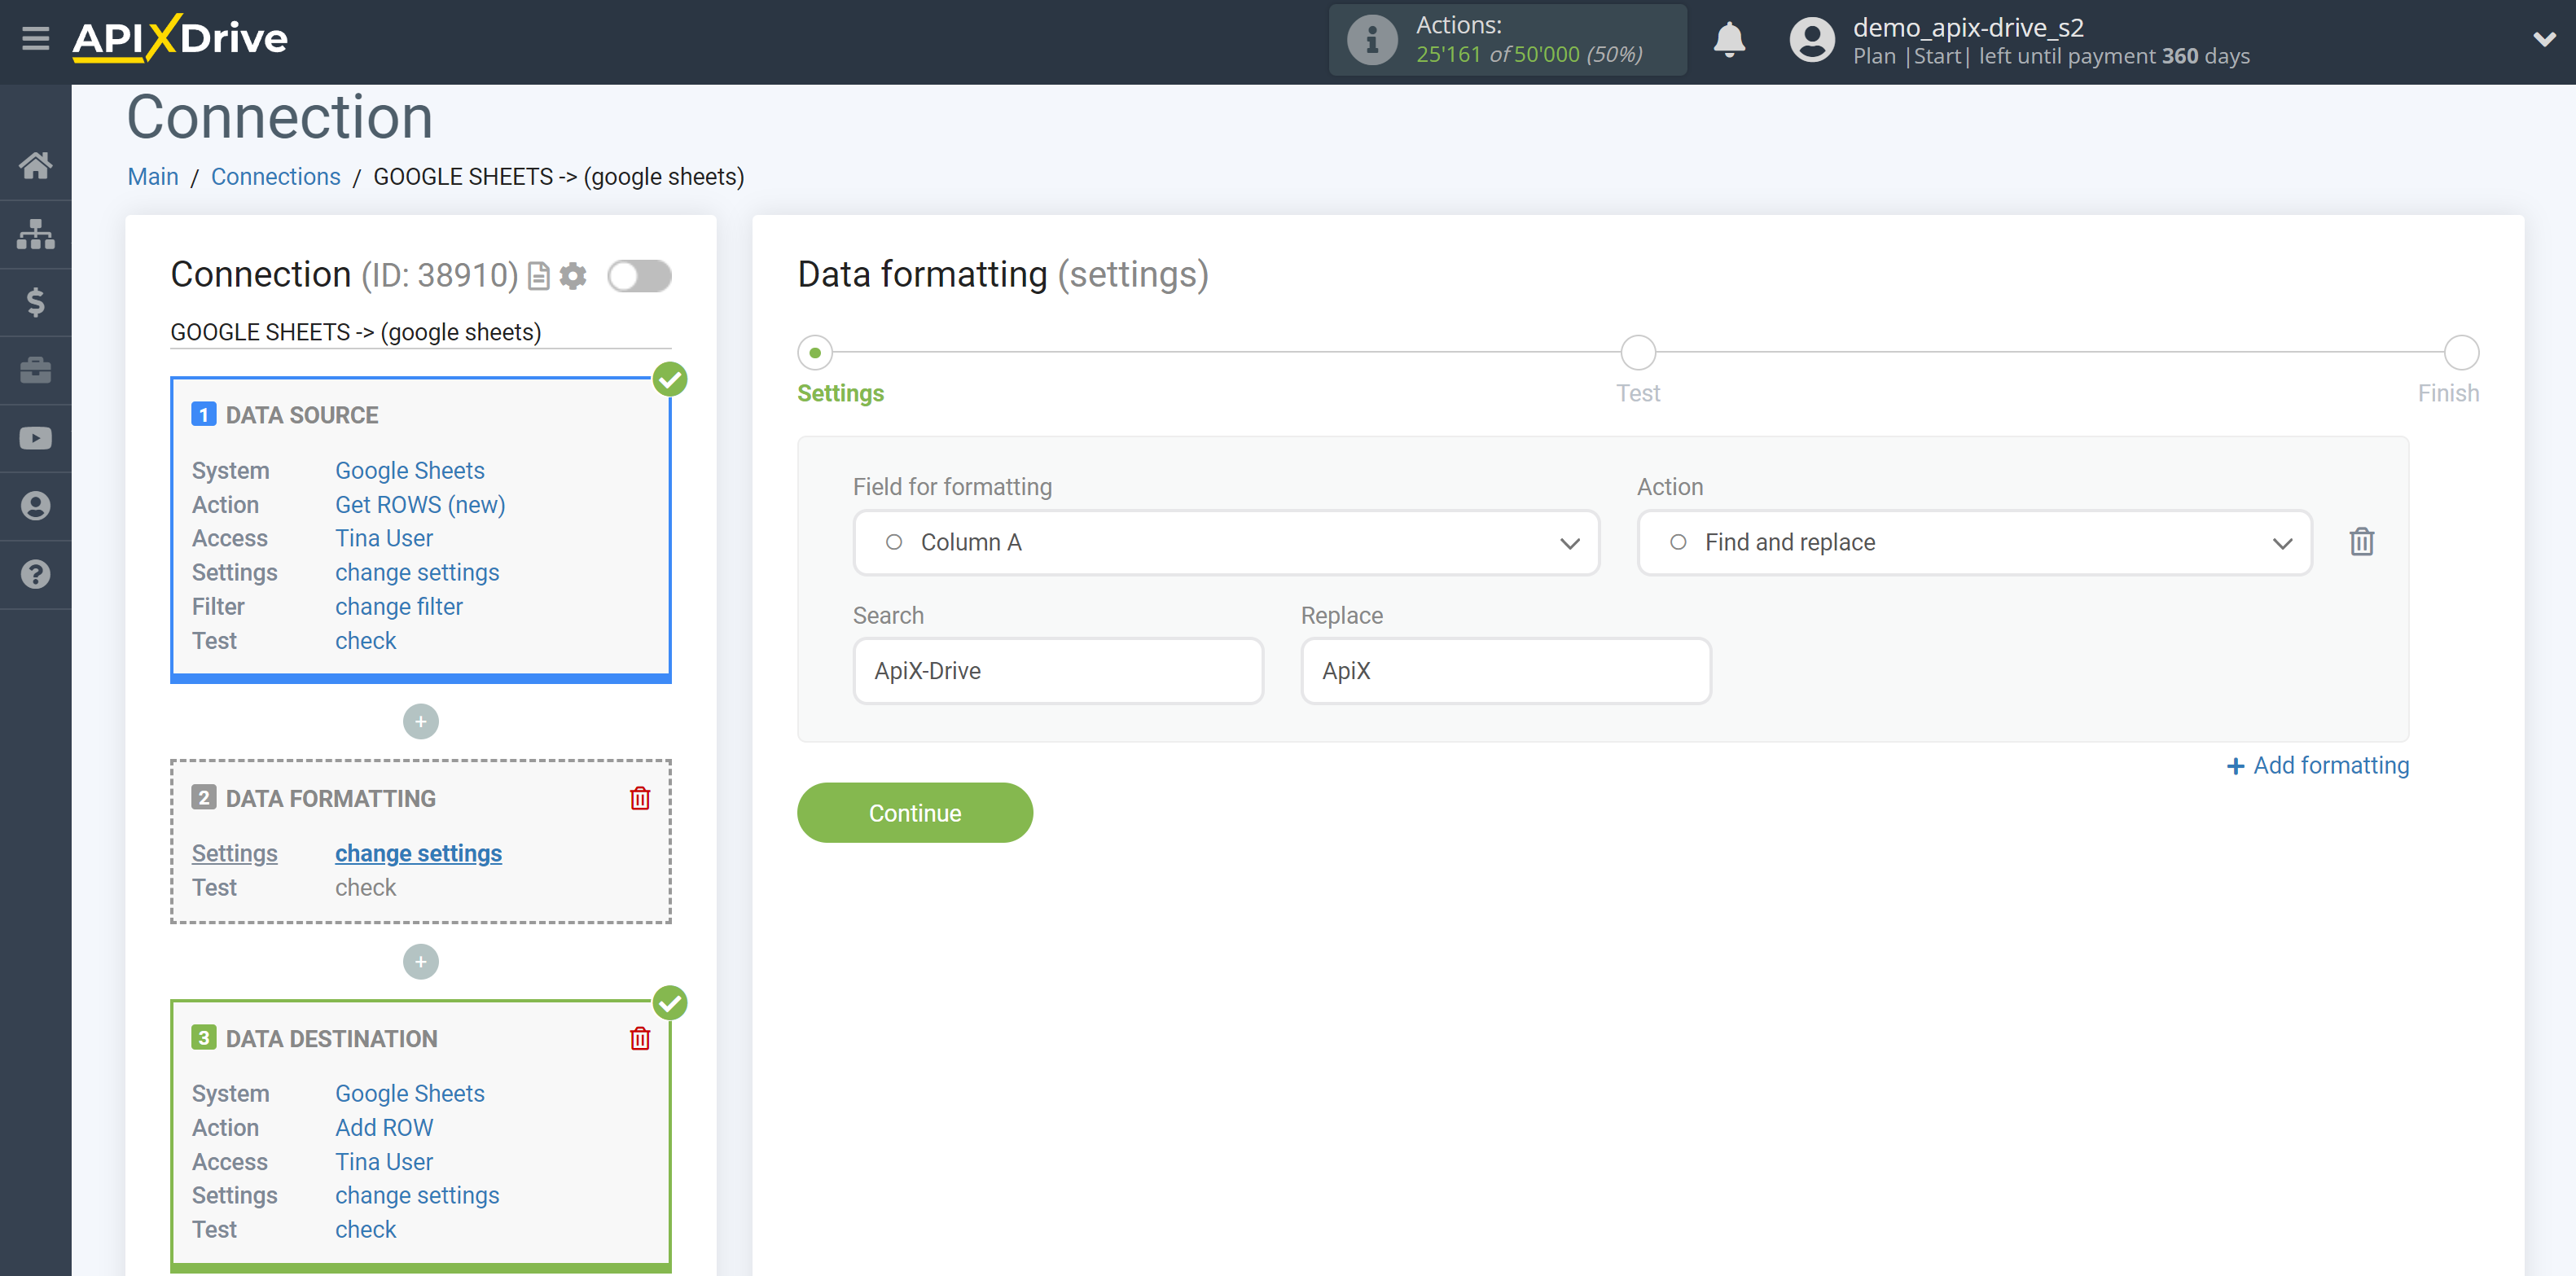
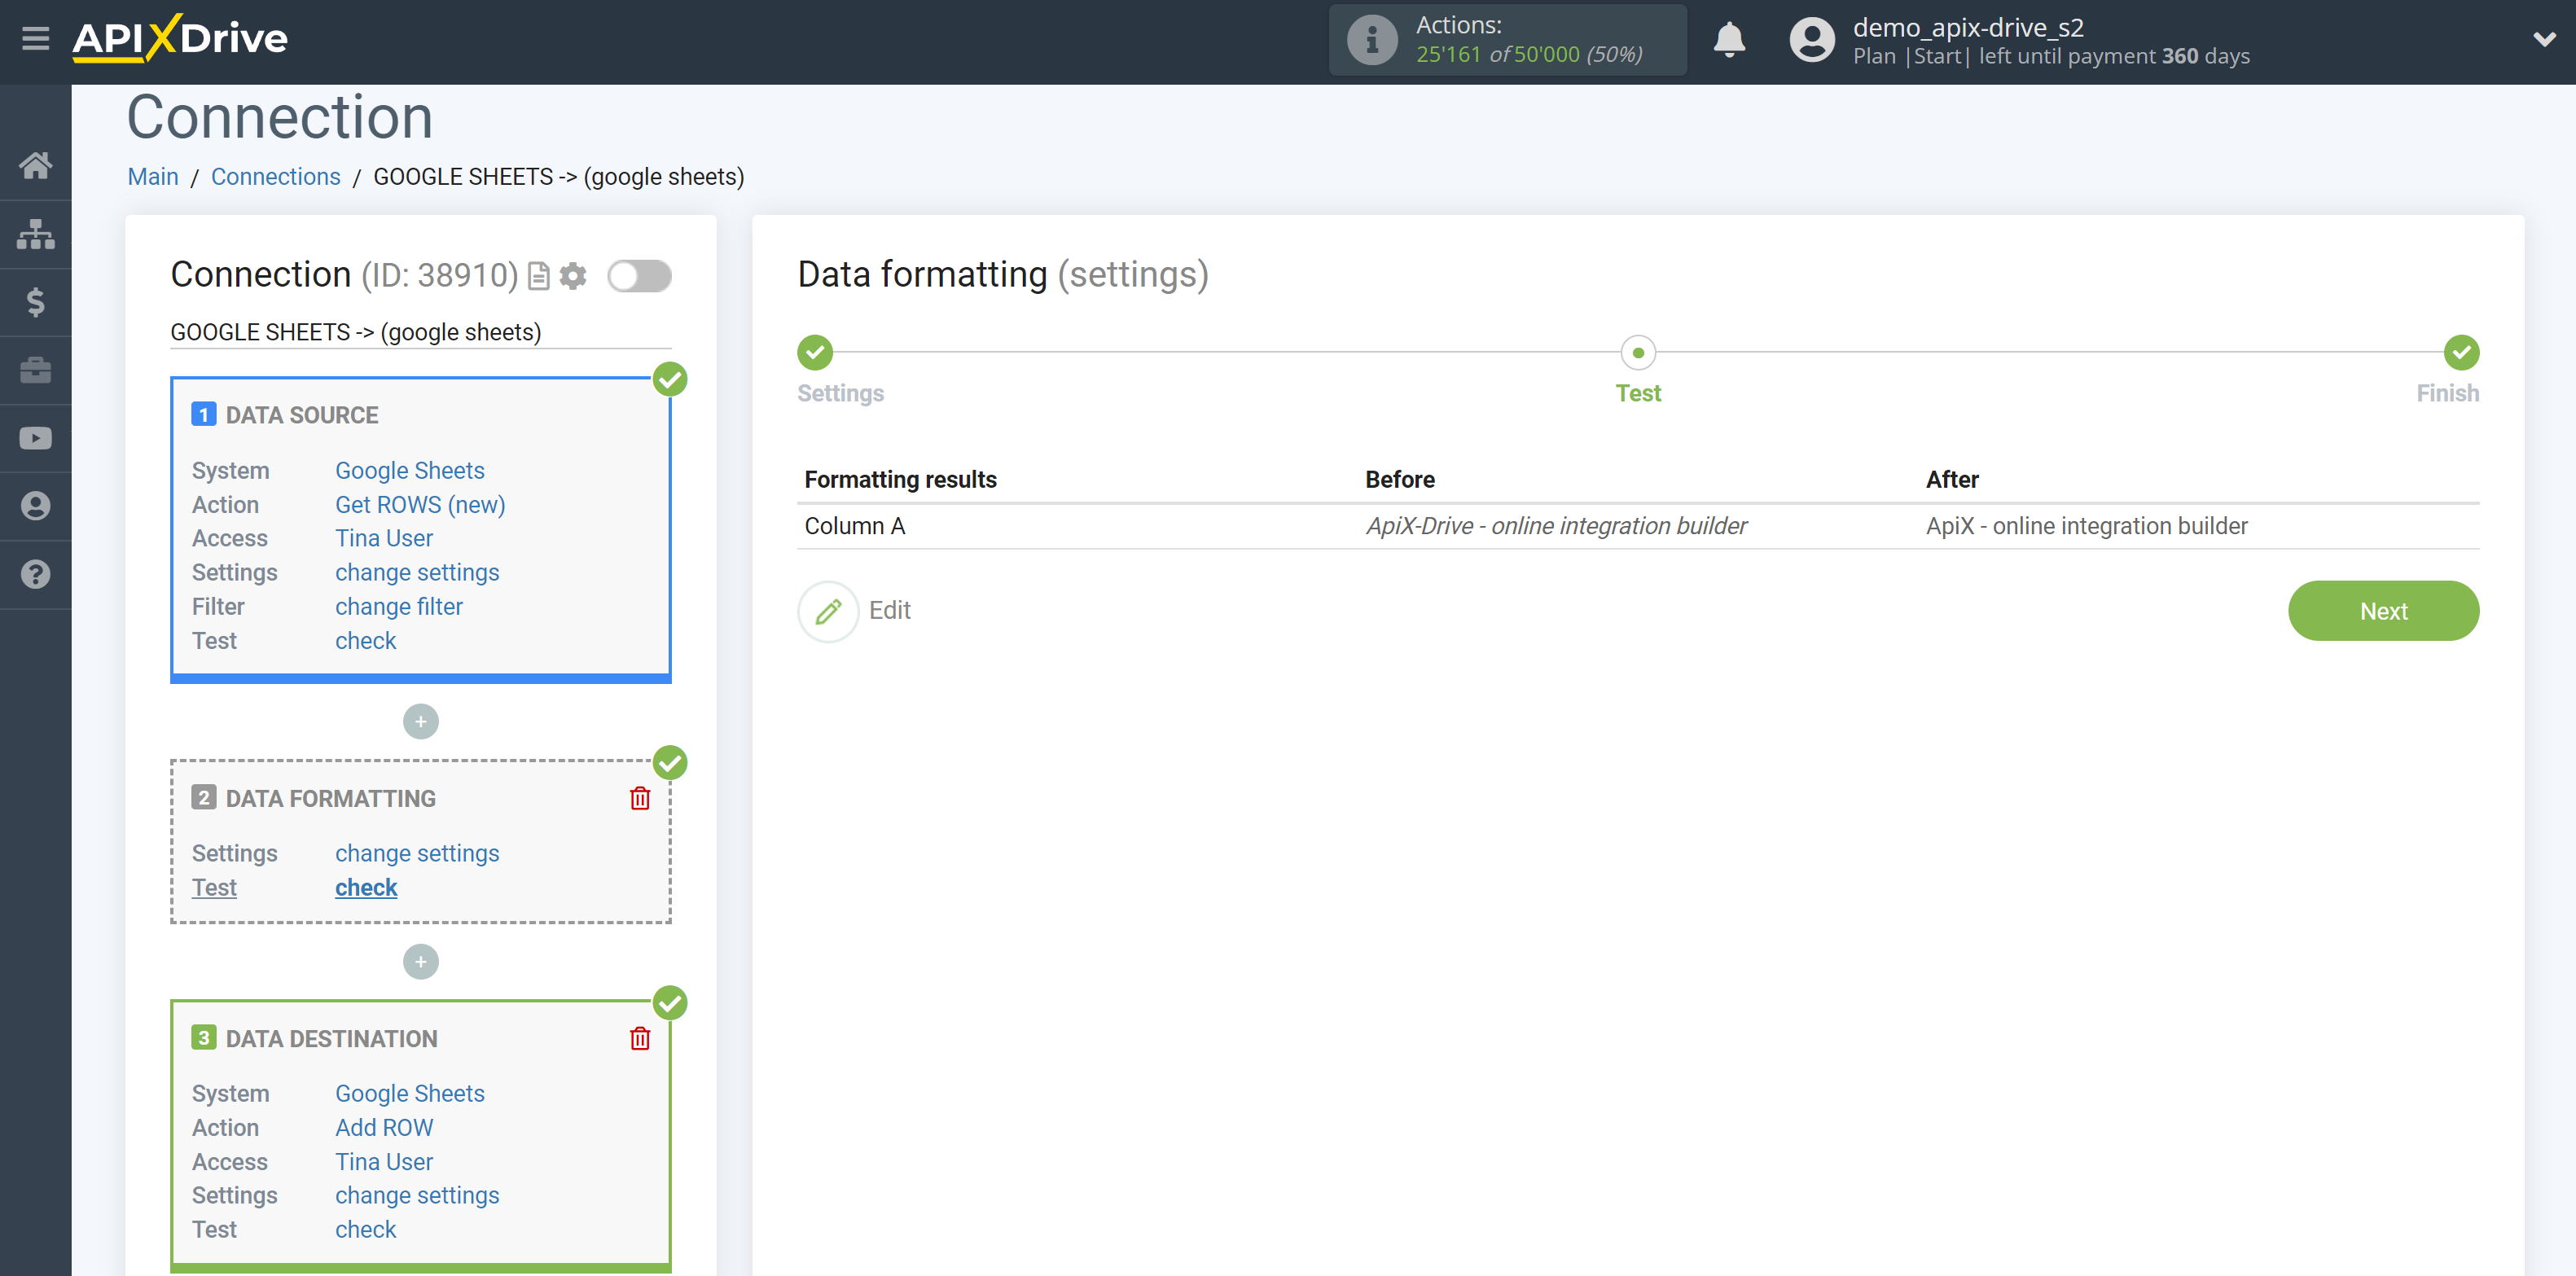
7. Find and replace - classic search and replace with the desired value.
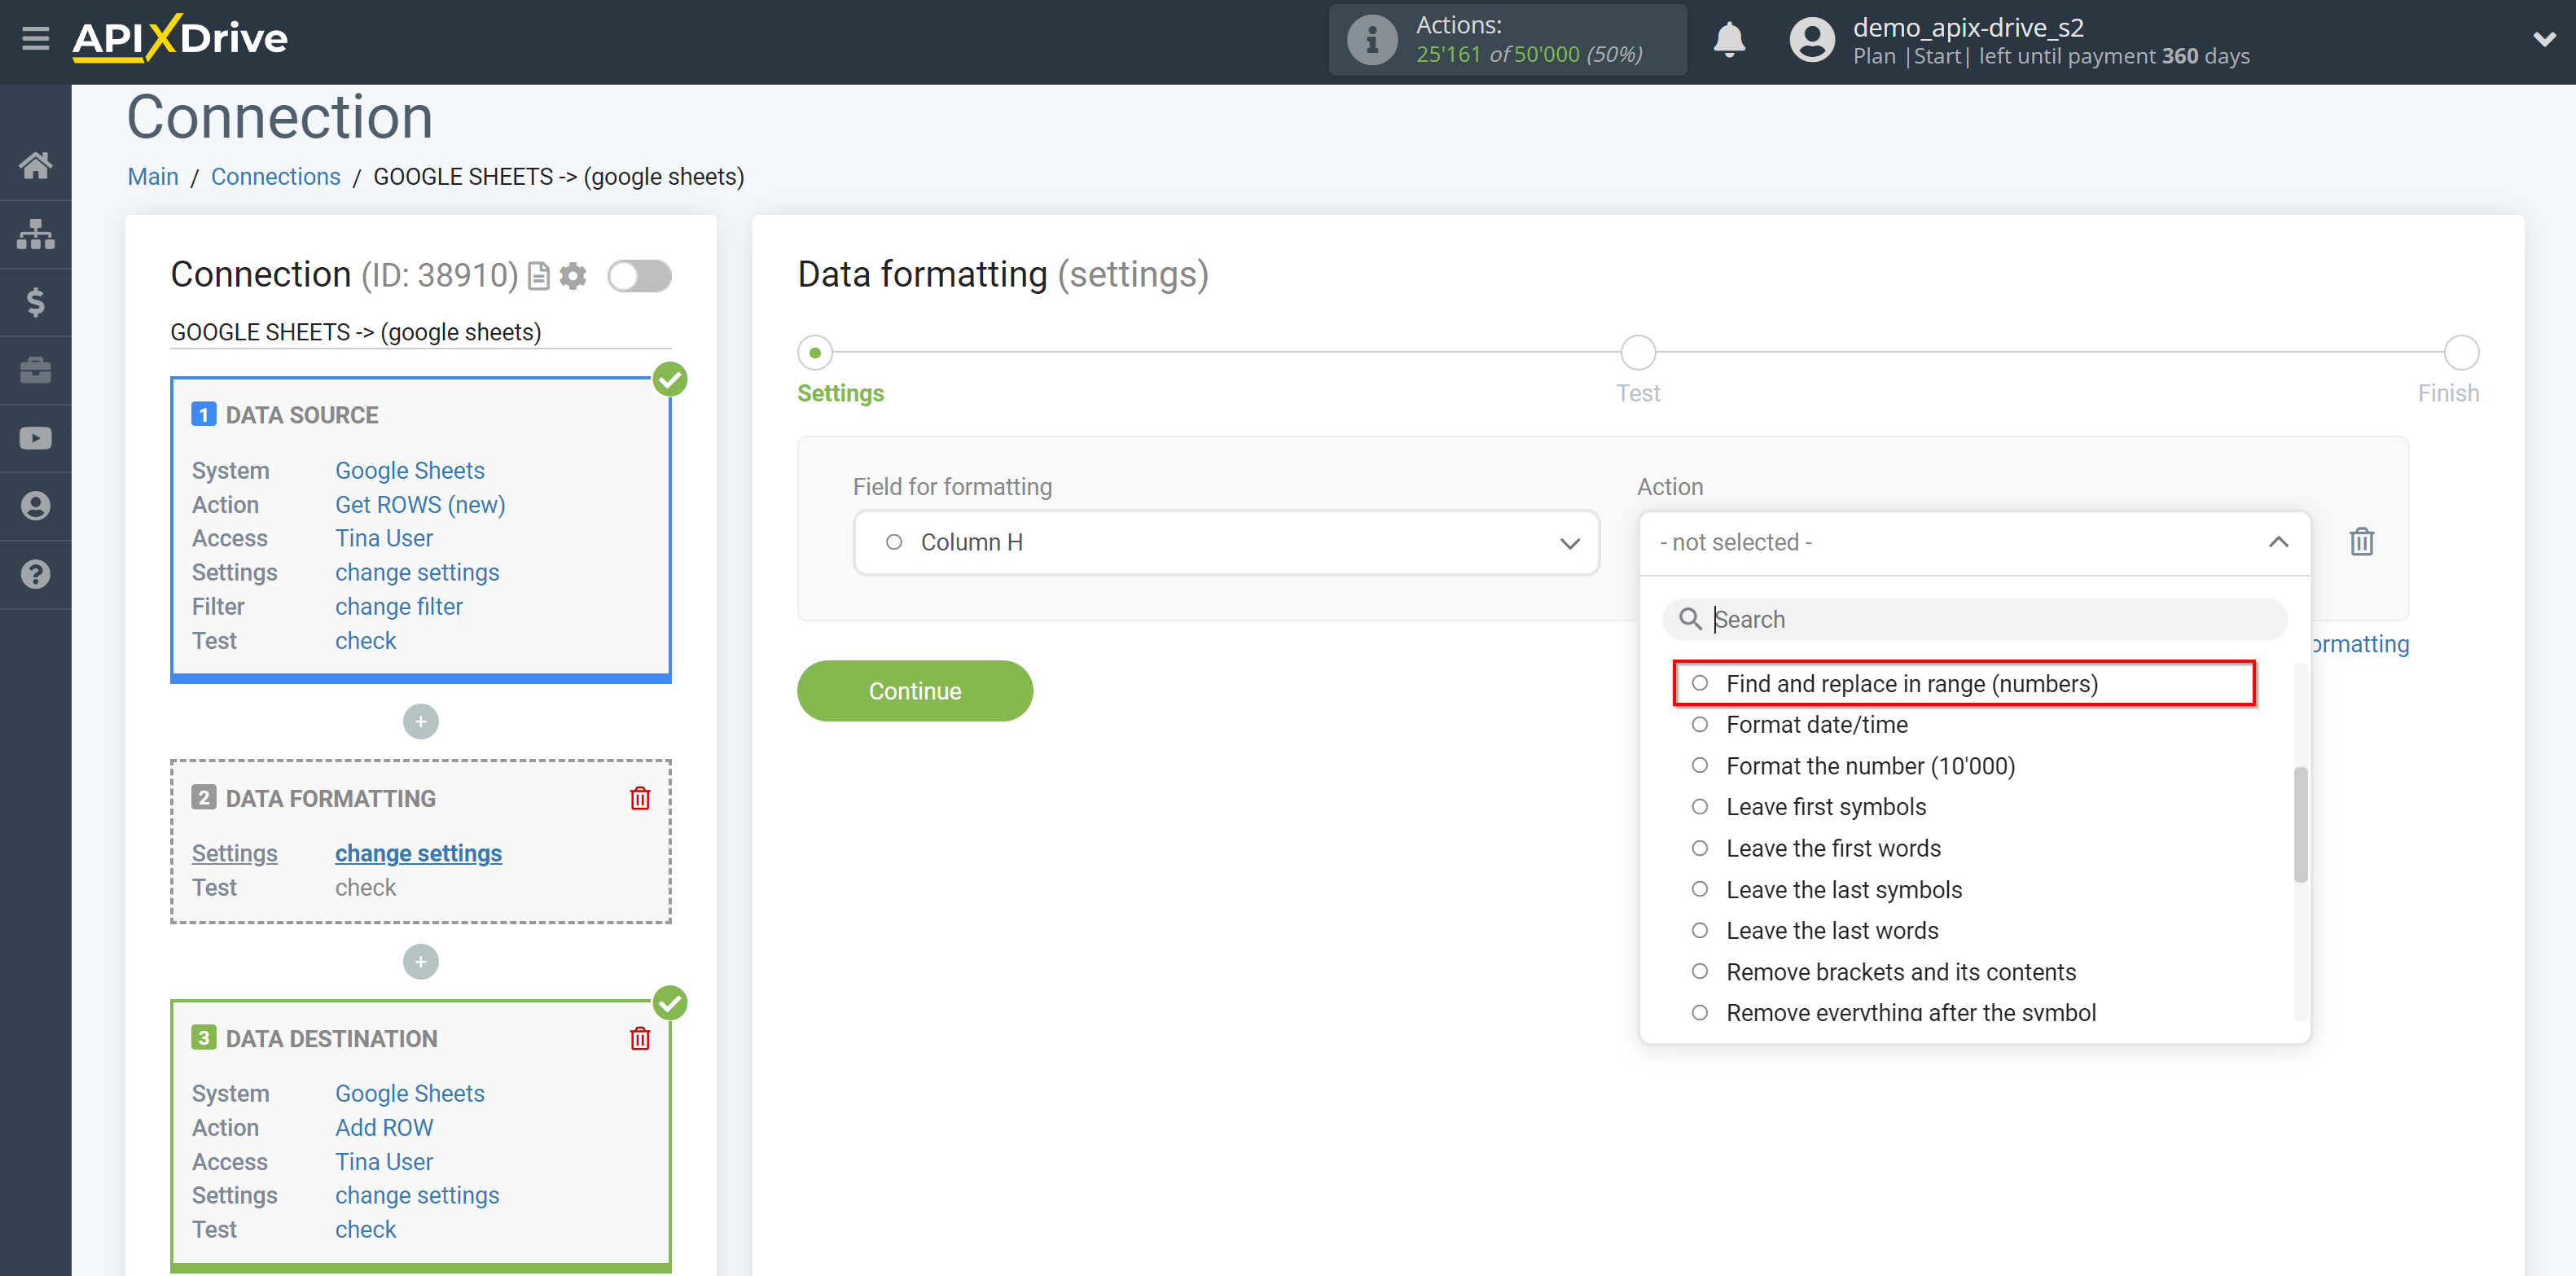
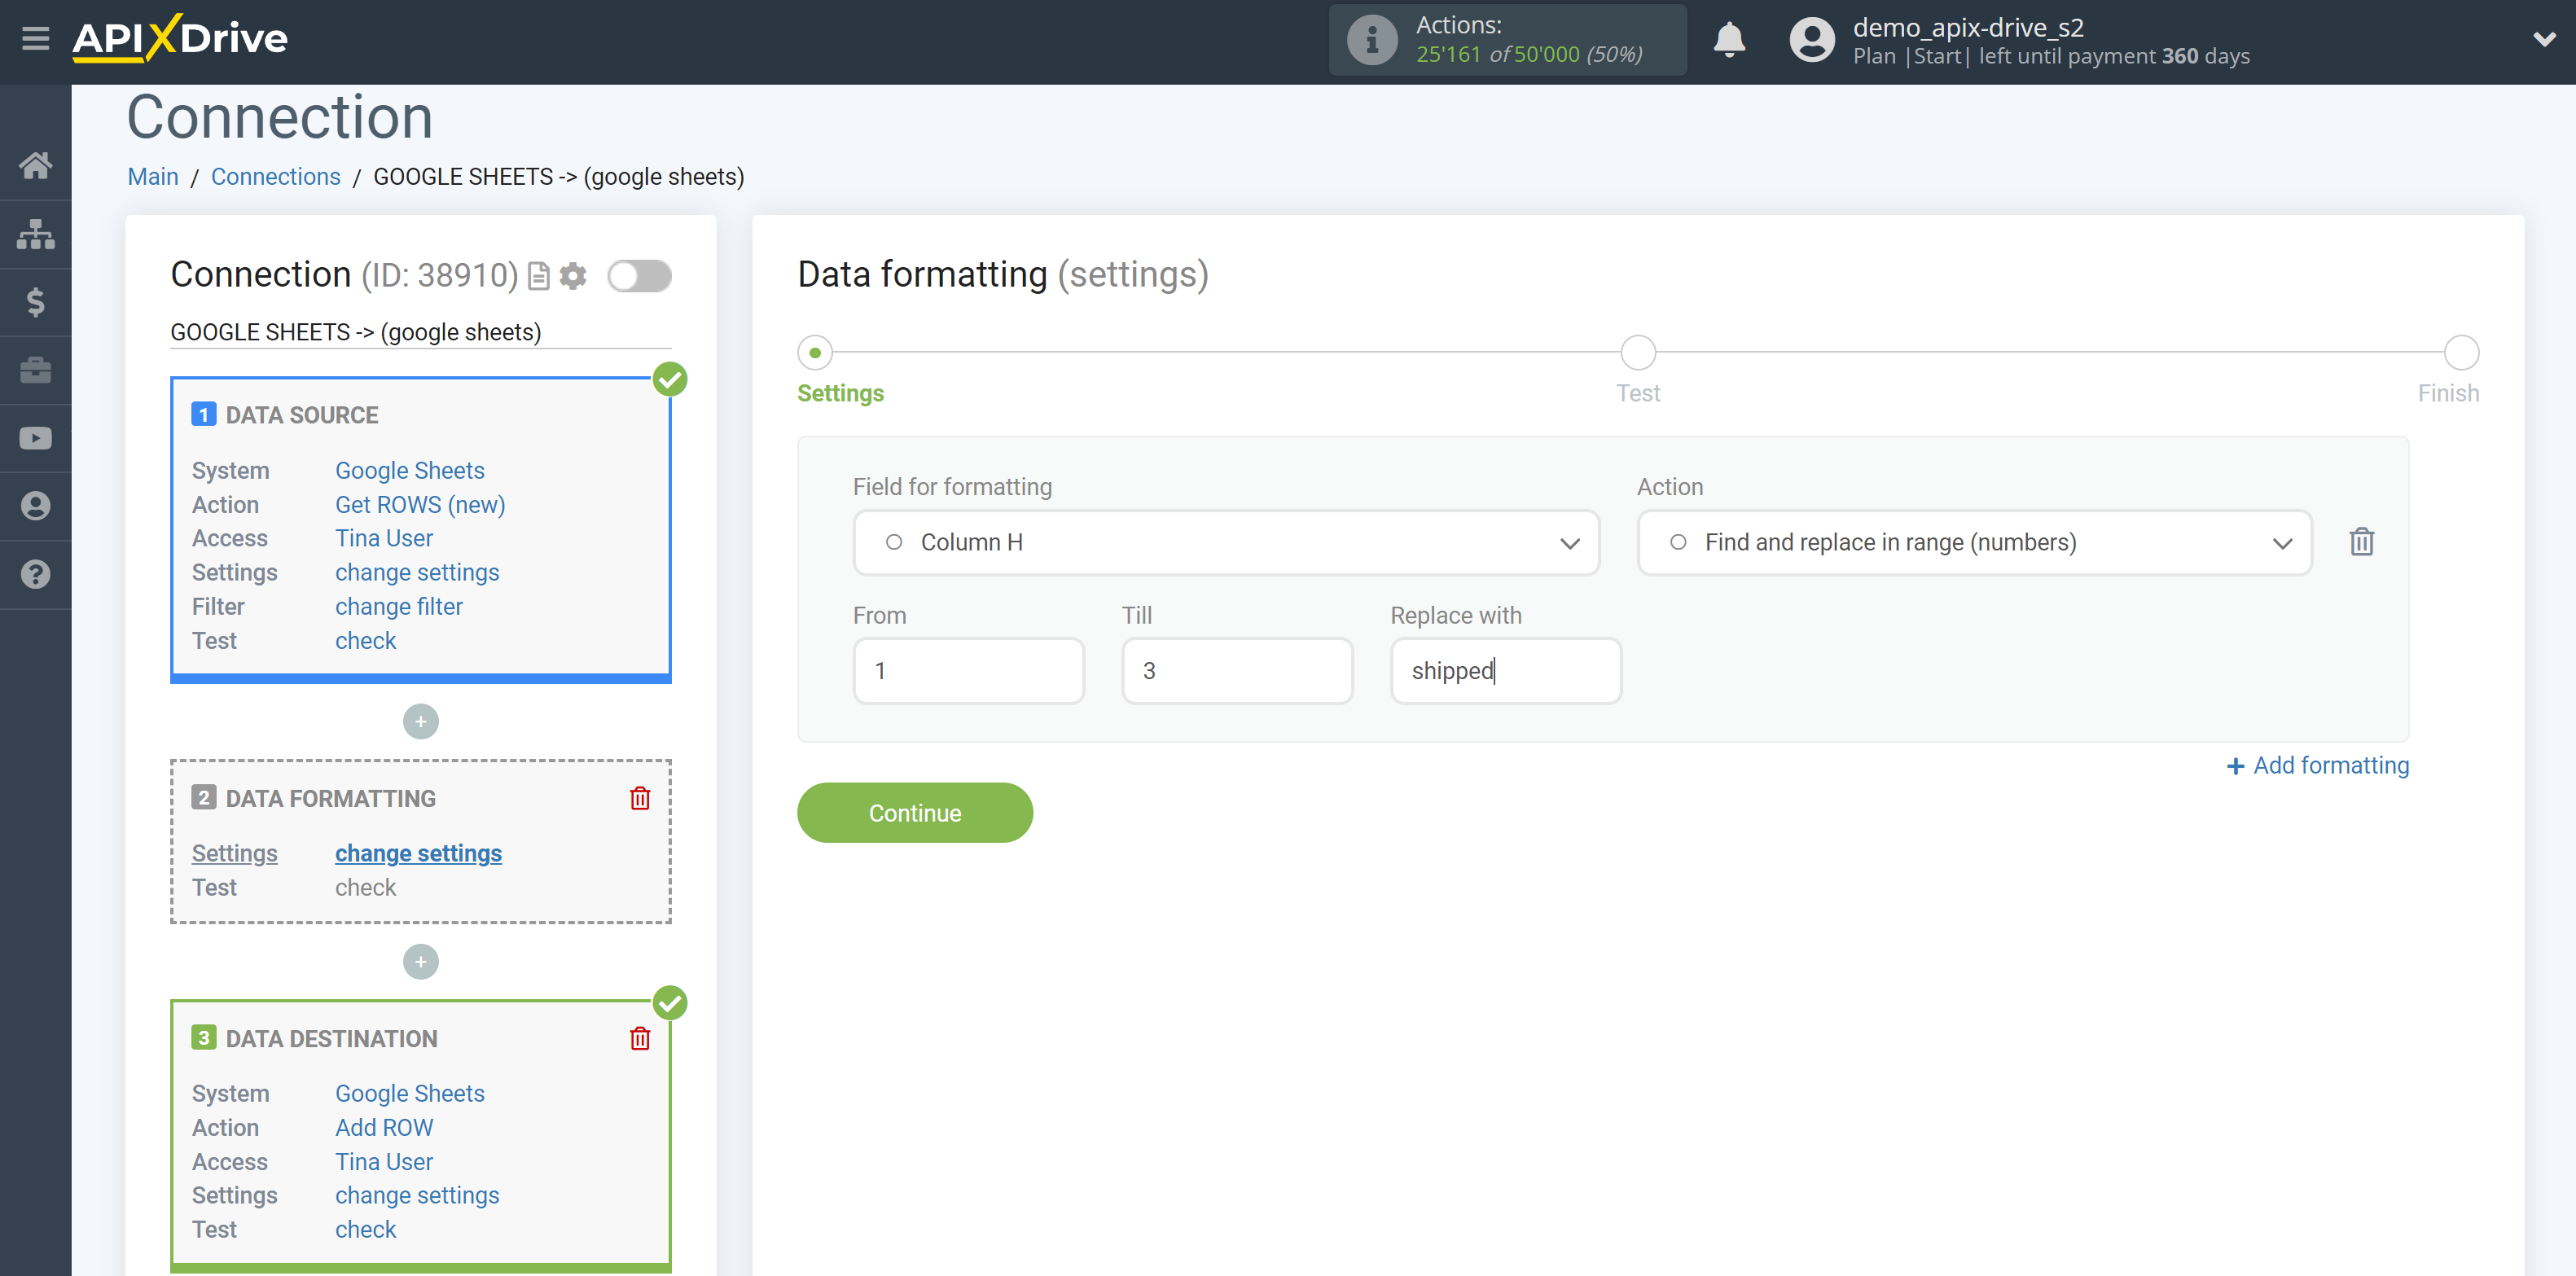
8. Find and replace in range (numbers) - you can specify the limit of numbers from and to, which will be replaced, for example, with words.
9. Format date/time - allows you to change the format to fit the requirements for CRM systems or other services.
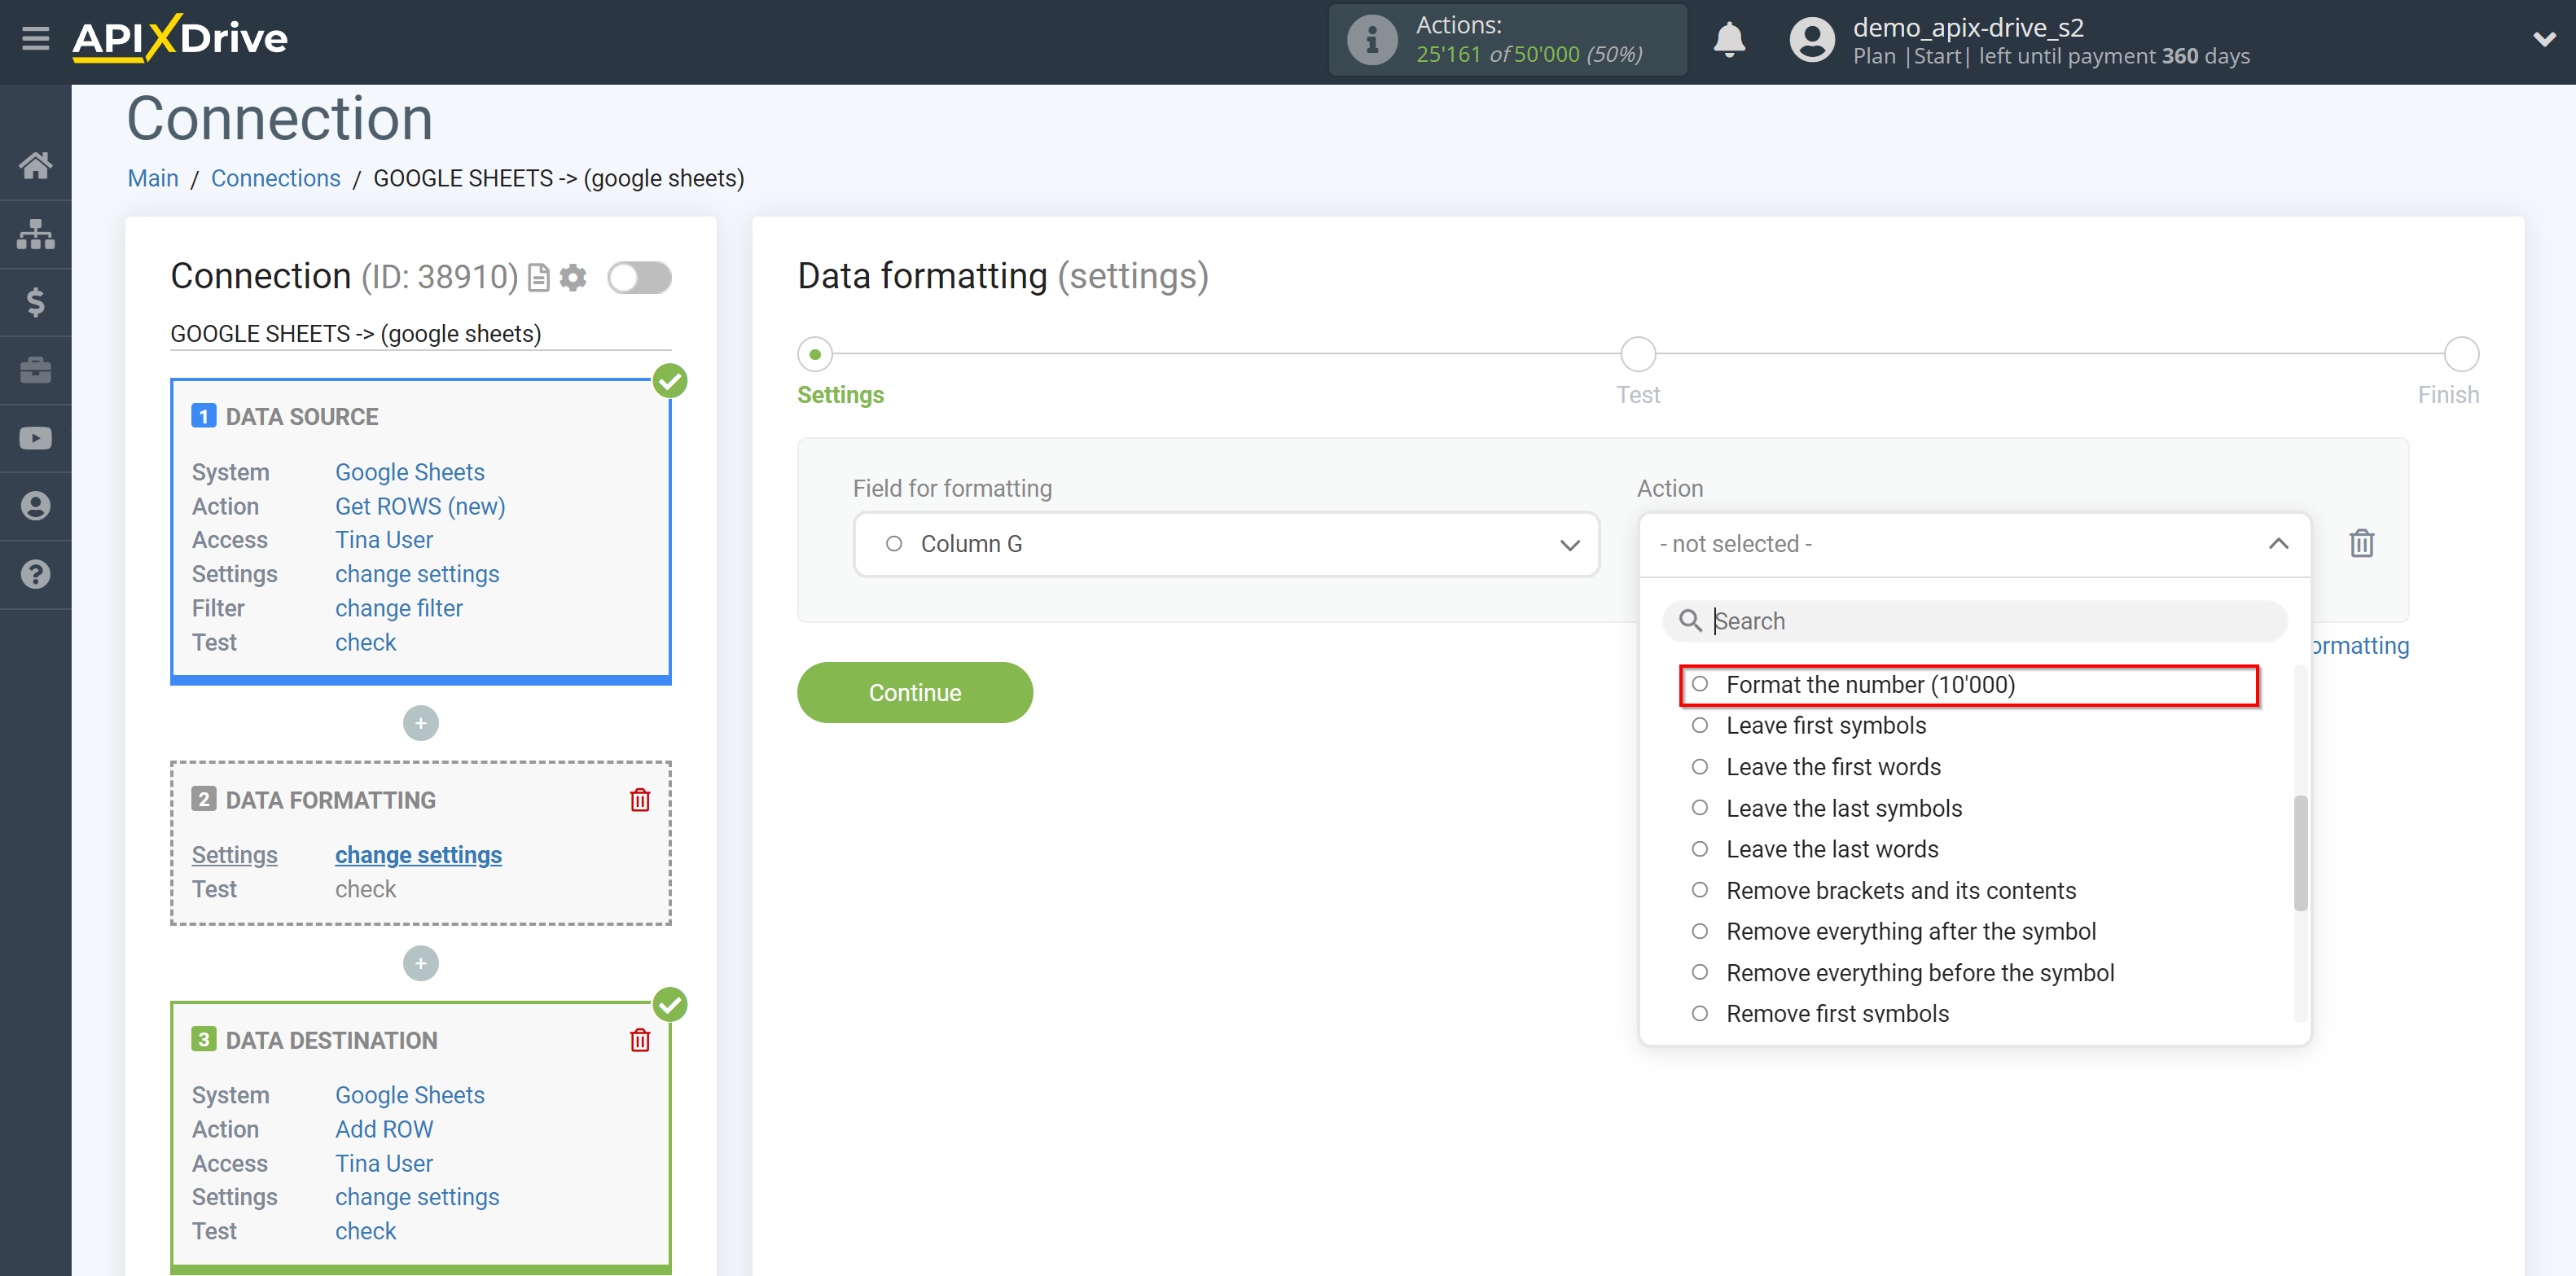
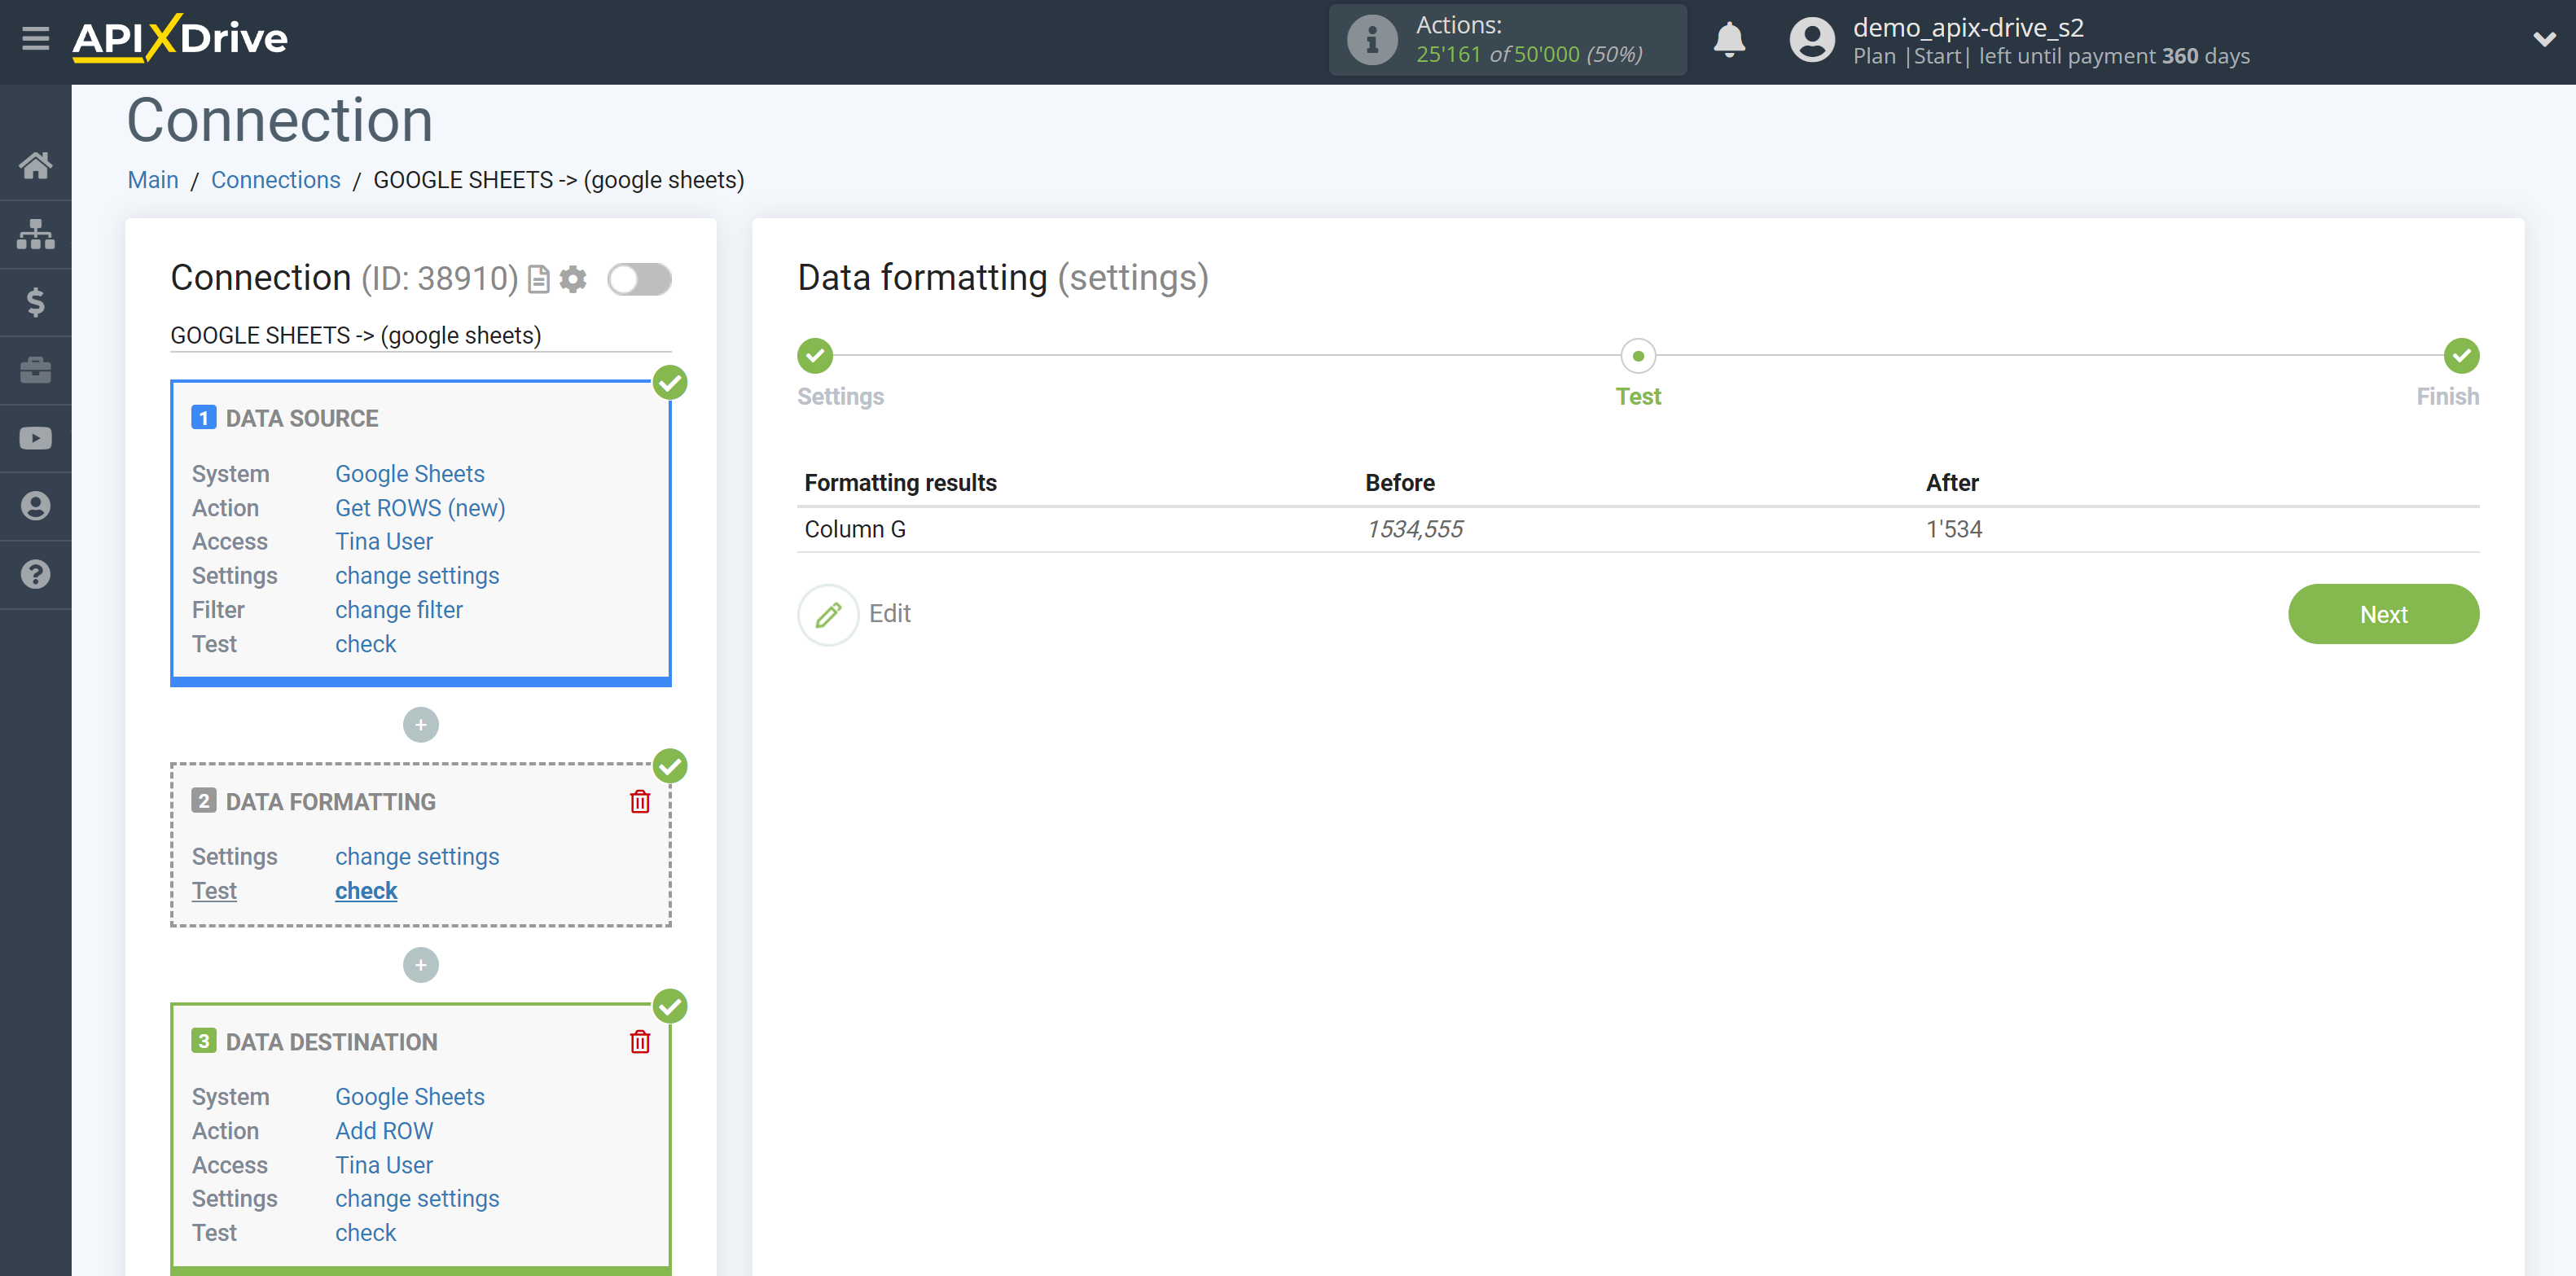
10. Format the number (10’000) - allows you to change the representation of the number.
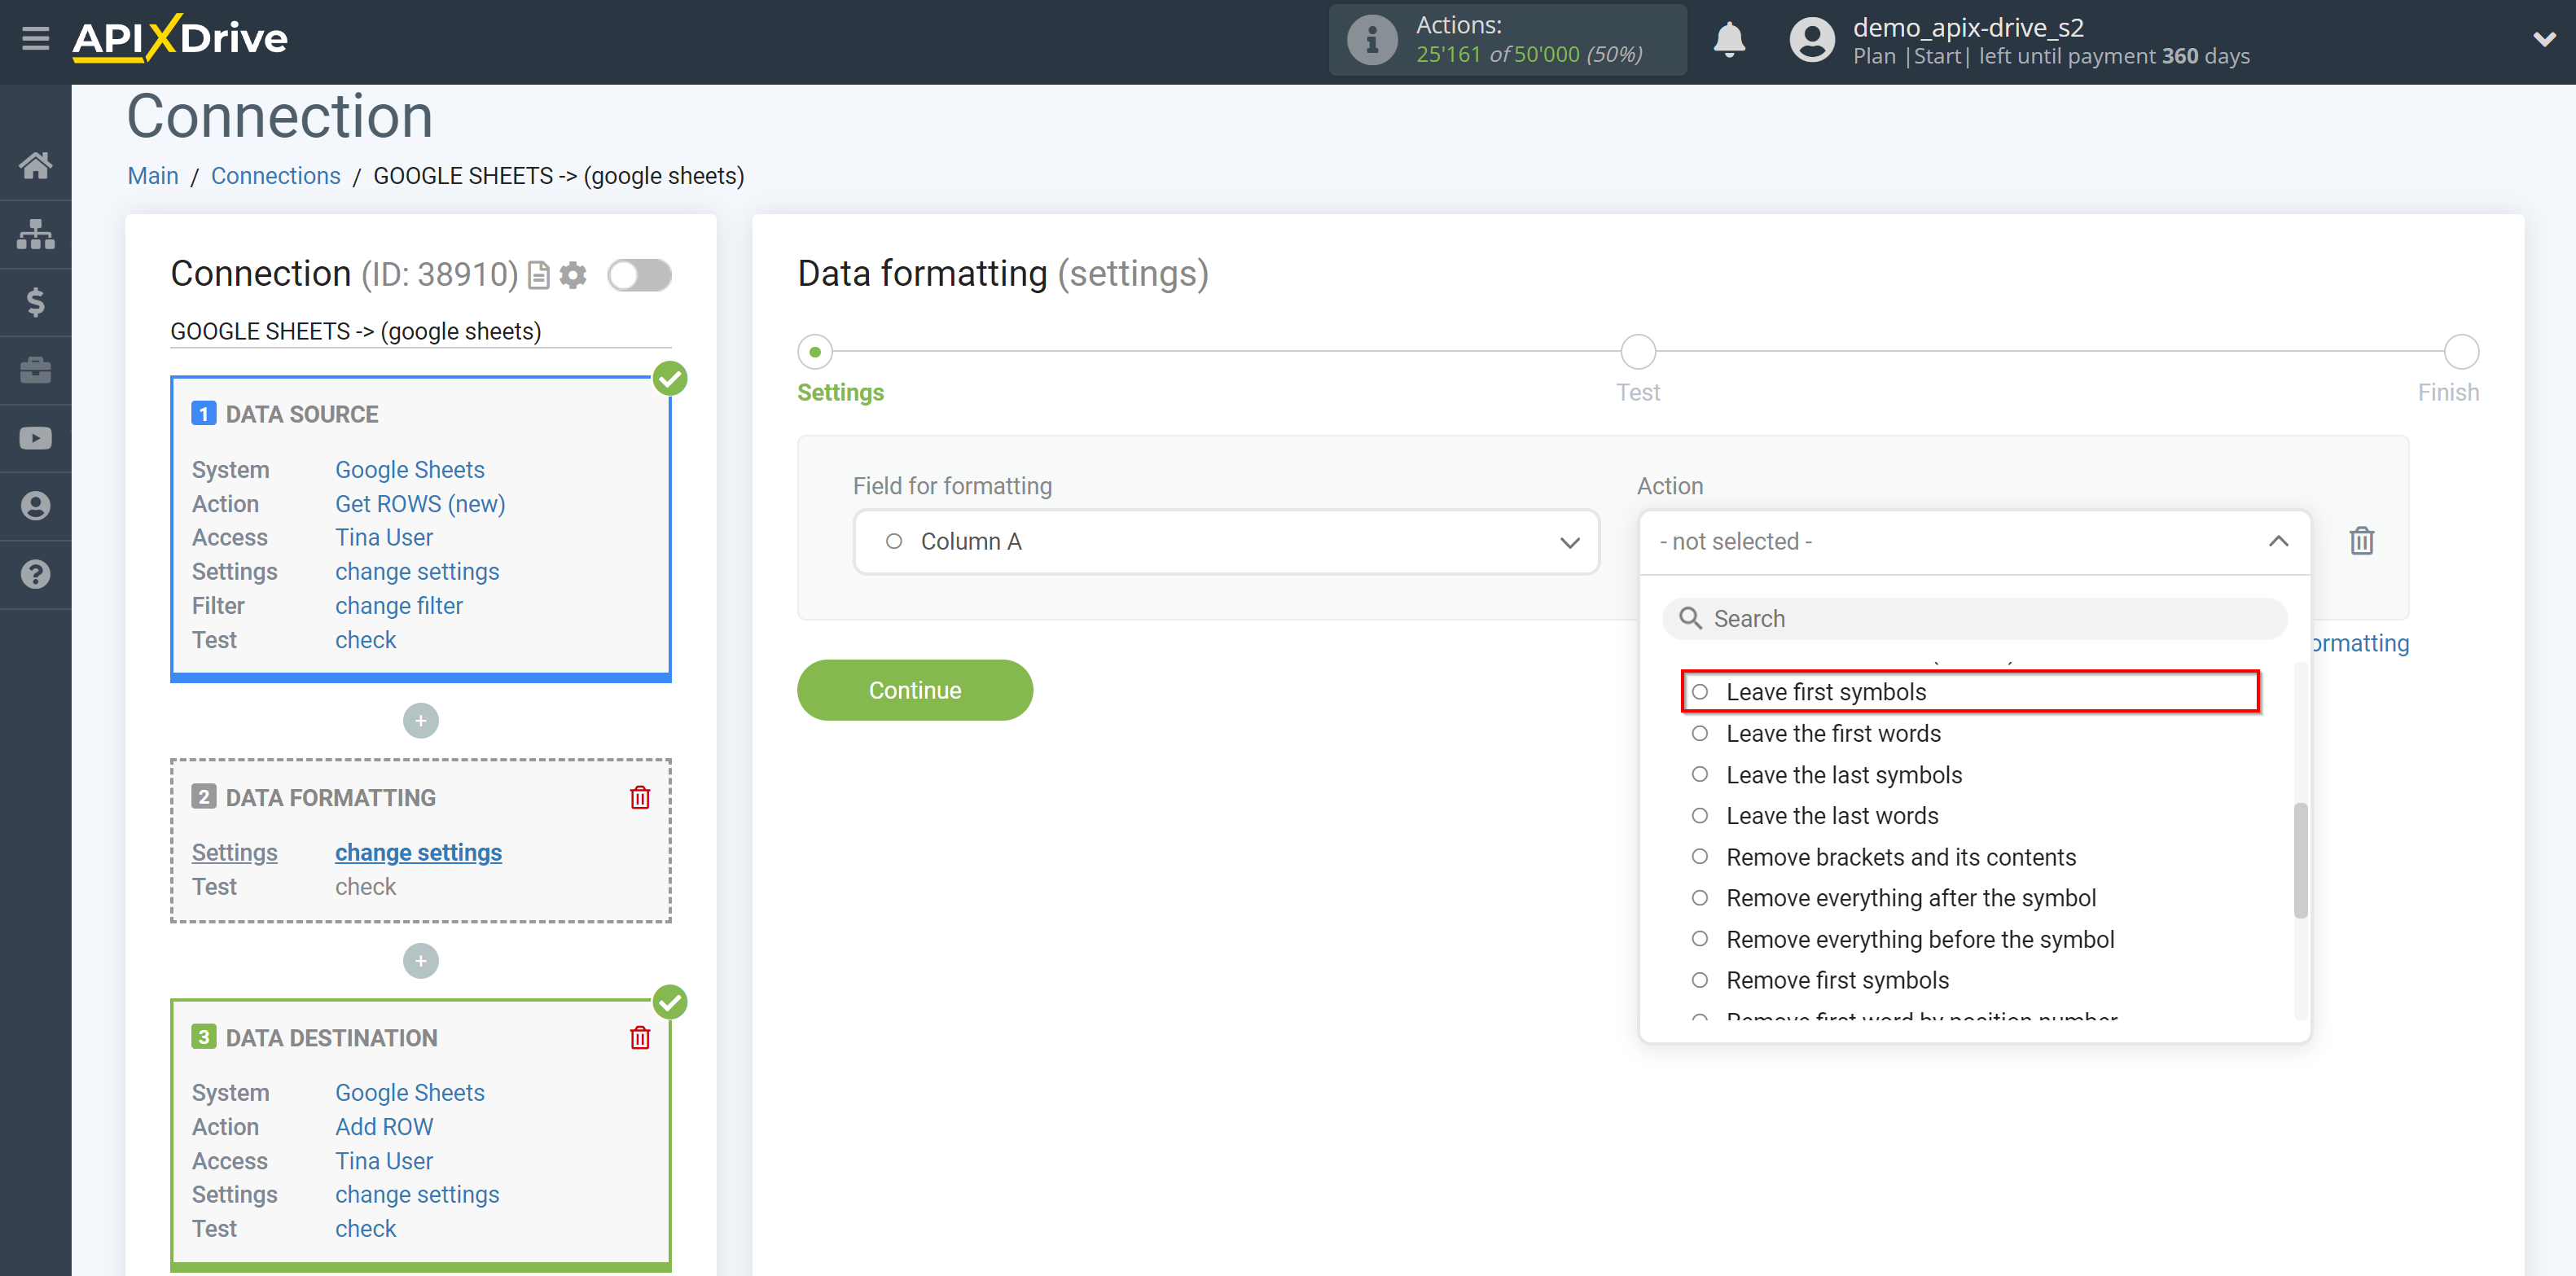
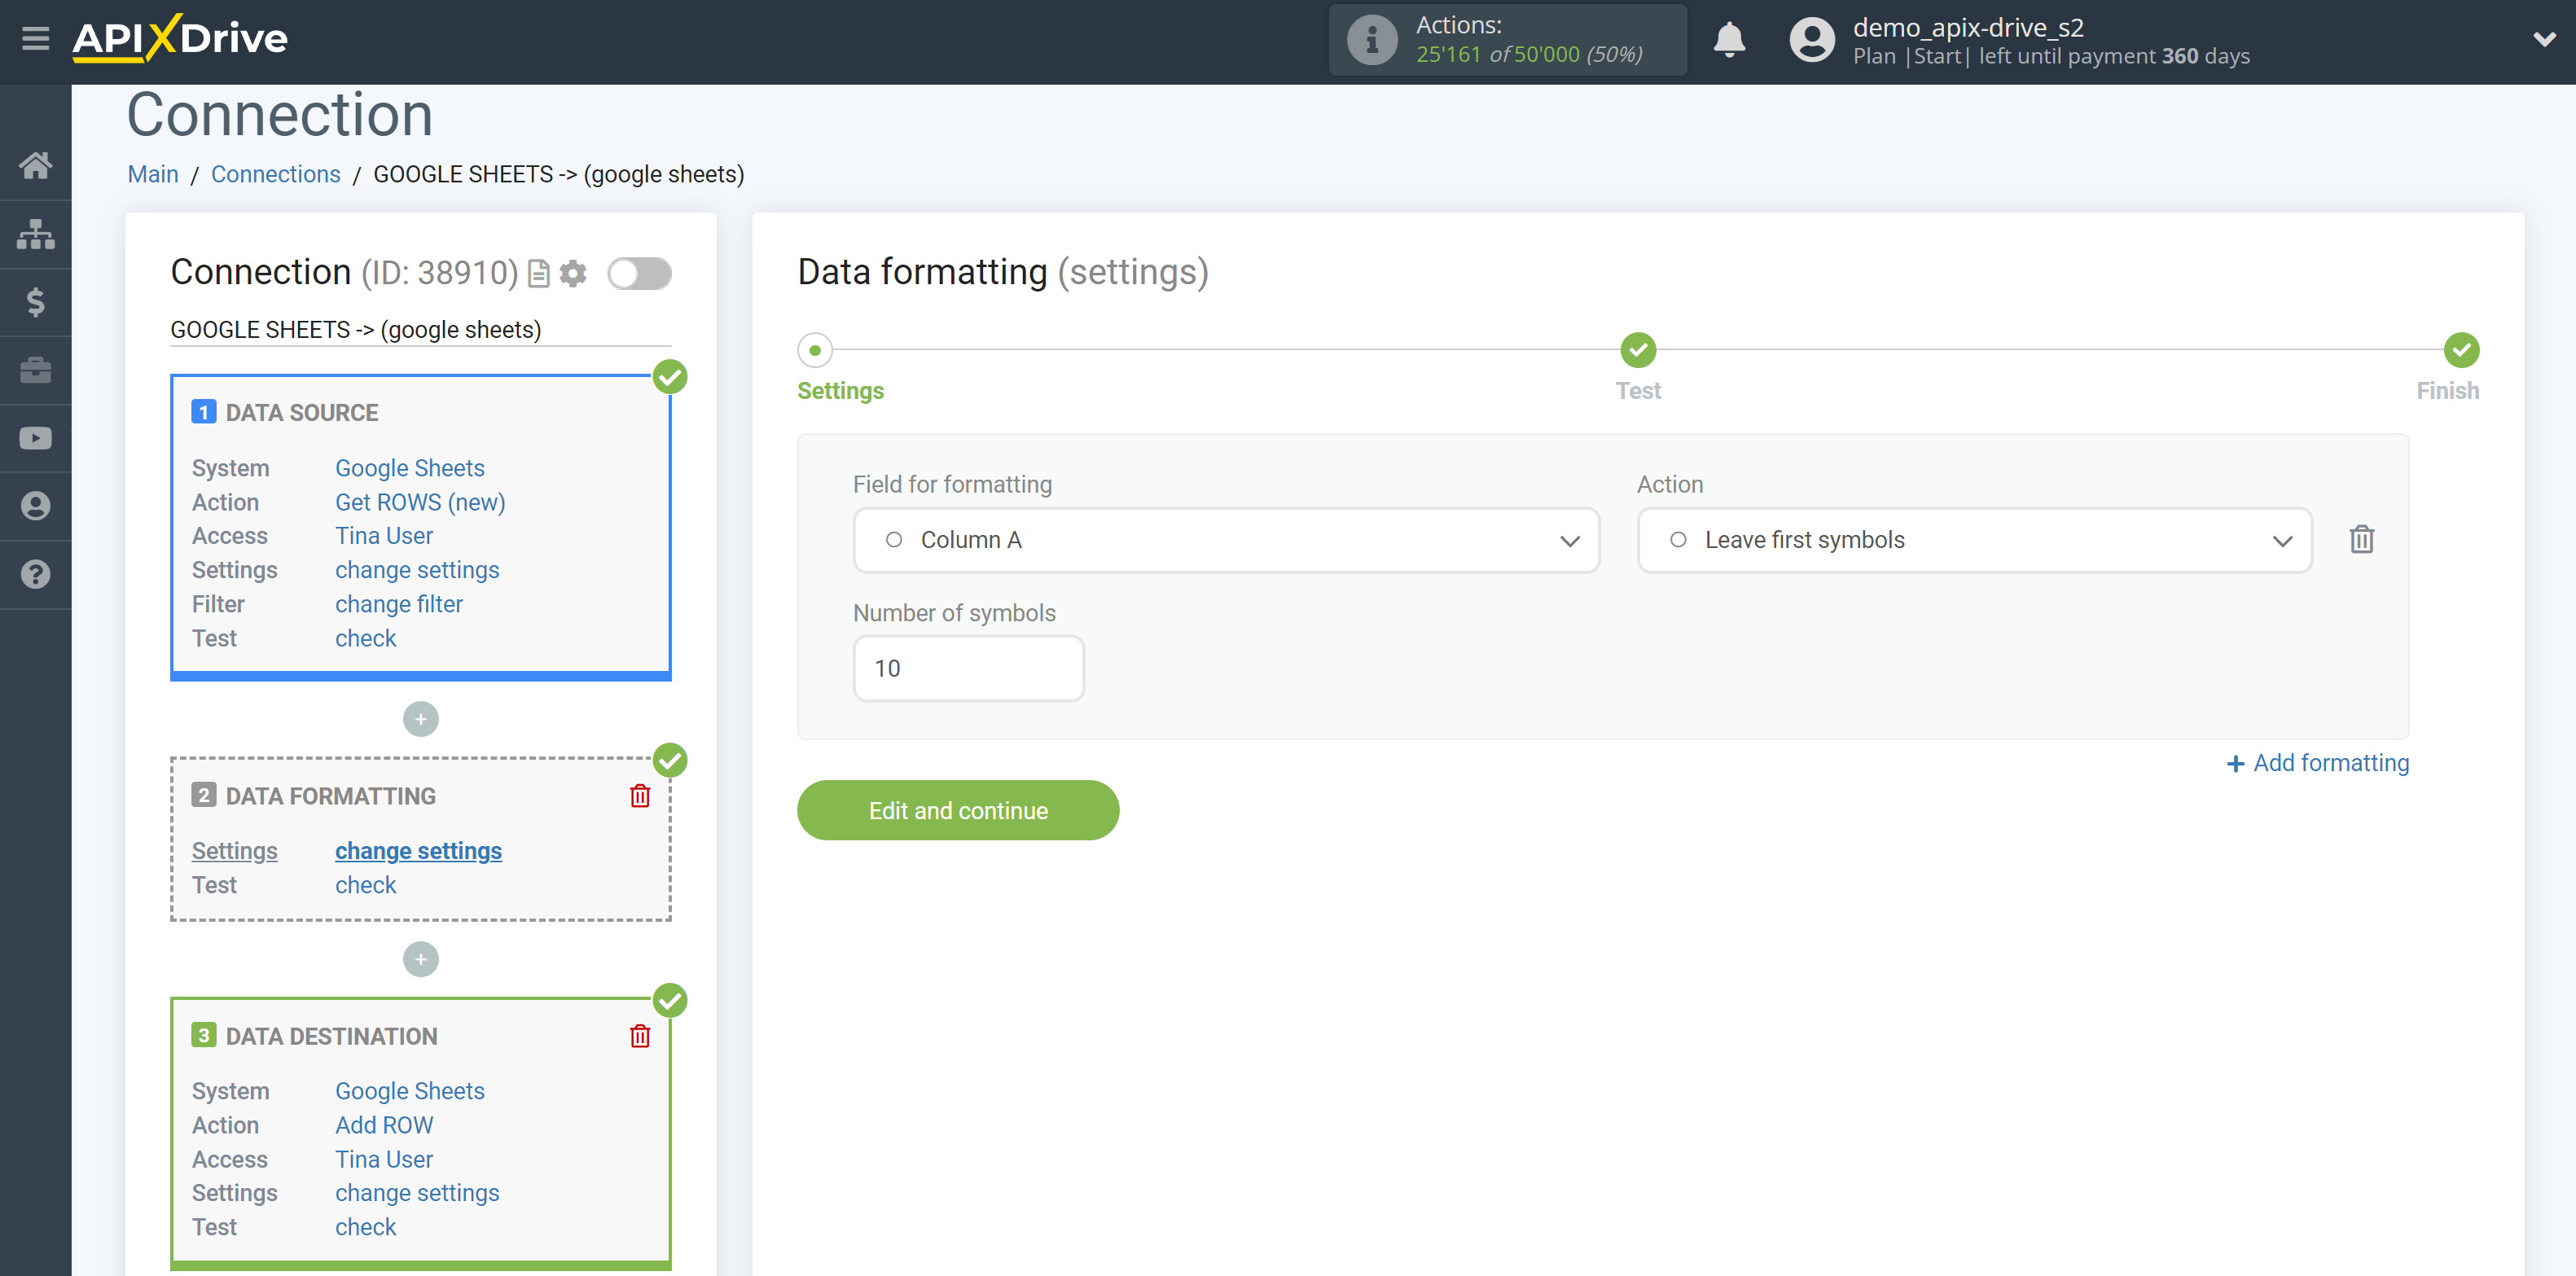
11. Leave first symbols - allows you to leave the specified number of characters from the beginning.
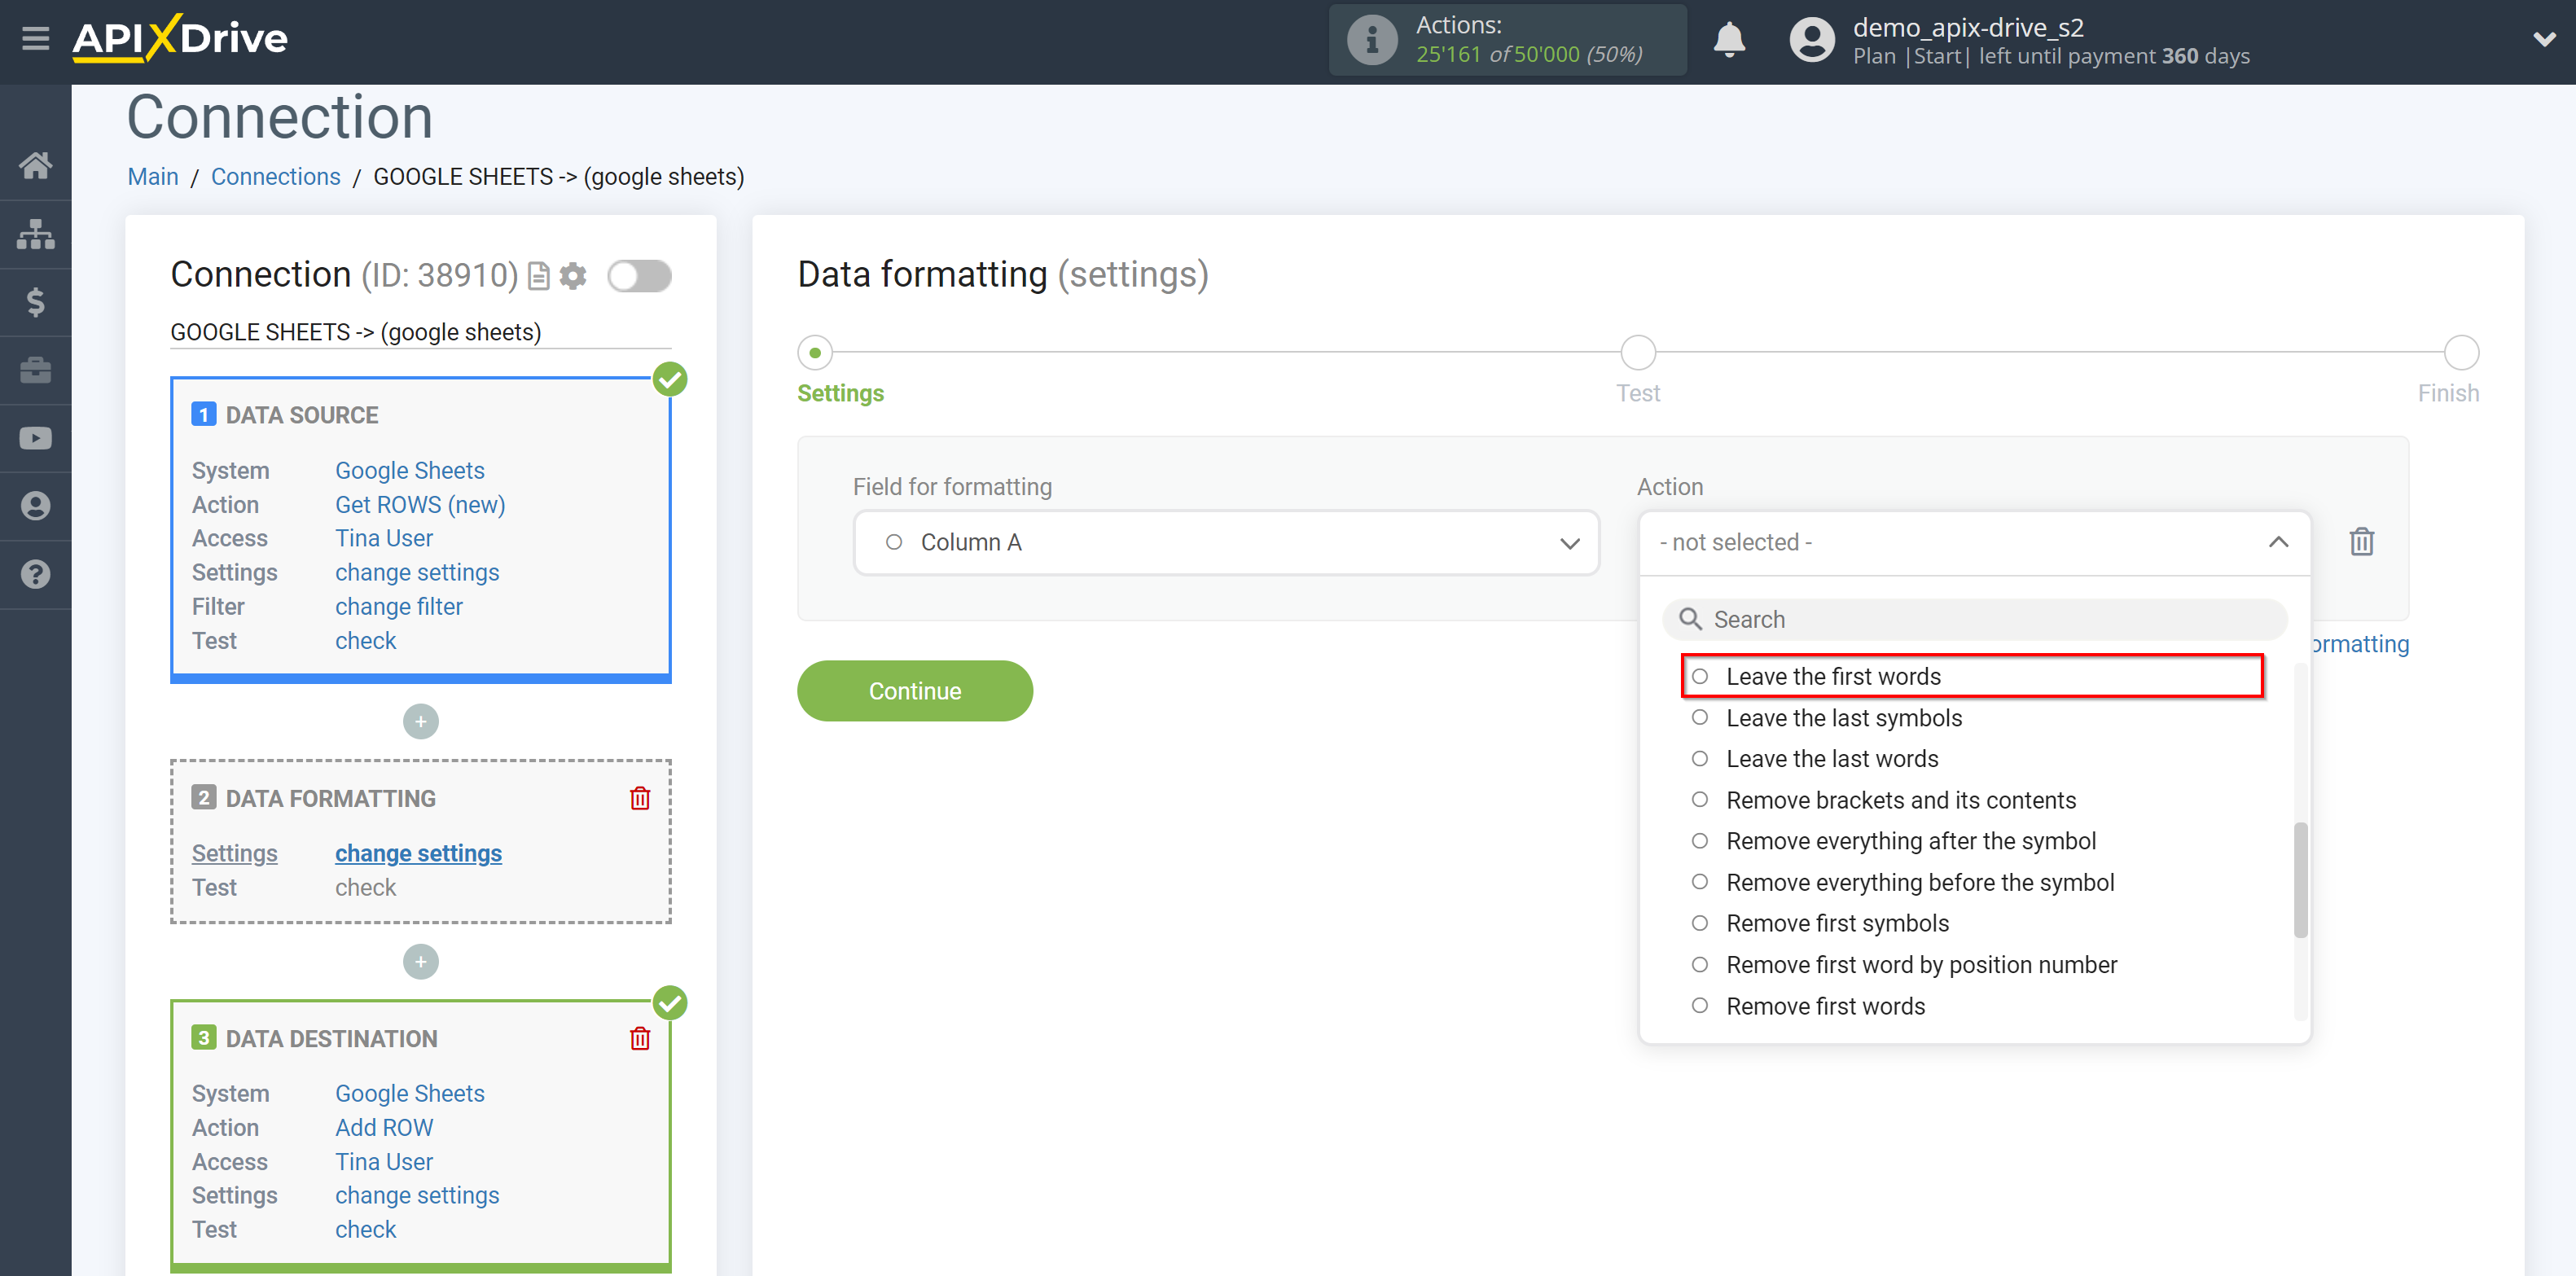
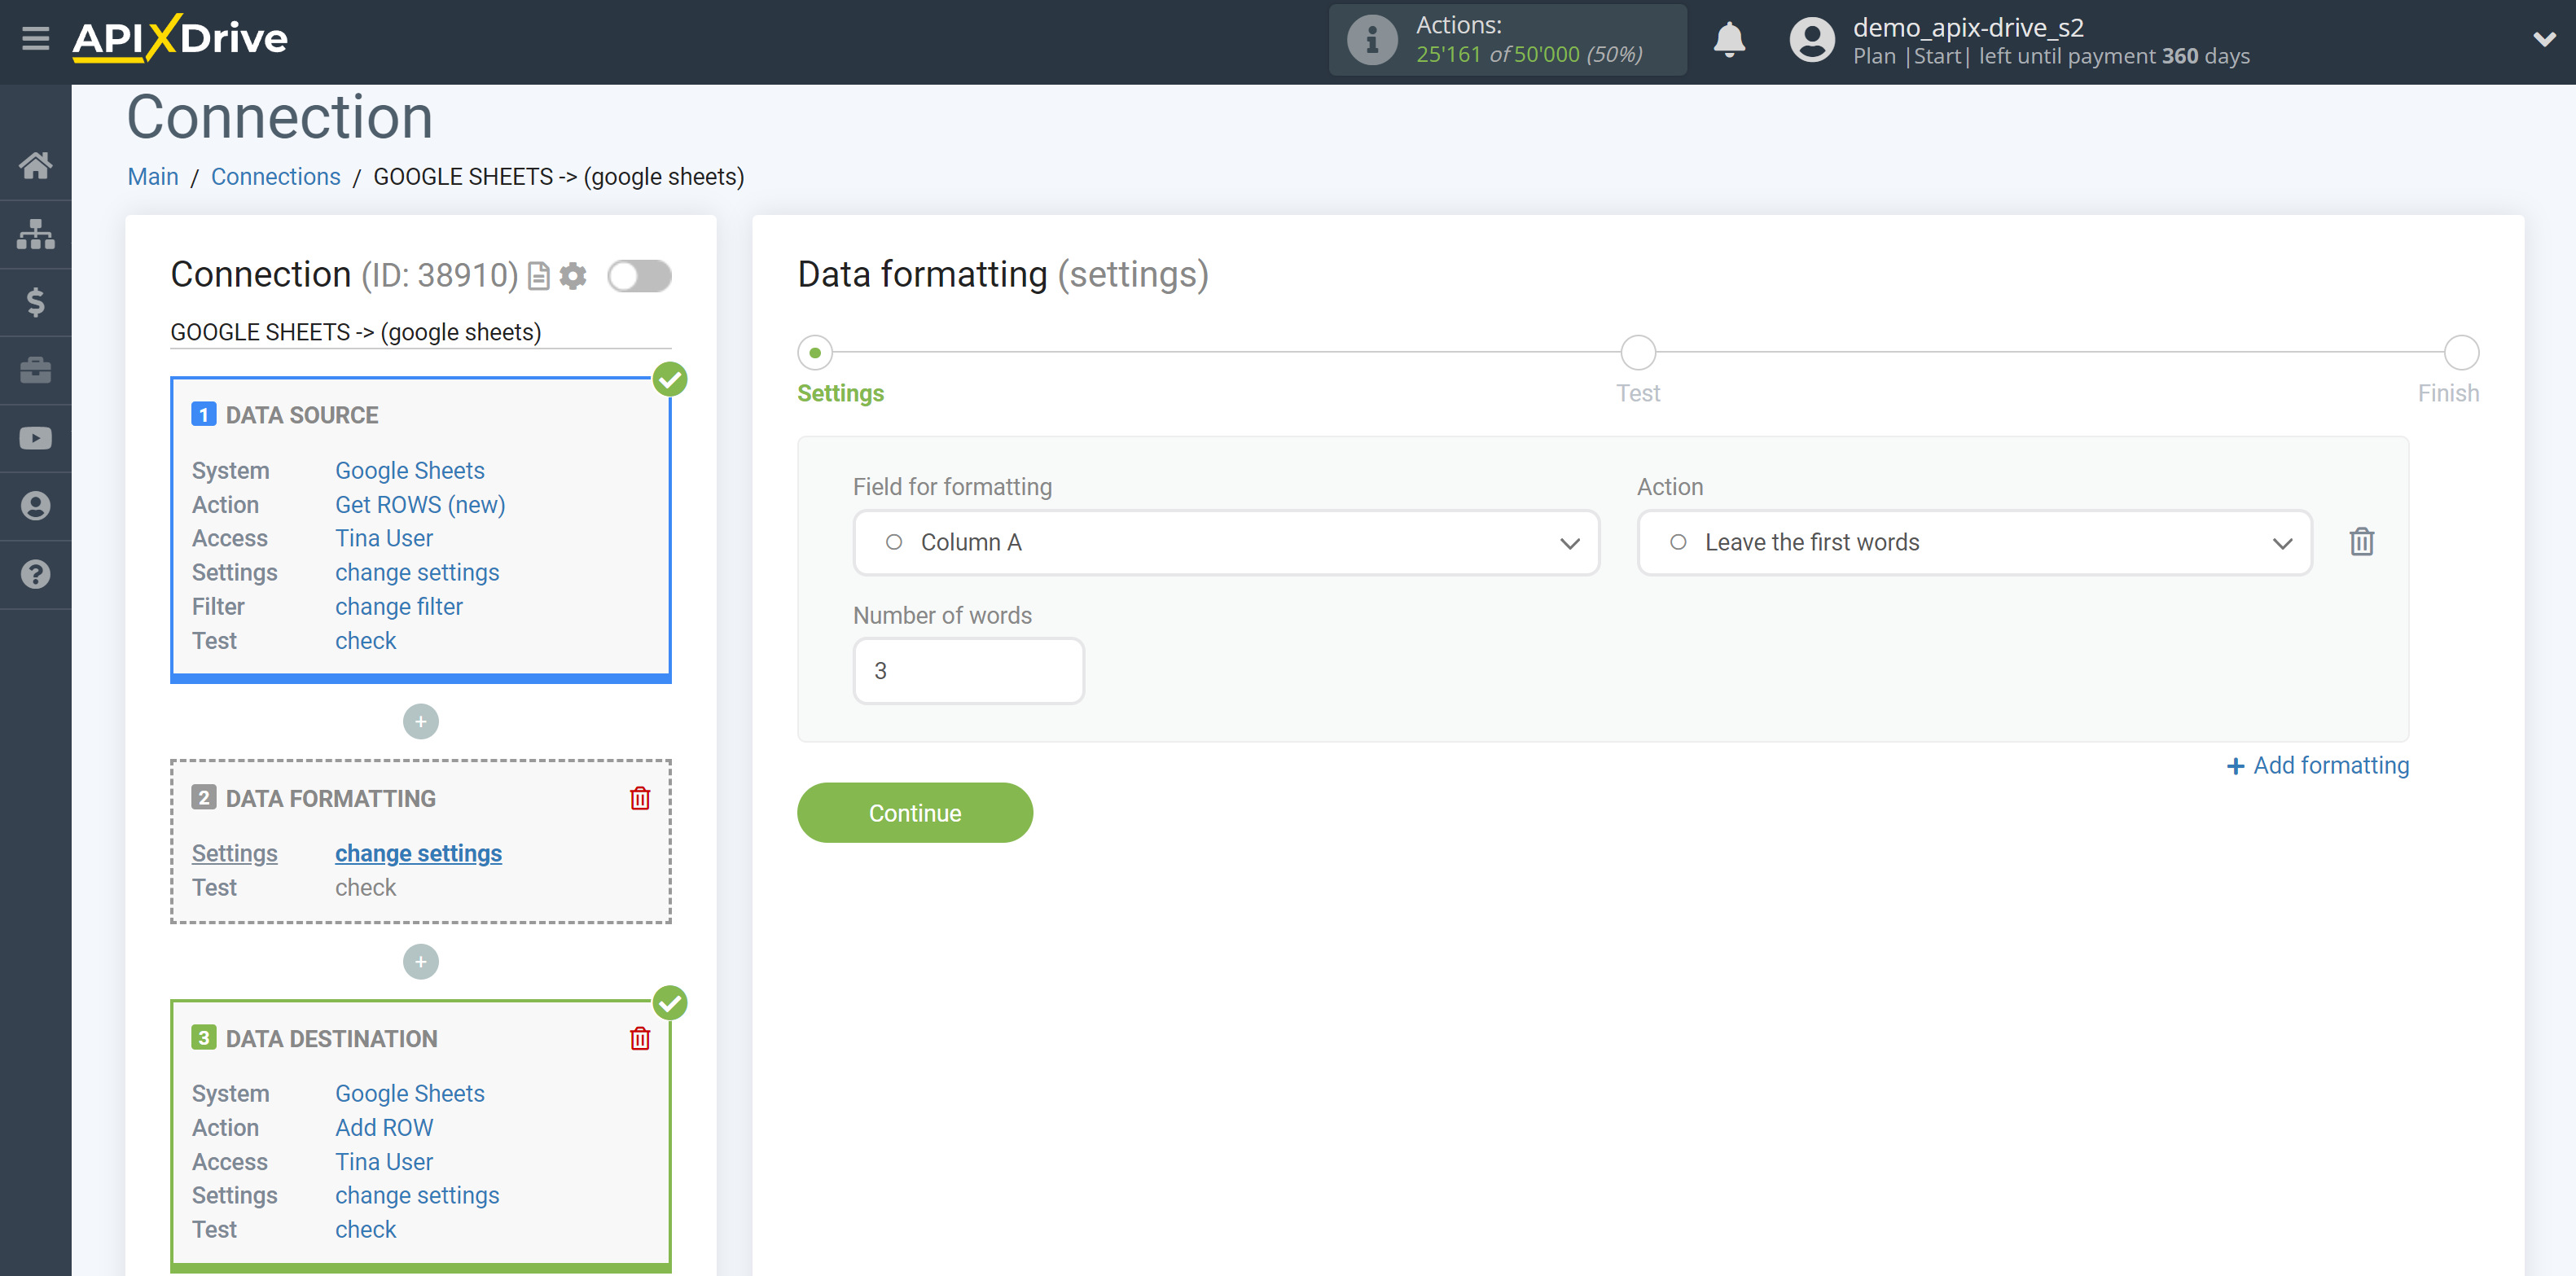
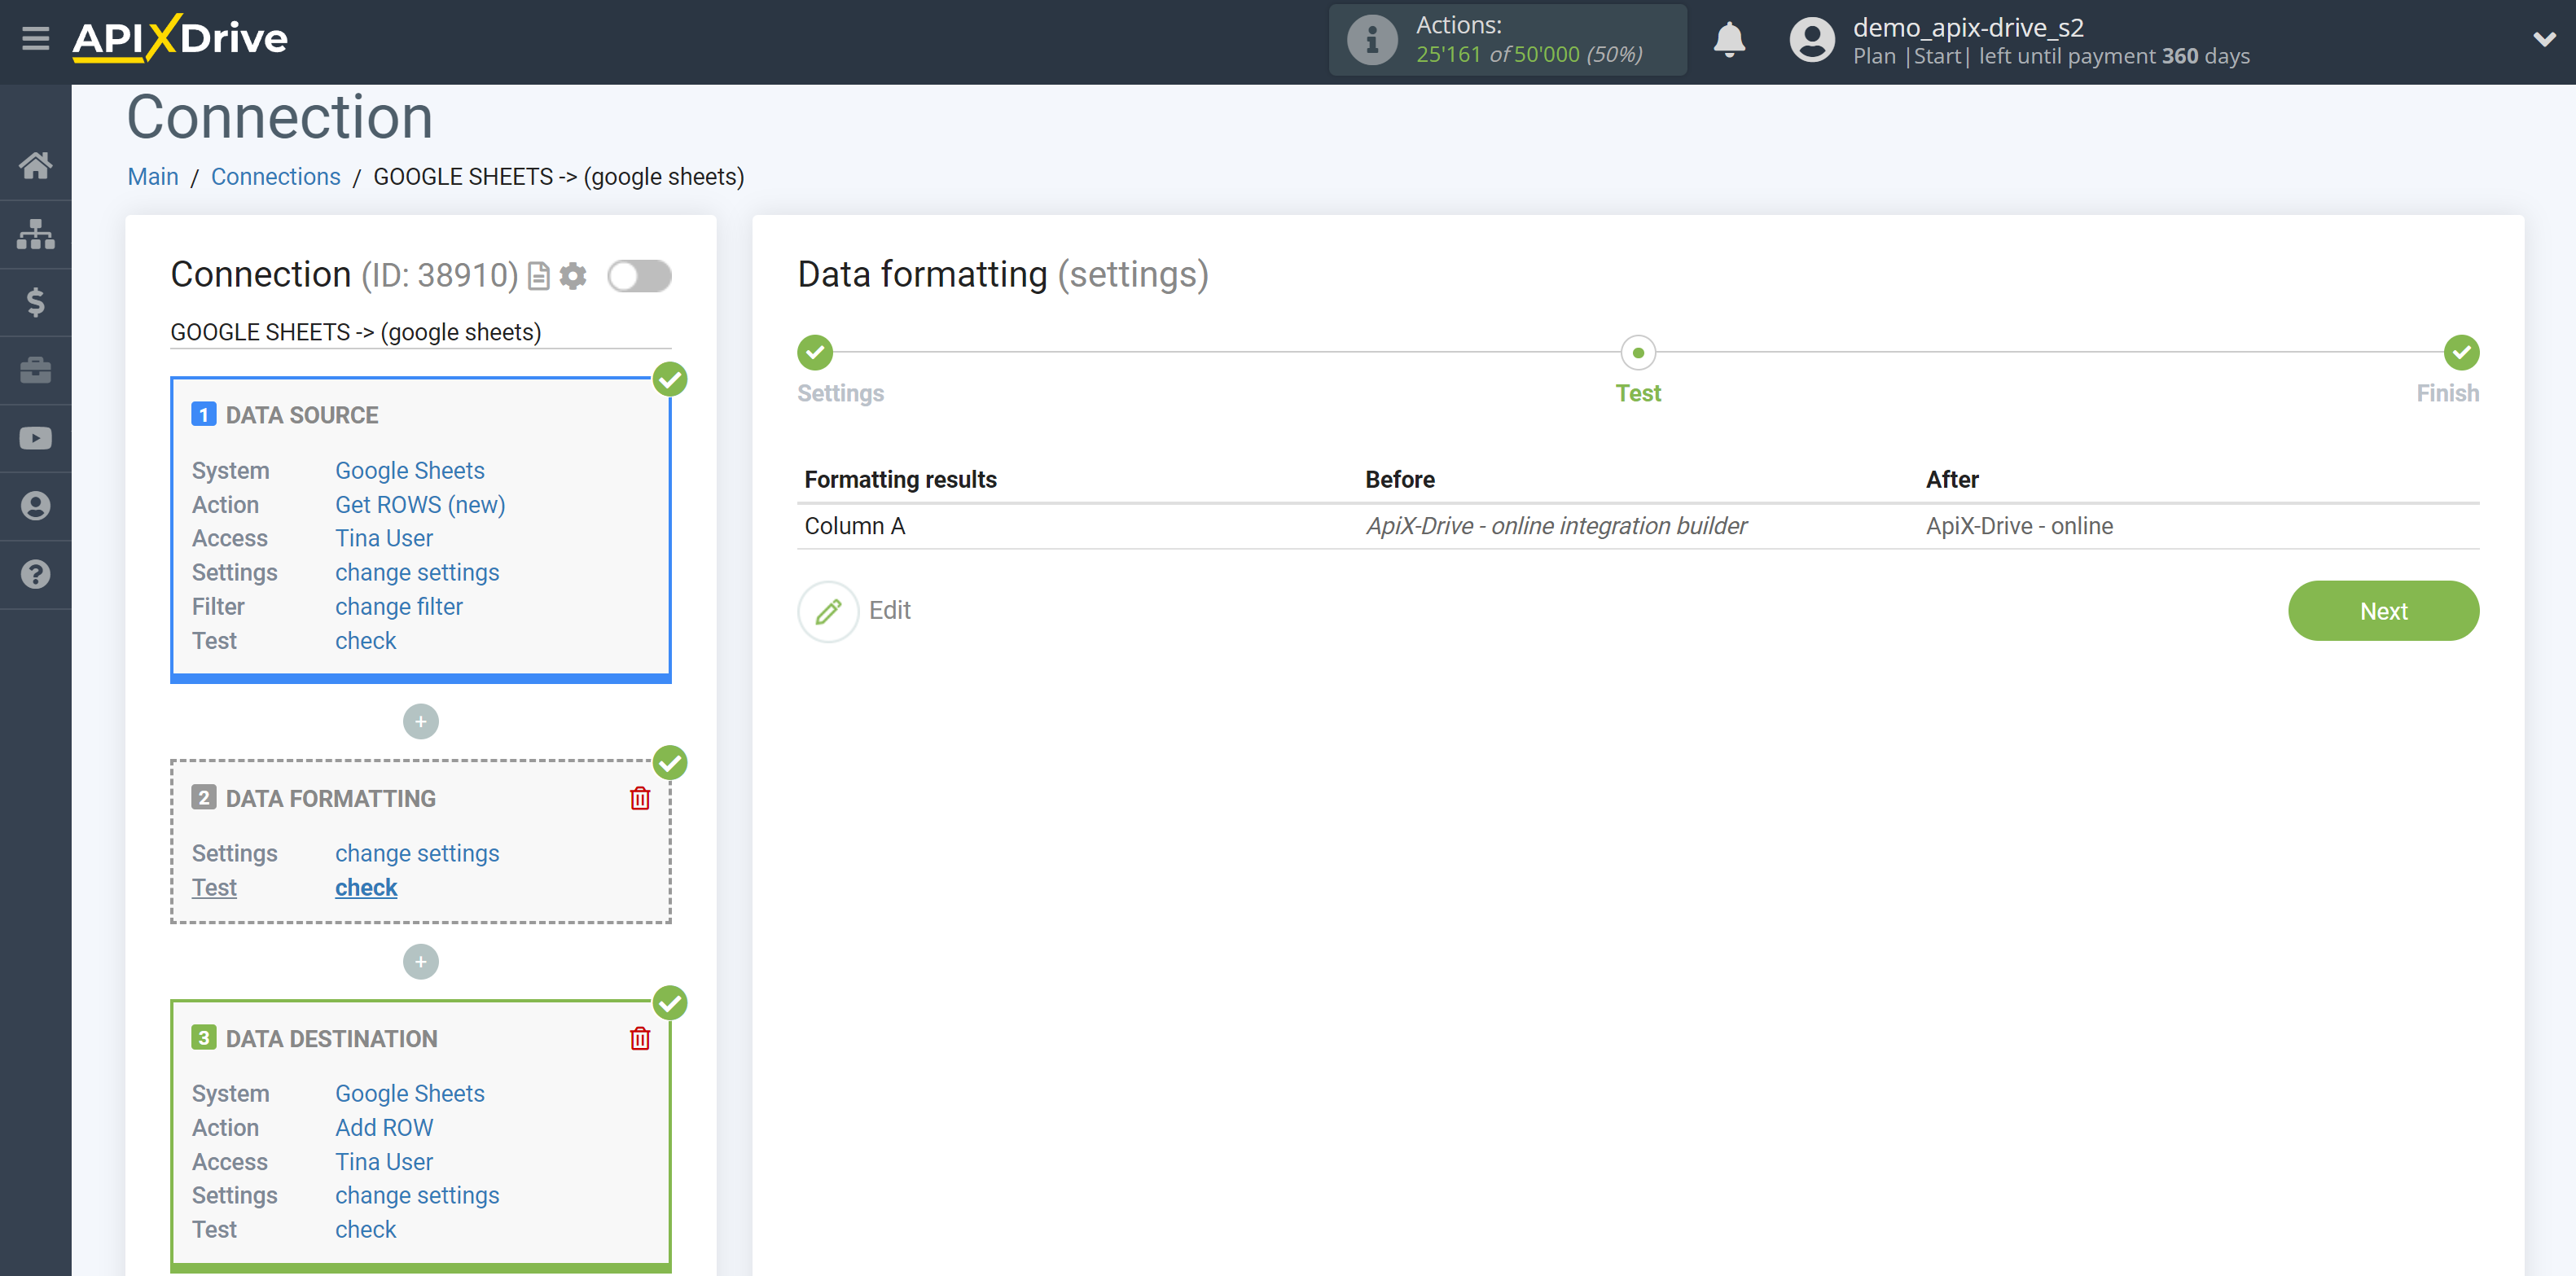
12. Leave the first words - allows you to leave the specified number of words from the beginning.
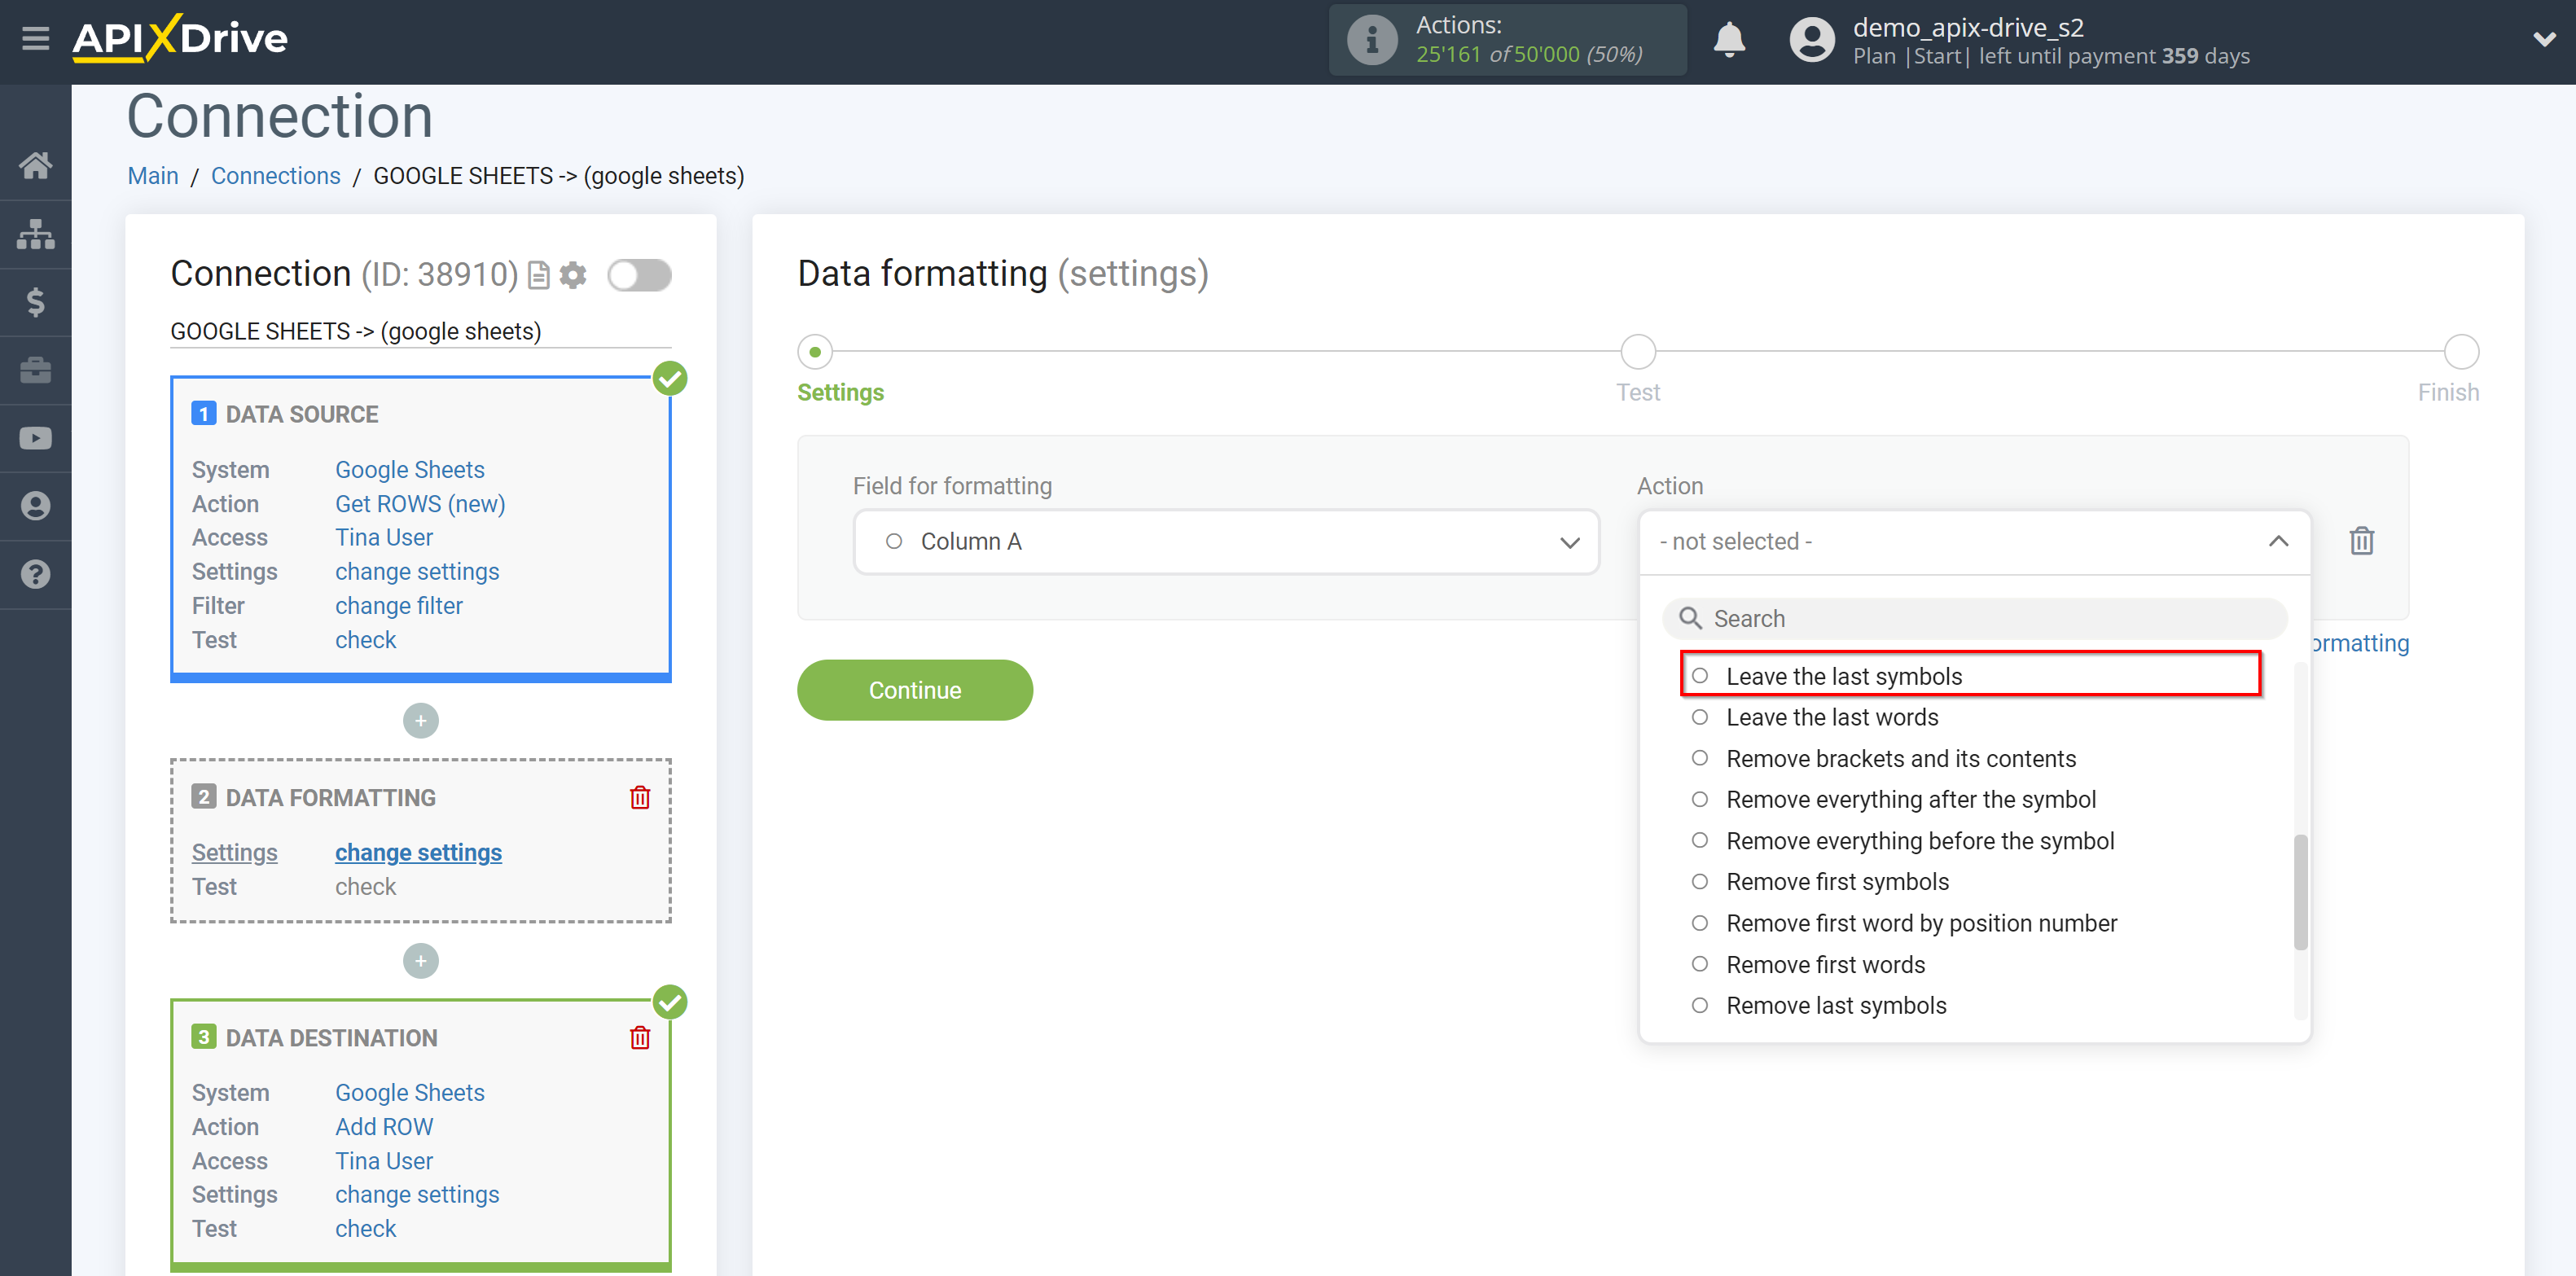
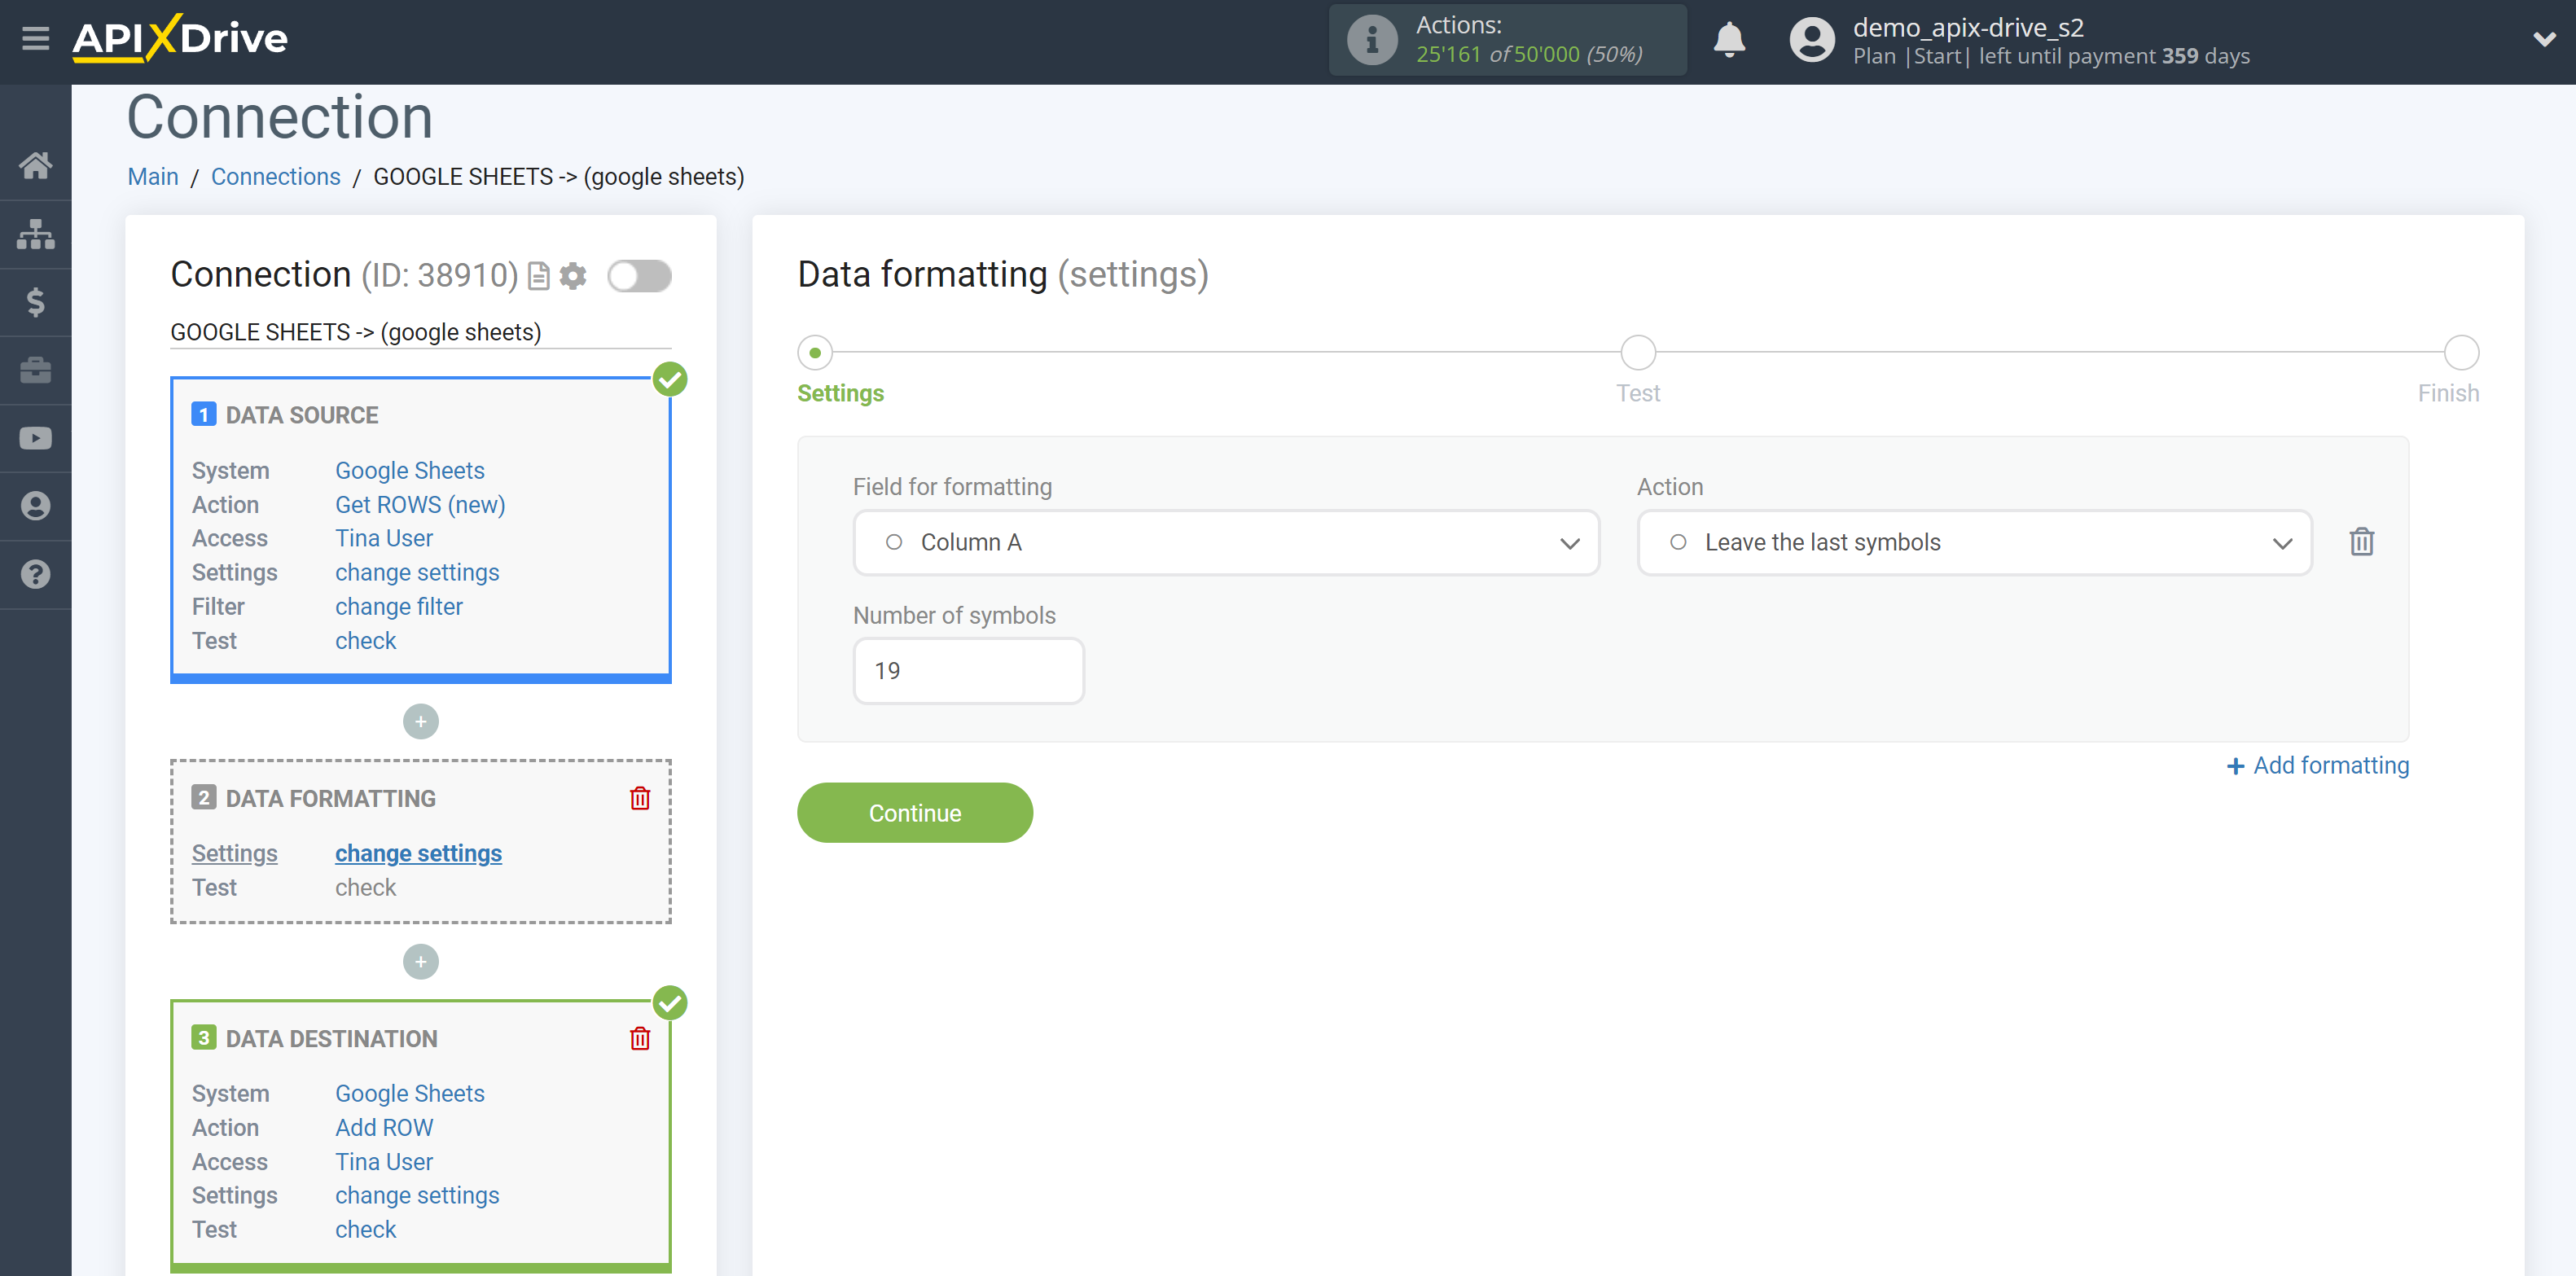
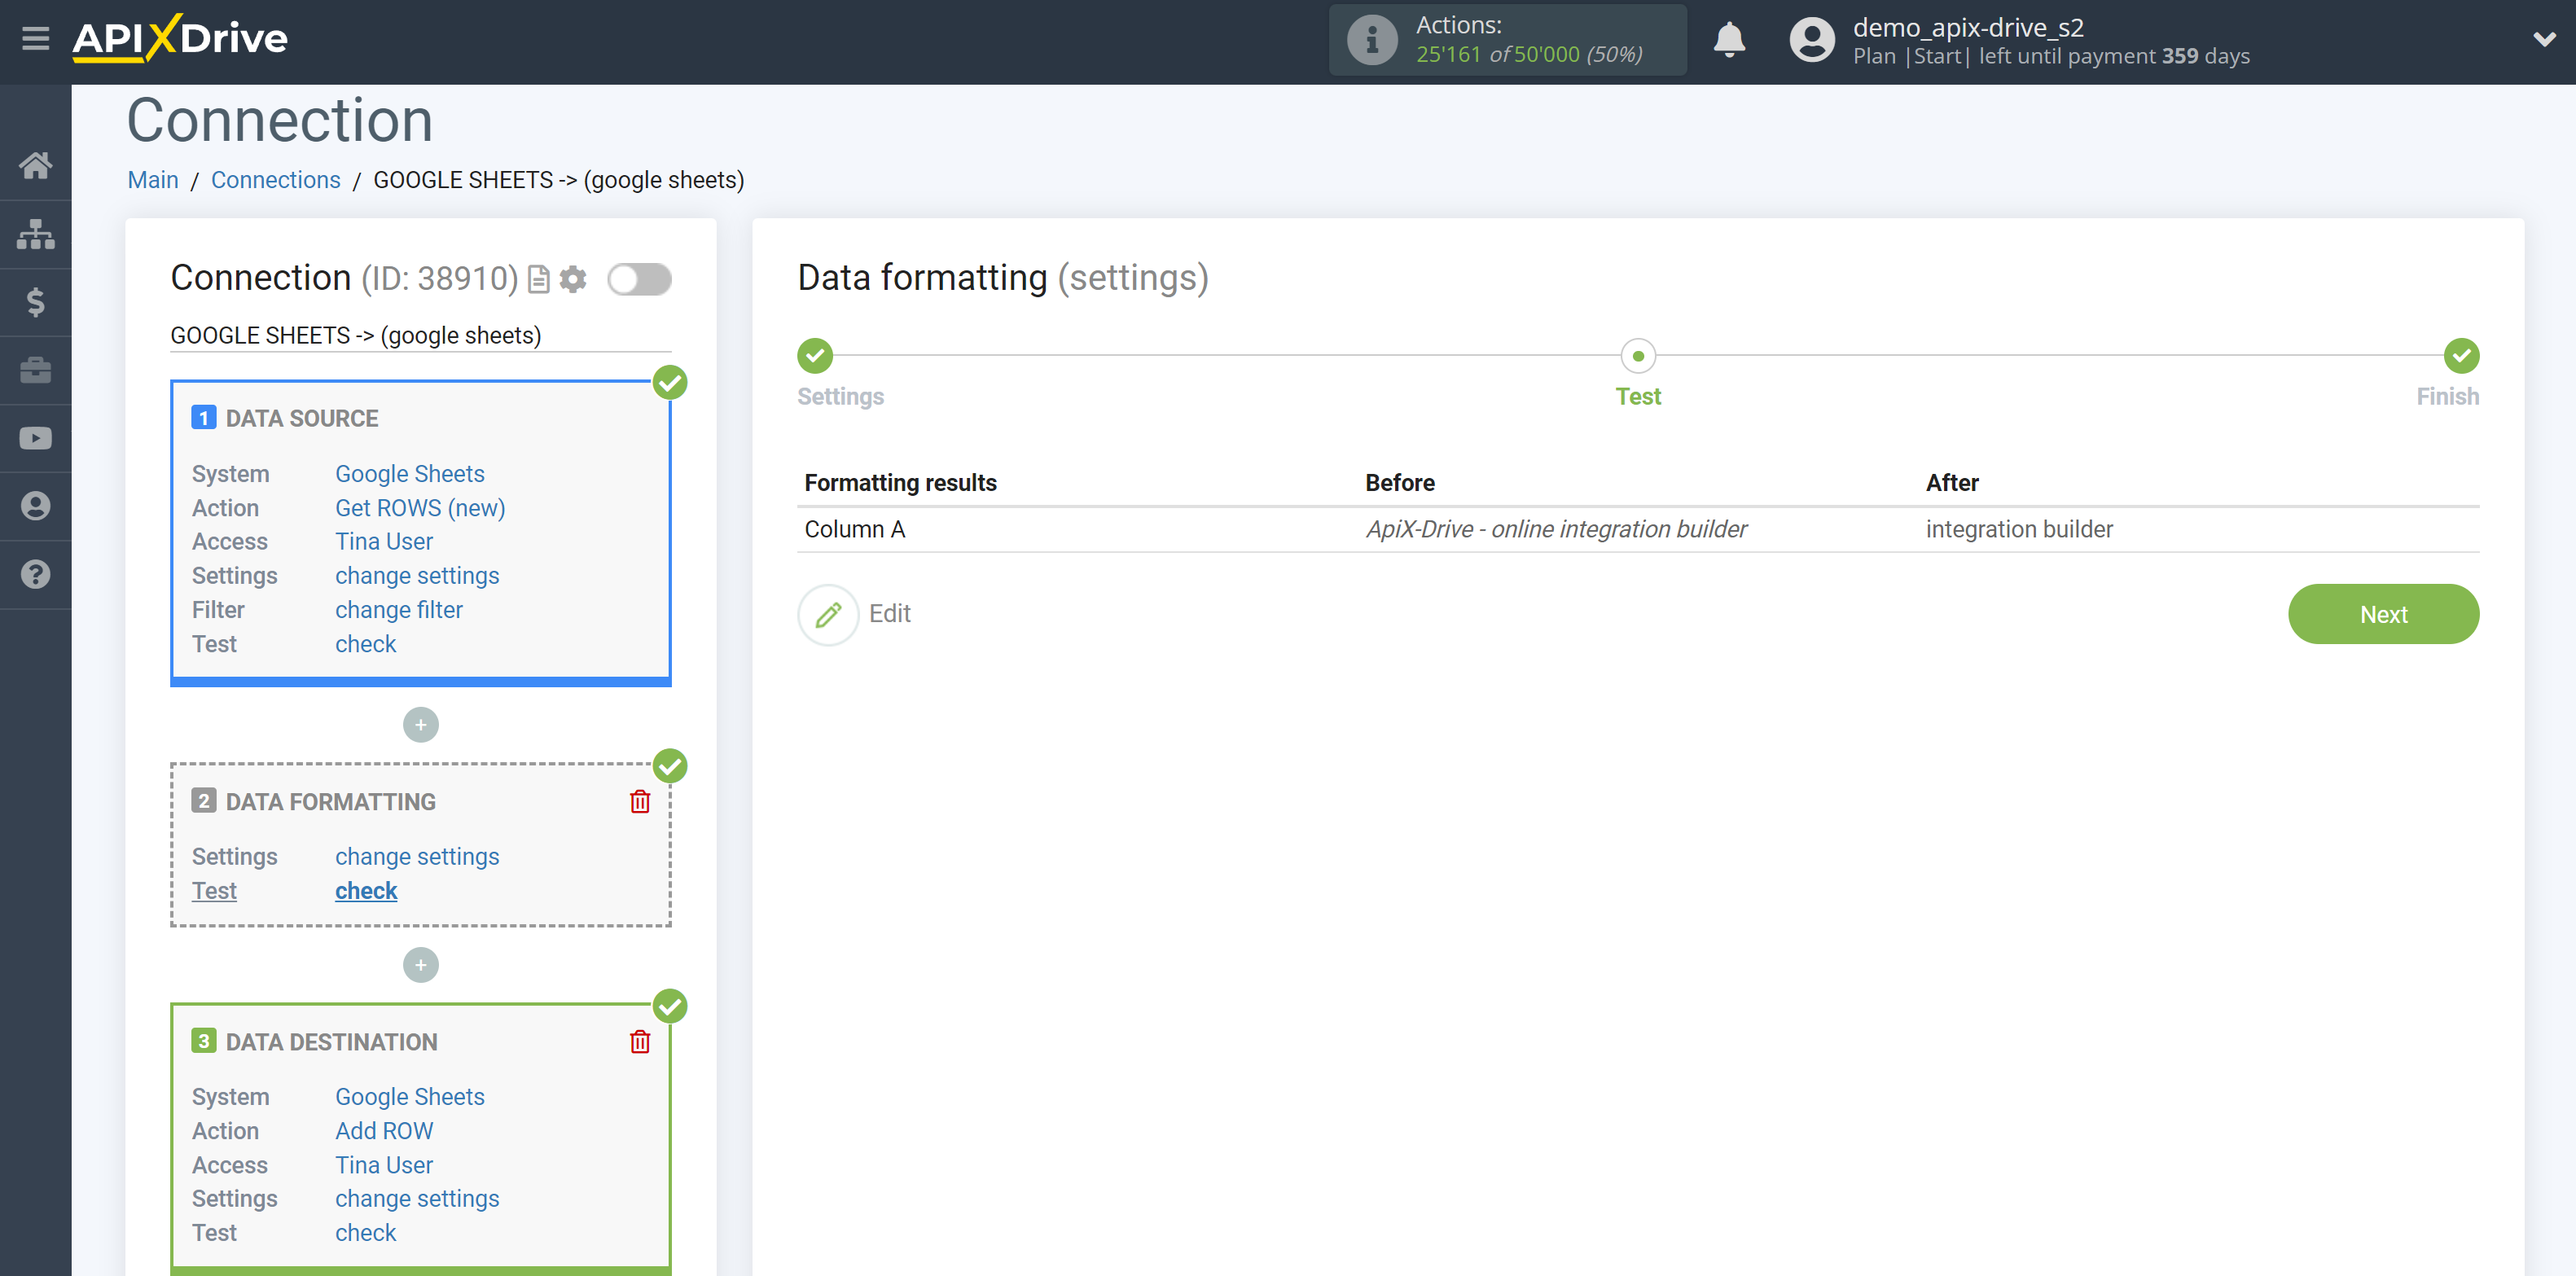
13. Leave the last symbols - allows you to leave the specified number of characters from the end.
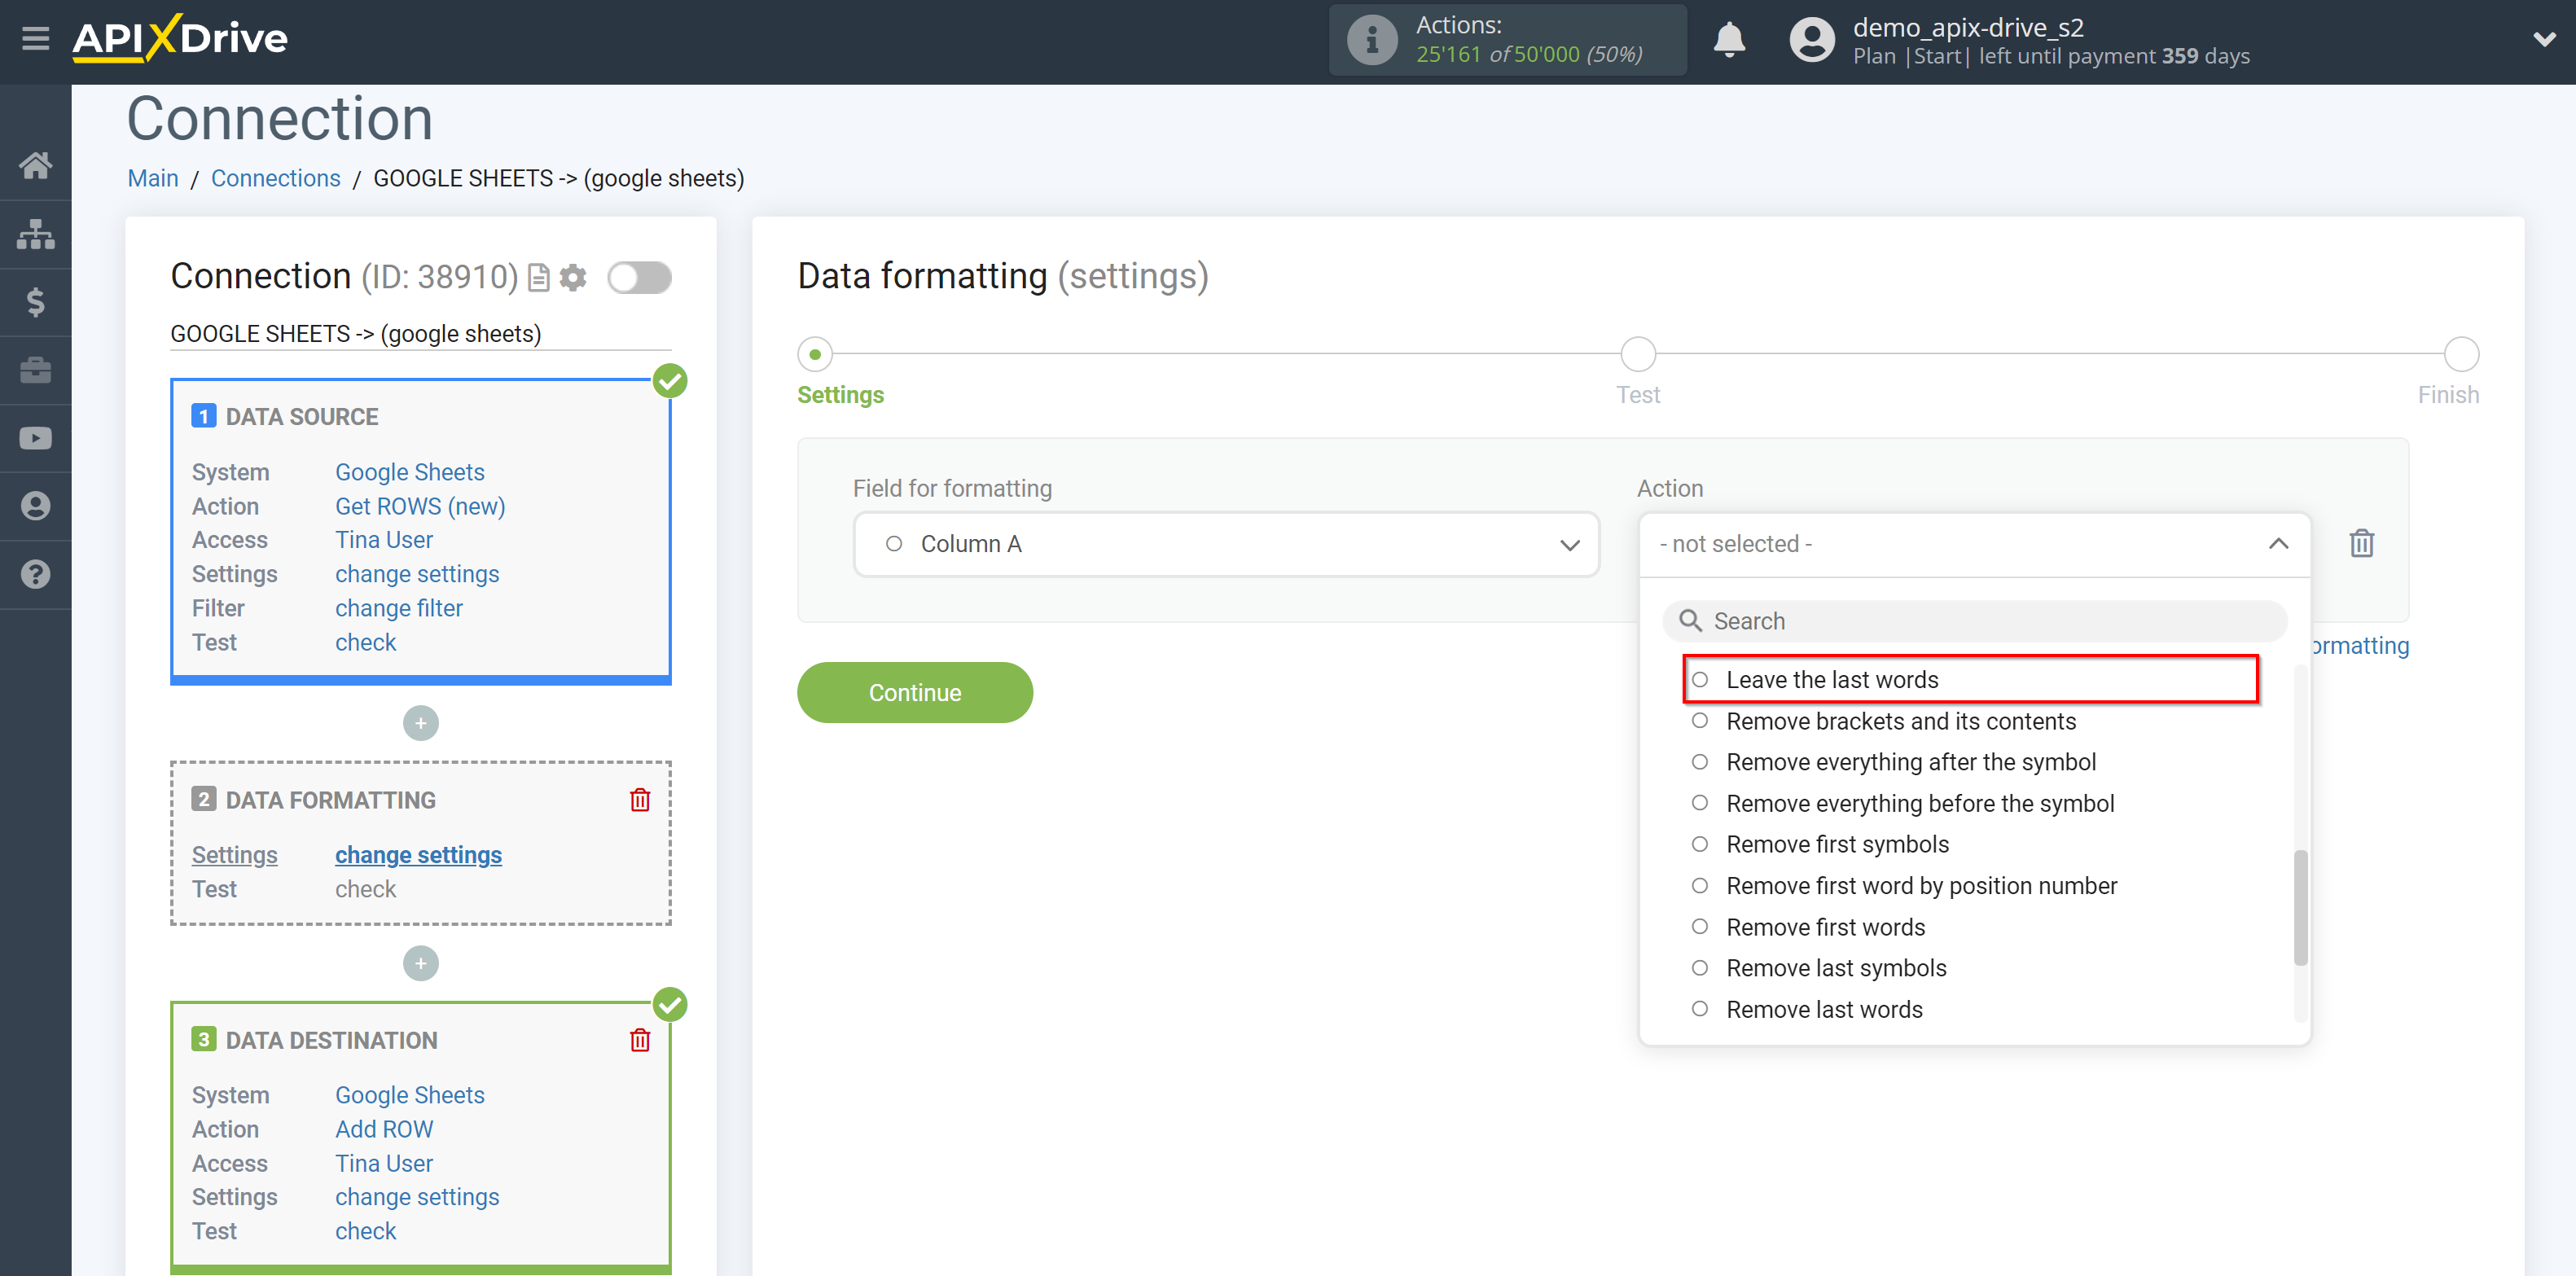
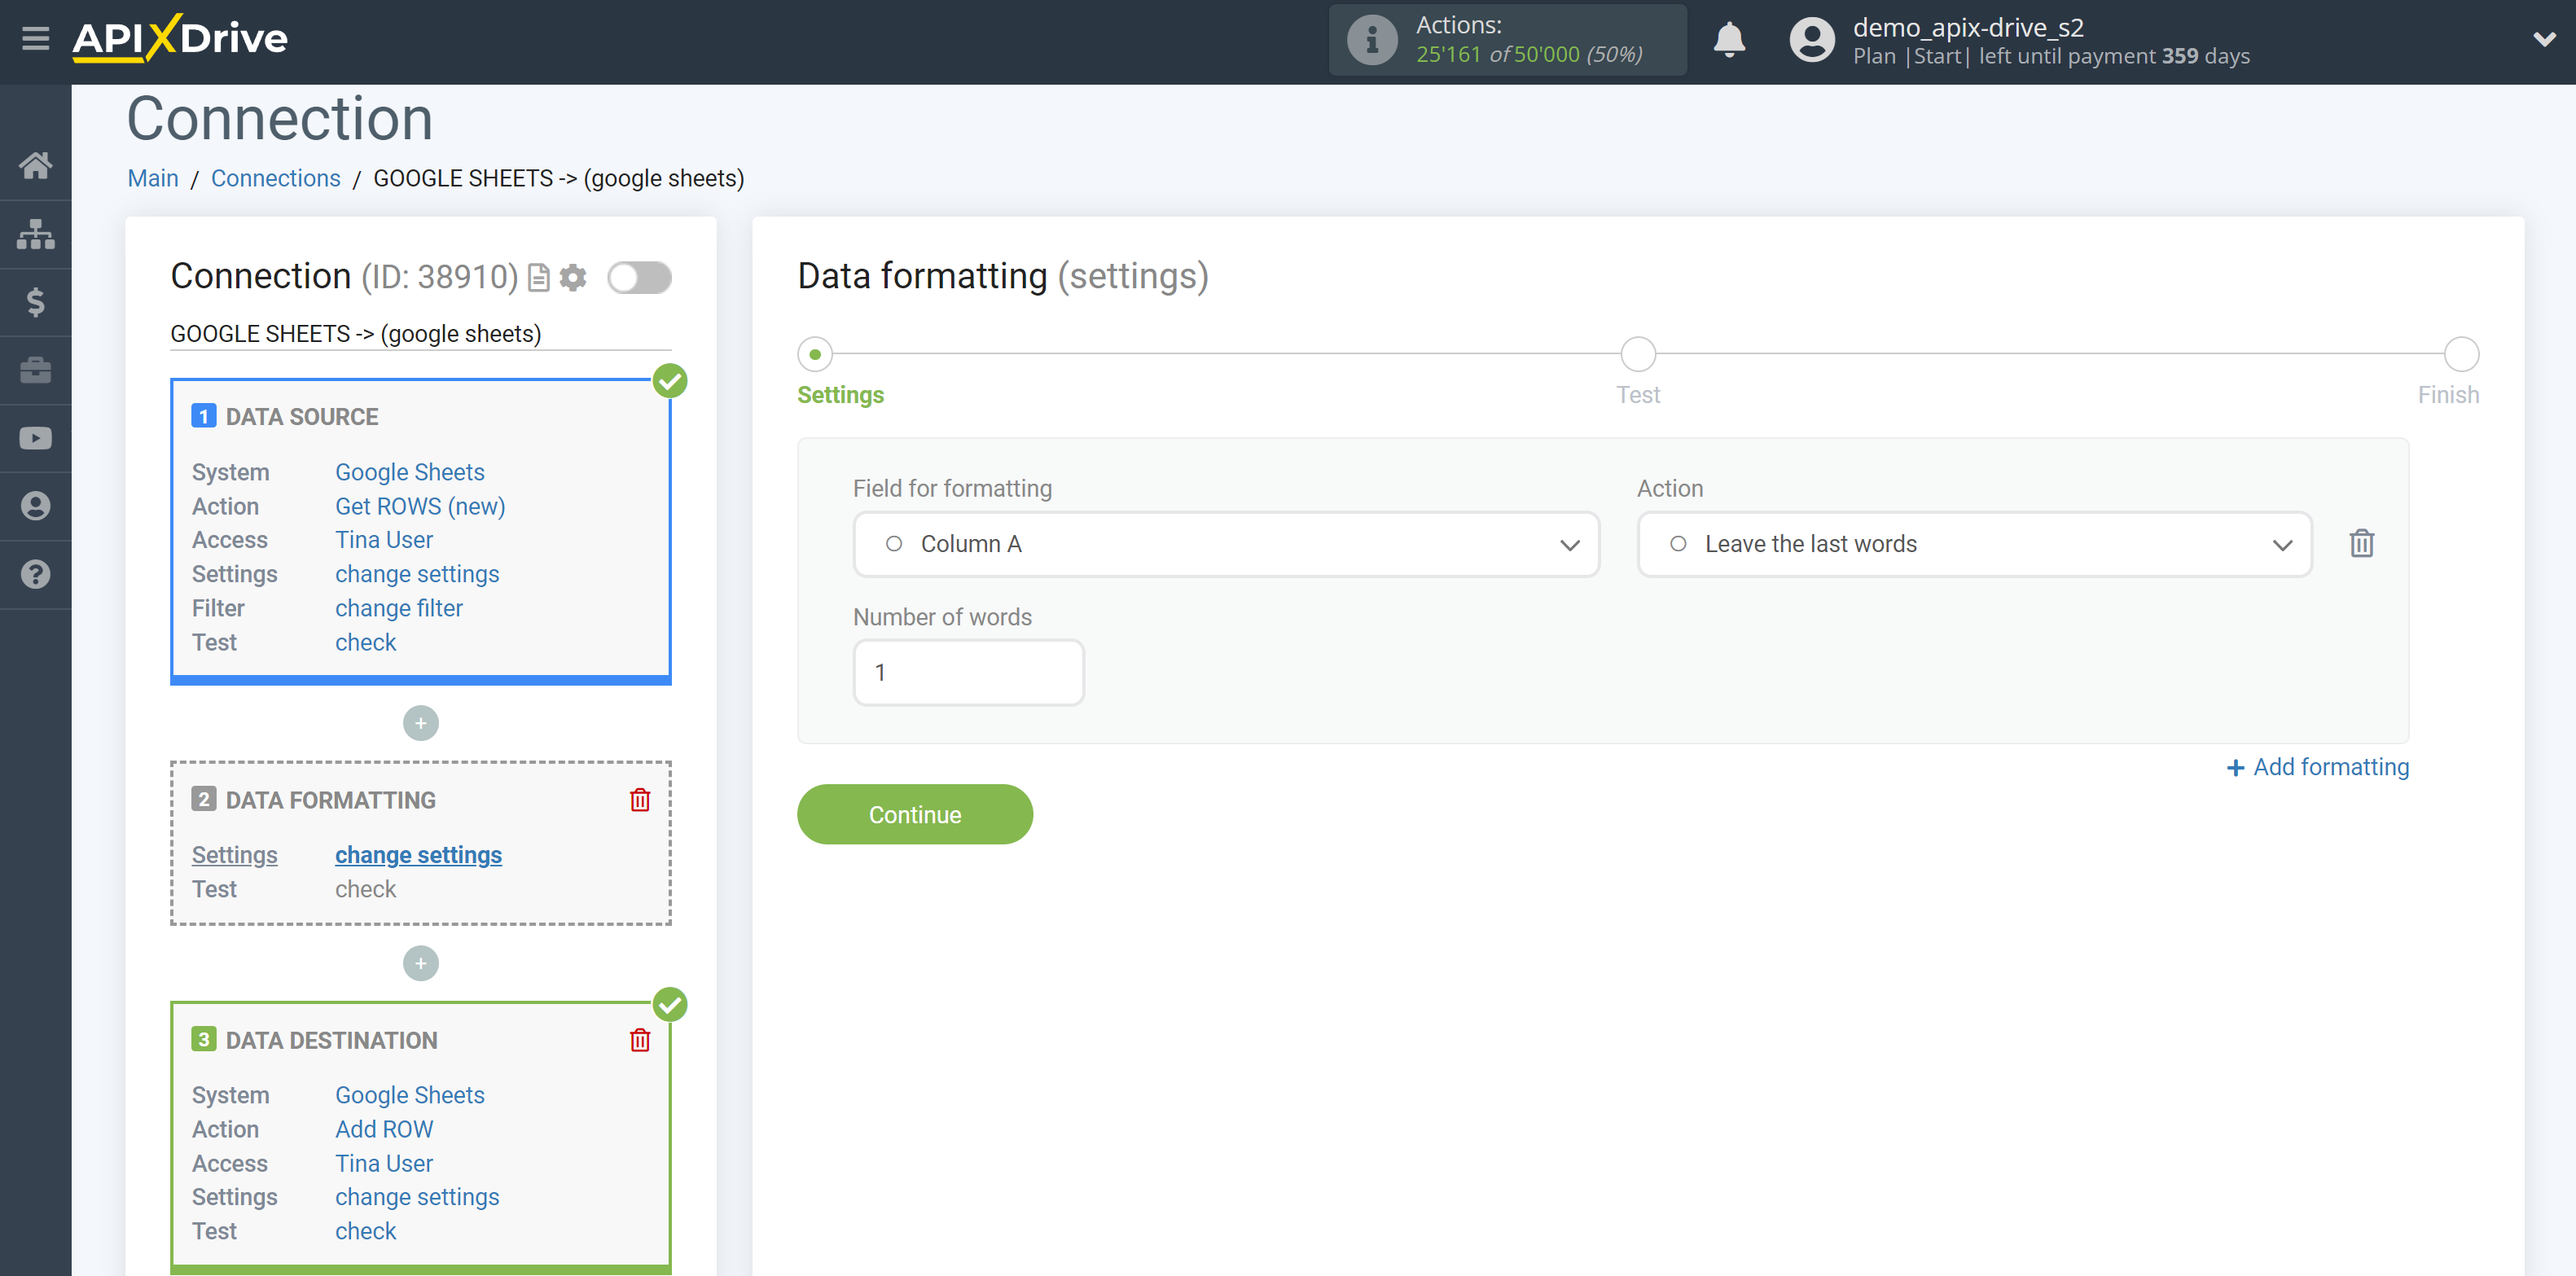
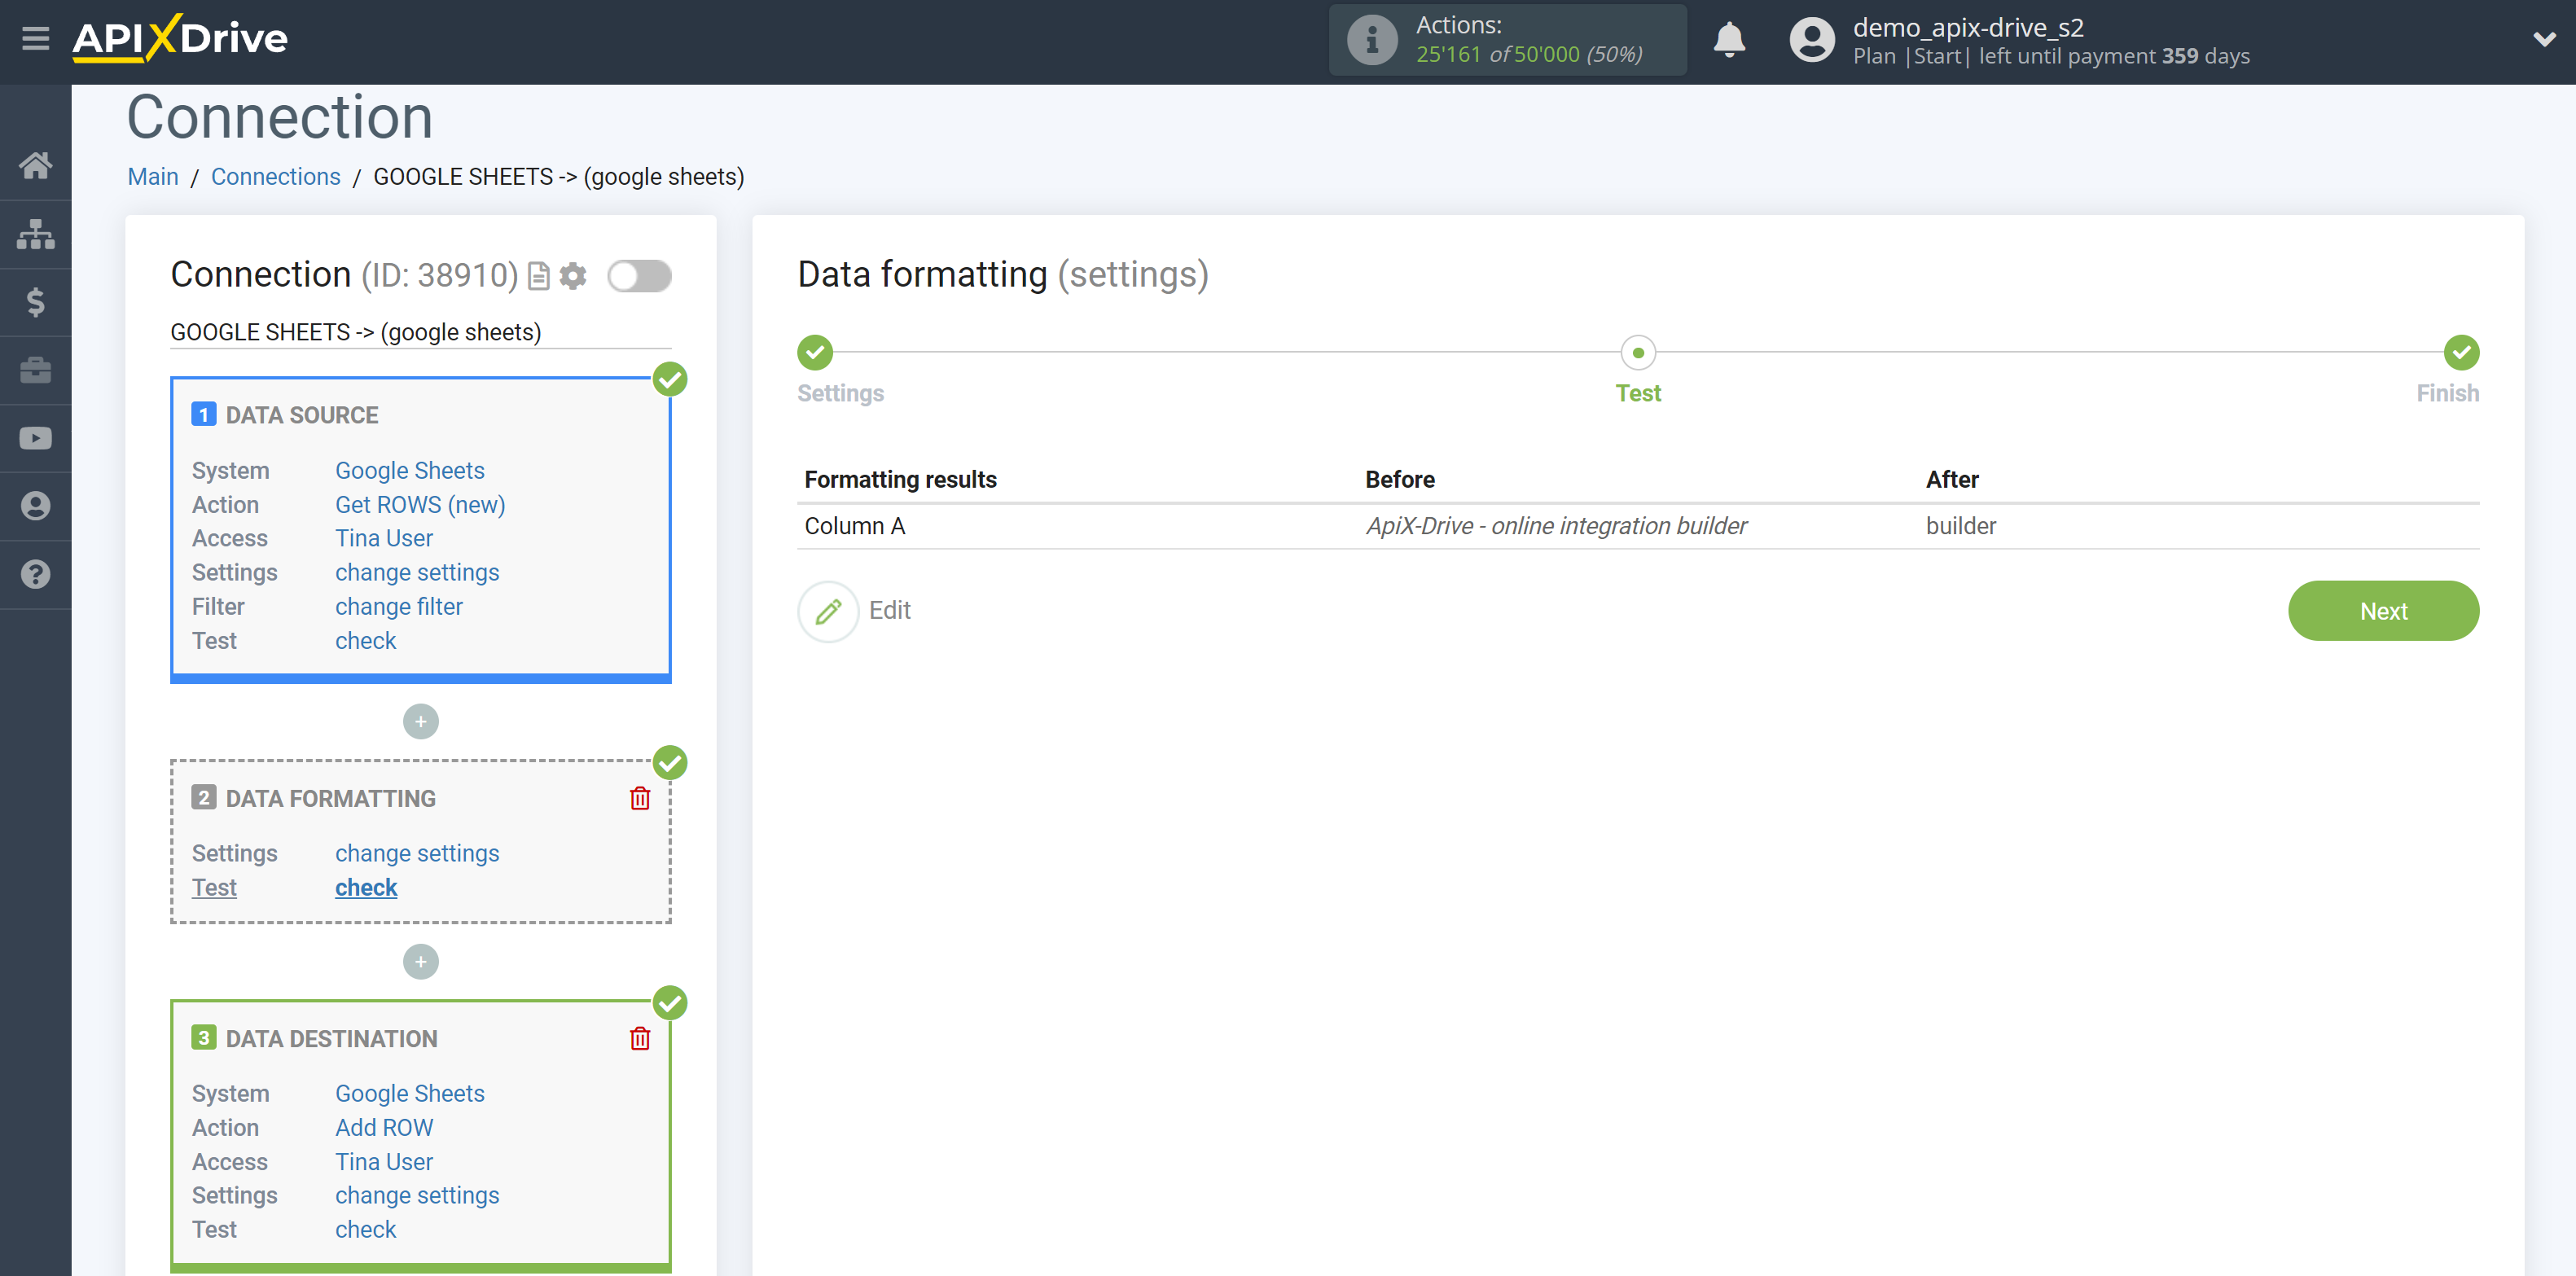
14. Leave the last words - allows you to leave the specified number of words from the end.
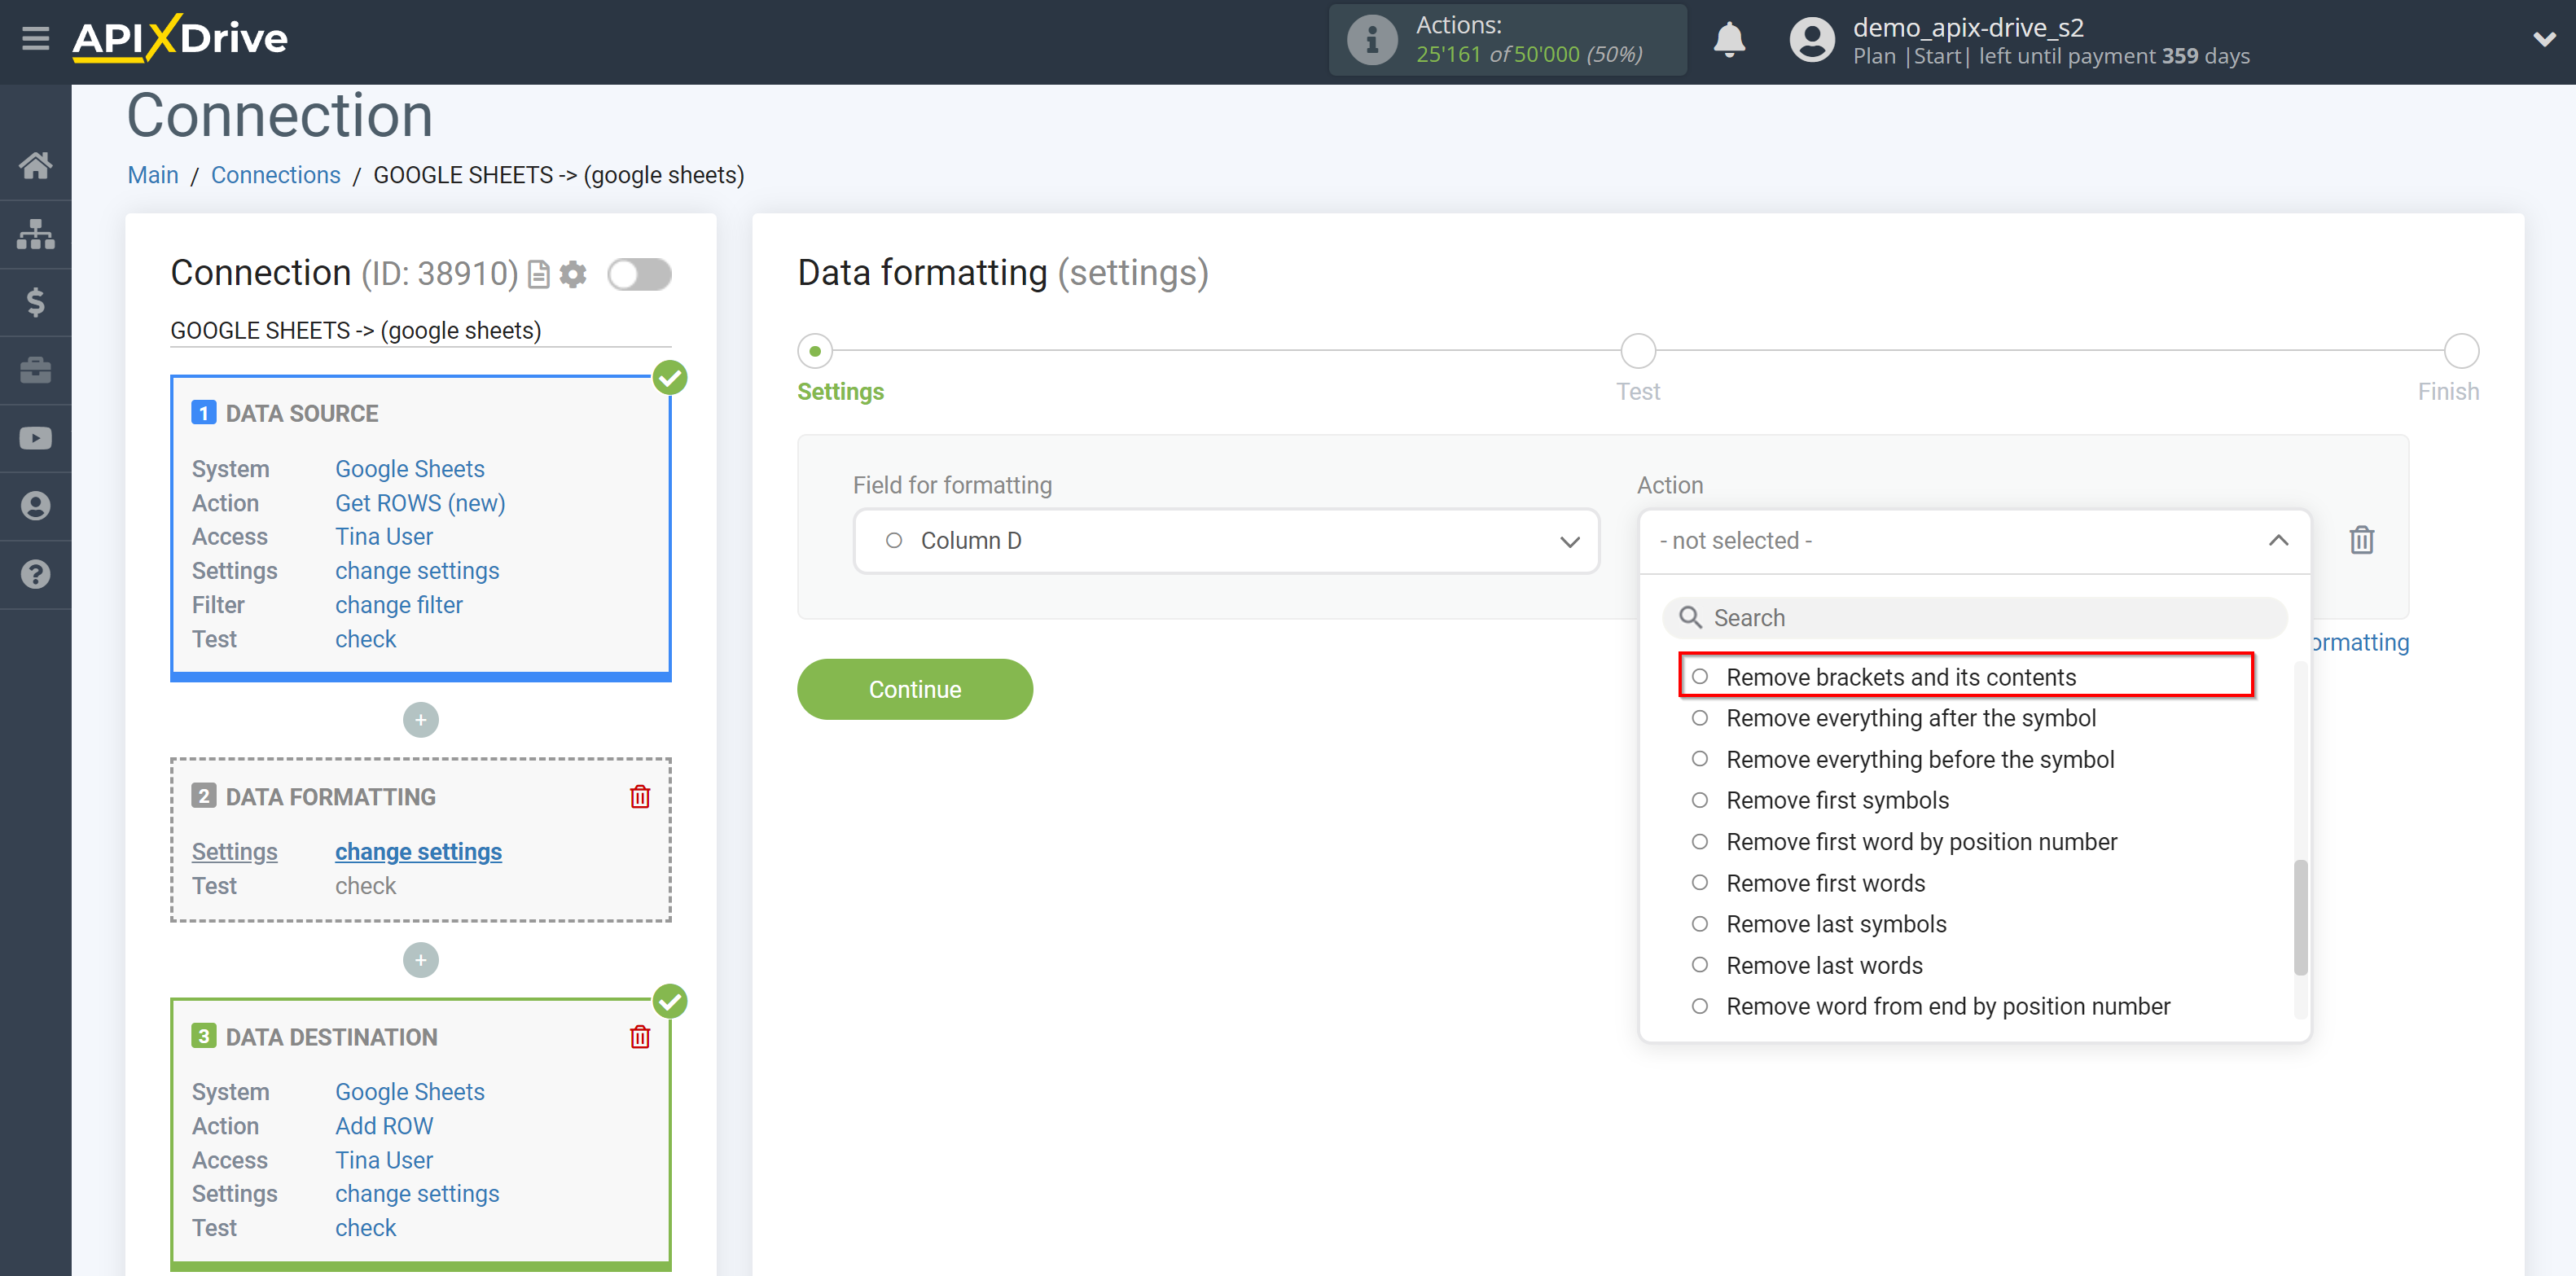
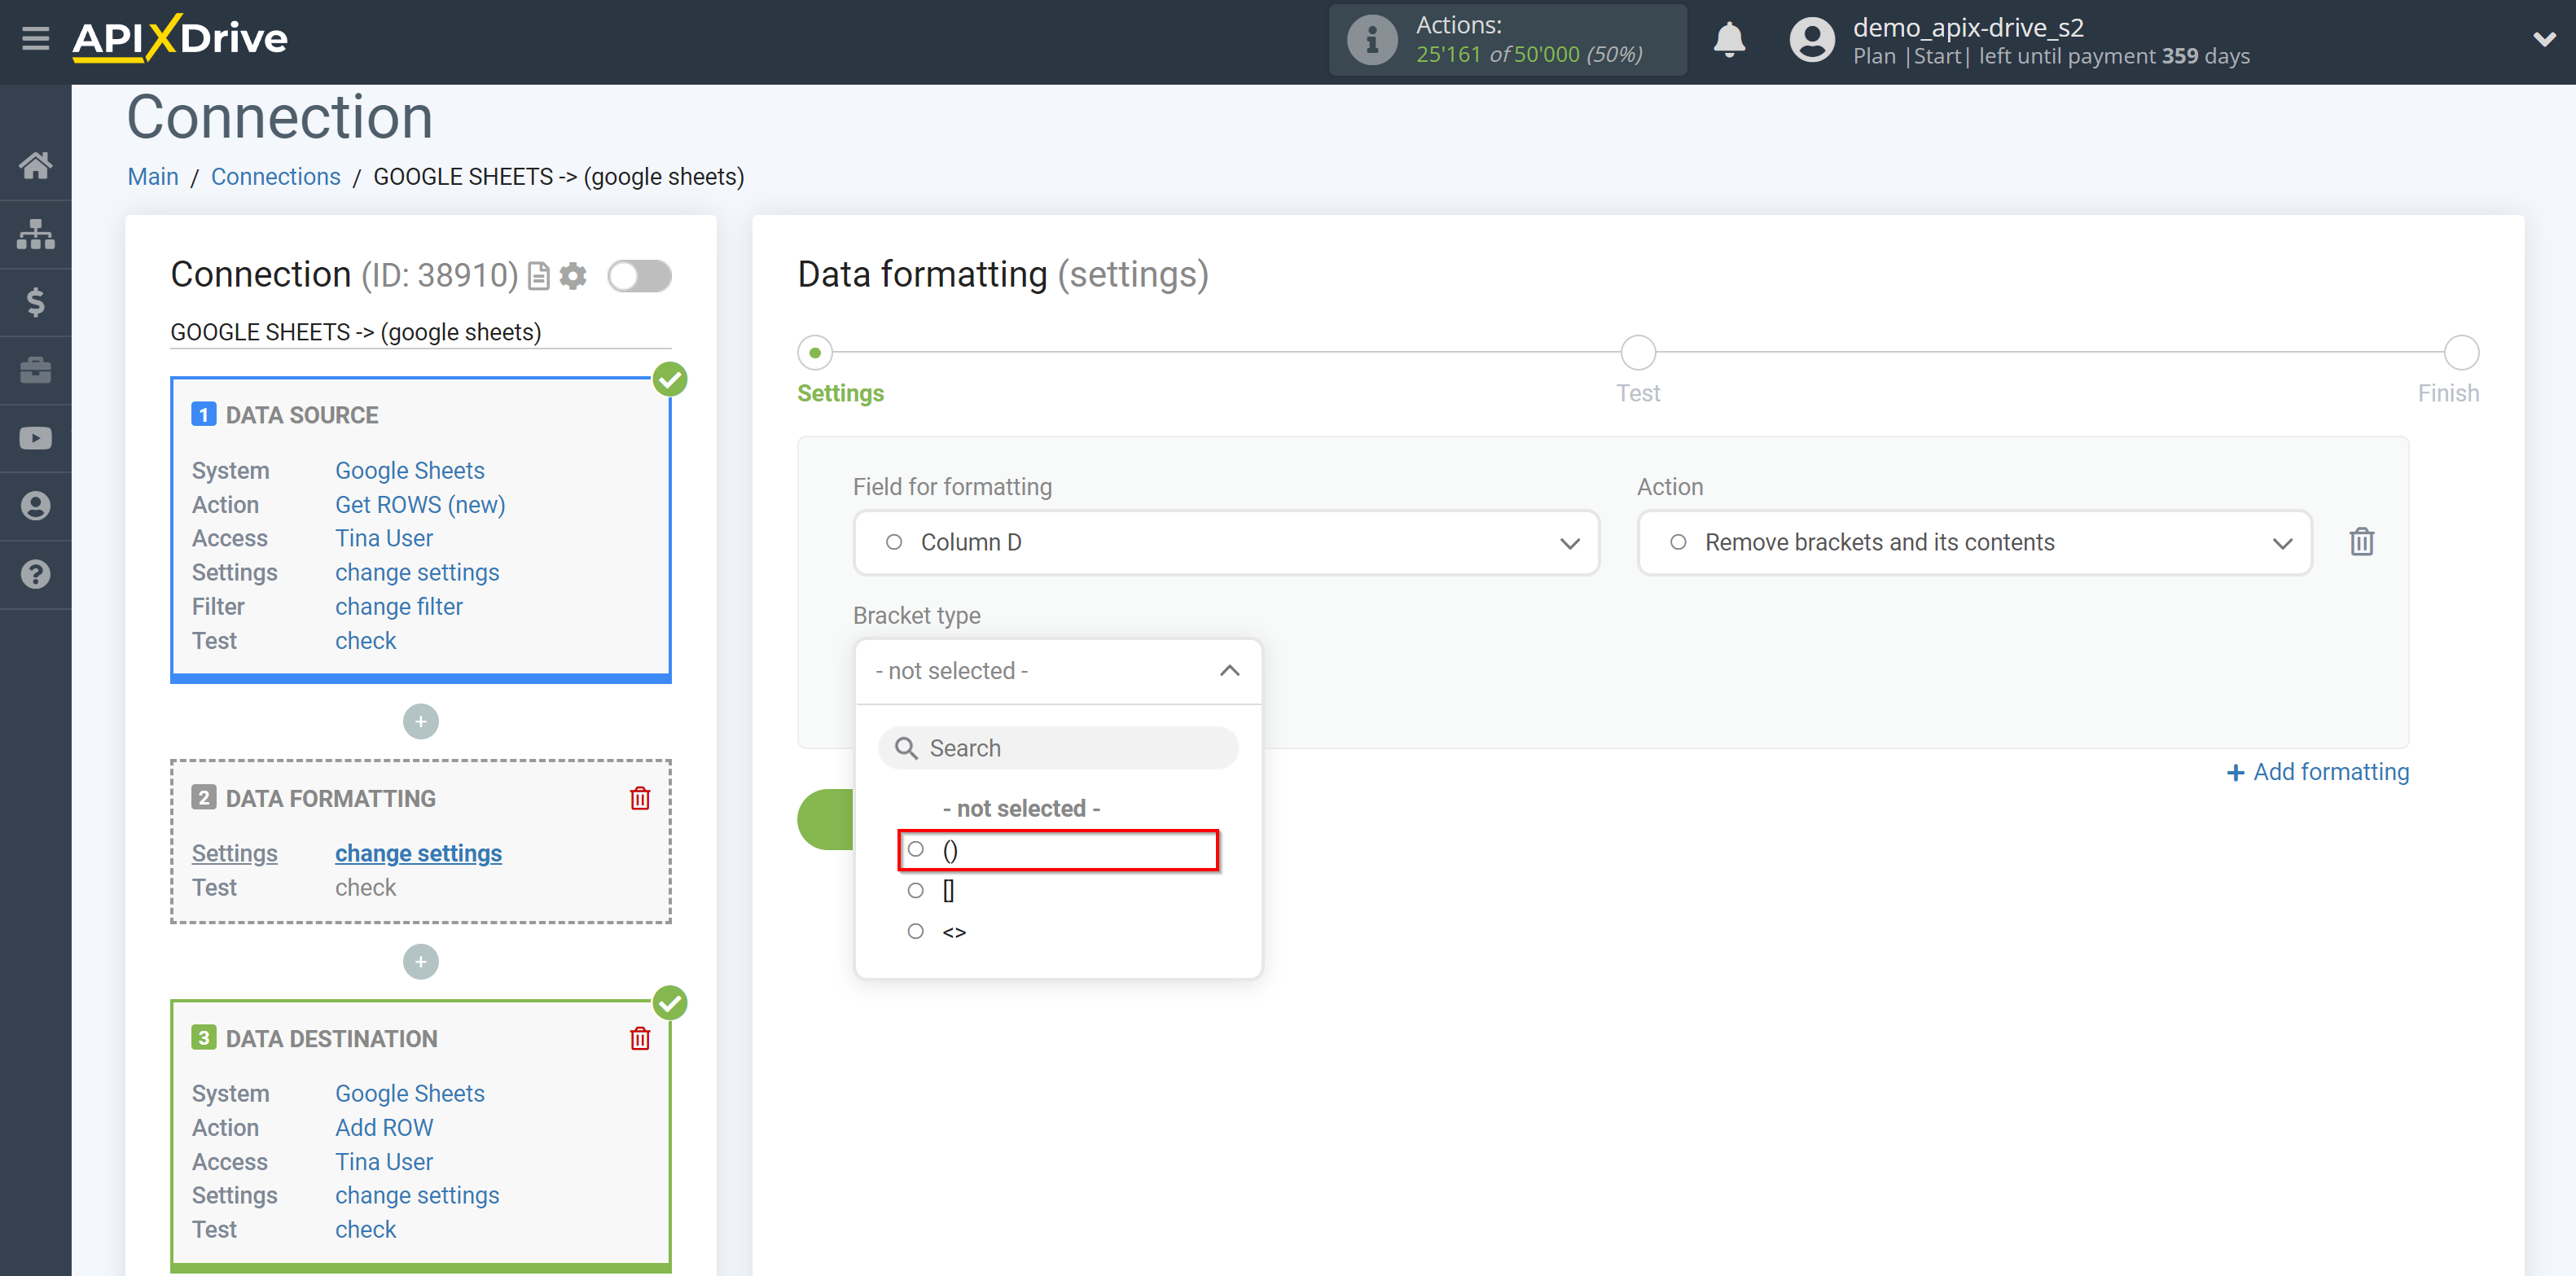
15. Remove brackets and its contents - this allows you to remove brackets in three versions and the values that are in these brackets.
16. Remove everything after the symbol - deletes all values after the specified character.
17. Remove everything before the symbol - deletes all values up to the specified character.
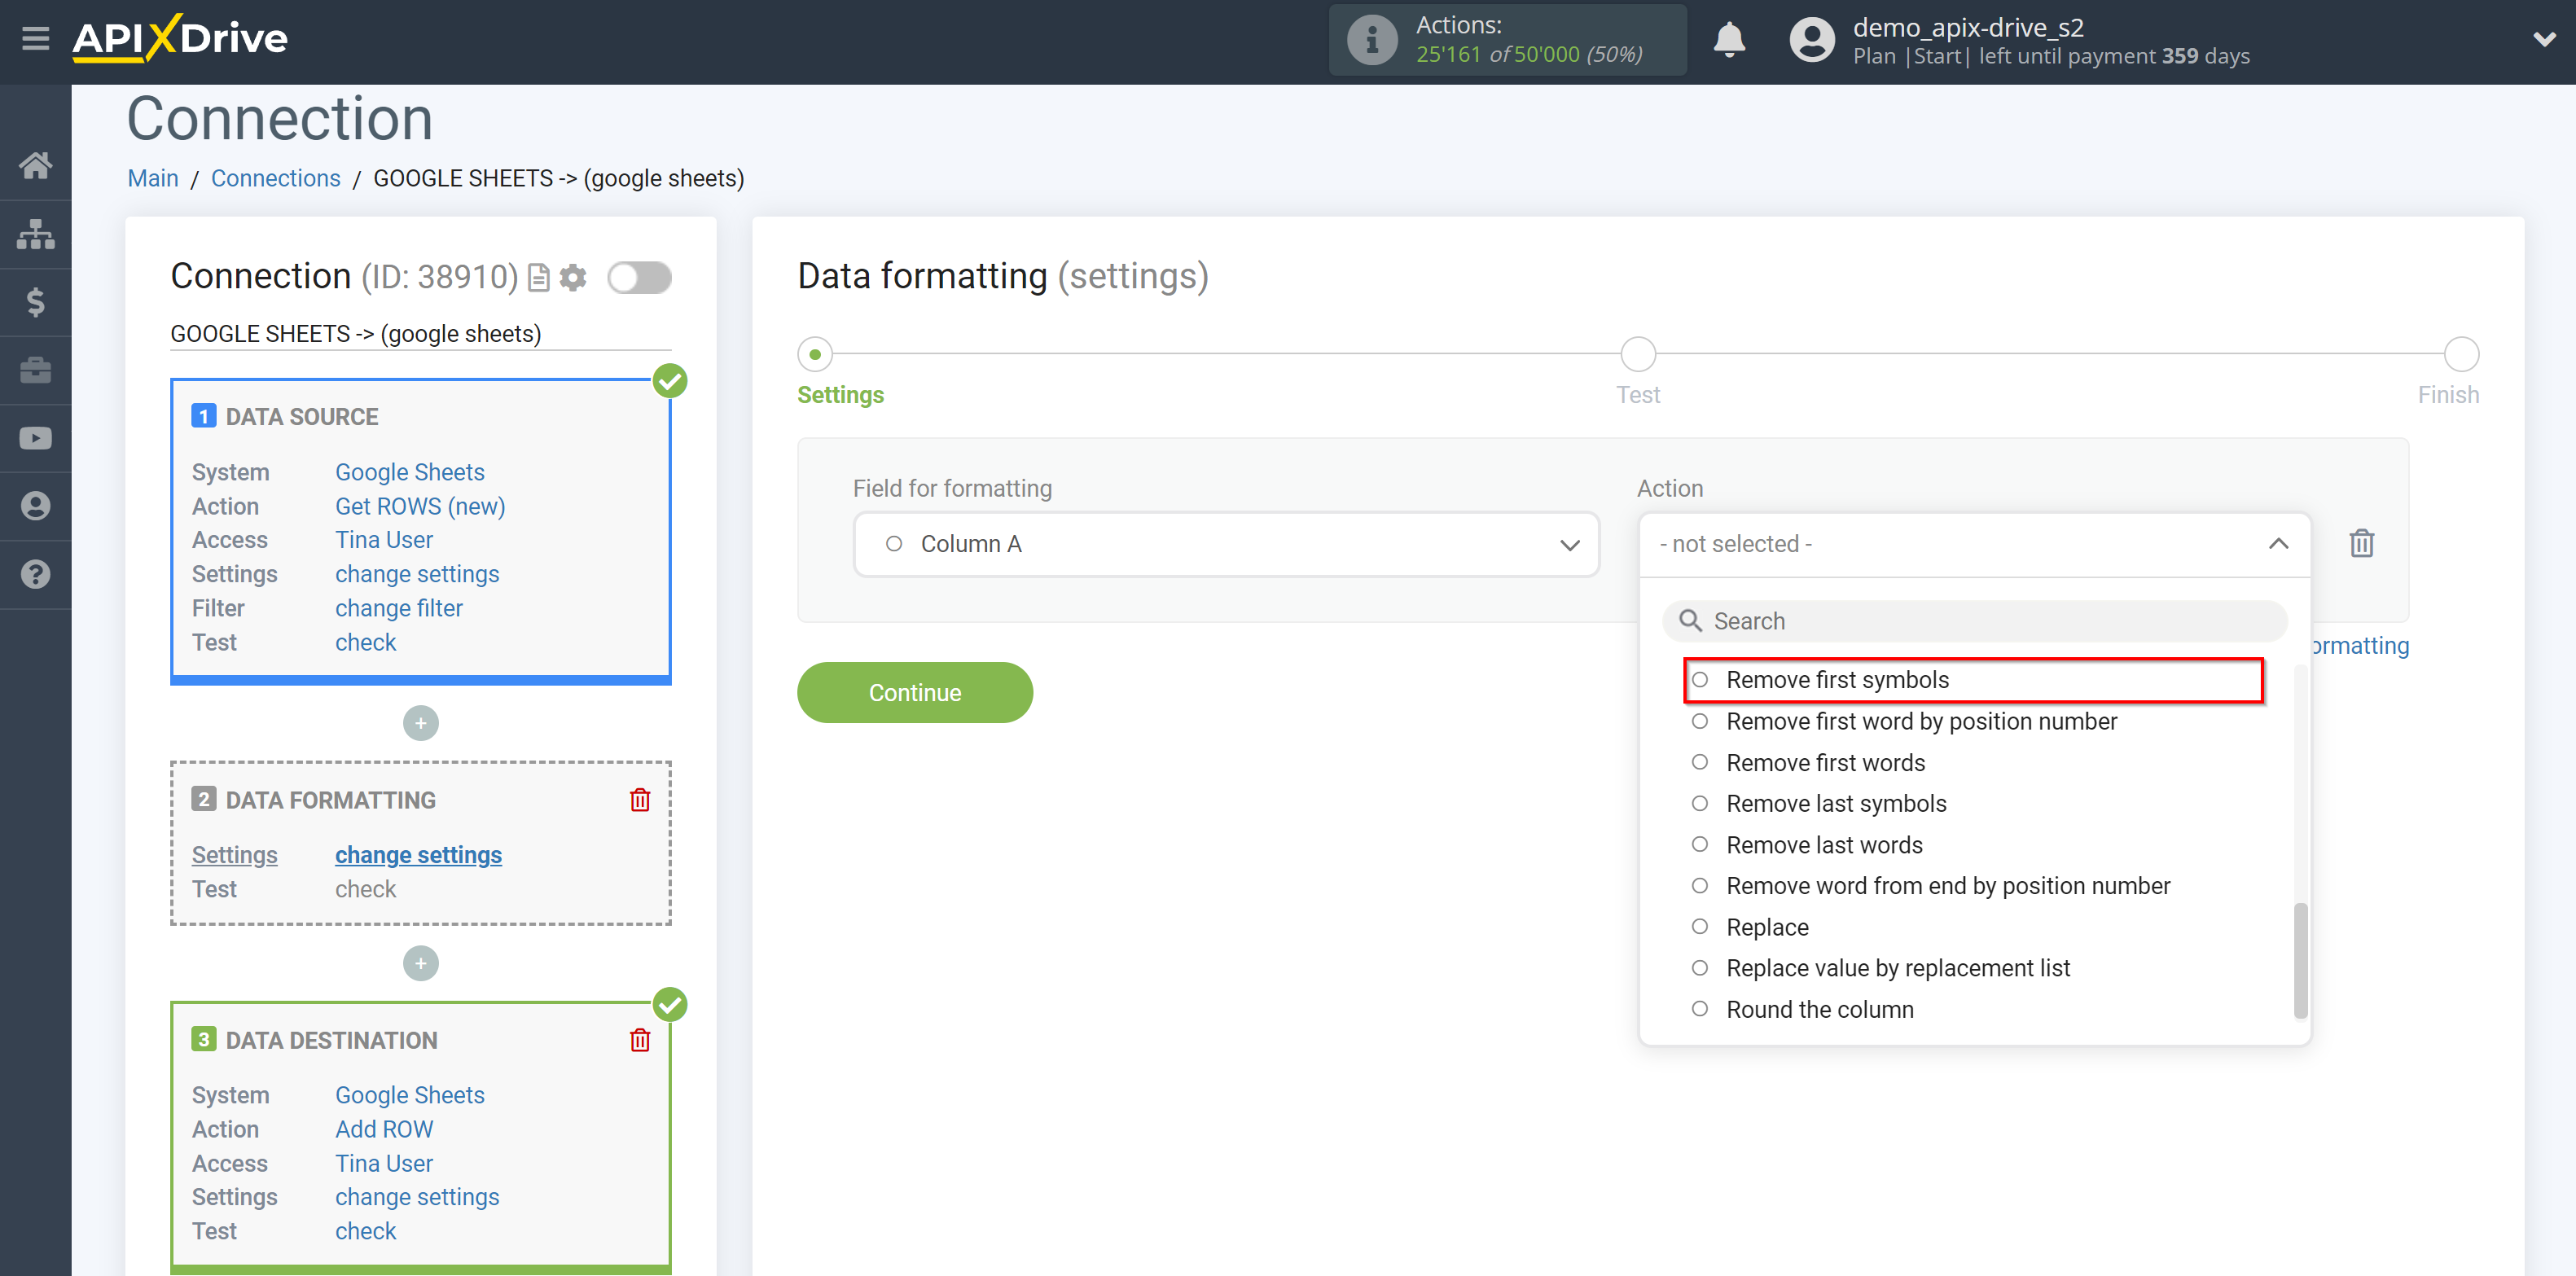
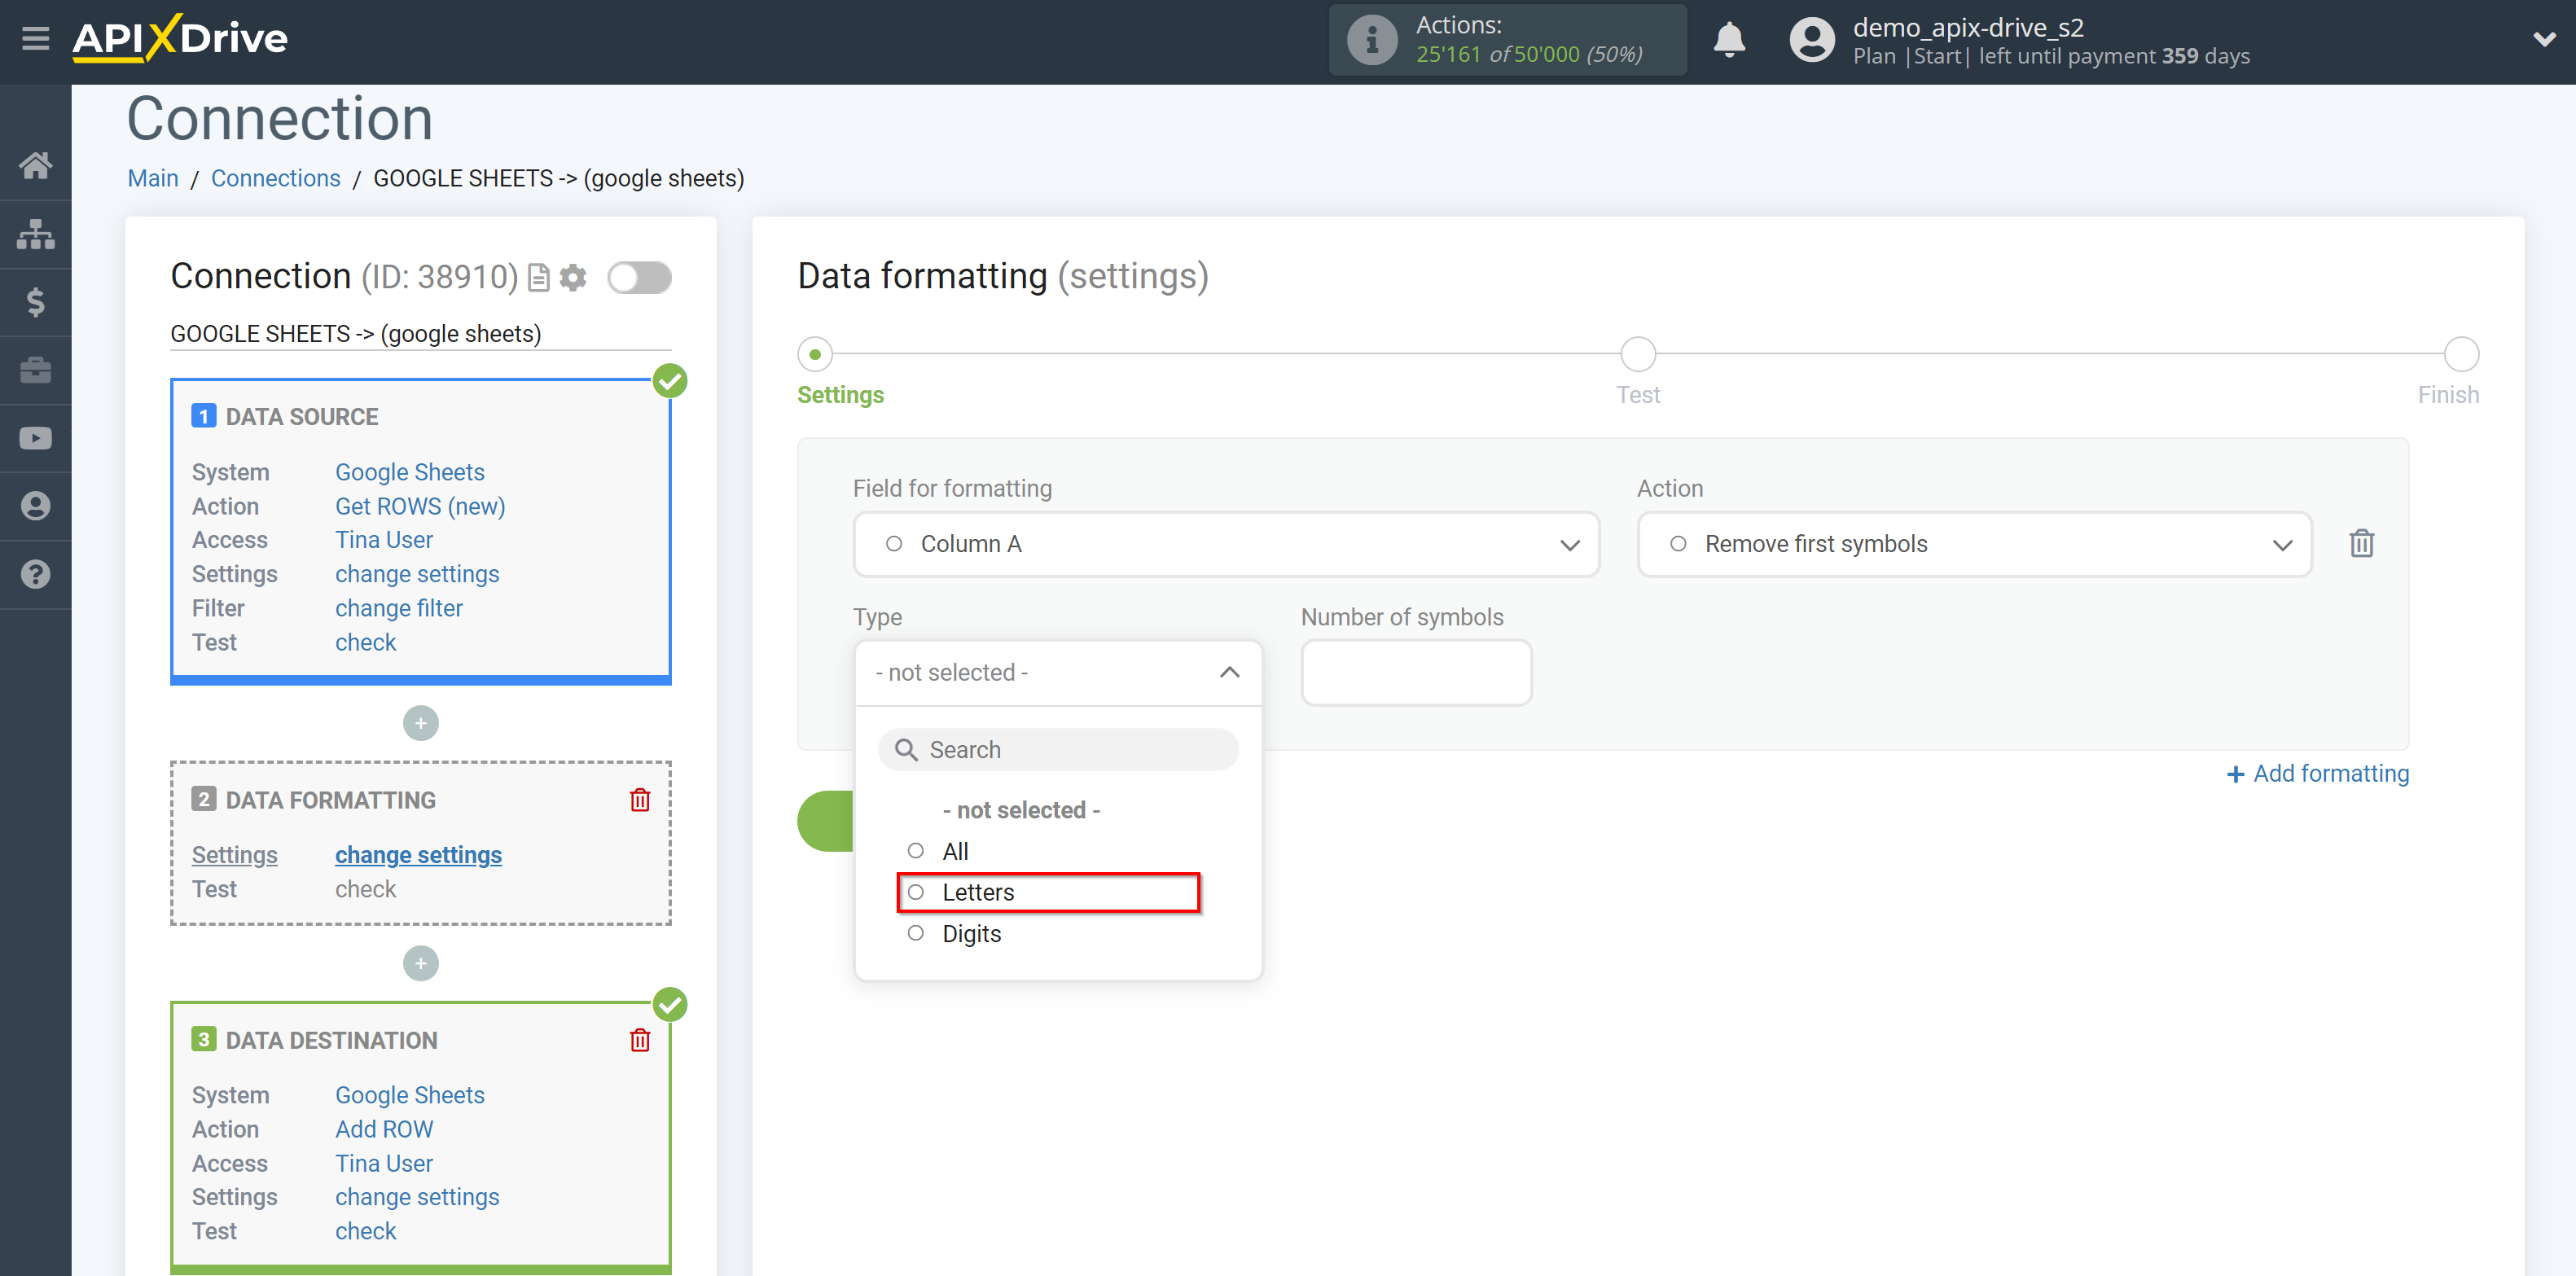
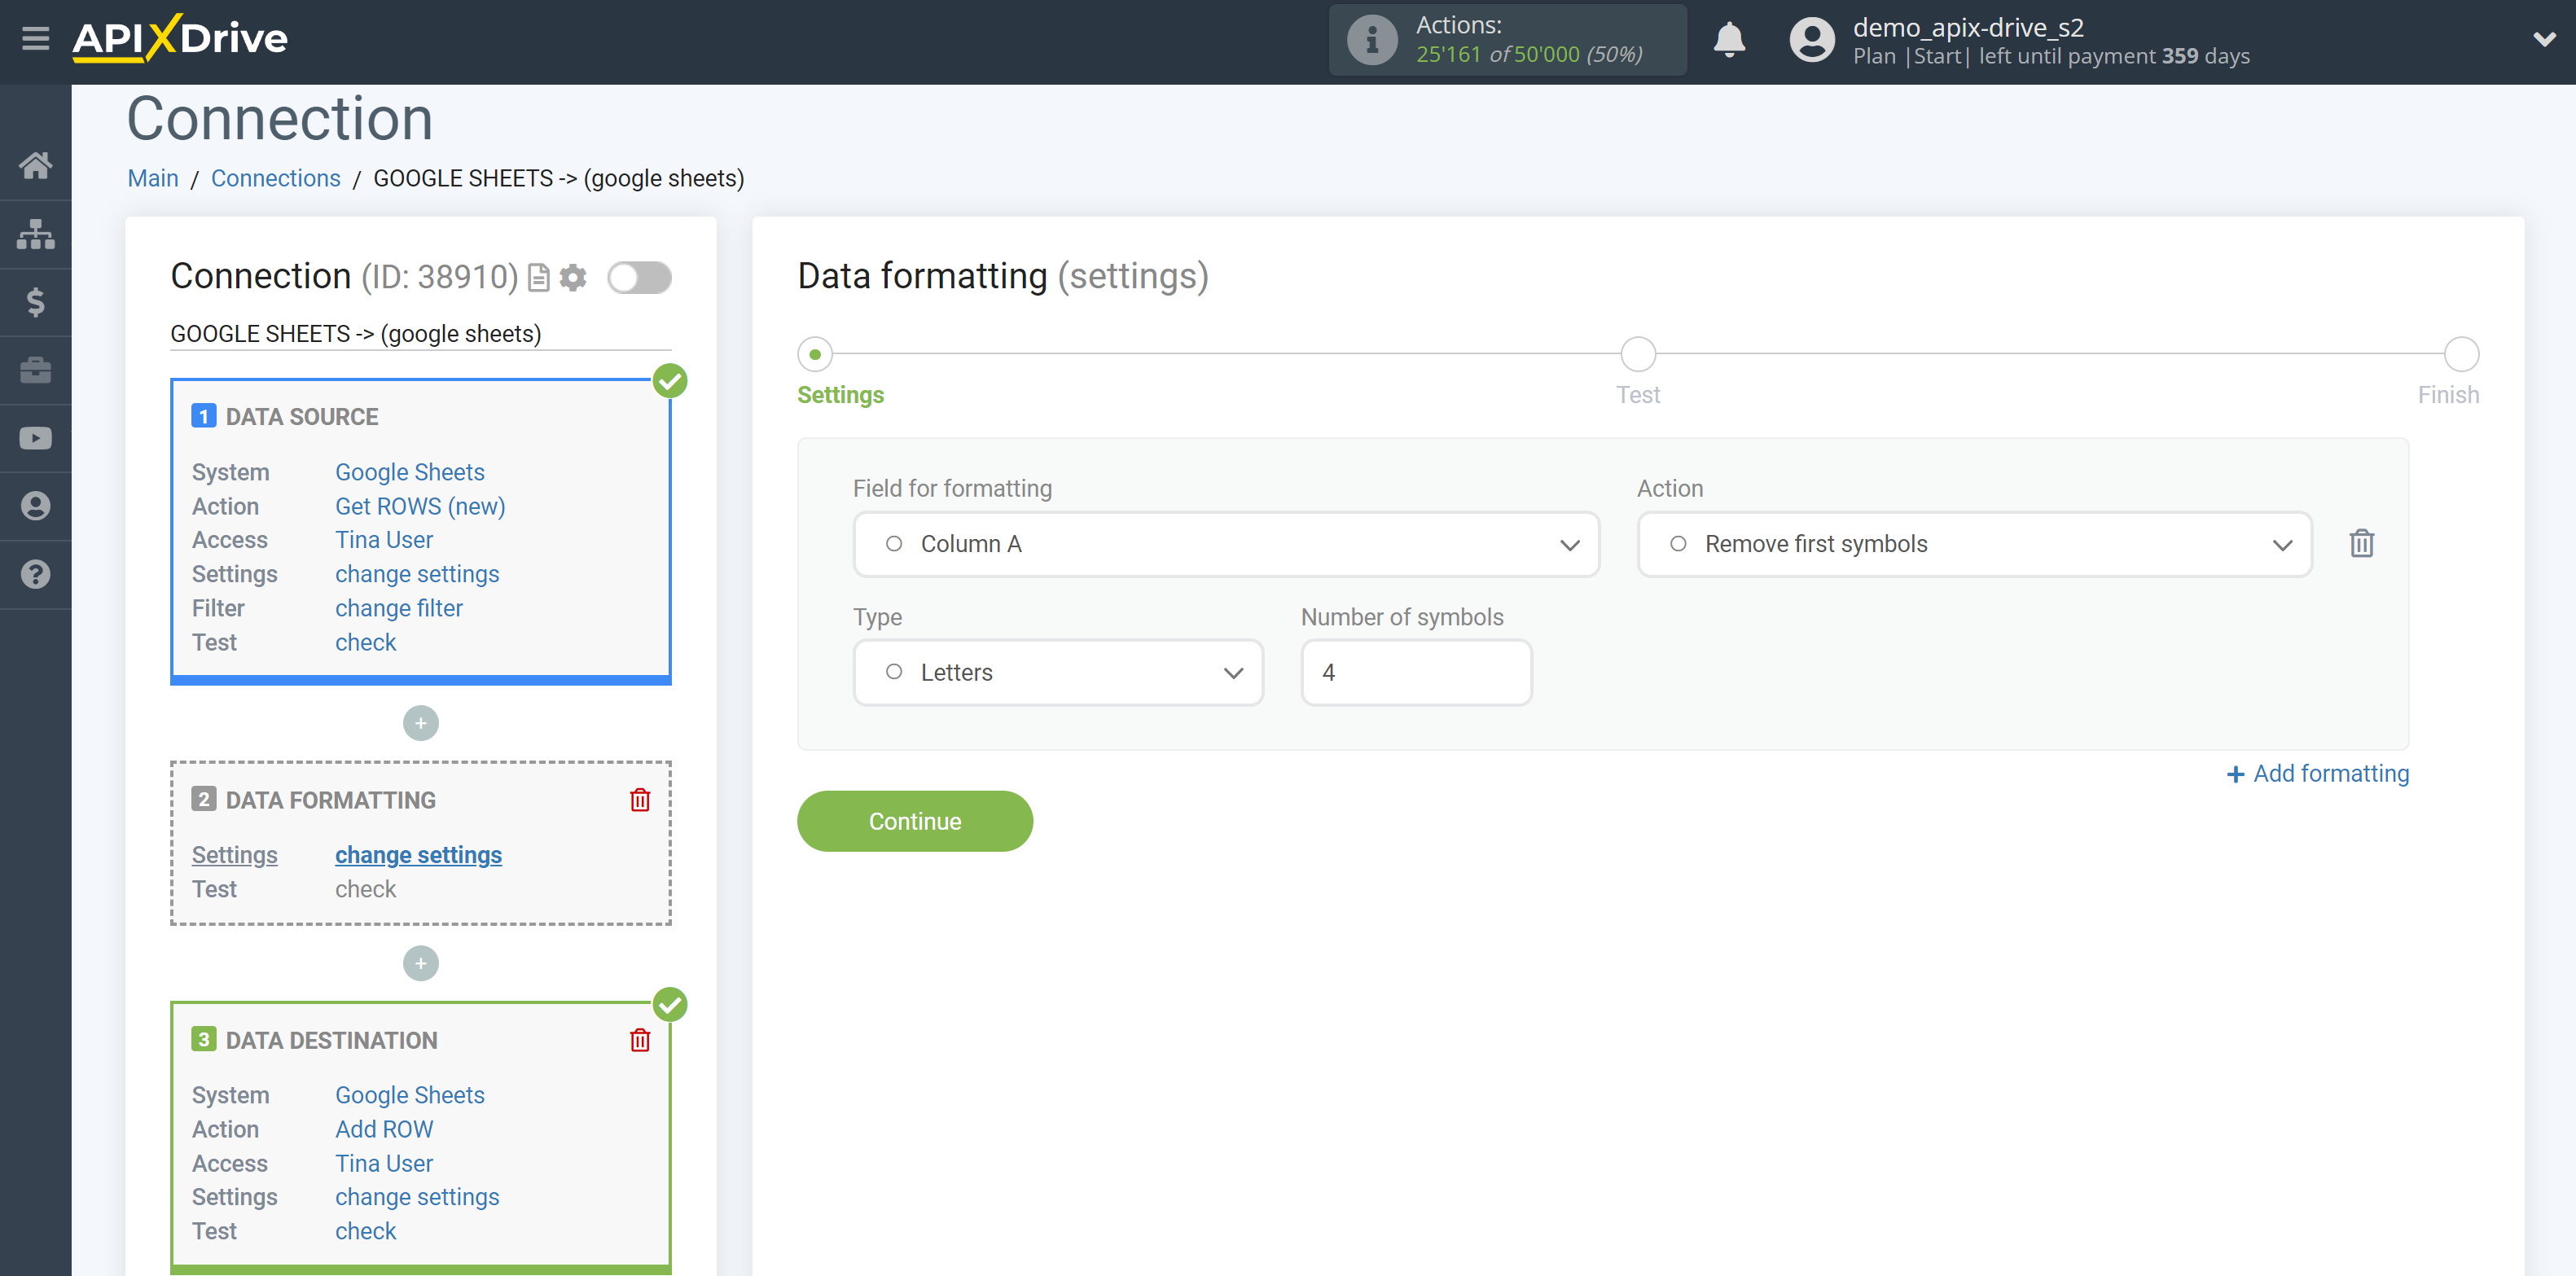
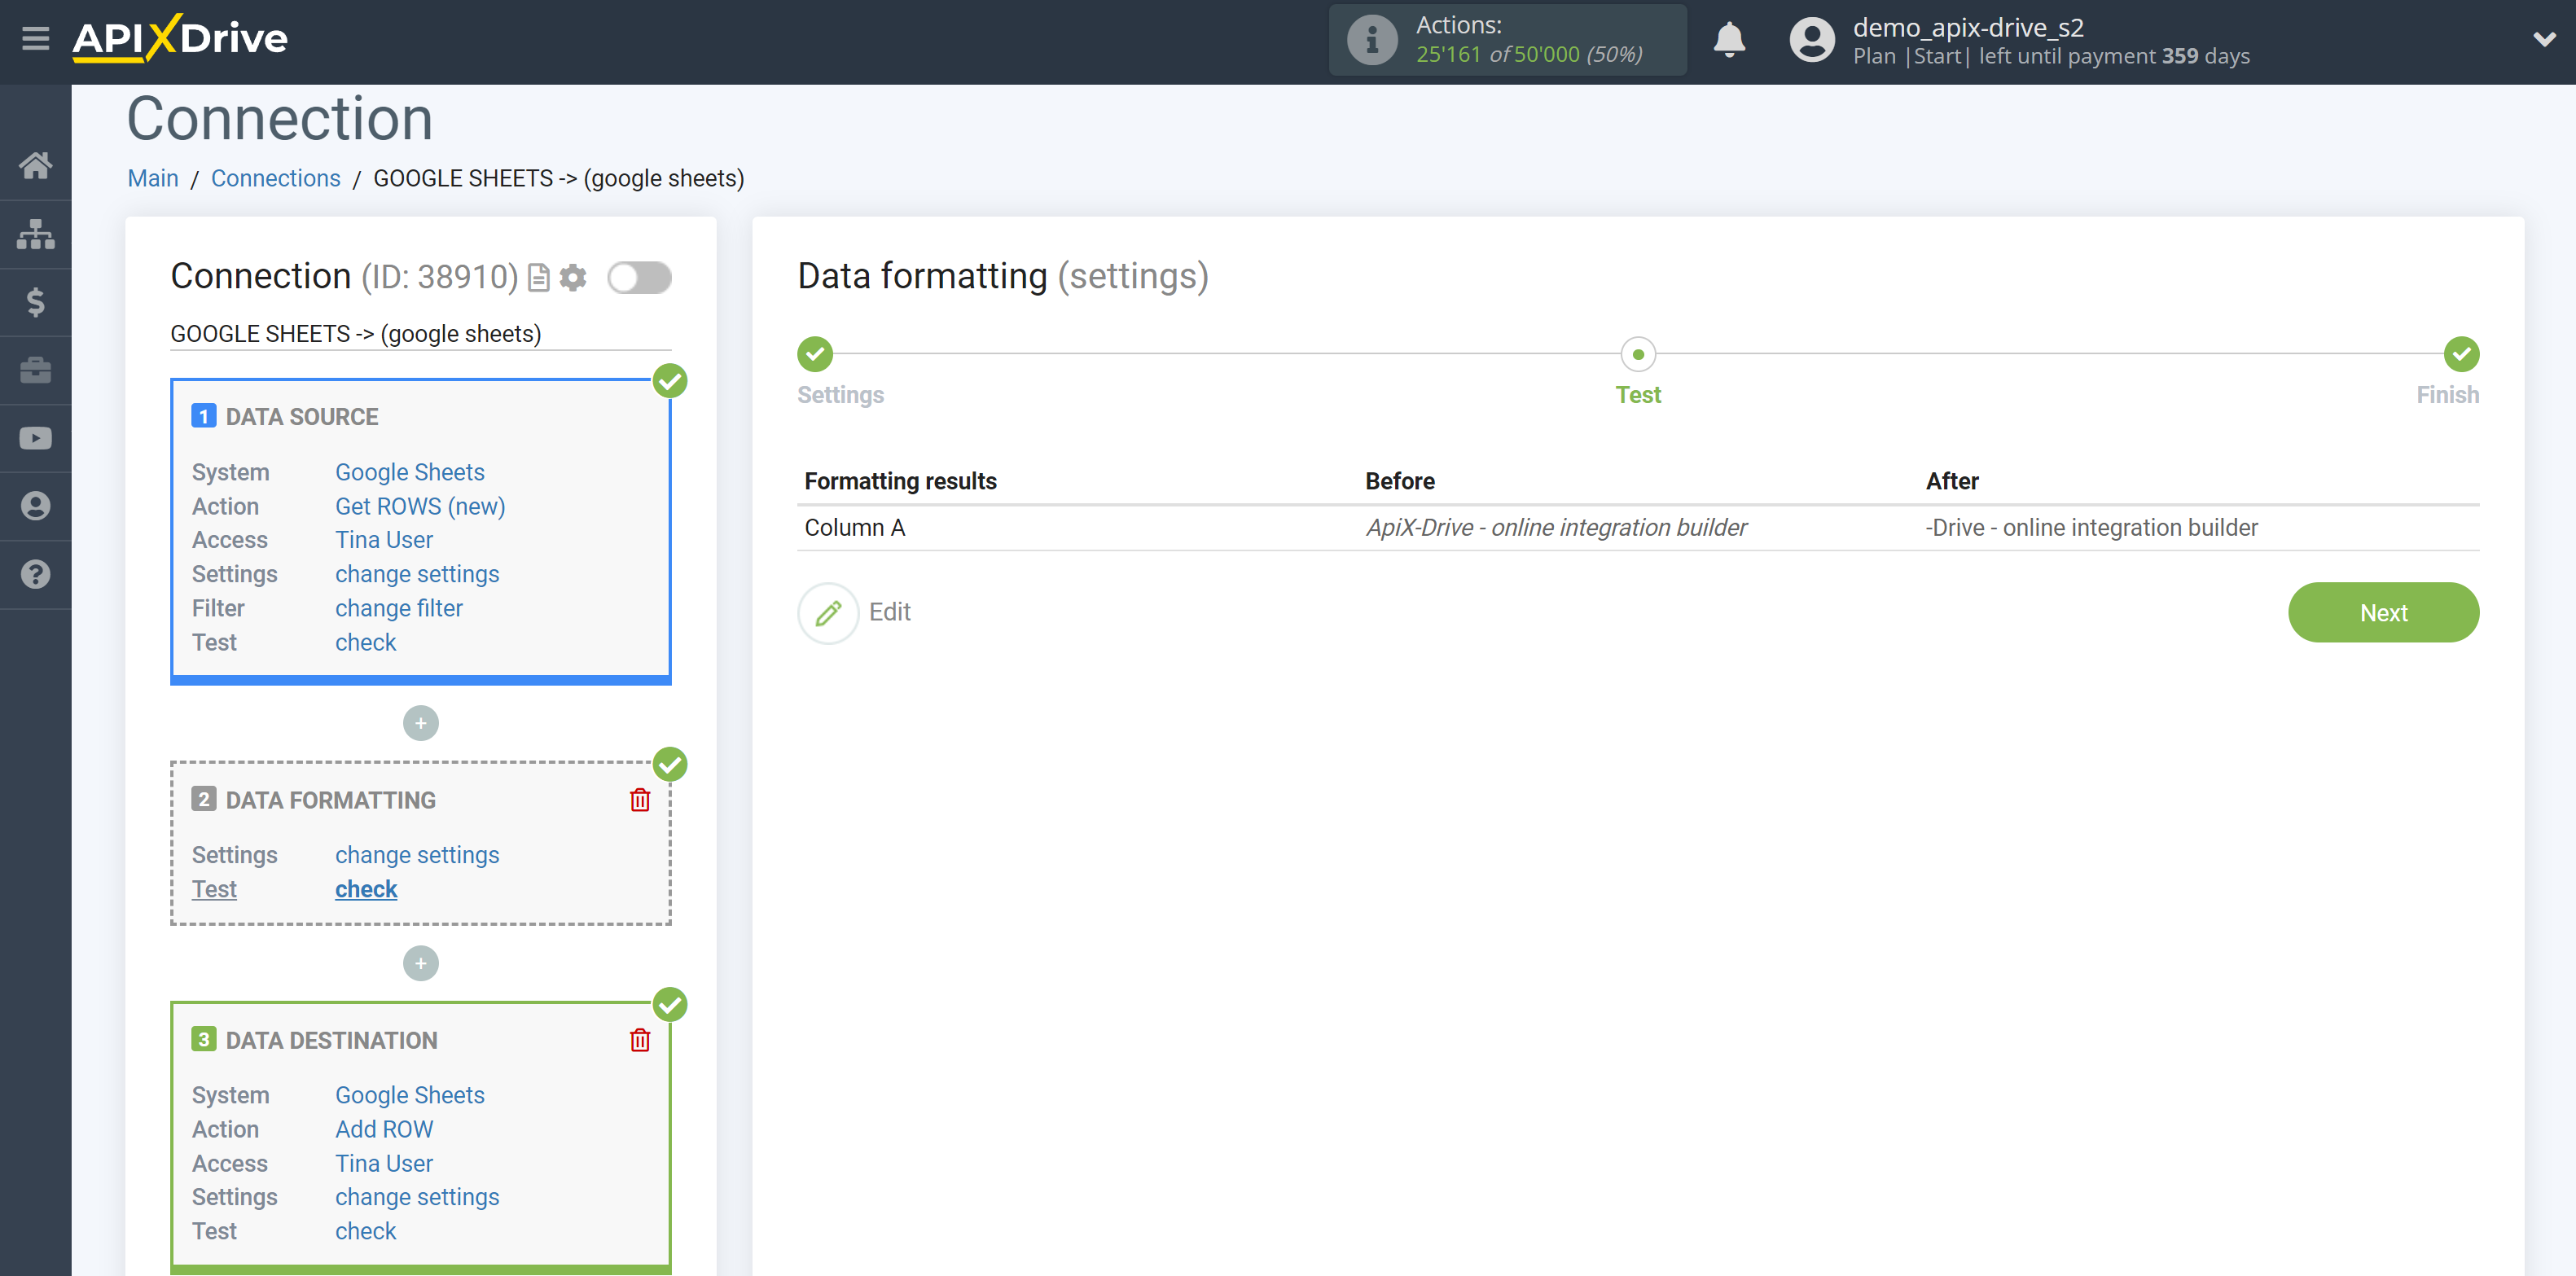
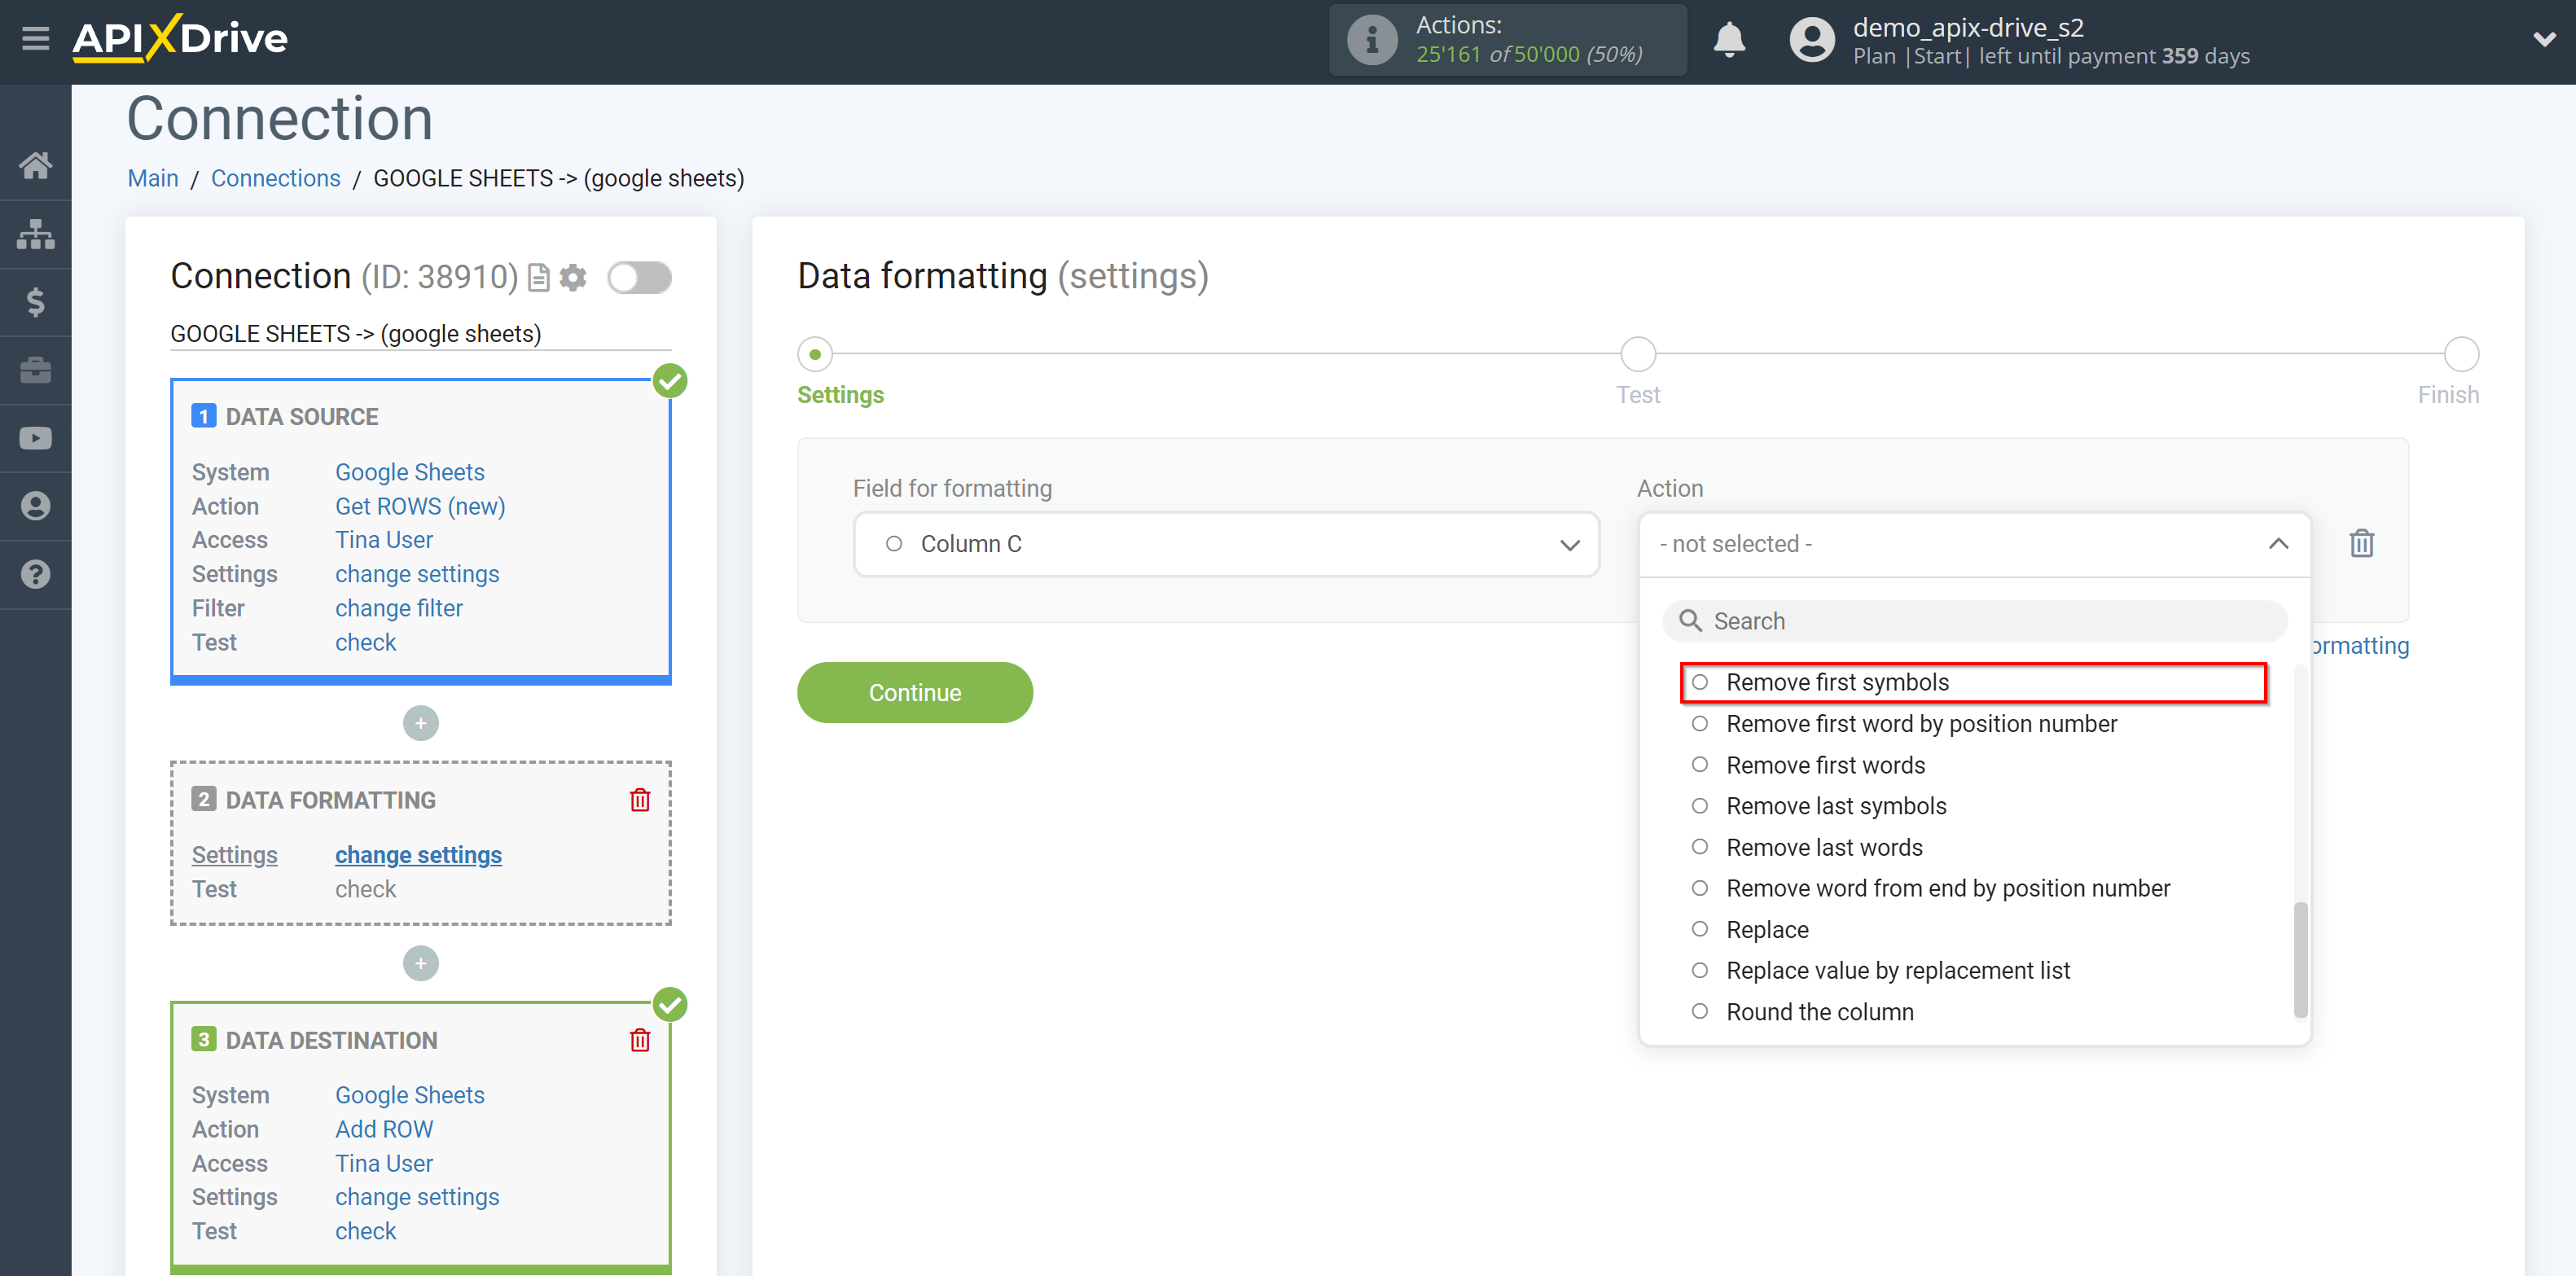
18. Remove first symbols - deletes the specified number of characters, starting from the beginning.
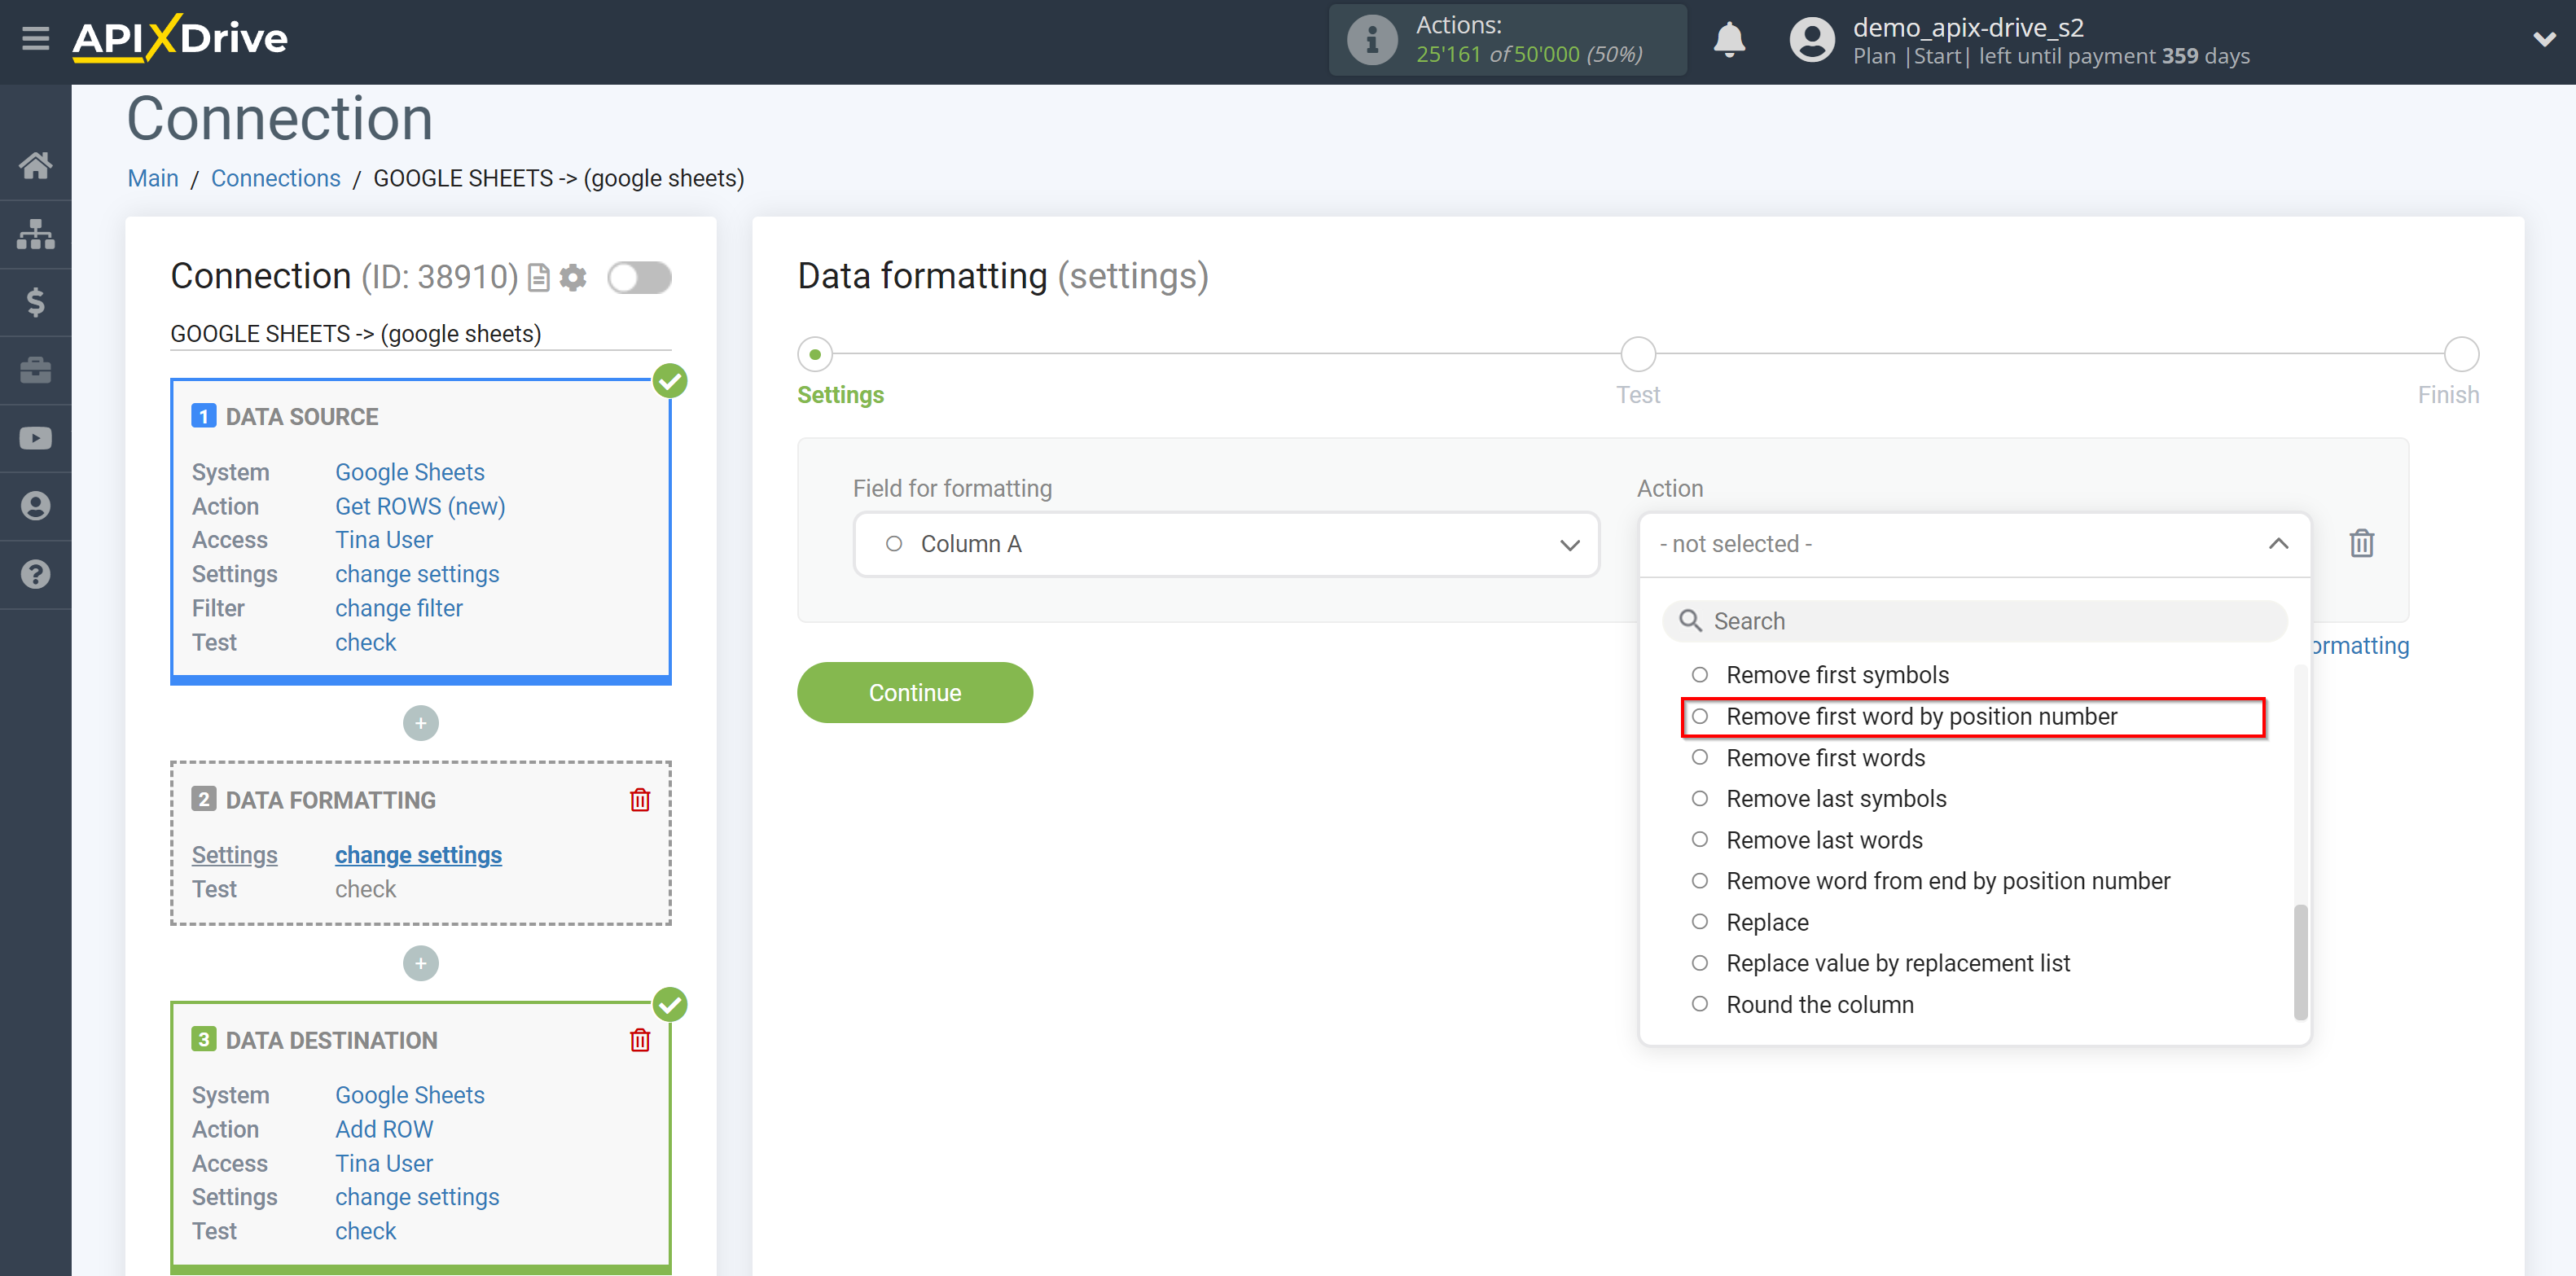
19. Remove first word by position number - the ability to delete a word by specifying its number according to the number listed first.
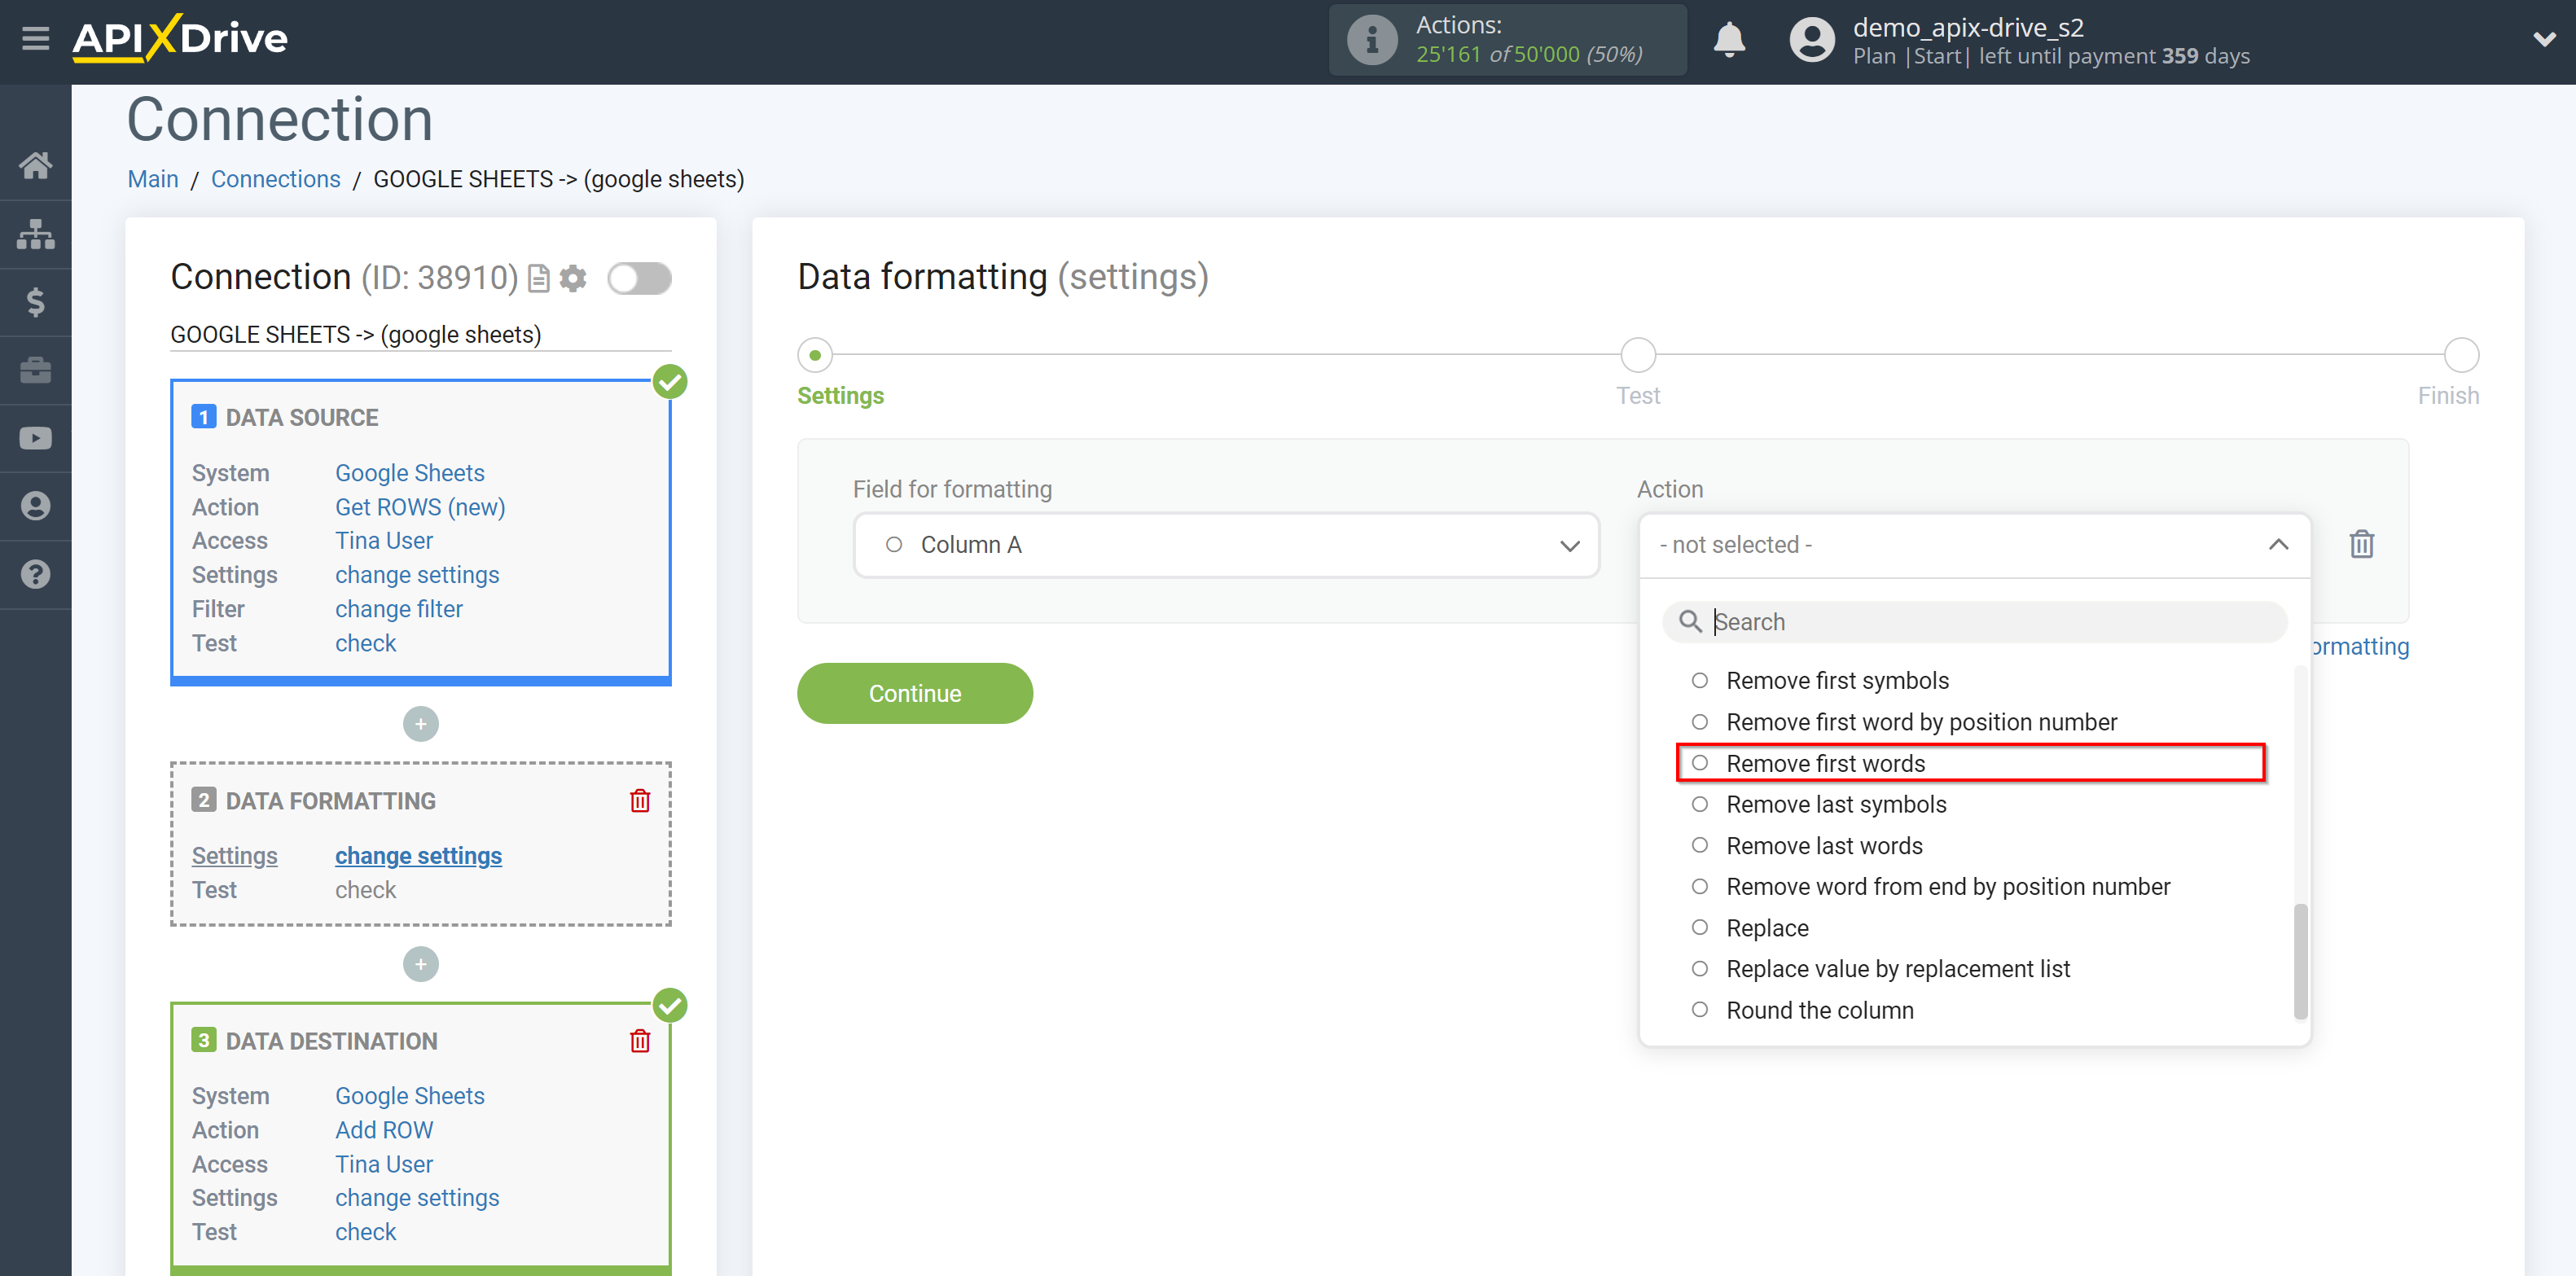
20. Remove first words - allows you to set the number of words at the beginning that should be deleted.
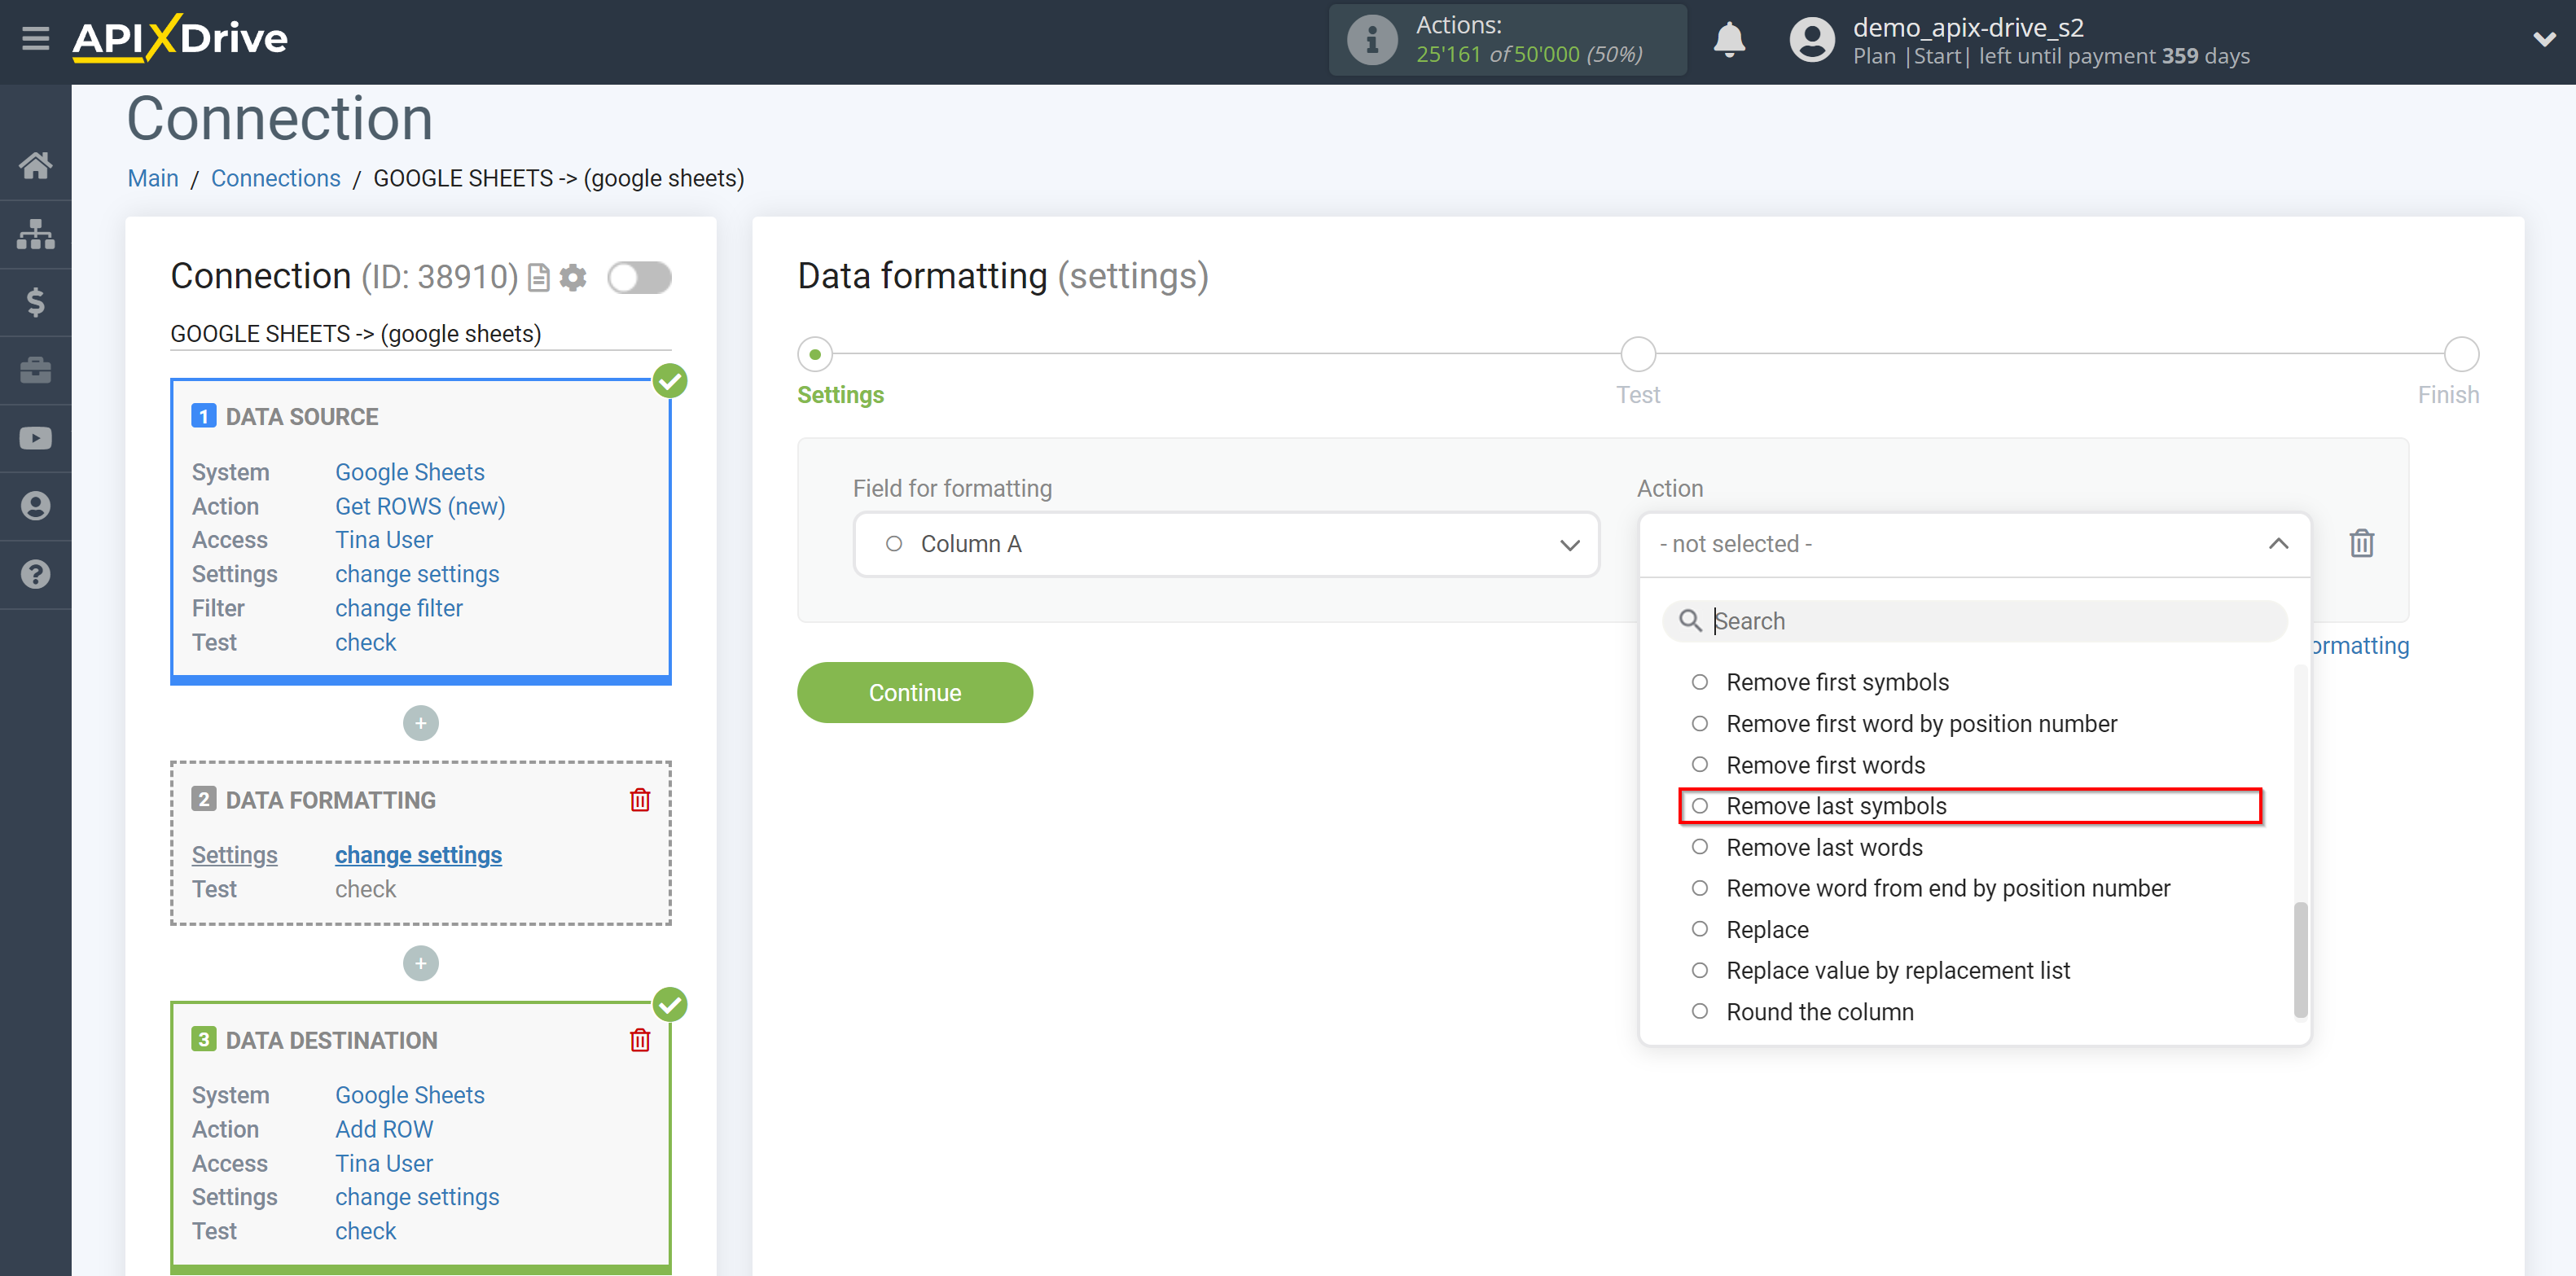
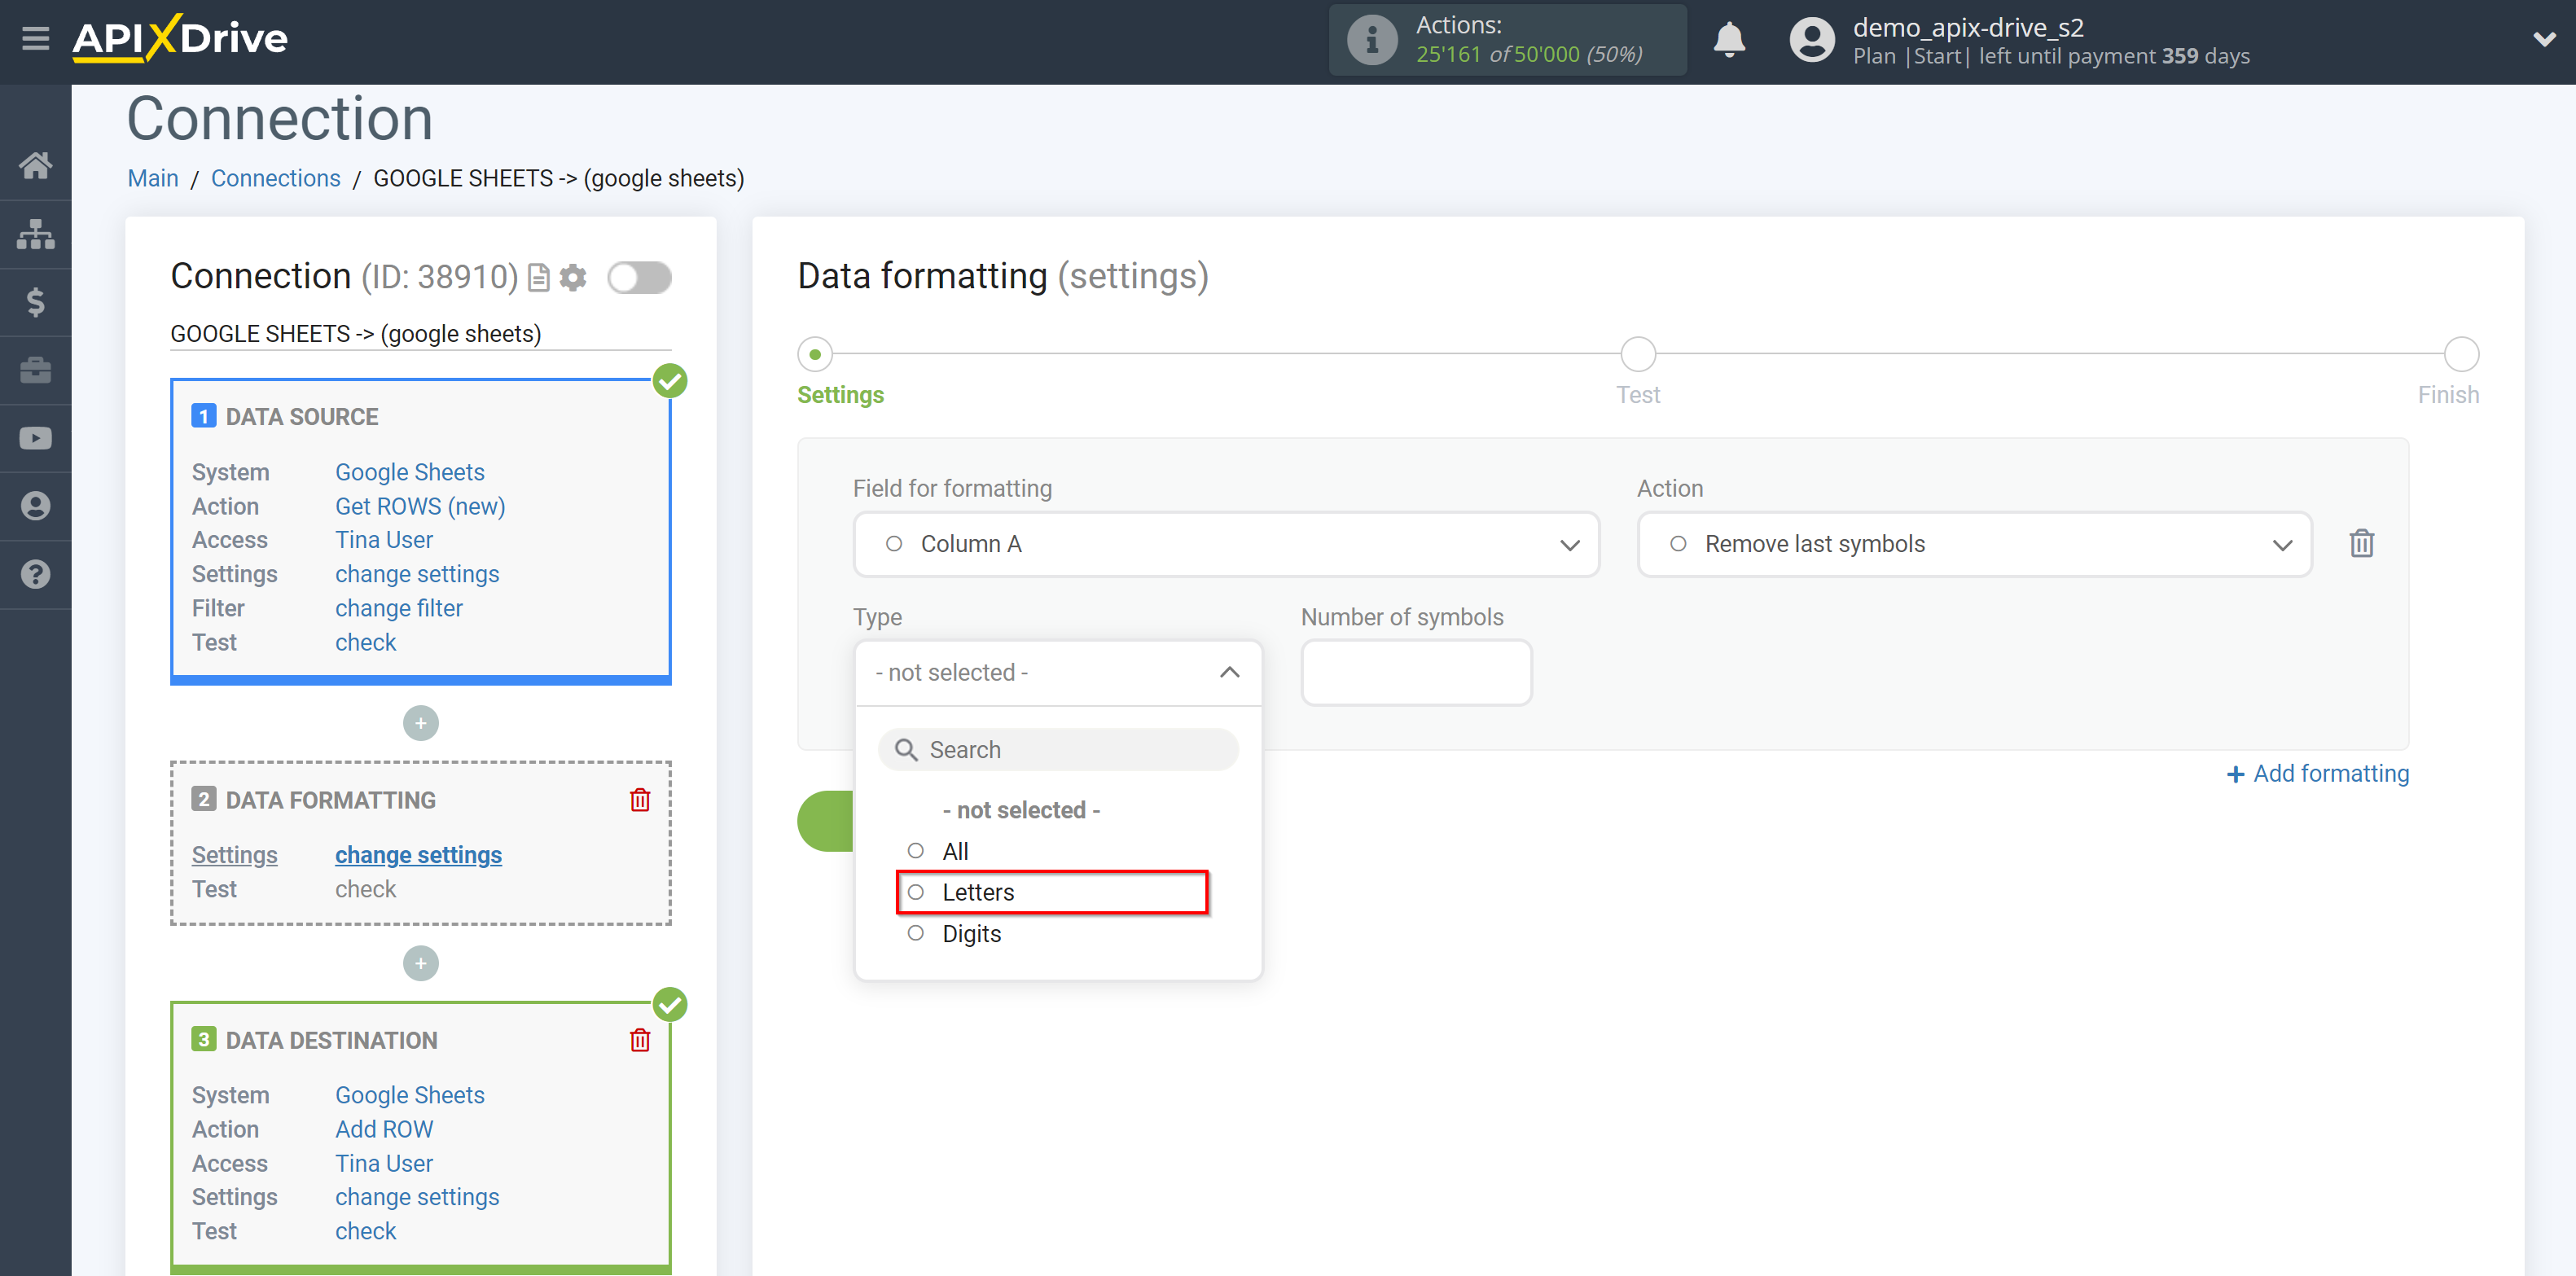
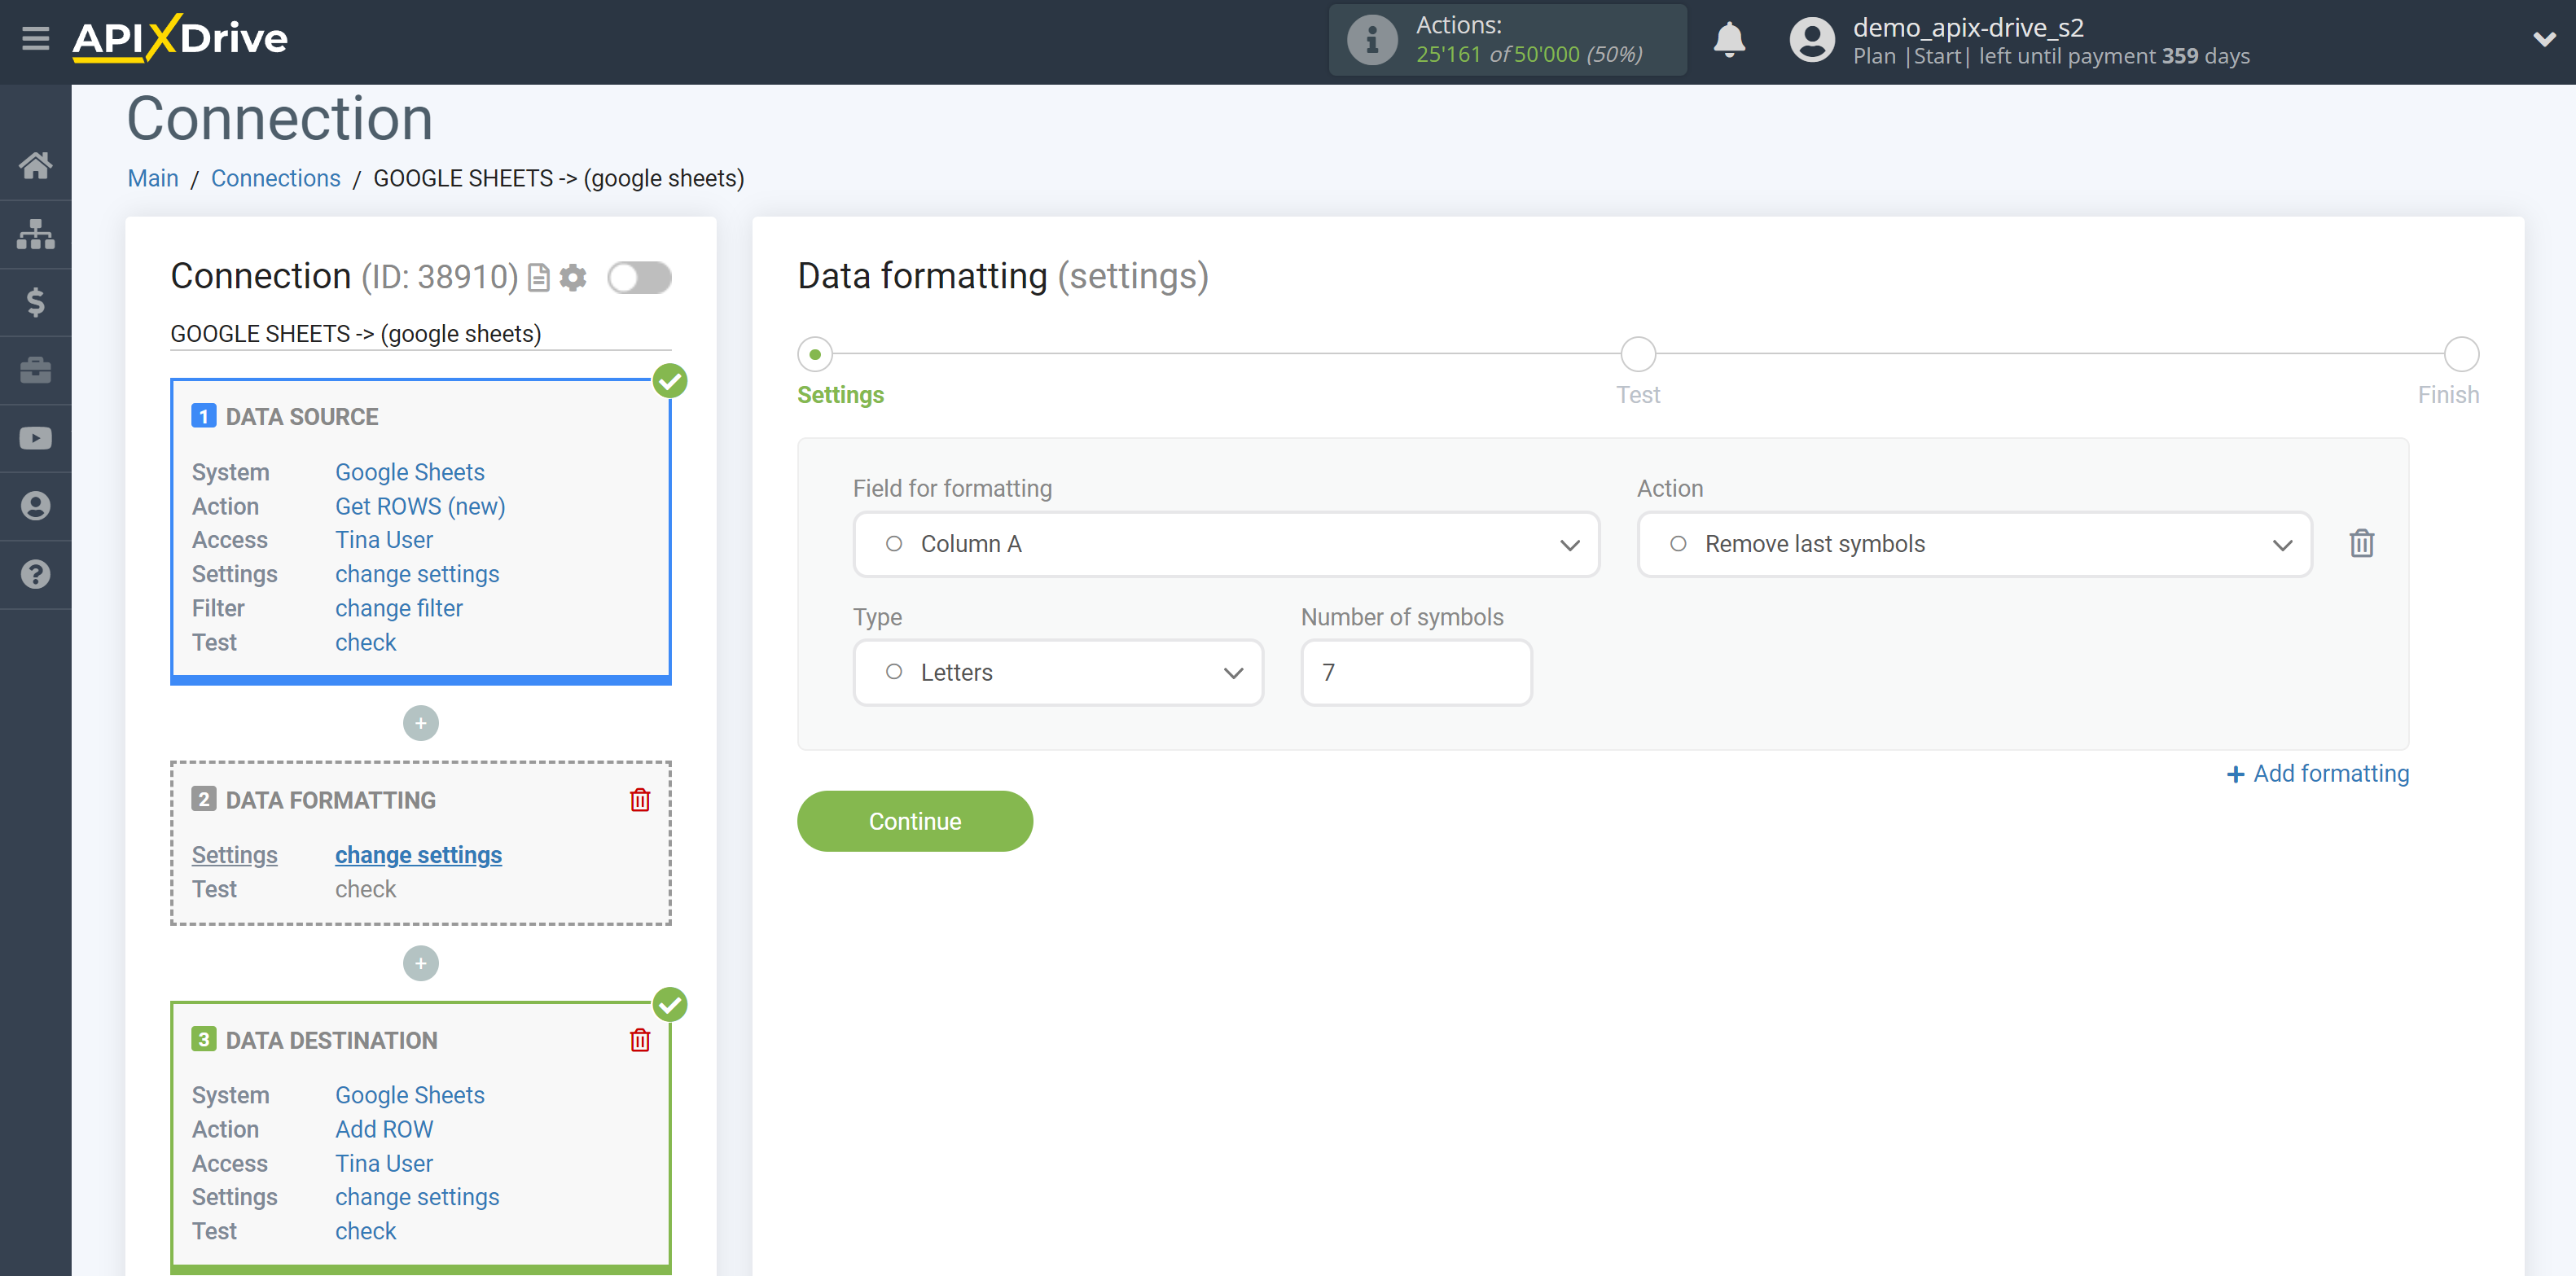
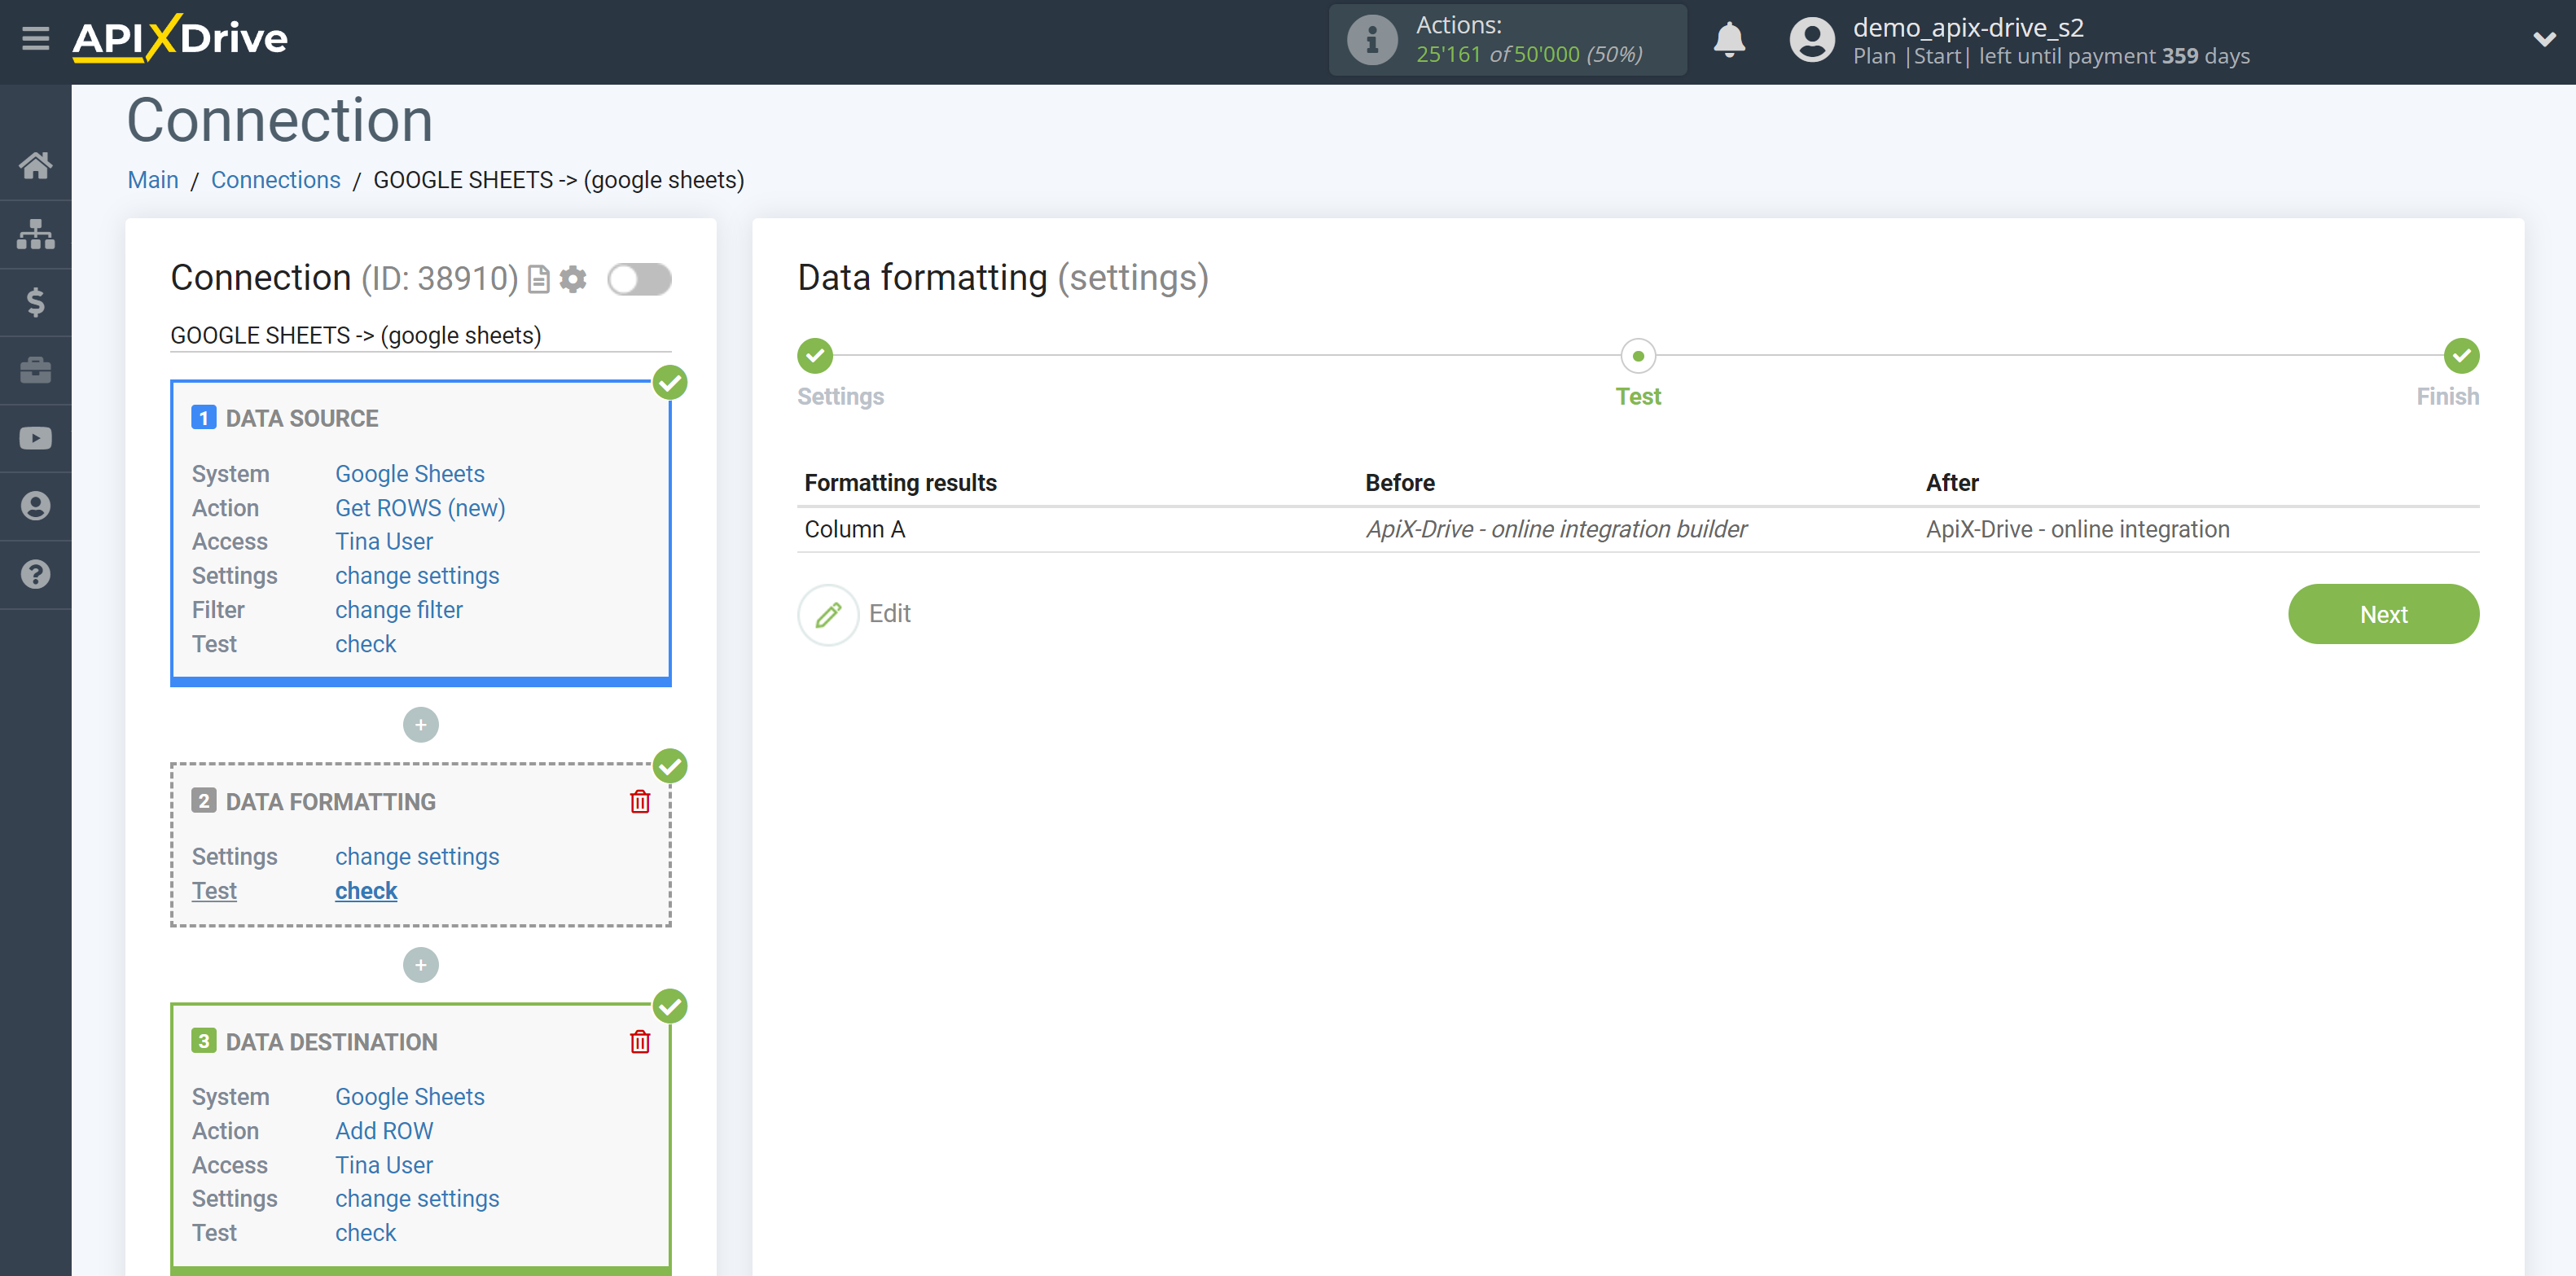
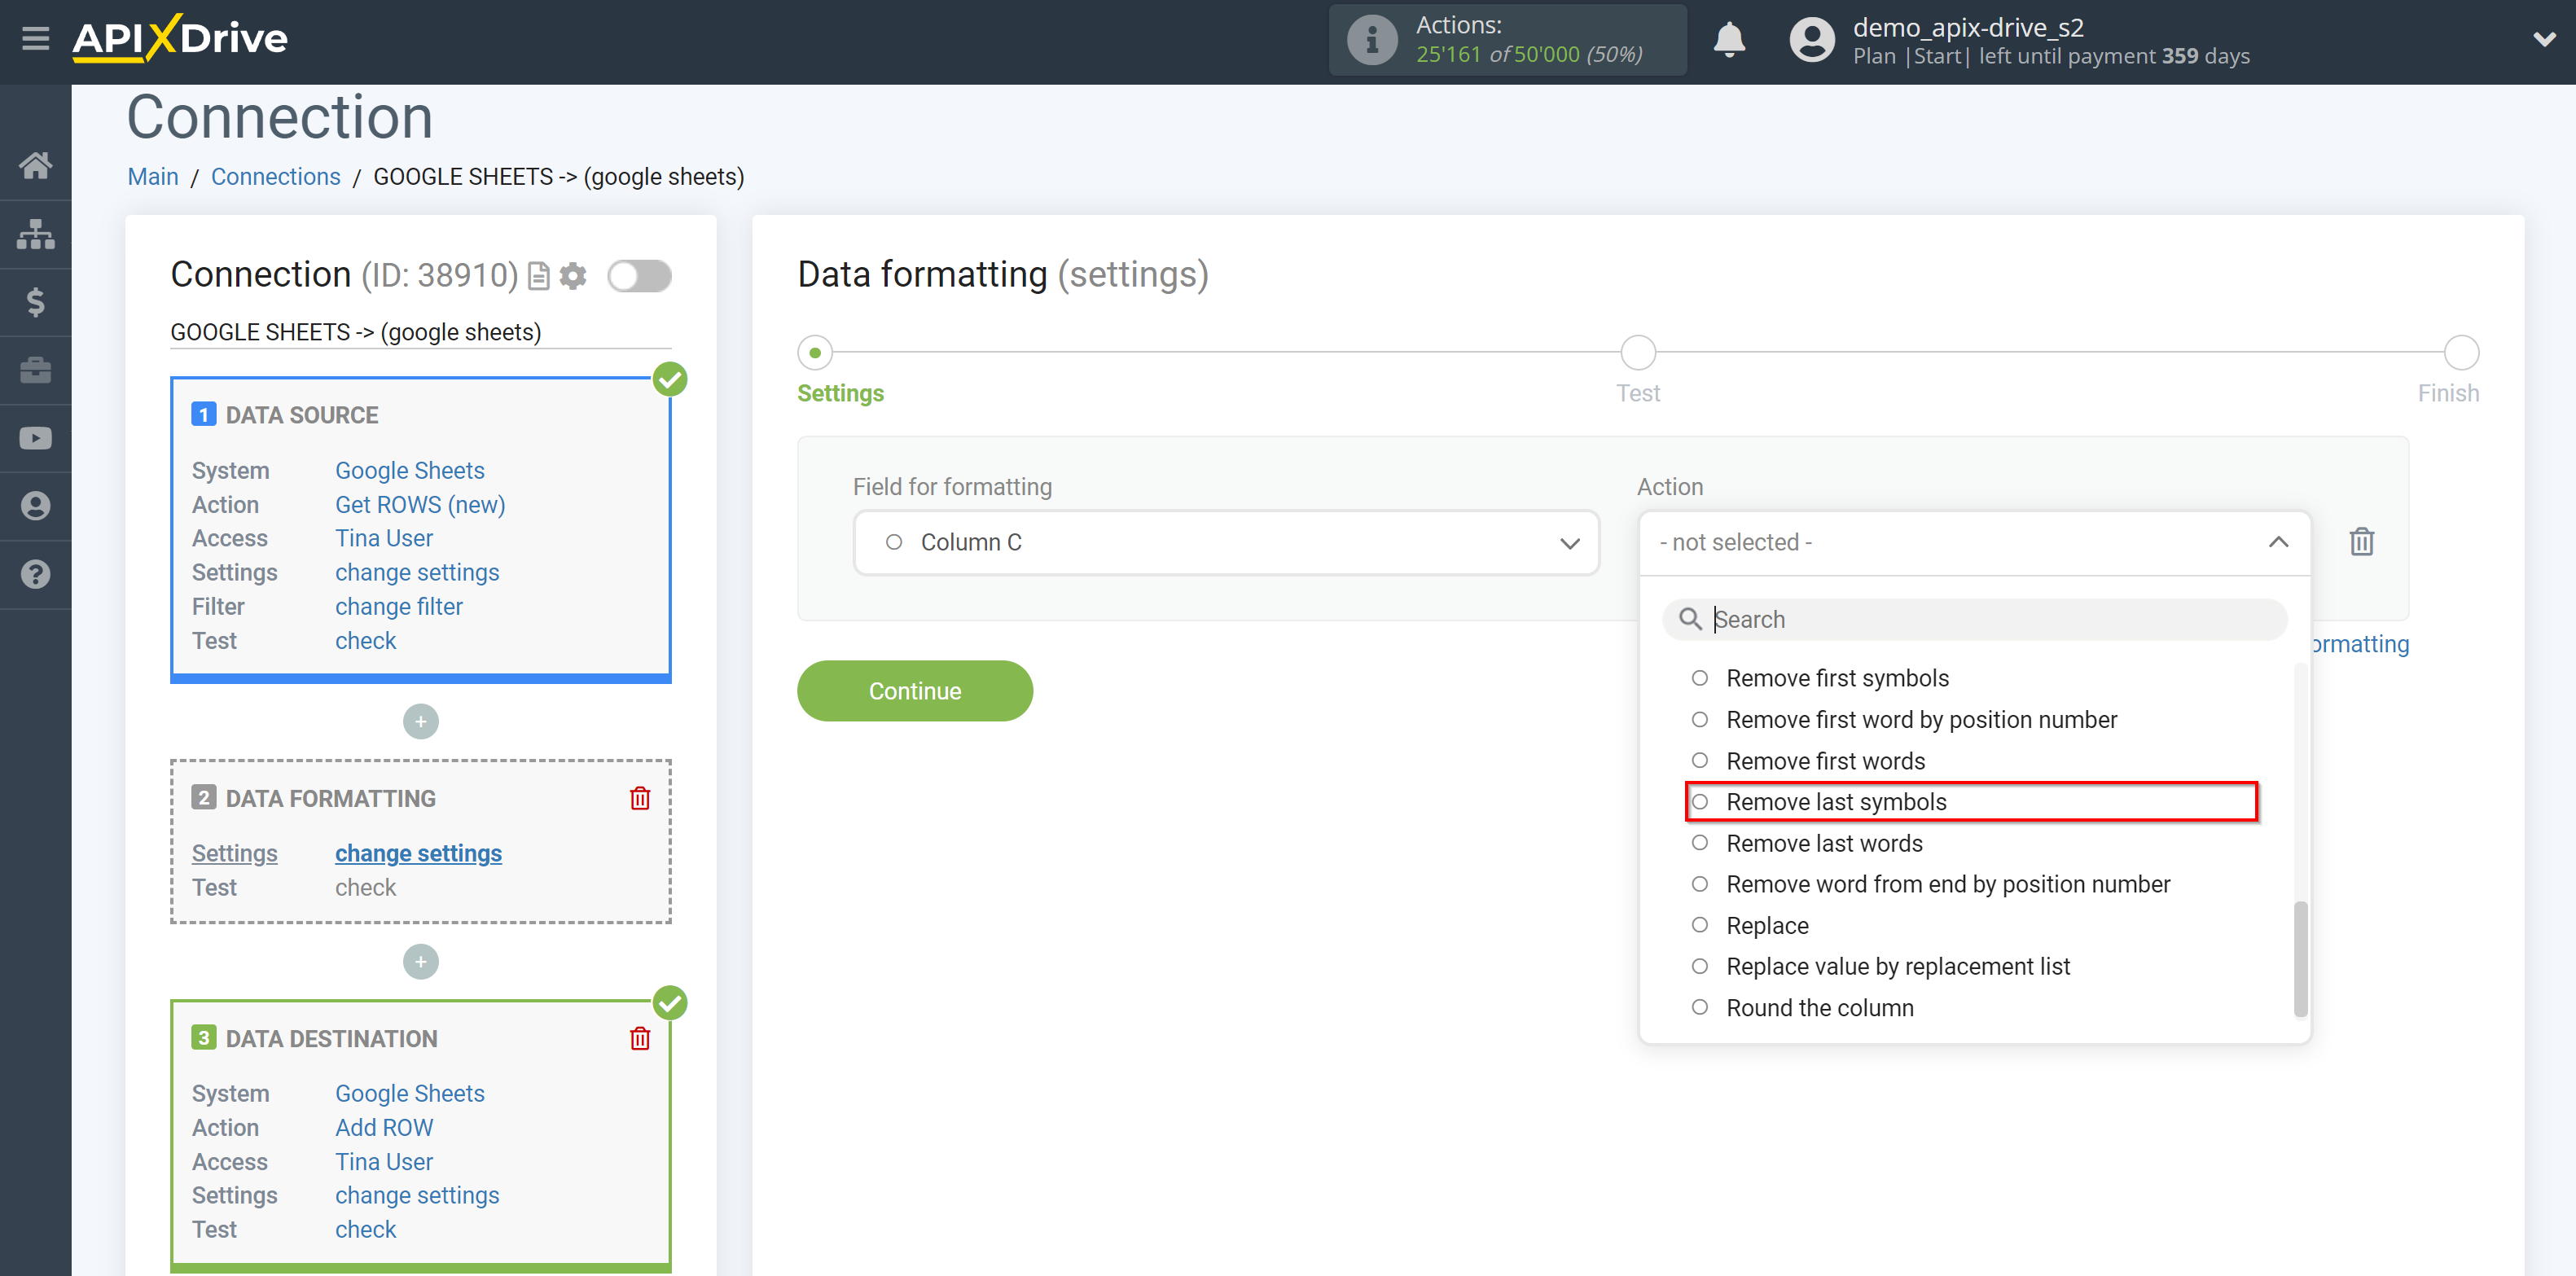
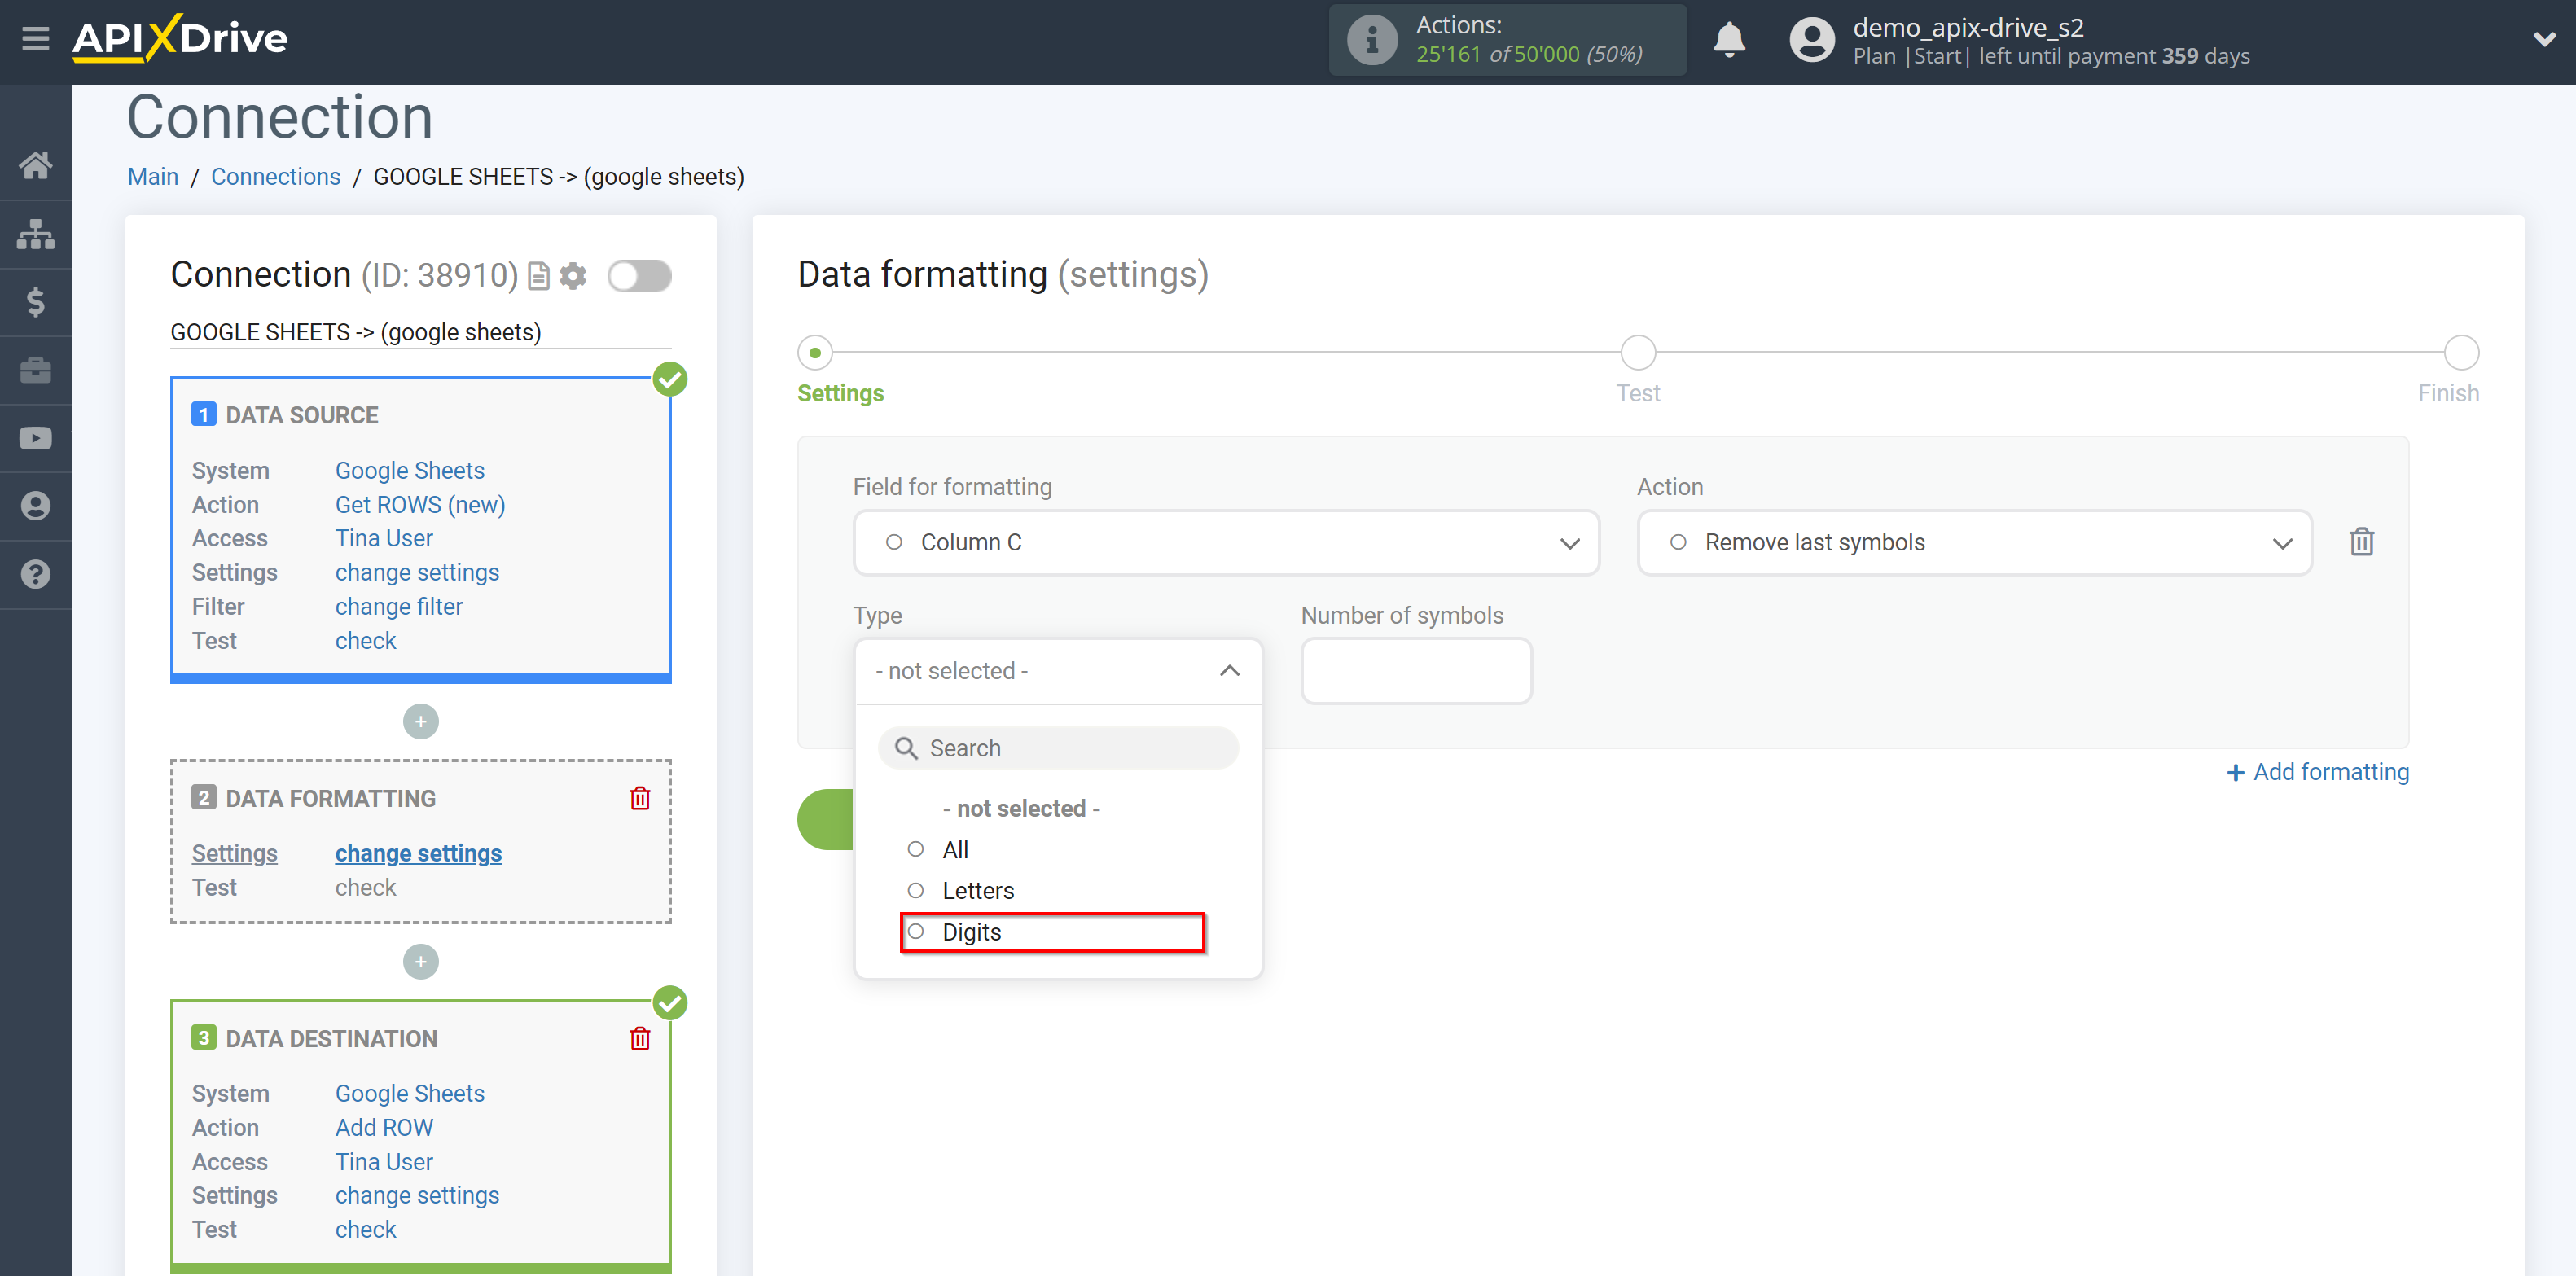
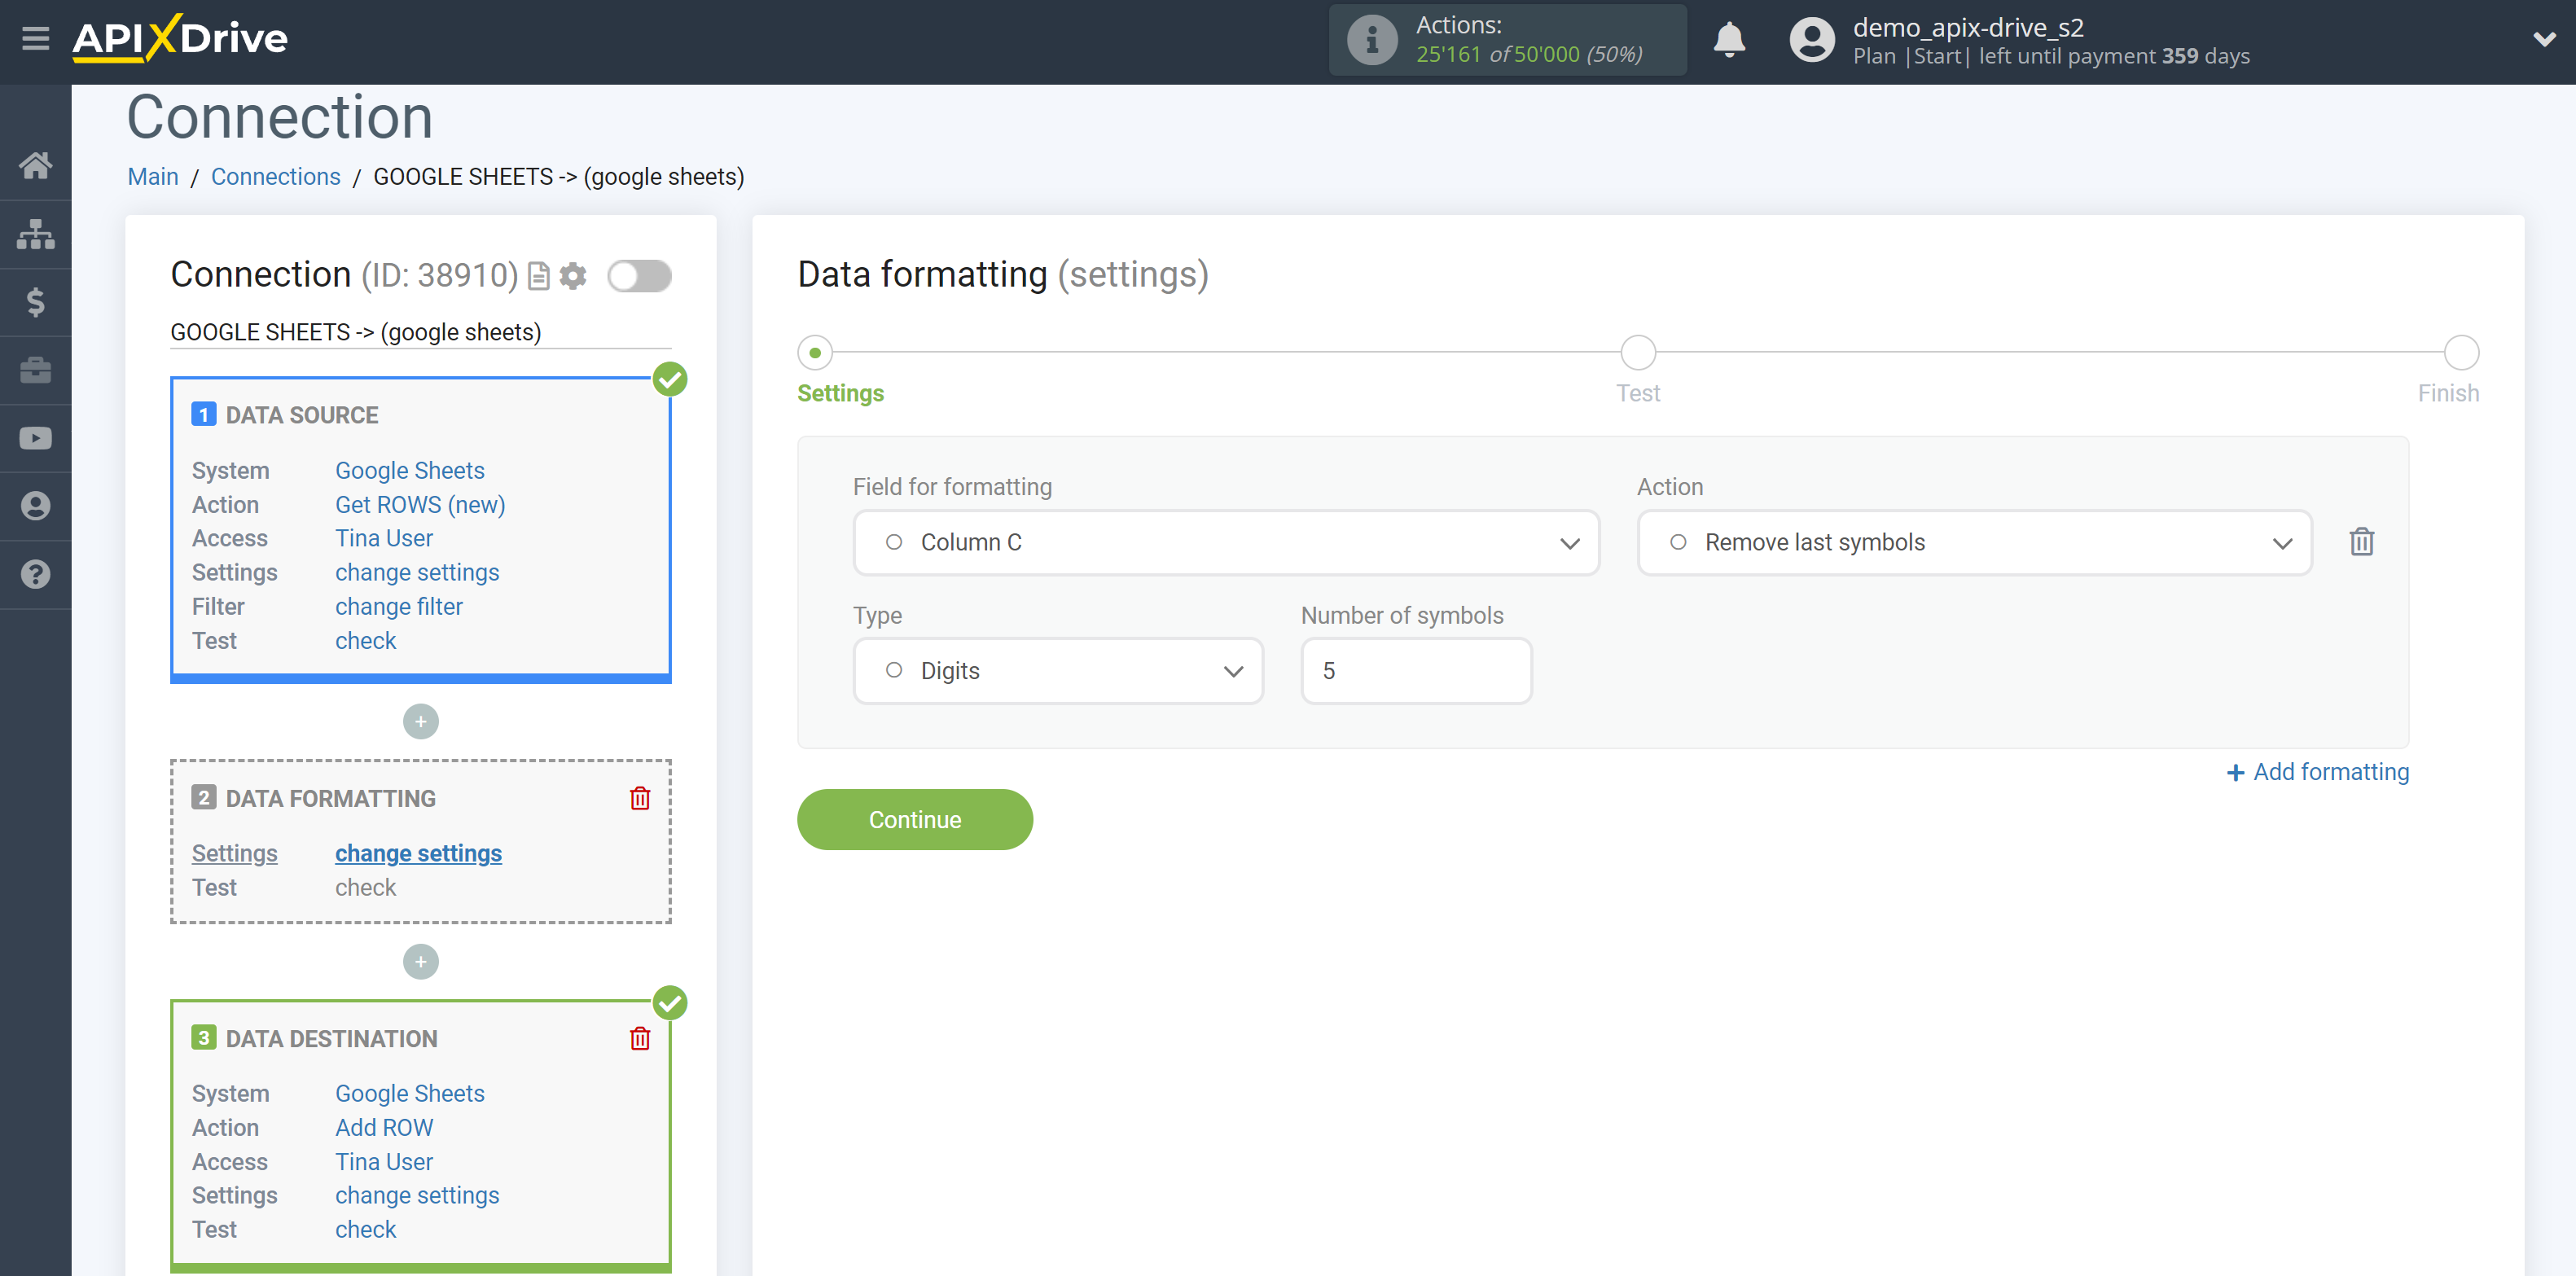
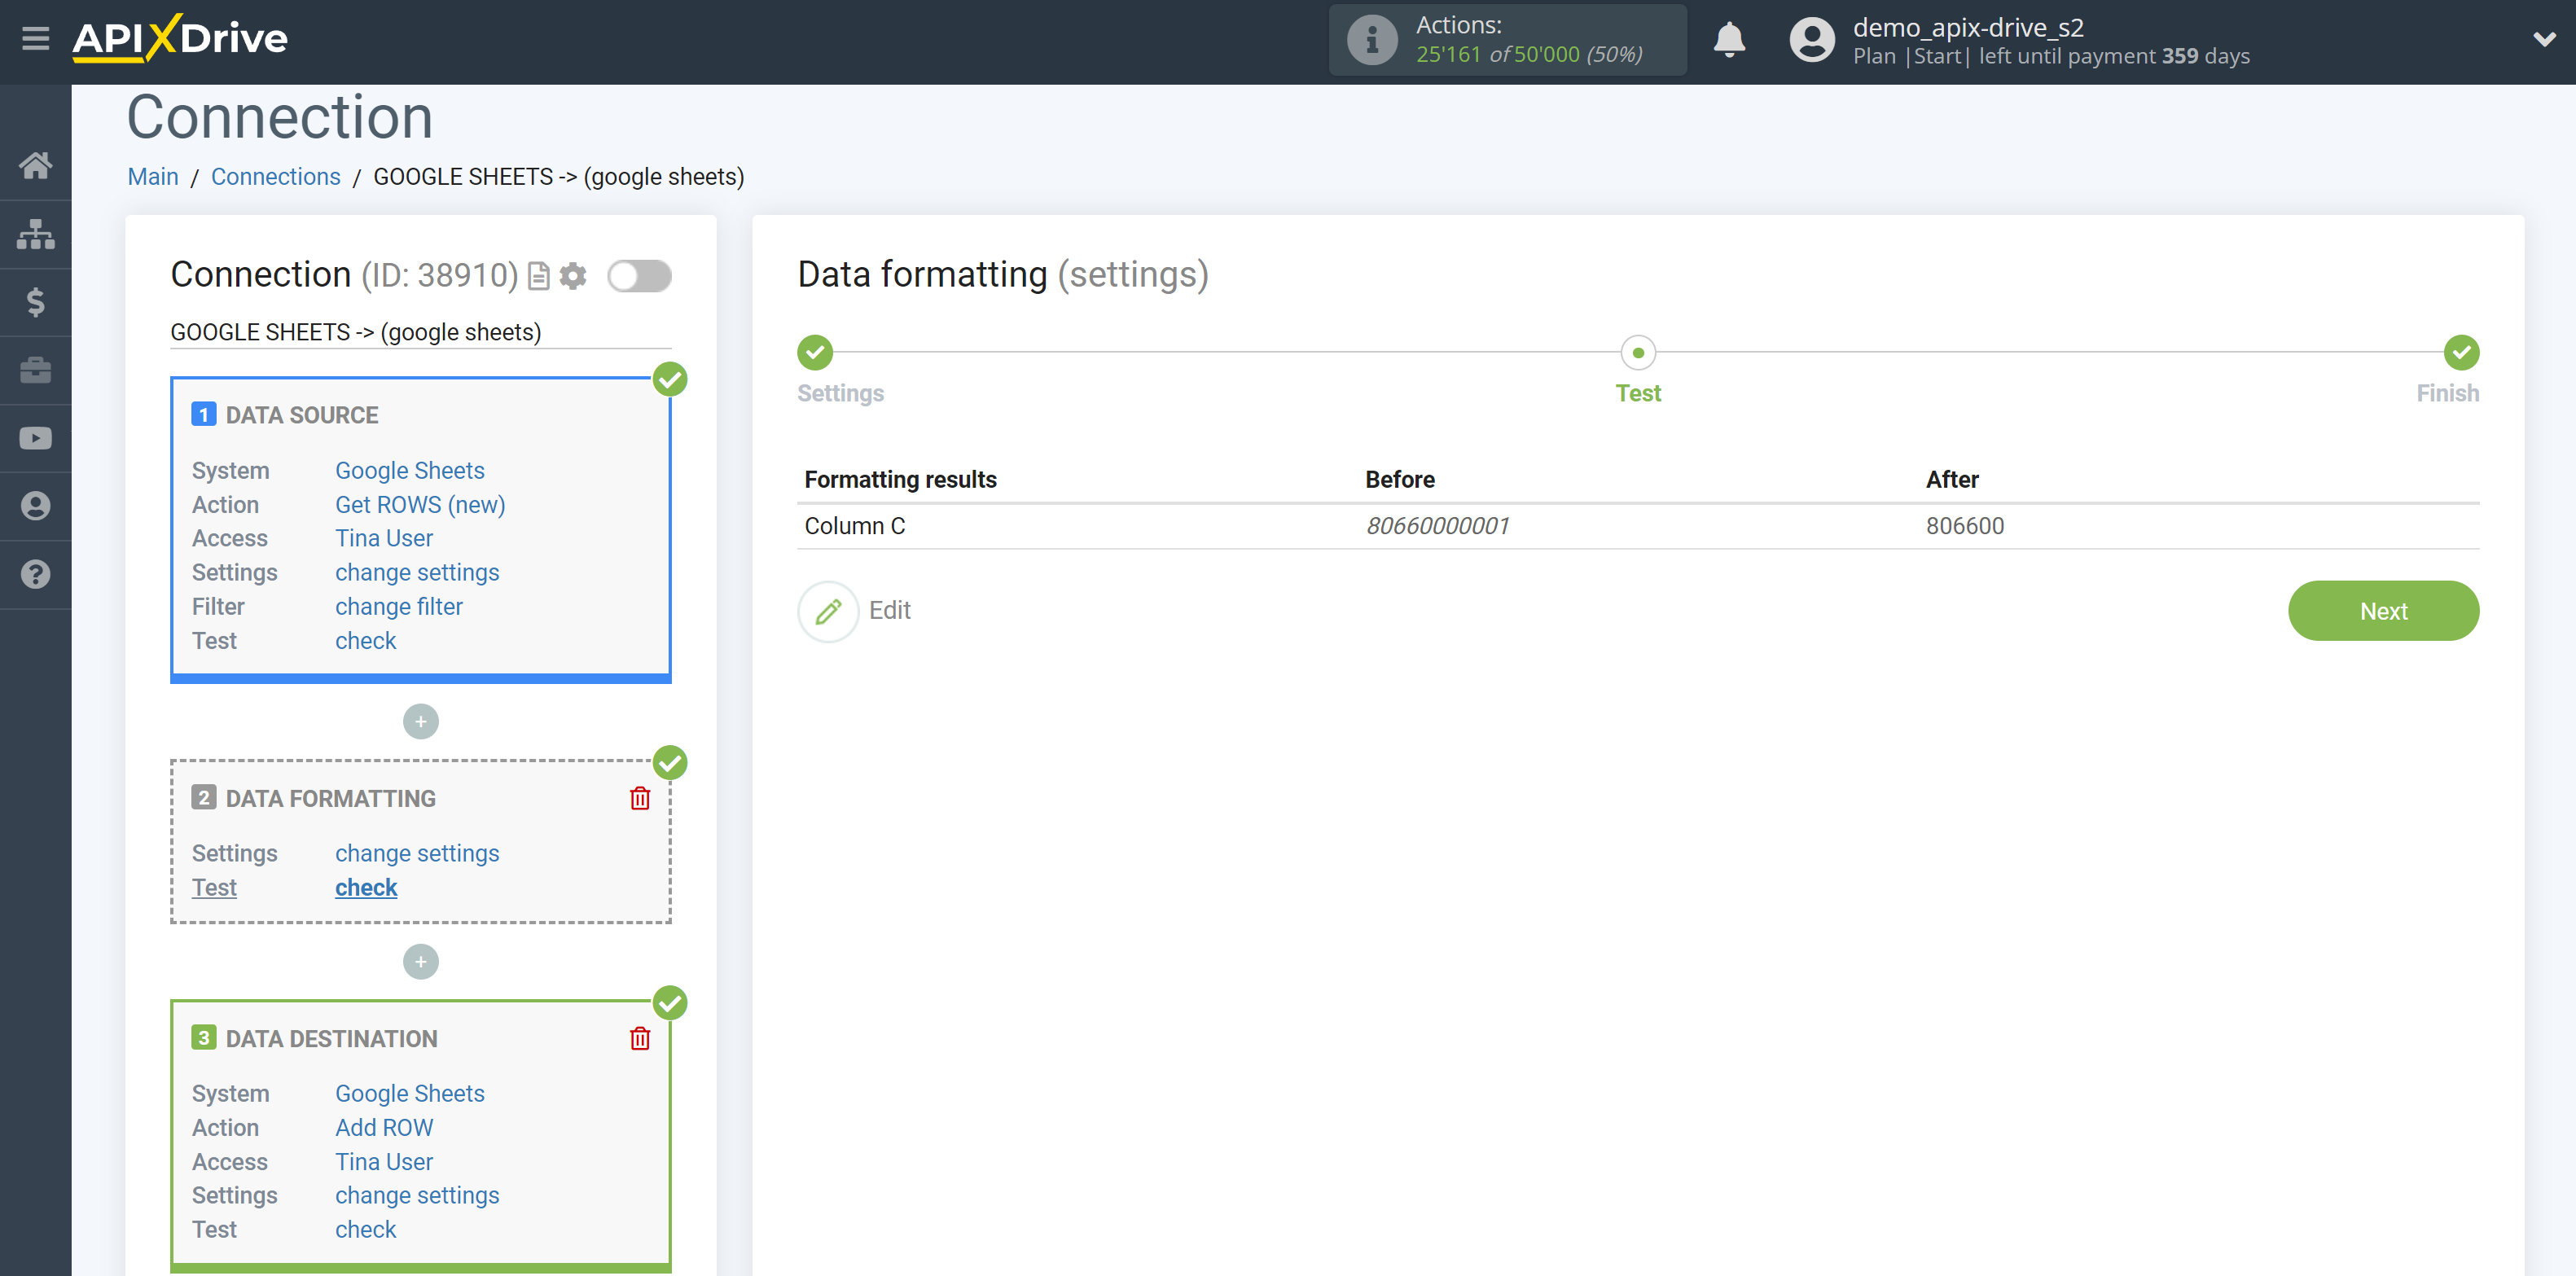
21. Remove last symbols - removes all values to the specified symbol from the end.
22. Remove last words - removes all values after the specified character from the end.
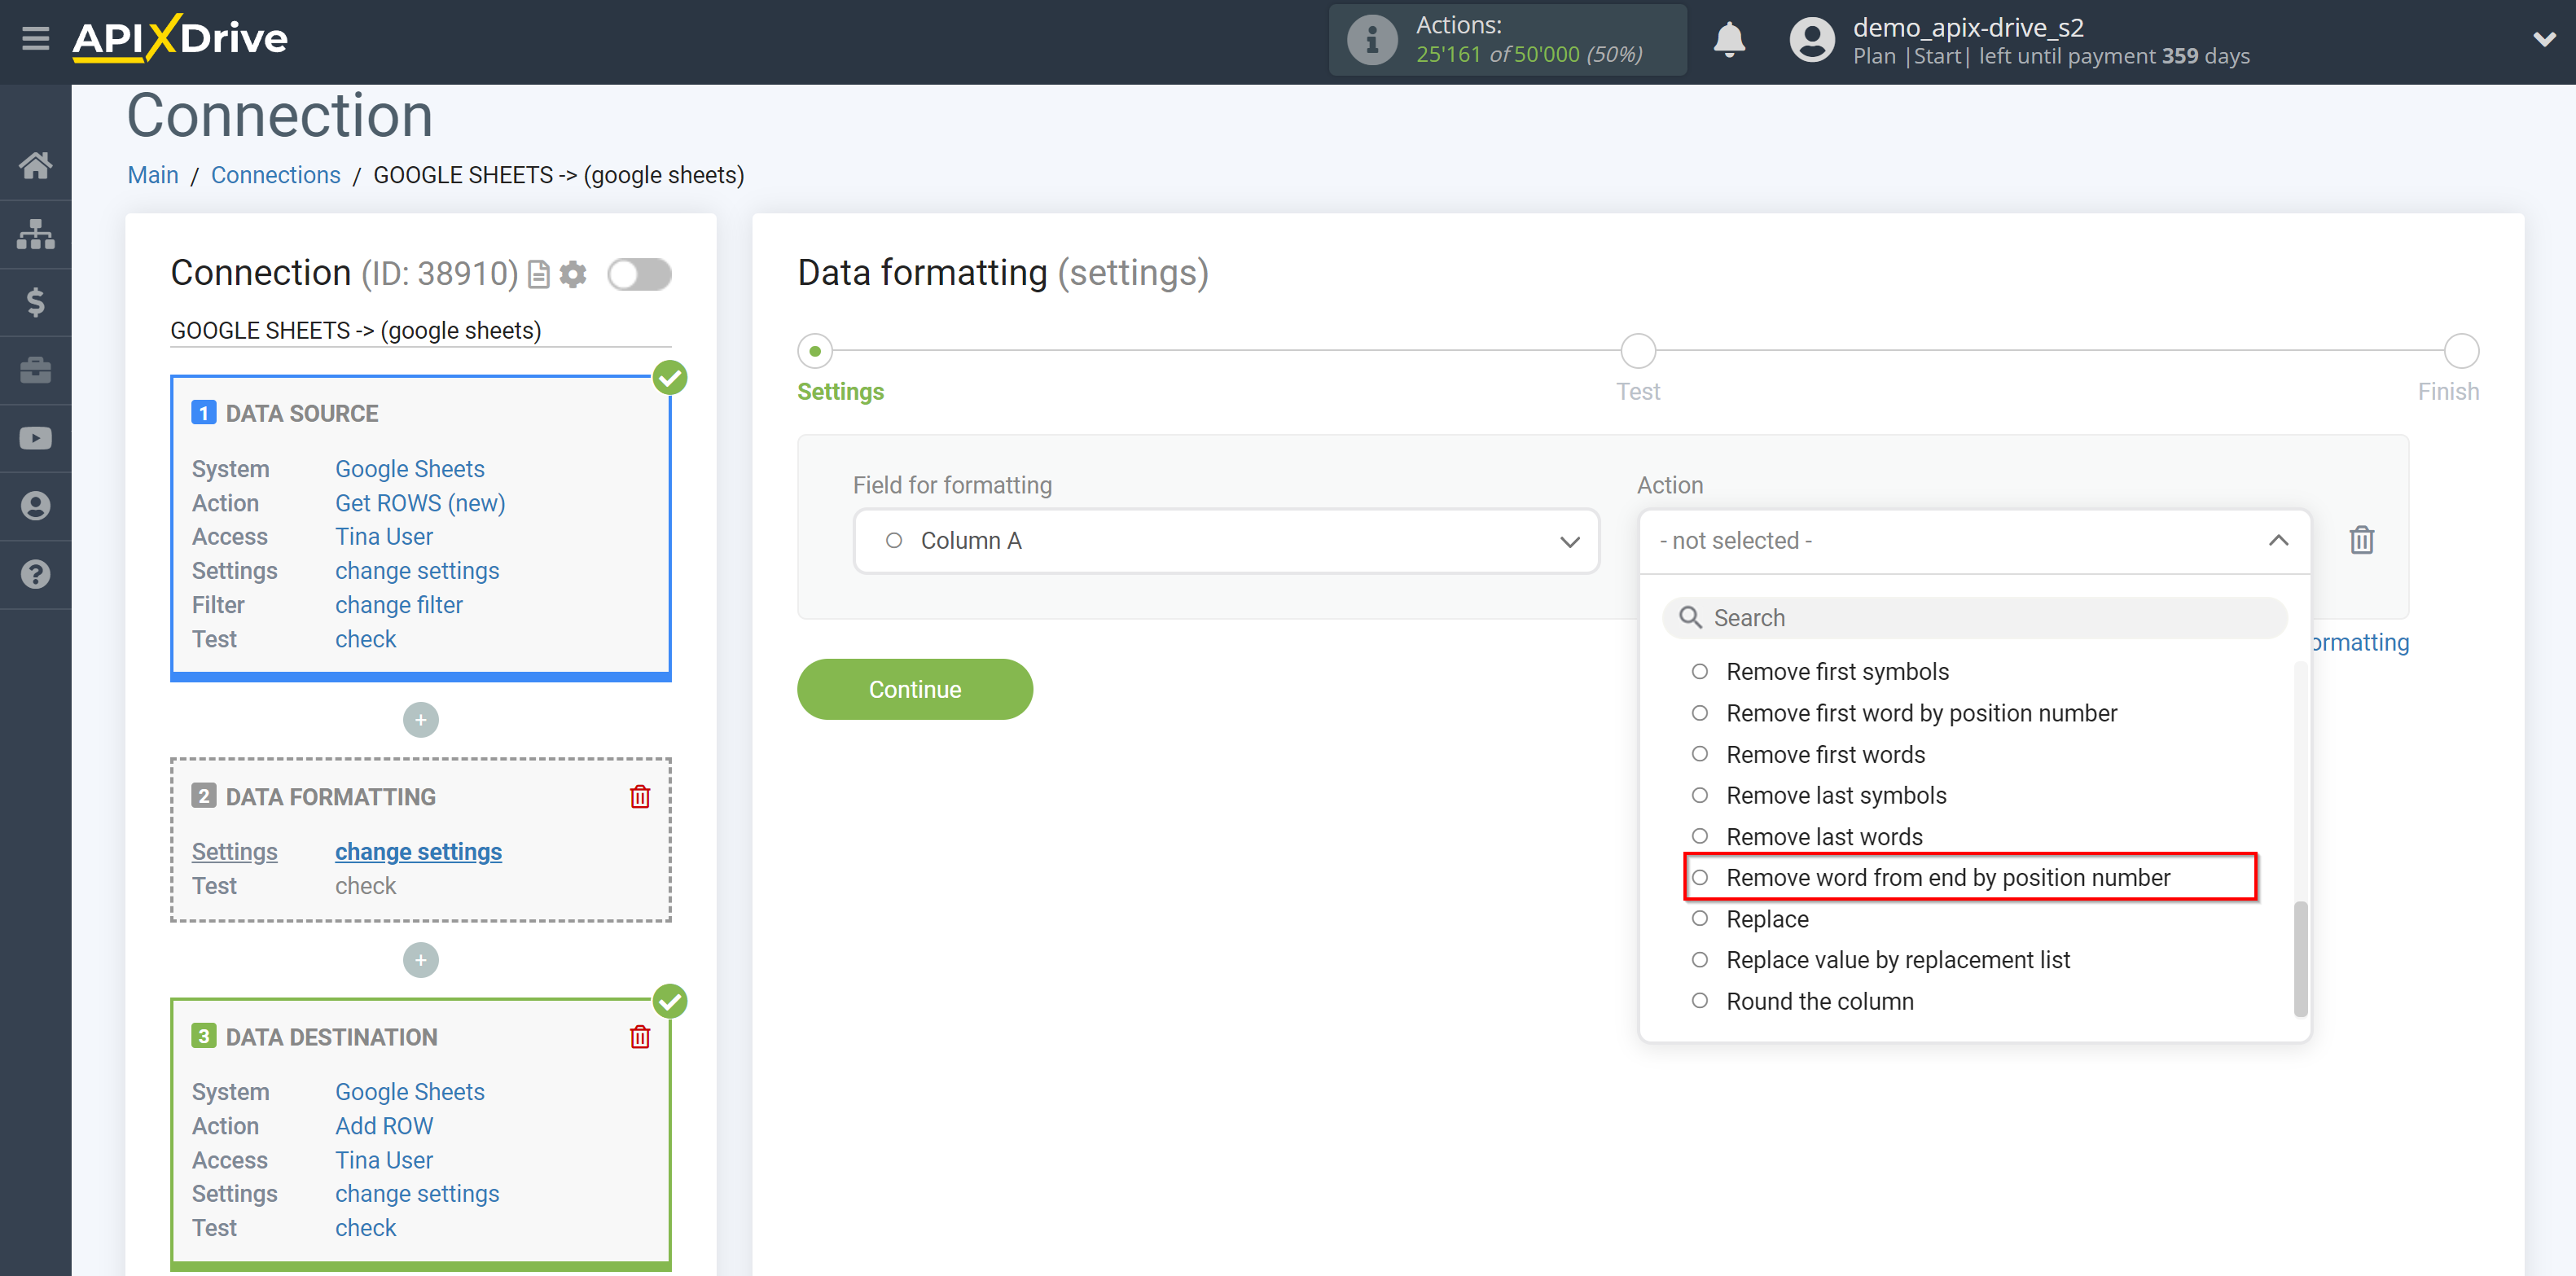
23. Remove word from end by position number - the ability to delete a word by specifying its number according to the number since the end.
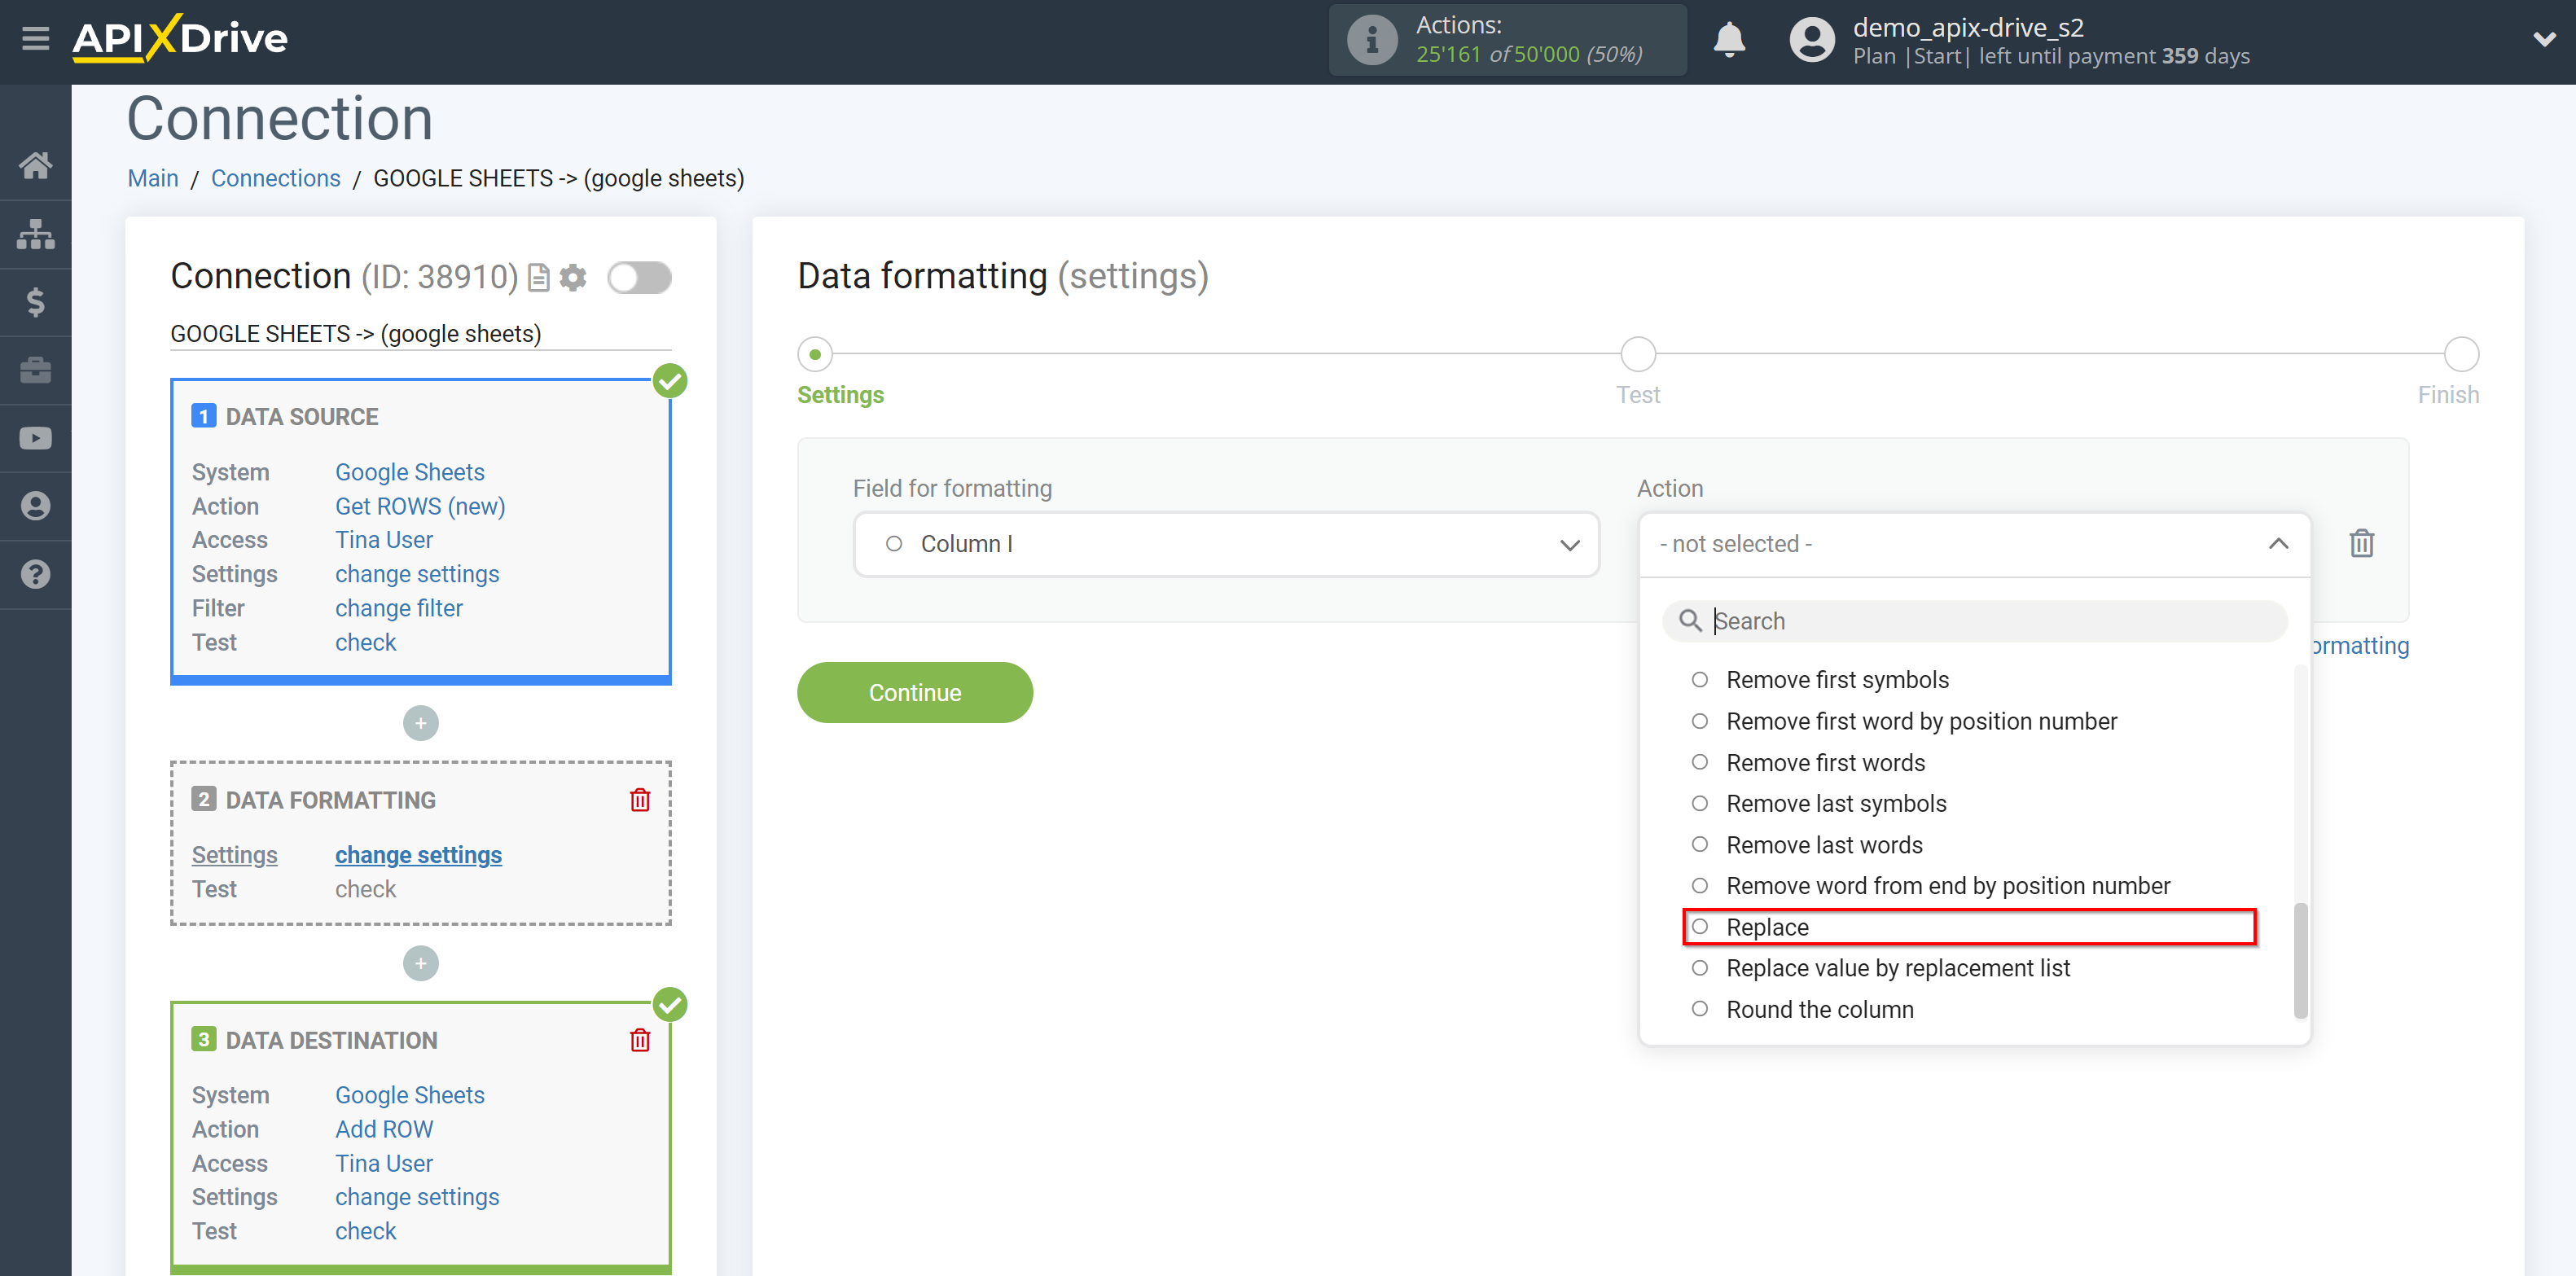
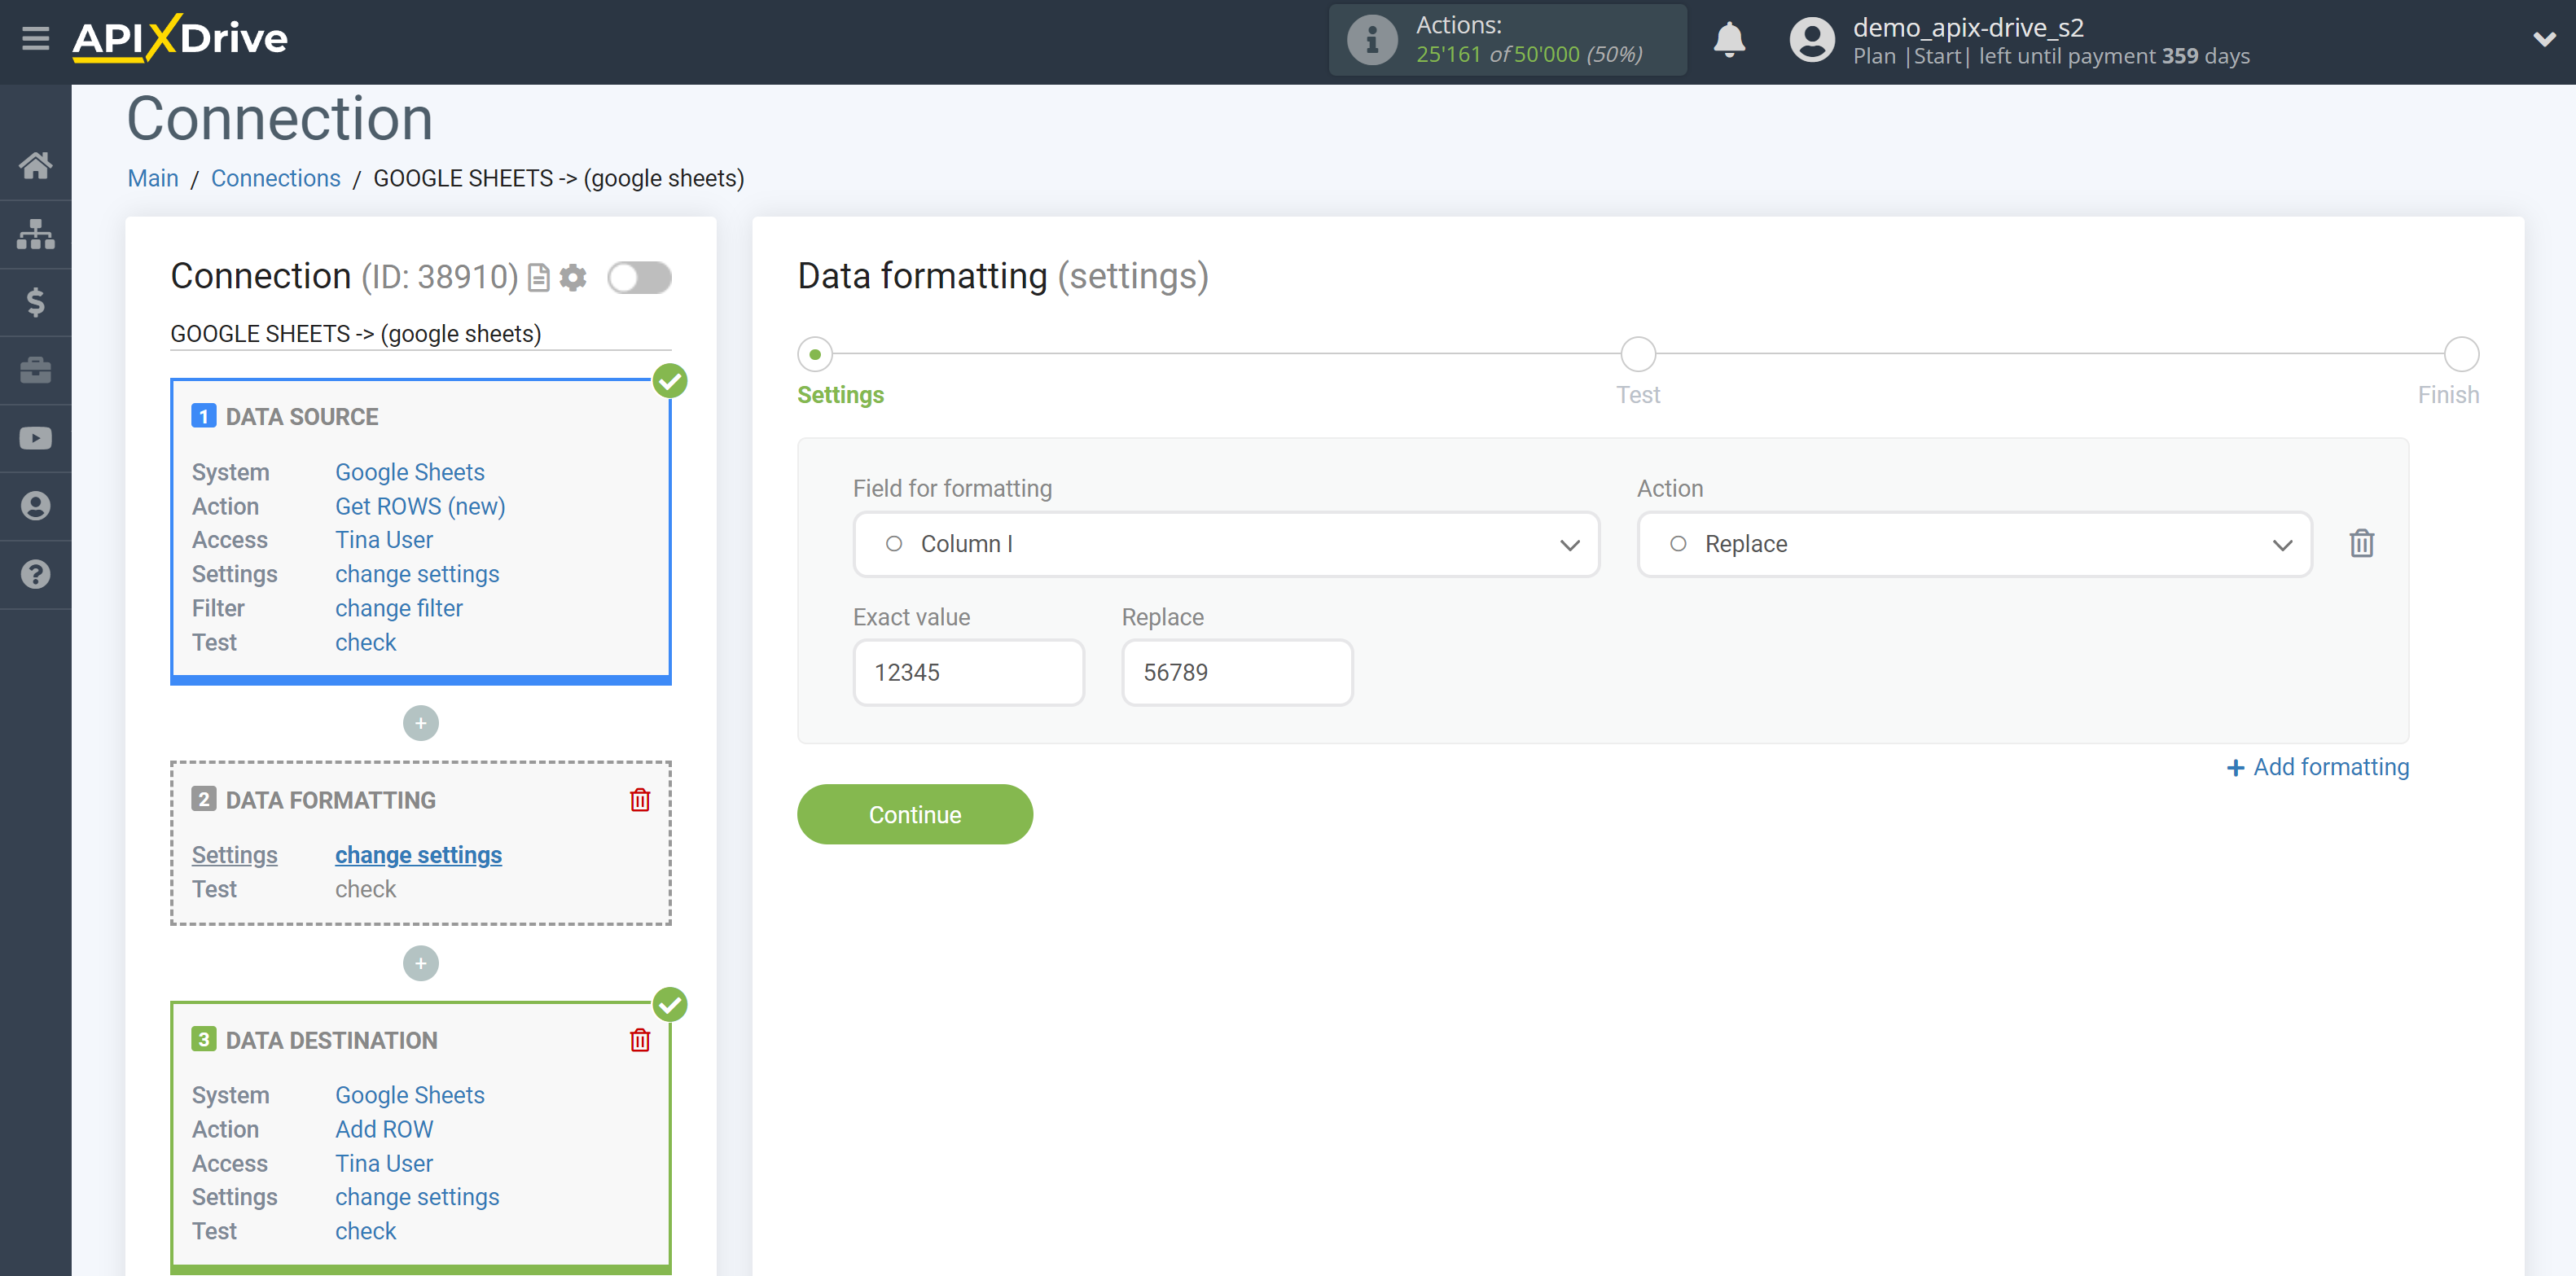
24. Replace - allows you to replace the values you are looking for and allows you to configure many different values in one Data Formatting.
25. Replace value by replacement list - allows you to replace the values specified in the list. Not one by one, but by a list.
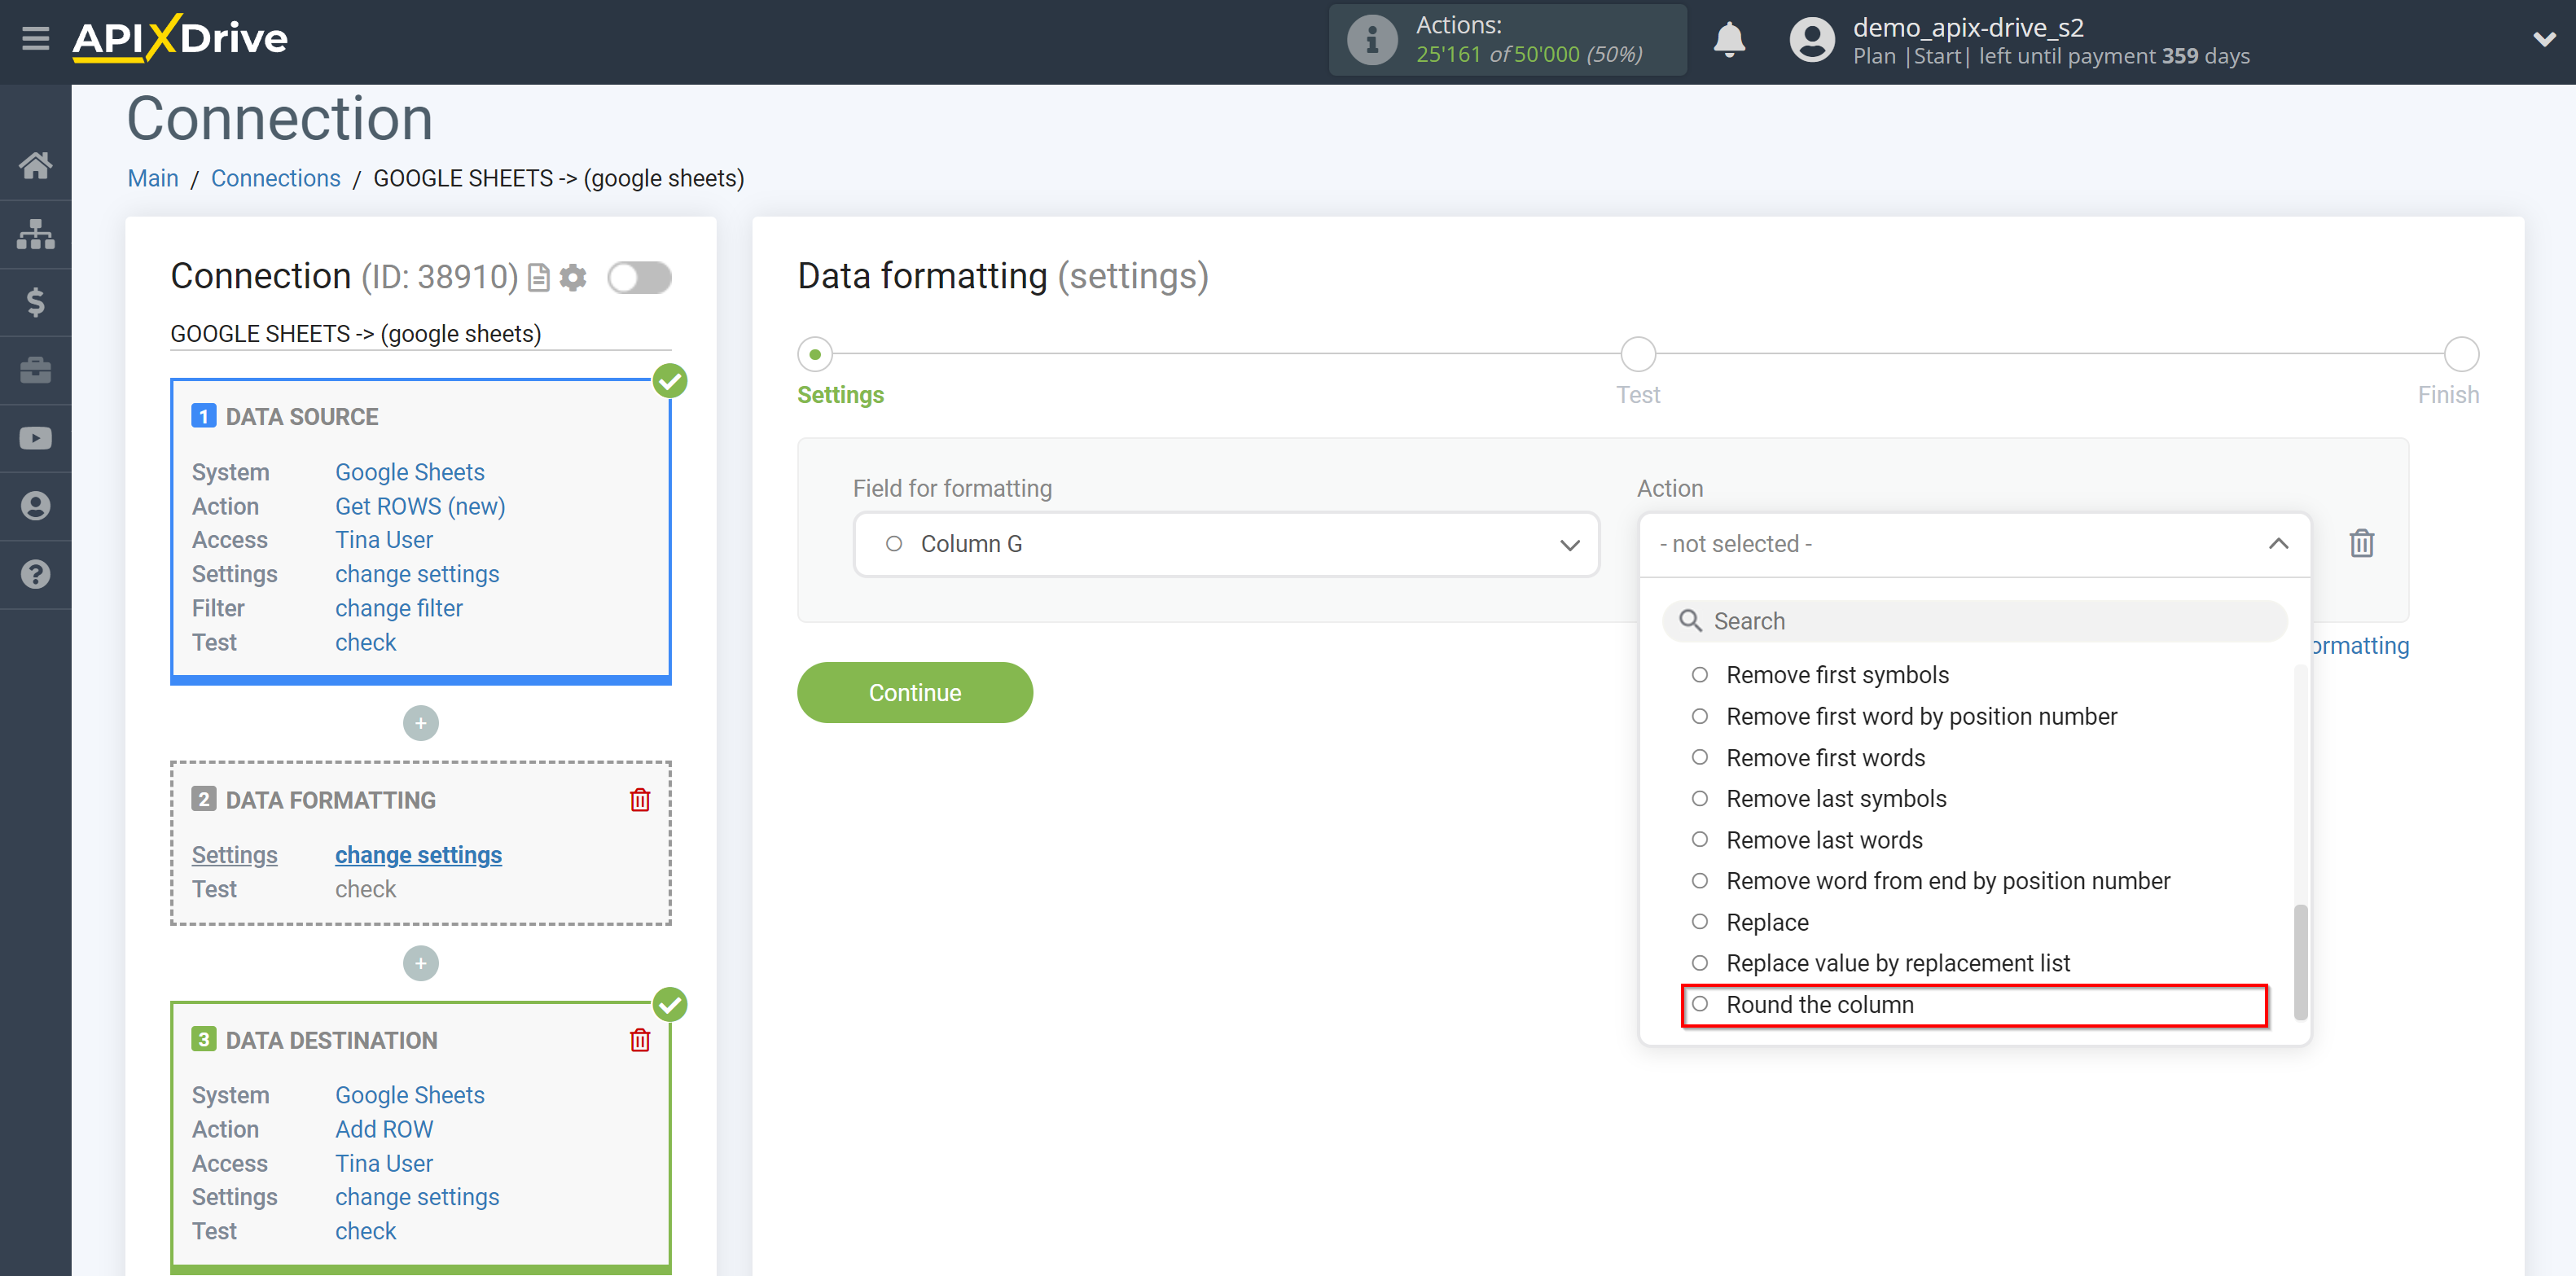
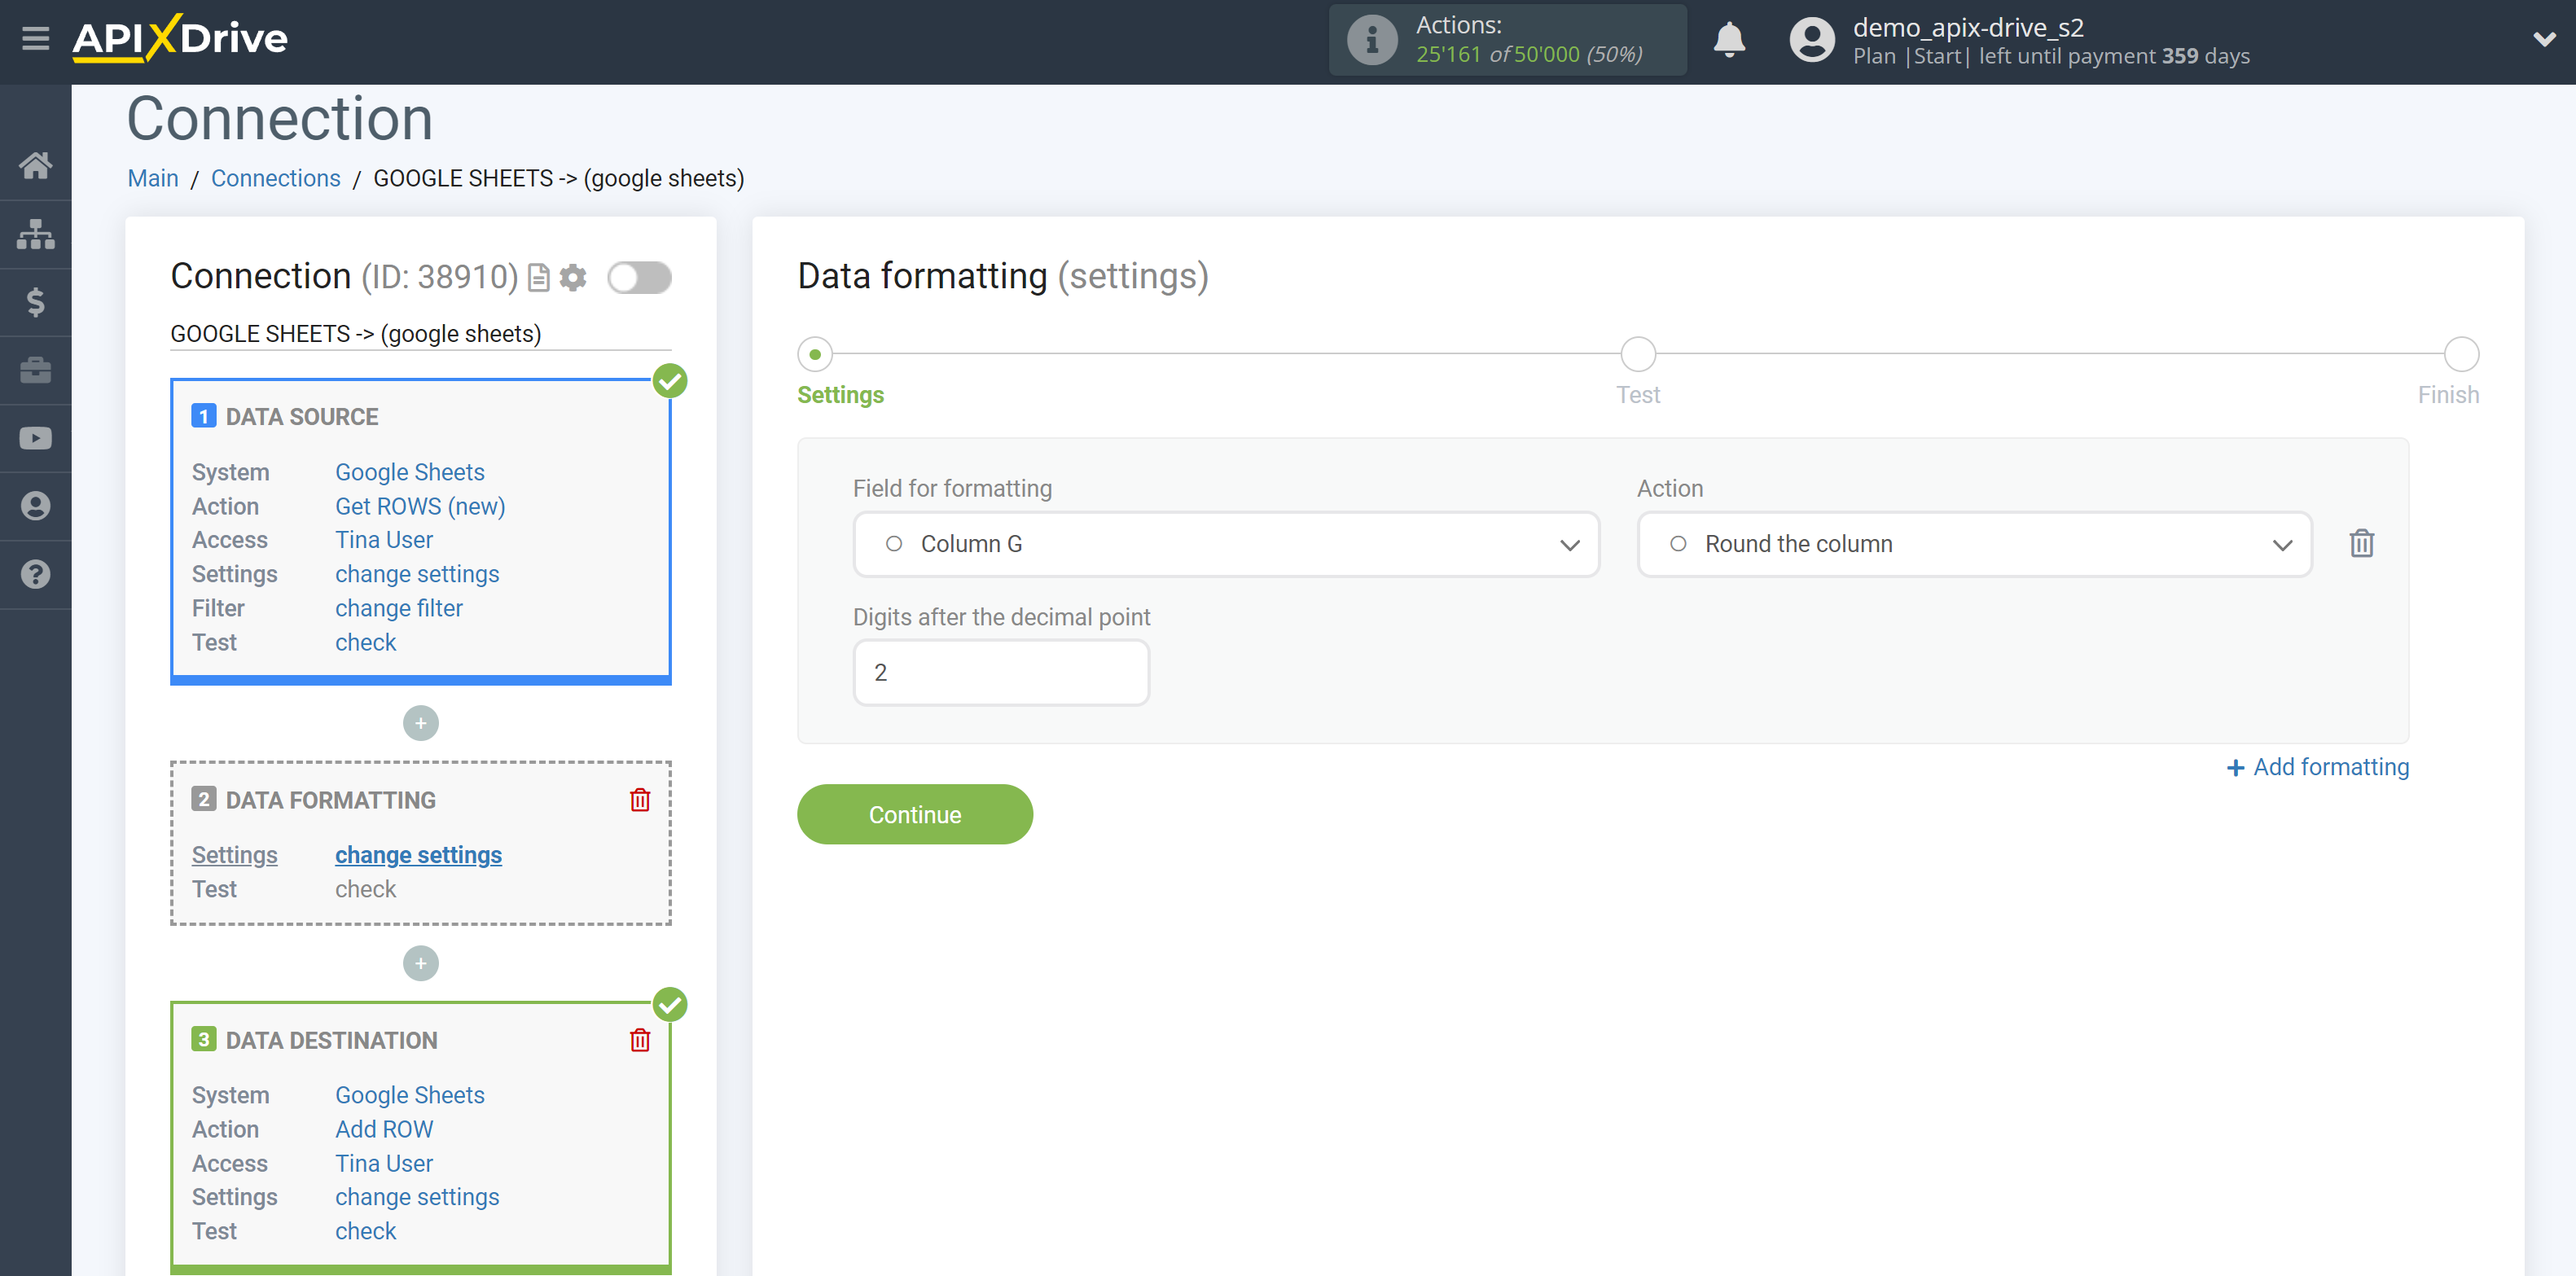
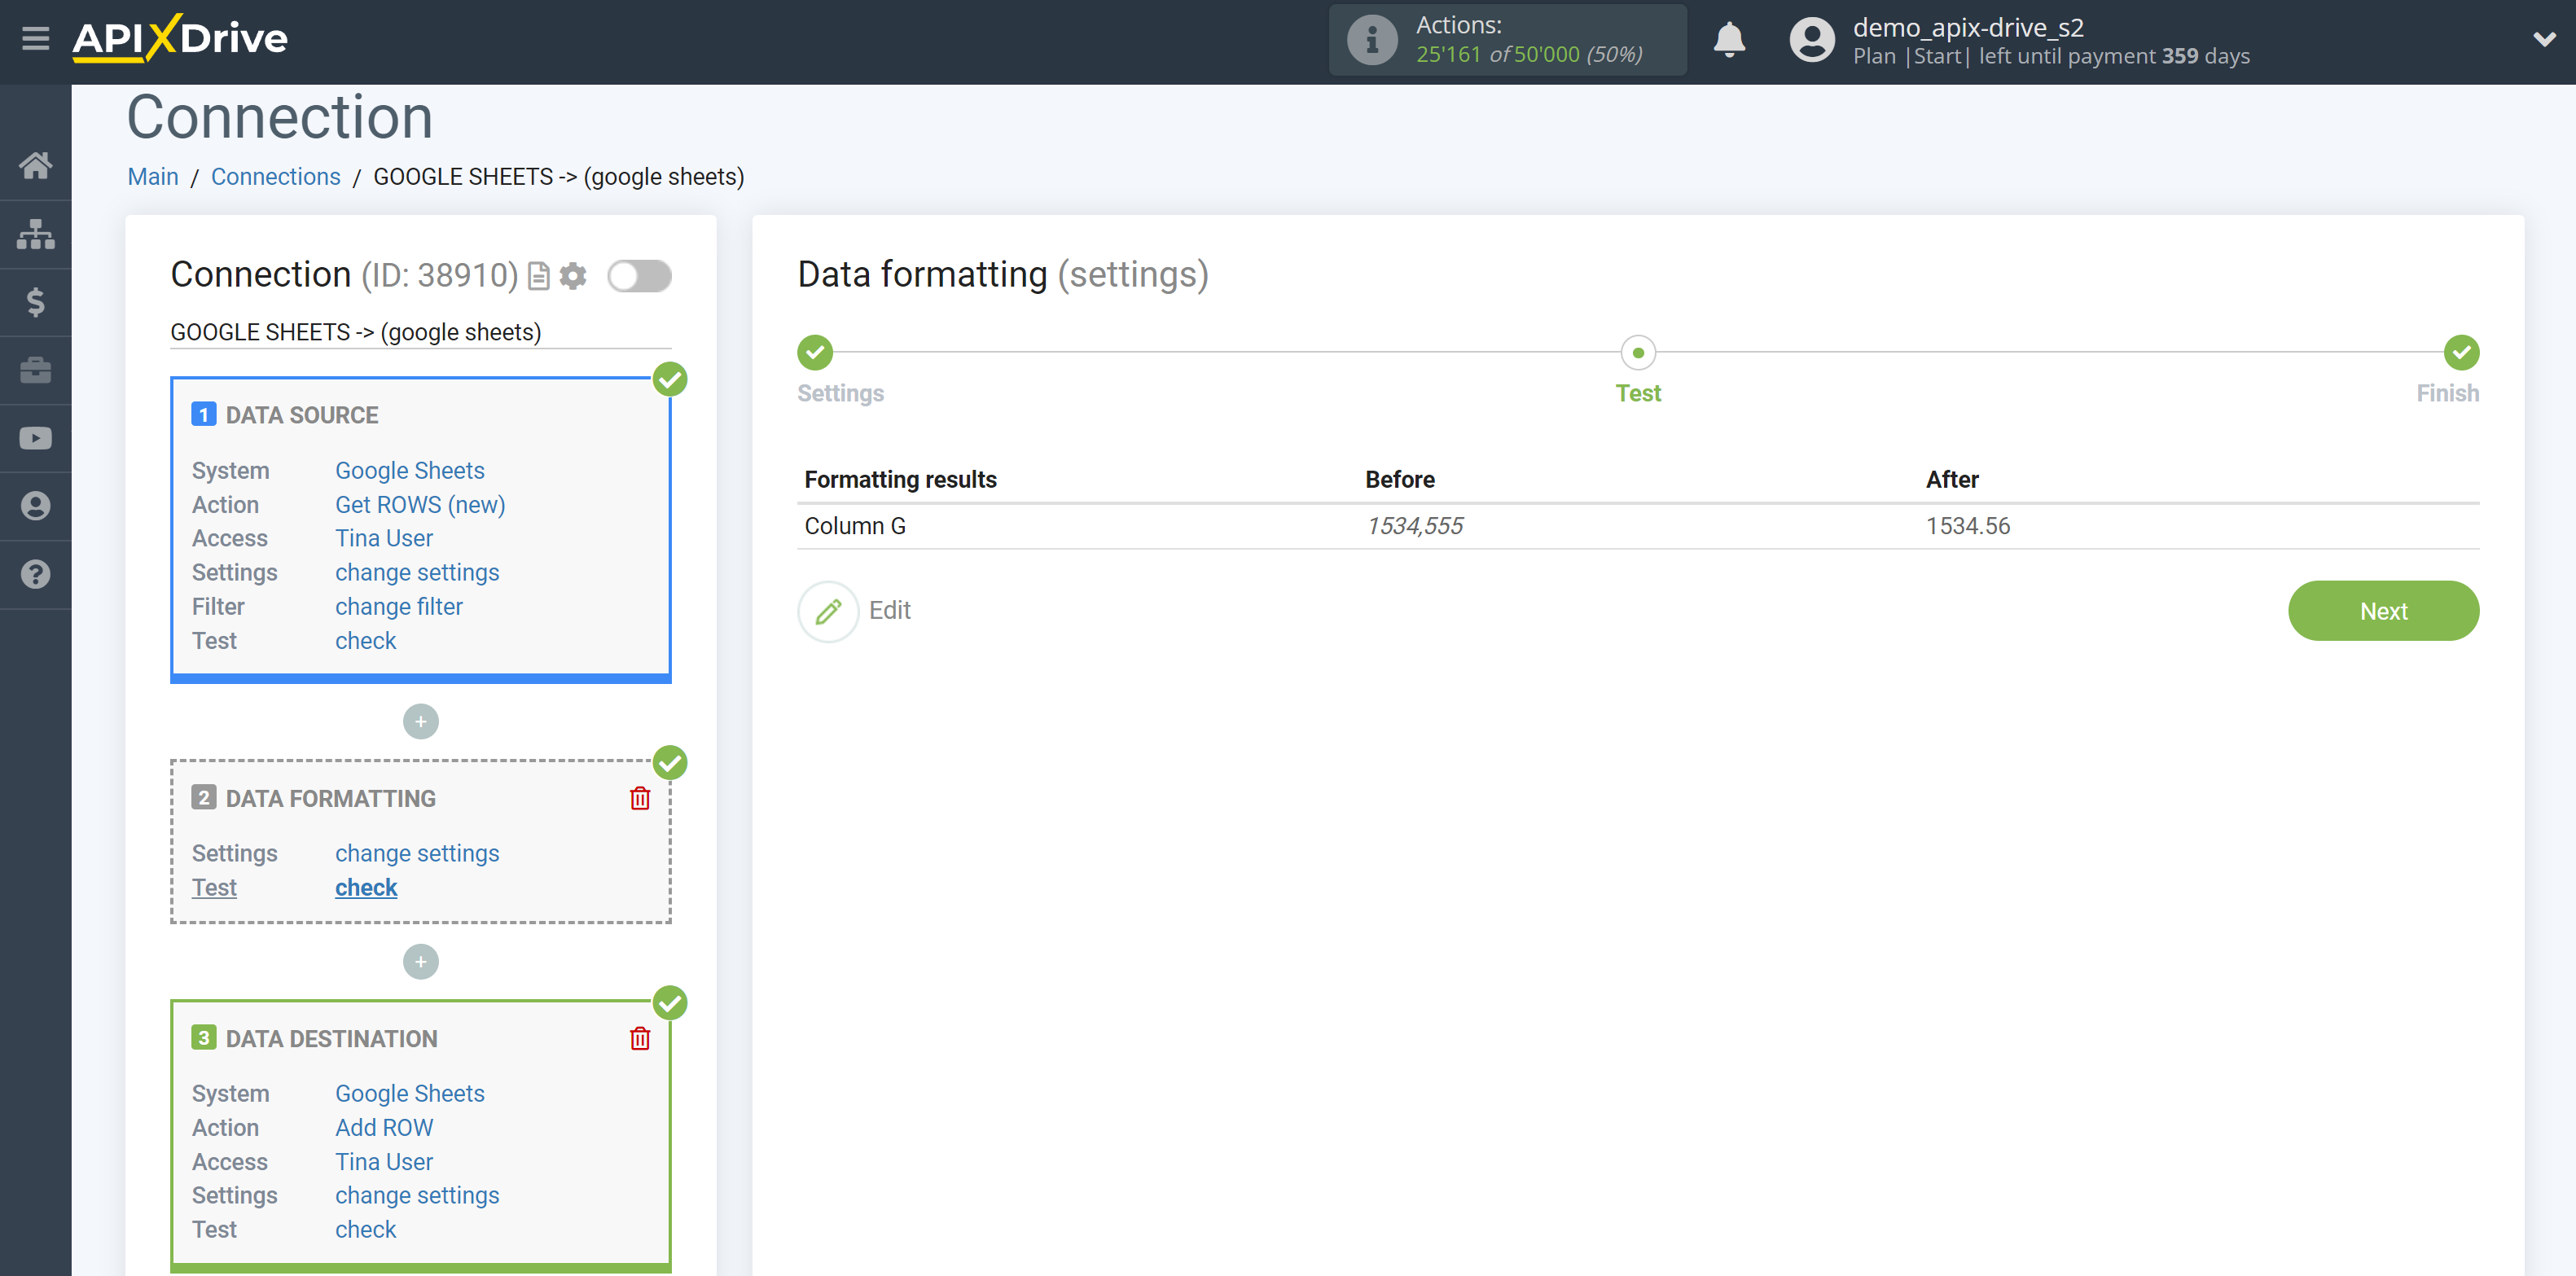
26. Round the column - allows you to round numbers to an integer or to a certain number of decimal places.
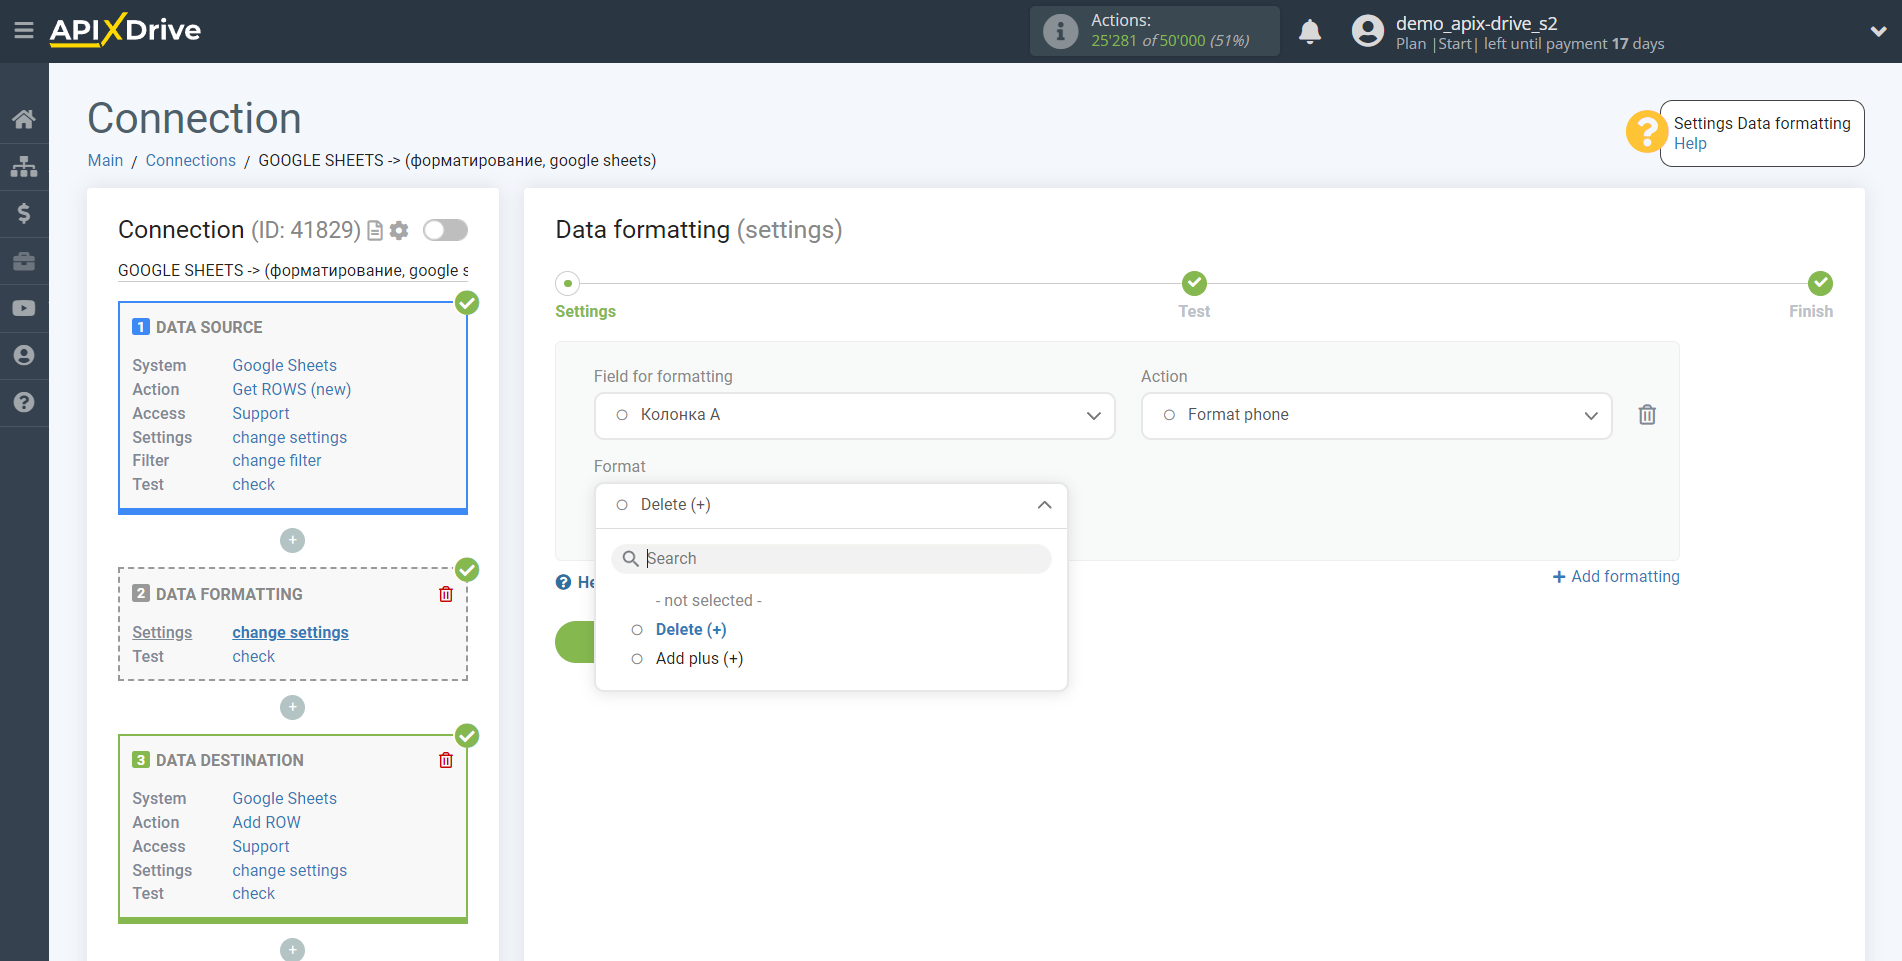
27. Format phone - allows you to delete or add + to the phone number.
Let’s look at each function separately with examples.
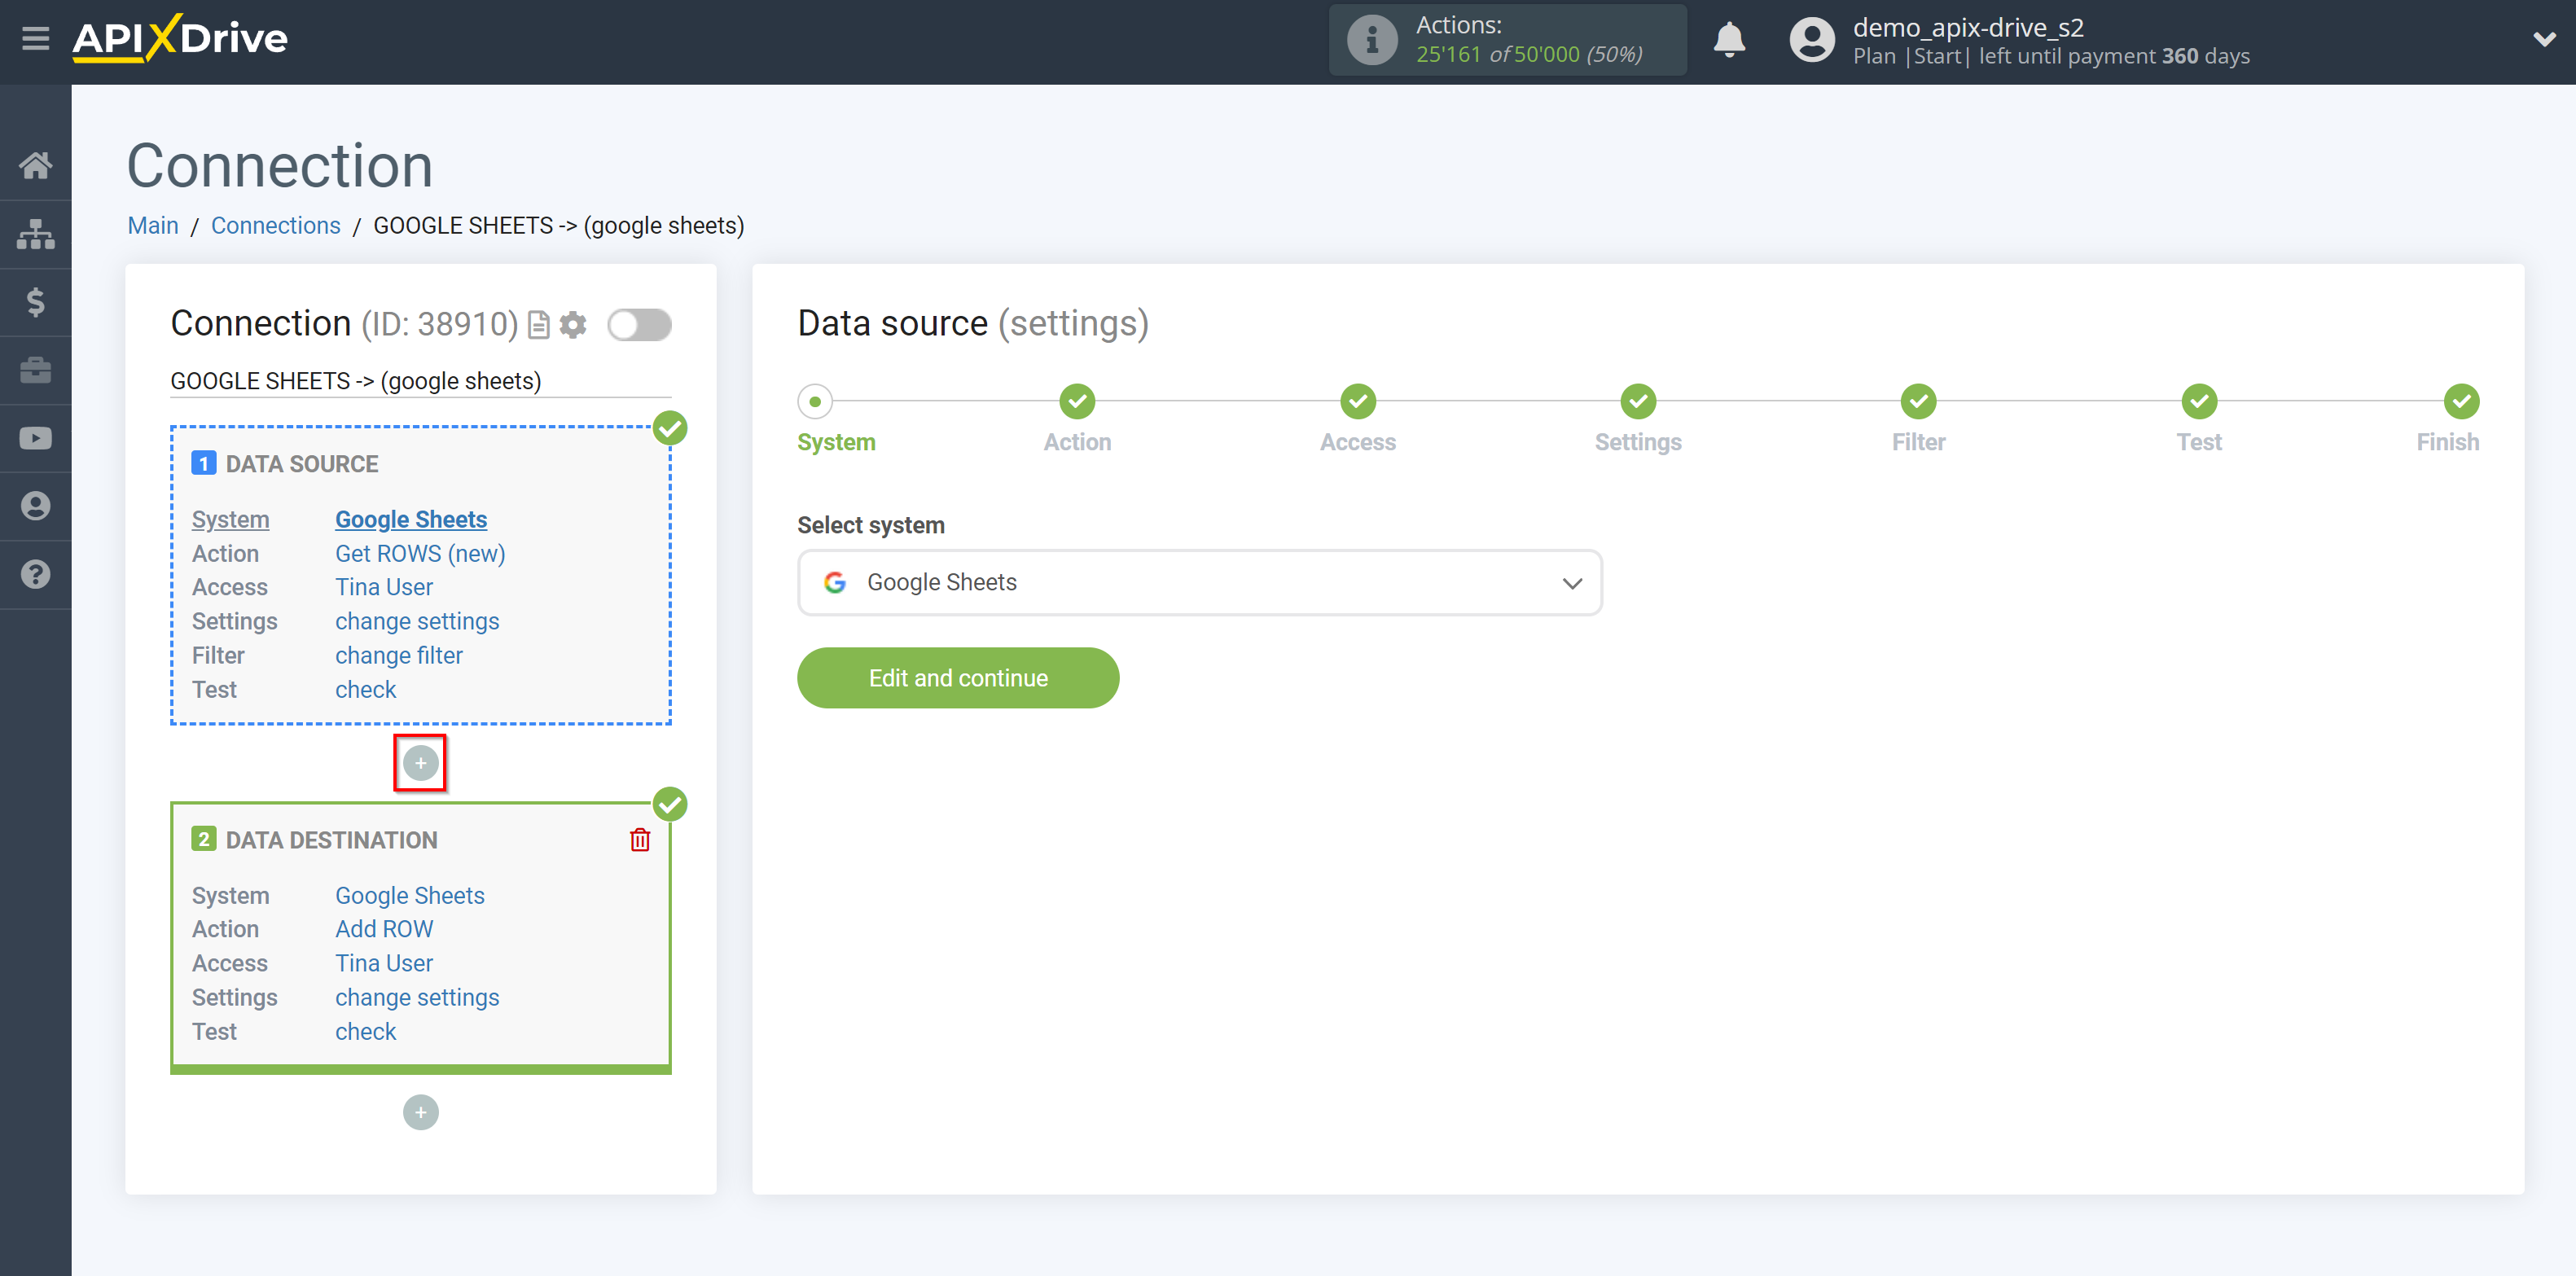
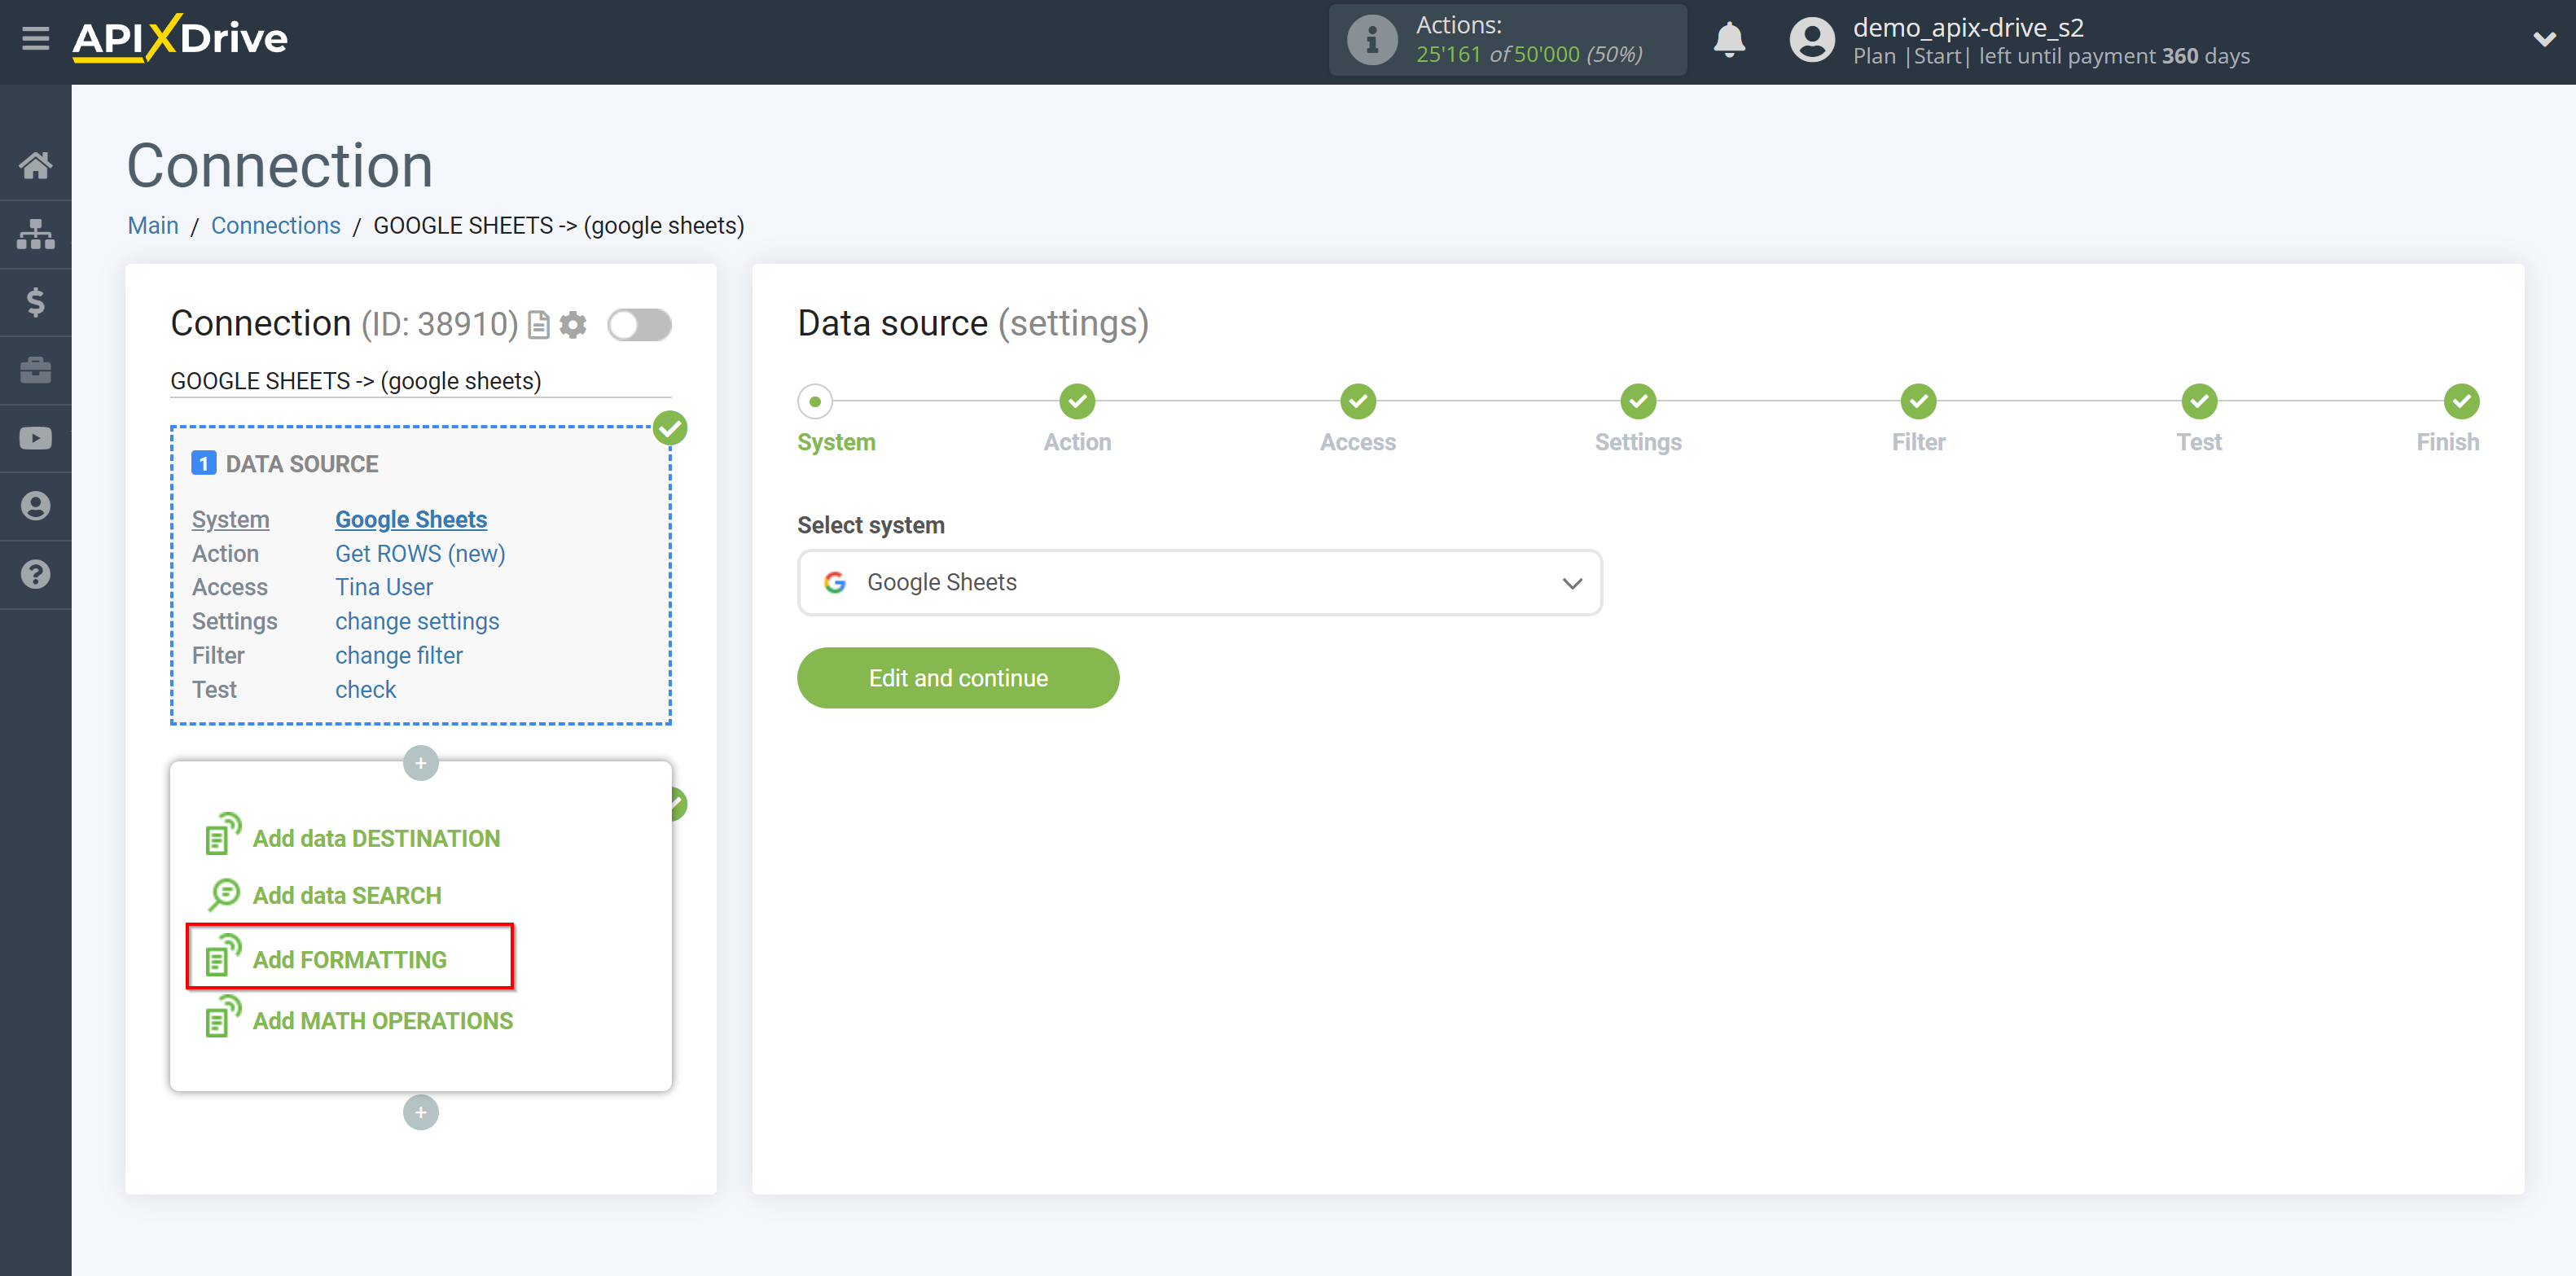
Add a separate Data Formatting after setup the Data Source and before setup Data Destination.
To do this, click on "+" under the Data Source and select Data Formatting from the list.
Now you need to specify a field in the Data Source that will be formatted when transferred to the field Data Destination.
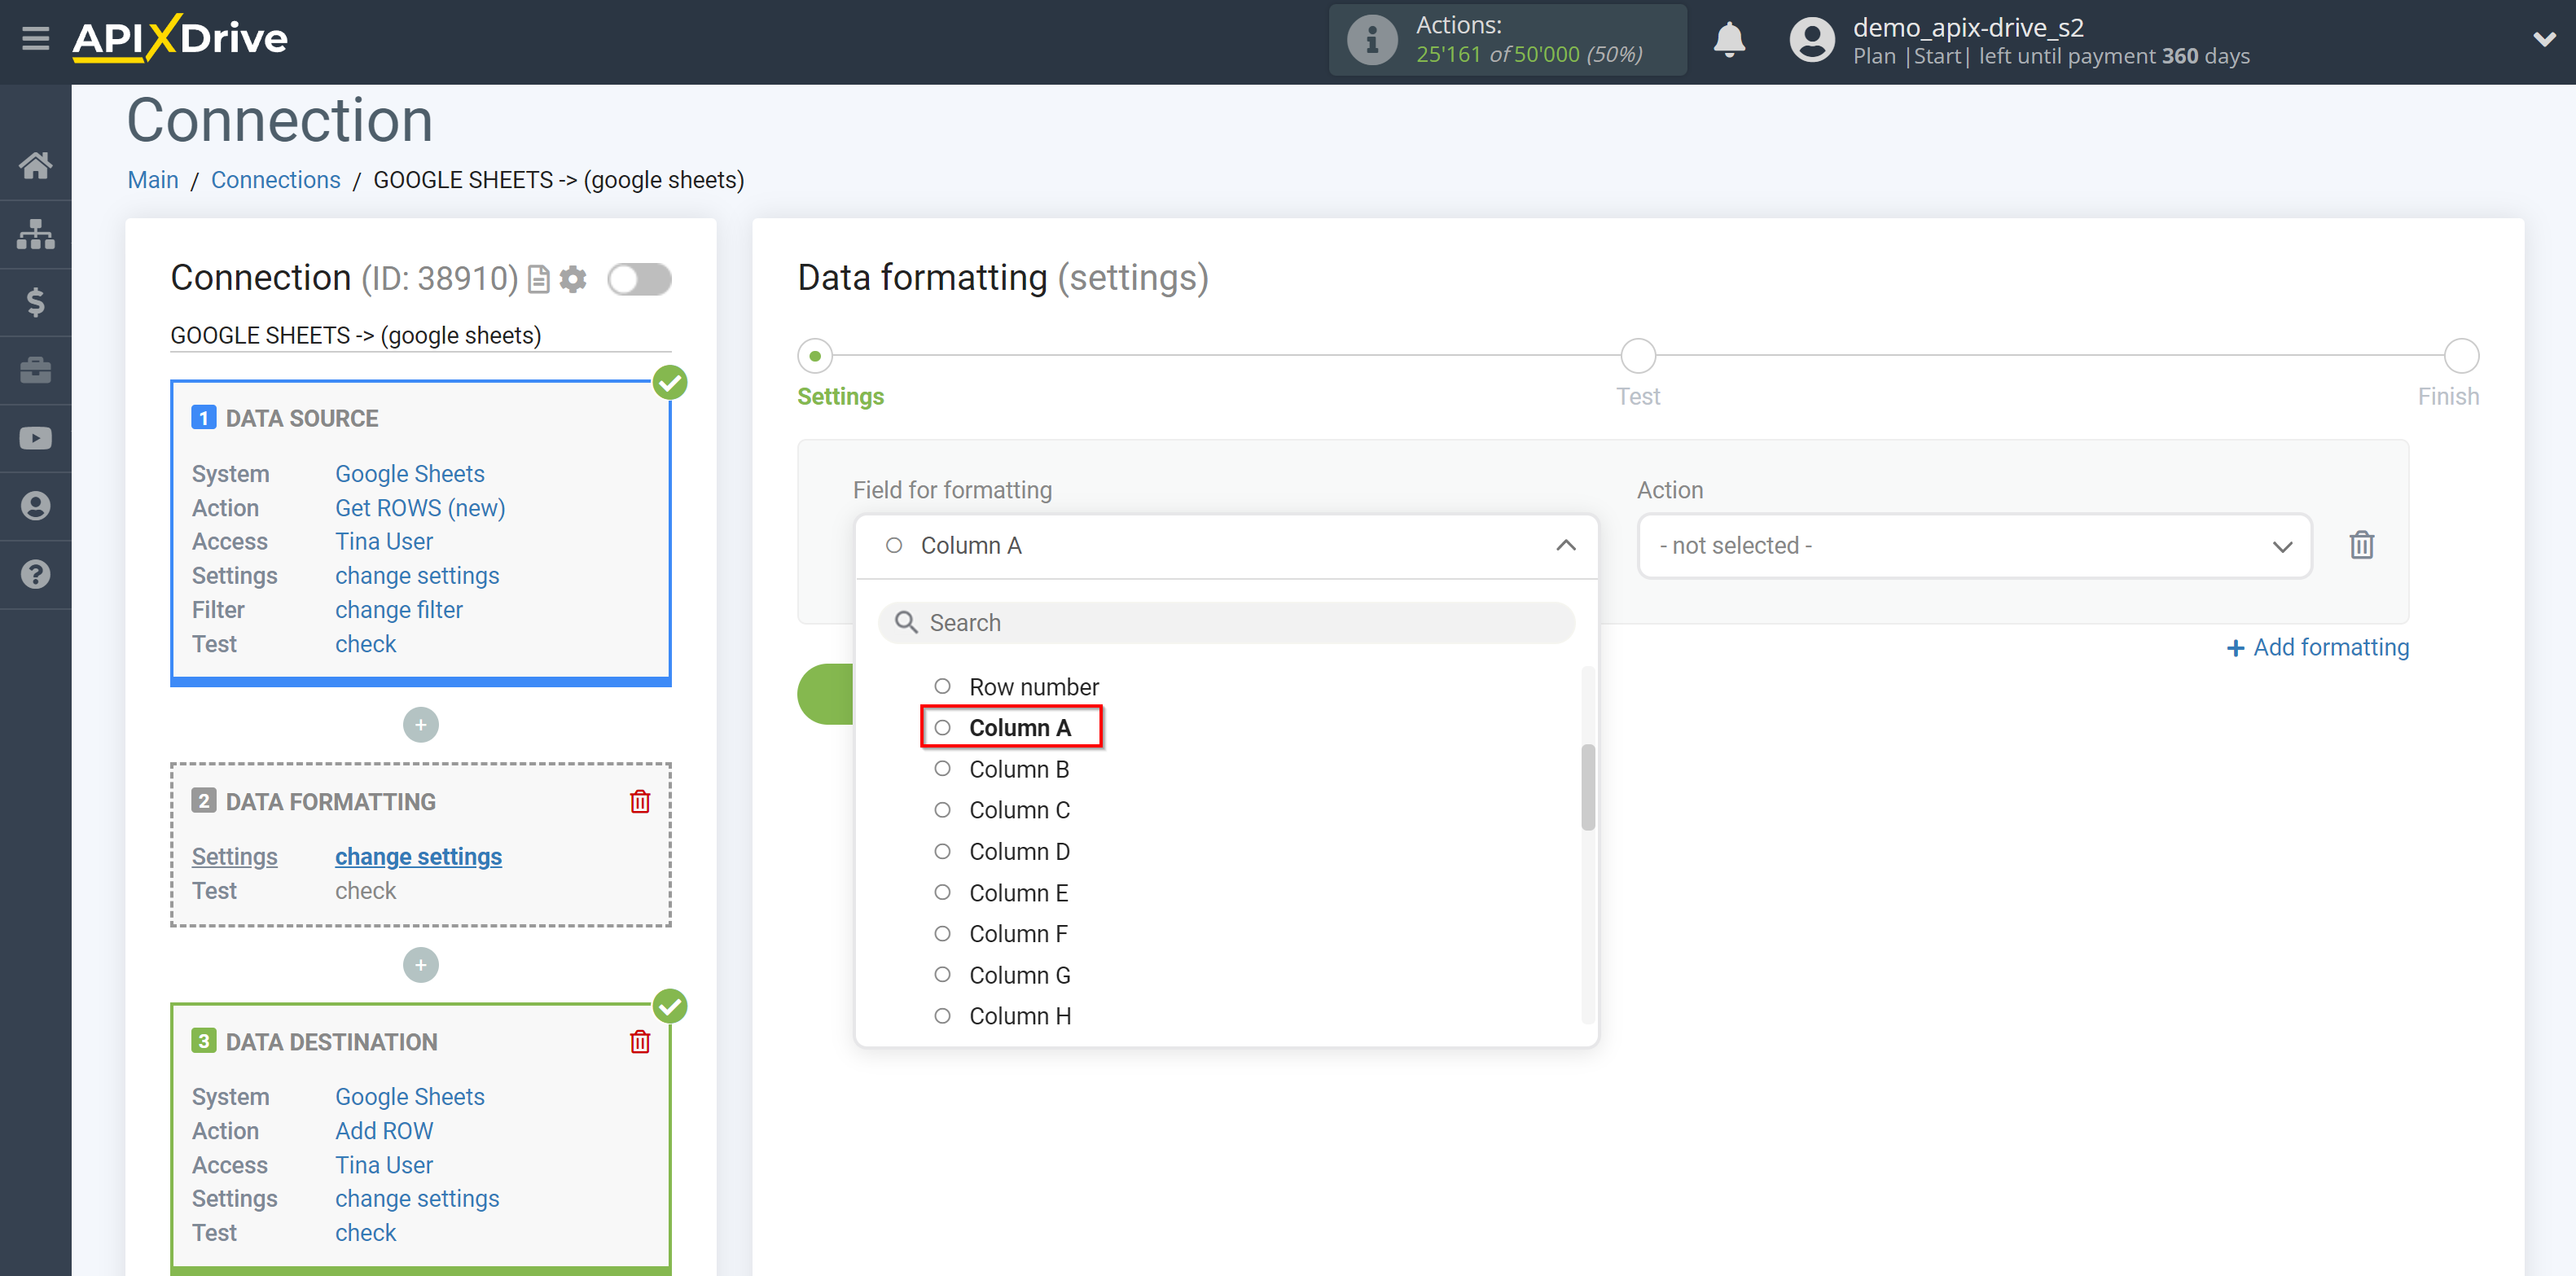
Next, select one of the functions in the list of actions.
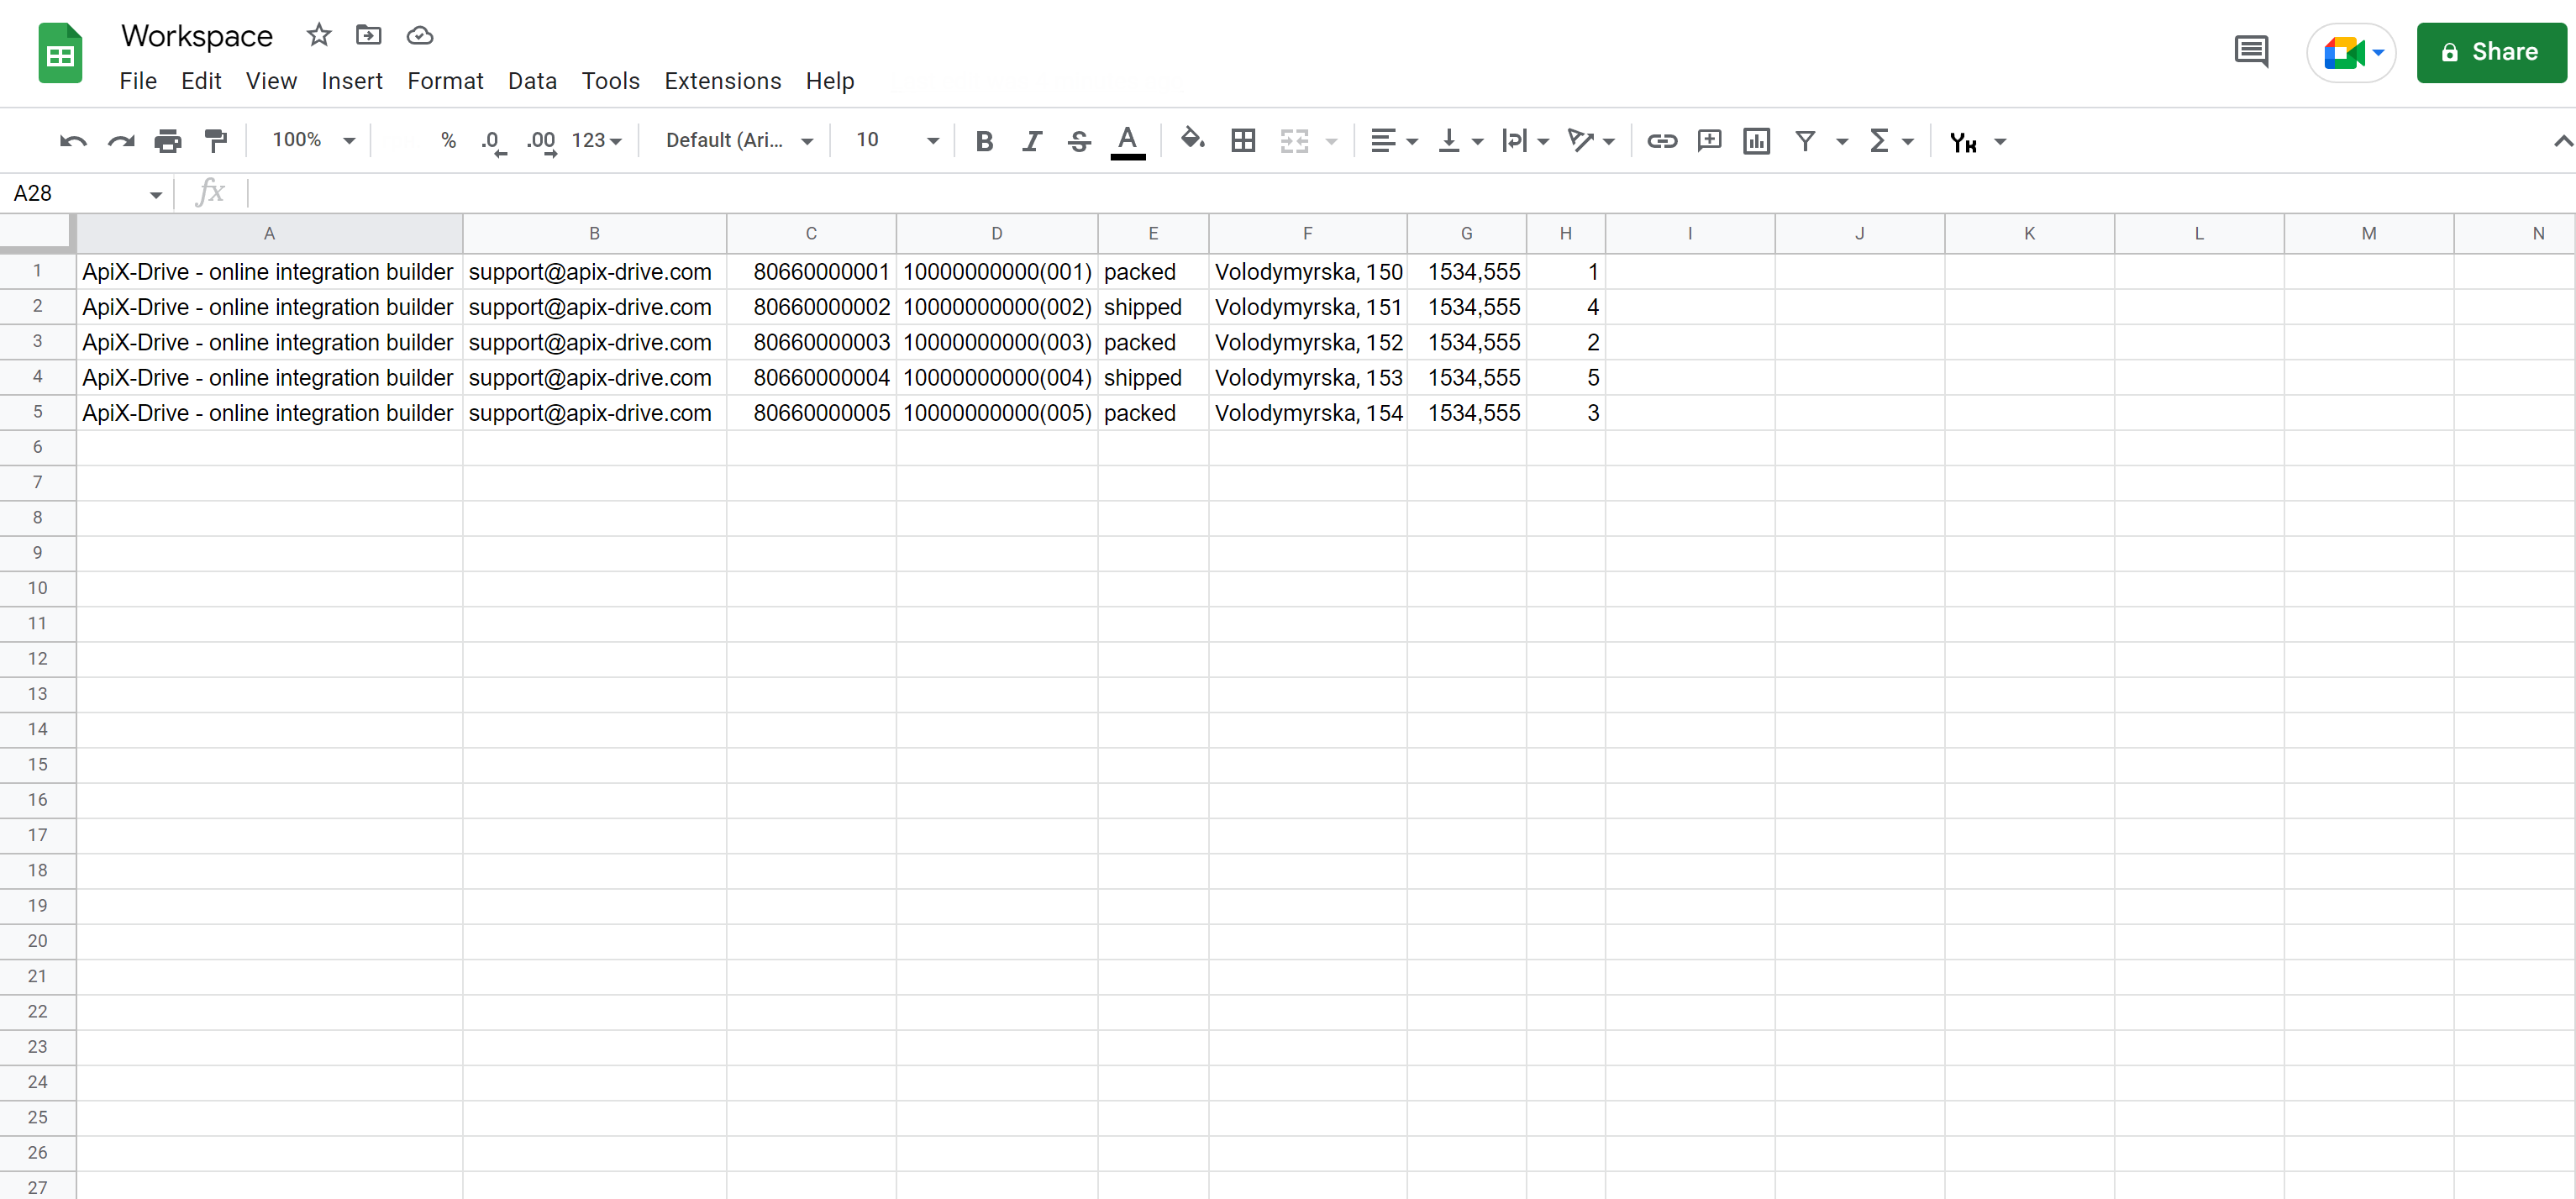
Using the example of a Data Source in Google Sheets, we will change the column, depending on one or another action.
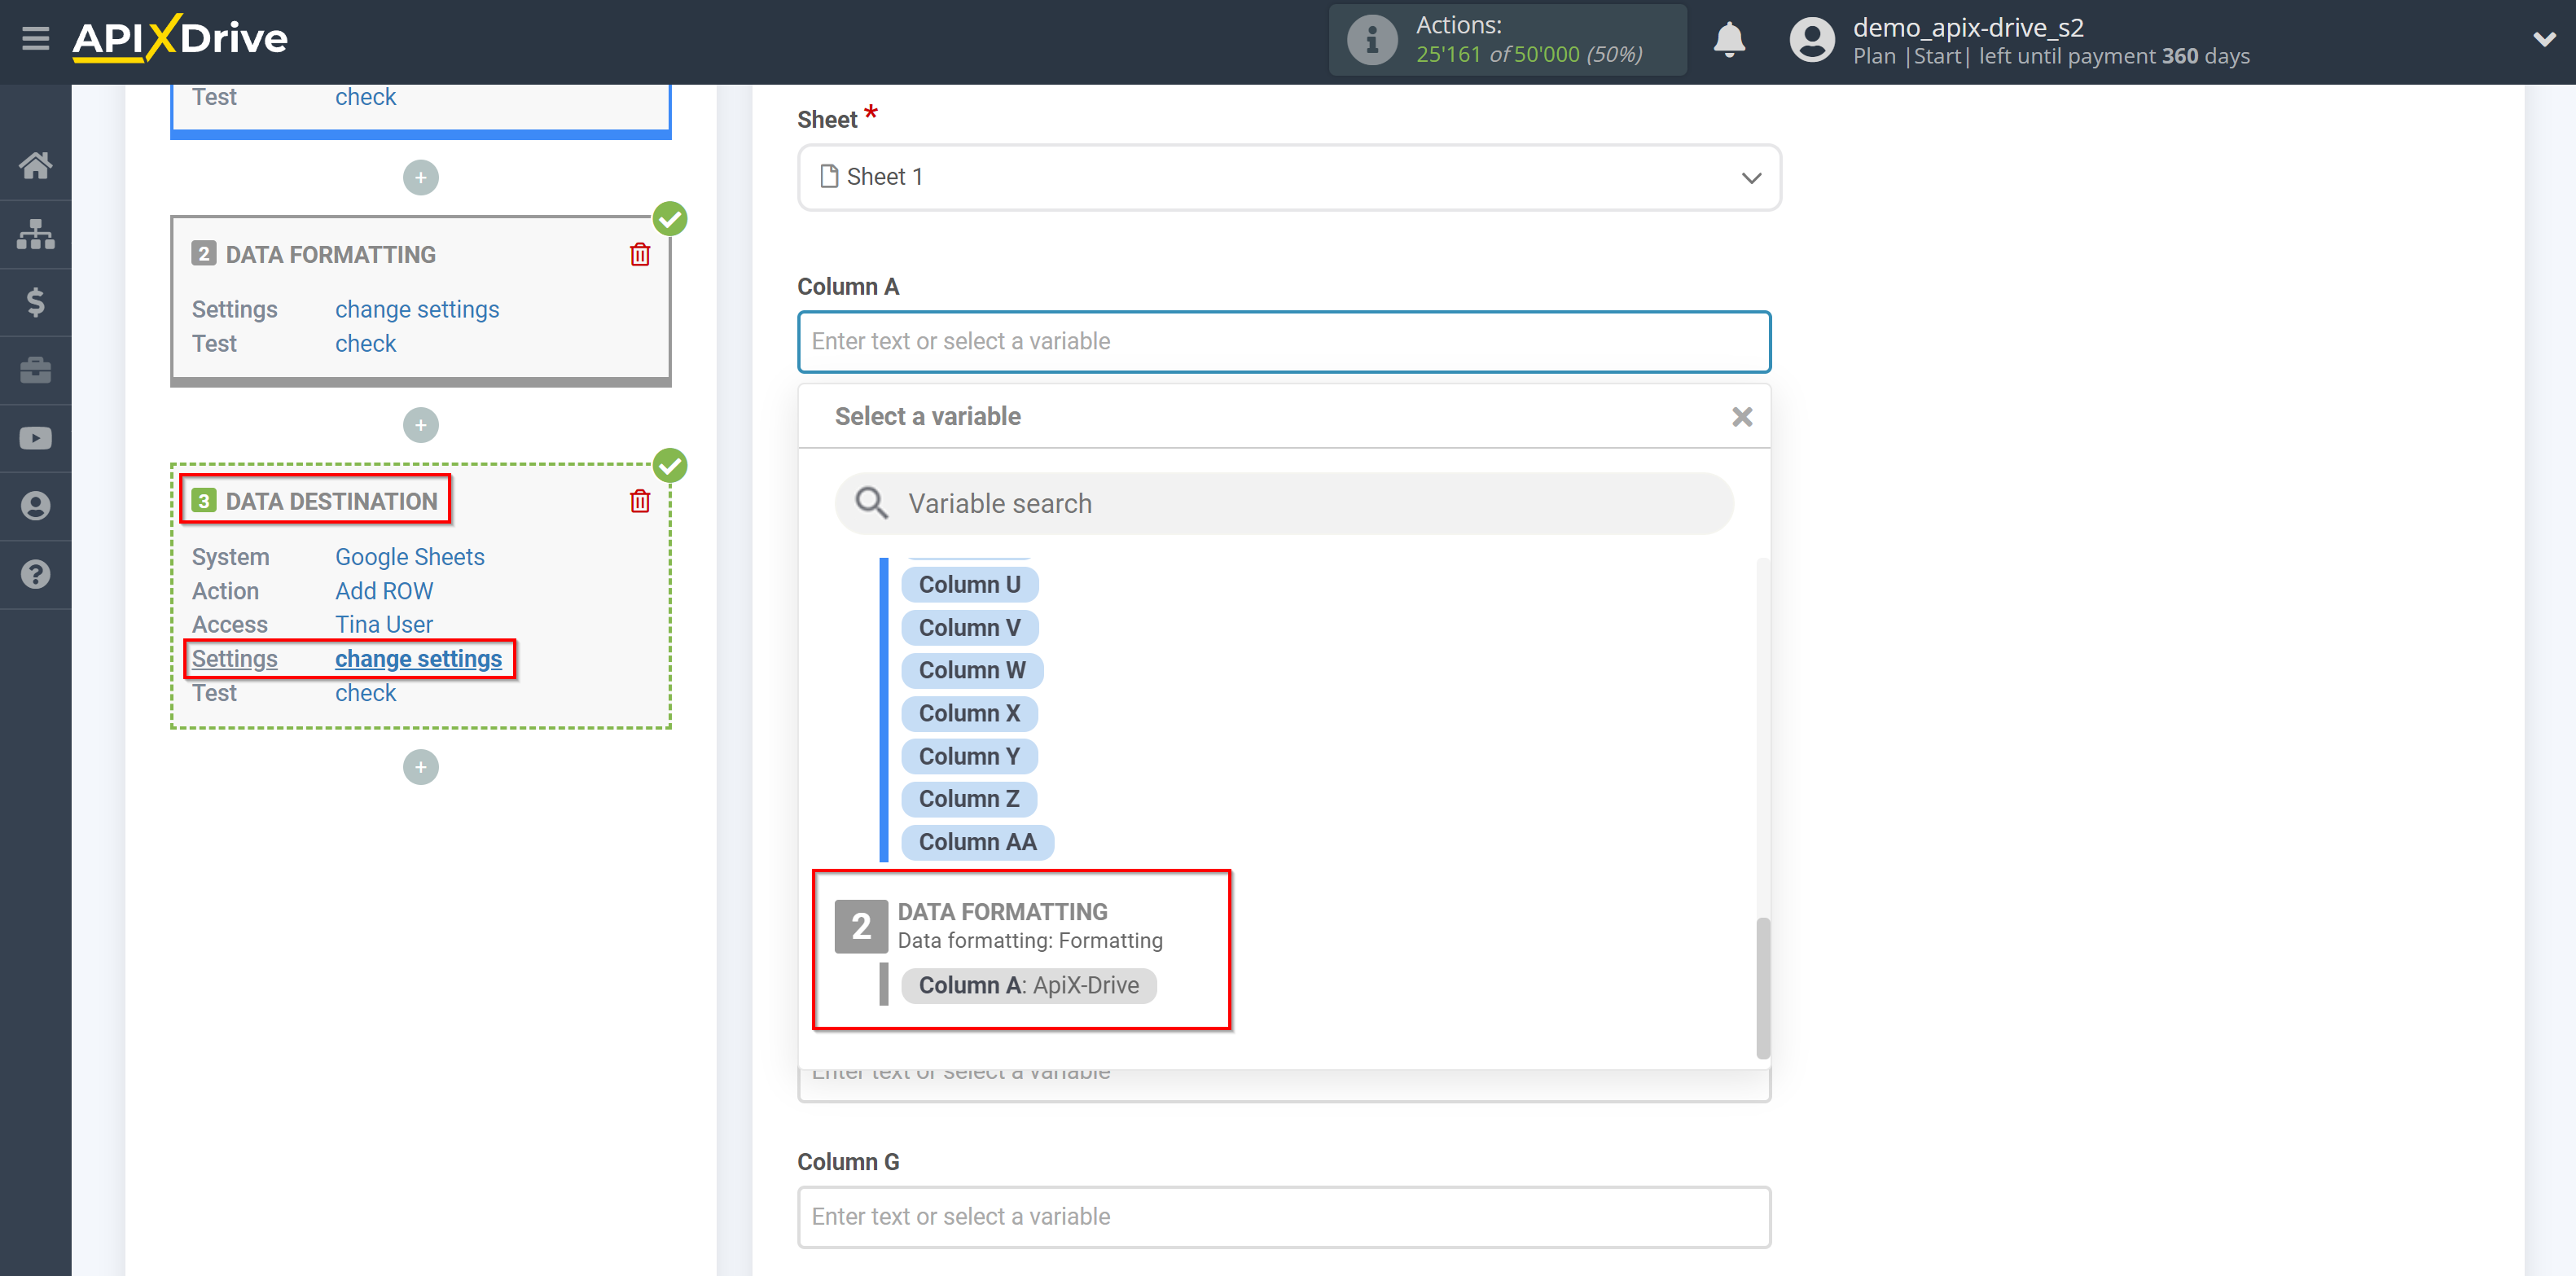
Note!
After setup the Data Formatting, a NEW variable will be created with the formatting result. Choose to transfer this NEW variable to the appropriate line in the system settings of the Data Destination, as you can pass both original data and already formatted as a NEW variable.
Work of all functions on examples
1. Case change
2. Convert to a string from a list
This function is only available for multiple fields.
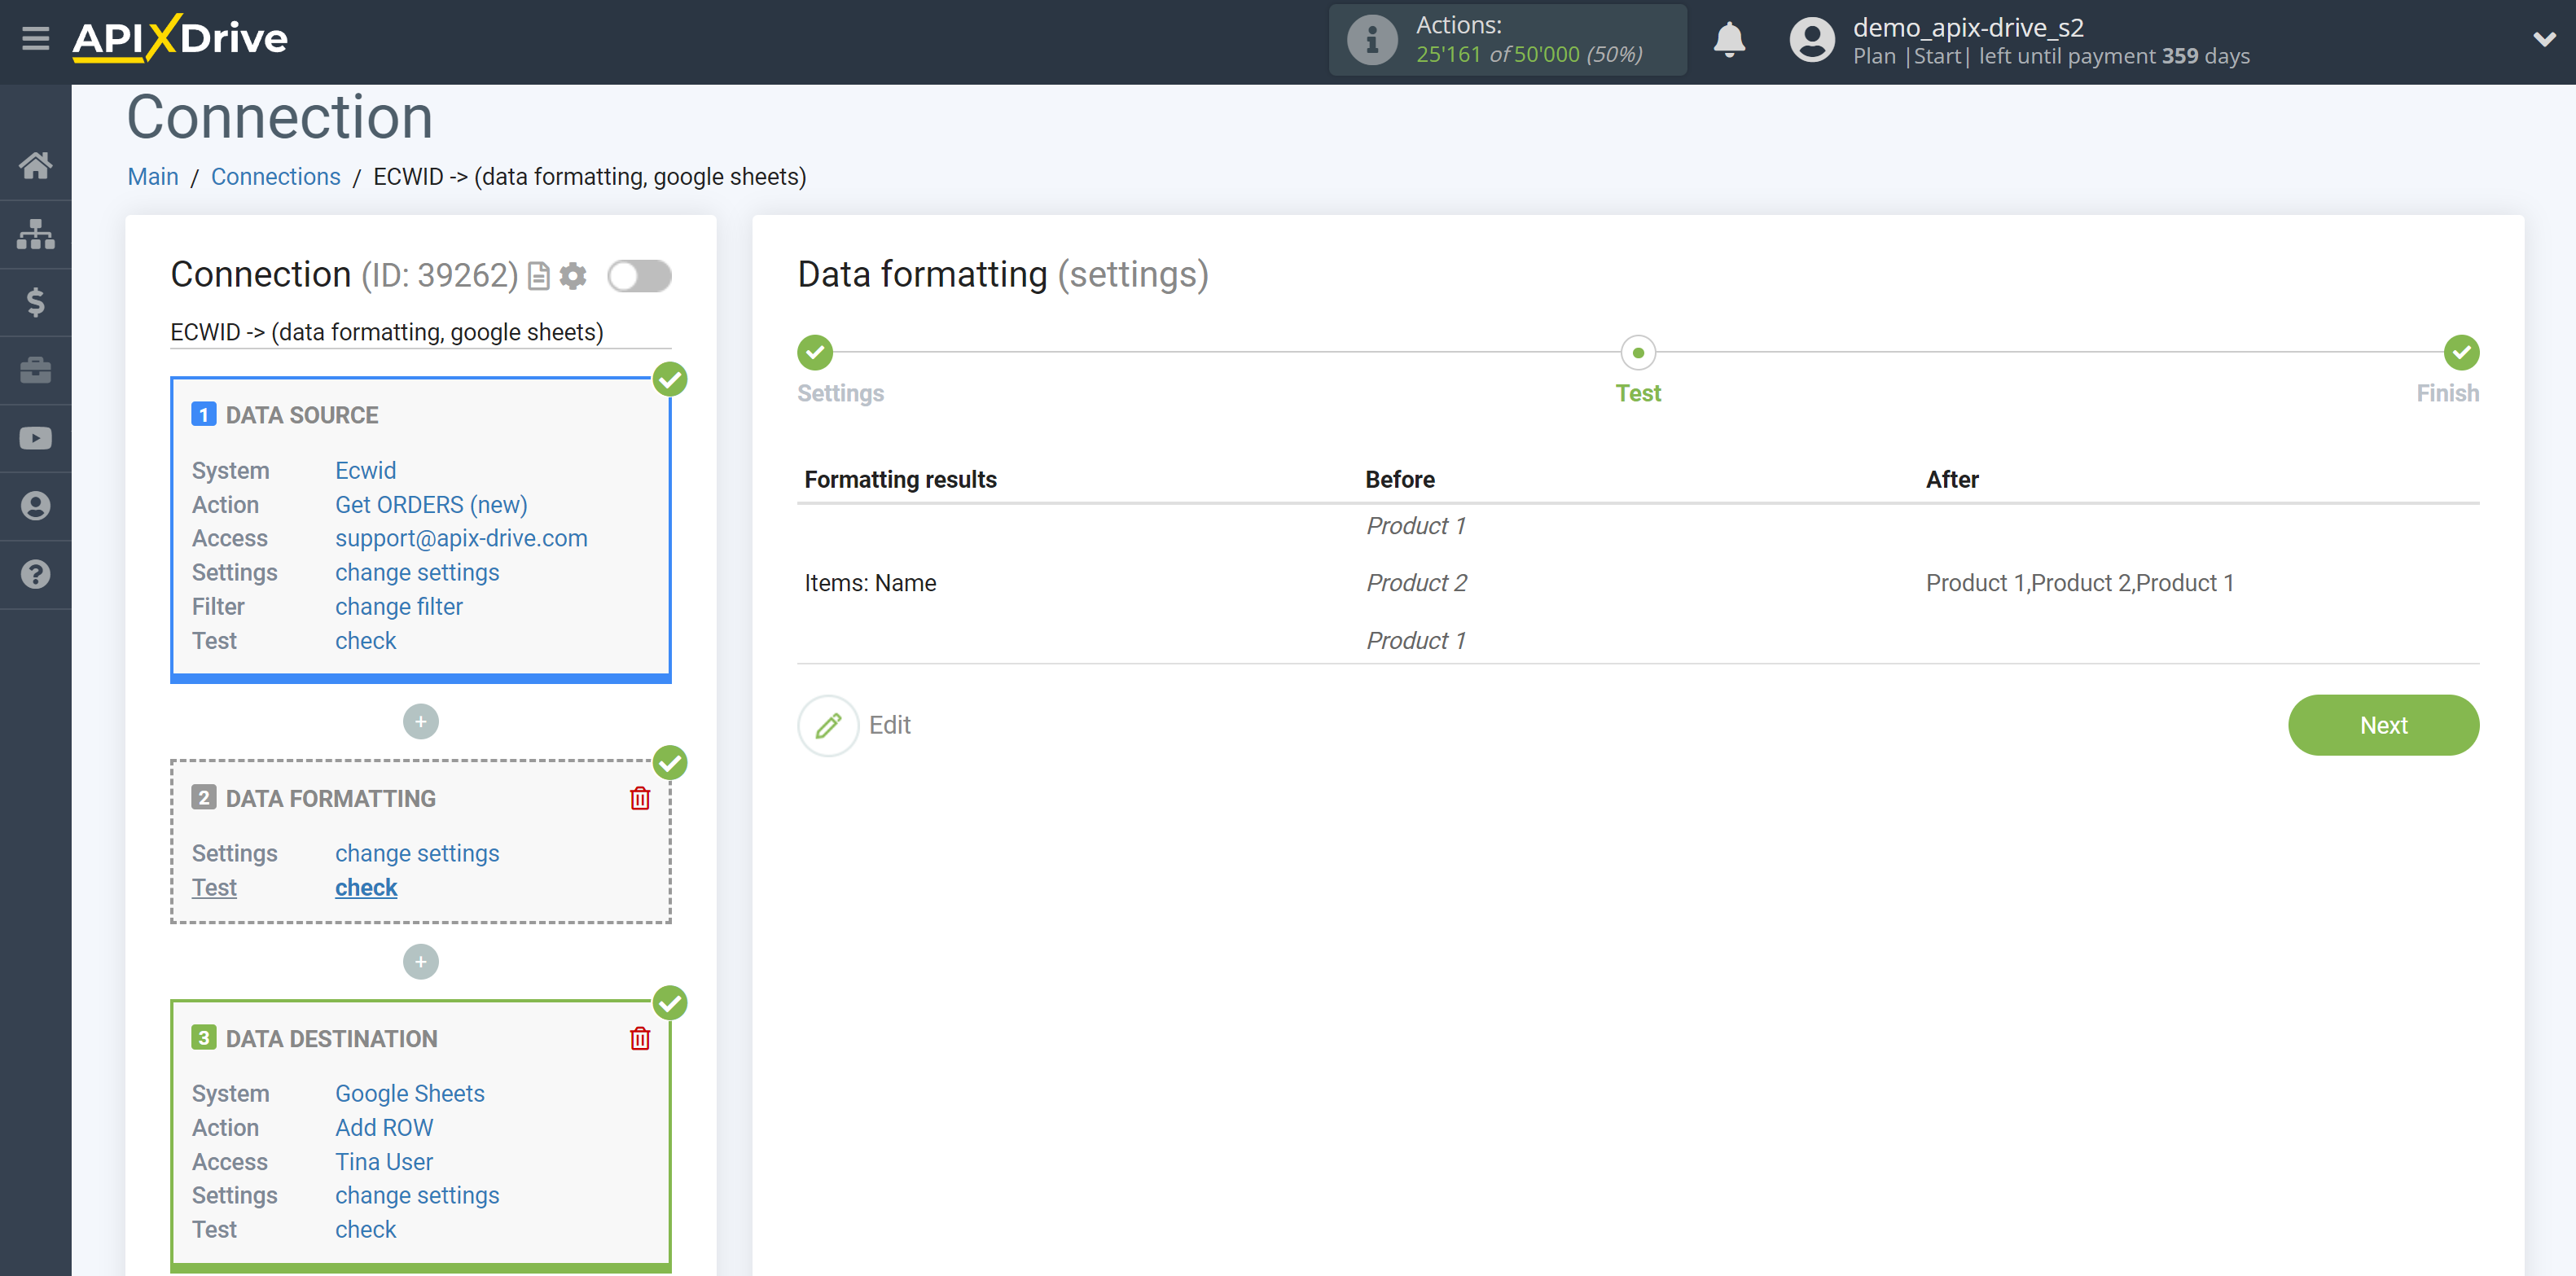
3. Convert to list
4. Convert to number
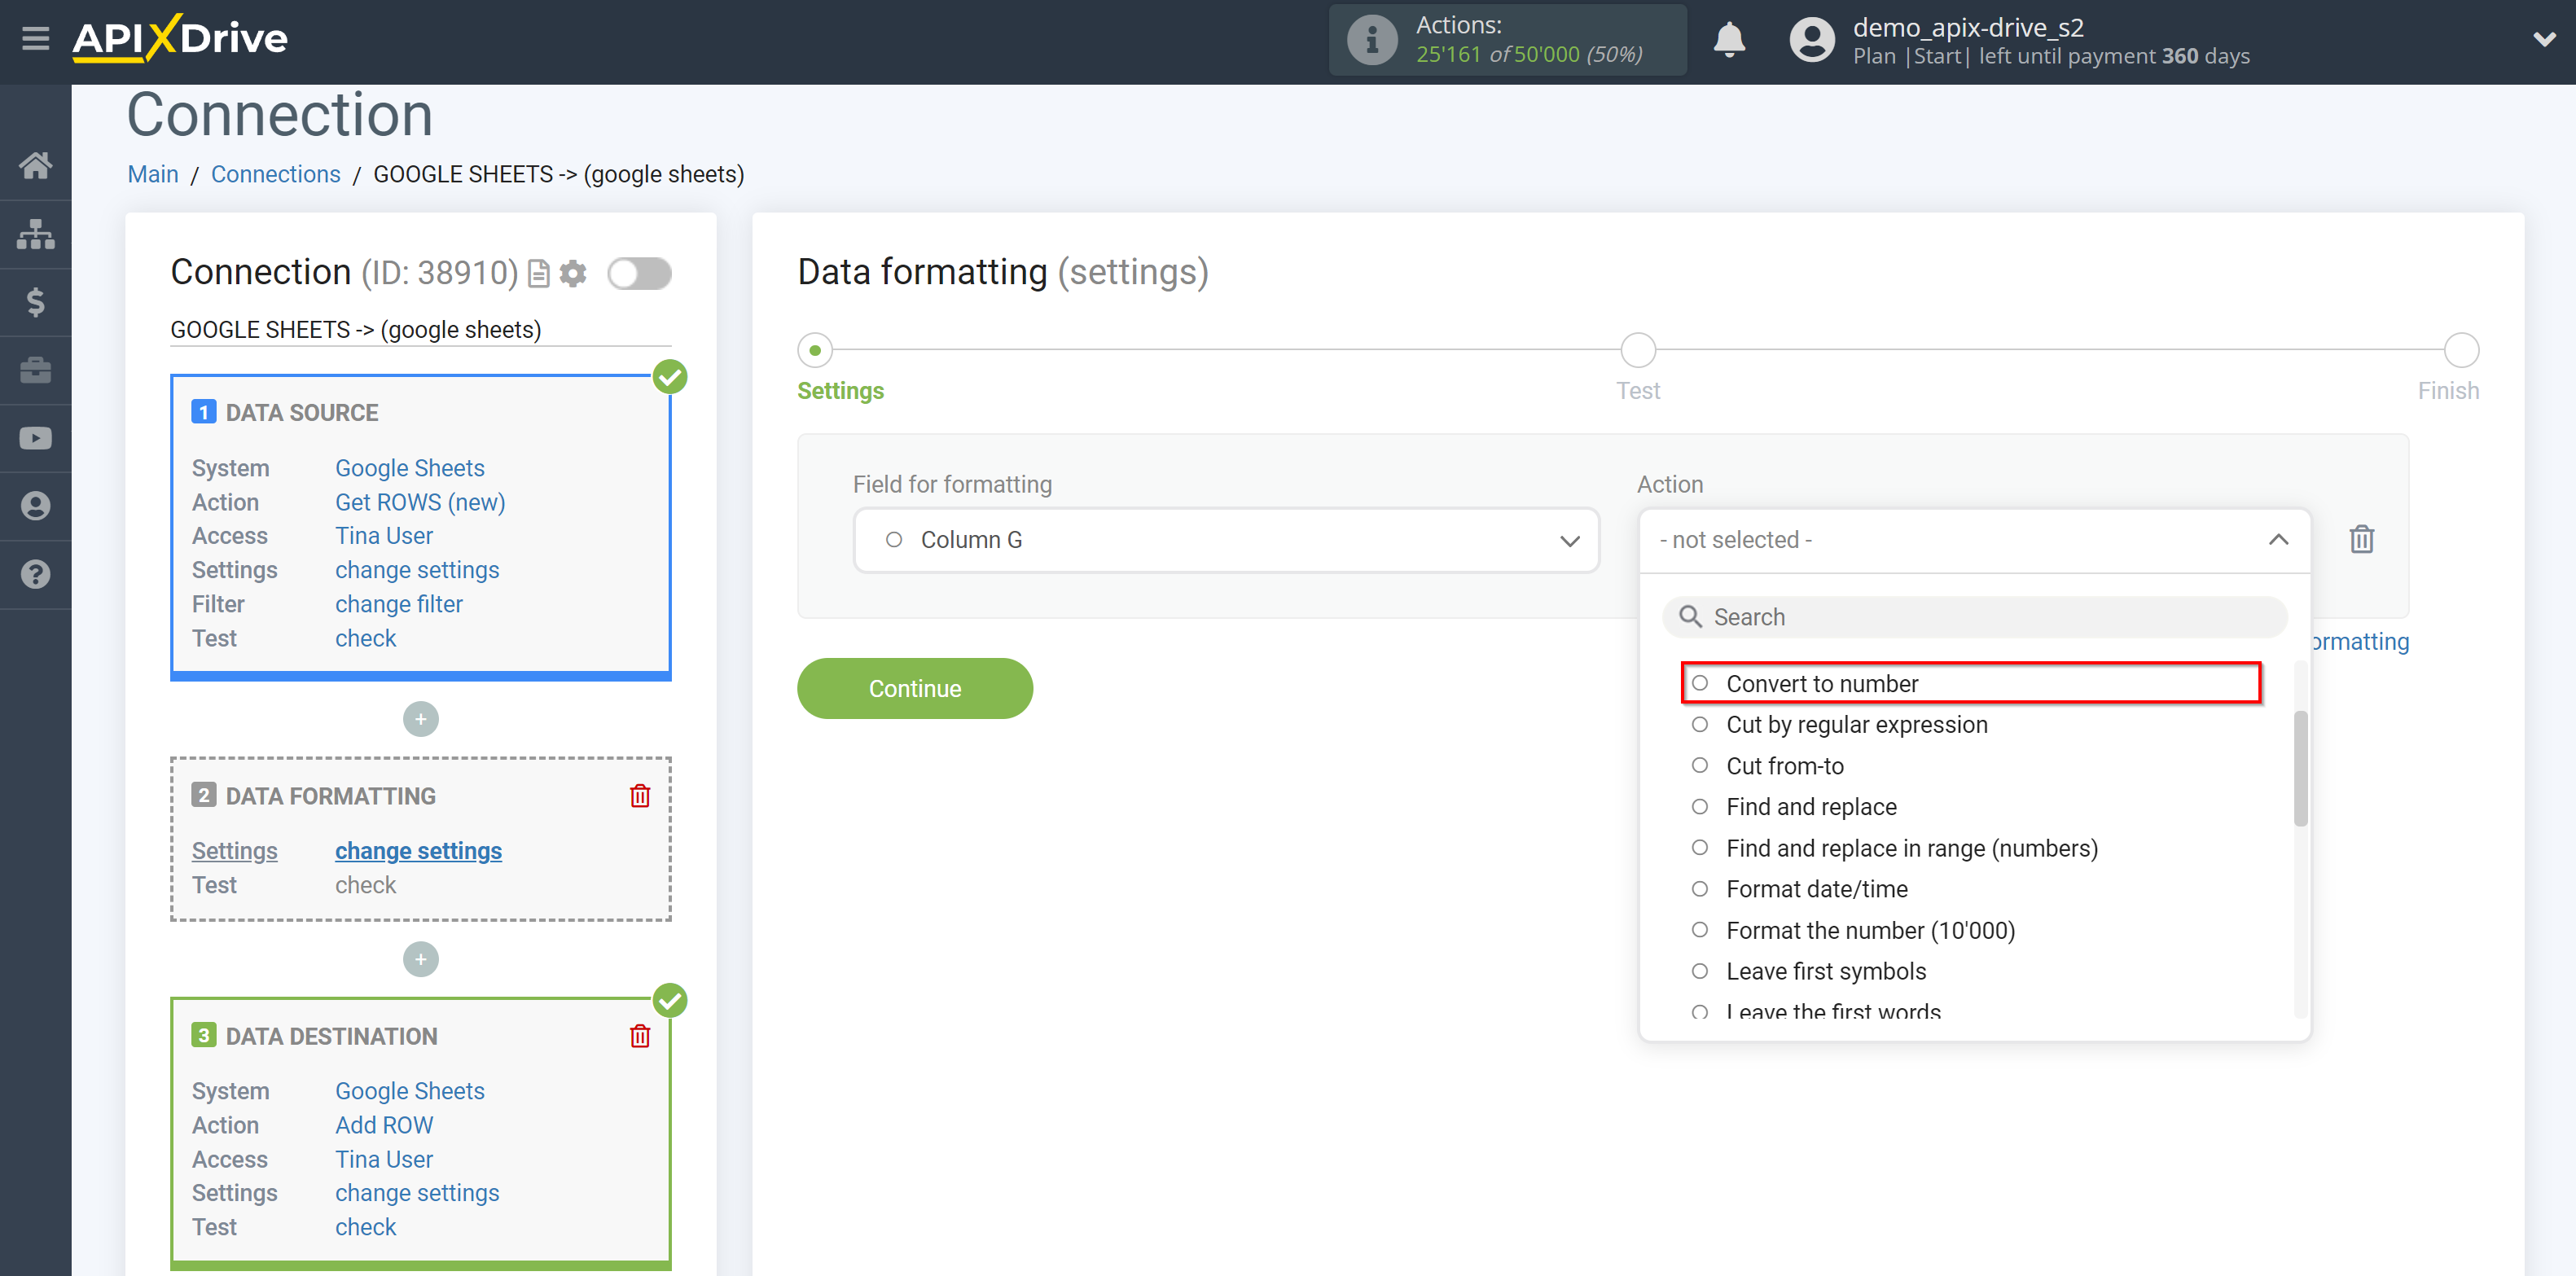
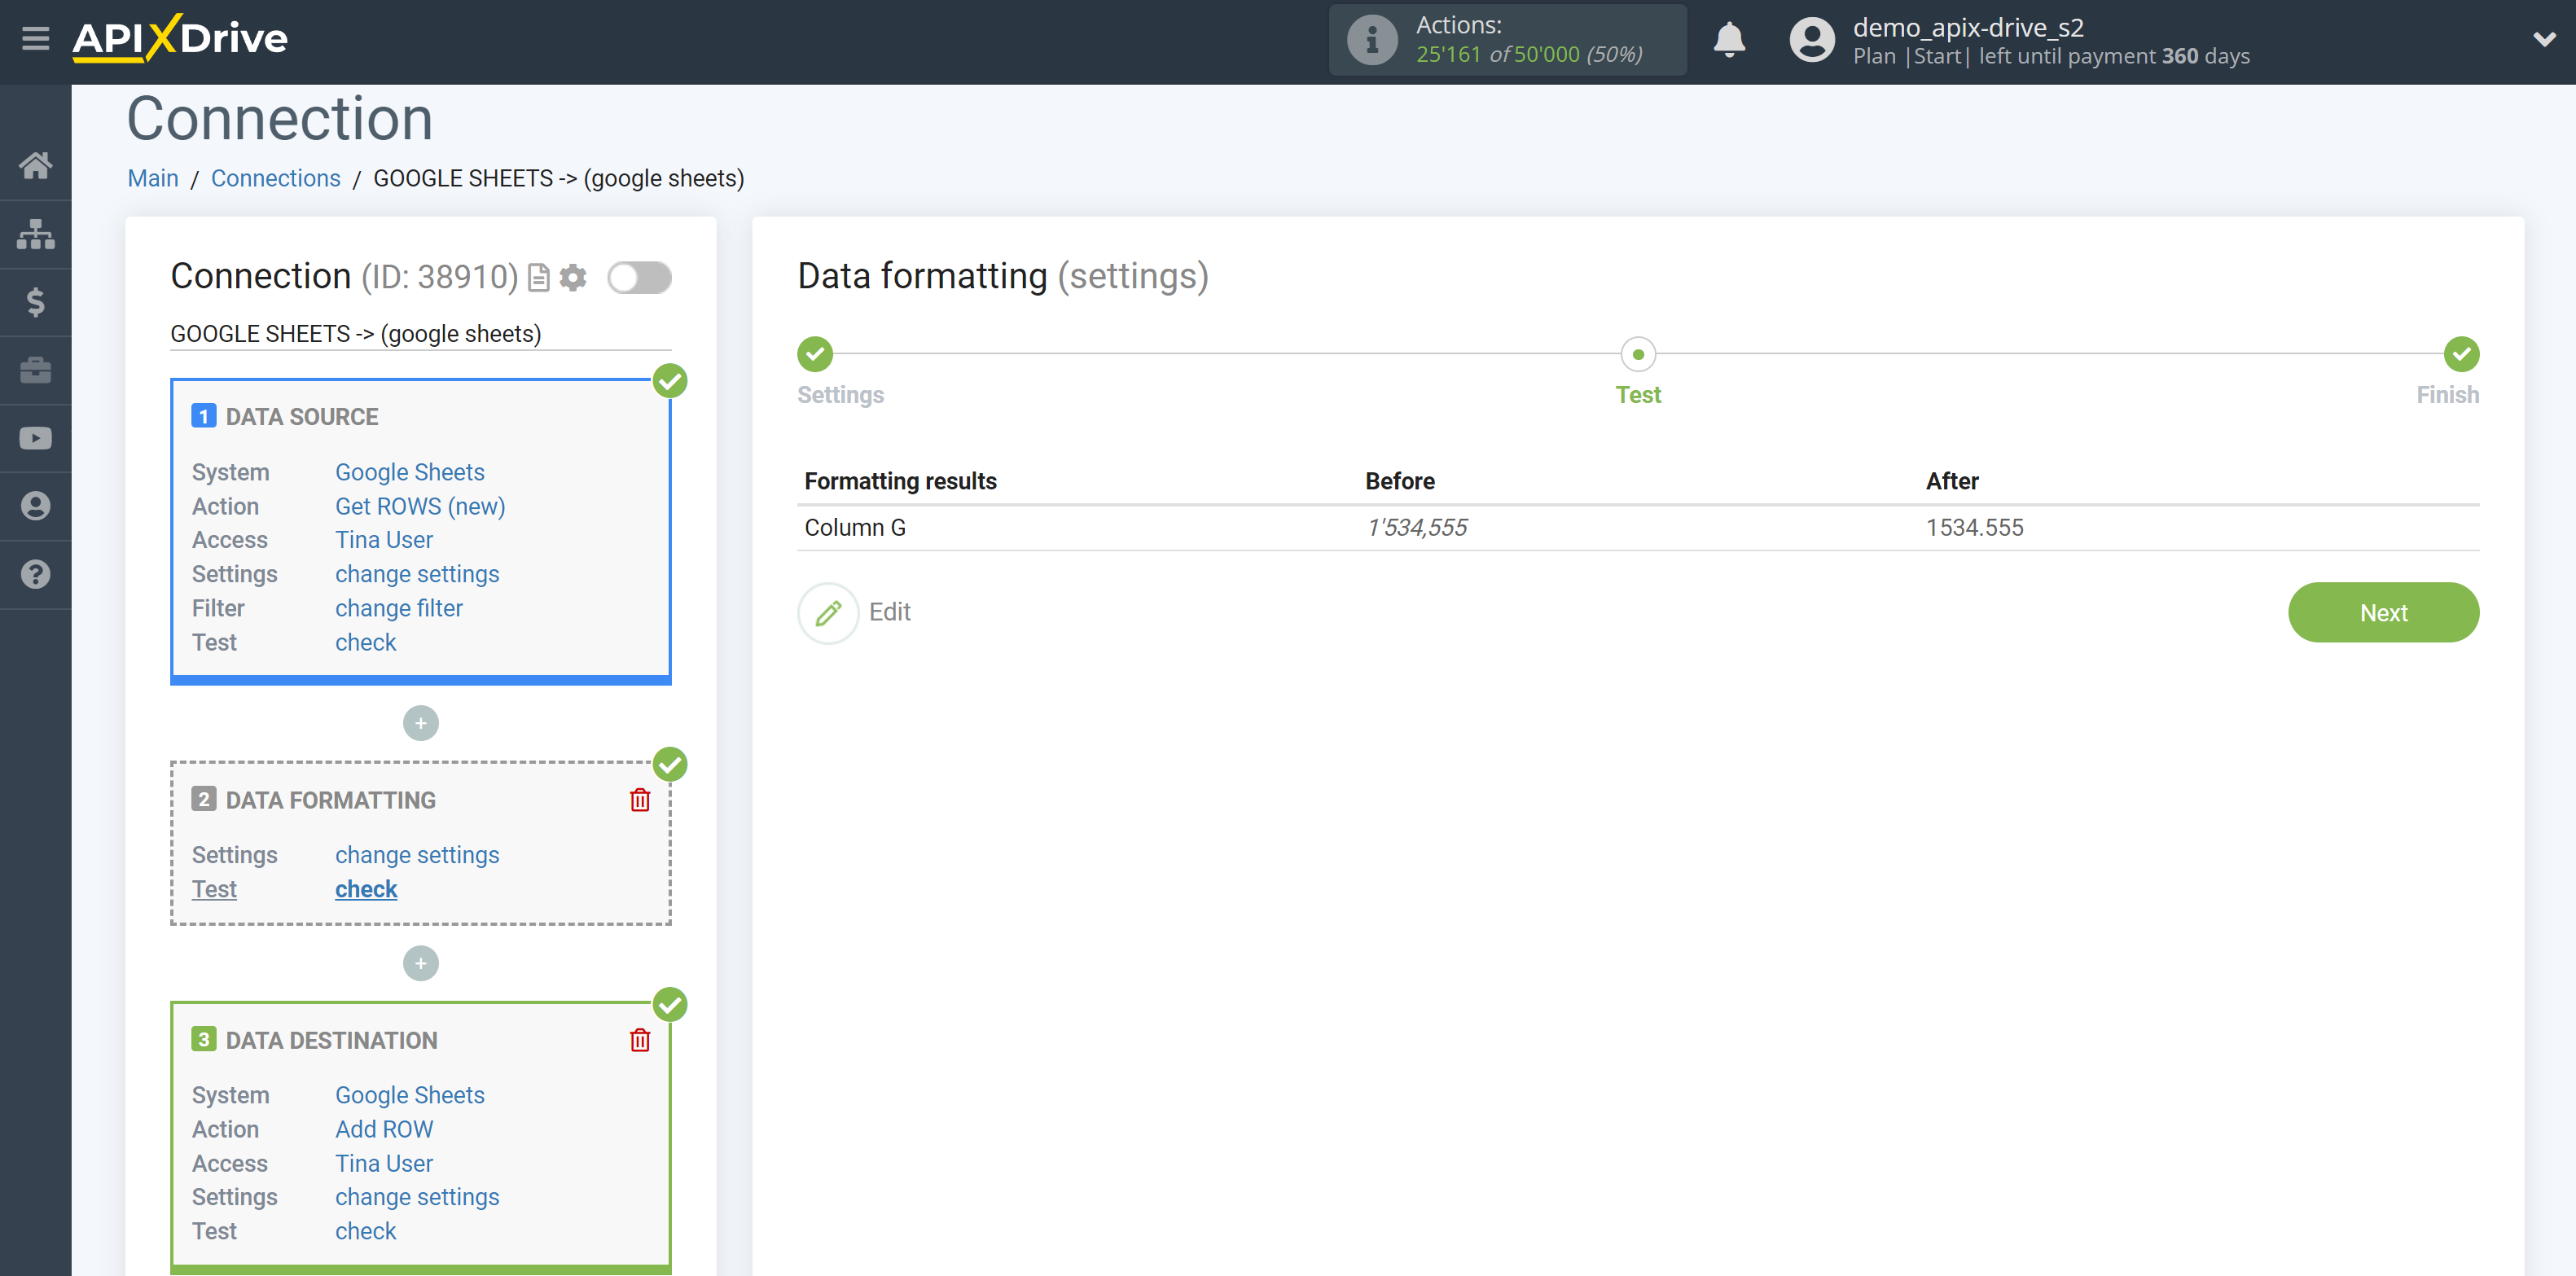
5. Cut by regular expression
This feature is designed for advanced users and allows more flexibility to customize data formatting with special values.
For example, if the regular expression "Postal code [ d+]", then instead of "[ d+]" the value with variable value will be substituted because we do not know the postal code number beforehand.
For more information about regular expressions, see: https://www.w3schools.com/php/php_regex.asp
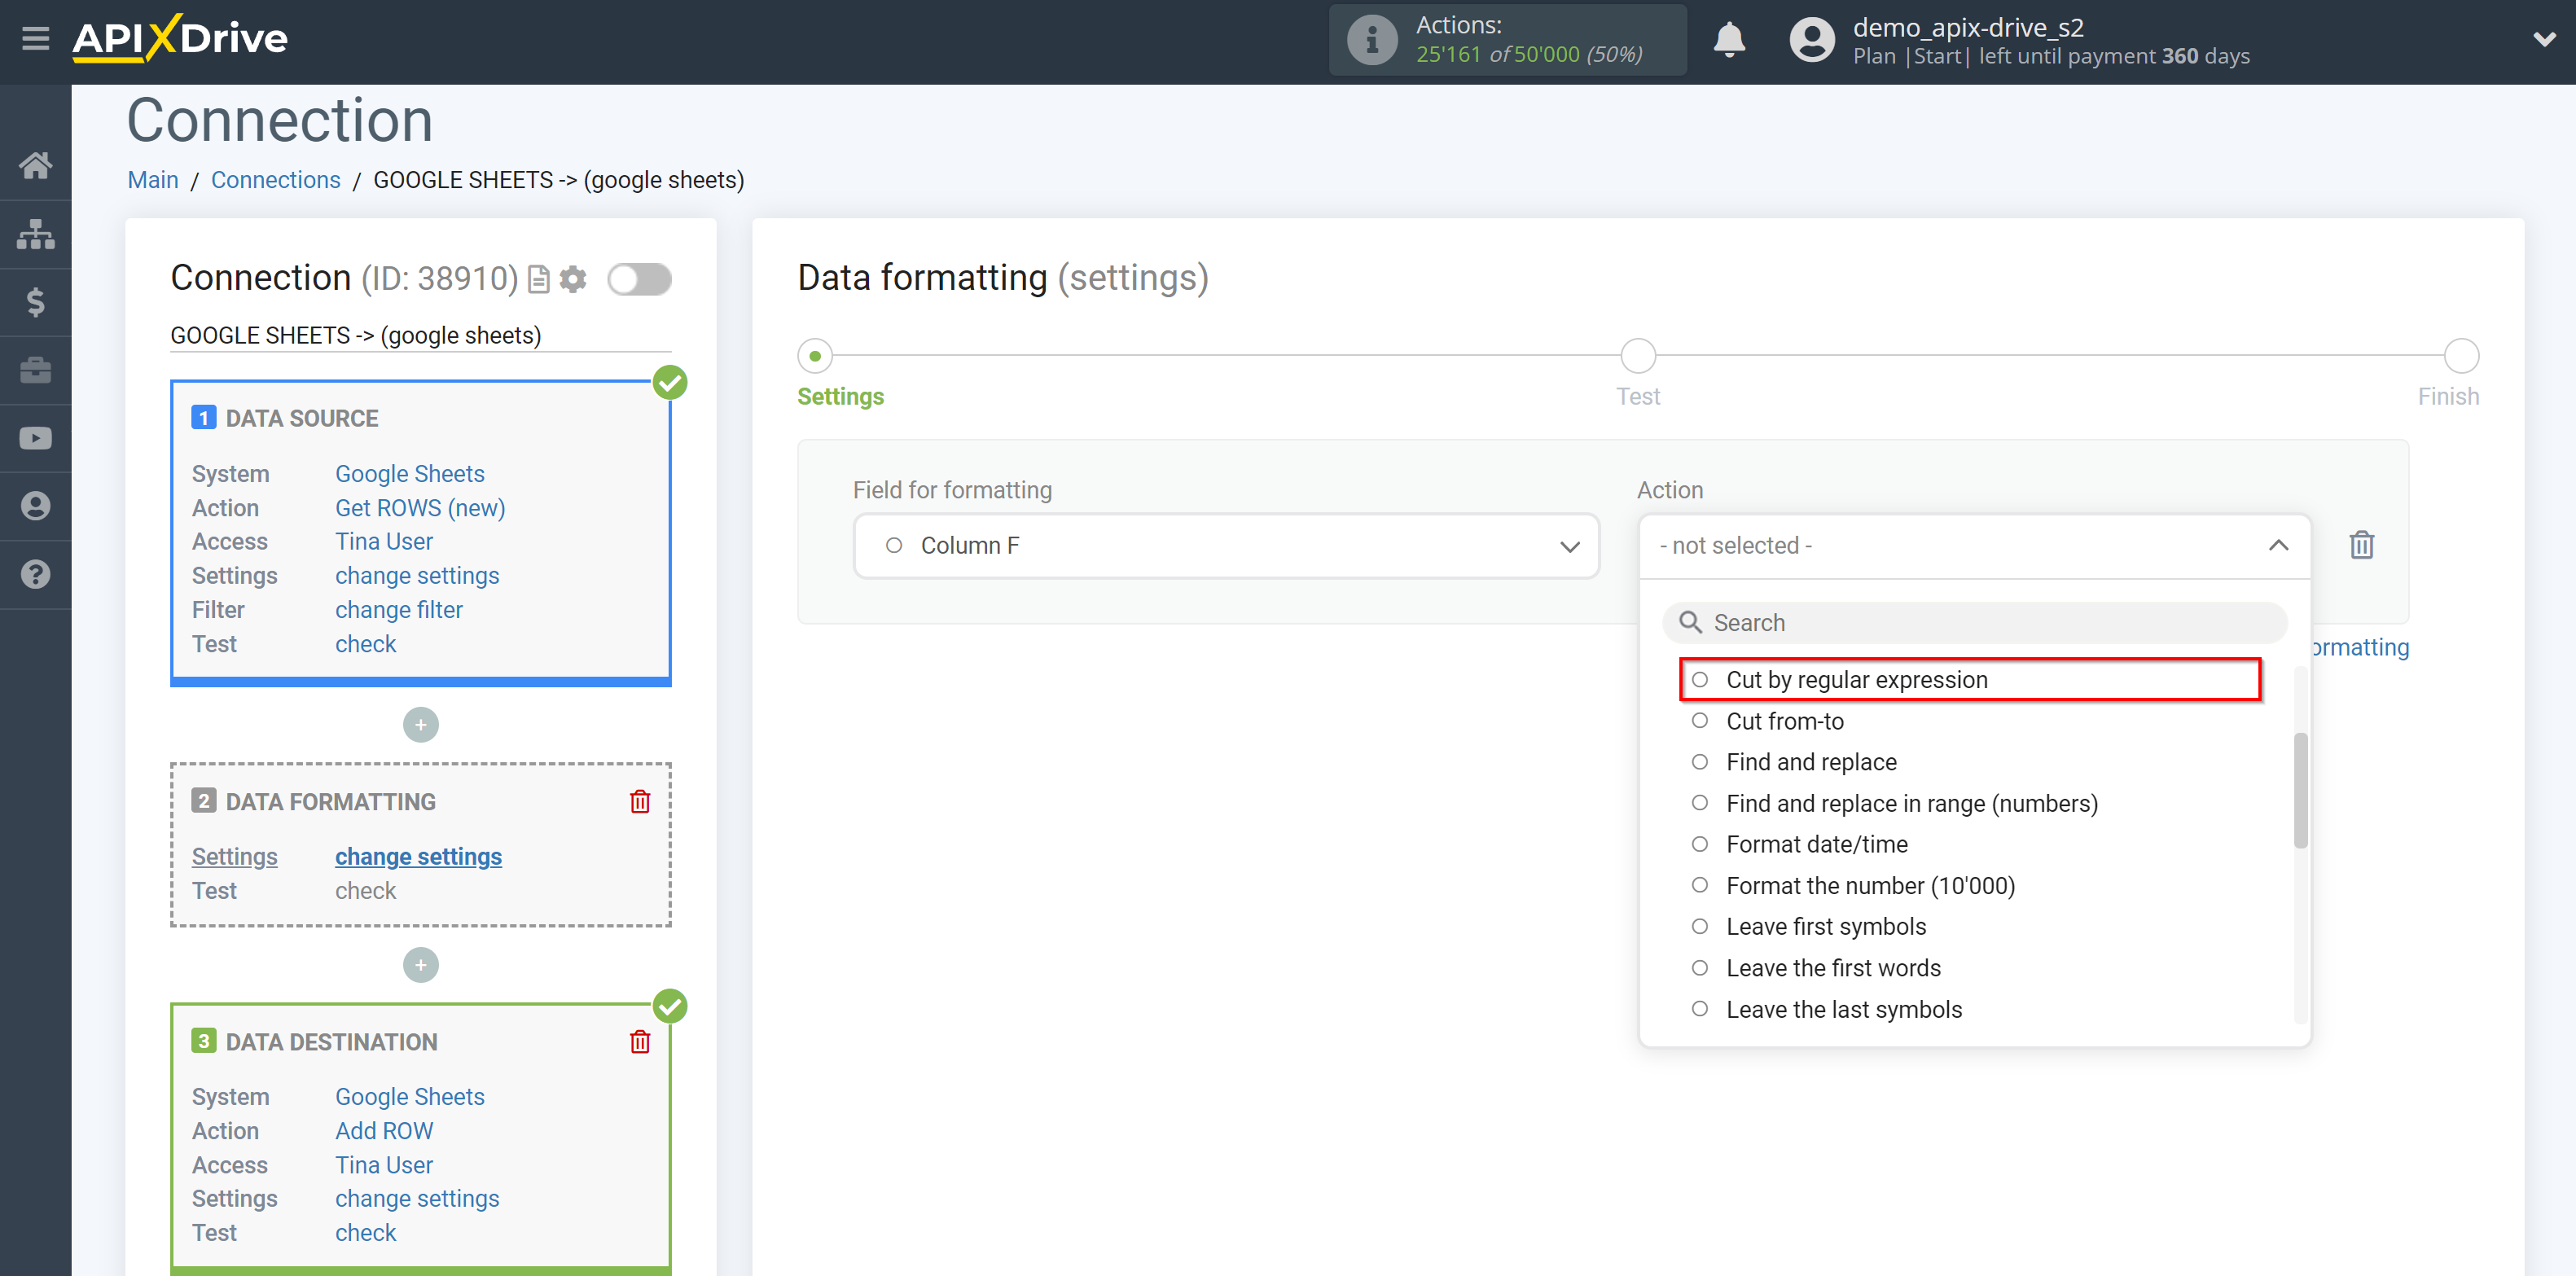
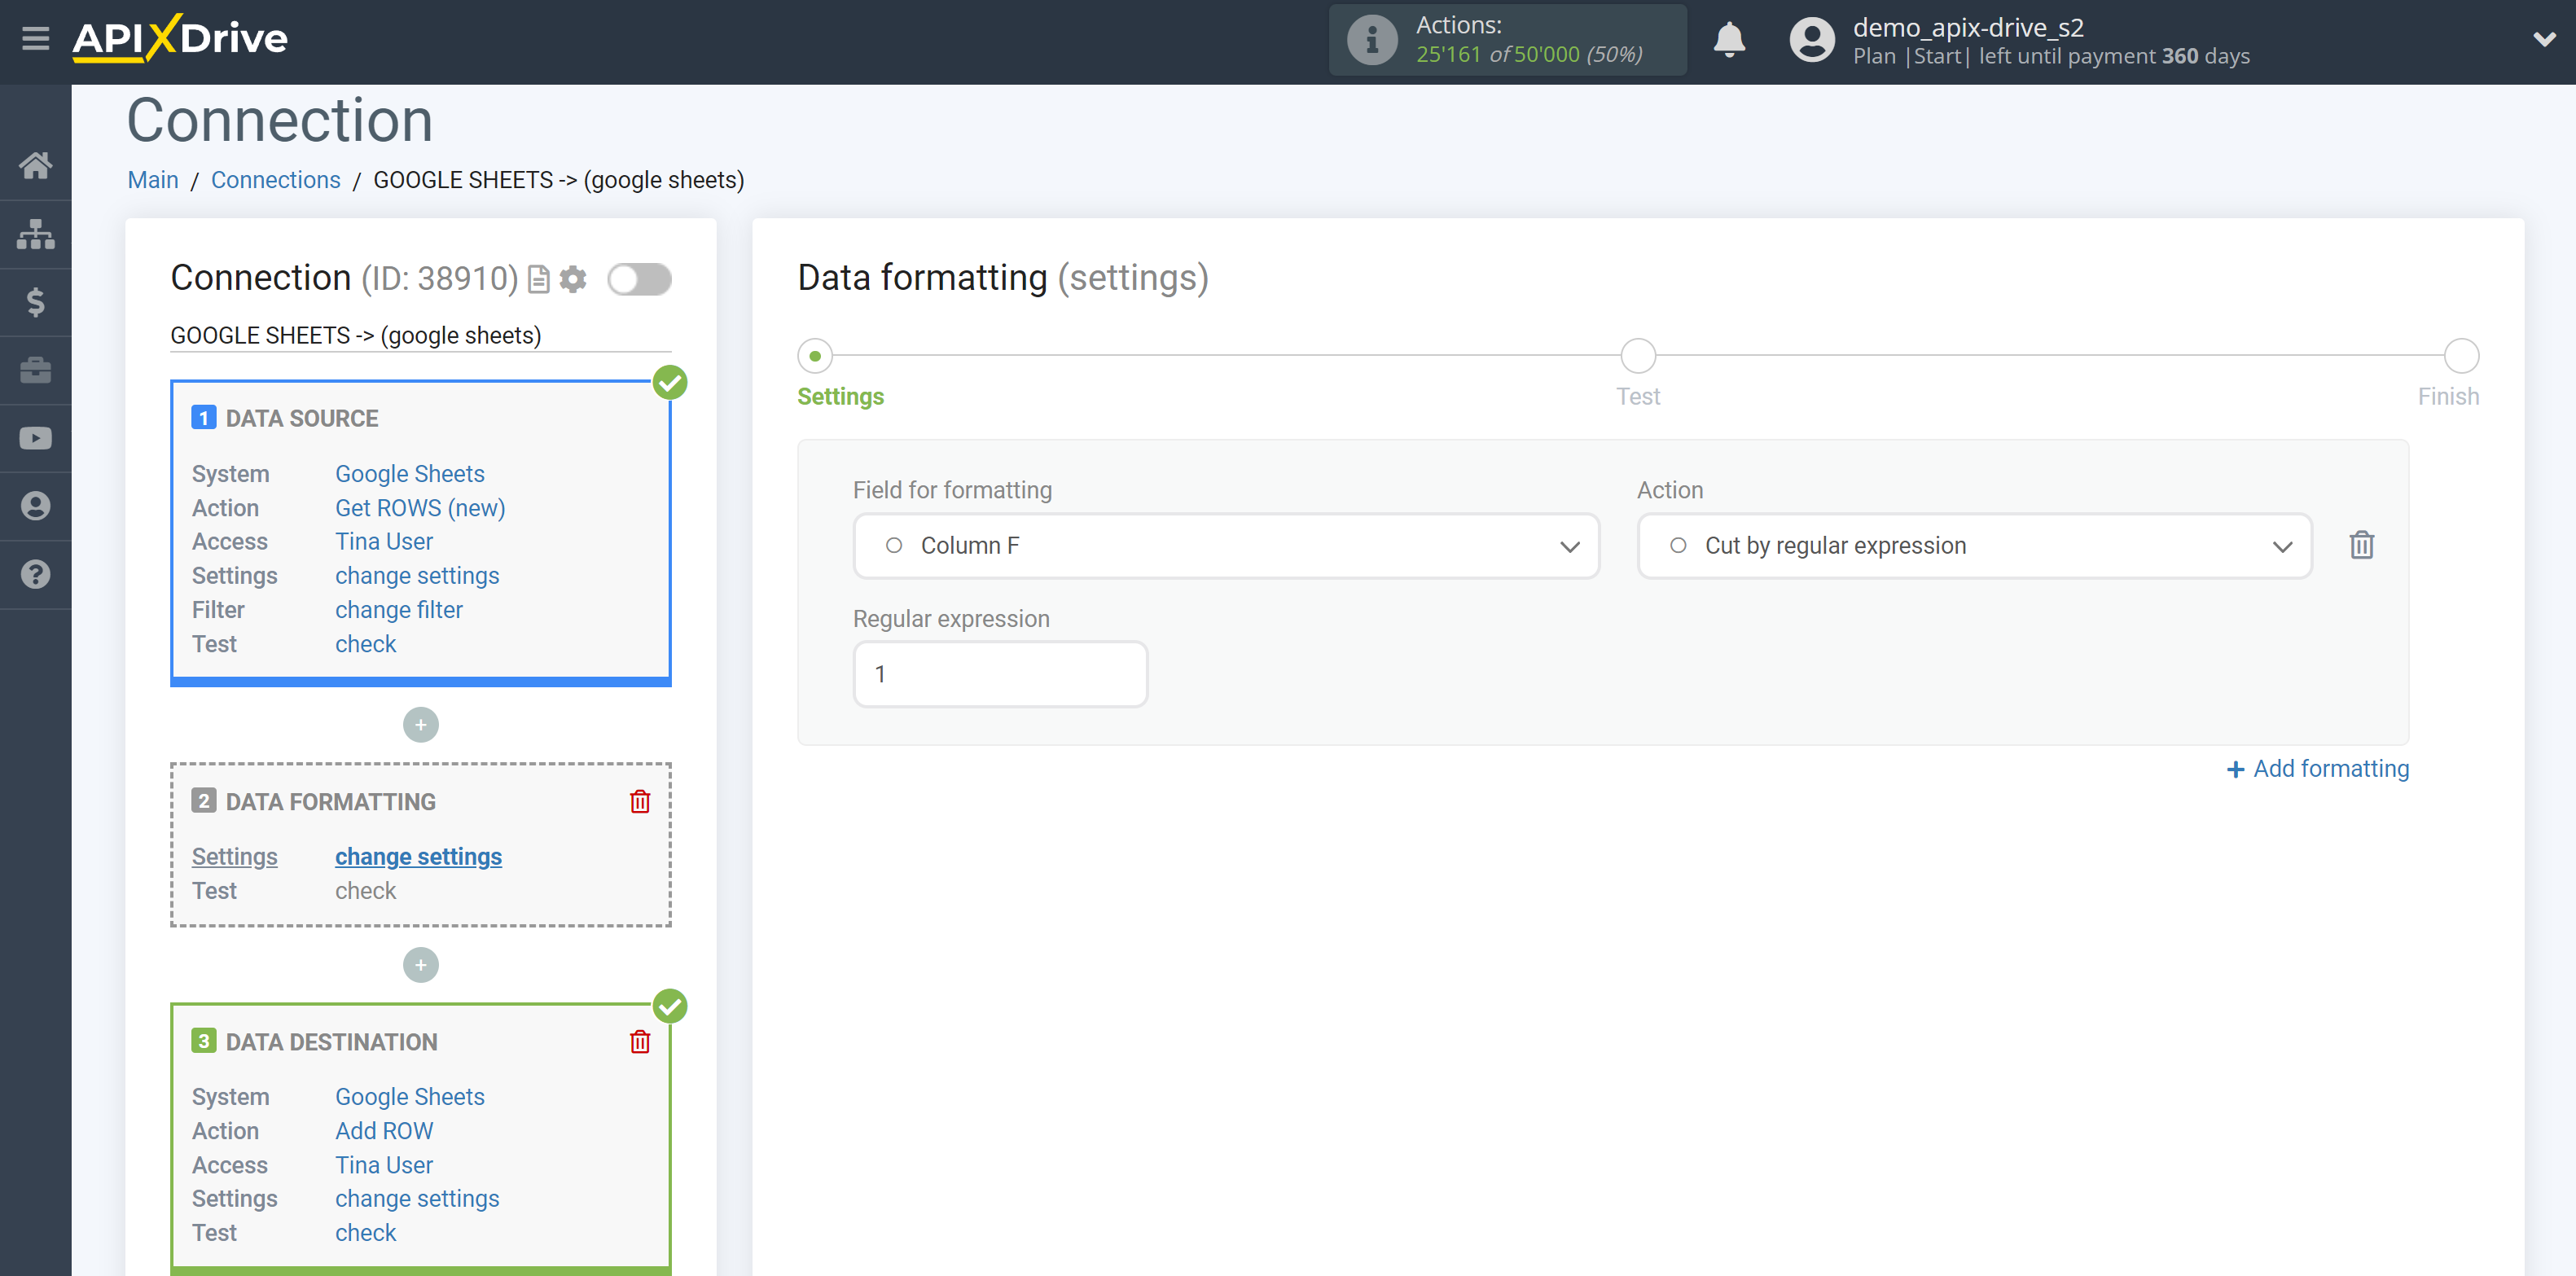
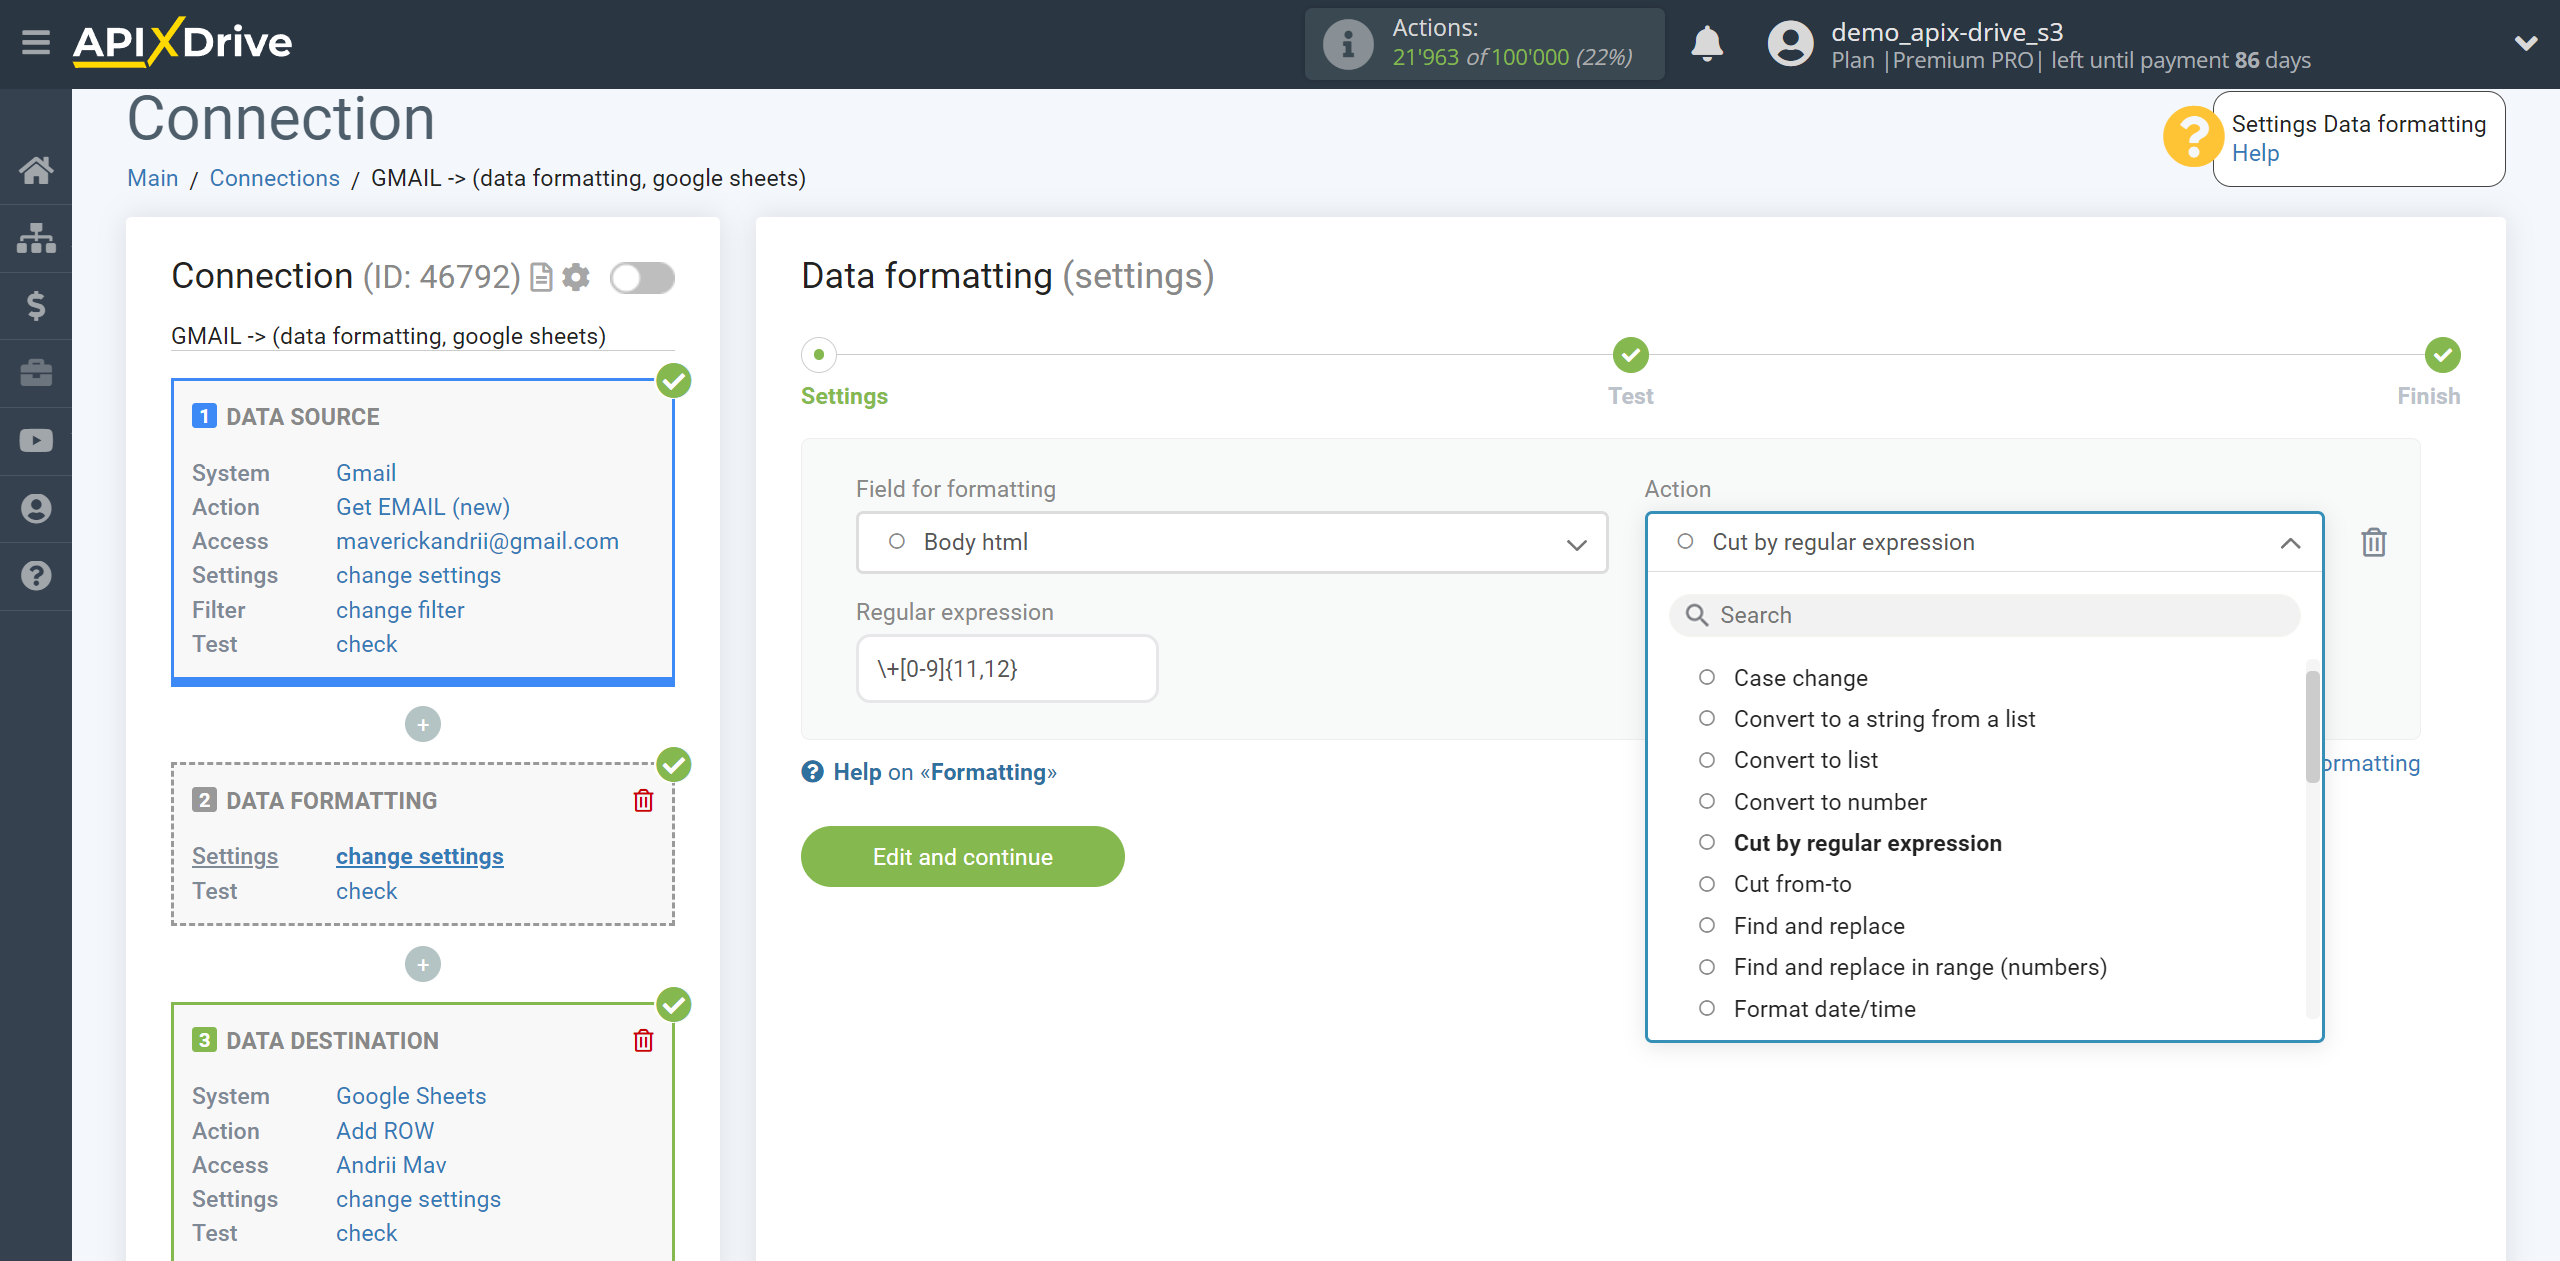
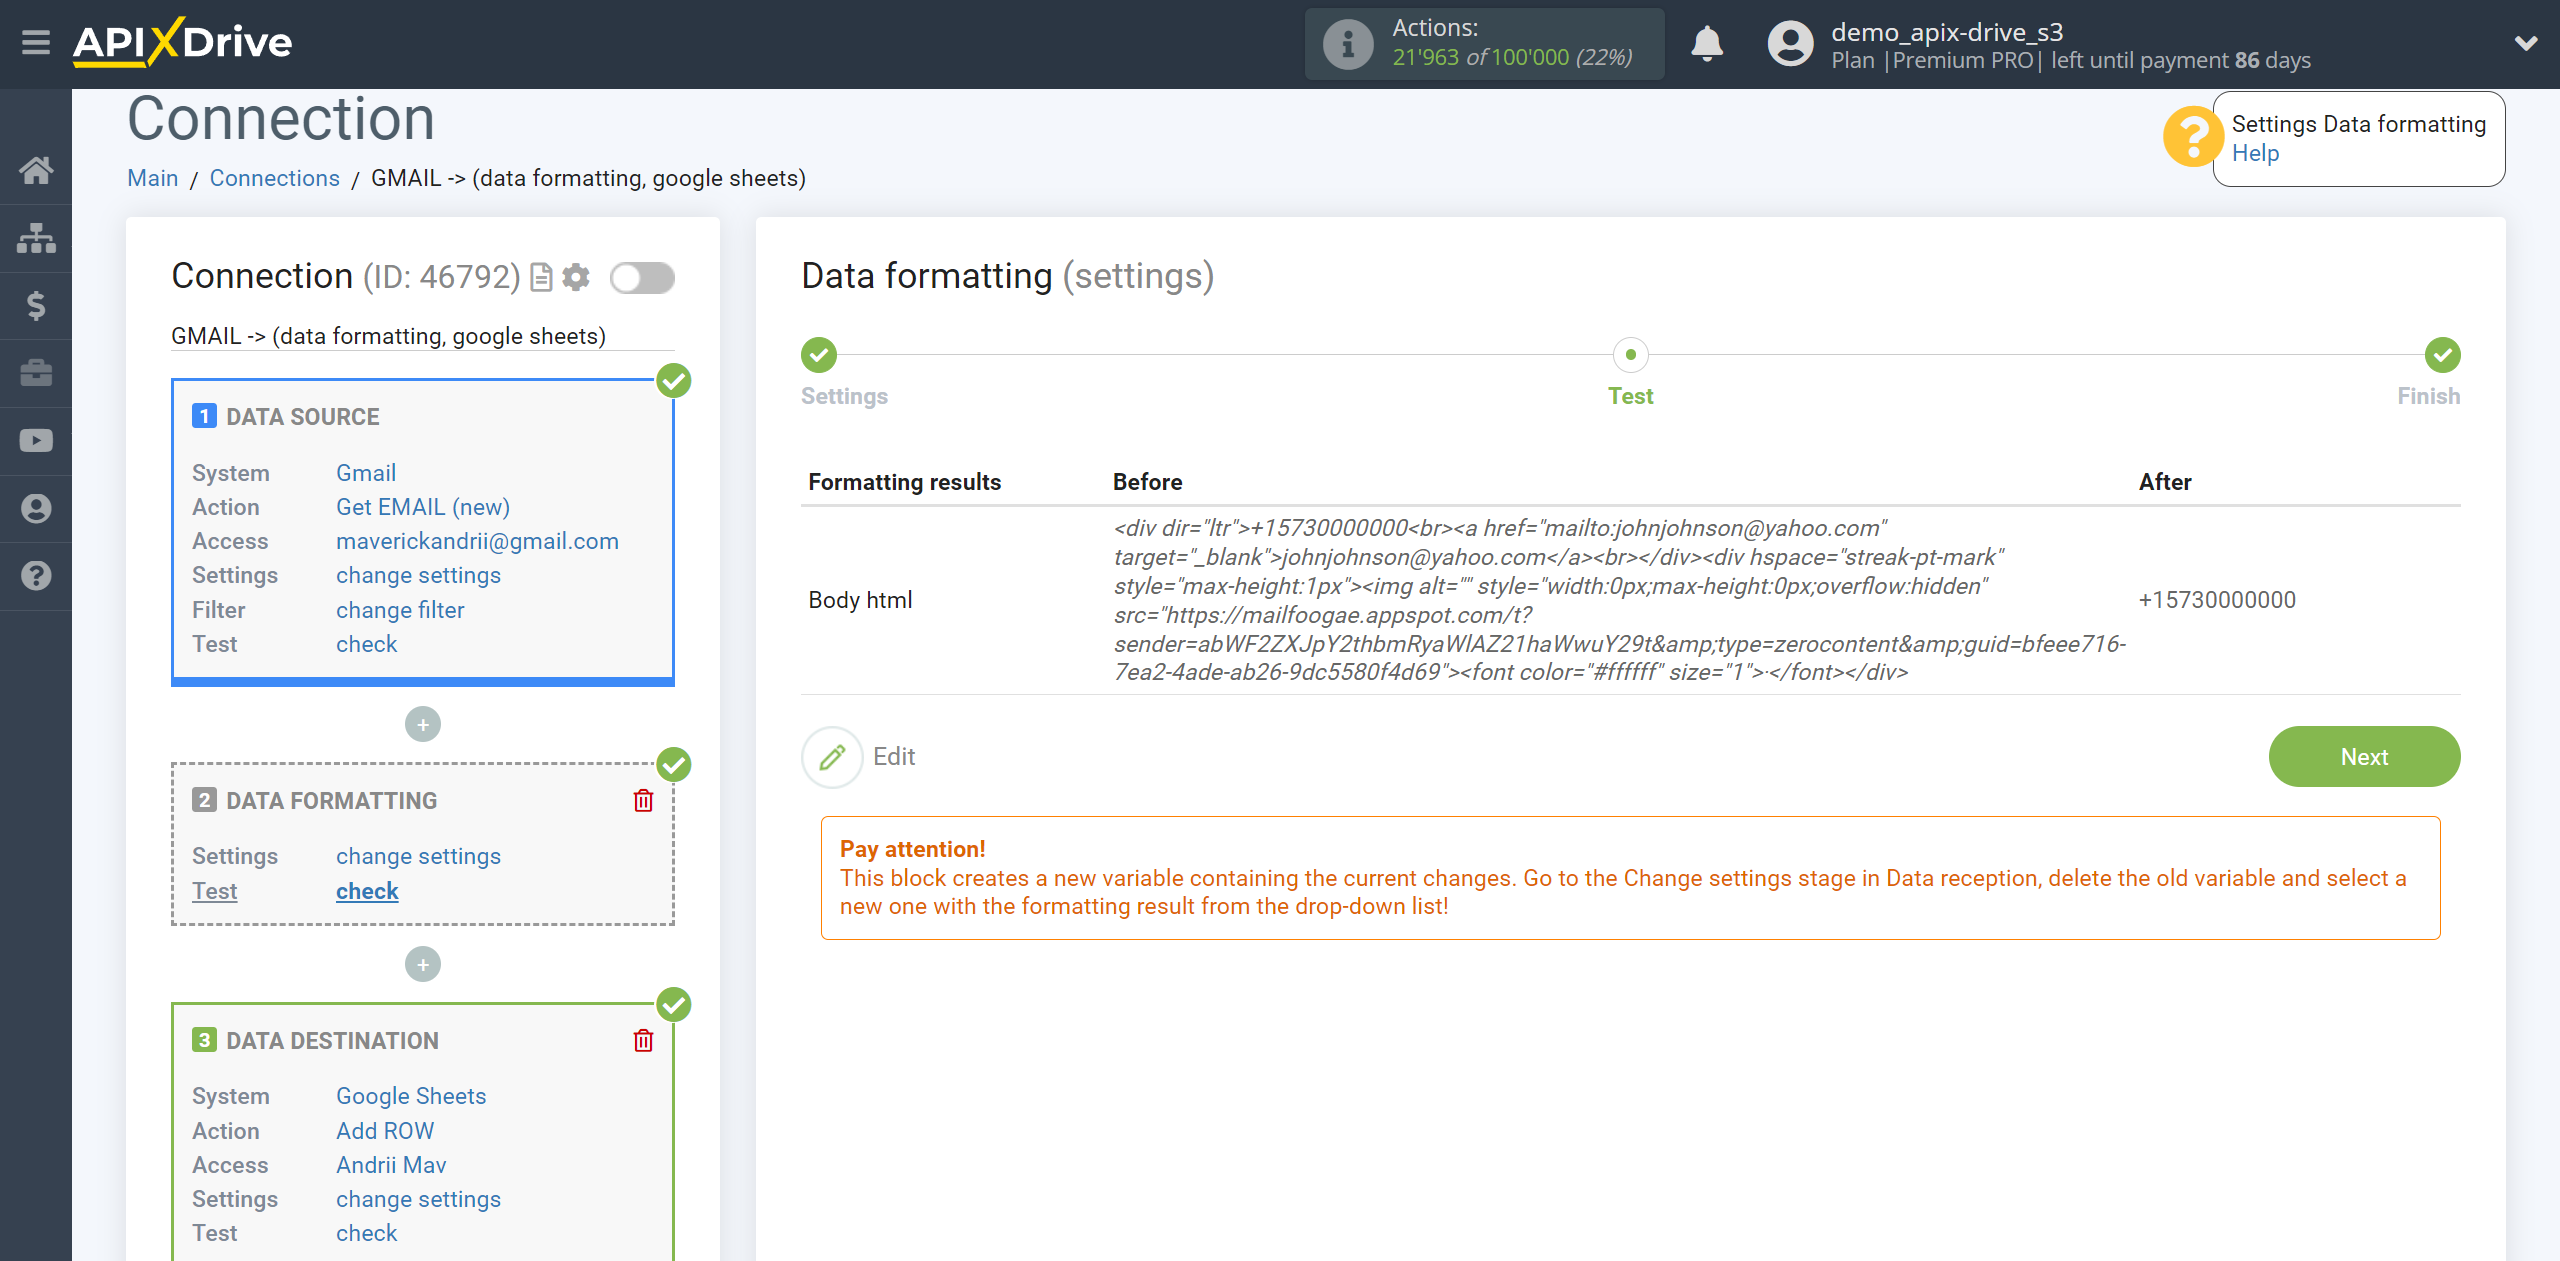
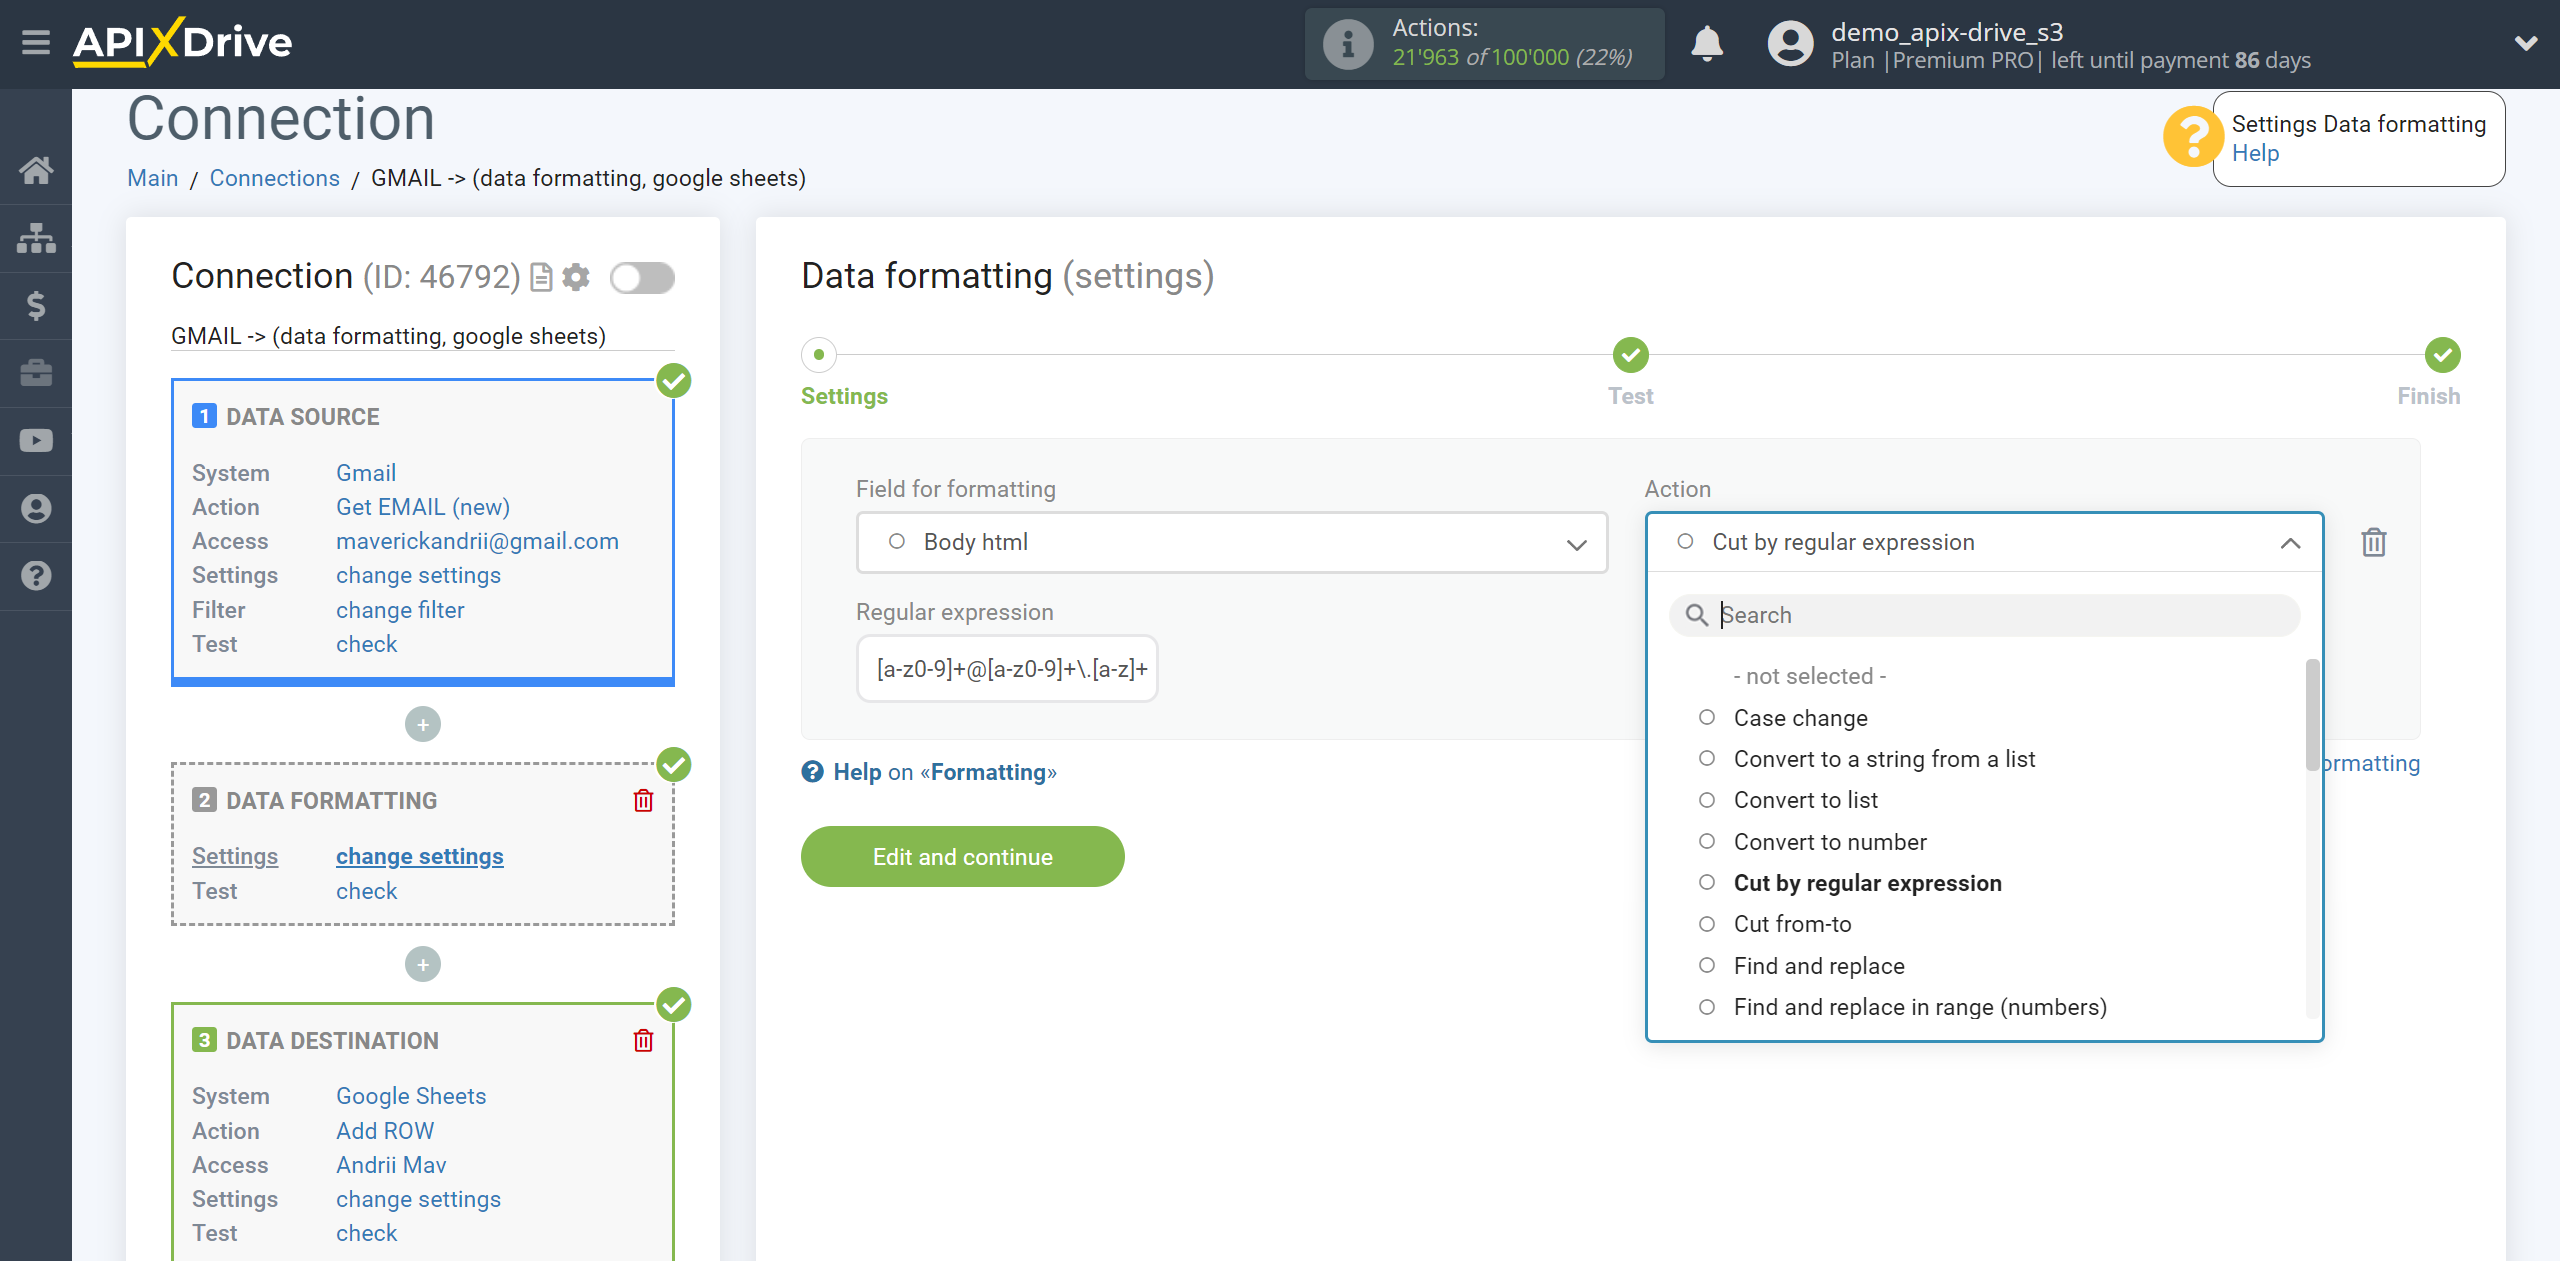
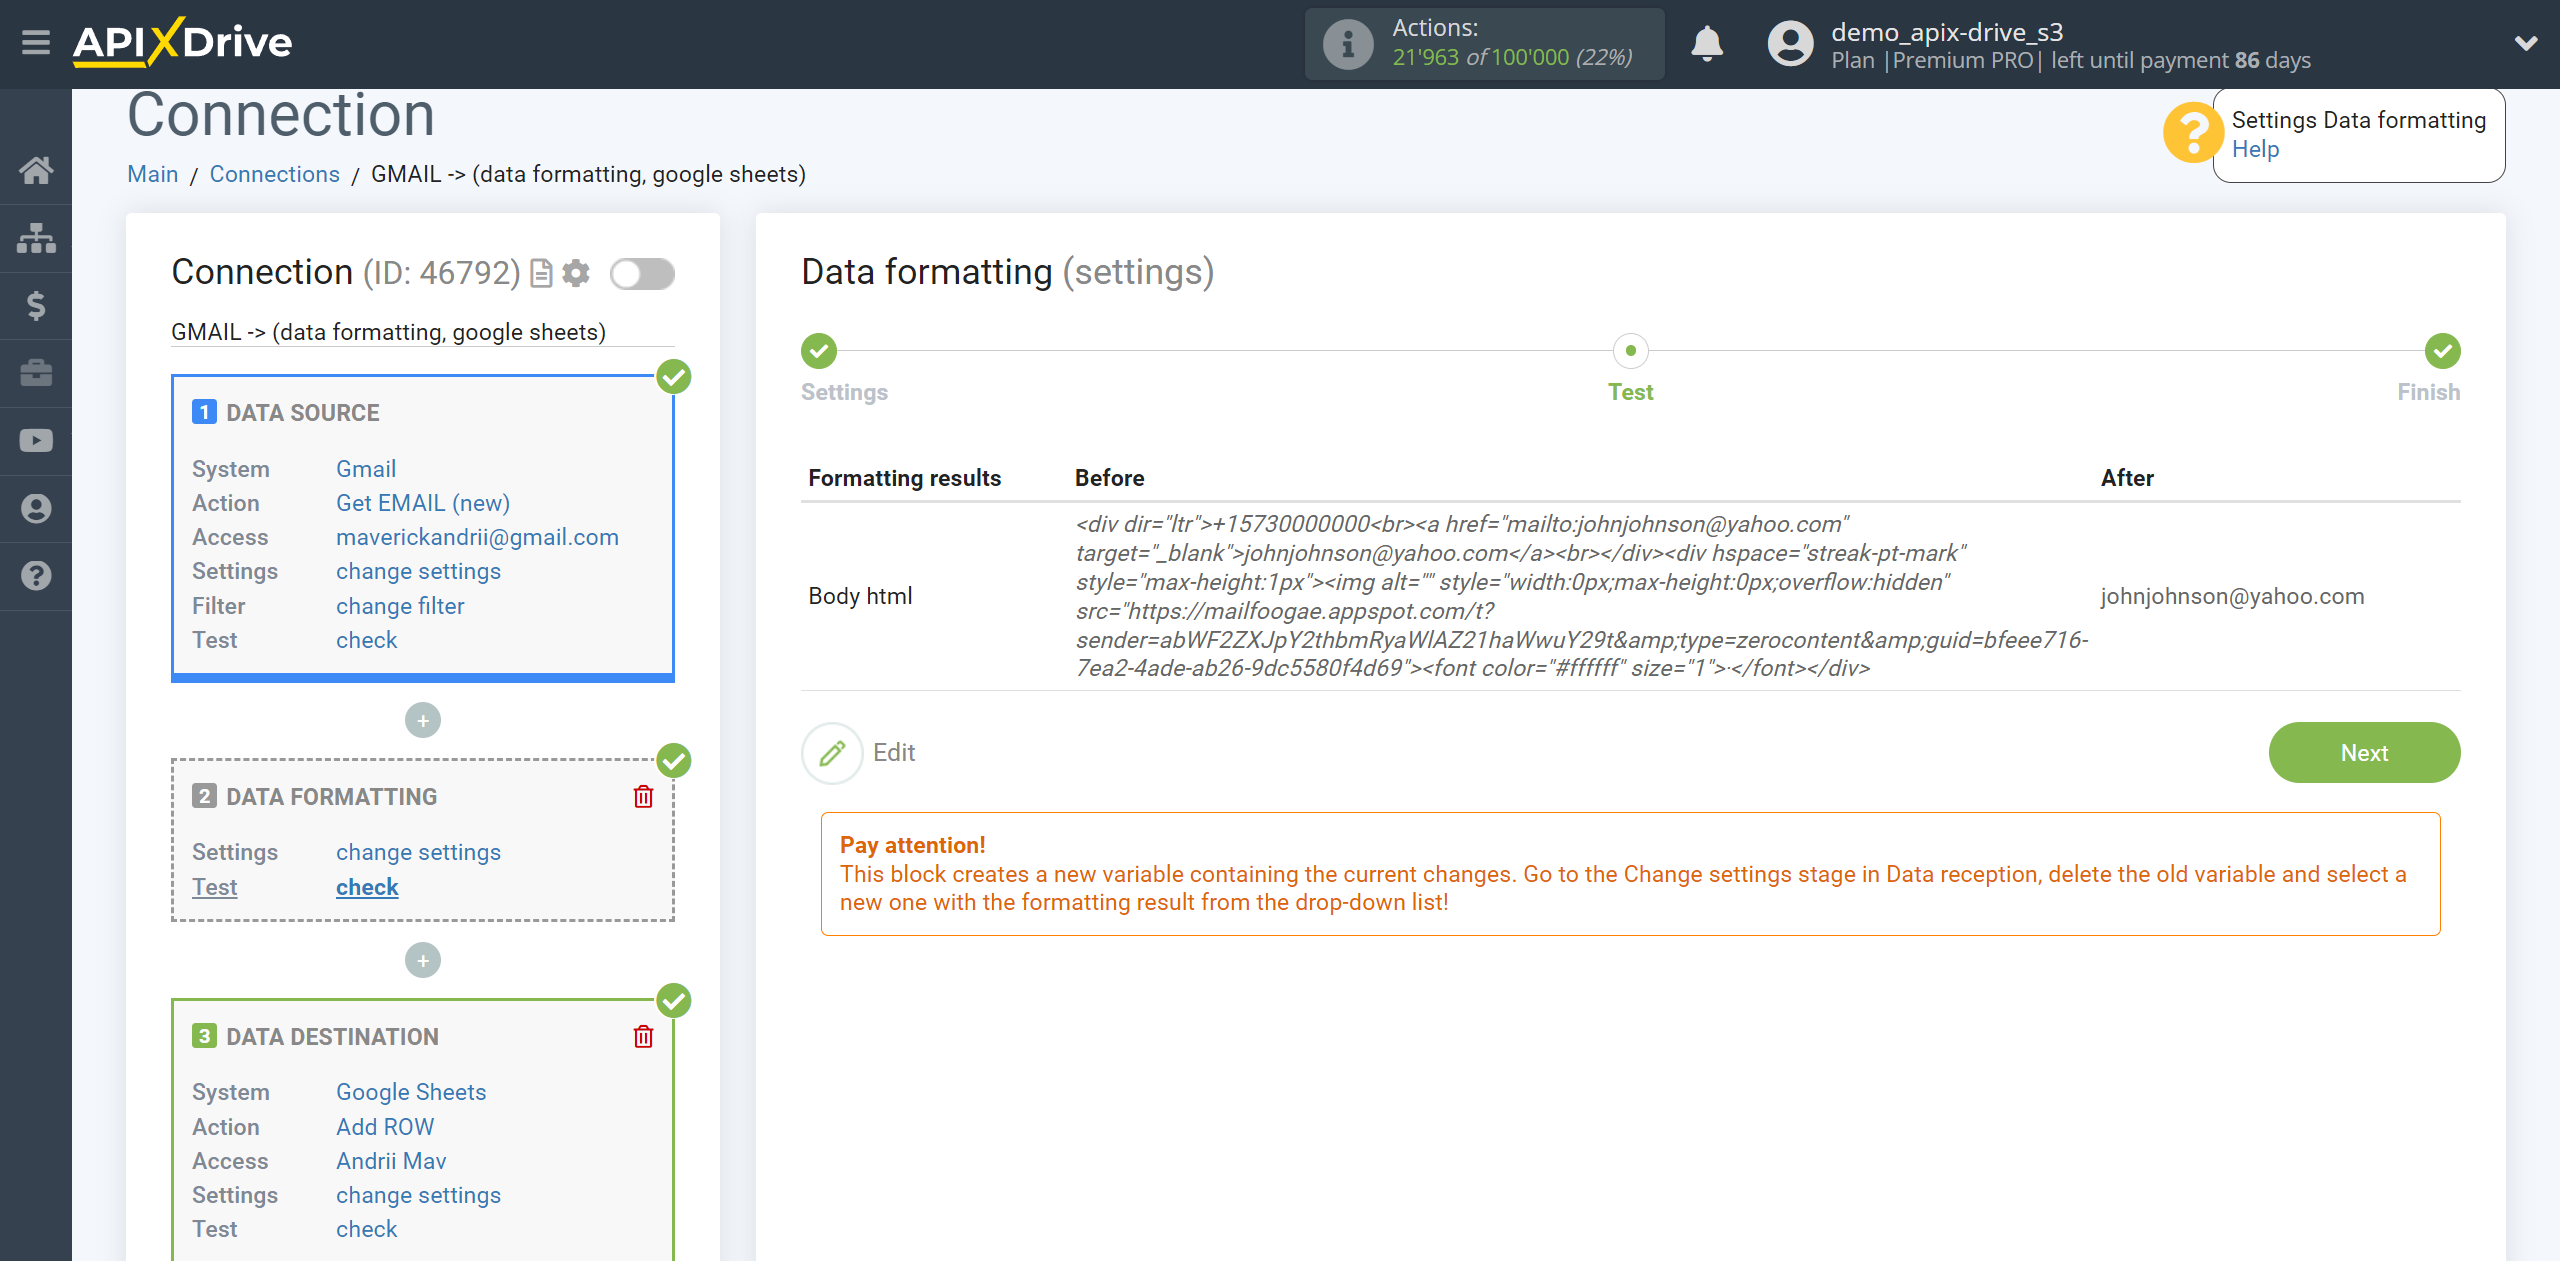
An example of using a function to get a phone number and email address from the body of an html email:
To cut out a phone number:
\+[0-9]{11,12}
To cut out an email address:
[a-z0-9]+@[a-z0-9]+\.[a-z]+
6. Cut from-to
7. Find and replace
8. Find and replace in range (numbers)
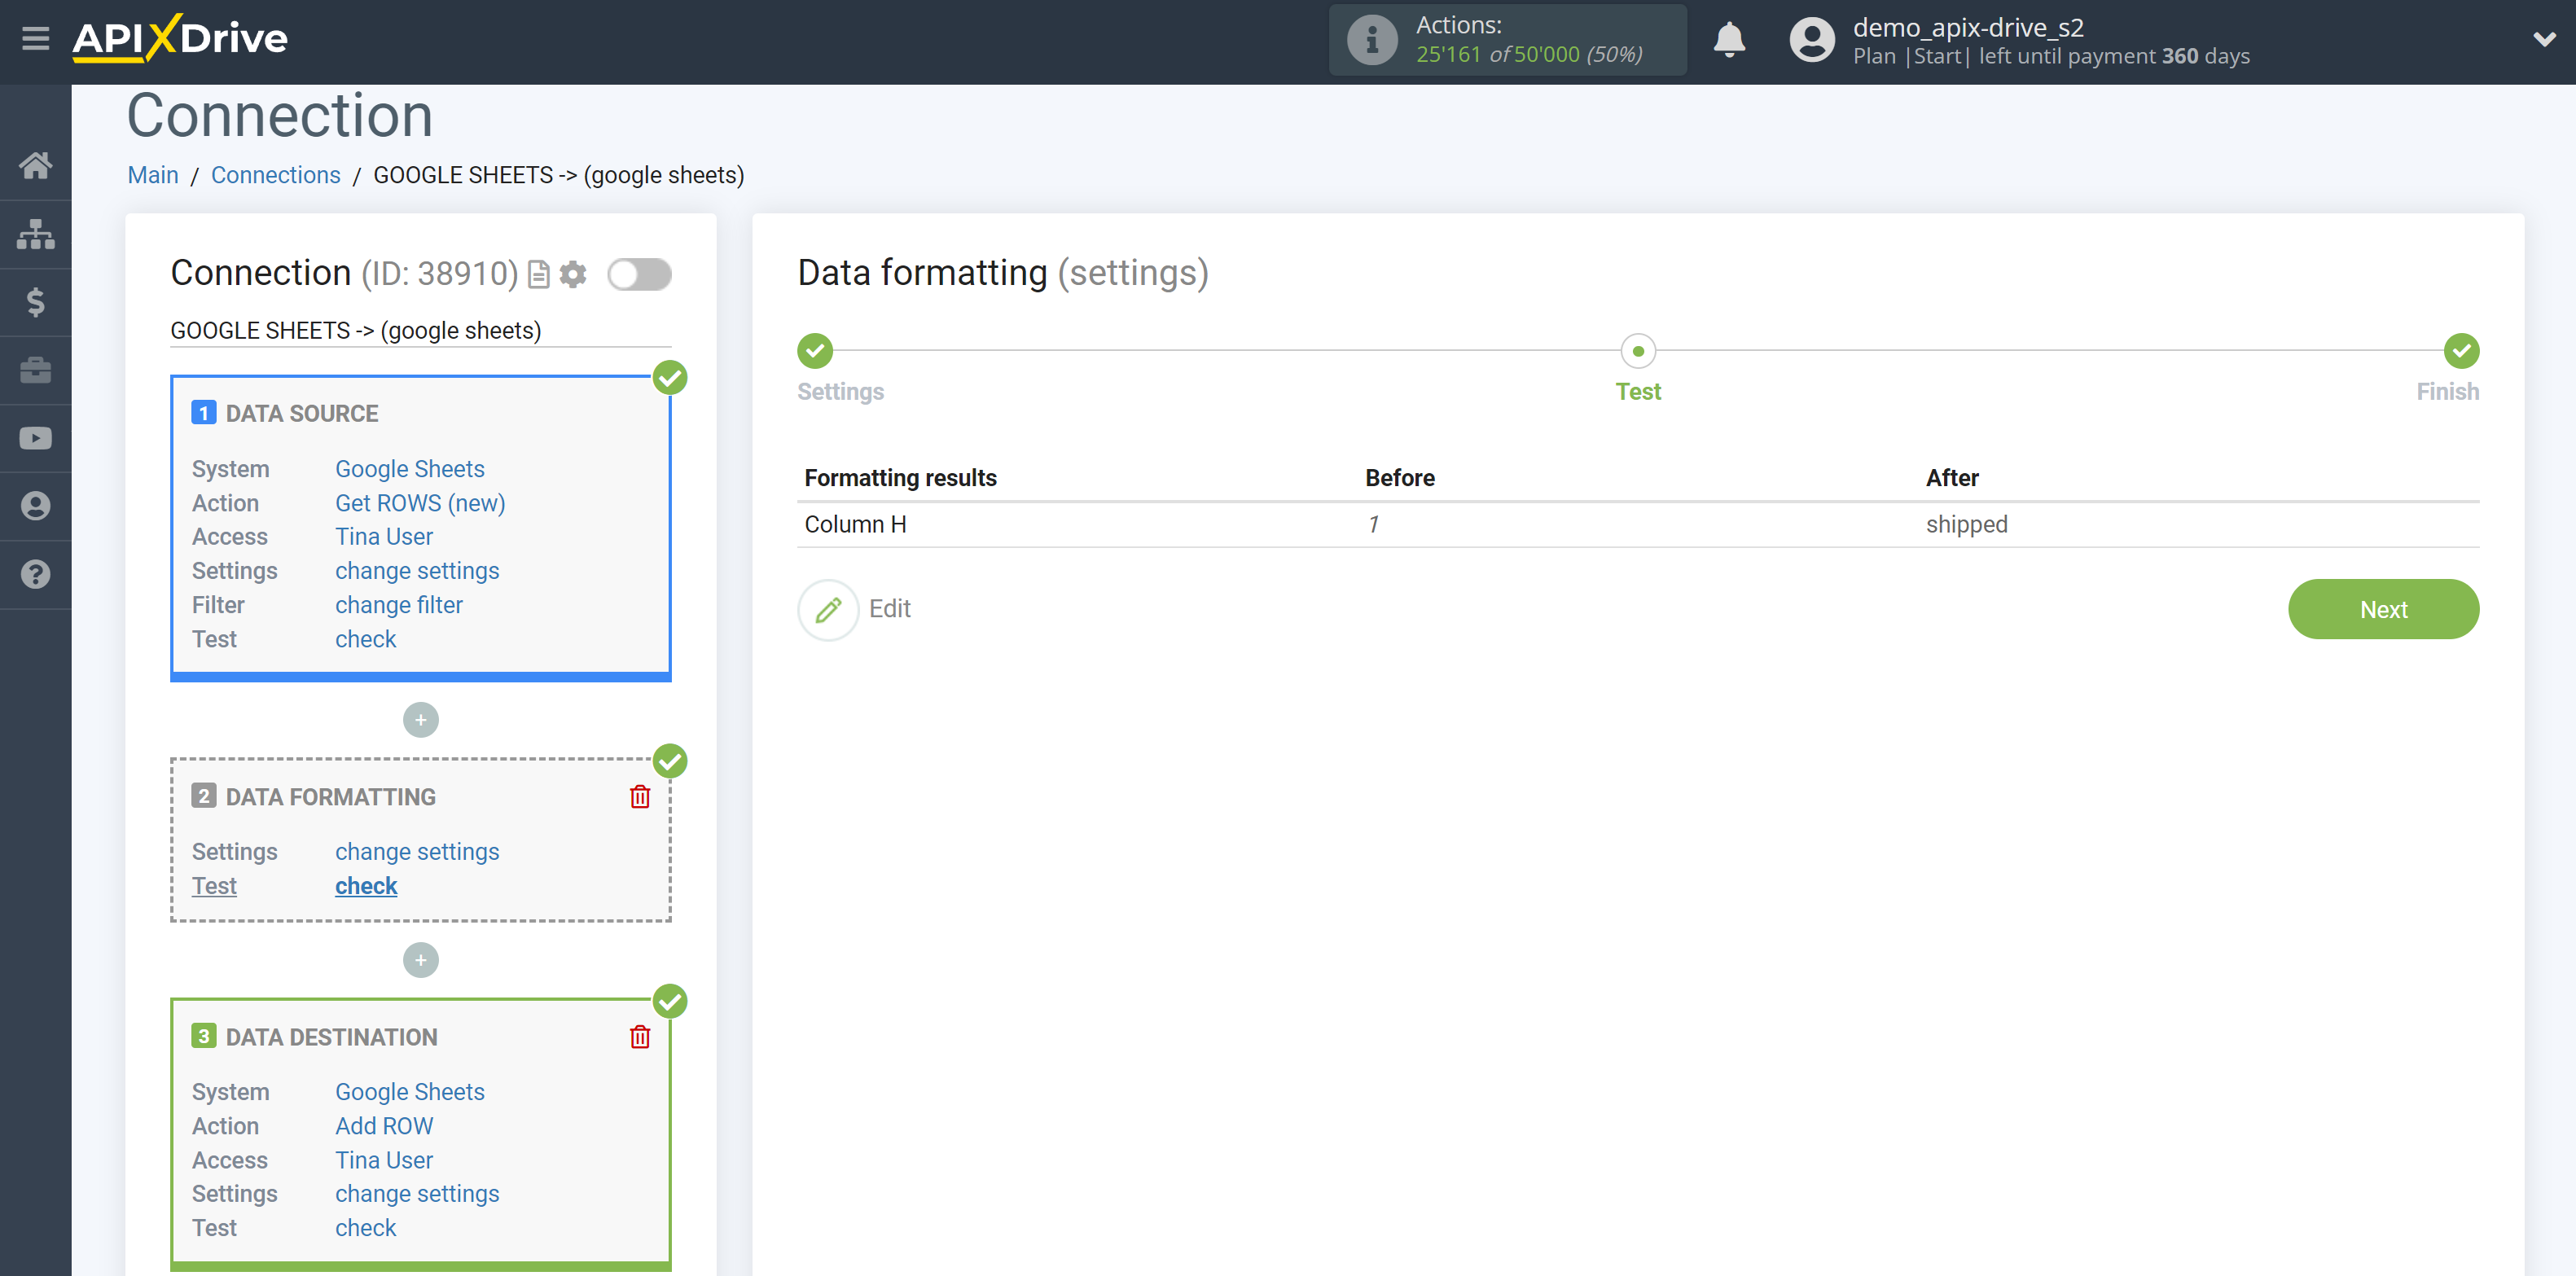
9. Format date/time
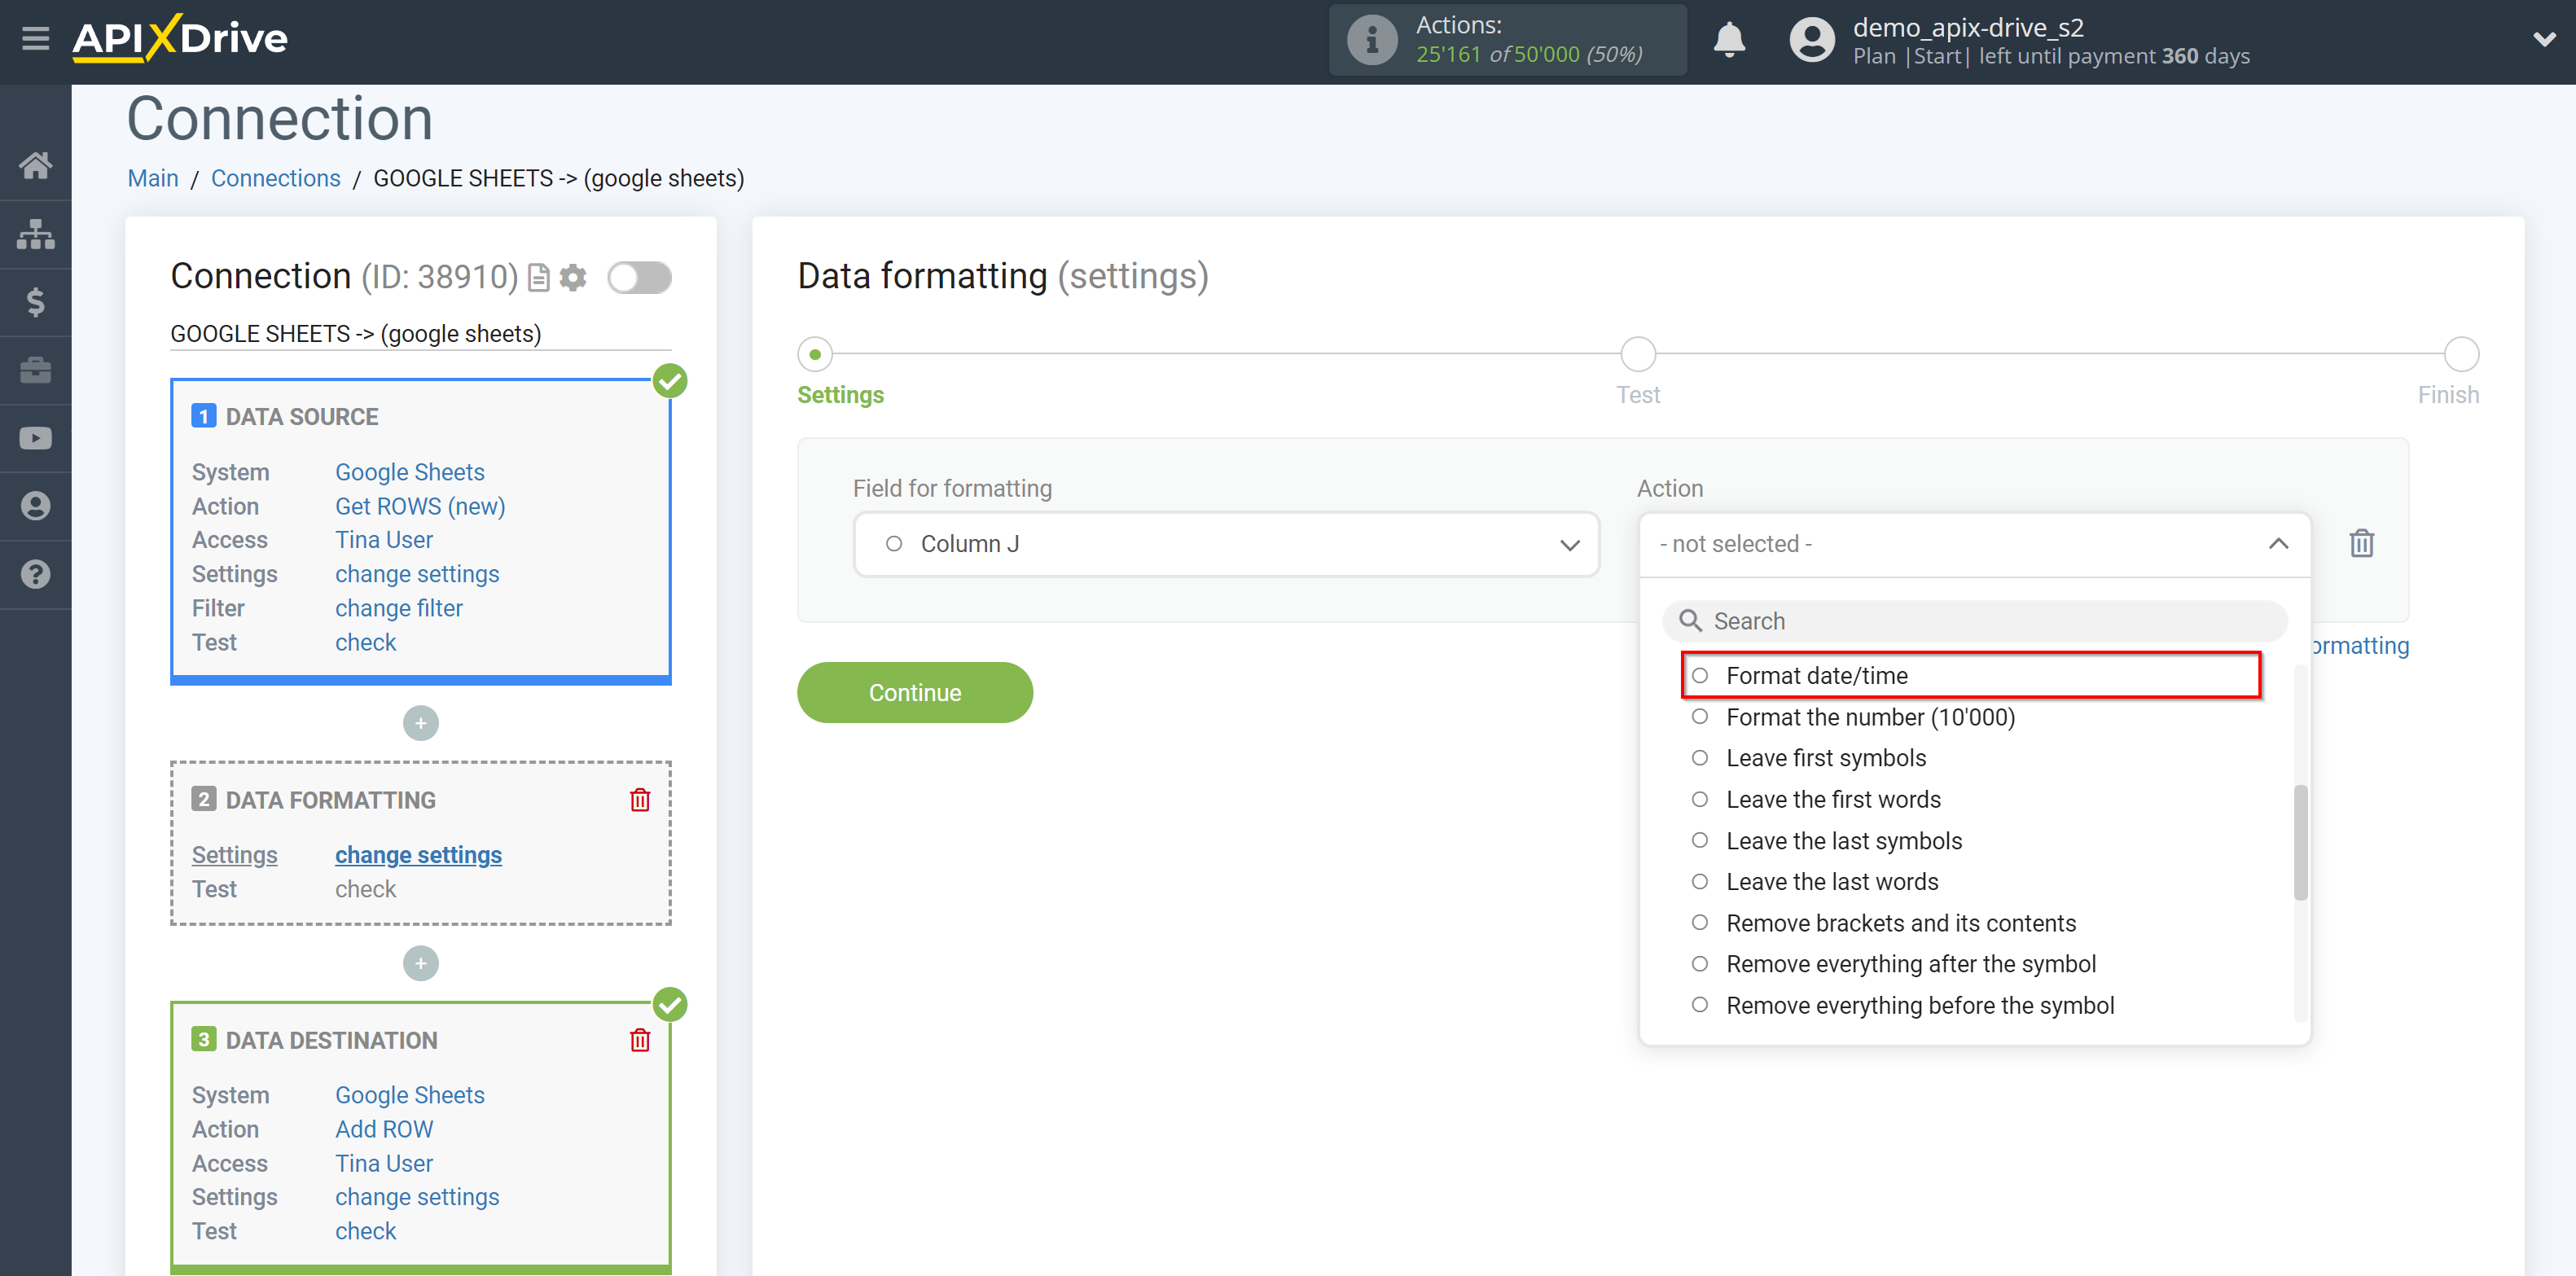
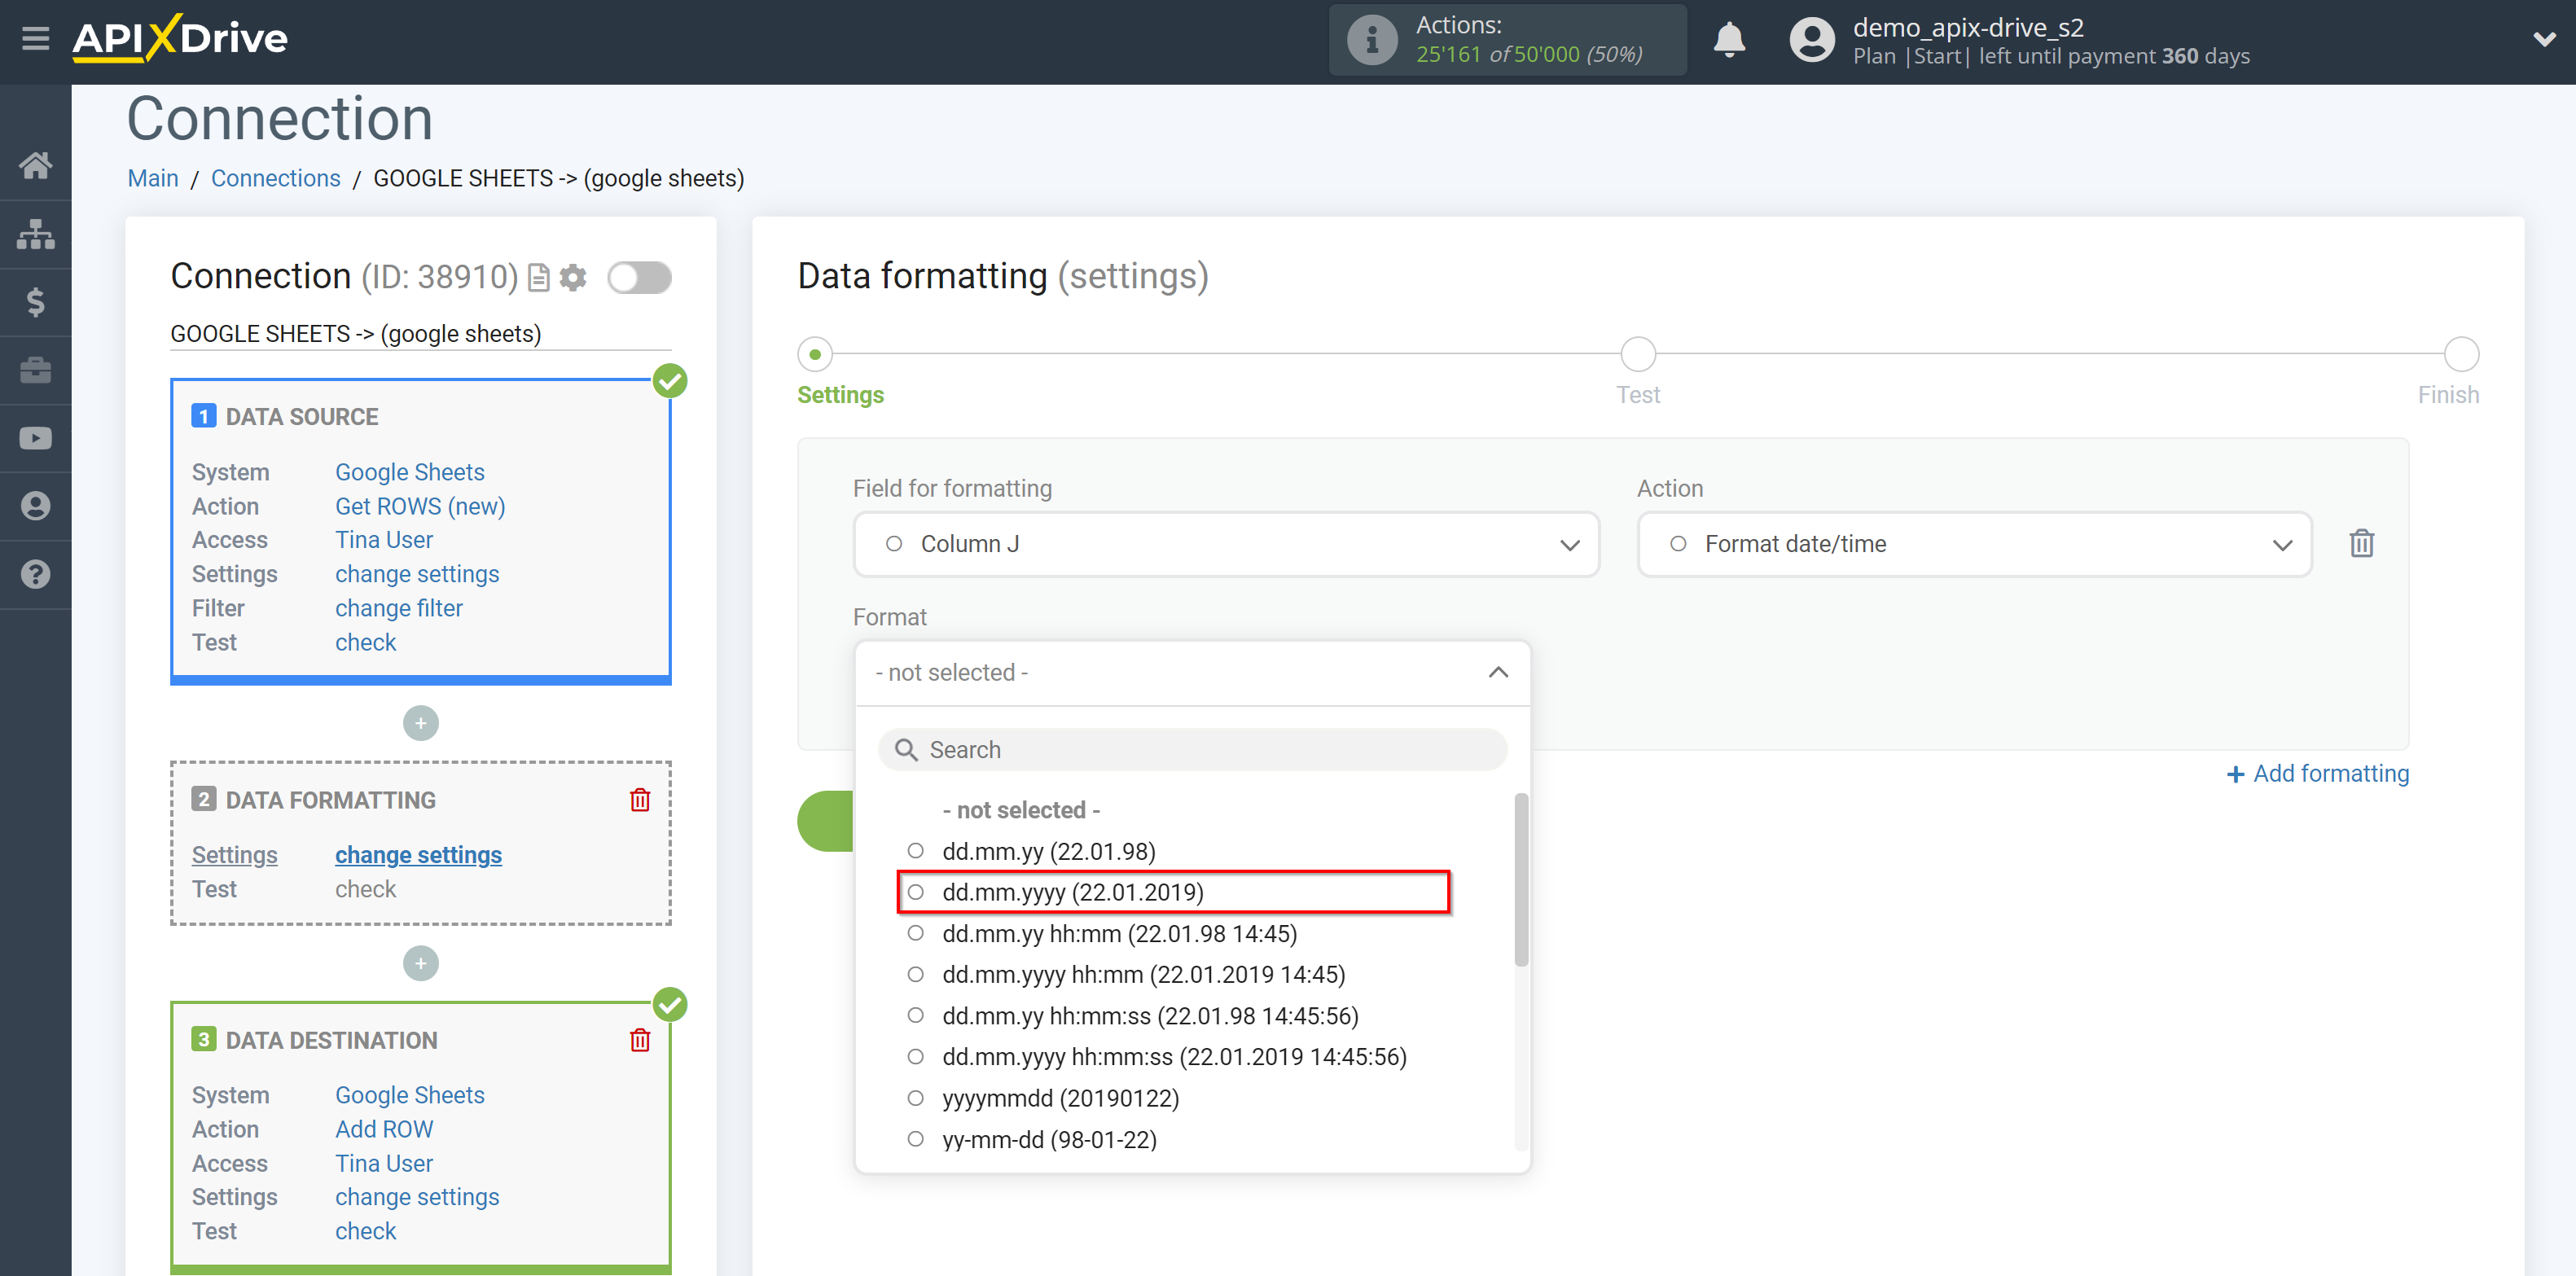
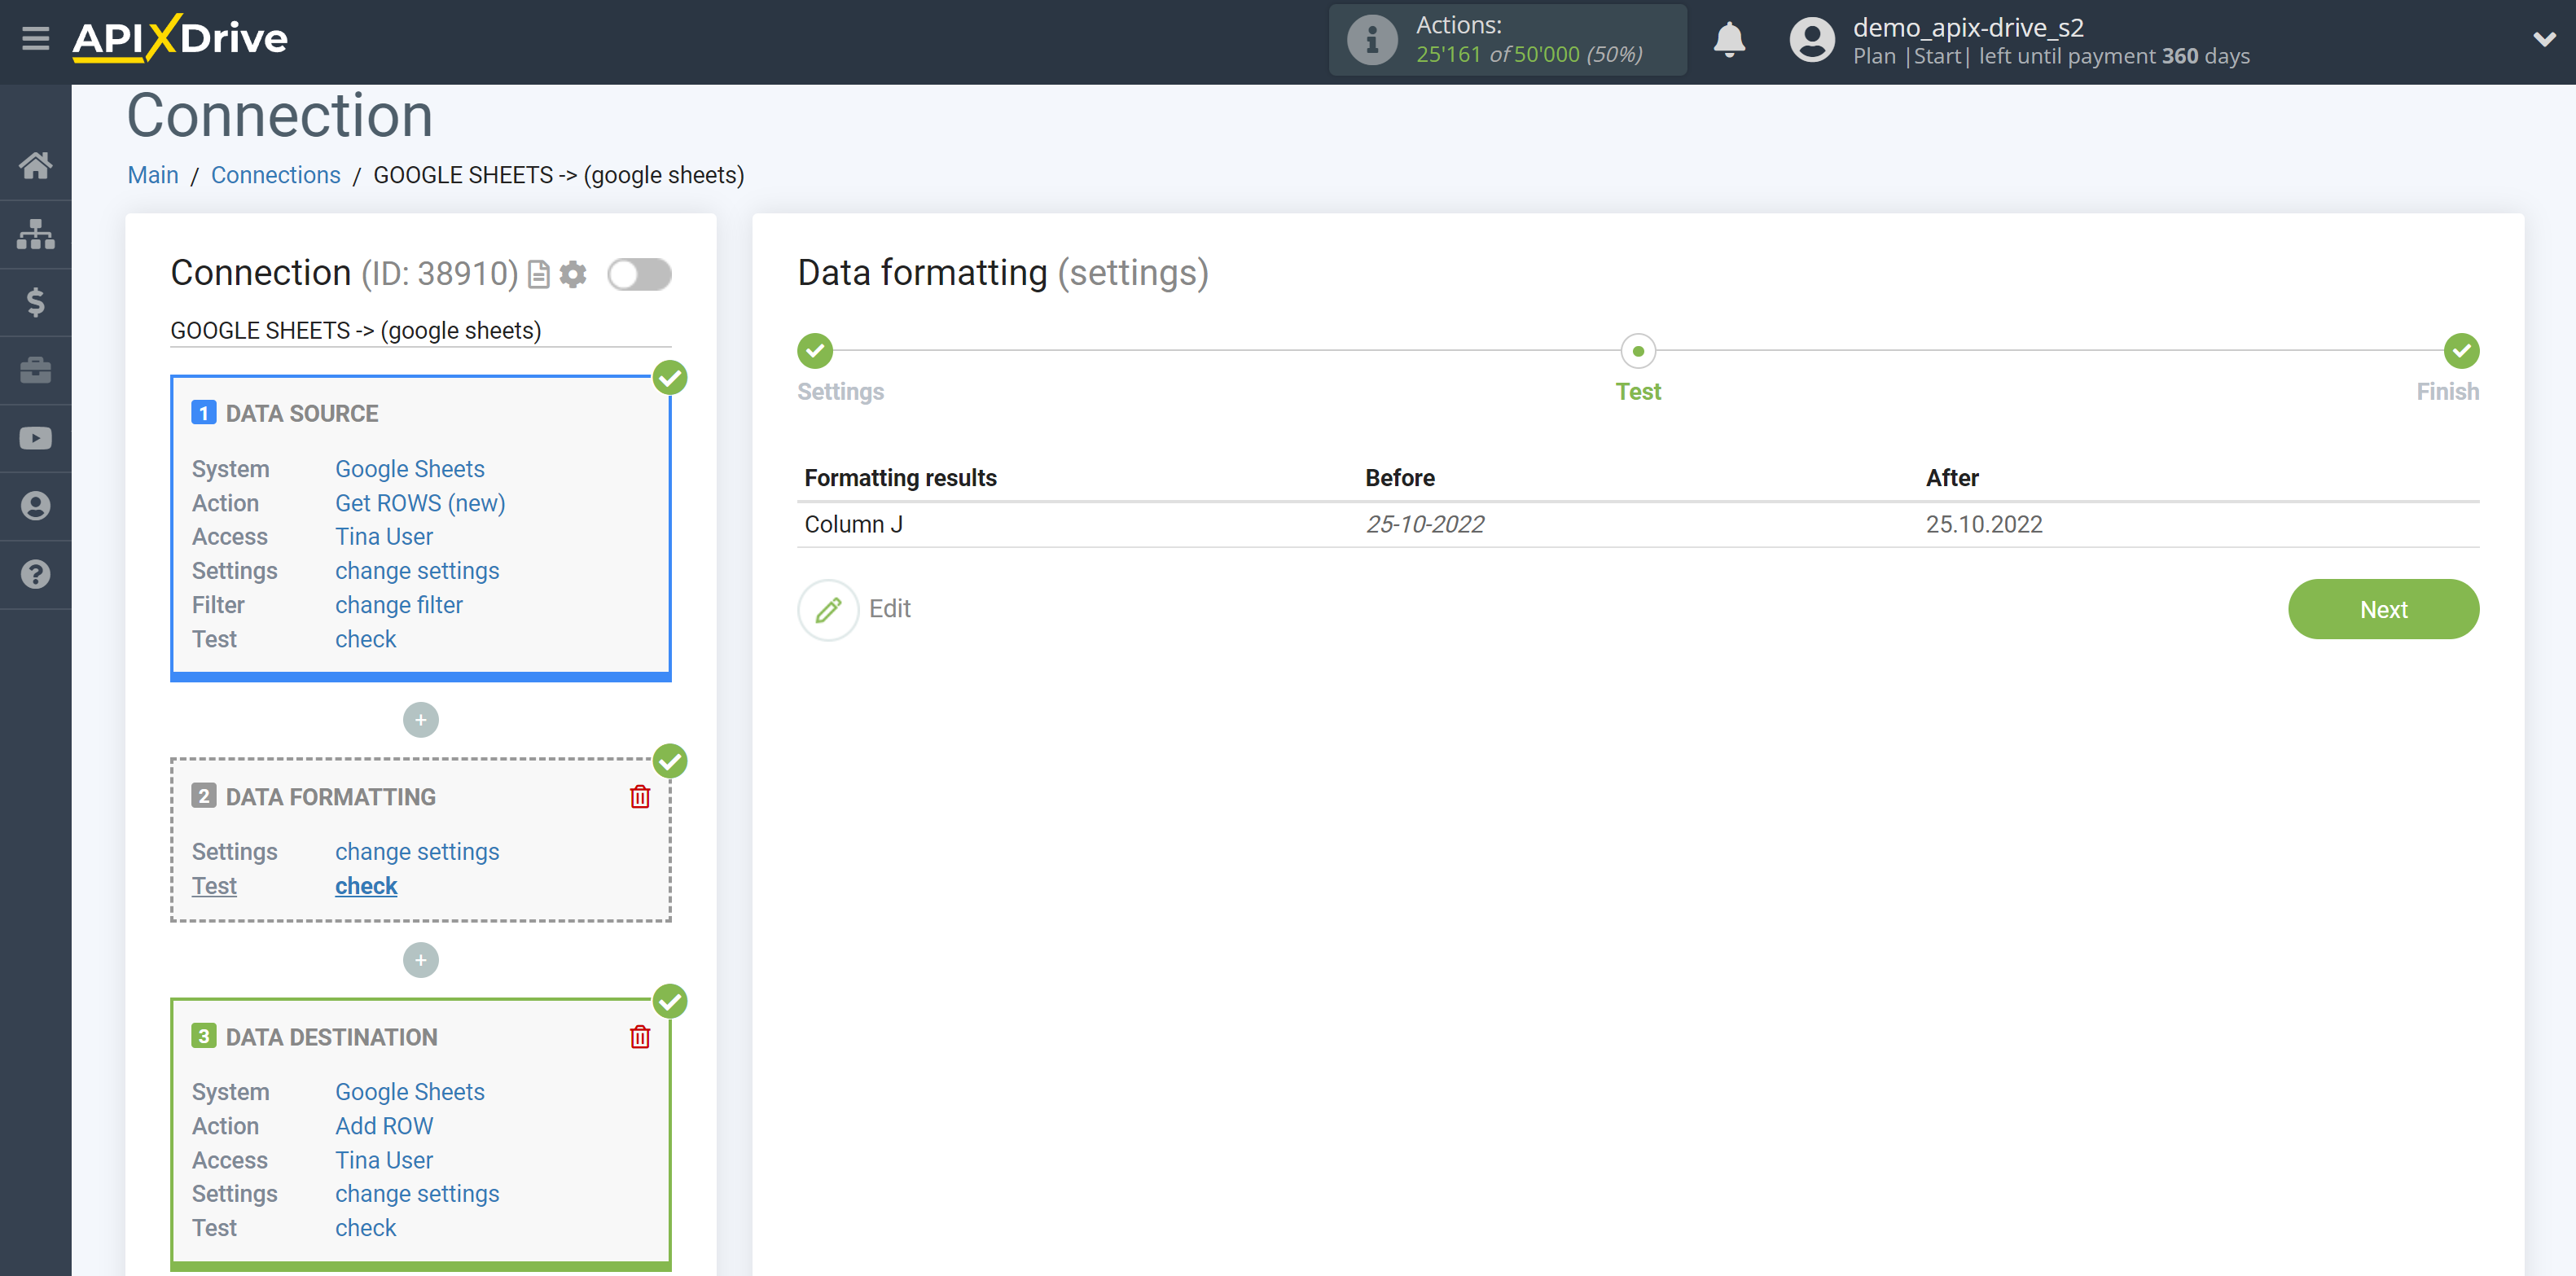
10. Format the number (10’000)
11. Leave first symbols
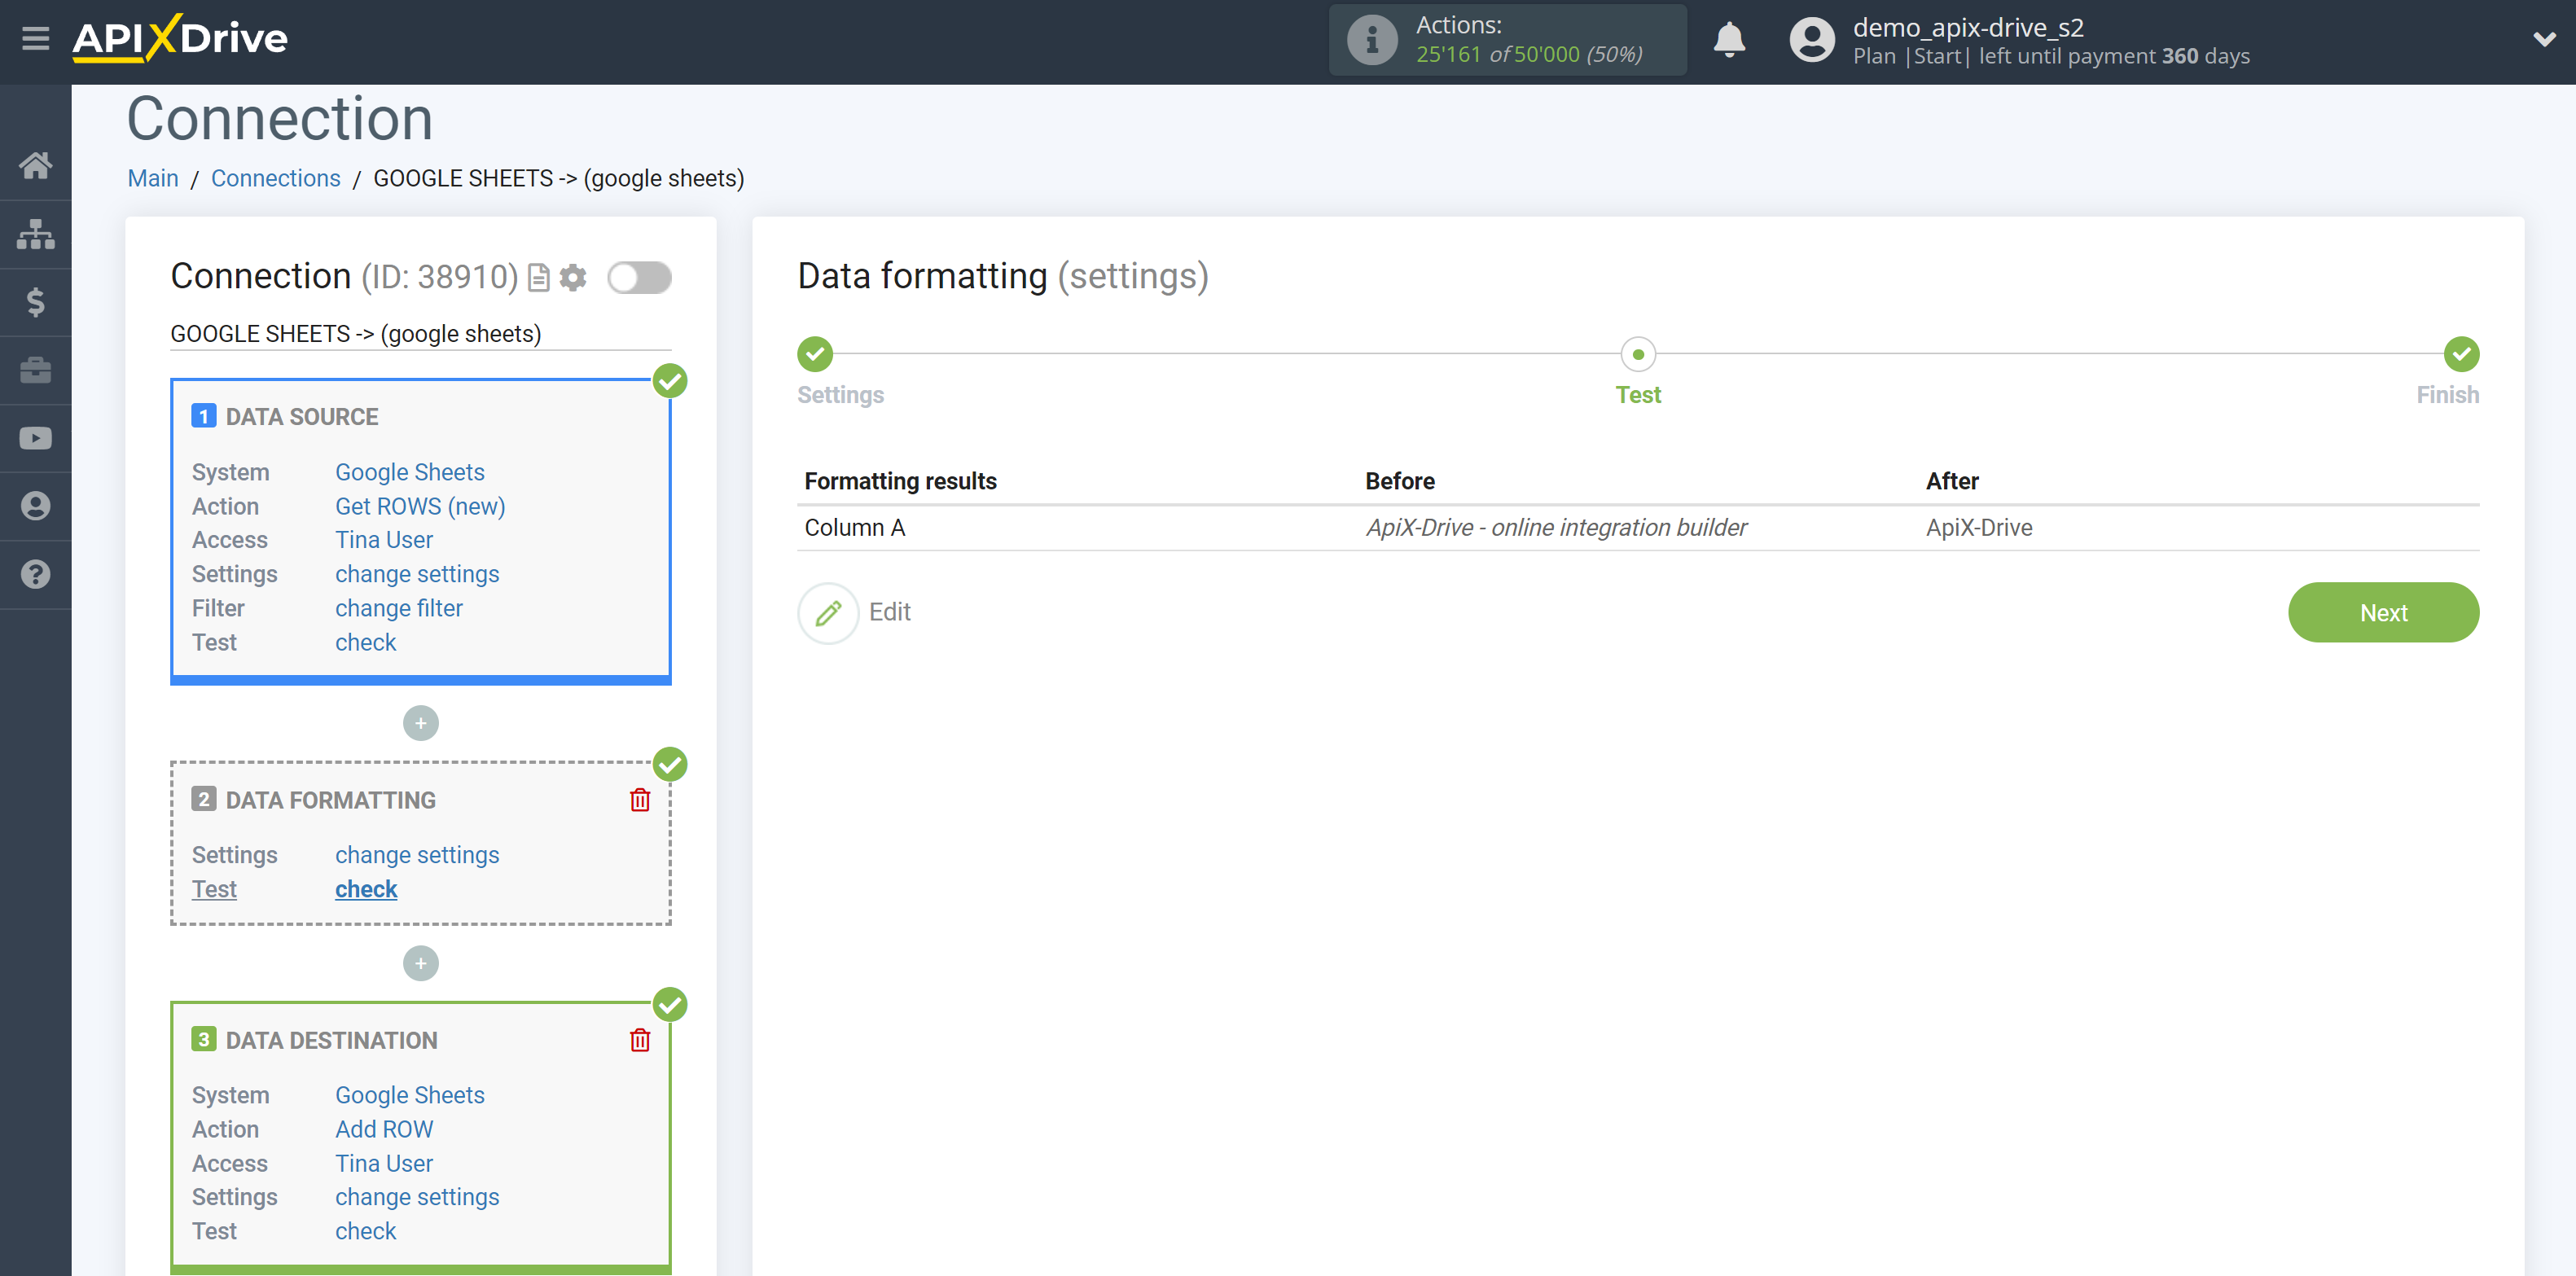
12. Leave the first words
13. Leave the last symbols
14. Leave the last words
15. Remove brackets and its contents
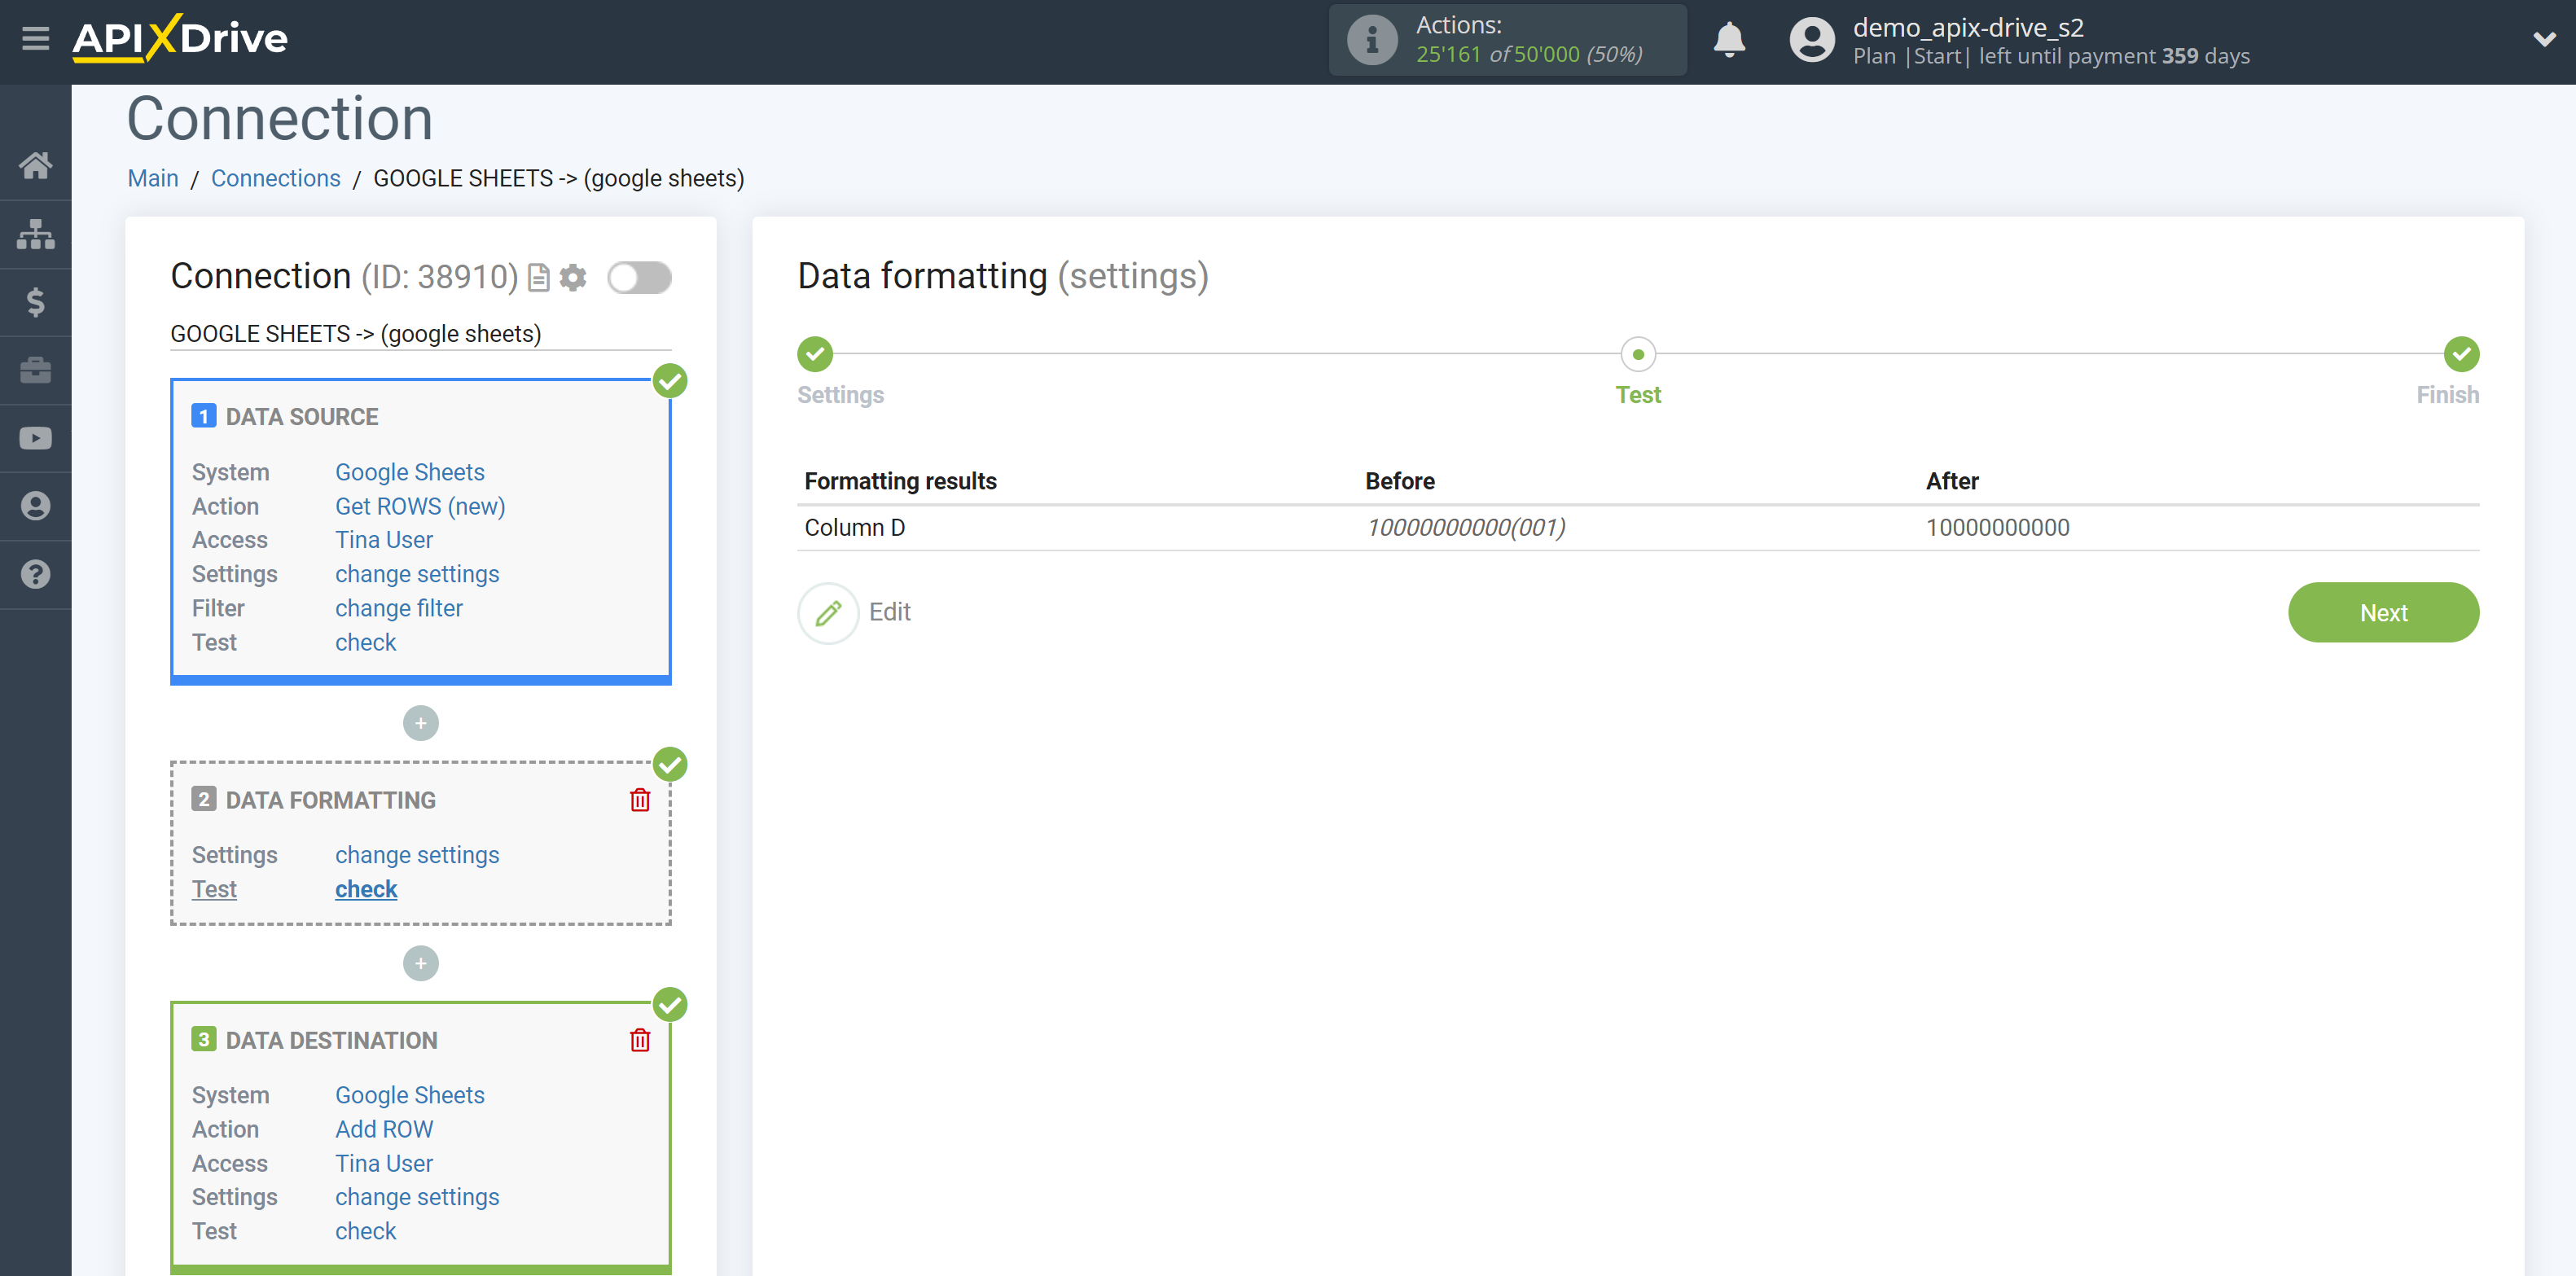
16. Remove everything after the symbol
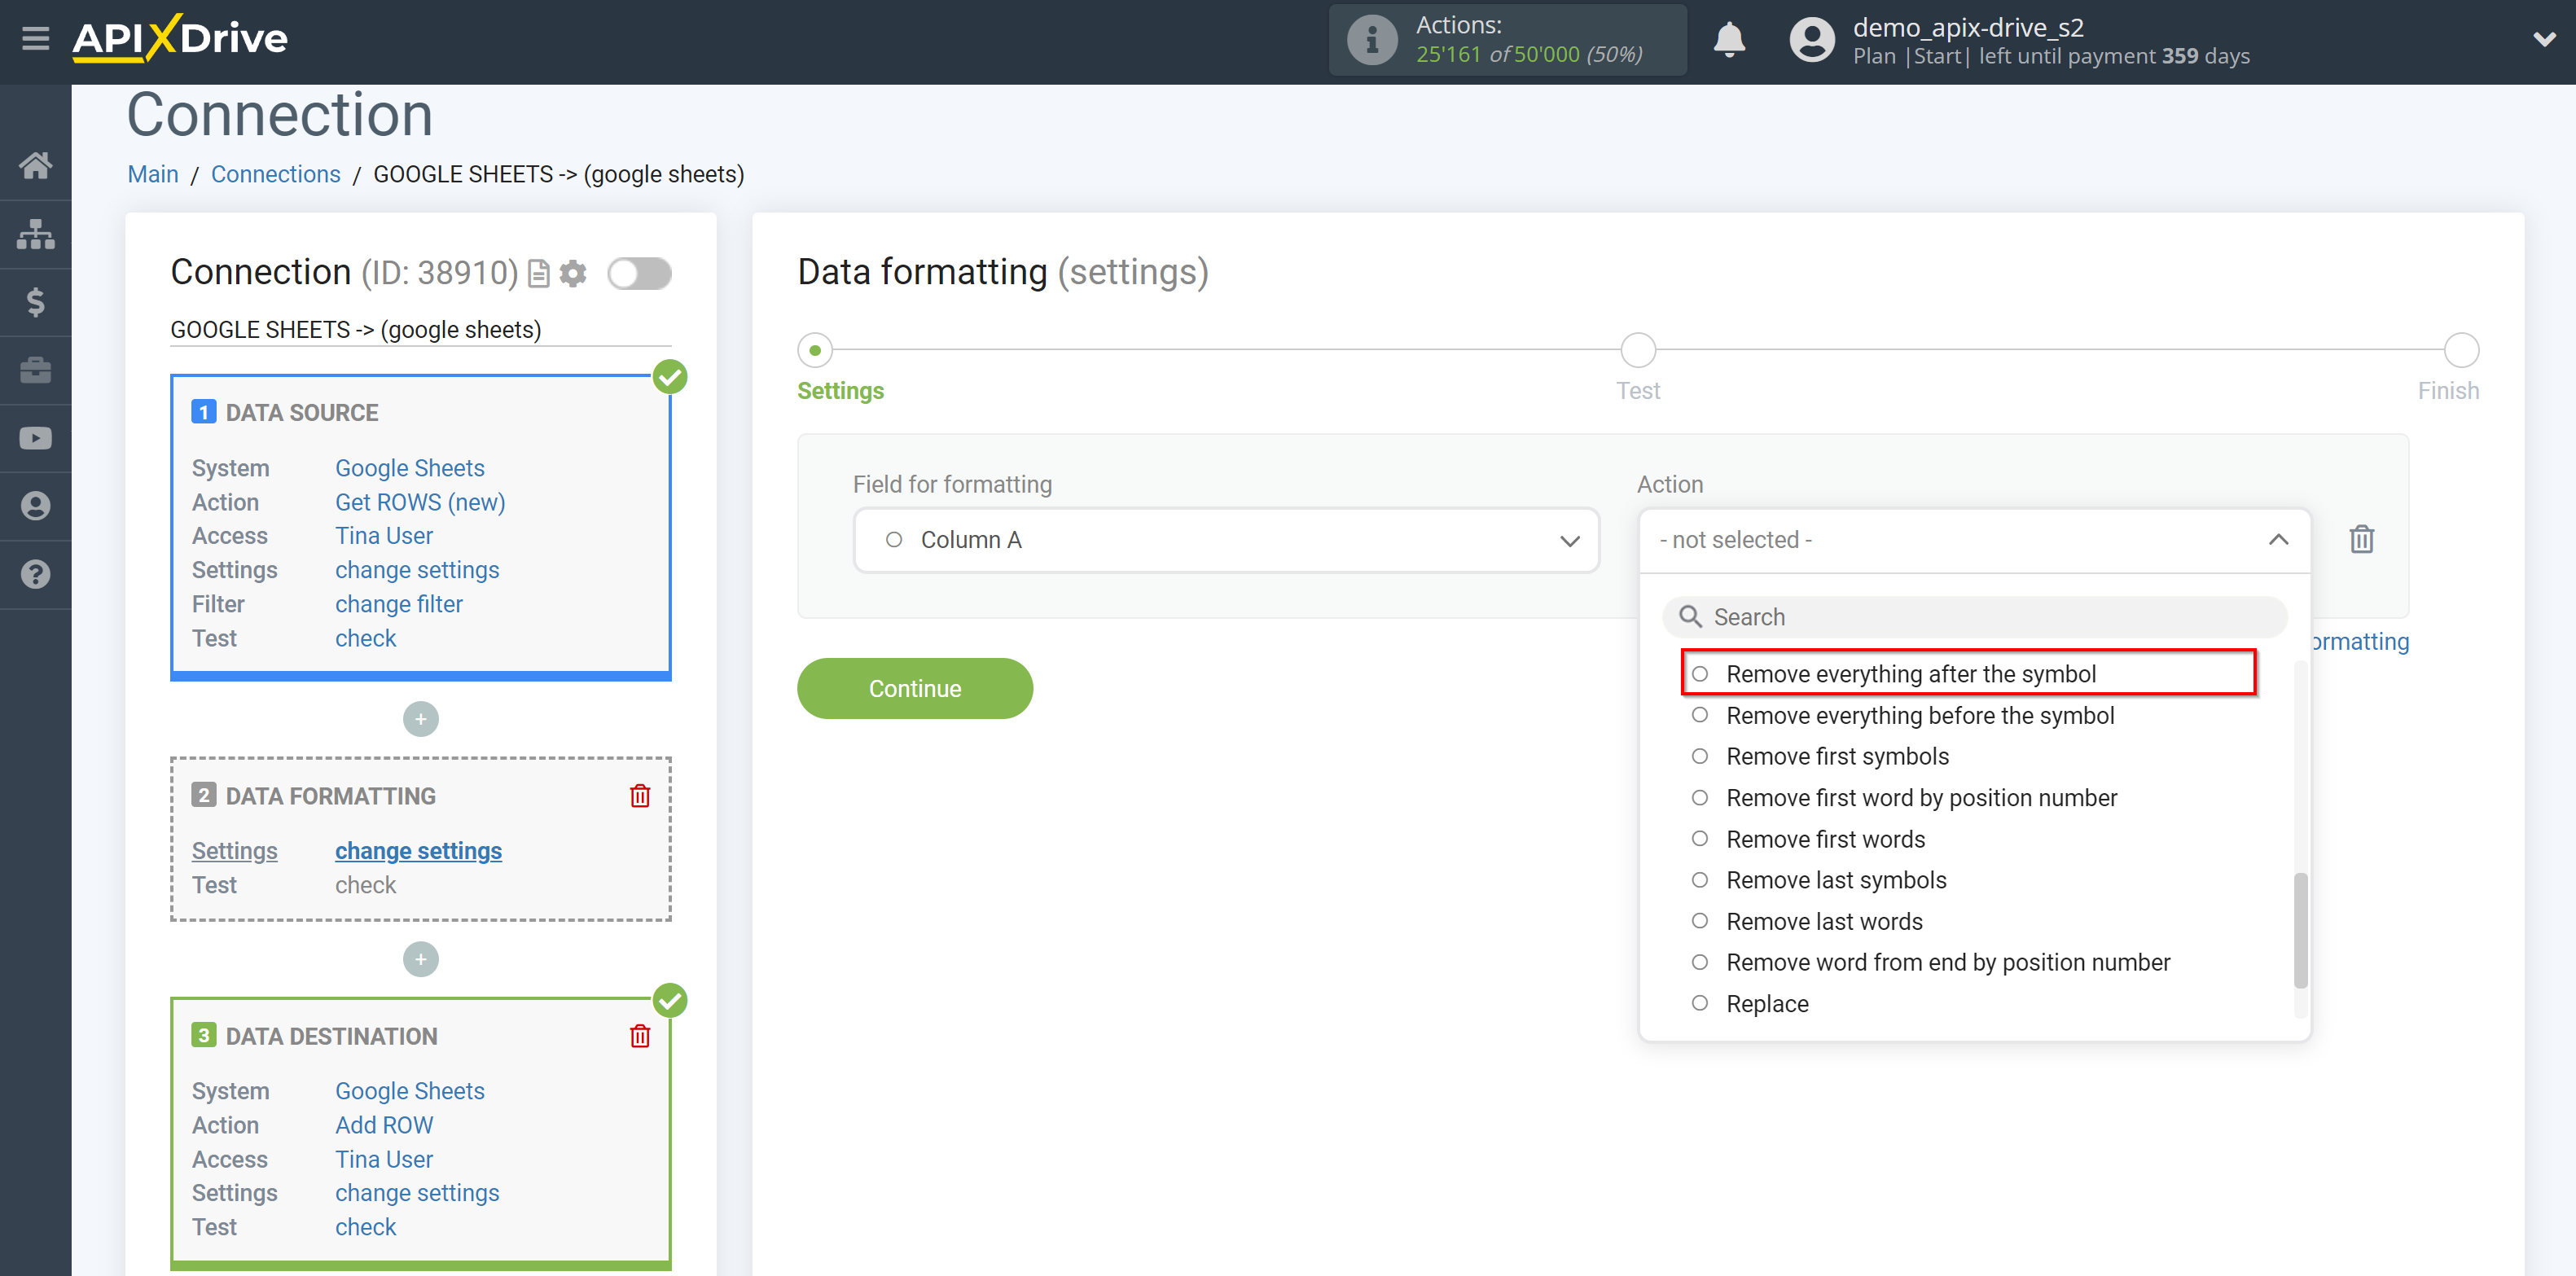
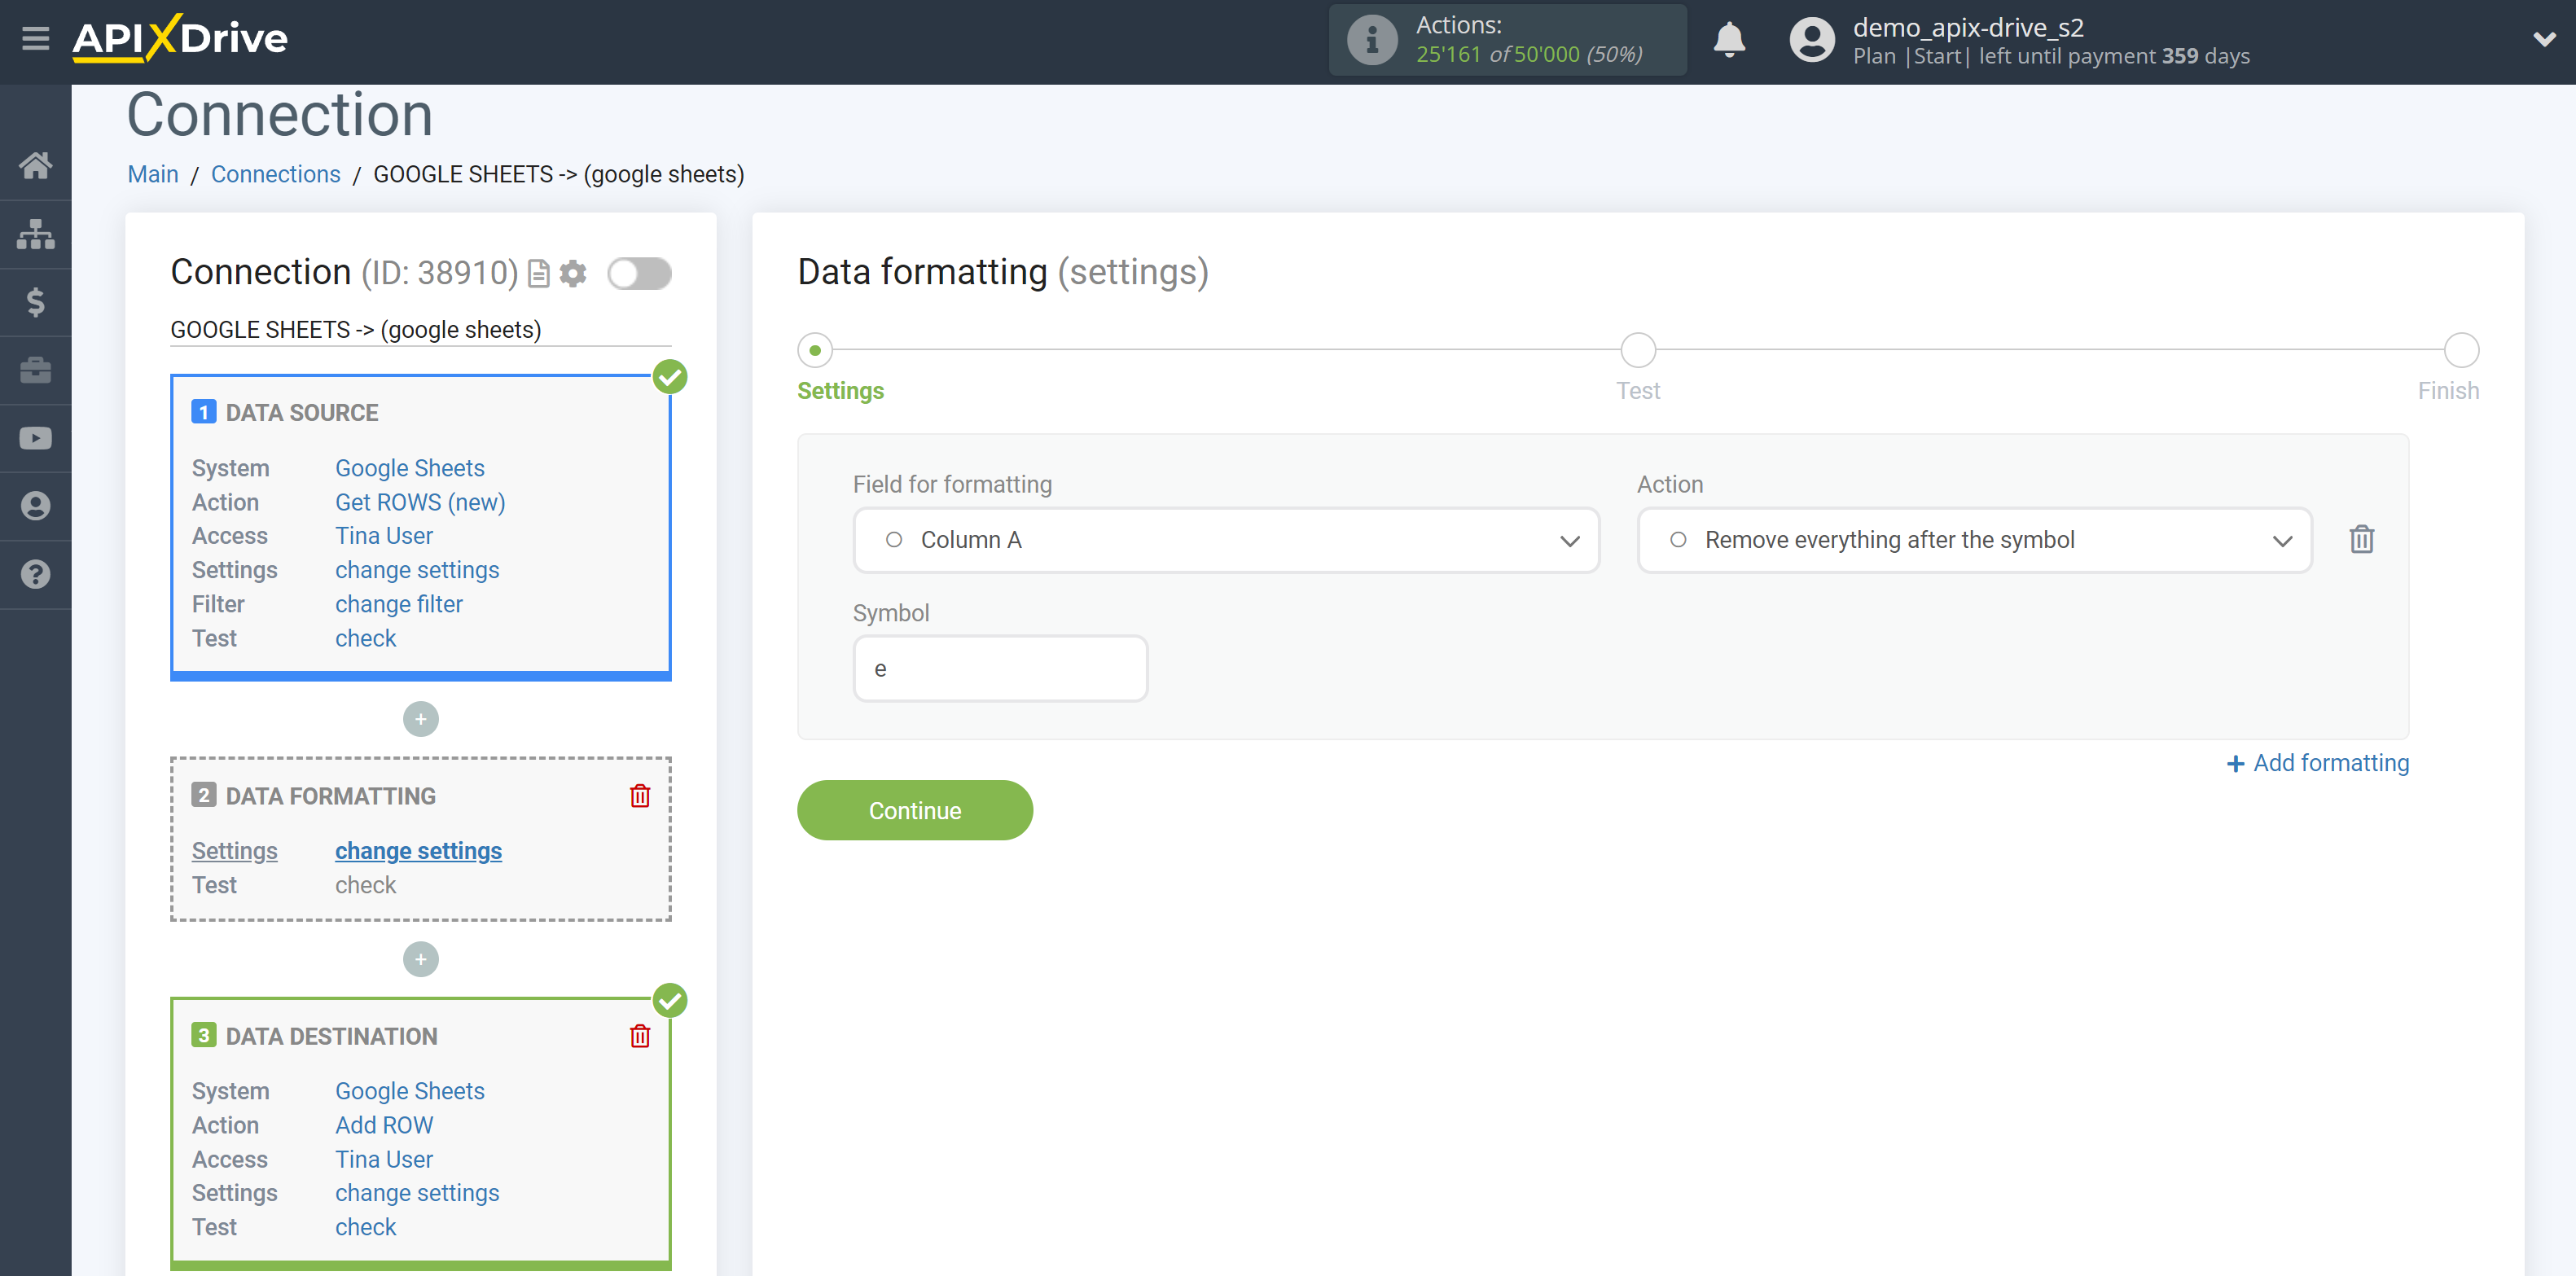
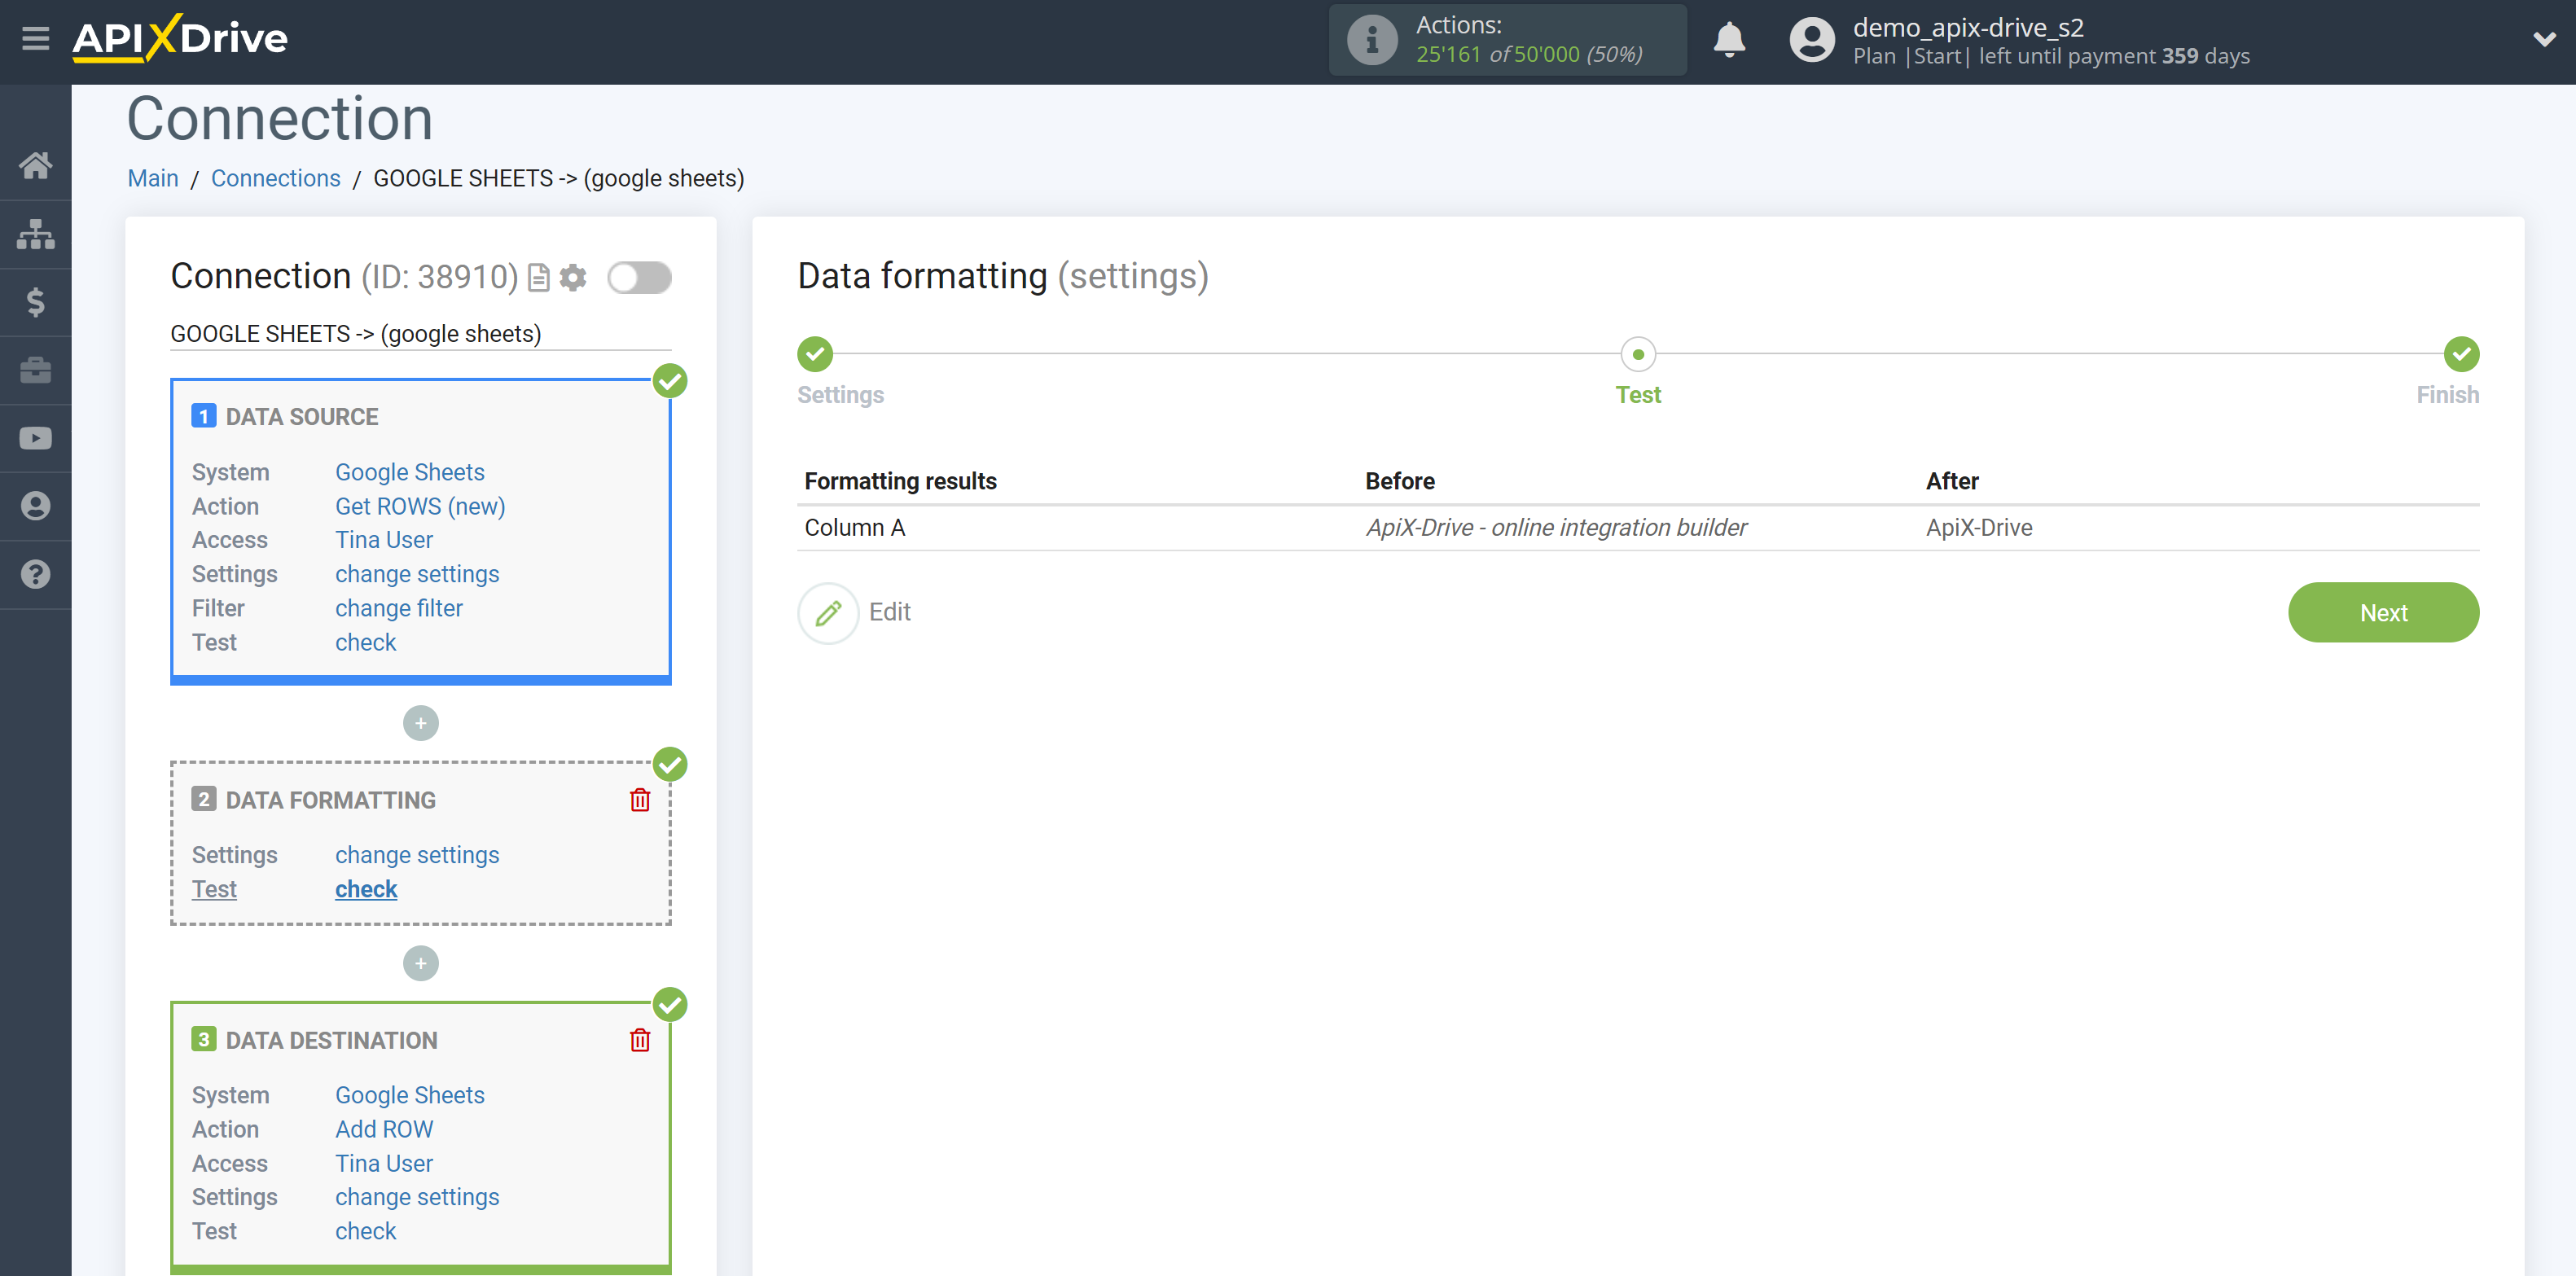
17. Remove everything before the symbol
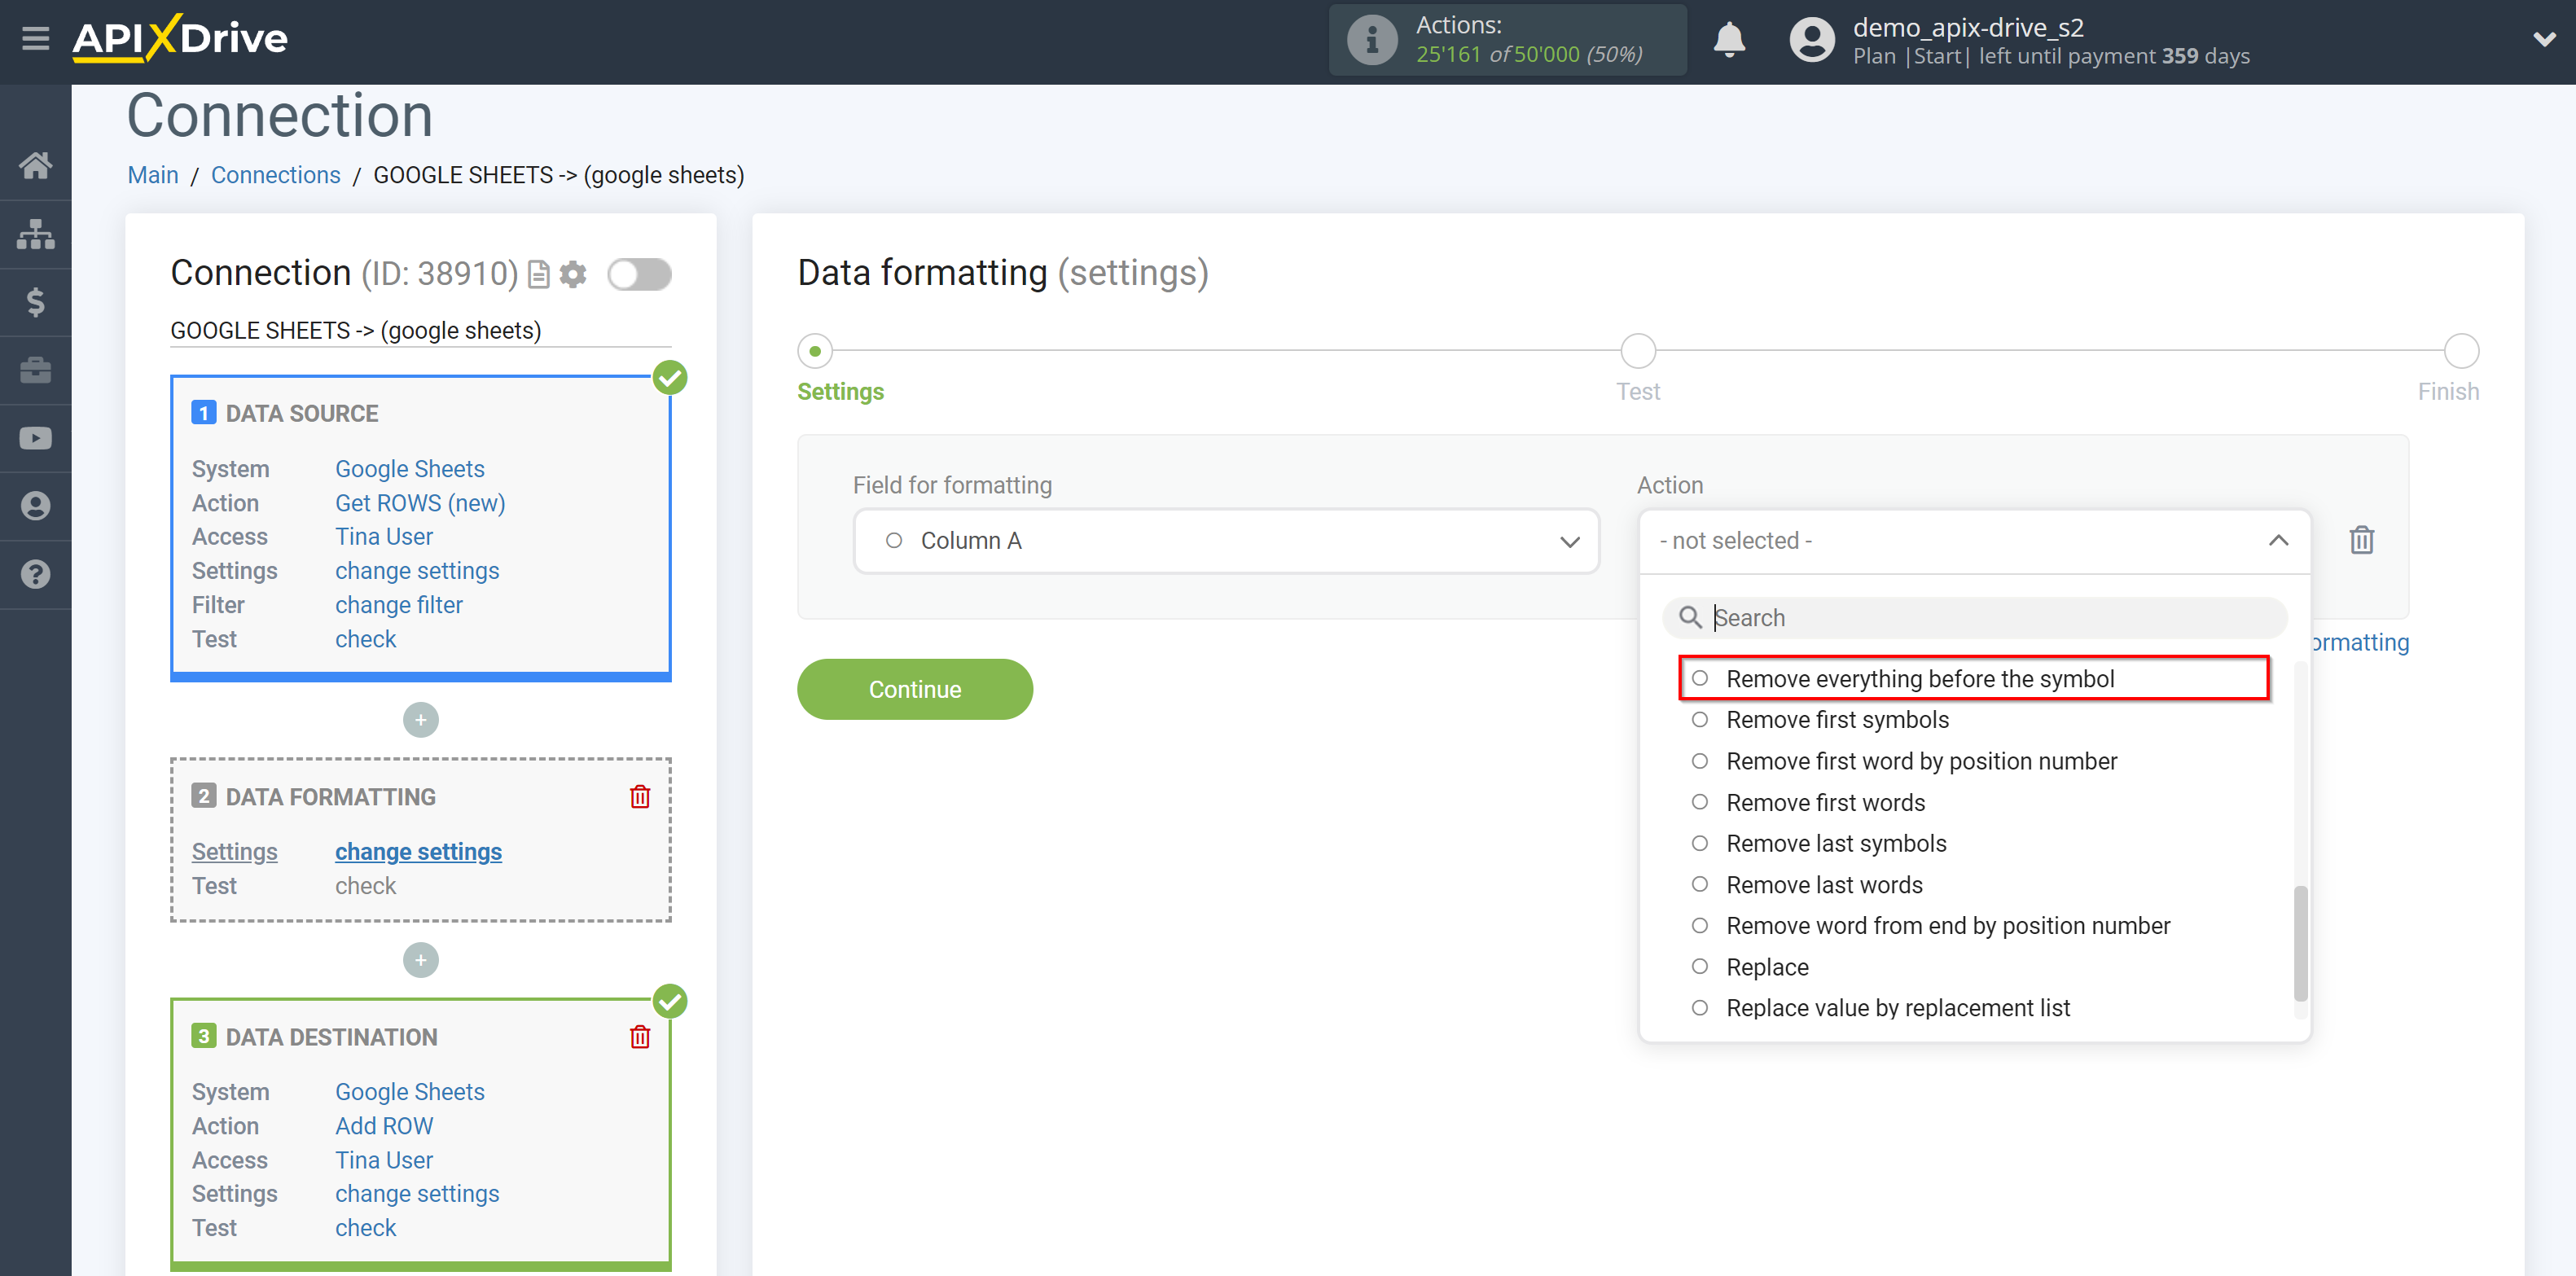
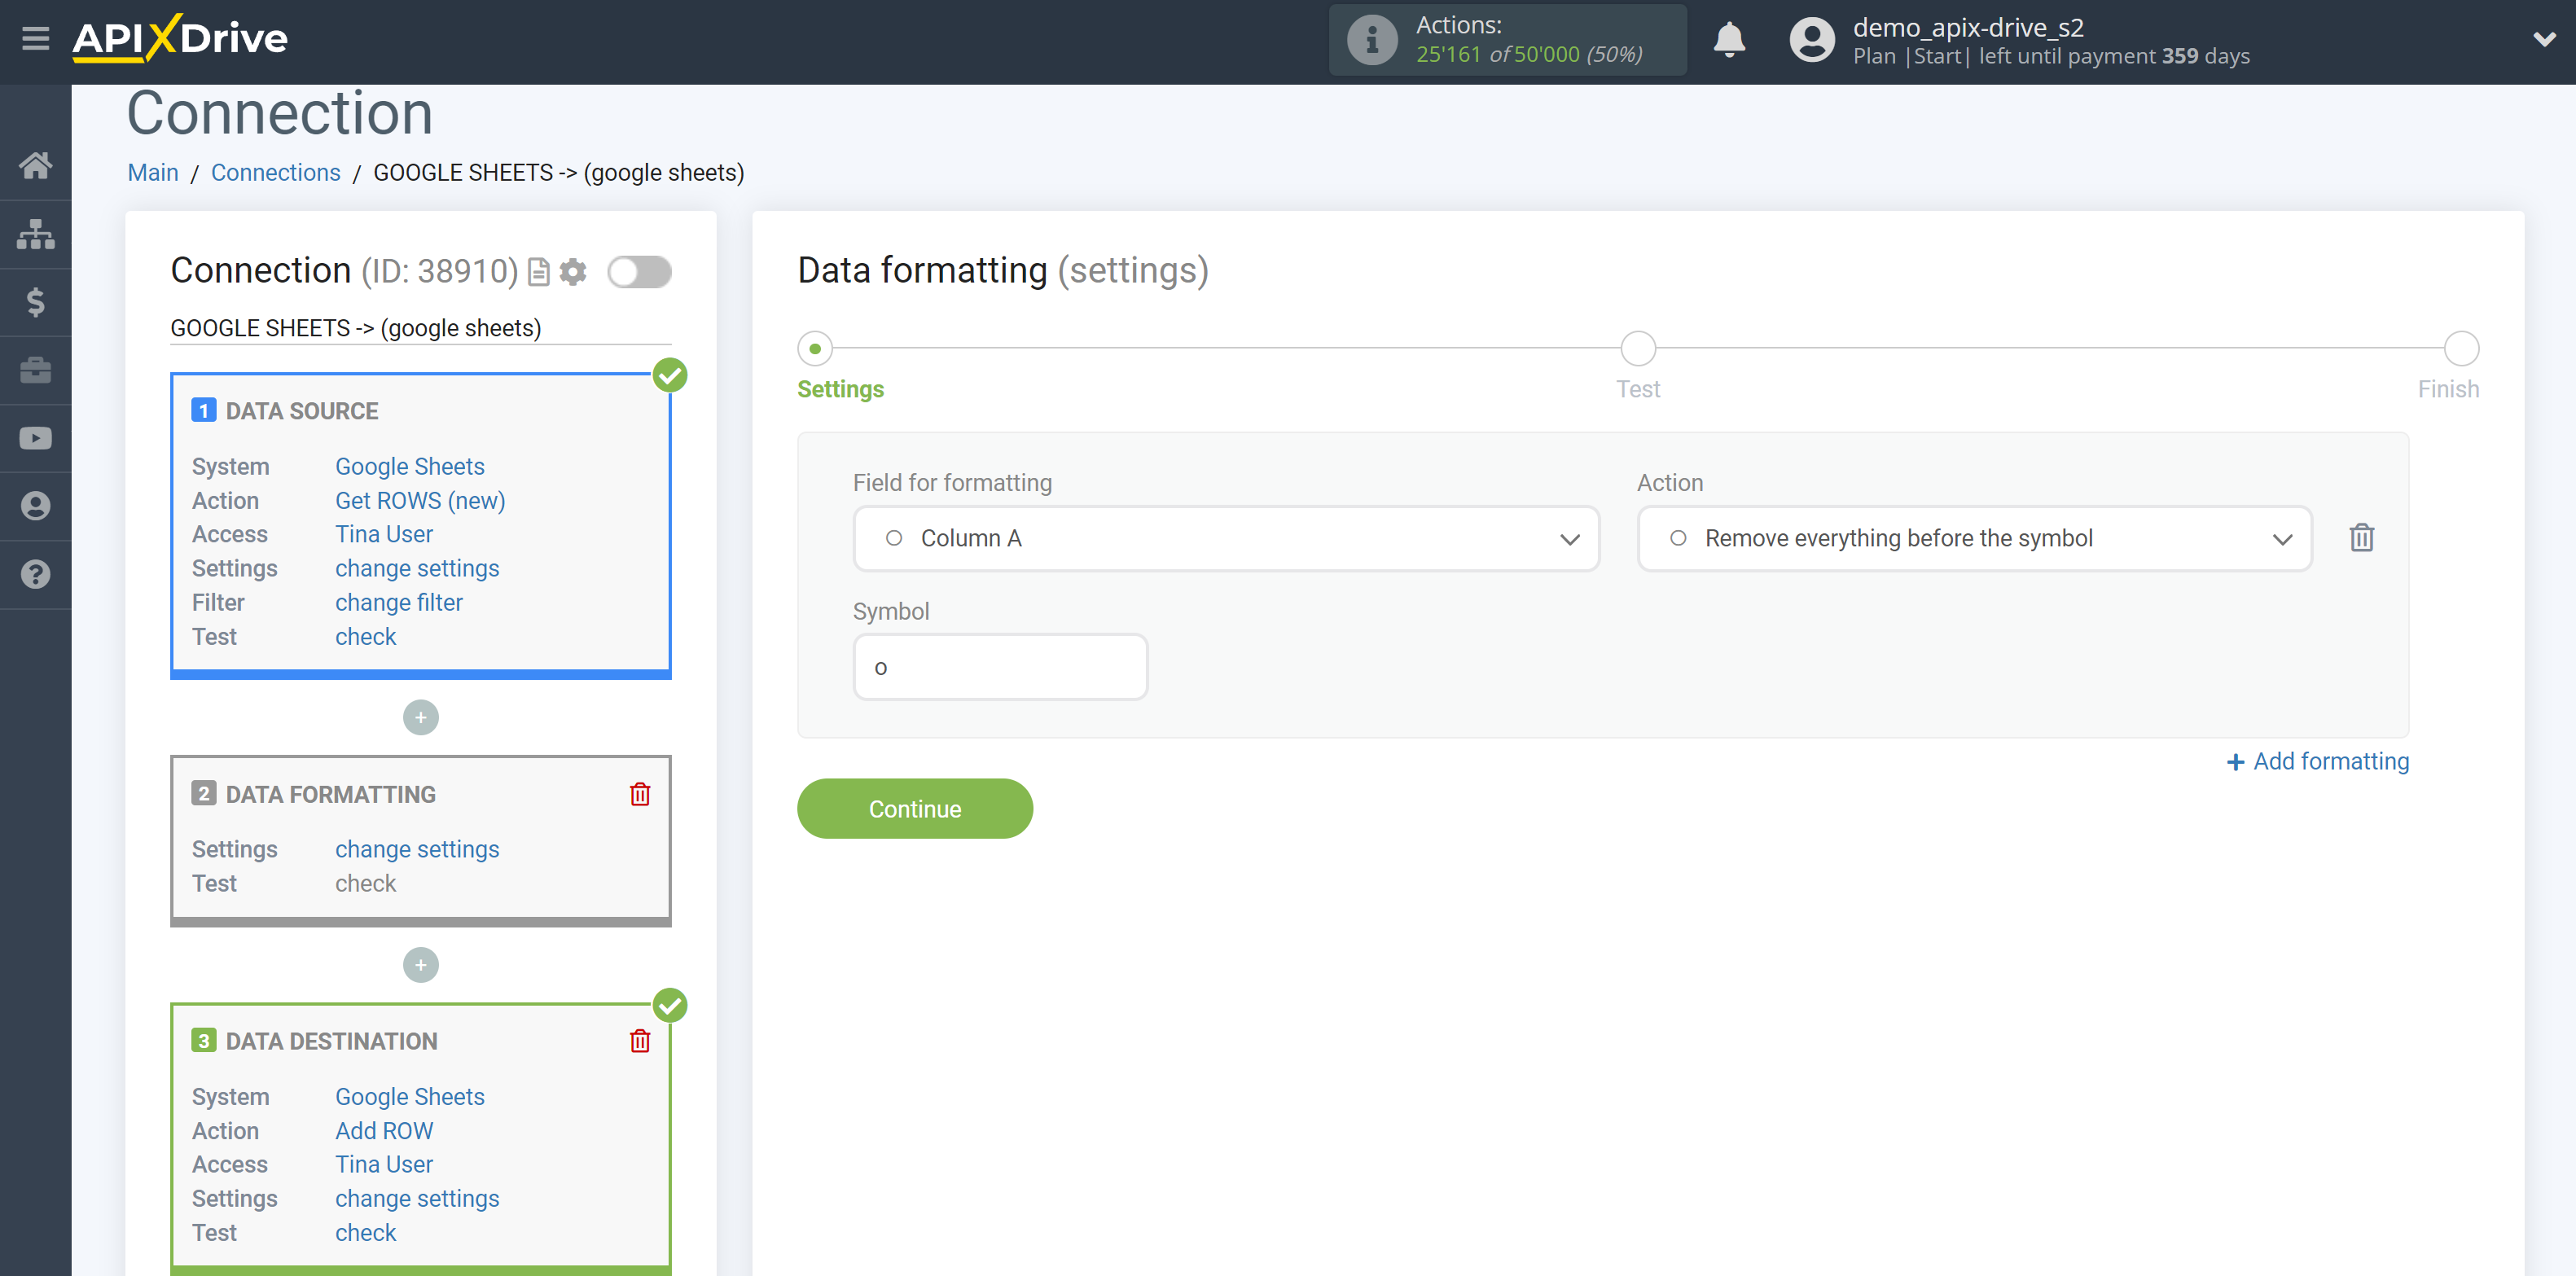
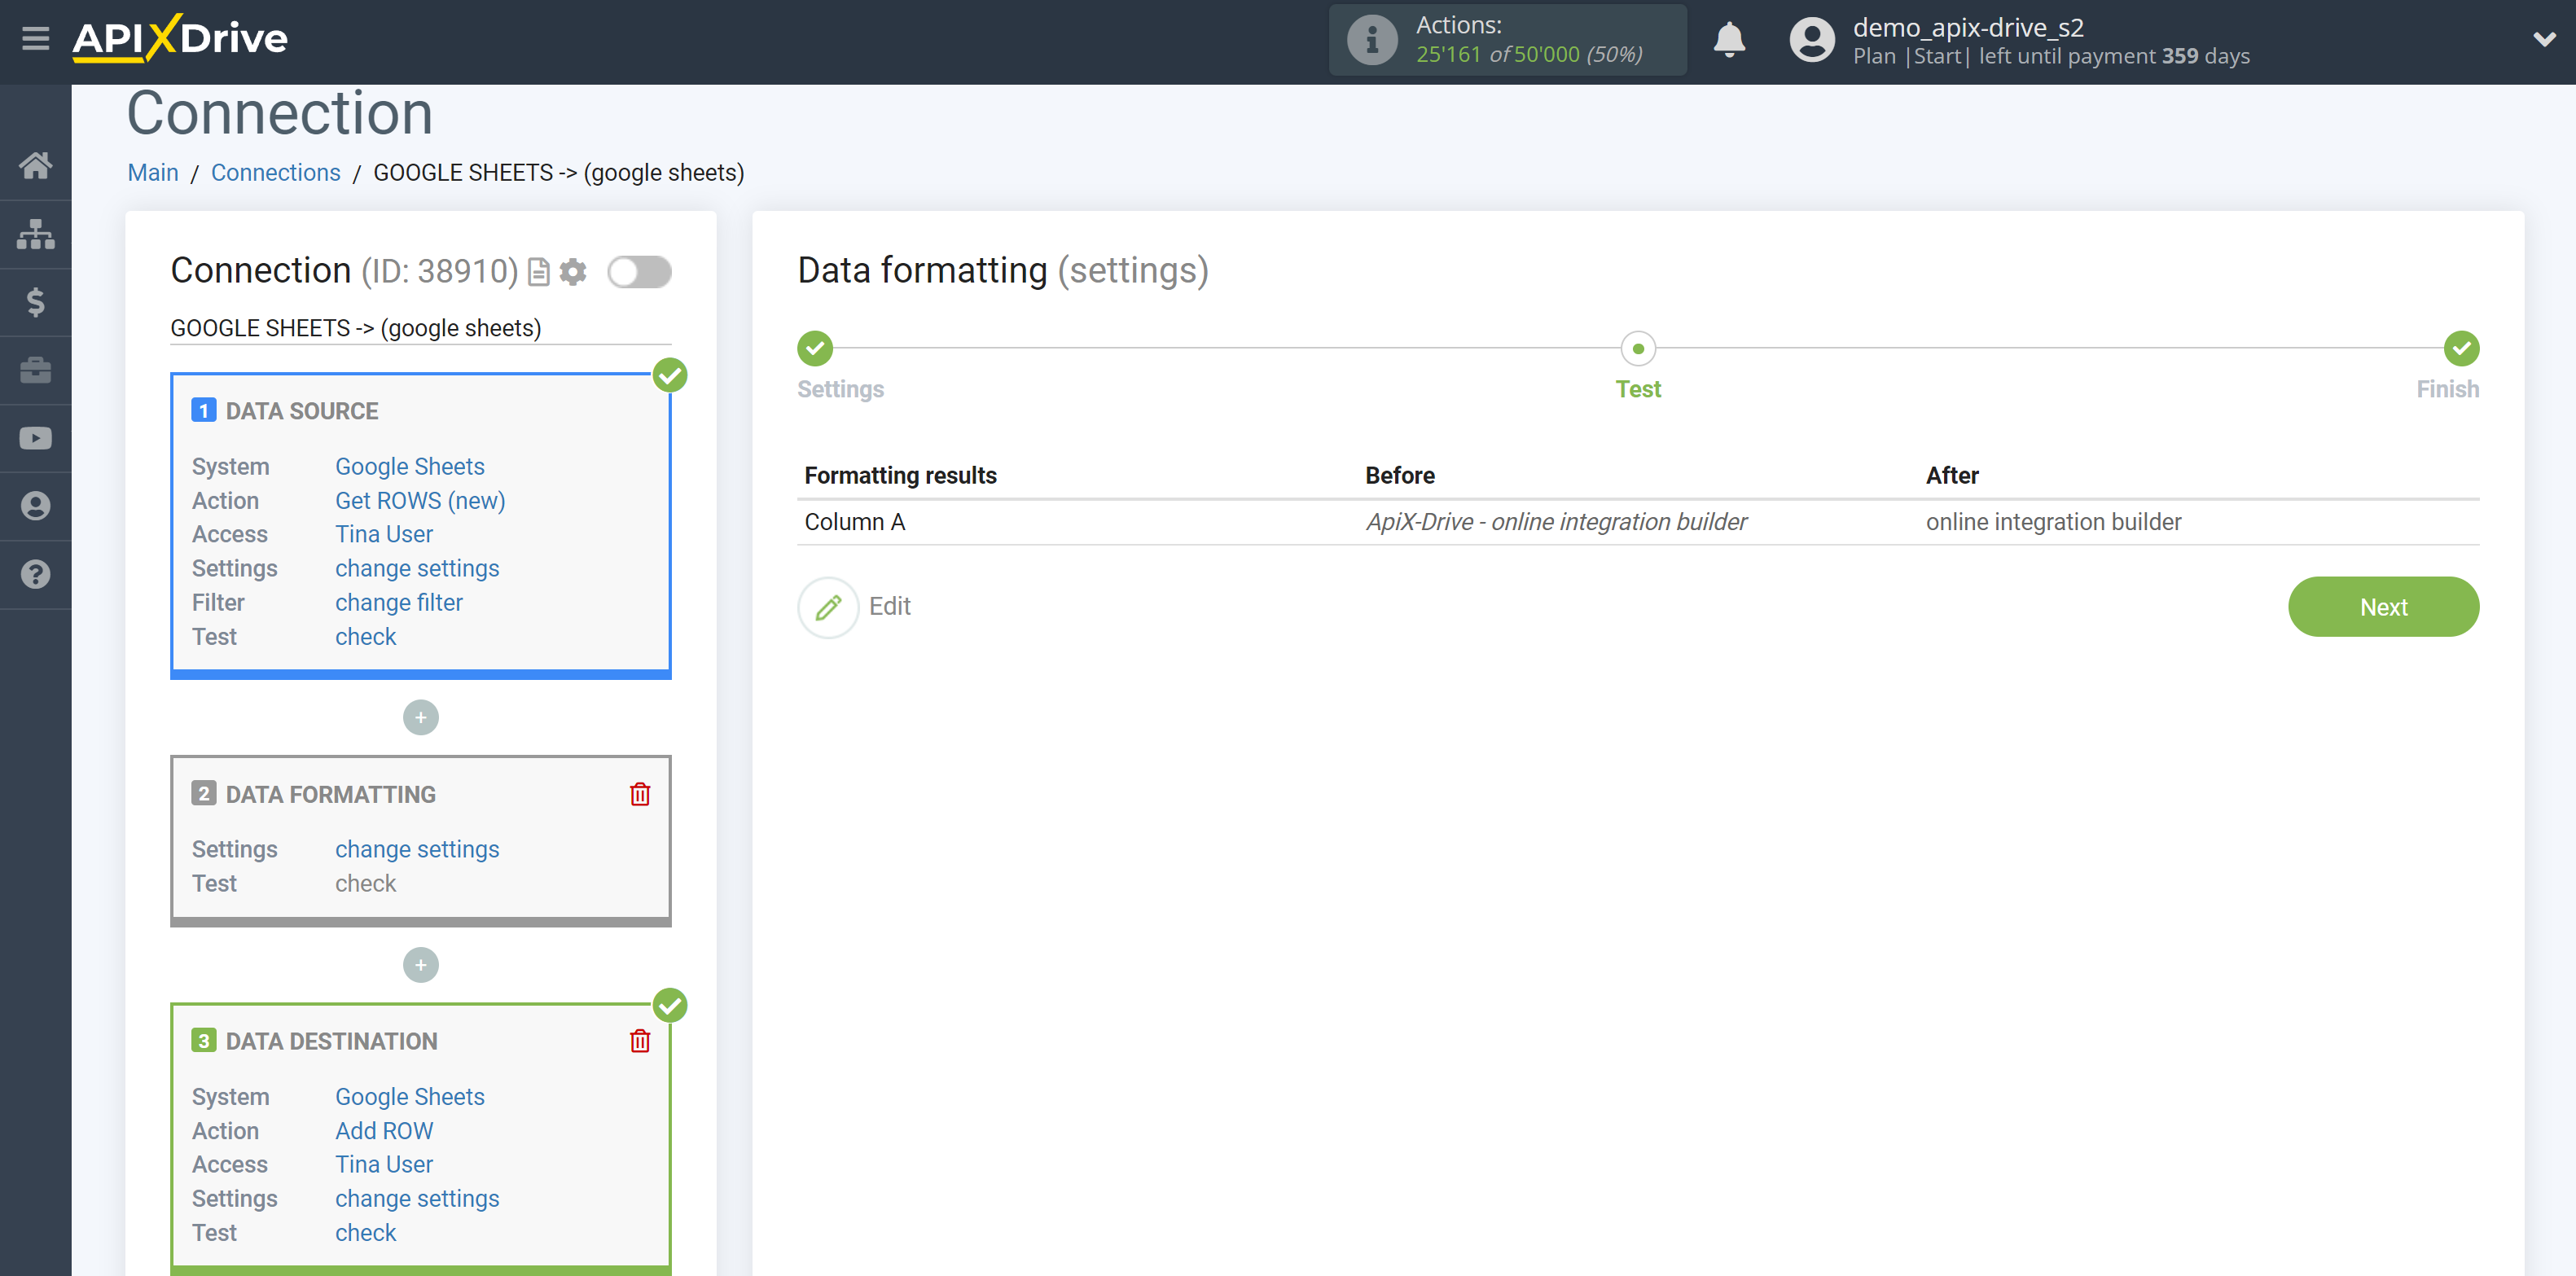
18. Remove first symbols
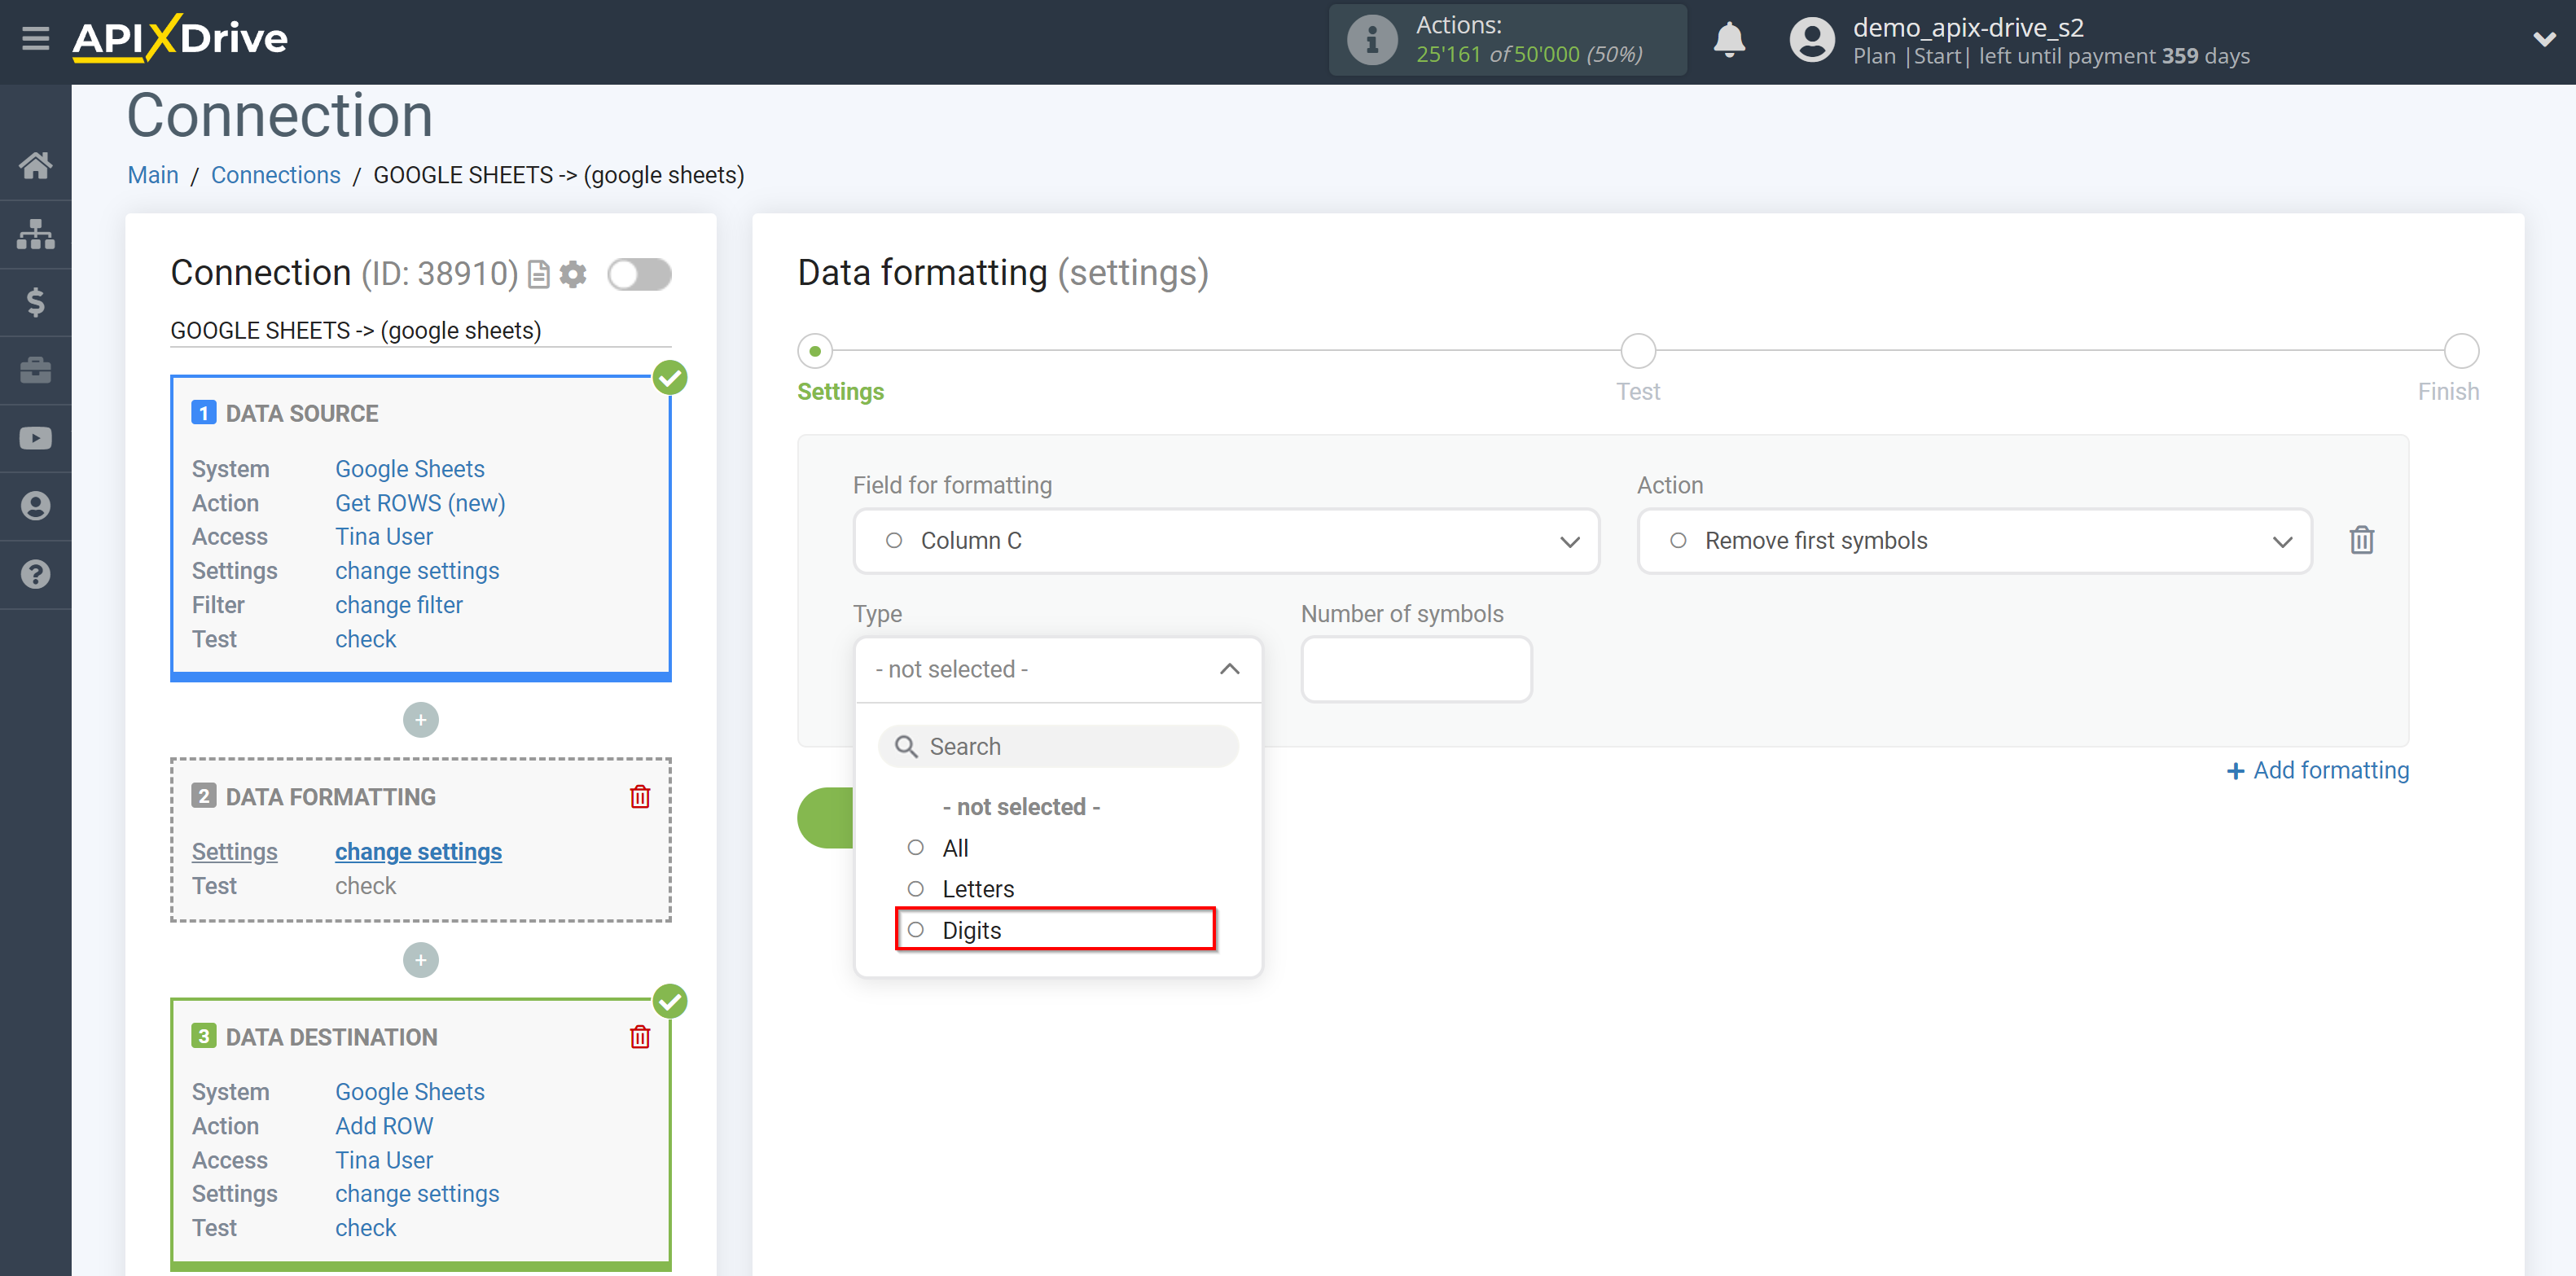
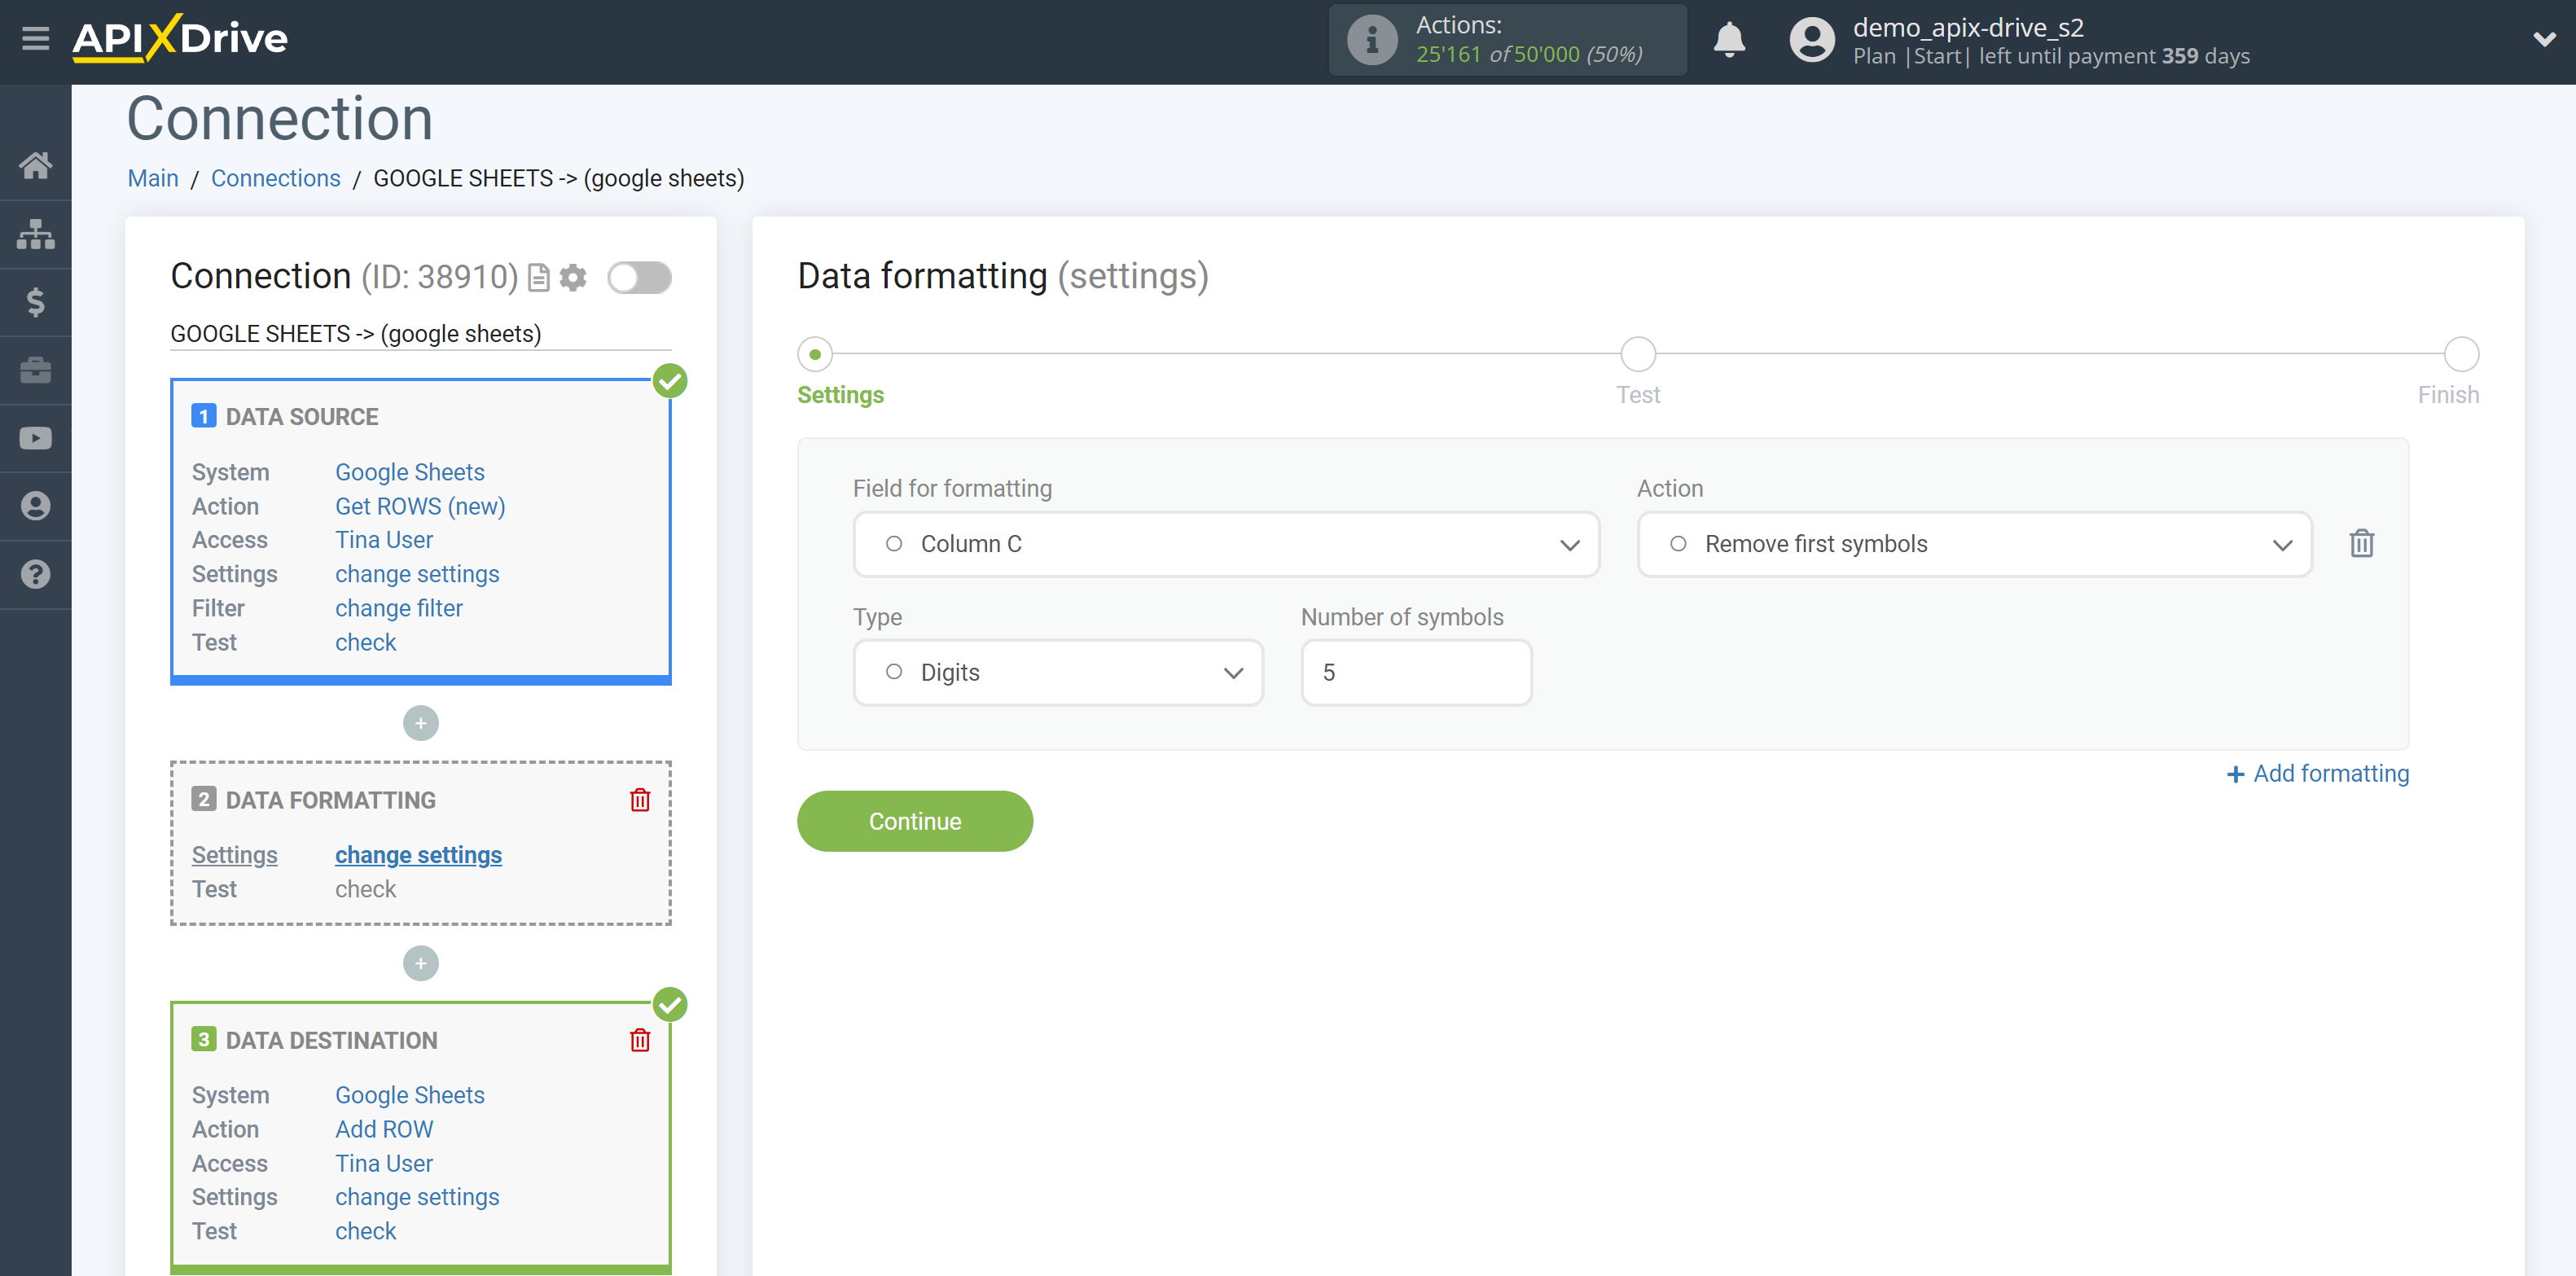
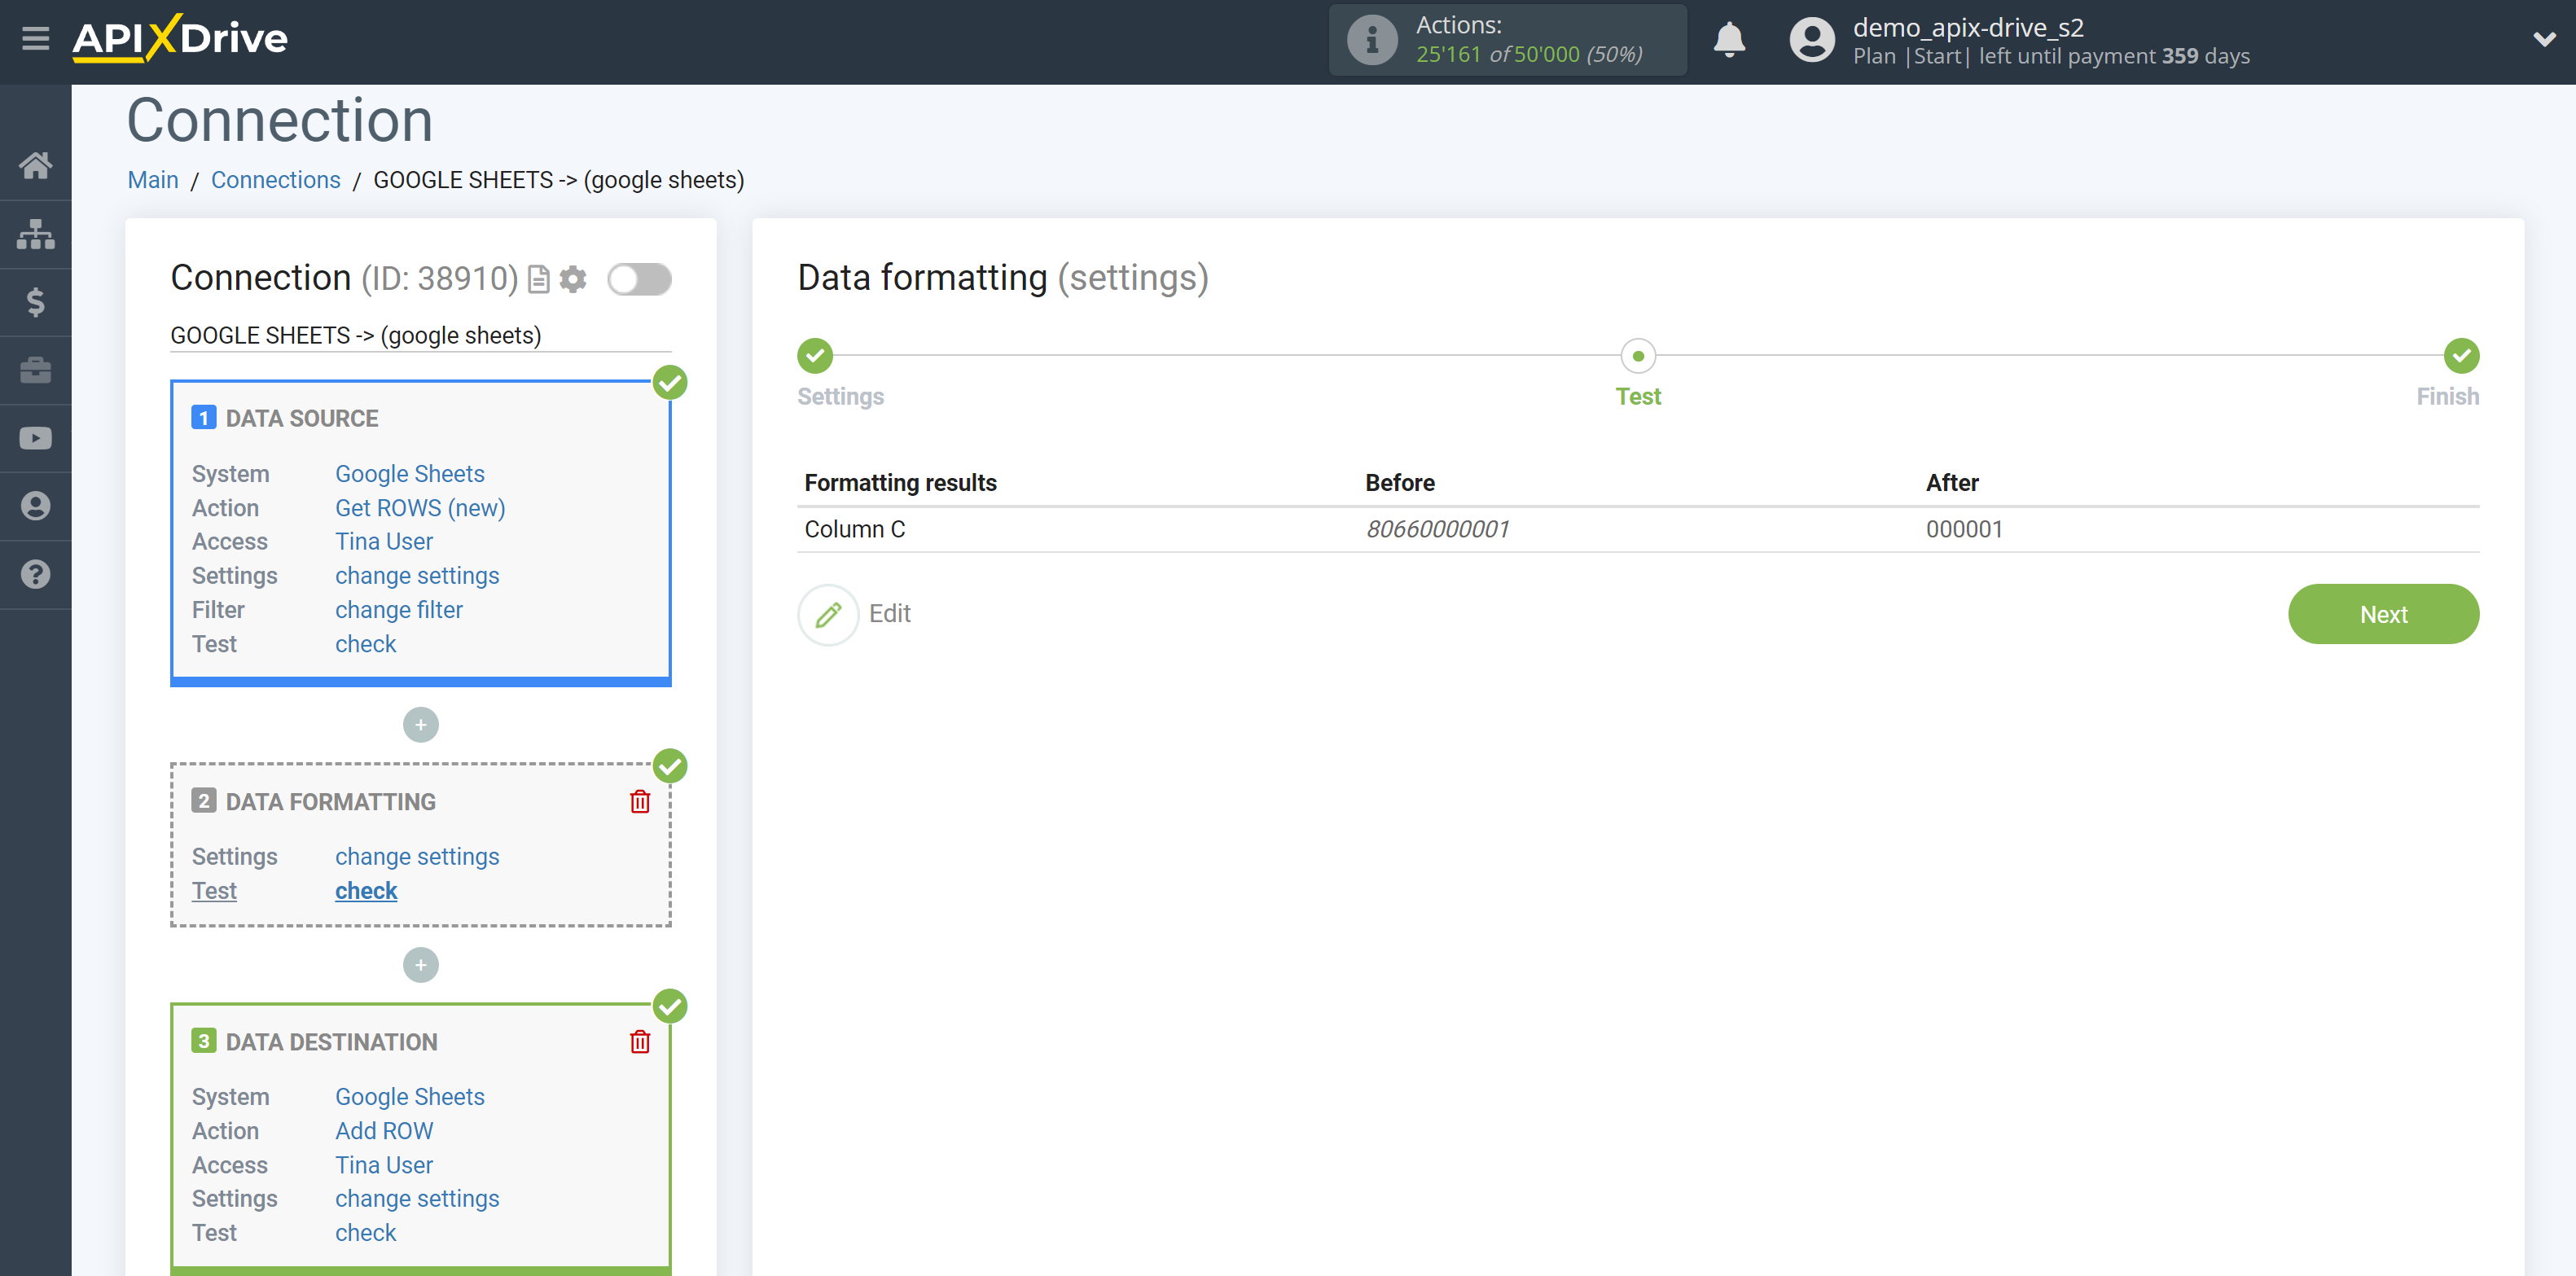
19. Remove first word by position number
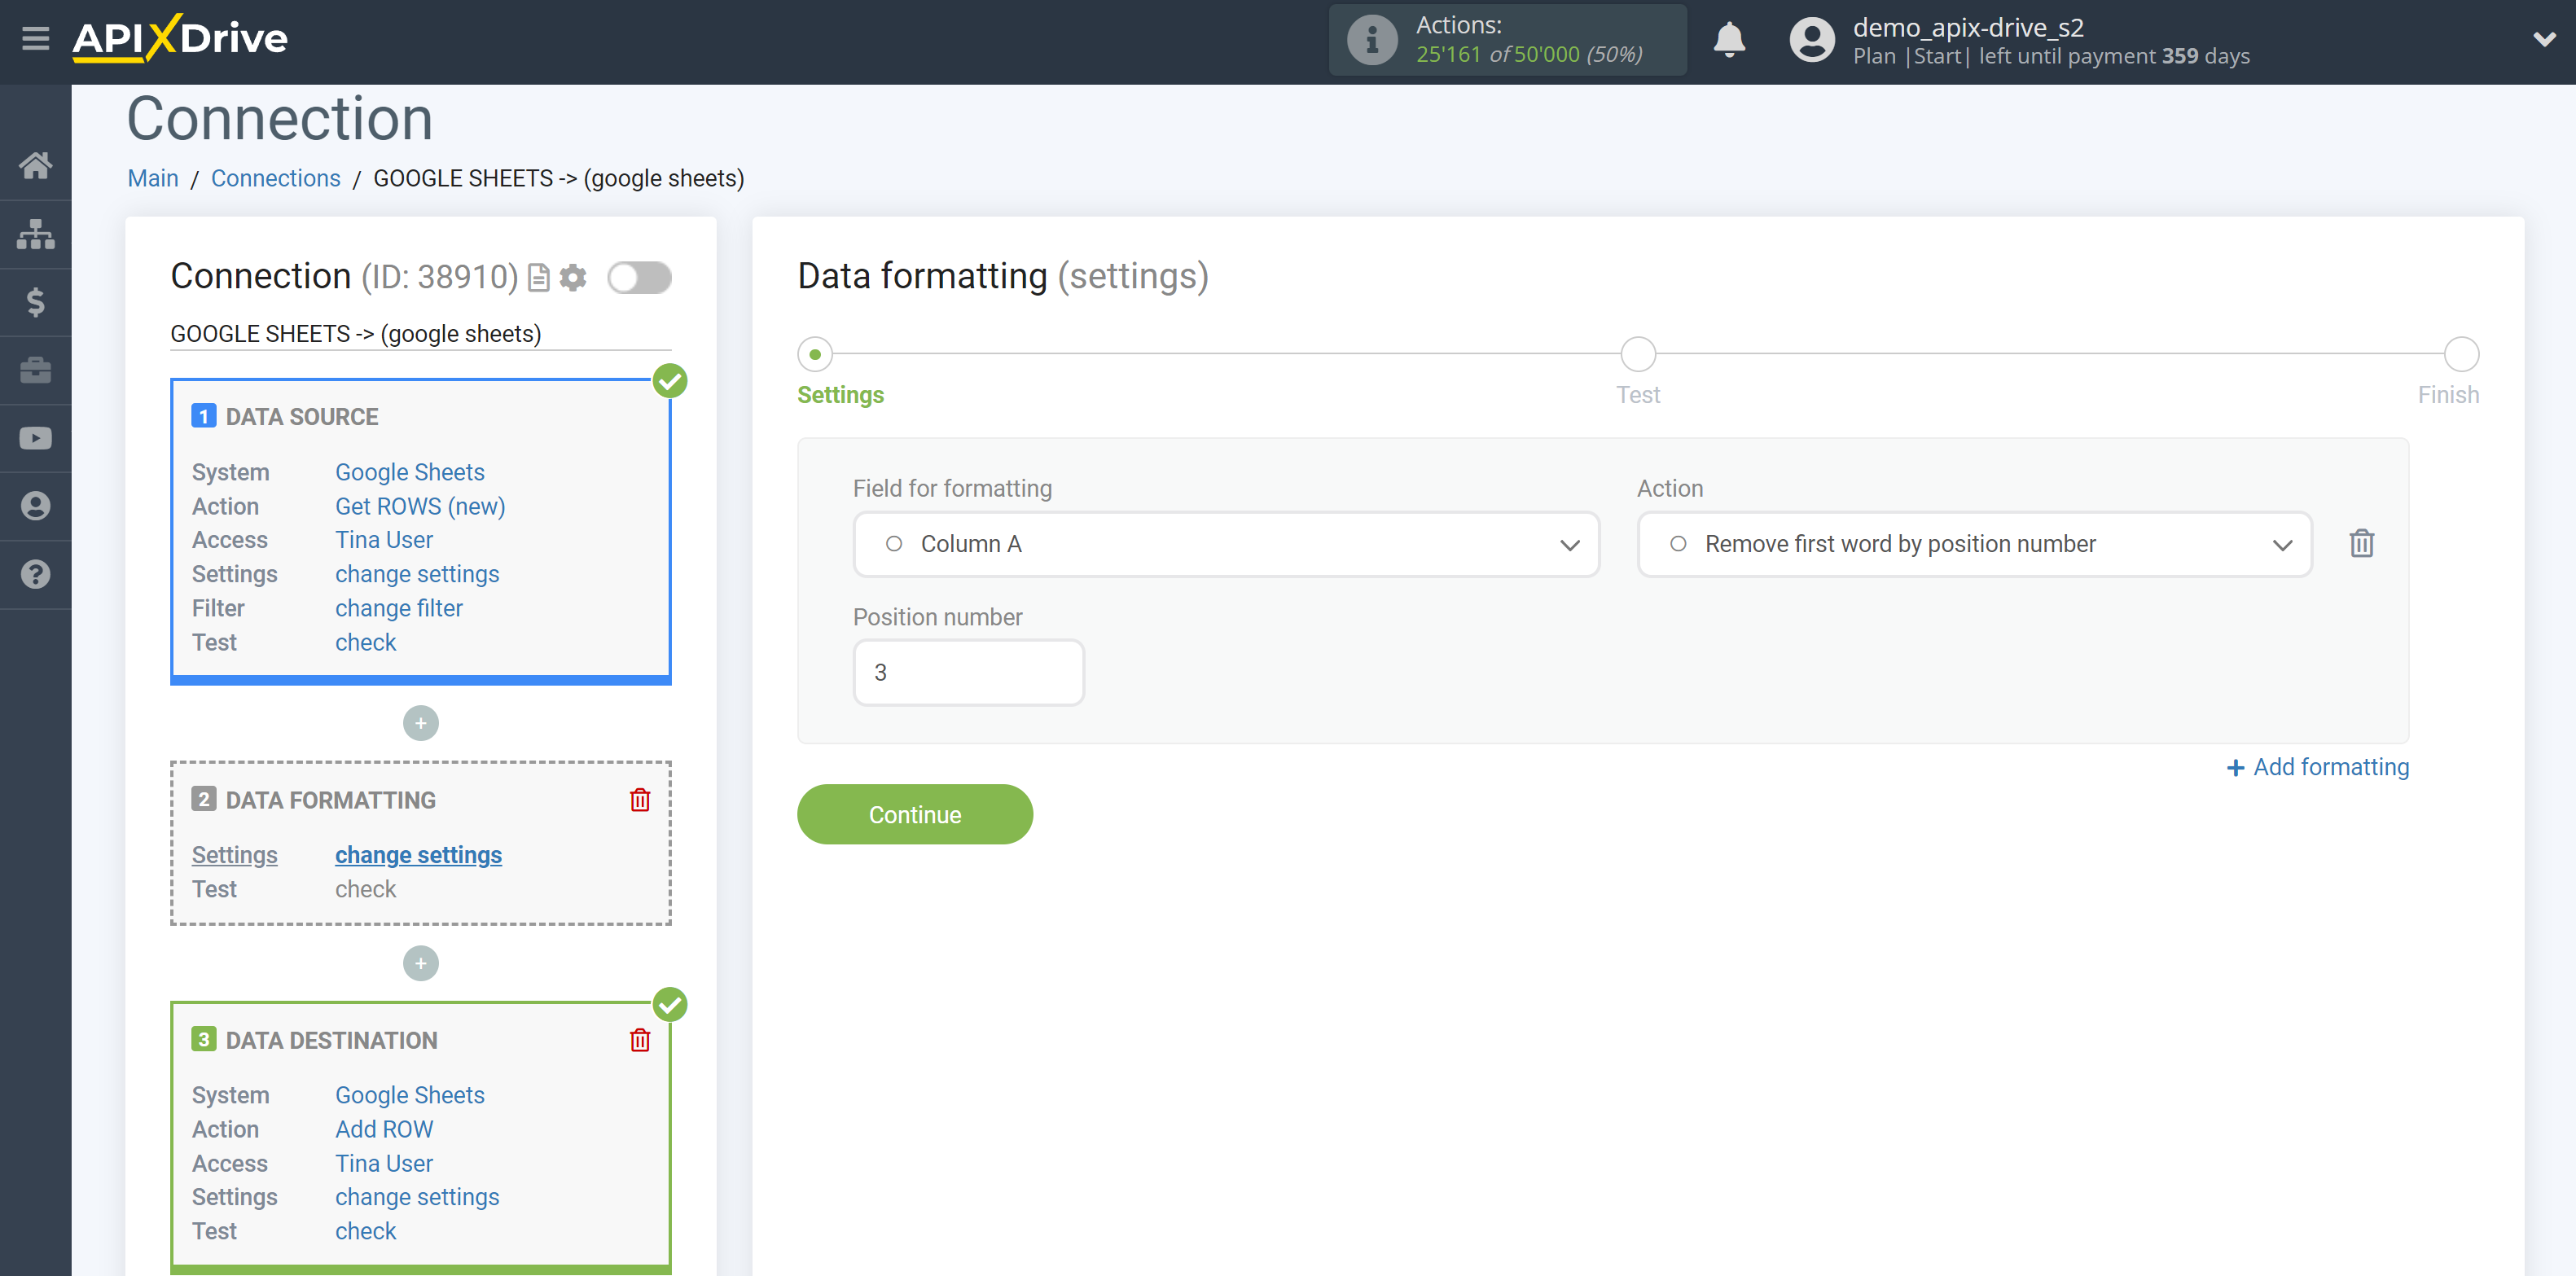
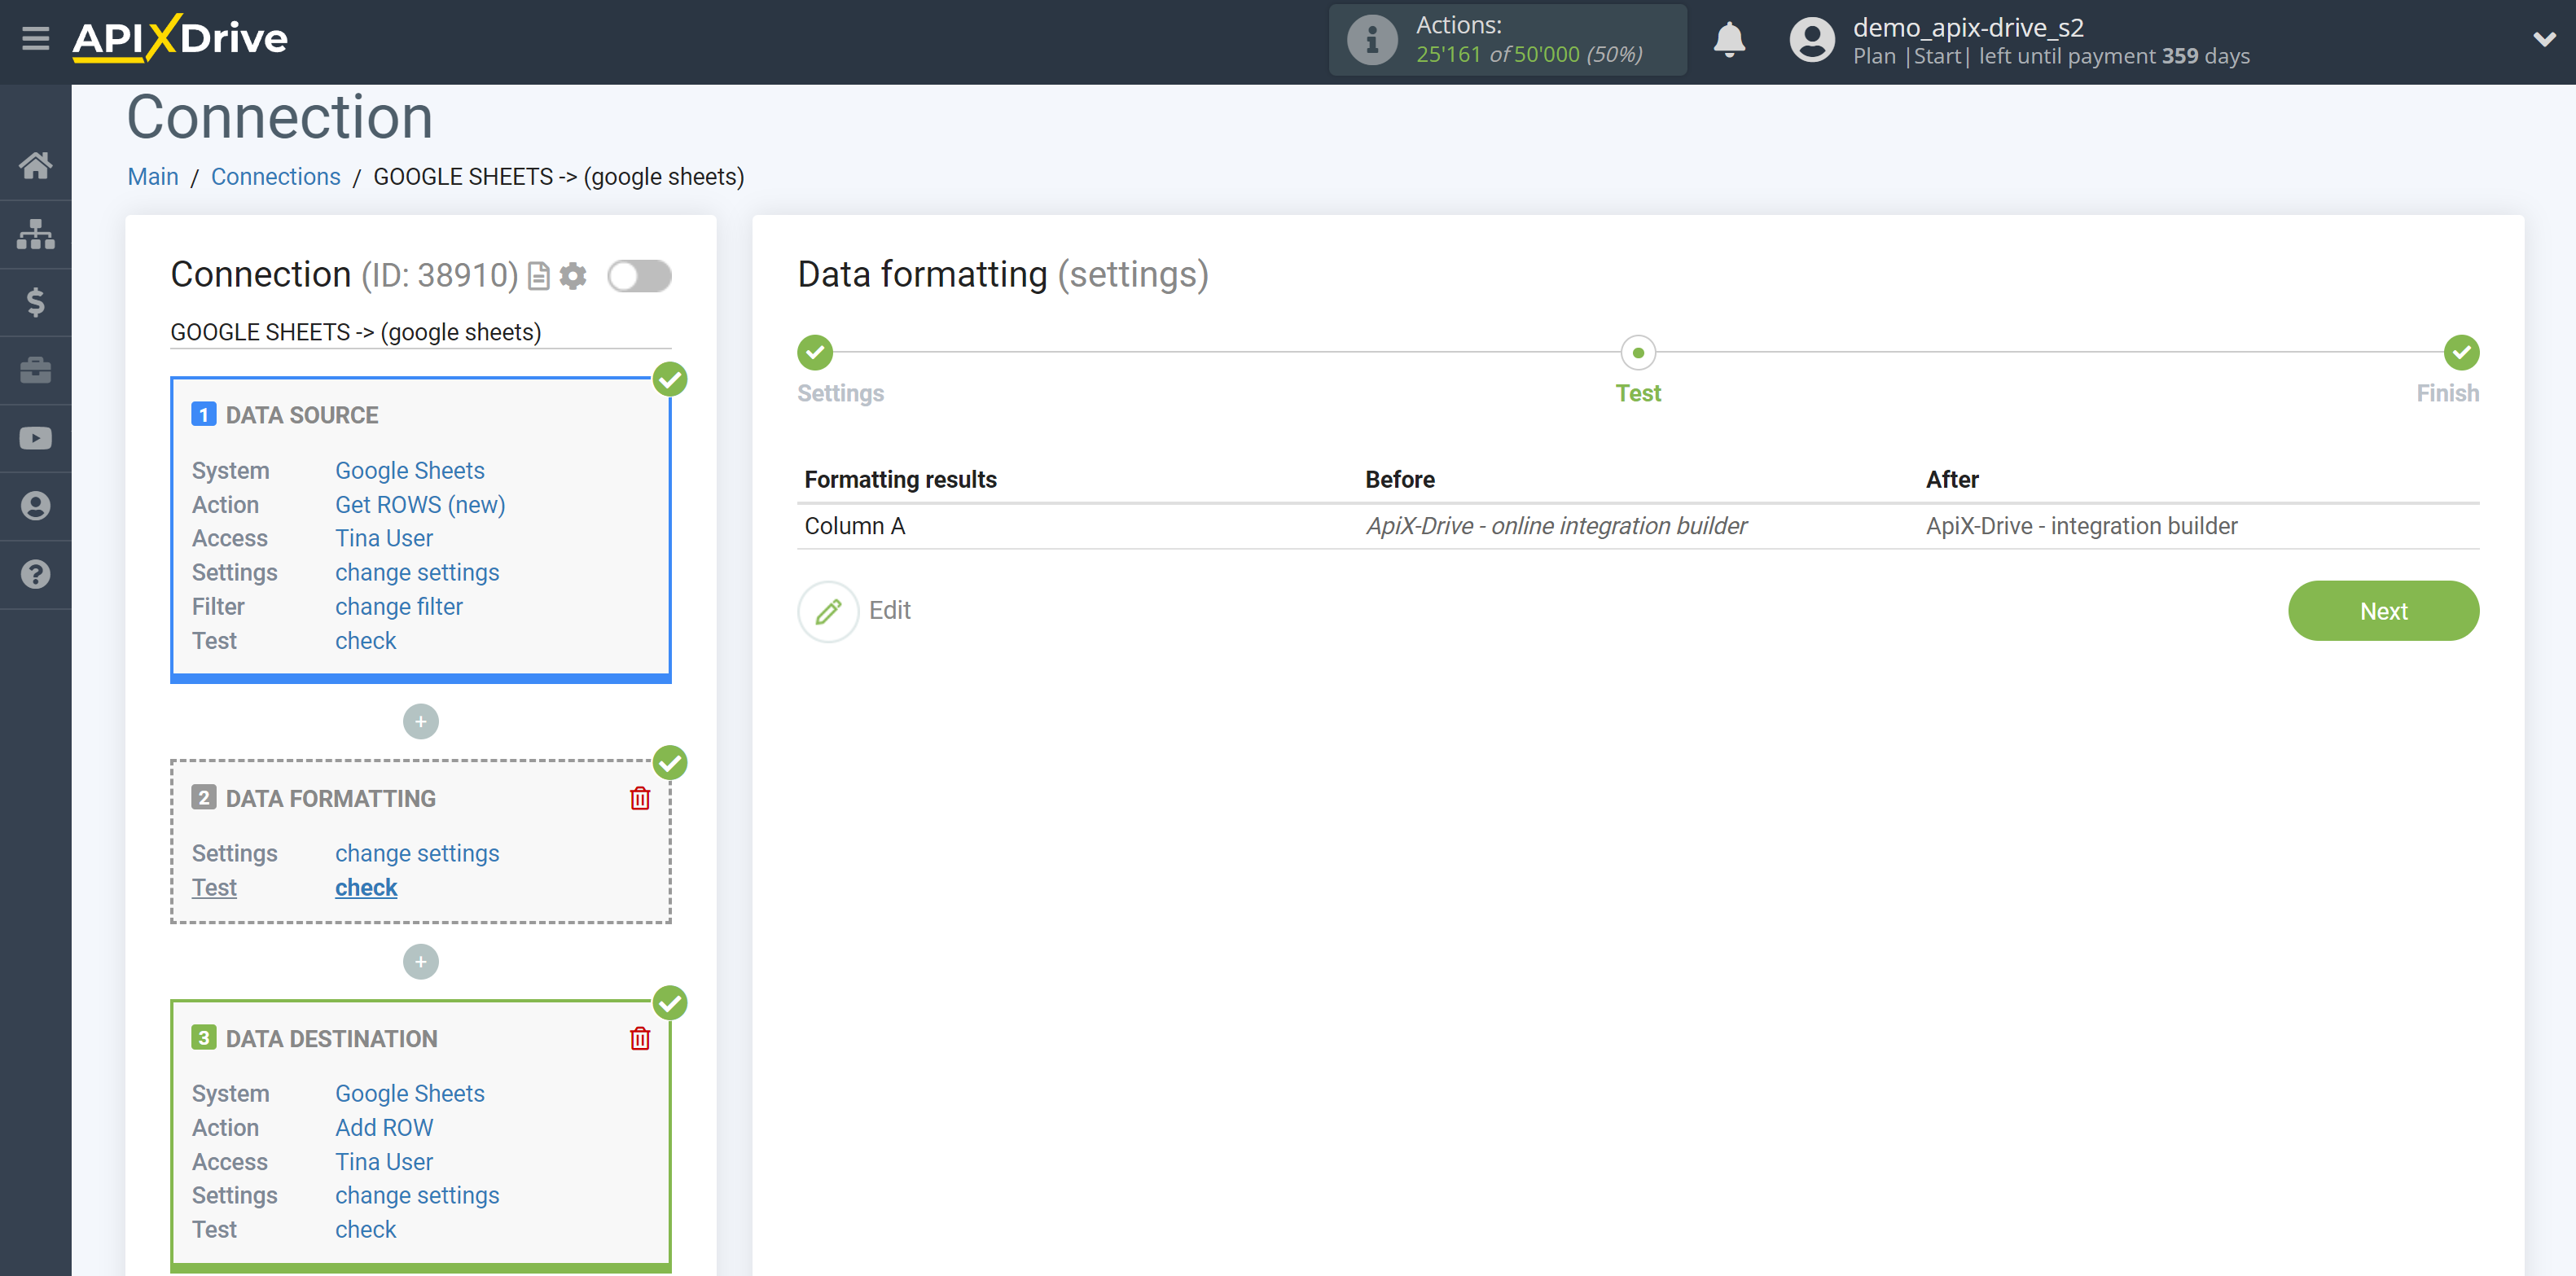
20. Remove first words
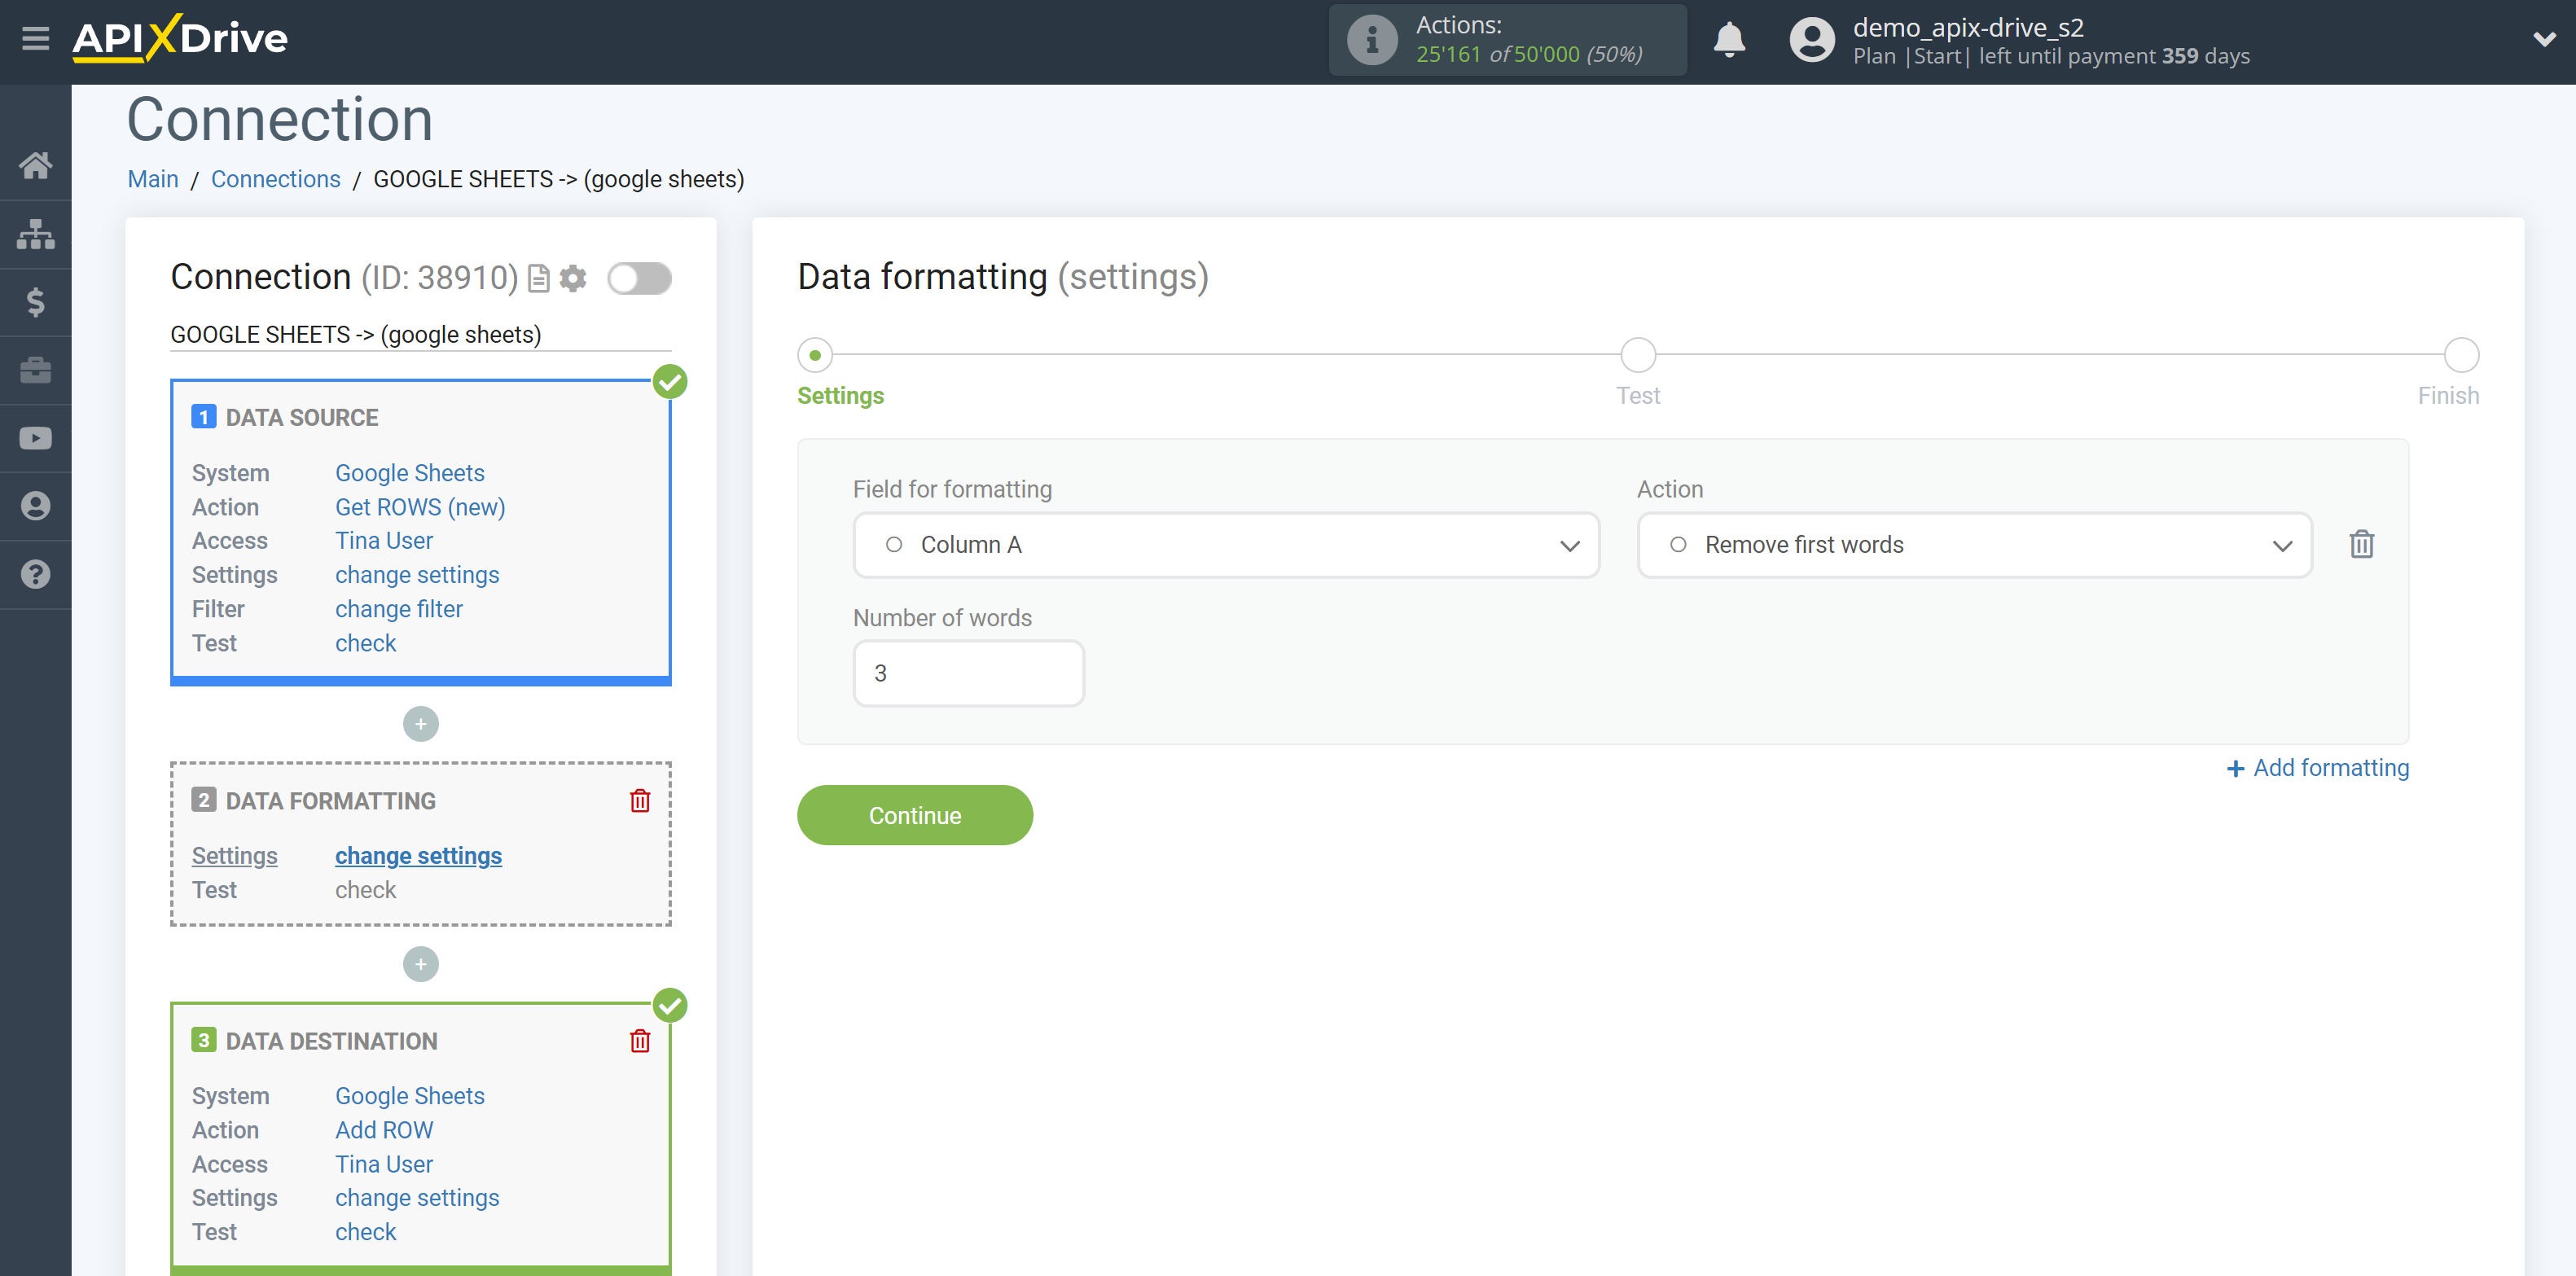

21. Remove last symbols
22. Remove last words
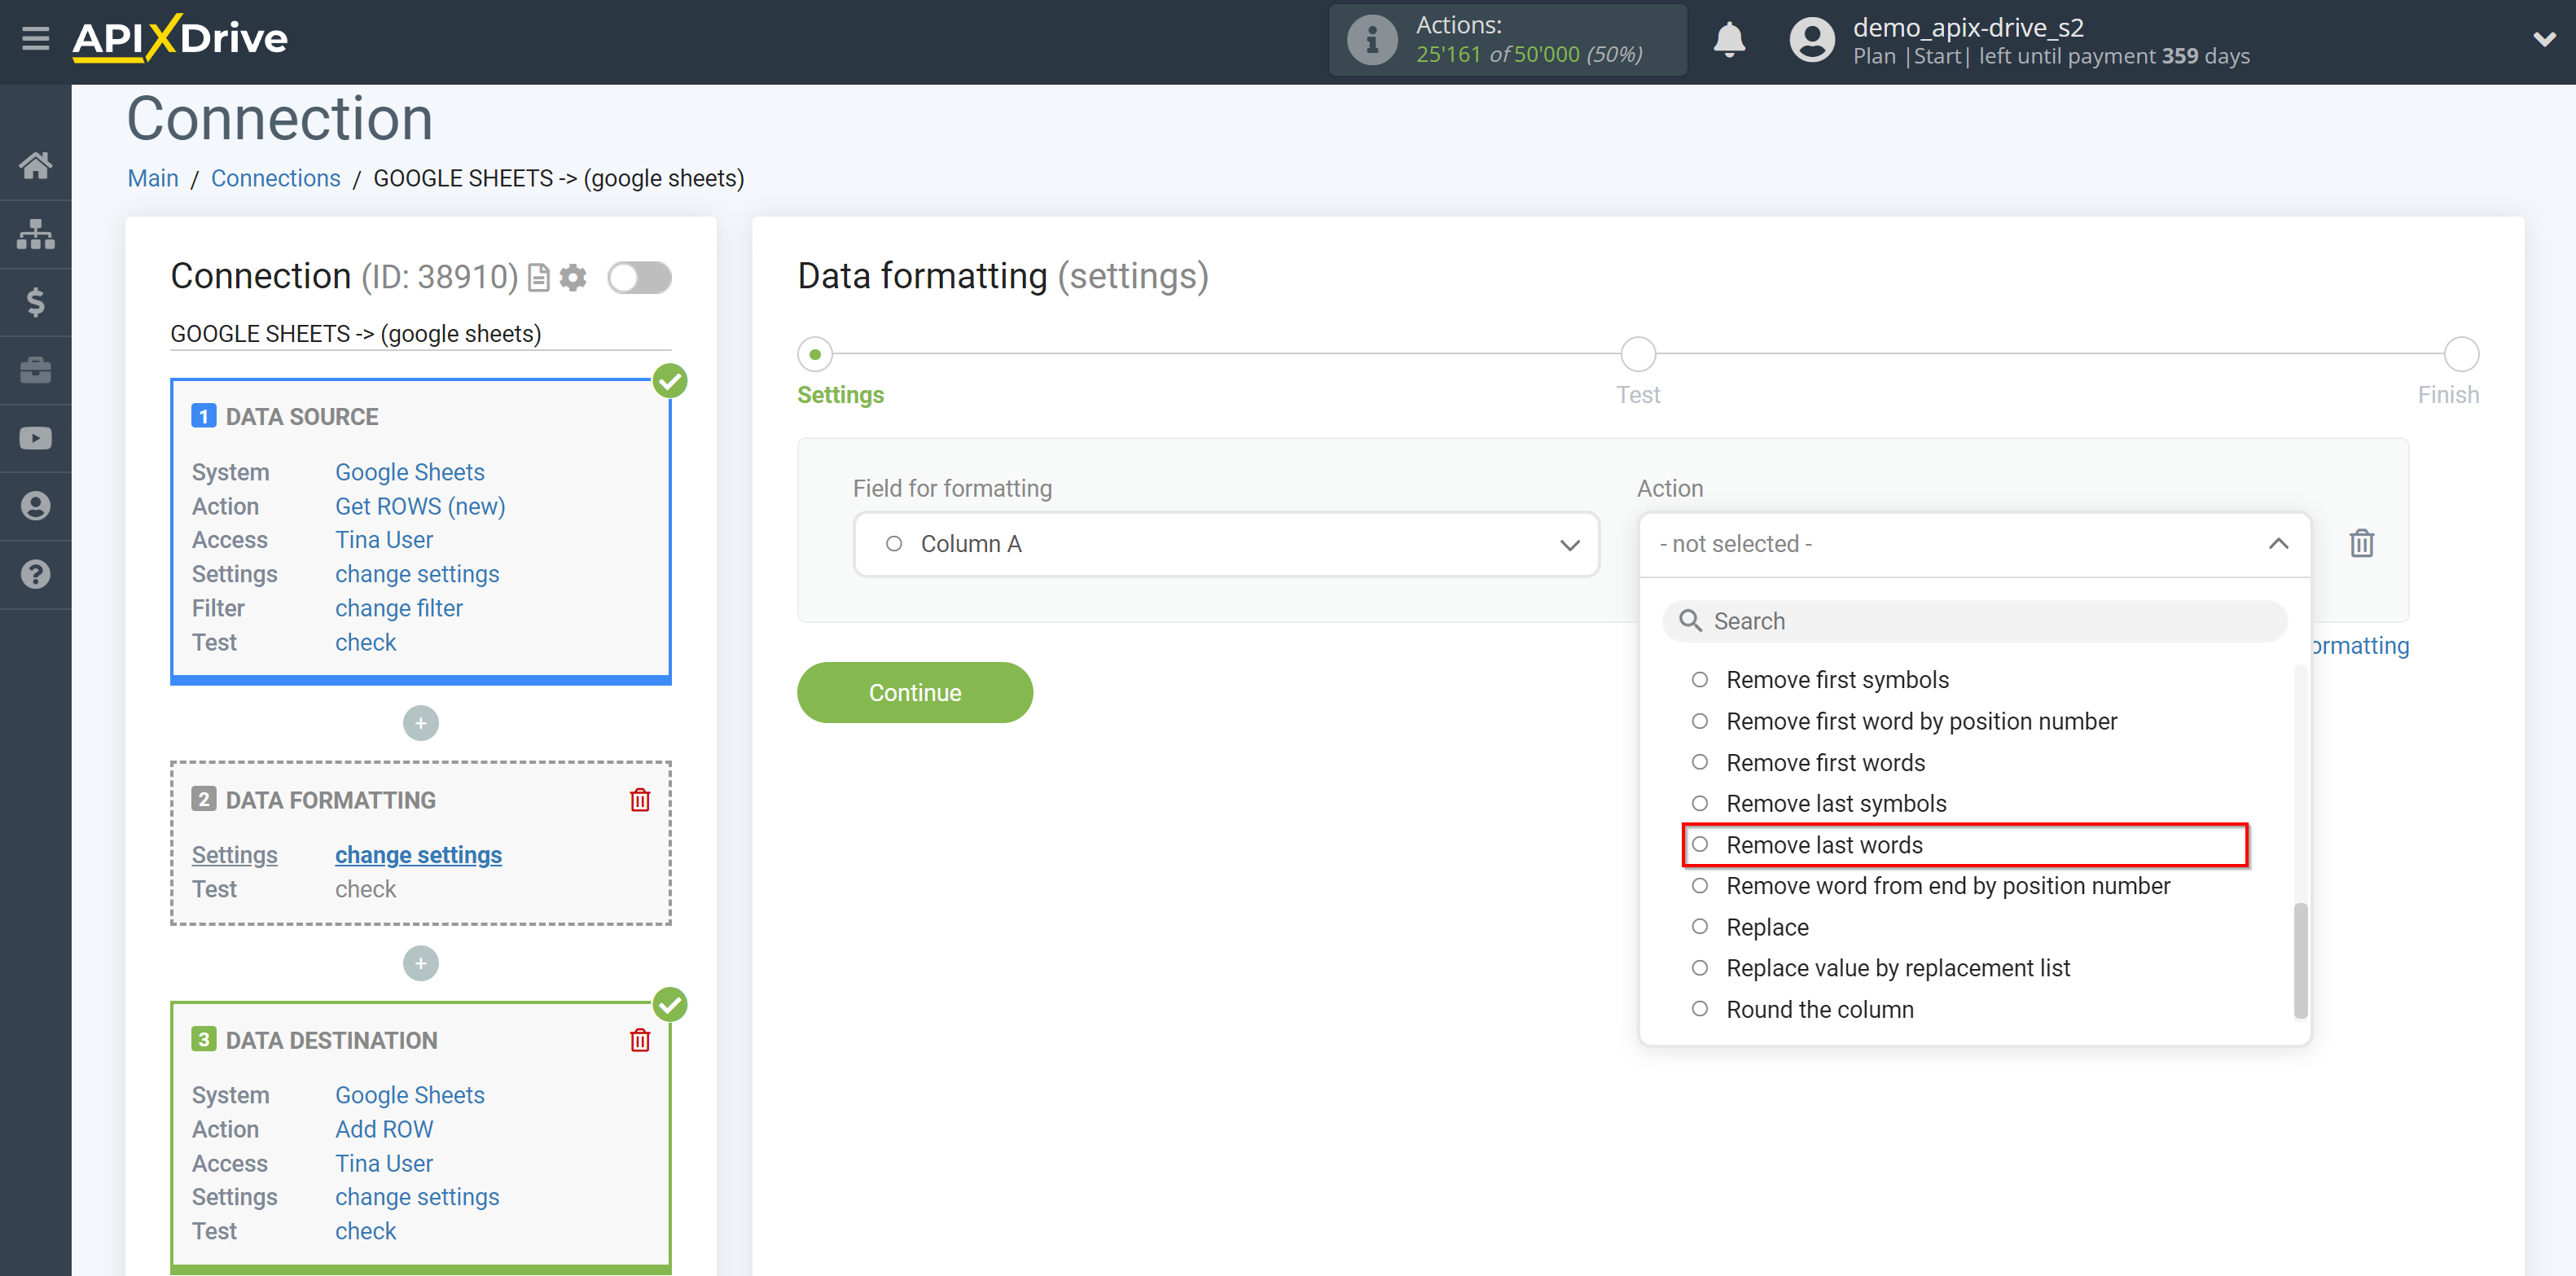
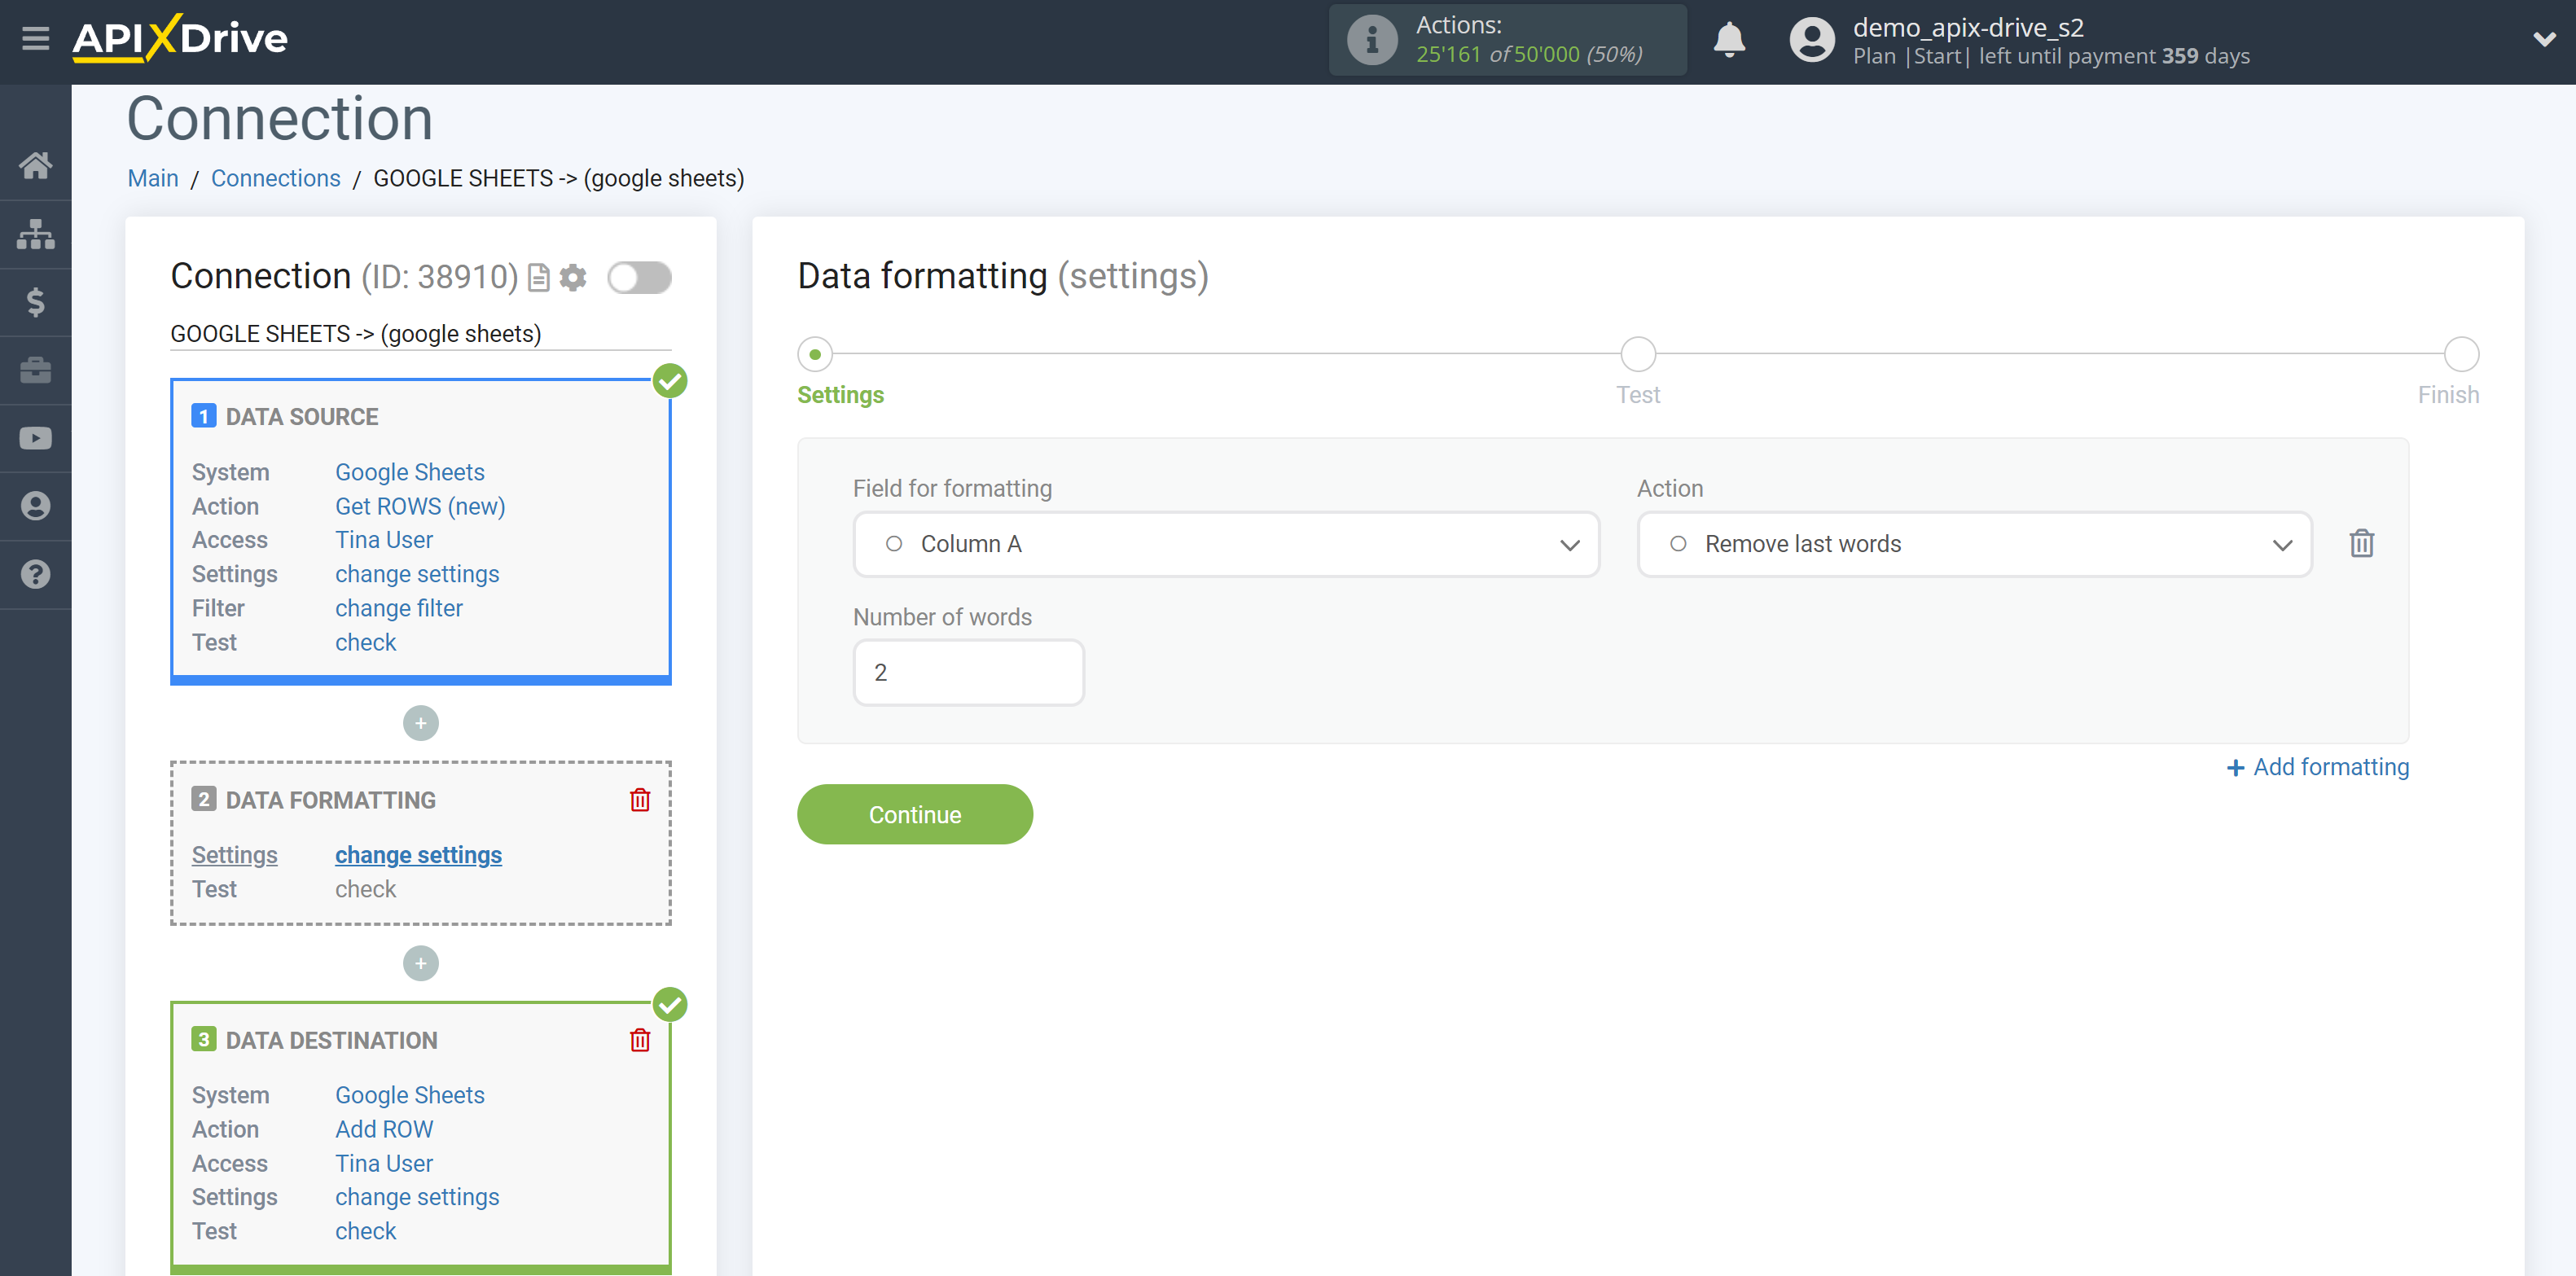
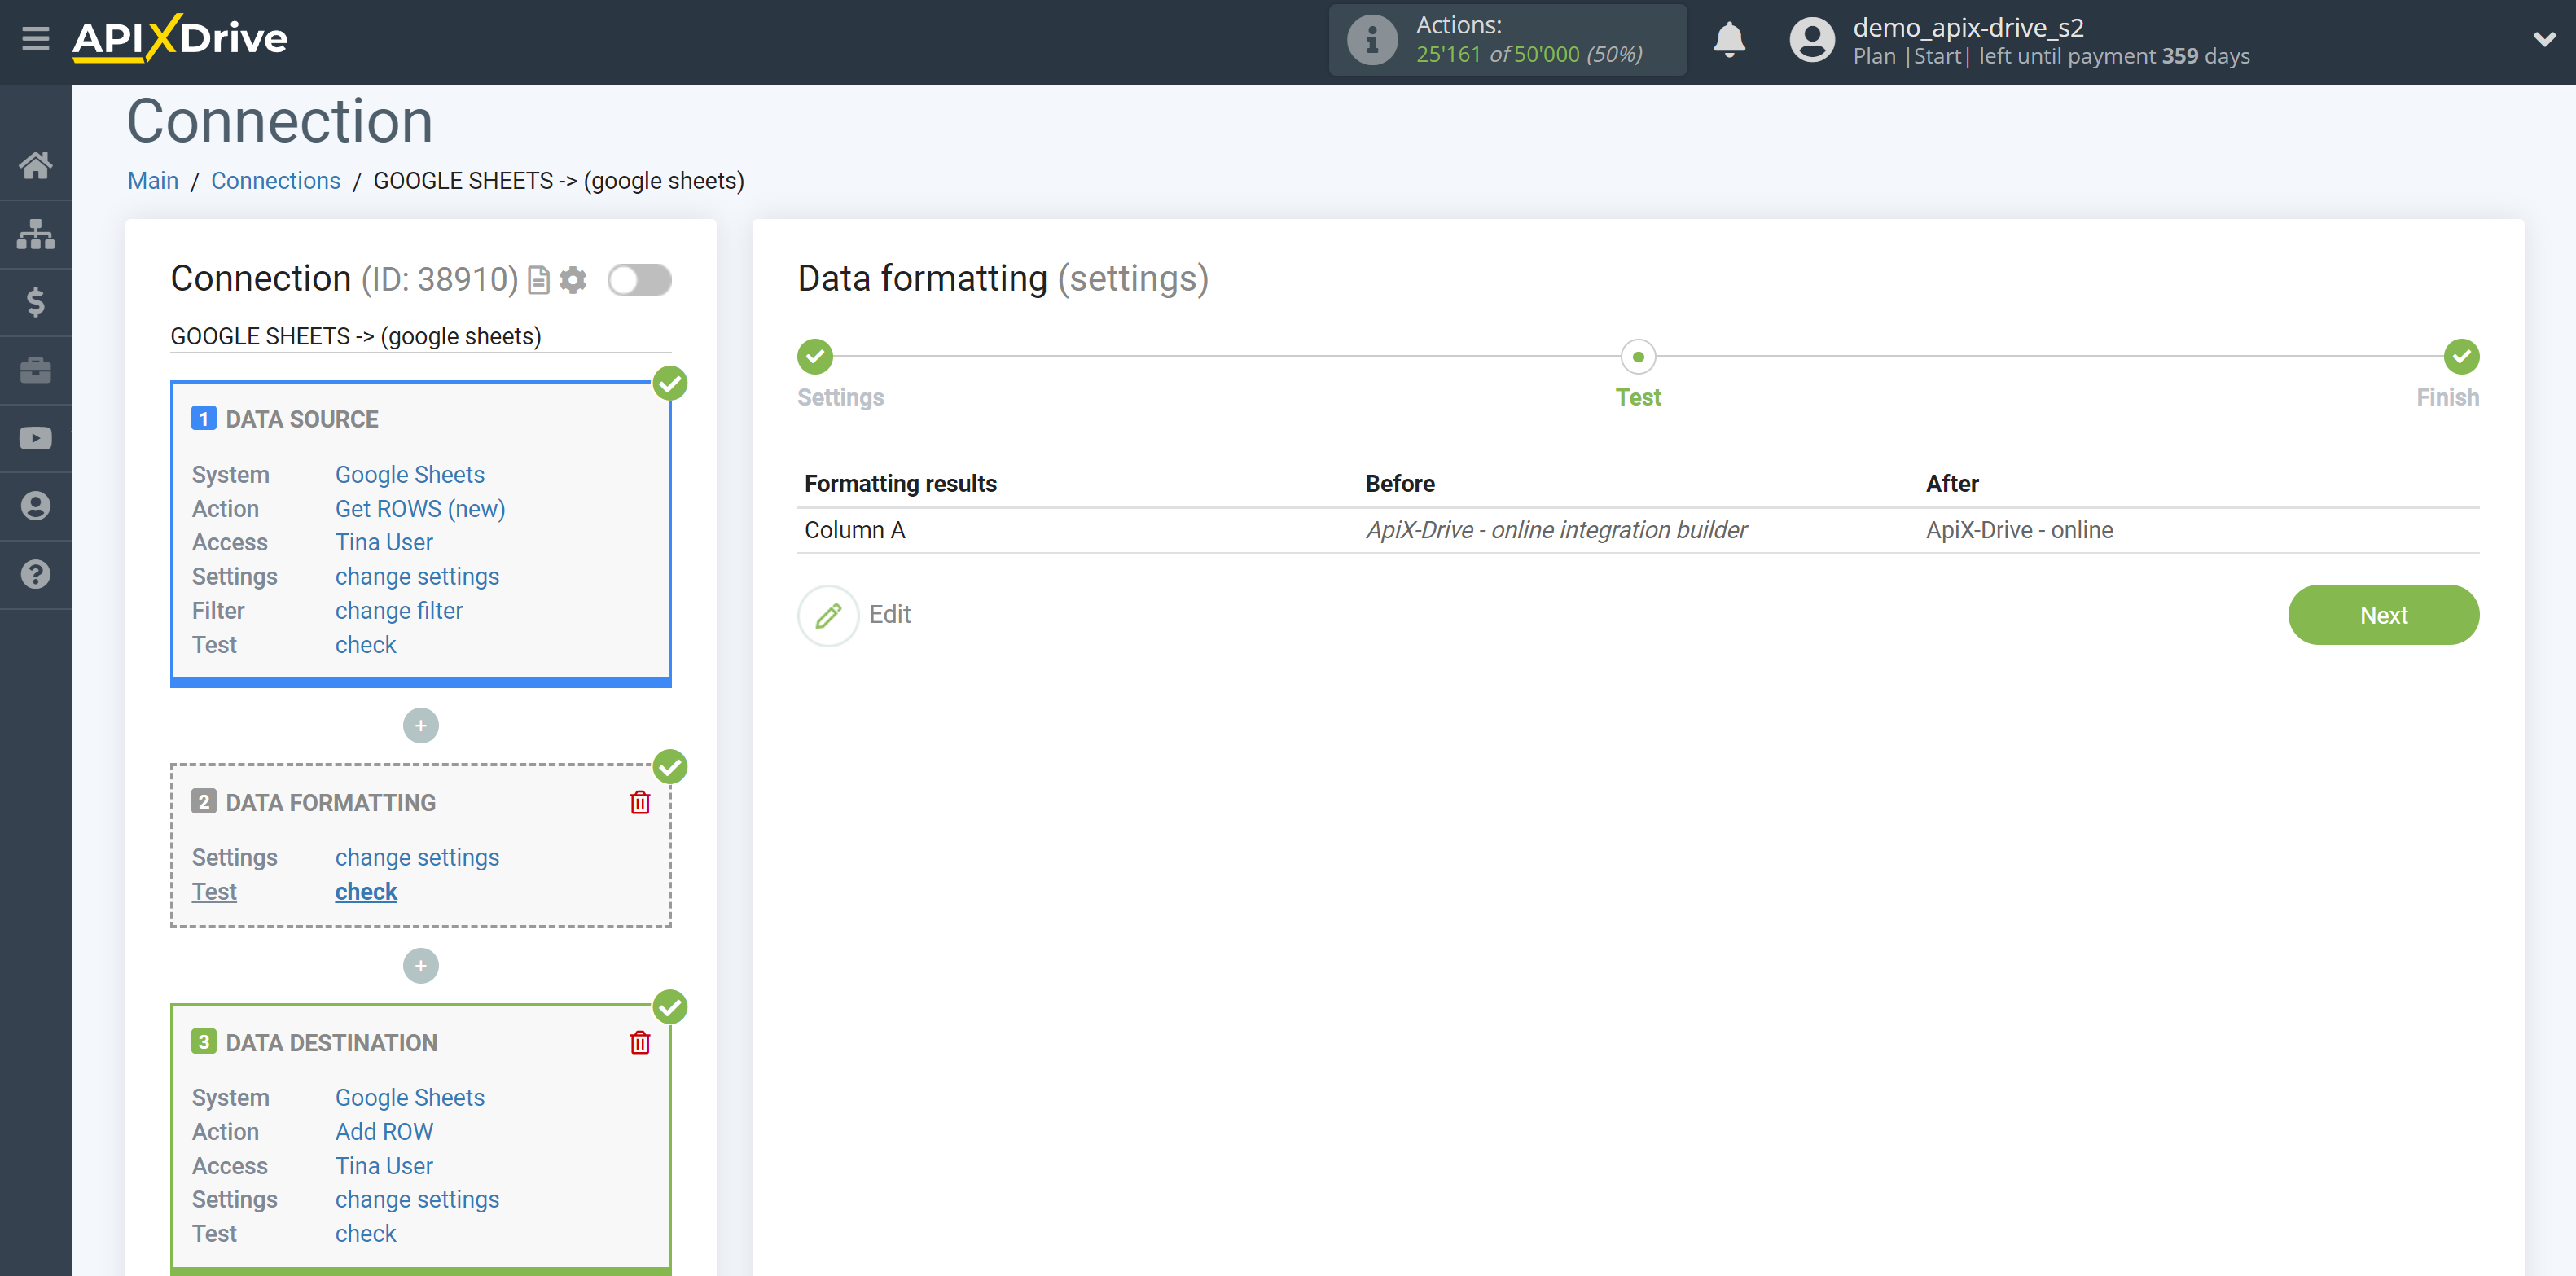
23. Remove word from end by position number
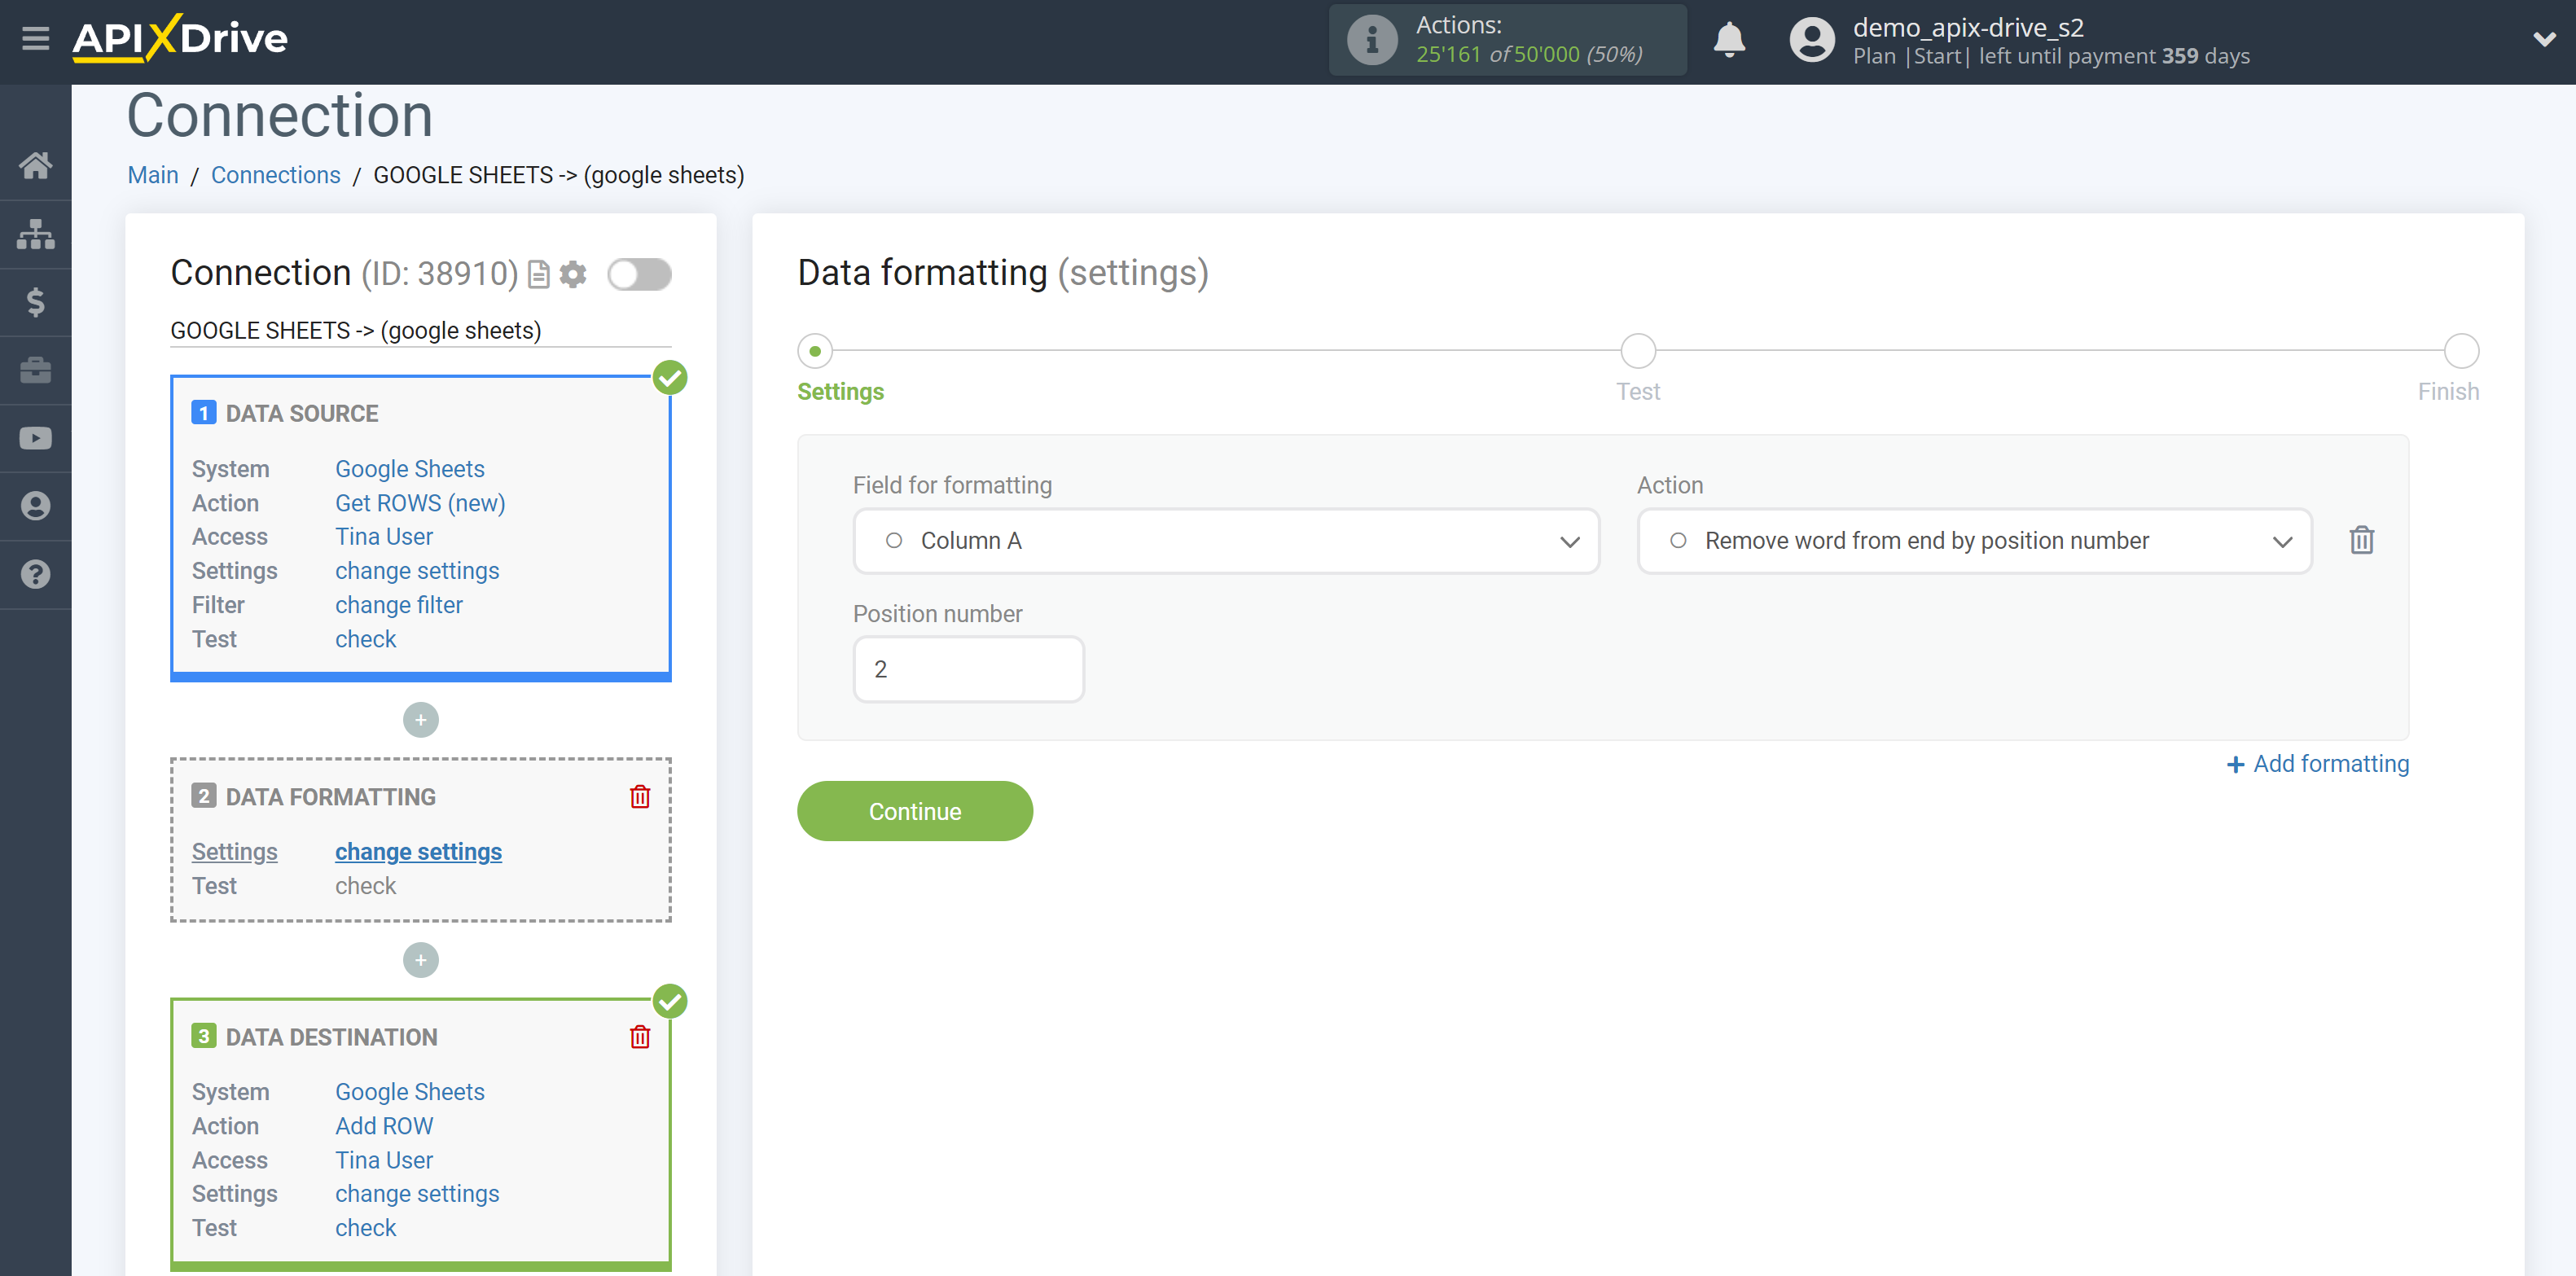
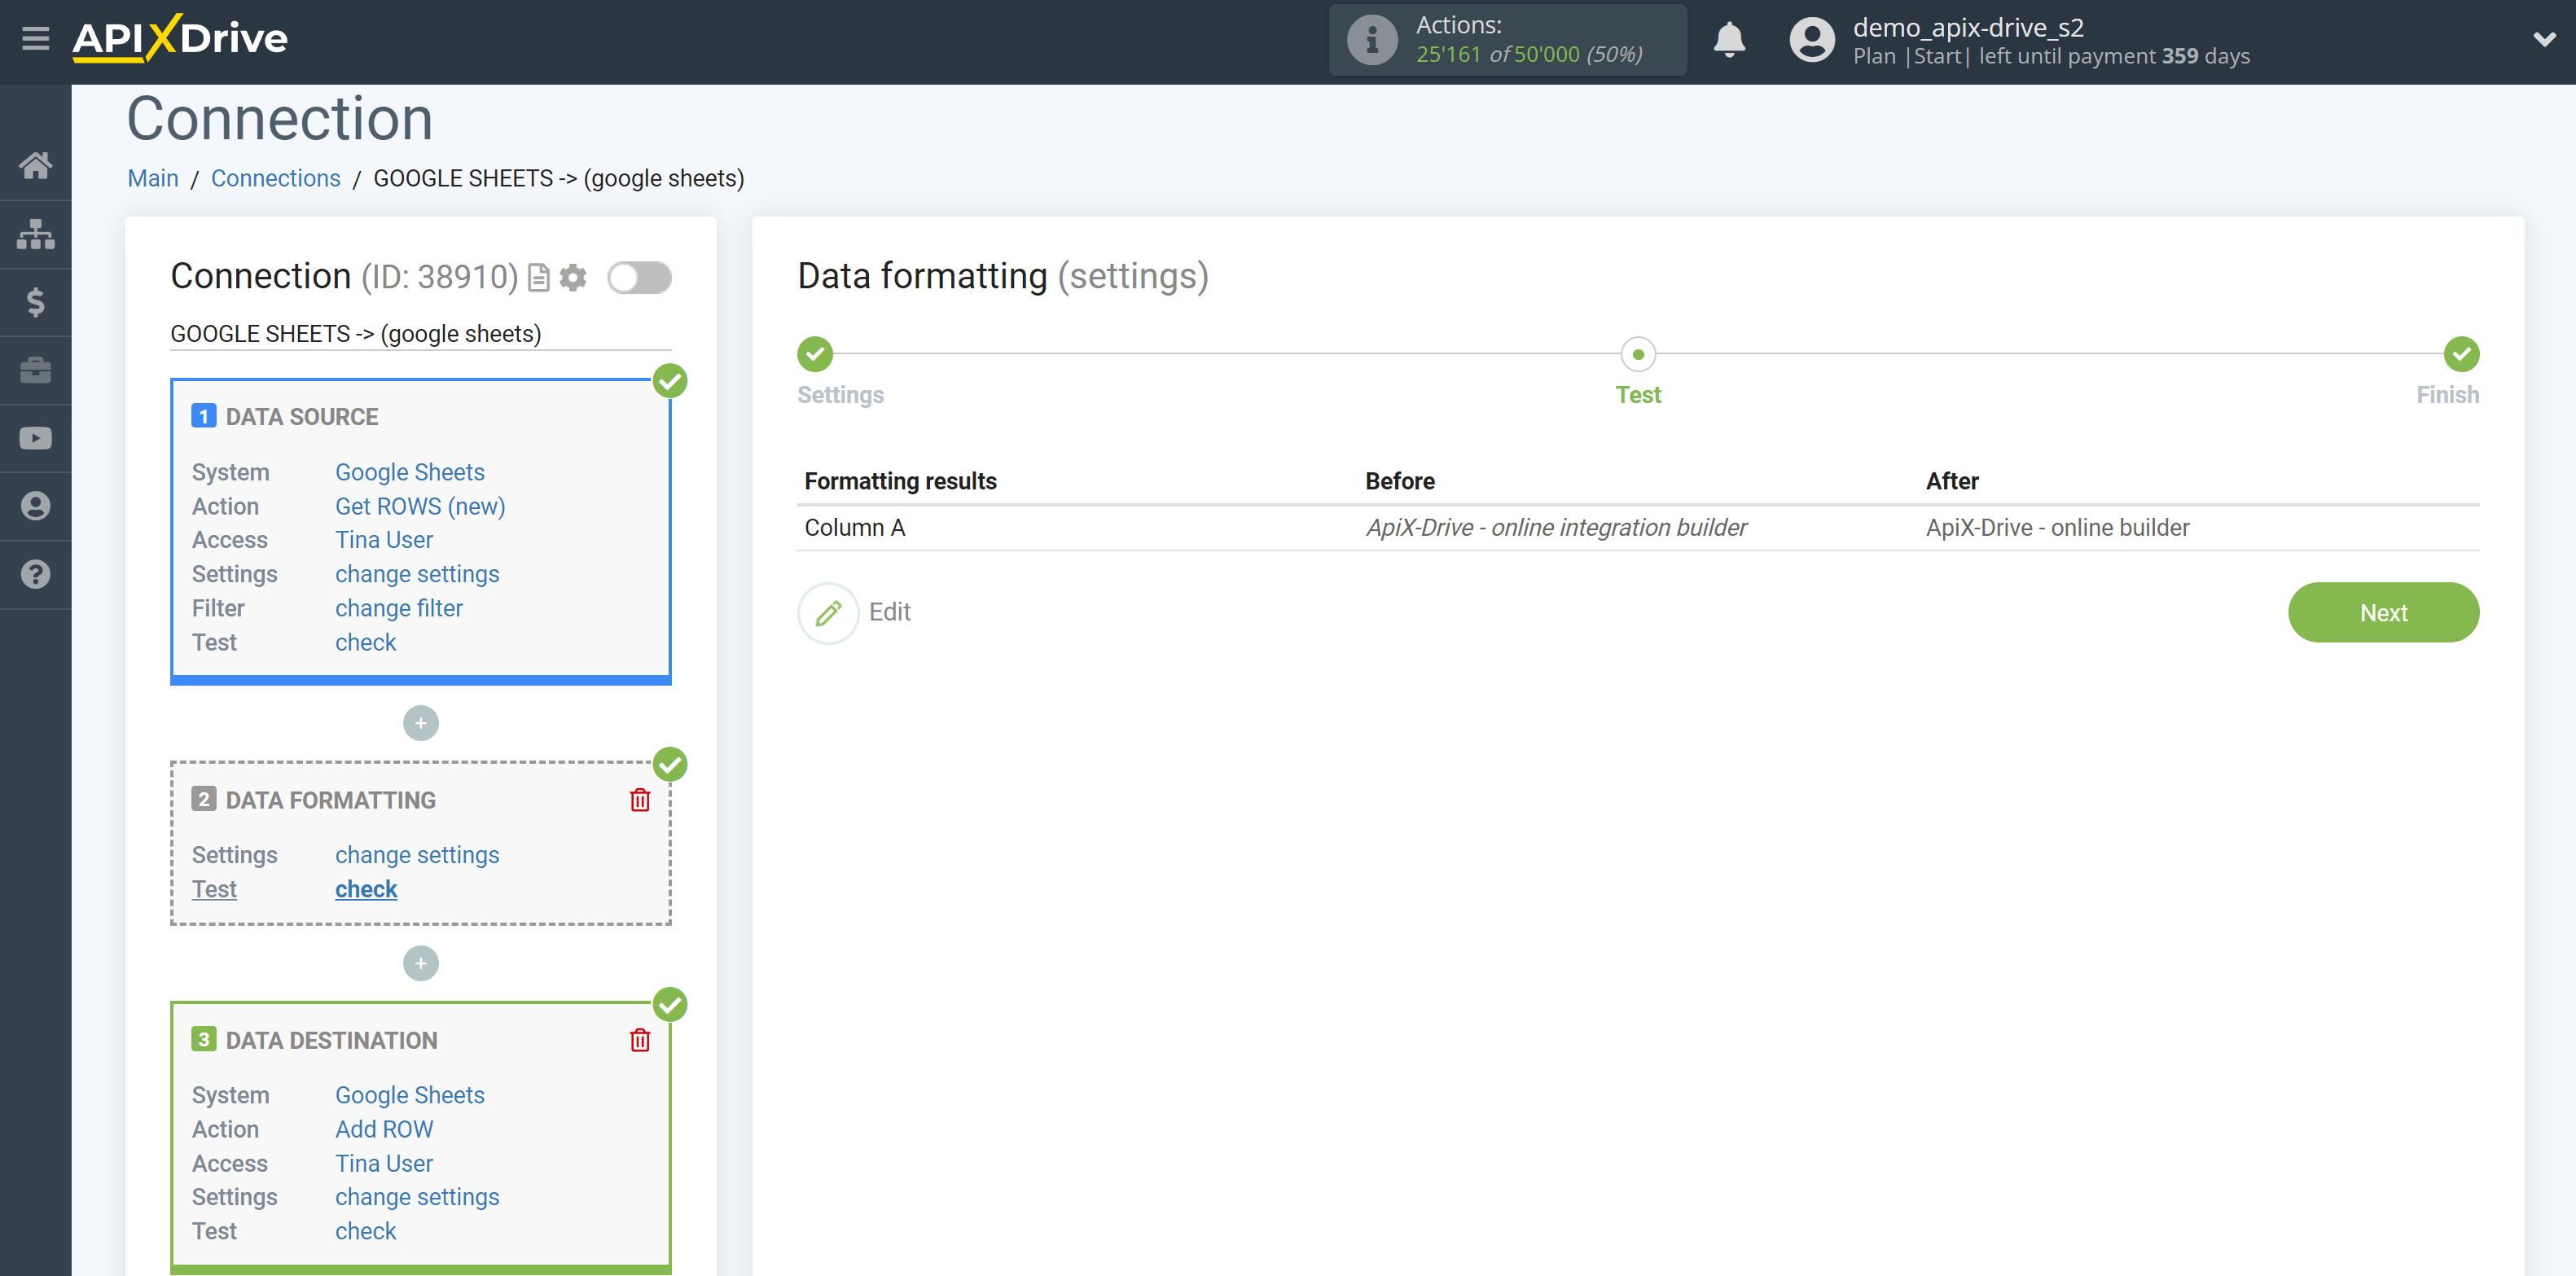
24. Replace
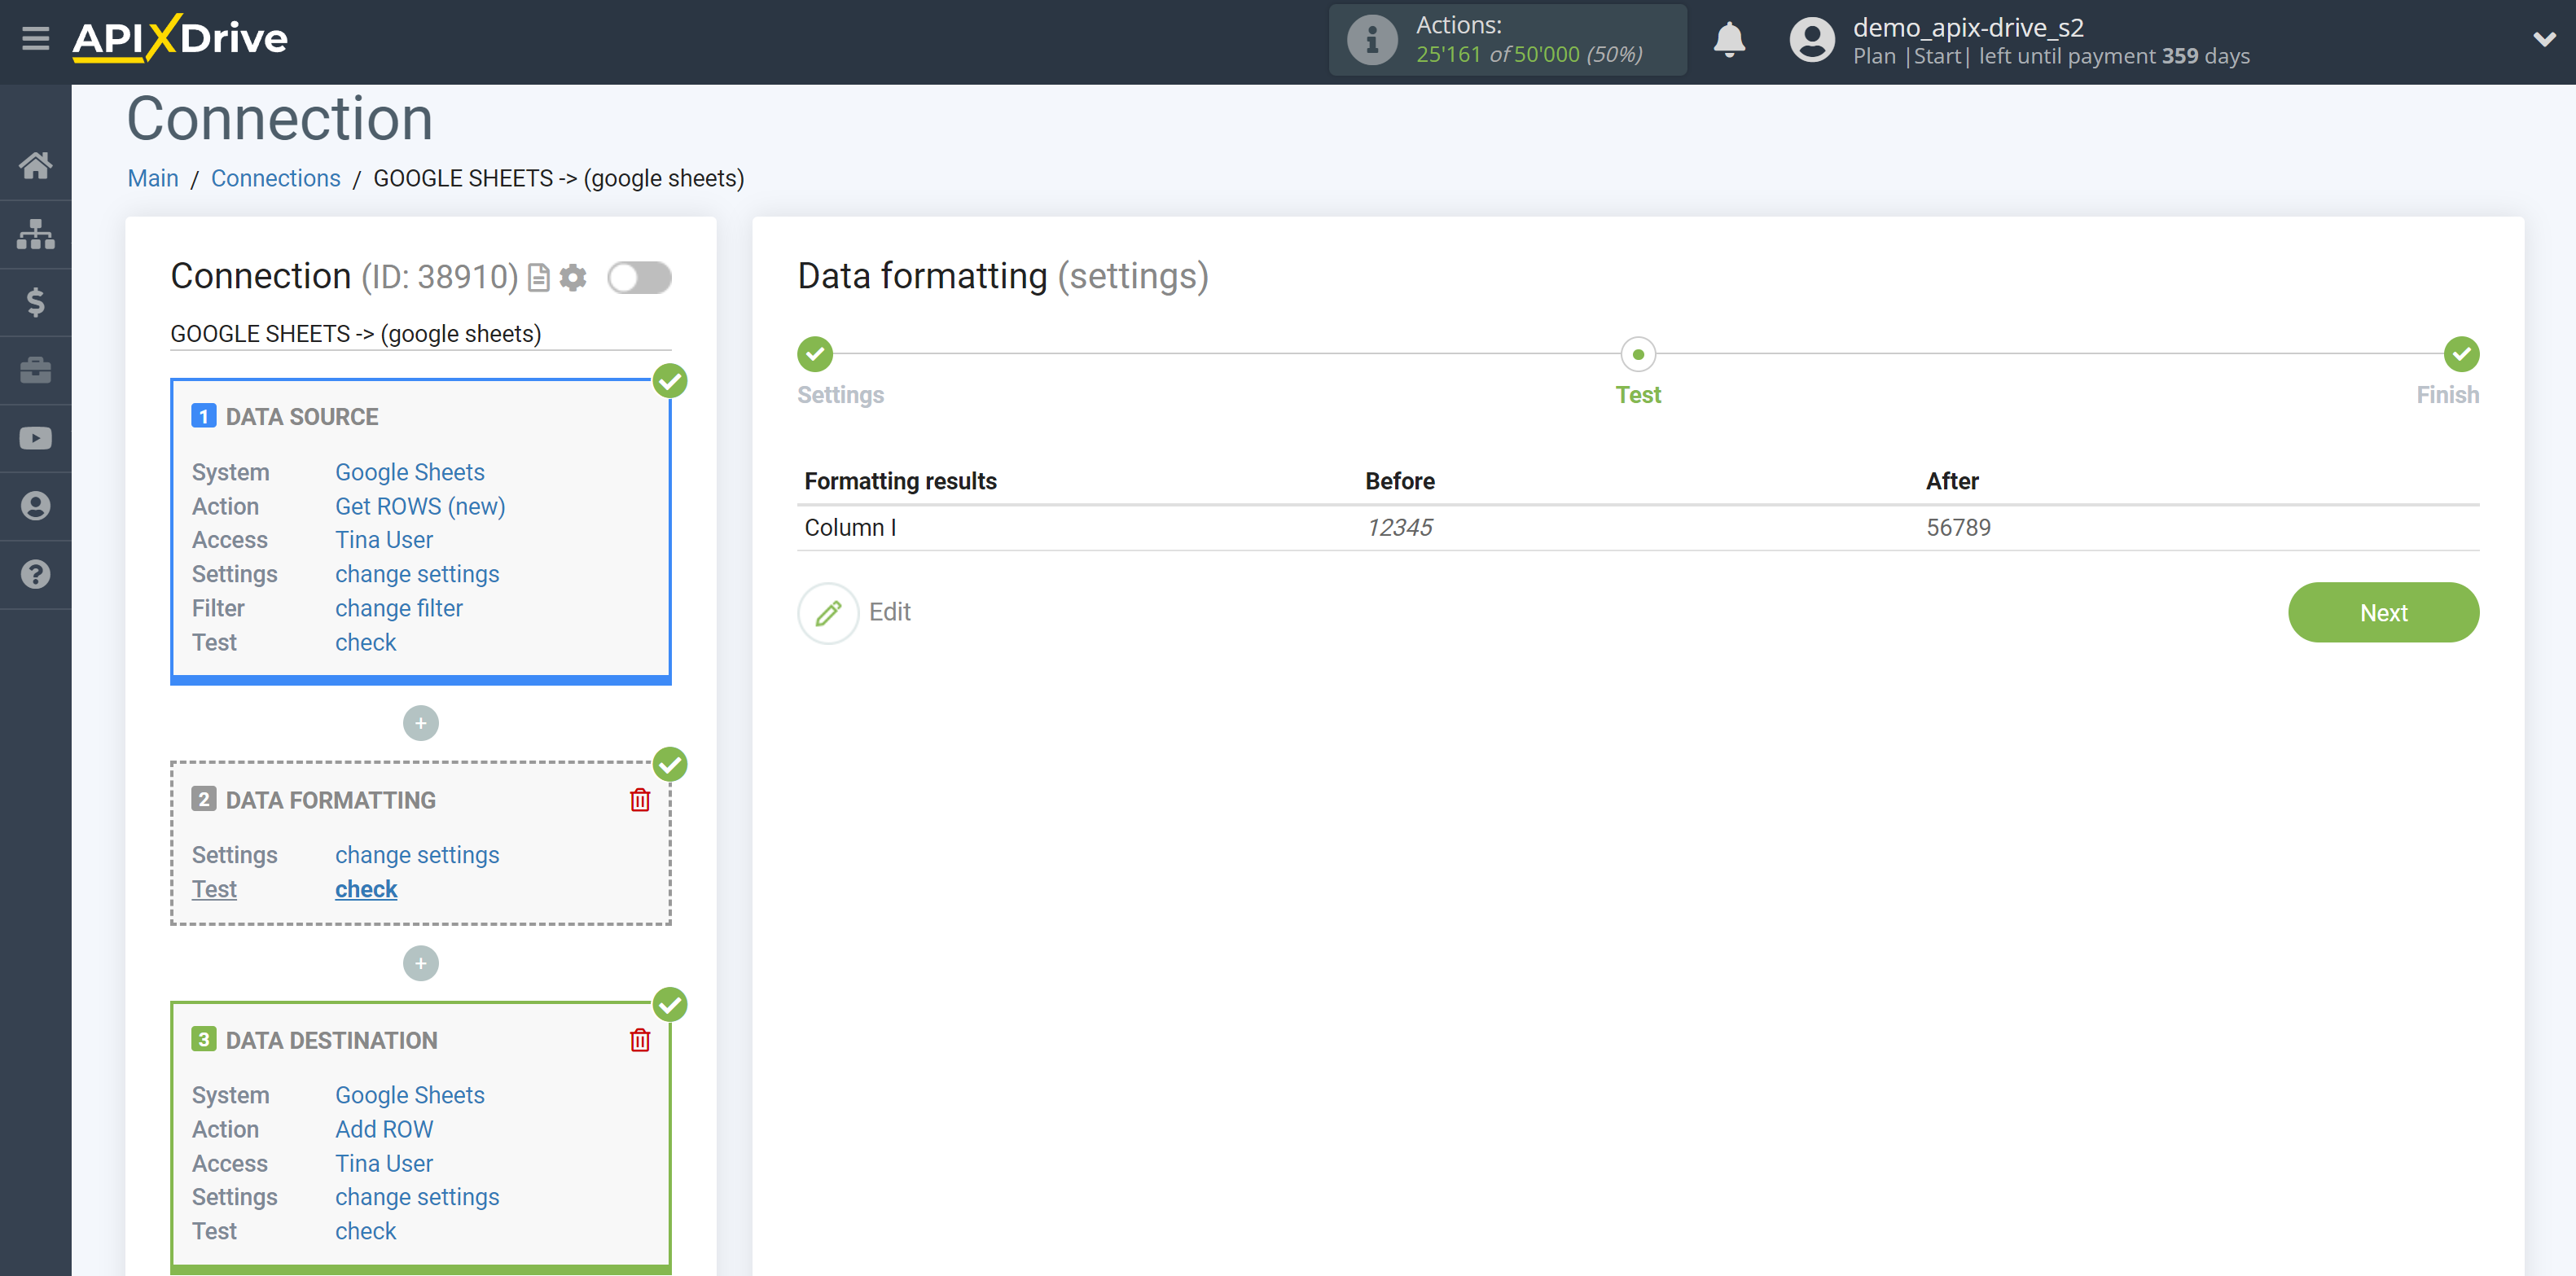
25. Replace value by replacement list
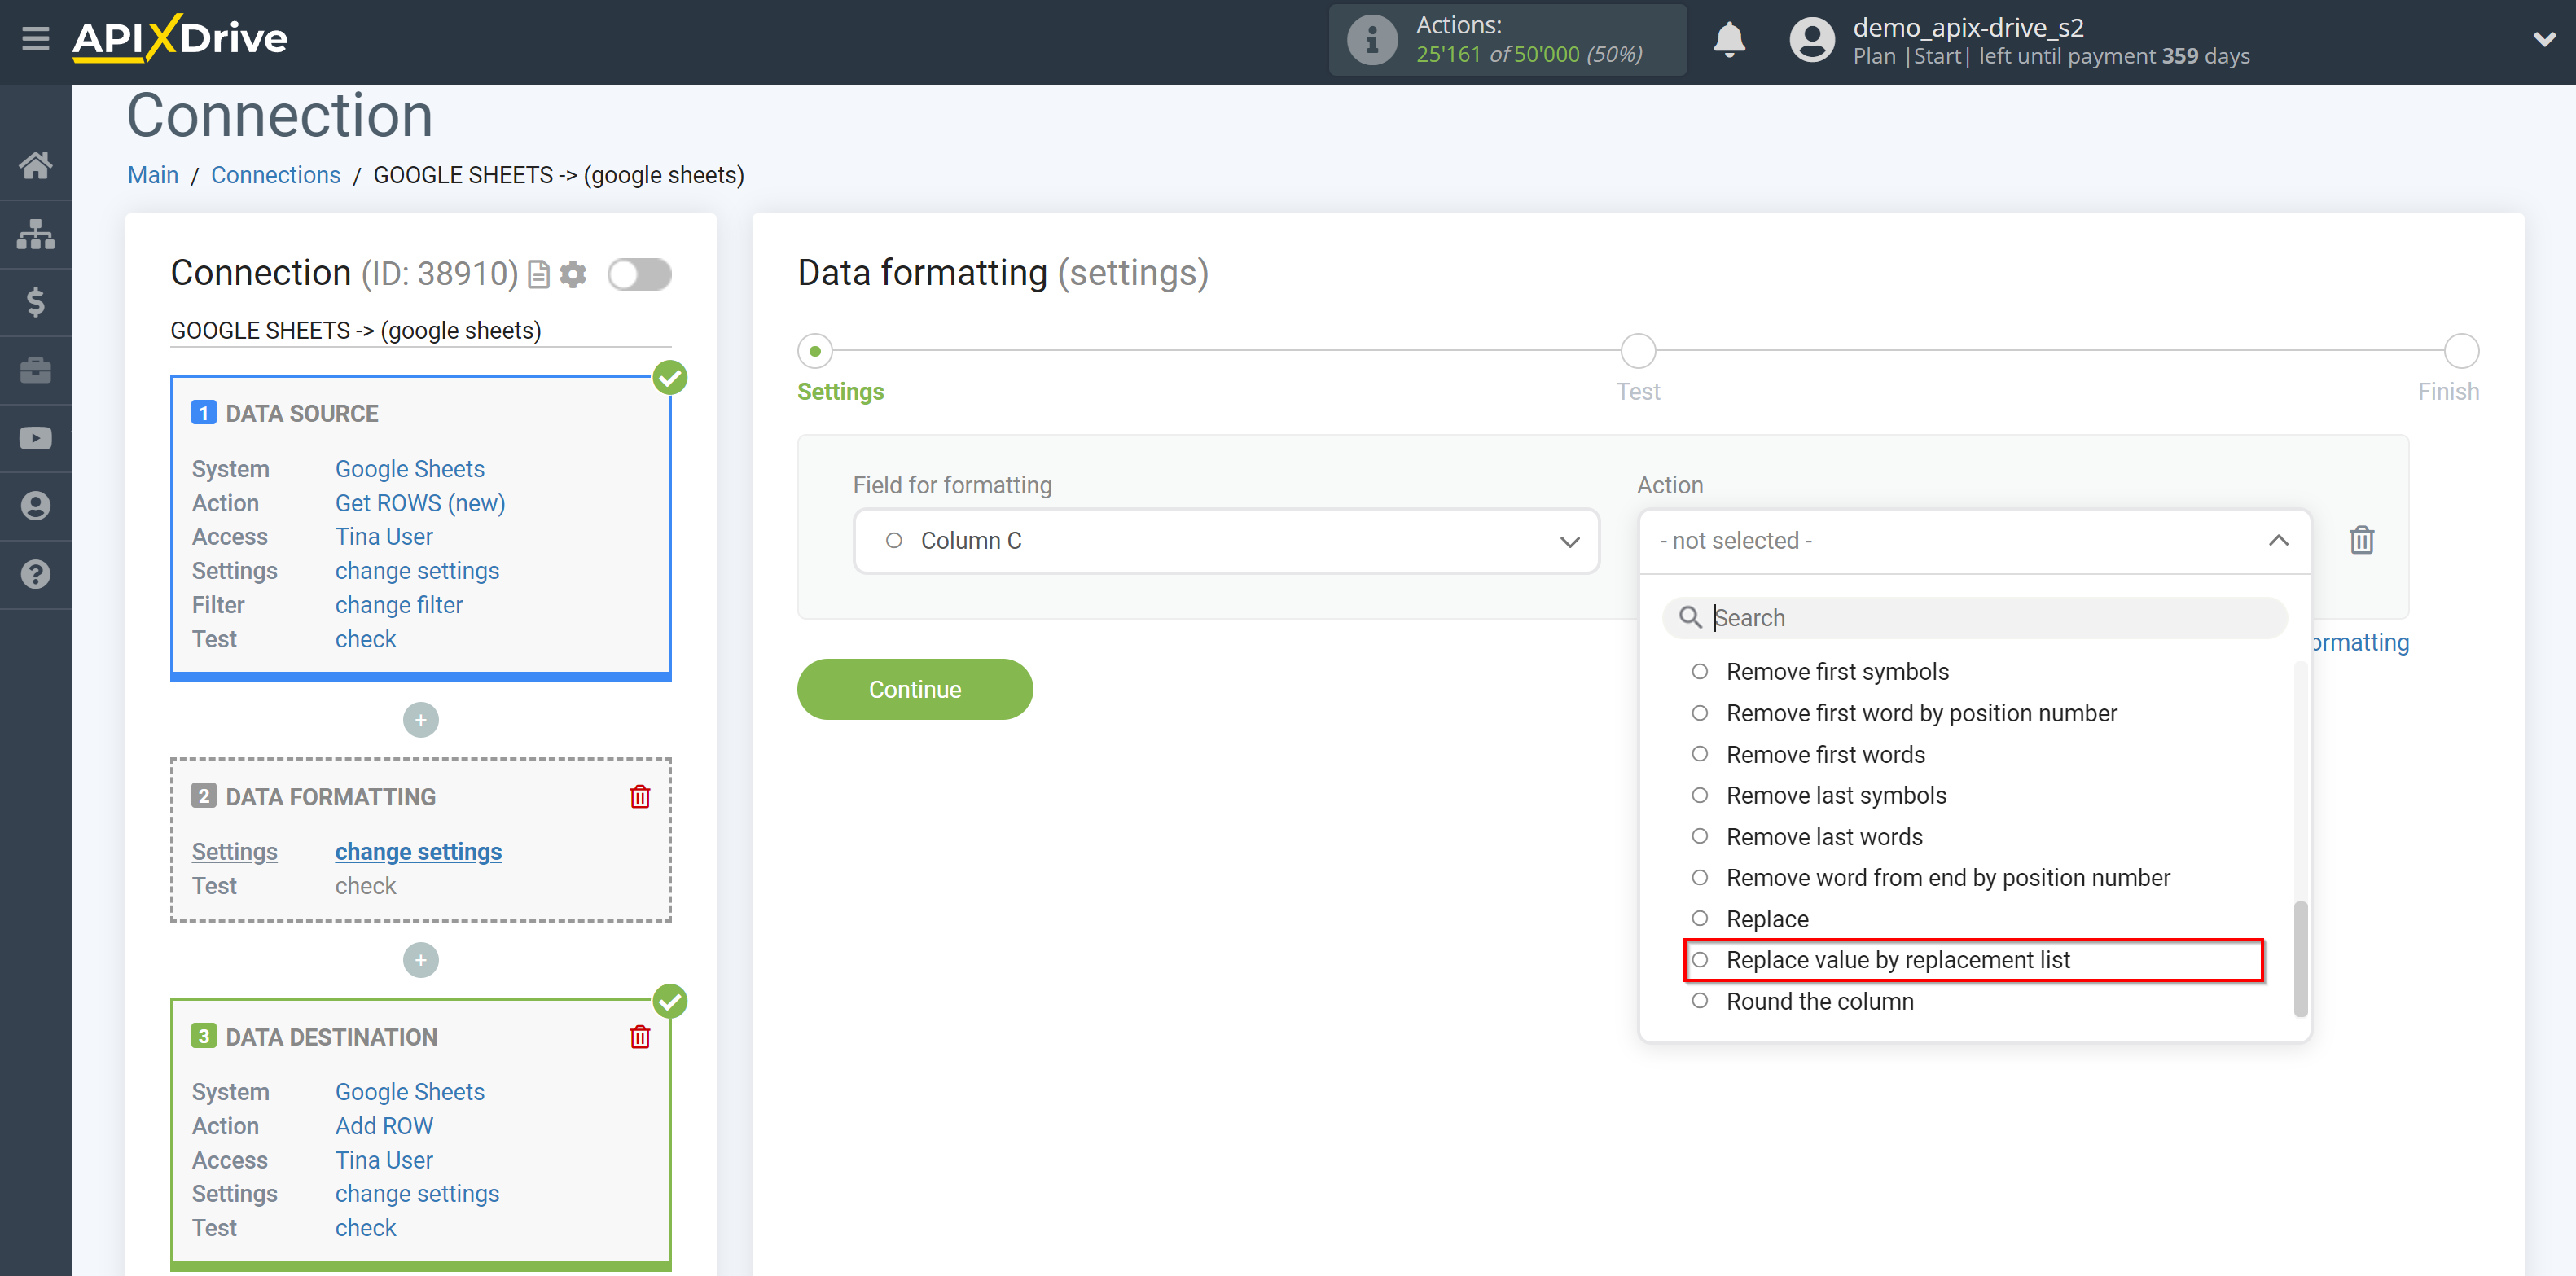
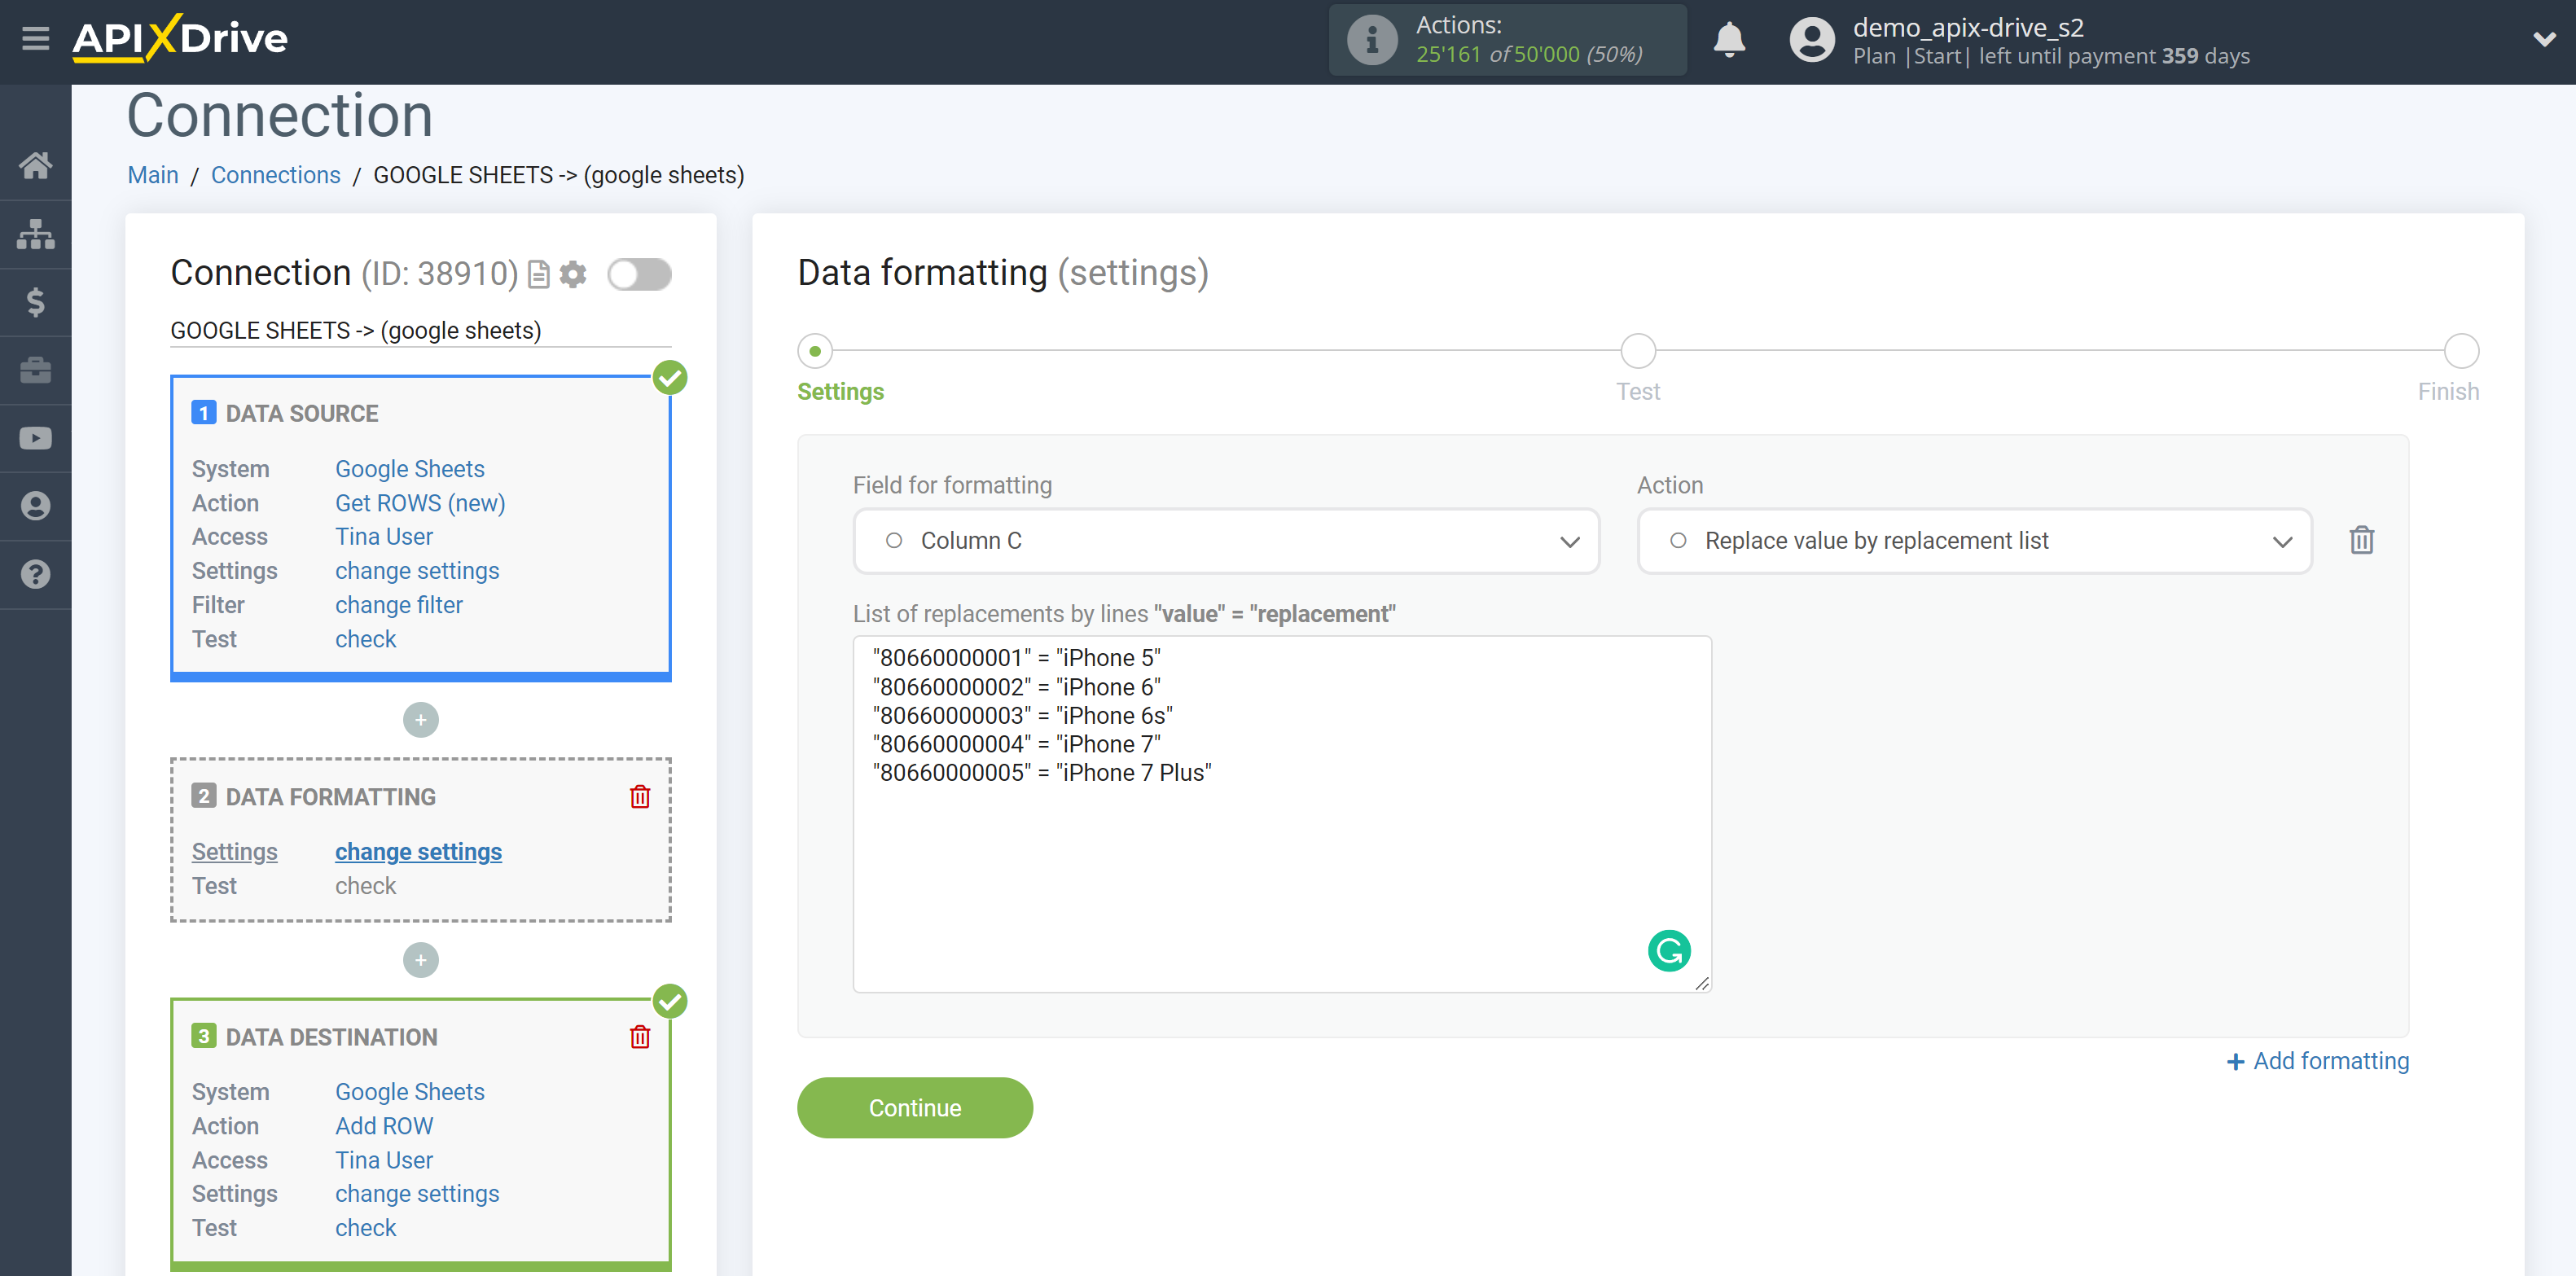
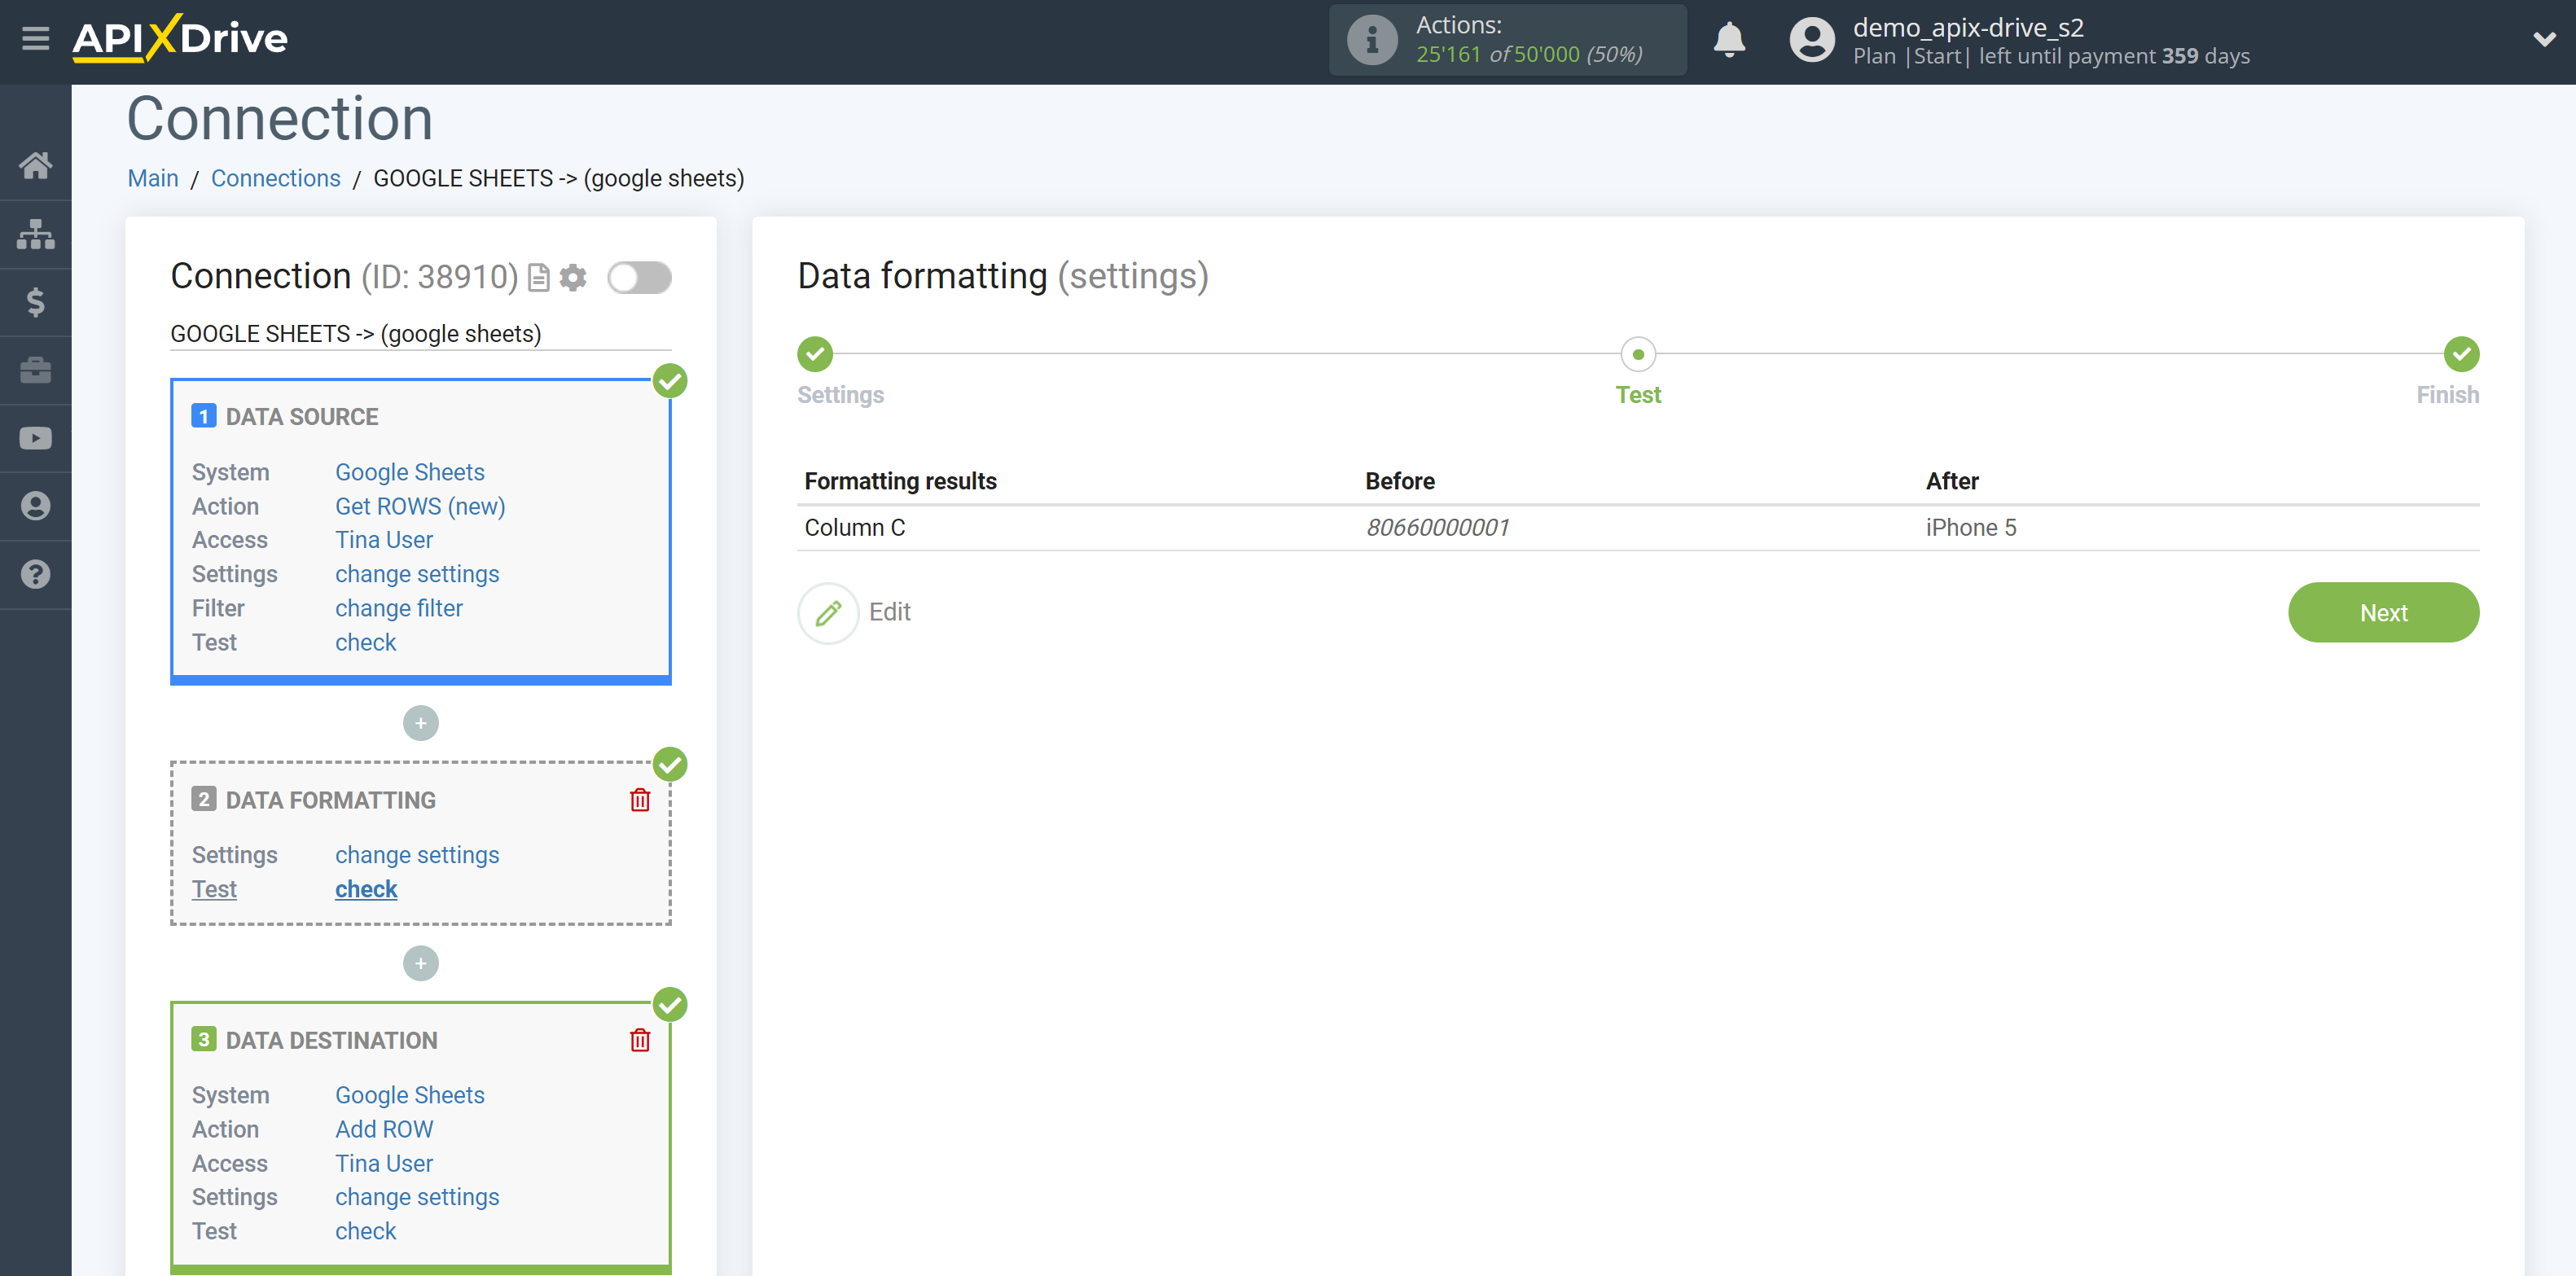
26. Round the column
27. Format phone.
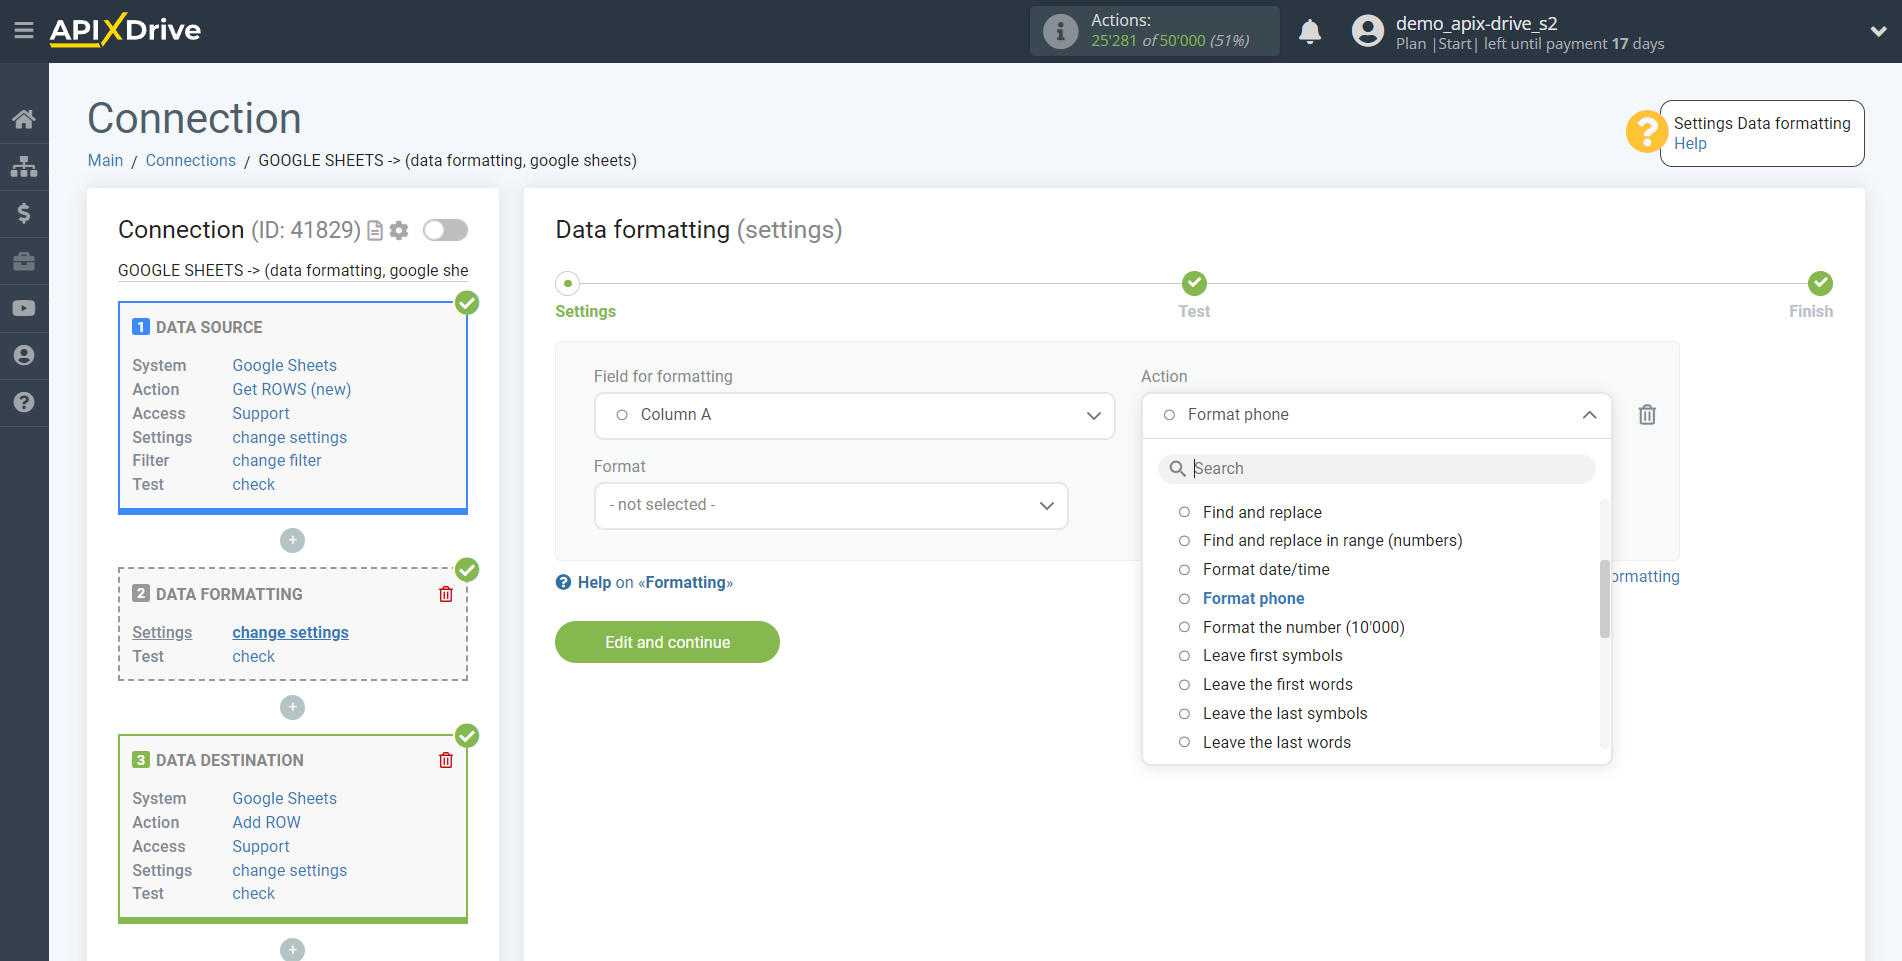
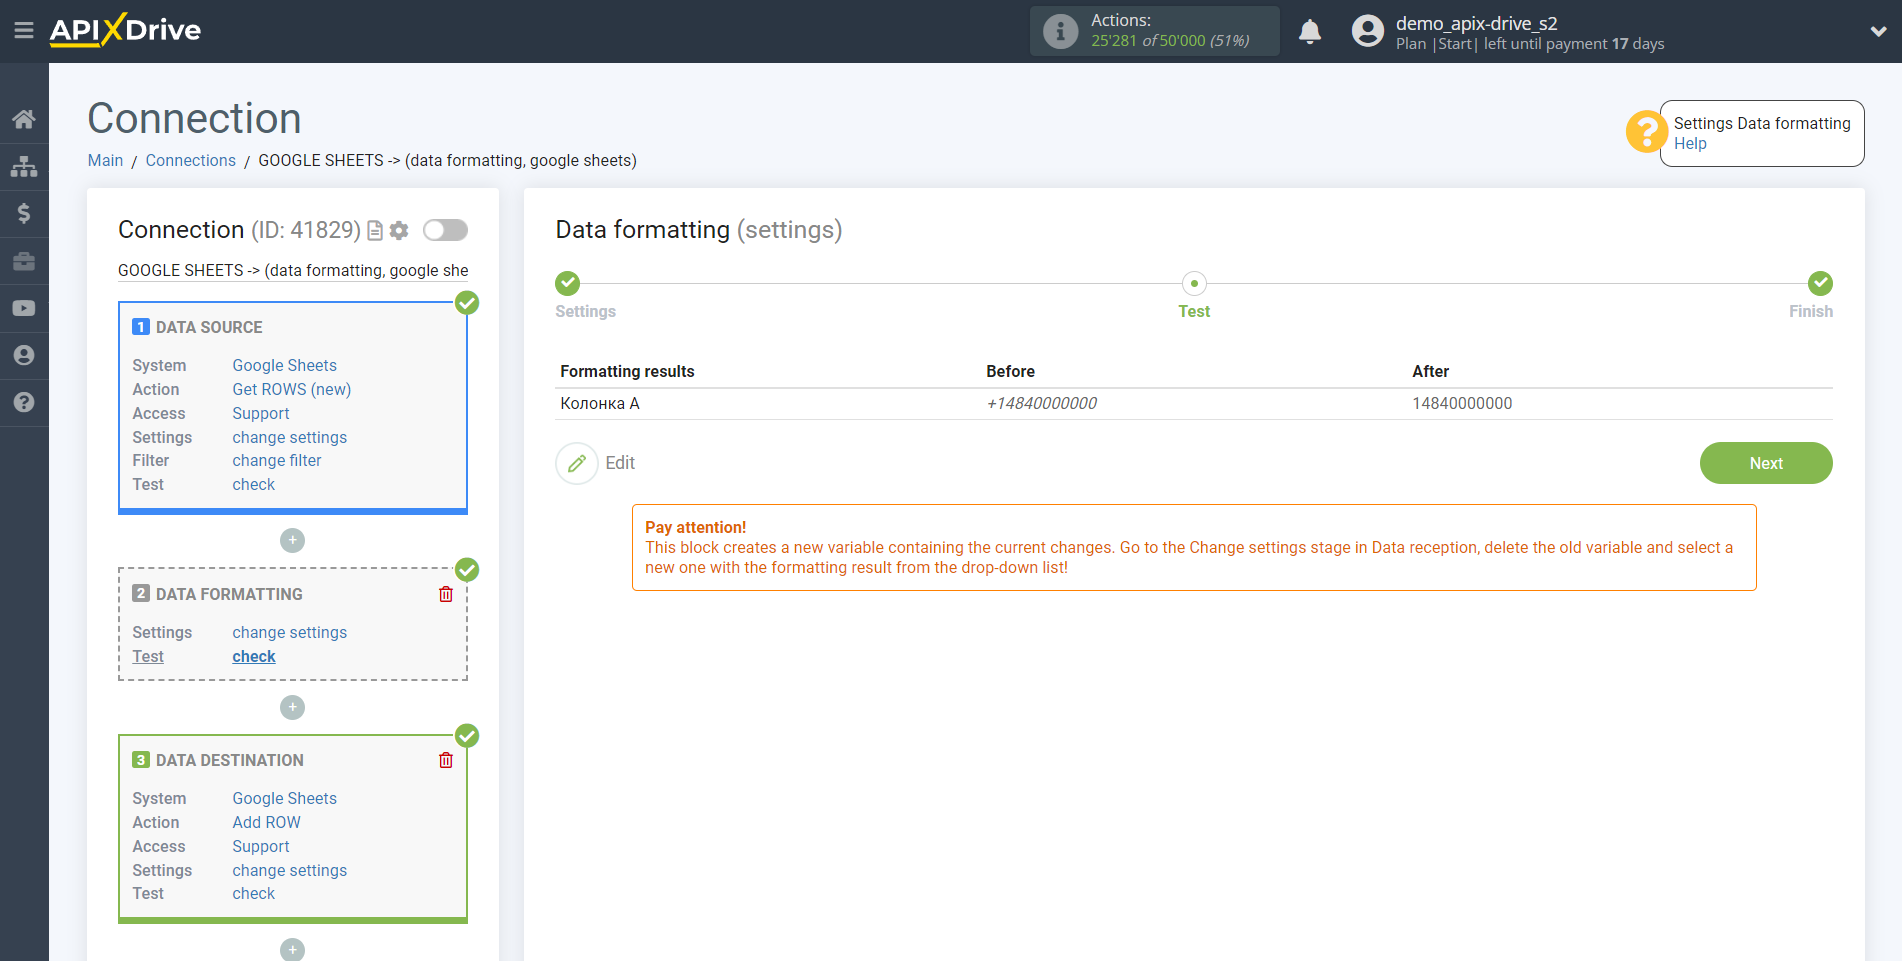
If you have the task of transform all received phone numbers from the Data Source to a one view, then we recommend that you set it up this way.
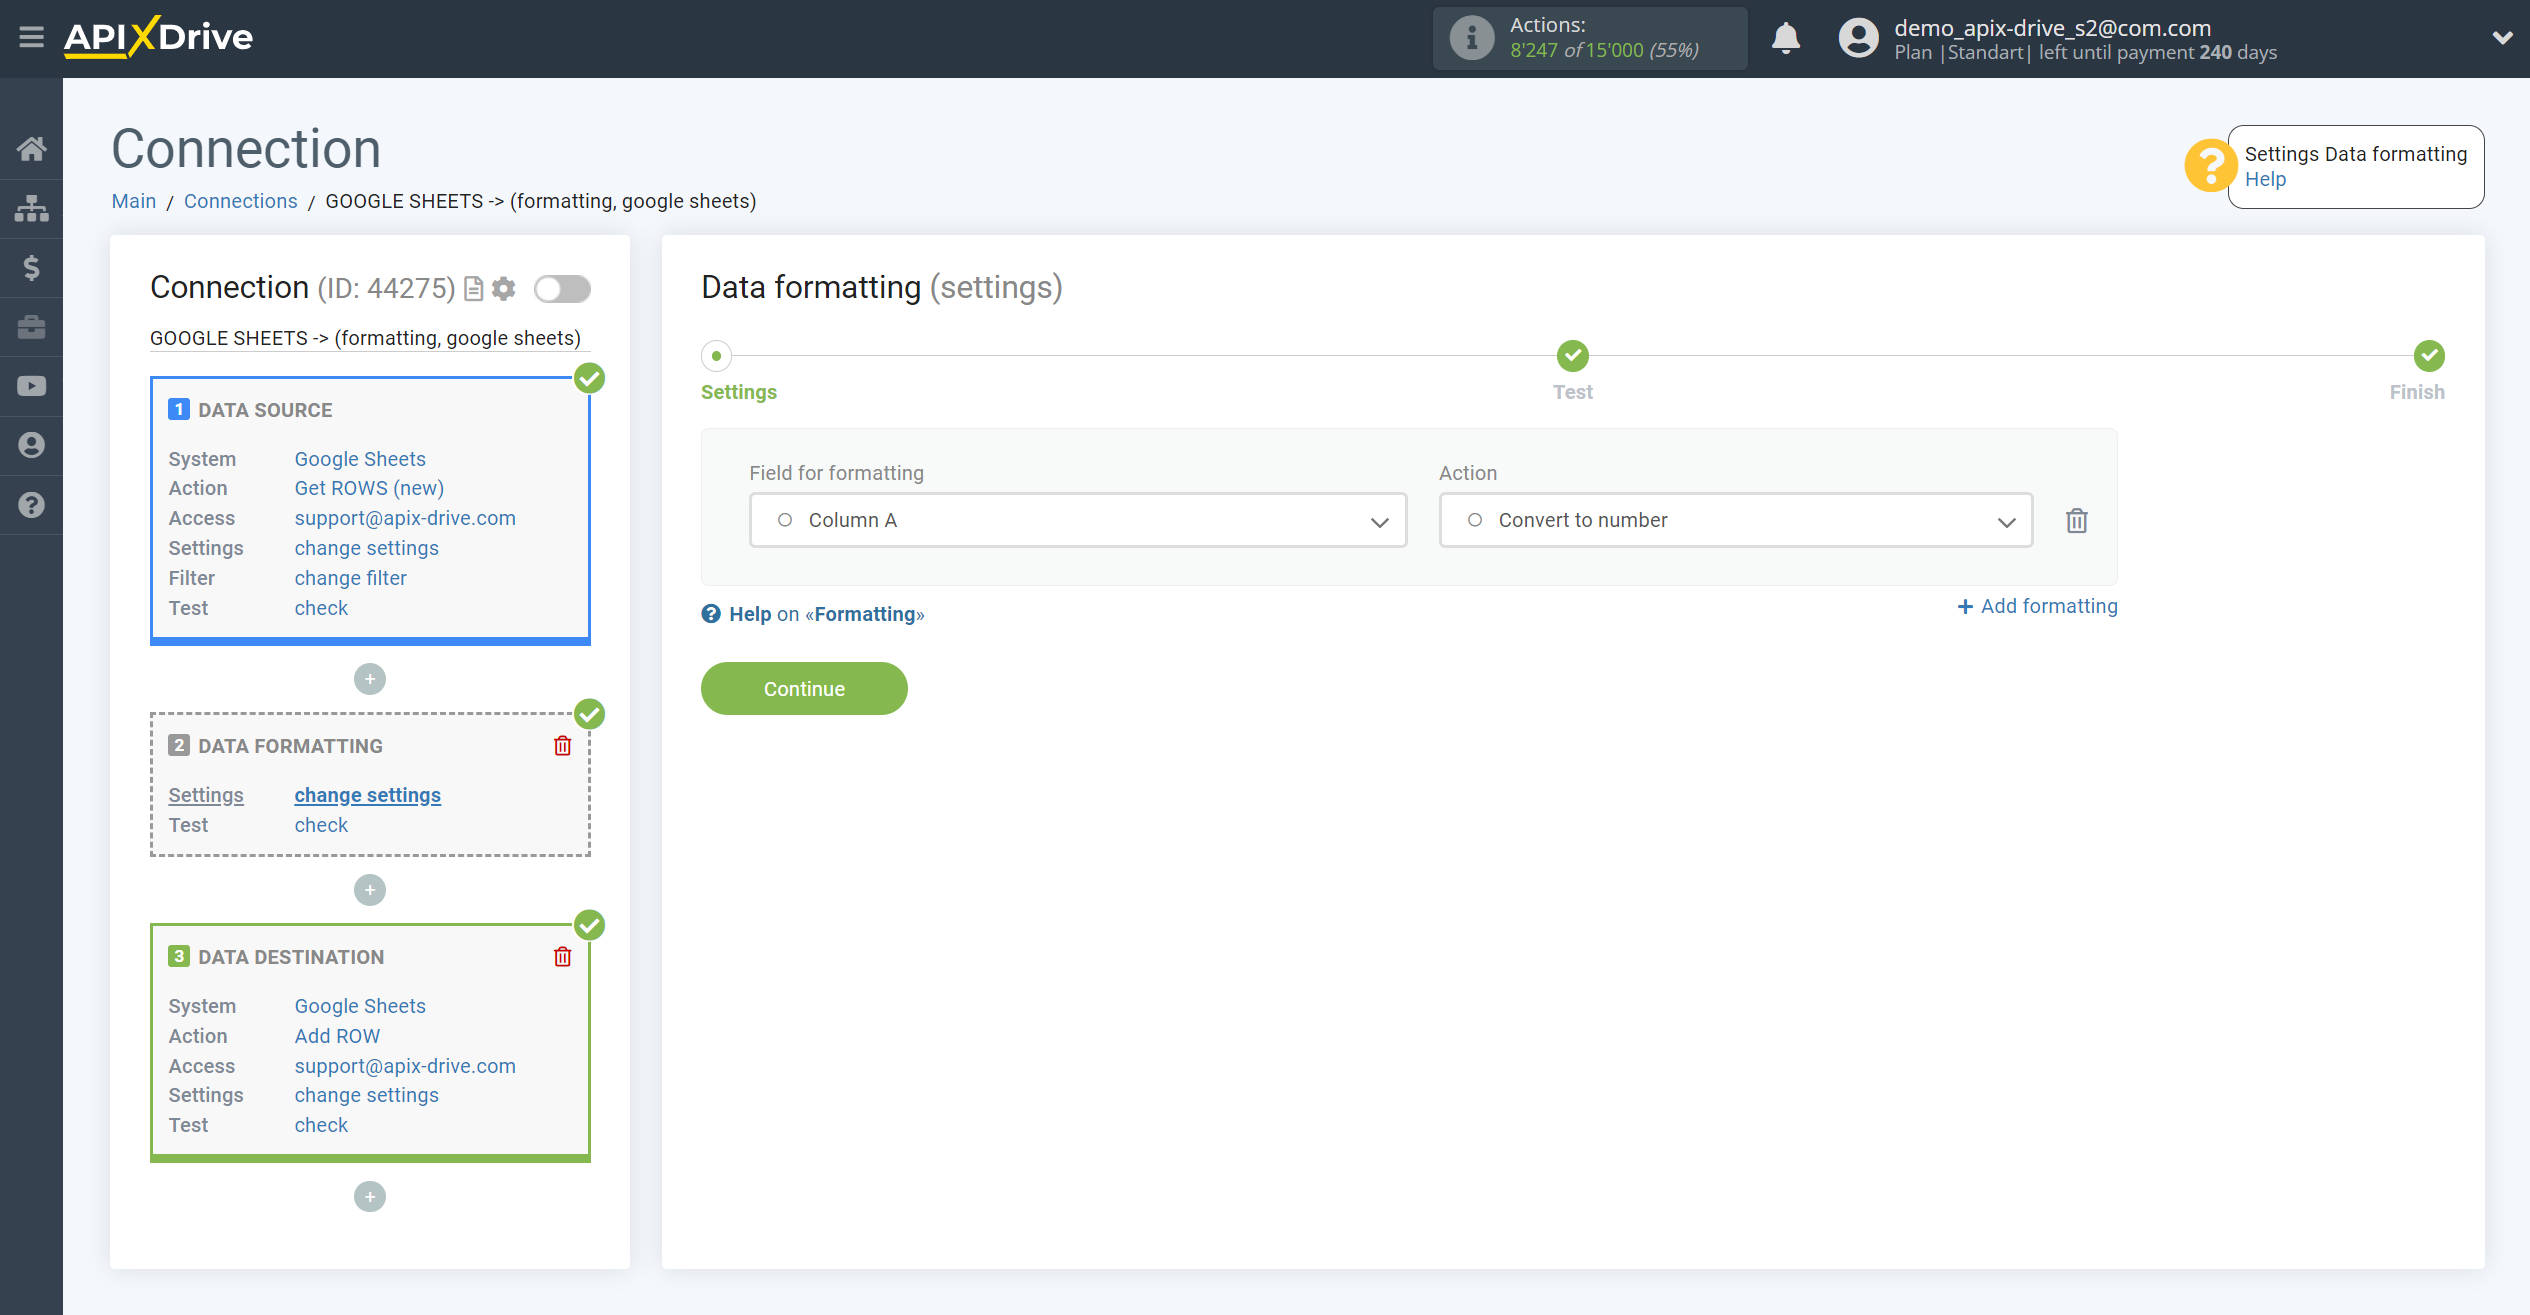
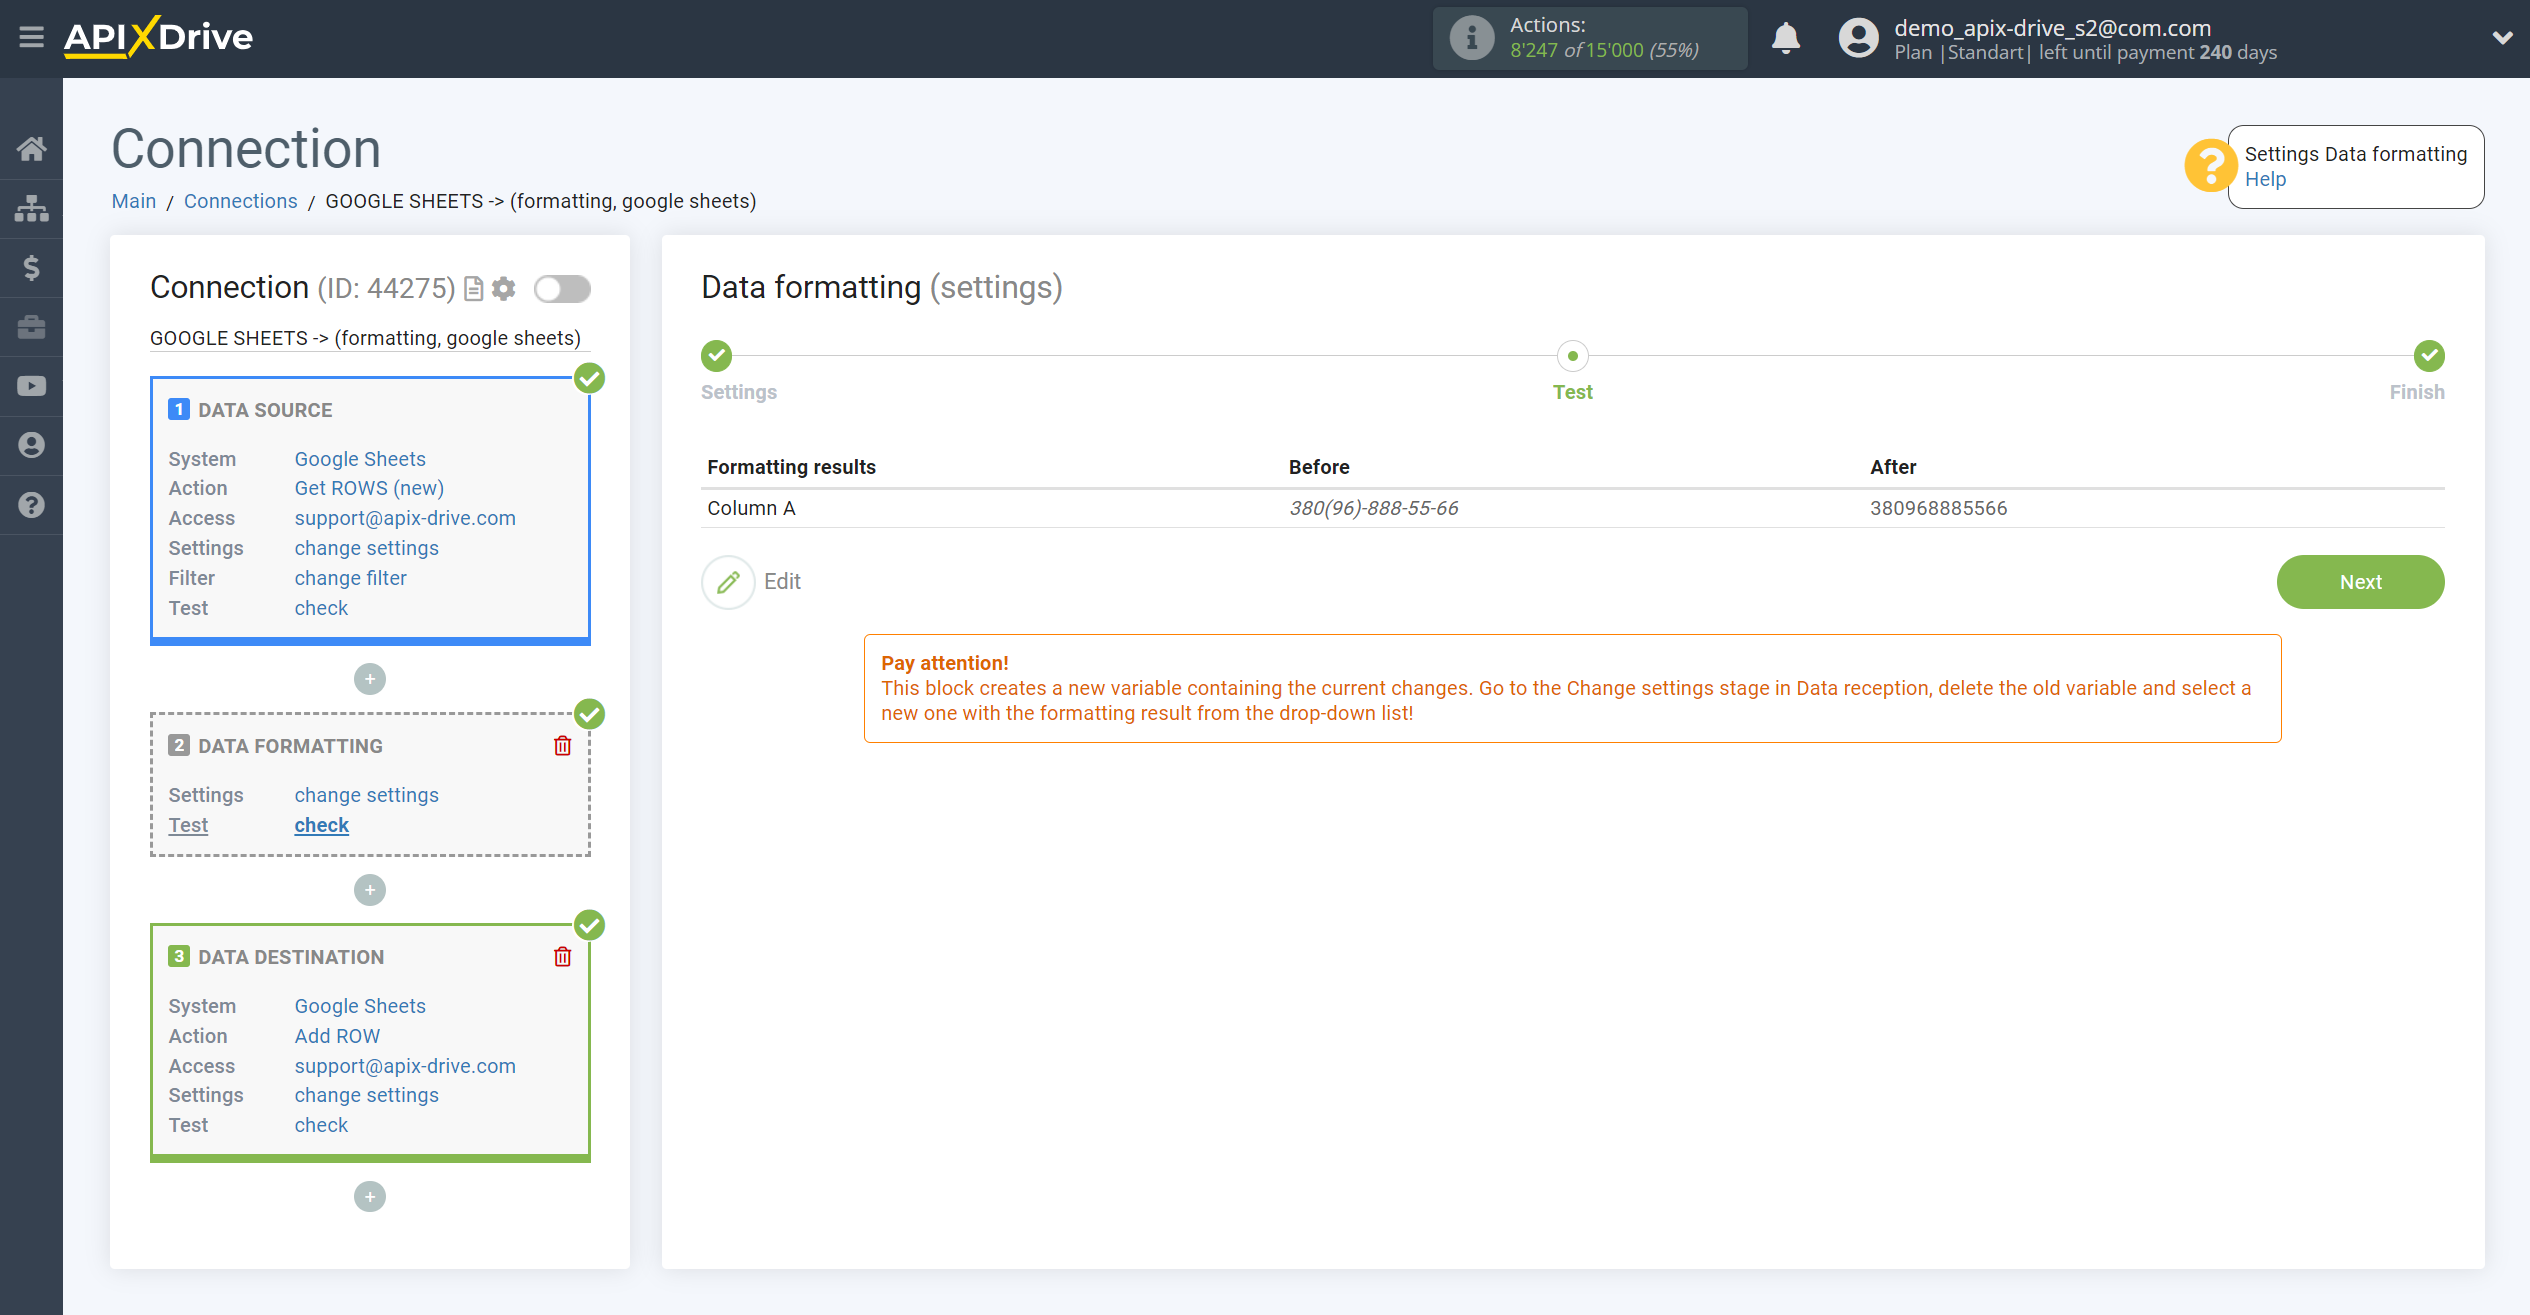
1. Add the first Data Formatting block, select the desired variable from the Data Source containing the phone, and chose action Convert to Number.
This step will help to remove all the extra characters + () - etc.
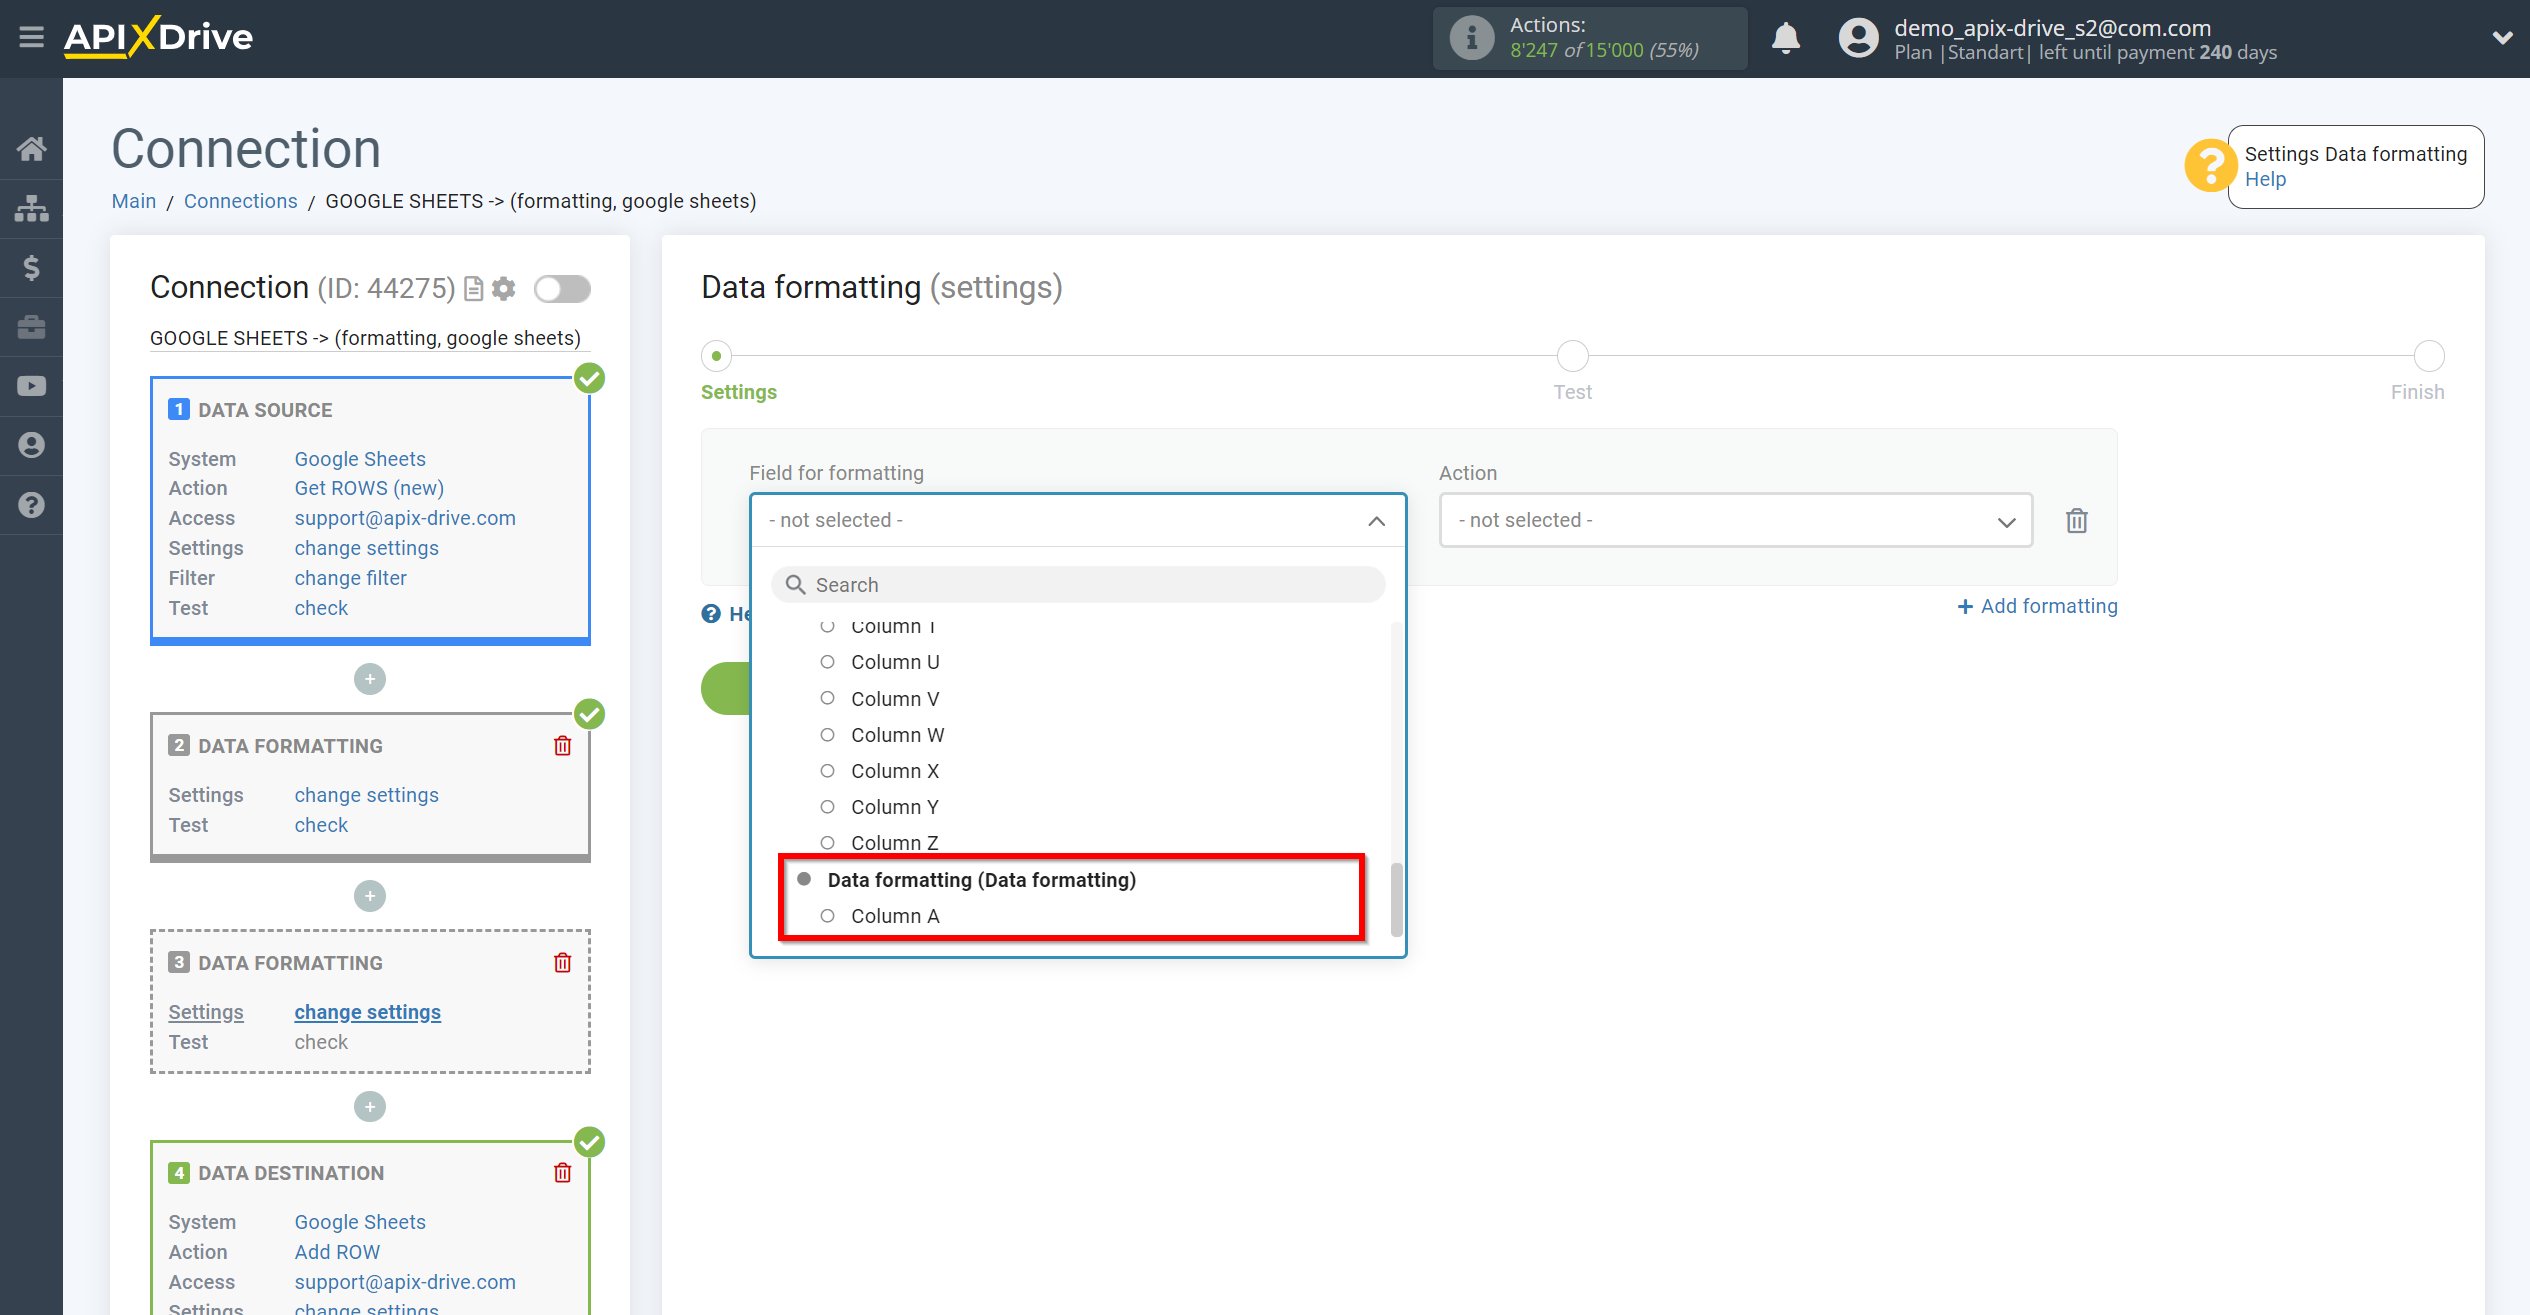
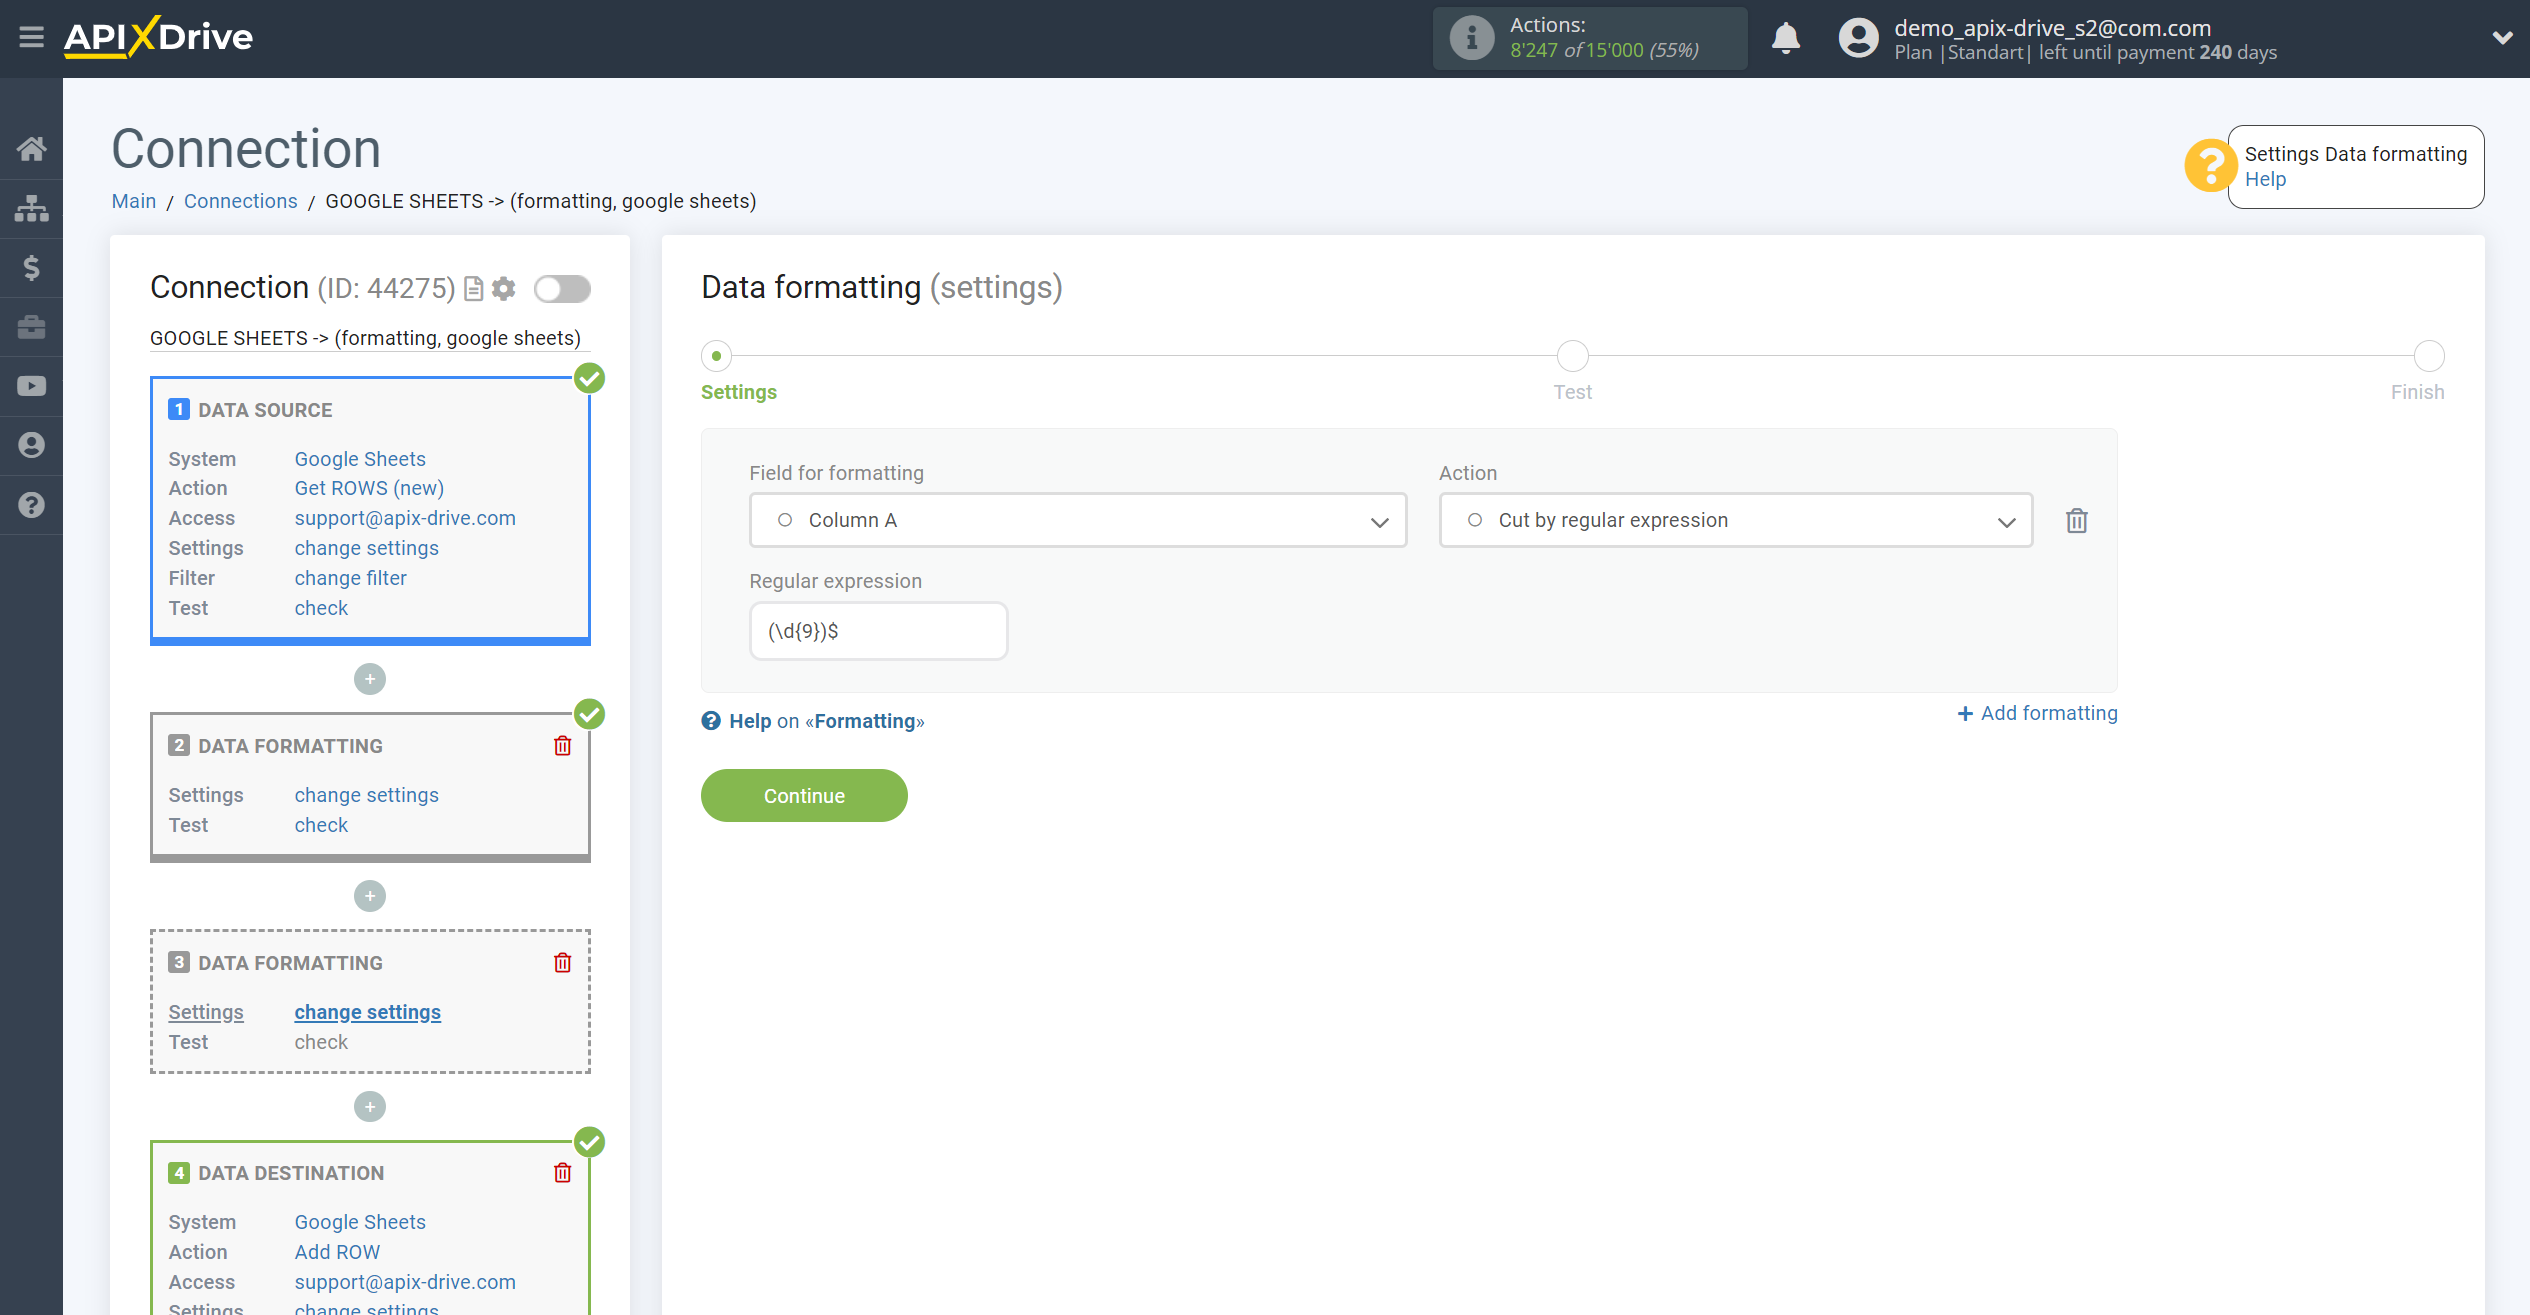
2. Add the second Data Formatting block, select the variable after the first Formatting block and action Cut by Regular Expression, write the following expression (\d{9})$
OR
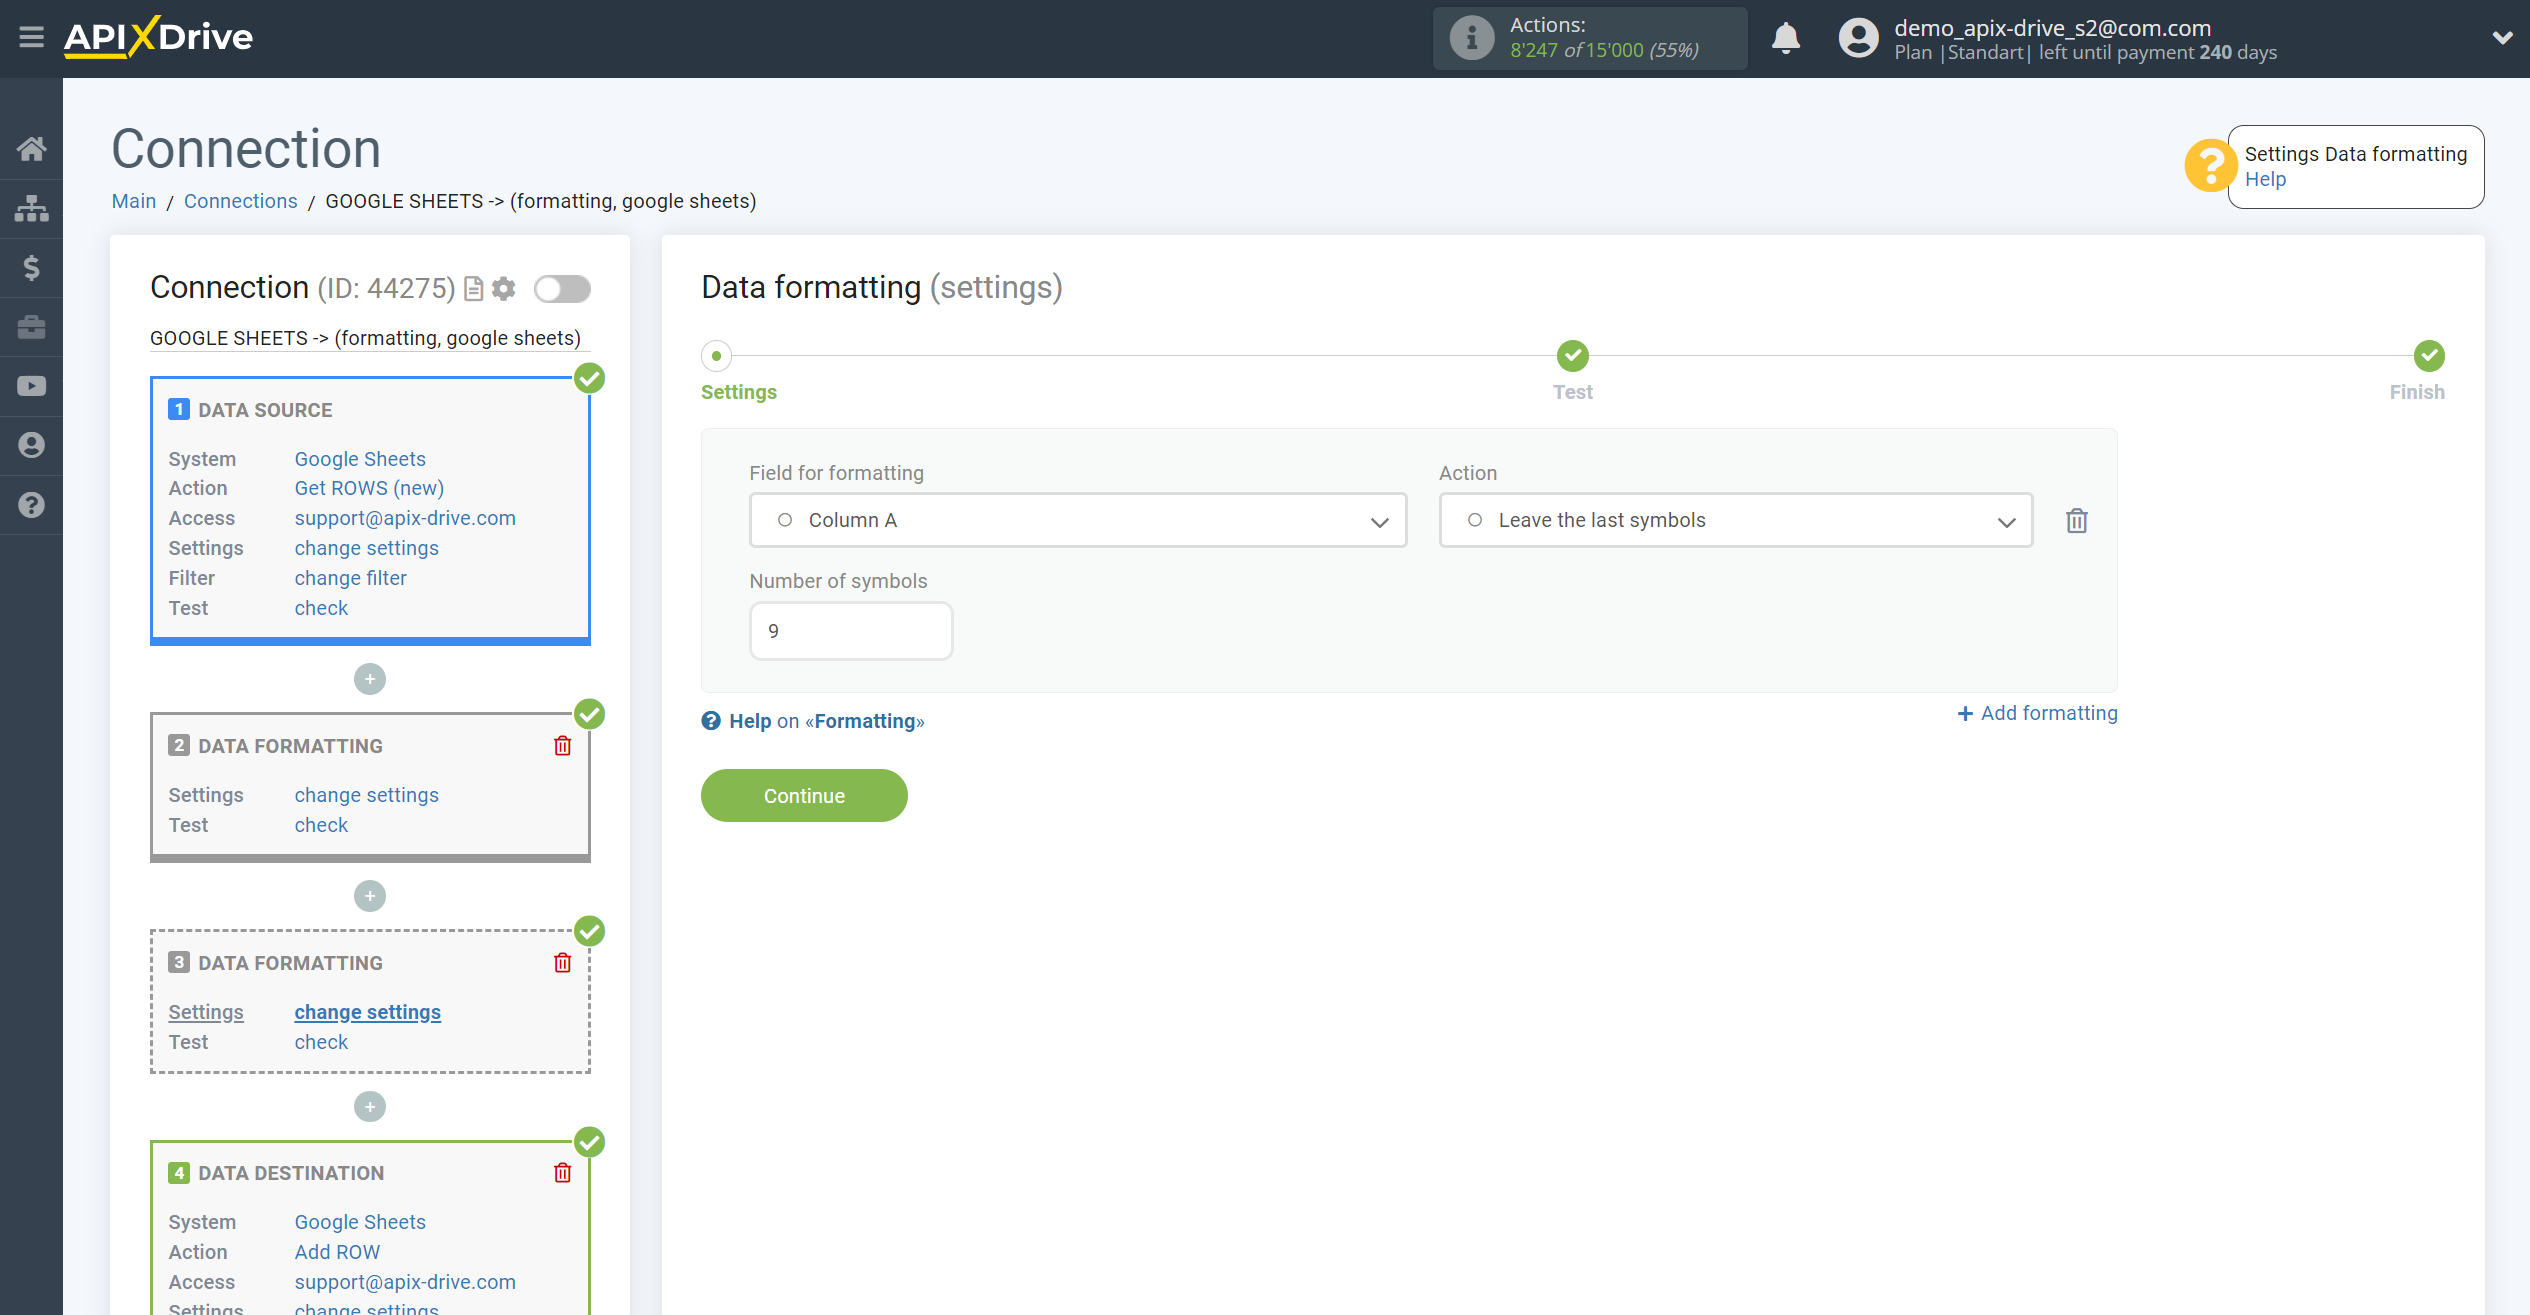
Add a second Data Formatting block, select the variable after the first Formatting block and action Leave the last characters, write the number of characters.
OR
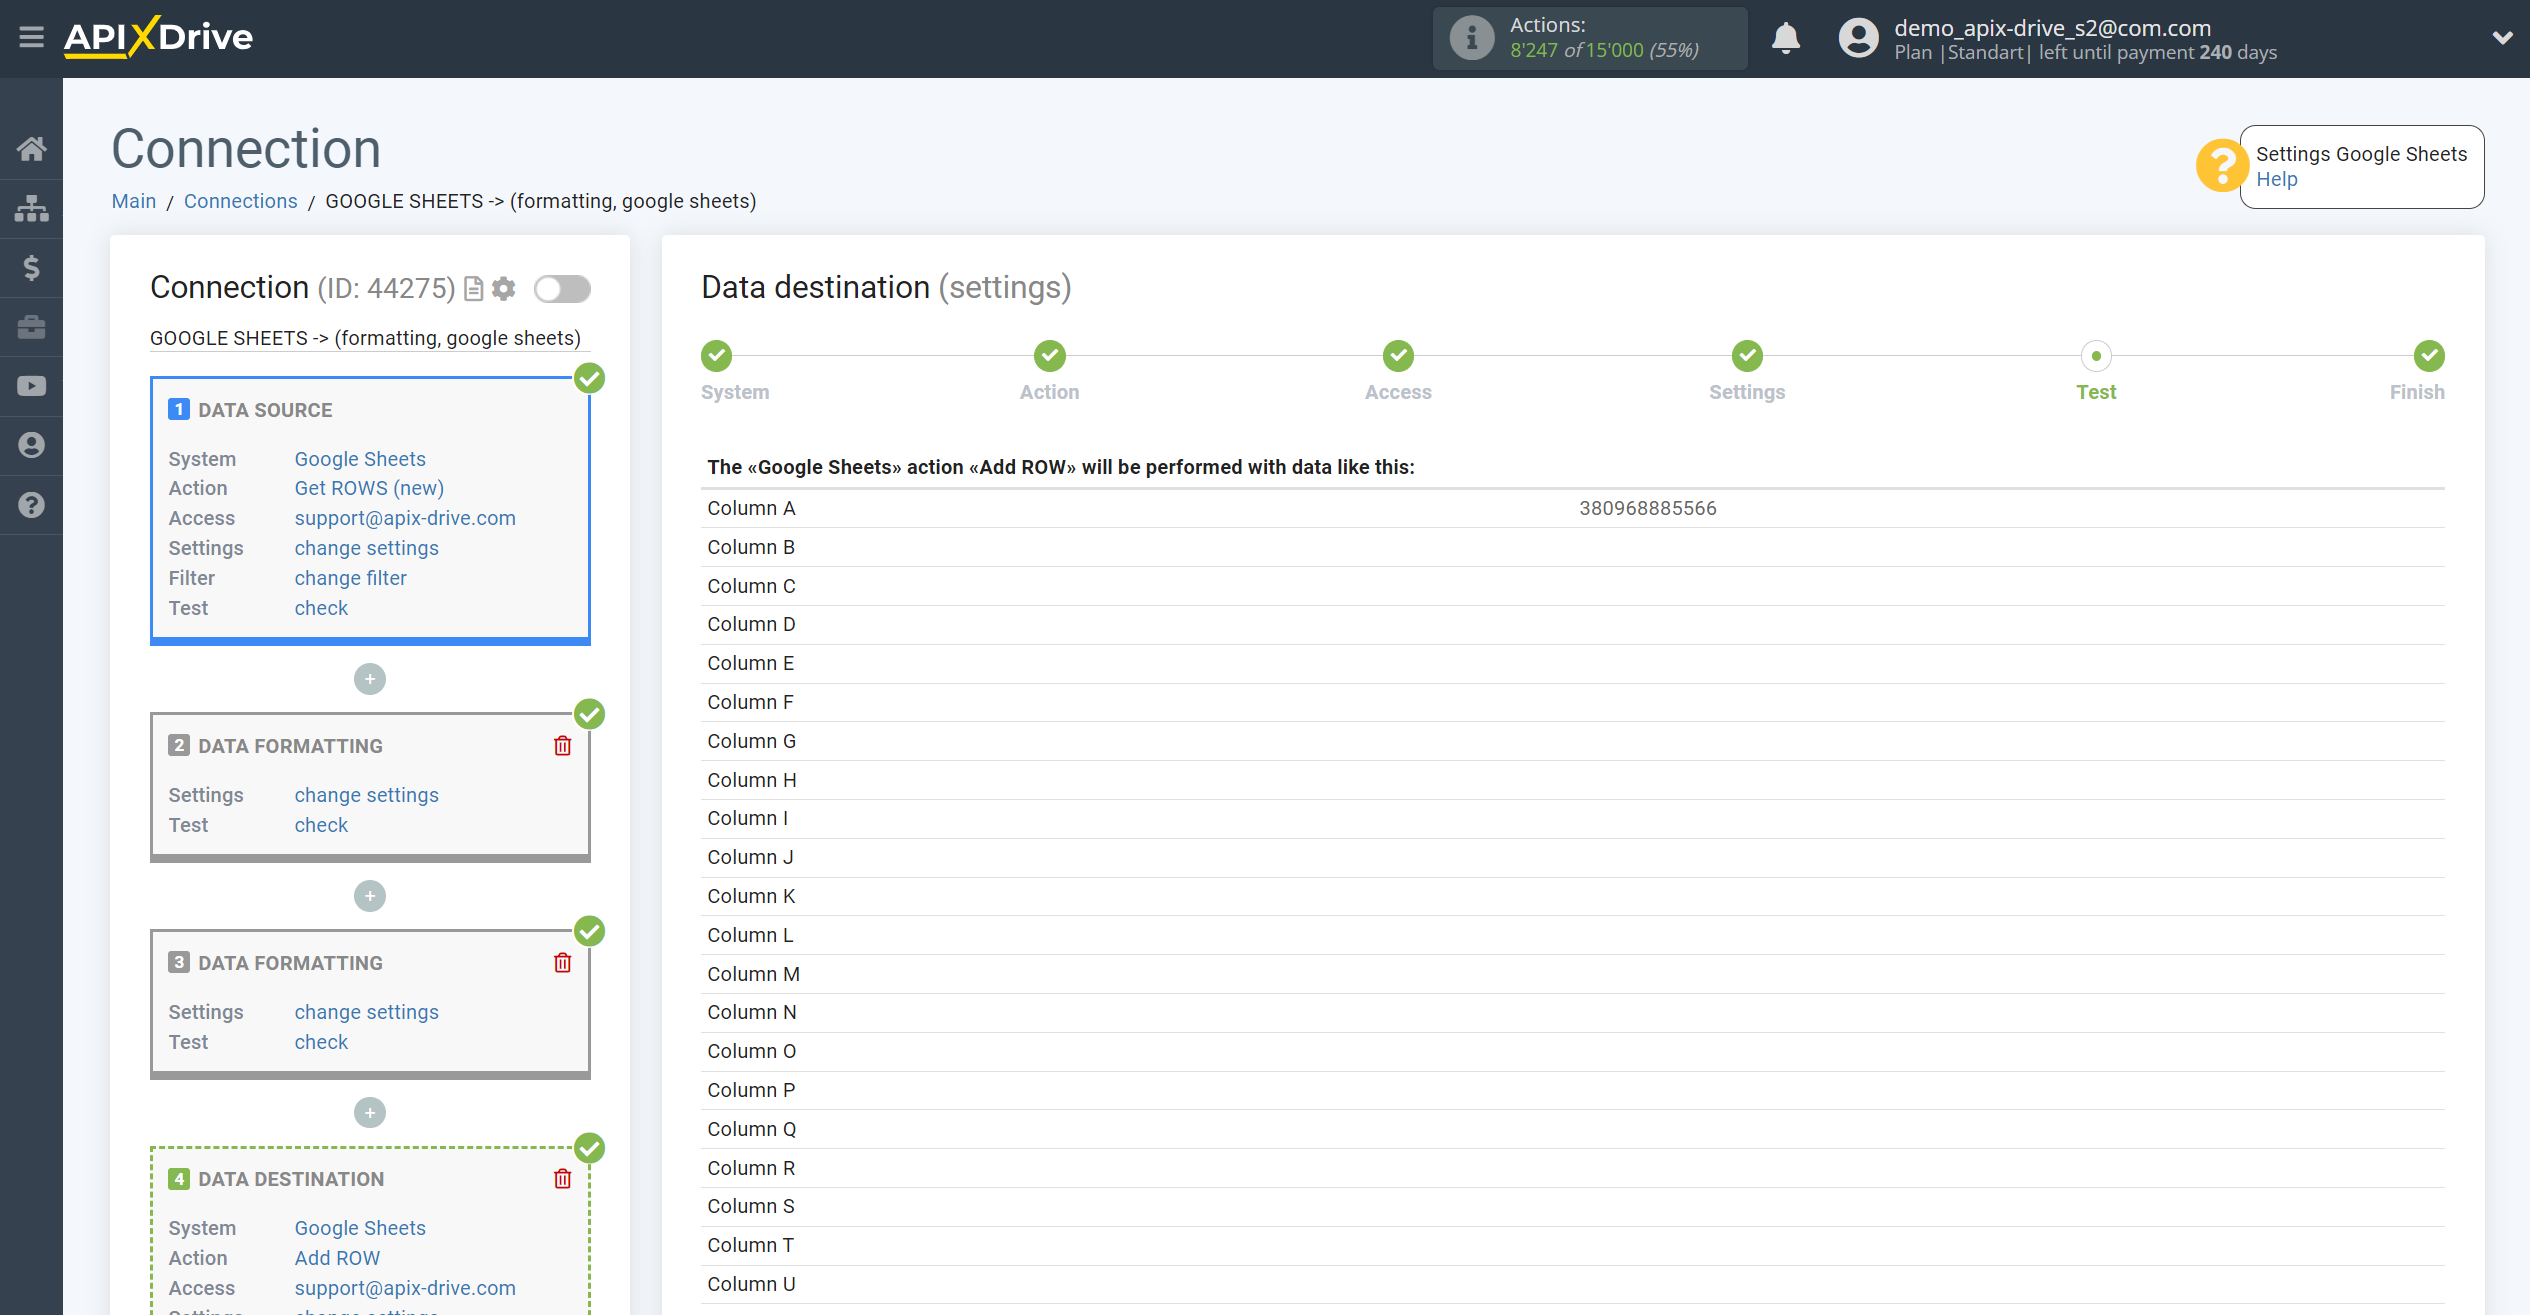
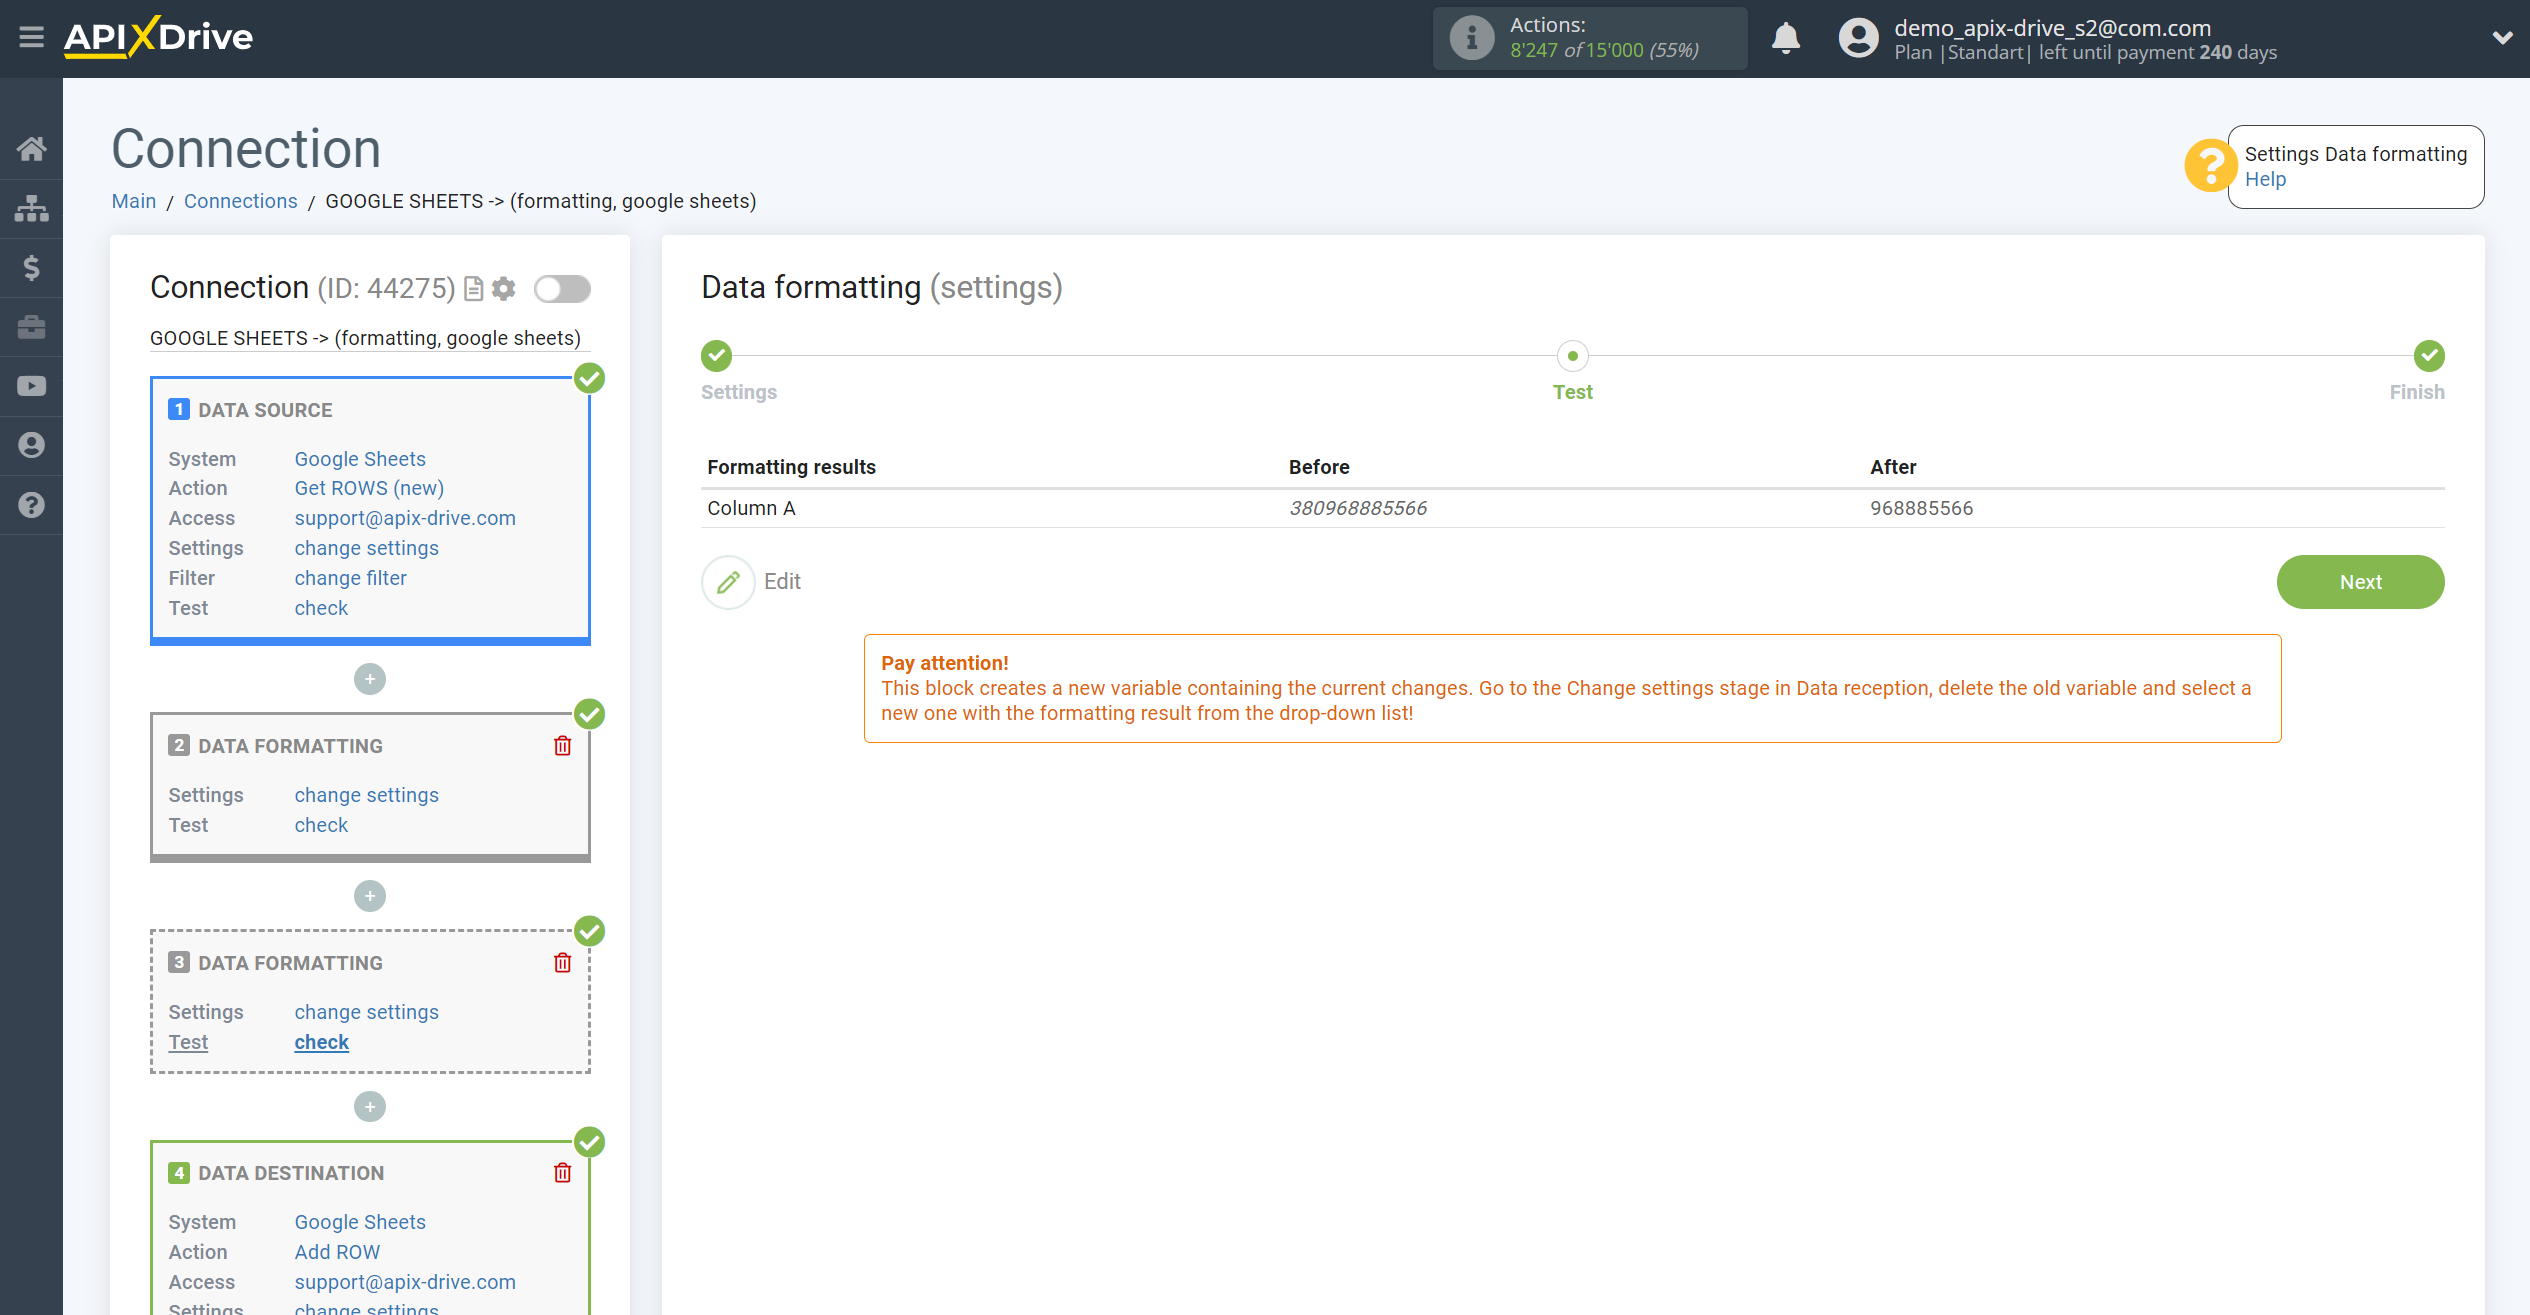
So, in whatever format the phone comes from the Data Source, you'll end up with a 9-digit number starting with the carrier code.
In the Data Destinatiom, in the Setting step, assign a variable from the second Formatting block. You can add to the number the data required for the format, for example 380
