How to Connect TikTok as Data Destination
The integration will allow you to publish videos to a private TikTok account from other systems. For example, you can upload videos from your Dropbox, Google Drive, or Telegram. This will allow you to automate TikTok's interaction with other services and systems as much as possible.
Let's go through the entire TikTok setup steps together!
Navigation:
1. What will the integration with TikTok do?
2. How to connect TikTok account to ApiX-Drive?
3. How to can set up the selected action to transfer data to TikTok?
4. An example of the data that will be sent to your TikTok.
5. Auto-update and update interval.
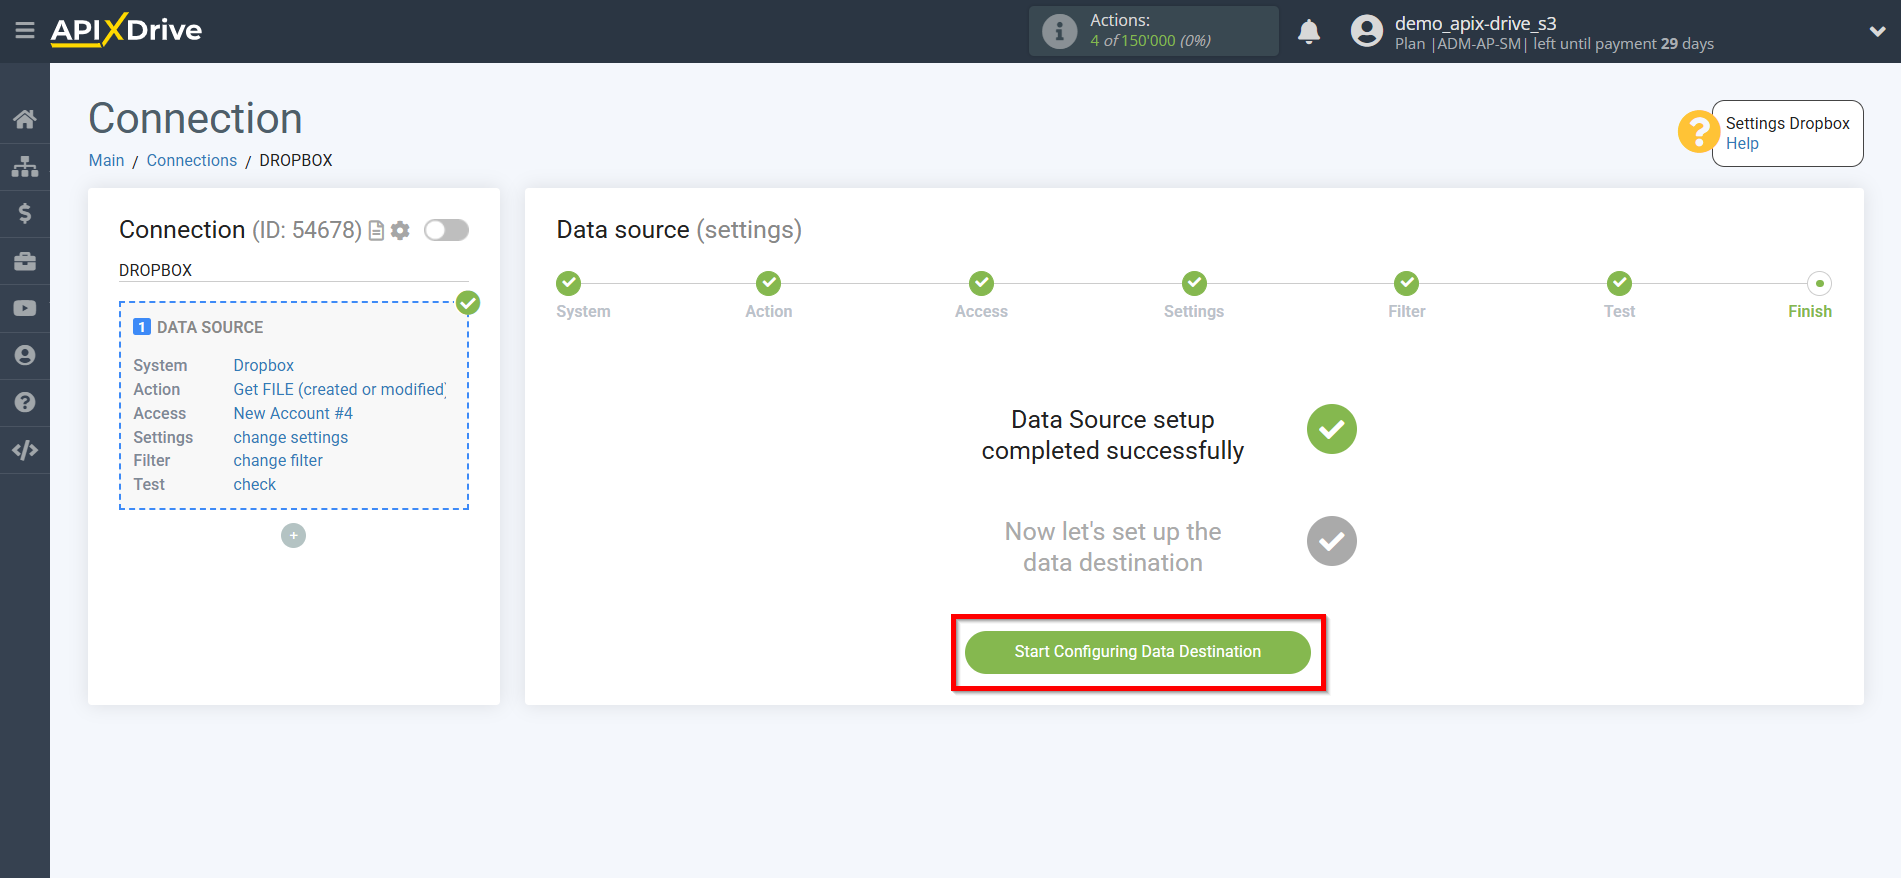
Once you've set up a Data Source system, such as Dropbox, you can begin setting up TikTok as a Data Destination.
To do this, click “Start configuring Data Destination”.
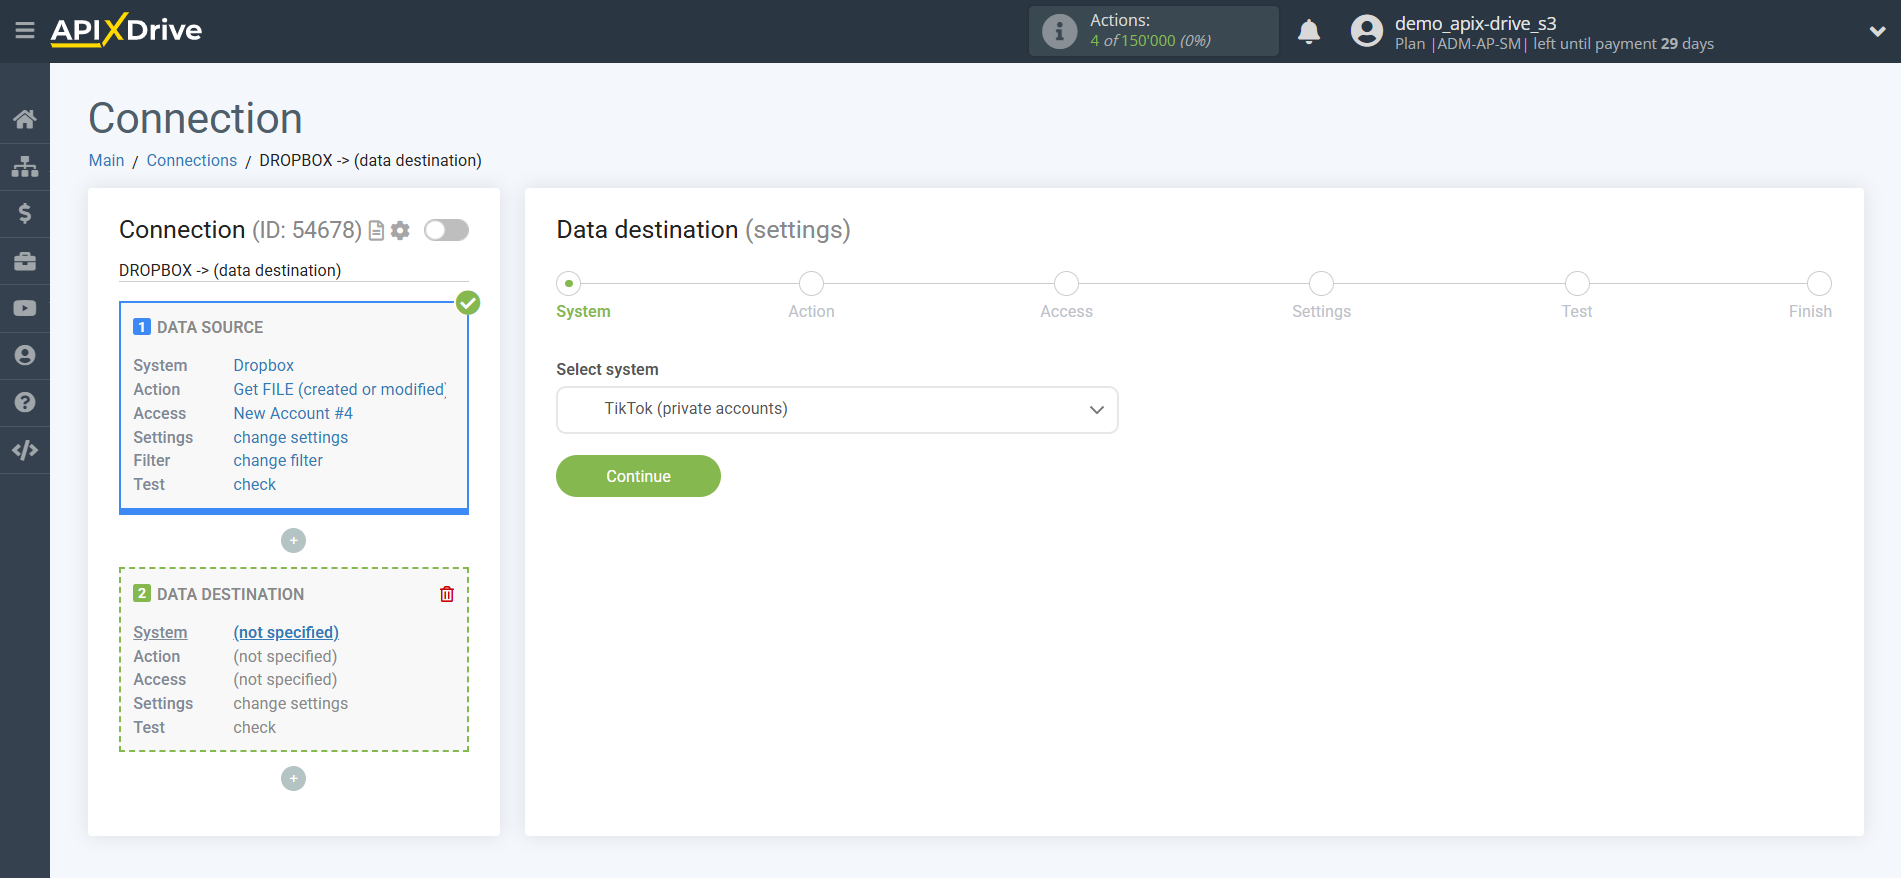
Select the system as Data Destination. In this case, you must specify TikTok (private accounts).
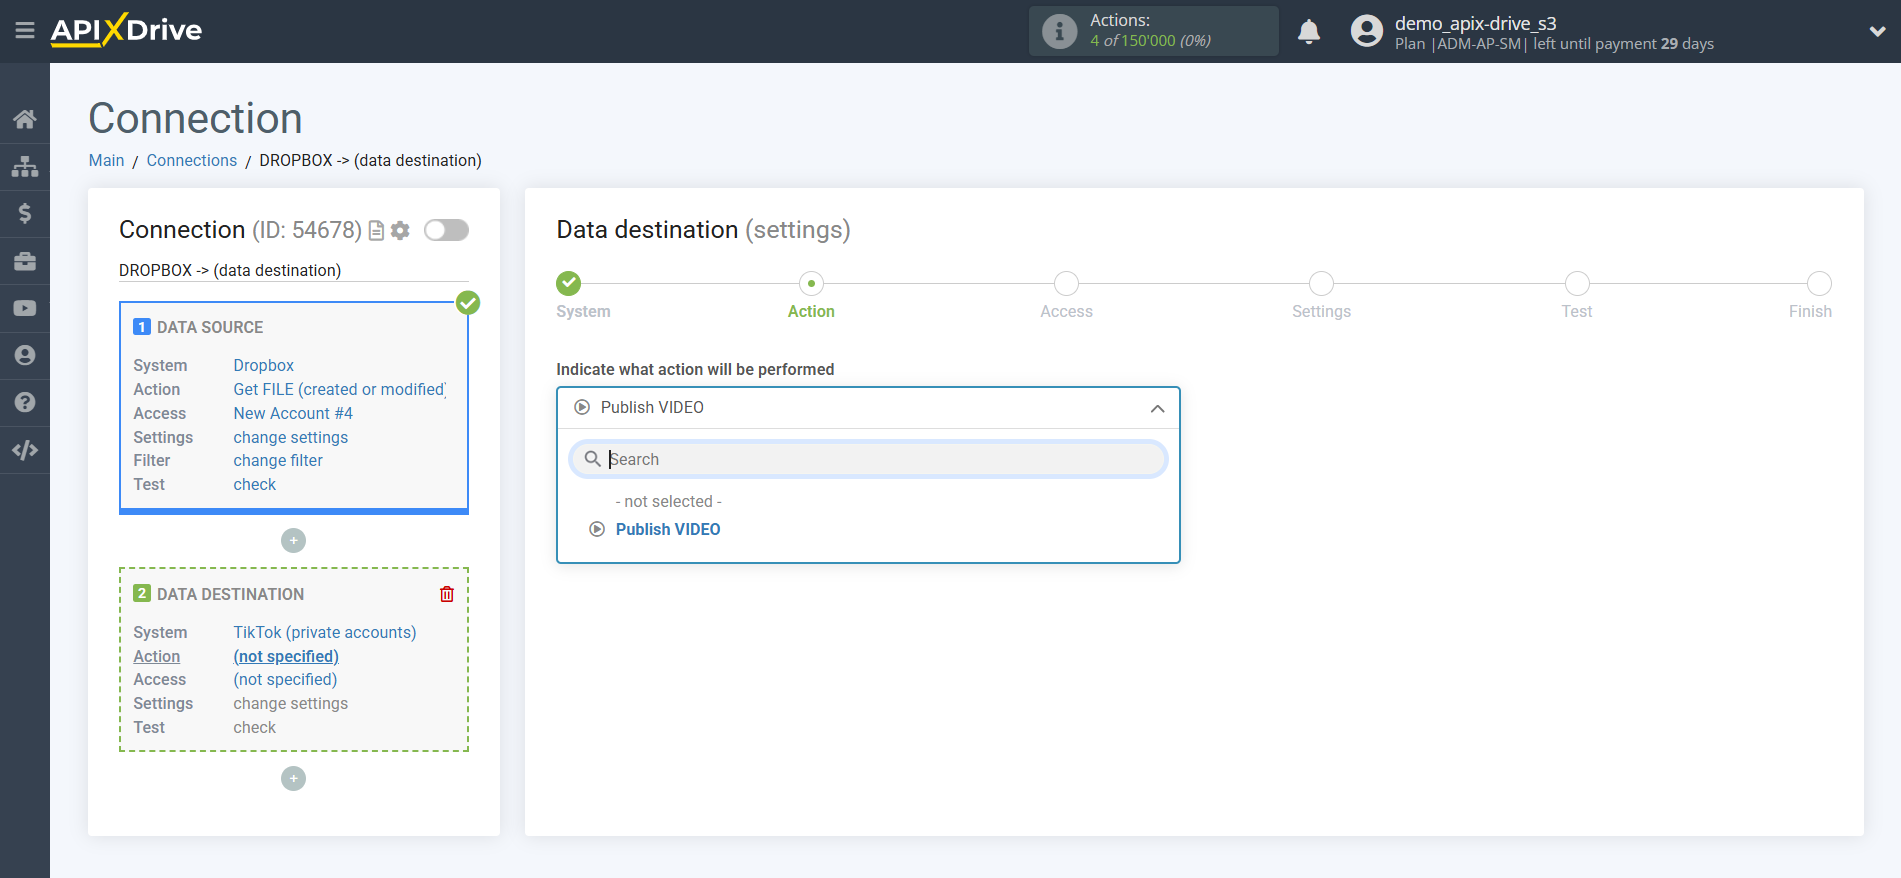
Next, you need to specify the action "Publish VIDEO" - new videos will be uploaded to the private TikTok account.
The next step is to select the TikTok account to which will get the data.
If there are no accounts connected to the ApiX-Drive system, click “Connect account”.
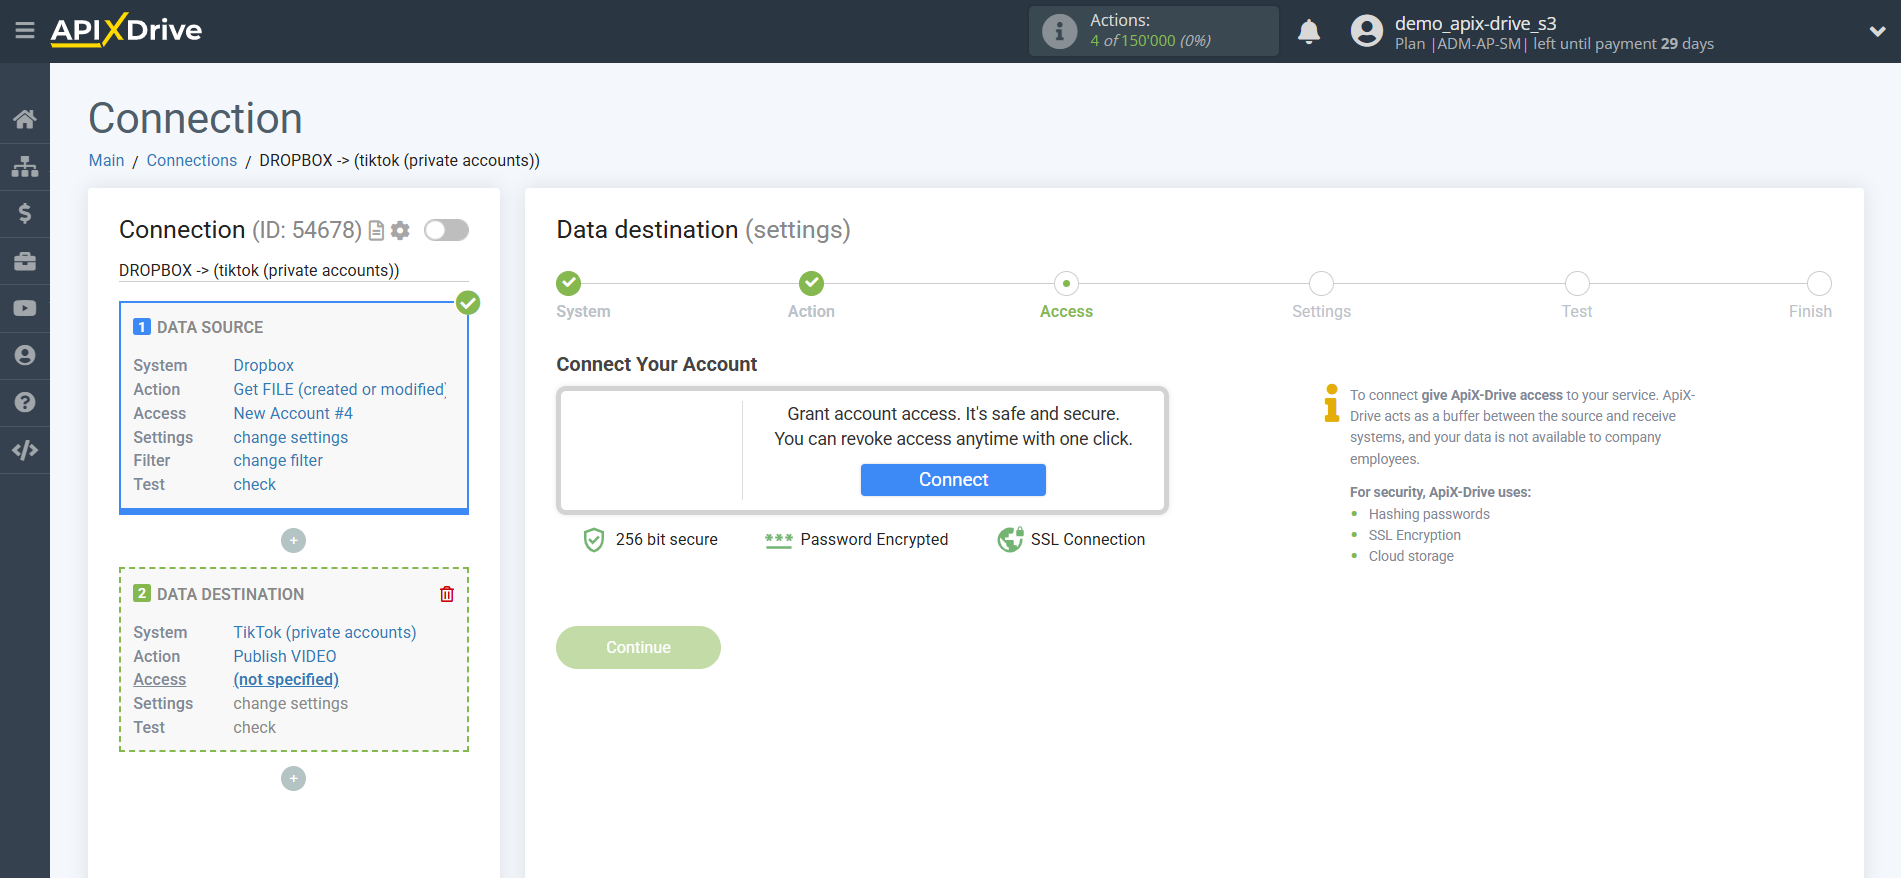
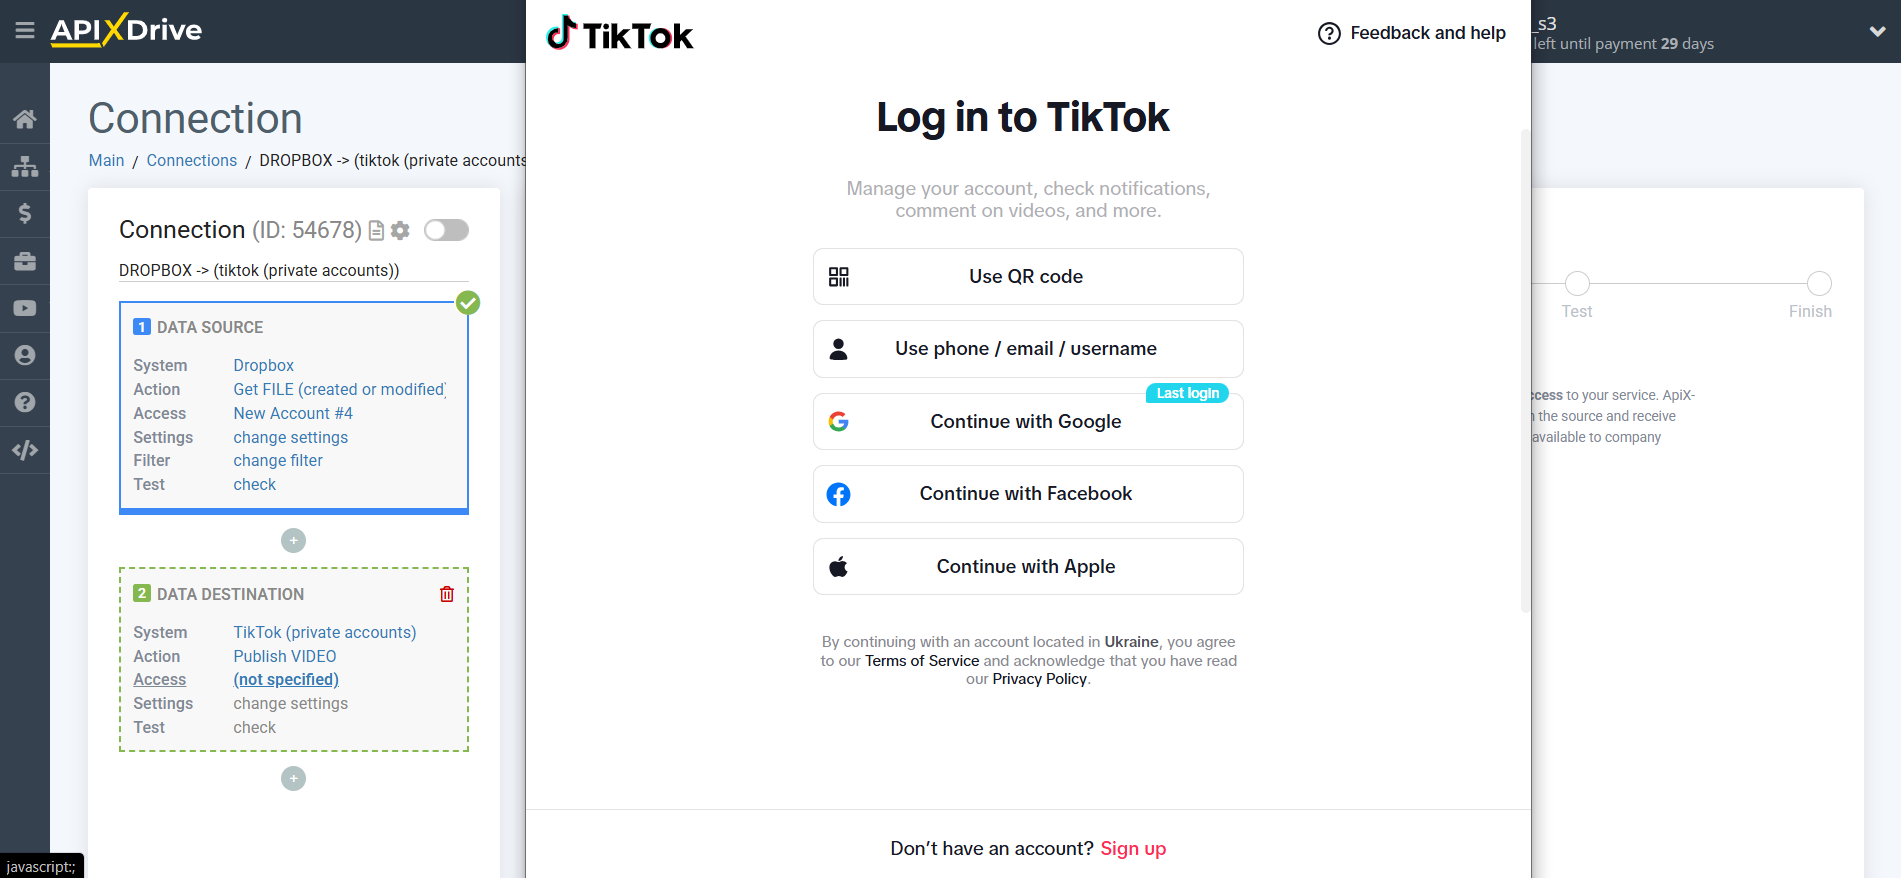
Select the TikTok account authorization type, enter the required data, and click Sign in to connect.
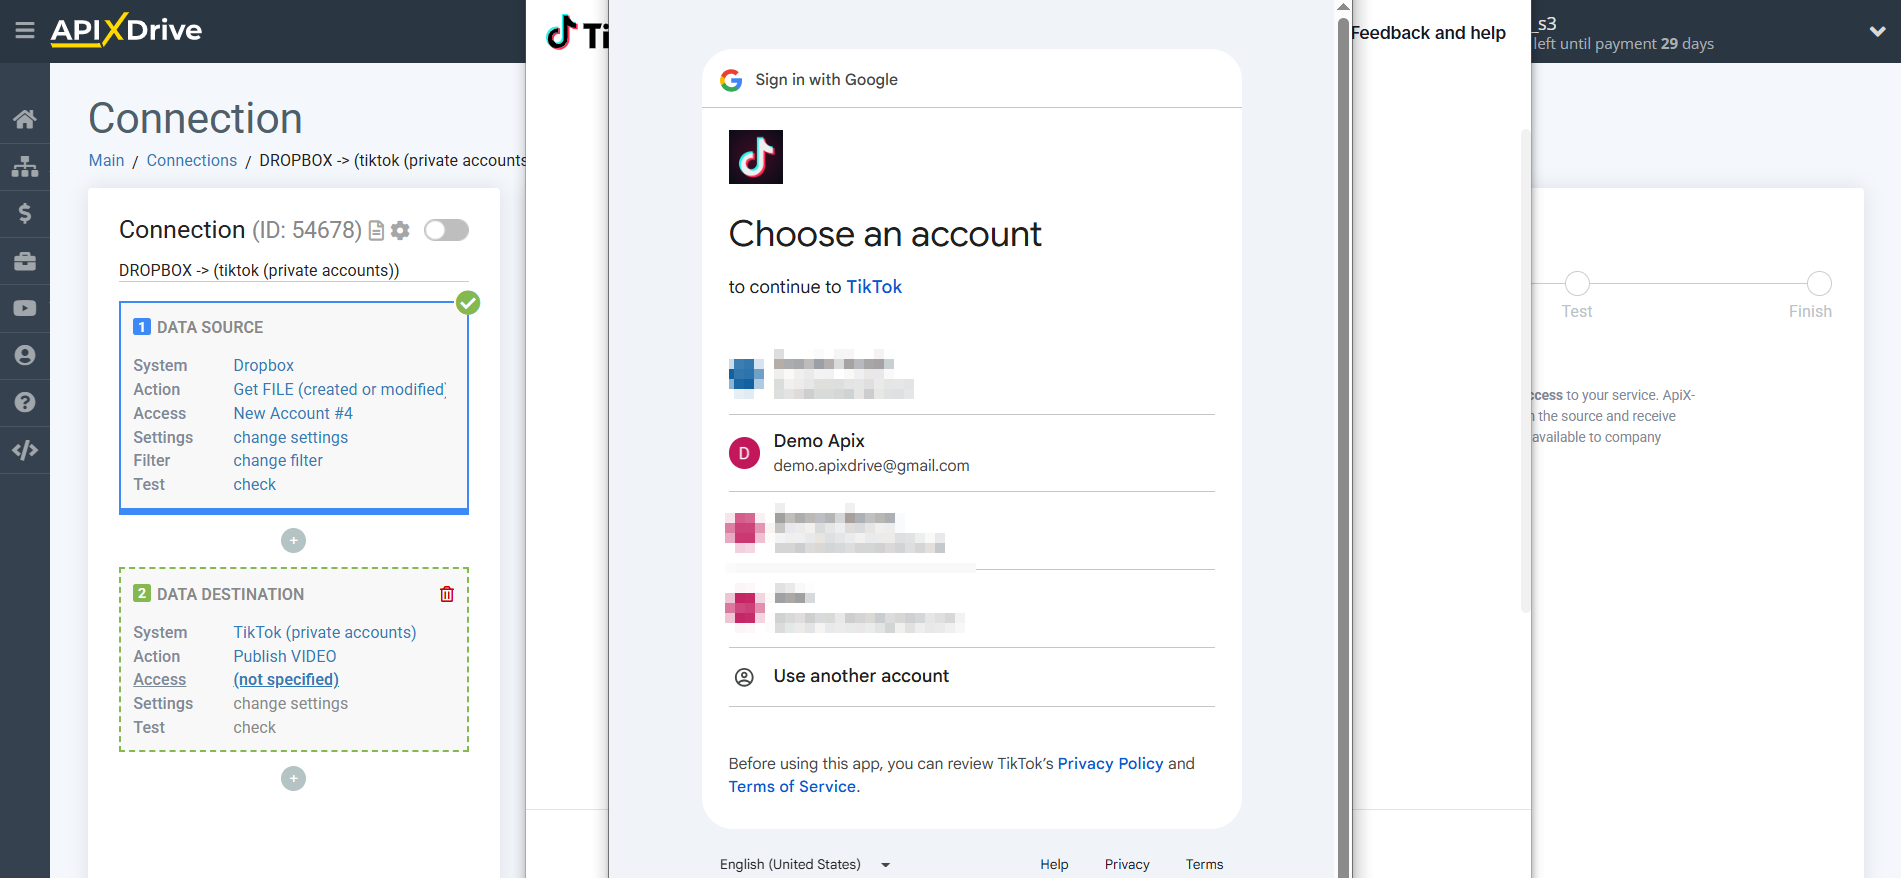
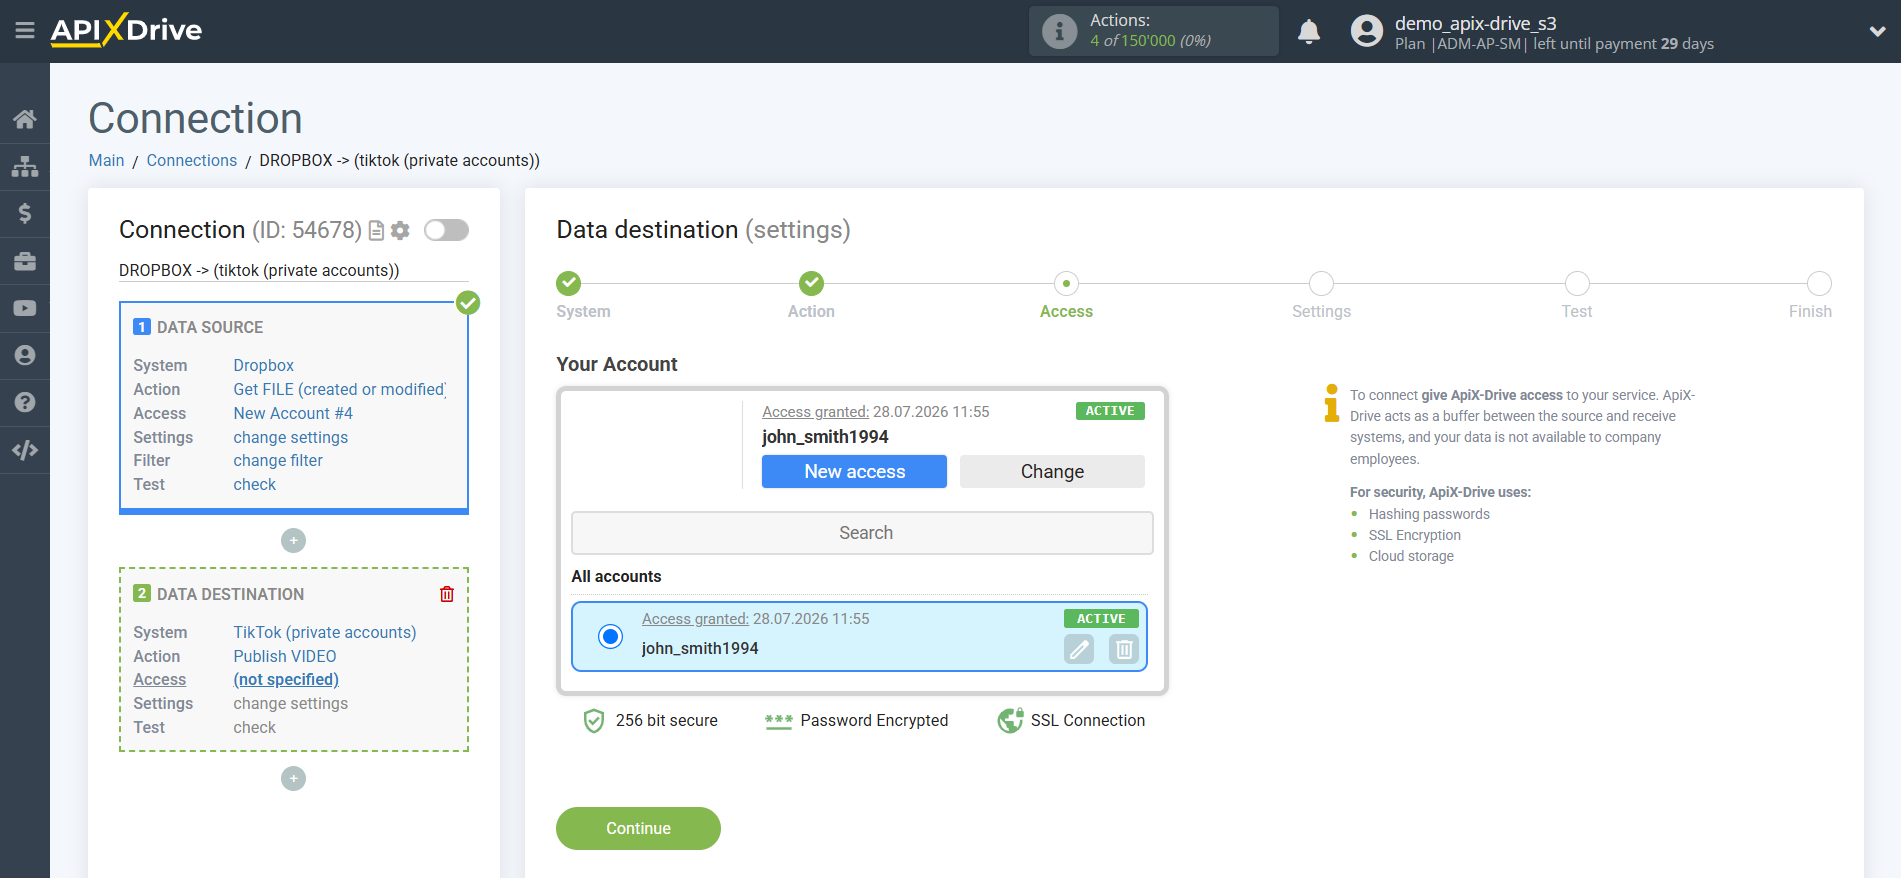
When the connected account appears in the "active accounts" list, select it.
Attention! If your account is on the "inactive accounts" list, check your access to this account!
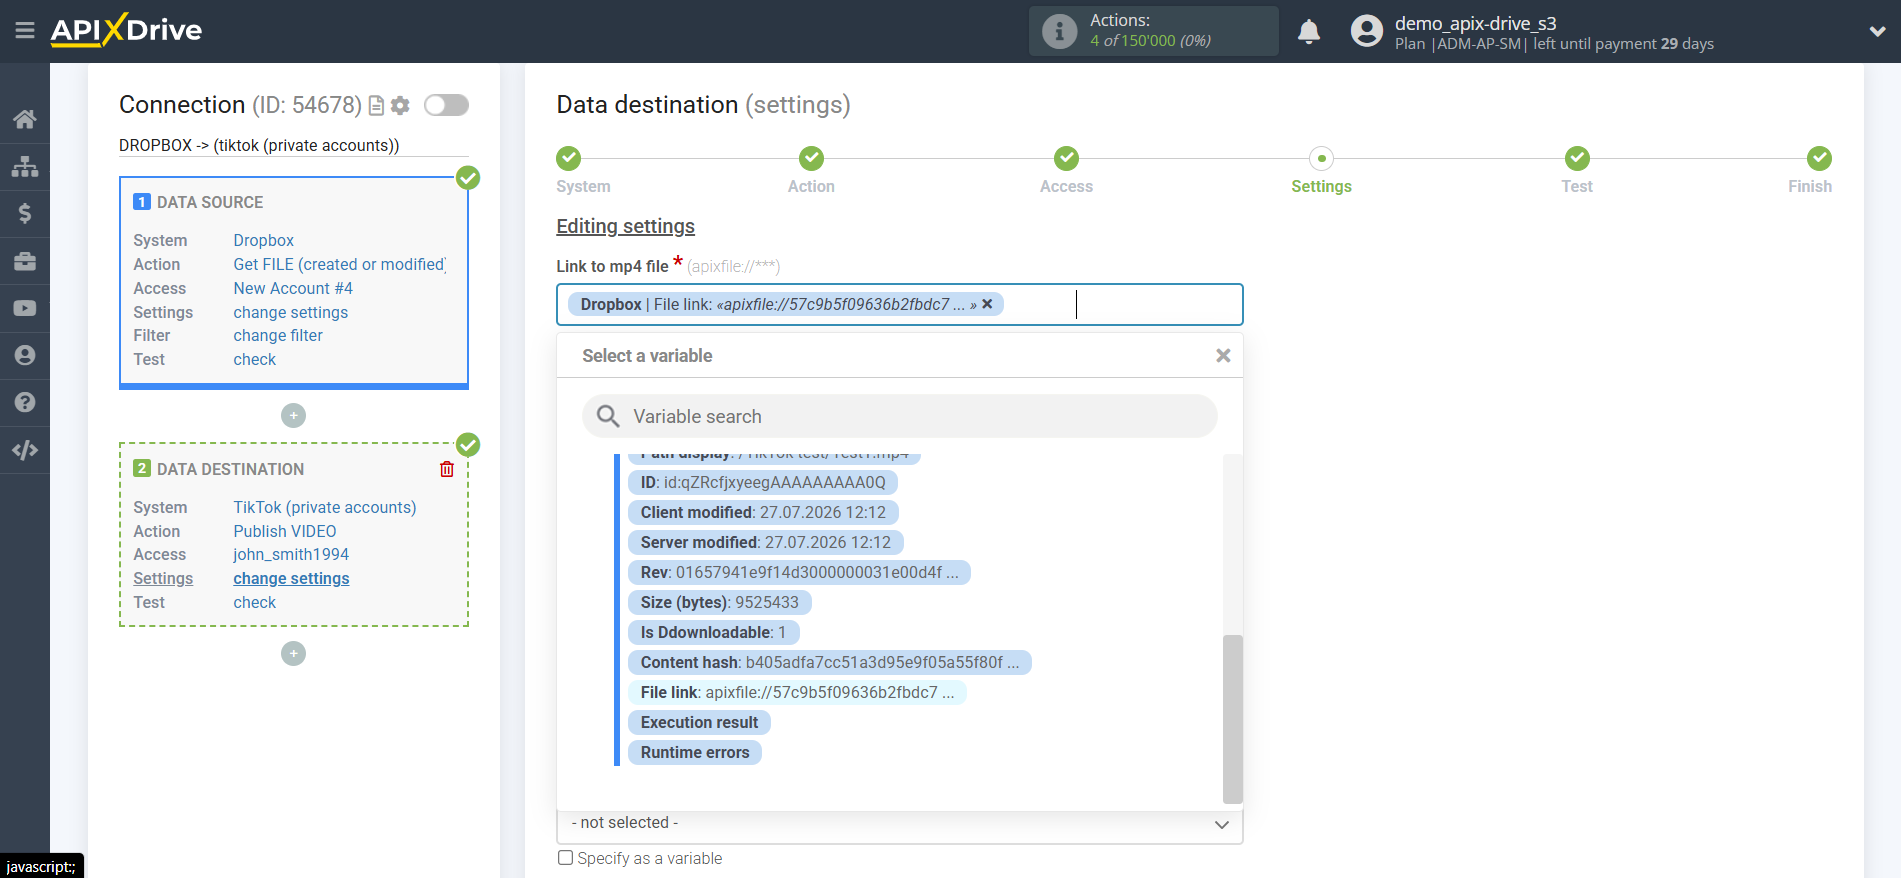
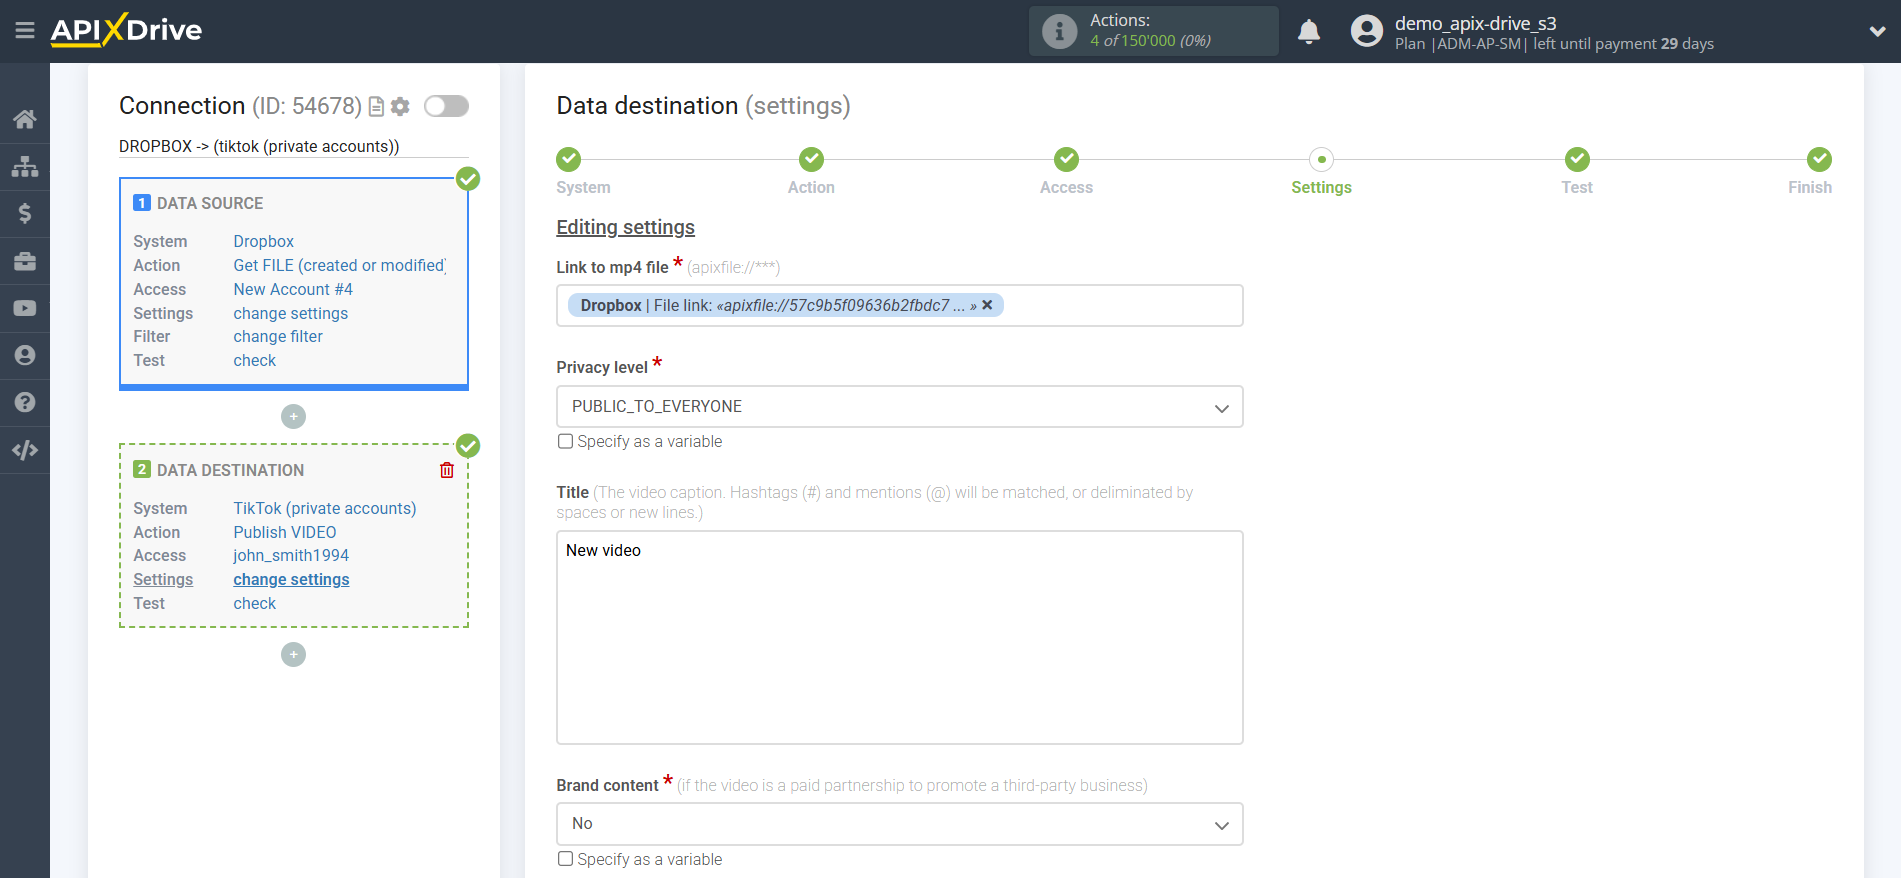
Now you need to configure the connection of the Data Source fields in the Dropbox example with the corresponding fields in TikTok.
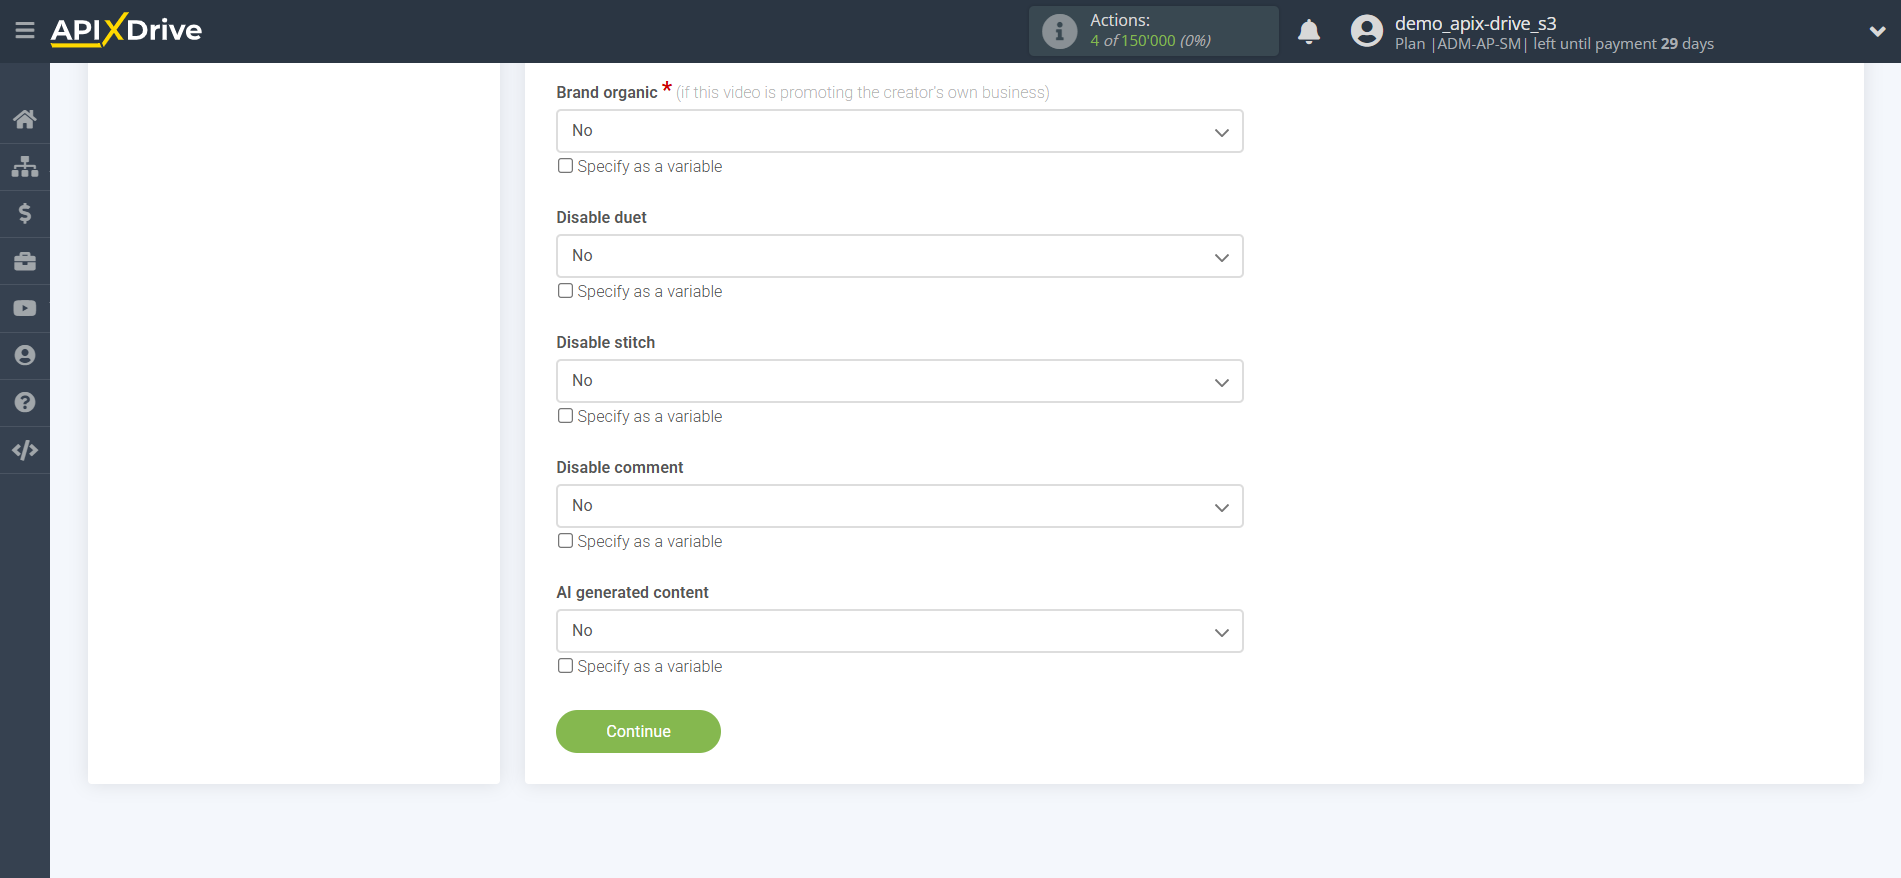
Fill in the required fields. To add a variable, click on the field and select the desired variable from the list.
Then click the "Continue" button.
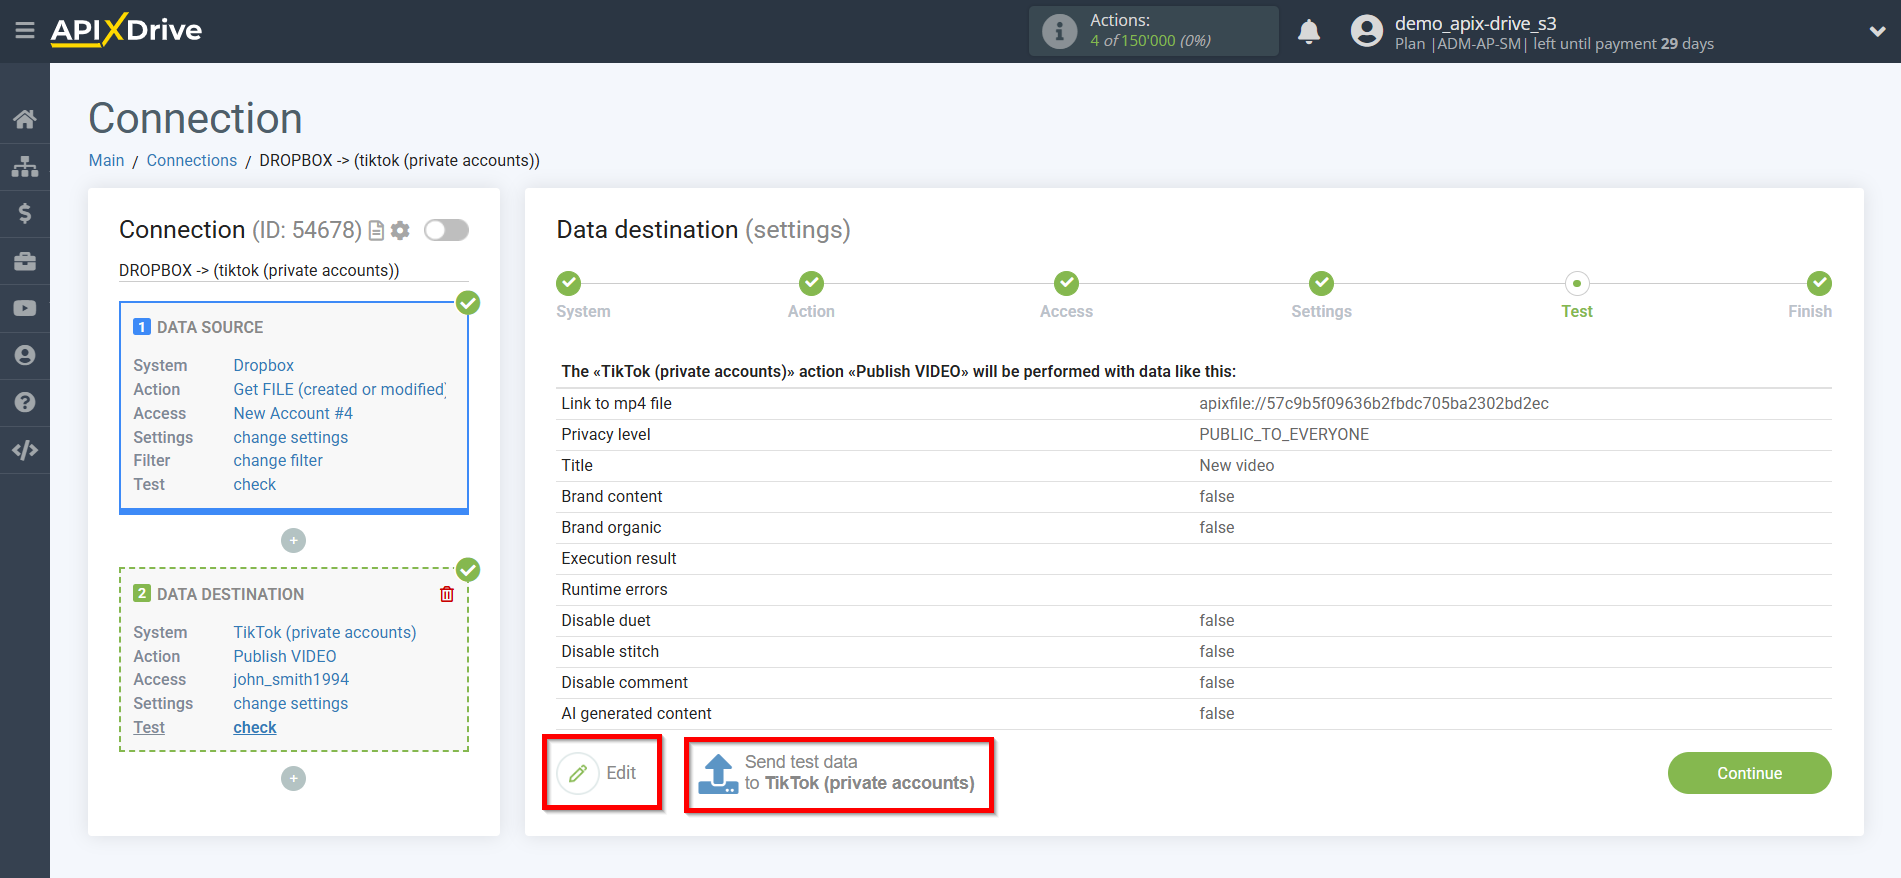
Now you can see the test data.
If you want to send test data to TikTok in order to check the correctness of the settings, click “Send test data to TikTok (private accounts)” and go to your TikTok to check the result.
If you want to change the settings, click "Edit" and you will go back a step.
If you are satisfied with everything, click “Next”.
This completes the Data Destination setup!
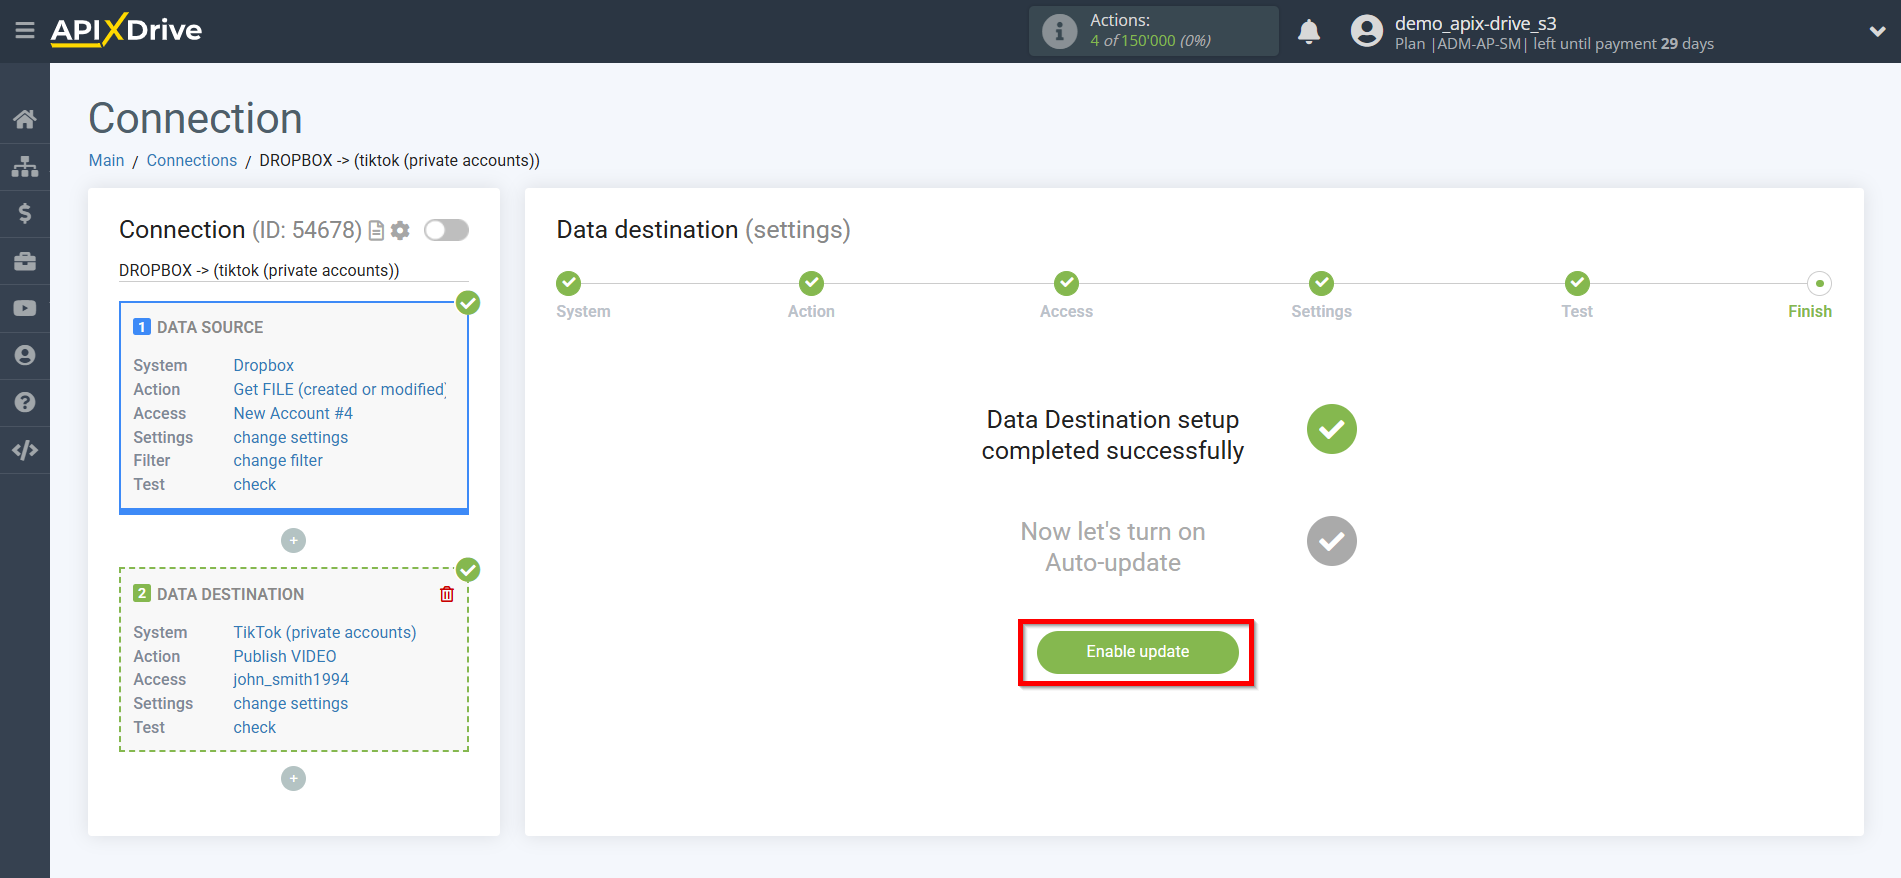
Now you can start choosing the update interval and enabling auto-update.
To do this, click "Enable update".
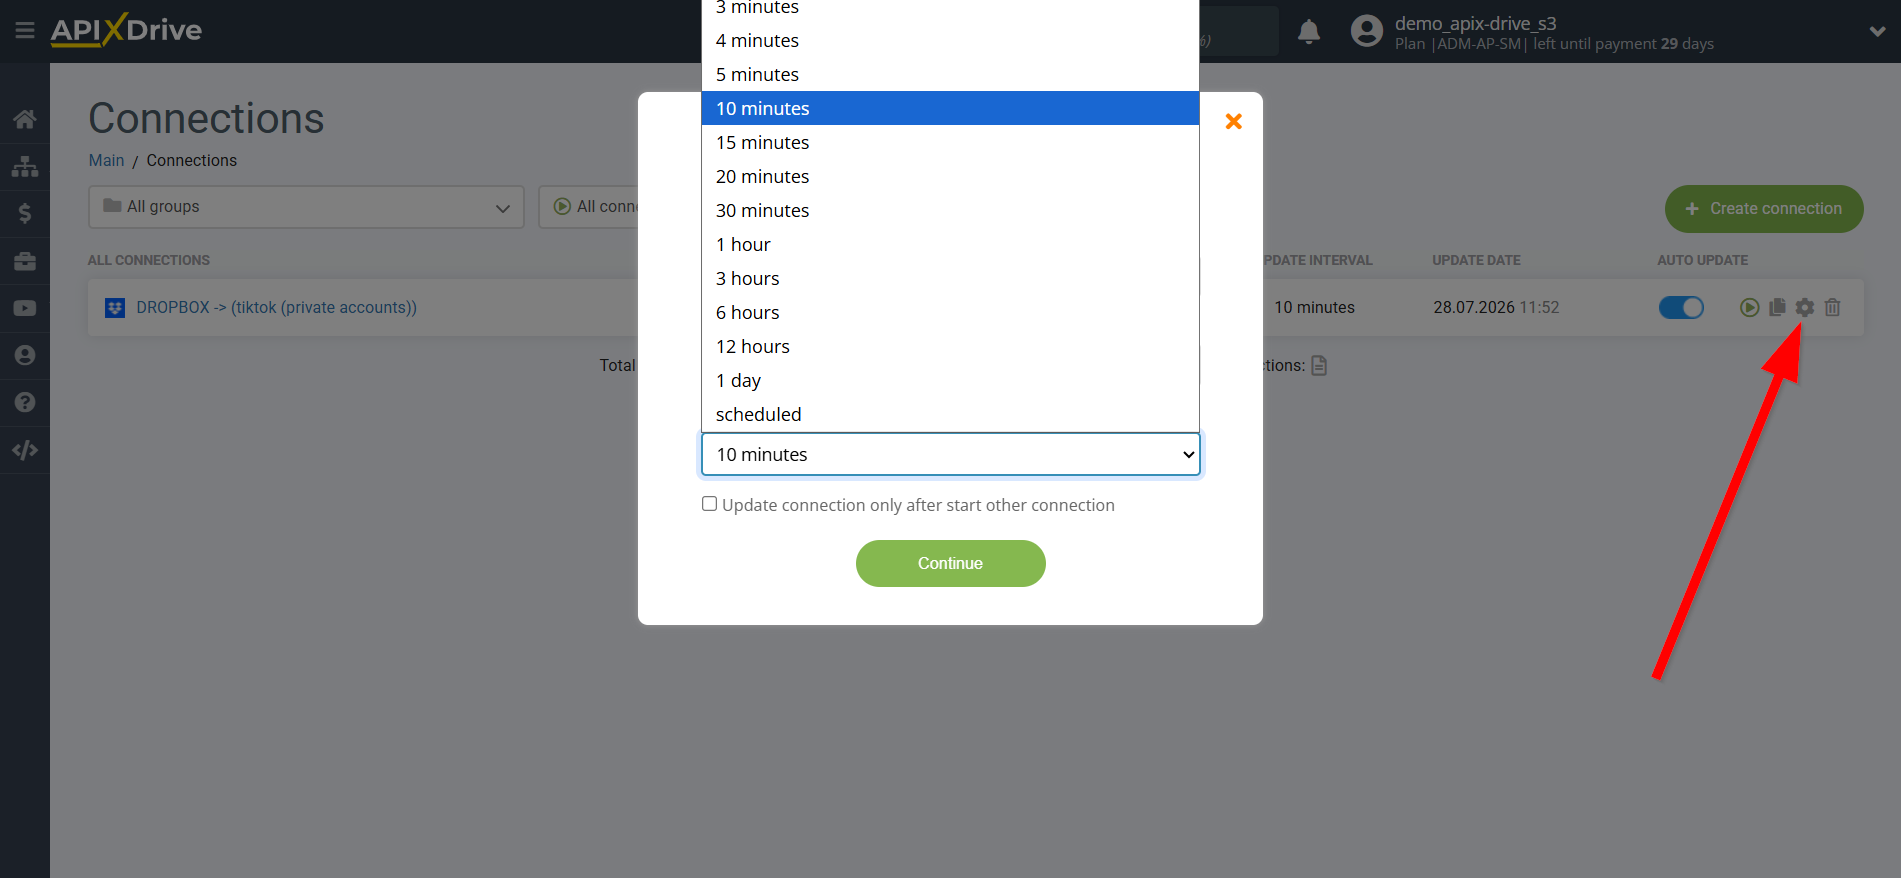
On the main screen, click on the gear icon to select the required update interval or setup scheduled launch. To start the connection by time, select scheduled start and specify the desired time for the connection update will be started, or add several options at once when you need the connection will be started.
Attention! In order for the scheduled launch to work at the specified time, the interval between the current time and the specified time must be more than 5 minutes. For example, you select the time 12:10 and the current time is 12:08 - in this case, the automatic update of the connection will occur at 12:10 the next day. If you select the time 12:20 and the current time is 12:13 - the auto-update of the connection will work today and then every day at 12:20.
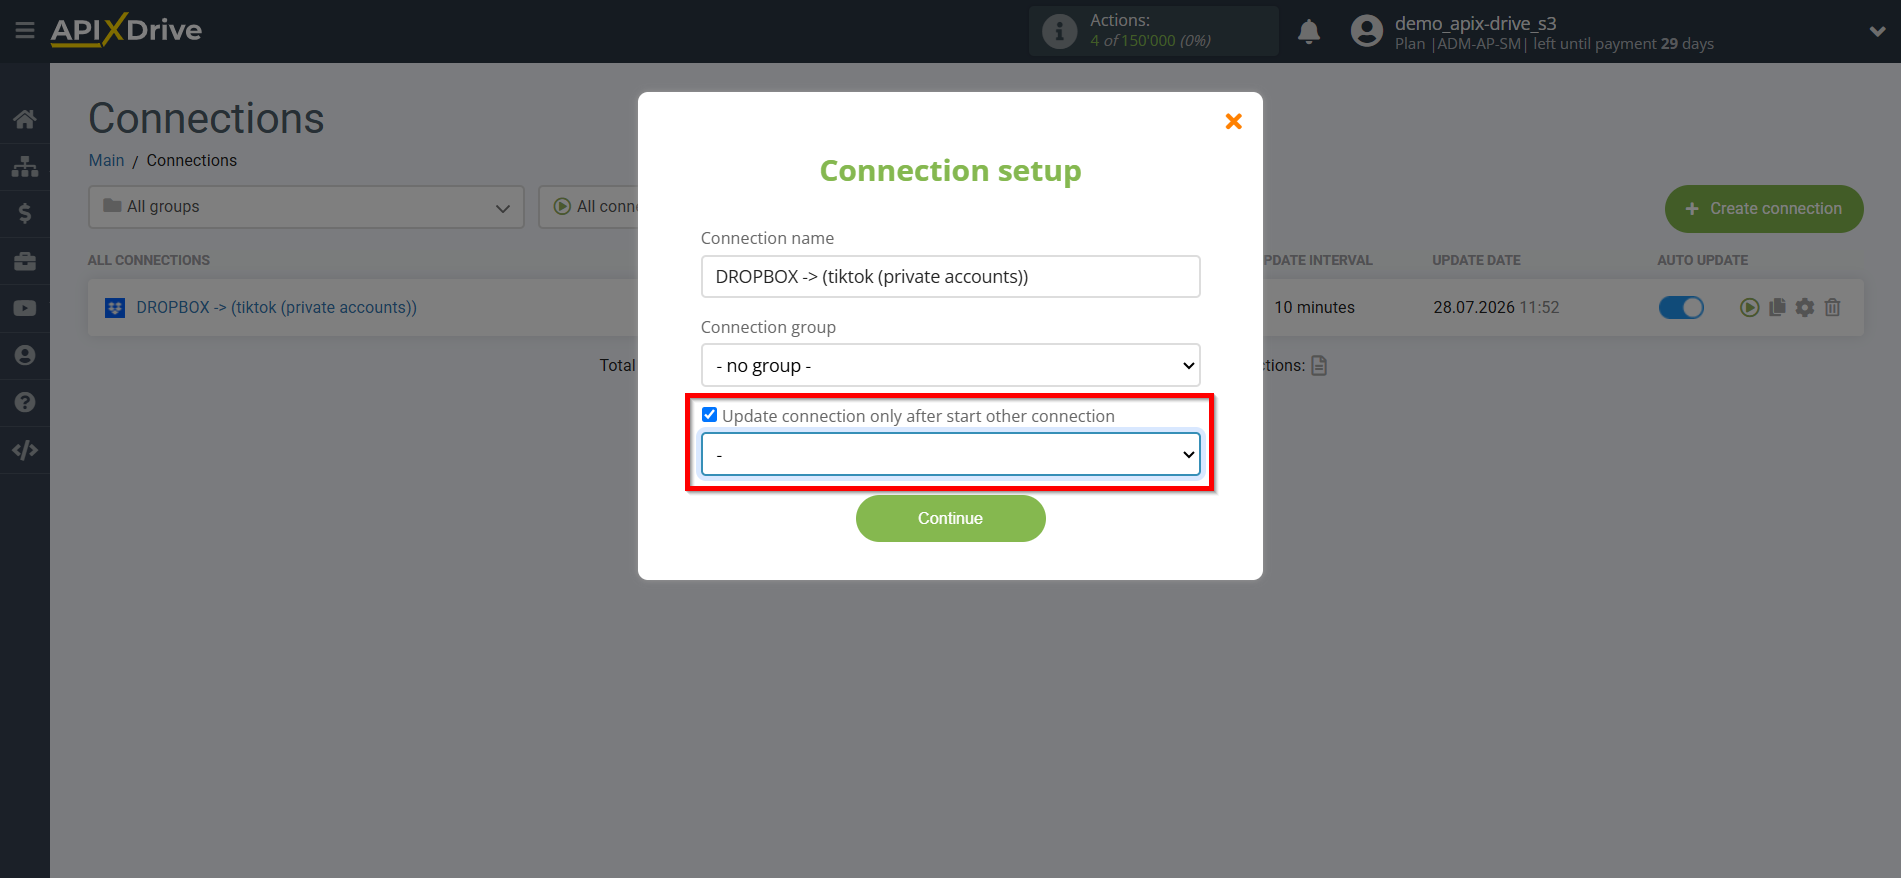
To make the current connection transmit data only after another connection, check the TikTok "Update connection only after start other connection" and specify the connection after which the current connection will be started.
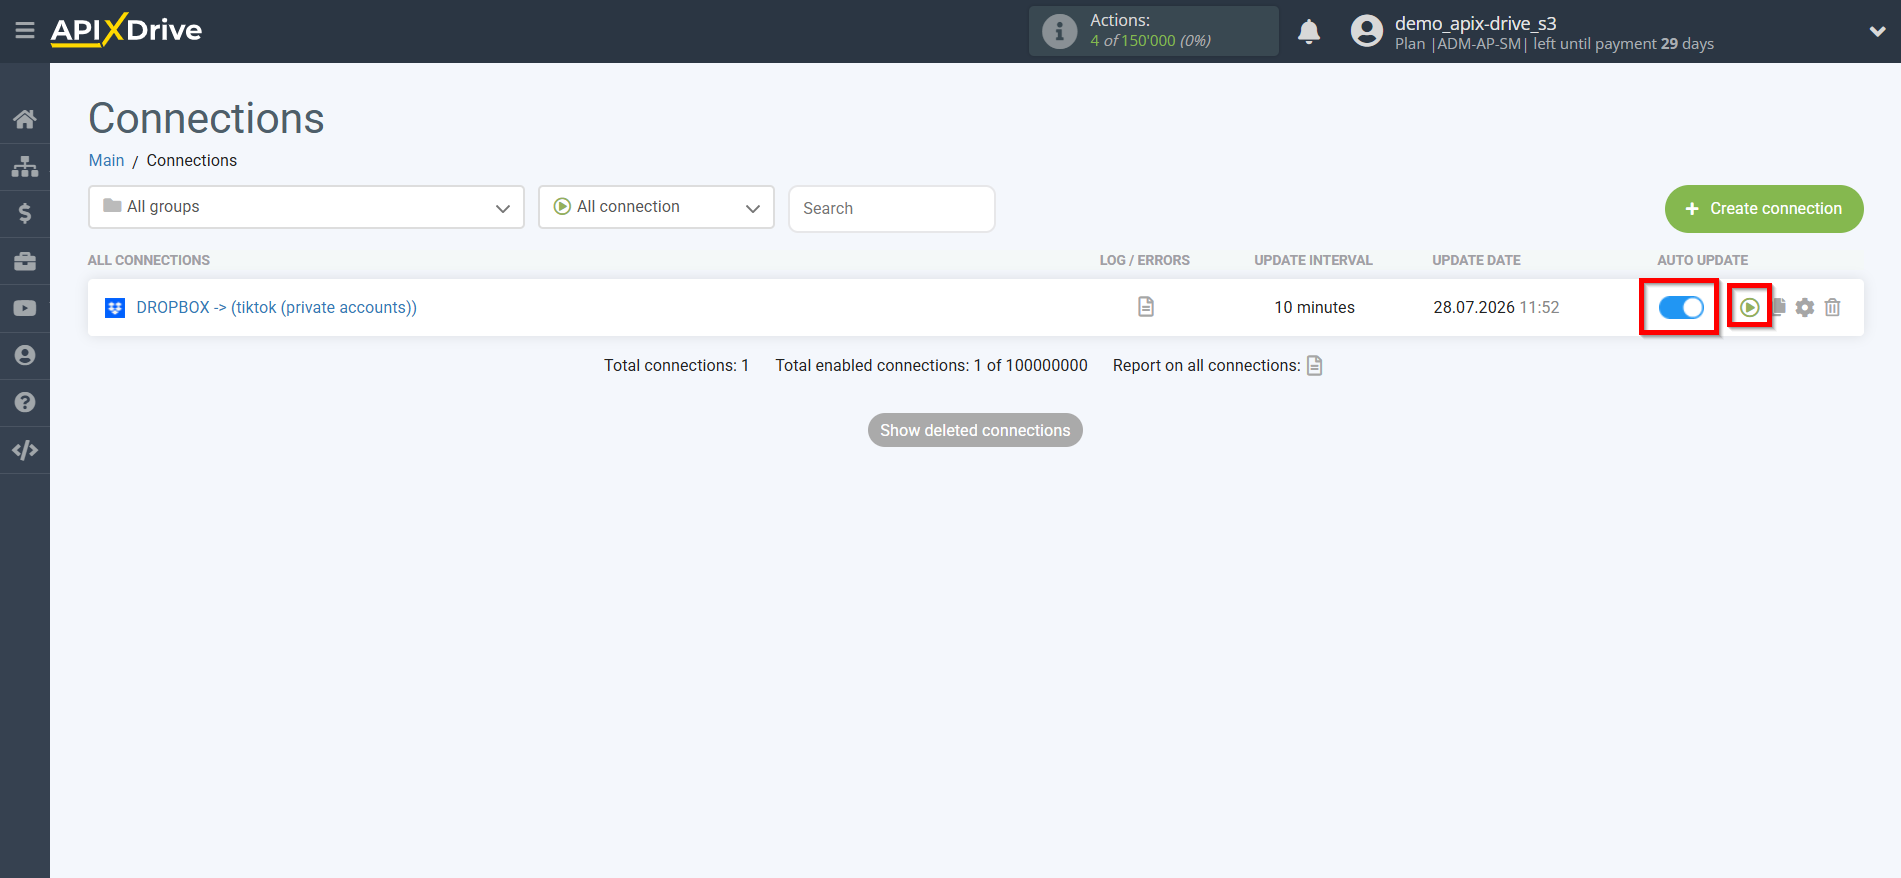
To enable auto-update, switch the slider to the position as shown in the picture.
In order to perform a one-time connection trigger, click on the arrow icon.
This completes setting up TikTok as a Data Destination! See how easy it is!?
Now you don’t have to worry, ApiX-Drive will do everything on its own!