Google Drive and Box Integration: How to Transfer Files Automatically

Manually moving files from Google Drive to Box takes time, adds repetitive work, and increases the risk of missed or outdated files. A document that arrives late or is overlooked entirely can disrupt workflows and cause unnecessary delays. In this article, we’ll show you how to reduce these risks by automating file transfers with a Google Drive and Box integration.
Why Automate File Transfers From Google Drive to Box
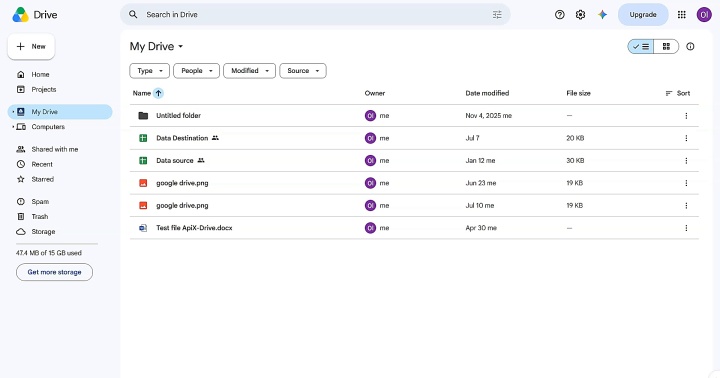
Automation is particularly useful when both cloud services are part of the same workflow and files need to be transferred from Google Drive to Box regularly. Once the integration is configured and auto-update is enabled, new files detected in the selected Google Drive location can be automatically uploaded to Box according to the configured update schedule. You can define which files should be transferred by choosing the appropriate source location and, if necessary, using filtering options.
Practical Use Cases
The integration can be useful whenever files are created or collected in Google Drive but need to be stored, shared, or archived in Box without repeated manual uploads.
- Marketing and creative teams. Teams can work on content, graphics, and other materials in Google Drive, then place approved files in a designated folder. The integration can automatically upload these files to Box for archiving, distribution, or further use by other departments.
- Client and partner file delivery. Companies may use Google Drive for internal work while sharing documents with clients, contractors, or partners through Box. New files added to a selected Google Drive folder can be automatically transferred to the appropriate Box folder, reducing the need for manual uploads.
- File backup and archiving. Businesses can automatically copy new files from selected Google Drive folders to Box to maintain a separate archive in another cloud storage service. This helps reduce repetitive work and makes important documents available in more than one storage environment.
How to Connect Google Drive to Box
To set up a Google Drive and Box integration, we use the no-code ApiX-Drive connector. It allows you to connect both services through a web interface without programming skills or technical assistance.

- Automate the work of an online store or landing
- Empower through integration
- Don't spend money on programmers and integrators
- Save time by automating routine tasks
You will need active Google and Box accounts, as well as an ApiX-Drive account. Think in advance about which files you want to transfer, and decide which folder will serve as the source and which one will receive the files.
Now you can connect Google Drive to Box. Let's do it right now. Below is a step-by-step guide.
Data Source Settings: Google Drive
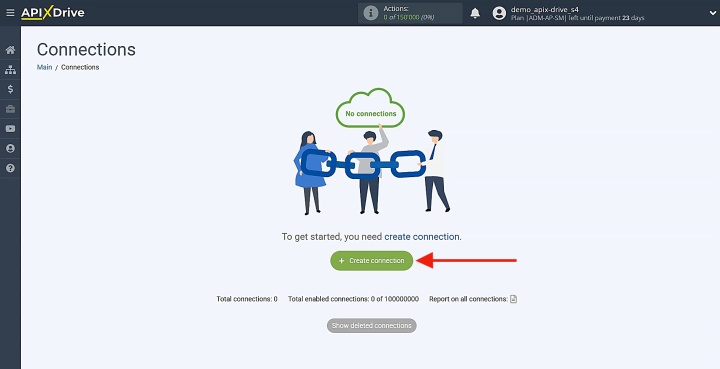
The first step is to create a new connection.
Specify the data source system. You should select Google Drive here.
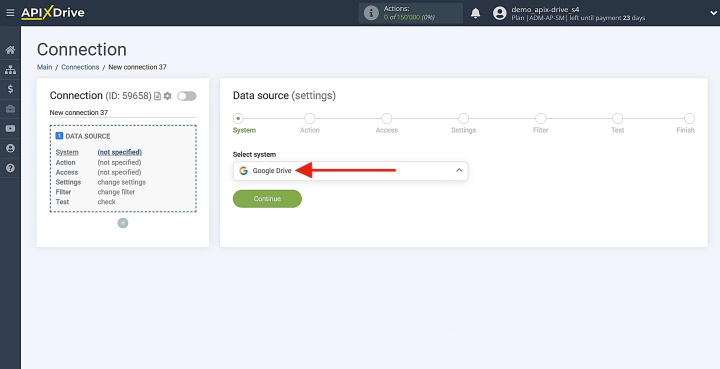
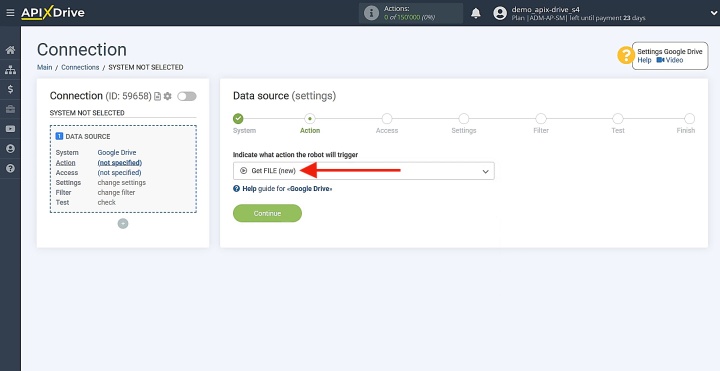
Specify the action you want to configure. Pick Get FILE (new).
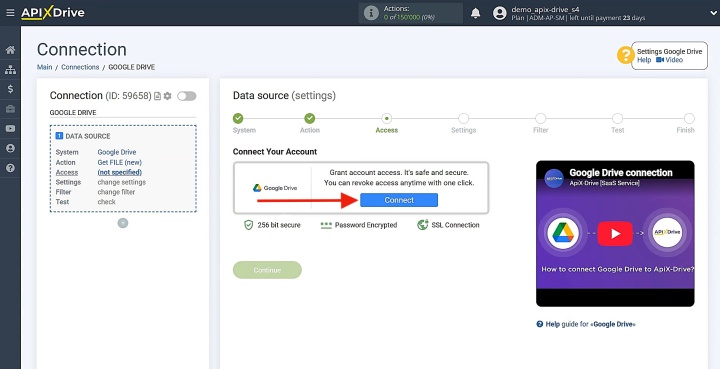
You need to establish a connection between your Google Drive account and ApiX-Drive.
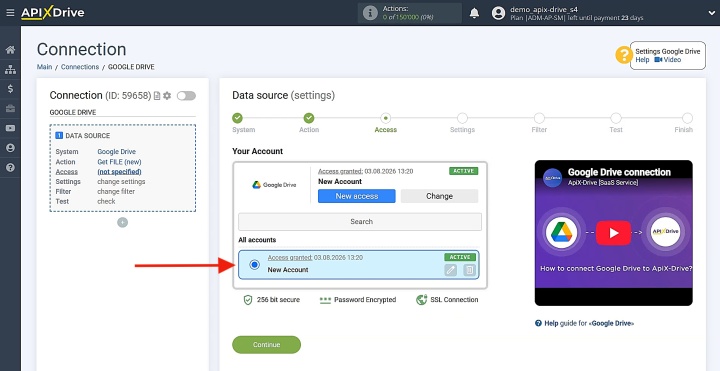
Enter your Google account credentials in the appropriate fields. Authorize access to your Google account in the next window. As soon as the account is displayed in the list, select it and proceed by clicking Continue.
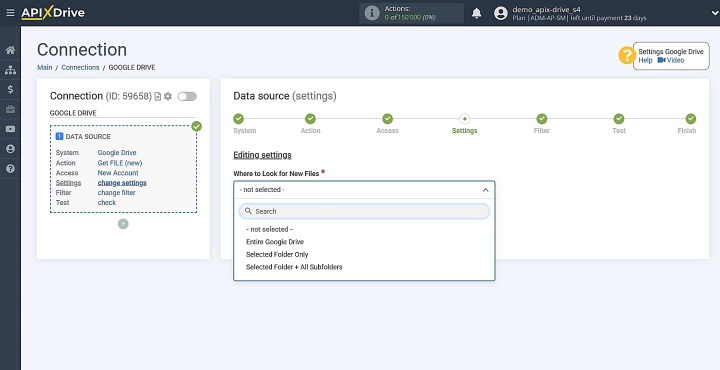
Select where to search for new files in Google Drive.
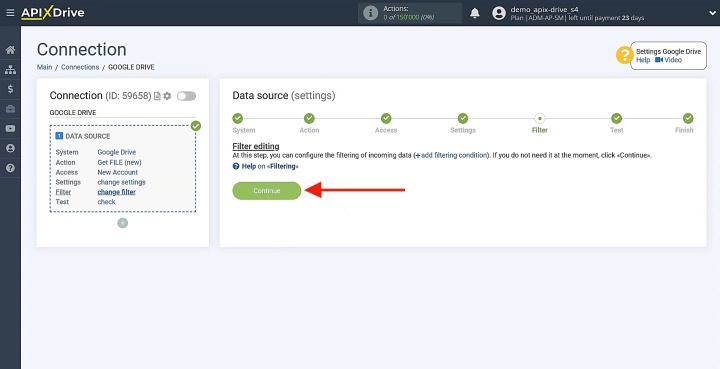
The system offers data filtering at this step. It's not needed in our case, so just proceed by clicking Continue.
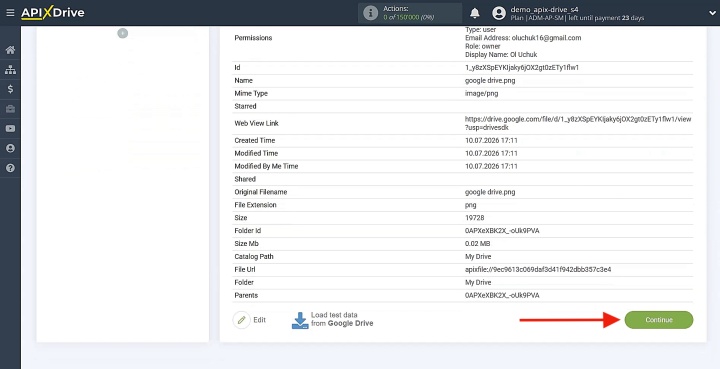
Now, you see the test data that will be transferred to Box. If everything looks correct, click Continue.
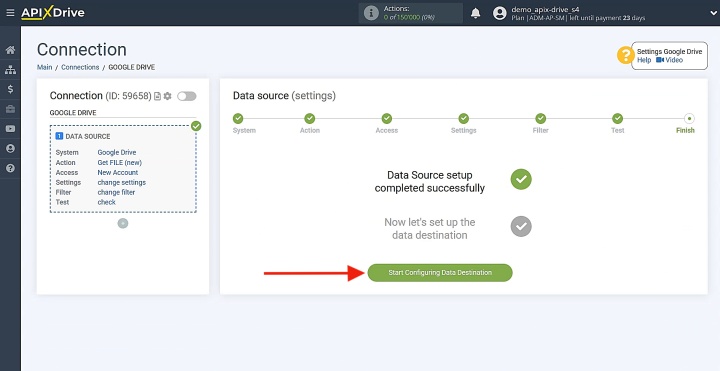
Data Destination Settings: Box
Now it's time to set up the system that will receive the data.
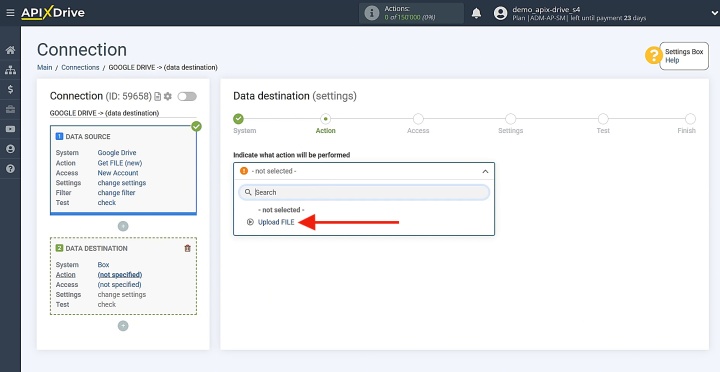
Specify the data destination system. In our case, this is Box. You need to choose the action Upload FILE.
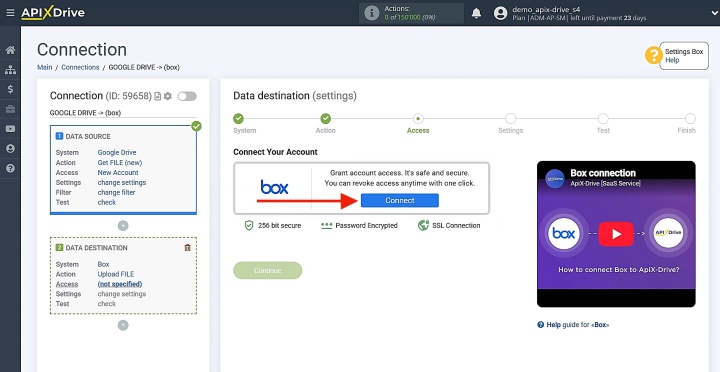
Connect your Box account to ApiX-Drive.
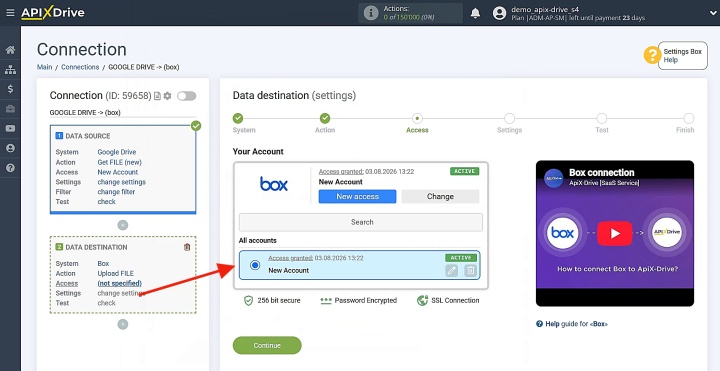
Log in to Box using your account username and password. Enable ApiX-Drive to work with your Box account by granting access. Once the account appears in the list of active logins, select it and click Continue.
Next, specify the file link, file name, and destination folder for the files you want to transfer.
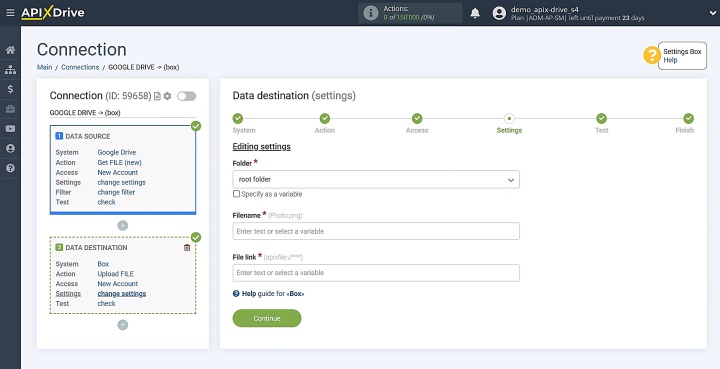
You can select the required options from the dropdown menu.
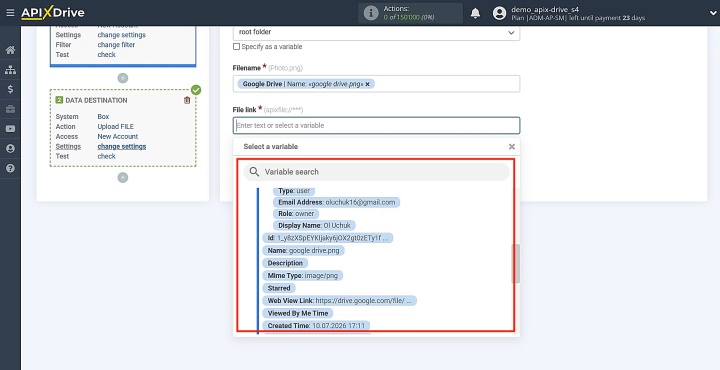
Once you have entered all the required information, click Continue. You will then see a preview of the data that will be transferred to Box. Send a test file to make sure everything is configured correctly.
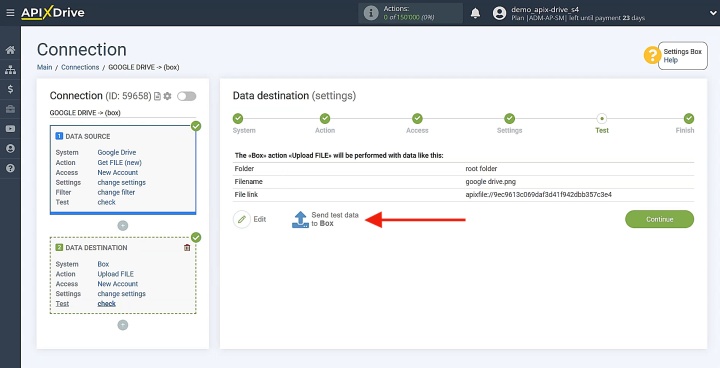
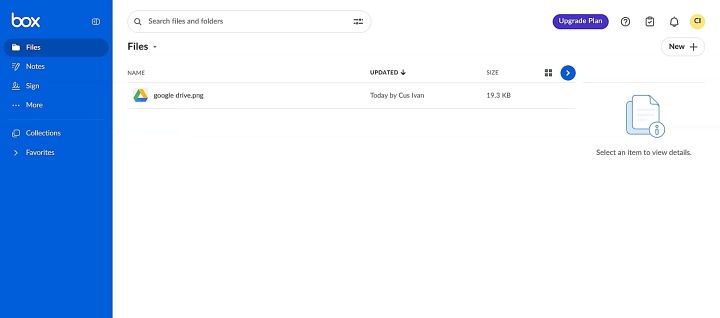
Open Box and verify that the file was uploaded successfully. Then return to ApiX-Drive and proceed with the integration setup.
Enabling Auto-Update
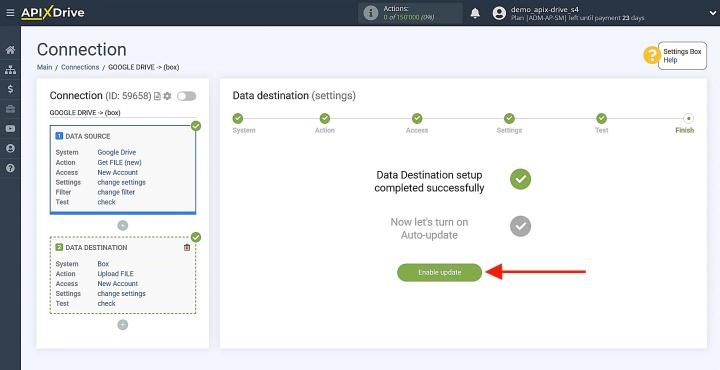
Configure the auto-update function to keep the integration running at the selected interval. Click Enable update.
Next, click on the gear icon.
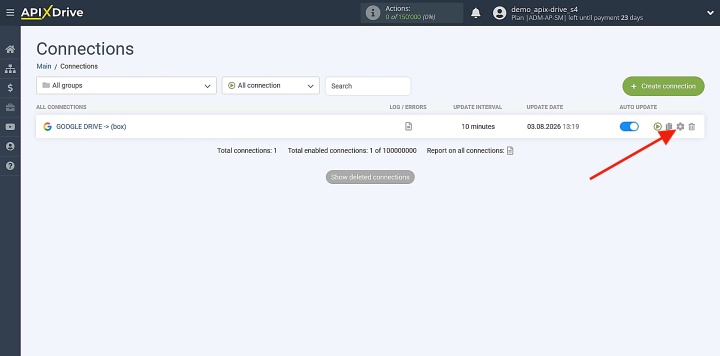
Select the time interval for auto-update. Here you can also modify the connection name and assign it to any group you need. Once everything is set, click Continue.
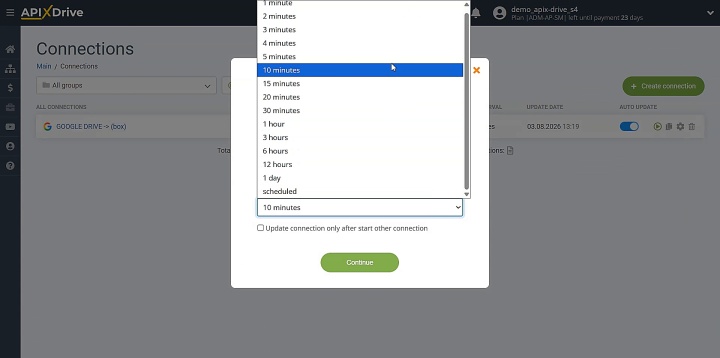
The setup process is complete. Your integration is now active.
Results
Businesses are increasingly turning to process automation. This primarily concerns repetitive, routine actions. Automating file transfers between cloud services is one of the easiest ways to eliminate repetitive manual work and the risks associated with it.
By following our guide on how to connect Box to Google Drive and setting up the integration of these services, you can automate the transfer of files from one cloud storage service to another. This will significantly simplify document archiving, improve reliability, reduce the risk of errors, and speed up work with contractors and remote teams.
Read also about other integrations:
- How to Connect Google Drive to Google Sheets for Automatic File Tracking
- Webflow and Slack Integration: Setting Up Automatic Notifications
- Facebook and Airtable Integration: Automatic Transfer of New Leads
- Google Lead Form and Google Sheets Integration: Automatic Lead Transfer
- Google Drive and Dropbox Integration: How to Automate File Transfers