
Calendly and Google Sheets Integration: How to Track Scheduled Meetings

Monday morning: you open your email and see an angry message from a potential client who has been waiting for half an hour for an online meeting, and you hadn't even realized they were waiting. Before an important call, you frantically search for the conference link in dozens of notification emails because you forgot to transfer it to the general schedule in time. To prevent one missed row from costing you a client or revenue, put meeting tracking on autopilot with a Calendly and Google Sheets integration.
How to Turn Google Sheets Into a Mini CRM Based on Calendly
Entrepreneurs and professionals often perceive Google Sheets only as a place for simple lists, although in conjunction with Calendly, the spreadsheet can easily serve as a simple CRM system. For small teams, freelancers or service businesses, paying for complex platforms like HubSpot or Pipedrive is often impractical: much of their functionality may go unused, while per-user subscription fees can quickly add up.
Instead, automatically filling the spreadsheet with data about each scheduled meeting allows you to manage client interactions in a clear and familiar environment. This can be implemented using Google Sheets and Calendly integration.
The process is simple: prepare the necessary columns in your spreadsheet for data from Calendly, such as the client’s name, email address, phone number, consultation type, date and time, and meeting link. Next to it in the same table, you add your own working columns for the team: "Responsible manager", "Meeting status" (scheduled, held, postponed, canceled), and "Result of negotiations".
After a client books a time slot, the system automates the process to add Calendly events to Google Sheets: it creates a new row and fills in the basic fields. Employees only have to update their statuses after the conversation.
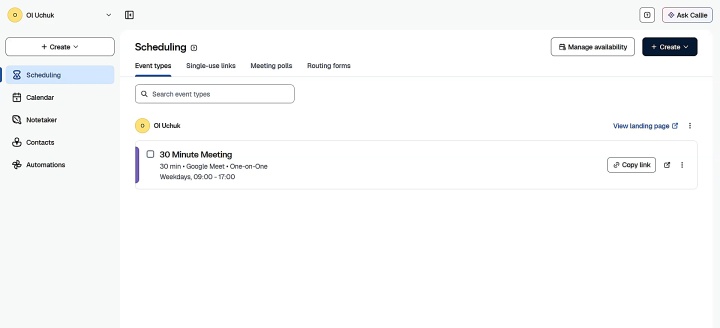
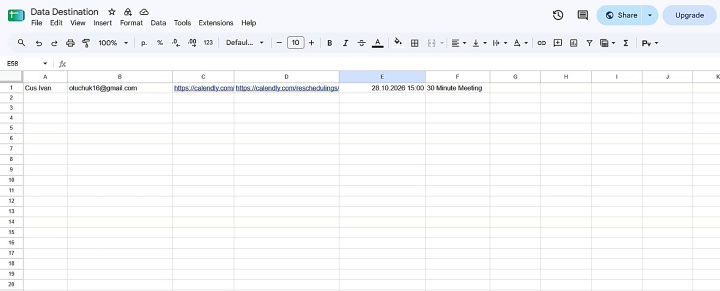
The automated system gives the business tangible results at various stages:
- Operational control at the start. All information about incoming requests is collected in one place. The manager sees the context of the client's request, has the meeting link readily available, and does not waste time searching for details in email notifications.
- Long-term benefits. The meeting database accumulated over several months turns into a complete history of customer interactions. The manager can easily filter records by specific manager or type of service, assess the team's workload, and see how many scheduled calls actually take place and where customers most often cancel meetings.
How to Connect Calendly to Google Sheets
You can automatically save Calendly events to Google Sheets with a no-code automation service such as ApiX-Drive or a custom API-based integration. A custom integration may be suitable for teams with development resources and specific workflow requirements. It may also require updates if the Calendly or Google Sheets API changes.


With ApiX-Drive, the process is much simpler. The complex programming code is hidden behind a step-by-step interface that is understandable to the average user. Setup can usually be completed in minutes.
You simply connect your Calendly and Google Sheets accounts, select a trigger action, and specify in which columns of the table the system should record the client's name, date, time, and meeting link. The service runs continuously and checks for new events at the configured update interval, so data can be transferred automatically.
You can connect Calendly to Google Sheets right now. Below is a step-by-step guide to help you complete the process as smoothly as possible.
Data Source Settings: Calendly
The first step is to create a new connection.
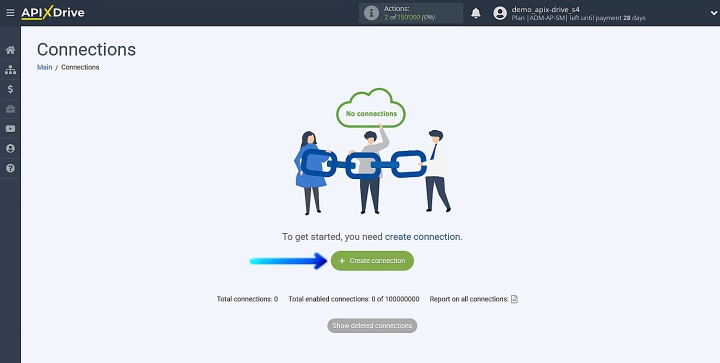
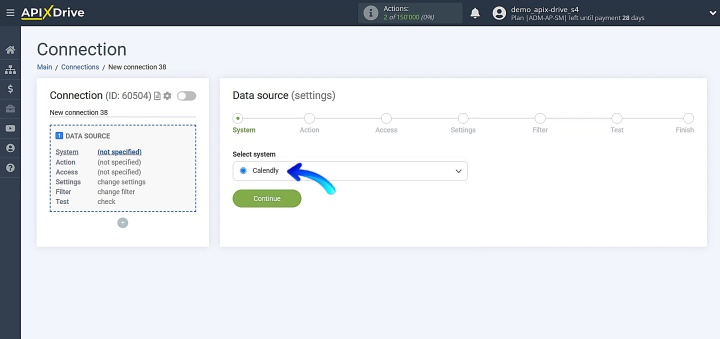
Specify the data source system. You should select Calendly here.
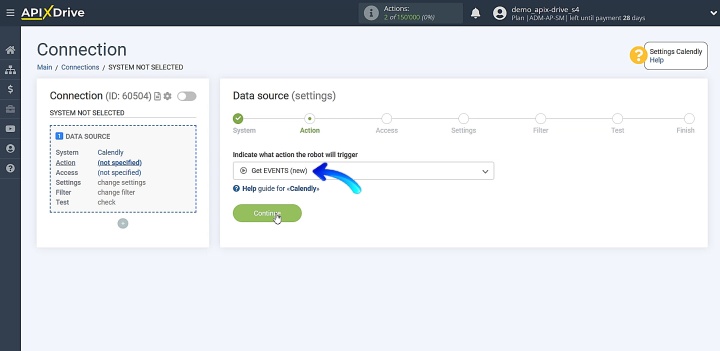
Choose the action you want to configure. Pick Get EVENTS (new).
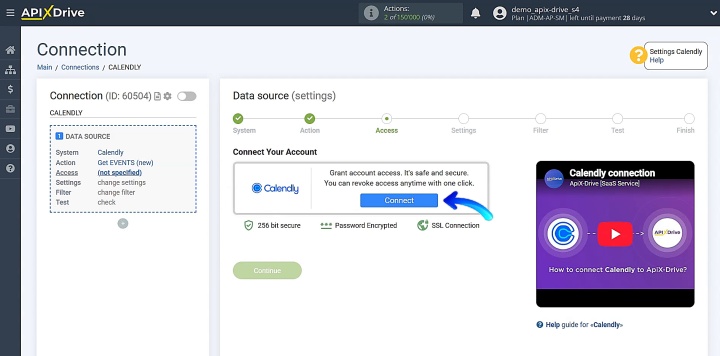
You need to establish a connection between your Calendly account and ApiX-Drive.
Type in your Calendly account credentials in the respective fields.
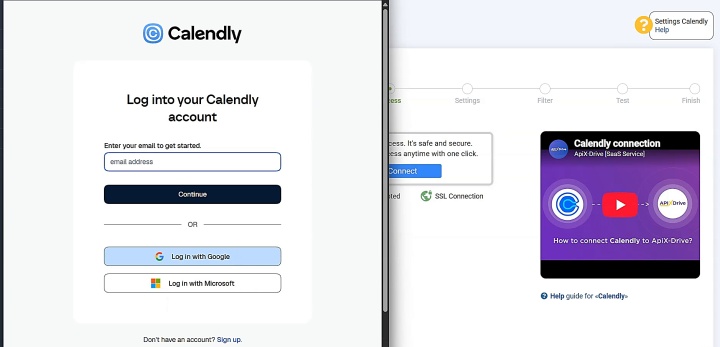
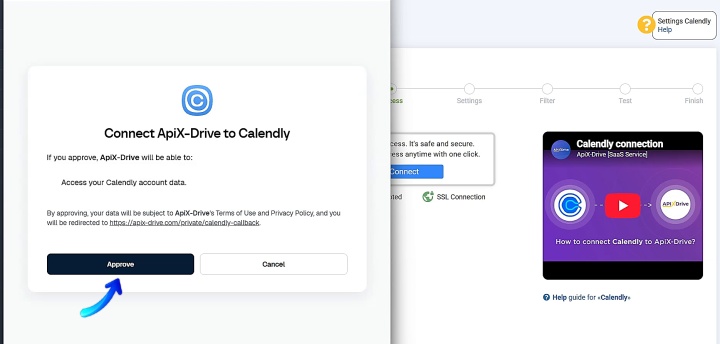
Authorize access to your workspace in the next window.
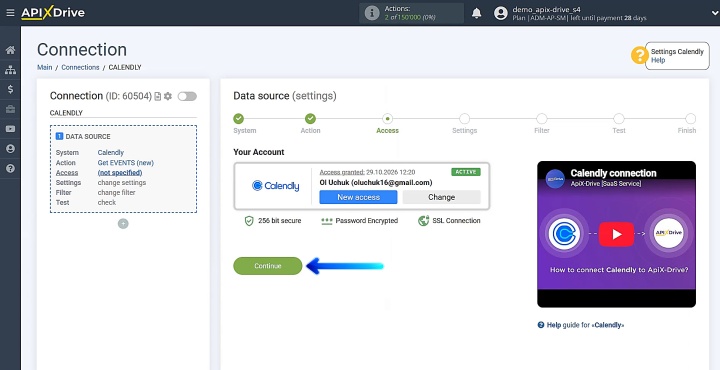
As soon as the account is displayed in the list, select it and proceed by clicking Continue.
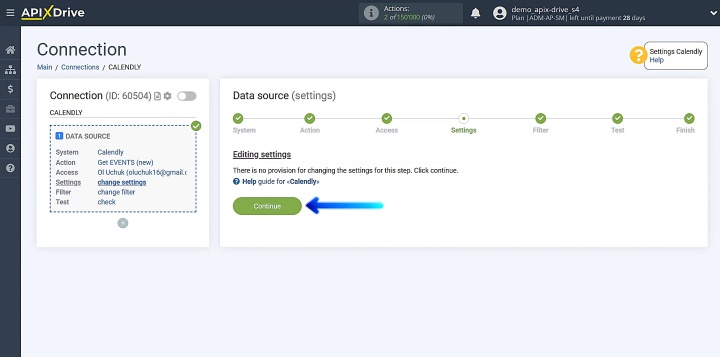
No additional configuration is required at this stage, so simply click Continue.
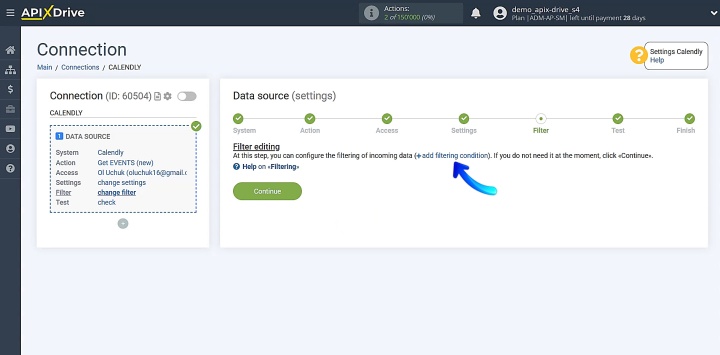
The next step is data filtering. If you need to filter incoming data, learn more about this feature here.
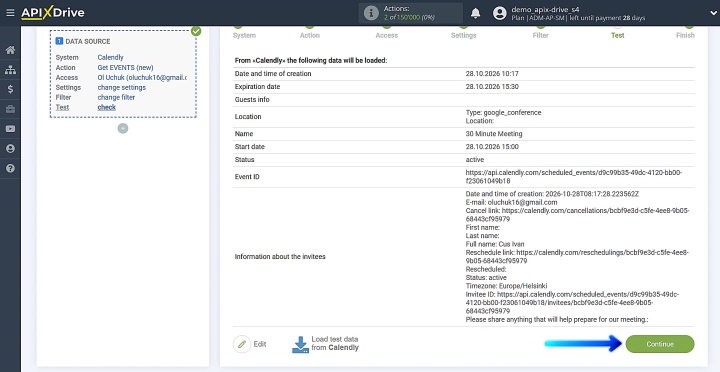
Now, you will see sample data that will be transferred to Google Sheets. If everything looks correct, click Continue.
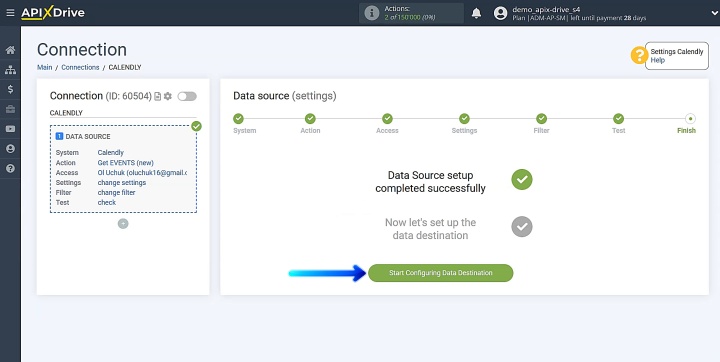
The Calendly data source setup process has been completed successfully.
Data Destination Settings: Google Sheets
Now it's time to set up the system that will receive the data.
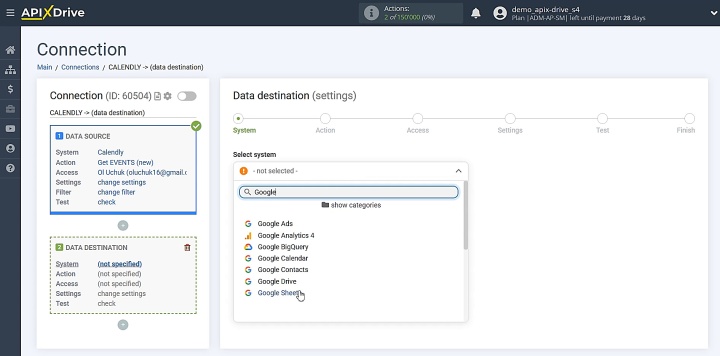
Specify the data destination system. In our case, this is Google Sheets.
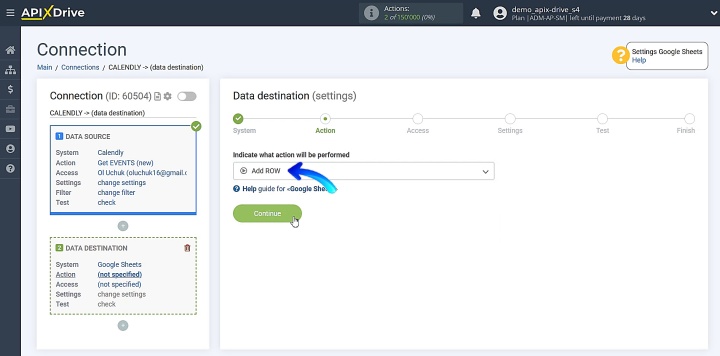
You need to choose the action Add ROW at this step.
Connect your Google Sheets account to ApiX-Drive to continue.
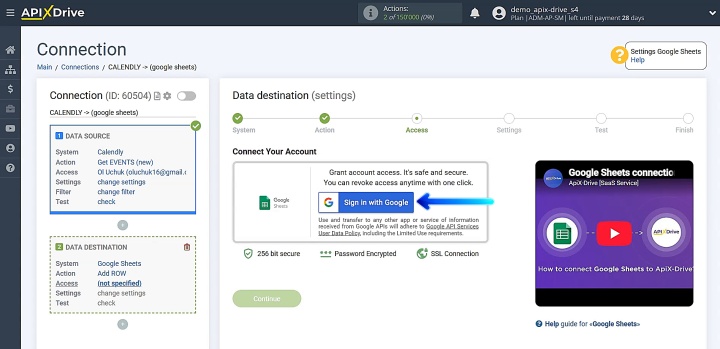
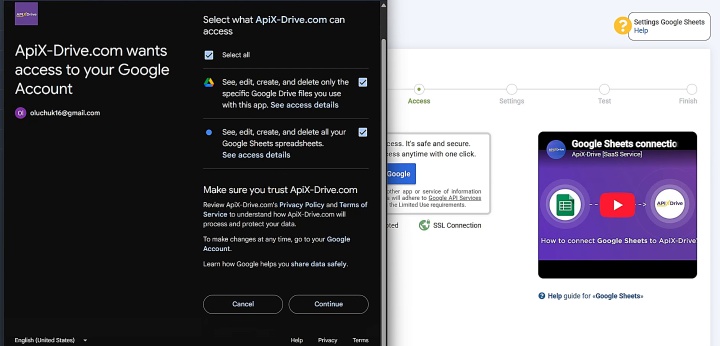
Sign in to your Google account and grant ApiX-Drive all necessary permissions.
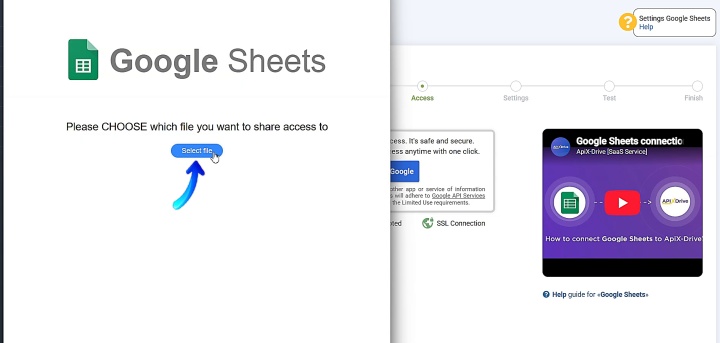
Then, select the specific spreadsheet you wish to connect.
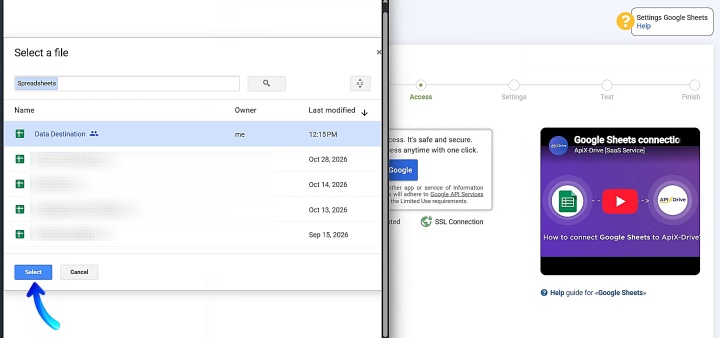
As soon as the account is listed in the active accounts, pick it and click Continue to move forward.
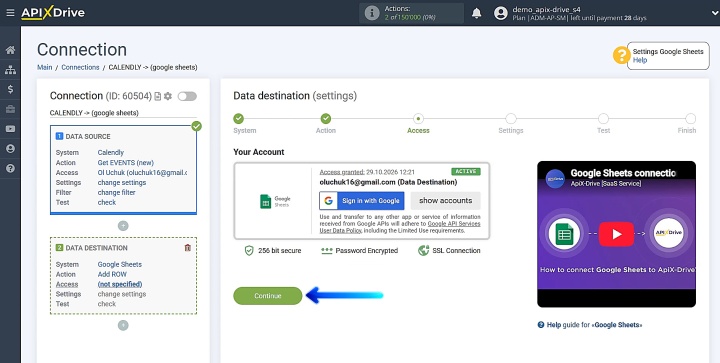
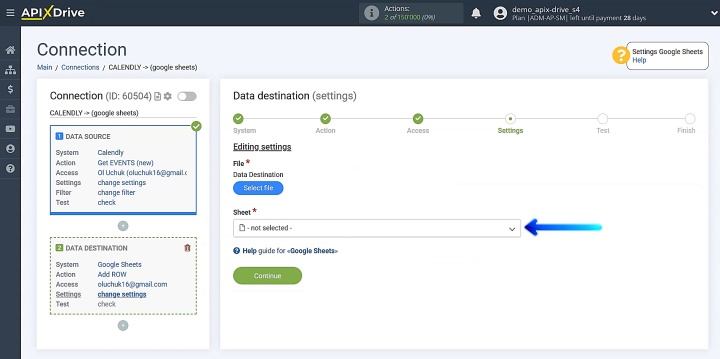
In the settings section, select the sheet where you want to send new event data.
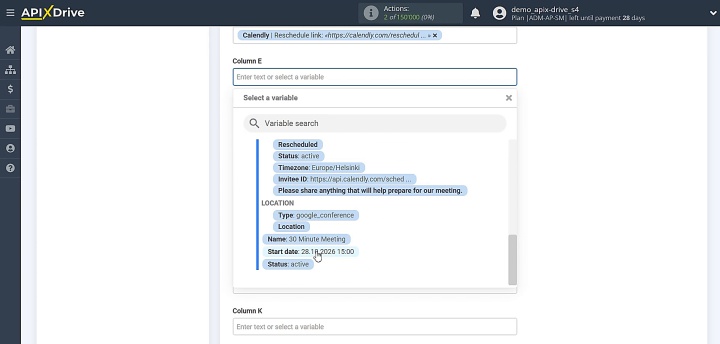
Map your spreadsheet columns by selecting the corresponding Calendly variables from the dropdown list (such as name, email, event date/time, or event type). You can also enter custom text manually or leave unnecessary fields empty.
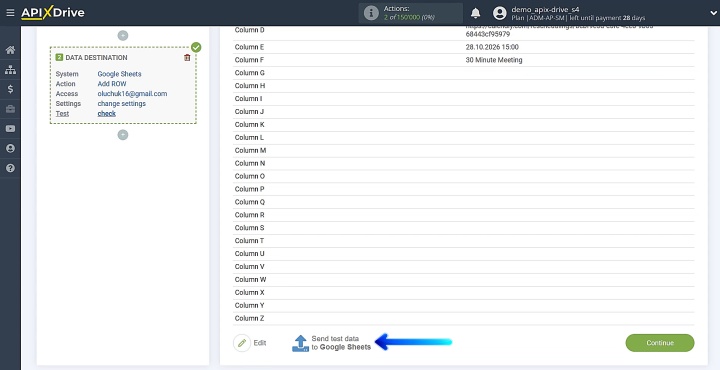
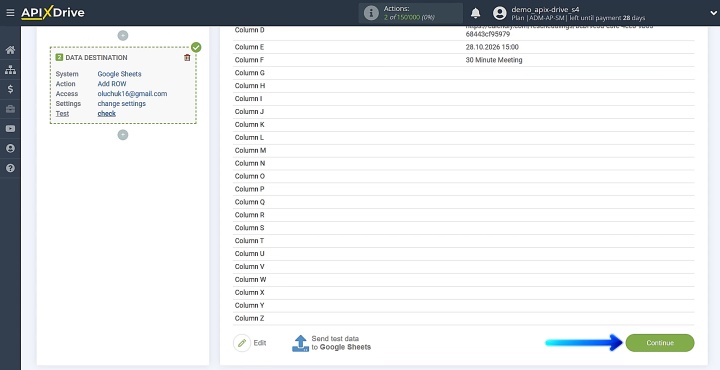
Once all the necessary data has been assigned, scroll to the bottom of the page and click Continue. After that, you will see the test data that will be sent to Google Sheets. To verify that the setup is correct, click Send test data to Google Sheets.
Go to Google Sheets and check the result.
Then, return to the ApiX-Drive system and continue with the setup.
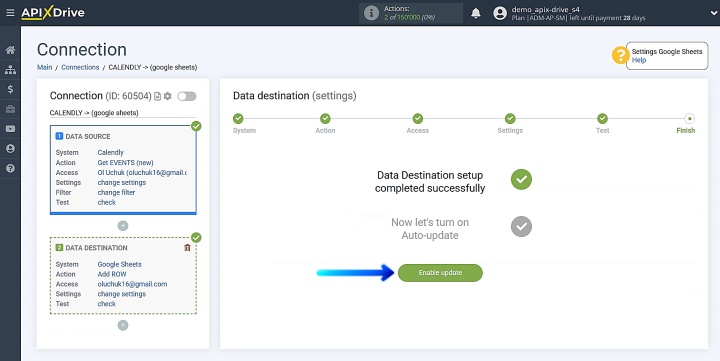
Auto-Update
Configure the auto-update function for synchronizing Calendly and Google Sheets. Click Enable update.
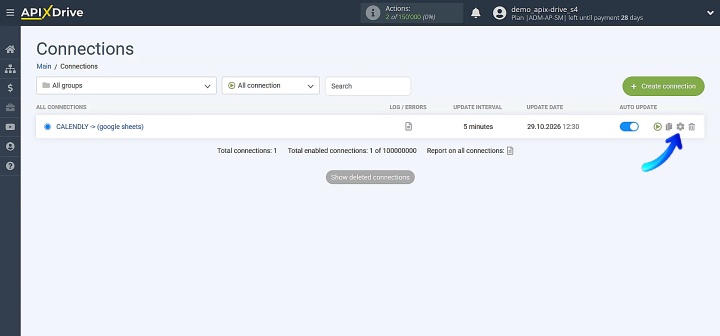
Next, click on the gear icon.
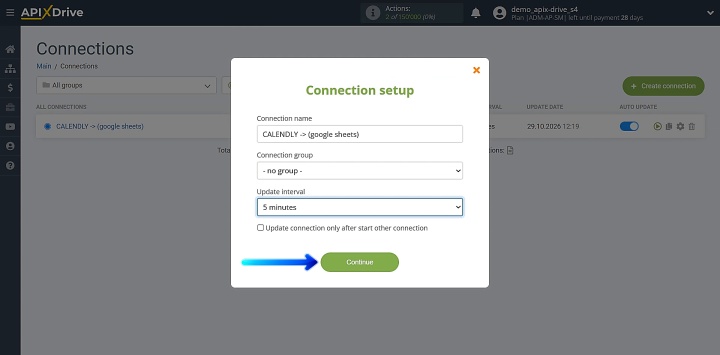
Select the auto-update interval. For example, you can set it to 5 minutes. Here you can also modify the connection name and assign it to any group you need. Once everything is set, click Continue.
The setup process is complete. Your integration is now active.
Conclusion
Automatic data transfer from Calendly to Google Sheets allows you to organize your work with customers without complex and expensive software solutions. When each new event, along with contacts and a link to the meeting, quickly enters a prepared spreadsheet, it becomes a convenient mini CRM for the entire team. This frees employees from manual data entry, reduces the risk of missing customer inquiries, and provides a clear overview of each stage of customer interaction.
Recommended reads:
- Gmail and Google Drive Integration: How to Save Attachments Automatically
- Top 7 Integrations: How to Automate Marketing Workflow
- Google Drive and Slack Integration: How to Get Slack Alerts for New Files
- Top 7 Integrations for Project Managers: Automate Routine Work
- Google Drive to Gmail: How to Send File Attachments Automatically