Webflow and Notion Integration: Automatic Data Transfer
To optimize and accelerate business processes, people today increasingly resort to integrating the services they need for work. By connecting Webflow and Notion, you can automate the process of transferring data. Leads who fill out a form on the website will be automatically transferred to the workspace. This allows you to quickly and accurately organize data and increase the efficiency of interaction with potential clients. In this article, you will learn how to set up Webflow and Notion integration.
Webflow and Notion Integration: A Business Process Optimizer
Rapid technological development leaves no chance for those who hesitate or cannot part with their usual but outdated work methods. The Notion and Webflow integration is a basic necessity for those who use both services in their work. It significantly increases the speed of business processes in the field of e-commerce and allows you to avoid errors associated with the human factor.
When both services work with a reliable connection, the data from each completed and submitted lead form on a Webflow-based website is automatically transferred to Notion and converted into new database items.
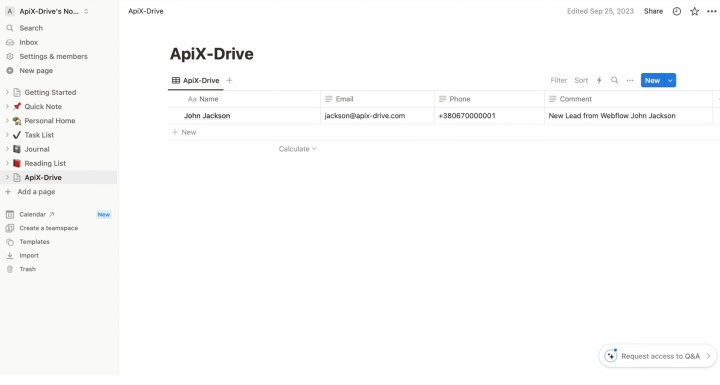
What does this provide? Here are a couple of case studies of the effectiveness of integrating these platforms:
- A fitness studio uses a registration form on its website to sign up potential clients for training. Every time a person submits a completed form, their data (name, surname, contacts, date of birth, place of residence) is automatically transferred to Notion, where a new entry is immediately created in the database. As a result of the Webflow and Notion integration, the studio gets the opportunity to contact potential clients more quickly, sending them personalized offers regarding training programs, class schedules, and various promotions. This significantly improves interaction with clients and has a positive effect on attendance.
- A design agency collects data from potential clients via a specially developed form for ordering services. After the form is submitted, the data entered by the client is automatically sent to Notion. This significantly simplifies and speeds up the organization of work with leads. The agency can provide them with high-quality feedback faster by sending personalized offers of its interior design services. The result of the Notion and Webflow integration is an increase in the conversion rate and customer loyalty rate.
How to Connect Webflow to Notion
To connect the Webflow and Notion platforms, you don’t need to be a programmer or learn how to use the API. You won’t need to ask third-party IT specialists for help. Our online connector, ApiX-Drive, will do everything tech works. Its functionality allows you to quickly and easily set up a connection between the systems. The interface is intuitive, so you will spend no more than 10–15 minutes on the entire process, even if you have never done anything like this before. In addition, you will be provided with step-by-step text instructions and video tutorials.


You can take the first step right now. Register on the website apix-drive.com if you don’t have a personal account there yet. Ready? Then don’t stop and sync Webflow and Notion.
Setting Up the Data Source – Webflow
Begin by establishing a new connection for the Webflow integration with Notion.
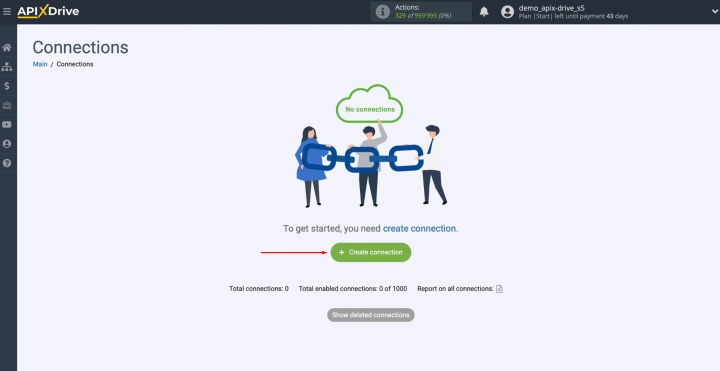
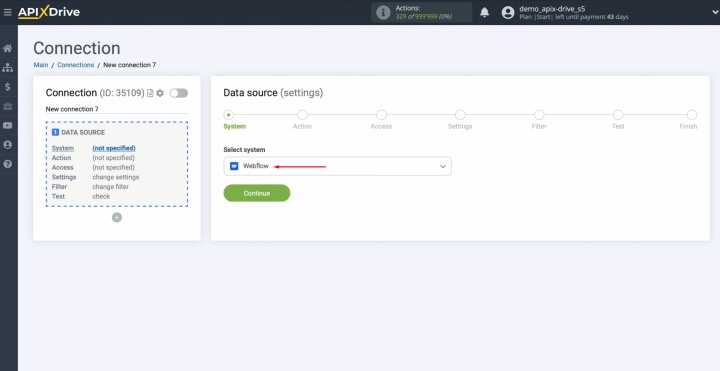
Select Webflow as the data source
system.
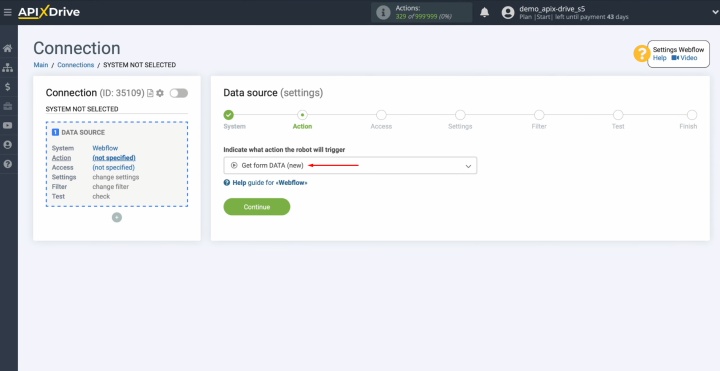
Choose the action "Get Form
DATA (new)."
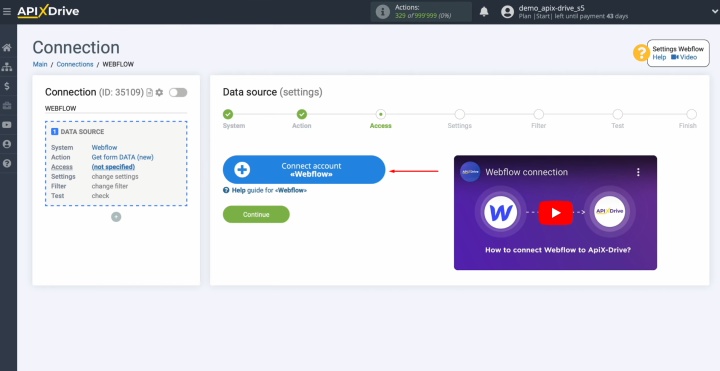
Connect your Webflow account to
ApiX-Drive.
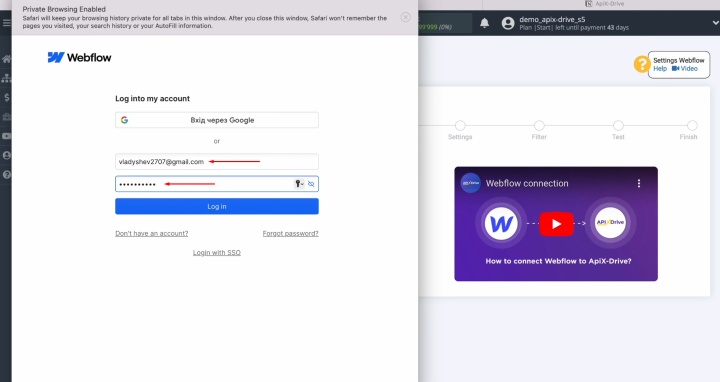
In the login window, enter your
Webflow account credentials and click "Log in."
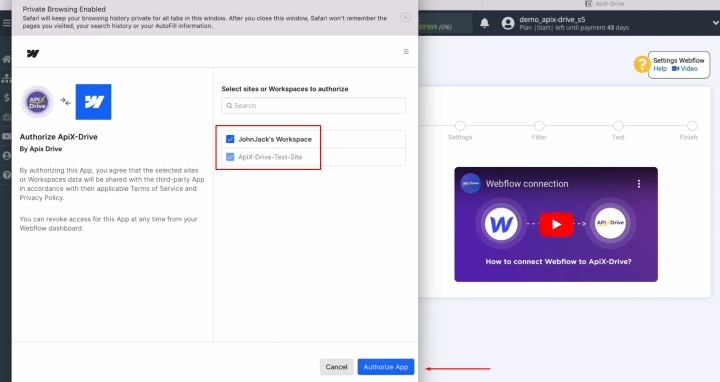
Grant ApiX-Drive access to your
Webflow workspace by clicking "Authorize App."
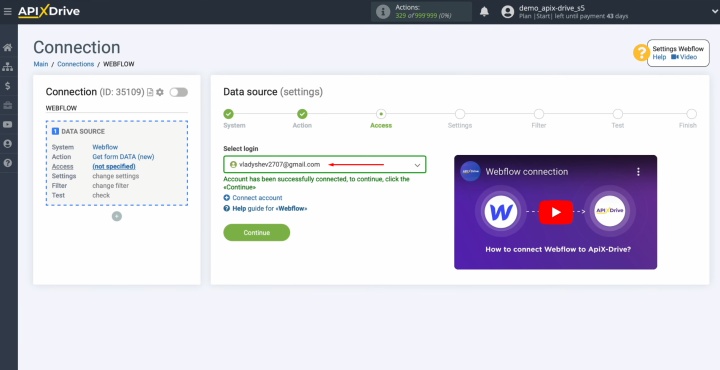
Once your account appears in the
list of active logins, select it and click "Continue."
Choose the specific website from
which new leads will be retrieved, then click "Edit and continue."
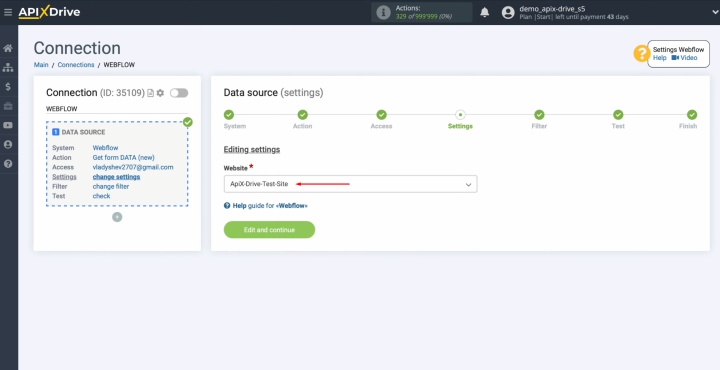
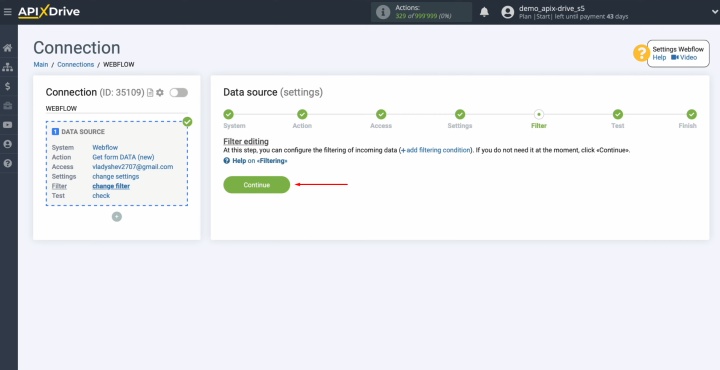
While configuring, you may skip
setting up a data filter by clicking "Continue."
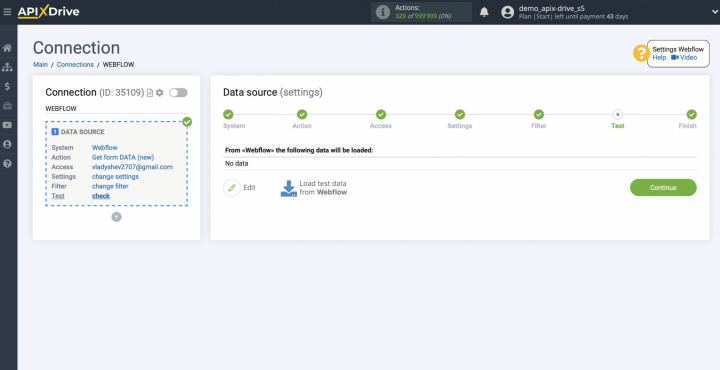
Verify that data from one of your
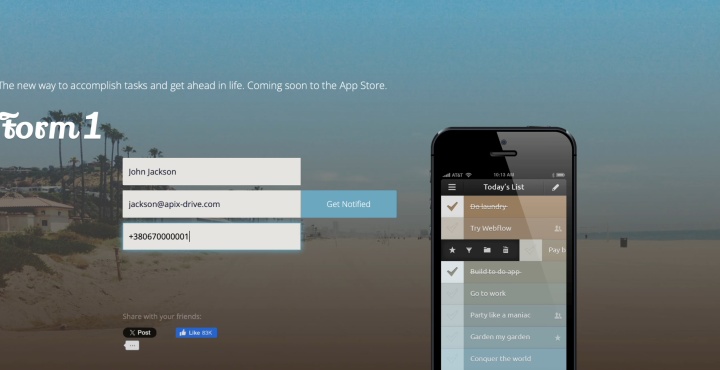
Webflow leads is displayed. If no data appears, complete a form on your Webflow
site.
Fill out the form.
Return to ApiX-Drive and click
"Load test data from Webflow" to proceed.
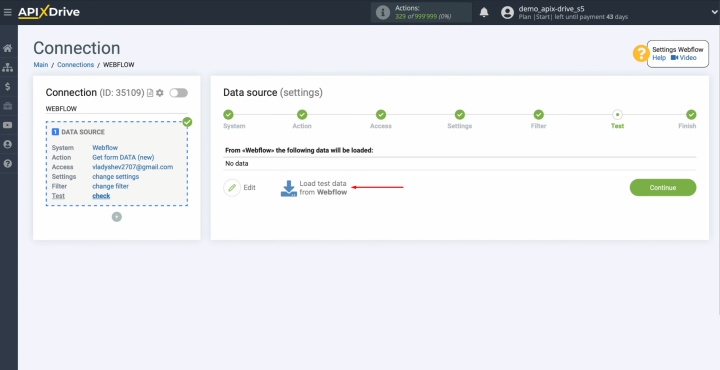
When lead data is successfully
displayed, click "Continue."
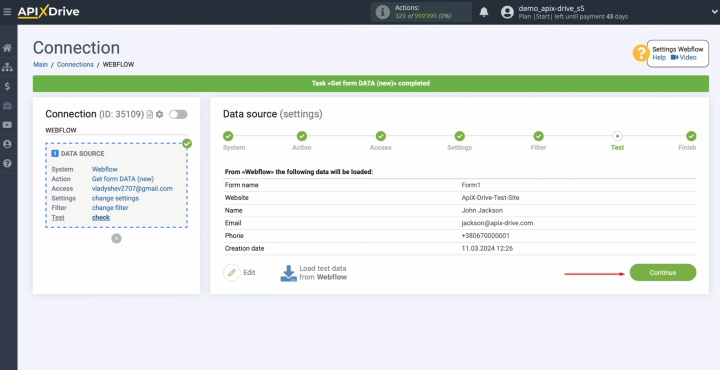
At this
point, the configuration of the Webflow data source is complete.
Setting Up the Data Receiver – Notion
To proceed the Notion integration with Webflow, connect your Notion account to ApiX-Drive and configure the data destination.
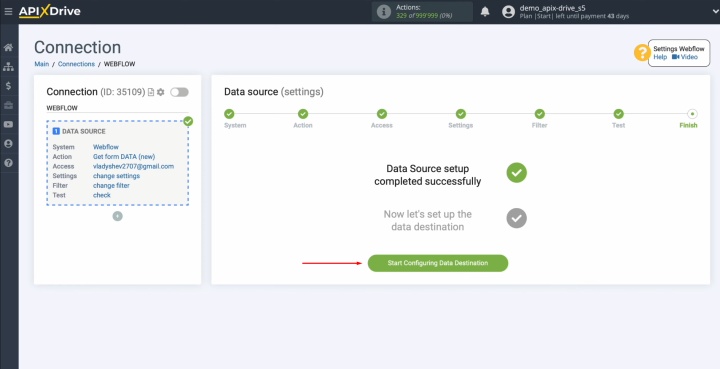
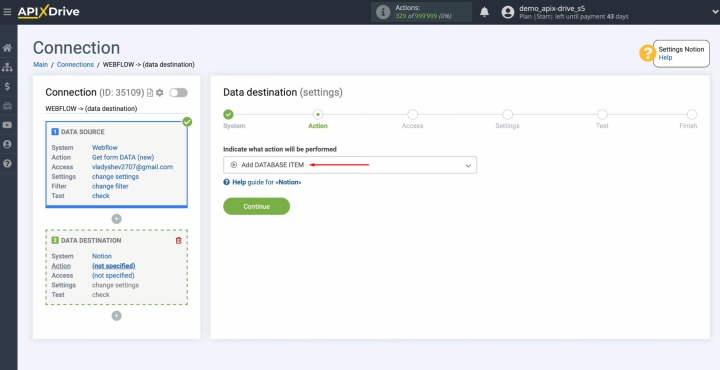
Select Notion as the data receiver.
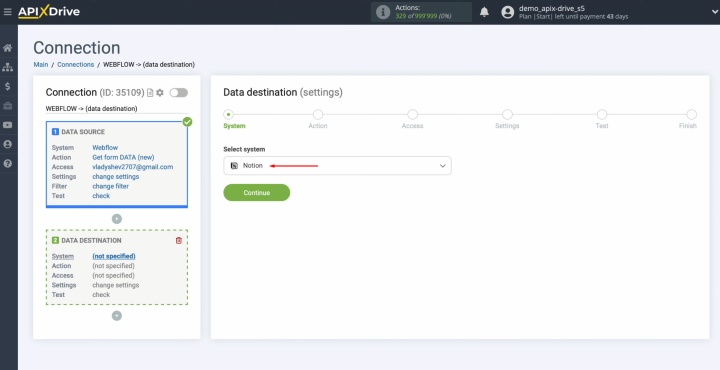
Choose the action "Add DATABASE
ITEM."
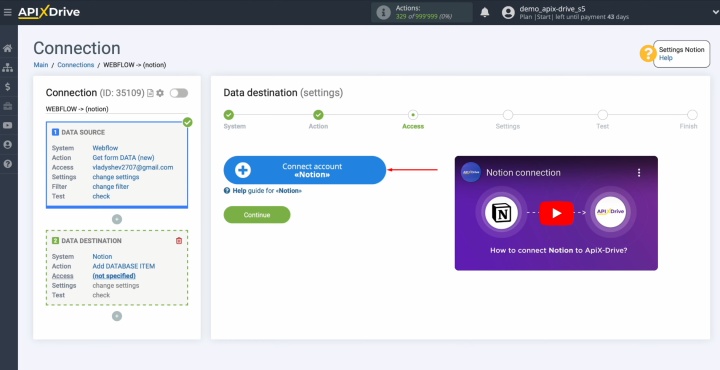
Connect your Notion account to
ApiX-Drive.
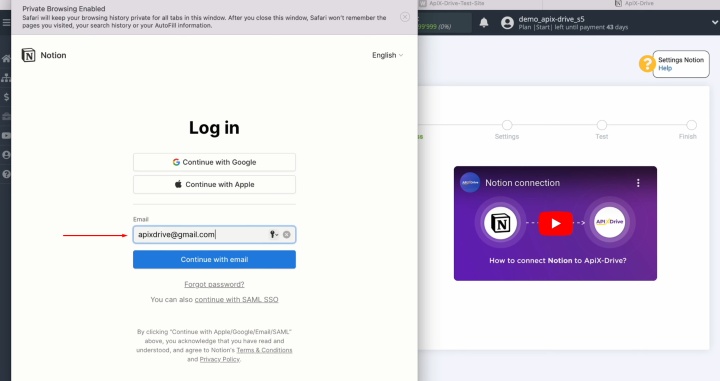
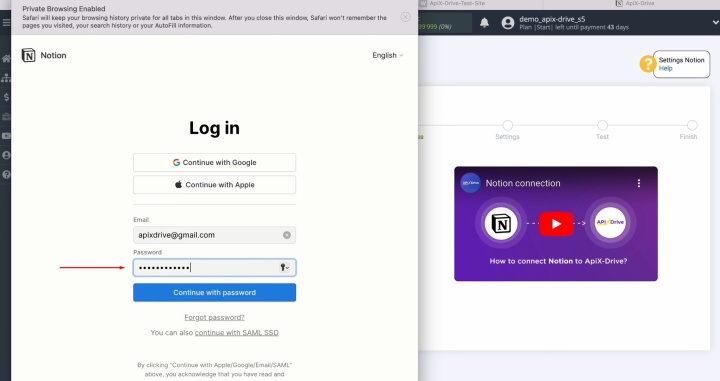
Enter your Notion account
credentials (login and password).
Grant access to your Notion
databases by clicking "Select pages."
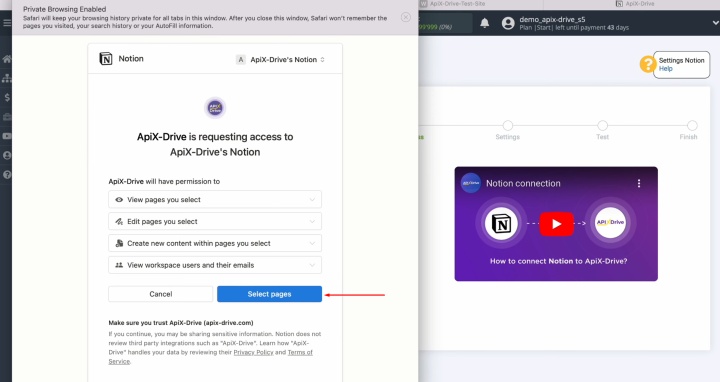
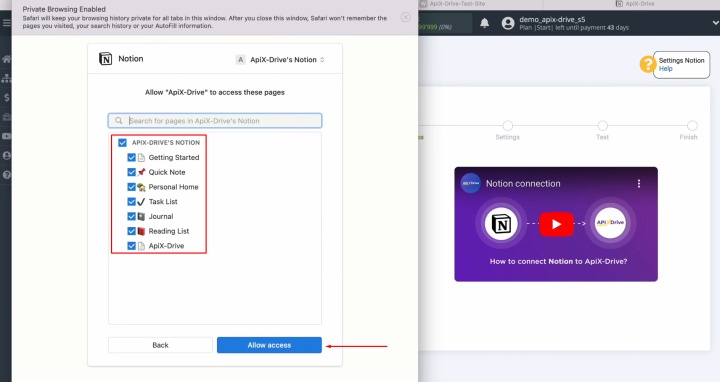
It’s recommended to allow access to
all databases for future flexibility. Ensure all checkboxes are selected, then
click "Allow access."
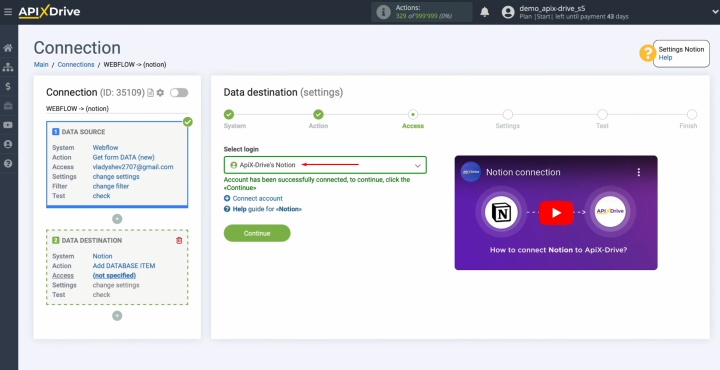
Once your Notion account appears in
the list of active logins, select it and click "Continue."
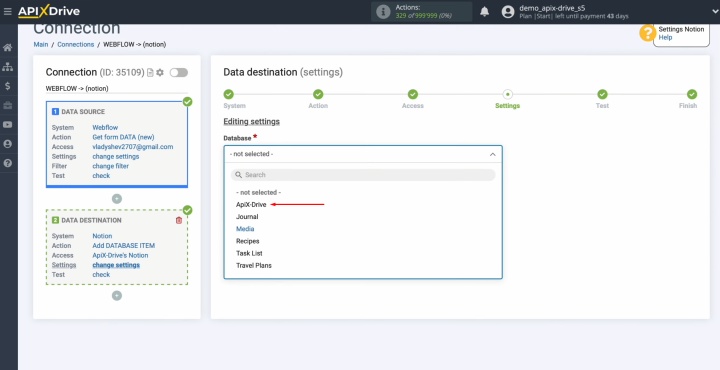
Choose a database in which new items
will be created for each lead from Webflow.
Fill out fields of Notion with variables
from Webflow.
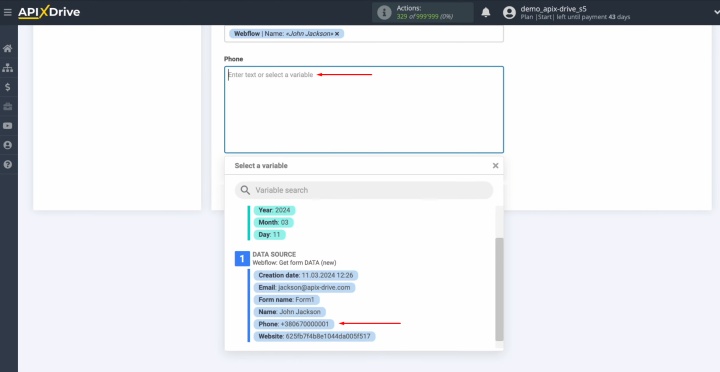
Optionally, you can manually input
values.
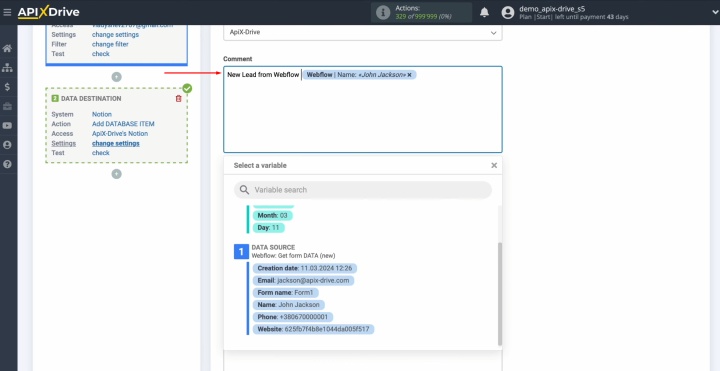
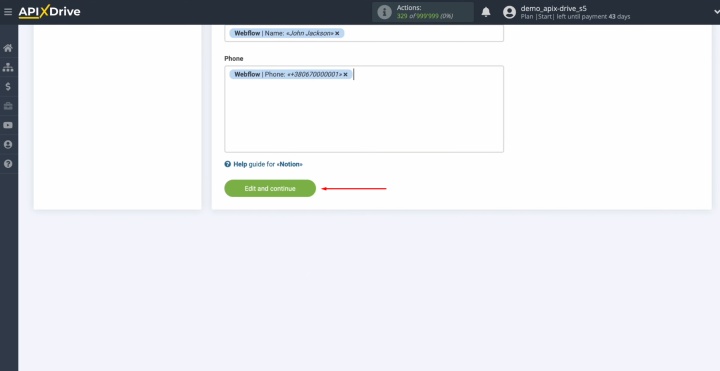
After filling in all required
fields, click "Edit and continue."
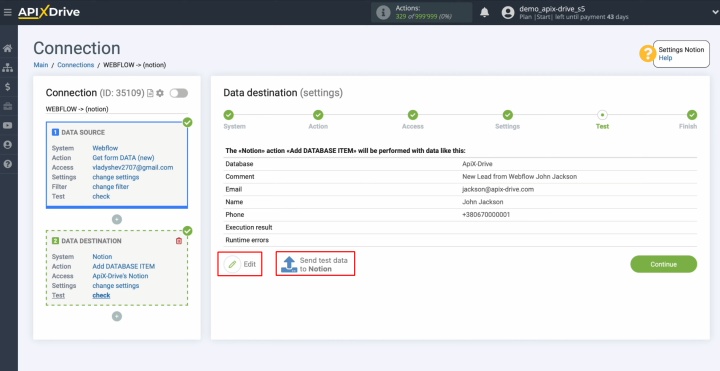
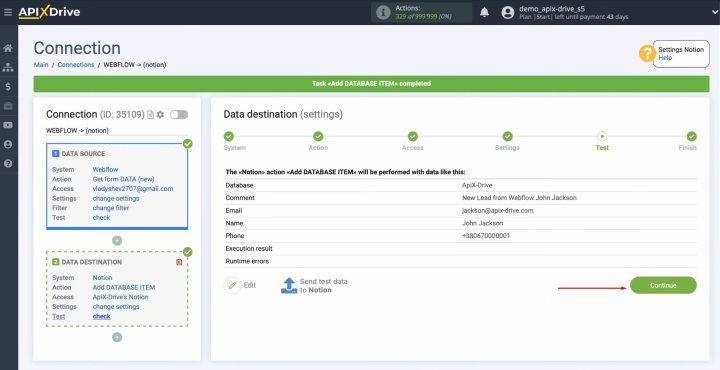
Review an example of how data will
appear as new database items in Notion for each lead from Webflow. If
adjustments are needed, click "Edit" to go back; otherwise, test the
setup by clicking "Send test data to Notion."
Verify successful data transfer by
checking the result in Notion.
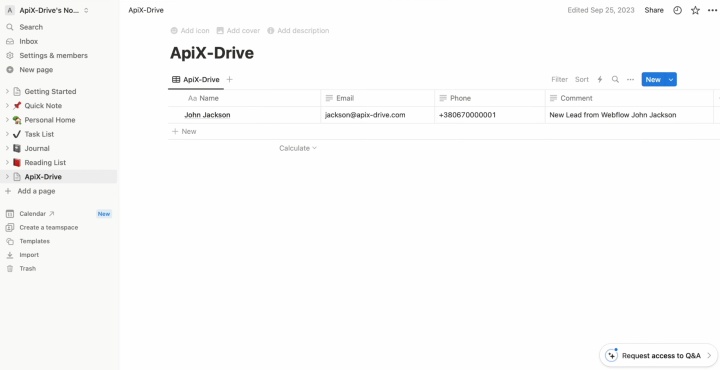
Return to ApiX-Drive to finalize the
setup.
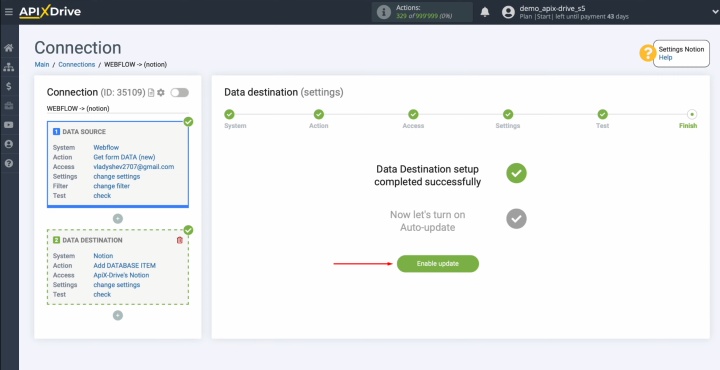
Enabling Auto-Update
To automate data transfer between Webflow and Notion, configure the auto-update feature. Click "Enable update" to activate this functionality.
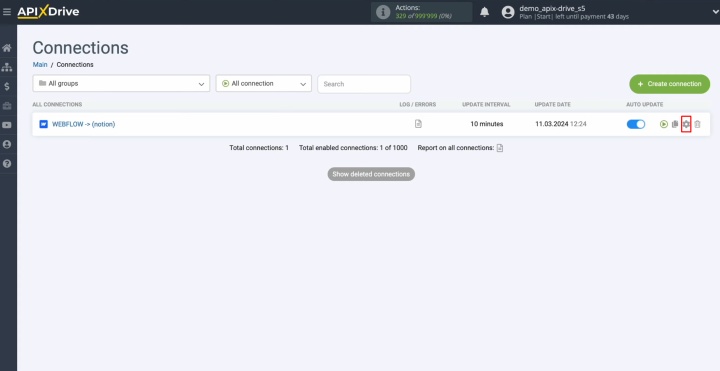
Click on the gear button to access the connection settings.
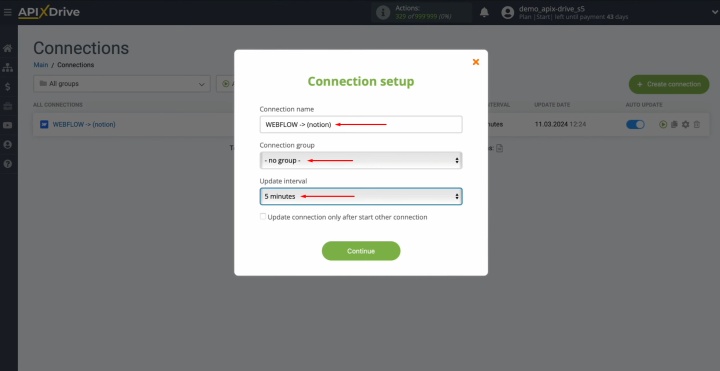
Select the desired interval for the connection to operate, such as updating every 5 minutes. You can also modify the connection name and assign it to a specific group if needed. Click "Continue" to finalize these settings.
The integration has been completed successfully. You did it!
Summary
After successful data syncing between Webflow and Notion and activating auto-update, the process of automatic data transfer starts. Most likely, you have already seen this, having received the first results.
Thanks to the Webflow and Notion integration, you no longer need to manually transfer leads' contacts, bothering with exporting and importing a CSV file each time. This process is fully automated. Giving up the benefits of such integration is like giving up a calculator in favor of an abacus or a computer in favor of a typewriter.
The ApiX-Drive online connector provides a ready-made solution that takes over your routine manual work. Meanwhile, you can focus on improving customer service, implementing new business ideas, and other important areas of activity for the further growth and development of your business.
Read also about other integrations:
- Smartsheet and Google Calendar Integration: Automatic Event Creation
- HubSpot and Airtable Integration: Automatic Data Transfer
- Webflow and Brevo Integration: Automatic Data Transfer
- Google Lead Form and Google Sheets Integration: Automatic Lead Transfer
- How to Integrate Webflow and Google Sheets: A Step-by-Step Guide
