Webflow and Slack Integration: Setting Up Automatic Notifications
By integrating Webflow and Slack, you can receive new orders or requests from your forms directly into your workspace, eliminating manual data transfer. This reduces the risk of losing leads due to errors and speeds up your response time. Implementing such automation increases the efficiency of lead management and makes it much more convenient. In this article, we'll show you how to set up Webflow and Slack integration in a few minutes.
Choosing the Optimal Way to Integrate Platforms
The most effective way to automate lead data transfer from Webflow forms to Slack is to integrate the two platforms. There are several ways to do this. They vary in complexity and speed of setup, as well as in user skill requirements. The best method guarantees reliable and uninterrupted operation of the integration, allows you to set it up as quickly as possible, and has reasonable skill requirements for the user.
Using an online connector is a fast and easy way to get Slack alerts from Webflow form submissions. Let’s see how it works with the codeless ApiX-Drive platform. It offers a ready-made scenario where lead data from each form submission is automatically sent to a specified Slack channel. All this happens completely autonomously, in the background.
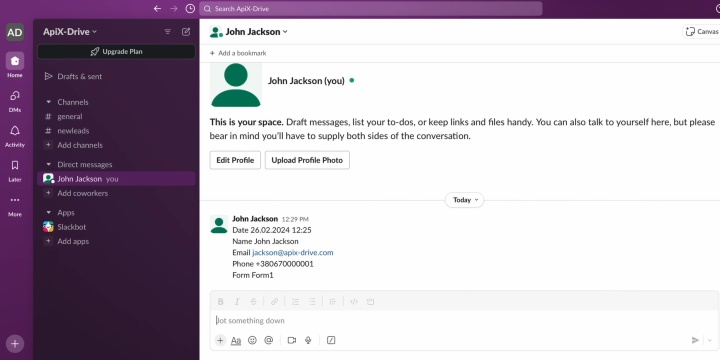
How to Integrate Webflow with Slack
ApiX-Drive developers have simplified the process of integrating Webflow and Slack as much as possible, making it accessible to non-specialists. In general, it looks like this:
- Create a new connection.
- Select Webflow as the data source and the desired action — fetching data from new form submissions.
- Select Slack as the data receiver and the desired action — sending a private message. At this stage, you will need to complete a few simple settings related to selecting the workspace, the user who will receive the message, and the data to be sent.
- Integration testing (done in one click).
- Enable auto-update mode. From now on, Slack notifications for Webflow form submissions will be sent automatically.
- Automate the work of an online store or landing
- Empower through integration
- Don't spend money on programmers and integrators
- Save time by automating routine tasks
Advantages of the integration:
- Easy setup. The intuitive interface allows you to connect Slack to Webflow without any difficulties in a few minutes.
- Reliability. Data transmission occurs uninterruptedly and around the clock.
- Preventing lead loss. The data does not contain critical errors that managers may make.
- Freedom from routine. By automating repetitive actions, you can refocus on more interesting areas of activity.
- Fast communication. Increasing the speed of response to lead requests.
We suggest you set up the integration right now and start getting all these benefits today. Below is a detailed step-by-step guide on how to integrate Slack with Webflow. It will help you do everything quickly and without any problems.
Data Source Settings: Webflow
Create a new connection.
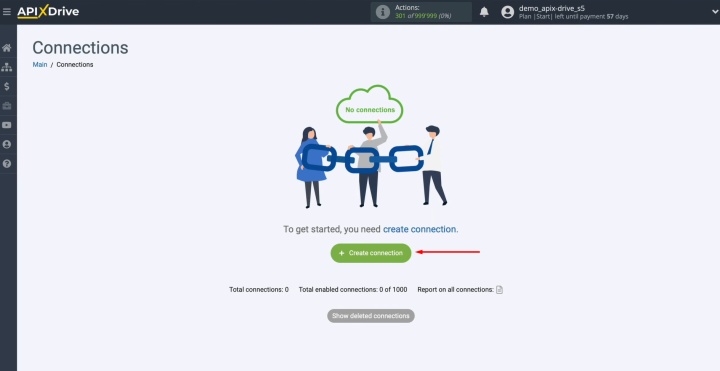
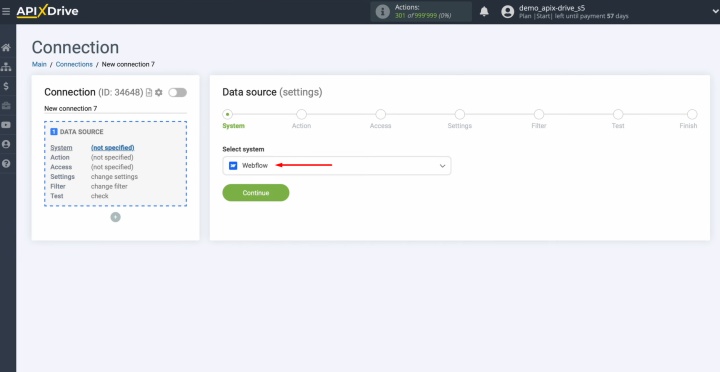
Select the data source system. This is Webflow.
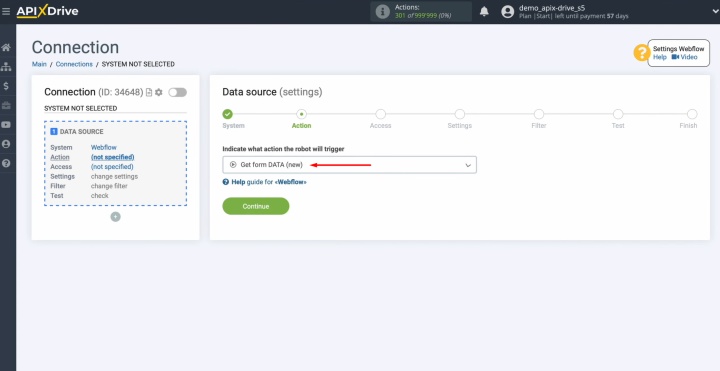
Select the action Get form DATA (new).
Link your Webflow profile to the ApiX-Drive platform.
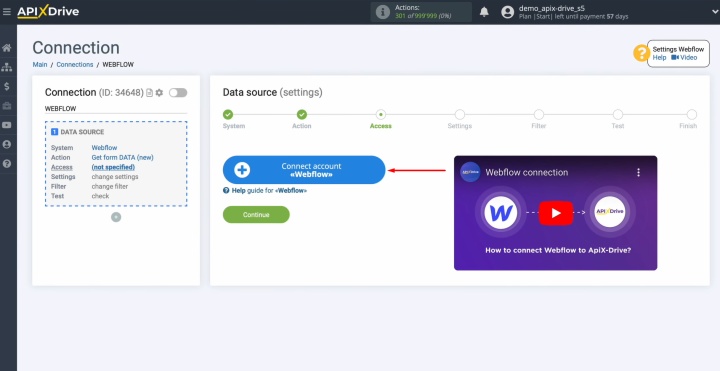
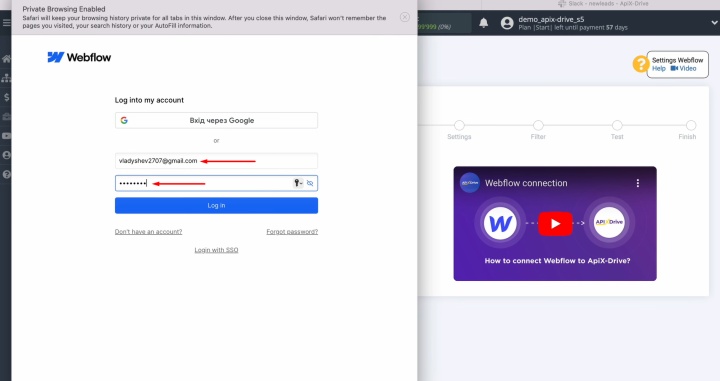
Enter the username and password associated with your Webflow profile.
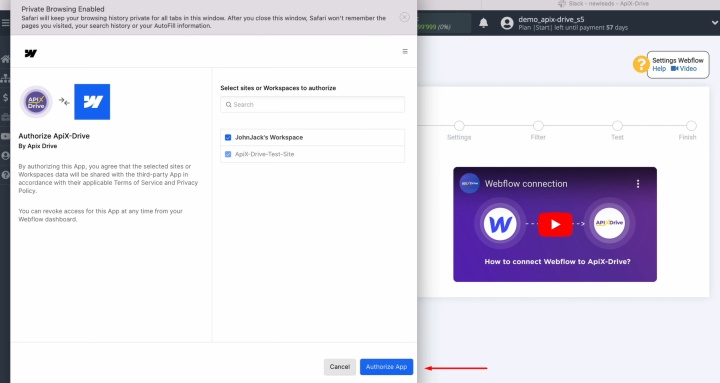
Provide ApiX-Drive access to your workspace.
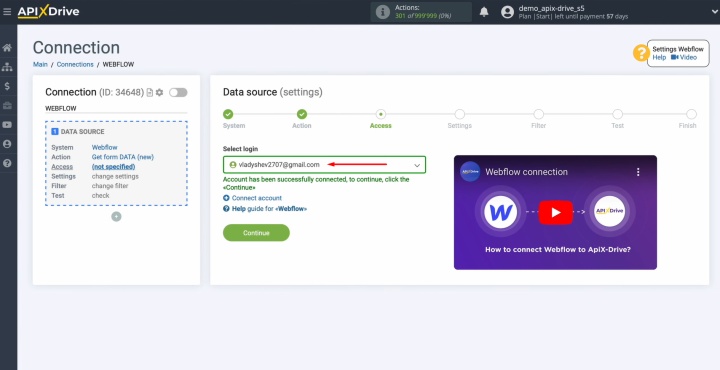
Once your profile shows up among the authorized logins, choose it and proceed further.
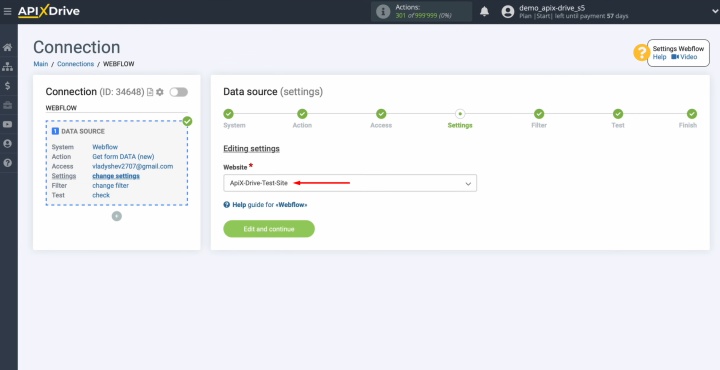
Select the website from which you will receive new data.
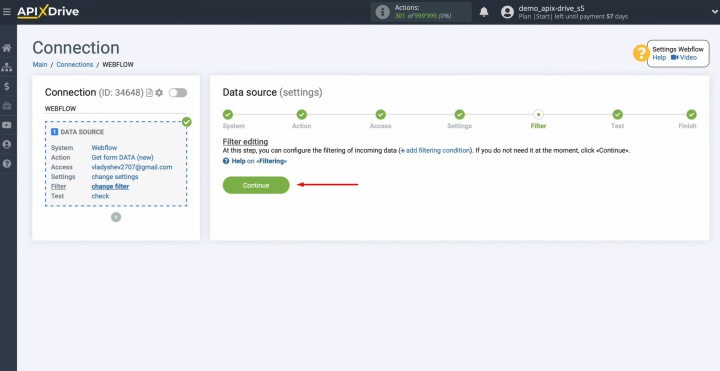
Now, you can set up a data filter. In this case, there is no need for this, so just click Continue.
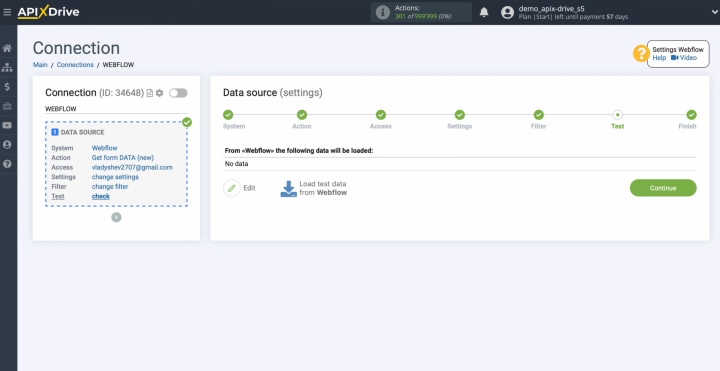
Here, you will see test data for one of your Webflow leads. Should no information be visible here, you'll need to complete a website form first.
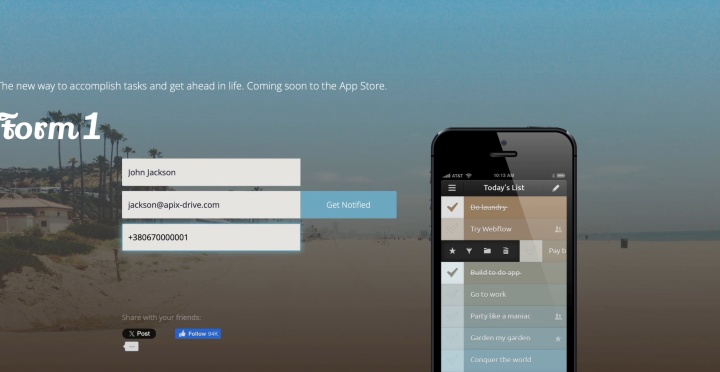
To do this, go to your Webflow account, open the form you want to track, fill it out, and send it.
After successfully submitting the form, return to ApiX-Drive and continue configuration. Click Load test data from Webflow.
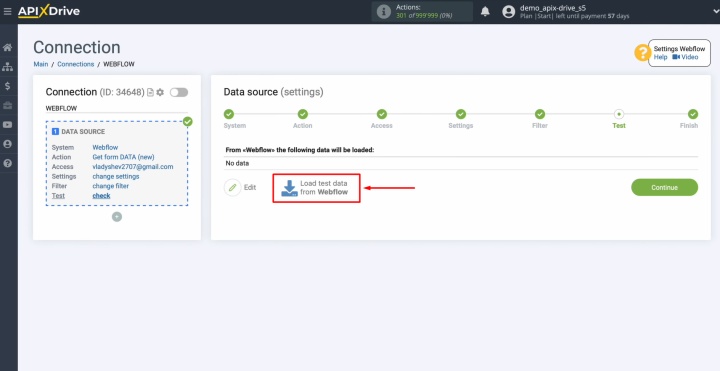
When the test data appears at this stage, click Continue.
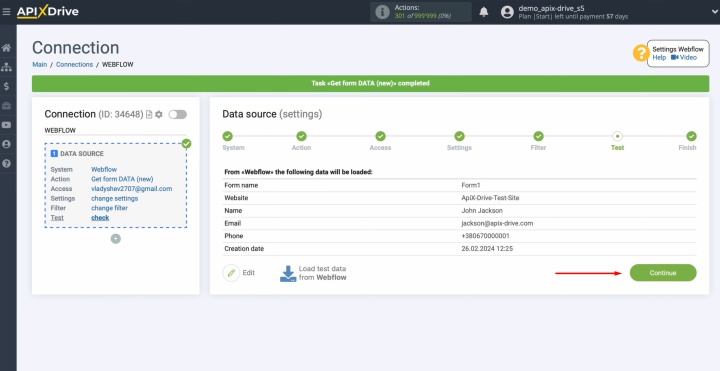
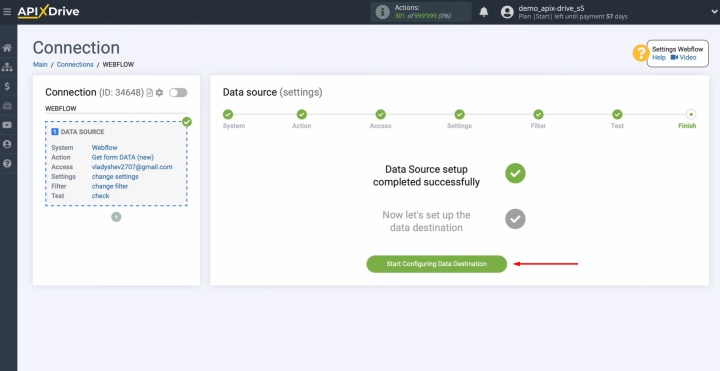
You've now finished configuring Webflow as your data source.
Data Destination Settings: Slack
Now, move on to setting up the data destination.
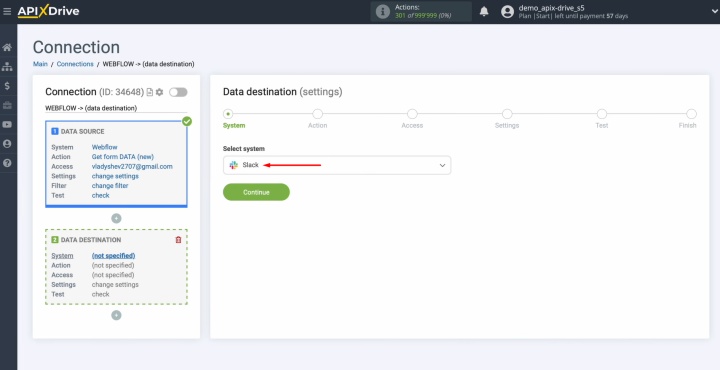
Choose the data destination system. This is Slack.
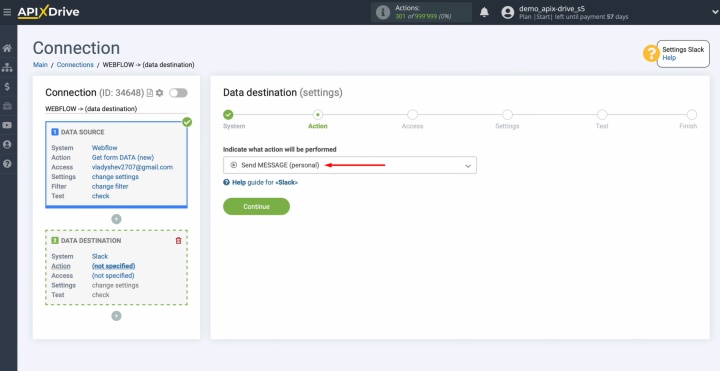
Select the action Send MESSAGE (personal).
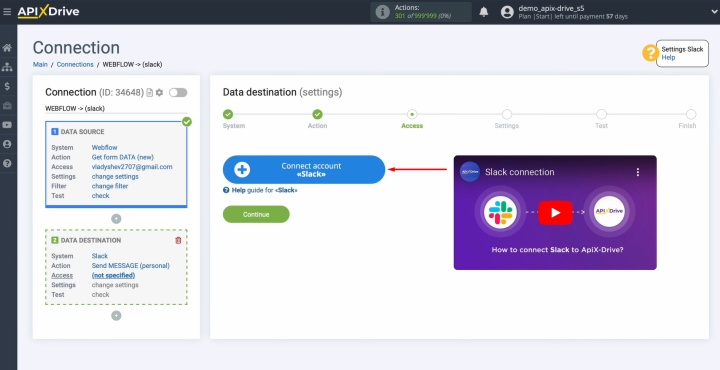
Connect your Slack account to ApiX-Drive.
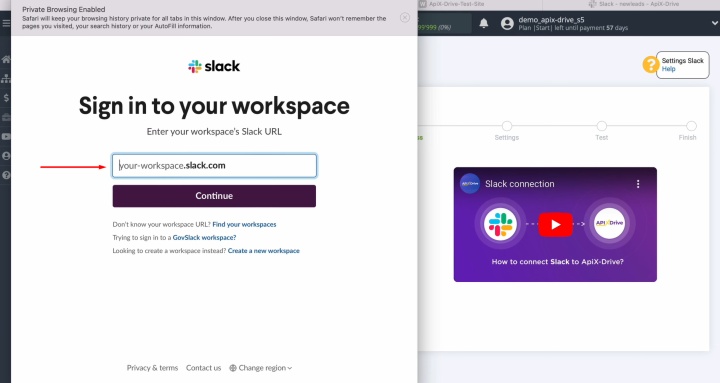
Indicate the workspace of your Slack.
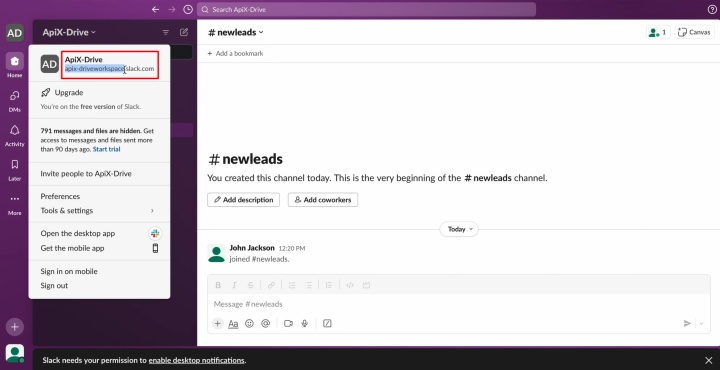
To find it, go to your Slack account and copy the workspace name without extra characters.
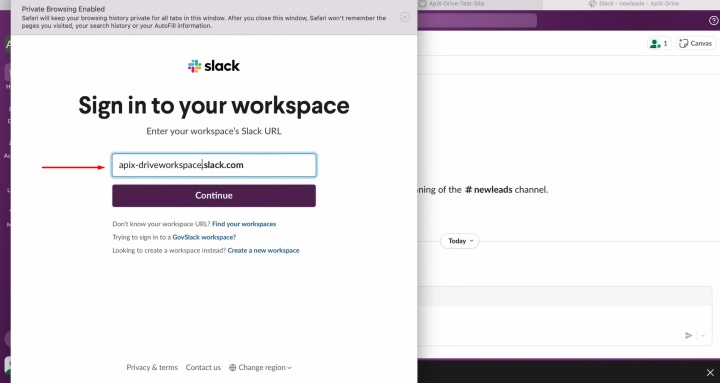
Next, log in to your Slack account. To do this, you can use your username and password or log in through Google or Apple.
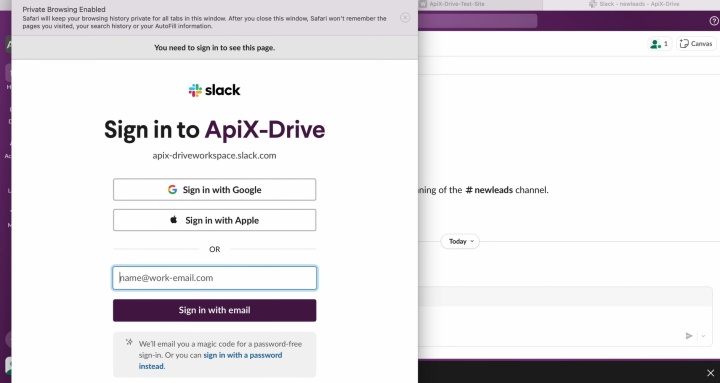
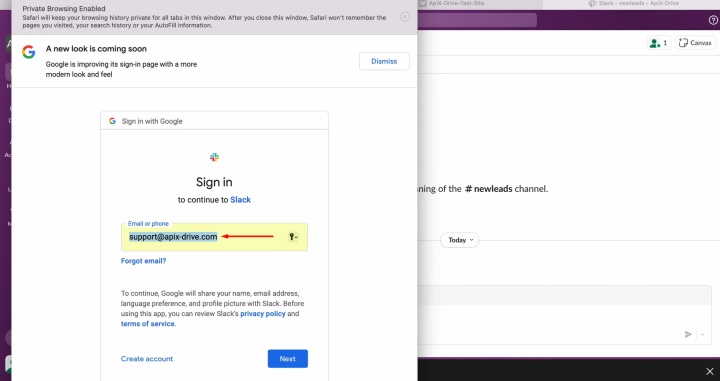
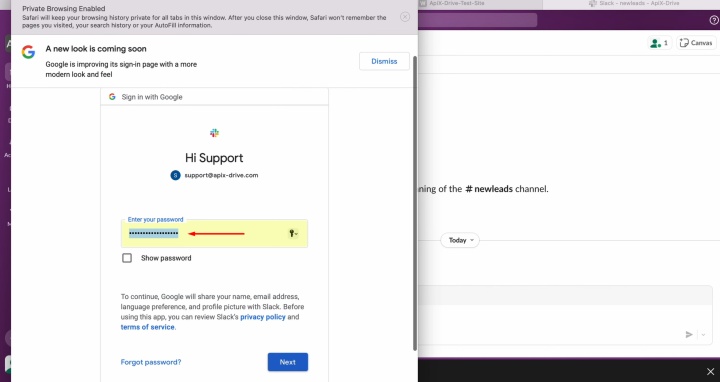
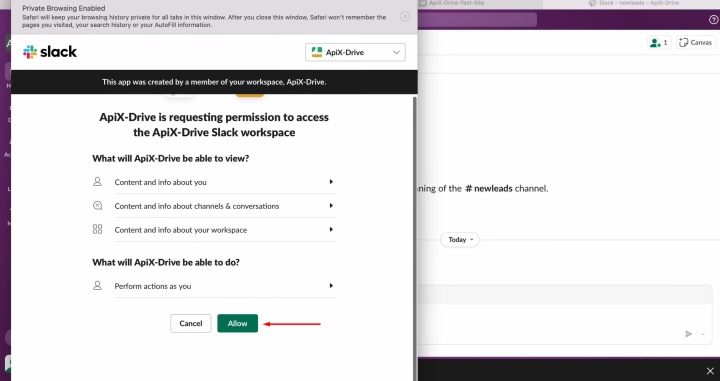
Grant ApiX-Drive access to work with your Slack account.
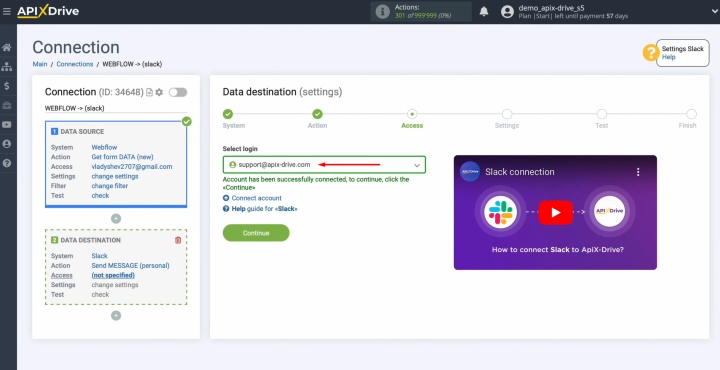
When the connected profile appears in the list of active logins, pick it and move forward.
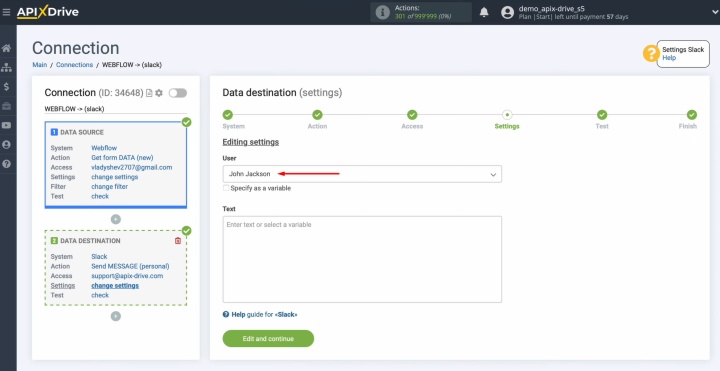
Select a user who will receive personal messages with each new lead from Webflow.
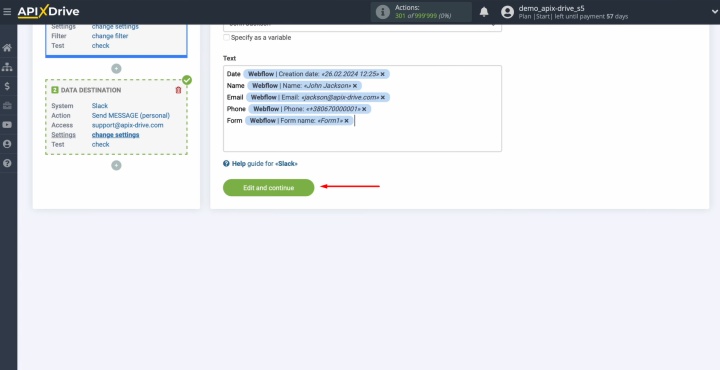
In the text field, you can insert variables from Webflow. Click inside the field and choose an option from the menu that appears. Besides selecting options, you can also type in values directly. Press Enter to move to the next line.
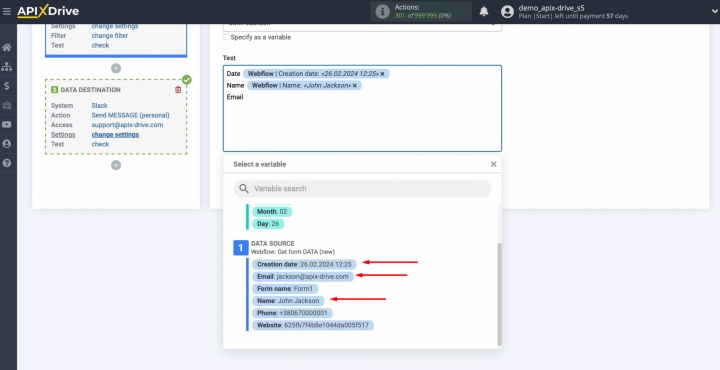
When all fields are filled in, click Edit and continue.
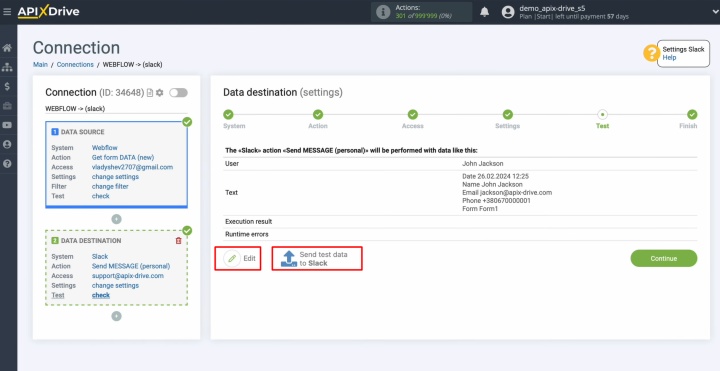
Now, you see an exact sample of data that will be sent to the specified user in Slack. If you are not satisfied with something, click Edit, and you will go back a step. To check the correctness of the settings, send test data to Slack.
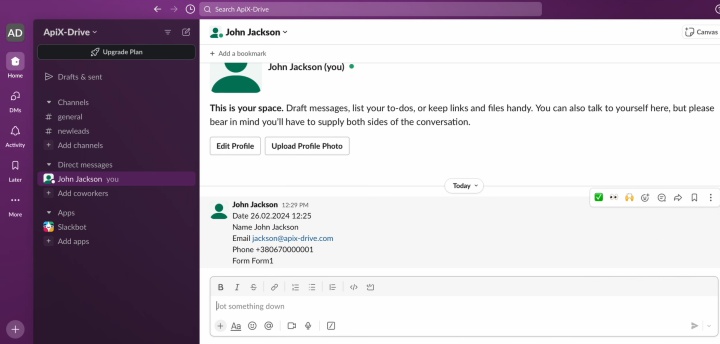
Open Slack to verify everything worked as expected.
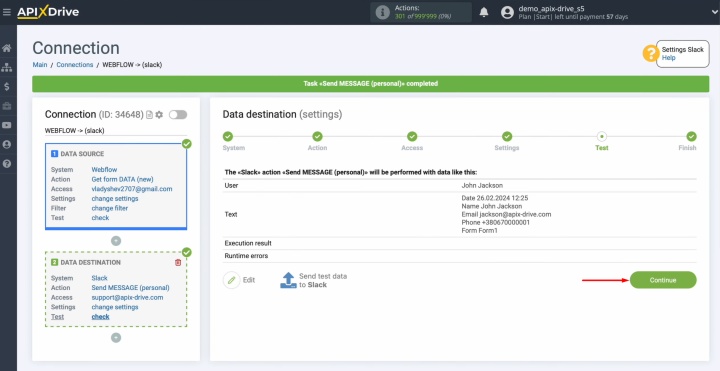
Return to ApiX-Drive and continue setting up.
Auto-Update
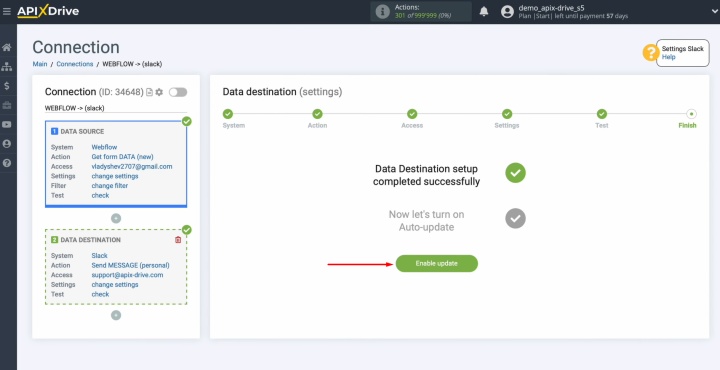
Configure auto-update to activate Webflow and Slack integration. For this, click Enable update.
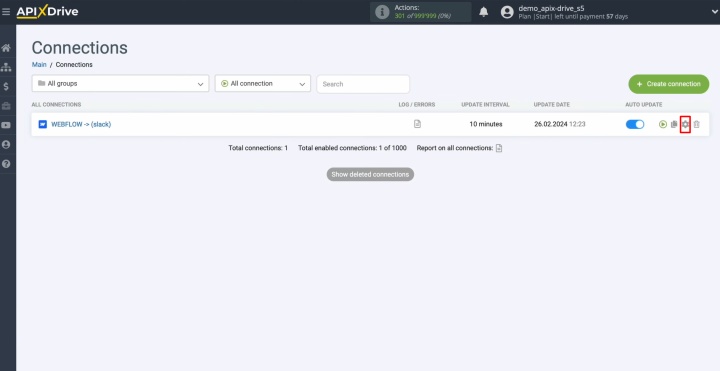
Click on the gear icon.
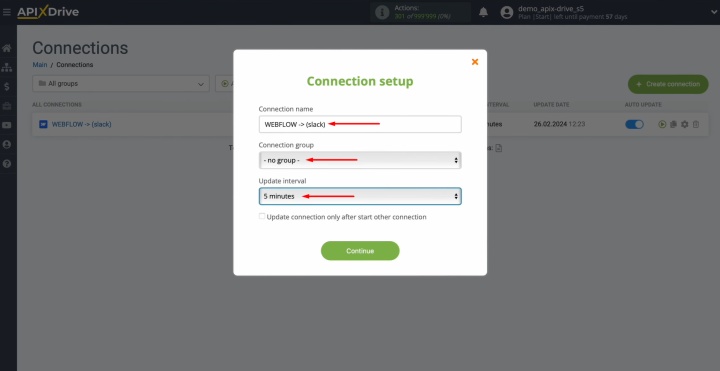
Select the interval for the auto-update. For example, 5 minutes. Additionally, you have the option to rename this integration and organize it into a specific group. Finally, click Continue.
From this moment on, the system will automatically send Webflow form submissions to Slack.
Final Thoughts
Slack and Webflow integration is the most convenient and fastest way to automate lead data migration. Thanks to it, each new request from the website goes directly to the workspace as a message containing all the important lead data. Accordingly, your team can respond to orders more quickly.
Automating data transfer with ApiX-Drive saves time, eliminates data loss due to human error, and speeds up first contact with potential customers. Implementing this solution can increase business efficiency and competitiveness, regardless of the industry.
Read also about other integrations:
- Smartsheet and Google Calendar Integration: Automatic Event Creation
- Airtable and Brevo Integration: Step-by-Step Instruction
- Facebook and Airtable Integration: Automatic Transfer of New Leads
- Google Lead Form and Google Sheets Integration: Automatic Lead Transfer
- Google Contacts and Airtable Integration: Step-by-Step Setup Guide
