Google Contacts and Airtable Integration: Step-by-Step Setup Guide
Manually moving information from Google Contacts to a database or CRM takes a lot of time. Moreover, human factors are often the cause of mistakes. Automating this process helps to avoid duplication and information loss and speeds up the processing of new leads. With Airtable and Google Contacts integration, you can get a structured contact database in a convenient format. This article will show you how to configure it quickly and effortlessly with the ApiX-Drive connector.
Why Automate Google Contacts to Airtable Transfer
Integration not only eliminates the need for manual copying of information but also opens up additional opportunities for business development:
- Saving time and resources. Managers freed from routine can devote more time to interacting with customers.
- Minimizing the risk of errors. There is no human error/factor involved. Data is transferred from system to system automatically.
- Fast access to up-to-date information. Every new lead appears in Airtable almost immediately. As a result, the sales team can work with the customer base without delays.
- Synchronization across teams. Data from Google Contacts can be automatically distributed to Airtable across different departments—marketing, support, and sales—eliminating duplication and providing a single source of truth.
- Rapid scaling. If the volume of contacts increases several times, the integration can easily handle the load.
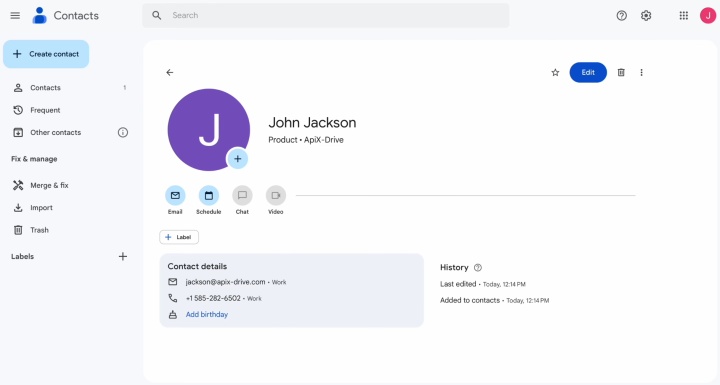
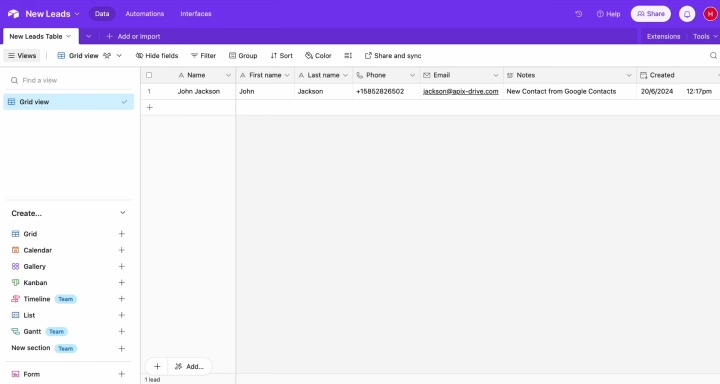
For example, a company that organizes events may receive dozens of new contacts every day. If it chooses to integrate Airtable with Google Contacts, the data will be automatically stored in Airtable as an organized database. There, it can be segmented by event, region, or priority. This allows you to quickly form lists of participants and work effectively with clients.
Why Choose ApiX-Drive for Google Contacts and Airtable Integration
ApiX-Drive is a connector that allows you to set up integrations without programmers and complex technical knowledge. You don't need to understand the details of how to connect Airtable to Google Contacts yourself. In just a few minutes, your automation will be up and running.
Main advantages:
- Easy to set up. The interface is user-friendly. It will be easy to use even for those with minimal experience using software.
- Quick start. Easily transfer contacts between Google Contacts and Airtable in only a few steps.
- Reliability. The service operates stably, ensuring a continuous flow of data without manual intervention.
- Flexibility. The user independently chooses which fields in Google Contacts to transfer data to Airtable.
- Scalability. ApiX-Drive can handle large volumes of contacts that appear as your business grows.
Thus, the integration via ApiX-Drive allows you to easily and reliably organize the transfer of leads from Google Contacts to Airtable, where they immediately become new rows in your database. This ensures continuity of applications processing and allows the team to immediately start working with potential clients.


How to Connect Google Contacts to Airtable
The setup process takes just a few minutes:
- Registration of a personal account in ApiX-Drive.
- Create a system-to-system integration. To achieve this, you need to designate Google Contacts as the data source and Airtable as the data destination.
- Link your accounts of both services to the ApiX-Drive connector and provide the required access permissions.
- Data transfer settings. You need to select the fields from Google Contacts whose data should be transferred to Airtable (for example, first and last name, email, phone, etc.).
- Verifying the integration through testing.
- Activating automatic update mode.
Special attention should be paid to the correct mapping of fields. Then the data will enter the corresponding Airtable columns without loss.
If you have any doubts about whether you can set it up yourself, don't hesitate. The Google Contacts and Airtable integration guide we've prepared for you will help you do everything quickly and correctly. We suggest you start right now.
Setting Up the Data Source—Google Contacts
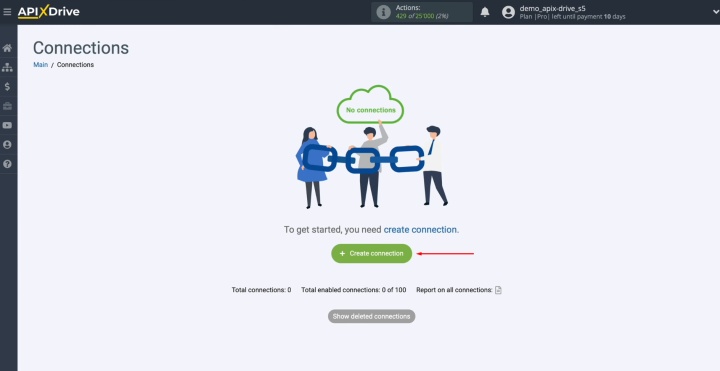
To connect Google Contacts to Airtable, you first need to establish a new connection.
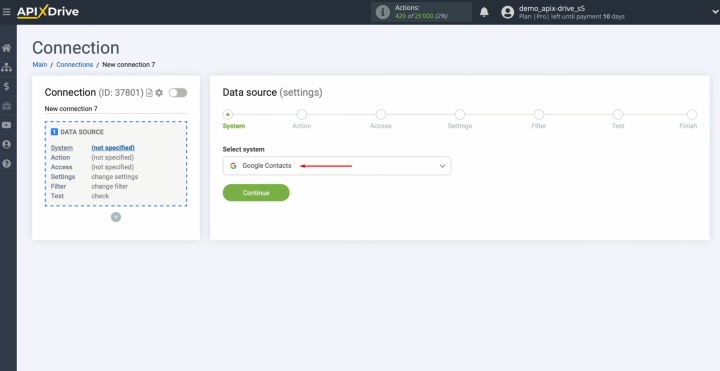
Select the
data source system. In our case, it is Google Contacts.
Select the
action "Get CONTACTS (new/modified)."
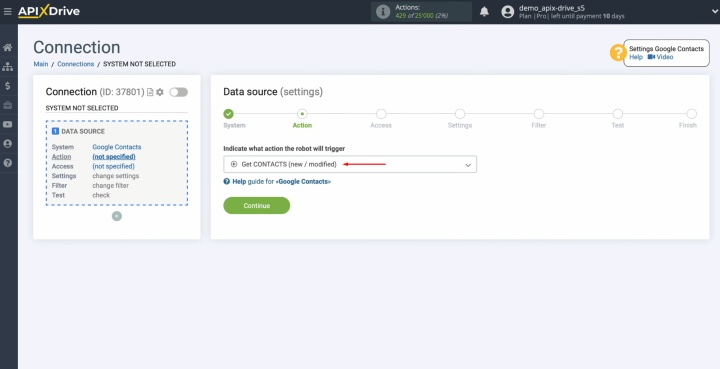
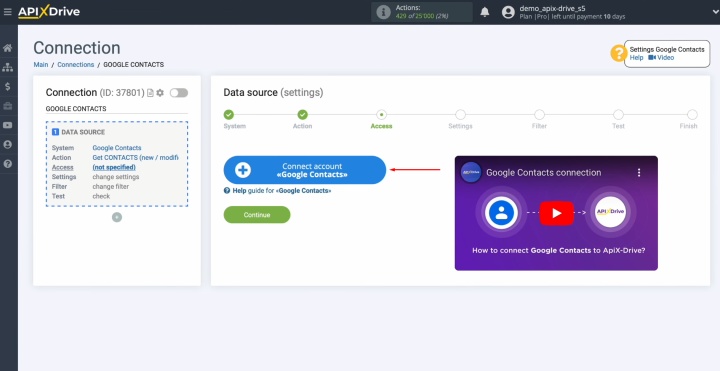
Connect your
Google account to ApiX-Drive.
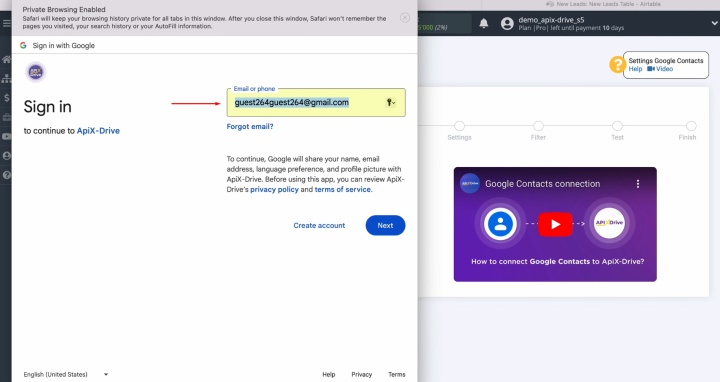
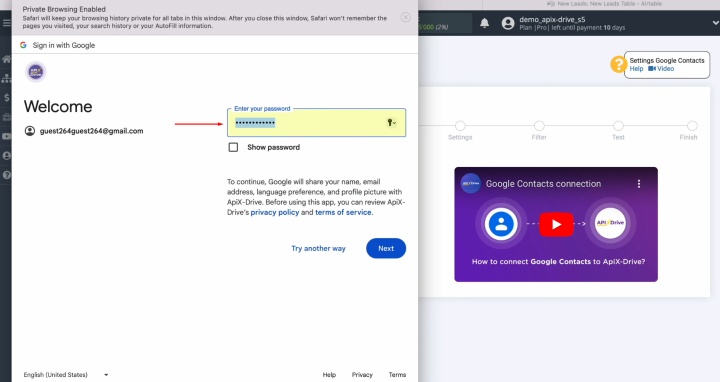
You must specify the login and password of your Google account.
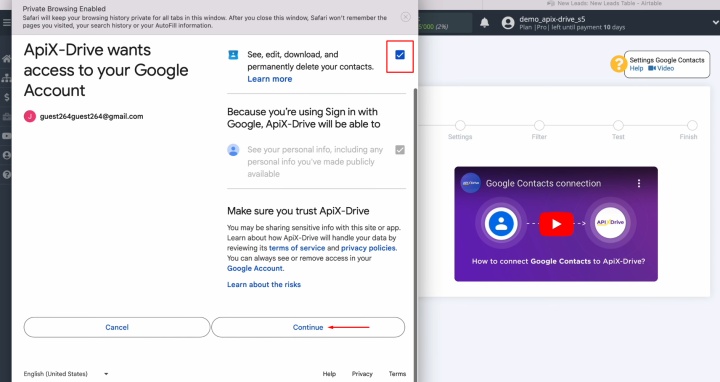
Grant ApiX-Drive permission to access your Google account. Check all the
boxes.
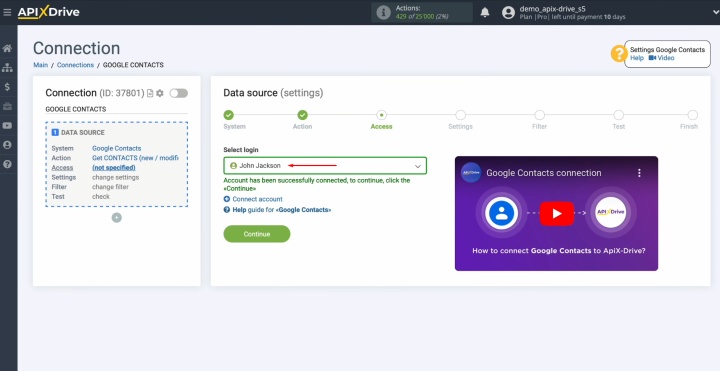
Select the
connected account from the list of active logins.
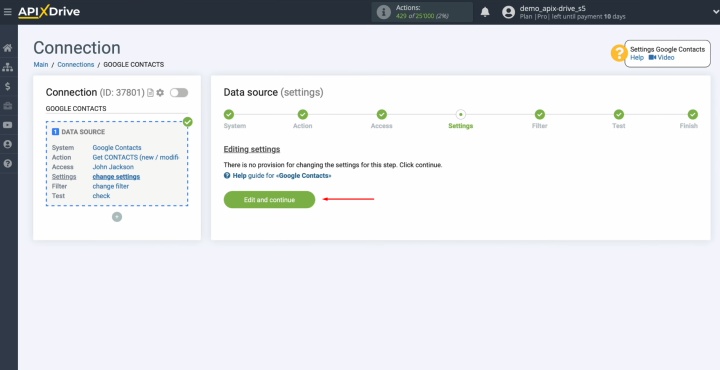
There are no
additional settings for Google Contacts. You just need to click "Edit and continue."
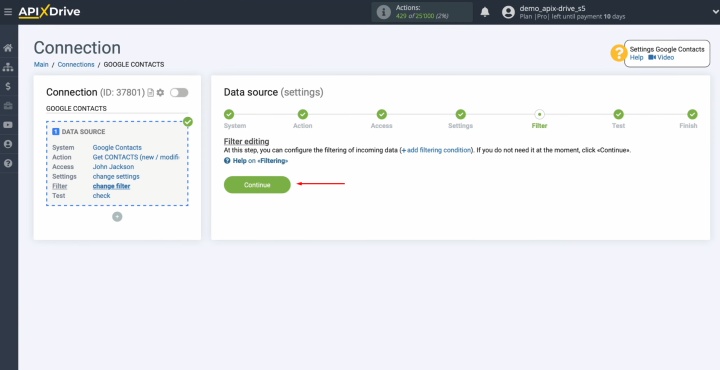
Here, you can
set up a data filter. This step isn’t necessary, so you can simply click "Continue."
Here is a sample of data for one of the contacts.
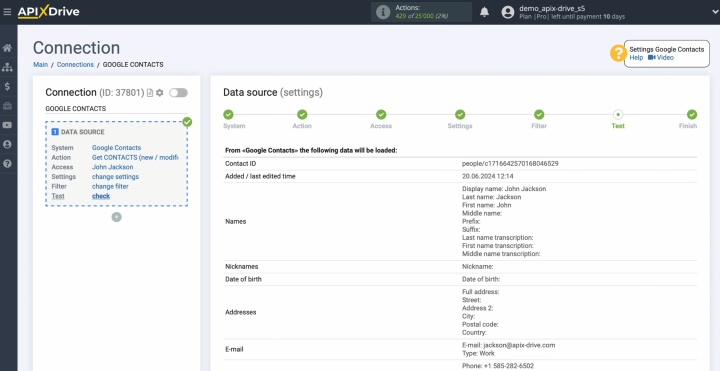
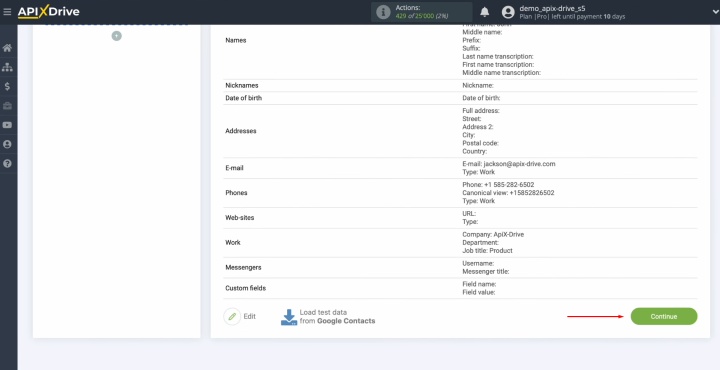
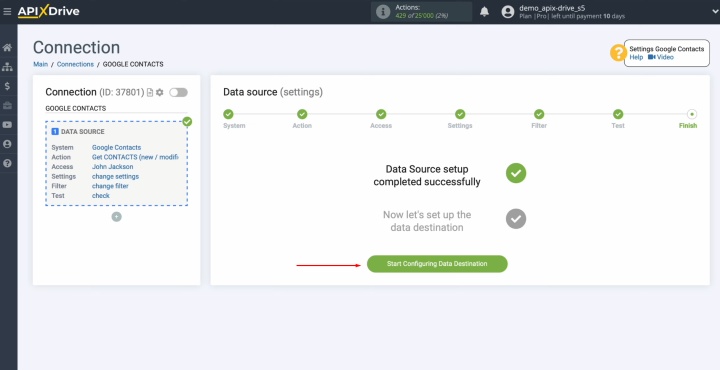
The setup of Google Contacts as the data source has been completed. Click
"Continue" and go to the next step.
Setting Up the Data Destination—Airtable
To connect Airtable to Google Contacts, proceed with configuring the data destination.
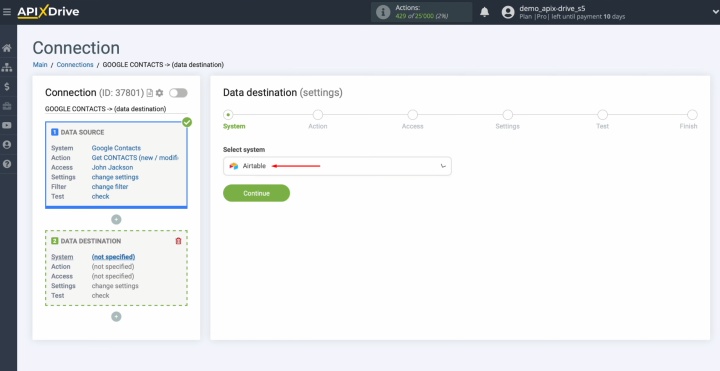
Choose the Airtable system.
Select the
action "Add ROW."
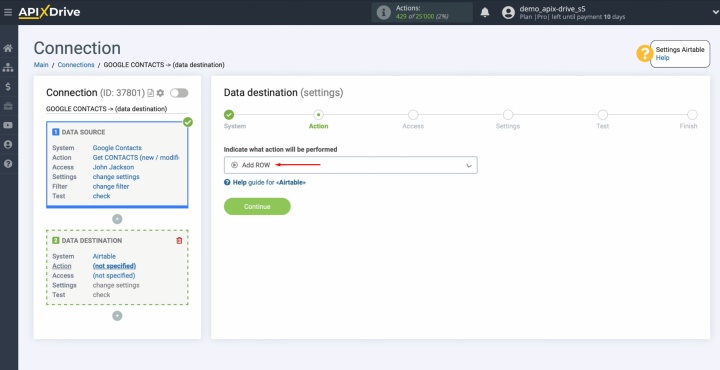
Connect your
Airtable account to ApiX-Drive.
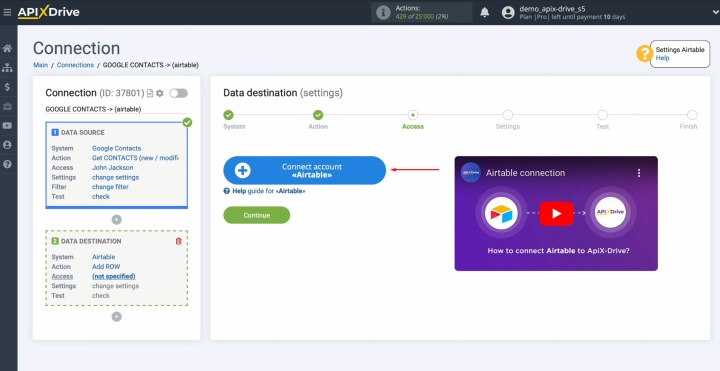
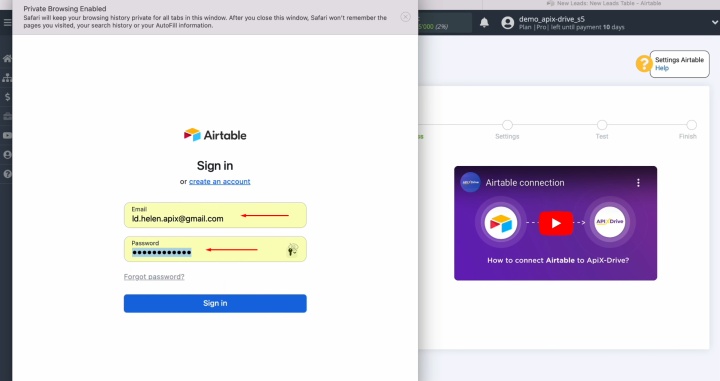
You must enter the login and password of your Airtable account.
Allow ApiX-Drive to connect with your Airtable databases. For this, click
"Add a base."
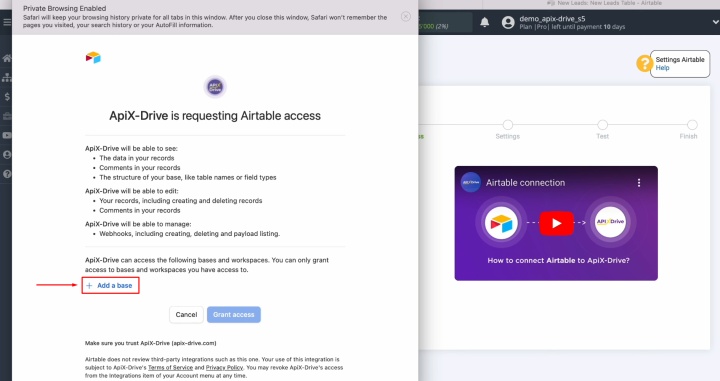
We suggest granting access to all databases if you intend to use them in the future.
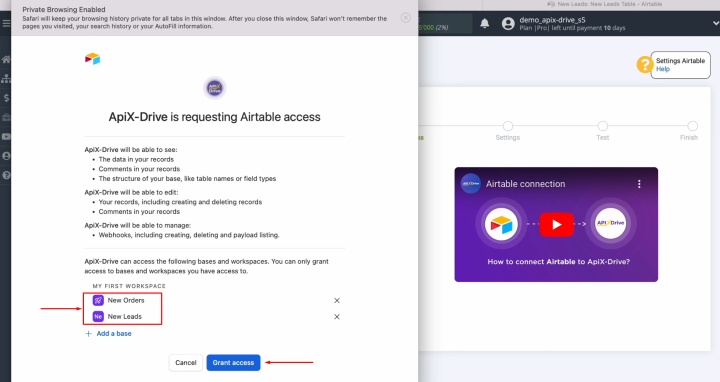
Select the connected
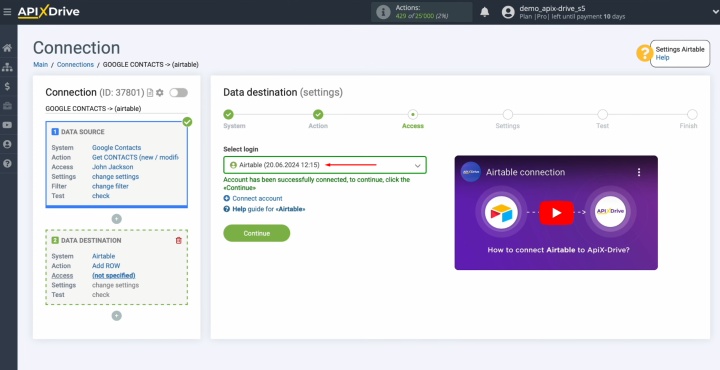
login from the list of
active logins, and click "Continue."
Select the
base in which new rows will be created and the table.
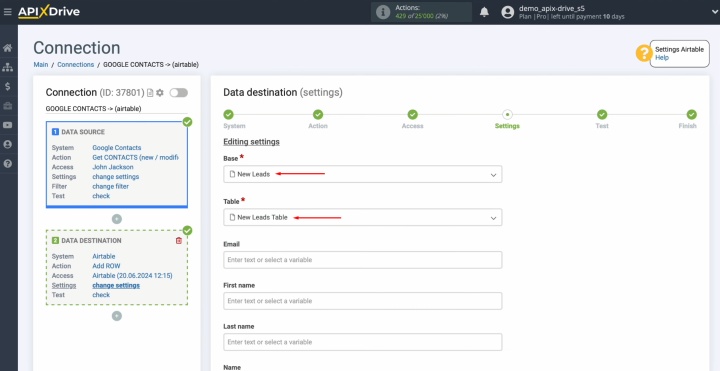
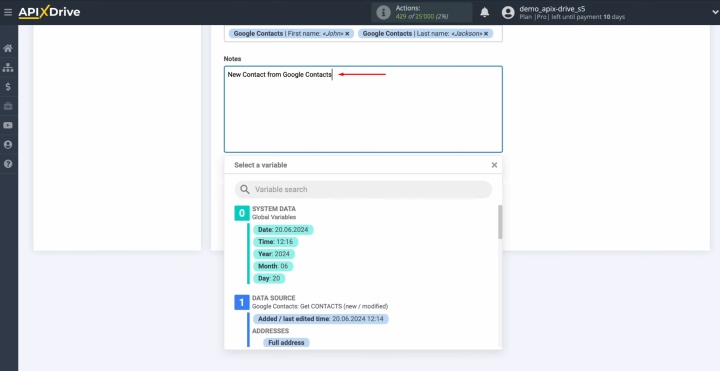
Editable fields for creating new rows are now visible. You need to assign variables from Google
Contacts to these fields. Select variables from the dropdown list.
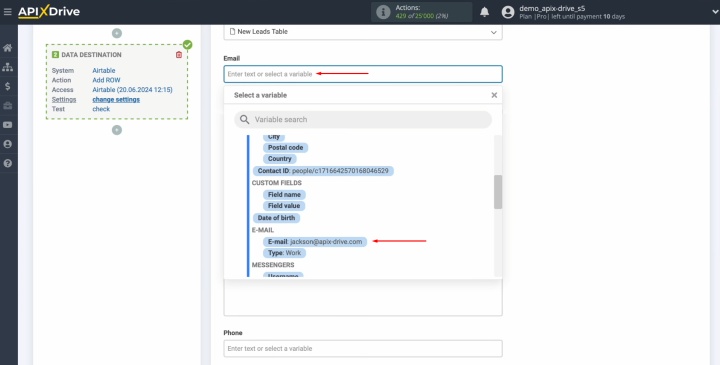
You can use
not only variables from the dropdown list but also enter data manually.
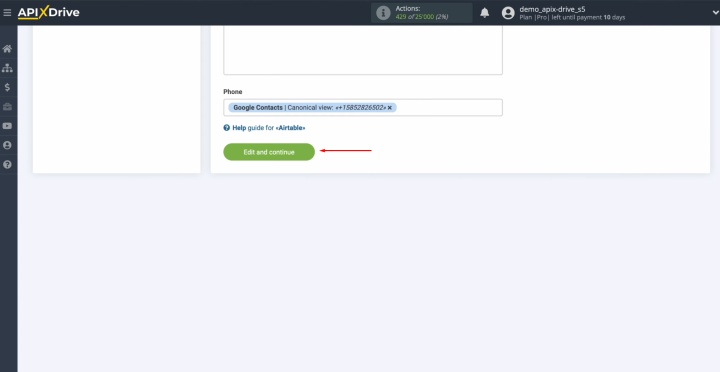
Once all mandatory fields are completed, click "Edit and continue."
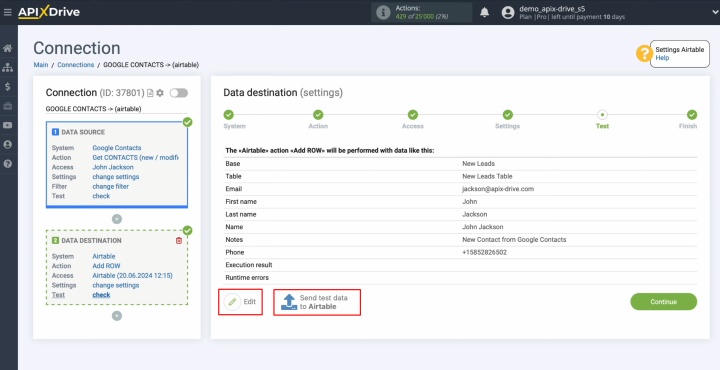
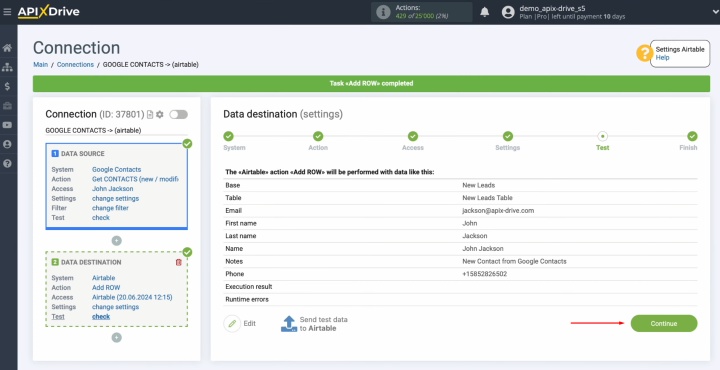
Here is a sample of the data that will be transferred to Airtable as new rows for every new contact from Google Contacts. If
you want to fix something, click
"Edit." To check the result, send test data to Airtable.
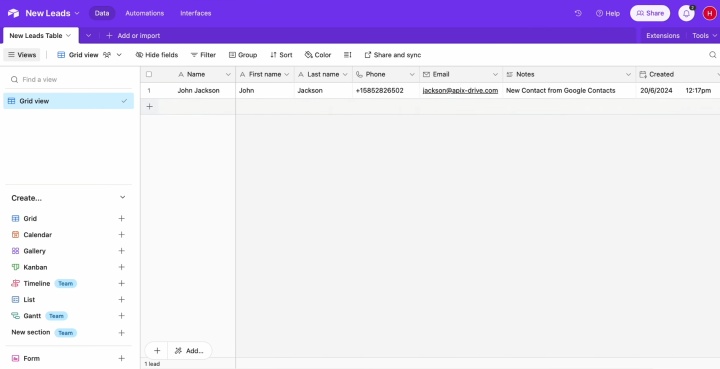
Go to
Airtable and check the result.
Return
to ApiX-Drive and continue setting up.
Setting Up the Auto-Update
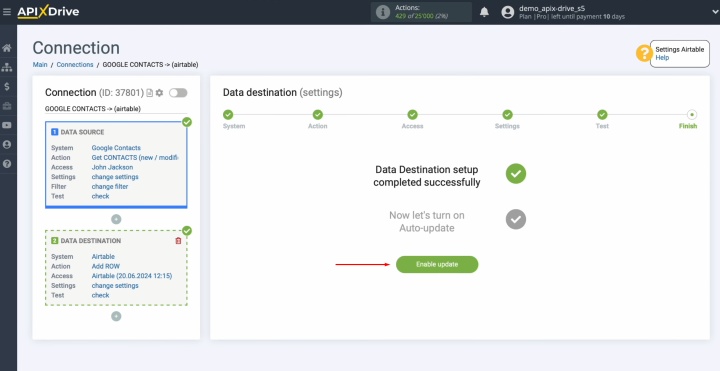
You need to set up auto-update. For this, click “Enable update.”
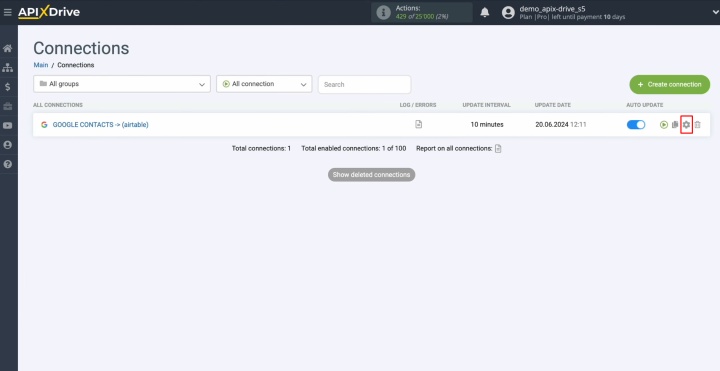
Click on the
gear icon.
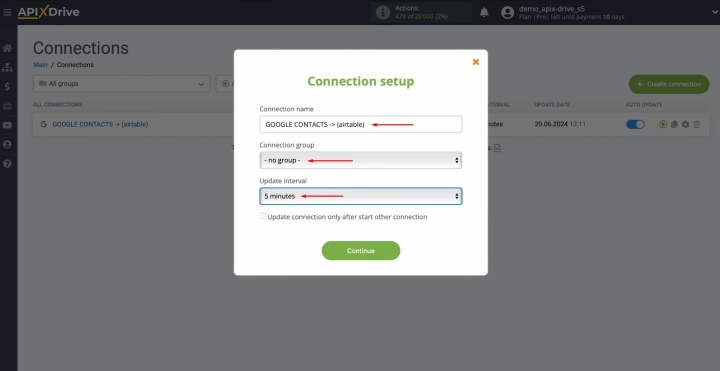
Select the
interval for the auto-update. For example, every 5 minutes. You can also rename the connection and assign it to the desired group. Finally, click “Continue.”
The integration has been completed successfully. You have done this!
Results
When you integrate Google Contacts with Airtable via ApiX-Drive, you automate the transfer of contacts and can swiftly work with them in a convenient database. This saves time, reduces errors, and makes the lead processing more efficient. Simple setup without programmers makes ApiX-Drive the optimal solution for any business that seeks automation and transparency in working with customer data.
Read also about other integrations:
- Smartsheet and Google Calendar Integration: Automatic Event Creation
- Airtable and Brevo Integration: Step-by-Step Instruction
- Tally and HubSpot Integration: Automatic Contact Creation
- Google Lead Form and Google Sheets Integration: Automatic Lead Transfer
- Salesforce CRM and Google Calendar Integration: Automatically Convert New Leads into Events

