How to Automatically Transfer Data from Google Contacts to VerticalResponse
Today, no progressive business can do without special programs that enable it to work faster and more productively. For example, Google Contacts and VerticalResponse services simplify contact management and increase the effectiveness of communication with customers. The first allows you to conveniently organize a customer database. The second automates e-marketing processes. You can optimize the use of both platforms thanks to Google Contacts and VerticalResponse integration. In this article, you will learn how to quickly and easily set it up using the ApiX-Drive connector.
What Slows Down Work With Google Contacts and VerticalResponse
Despite the advantages of Google Contacts and VerticalResponse, their use is often accompanied by difficulties that can hinder the achievement of business goals. Working with them can be complicated by several factors:
- Manual data entry. The user needs to open Google Contacts, select the contacts, copy them, and then paste them into VerticalResponse. This can take a long time, especially with numerous contacts.
- Errors in entering information. This leads to a loss of time and resources and also worsens the quality of communication with customers and marketing campaigns.
- Updating data. The user needs to constantly monitor and update the data, which can lead to late changes.
- Time to switch between services. Frequent opening and closing of Google Contacts and VerticalResponse takes extra time and distracts from the main tasks.
- Complexity of data management. The user should carefully monitor which contacts have been transferred and which have not. This can become a burdensome task, especially for large databases.
These factors can significantly affect performance. That is why it is important to investigate how to eliminate or minimize them.
How to Get the Most Out of Google Contacts and VerticalResponse
Connecting them together will help to increase the efficiency of work with Google Contacts and VerticalResponse. This allows you to automate data transfer, remove manual work, and, accordingly, significantly speed up work. VerticalResponse and Google Contacts integration ensures continuous data transfer between them. Each new contact that enters your Google database will automatically enter the email marketing service. Thus, the need to manually move information is eliminated. Instead, teams can focus on strategic tasks rather than wasting time on routine "copy-paste" of contacts.
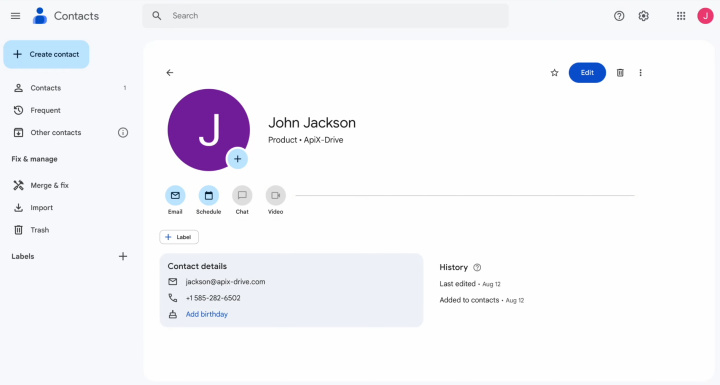
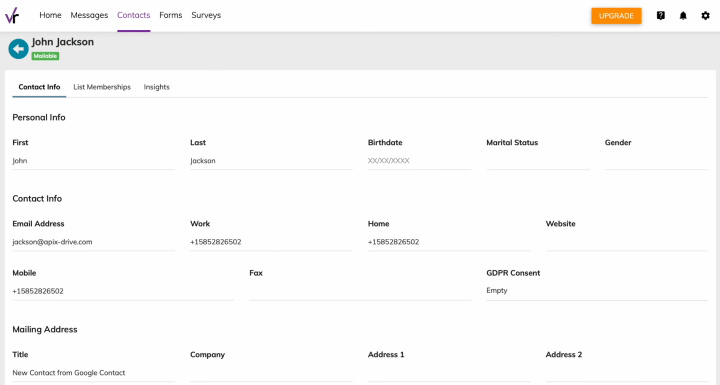
For Google Contacts & VerticalResponse integration, we recommend using ApiX-Drive. It significantly simplifies the process of connecting services. Integration configuration takes only a few minutes and requires no programming knowledge at all. If your company does not have an employee with experience in the field of IT, this task can easily be handled by anyone else with minimal experience in interaction with computer programs. For example, this could be an accountant, manager, or administrator.
How to Set Up Google Contacts and VerticalResponse Integration
Firstly, you need to register a personal account on the apix-drive.com website. To achieve this, enter your name, e-mail, and password in the appropriate fields. An alternative option is registration through existing Google and Facebook accounts. After creating an account, we recommend filling out a profile. In particular, you can specify a contact phone number, choose the language of the interface, and set up notifications.


Are you ready? Now let's go directly to the VerticalResponse & Google Contacts integration setup.
Set Up the Data Source – Google Contacts
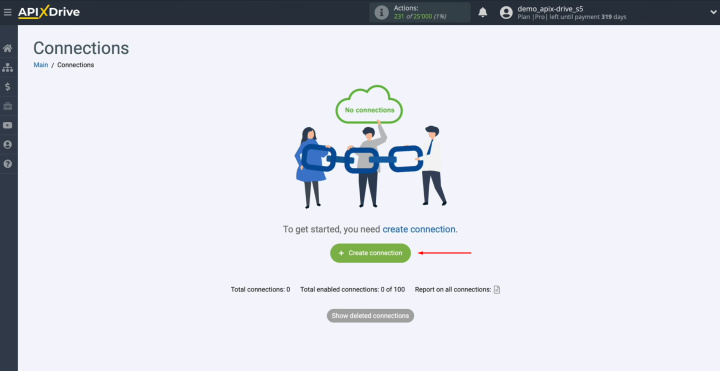
To set up the Google Contacts integration with VerticalResponse, first, create a new connection.
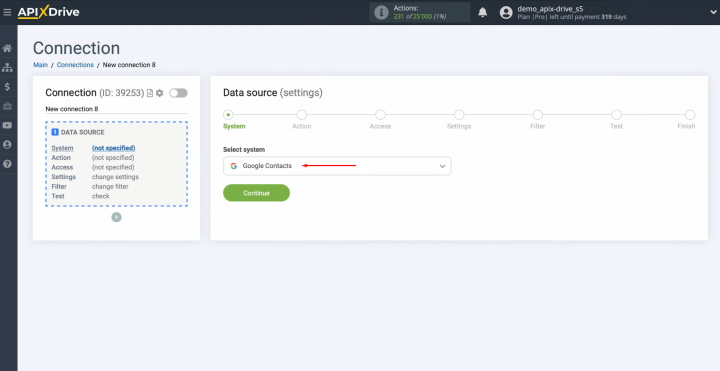
Select the data source system. This is Google Contacts. Click “Continue.”
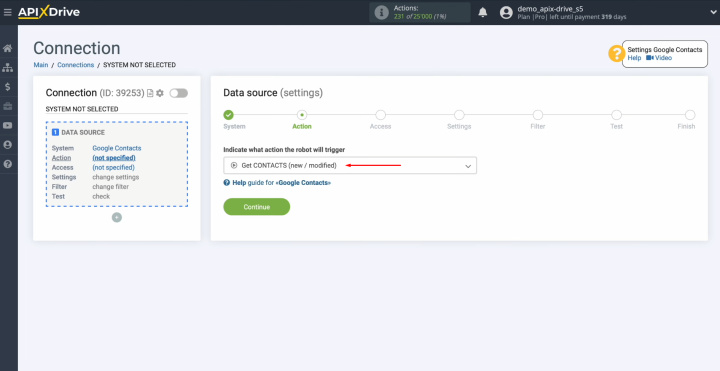
Choose the action “Get CONTACTS (new/modified).” Click “Continue.”
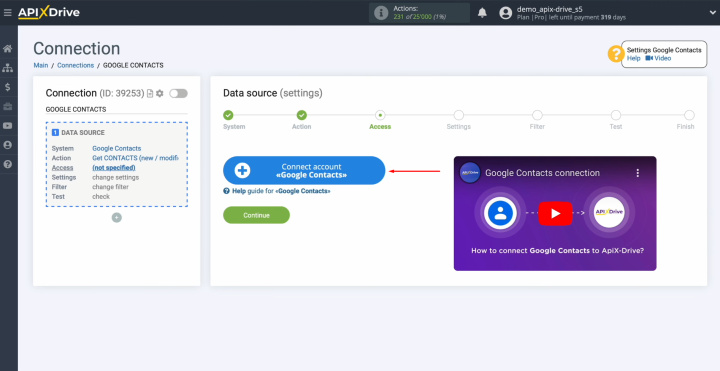
Connect
your Google account to ApiX-Drive.
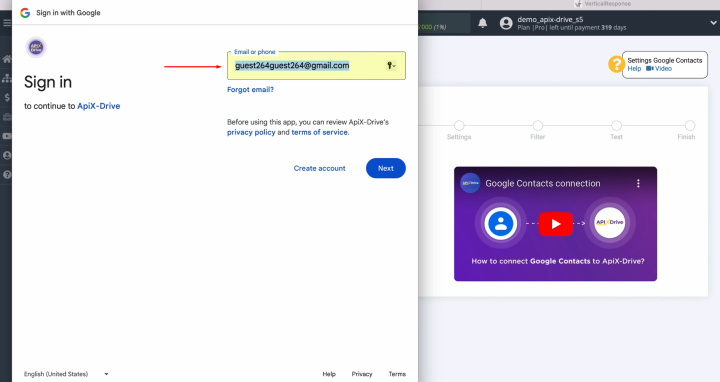
Specify the
login of your Google personal account. Click “Next.”
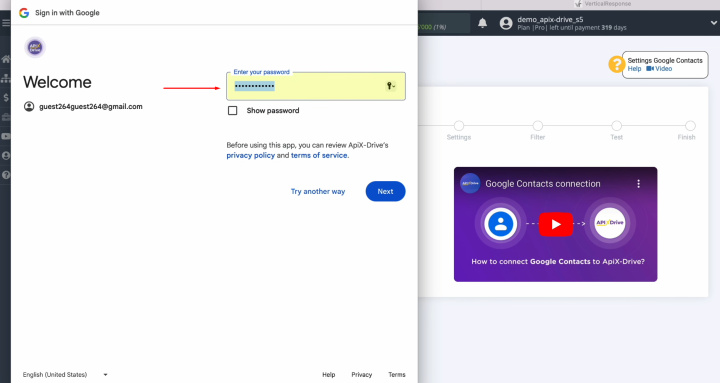
Specify the password
of your Google personal account. Click “Next.”
Click “Continue.”
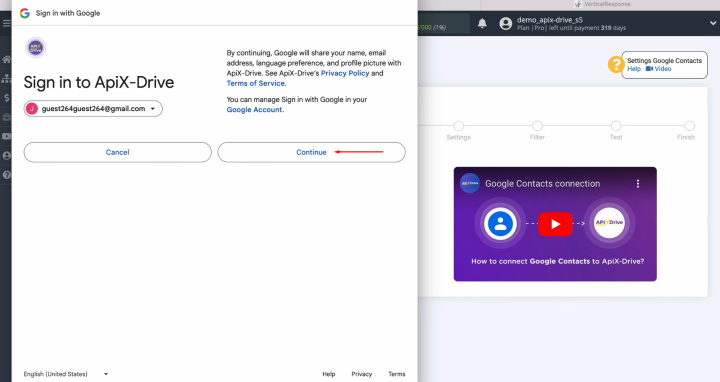
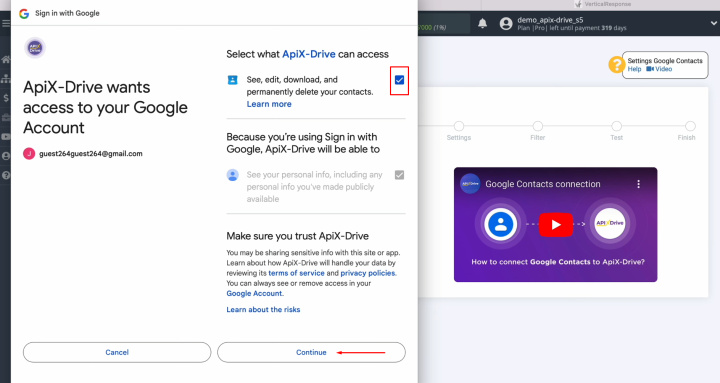
Provide ApiX-Drive access to work with your
Google account. For this, be sure to check all the
boxes.
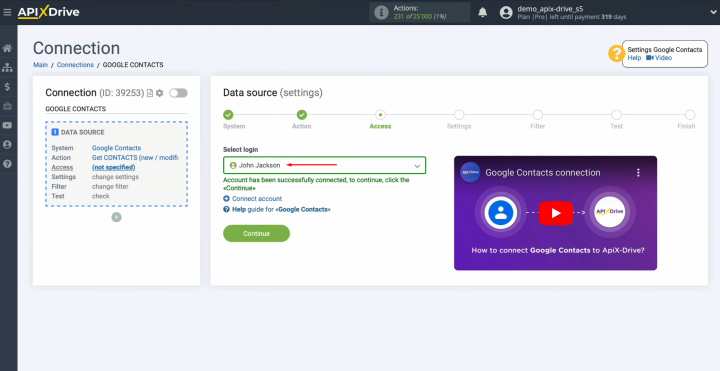
When the
connected account appears in the list of active accounts, select it and click “Continue.”
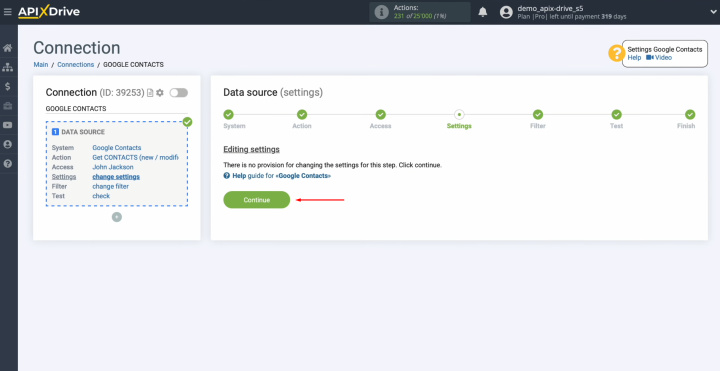
There are no
additional settings for the Google Contacts system, so just click “Continue.”
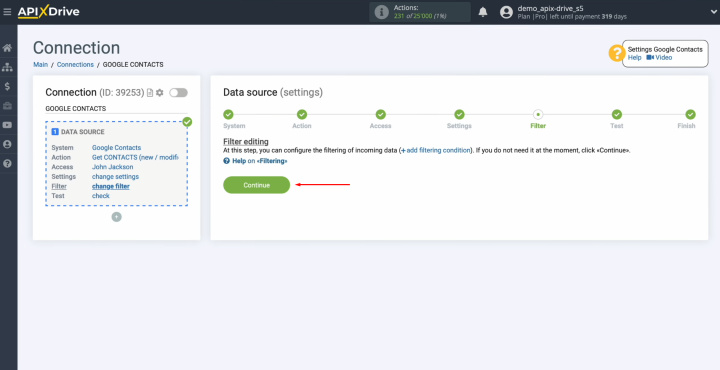
Now, you can
set up a data filter or click “Continue.”
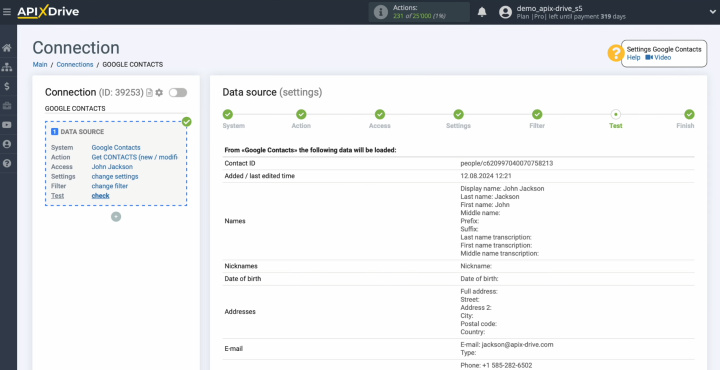
Here, you see an
example of data for one of your contacts from Google Contacts.
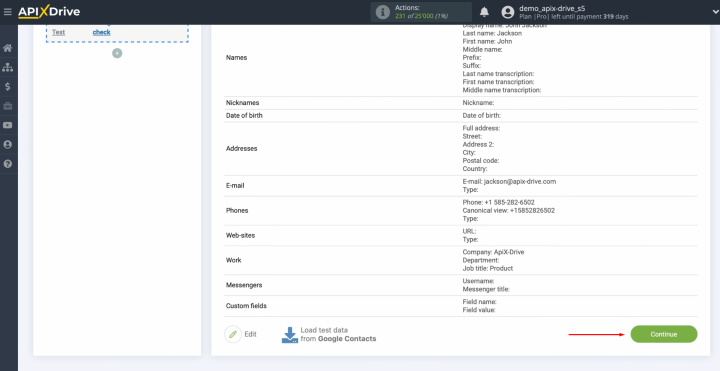
This
completes the setup of the Google Contacts data source. Let's move on to the next step. Click “Continue.”
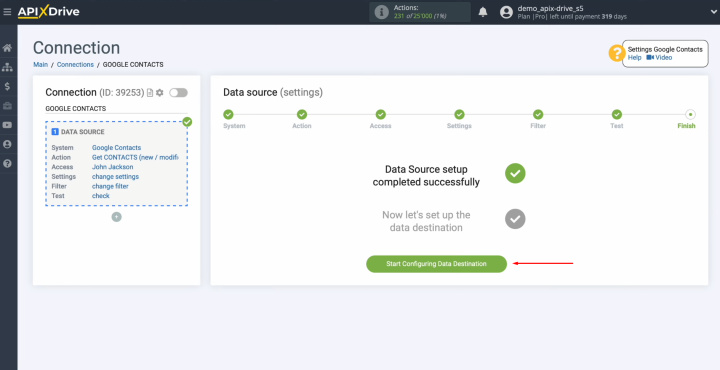
Set Up the Data Receiver – VerticalResponse
To set up the VerticalResponse integration with Google Contacts, click “Start Configuring Data Destination.”
Select the data receiver system. You need VerticalResponse. Click “Continue.”
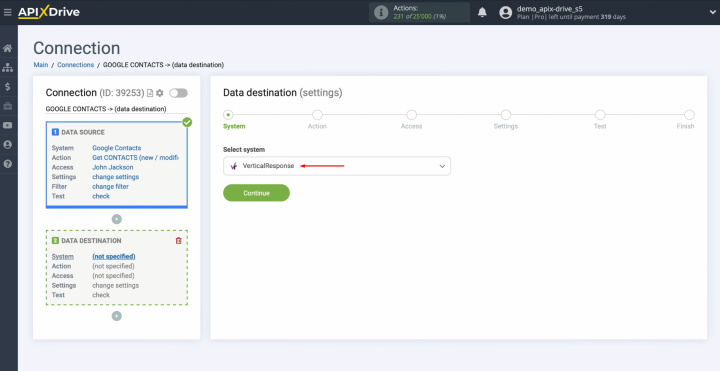
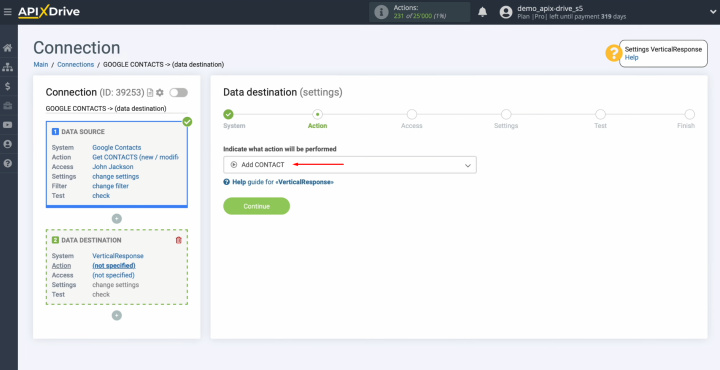
Choose the action “Add CONTACT.”
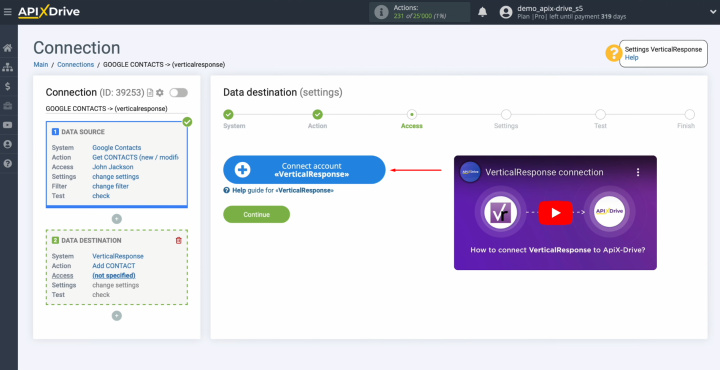
Connect
your VerticalResponse account to ApiX-Drive.
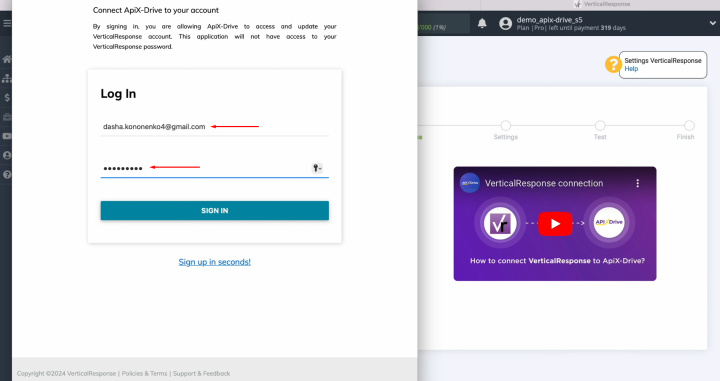
Specify the
login and password of your VerticalResponse personal account. Click “Sign
in.”
When the
connected login is displayed in the list of active accounts, select it and
click “Continue.”
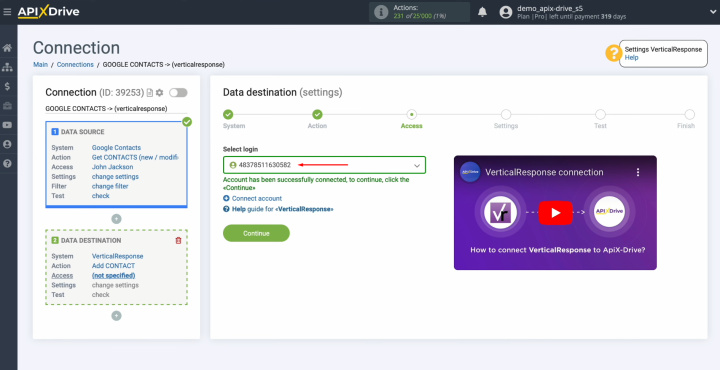
Select the
List to which new contacts will be added.
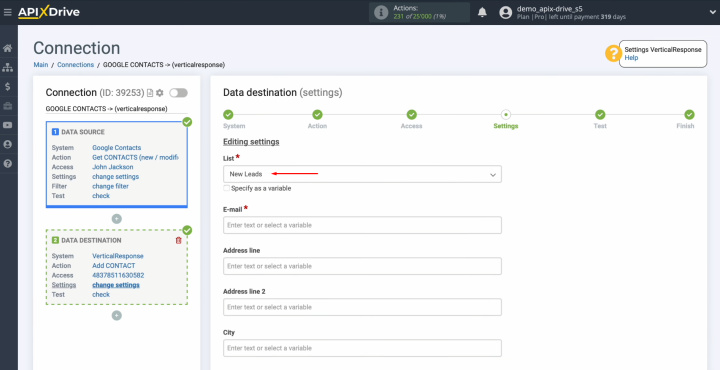
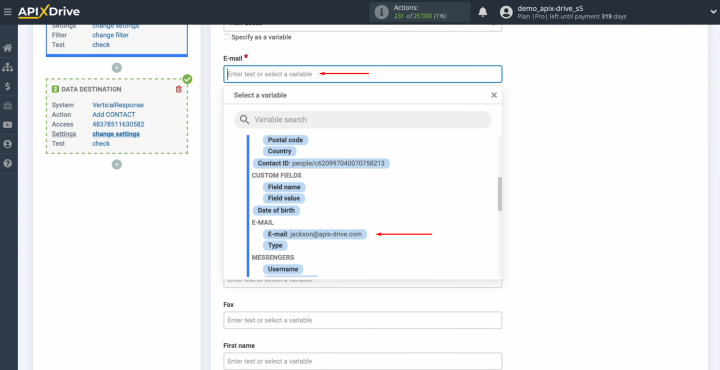
Now, you see
the VerticalResponse fields for creating new contacts. You can assign variables from Google
Contacts to these fields. To do this, click in the field and select a
variable from the drop-down list.
Please note
that you can use not only variables from the drop-down list but also enter data manually.
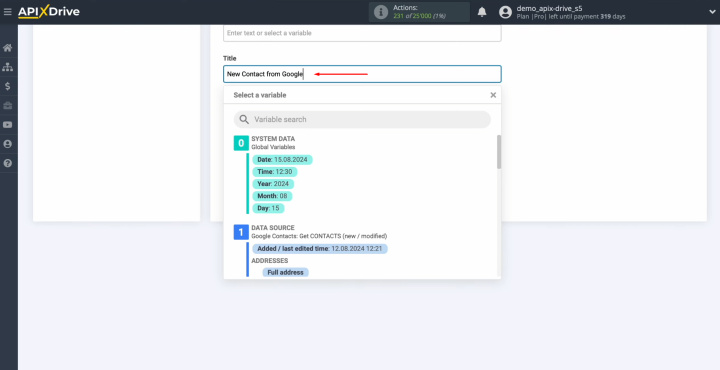
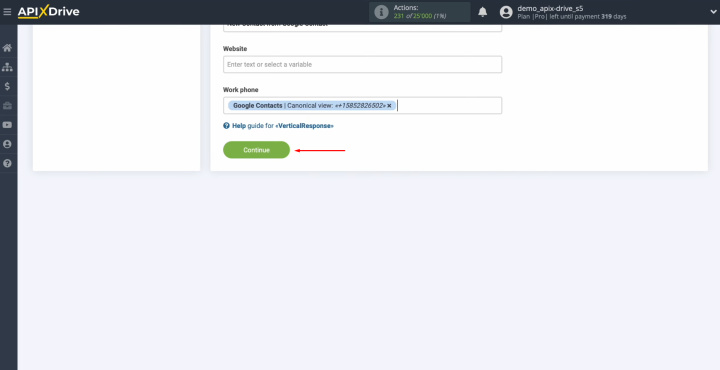
When all the
necessary variables are assigned, click “Continue.”
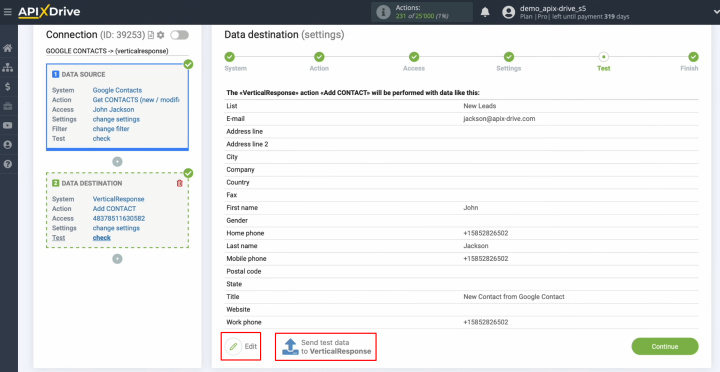
Here, you see an
example of the data that will be sent to VerticalResponse in the form of
new contacts. If you are not
satisfied with something, click “Edit,” and you will go back a step. To check the correctness of the
settings, click “Send test data to VerticalResponse.”
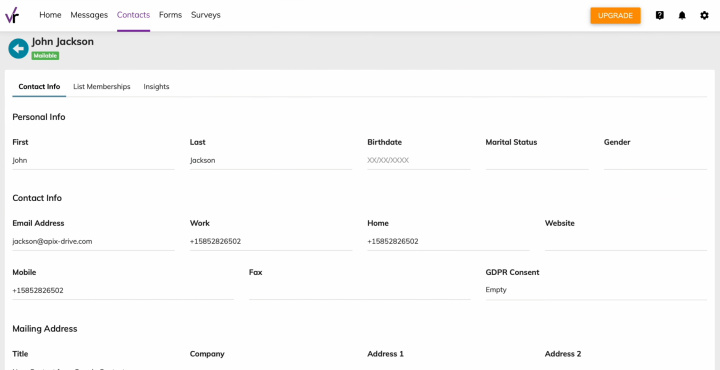
After
successful sending, go to VerticalResponse and check the result.
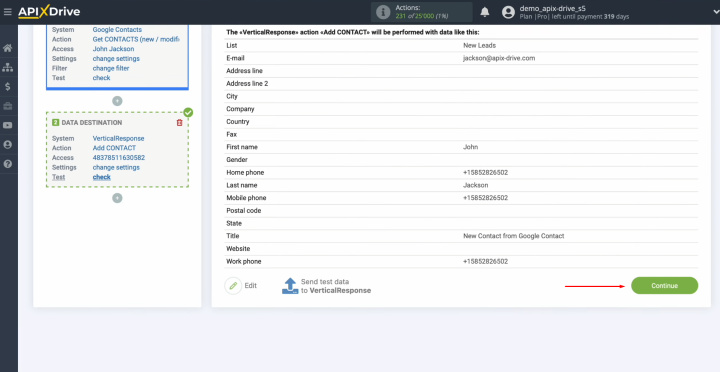
Then, return
to ApiX-Drive and continue setting up.
Set Up Auto-Update
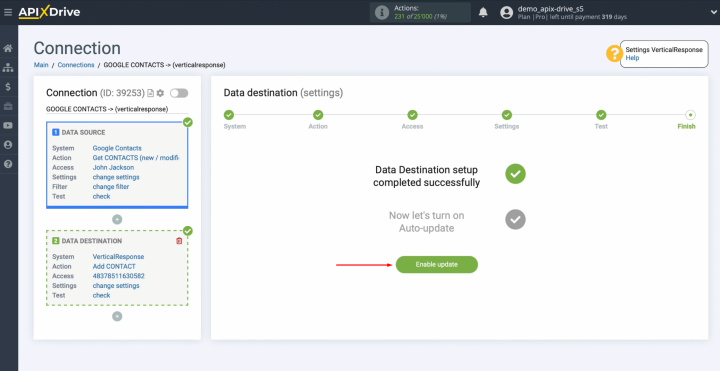
At this stage, configure auto-update. Click “Enable update.”
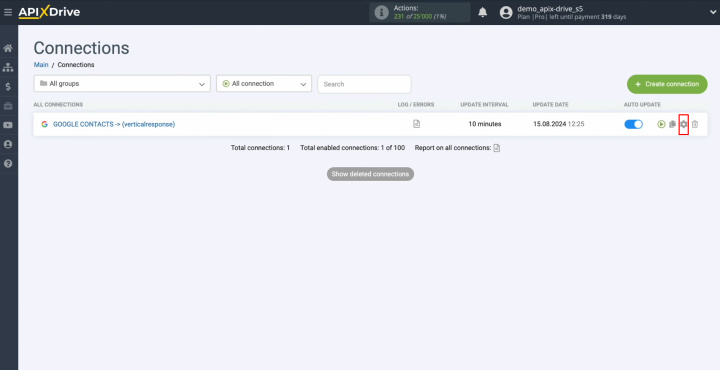
Click on the
gear button.
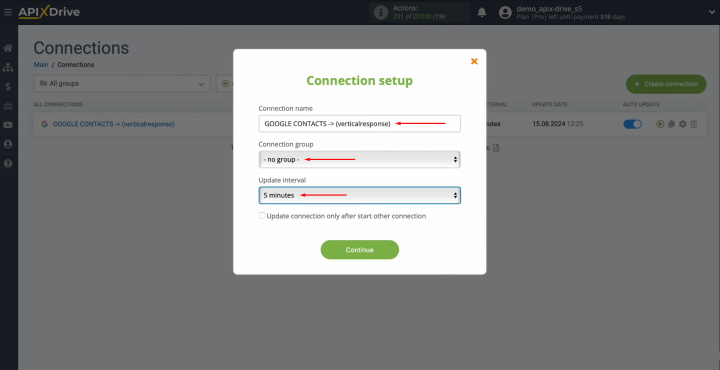
Choose the interval for the connection to operate, such as every 5 minutes. Additionally, you can rename the connection and assign it to the desired group here. Click “Continue.”
Google
Contacts and VerticalResponse integration have been completed. You've succeeded!
Brief Summaries
Google Contacts integration with VerticalResponse is an effective solution for automating contact management and communication with customers in e-commerce. It eliminates routine manual work, increases data accuracy, and optimizes the time to complete tasks. Using the online ApiX-Drive connector greatly simplifies integration configuration, making it accessible to many, regardless of the level of technical knowledge. Minimal experience in working with computer programs will be quite enough.
