Google Sheets and Airtable Integration: Automatic Transfer of New Rows
Google Sheets is one of the most popular spreadsheet tools that helps with organizing and analyzing business data and tracking progress on projects. Airtable is a multifunctional cloud service that combines the capabilities of databases and spreadsheets for high-quality teamwork. If you're an active user of both platforms, you'll certainly be interested in learning how you can speed up and optimize your work with them. To achieve this goal, you just need to automate the process of transferring data between systems. In this article, we will tell you how to set up Google Sheets and Airtable integration and thus automate the process of transferring new data.
Why You Need to Automate Data Transfer from Google Sheets to Airtable
The main business benefits that come from automating the transfer of data from Google Sheets to Airtable are:
- Minimizing errors. Manual transfer is accompanied by errors. For example, missing a digit in a phone number or an error in an email – and the connection with the lead is lost. The automatic data transfer process eliminates such risks.
- Accelerate the processing of information. Data transfer occurs instantly and simultaneously. Naturally, this is much faster than manual transfer.
- 24/7 work without breaks. The automatic data transmission system operates without lunches, weekends, holidays, and vacations.
- Optimizing the work of managers. Automation frees specialists from the routine of data transfer, allowing them to concentrate on working directly with clients, which requires an individual approach.
- Save time. Time previously spent on manual data transfer can now be used more efficiently.
- Increased productivity. Because data is transferred automatically, you can do more in less time, increasing the productivity of your personal work, as well as that of your department and company as a whole.
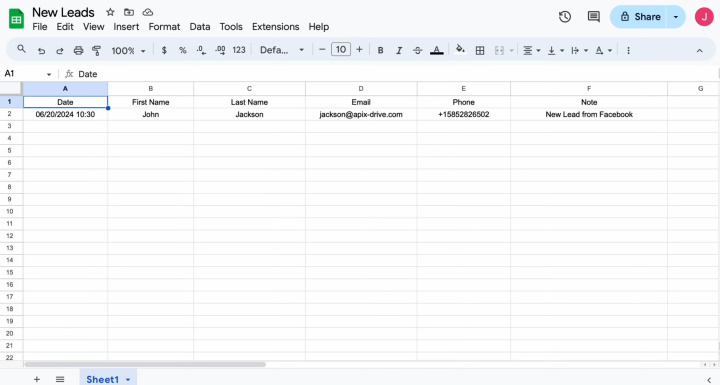
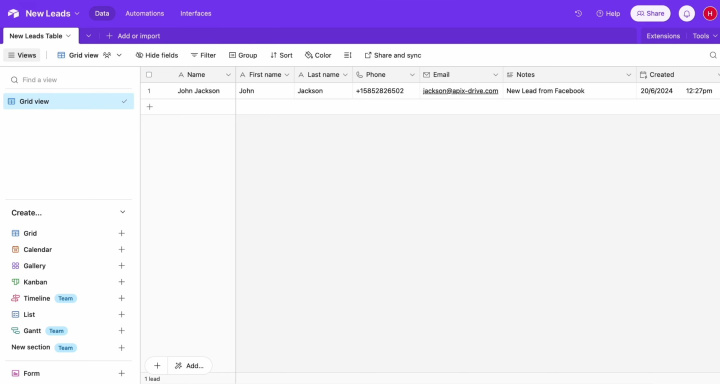
Once set up, the integration between Airtable and Google Sheets via ApiX-Drive will immediately enhance your workflows. New entries in tables (for example, data on leads) will be automatically, without your participation, transferred to the Airtable database. This will save you from having to manually process each line. This automation will significantly streamline your operations, improve customer interactions, and speed up feedback, giving you an advantage over competitors who are not yet using advanced commerce practices.
How to Set Up Google Sheets and Airtable Integration
To set up Google Sheets + Airtable integration, you don't need to learn programming or understand the intricacies of the API. All necessary actions are performed by our online connector, ApiX-Drive. Its functionality allows systems to be linked easily and quickly. The intuitive interface and ease of interaction with the service make the setup process accessible and understandable even for inexperienced users. In addition, detailed instructions in text and video format are provided to help.
The first step is registration on the apix-drive.com website. After this, you can start setting up Airtable + Google Sheets integration.
Setting Up the Data Source – Google Sheets
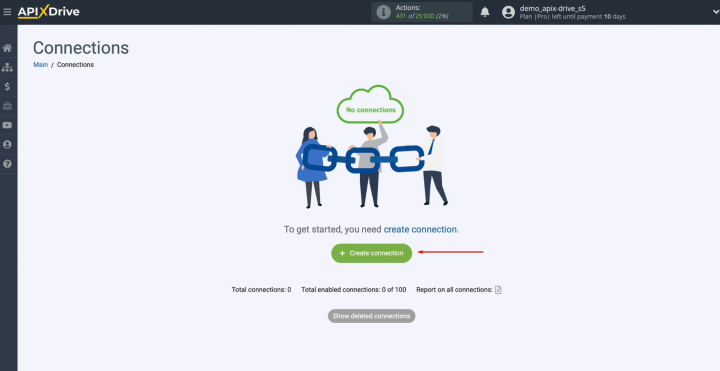
To set up the Google Sheets integration with Airtable, create a new connection. For this, click on the green button.
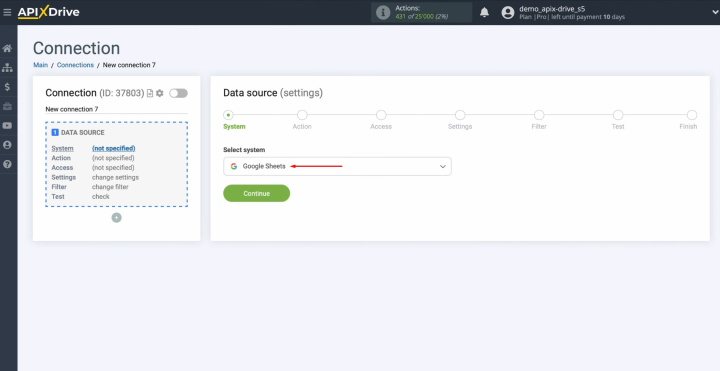
Select the
data source system. It is Google Sheets. Click
“Continue”.
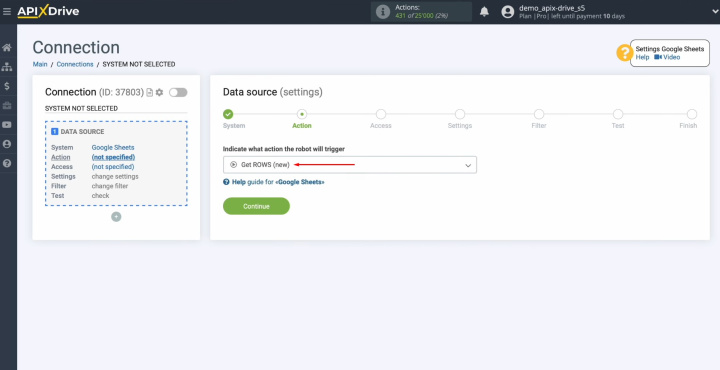
Choose the action
"Get ROWS (new)". Click
“Continue”.
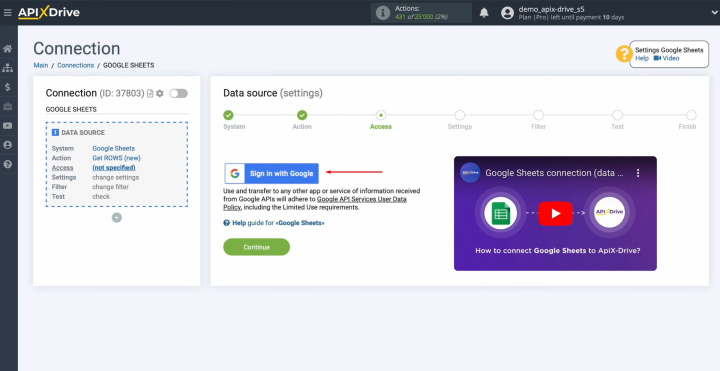
Connect your
Google account to ApiX-Drive. For this, click on the button
“Sign in with Google”.
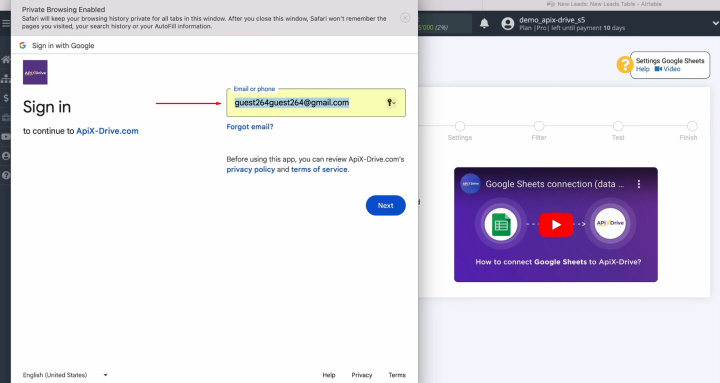
Specify the
login of your Google account. Click “Next”.
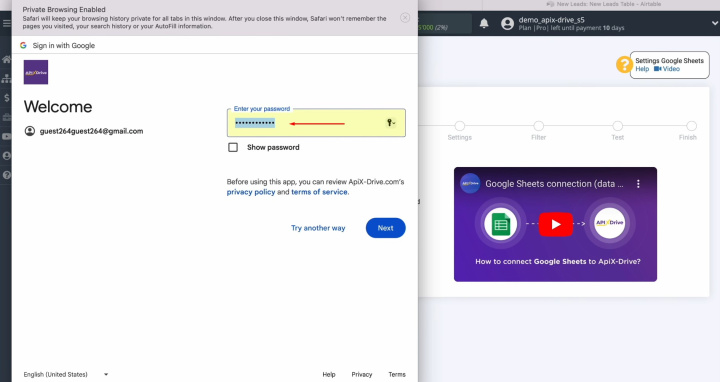
Specify the
password of your Google account. Click “Next”.
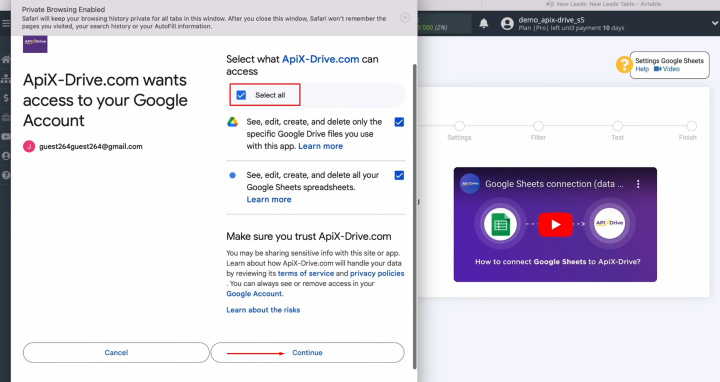
Here, be sure to
check all the access boxes. Click “Continue”.
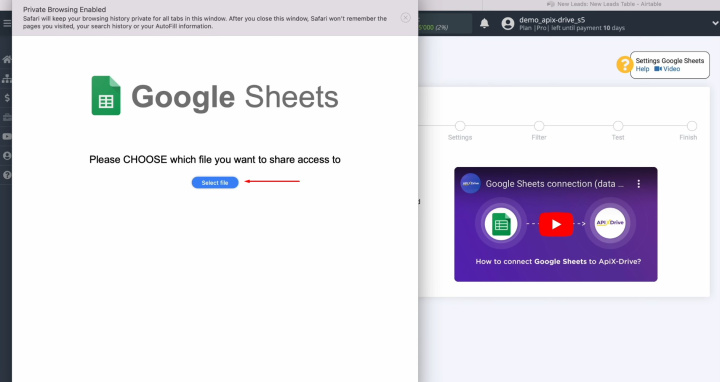
Click on the button “Select file”.
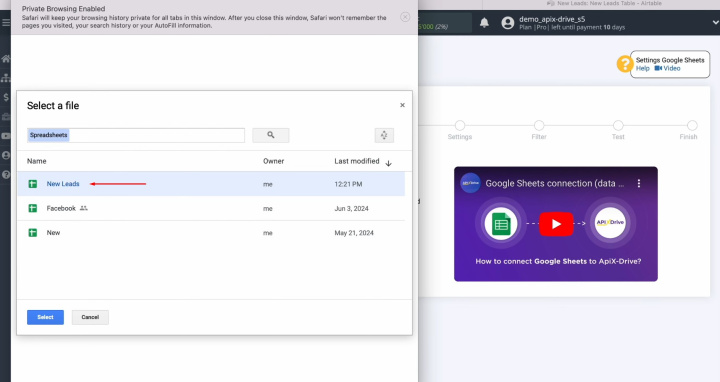
Select the
file from which you will receive new rows and confirm
your choice by pressing the button “Select”.
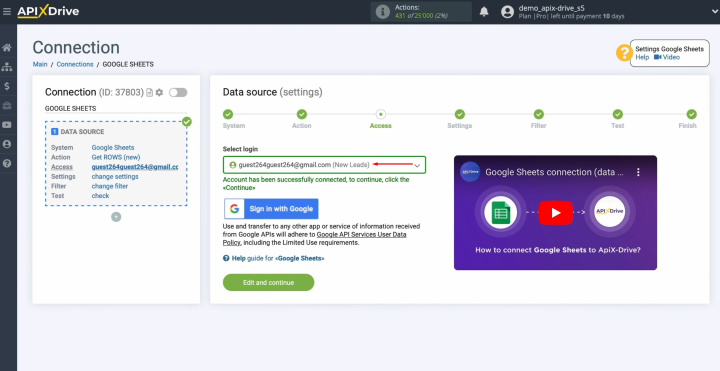
When the
connected login appears in the list of active accounts, select it and click
"Edit and continue".
Now, you see
the selected file to which we have given access. Select the sheet.
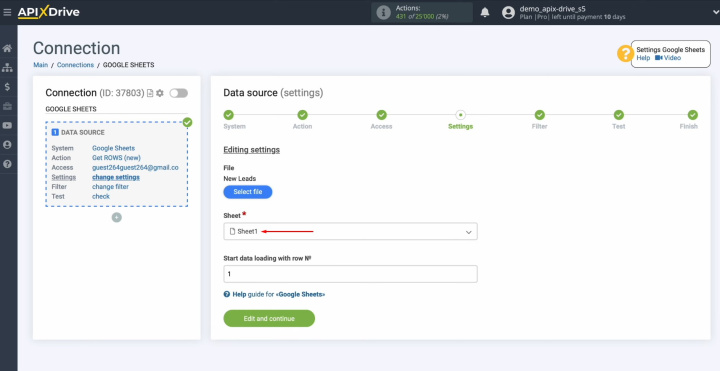
Here, you see
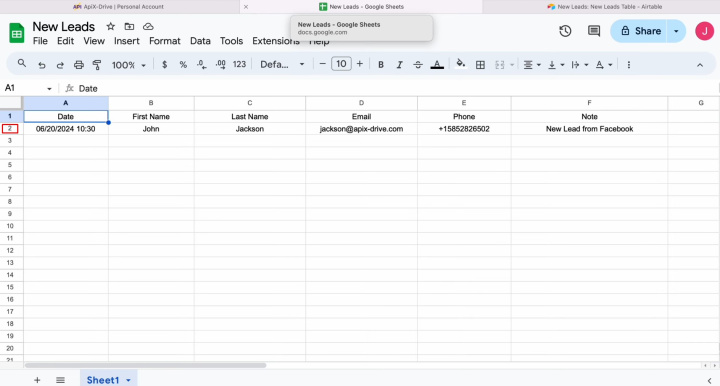
the "Start Data Loading with Row Number" field. Enter the row number from which you
want to start uploading. In this case, there are 2 rows in my table and I want to
pass the second row.
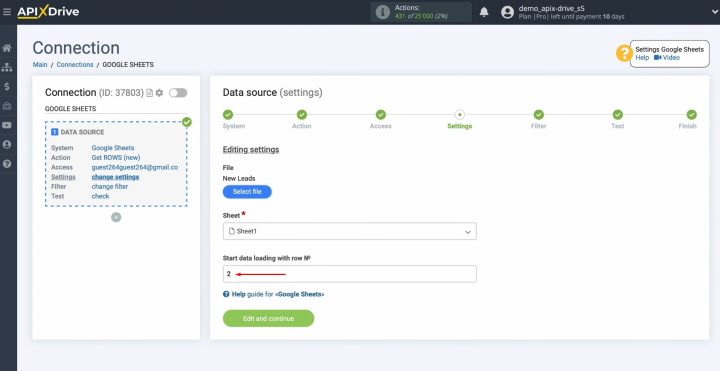
We specify
the number 2. Then, click
“Edit and continue”.
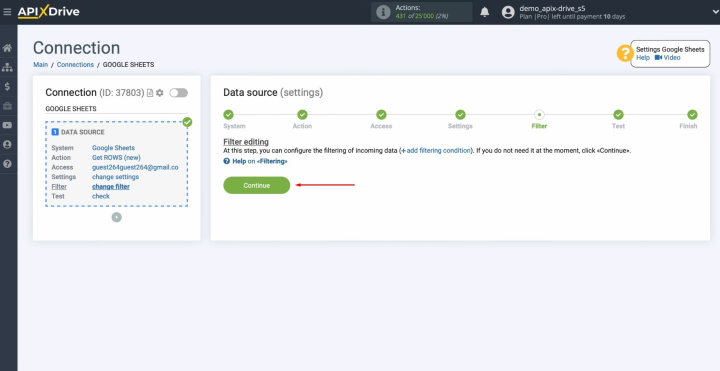
You can set
up a data filter. In this case, there
is no need for this, so just click "Continue".
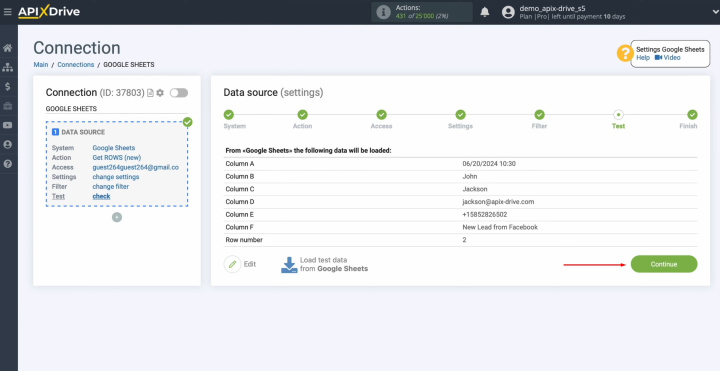
Now, you see
the data that is in the row that you selected in the settings. If you are satisfied with
everything, click "Continue".
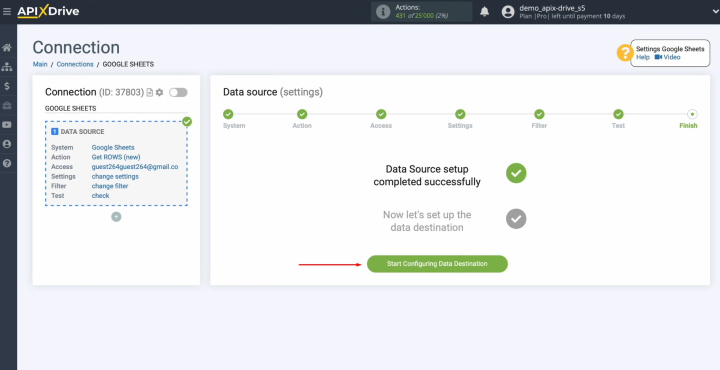
Setting up the Google Sheets data source has been successfully
completed.
Setting Up the Data Receiver – Airtable
To set up the Airtable integration with Google Sheets, click on the green button “Start Configuring Data Destination.
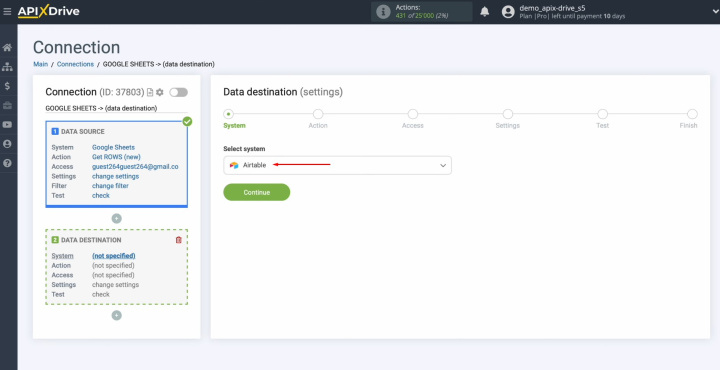
Choose the
system. You need Airtable. Click
“Continue”.
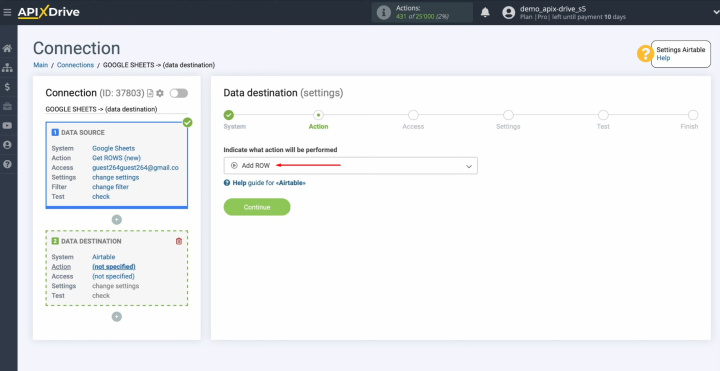
Select the
action "Add ROW". Click “Continue”.
Connect your
Airtable account to ApiX-Drive. For this, click on the blue
button.
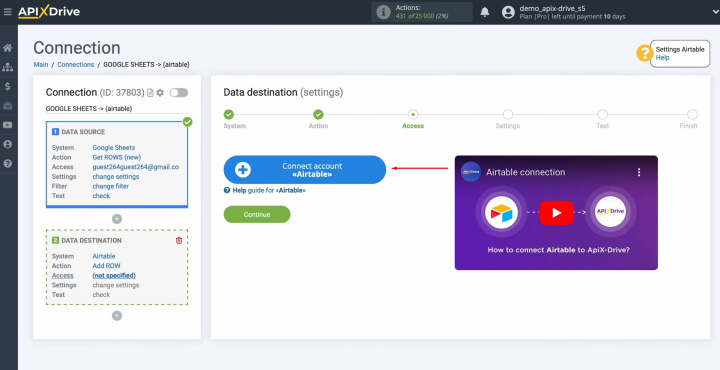
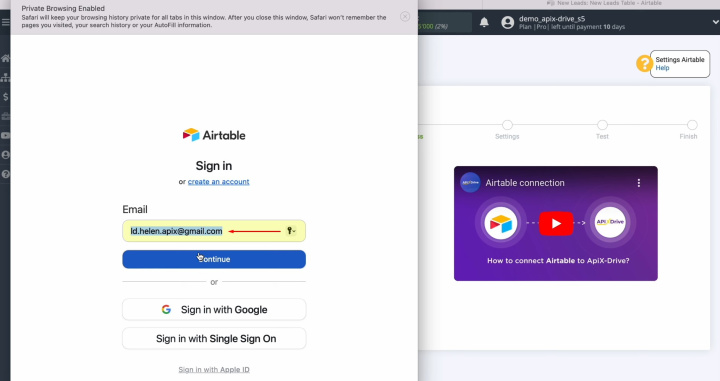
Specify the
login of your Airtable personal account. Click
“Continue”.
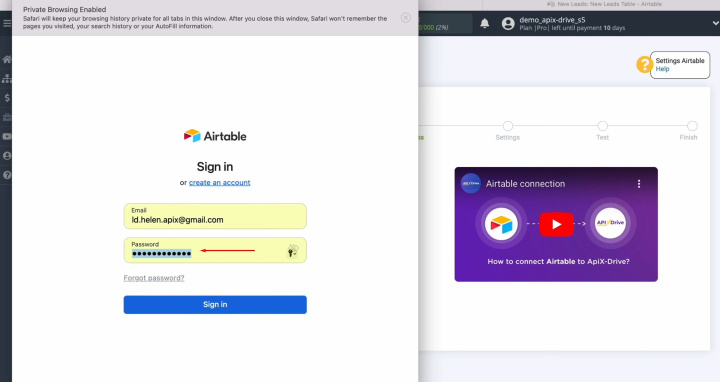
Specify the
password of your Airtable personal account. Click
“Sign in”.
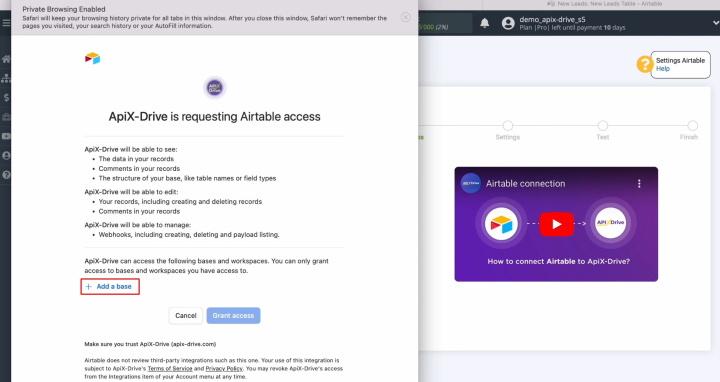
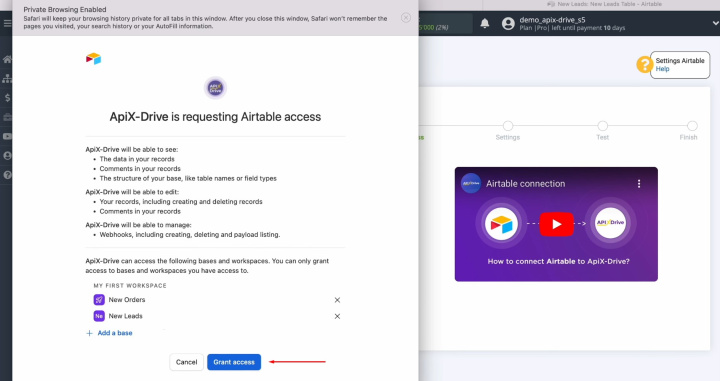
Provide
ApiX-Drive access to work with your Airtable databases. To achieve this, click "Add a Base". We recommend providing access to all databases at once if you intend to work with them in the future.
When all databases are
selected, click “Grant access”.
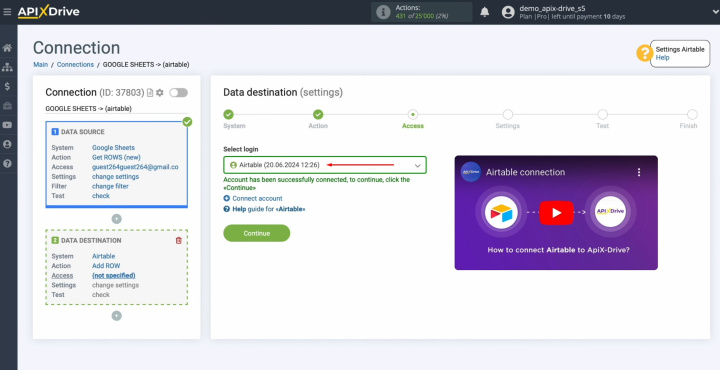
When the
connected login appears in the list of active accounts, select it and
click "Continue".
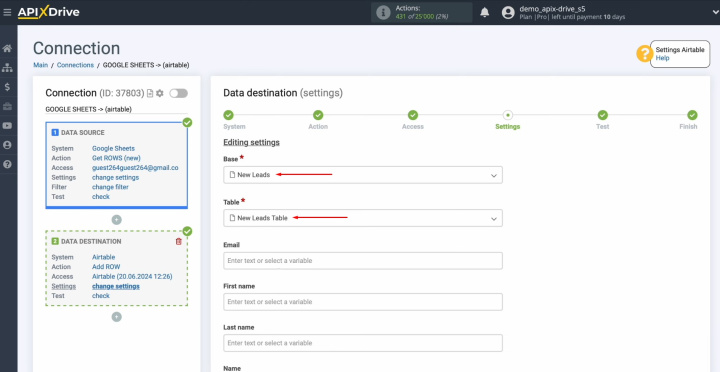
Select the
base in which new rows will be created and choose the table.
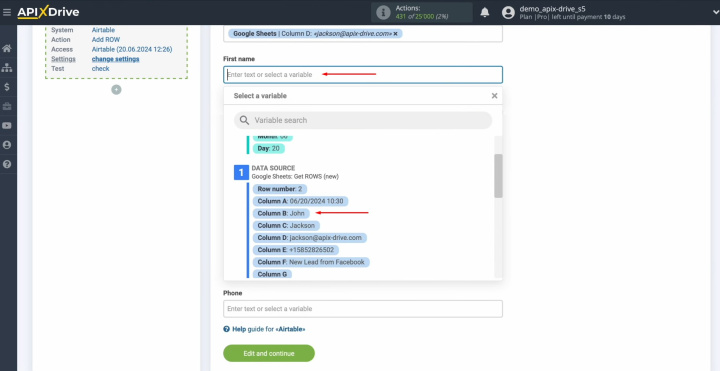
Here, you see
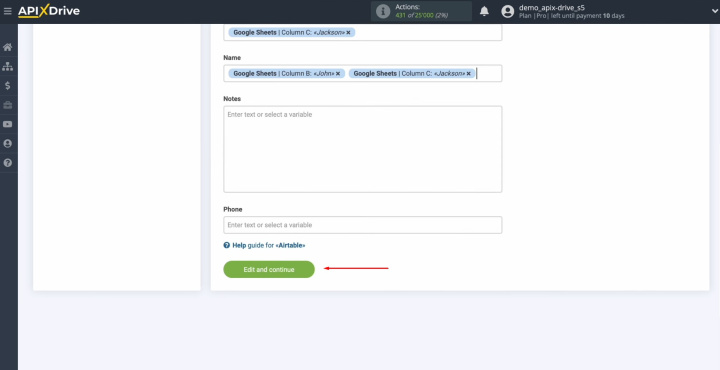
the Airtable fields for creating new rows. Assign variables from Google
Sheets to these fields. To do this, click the field you need and select the appropriate variable from the drop-down list.
When all
required fields are filled in, click "Edit and continue".
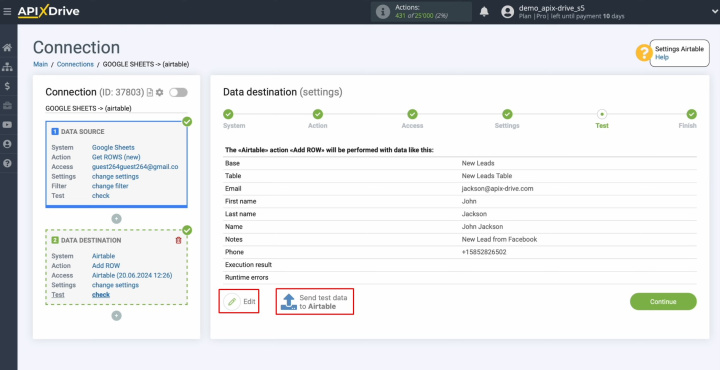
Now, you see an
example of the data that will be transferred to Airtable as new rows
for each new row from Google Sheets. If you are not satisfied with anything, click “Edit” and correct these points. To test how the integration works, click “Send test data to Airtable”.
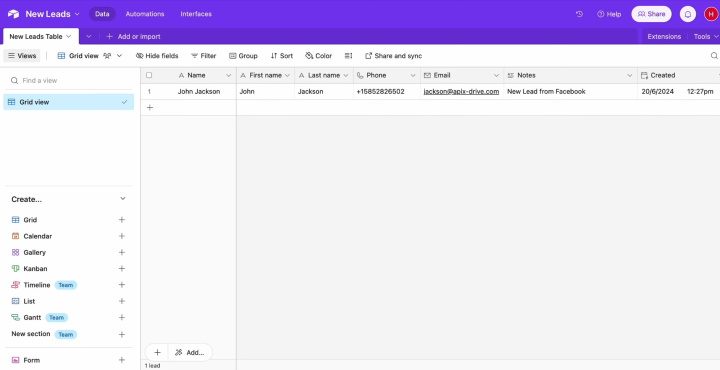
After
successful sending, go to Airtable and check the result.
If you are
satisfied with everything, return to ApiX-Drive and continue setting up.
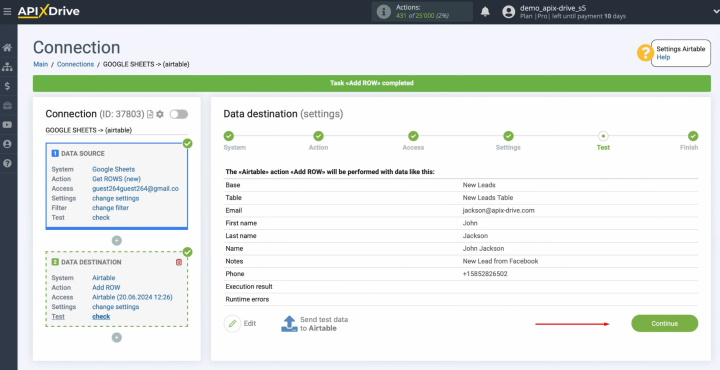
Setting up Airtable as a data destination has been successfully
completed.
Setting Up Auto-update
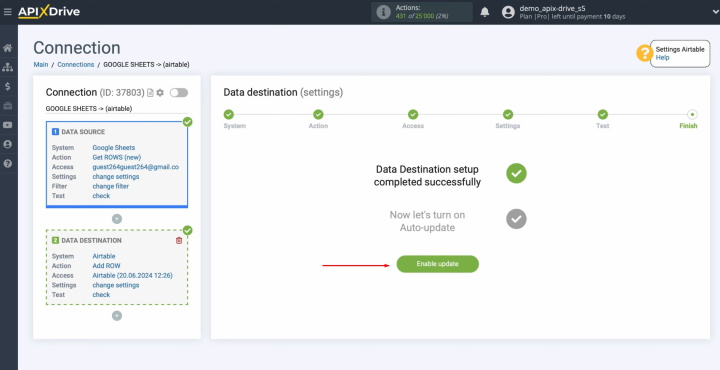
In order for data transfer to occur automatically, configure auto-update. Click on the green button “Enable update”.
Click on the
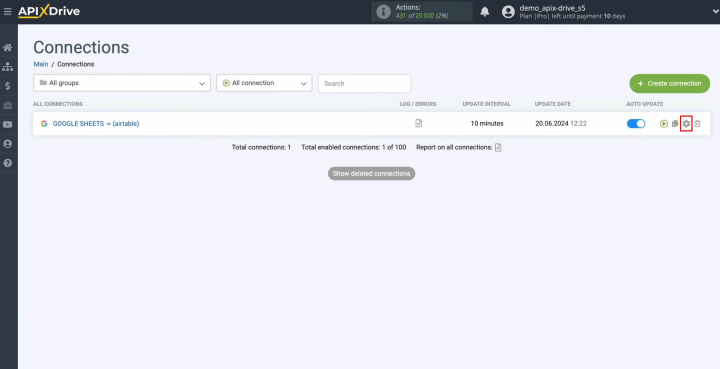
gear button.
Select the
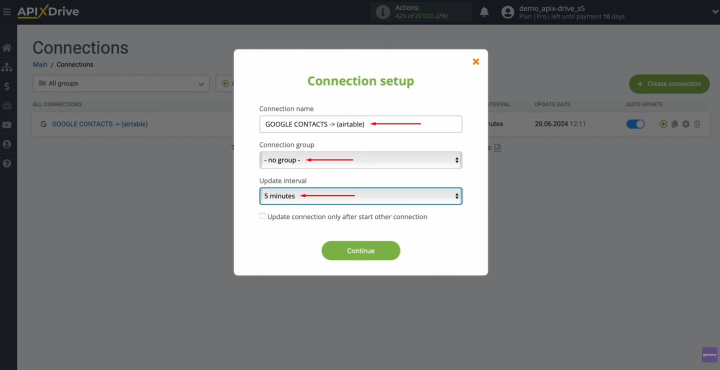
interval for the operation of the connection. For example, once every 5
minutes. Moreover, here you can change the name of the integration and assign it to the desired group. Click “Continue”.
That's all. Integration was completed. You have done this. Great job!
Results
By using ApiX-Drive to automate data transfers, you will take a new, efficient approach to your work. Without programming experience, you will be able to create fully automated solutions. After setting up Google Sheets & Airtable integration and running the auto-update, the systems will begin to work smoothly together, ensuring the automatic transfer of lead data.
Airtable & Google Sheets integration will completely free you from the need to manually transfer data. This task will be delegated to the online connector ApiX-Drive. In the meantime, you can focus on improving your customer experience, learning innovative business practices, and other key aspects that will help your business reach new heights.
