HubSpot and Google Contacts Integration: Automatic Contacts Creation
HubSpot is a popular CRM system that helps you manage sales and marketing. In this tutorial, we will show you how to set up the HubSpot and Google Contacts integration. As a result, all new contacts created in the CRM system will be automatically duplicated in the Google Contacts service.
Content:
1. How to create a HubSpot and Google Contacts integration
2. Connect HubSpot
3. Connect Google Contacts
4. Enable auto-update
5. Conclusions
Google Contacts is a simple and convenient contact management tool. Users of this service receive functionality for efficient organization of the contact database, as well as for various data manipulations. All entries are linked to a Google account, they are available on any device on which you log into your account. Important phones, email addresses and other data will not be lost if your smartphone is broken or there are problems with a work laptop or desktop applications where contacts are stored.
If you use the HubSpot CRM platform and the Google Contacts app, then most likely you have faced the task of transferring data from one system to another. It's good practice to back up important contacts. In addition, many people prefer to use Google Contacts to quickly find the right phone number, email address, and other data. This is especially true when an employee is often away from the office and uses a mobile phone to organize business communications.
If you create an integration between HubSpot and Google Contacts, then all new contacts from CRM will be automatically transferred to the application from Google. When setting up communication, you can use the accounts of different employees of the company. For example, a manager can take an order and create a contact in HubSpot, and the data will be sent to the Google Contacts application, which is available to a warehouse worker, marketer, department head, etc.
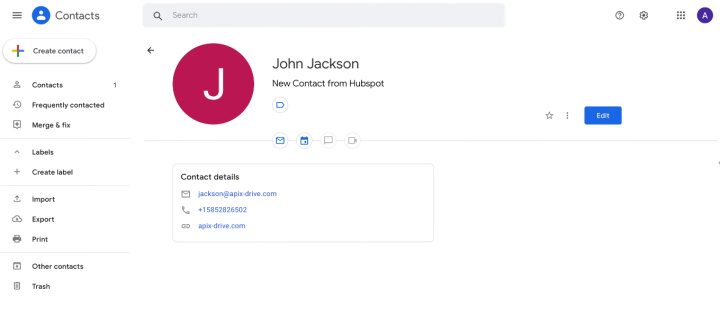
How to create a HubSpot and Google Contacts integration
To create a connection between HubSpot and Google Contacts, we will use the ApiX-Drive online connector. You can work effectively with this tool without special knowledge and skills. We will connect the HubSpot account as a data source. The ApiX-Drive – it's a easiest way setup integration between HubSpot and Google Contacts. The service will automatically track new contacts in the CRM system, upload the data and transfer it to the Google Contacts application, which we will connect as a receiving system.
To automate the process of transferring contacts from HubSpot to Google Contacts, you first need to register on our website. Set up one connection for free and enjoy the benefits of using the ApiX-Drive online connector. You will get rid of the routine operation of transferring contacts and free up your working time for more important and responsible tasks. To create an integration, repeat the steps below.
Connect HubSpot
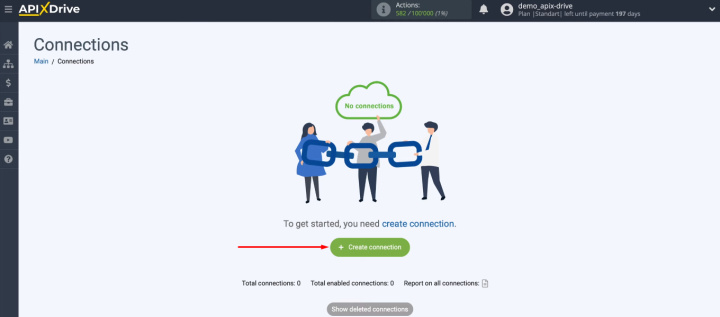
Login to your personal ApiX-Drive account. Click "Create connection".
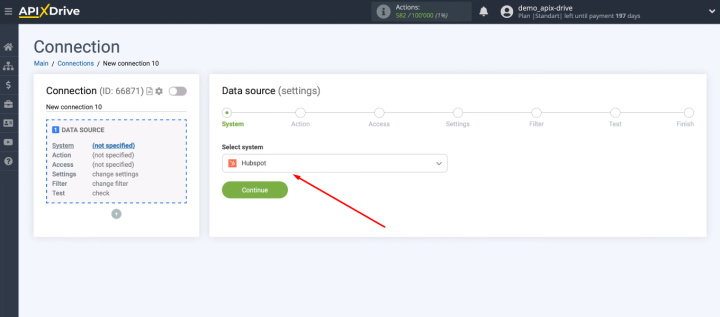
Select HubSpot as a data source. Use the search bar.
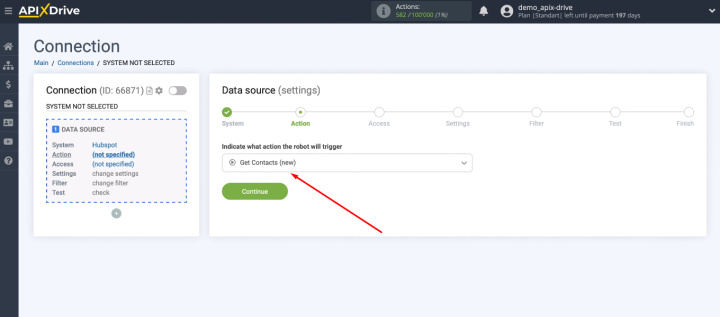
Choose an action — Get Contacts (new).
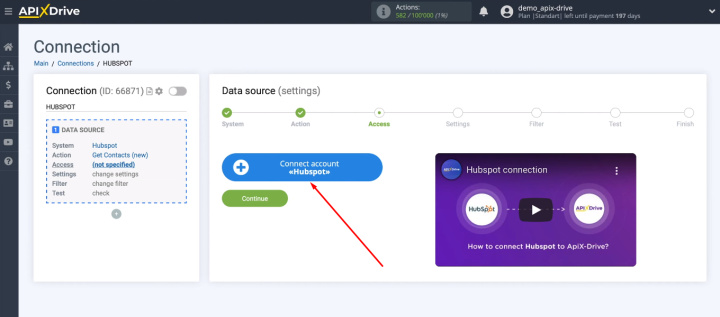
Click "Connect account HubSpot".
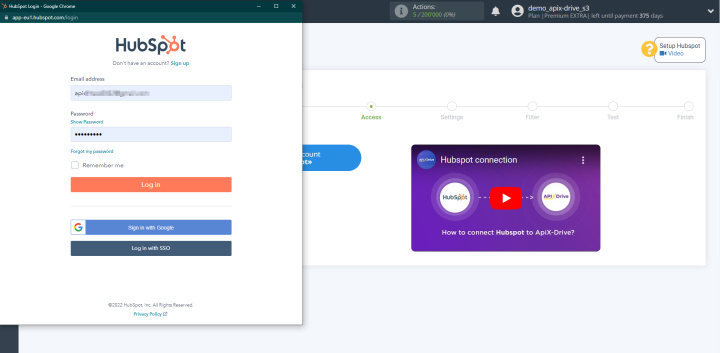
Log in to HubSpot.
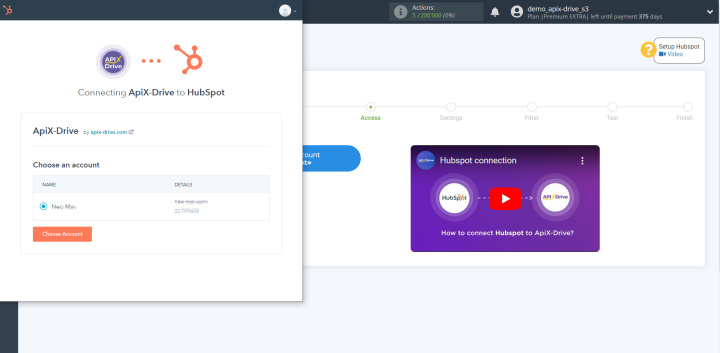
Select the HubSpot account you are connecting.
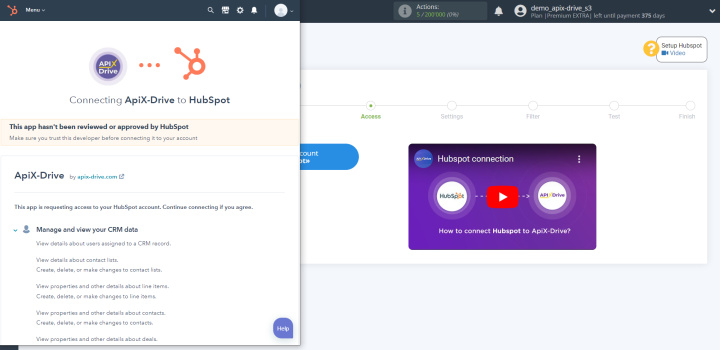
Give your permission to ApiX-Drive to work with this account.
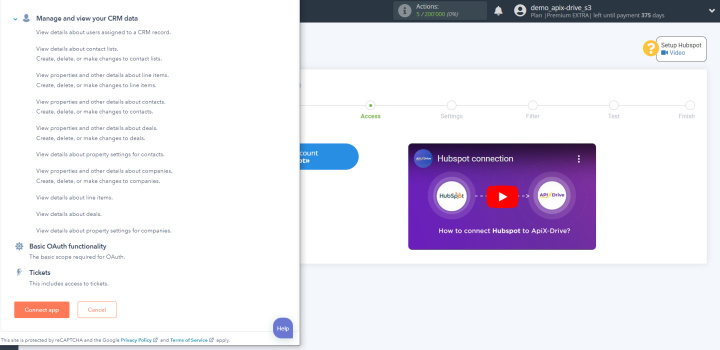
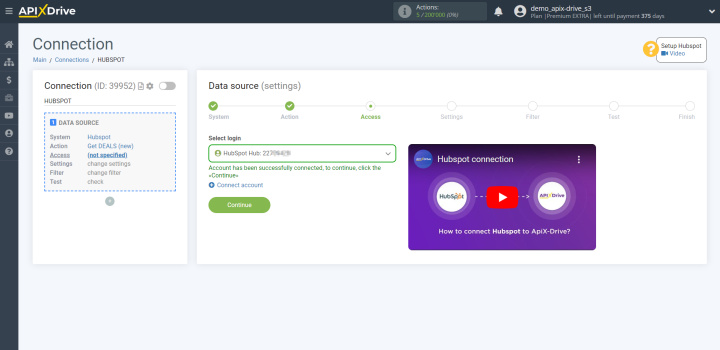
HubSpot account successfully connected. Select it and proceed with the setup.
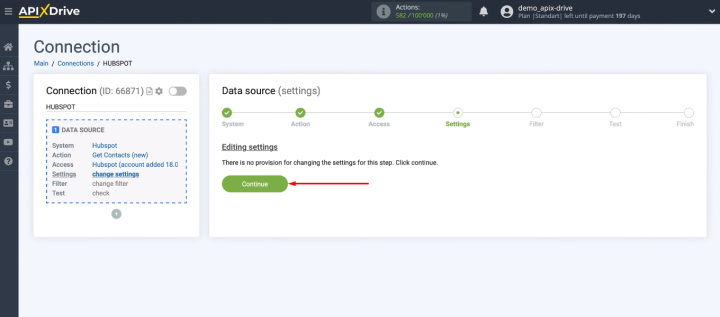
You don't need to do anything at the "Settings" step. Just click "Continue".
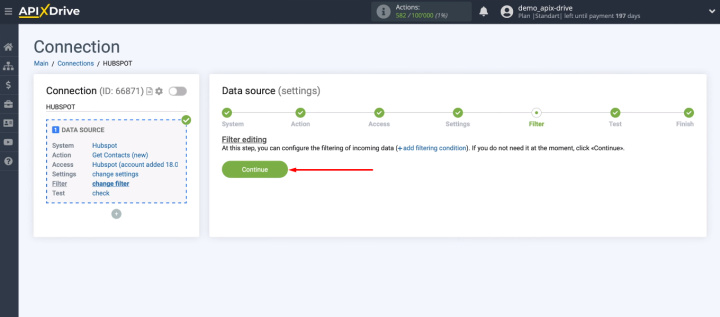
The ApiX-Drive system can not only upload data, but also provides filtering tools. You can add different conditions to receive contacts with certain characteristics.
- Automate the work of an online store or landing
- Empower through integration
- Don't spend money on programmers and integrators
- Save time by automating routine tasks
In our case, we will simply skip the filtering step. We will receive all new contacts from HubSpot.
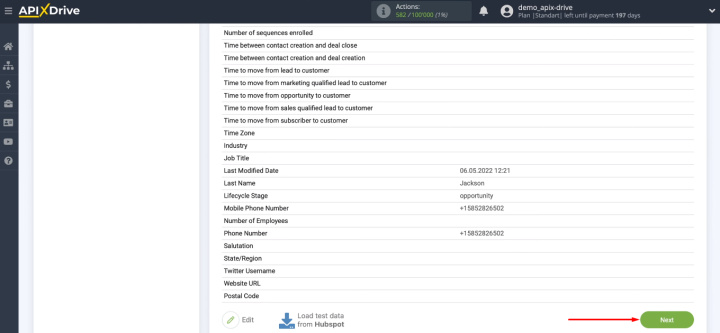
In the next step, the system shows a test set of data received from HubSpot. If there is no data, create a new test contact in the CRM system and click “Load test data from HubSpot”. After checking the test data, click “Next”.
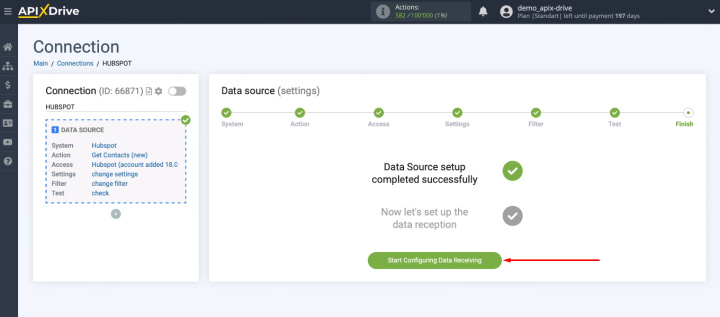
The data source setup is complete. Let's connect the receiving system.
Connect Google Contacts
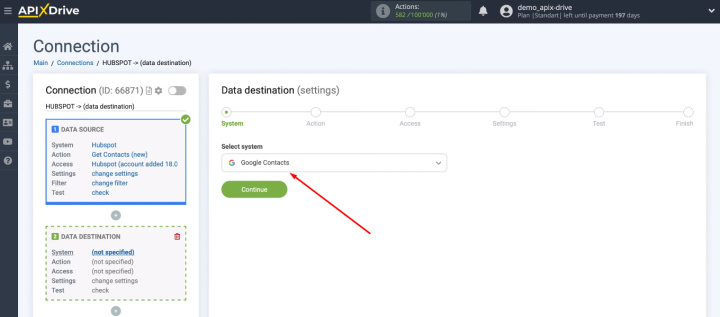
Select the Google Contacts service as the destination.
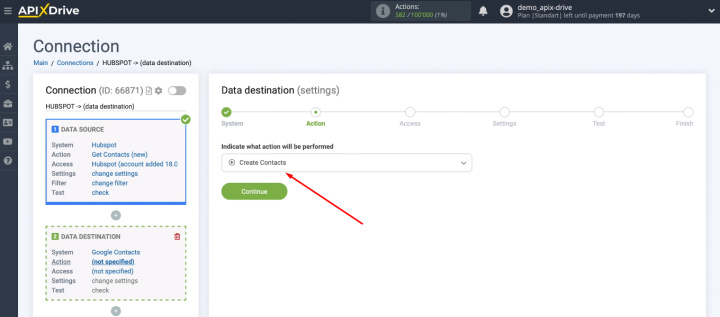
Select the action — "Create Contacts".
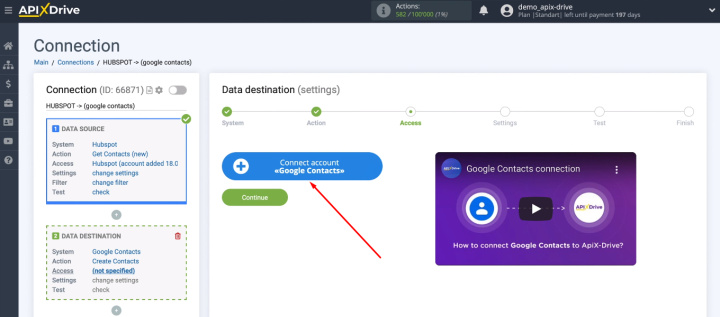
Click "Connect account Google Contacts".
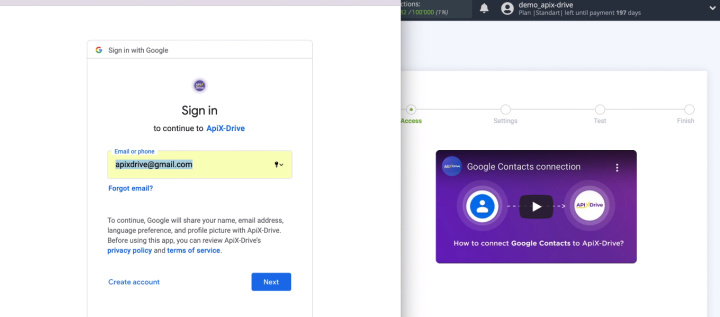
Enter your Google account login.
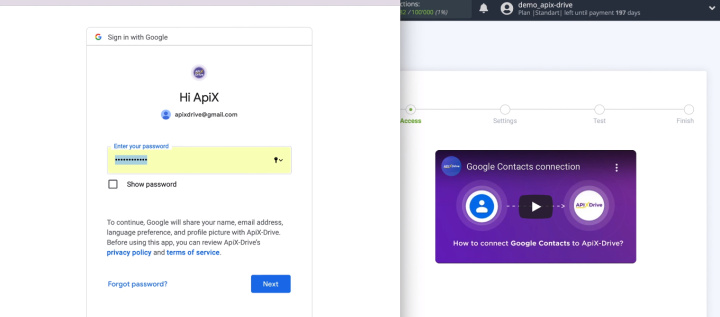
Enter password.
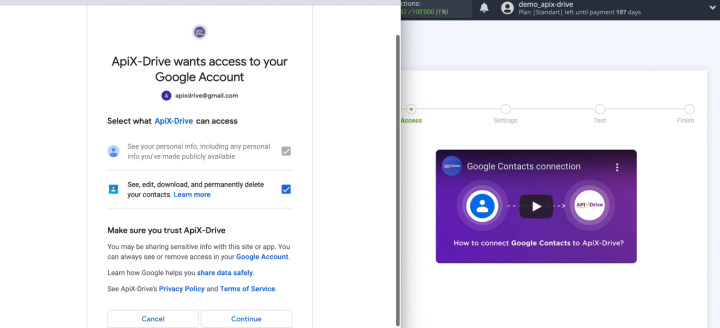
Check all access checkboxes and click “Continue”.
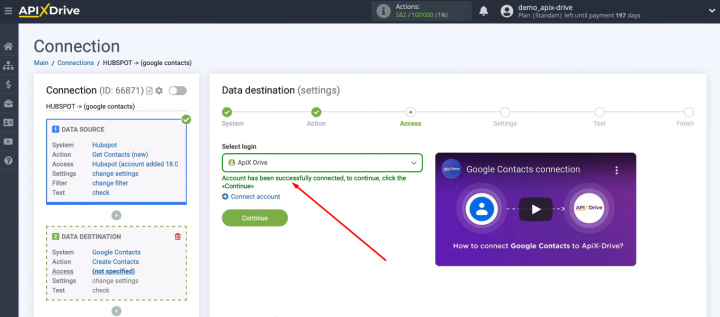
The connected login appeared in the list of available ones, select it and click “Continue”.
Fill in the Google Contacts fields, the data from which will be used to create new contacts. To assign a variable, click in the field and select the appropriate value from the list.
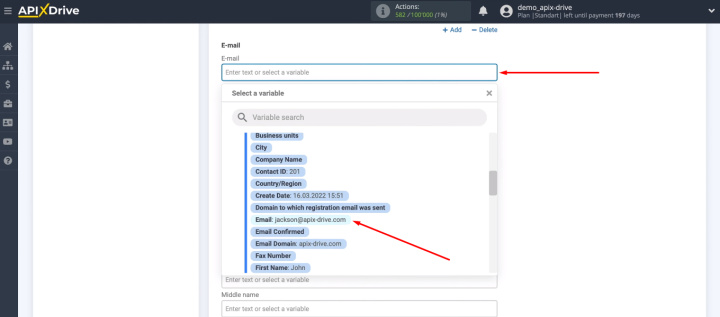
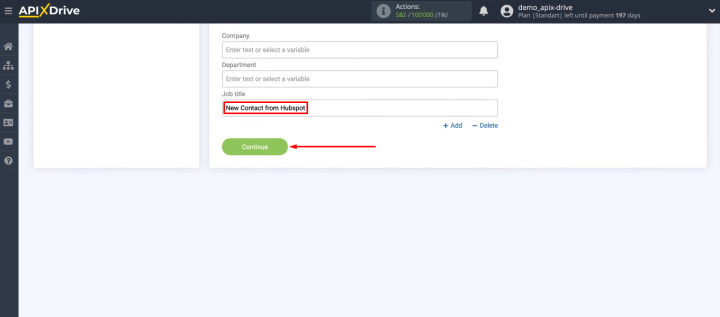
You can also enter text manually to define the contents of Google Contacts fields. Set up all required fields and click “Continue”.
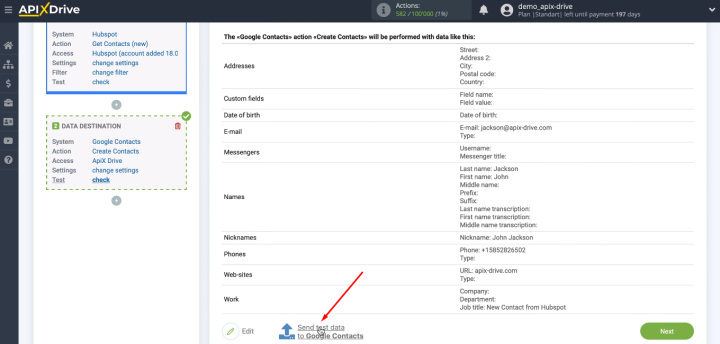
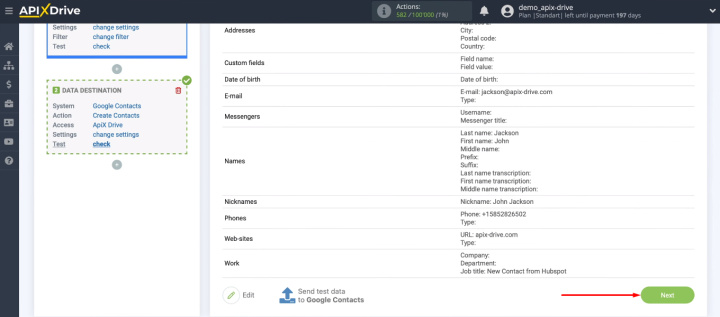
Check the data set that will be sent to Google Contacts. You can go back a step and make the necessary adjustments. If everything suits you at this stage, click “Send test data to Google Contacts”.
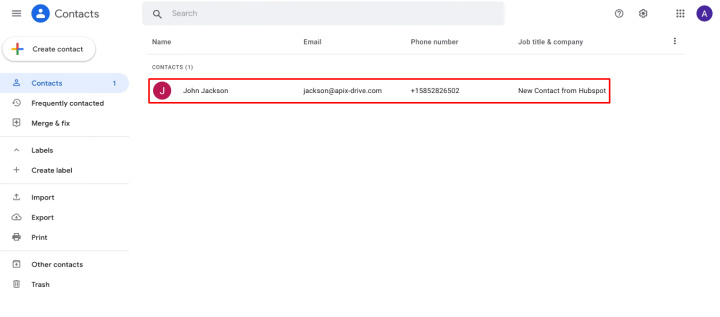
Go to the Google Contacts app and check for a new test contact.
Return to the ApiX-Drive system and click “Next”.
Enable auto-update
In order for the integration to work and the ApiX-Drive system to start tracking all new HubSpot contacts, you must enable data auto-update. To do this, click "Enable update".
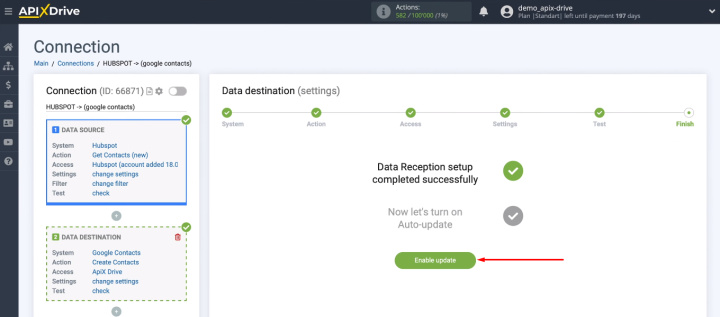
The created integration will appear in the list of connections on the main page of your personal ApiX-Drive account. You can view statistics, activate/deactivate the link, run the integration manually. You also have the ability to change the name of the connection, add it to a group, and set the connection interval. This is done through the settings menu — “gear”.
Conclusions
We've covered the process of setting up the HubSpot and Google Contacts integration. Using the ApiX-Drive online connector, you can link these systems in just a few minutes. As a result, new contacts from HubSpot are automatically transferred to Google Contacts. The ApiX-Drive online connector offers hundreds of ready-made integrations to automate various business processes. You do not need to involve programmers or have special knowledge. Set up the integrations you need quickly, easily, and on your own. Get rid of routine work and increase your productivity.
