How to Connect Vapi as Data Search

Integration with Vapi is implemented as a separate Search block, which can be placed between the Data Source and the Data Destination. This will allow you to receive data fields from the Data Source, make a request to Vapi to search for calls by specified values, and transfer data to the Data Destination field. Thus, through search, you can automatically search for calls in Vapi and transfer data on them to the services and systems you use.
The function allows you to search for calls in Vapi and update data
Navigation:
Connecting Google Sheets as a Data Source:
1. What data can be get from Google Sheets?
2. How to connect your Google Sheets account to ApiX-Drive?
3. Select the table and sheet from which the rows will be exported.
4. Example of data that will be transferred from Google Sheets.
Connecting Vapi as Data Search:
1. What data can be get from Vapi?
2. How to connect your Vapi account to ApiX-Drive?
3. How to configure the selected action to search for data in Vapi?
4. Example of data that will be transmitted from Vapi.
Setting up row updates in Google Sheets:
1. What will the Google Sheets integration do?
2. How to connect your Google Sheets account to ApiX-Drive?
3. How do I configure the selected action to transfer data to Google Sheets?
4. Example of data that will be sent to your Google Sheets.
5. Auto-update and update interval.
Data SOURCE Settings: Google Sheets
Let's look at how the Search function works using the example of updating rows in Google Sheets.
First you need to create a new connection.
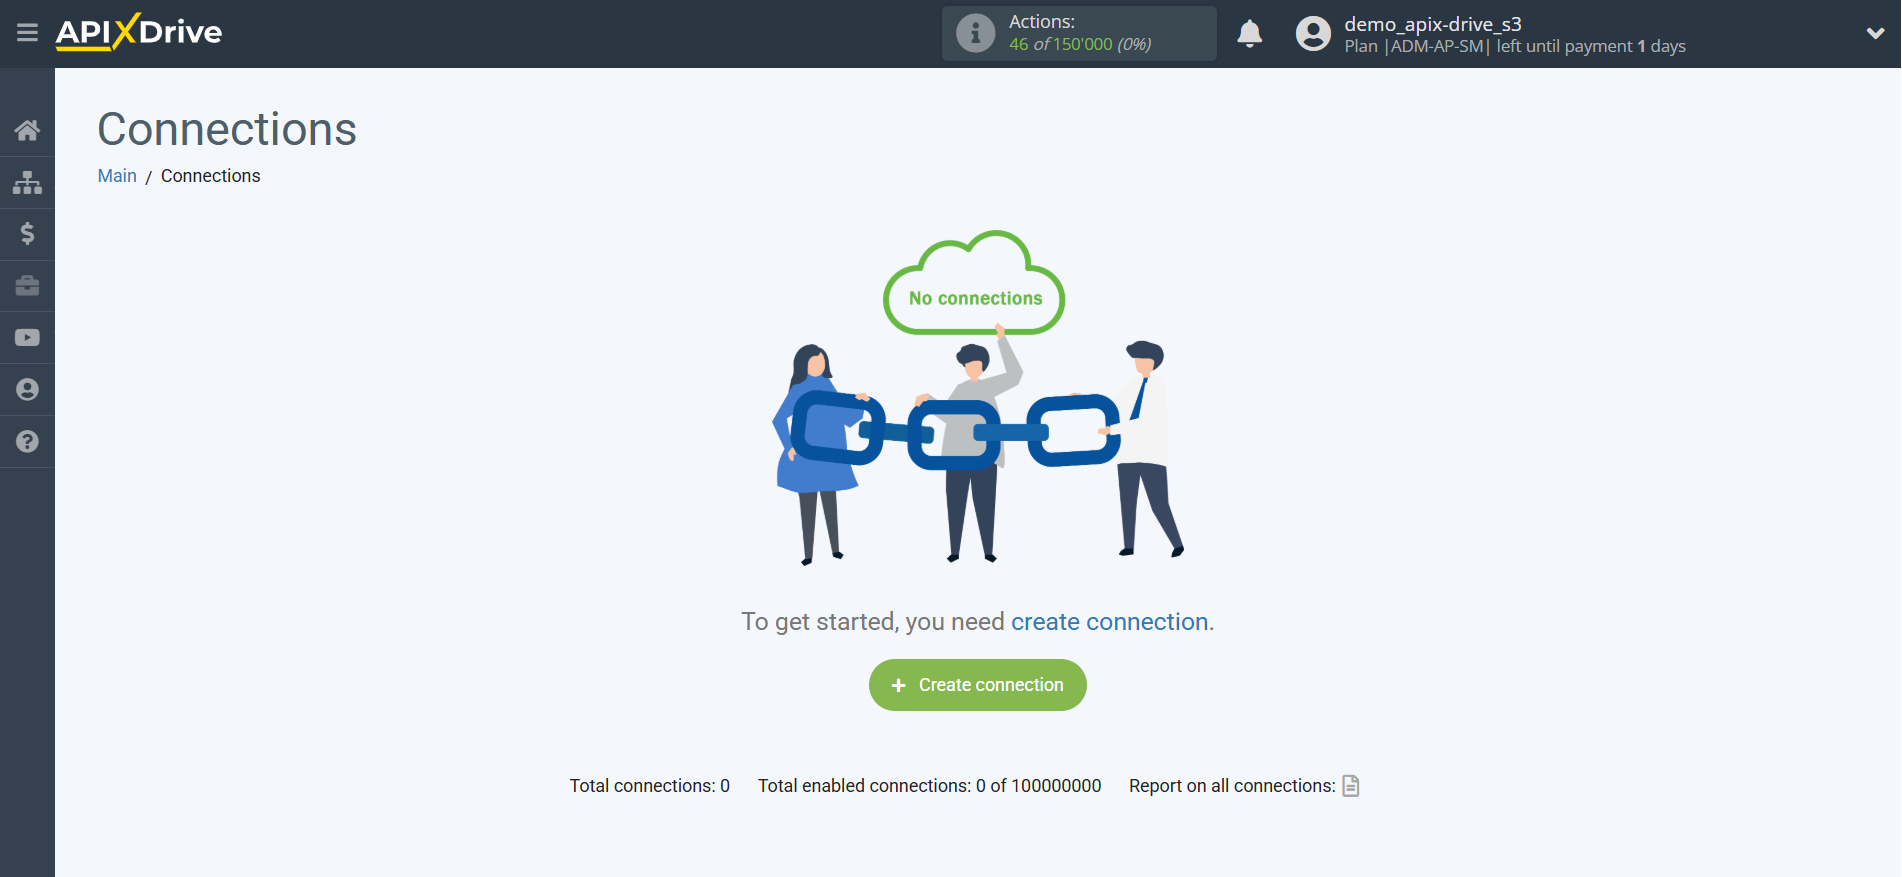
Select the system as the Data Source. In this case, you must specify Google Sheets.

Next, you need to specify the action "Get ROWS (new)".

The next step is to select the Google Sheets account from which the data will be uploaded.
If there are no accounts connected to the system, click "Connect account".

Select which account you want to connect to ApiX-Drive and grant all permissions to work with the account.
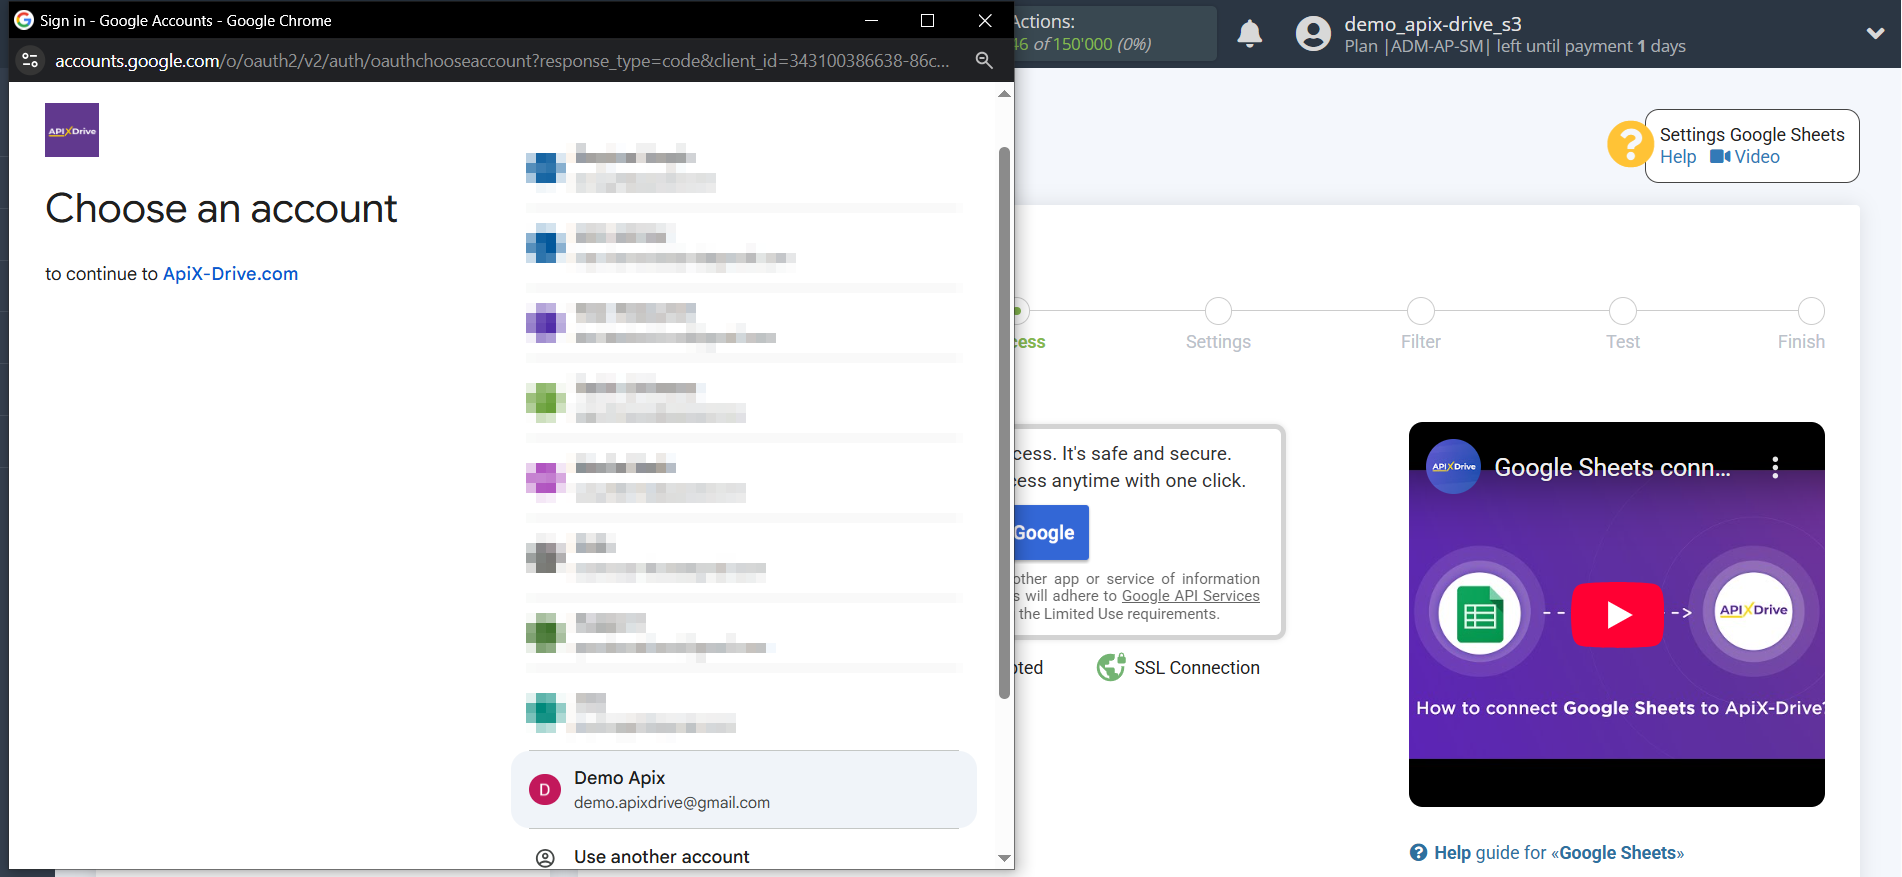
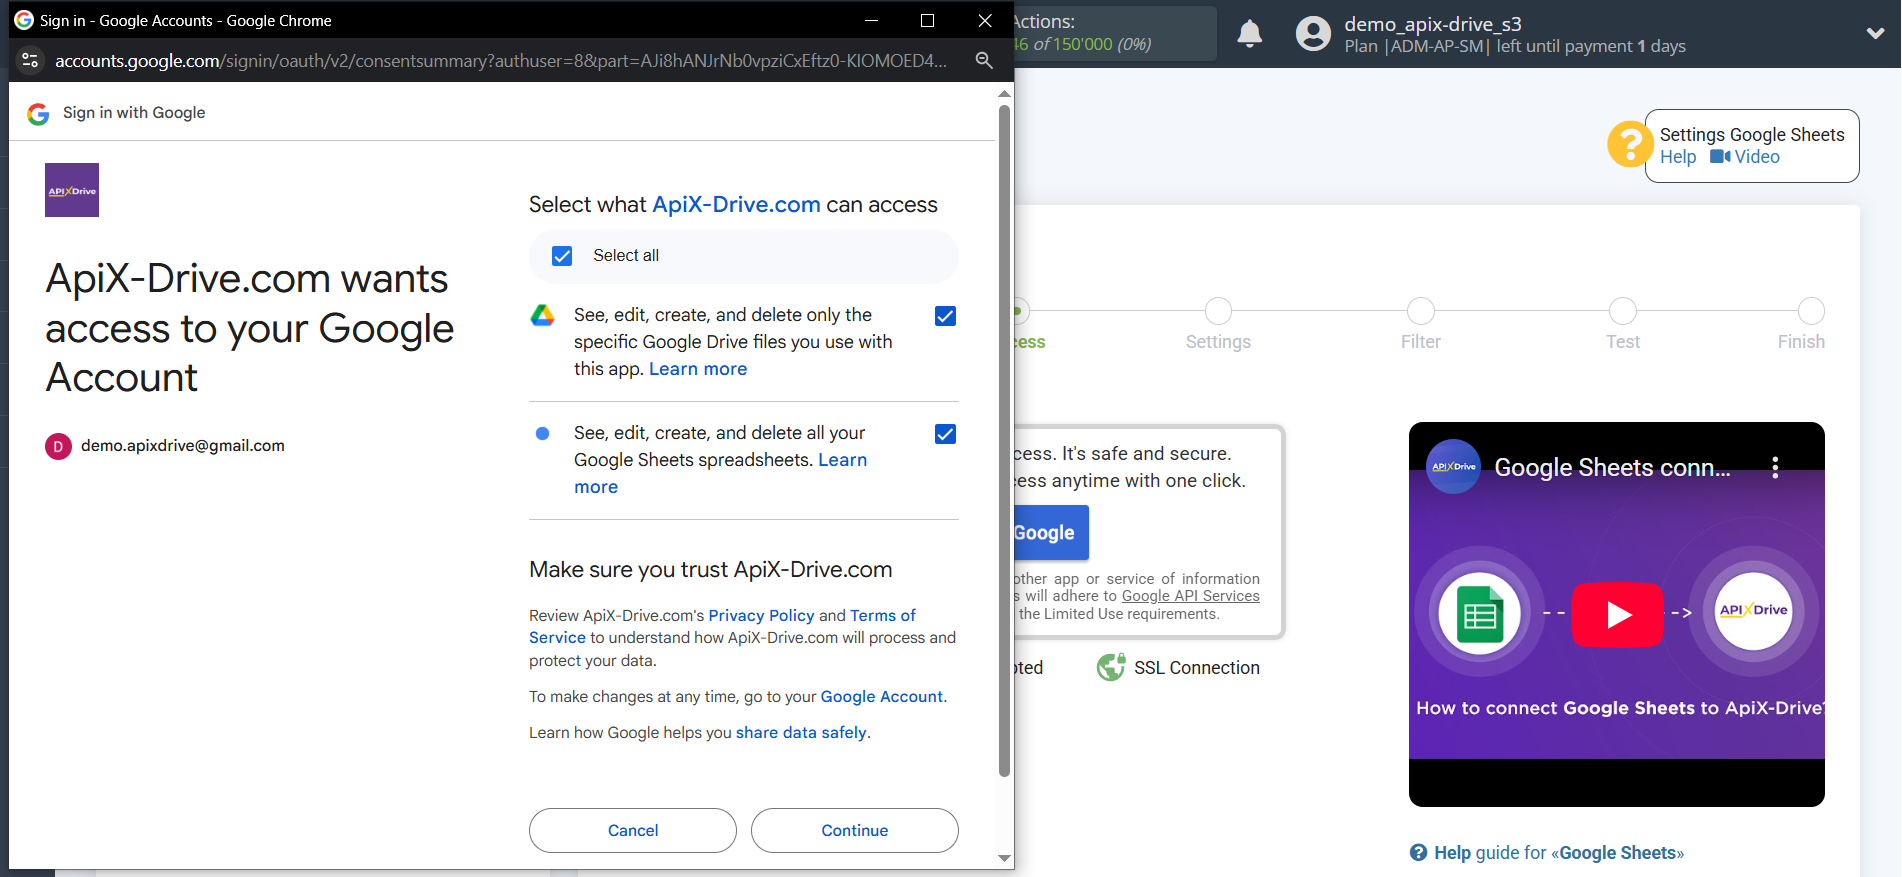
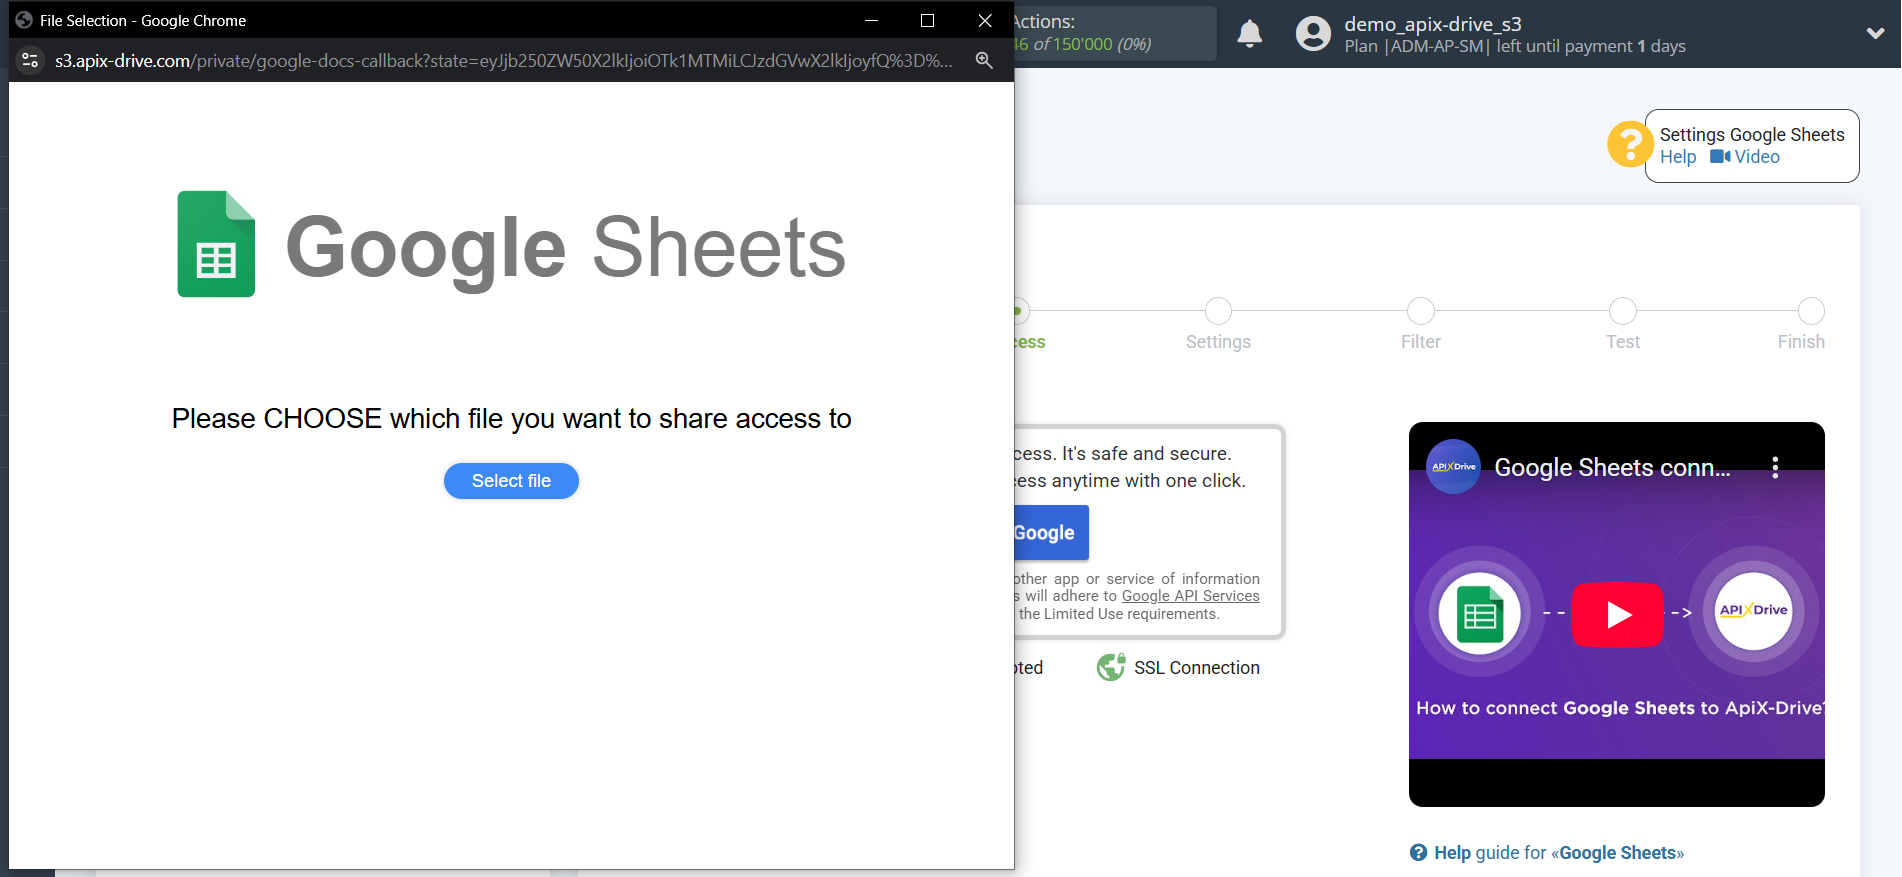
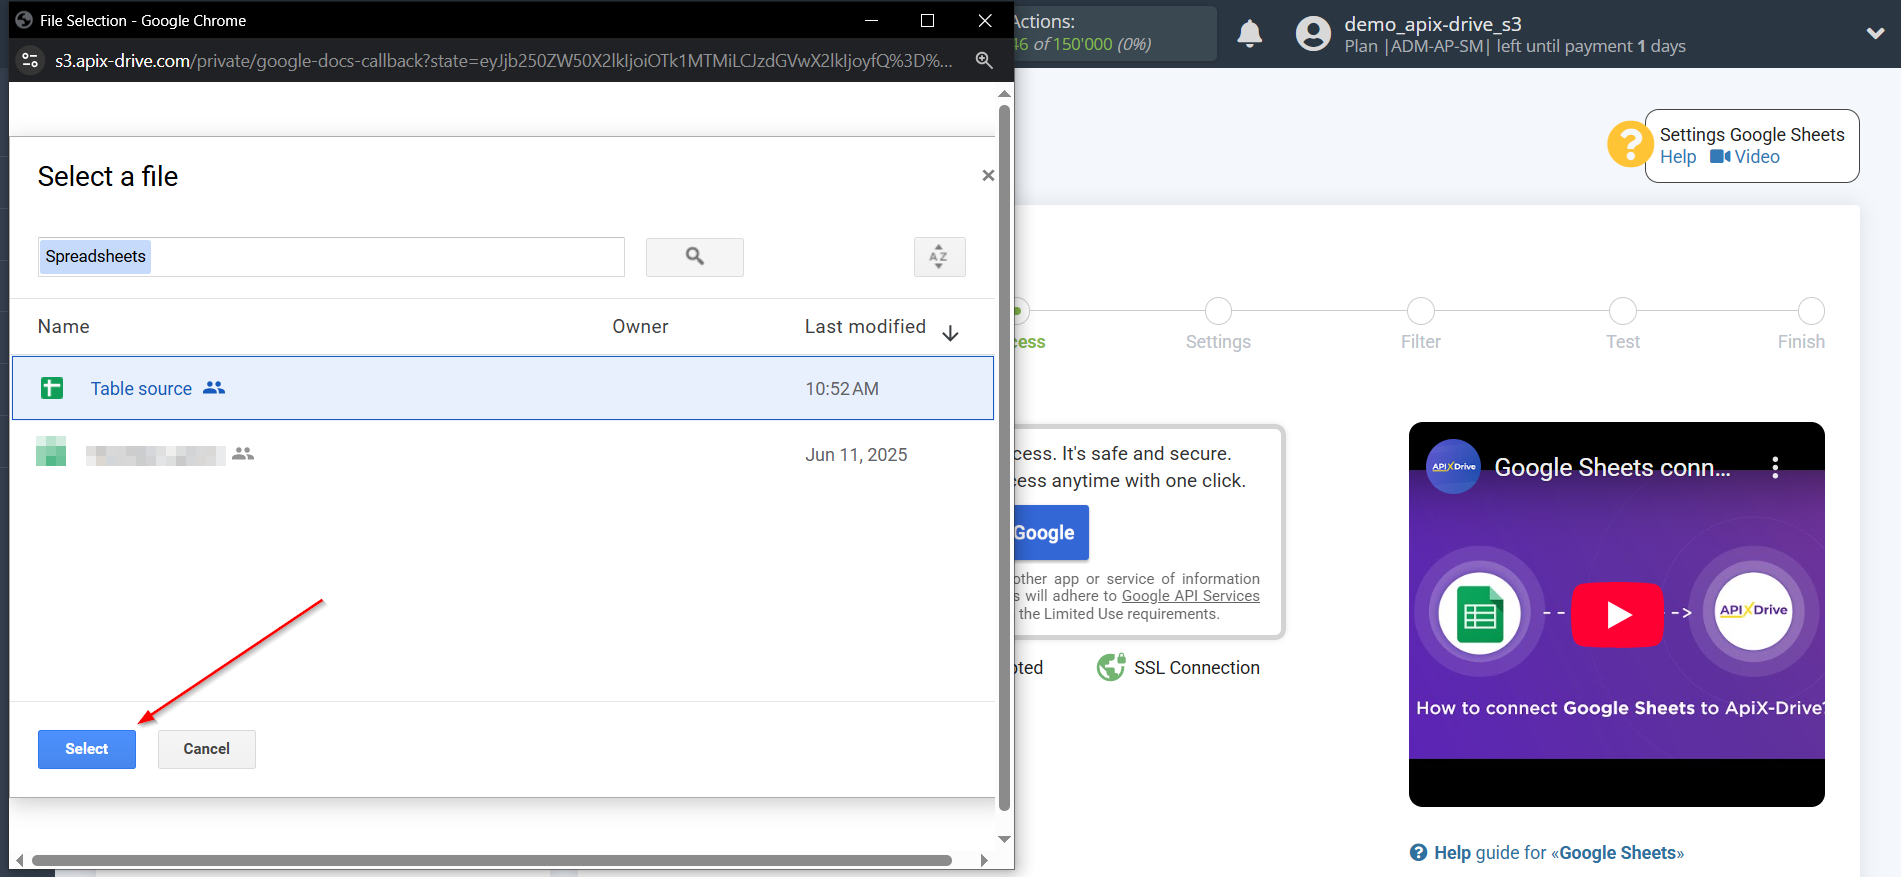
When the connected account appears in the list of active accounts, select it for further work.
Attention! If your account is on the "inactive accounts" list, check your access to this account!

Select the Google Sheets table and worksheet where the data you need is located.

At this step, you can add a data filter to load not all rows, but only those necessary for further processing.
In this case, we don't need this, so click "Continue".
To learn how to set up a data filter, follow this link:
https://apix-drive.com/en/help/data-filter

Now you can see the test data one by one in the Google Sheets table.
If you want to update the test data - click "Load test data from Google Sheets".
If you want to change the settings, click "Edit" and you will go back one step.

Now we connect an additional data search block. To do this, click on "+" and select "Add data SEARCH" from the list.

We select "Vapi" as the system in which the search will be performed.

Next, select the action "Find CALL".

The next step is to choose a Vapi account.
If there are no accounts connected to the ApiX-Drive system, click "Connect".

Enter the API key to connect to your Vapi personal account.

Go to the "API keys" section of your Vapi account. Then copy your API Key and paste it into the appropriate field in your ApiX-Drive account.

When the connected account appears in the list of active accounts, select it for further work.

Select the call ID from the drop-down list or specify it as a variable from the Source block to search for data.

Now you see test data from one of the calls. You can pass this data to the Destination table.
If the test data did not appear automatically, click "Search Vapi".
If you are not satisfied with something, click "Edit", go back a step and change the search field settings.


This completes the data search setup!
Now we can start setting up Google Sheets as a Data Destination system.
To do this, click "Add data DESTINATION".

Data DESTINATION Settings: Google Sheets
Select the system as the Data Destination. In this case, you must specify Google Sheets.

Next, you need to specify the "Update ROW" action.

The next step is to select the Google Sheets account that the Vapi data will be transferred to. If it is the same account, then we select it.
If you need to connect another account to the system, click "Connect Account" and repeat the same steps described when connecting Google Sheets as a Data Source.

Now you need to select File (Table) and Sheet, in which the Vapi call search data will be updated.
In the "Search column" field, you need to select the column by which the data will be searched. That is, where to search for data in the table.
Next, in the "What to search for" field, you need to select a variable from the drop-down list or manually enter the data by which value the system will search for data to update the row you need. In our case, we select column "A", which contains call data. The system will update the data in the required row only if the call ID matches.
You also need to specify the Search Type, in case multiple rows with the same ID are found:
"First row found" - searching and updating data will occur in the first row found that matches the search conditions.
"Last found row" - searching and updating data will occur in the last found row that satisfies the search conditions.
"All found rows" - search and update data will be performed on all found rows that match the search conditions.
Also specify the Overwrite data option:
- Overwrite old data – new data will be written over the old data.
- Append to old data – new data from the Data Source will be appended to the old data.
Now you need to assign the call search result variable, which we take from the Data Search block, to the empty column. In the future, this column will be updated with call data.
After setting up, click "Continue".


Thus, the Data Search block takes the field in the Data Source that contains your call ID, queries Vapi for the data based on the call result , and transfers it to the Data Destination, for example, to column "E".


At this point, the setup is complete!
Now you can start choosing the update interval and enabling auto-update.
To do this, click "Enable auto-updates".

On the main screen, click on the gear icon to select the required update interval or set up scheduled launch. To start the connection by time, select scheduled start and specify the desired time for the connection update to be triggered, or add several options at once when you need the connection to be triggered.
Attention! In order for the scheduled run to work at the specified time, the interval between the current time and the specified time must be more than 5 minutes. For example, you select the time 12:10 and the current time is 12:08 - in this case, the automatic update of the connection will occur at 12:10 the next day. If you select the time 12:20 and the current time is 12:13 - the auto-update of the connection will work today and then every day at 12:20.
To make the current connection transmit data only after another connection, check the box "Update connection only after start other connection" and specify the connection after which the current connection will be started.


To enable auto-update, switch the slider to the position as shown in the picture.
To force the connection, click on the arrow icon.

This completes the data search setup in Vapi! See how easy it is!?
Now you don't have to worry, ApiX-Drive will do everything on its own!