How to Connect Google Sheets to Update rows

Integration with the "Update Row" action in Google Sheets Data Intake allows you to update existing rows in your table and add additional values. For example, you already have a customer's Name and Phone number in your table, but in the Data Source system you have their Email and you want to add it to the table. You can set up a link and, for example, by phone number find the necessary row and add Email to it. This will allow you to automate routine tasks as efficiently as possible and save working time for more important tasks.
The function allows you to update the data in a row of Google Sheets
Navigation:
Connecting Google Sheets as a Data Source:
1. What data can be obtained from Google Sheets?
2. How to connect your Google Sheets account to ApiX-Drive?
3. Selecting the table and sheet from which rows will be exported.
4. An example of data that will be transferred from Google Sheets.
Setting up row updates in Google Sheets:
1. What will the Google Sheets integration do?
2. How to connect your Google Sheets account to ApiX-Drive?
3. How to set up data transfer to Google Sheets in the selected action?
4. An example of the data that will be sent to your Google Sheets.
5. Auto-update and communication interval.
Setting Data SOURCE: Google Sheets
Let's take a look at how the Search function works, using the example of updating a Row in Google Sheets.
First, you need to create a new connection.
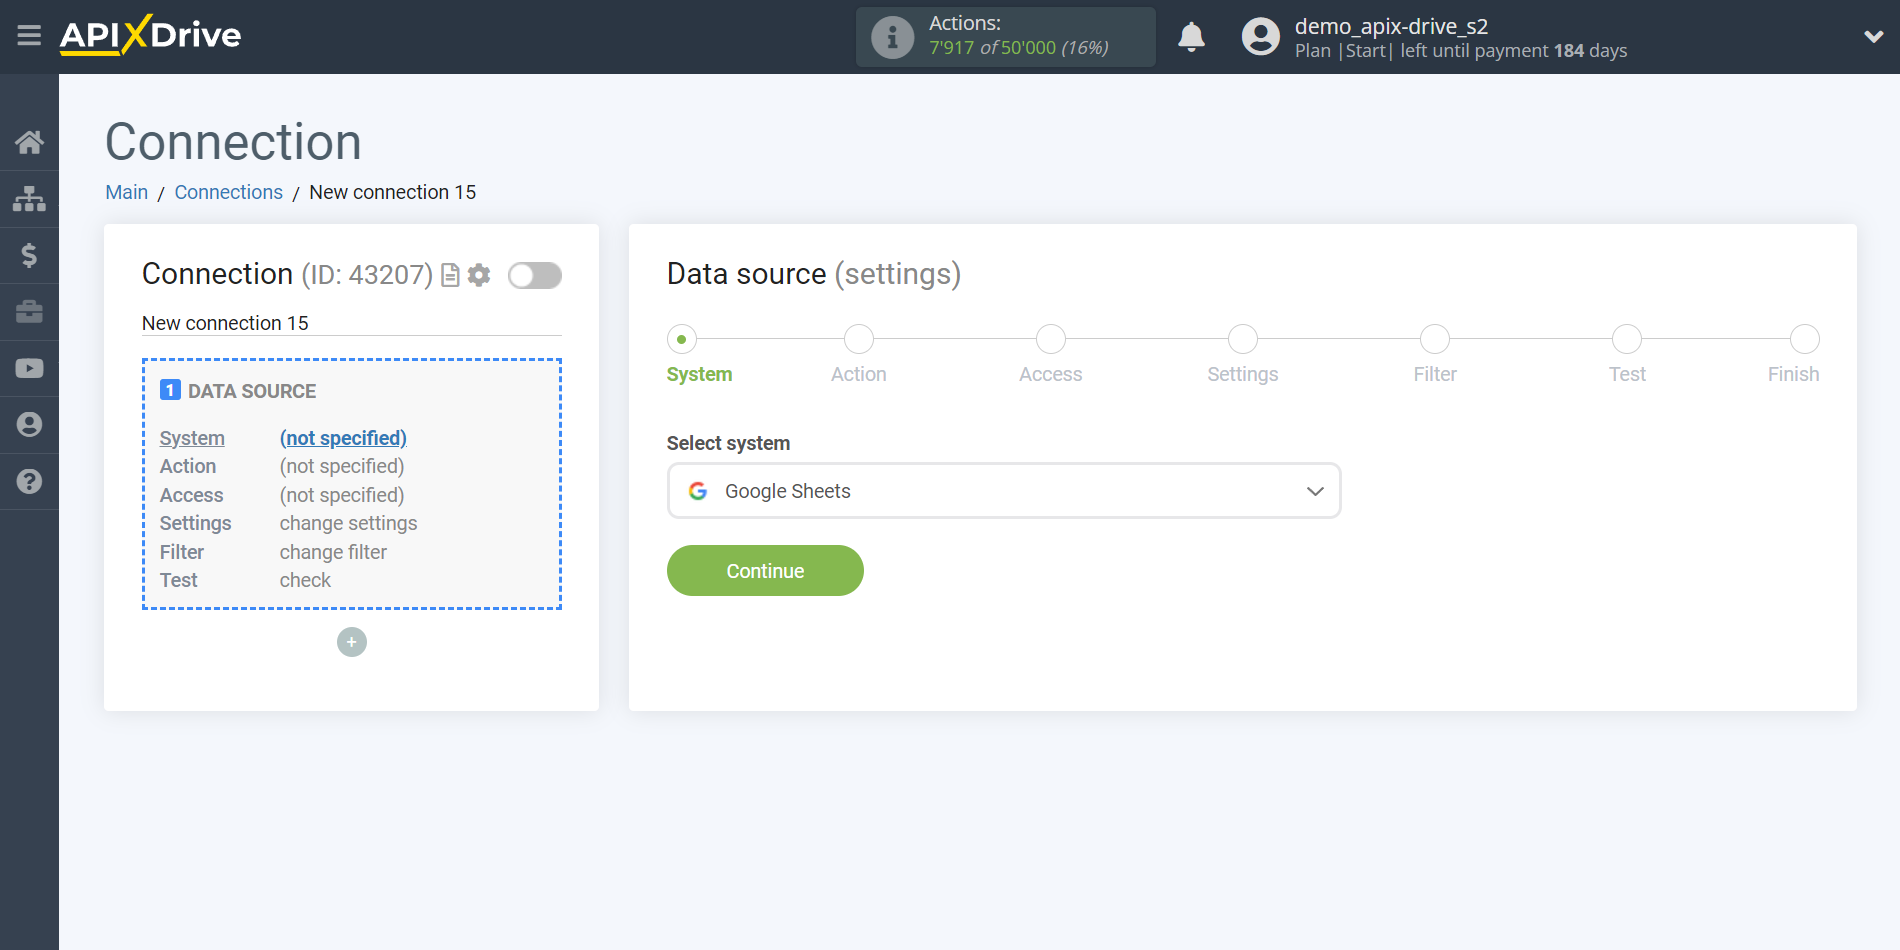
Select a system as the Data Source. In this case, you must specify Google Sheets.
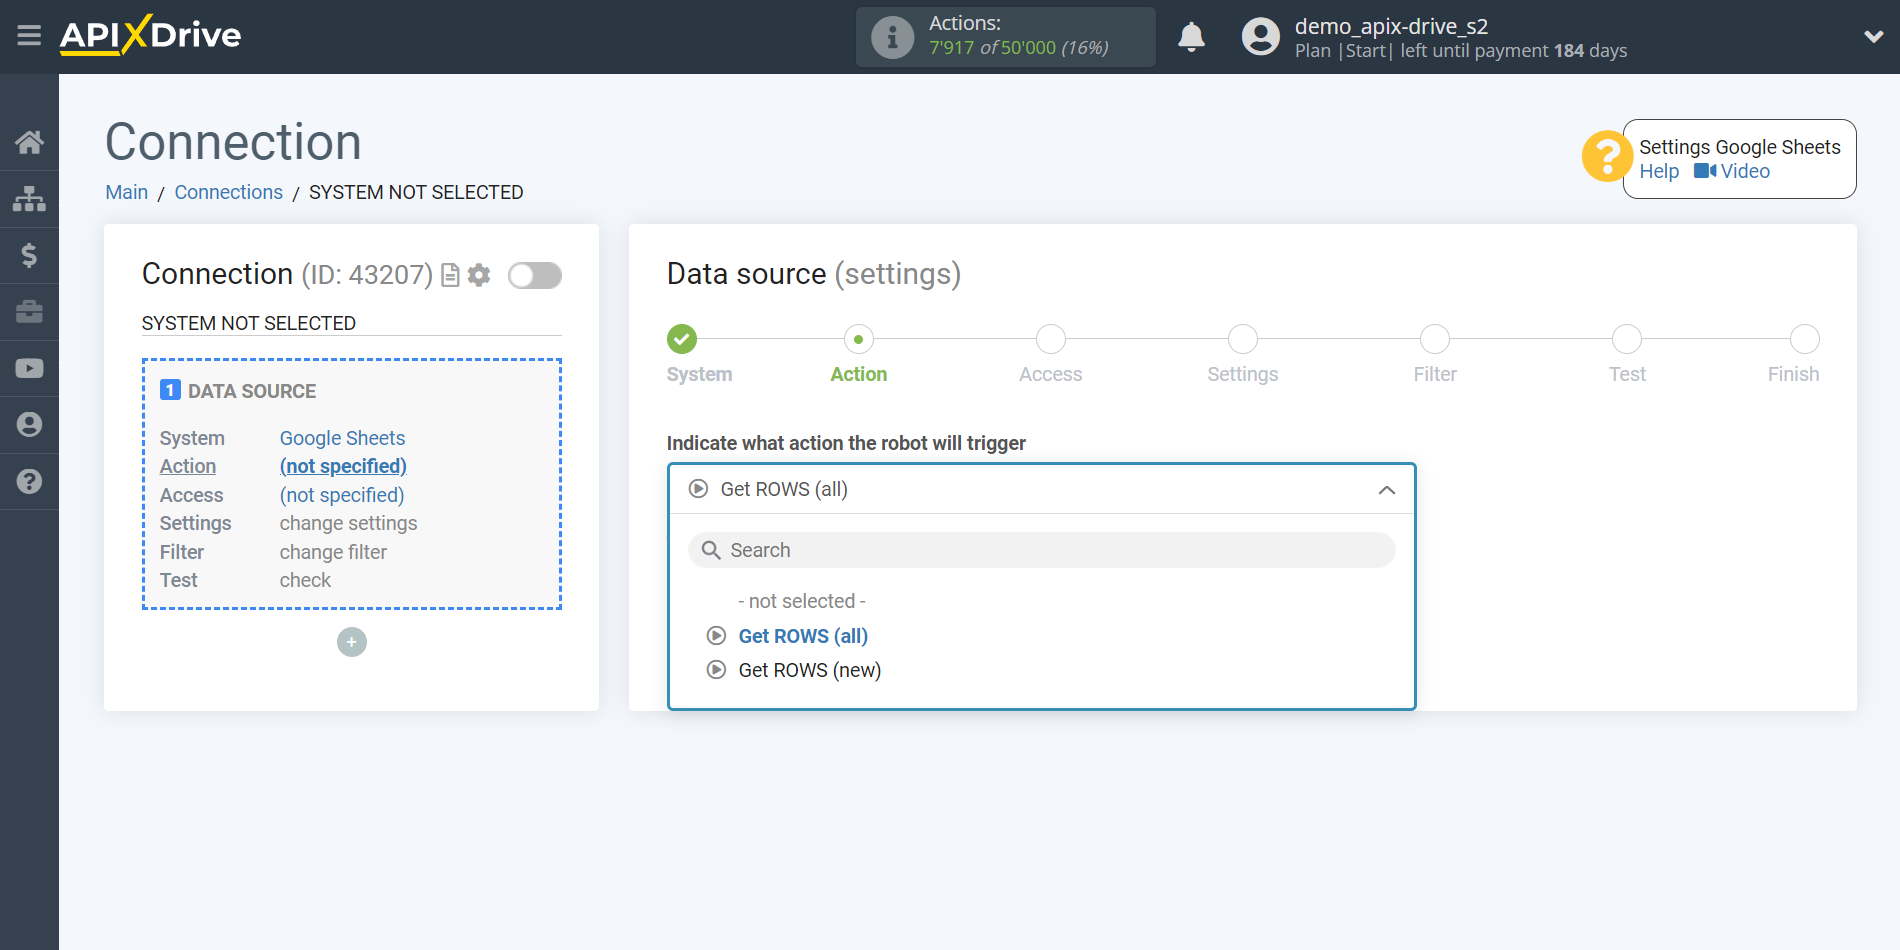
Next, you need to specify the action "Get ROWS (all)".
The next step is to select the Google Sheets account from which the data will be uploaded.
If there are no logins connected to the system, click "Connect account".
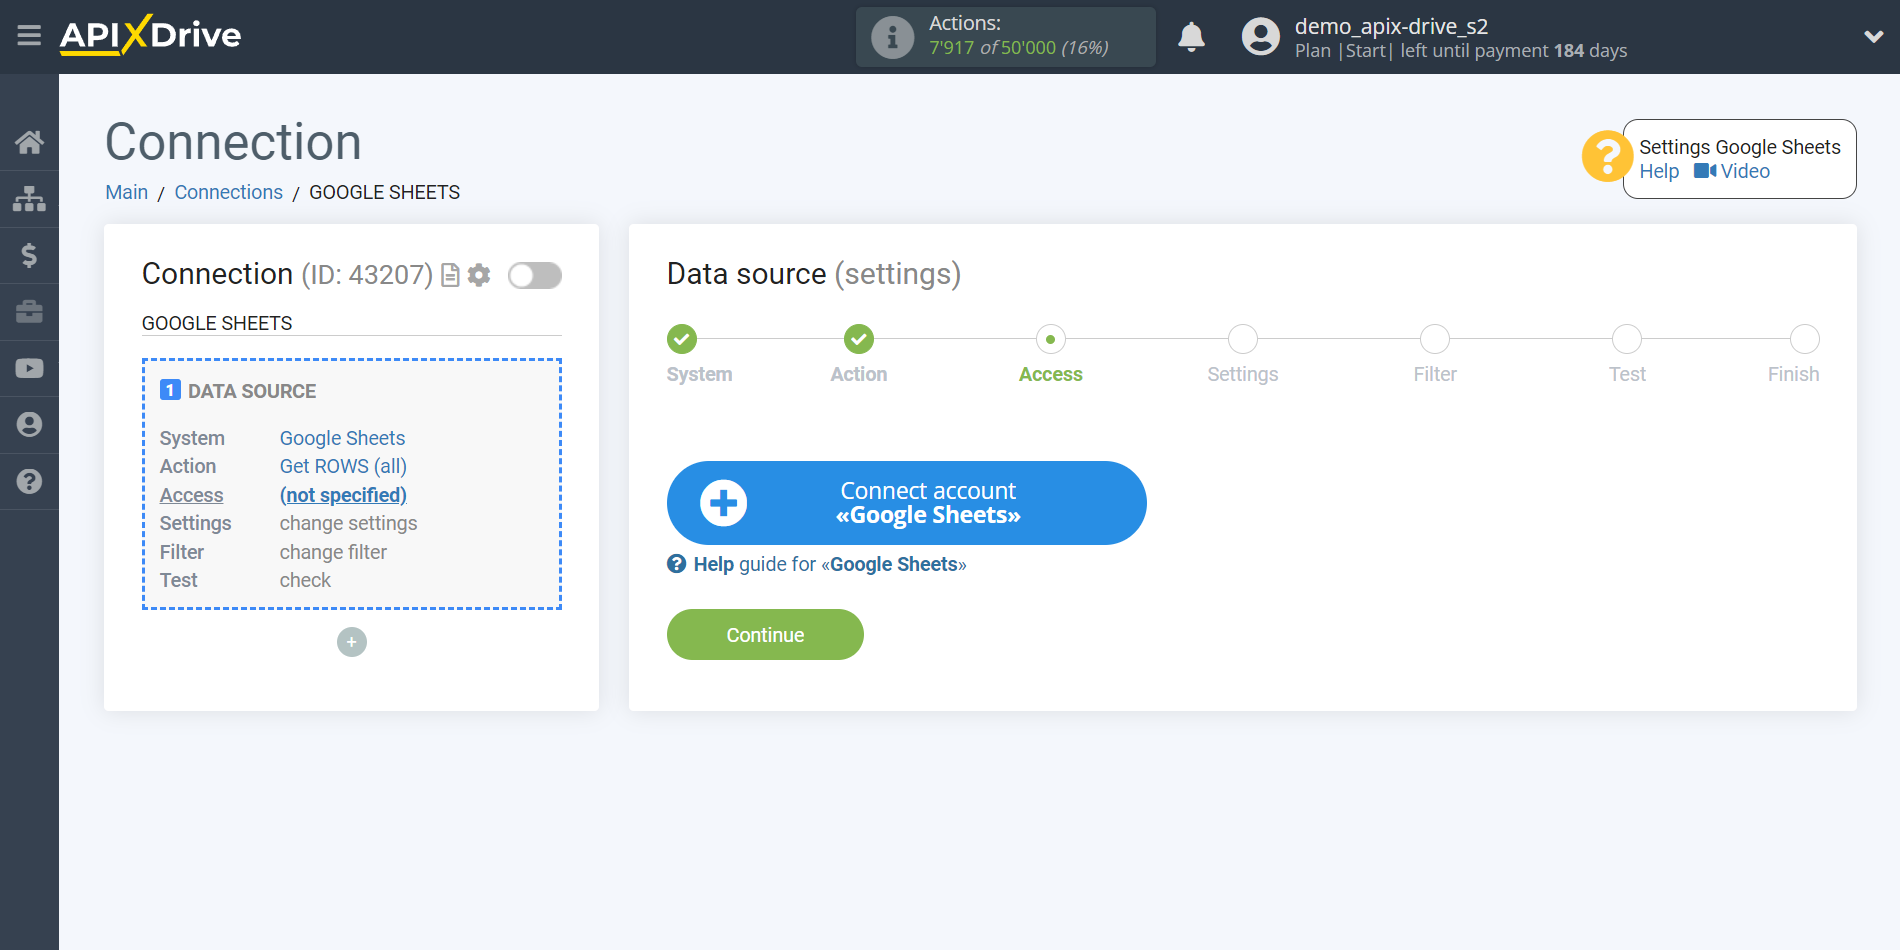
Setting up an Google Sheets to Update rows | Connecting account
Select which account you want to connect to ApiX-Drive and grant all permissions to work with this account.
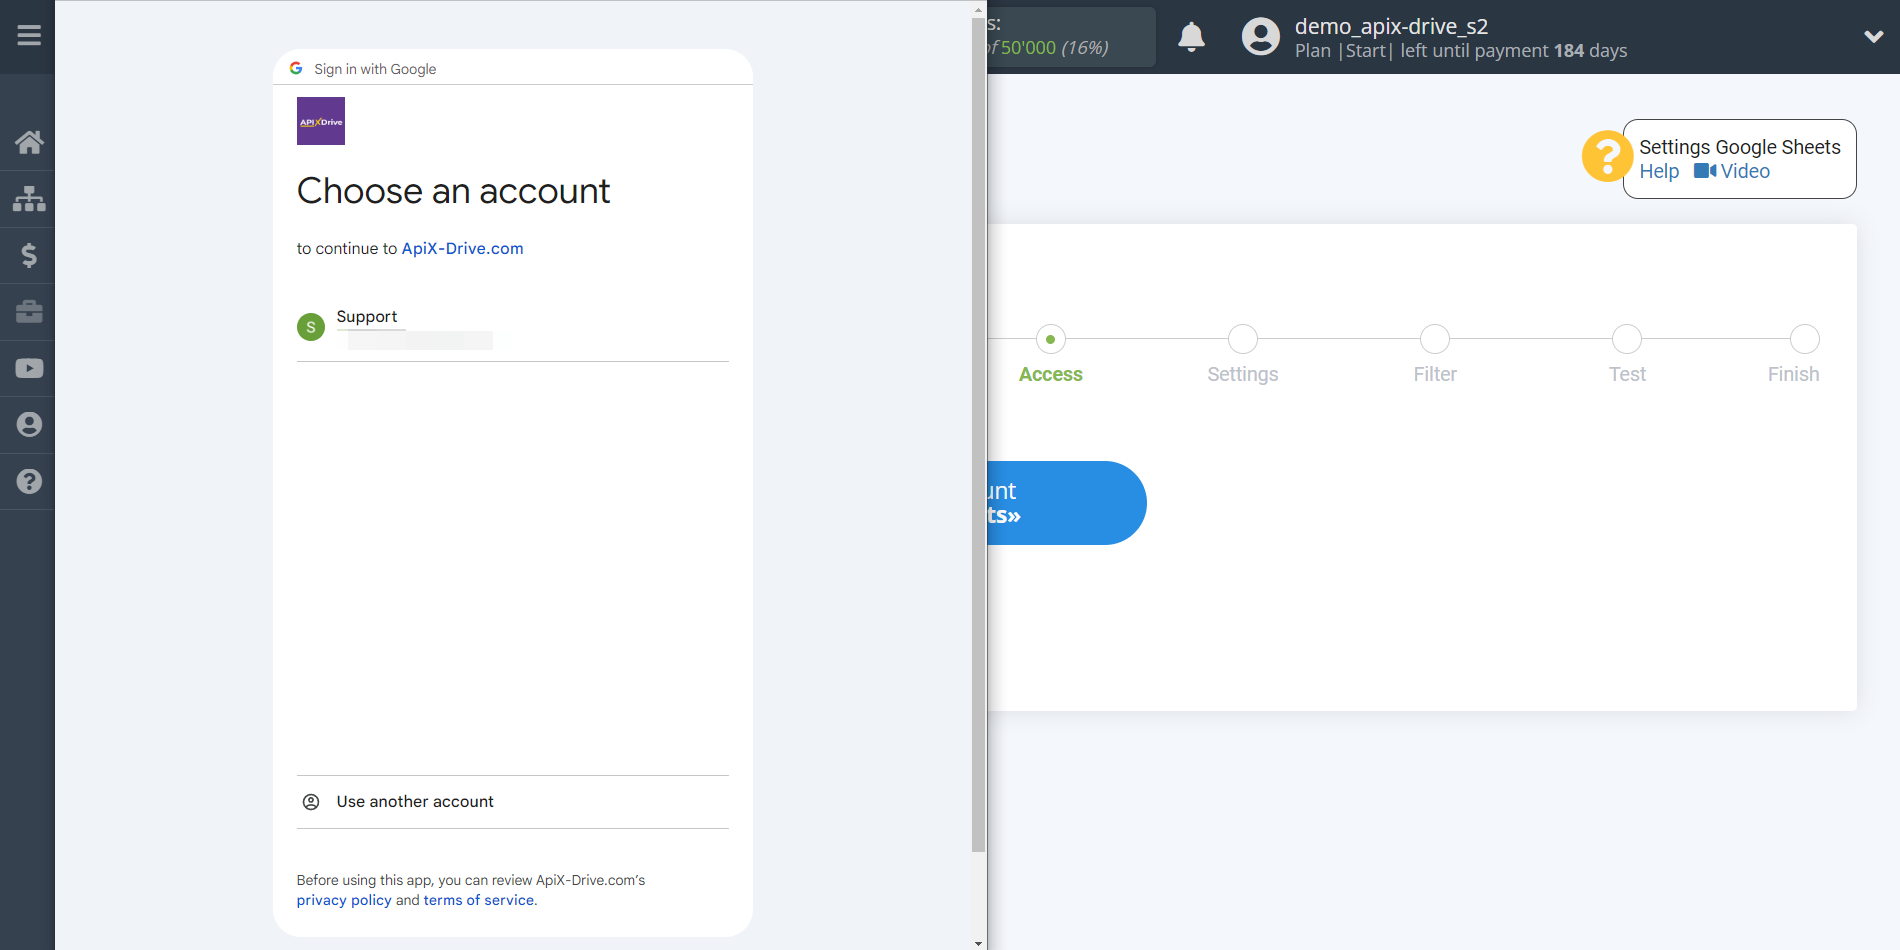
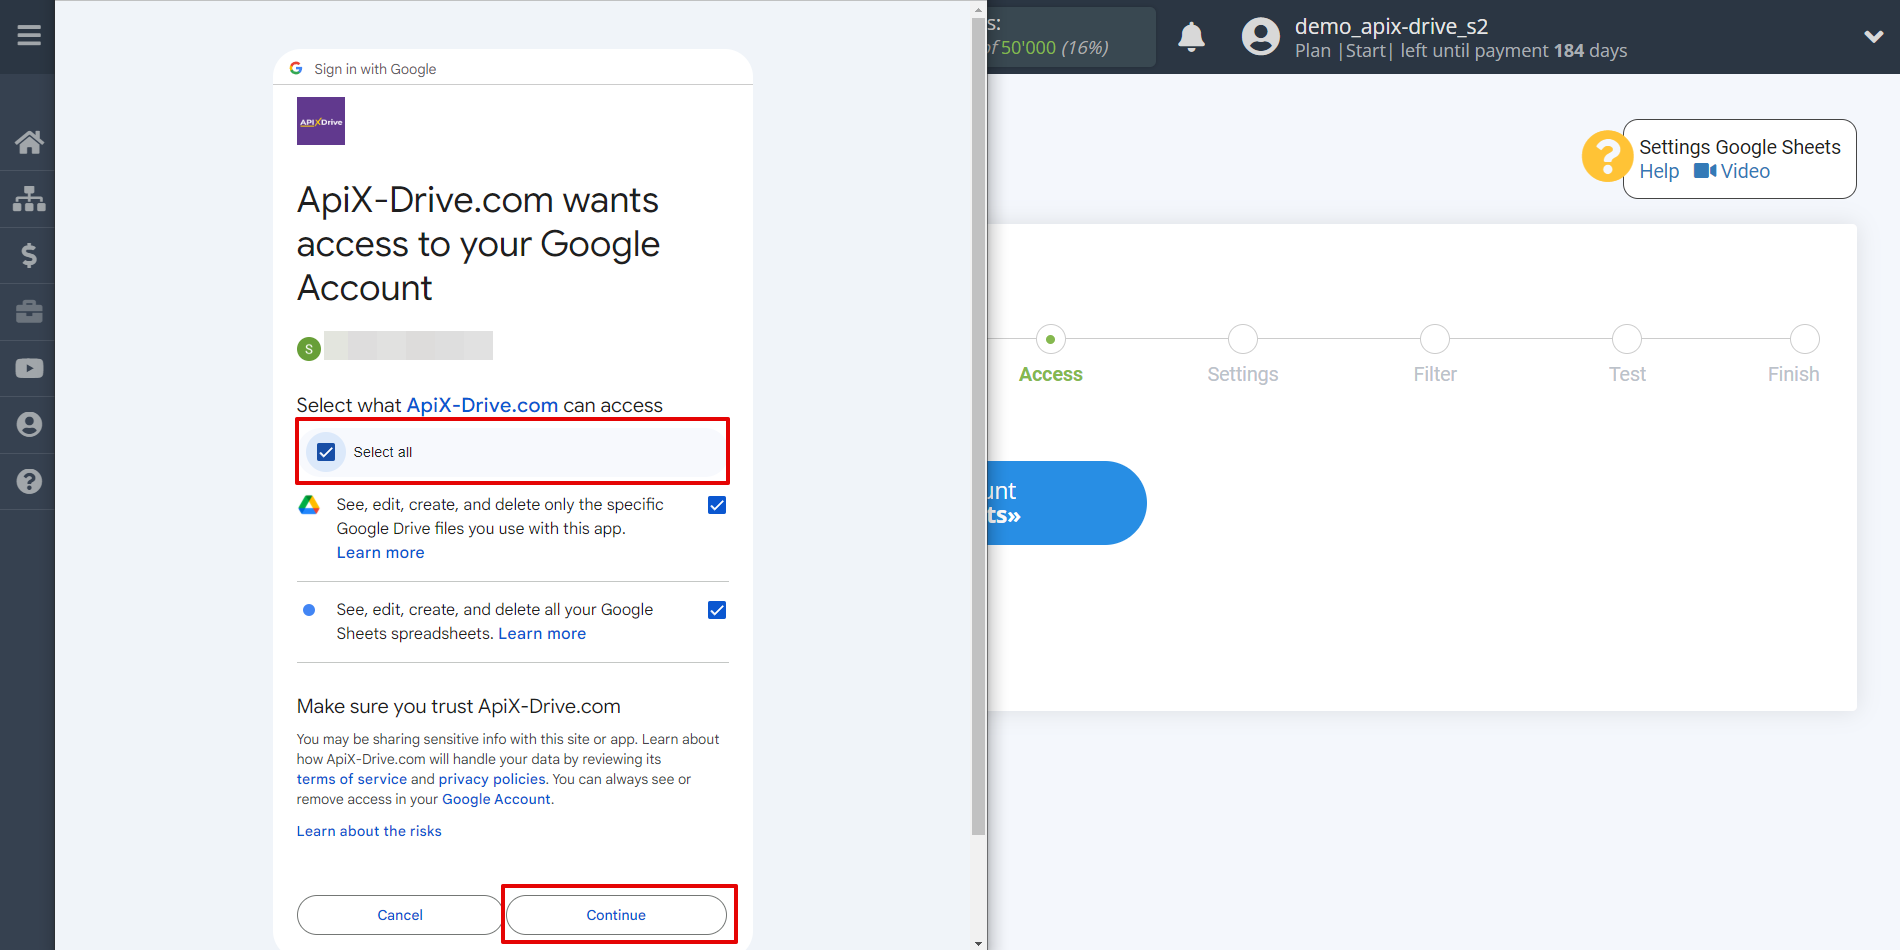
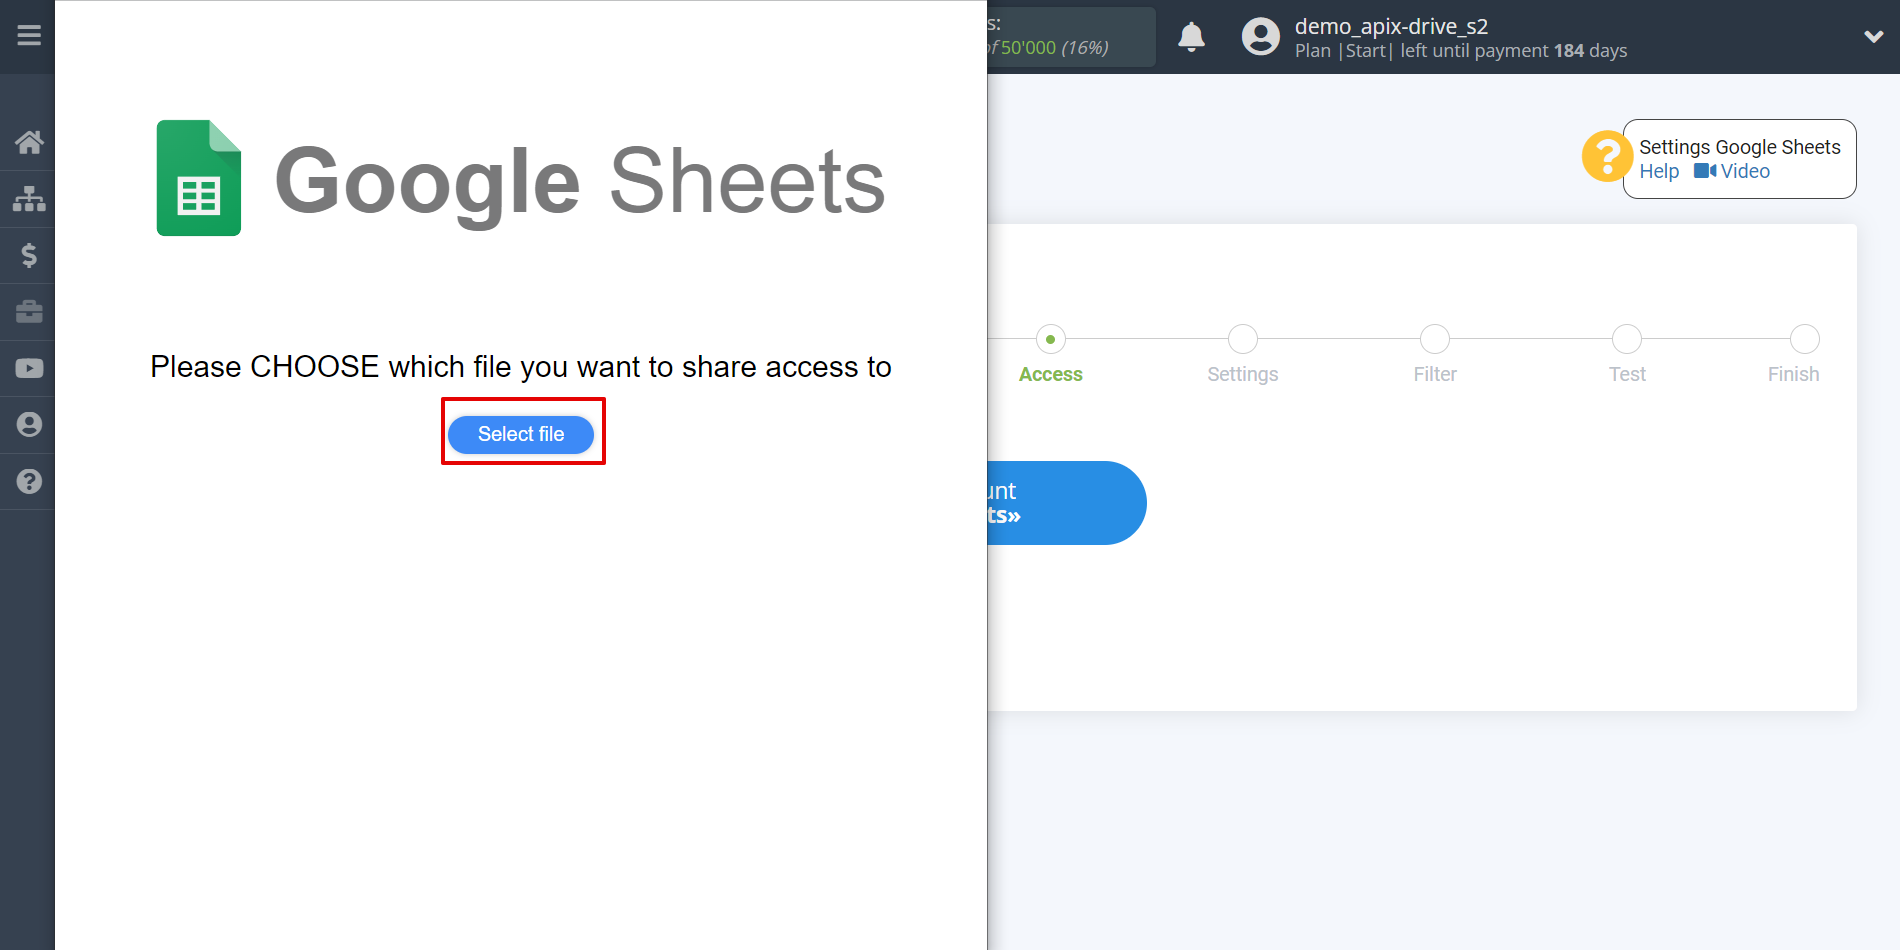
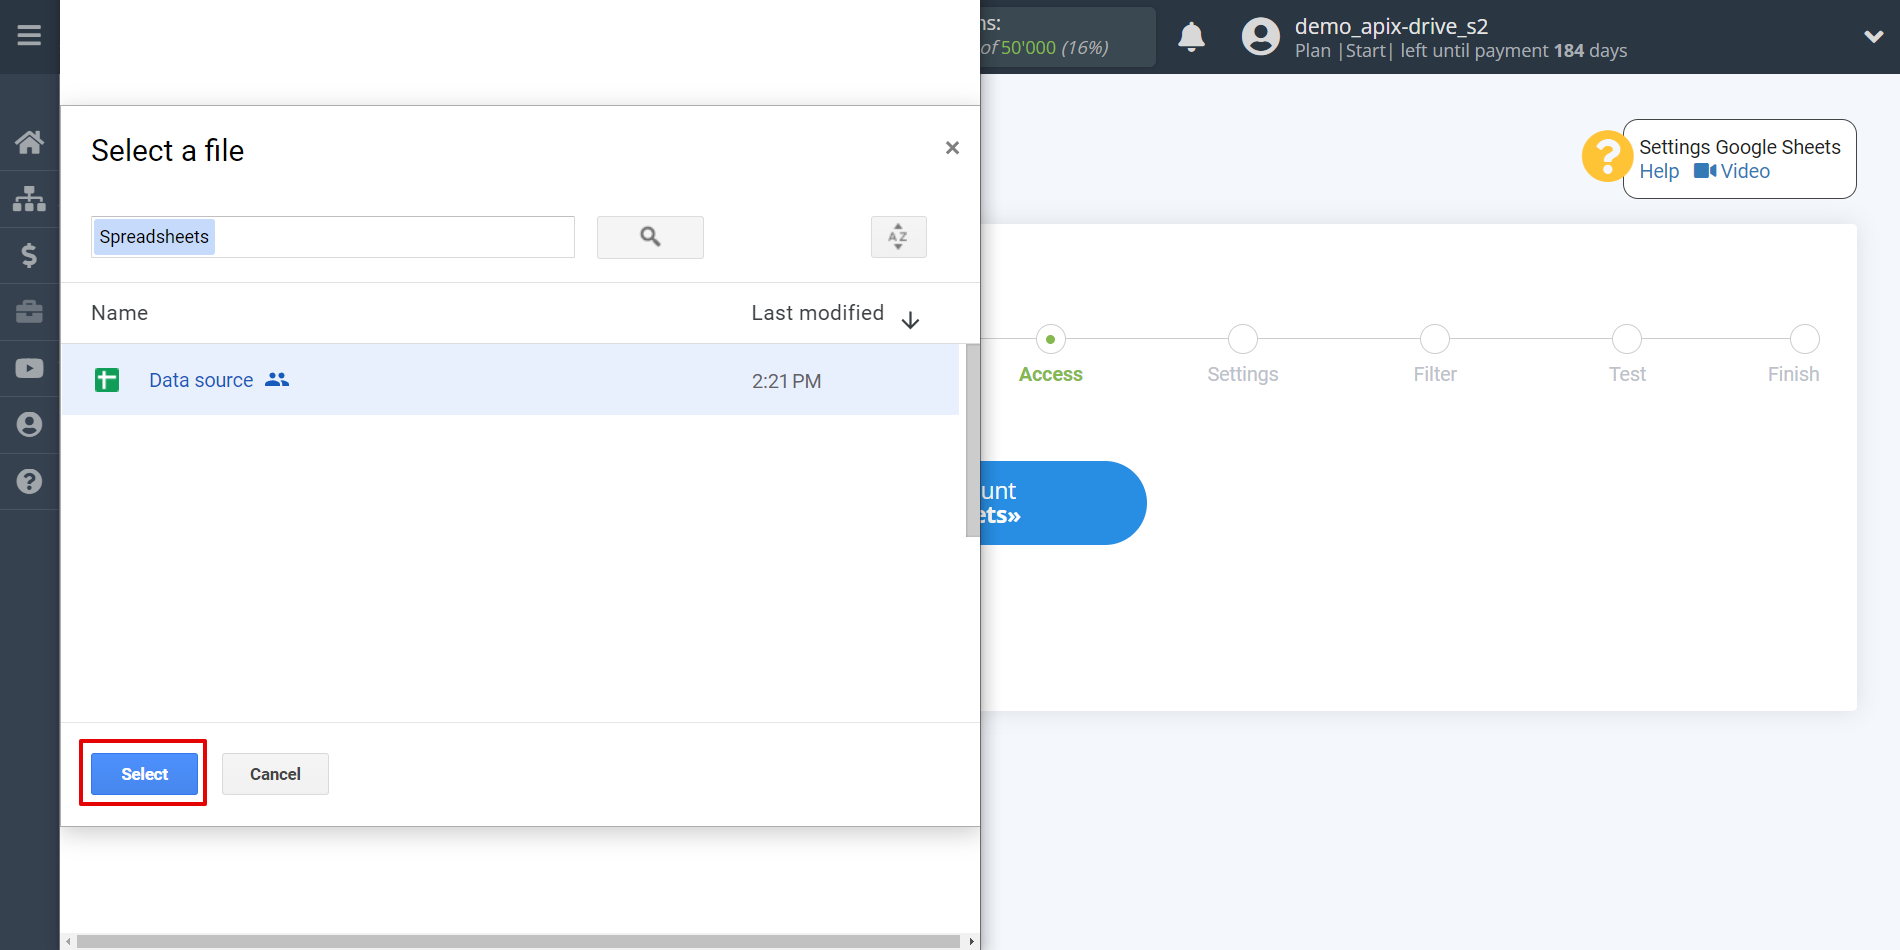
When the connected account is displayed in the "active accounts" list, select it.
Attention! If your account is in the "inactive accounts" list, check your access to this login!
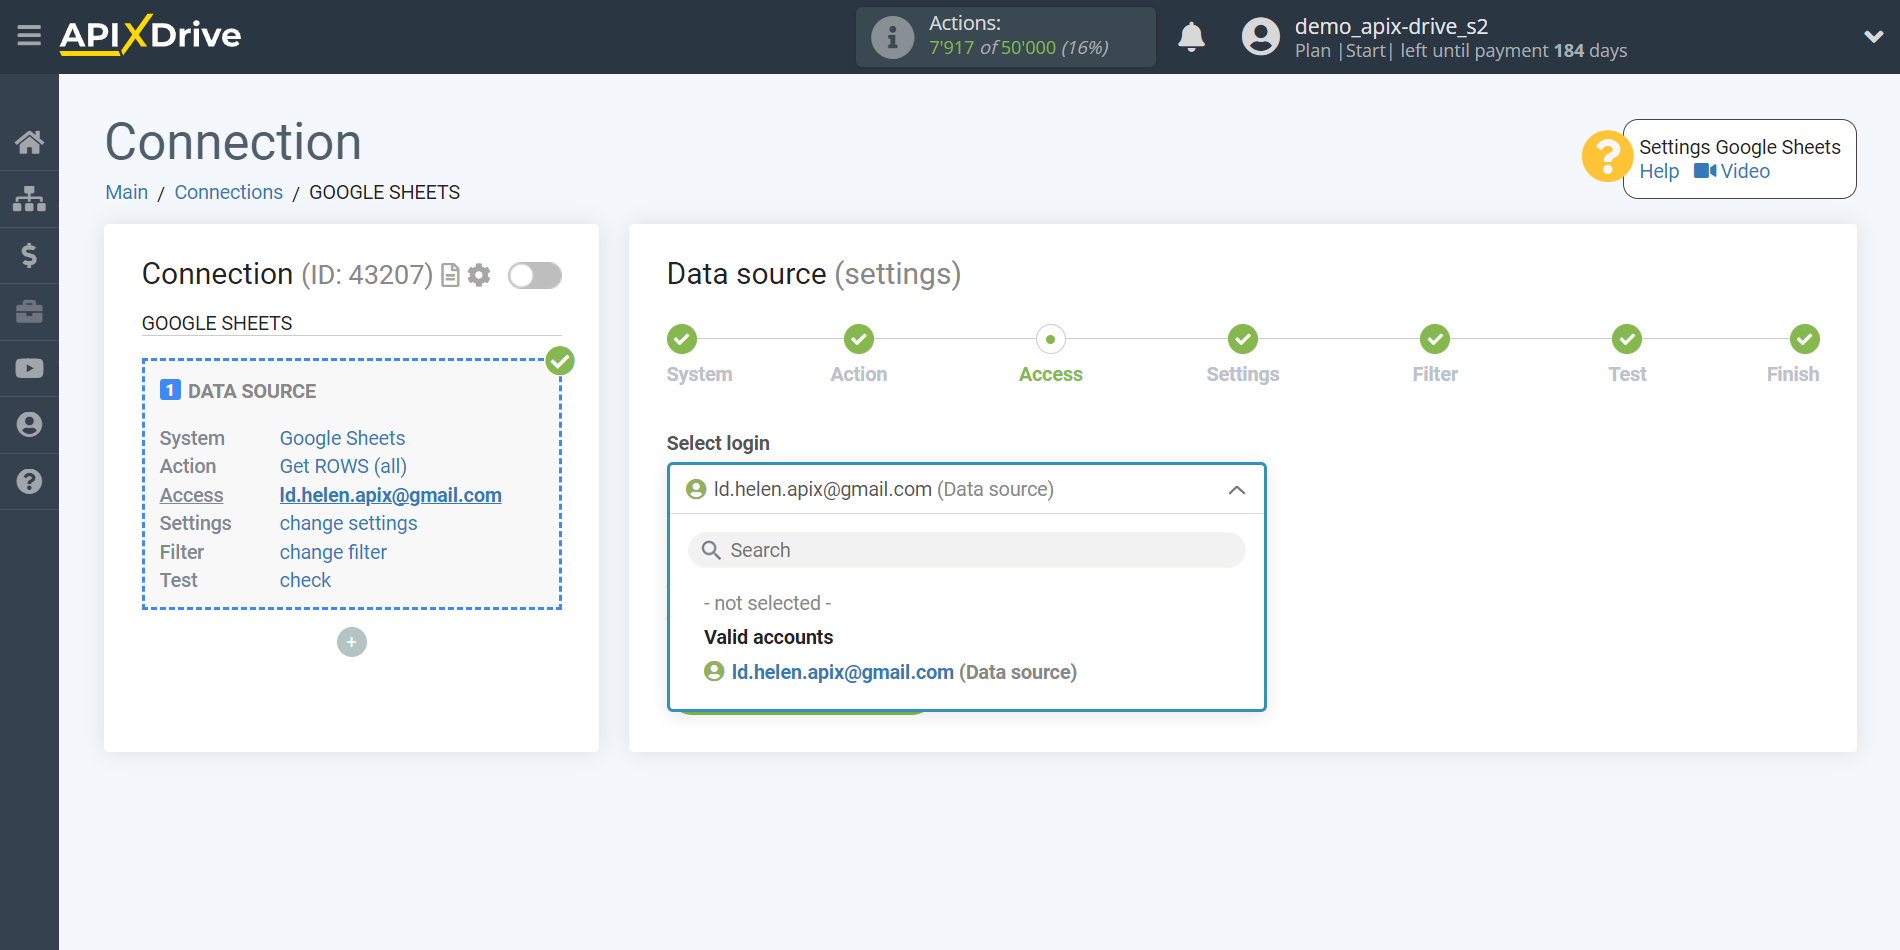
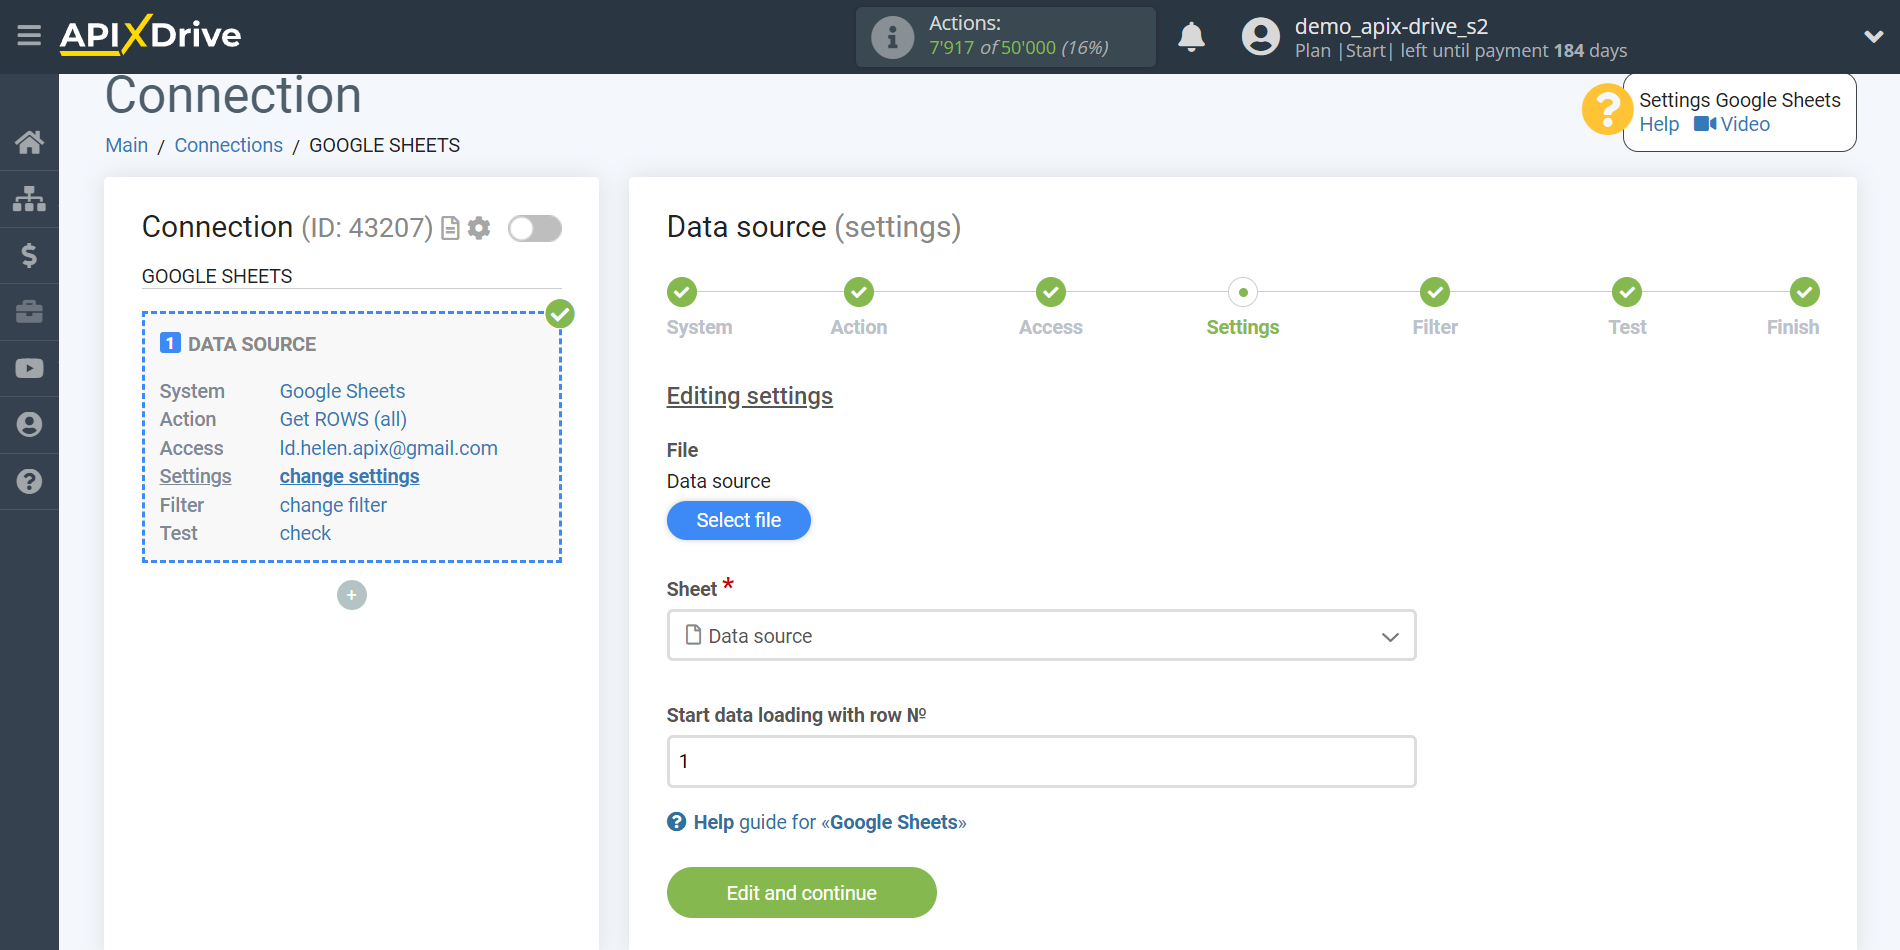
Select the Google Sheets table and sheet where the data you need is located.
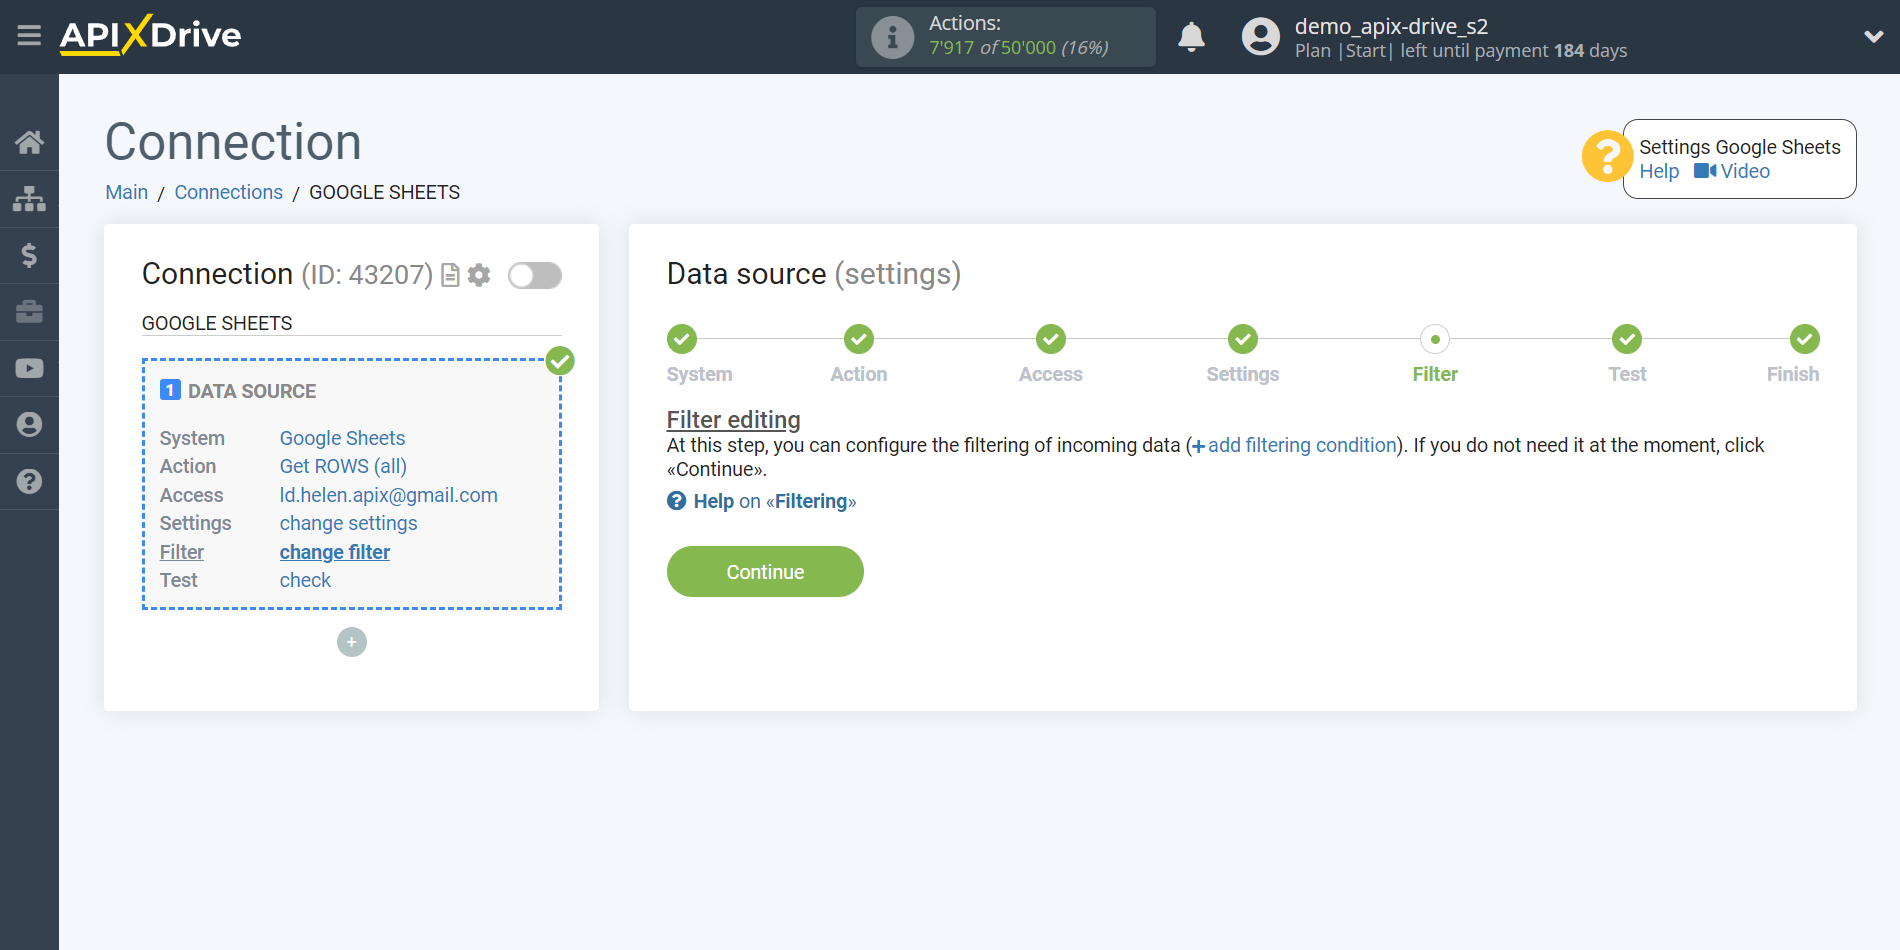
At this step, you can add a data filter to load not all rows, but only those for which data needs to be updated, for example:
1. Select a column from the table in which you have the data you are looking for.
2. Select the "Does not contain" action.
3. Write a value to filter by, for example "Done".
With such a filter, you will not be unloading rows that already have this status. Why spend additional actions to overwrite this status if the deal is already closed?
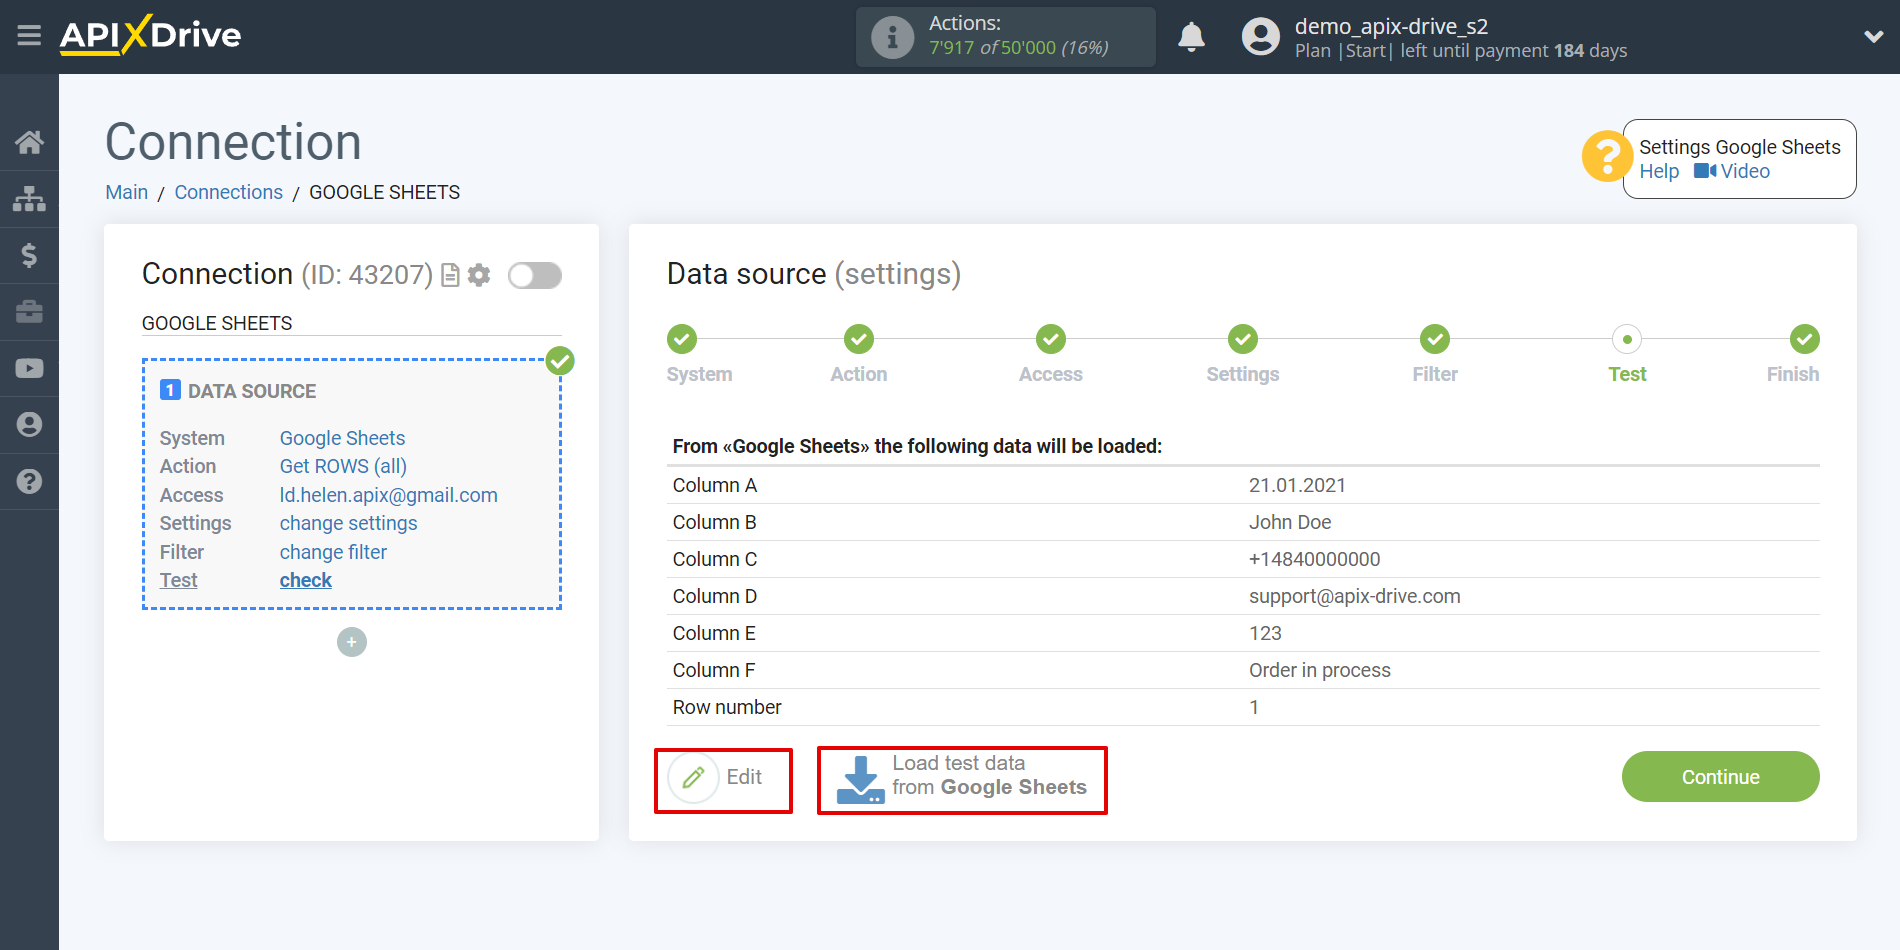
Now you can see the test data for one of the rows in your Google Sheets.
If you want to update the test data - click "Load test data from Google Sheets".
If you want to change the settings - click "Edit" and you will go back one step.
This completes the configuration of the Data Source!
Now we can start configuring Google Sheets as a Data Destination system.
To do this, click on "Start configuring Data Destination".
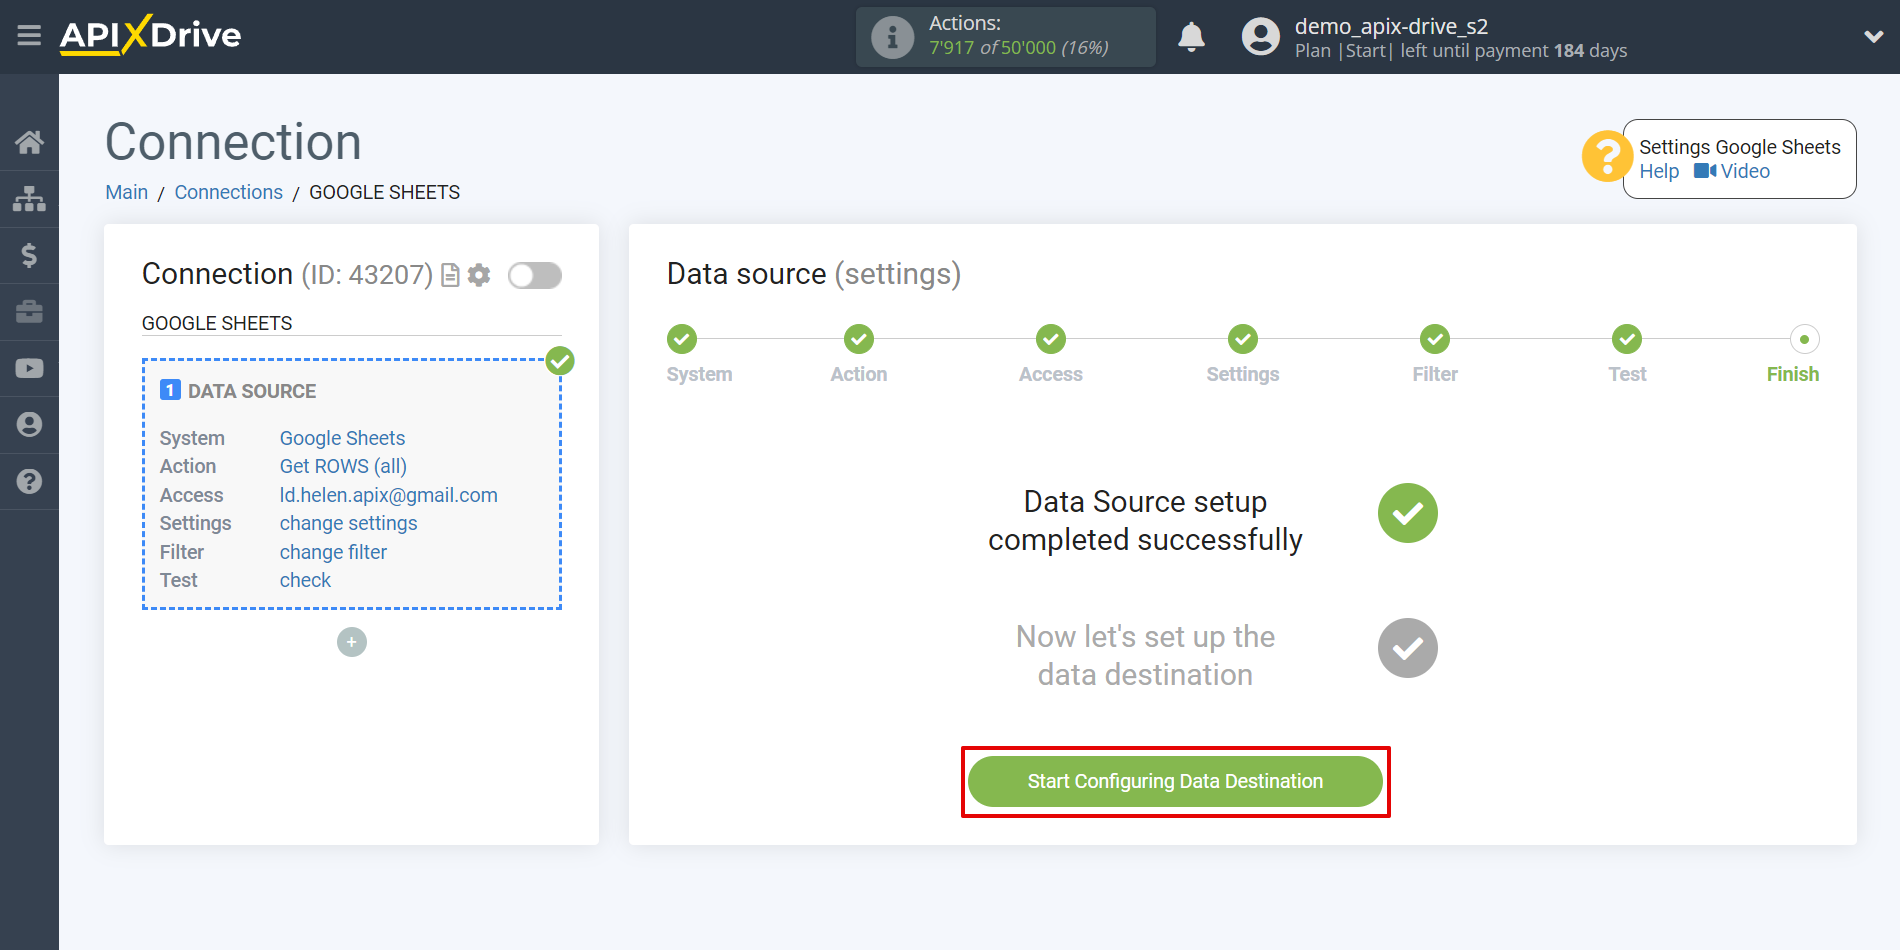
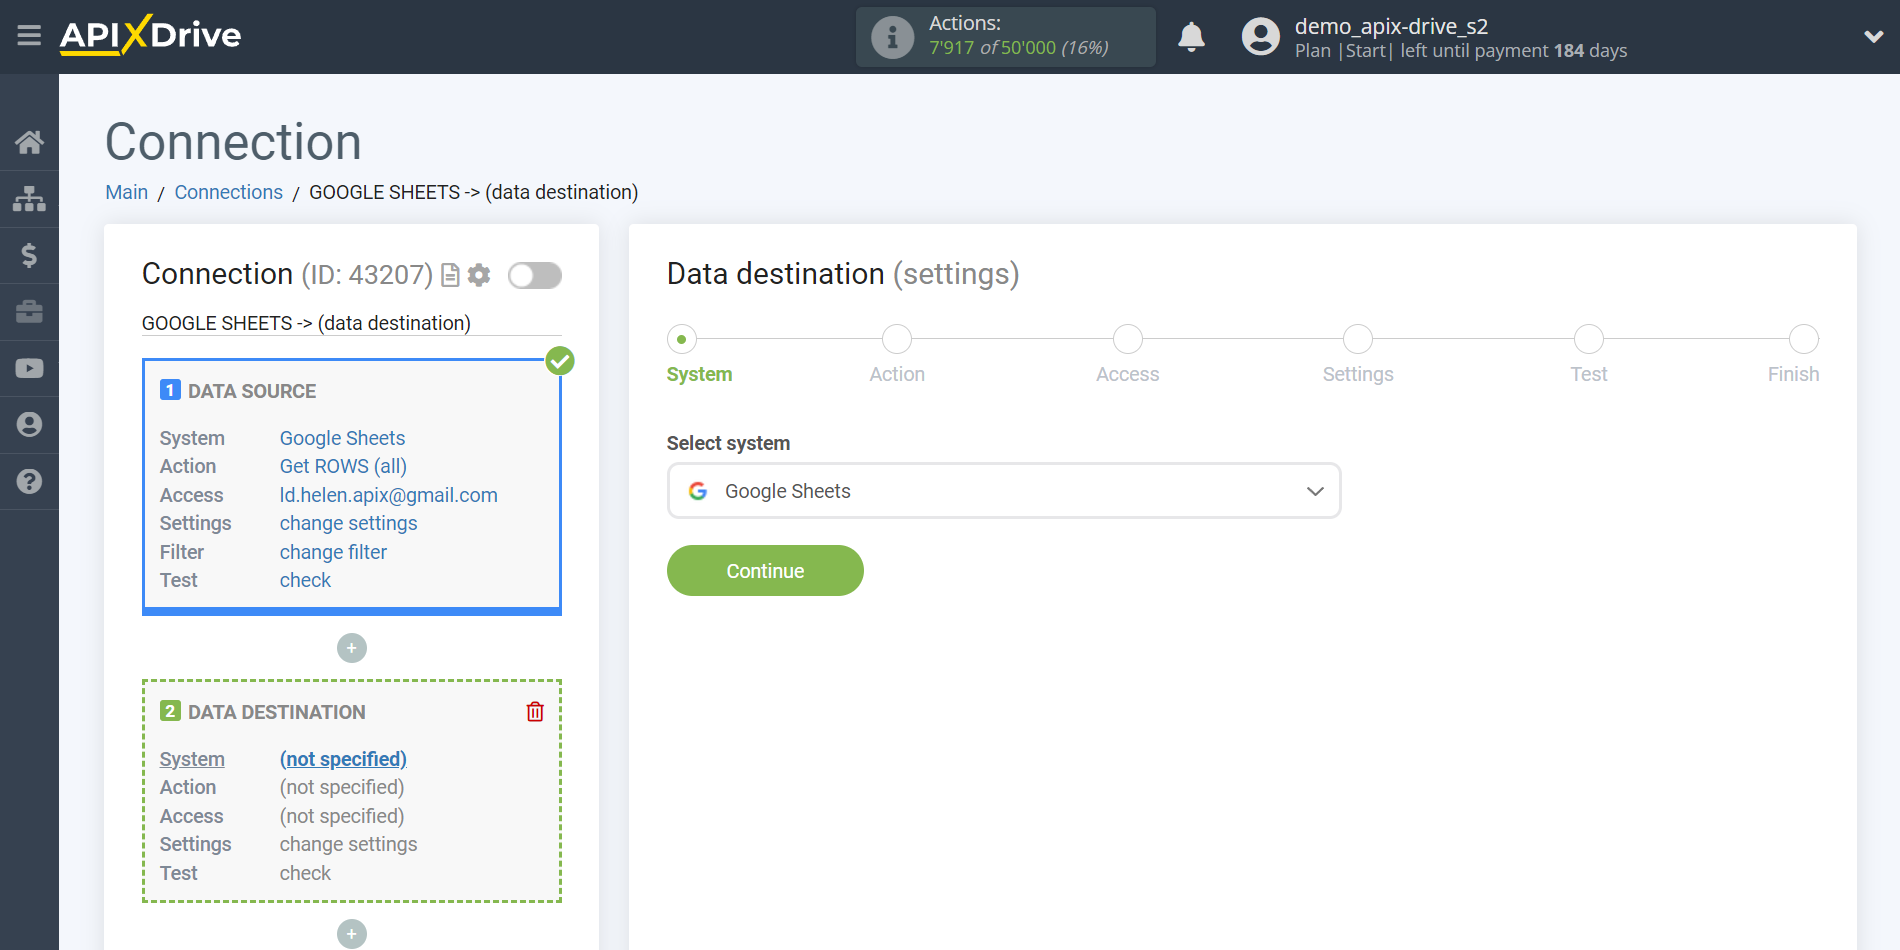
Setup Data Destination system: Google Sheets
Select the system as Data Destination. In this case, you must specify Google Sheets.
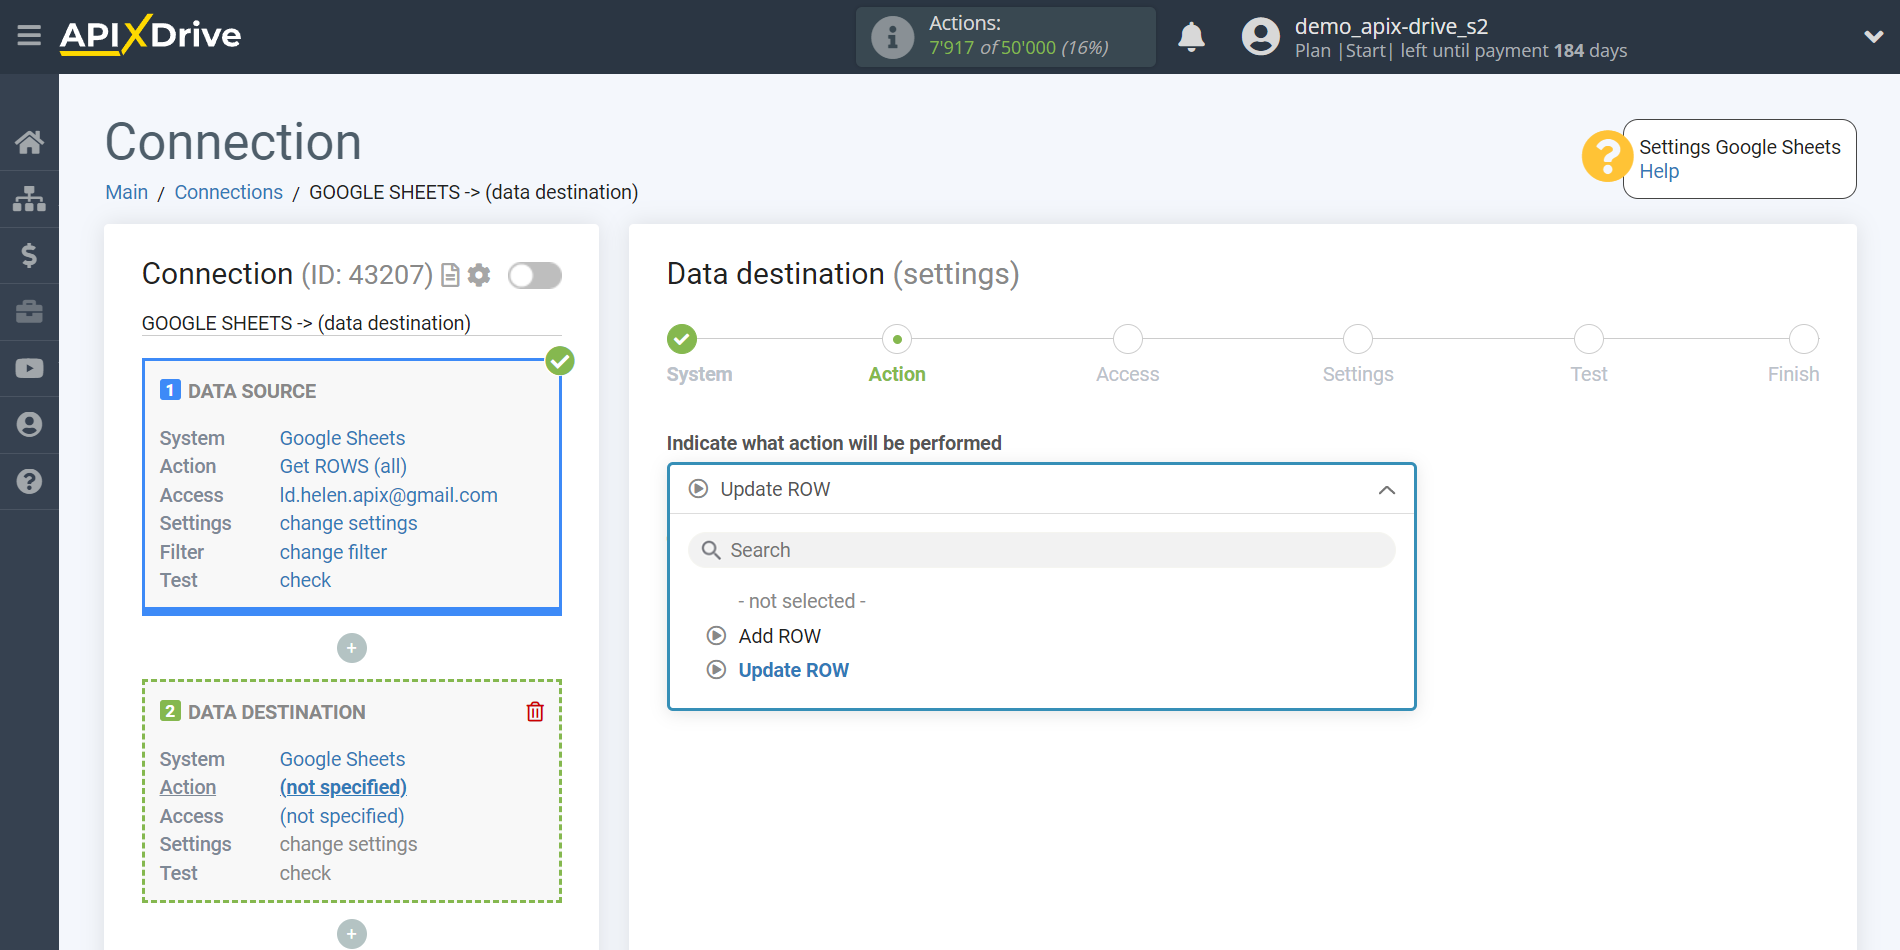
Next, you need to specify the action "Update ROW".
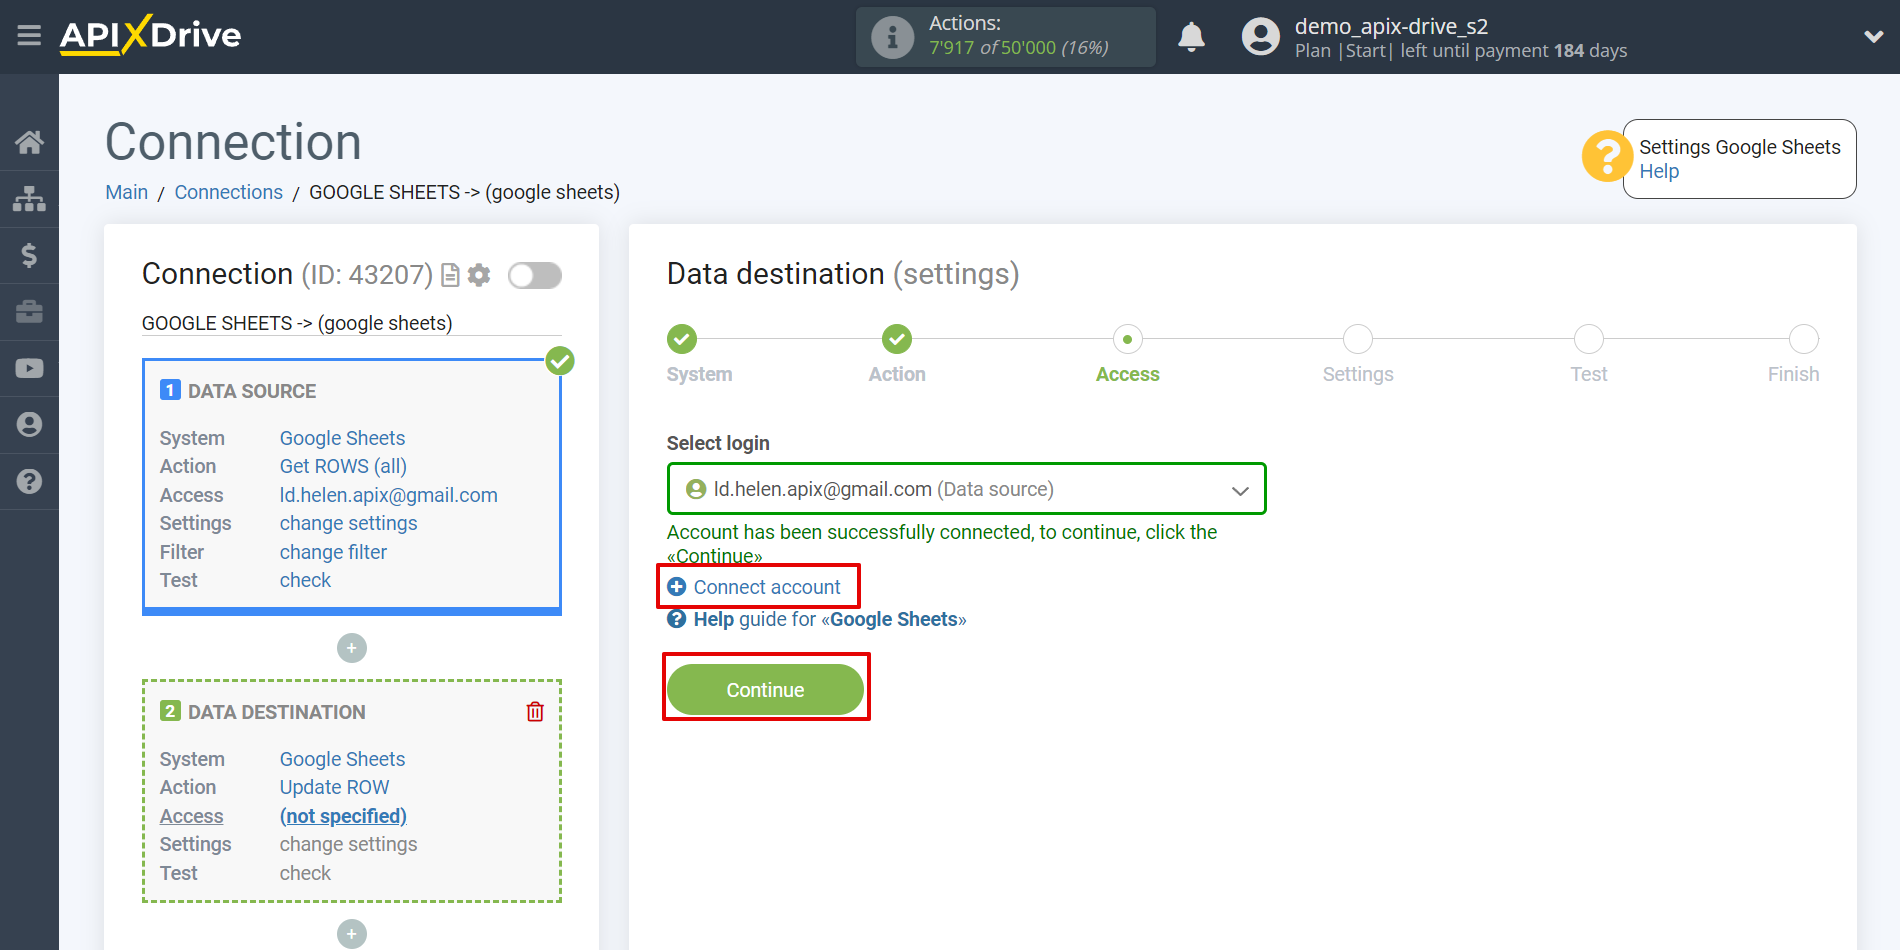
The next step is to select a Google Sheets account to which the status of AirTable will be sent. If this is the same account, then select it.
If you need to connect another login to the system, click "Connect account" and repeat the same steps as described when connecting Google Sheets as a Data Source.
Now you need to select the File (Table) and Sheet in which the data of the Google Sheets Row will be updated.
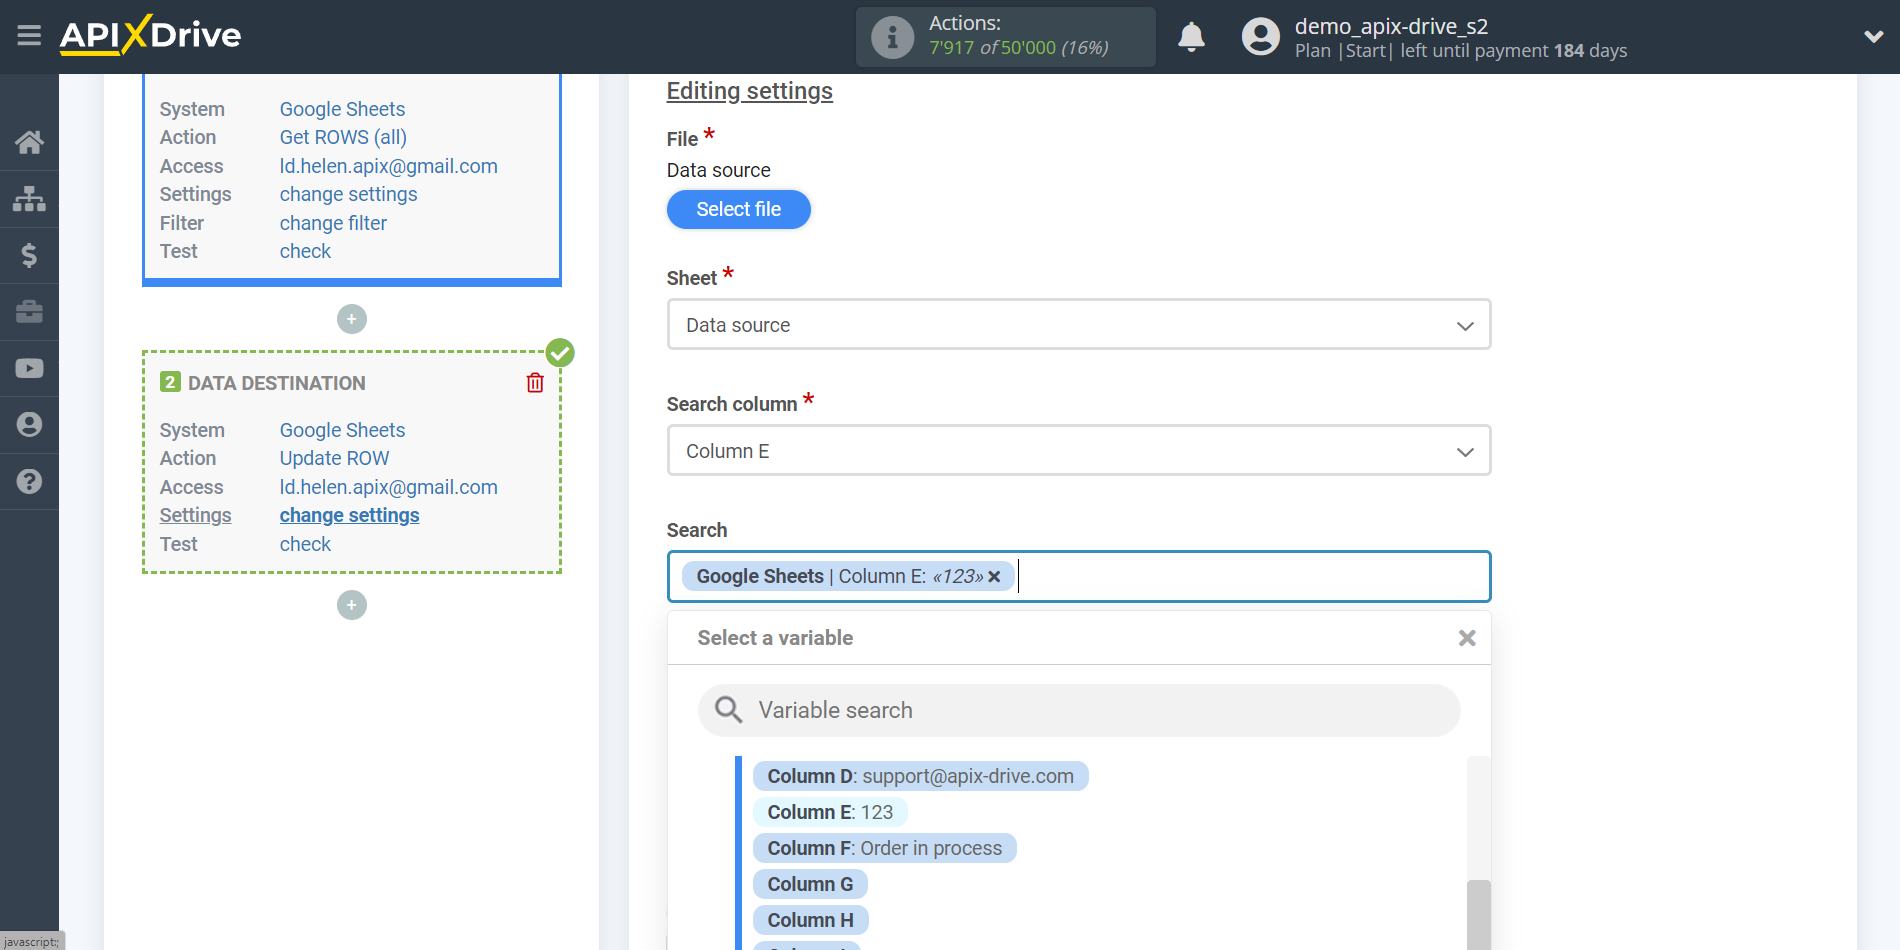
In the "Search column" field, you need to select the column by which the data will be searched. That is, where to look for data in the table.
Next, in the "Search" field, you need to select a variable from the drop-down list or enter the data manually, by which value the system will search for data to update the row you need. In our case, we select column "E", which contains data about the order number. The system will update the data in the desired row only if it matches the order number.
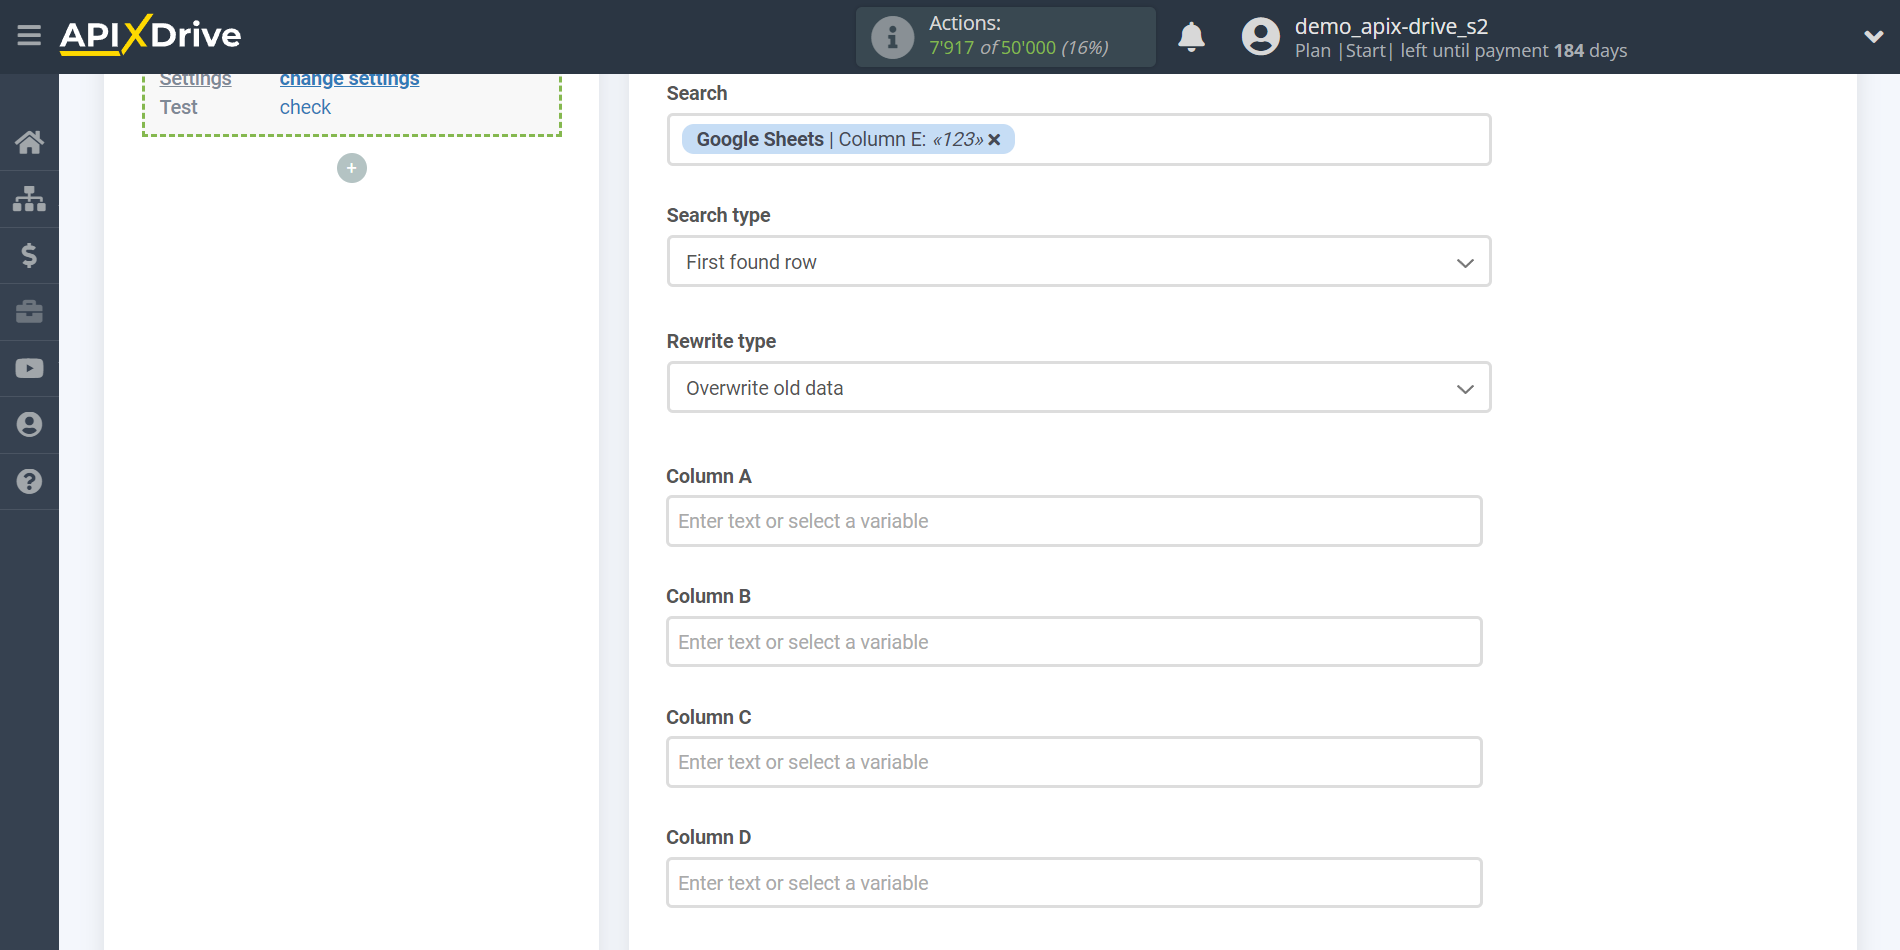
Also, you need to specify the Search type, in case several rows with the same numbers are found:
"Take the first found row" - searching and updating data will occur in the first found row that satisfies the search conditions.
"Take the last found row" - searching and updating data will occur in the last found row that satisfies the search conditions.
"Take all found rows" - search and update of data will be performed on all found rows that satisfy the search conditions.
Now you need to assign an order status variable, which we take from the Data Search block, to the empty column. In the future, this column will be updated with the status of your order.
After setting, click "Continue".
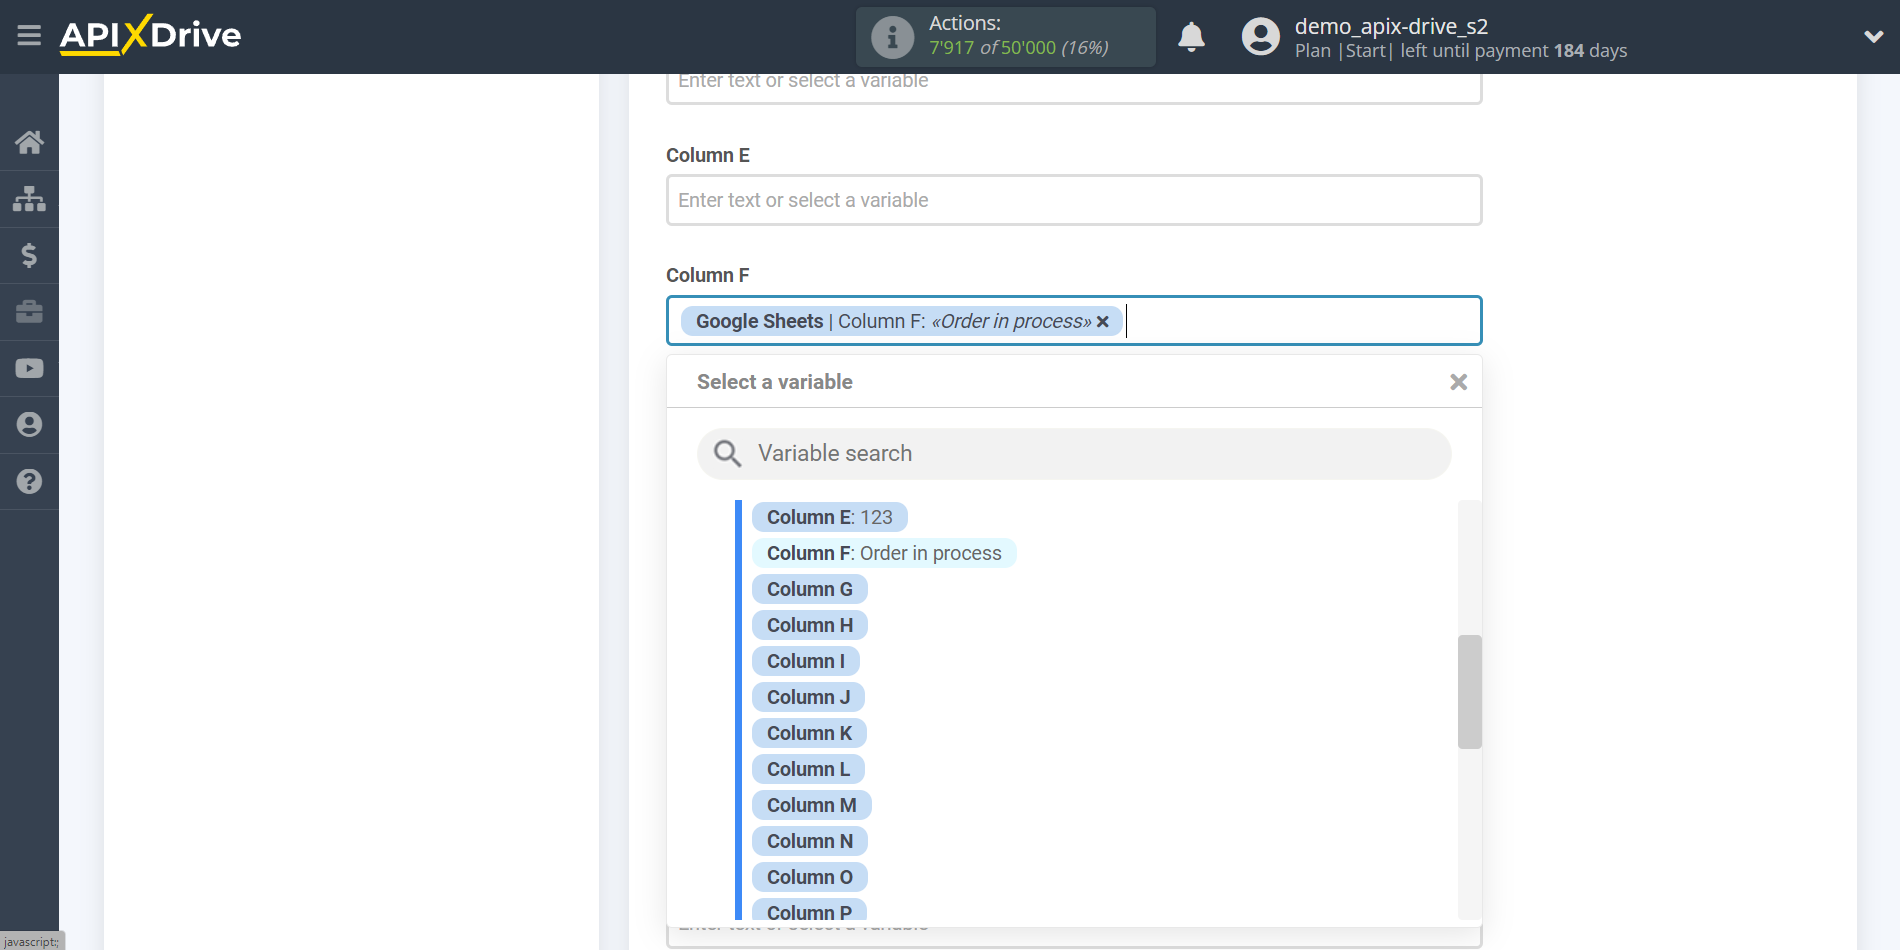
Thus, the Data Search block takes the field in the Data Source in which you have the order number, queries the AirTable server for the status of this order and passes this status to the Data Destination field, for example, in the "F" column.
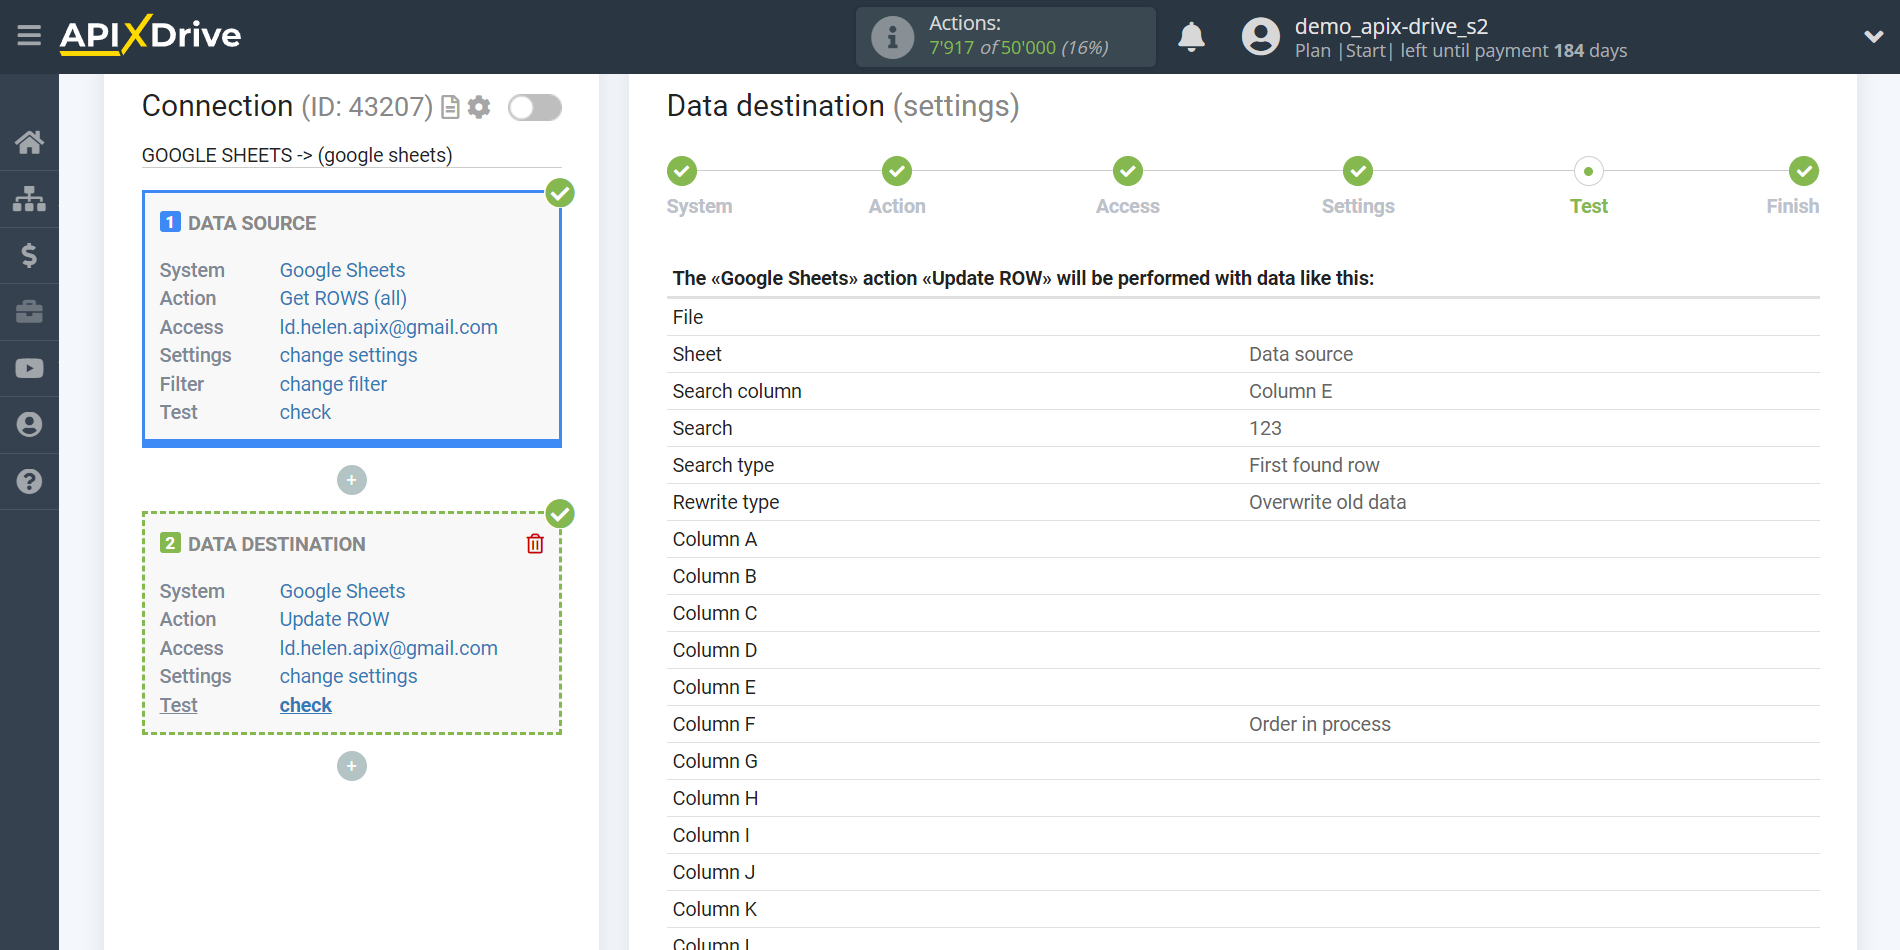
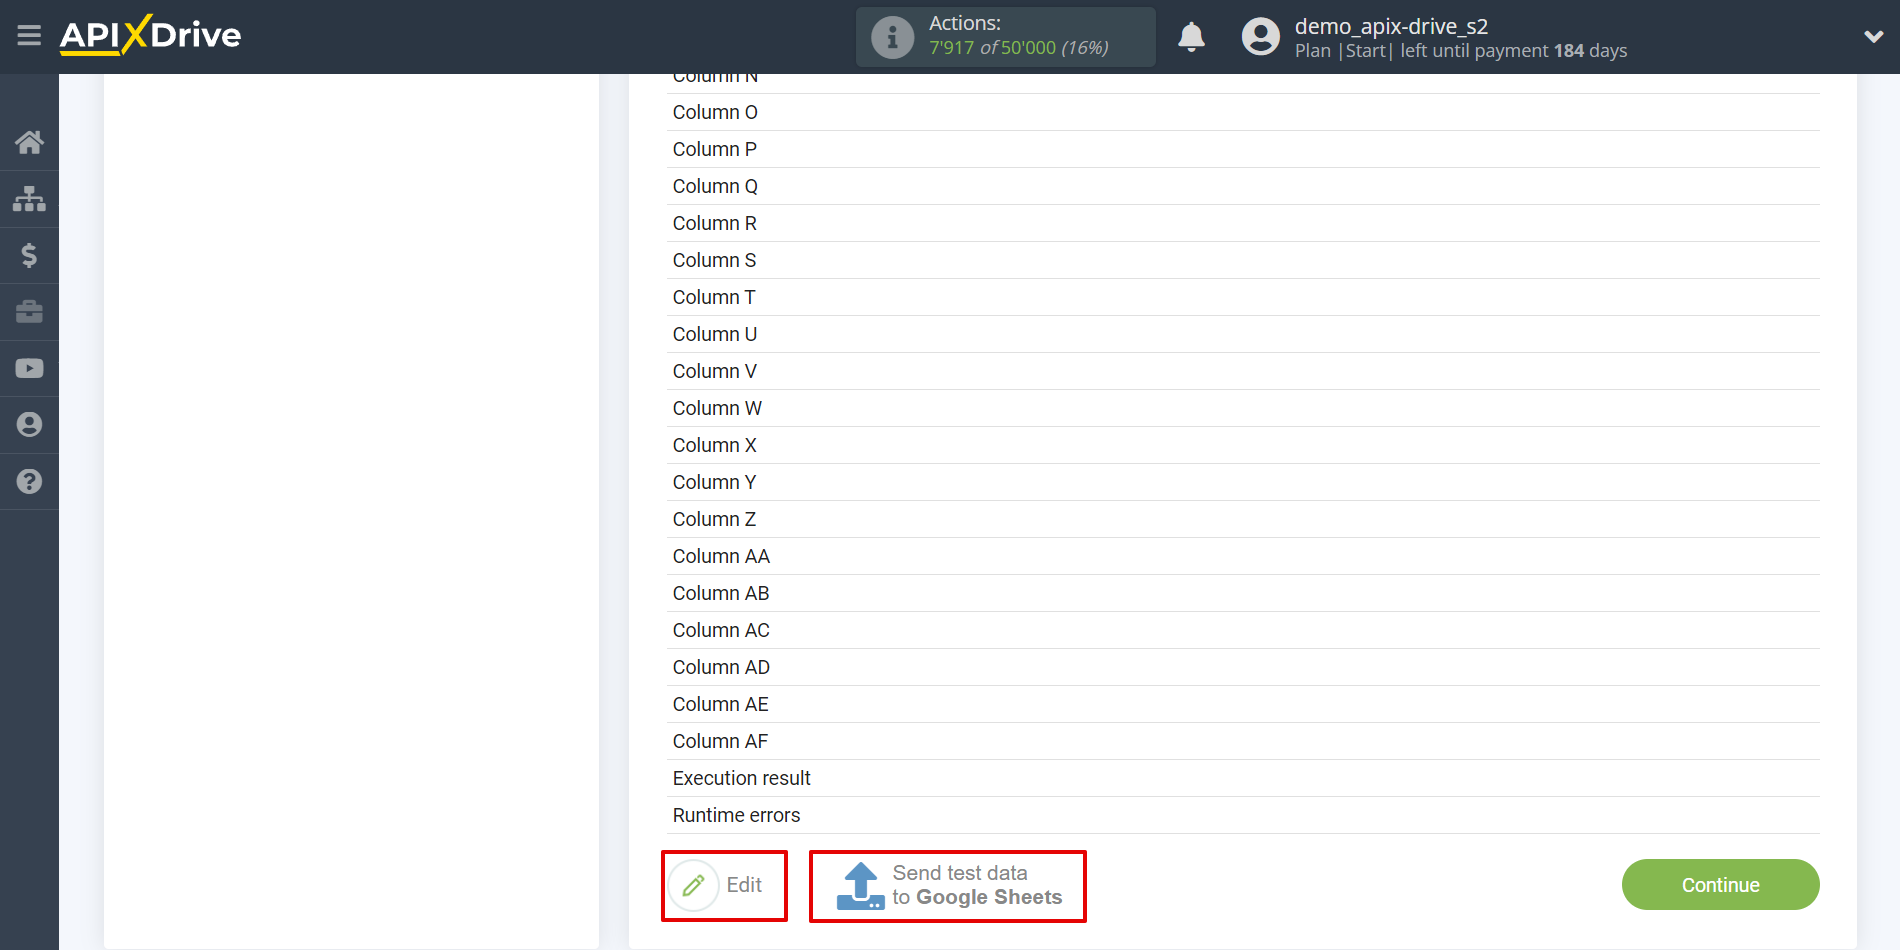
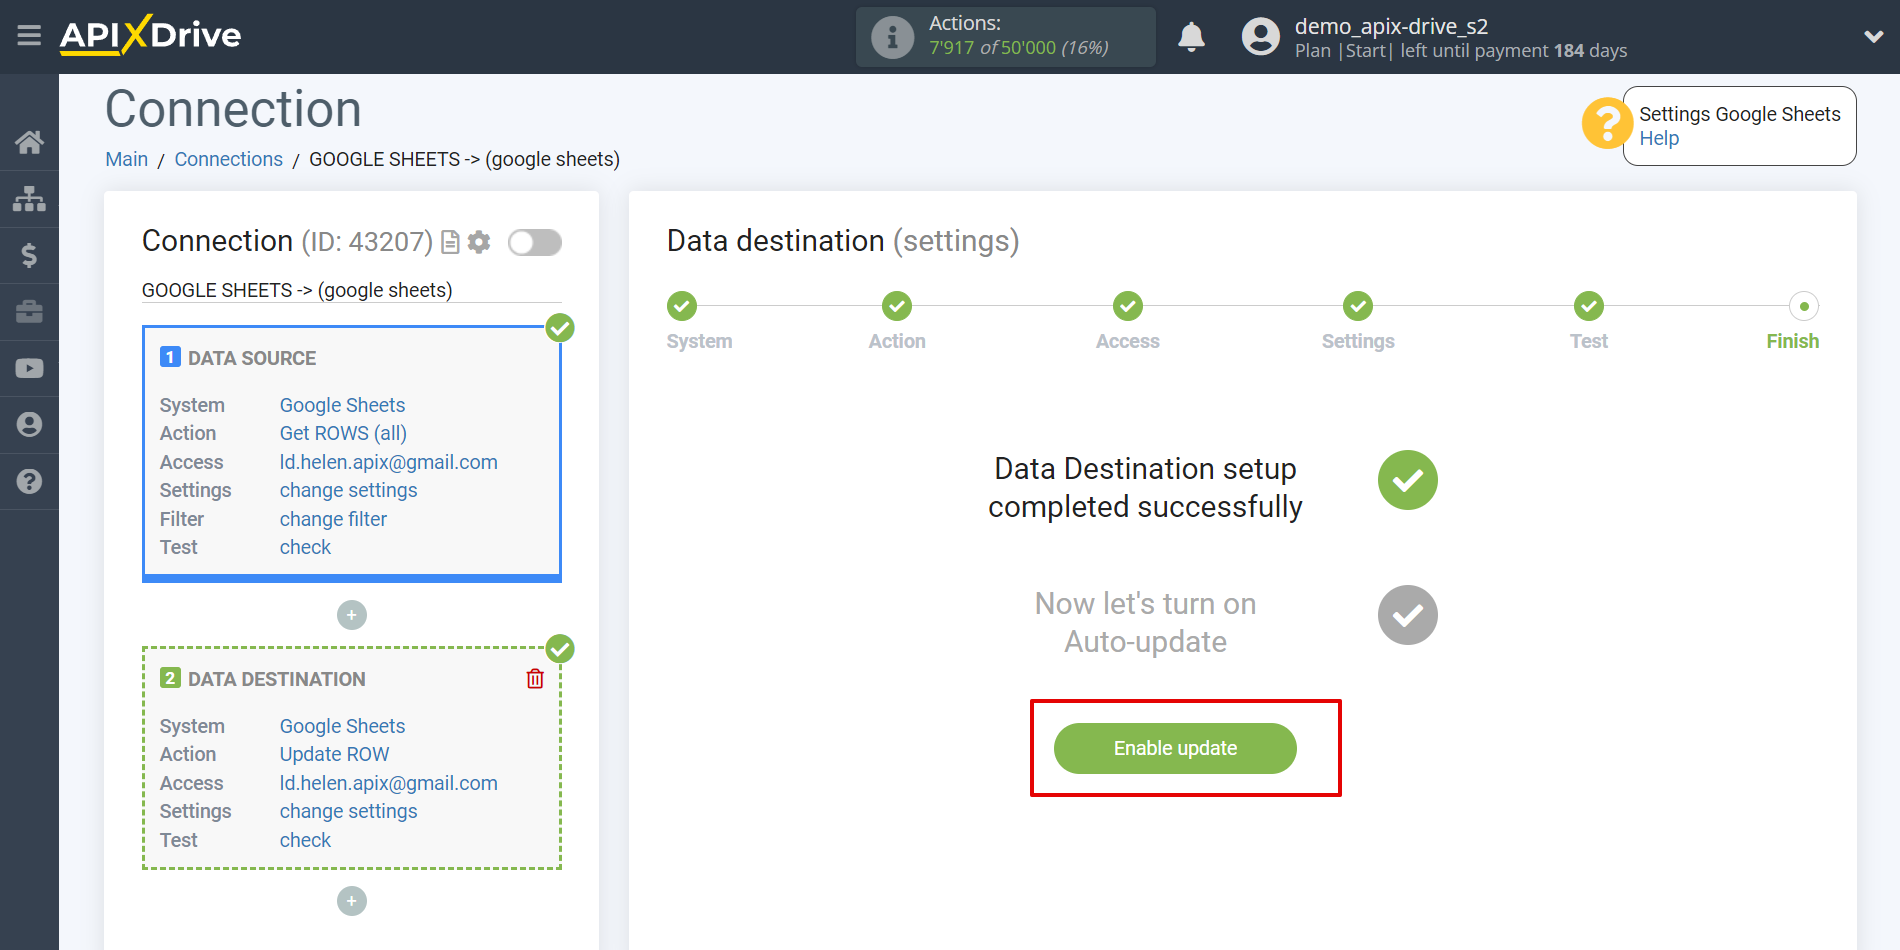
This completes the Data Destination system setup!
Now you can start choosing the update interval and enabling auto-update.
To do this, click "Enable update".
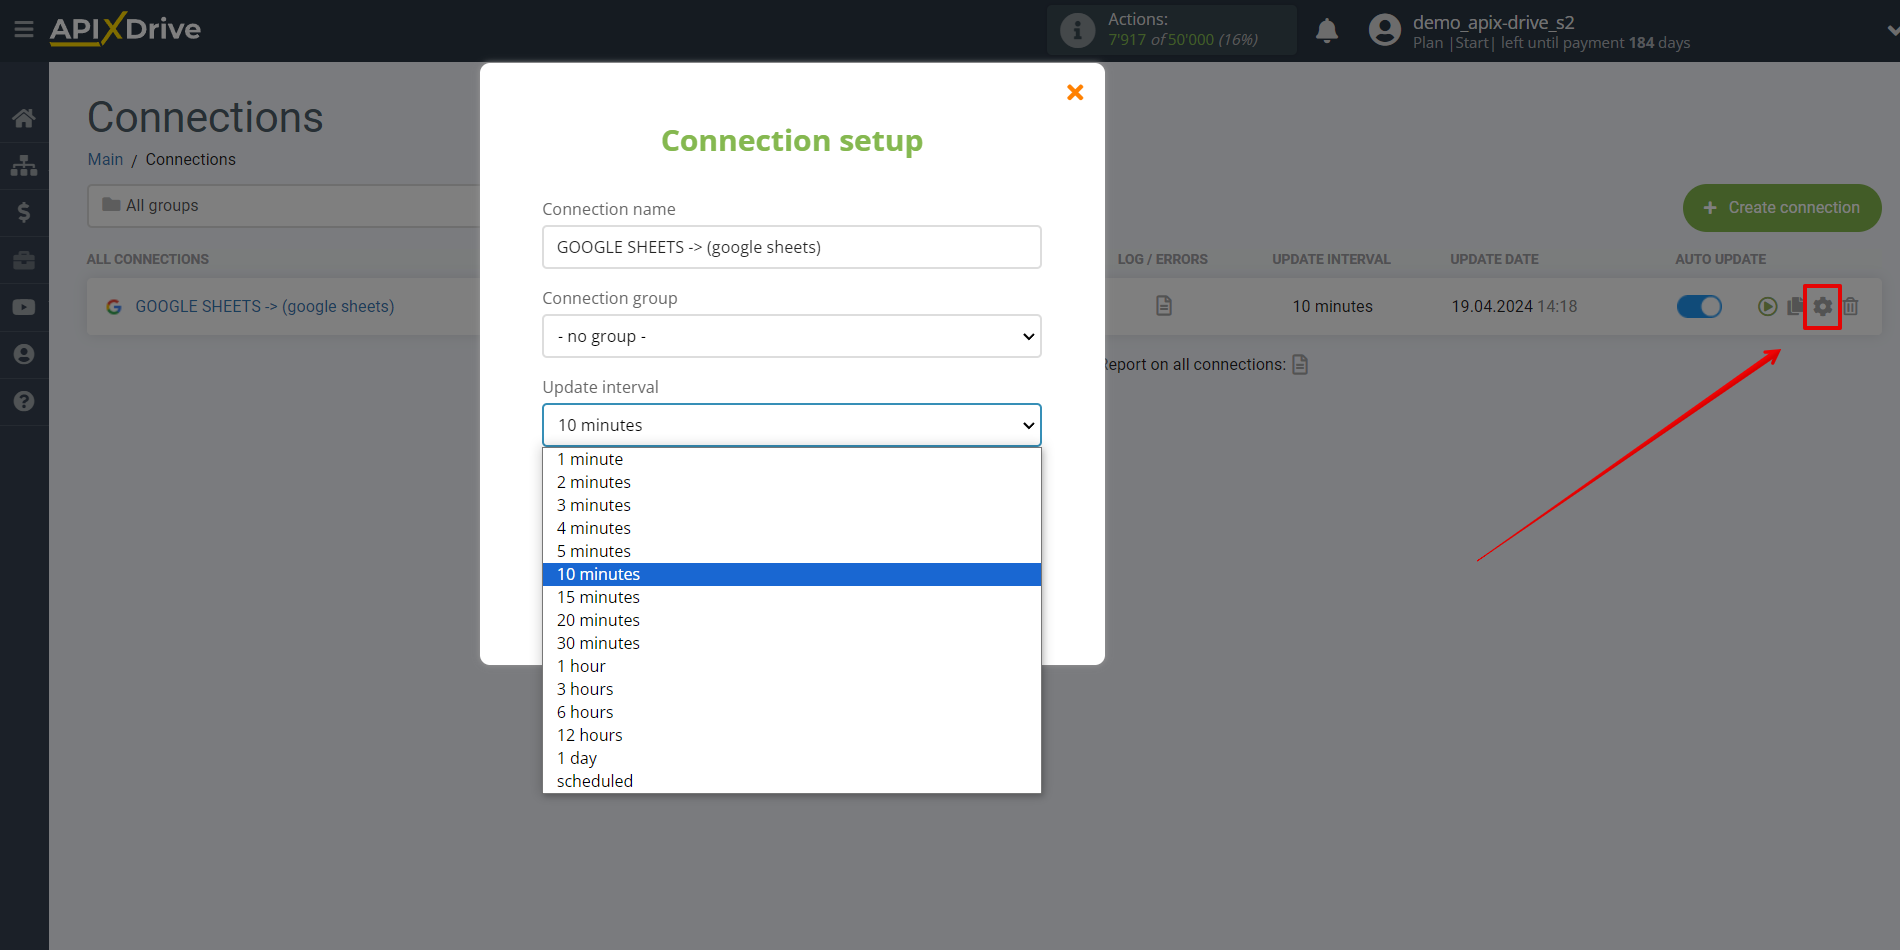
On the main screen, click on the gear icon to select the required update interval or set up scheduled launch. To start the connection by time, select scheduled start and specify the desired time for the connection update to fire, or add several options at once when you need the connection to fire.
Attention! In order for the scheduled run to work at the specified time, the interval between the current time and the specified time must be more than 5 minutes. For example, you select the time 12:10 and the current time is 12:08 - in this case, the automatic update of the connection will occur at 12:10 the next day. If you select the time 12:20 and the current time is 12:13 - the auto-update of the connection will work today and then every day at 12:20.
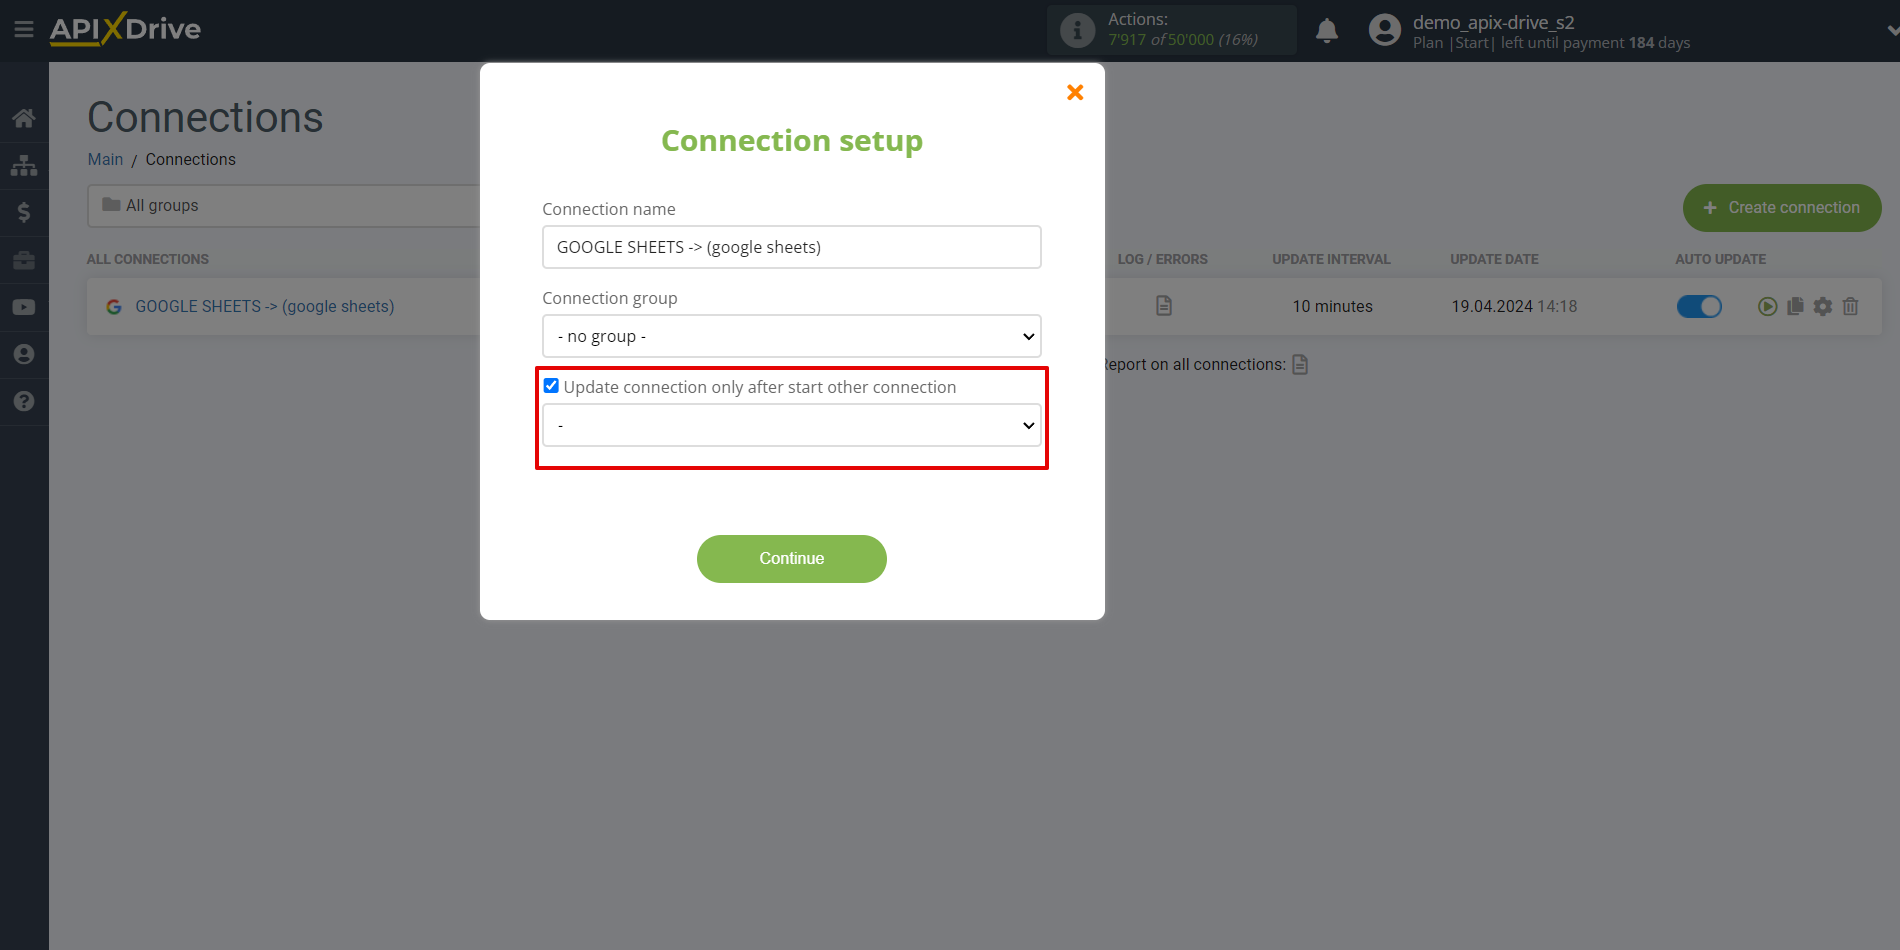
To make the current connection transmit data only after another connection, check the box "Update connection only after start other connection" and specify the connection after which the current connection will be started.
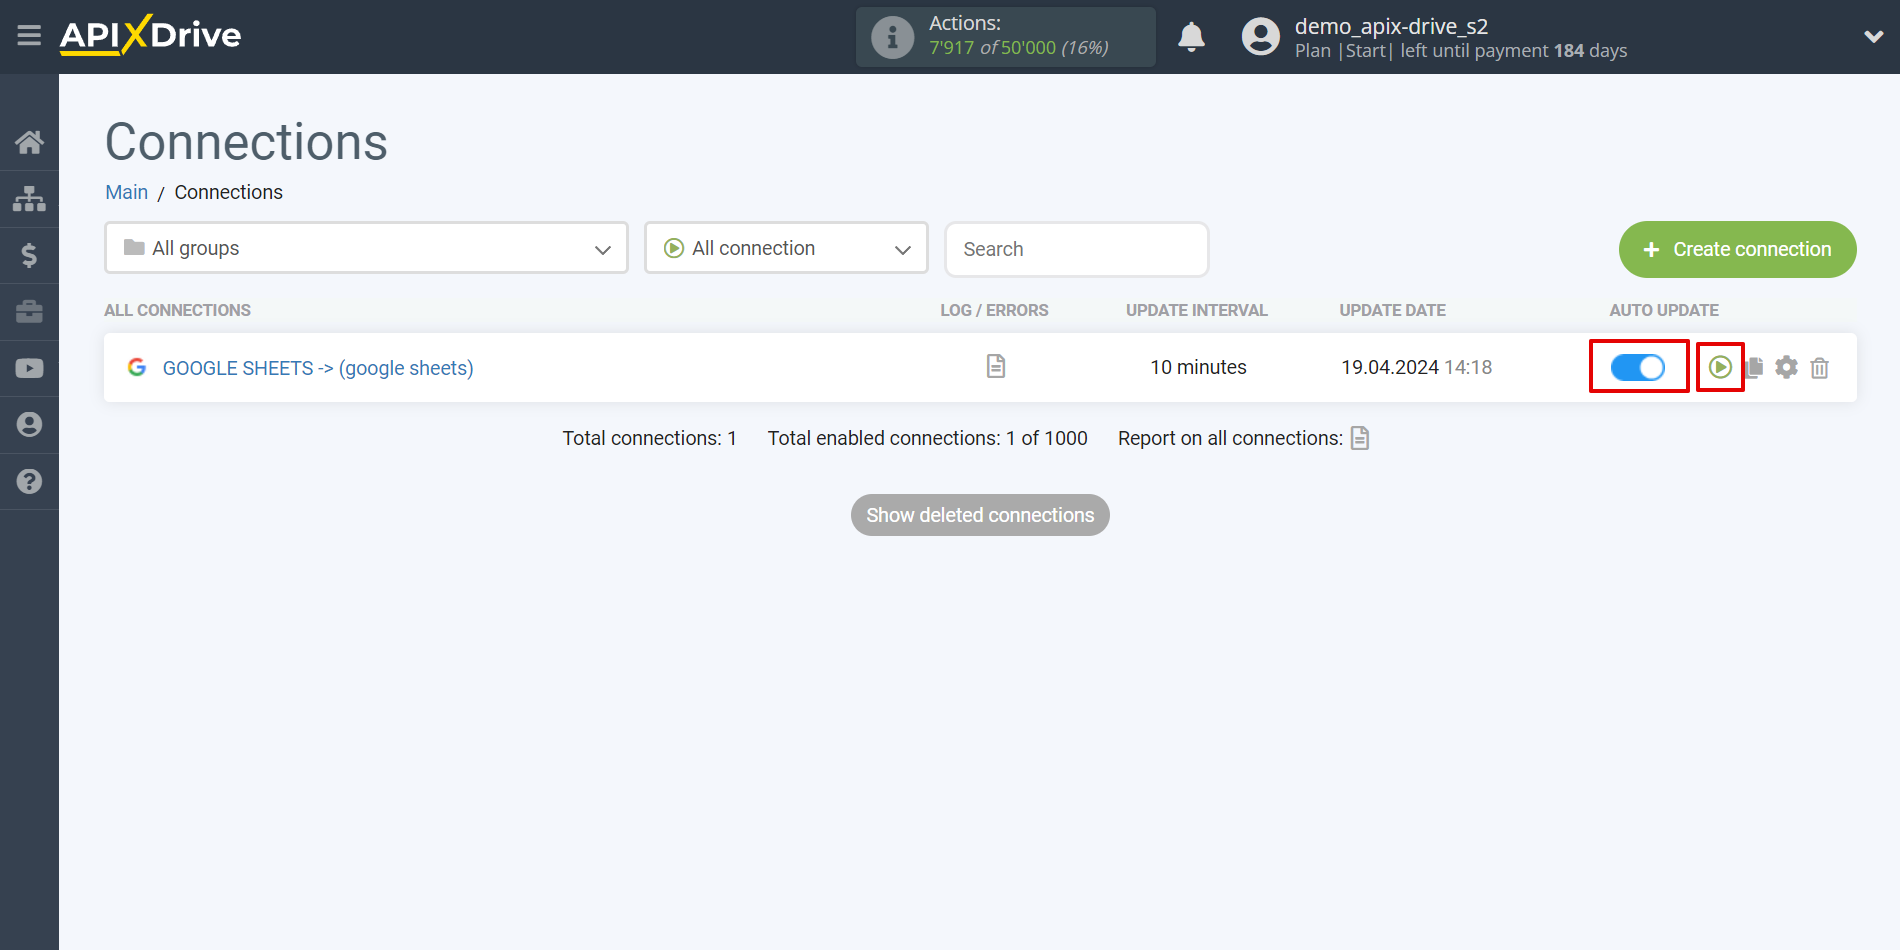
To enable auto-update, switch the slider to the position as shown in the picture.
To force the connection, click on the arrow icon.
This completes the Sheets as a Data Destination setup!
See how easy it is!?
Now don't worry, ApiX-Drive will do everything on its own!