Webflow and Wrike Integration: Automatic Creation of Tasks
Webflow is a comprehensive website creation tool with built-in eCommerce functionality that makes it easy to deploy an online store directly on its platform. Wrike is an enterprise tool for online collaboration, project planning, and management. Using these services will become much faster and more efficient if you automate data transfer between them. This can be achieved using systems integration via the ApiX-Drive online connector. In our article, you will find information on how to set up Webflow and Wrike integration using it to automate the transfer of new data from the website builder to the task management system.
Automating your data migration eliminates one of the most time-consuming processes. This will not only save your team time and effort, but will also minimize the likelihood of human errors. Instantly transferring lead data from Webflow form to your task management system will help increase your efficiency and improve the overall productivity of both the individual department and the company as a whole.
You can immediately evaluate the effectiveness of Wrike and Webflow integration configured using our codeless ApiX-Drive connector. Contact information of clients or orders will be automatically transferred to the task manager and issued there in the form of new tasks. This will free you from the need to manually enter data about each client or order, which, in turn, will optimize workflows and improve customer service. Plus, this automation will give you an advantage over competitors who do not already use automation.
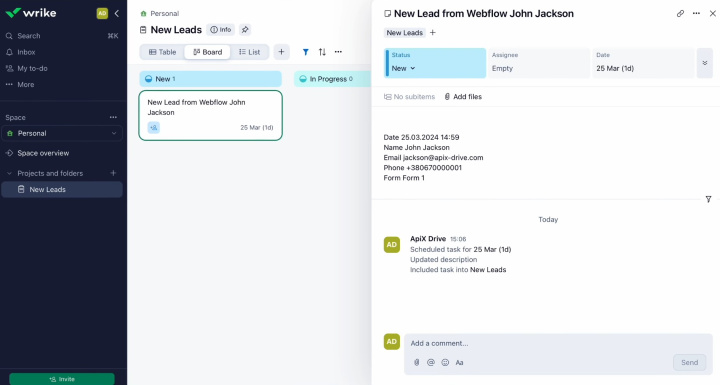
How to Set up Webflow and Wrike Integration
To set up Webflow + Wrike integration, you don't have to delve into programming or understand the API details. No external assistance will be needed. Both systems can be easily and quickly connected through ApiX-Drive. Its intuitive interface and simple operation allow you to set up in just 10 minutes. By utilizing our supporting materials in the form of detailed text and video instructions, you will configure and launch the integration without any errors.
So, let's get started. Take the first step – register on the website apix-drive.com. Ready? Fantastic! Now you can begin the Wrike + Webflow integration.
Setting up the Data Source – Webflow
To set up the Webflow integration with Wrike, create a new connection. Click on the green button.
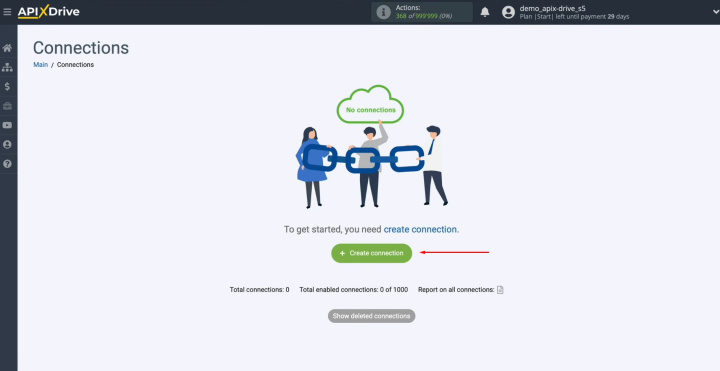
Select the
data source system – Webflow. Click “Continue”.
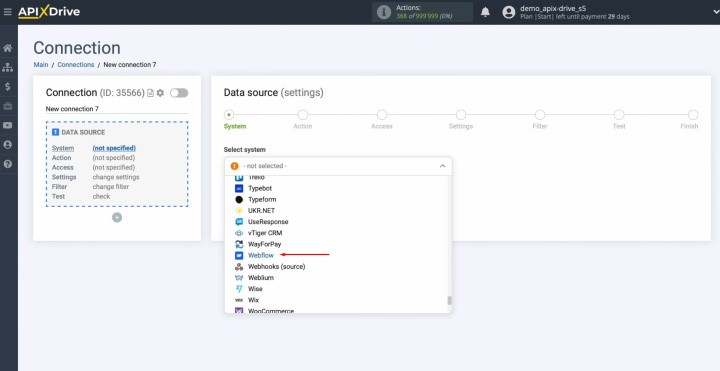
Choose the action
"Get Form DATA (new)".
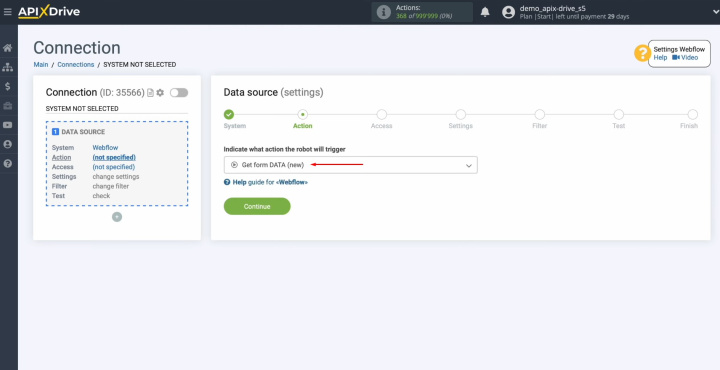
Connect
your Webflow account to ApiX-Drive. Click on the blue button.
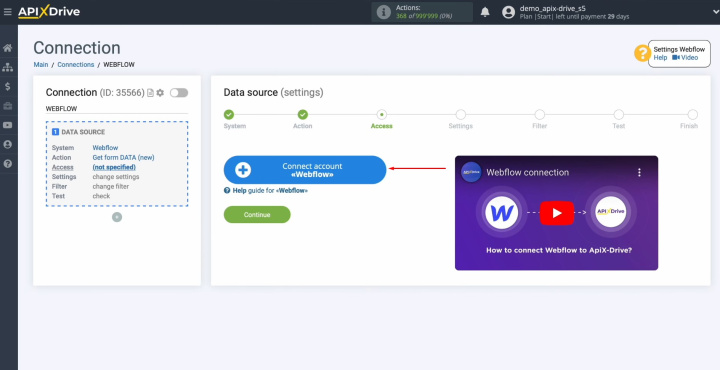
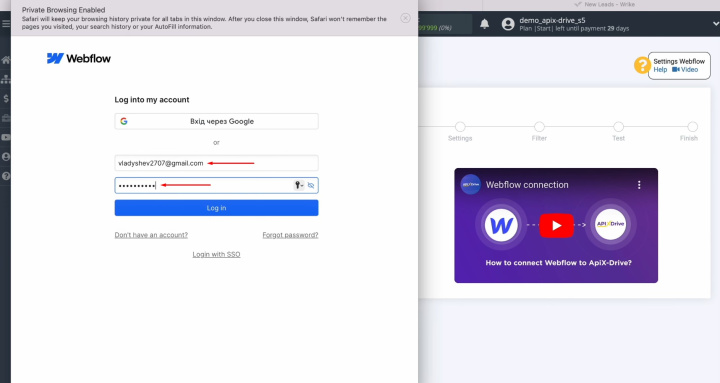
Specify the
login and password of your Webflow personal account. Click “Log
in”.
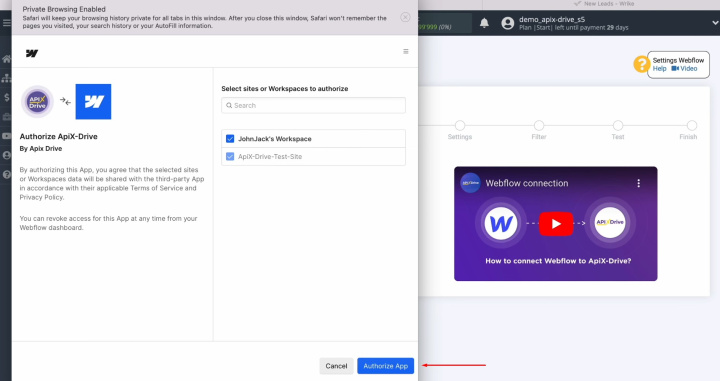
Provide
ApiX-Drive access to your workspace Webflow. Click
“Authorize App”.
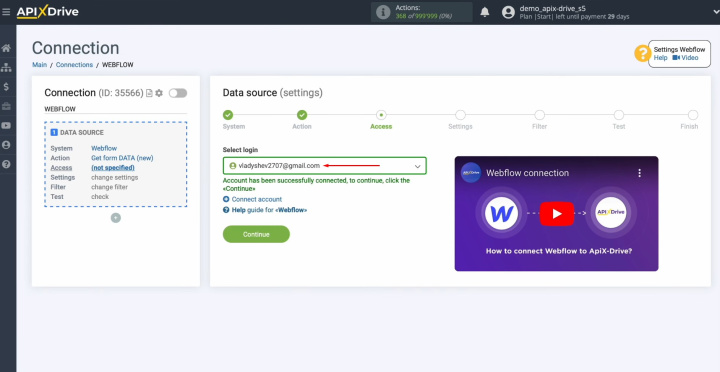
When the
connected login appears in the list of active accounts, select it and click “Continue”.
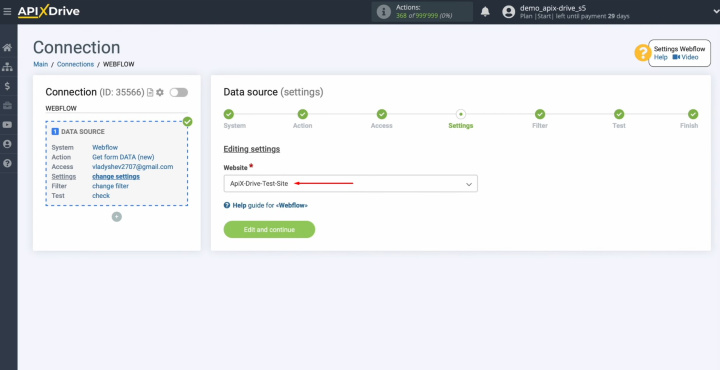
Select the
website from which we will receive new leads. Click “Edit
and continue”.
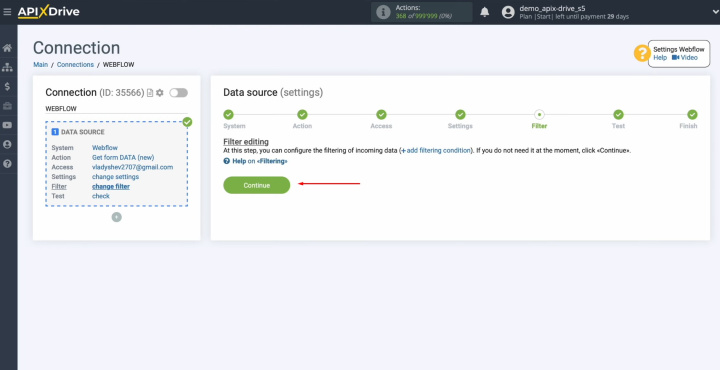
You can set
up a data filter, but in this case, there is no need for this. So click “Continue”.
You will see data for one of your Webflow
leads. If there is no data, fill out a form on the Webflow website.
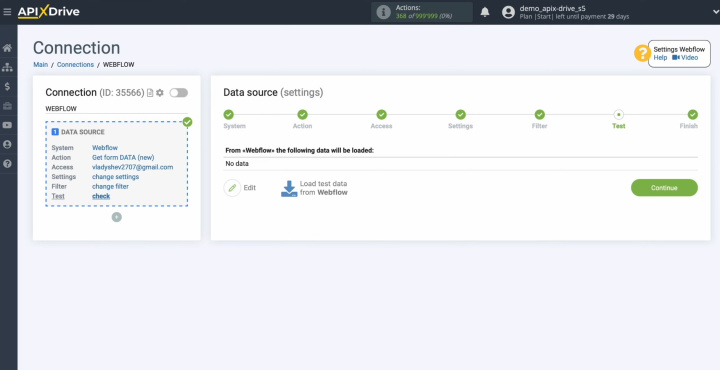
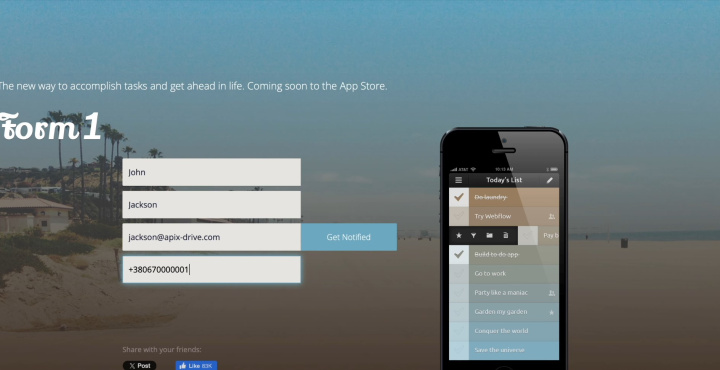
When the form
on the site is completed, return to ApiX-Drive and continue configuration. Click “Load
test data from Webflow”.
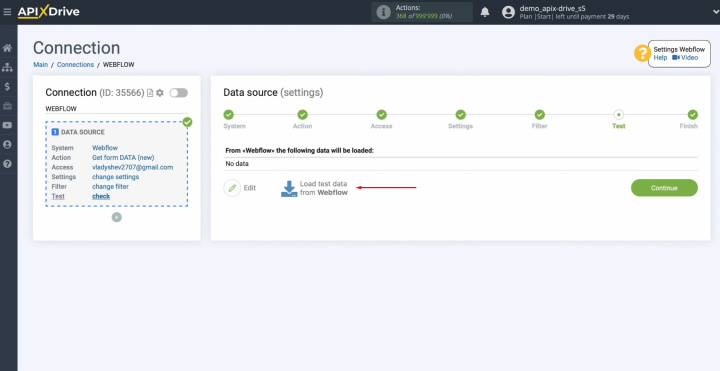
When the
Webflow lead is displayed, click “Continue”.
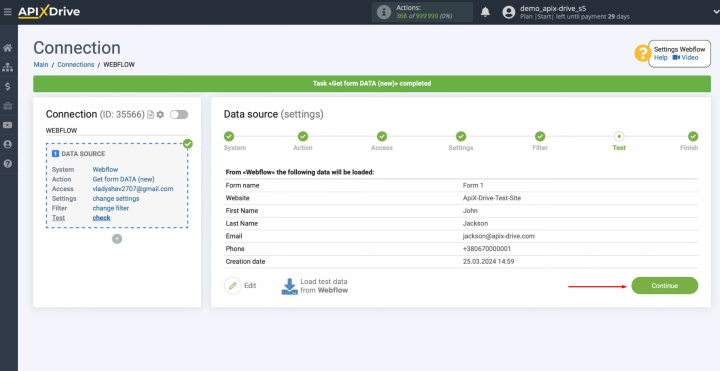
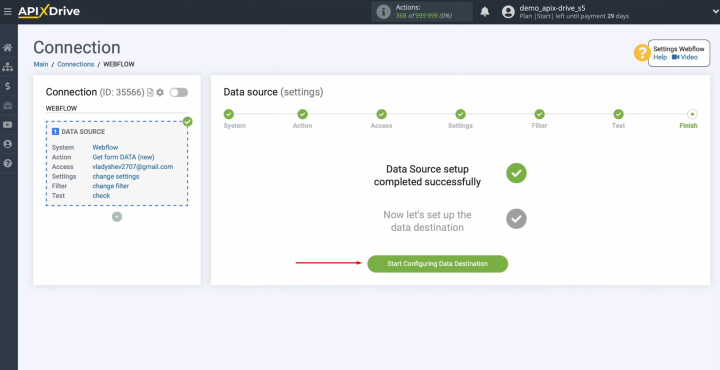
At this point, setting up the Webflow data
source has been successfully completed.
Setting up the Data Receiver – Wrike
To set up the Wrike integration with Webflow, click on the green button.
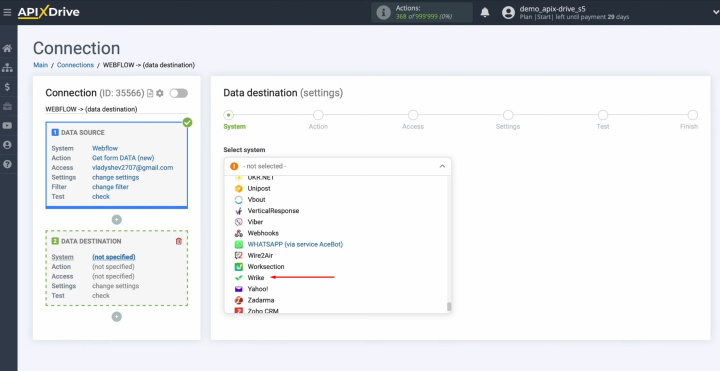
Choose the Wrike system. Click
“Continue”.
Select an
action "Create TASK". Click
“Continue”.
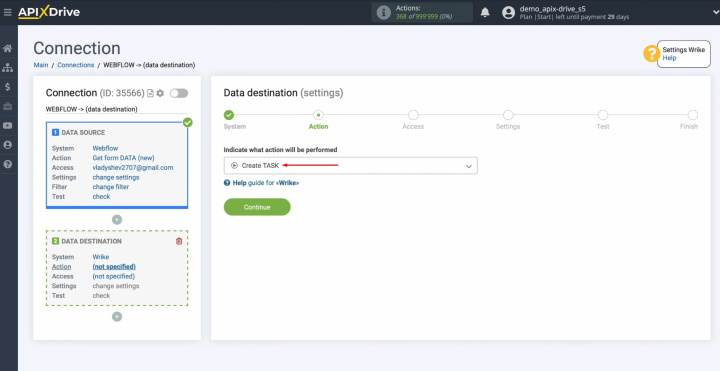
Connect your
Wrike account to ApiX-Drive. For this, click on the blue button.
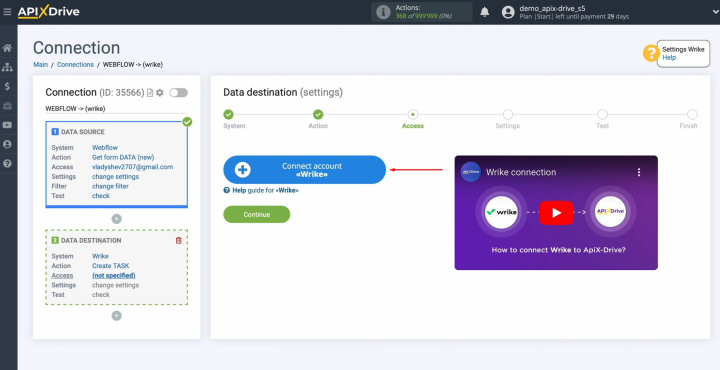
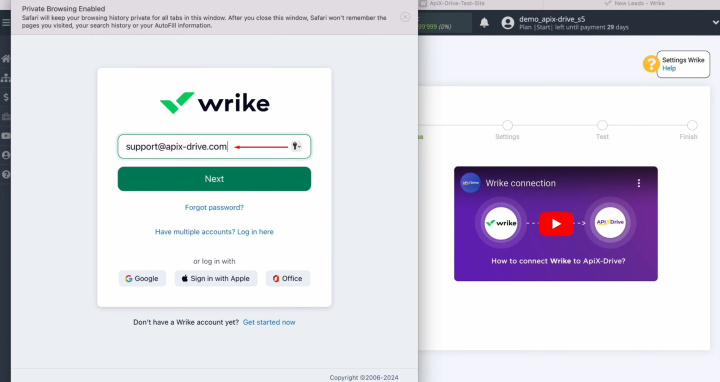
Specify the
login of your Wrike personal account. Click “Next”.
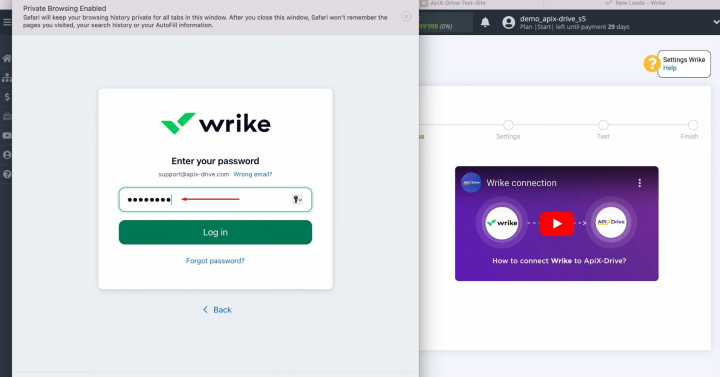
Specify the
password of your Wrike personal account. Click “Log
in”.
When the
connected login appears in the list of active accounts, select it and click “Continue”.
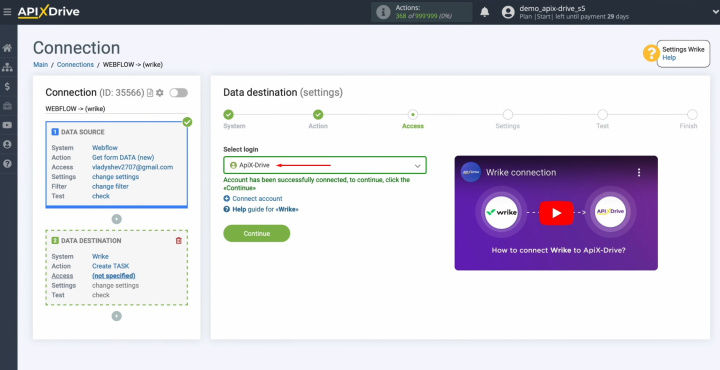
Select a
parent folder and task type.
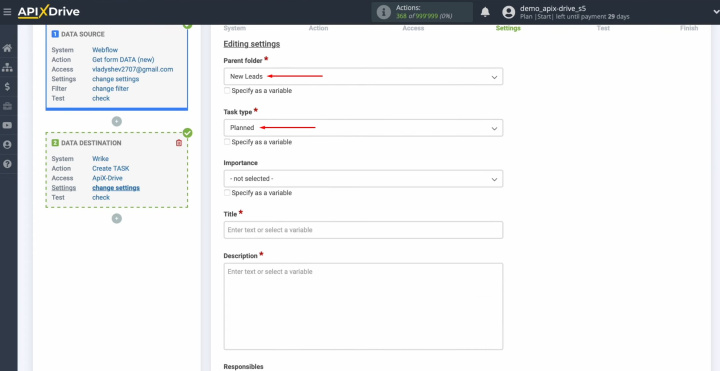
Select
importance.
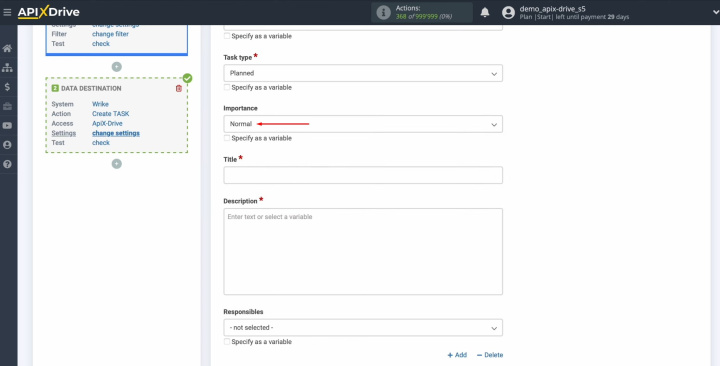
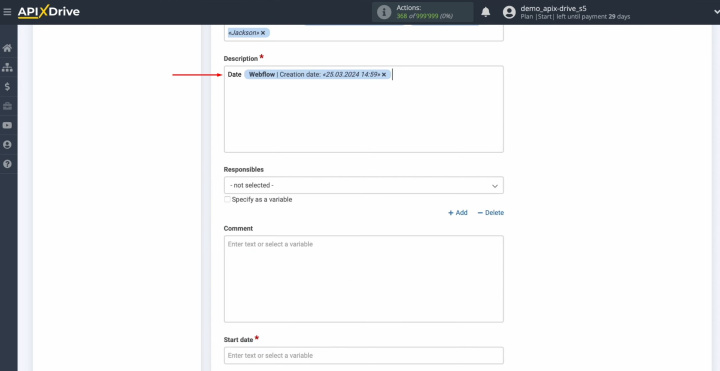
You see Wrike
fields for creating new tasks. You can assign variables from Webflow to these
fields. To do this, click in the field and select a variable from the drop-down
list.
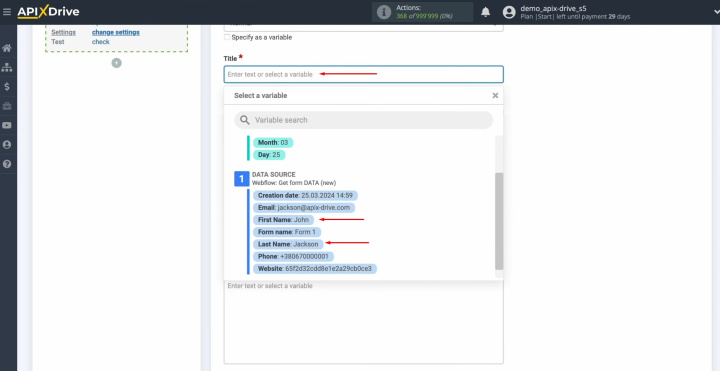
Note that you can also enter text manually.
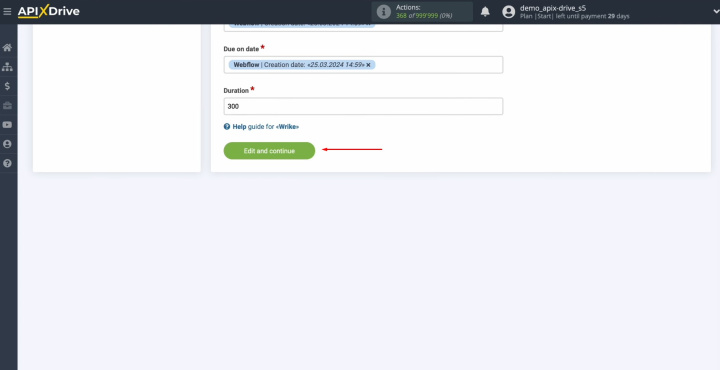
When all
required fields are filled in, click “Edit and continue”.
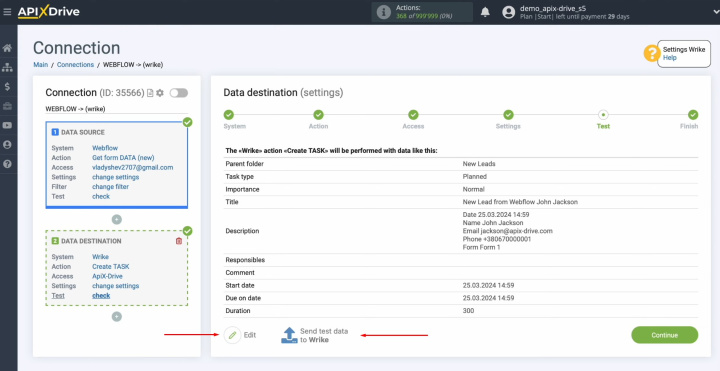
You see an
example of the data that will be sent to Wrike in the form of new tasks
for each new lead from Webflow. If you are not satisfied with something, click “Edit”, and you will go back a step. To check the correctness of the
settings, click “Send test data to Wrike”.
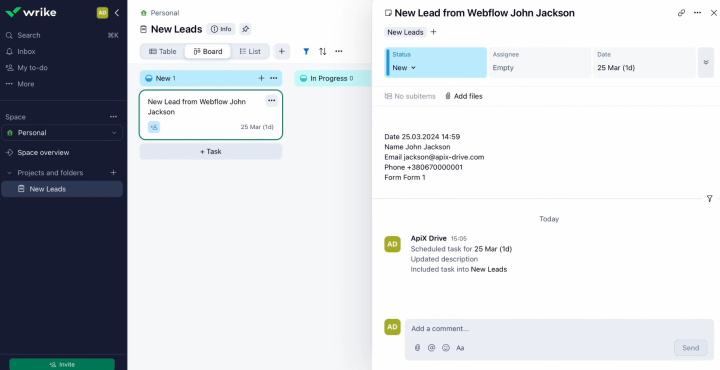
After successful
submission, go to Wrike and check the result.
If you are
satisfied with everything, return to ApiX-Drive and click “Continue”.
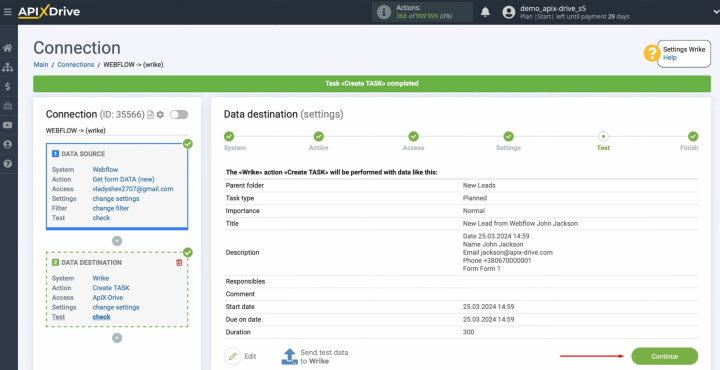
This
completes the setup of Wrike as a data receiver.
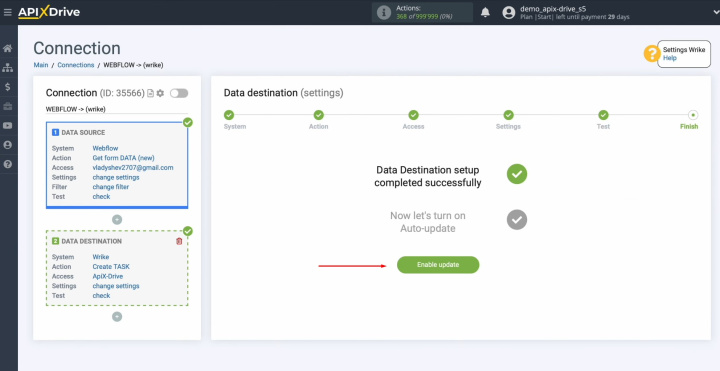
Setting up Auto-update
In order for data transfer to occur automatically, configure auto-update. Click on the green button “Enable update”.
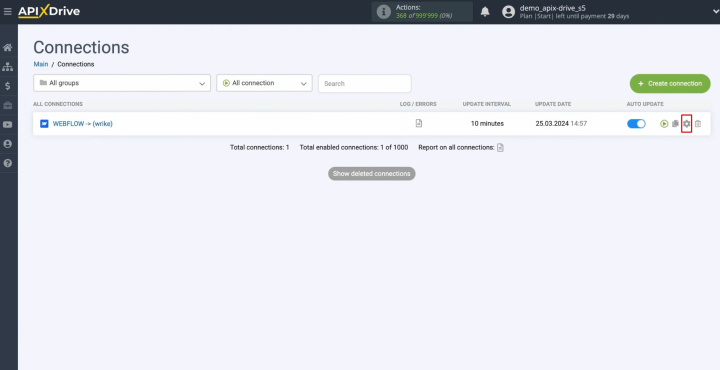
Click on the
gear button.
Select the
interval for the operation of the connection. For example, once every 5
minutes. In addition, here you can change the name of the connection and assign
it to the required group.


Click “Continue”.
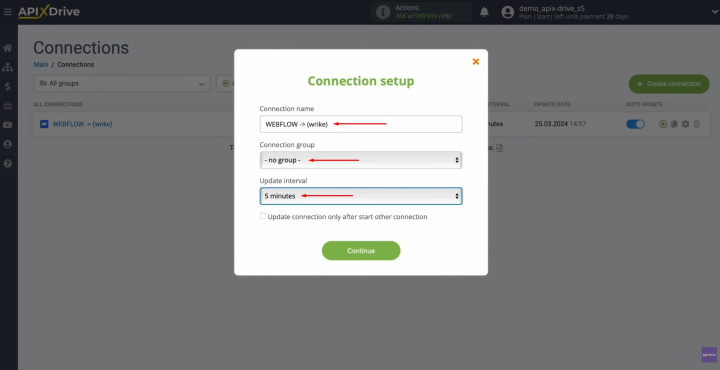
That's all. Integration was
completed. You have done it!
What is the Result
Having successfully completed the setup of the Webflow & Wrike integration according to our step-by-step guide and activated auto-update, you have established a connection between both systems. Now, it will work continuously and without interruption. Most likely, you have already confirmed this by testing it and observing the automatic data transfer. The Wrike & Webflow integration will completely relieve you from the task of manually transferring data. By automating this process with ApiX-Drive, you will be able to concentrate on enhancing customer service, mastering new marketing strategies, and other crucial aspects of expanding your business.

