TikTok and Google Sheets Integration: Automatic Leads Transfer
TikTok is one of the most popular social networks in the world, with an endlessly scrolling feed filled with short, vertical videos. It allows you to unobtrusively and natively promote goods and services: you show the product in a video and achieve “soft” sales. In this article, we will tell you how to set up TikTok and Google Sheets integration to automatically transfer leads from a social network to tables for further processing.
If you use TikTok as one of your channels for advertising goods or services and the online application Google Sheets to collect data from potential buyers, maintain and store their database, you probably manually enter information about each lead from this social network into a table. Because of this, you have to be distracted, waste extra time and delay your response to the buyer, who, without receiving quick feedback, may change the decision to buy. Automating the transfer of lead data from one platform to another will greatly simplify your workflow and save time, which is considered the most valuable resource today.
By connecting both systems, you will increase not only your own productivity but also the productivity of your team. Our online connector, ApiX-Drive, will help you do this. Successfully setting up Google Sheets and TikTok integration will give you the opportunity to immediately receive the personal data of a new lead directly into the table, where you will automatically have a new row generated each time. Thus, you will no longer need to manually enter your client's first name, last name, phone number and other data. Your work process will be optimized, and the customer will be provided with quick feedback and a pleasant first impression of you.
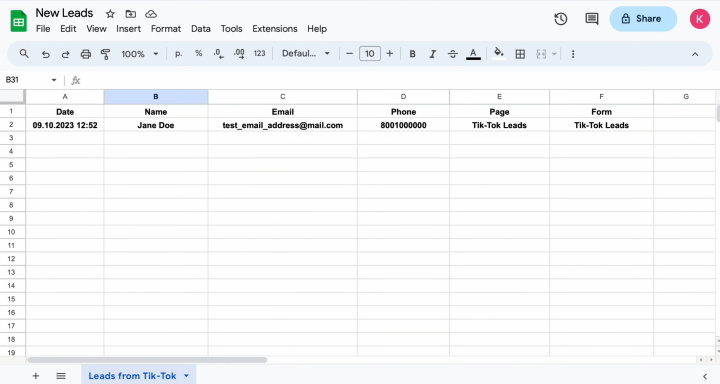
How to Make TikTok + Google Sheets Integration
Almost any IT specialist can integrate TikTok with Google Sheets via the API. Have you already breathed a sigh of relief because you have decided to ask your colleague from the technical department to take care of this tomorrow? Or maybe, on the contrary, you are thinking about whom to invite from outside since your company doesn’t even have a system administrator? Take your time. Your colleague will most likely agree to help you, but it is unlikely that he or she will be able to do this within the next hour. Remember which resource is the most valuable? Inviting an outside professional involves additional financial costs, which can be quite significant. We offer you a solution to get what you need much faster and more economically – the ApiX-Drive online connector. With this service, you will set up the necessary connection yourself, spending just a few minutes. Its intuitive interface and operating principle, as well as our detailed instructions, will allow you to complete all the steps without any difficulty.
The working scheme of Google Sheets TikTok integration looks like this: “data source – online connector – data receiver.” The ApiX-Drive system monitors new leads on the social network around the clock and, as soon as they appear, sends them to your table. To create and launch such process automation, you only need to take a few simple steps. Let's start right now.
Setting Up the Data Source – TikTok
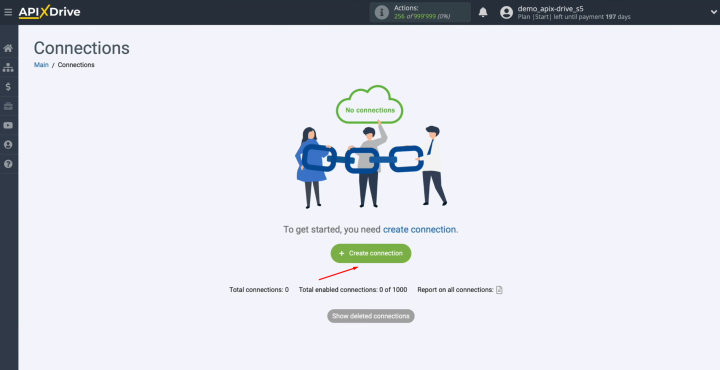
To set up TikTok integration with Google Sheets, first you have to create a new connection. For this, click on the green button.
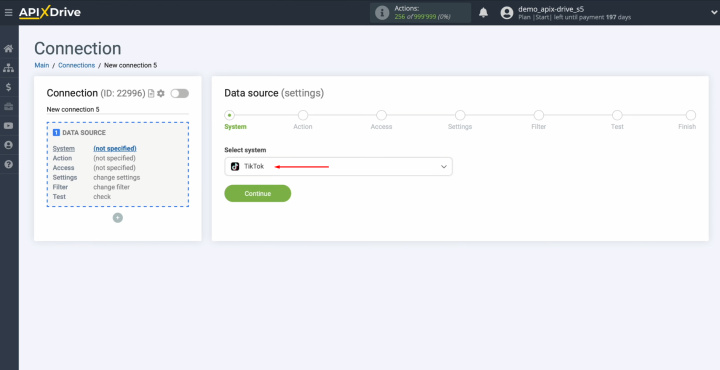
Next, you must select the data source
system. In this case, it's TikTok. Click “Continue”.
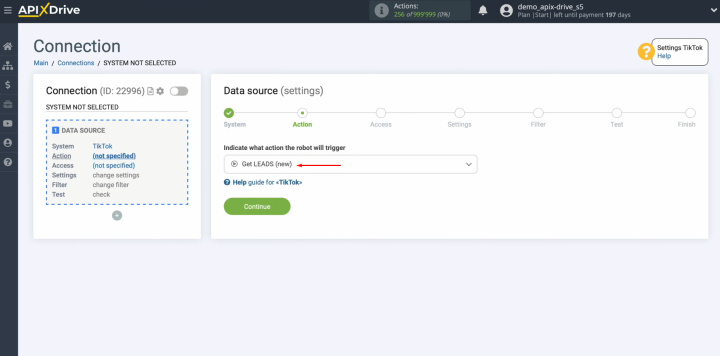
Now, you have to select the action “Get LEADS (new)”. Click “Continue”.
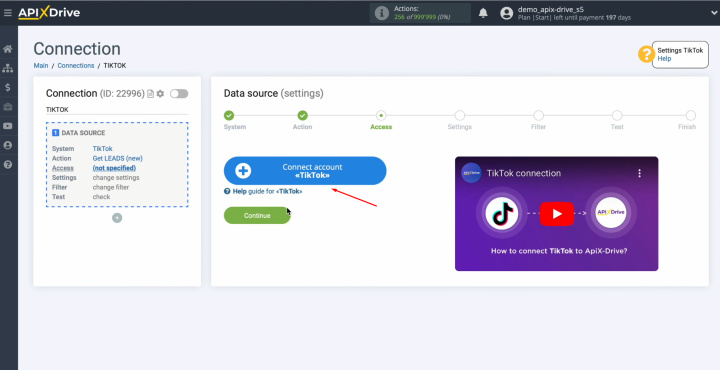
At this
stage, you have to connect
your TikTok account to the ApiX-Drive
service. Click on the blue button.
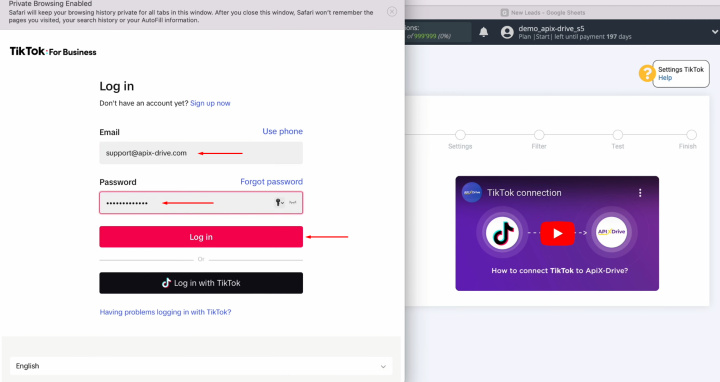
You must
specify the username and password for your TikTok business account. Click “Log in”.
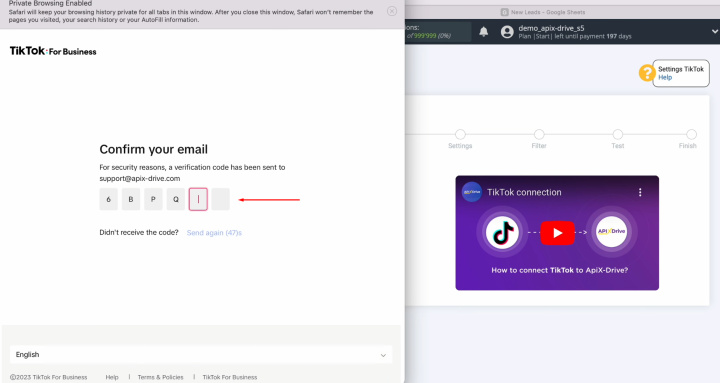
After this,
you have to indicate the code that
will be sent to your email.
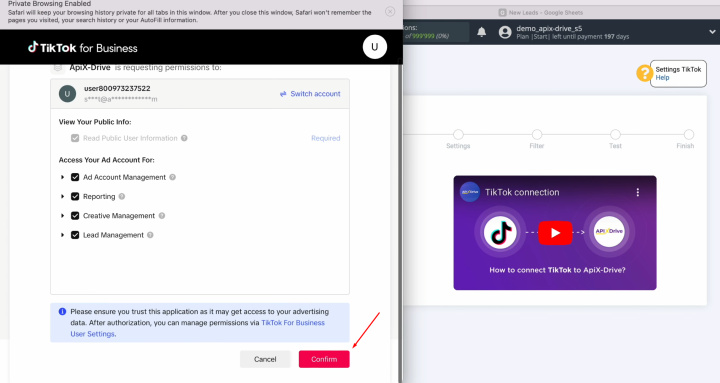
Next,
provide ApiX-Drive
access to work with your TikTok account. Click “Confirm”.
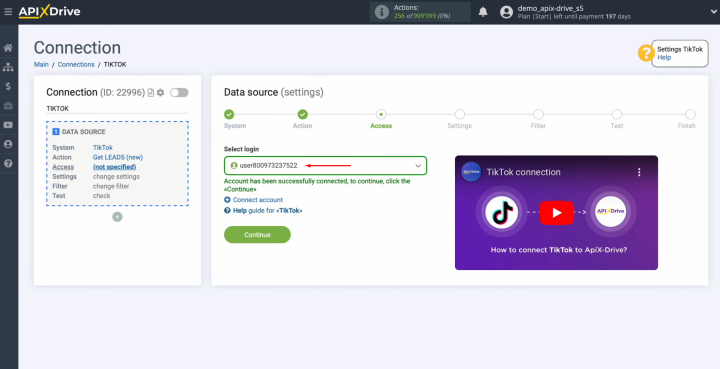
When the
connected account appears in the list of active accounts, select it and click
"Continue".
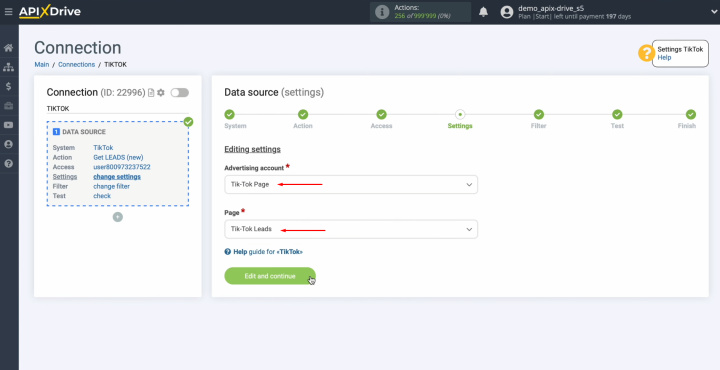
Next, you have to select an advertising account and the page. Click “Edit and continue”.
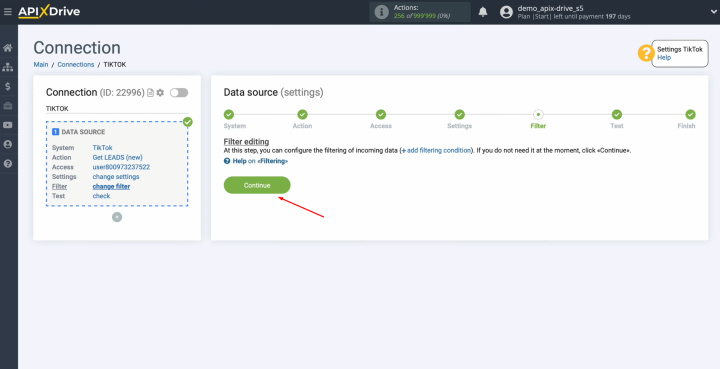
At this
stage, you can set up a data filter. In this
case, there is no need for this, so click "Continue".
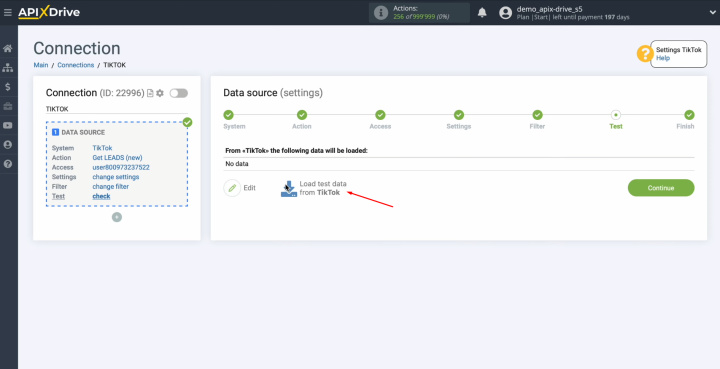
At this
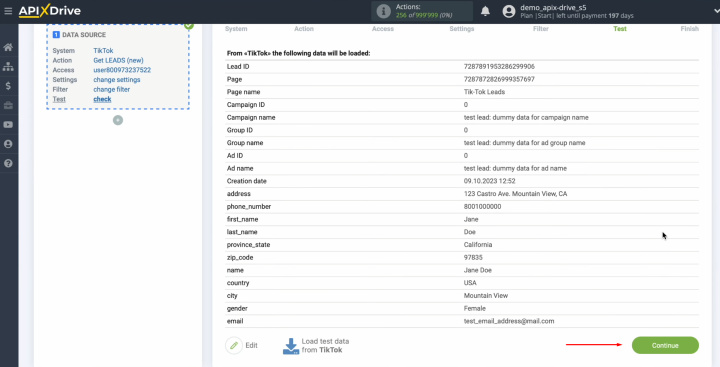
point, you should see test data on one of your TikTok leads. If there are no real leads, click "Load test data from TikTok".
You will see an example of test data with fields
filled in. If you are satisfied with everything,
click "Continue". This completes the TikTok data source setup
successfully.
Setting Up the Data Receiver – Google Sheets
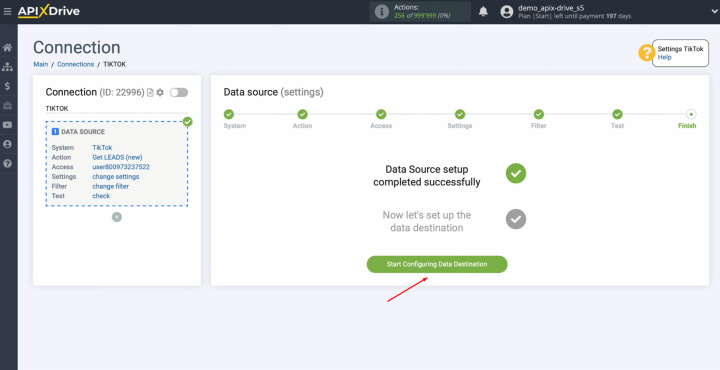
To set up Google Sheets integration with TikTok, click on the green button “Start Configuring Data Destination”.
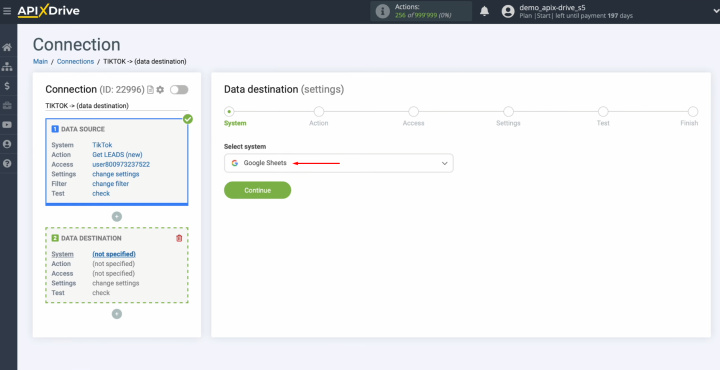
You have to go to the data destination setting. Choose the system "Google Sheets". Click “Continue”.
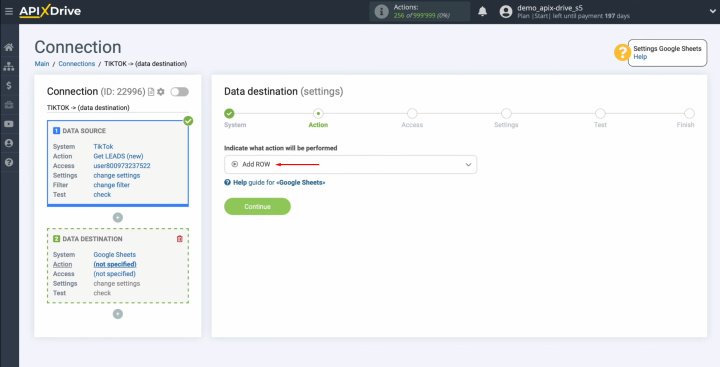
Next, you must select the action “Add ROW”. Click “Continue”.
At this
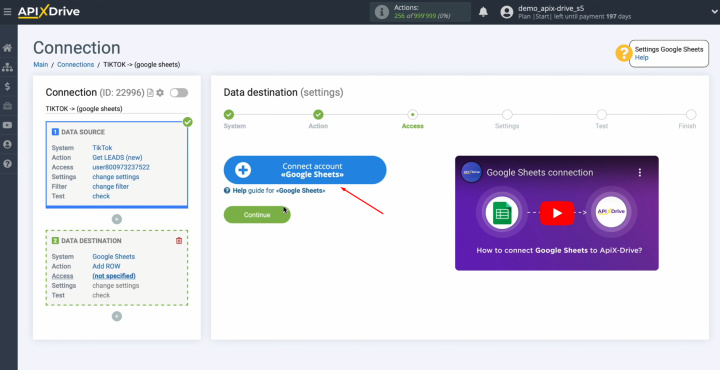
stage, you have to connect
your Google Sheets account to the ApiX-Drive system. Click on
the blue button.
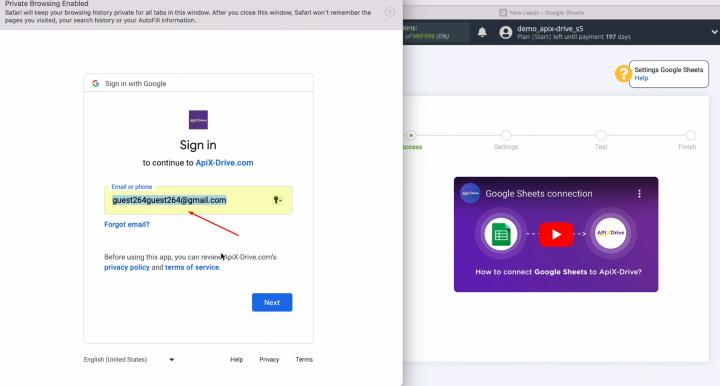
In this
window, you have to specify
the login for your Google account. Click “Next”.
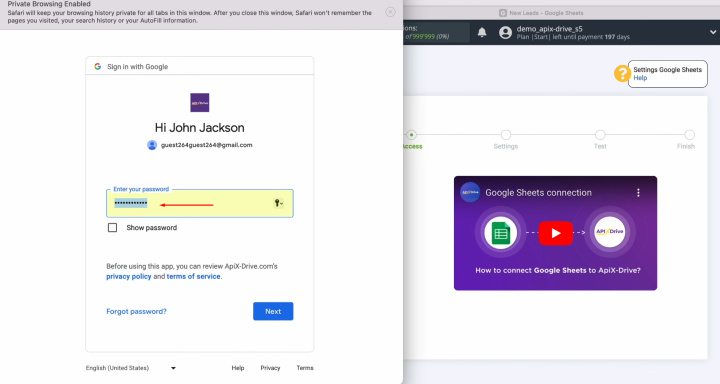
Next, specify the password for your Google account. Click “Next”.
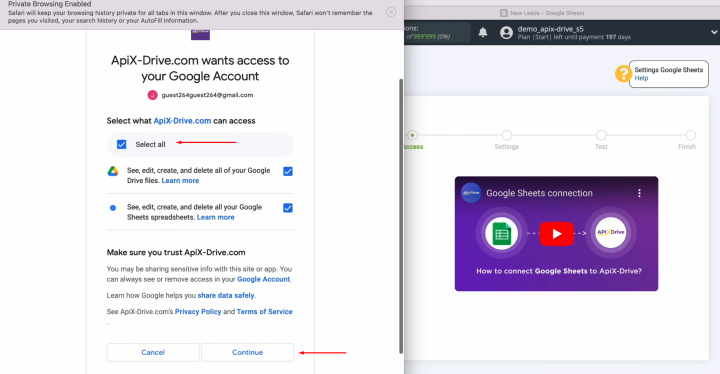
Make sure
to provide ApiX-Drive
access to work with your Google account. Check the box “Select all” and click “Continue”.
When the
connected login appears in the list of active accounts, select it and click
"Continue".
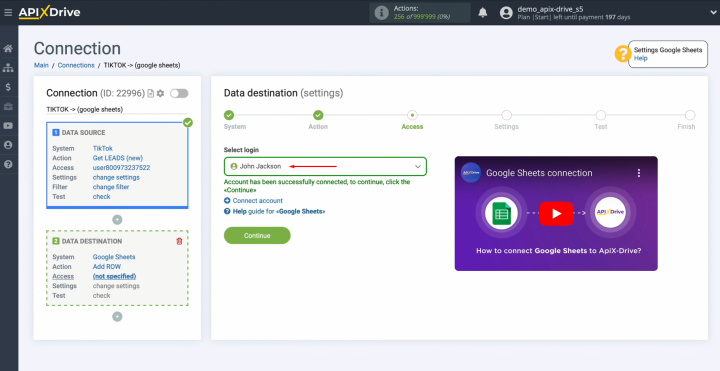
At this stage, you have to select the file and sheet to
which new leads from TikTok will be added. Now you see
Google Sheets columns into which you can assign data from TikTok.
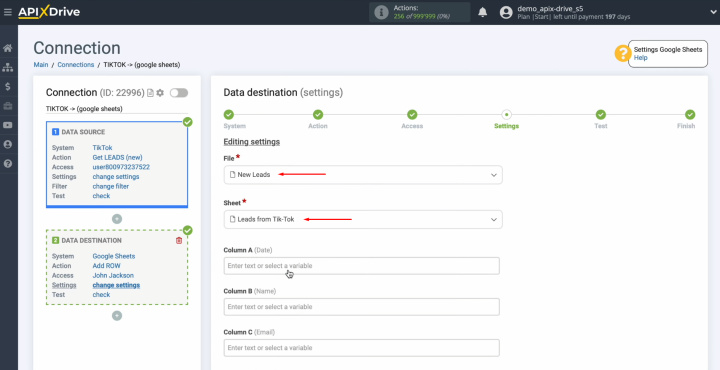
To do this,
click in the field and select a variable from the drop-down list.
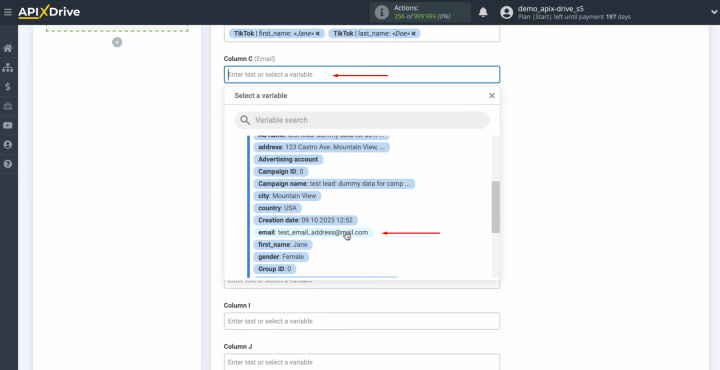
Please note that you can use not only variables from
the drop-down list but also enter data manually.
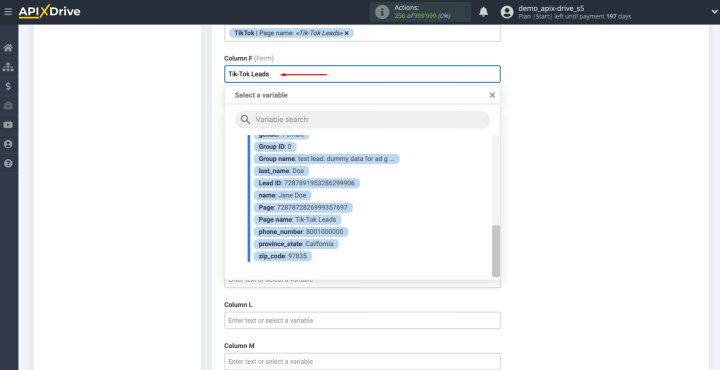
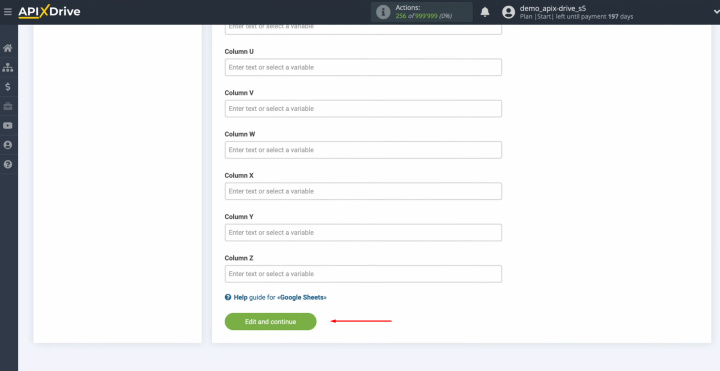
When all
required fields are filled in, click "Edit and continue".
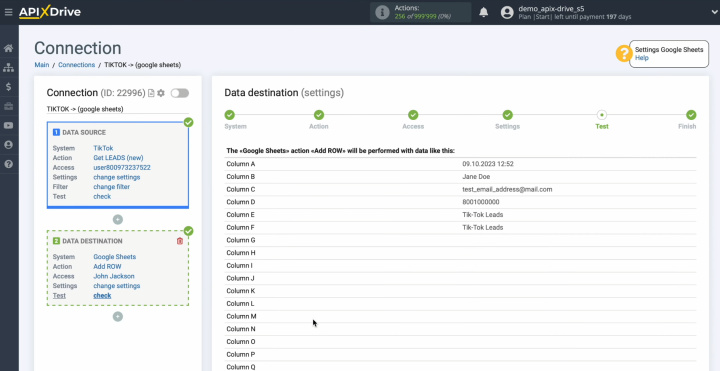
At this point, you see an example of the data that
will be transferred to Google Sheets as new rows for each new lead from
TikTok.
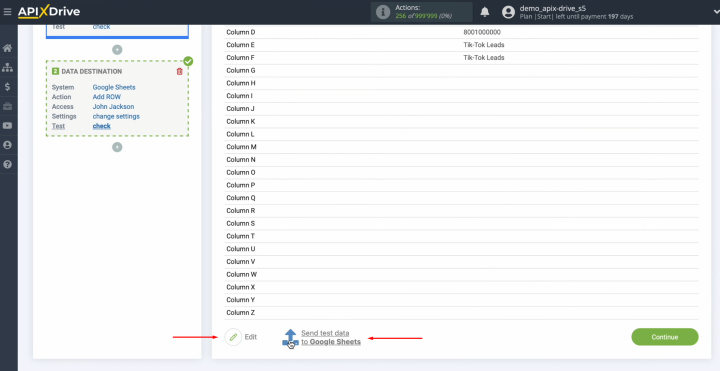
If you are
not satisfied with something, click "Edit", and you will go back a
step. To check the correctness of the settings, click "Send test data to Google Sheets".
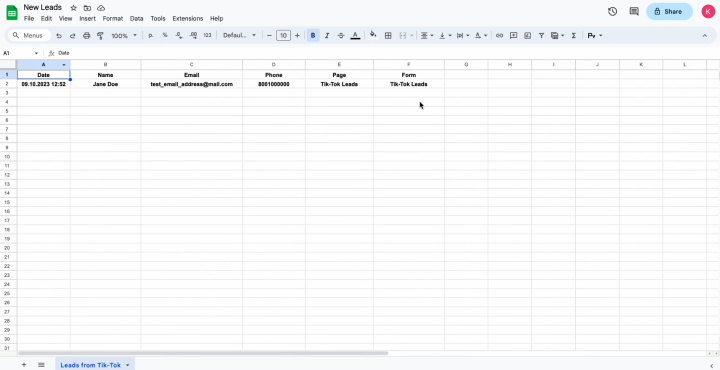
After
successful submission, go to Google Sheets and check the result.
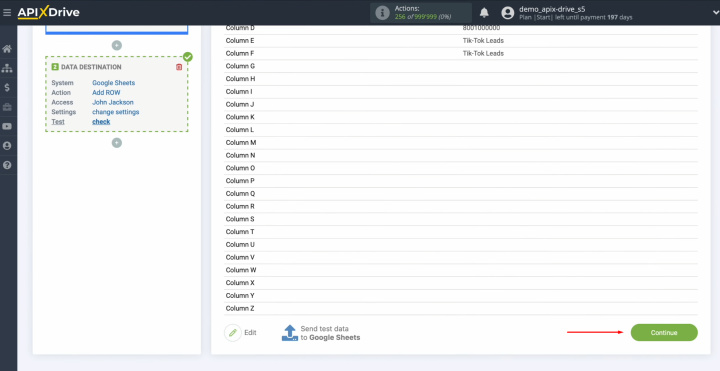
If you are
satisfied with everything, return to the ApiX-Drive system and continue setting it up. For this, click “Continue”. This completes the setup of Google Sheets as a data
destination.
Setting Up Auto-Update
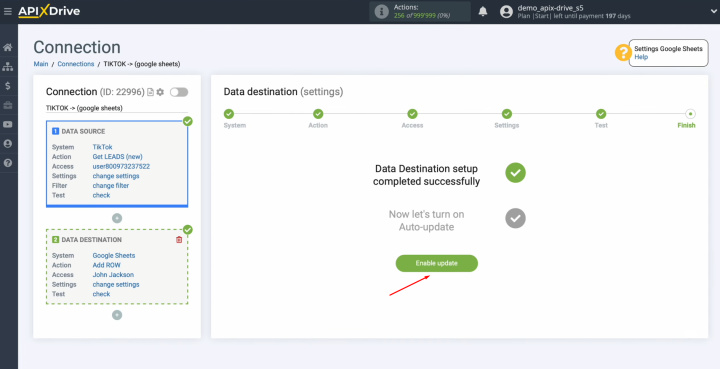
In order for data transfer to occur automatically, you need to configure auto-update. Click on the green button “Enable update”.
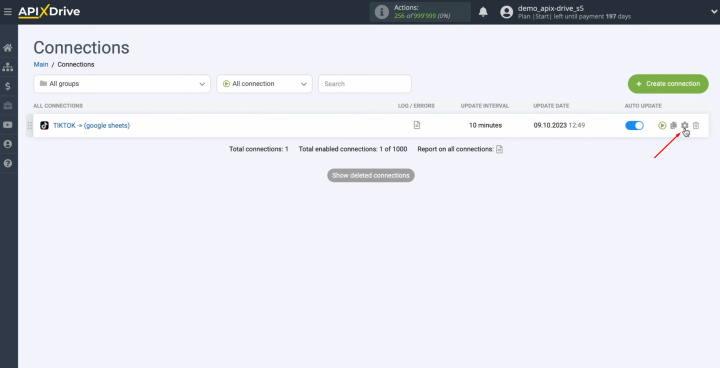
Click on the gear button.
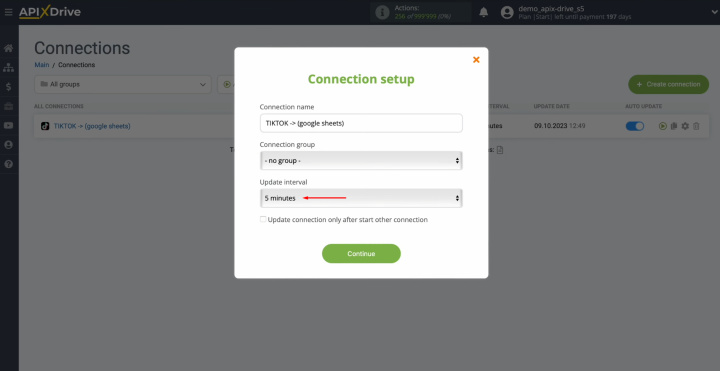
Select the interval for the
operation of the connection. For example, once every 5 minutes. In addition,
here you can change the name of the connection and assign it to the required
group. Click “Continue”.
The Result is Google Sheets + TikTok Integration
If you strictly followed our instructions, you were most likely able to set up the TikTok Google Sheets integration and start automatic data transfer. This will allow you to no longer transfer leads' contact information from the social network into tables using the copy-paste method. In your spare time, you will be able to solve problems of a higher level of importance or generate new creatives for promotion that will benefit your business. Automation of business processes is a trend today. In the near future, those who do not apply it will inevitably lose to competitors. The ApiX-Drive online connector is a powerful yet extremely easy-to-use tool. With its help, you can quickly set up the automated system connection you need, which will give you the opportunity to improve your performance, increase your competitiveness and save your budget.
Routine tasks take a lot of time from employees? Do they burn out, do not have enough working day for the main duties and important things? Do you understand that the only way out of this situation in modern realities is automation? Try Apix-Drive for free and make sure that the online connector in 5 minutes of setting up integration will remove a significant part of the routine from your life and free up time for you and your employees.
