Integration of Google Sheets and Monday.com: Transferring New Rows to the Task Manager
Monday.com is a multifunctional task manager used for managing projects and tasks. It makes it possible to focus almost everything related to workflows on one platform. If part of the work is done in Google Sheets, the need to transfer data from there to the task manager will arise regularly. This article will show you how to set up the automatic transfer of new rows from Google Sheets to Monday.com.
Google Sheets is a cloud-based spreadsheet program. The product is included in the free Google Drive office services package. It is mainly used for personal needs and business, in particular in the field of e-commerce, as well as in the field of education. Google Sheets gives you the ability to create and edit spreadsheets individually or online with colleagues.
Monday.com is a task manager that is a "virtual office". It has many useful tools for effective project and task management, as well as increasing productivity. The service allows you to plan employment, track work processes, and control the workload of employees. It is most commonly used in marketing, sales, CRM, design, HR, and IT companies.
Both individual entrepreneurs and companies often work with Google Sheets today. When Monday.com expands its arsenal of services, it becomes necessary to transfer data from tables to the task manager. Doing it manually is inconvenient and time-consuming. Google Sheets and Monday integration will increase productivity and significantly speed up the workflow. By combining them through ApiX-Drive, you automate routine and frequently repeated actions, improve the quality of interaction among colleagues, and reduce the percentage of errors. Using this connector, you can easily and quickly set up the launch of actions on one platform after events on another, and also transfer those processes that were previously performed manually to automatic mode.
How to Set up Google Sheets and Monday.com Integration
An IT specialist can help you create Monday and Google Sheets integration via API. However, this may require a not-so-small investment of time and money. ApiX-Drive Online Connector is a no-code solution that will save you resources. Our service has an intuitive interface and an algorithm for working with it. It will help you make such a connection in just 5–10 minutes. To achieve this, you just need:
- Select services to configure communication between them.
- Specify what actions should be performed between platforms.
- Enable auto-update mode.
The configured Monday.com + Google Sheets integration works like this: when a new row appears in Google Sheets, the ApiX-Drive connector passes this data to Monday.com. To start this process automatically, you need to follow a few simple steps: configure the data source and destination, and remember to enable auto-update. Let's get started!
Data Source Setup – Google Sheets
The first step in setting up Google Sheets integration is to create a new connection.
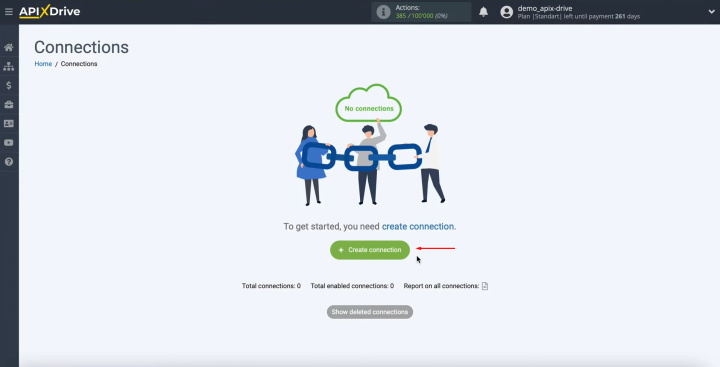
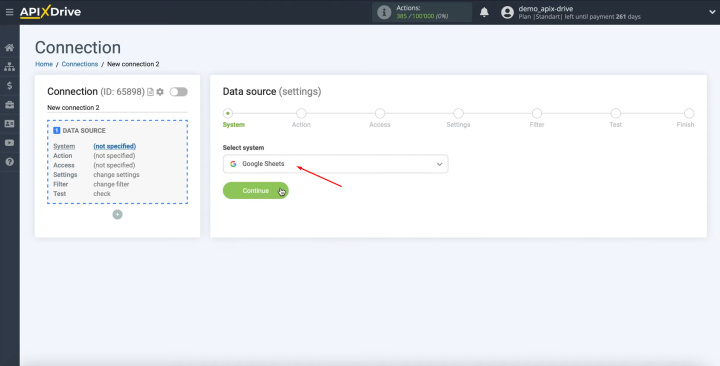
Next, you need to select Google Sheets as a data source system and click the "Continue" button.
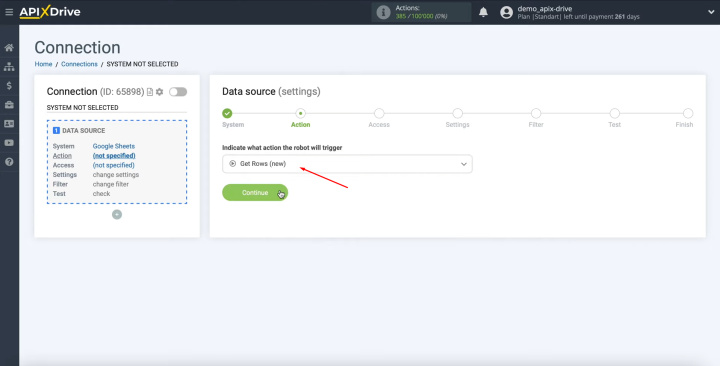
At this point, you have to select the “Get Rows (new)” action and click the "Continue" button.
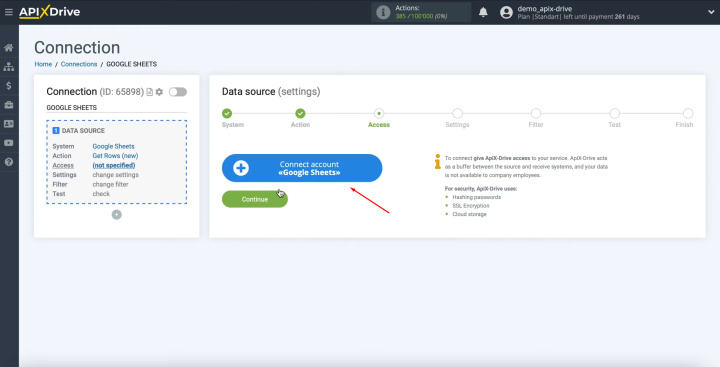
You have to connect your Google Sheets account to the ApiX-Drive service. Click the blue button labeled "Connect account Google Sheets".
In this window, we need to specify the username of the Google personal account.
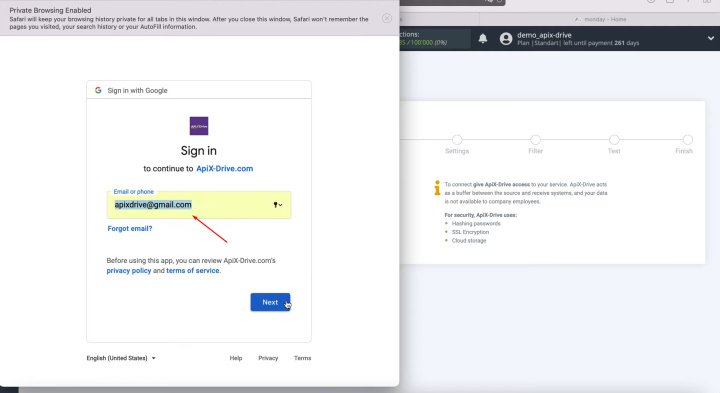
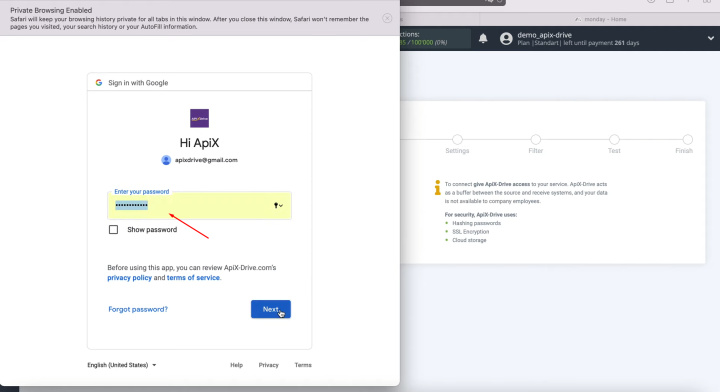
Then enter the password for the Google personal account. After entering your password, click "Next".
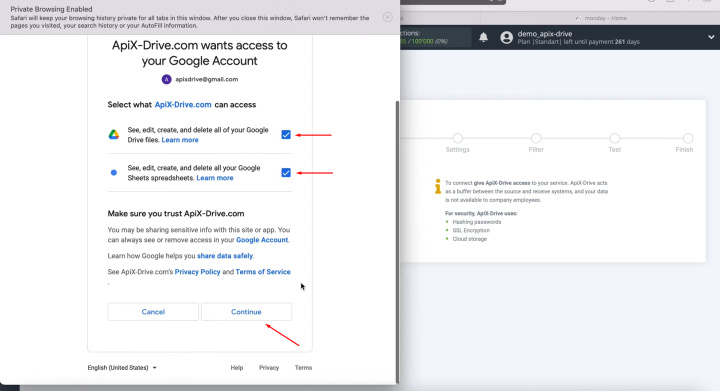
Next, be sure to check all the checkboxes for access. Click "Continue".
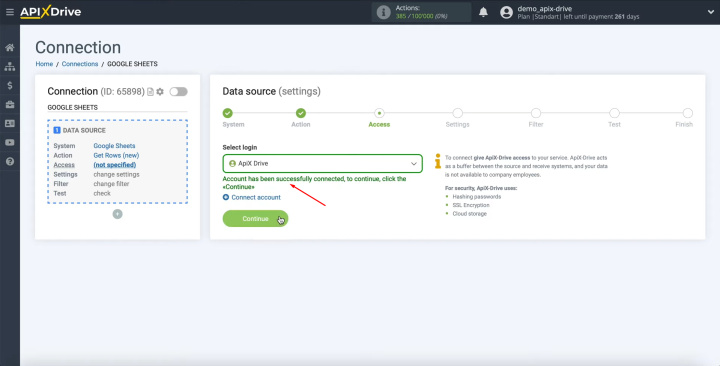
When the connected login is displayed in the list, select it. Click "Continue".
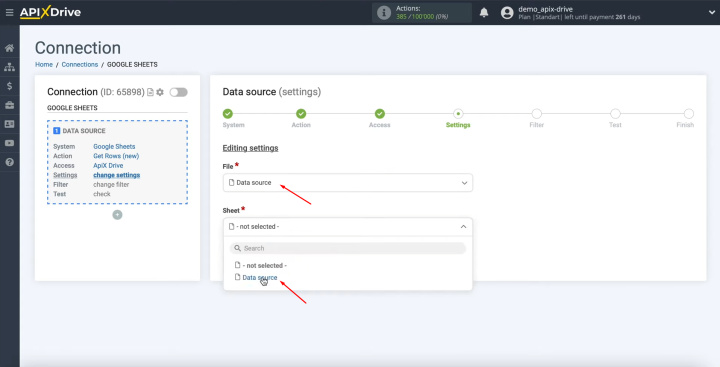
Next, you need to specify the file and sheet from which you plan to
receive new rows.
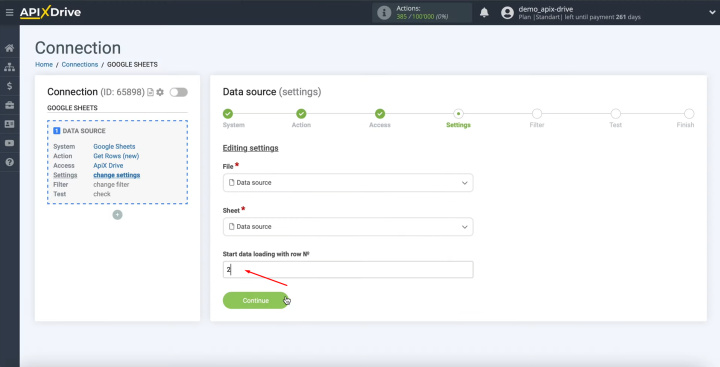
In the field “Start data loading with row N”, you must specify the number of the row from which you want to start
unloading.
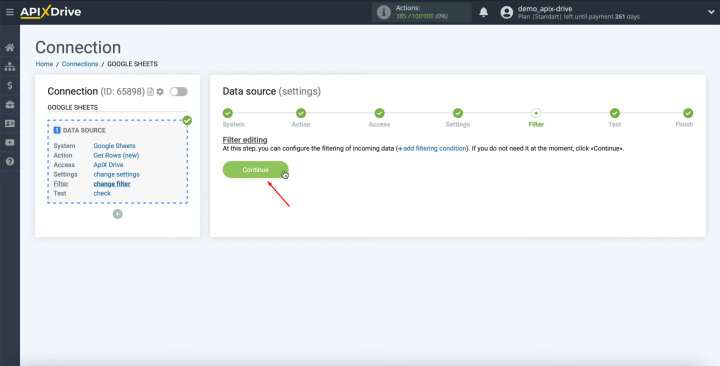
At this stage, you can set up a data filter. In this case, there is no
need for this, so just click “Continue”.
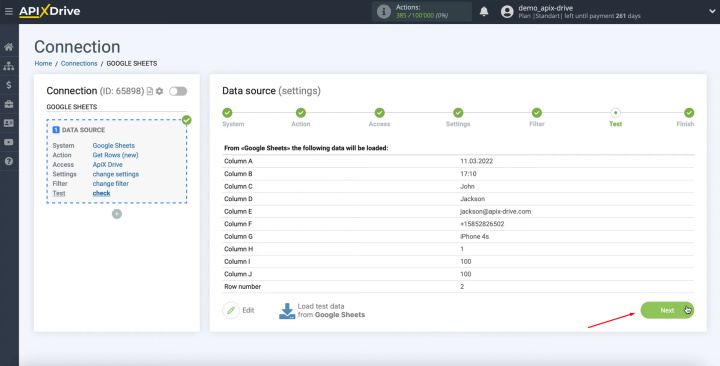
At this point, you see an example of the string you specified in the
settings. If everything suits you, click “Next”.
On this, the setting of the “Data Source” has been
successfully completed. Now you need to proceed to the setting of “Data
Reception” to complete Monday + Google Sheets integration.
Data Receiver Setup – Monday.com
The first step in setting up Monday integration is to click the button "Start Configuring Data Reception".
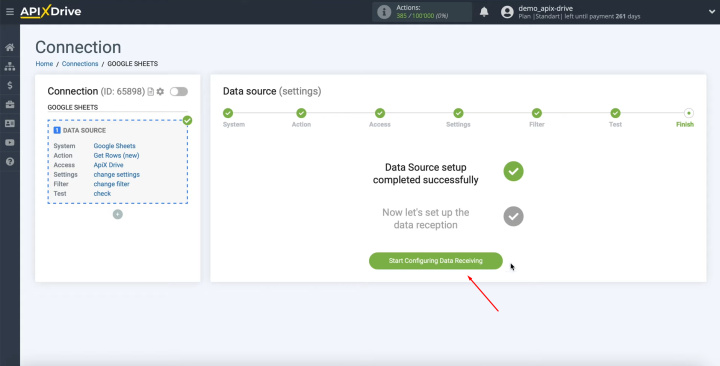
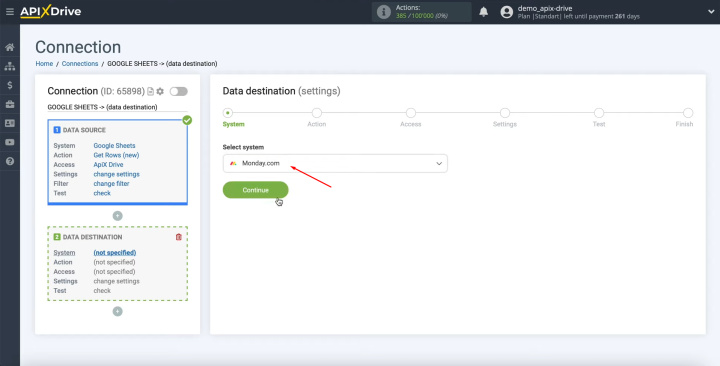
We chose Monday.com as the data reception system.
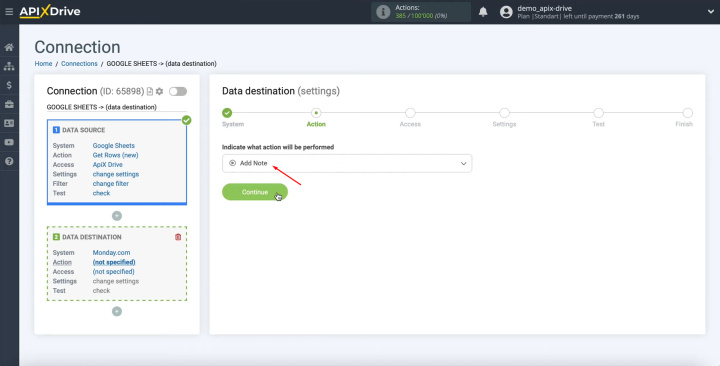
Next, you need to select the “Add Note” action. Click "Continue".
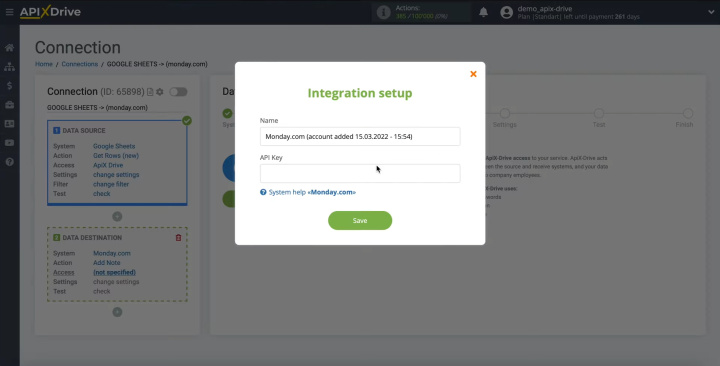
At this stage, you have to connect your Monday.com account to the ApiX-Drive service. Click the blue button labeled "Connect account Monday.com”.
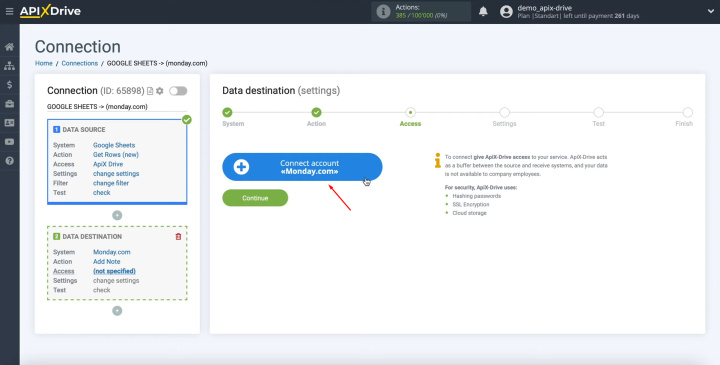
In this window, you have to specify the API key.
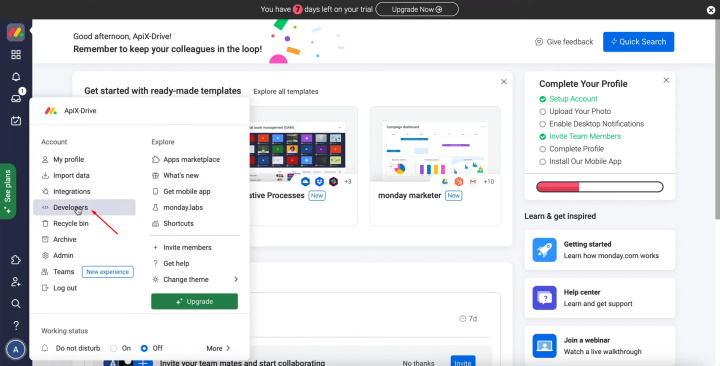
To get it, go to your Monday.com personal account and its settings. Select “Developers”.
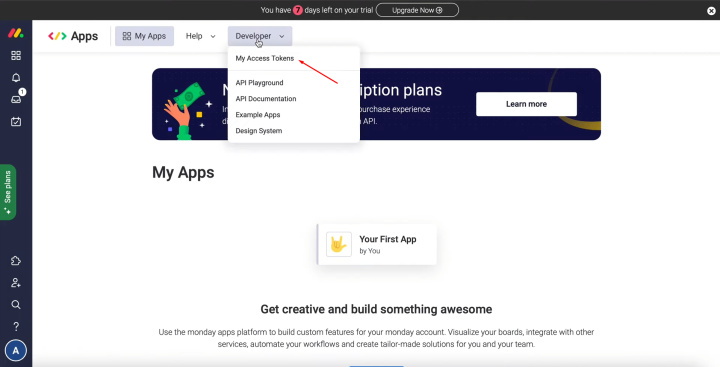
In this section, click "Developer" and select "My Access Tokens".
Click “Show”.
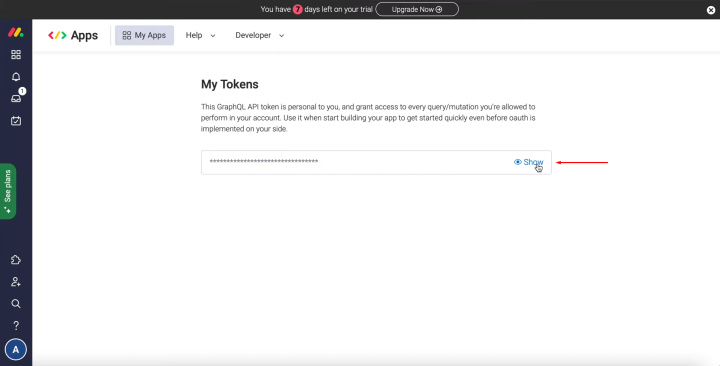
Copy the API key.
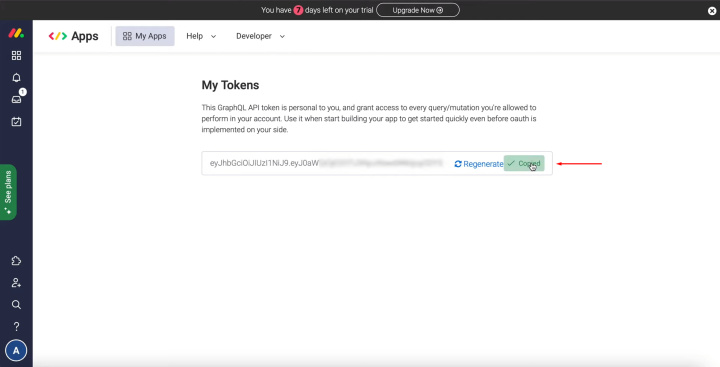
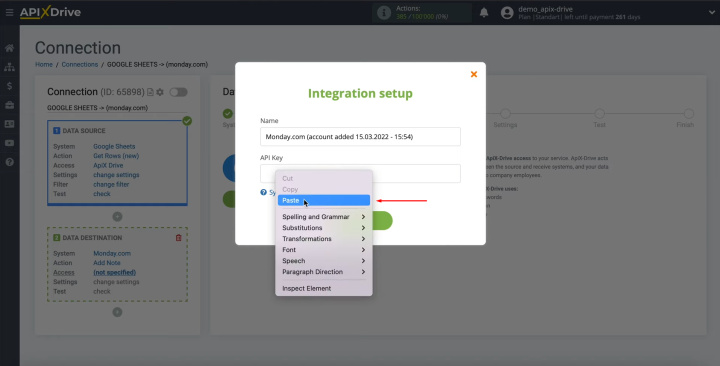
Paste the key into the corresponding field
in the ApiX-Drive system.
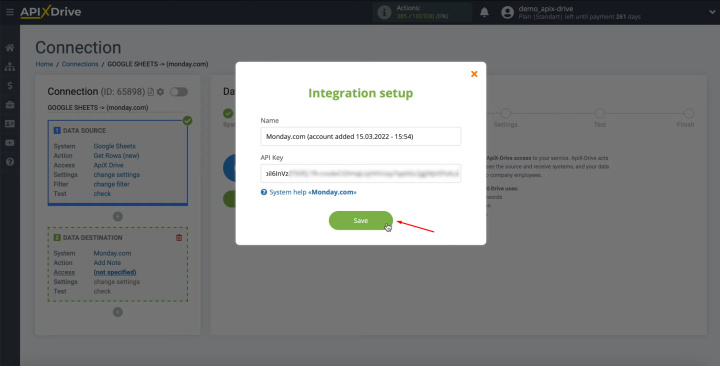
When the required field is filled in, click “Save”.
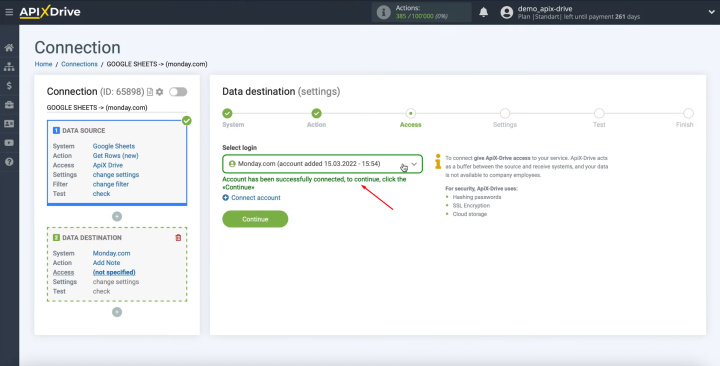
When the connected login is displayed in the list of active accounts, select it and click “Continue”.
At this stage, you need to select the board on which you want to add new
entries.
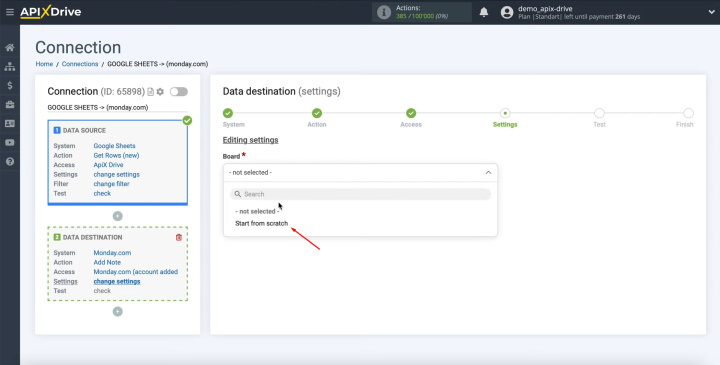
Also, you need to specify a group.
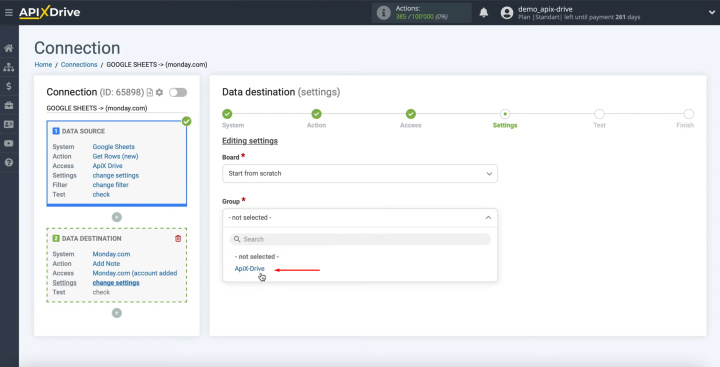
You now see the fields for creating a new note on Monday.com. You can assign variables to these fields from Google Sheets. To achieve this, click in the field and select a variable from the drop-down
list.
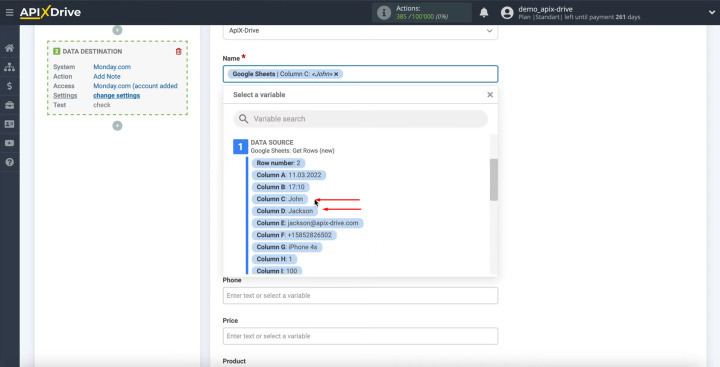
When all required fields are filled in, click “Continue”.
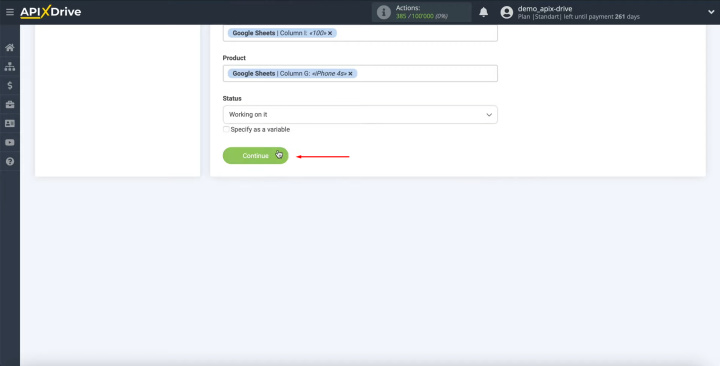
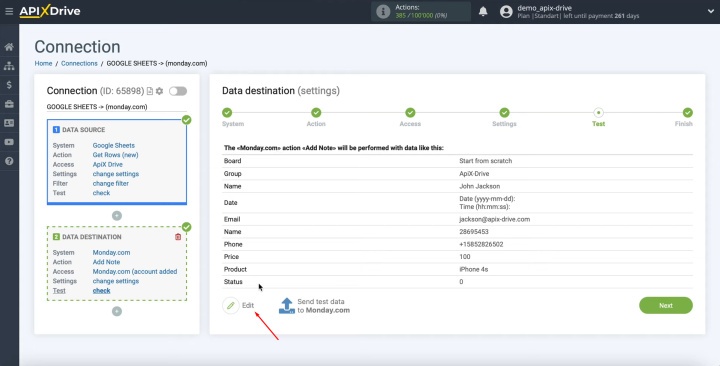
At this point, you see an example of the data that will be sent to Monday.com as new entries for each new row from Google Sheets. If something does not suit you, click “Edit” and go back one step.
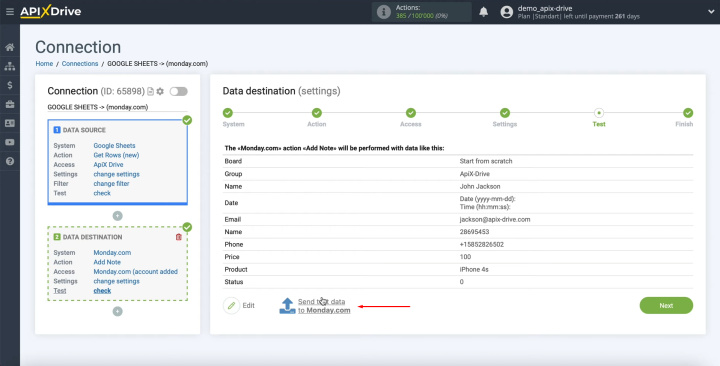
To check the correctness of the settings, click “Send test data
to Monday.com”.
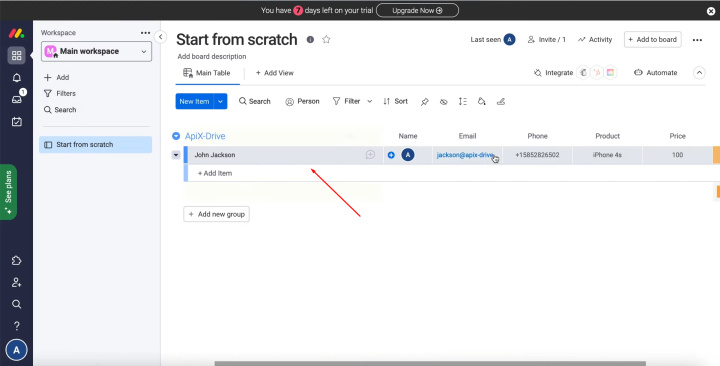
After a successful submission, go to Monday.com and check the result.
If everything suits you, return to the ApiX-Drive service and
continue the configuration.
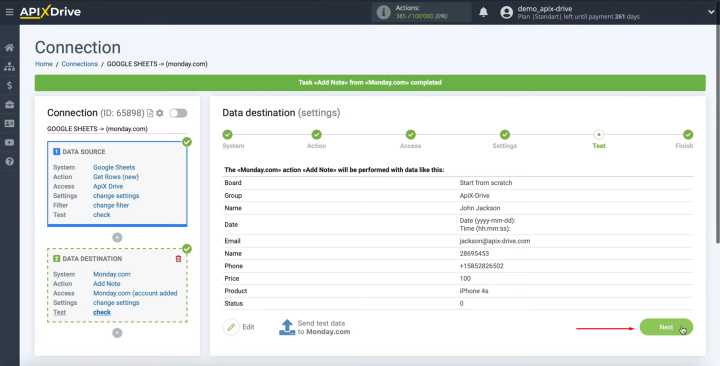
This completes the setup for receiving Monday.com data successfully. To complete the Google Sheets + Monday integration, you need to configure auto-update.
Setting the Auto-update Mode
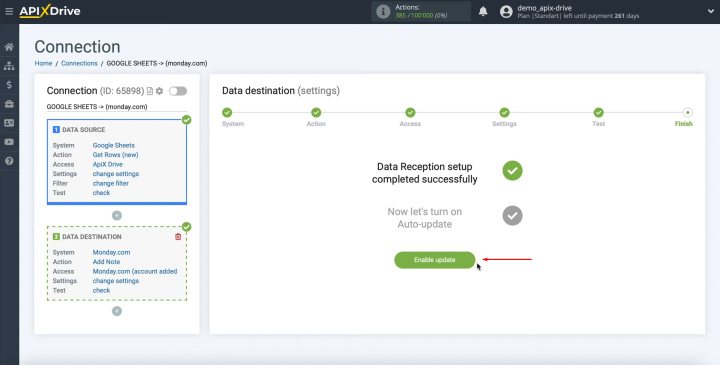
Now you need to enable auto-update and select the communication interval, for example, once every 5 minutes. Click the green button labeled “Enable update”
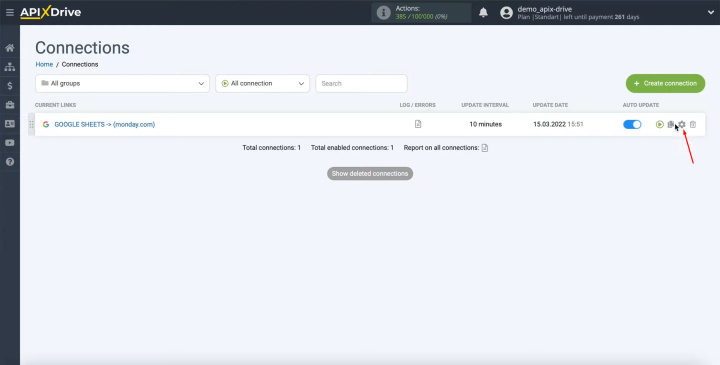
In the window that opens, click on the gear icon.
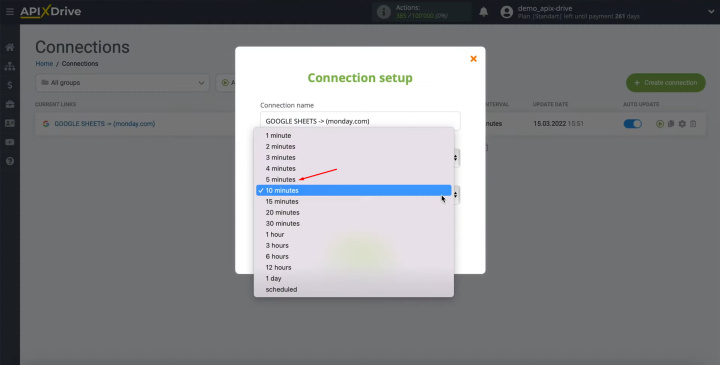
Select 5 minutes in the "Update interval" column.
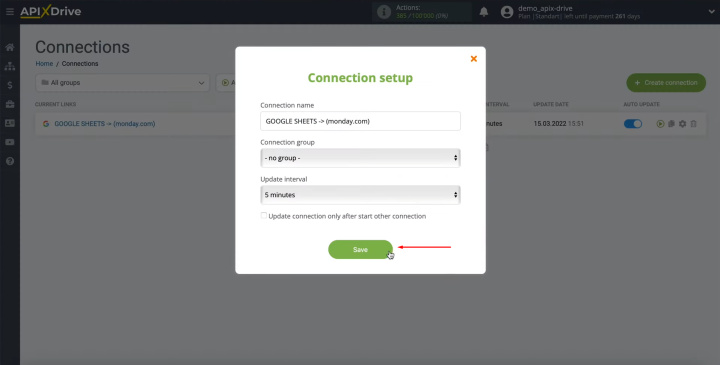
Then click the "Save" button.
That's all. The Google Sheets + Monday.com integration is complete.
The Result of Monday.com and Google Sheets Integration
So, the connection between Google Sheets and Monday.com has been set up and successfully tested. Thanks to ApiX-Drive, everything took about 10 minutes. Now, when new data appears in spreadsheets, it will automatically be entered into the task manager. By integrating Google Sheets with Monday.com, you no longer have to manually transfer data from one platform to another, and in your spare time, you can do more important tasks. Almost every PC user can set up such a connection. Programming knowledge and skills are not required for this.
Apix-Drive will help optimize business processes, save you from a lot of routine tasks and unnecessary costs for automation, attracting additional specialists. Try setting up a free test connection with ApiX-Drive and see for yourself. Now you have to think about where to invest the freed time and money!
