Salesforce CRM and Todoist integration: Leads into Tasks Conversion
Salesforce is a popular platform that offers a range of cloud services to support various business processes. This is a whole family of tools and applications that allow almost any business to create an optimal working environment. In this article, we'll show you how to setup Salesforce CRM and Todoist integration. If you regularly transfer or plan to transfer information from CRM to a task manager, this tutorial will help you save time.
Salesforce is a huge ecosystem with a rich selection of tools and applications. But in all the variety of functionality, the CRM core still remains a key component of the platform. Salesforce CRM users can store data in the cloud, manage sales, and organize business communications with customers. In the basic version, the system offers a convenient structure of standard objects, where, of course, leads play one of the main roles.
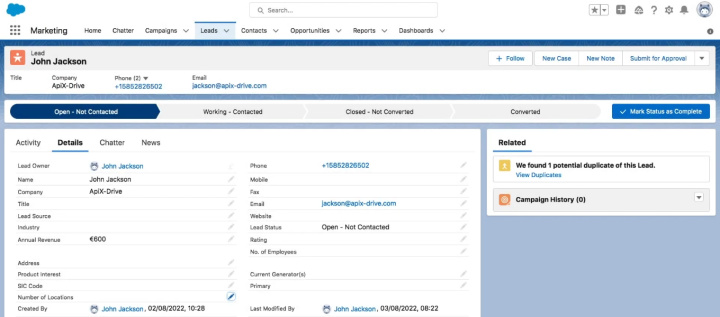
So, we will consider a situation where there is a regular task to transfer new leads from Salesforce CRM to Todoist account(s). Lead processing is often a process that involves several employees at once. The data may be needed by the head of the department, marketer and other colleagues. If employees who need information about a lead use the Todoist task manager, the process of transferring data can be as simple as possible. Set up Salesforce and Todoist integration and provide automated conversion of new leads from CRM into tasks on the side of the task manager.
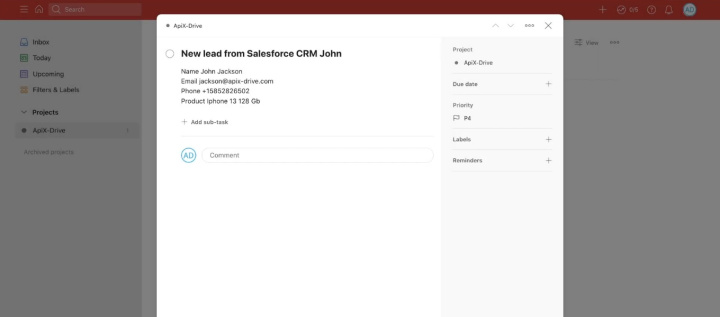
How to setup Salesforce CRM and Todoist integration
The ApiX-Drive service allows you to link various systems and applications without the involvement of programmers. The integration is set up in just a few minutes, and as a result, you get an automated workflow and get rid of a routine task. The ApiX-Drive online connector monitors changes in the data source, loads the required information, and triggers a specific action in the receiver.
The list of possible actions depends on the service involved in the integration. We will connect Salesforce CRM as a data source. There are more than ten possible actions for this platform. You can upload modified and new accounts, tasks, orders, contacts, etc. In our case, we will set up the transfer of new leads. Each lead that appears in Salesforce will be automatically converted into a Todoist task. Let's take a look at how such an automated process is set up.
Salesforce CRM setup
Sign up on our website, follow the steps below, and set up an automated data transfer from Salesforce CRM to Todoist.
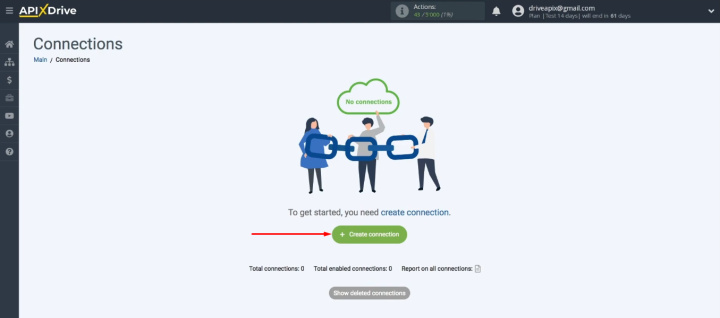
Log in to your personal ApiX-Drive account, click “Create connection”.
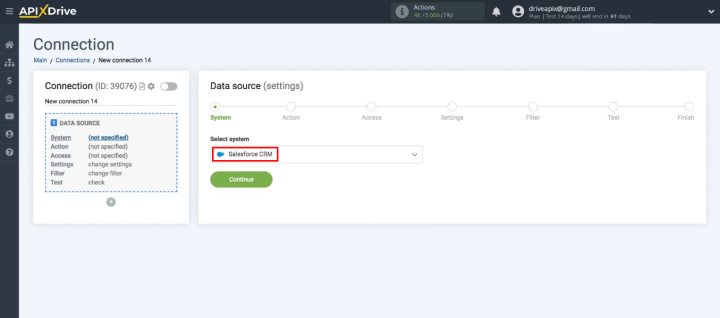
Select the system that will be the data source. In our case, this is Salesforce CRM.
Select the action “Get Leads (new)”.
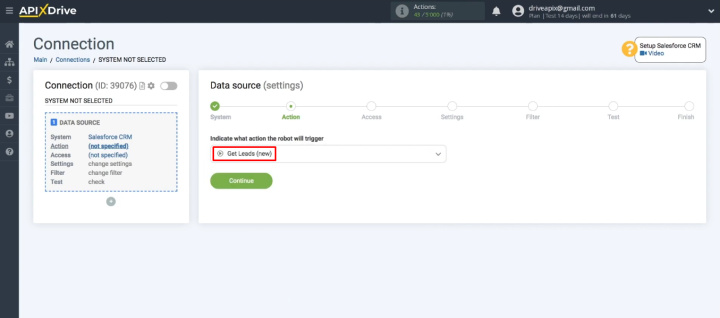
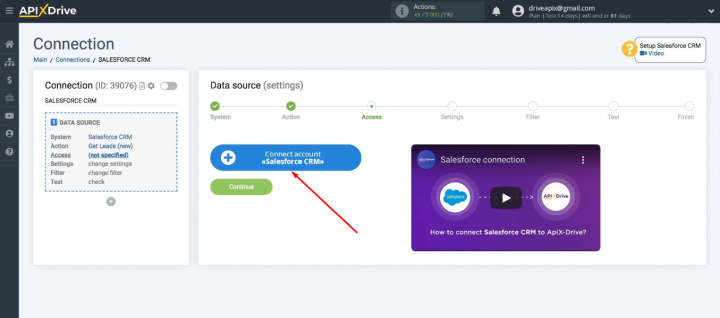
You need to connect your Salesforce CRM account to the ApiX-Drive system.
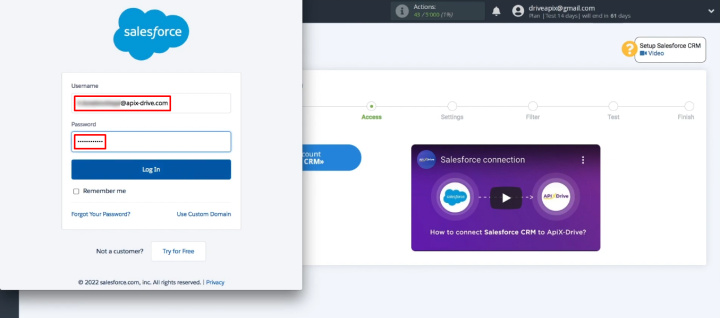
Enter your Salesforce account username and password.
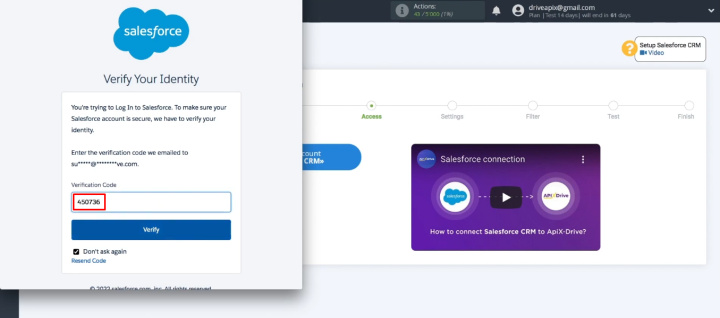
In the next window, enter the verification code, which you should receive by mail. Fill in the field and click "Verify".
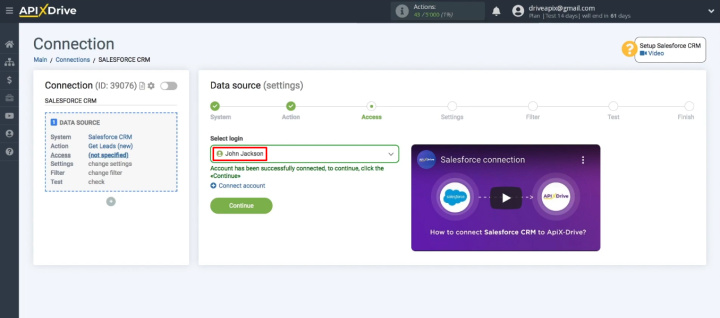
Select your connected Salesforce account and click "Continue".
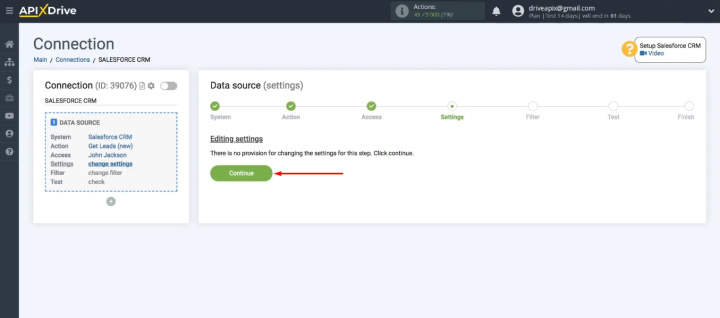
We skip the “Settings” stage. This step does not require any action to set up Salesforce.
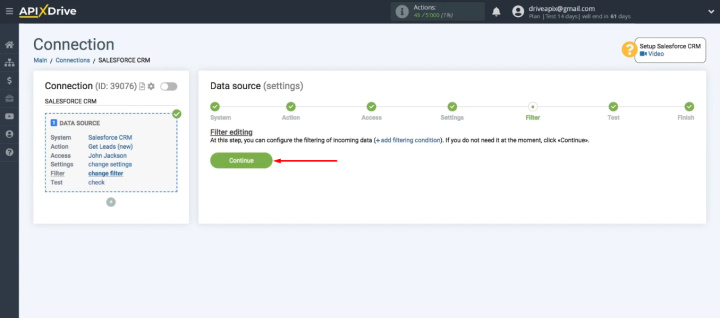
Next is the “Filter” stage. Here you can add conditions to filter the data. Select the field/parameter that the system will check. You can use different conditions to check: contains, empty, greater, less, not empty, etc. You have the ability to build complex filtering chains by combining conditions using logical “AND” and “OR”.
In our example, we will simplify the task. Let's say that we need to transfer all new leads from Salesforce CRM to Todoist, so we will skip the filtering step (click “Continue”).
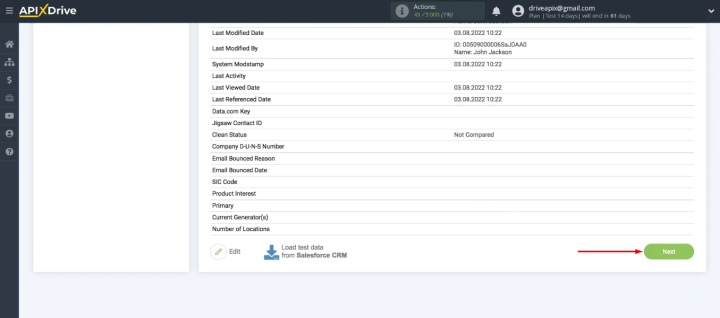
At the “Test” stage, check the sample data that was loaded from CRM. Naturally, you must have a lead in a connected Salesforce account. After checking the data, click "Next".
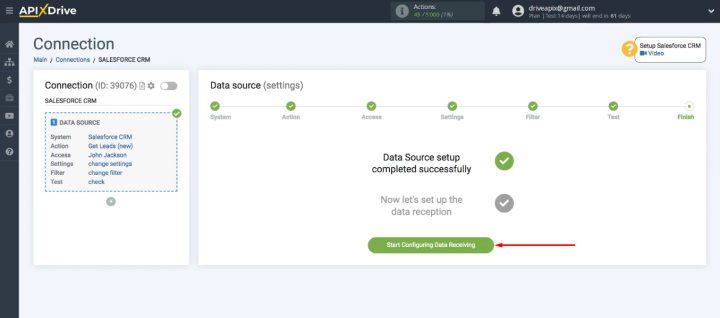
The data source is configured. Click “Start Configuring Data Receiving”.
Todoist setup
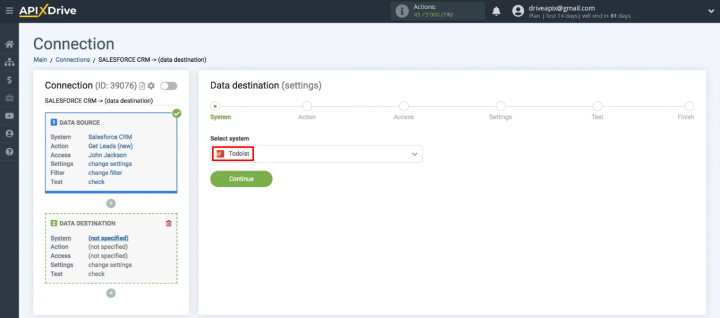
Select Todoist as the receiving system.
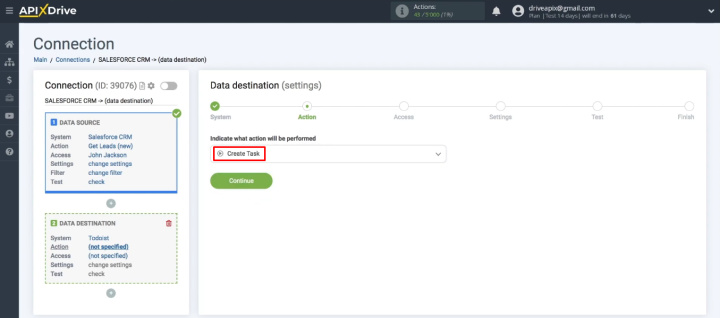
Define the action that will be triggered – "Create Task".
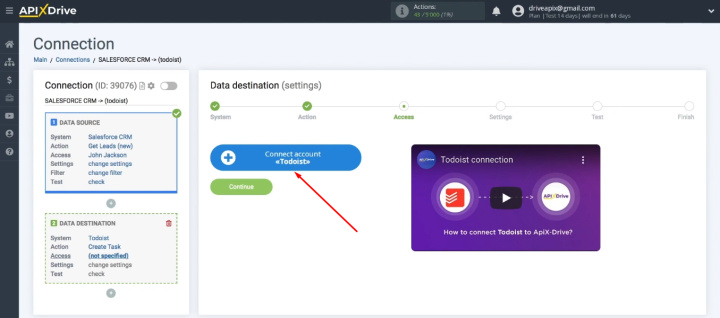
Click "Connect account Todoist".
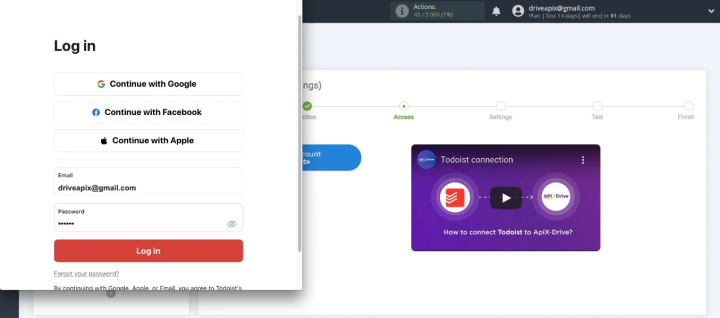
Enter your Todoist account username and password, or use other authorization options available.
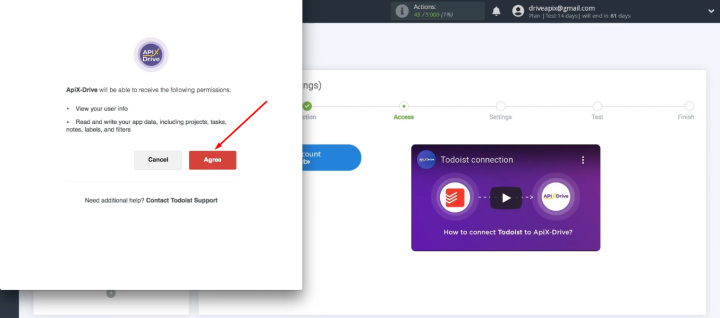
Grant permission to the ApiX-Drive system to work with your Todoist account - click "Agree".
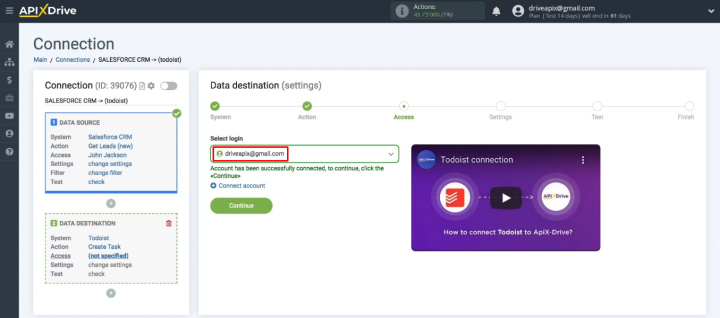
In the next step, select the connected account and click "Continue".
Select the Todoist project where new Salesforce leads will be transferred.
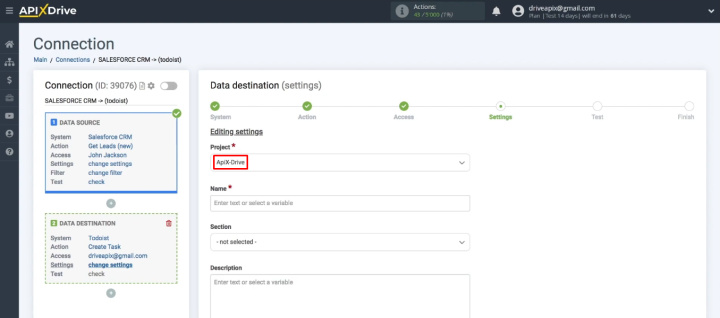
The data from the Todoist fields will be used to create tasks. Let's set them up. To assign a variable, click in the field and select a value from the list.
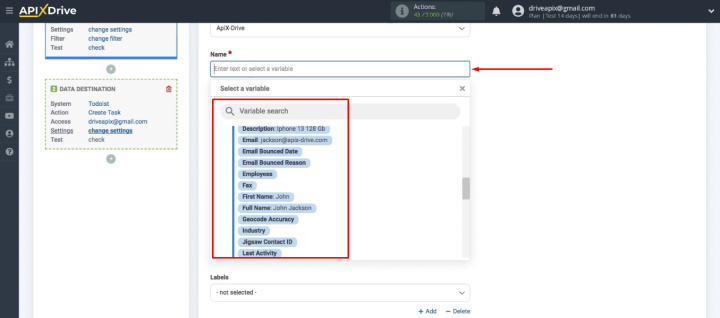
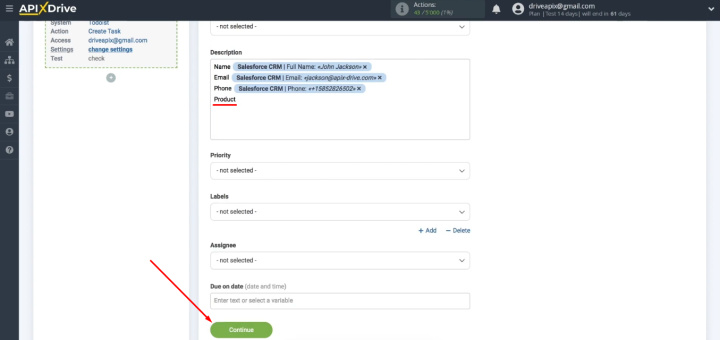
Also use your text to organize the data in a convenient format. When all the required Todoist fields are set up, click "Continue".
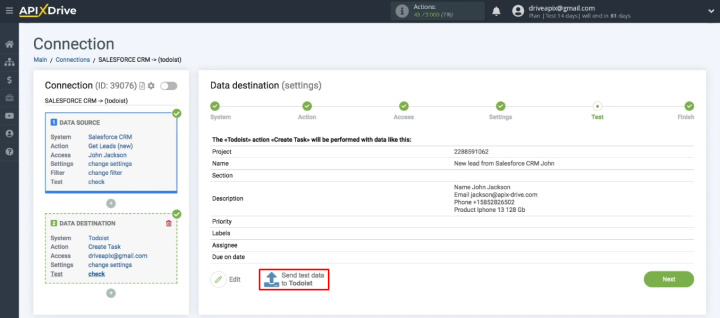
Check out the sample test data. Click "Send test data to Todoist".
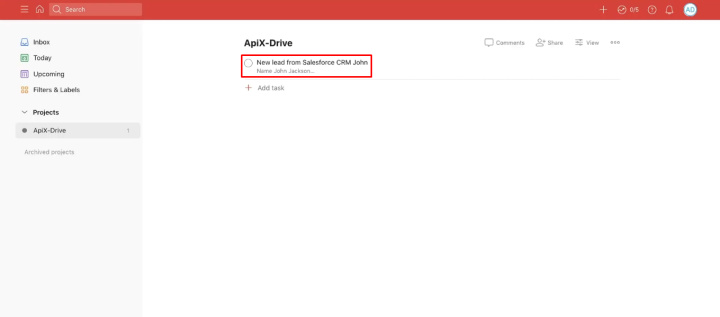
Go to the Todoist project. Check for a new task, as well as the correctness of the data in the card.
Return to the ApiX-Drive system and continue with the configuration (click “Next”).
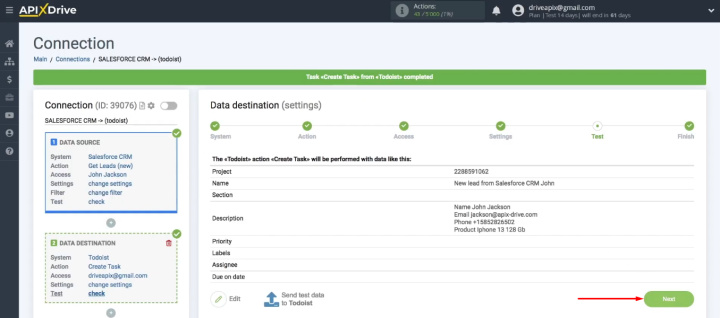
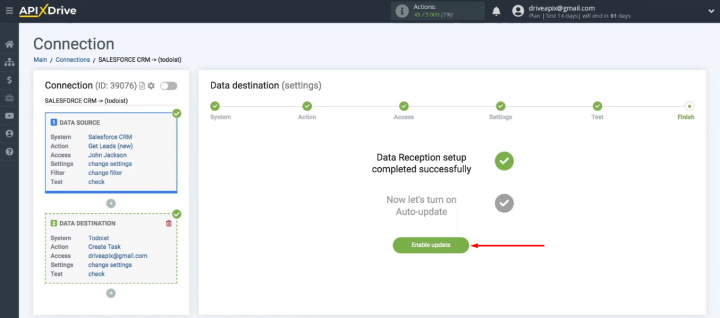
Enable auto-update
Our connection is working correctly. To start the integration, click on “Enable update”.
The integration you created appears in the list of your connections. Each link has a set of buttons next to it. You can go to the “Log/Errors” section, run the integration manually, delete or copy the link. Through the “gear” you will be taken to the settings where you can add integration to the group, change the name and choose the data update interval.
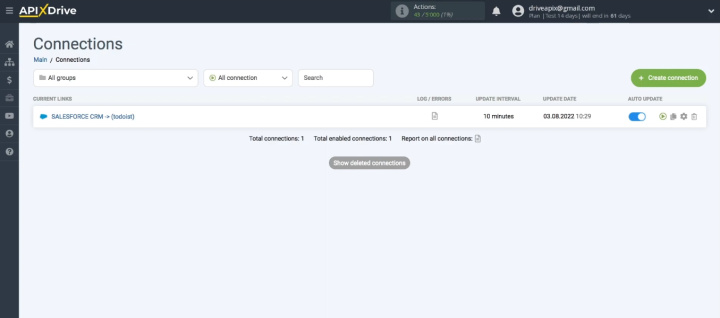
Result of connect Salesforce and Todoist
Using the ApiX-Drive online connector, we connected Todoist with Salesforce services. Each new lead that appears in the connected CRM account will be automatically transferred to the task manager. Naturally, you can create many of these connections to automate the distribution of important data to all participants in the lead processing process as much as possible.
- Automate the work of an online store or landing
- Empower through integration
- Don't spend money on programmers and integrators
- Save time by automating routine tasks
To create integrations in the ApiX-Drive system, programming skills or special knowledge are not required. The online connector offers an intuitive interface and a simple setup process. Switch routine operations to automatic mode and free up time for more important tasks.
Routine tasks take a lot of time from employees? Do they burn out, do not have enough working day for the main duties and important things? Do you understand that the only way out of this situation in modern realities is automation? Try Apix-Drive for free and make sure that the online connector in 5 minutes of setting up integration will remove a significant part of the routine from your life and free up time for you and your employees.
