Elopage and Google Sheets Integration: Automatic Data Synchronization
Elopage is a B2B platform for internet entrepreneurs who are launching their own online courses and other digital products. Google Sheets is a convenient and reliable tool for working with and storing data obtained from this platform. Working with both services will be much faster and more efficient if you automate the process of transferring data between them. This can be done by integrating both systems using our online connector, ApiX-Drive. In this article, you will learn how to set up Elopage and Google Sheets integration and thus automate the transfer of new data from the platform for launching digital products to the spreadsheet.
Automatic data transfer will free you from one of the routine daily operations. Its main value lies in the significant reduction in time and effort, as well as in minimizing errors due to the influence of the human factor. In addition, the integration of the platform for launching digital products and spreadsheets will provide an opportunity to increase the speed of data processing. This will improve your productivity and enhance efficiency.
You will receive the first results of Google Sheets and Elopage integration using our codeless online connector ApiX-Drive immediately after setting it up. New data (for example, orders from a digital product sales management platform) will be automatically transferred to the spreadsheet you select as new rows. This will save you from having to manually enter various information about buyers of digital goods: their names, contact phone numbers, email, product names, and prices. As a result, you will not only optimize your activities but also provide your customers with quality service and quick feedback. This way, you can stand out from competitors who have not yet used automation in sales.
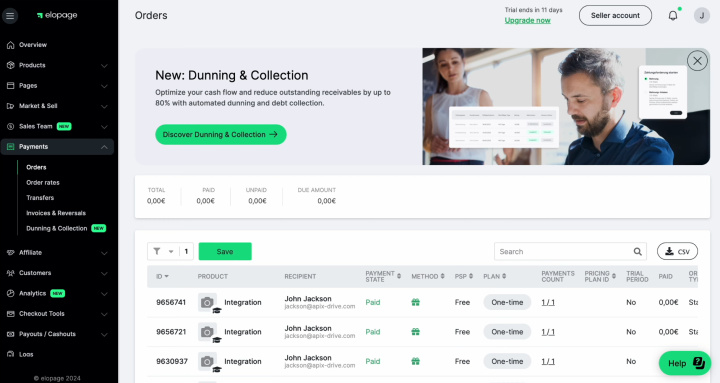
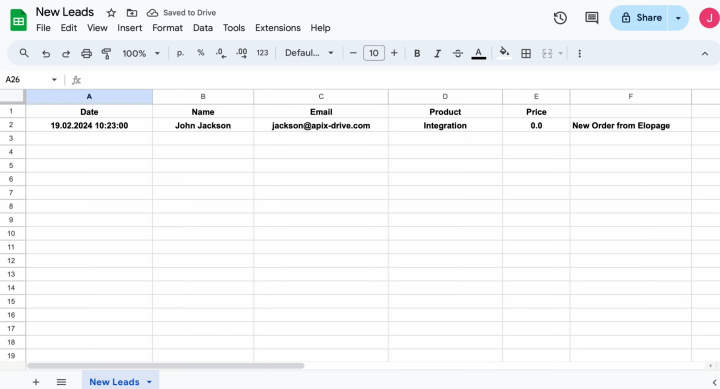
How to Integrate Elopage and Google Sheets
To create and launch the Elopage + Google Sheets integration today, there is no need to urgently dive into studying the details of the API. You won't need outside help either. Our online connector will do all the work. Its functionality allows for the integration of different systems simply and quickly. Thanks to the intuitive interface, setting up communication between the systems you need takes no more than ten minutes. Even if any difficulties suddenly arise, there is no need to worry. Especially for you we have prepared detailed guides and video instructions that will help you do everything right.
The first step is registration on the ApiX-Drive website. Once you have received your personal account, you can proceed directly to system integration.
Setting up the Data Source – Elopage
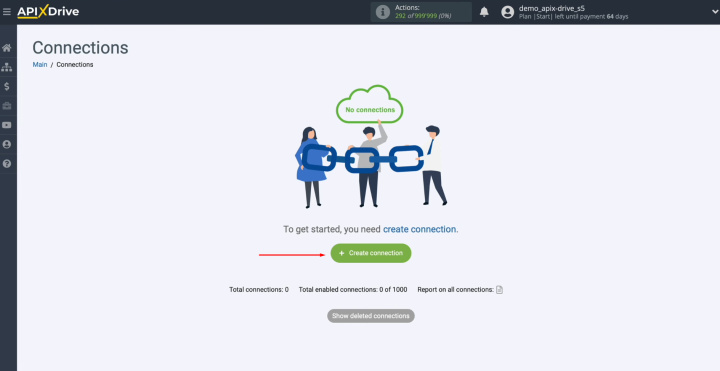
To set up Elopage integration with Google Sheets, first, you have to create a new connection. For this, click on the green button.
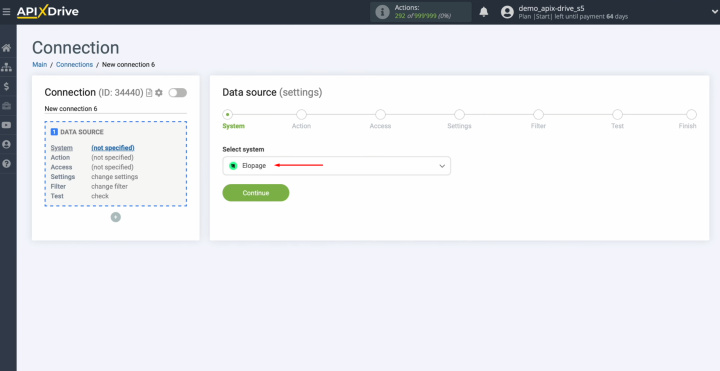
Select the data source system – Elopage. Click “Continue”.
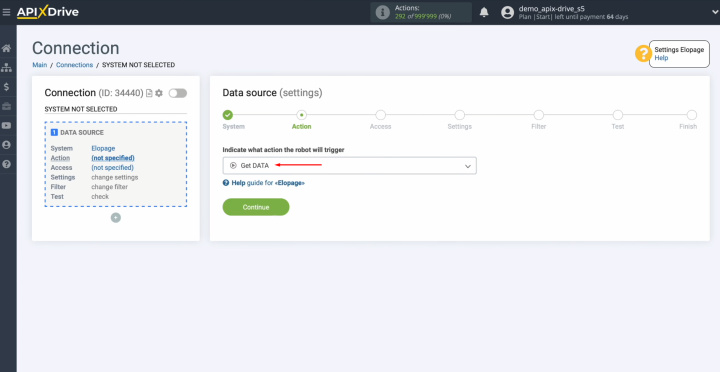
Select the action "Get DATA". Click “Continue”.
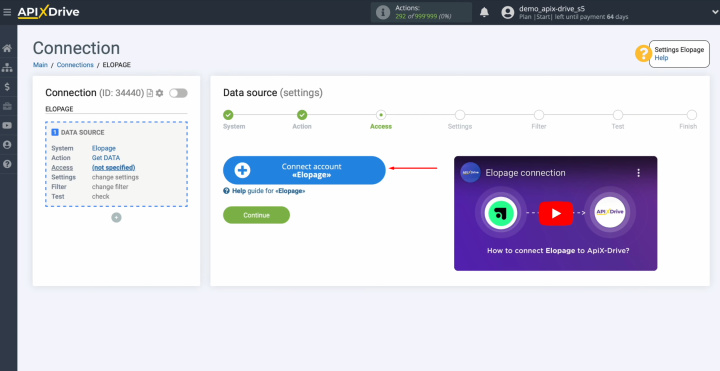
Create a virtual Elopage account in the ApiX-Drive system. For this, you have to click on the blue
button.
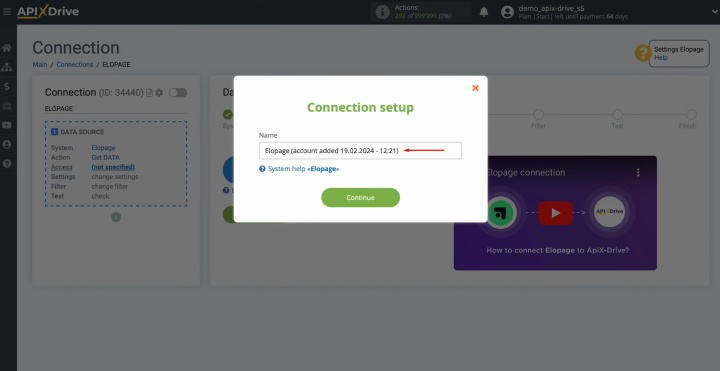
Change the name of the connection, or just click
“Continue”.
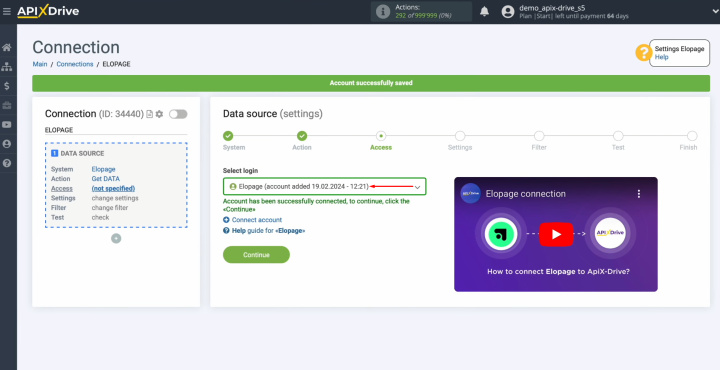
When the connected login appears in the
list, select it and click “Continue”.
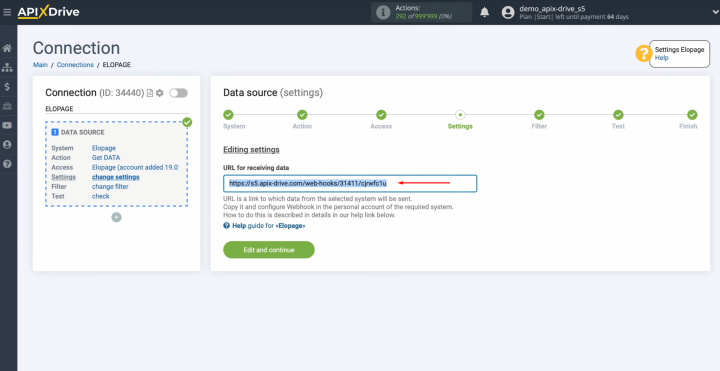
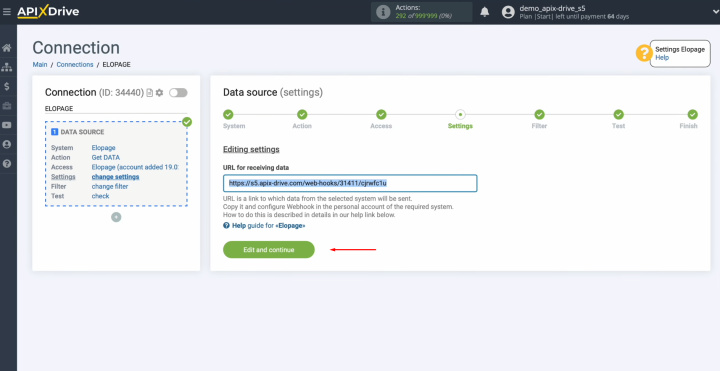
Here, you will see the URL for receiving data. It is to
this URL that new data from Elopage will arrive. To
continue setting up, copy the URL and go to your Elopage personal account.
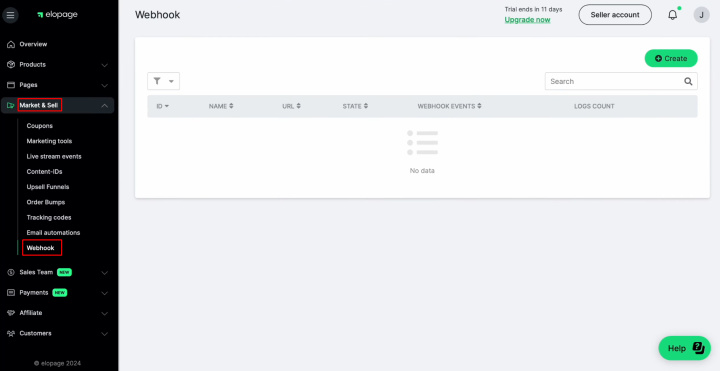
Go to
the “Market & Sell” section and select “Webhook”.
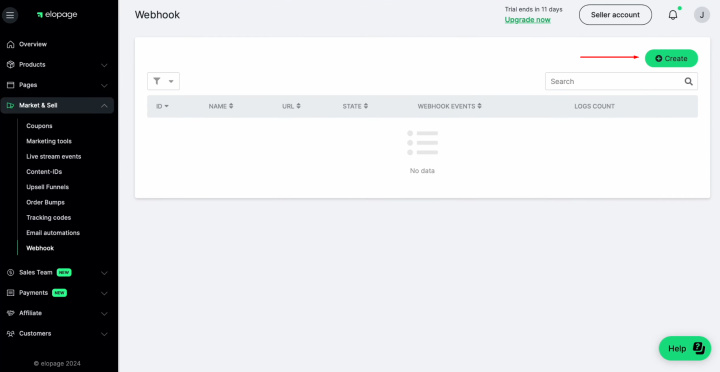
Then,
click “Create”.
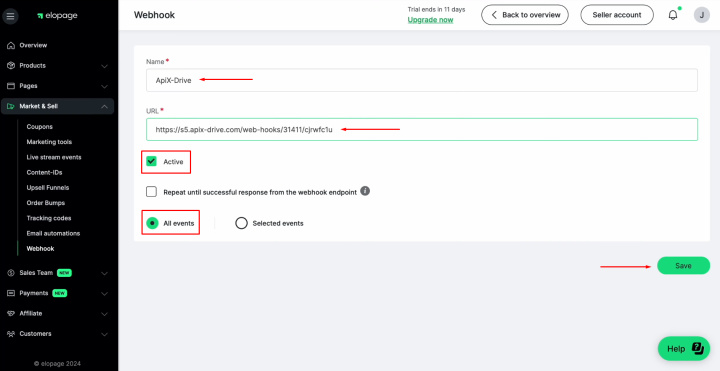
Specify a name for the new webhook. Paste the URL that was copied in the
ApiX-Drive system. Check that the "Active" checkbox is enabled. If you want to
receive data to the specified URL for all events, leave “All events” selected.
Also, you can choose for which specific events you want to receive data at the
specified URL. For this, select “Selected events”. After setting, click “Save”.
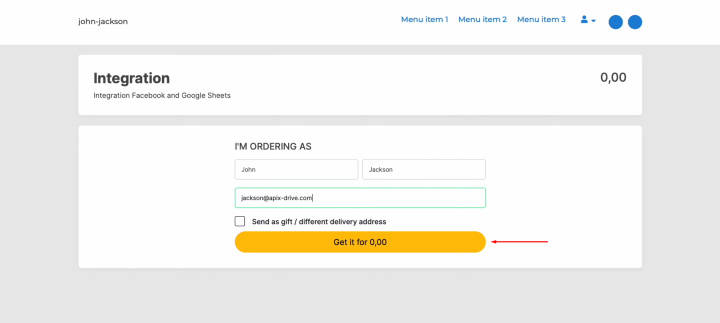
After you have configured sending data to the webhook, you need to generate a
test event. For example, create a new order. After creating an order, the data
will be sent to the specified webhook.
Now, return to the Apix-Drive system and continue configuration.
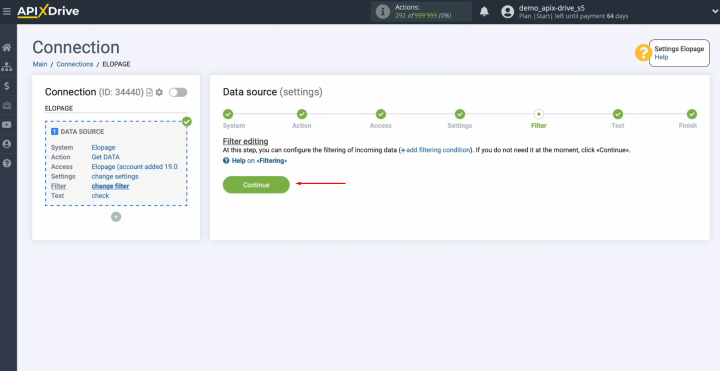
At
this stage, you can set up a data filter. In this
case, there is no need for it. We will transfer all new orders from Elopage to Google Sheets, so no additional manipulation is required at this stage. So just click “Continue”.
You can read more about using filters and other useful functionality in our help. Using additional functionality, you can customize the integration to your current tasks and create the most efficient automated workflow.
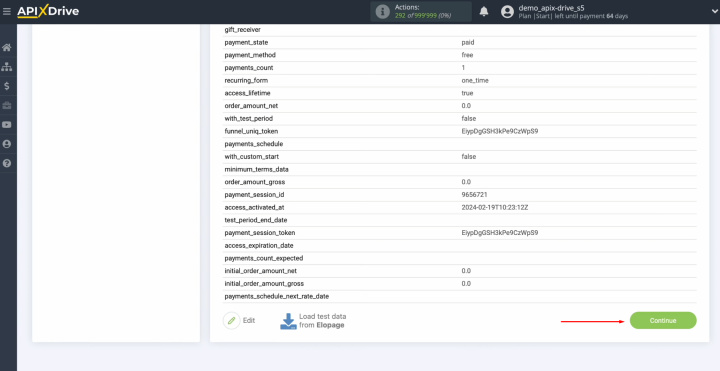
Now, you can see the data we
just generated. If there is no data at this stage, try following the steps described
earlier.
If you are satisfied with everything, click “Continue”.
Setting up the Elopage data source has been
successfully completed.
Setting up the Data Receiver – Google Sheets
To set up Google Sheets integration with Elopage, move on to setting up the data destination. For this, click on the green button.
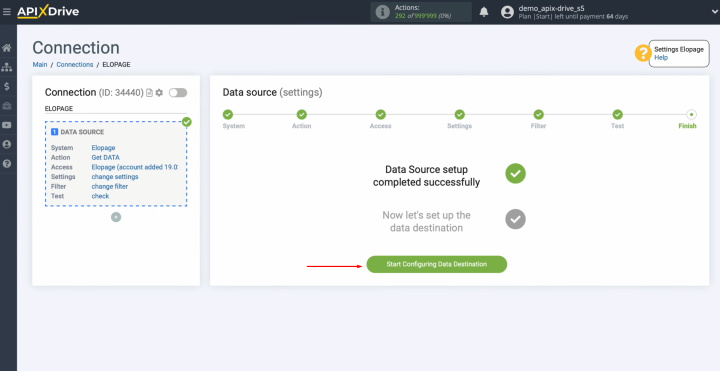
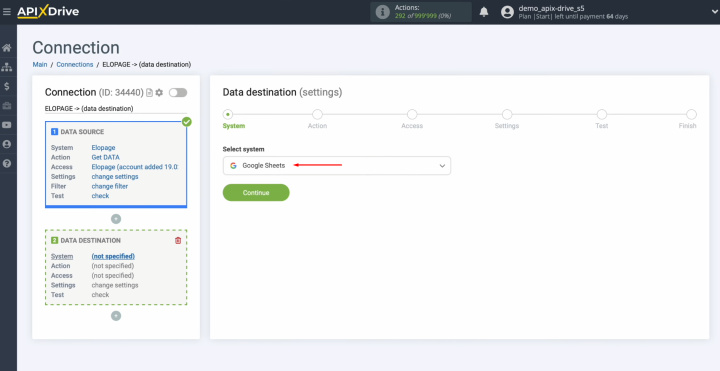
You
have to choose the system – Google
Sheets.
Click “Continue”.
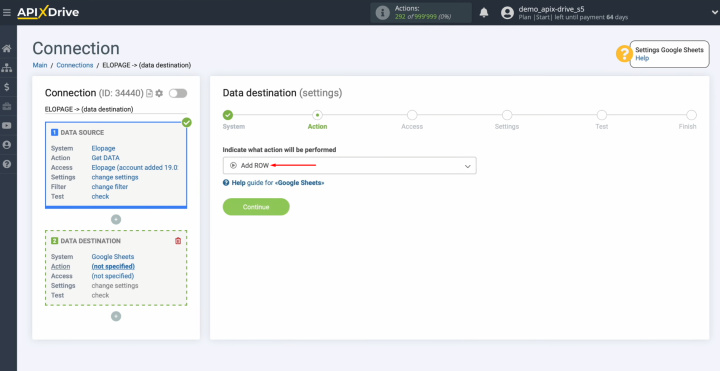
Select an action. In this case, choose “Add
ROW”.
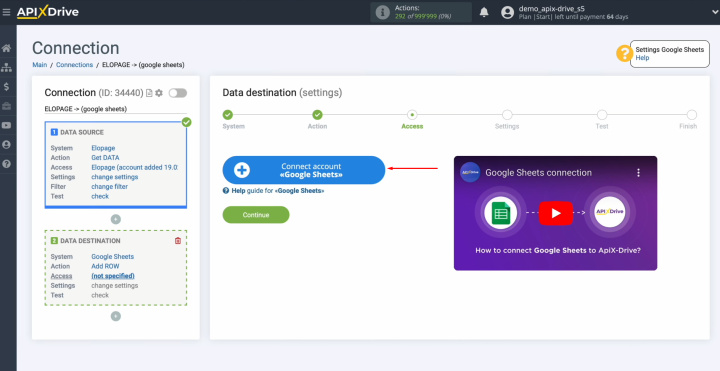
Connect your Google Sheets account to the ApiX-Drive system. For this, you have to click on the blue
button.
Specify the login for your Google
Sheets personal account. Click “Next”.
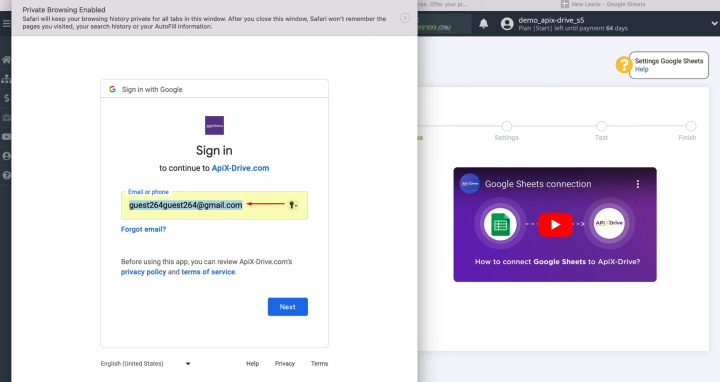
Specify the password for your Google
Sheets personal account. Click “Next”.
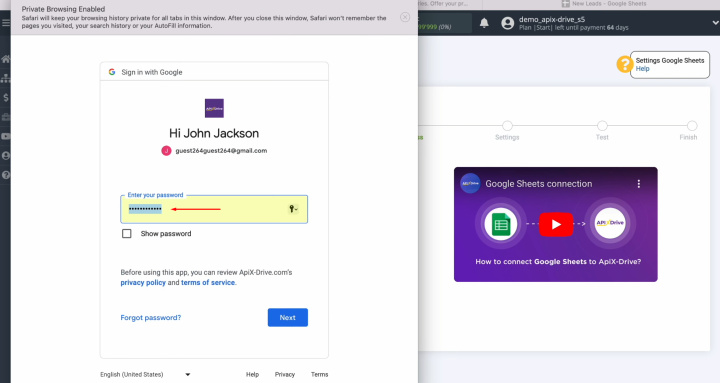
Be
sure to check all the boxes. Click “Continue”.
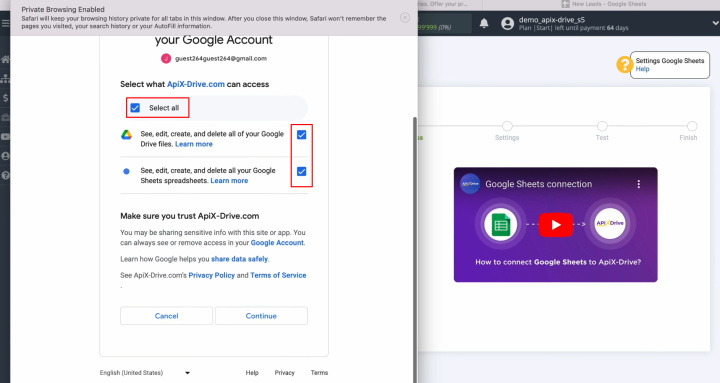
When the connected login appears in the list of active
accounts, select it and click “Continue”.
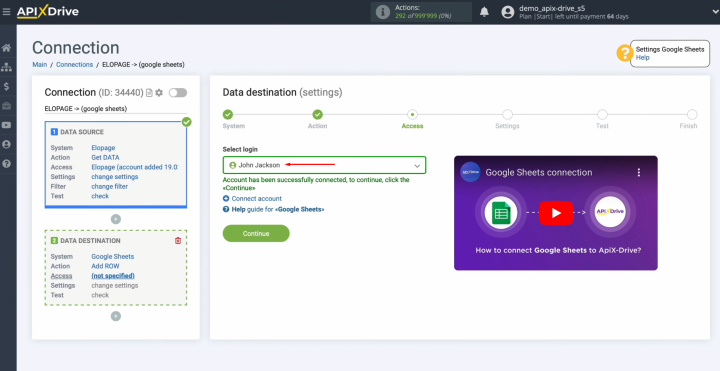
At
this stage, you need to select the file and sheet to which new rows will be
added with each new lead from Elopage.
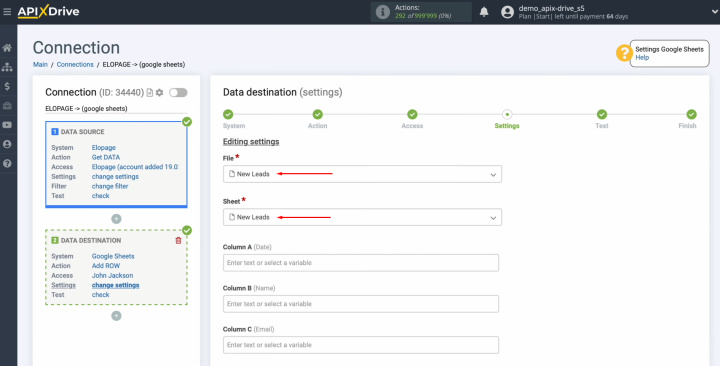
Now,
you see Google Sheets fields to which you
can assign variables from Elopage. To do this, click the field. Then, select the variable you need from the drop-down list.
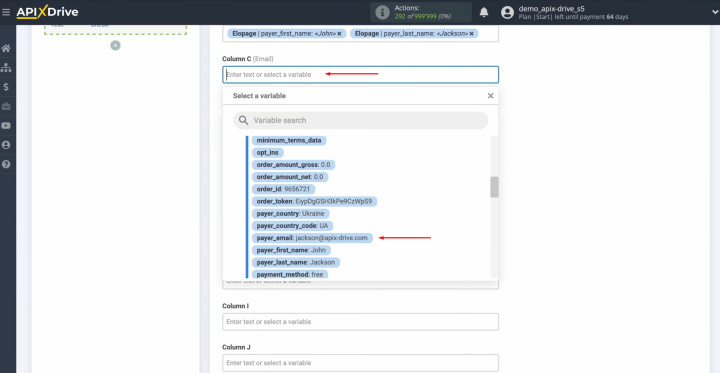
Please note
that you can use not only variables from the drop-down list but also enter
data manually.
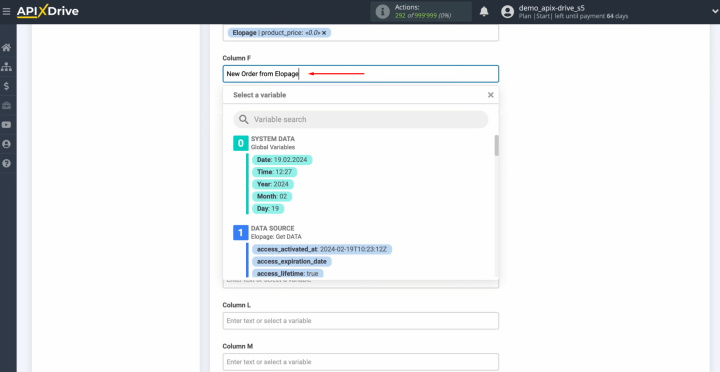
When all required fields
are filled in, click “Edit
and continue”.
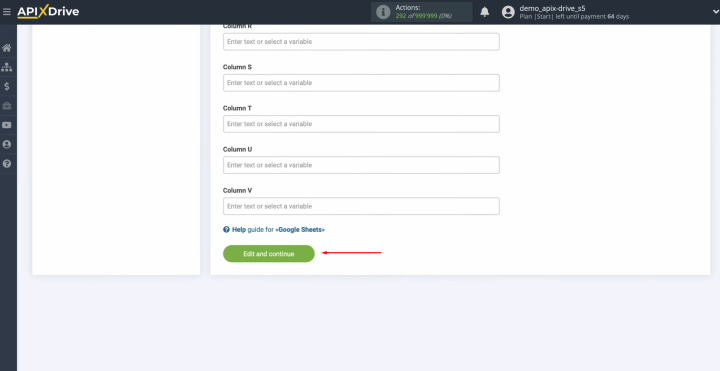
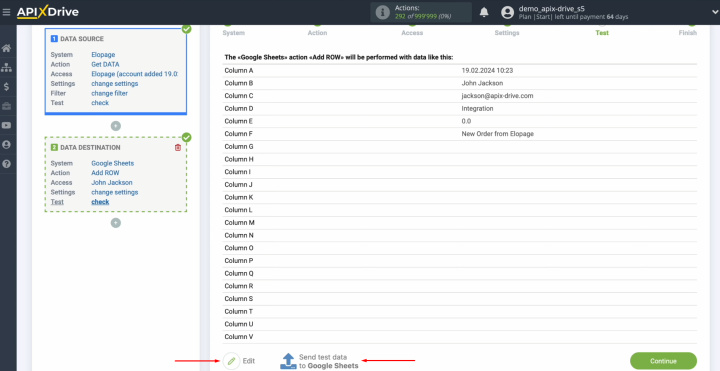
Now, you see an
example of the data that will be transferred to Google
Sheets as new rows for each
new lead from Elopage. If you're not happy
with something, click on "Edit"
and you'll go back a step. Make any necessary adjustments. To check
if you have made the settings correctly, click on “Send test data to Google
Sheets”.
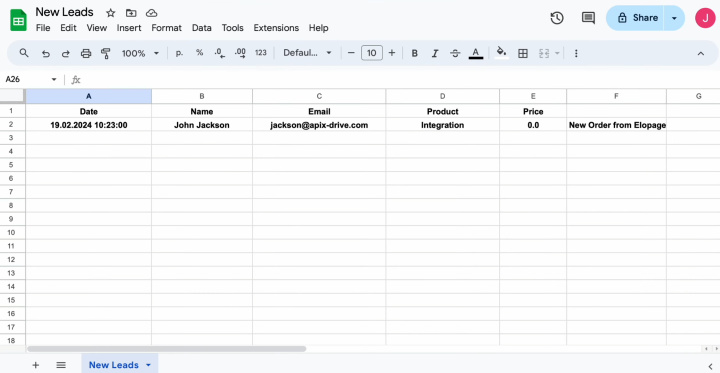
After successful sending, go to
Google Sheets and check the result.
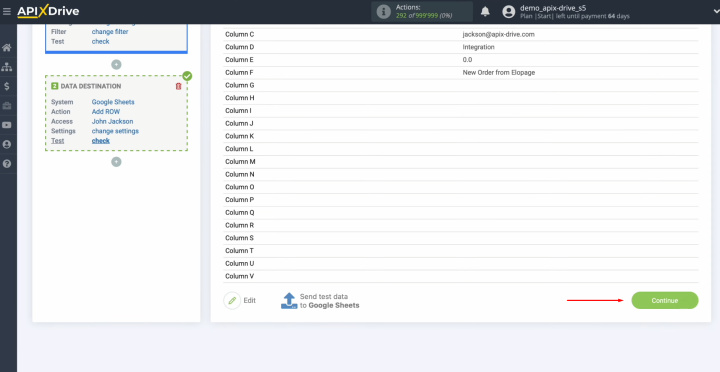
Return to the ApiX-Drive system and continue configuration.
Setting up Google
Sheets as a
data destination has been successfully completed.
Setting up Auto-update
In order for data transfer to occur automatically, configure auto-update. Click on the green button “Enable update”.
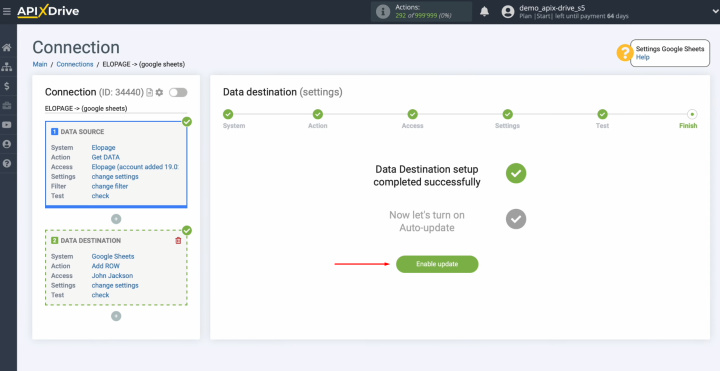
Click on the
gear button.
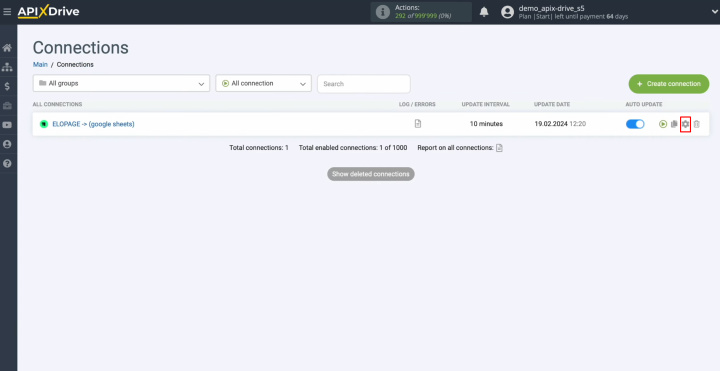
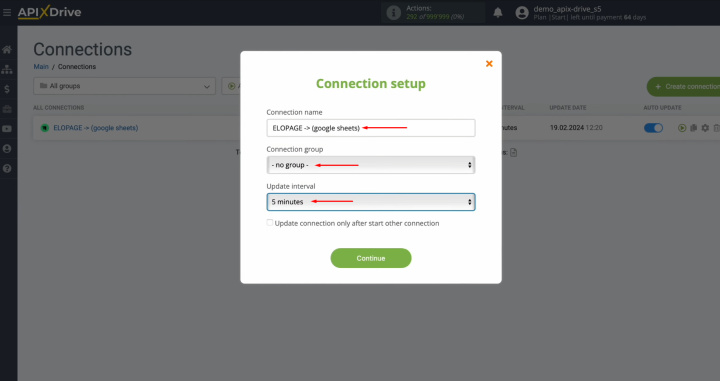
Select the
interval for the operation of the connection. For example, once every 5
minutes. Here you can also give the connection a different name and place it in the desired group. Click "Continue".
That's all. Google Sheets
+ Elopage integration was
completed. Congratulations! You have done it!
What is the Result?
By successfully setting up the Elopage and Google Sheets integration and activating the auto-update function, you have a reliable connection between these systems that works stably around the clock. You’ve probably already even managed to evaluate its result – the automatic movement of data from a platform for managing sales of digital products into a spreadsheet, absolutely without your participation.
The Google Sheets and Elopage integration will save you from the monotonous and tedious process of manual data entry. Now there is no longer any need to waste valuable time on this labor-intensive process, as it will be fully automated. This task will be taken over by ApiX-Drive. You will be able to focus on improving relationships with clients, mastering innovations in marketing, and other areas that contribute to the growth and development of your business.
