ActiveCampaign and Asana Integration: Automatic Creating Tasks From New Deals
If your company's business processes involve data synchronization in ActiveCampaign and Asana services, read our article and simplify your work. In this guide, we will take a detailed look at how to link the two systems and automate the transfer of information from CRM to a project management platform. As a result, tasks in Asana will be created based on new deals in ActiveCampaign.
Content:
1. How to create ActiveCampaign and Asana integration
2. Connect ActiveCampaign
3. Connect Asana
4. Enable auto-update
5. Result of ActiveCampaign and Asana integration
Each business chooses its own set of tools, focusing on financial capabilities, necessary functionality, qualifications of employees and other nuances. ActiveCampaign is a popular sales and email marketing management platform. This service allows you to customize mailings in detail, create various scripts for letters, simulate auto funnels, segment contacts, analyze reports, etc. ActiveCampaign also offers CRM tools for automating sales, maintaining a customer database and organizing effective interaction with customers.
Asana is a popular project management and teamwork solution. The functionality of this platform helps to set up transparent workflows and ensure a high level of communication. With the help of Asana tools, you can control tasks in Kanban mode, perform real-time monitoring, set goals, track employee workload, implement automation, etc.
Consider a situation where a company uses the CRM capabilities of ActiveCampaign, as well as the functionality of the Asana platform. For example, a manager processes deals in a CRM system, and other employees also need information about an order or contact of a client to complete their tasks. If you create an integration between ActiveCampaign and Asana, you can set up automatic creation of tasks in Asana based on new deals in the CRM system.
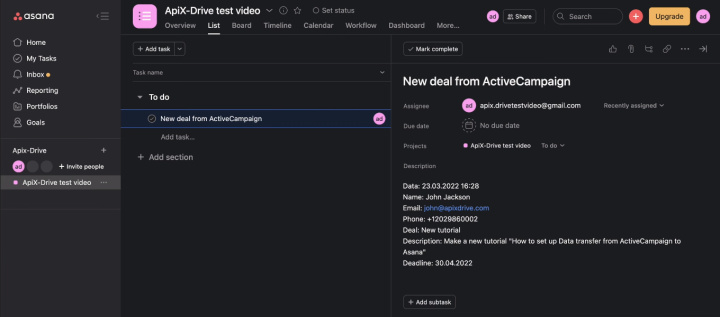
How to create an ActiveCampaign and Asana integration
To connect Asana and ActiveCampaign, we do not need programming skills, knowledge of APIs or other technologies. We will be using the no-code tool ApiX-Drive. Integration is created through a web interface, and the setup process has a clear structure and is broken down into several simple stages. The ApiX-Drive online connector allows you to combine a wide variety of applications and services: CRM systems, Email and SMS services, chat bots, CMS systems, instant messengers, Google services, online consultants, etc. Users are offered more than 400 ready-made integrations, the list of which is regularly expanded.
For our task, we will connect ActiveCampaign as a data source, and the Asana platform will be the receiver. We can connect several acceptance points at once in order to create tasks for a group of employees at the same time. Let's take a detailed look at the setup process — it's very simple and fast.
Connect ActiveCampaign
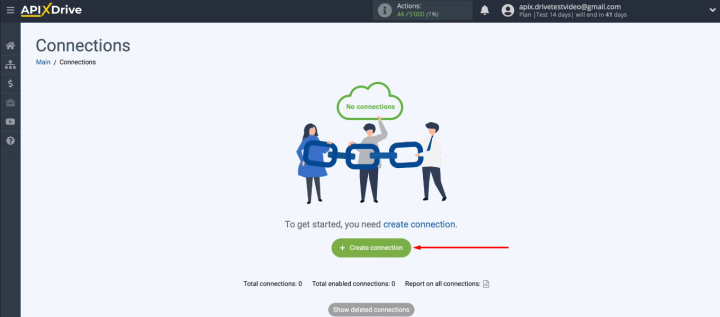
Register on the ApiX-Drive website. Create a new connection in your personal account.
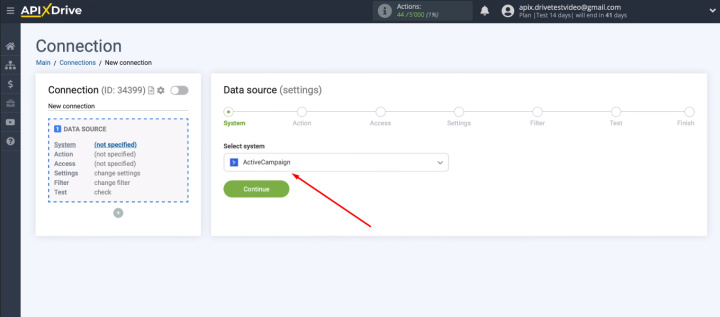
Select the ActiveCampaign service as the data source.
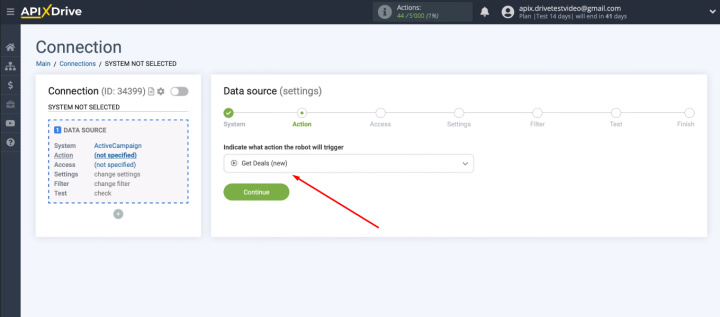
Select the action — Get Deals (New).
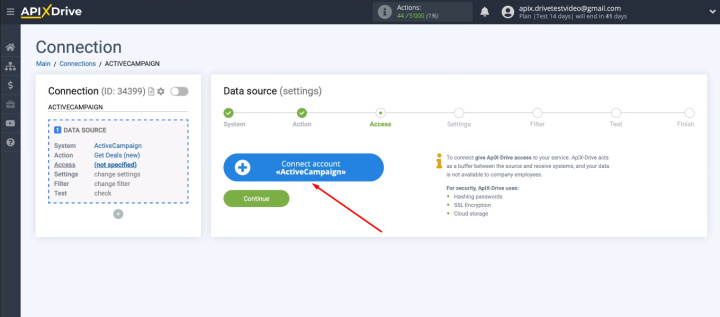
Connect your ActiveCampaign account to the ApiX-Drive system.
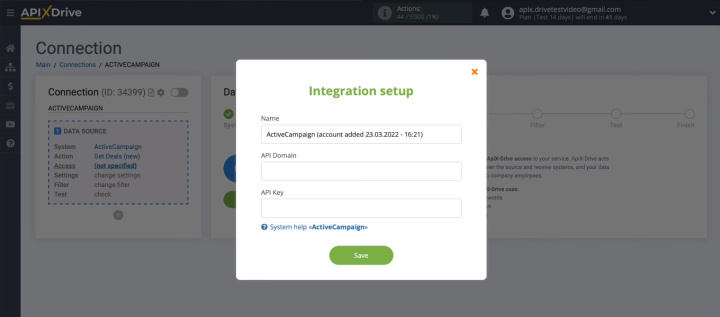
You need to fill in two fields: “API Domain” and “API Key”.
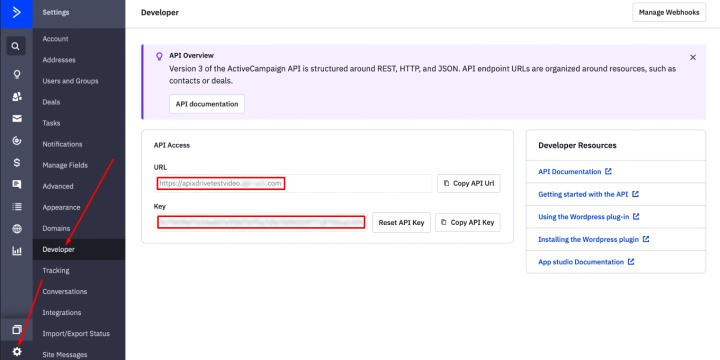
Open your personal ActiveCampaign account in a new window and go to settings (“gear”). Now go to the “Developer” tab, where the “URL” and “Key” fields contain the values we need. They must be copied and transferred to the appropriate fields in the ApiX-Drive system.
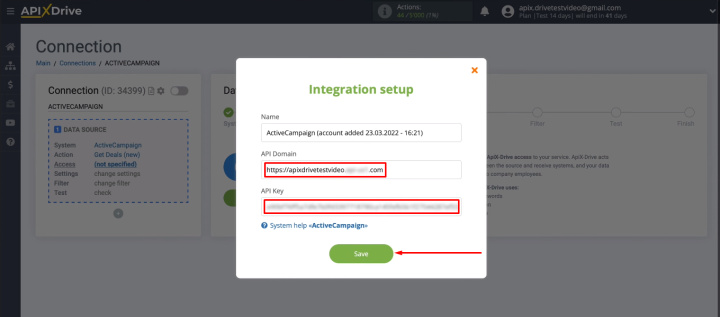
After filling in the required fields, click “Save”.
When the added ActiveCampaign account appears in the list, select it and click "Continue".
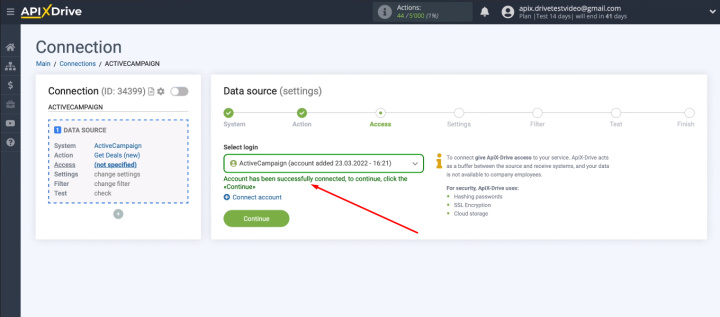
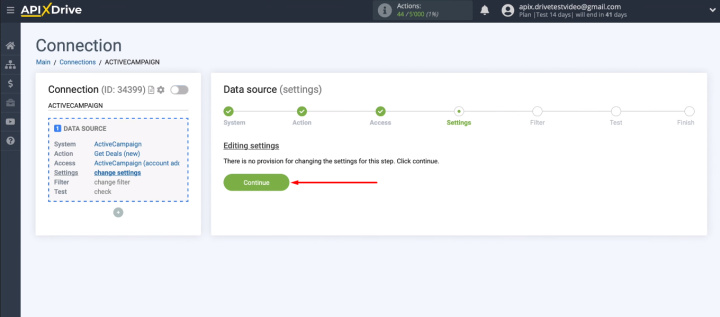
The next configuration step is "Settings". There are no actions for the ActiveCampaign system at this stage. Click "Continue".
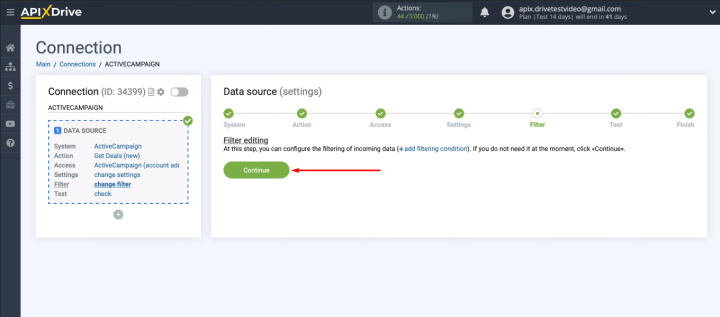
You have the option to load only certain data from the source. To do this, at the “Filter” stage, you can add filtering conditions.


We will consider a situation where each new deal in ActiveCampaign needs to be converted into a task in Asana. Therefore, the filtering step is also skipped.
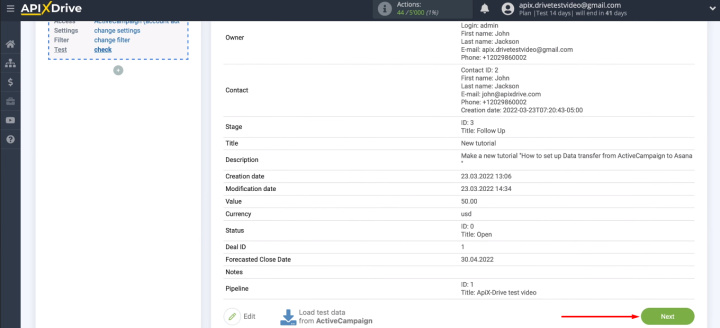
The next step is to validate the test data that was loaded from ActiveCampaign. If at this stage the information table is empty, create a new test deal in the CRM system and click “Load test data from ActiveCampaign”. If everything suits you at the “Test” stage, click “Next”.
ActiveCampaign has been successfully configured as a data source.
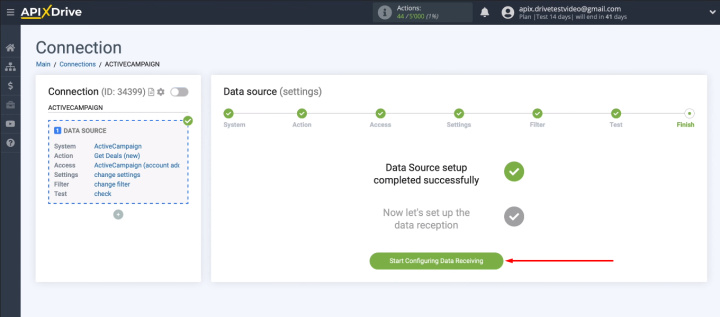
Connect Asana
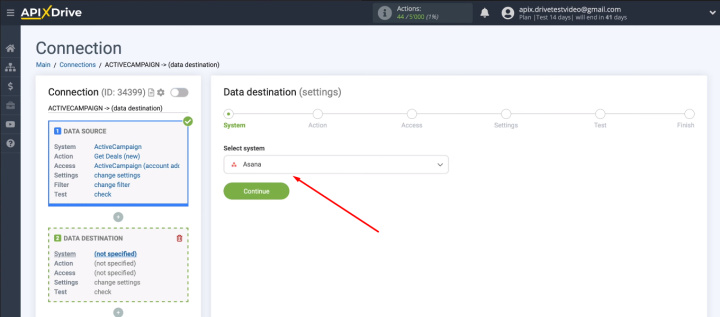
Select Asana as the receiving system.
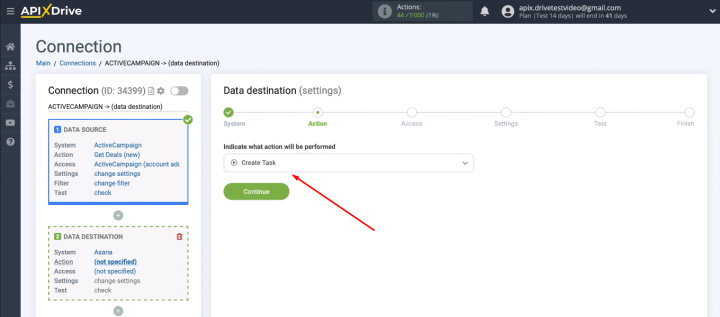
Select the action “Create task”.
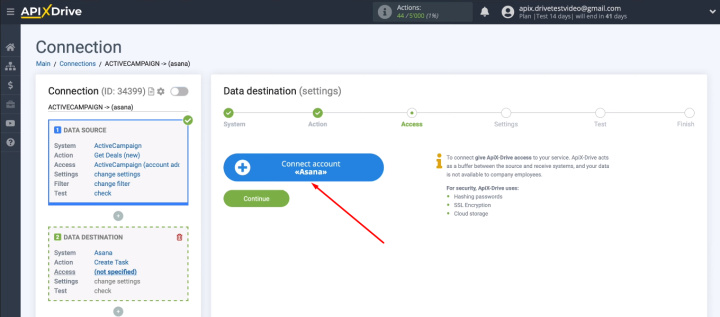
Connect your Asana account to the ApiX-Drive system.
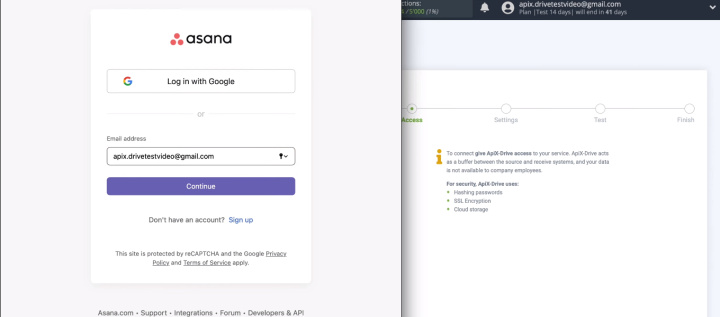
Specify Email address — login of your personal Asana account.
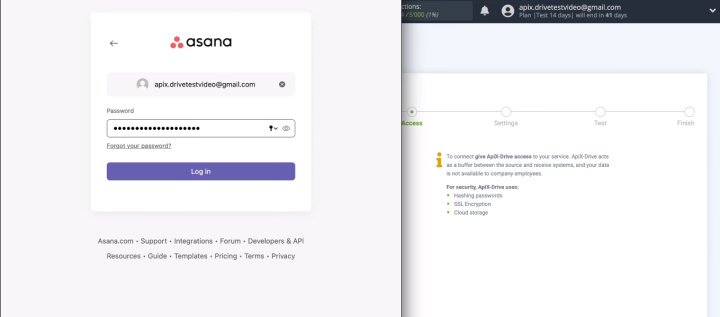
Enter password.
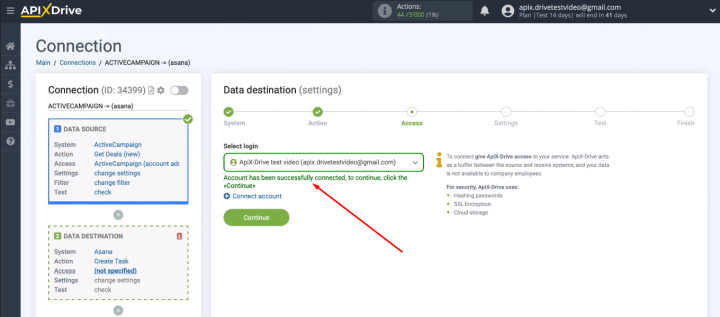
Select the connected account and click "Continue".
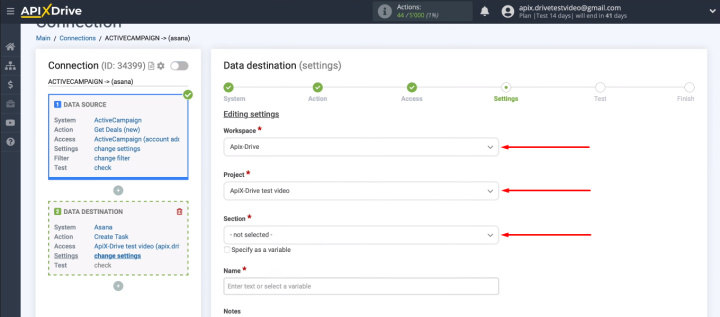
Specify the location where new tasks will be created (“Workspace”, “Project”, “Section” fields).
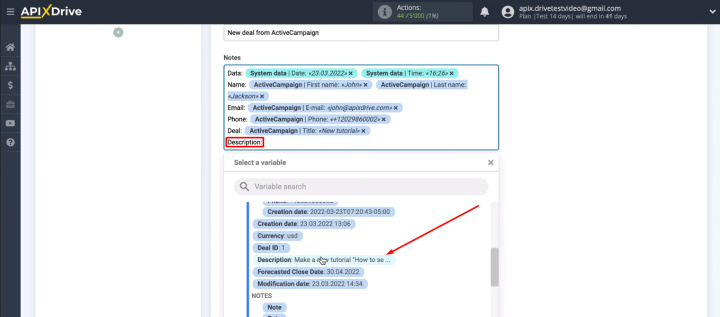
Now set up Asana fields, the data from which will be used to create new tasks. You can enter text manually, or use system variables and ActiveCampaign variables to determine the contents of the field. Click in the field and select the desired value from the list. To move to another line, press "Enter". When the contents of all required fields are defined, click “Continue”.
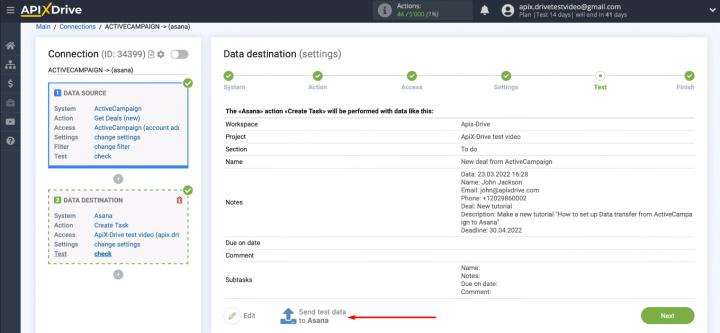
Check the content and format of the test data. Click “Send test data to Asana”.
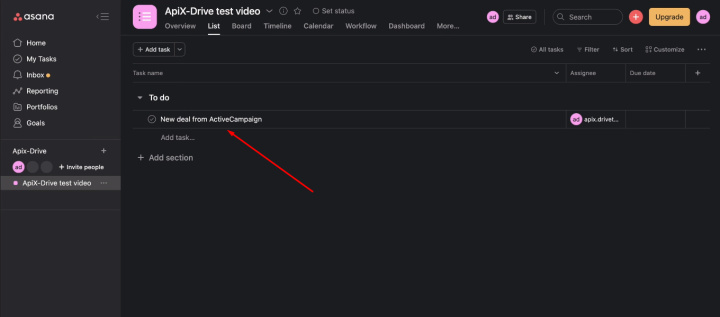
Go to Asana and check the result. The test task has been created — the connection is working.
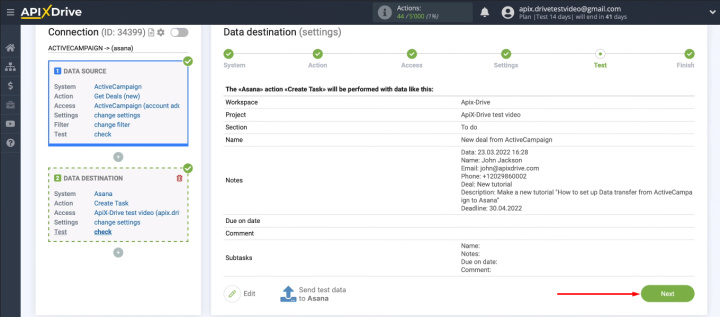
The receiver system setup is complete. Return to the ApiX-Drive workspace and click “Next”.
Enable auto-update
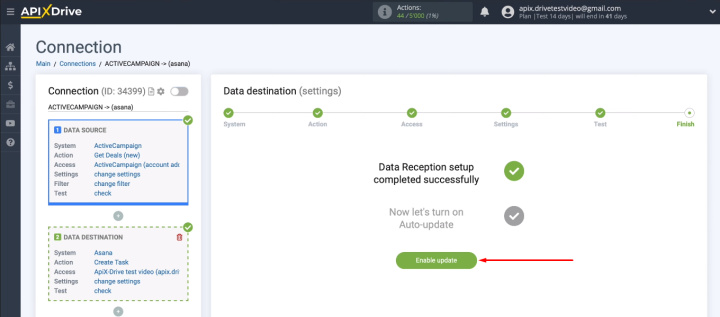
In order for the ApiX-Drive system to automatically convert all new ActiveCampaign deals into Asana tasks, auto-update data must be enabled.
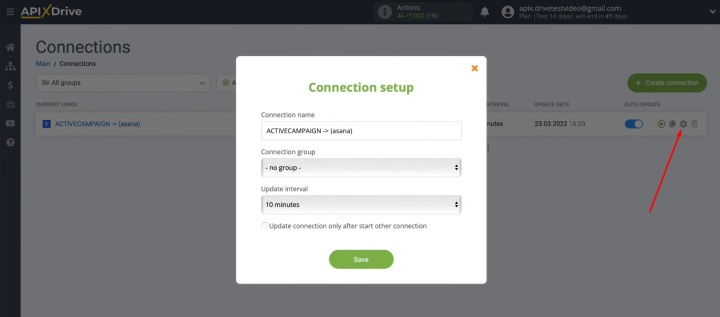
Once an integration has been created, you can change its name and set the update interval.
Result of ActiveCampaign and Asana integration
We used the ApiX-Drive service to set up the ActiveCampaign and Asana integration. In just a few minutes, an automated process of transferring data from one system to another was created. Now new ActiveCampaign deals are transformed into Asana tasks quickly and without human intervention. Employees can stay in their familiar workspace and get the data they need quickly.
Using the ApiX-Drive online connector, you can automate various business processes — from data exchange between two services to complex task chains with a whole range of receiving systems. Integration is created through a web interface, no special skills or knowledge are required.

