Tally and ActiveCampaign Integration: Automatic Transfer of Contacts
Tally is a free cloud service for developing online forms to collect user data. ActiveCampaign is a powerful platform for automating marketing (CRM, email newsletters, SMS advertising) and sales. Those who actively use both of these systems will probably want to know how to optimize their work. The simple solution is to automate the transfer of data between platforms. This can be done by integrating them using our online connector, ApiX-Drive. In this material, you will find detailed instructions on how to perform Tally and ActiveCampaign integration. It allows you to easily and quickly automate the transfer of incoming data from the data collection tool to the marketing communications system.
How Automating Data Transfer Can Improve Your Operations
Automated data transfer will help you get rid of one of the most uninteresting routine tasks – manual data entry. It will significantly save you time and reduce the risk of errors to zero. The acceleration of data processing that you will achieve by integrating a form creation service and an email marketing platform will give you the opportunity to improve your productivity and increase the efficiency of your entire company.
Once you set up ActiveCampaign and Tally integration via our no-code connector, you will notice the positive changes immediately. All data collected from new forms filled in by your leads will be automatically transferred to the marketing system and processed there as new contacts. You will no longer have to manually process customer data such as name, surname, phone number, or email. This will simplify your work, improve the quality of customer service, and speed up feedback. Implementing this approach will give you the opportunity to get ahead of competitors who have not yet used automation.
Why ApiX-Drive is the Optimal Solution for Setting Up Integration
Setting up Tally & ActiveCampaign integration does not require you to have any programming knowledge or an in-depth understanding of API requests. You also do not need to urgently seek external help. The entire process is easy and stress-free with our online connector, ApiX-Drive.
The main advantages of using our service are:
- Large library of integrations. Our platform offers hundreds of ready-made integrations with various systems. Most users find the solutions they need.
- Intuitive interface with easy navigation. The developers have created a user-friendly environment so that even novice users with minimal experience can easily master the connector.
- Affordable automation. The platform is suitable for directors, managers of various levels, online store owners, marketers, IT specialists, copywriters, and representatives of other professions.
- Significant time savings. The entire process of setting up and launching the connection takes no more than 10 minutes, even if you are an inexperienced beginner.
- Detailed manuals in text and video formats. The training materials prepared by the ApiX-Drive team will help you if you have questions or problems with the settings.
- High user trust. More than 100,000 people have chosen our service to develop their businesses.
Before you start setting up ActiveCampaign & Tally integration, you need to register on the official website, apix-drive.com. After you get a personal account, you can begin the main procedure, which consists of 3 consecutive stages:
- Setting up the data source.
- Setting up the data receiver.
- Setting up auto-update.
Setting Up the Data Source – Tally
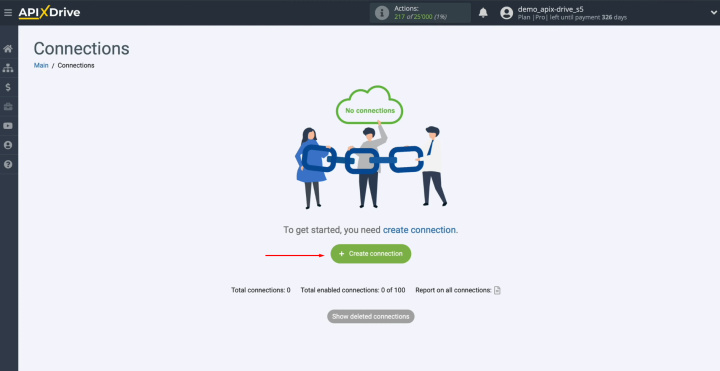
To set up the Tally integration with ActiveCampaign, first, create a new connection.
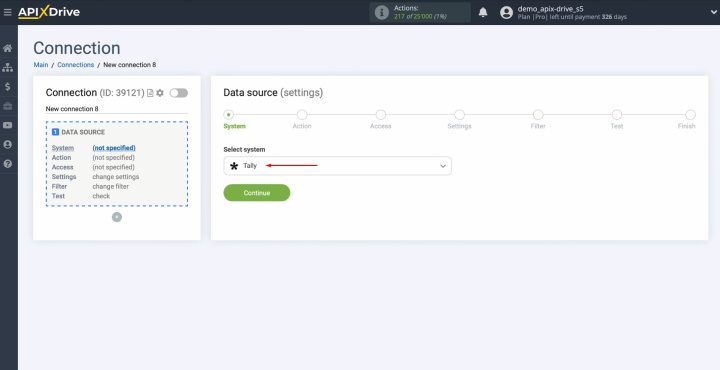
Select the data source system. This is Tally. Сlick “Continue.”
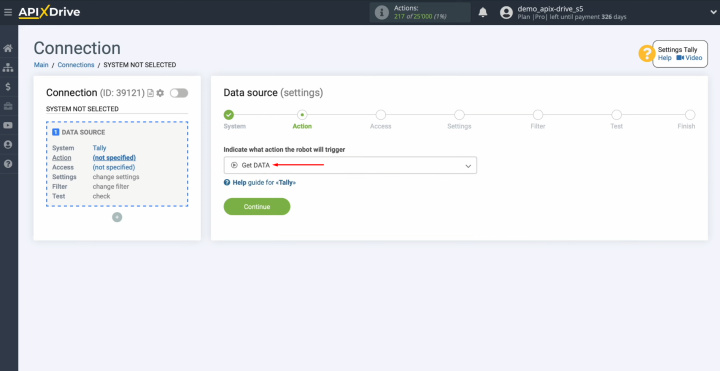
Choose the “Get DATA” action. Сlick “Continue.”
Connect your Tally account to ApiX-Drive.
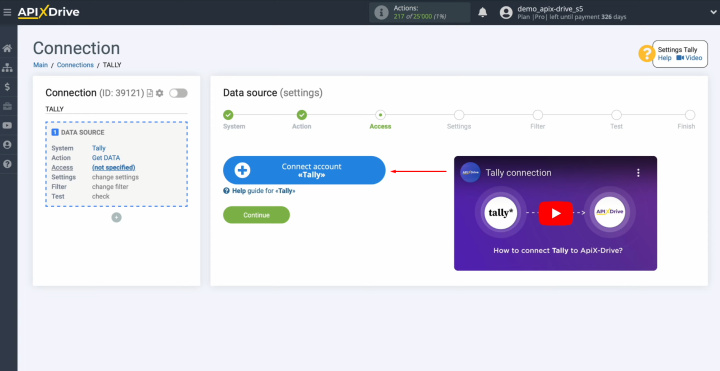
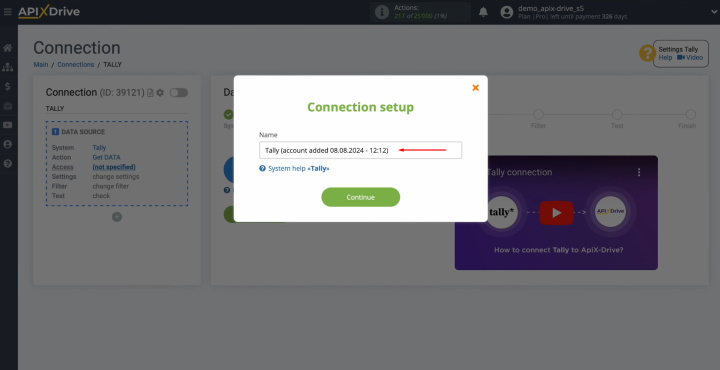
In this
window, you can change the connection name, or just click “Continue.”
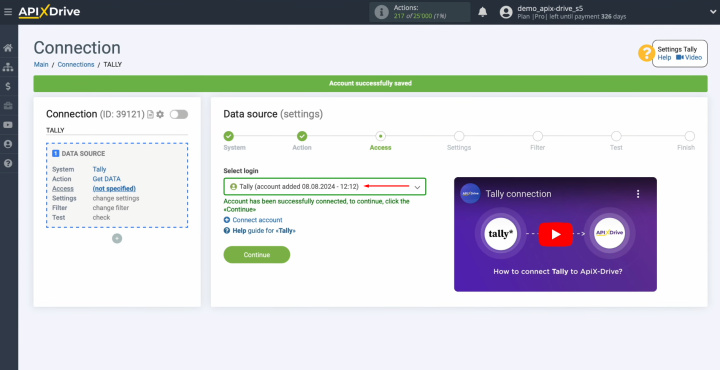
When the
connected account appears in the list, select it and click “Continue.”
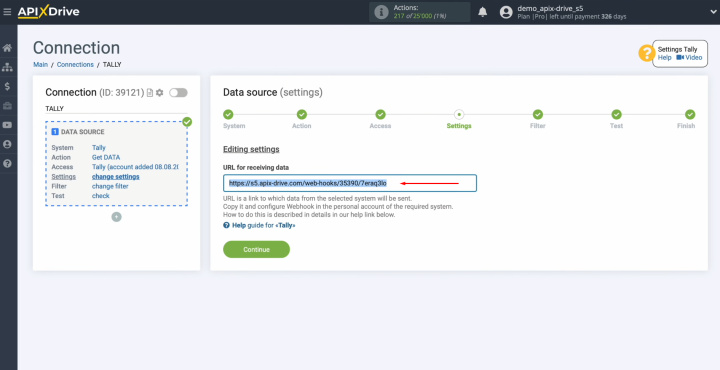
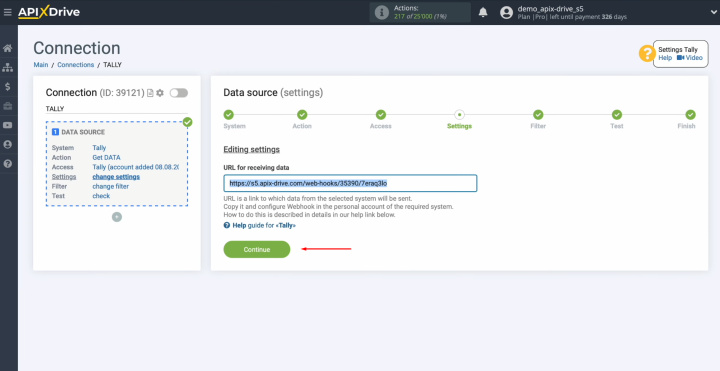
Here, you see the URL for receiving data. This is the URL to which new leads
from Tally will be sent. To continue setting up, copy it.
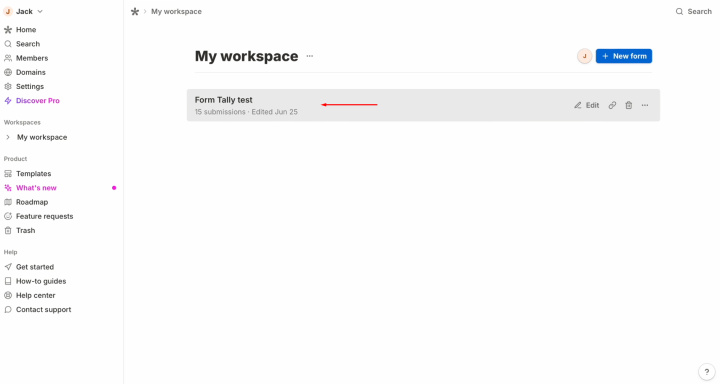
Go to your Tally personal account and proceed to setting up the form by
which you want to
receive new leads.
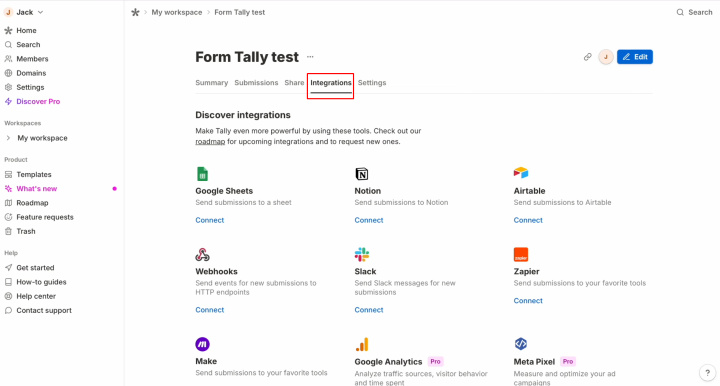
Go to the
Integrations section.
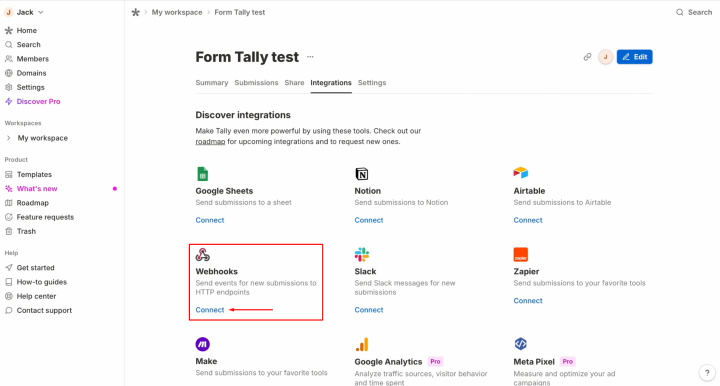
Find the
Webhooks system and click “Connect.”
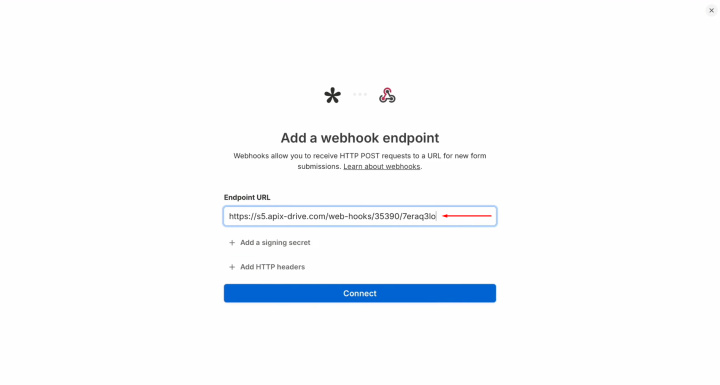
Paste the
copied URL in ApiX-Drive. Click “Connect” again.
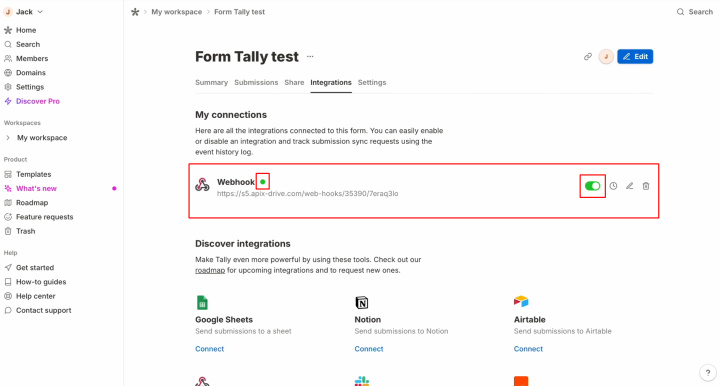
Check that
the Webhook system is enabled.
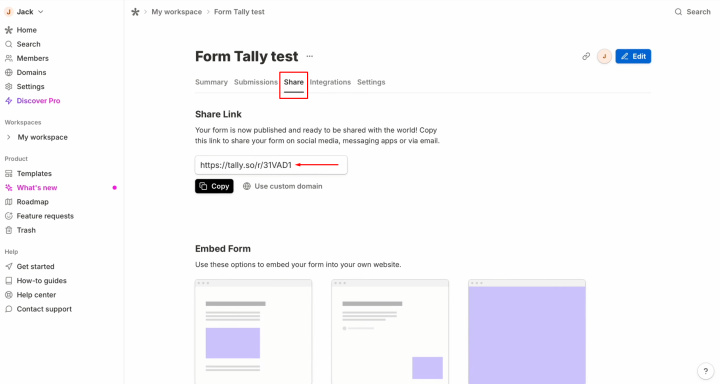
Go to the Share section and copy
the link.
Generate test
data that will be sent to the specified URL. For this, you need to fill out the
form.

After successfully
filling out the form, return to
ApiX-Drive and continue the setup.
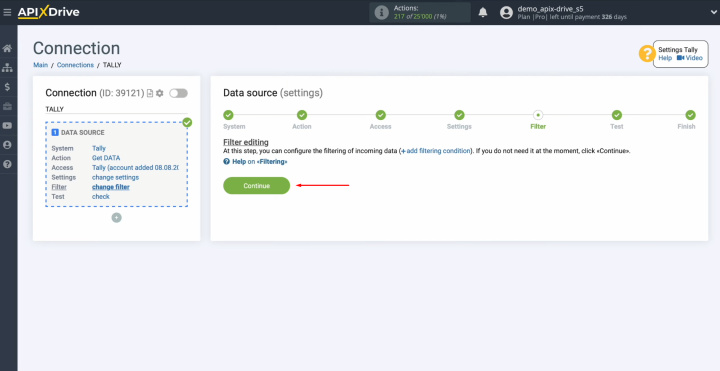
Here, you can
set up a data filter. In our case, there is no need for this, so just click “Continue.”
Now, you see
the data that we just filled in the form. If there is no data, try to
perform the actions that were described earlier. If everything is okay, click “Continue.”
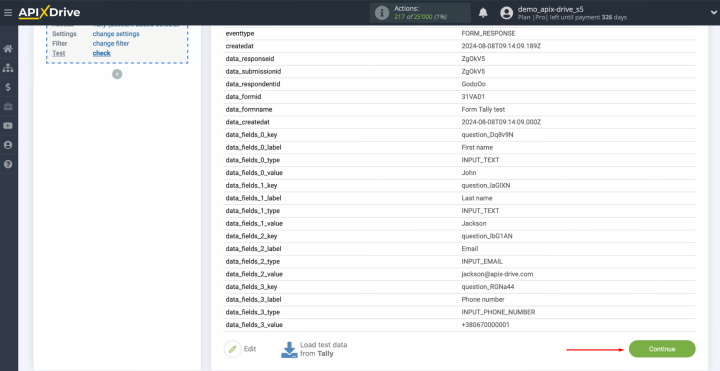
This
completes the setup of Tally as the data source.
- Automate the work of an online store or landing
- Empower through integration
- Don't spend money on programmers and integrators
- Save time by automating routine tasks
Setting Up the Data Receiver – ActiveCampaign
Now, you can proceed to setting up the data receiver.
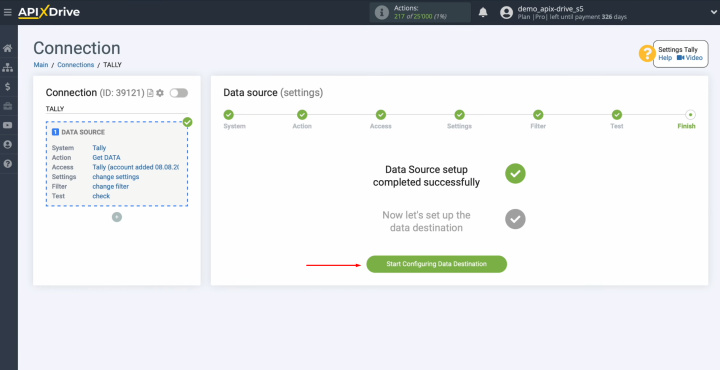
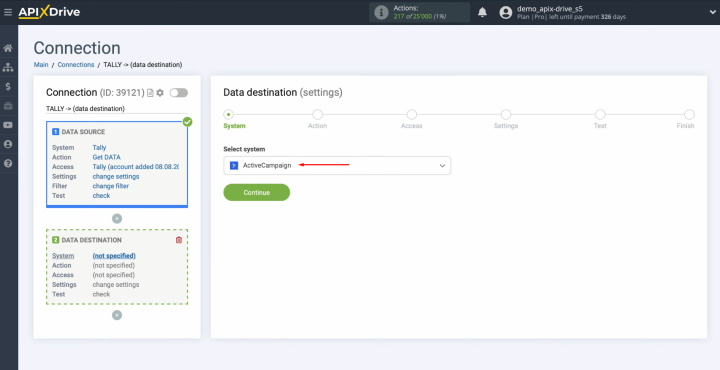
To set up the ActiveCampaign integration with Tally, select the data receiver system. You need ActiveCampaign. Click
“Continue.”
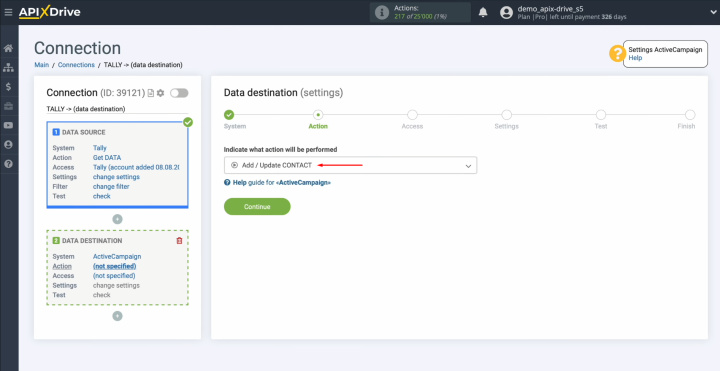
Next, select
the action “Add/Update CONTACT.”
Connect your ActiveCampaign
account to ApiX-Drive.
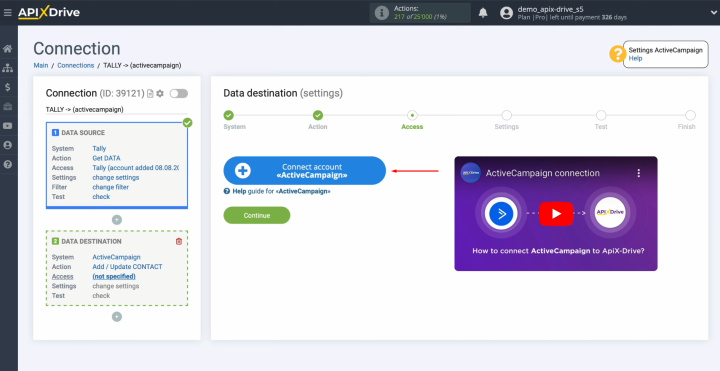
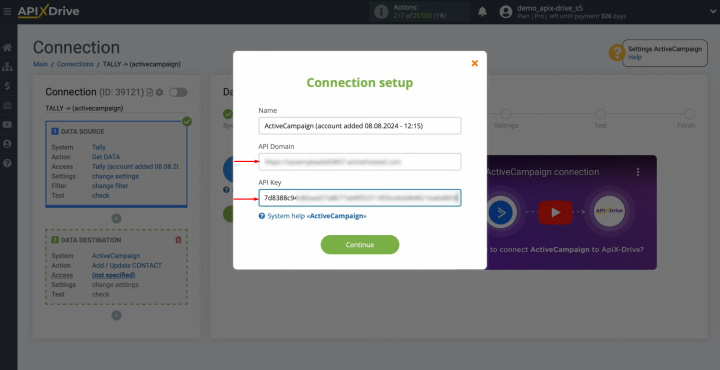
In this window,
you need to specify the API domain and API key.
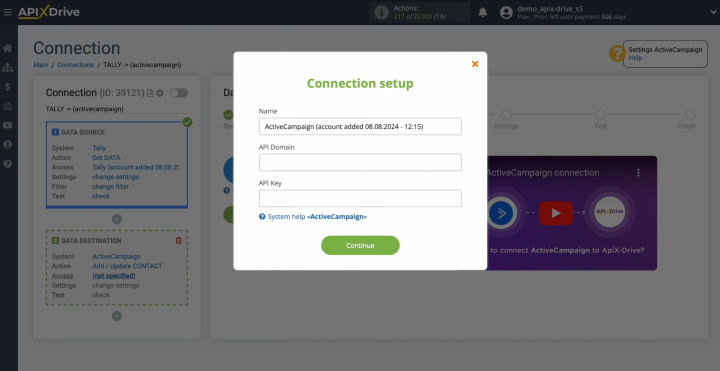
To get this
data, go to the Developer
section in the settings
of your
ActiveCampaign personal account.
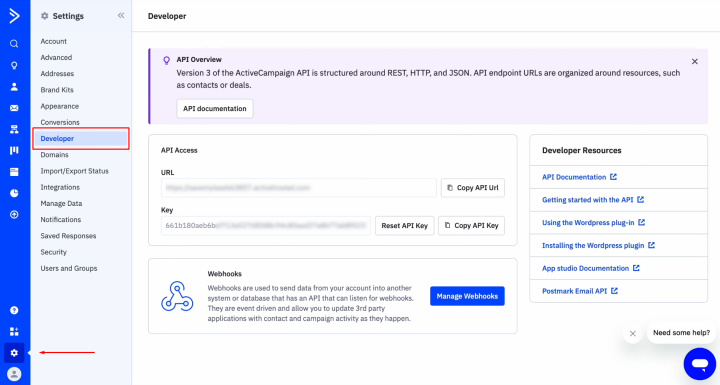
Copy the URL
and API key.
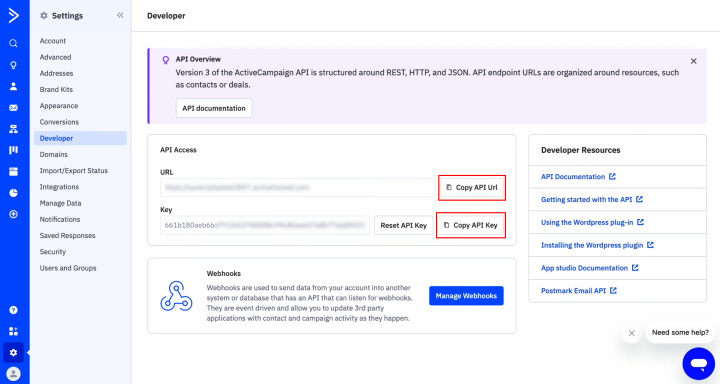
Paste the URL
and API key into the
appropriate fields in ApiX-Drive. Then, click “Continue.”
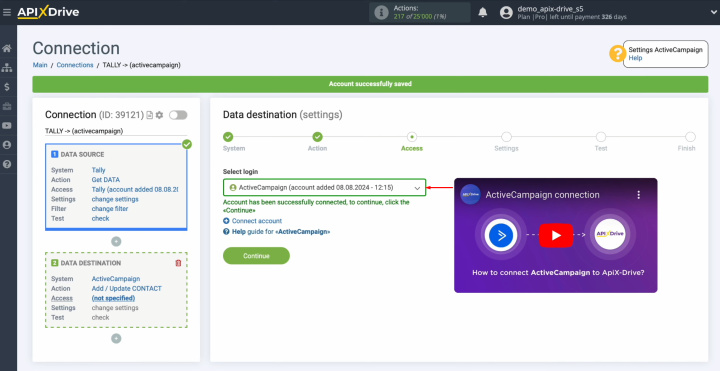
When the
connected account appears in the list of active accounts, select it and
click “Continue.”
Select the
List in which new contacts will be added.
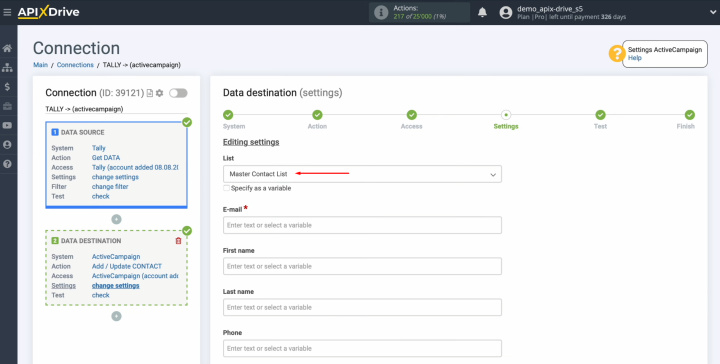
Here, you see the
ActiveCampaign fields for creating new contacts. Assign variables from Tally to these
fields. To do this, click in the field and select a variable from the
drop-down list.
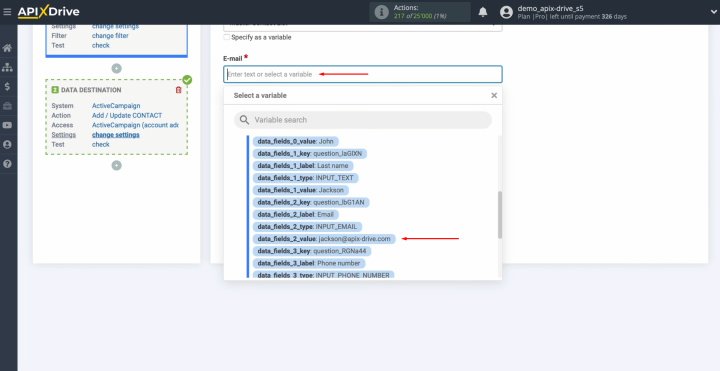
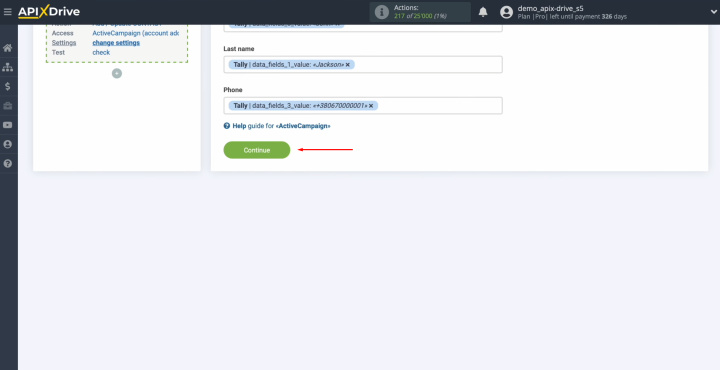
When all the
necessary fields are filled in, click “Continue.”
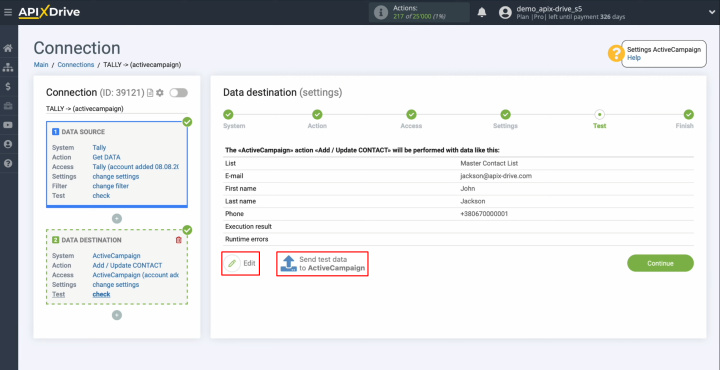
Now, you see an
example of the data that will be sent to ActiveCampaign as new contacts
for each new lead from Tally. To check the
correctness of the settings, click “Send test data to ActiveCampaign.”
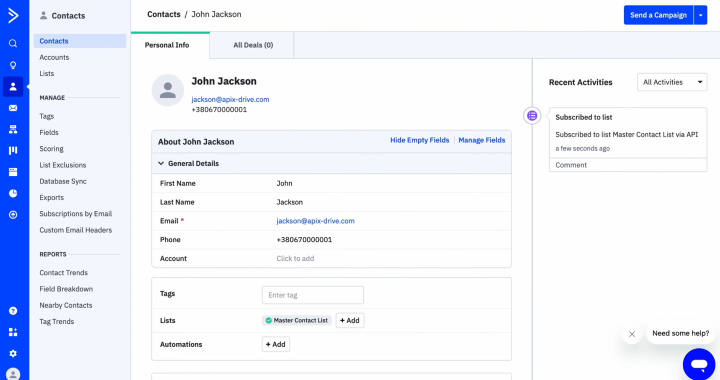
After
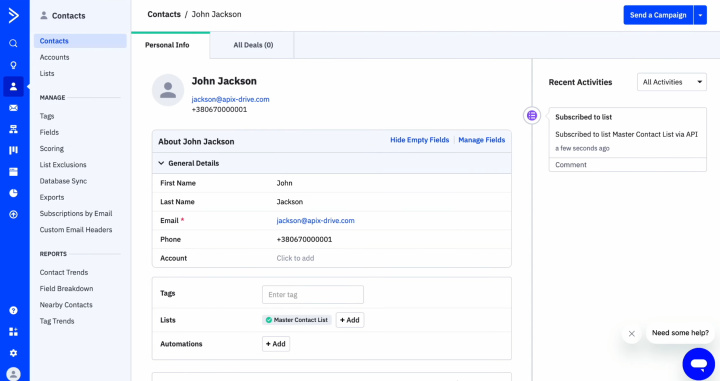
successful sending, go to ActiveCampaign and check the result.
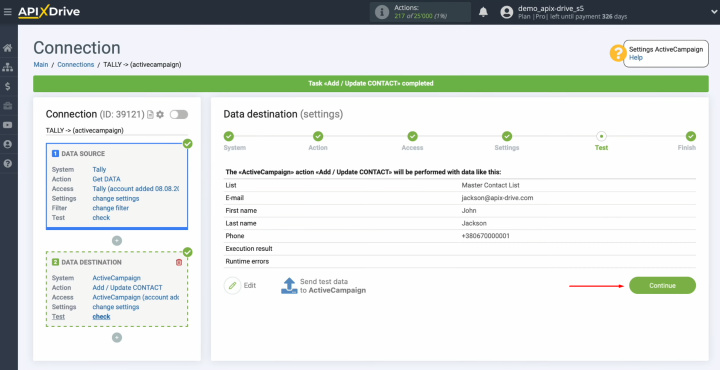
Then, return to ApiX-Drive and continue setting up the ActiveCampaign
integration with Tally.
Setting Up Auto-Update
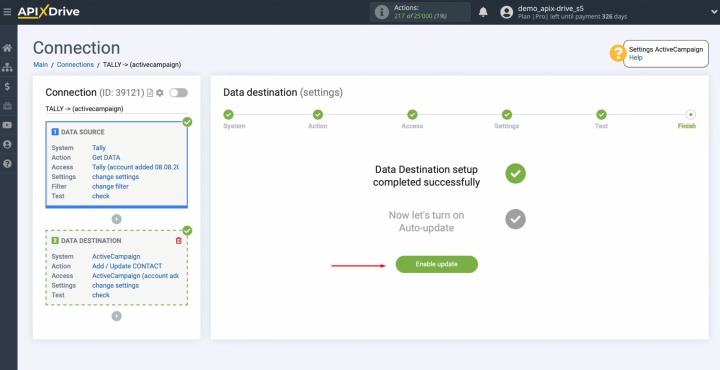
In order for data transfer to occur automatically, configure auto-update. Click “Enable update.”
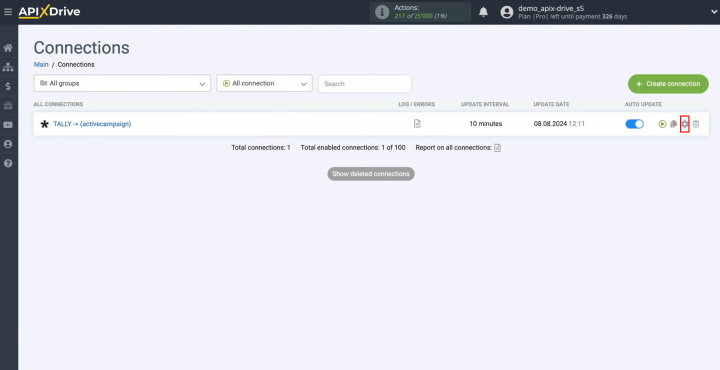
Click on the
gear button.
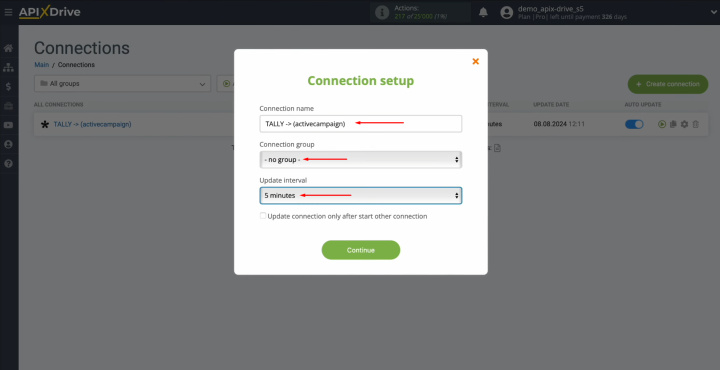
Select the
interval for the operation of the connection. For example, once every 5
minutes. Moreover, here you
can change the name of the connection and assign it to the required group.
Click “Continue.”
Tally + ActiveCampaign integration was completed. You’ve done it!
What You Will Get
Automating lead data transfer with ApiX-Drive guarantees a new level of efficiency in your work. This solution allows you to easily create automated processes without knowledge in the field of coding, even for beginners. After you set up Tally integration with ActiveCampaign according to our instructions and activate the automatic update, continuous operation of the connection will begin. You have probably already noticed the results – lead data is transferred automatically, without your participation.
ActiveCampaign + Tally integration will free you from the daily monotonous manual work. With this integration, data transfer will be fully automated. Our online connector will take care of all the boring work. With it, you can focus on improving customer service, developing new marketing strategies, and other important aspects that will help take your business to the next level.
Read also about other integrations:


