Straico
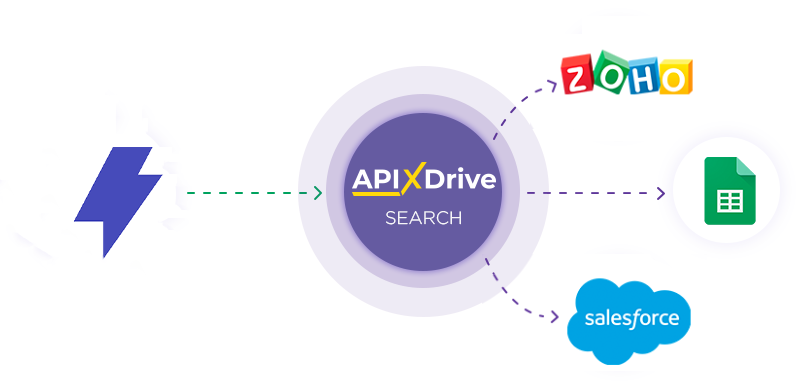
Integration with Straico is implemented as a separate Straico block, which can be placed between the Data Source and the Data Destination. This allows you to create a query based on data from the Data Source and transfer data from Straico to the Data Destination fields. This allows you to automatically receive data from Straico and transfer it to the services and systems you use.
This function allows you to analyze data from the Data Source using Straico and transfer the query result to the Data Destination.
Navigation:
Connecting Google Sheets as a Data Source:
1. What data can you get from Google Sheets?
2. How to connect a Google Sheets account to ApiX-Drive?
3. Select the table and sheet from which the rows will be downloaded.
4. An example of data that will be transferred from Google Sheets.
Connecting Straico:
1. What data can be obtained from Straico?
2. How do I connect my Straico account to ApiX-Drive?
3. How do I configure a Straico data search in a selected action?
IMAGE Generation
Chat Completion
4. An example of the data that will be transferred from Straico.
Setting up row updates in Google Sheets:
1. What will the Google Sheets integration do?
2. How to connect a Google Sheets account to ApiX-Drive?
3. How do I configure the selected action to transfer data to Google Sheets?
4. Example of data that will be sent to your Google Sheets.
5. Auto-update and communication response interval.
Setting up Data Source: Google Sheets
Let's take a look at how the Straico data query function works and how it transfers the results to Google Sheets.
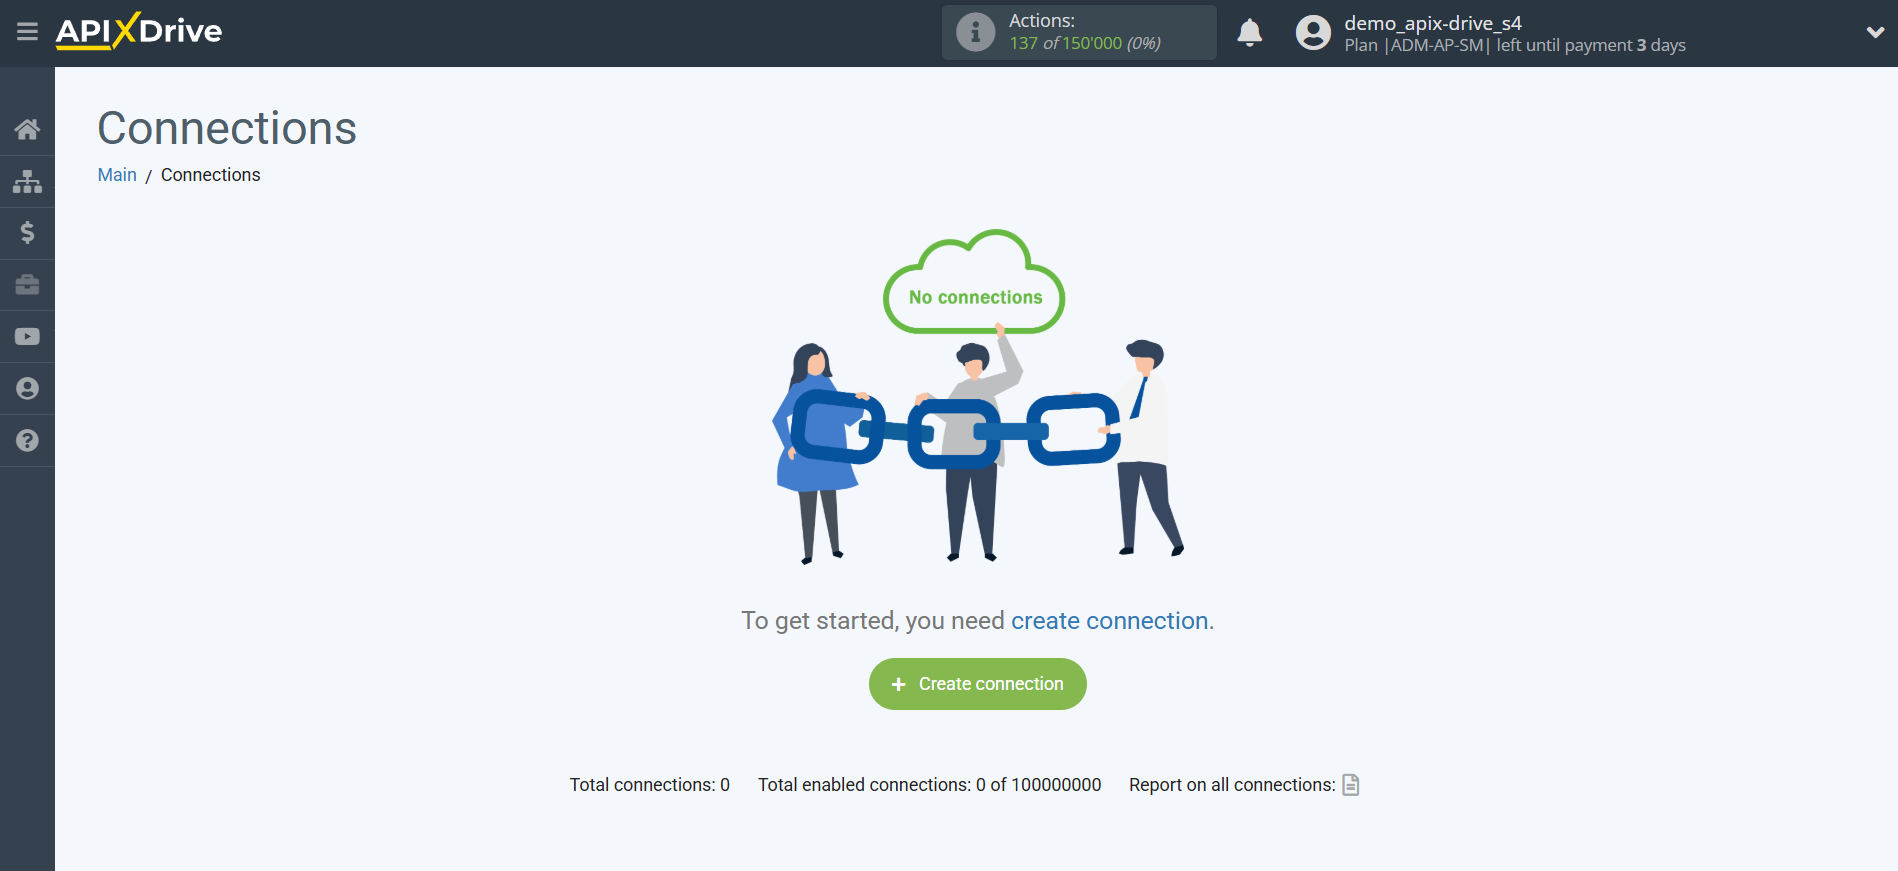
First, you need to create a new connection.
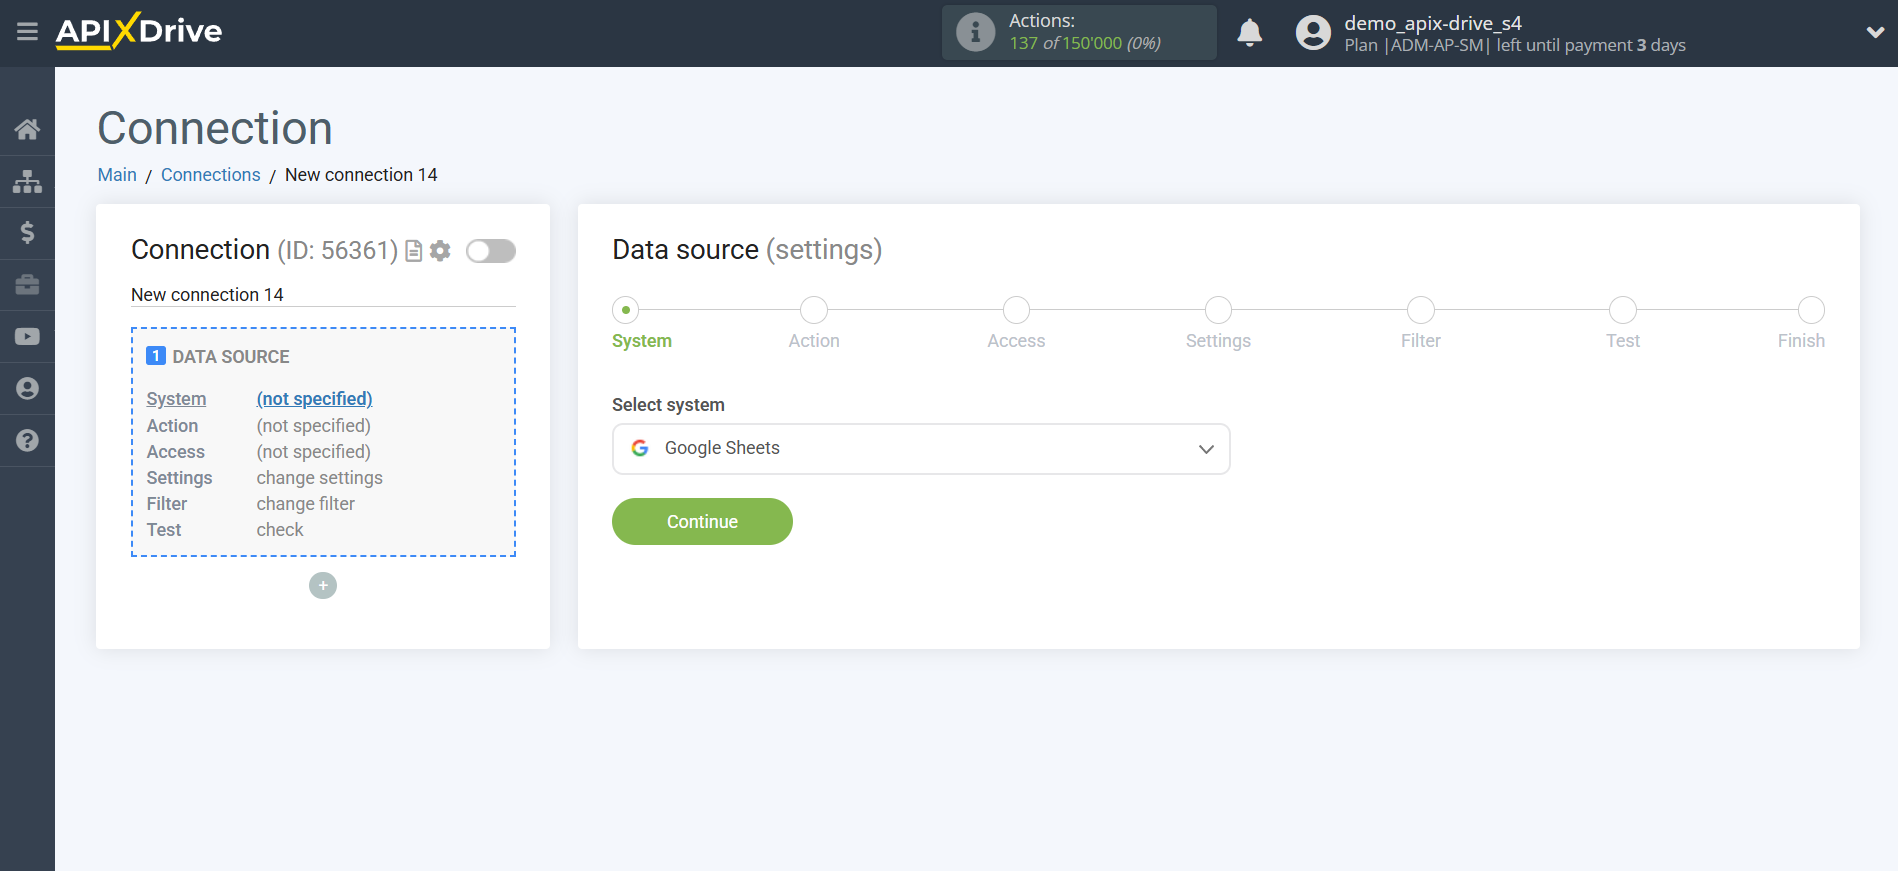
Select a system as the Data Source. In this case, you need to select Google Sheets
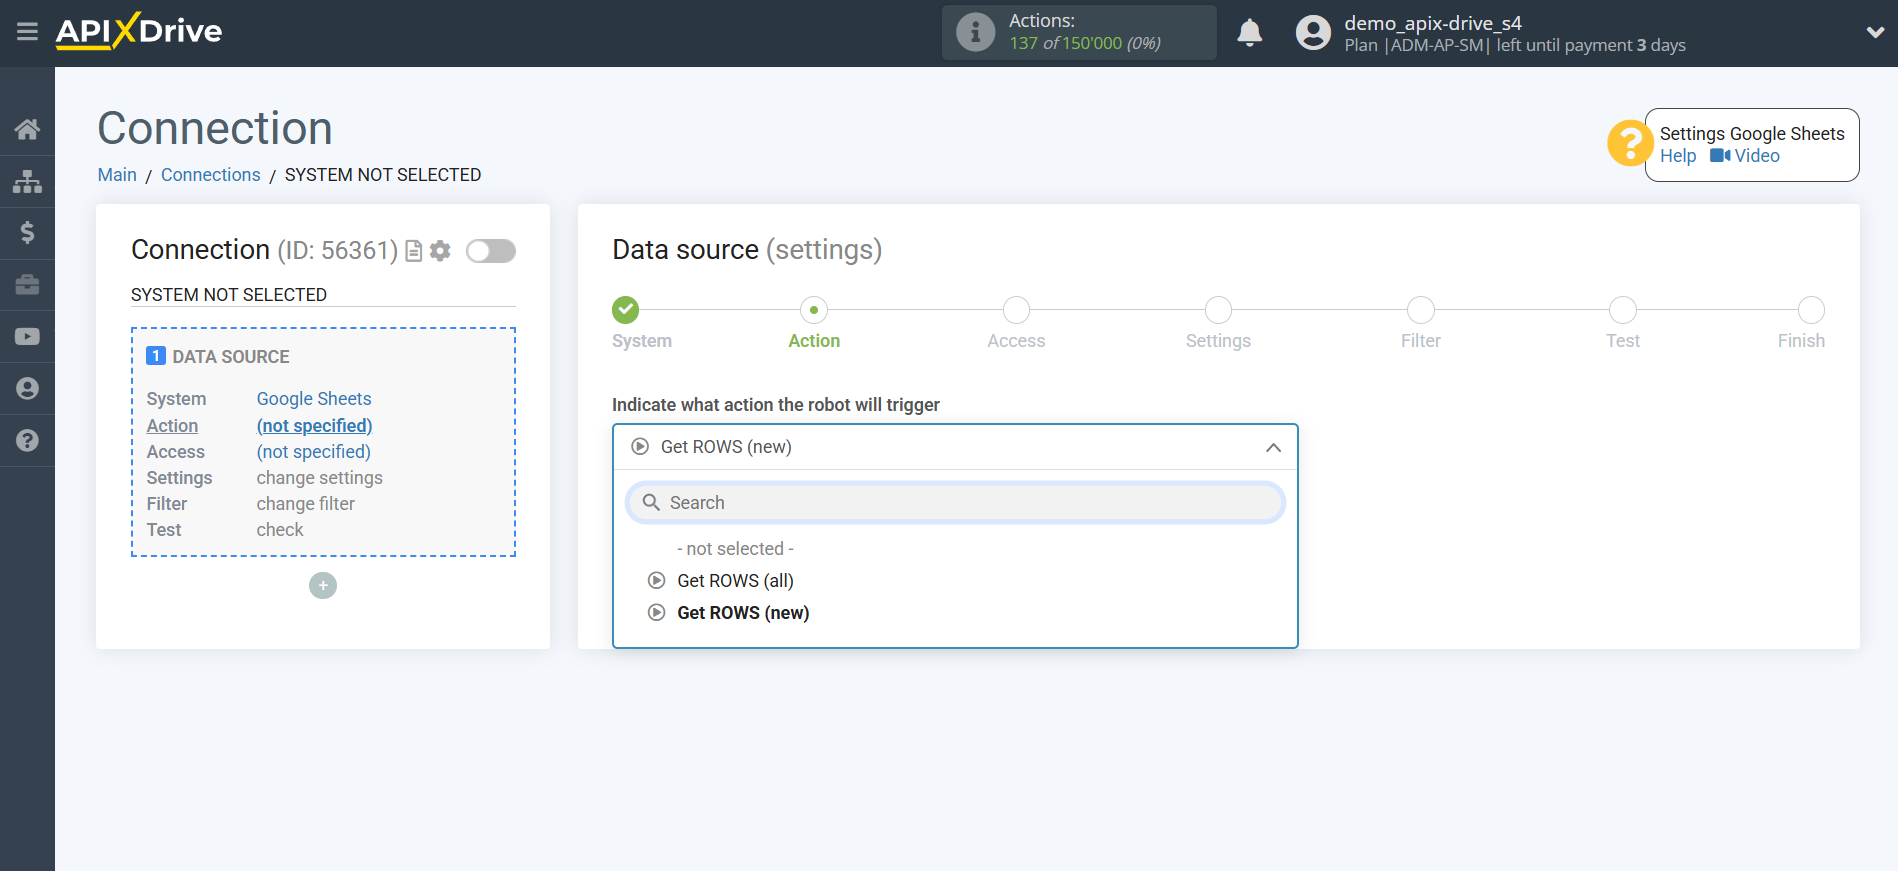
Next, you need to specify the action "Get ROWS (new)".
The next step is to select the Google Sheets account from which the data will be downloaded.
If there are no account connected to the system, click "Connect account".
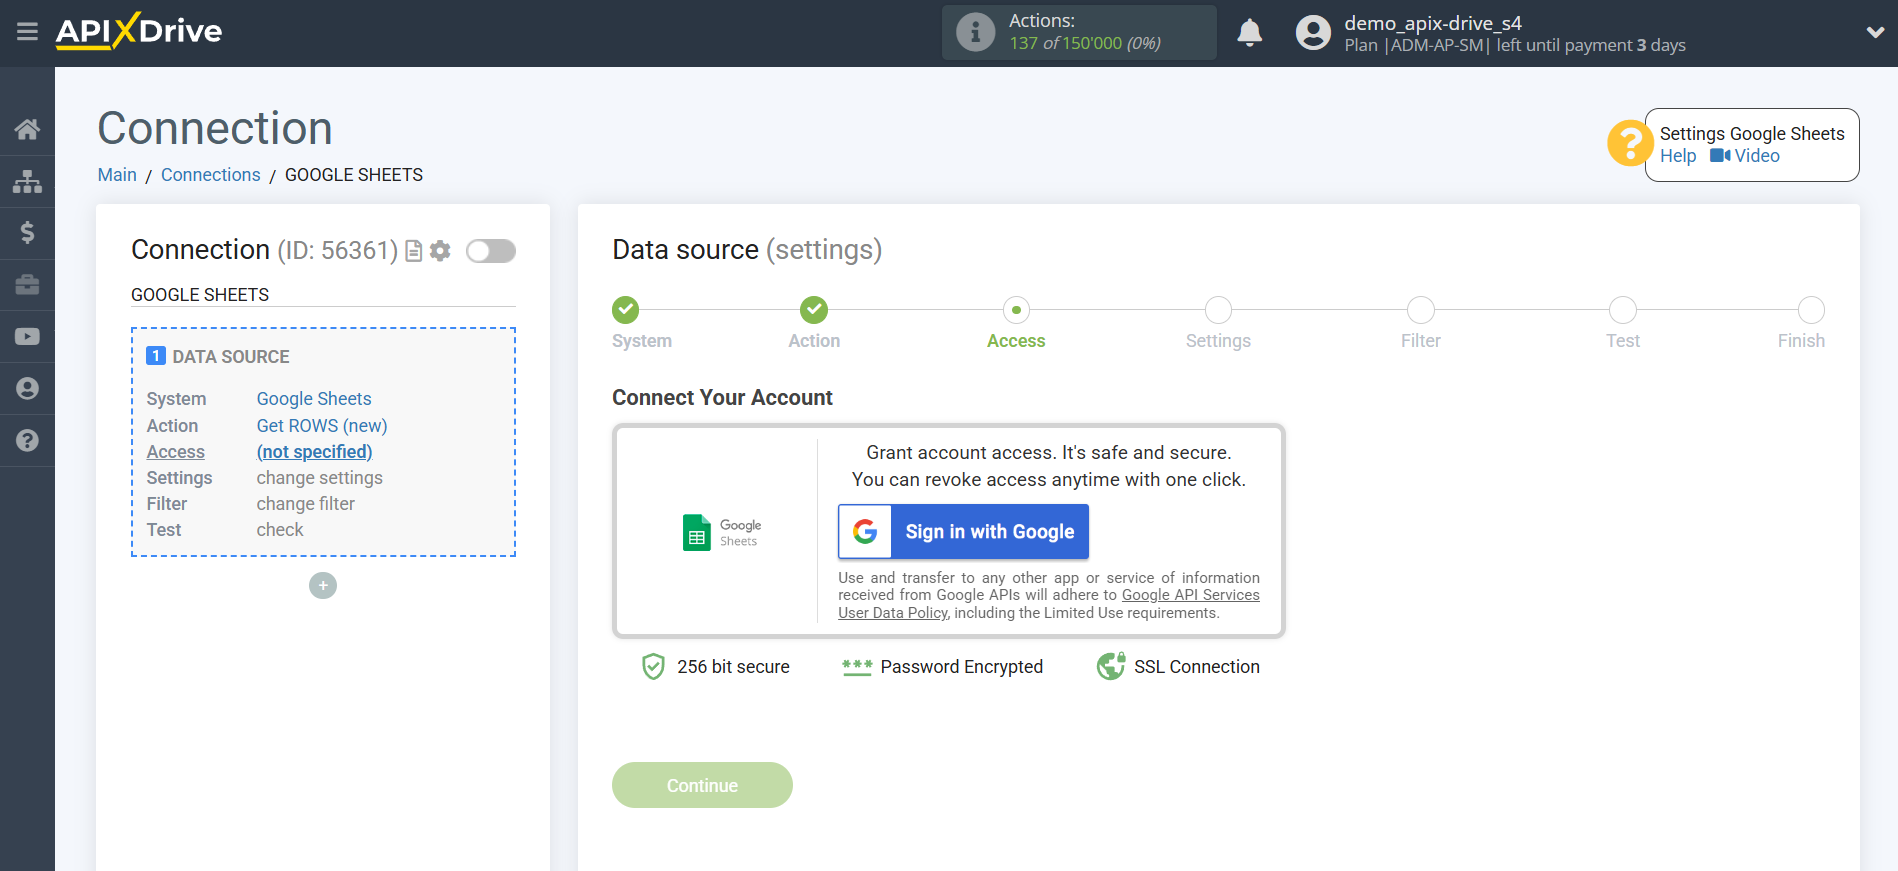
Select which account you want to connect to ApiX-Drive and grant all permissions to work with this account.
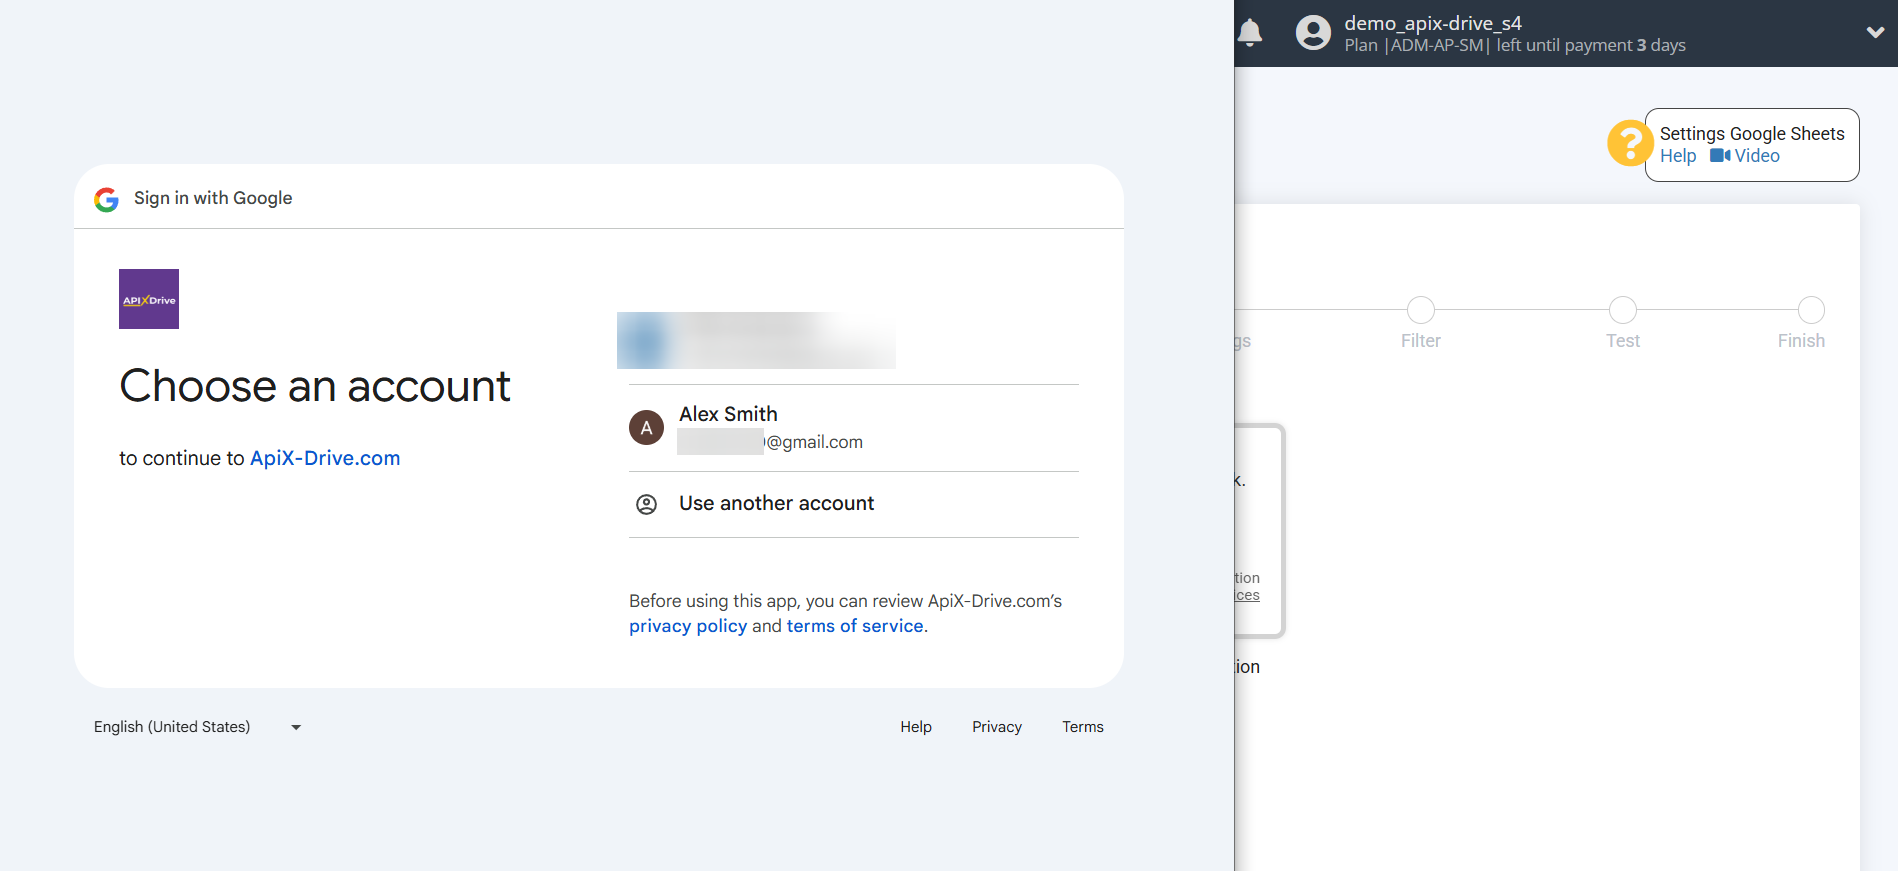
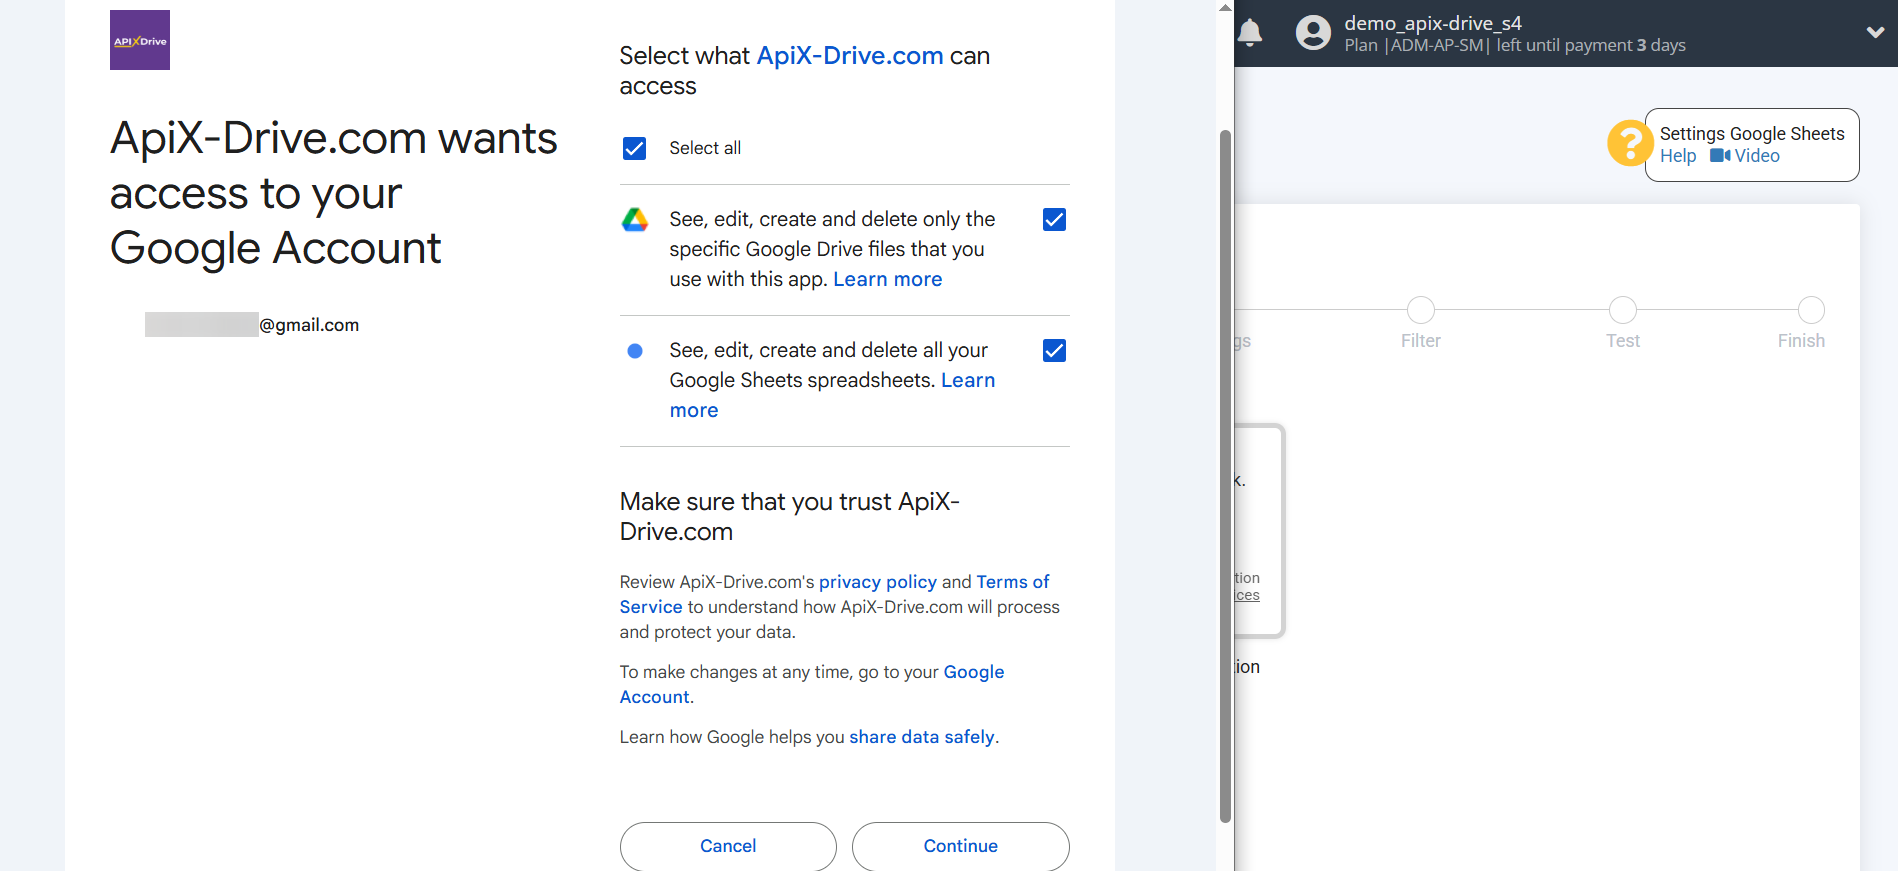
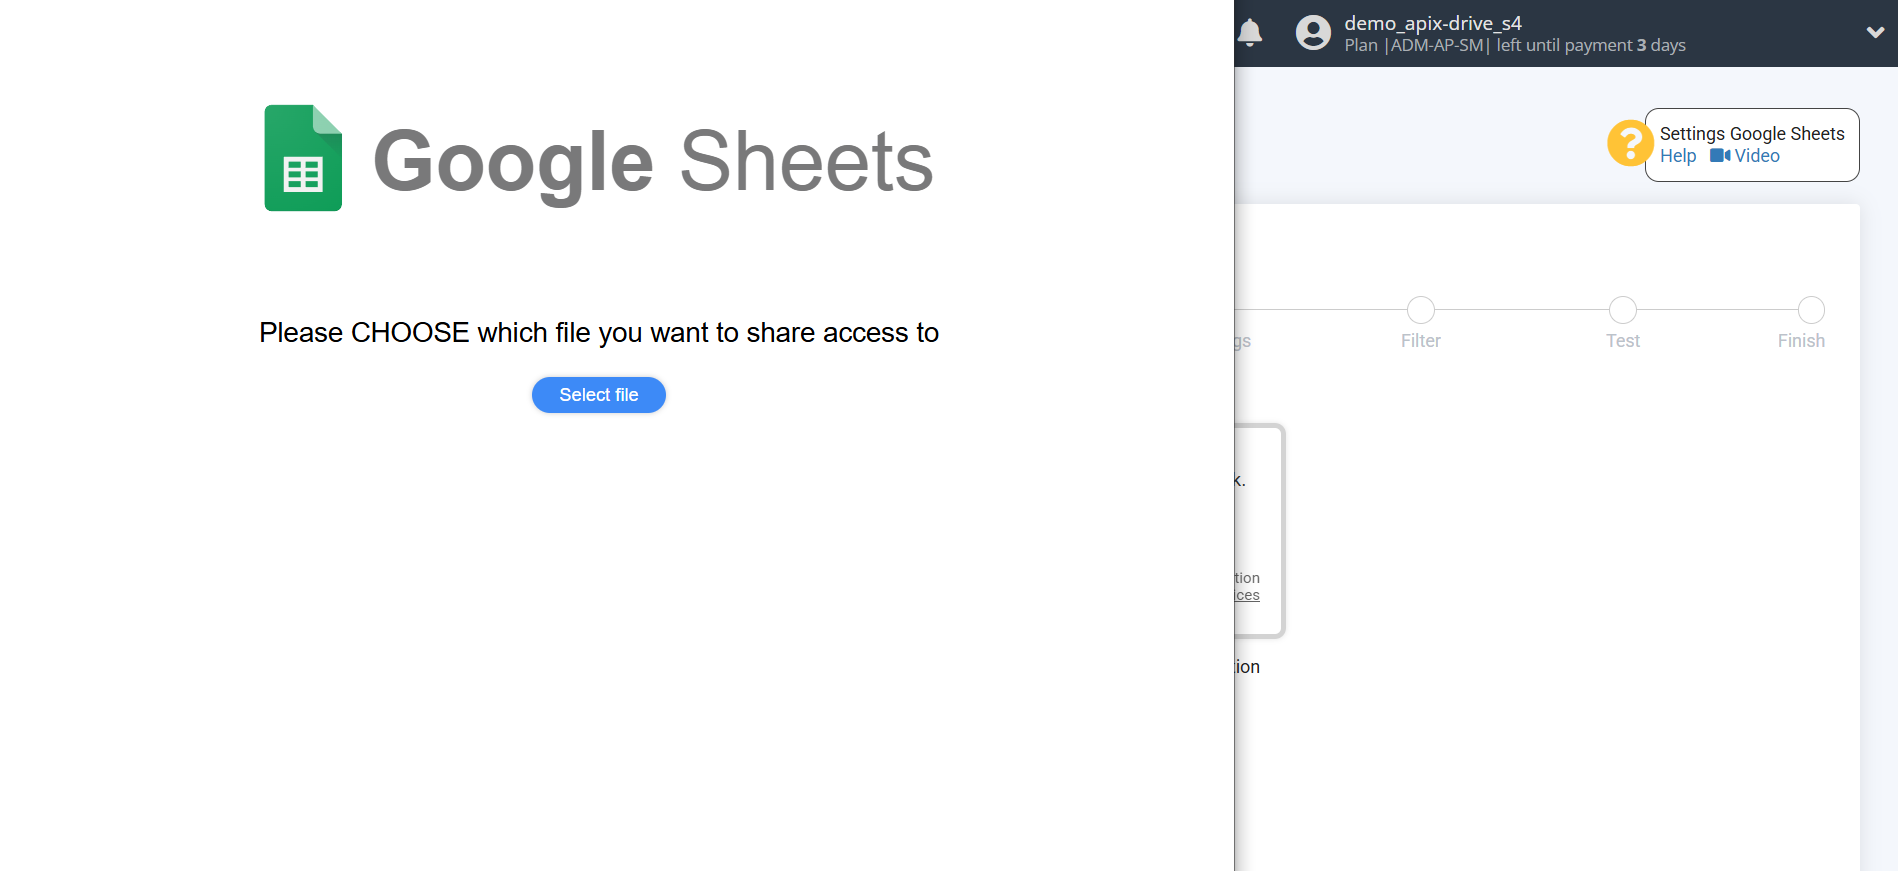
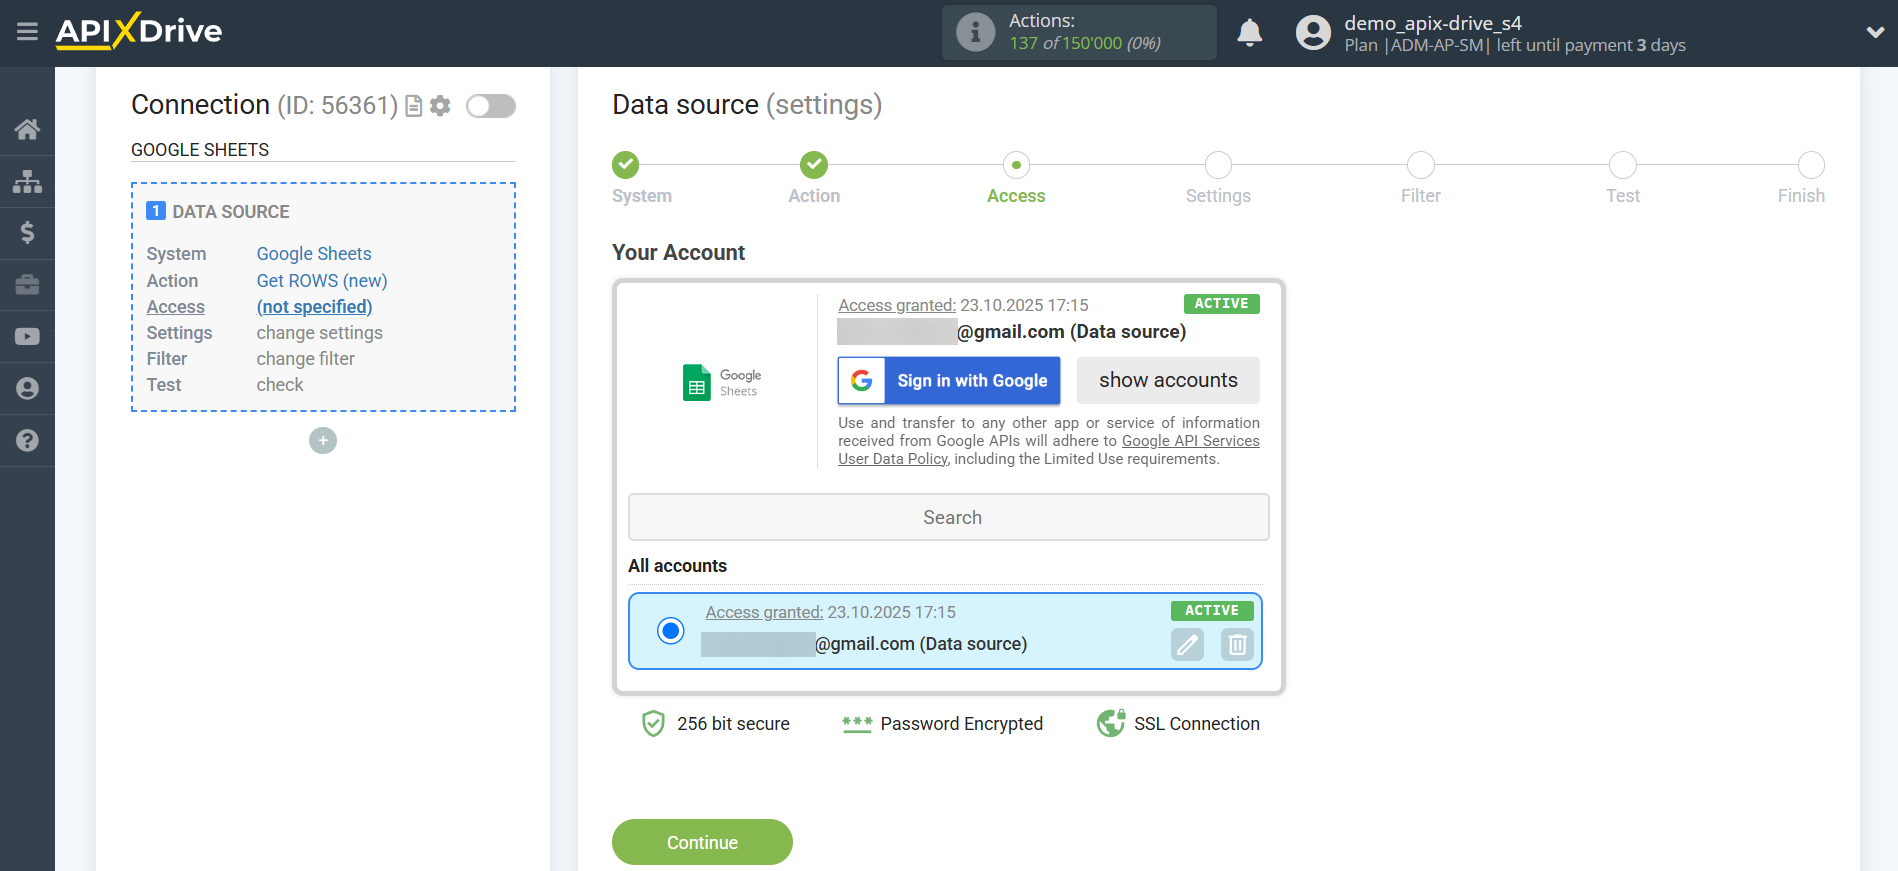
Once the connected account appears in the "active accounts" list, select it for further work.
Attention! If your account is listed as "inactive accounts," please verify your access to this account.
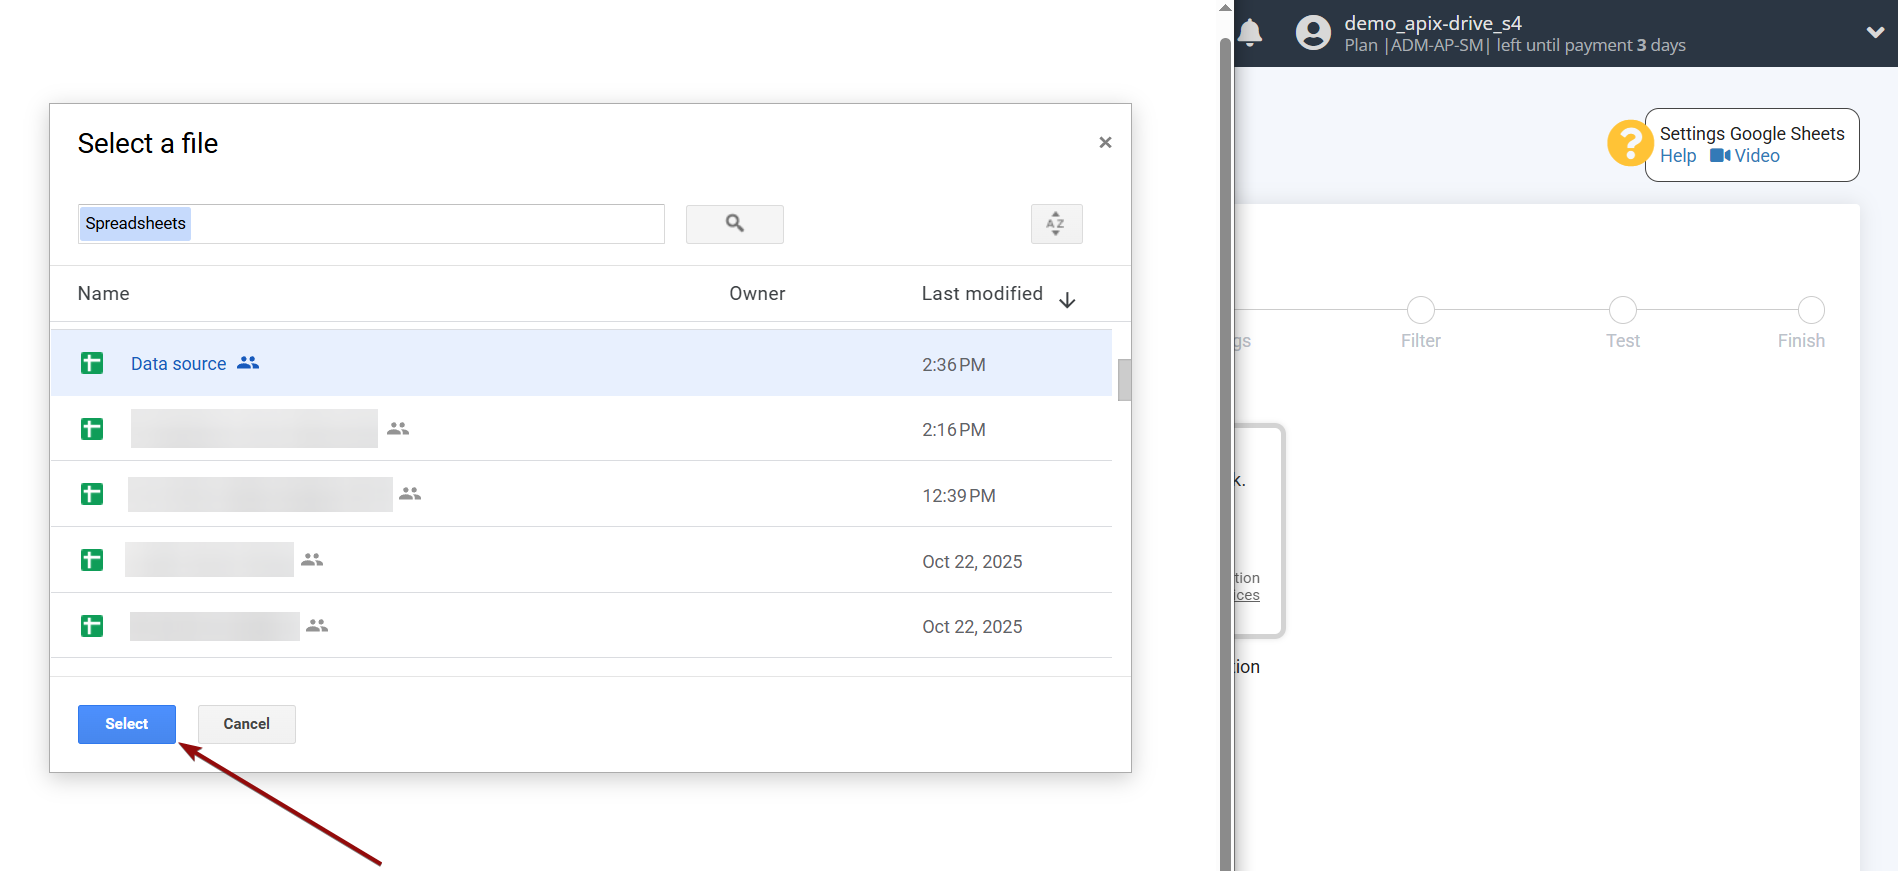
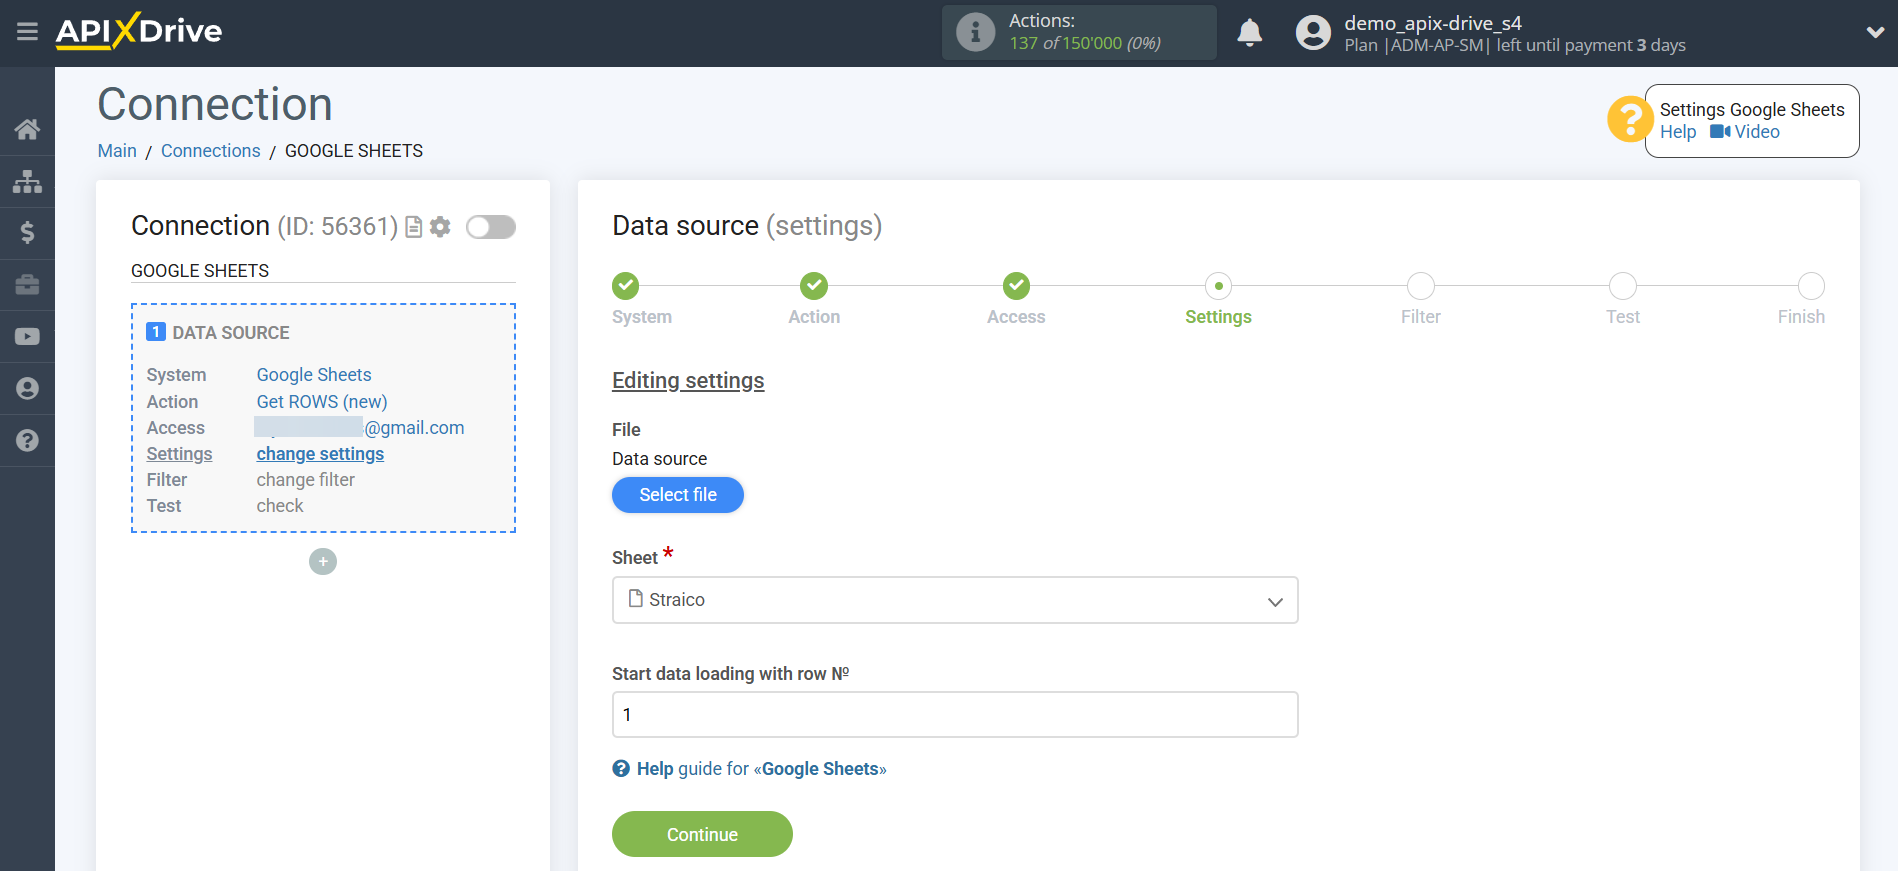
Select the Google Sheets table and sheet where the data you need is located.
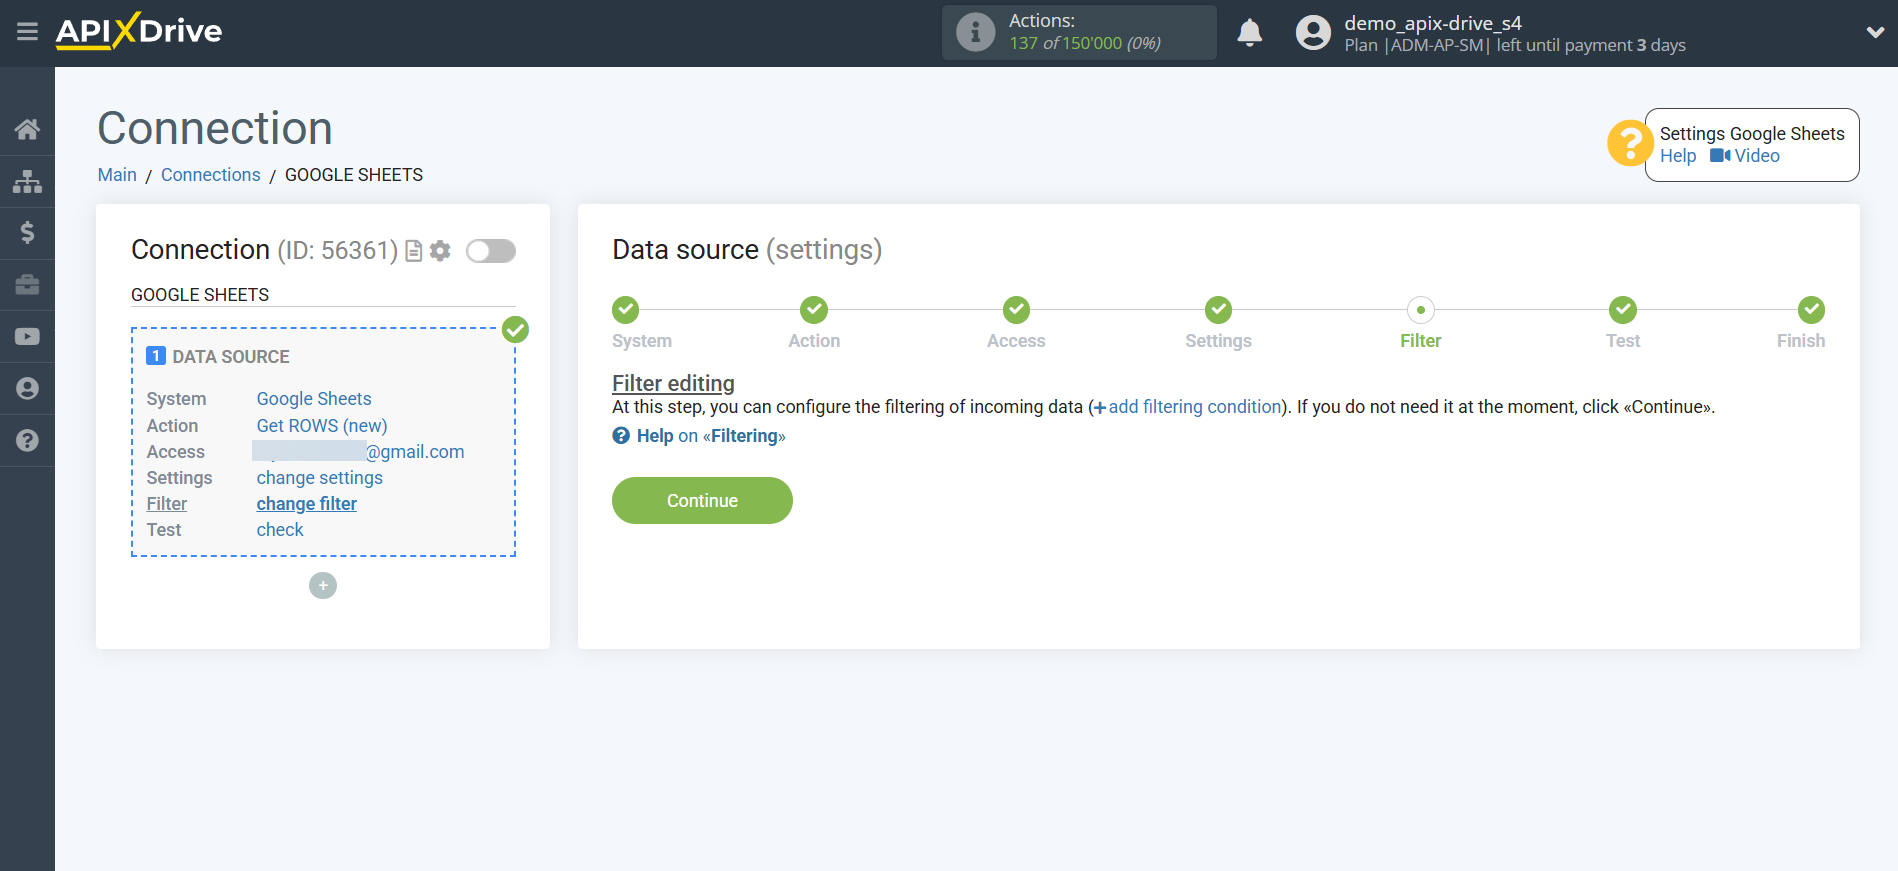
If necessary, you can adjust the Data Filter, or click Continue to skip this step.
To learn how to configure the Data Filter, follow the link: https://apix-drive.com/en/help/data-filter
You can now see sample data for one of the rows in your Google Sheets spreadsheet.
If you want to update the test data, click "Load test data from Google Sheets".
If you want to change the settings, click "Edit" and you will go back one step.
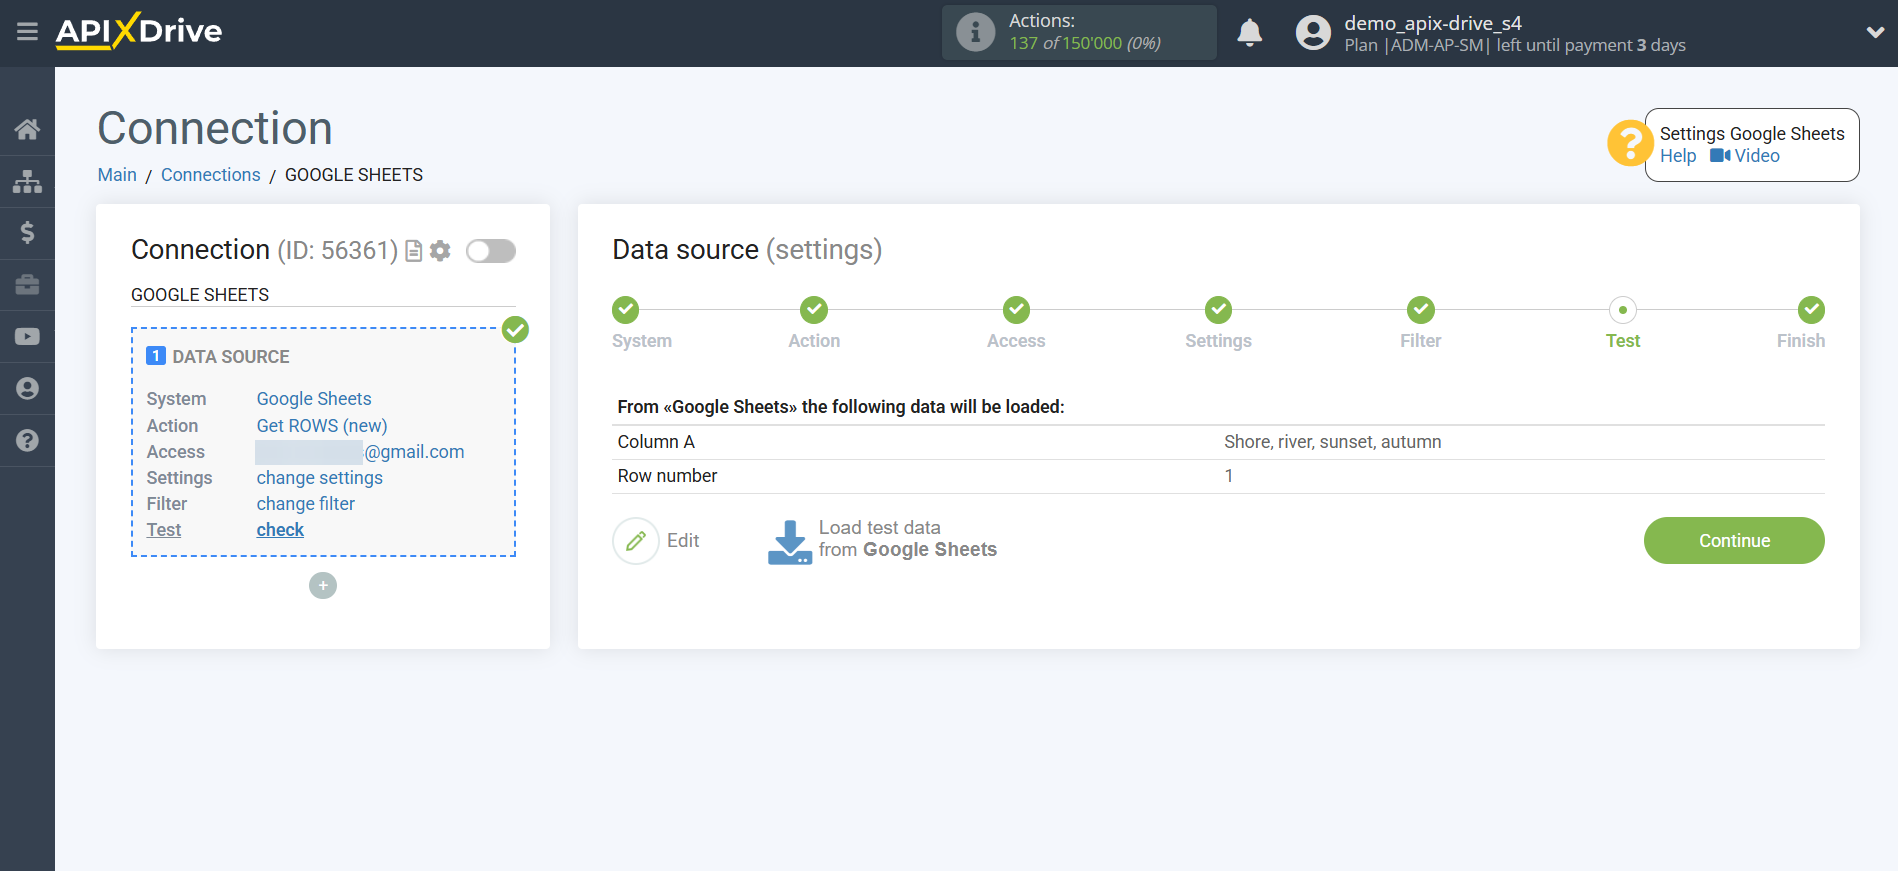
Now let's connect the additional AI TOOLS module. To do this, click the "+" button and select "AI TOOLS" from the list.
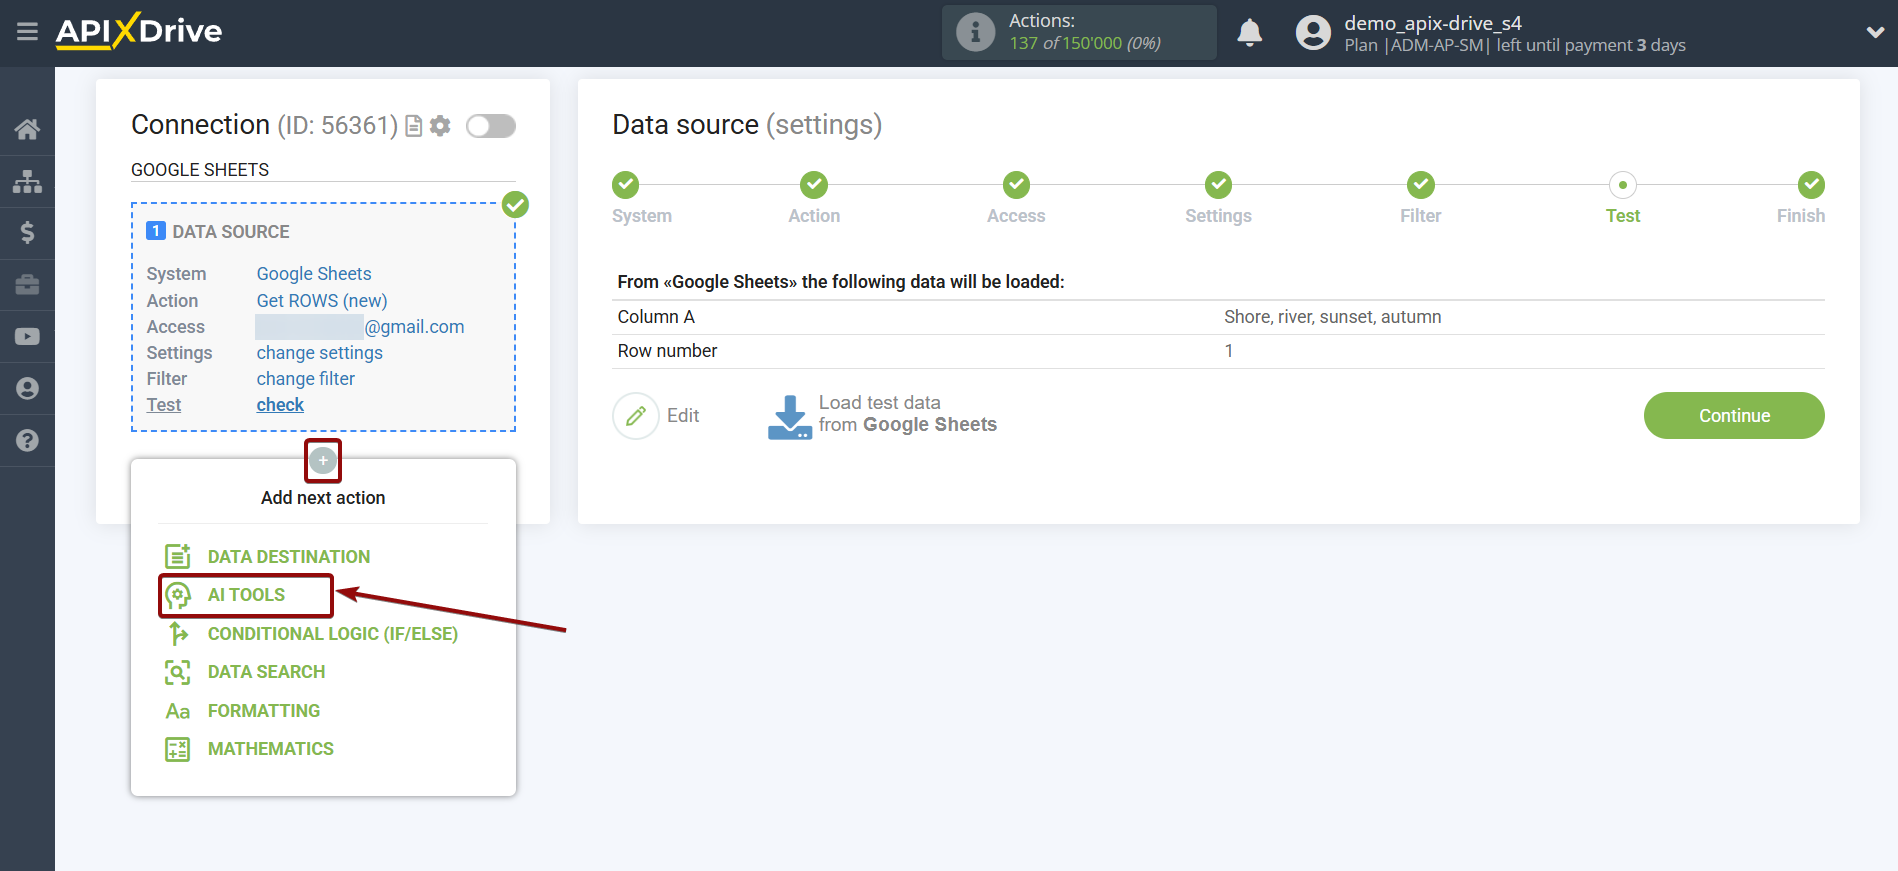
Setting up Straico
We select "Straico" as the system in which the search will be performed.
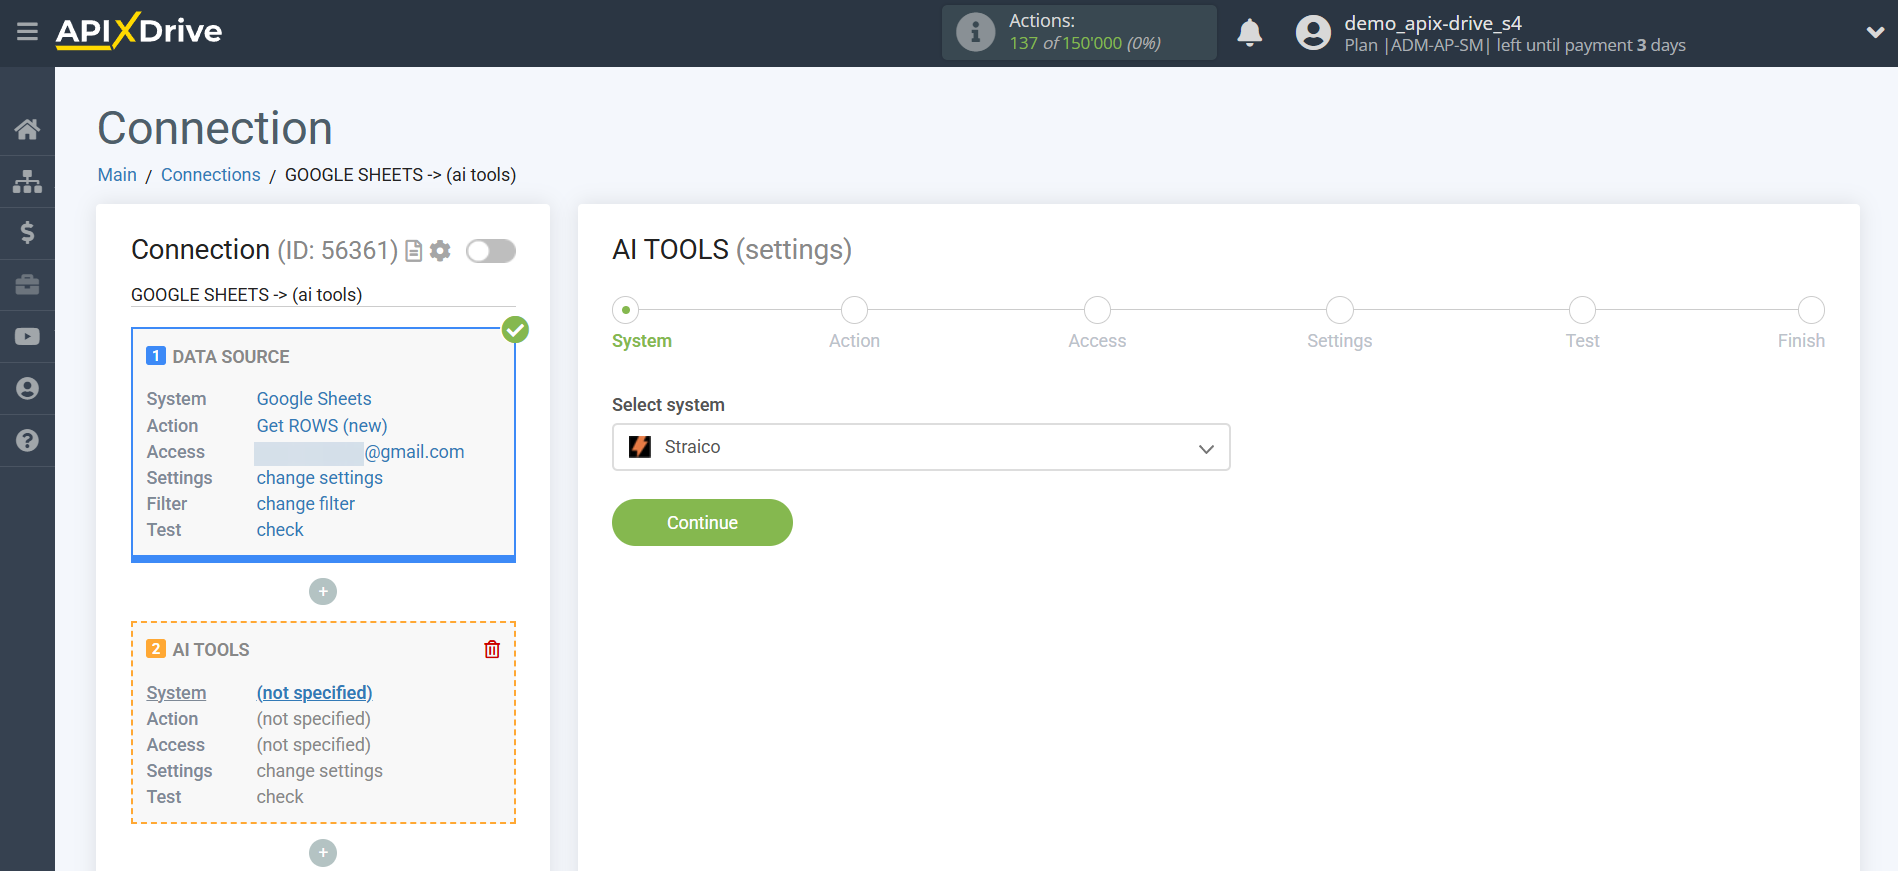
- Send PROMPT - allows you to send a request to Straico to generate, edit and translate data.
- IMAGE generation - allows you to send a request to Straico to generate an image based on the parameters you specify.
– Chat Completion - allows you to receive AI-generated responses to user requests in a conversational format.
Next, you need to specify the action, for example, "IMAGE generation ".
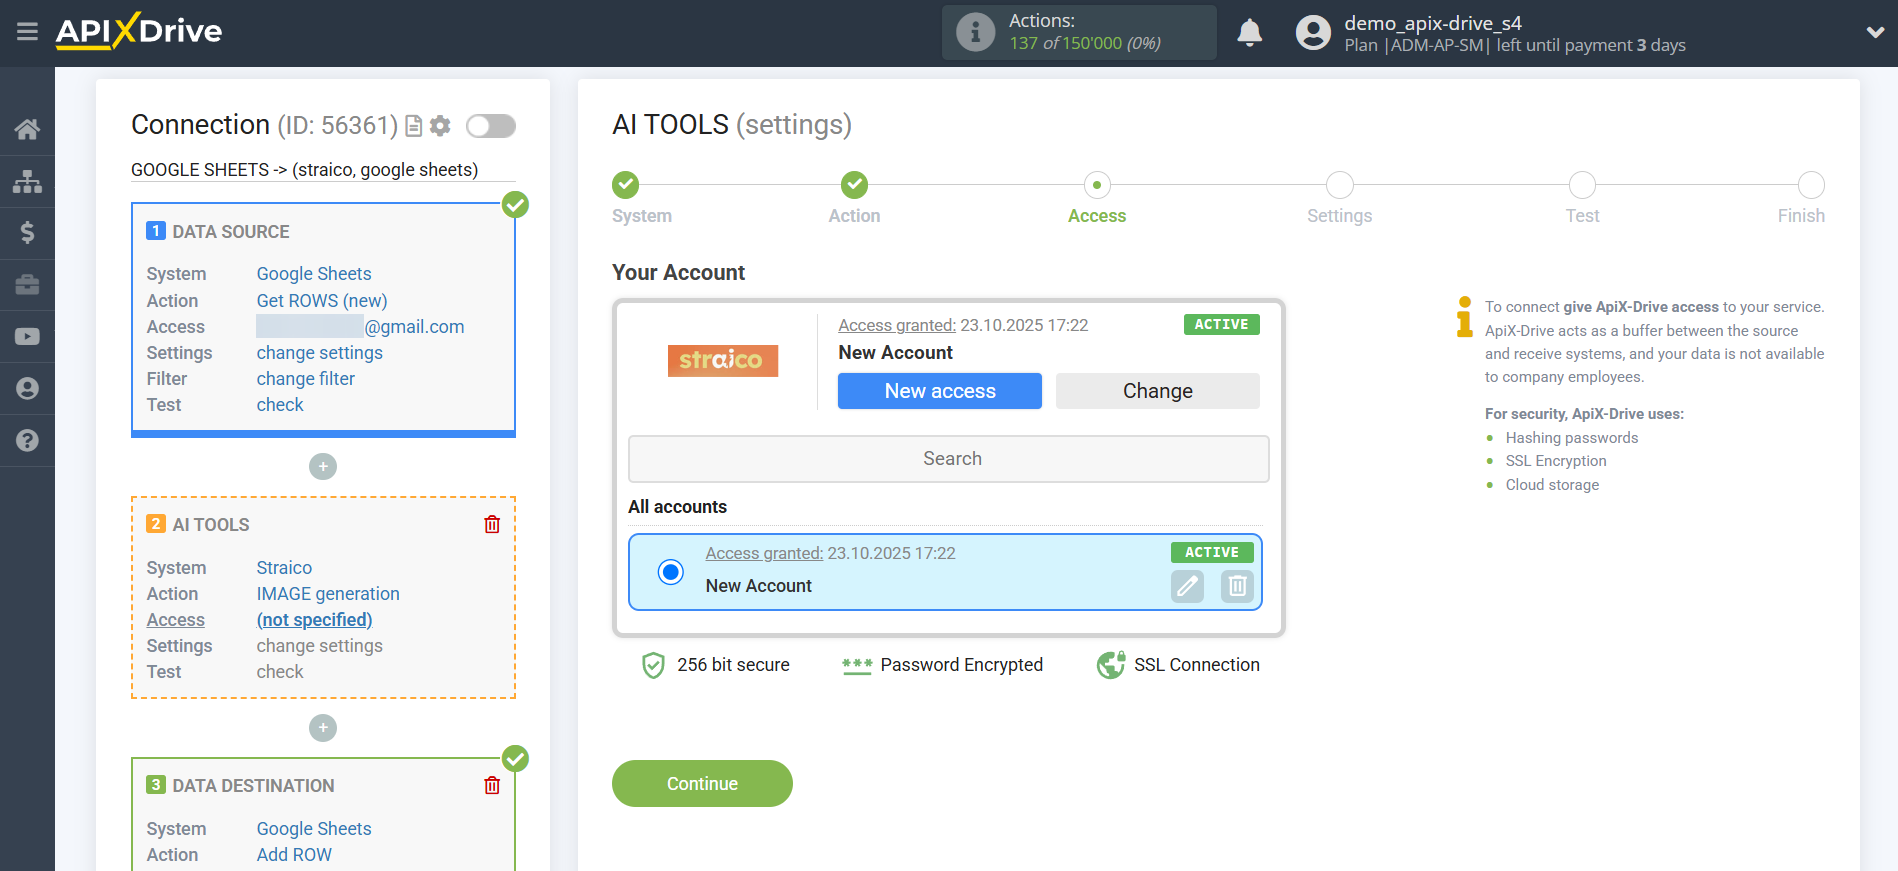
The next step is to select a Straico account.
If there are no account connected to the ApiX-Drive system, click "Connect account".
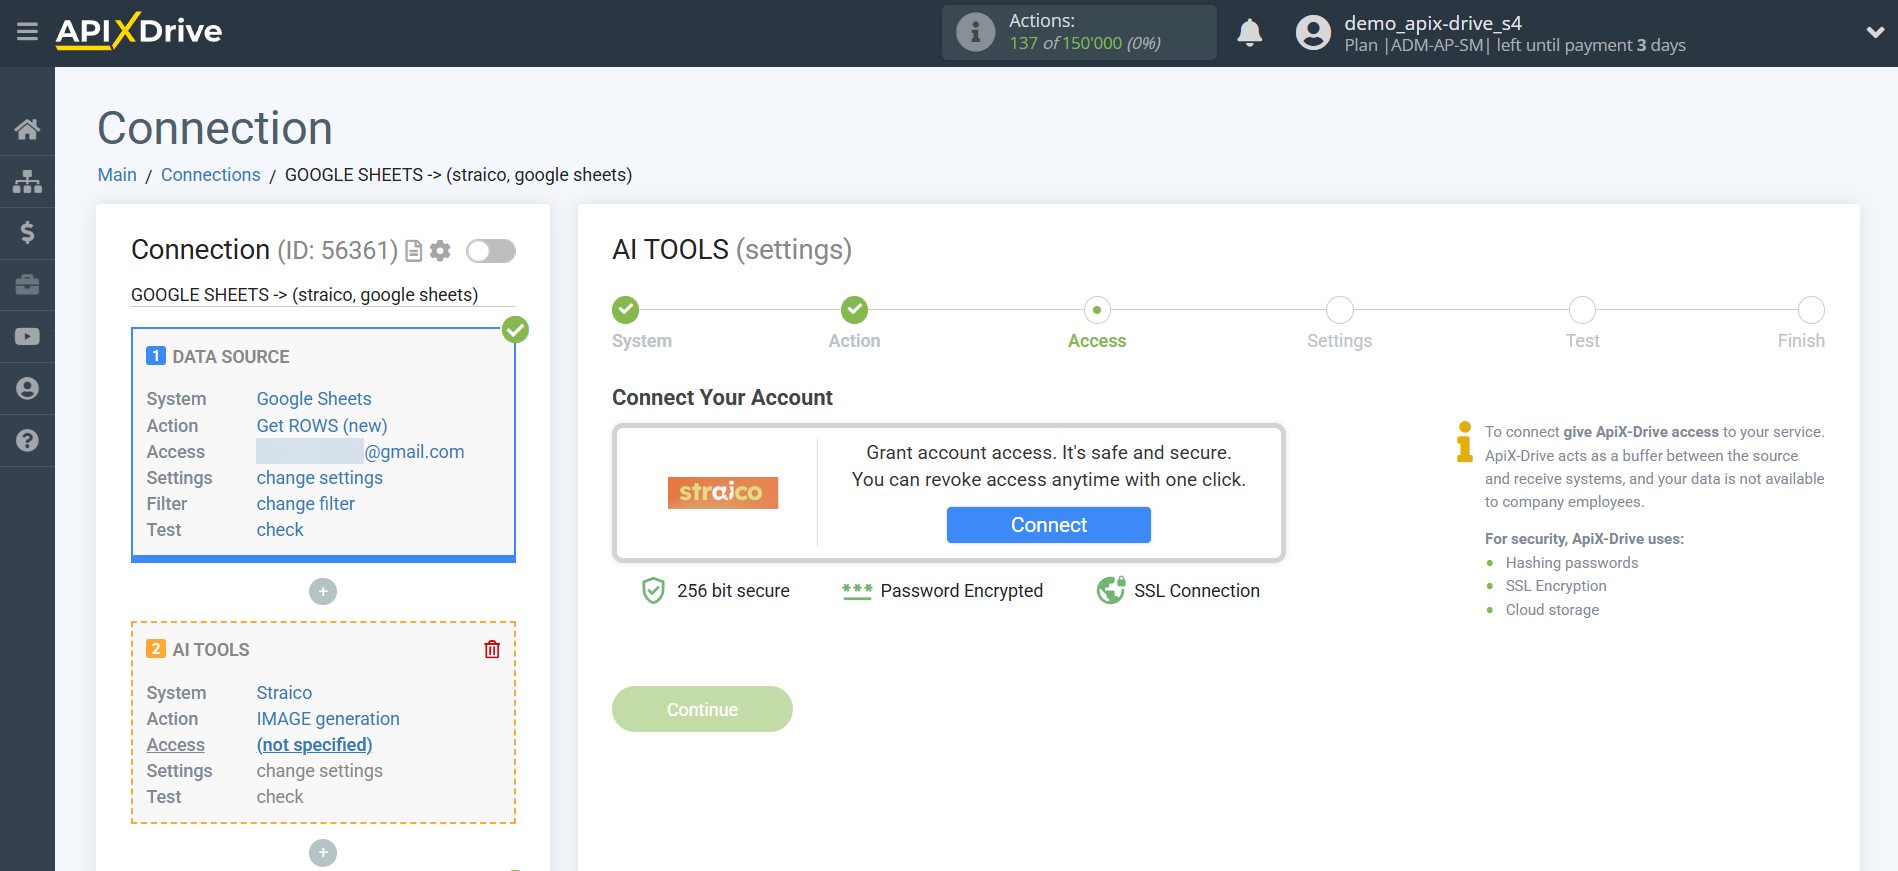
Enter the API key, which is located in the settings of your Straico personal account.
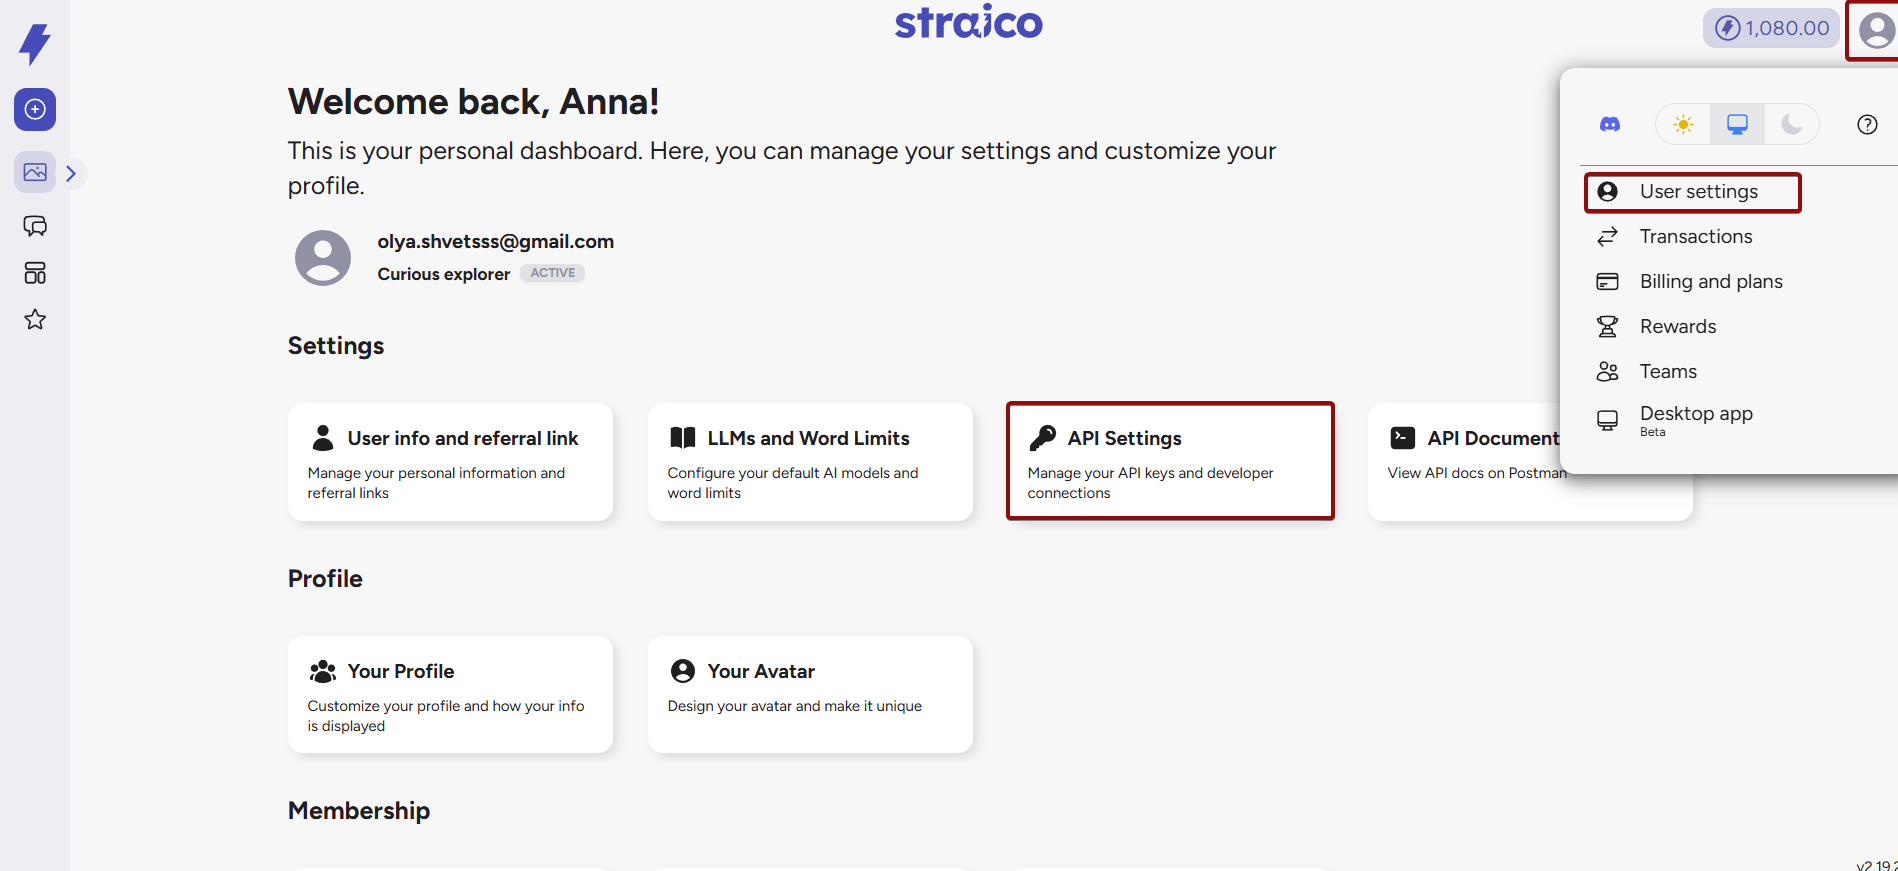
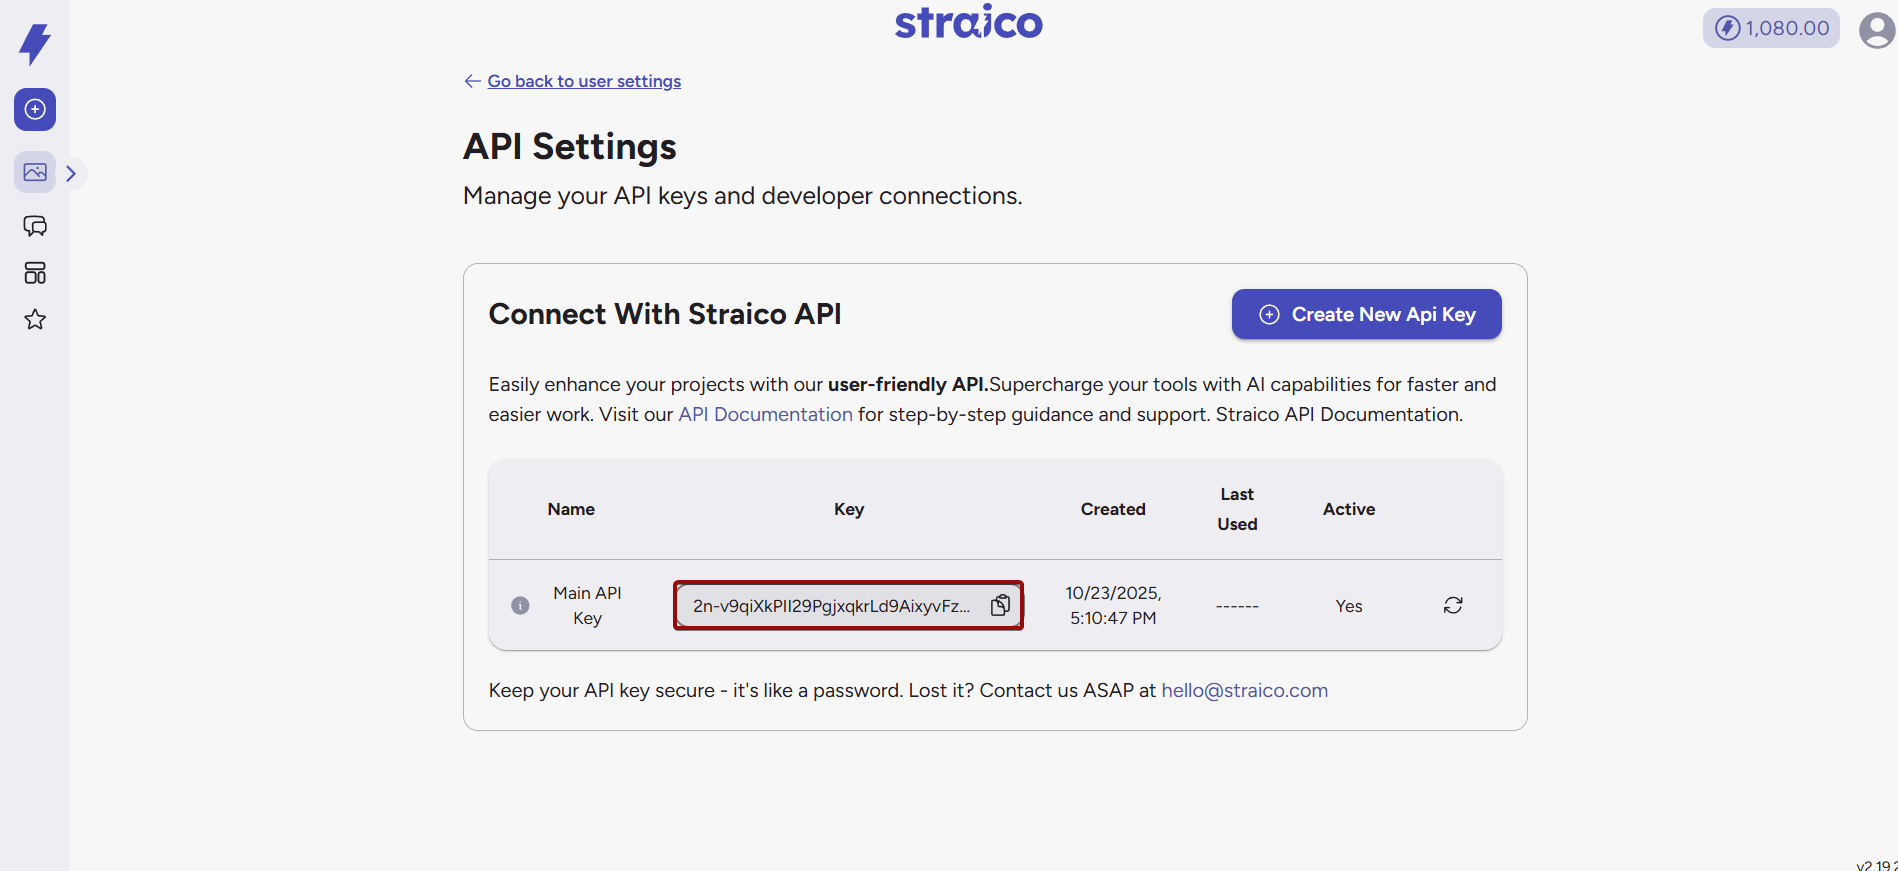
Go to your Straico account, click the "User Settings" tab in the upper right corner, then go to "API Settings." Copy the API key and paste it into the corresponding field in the ApiX-Drive account connection window.
Click Save and select the connected Straico account from the drop-down list.
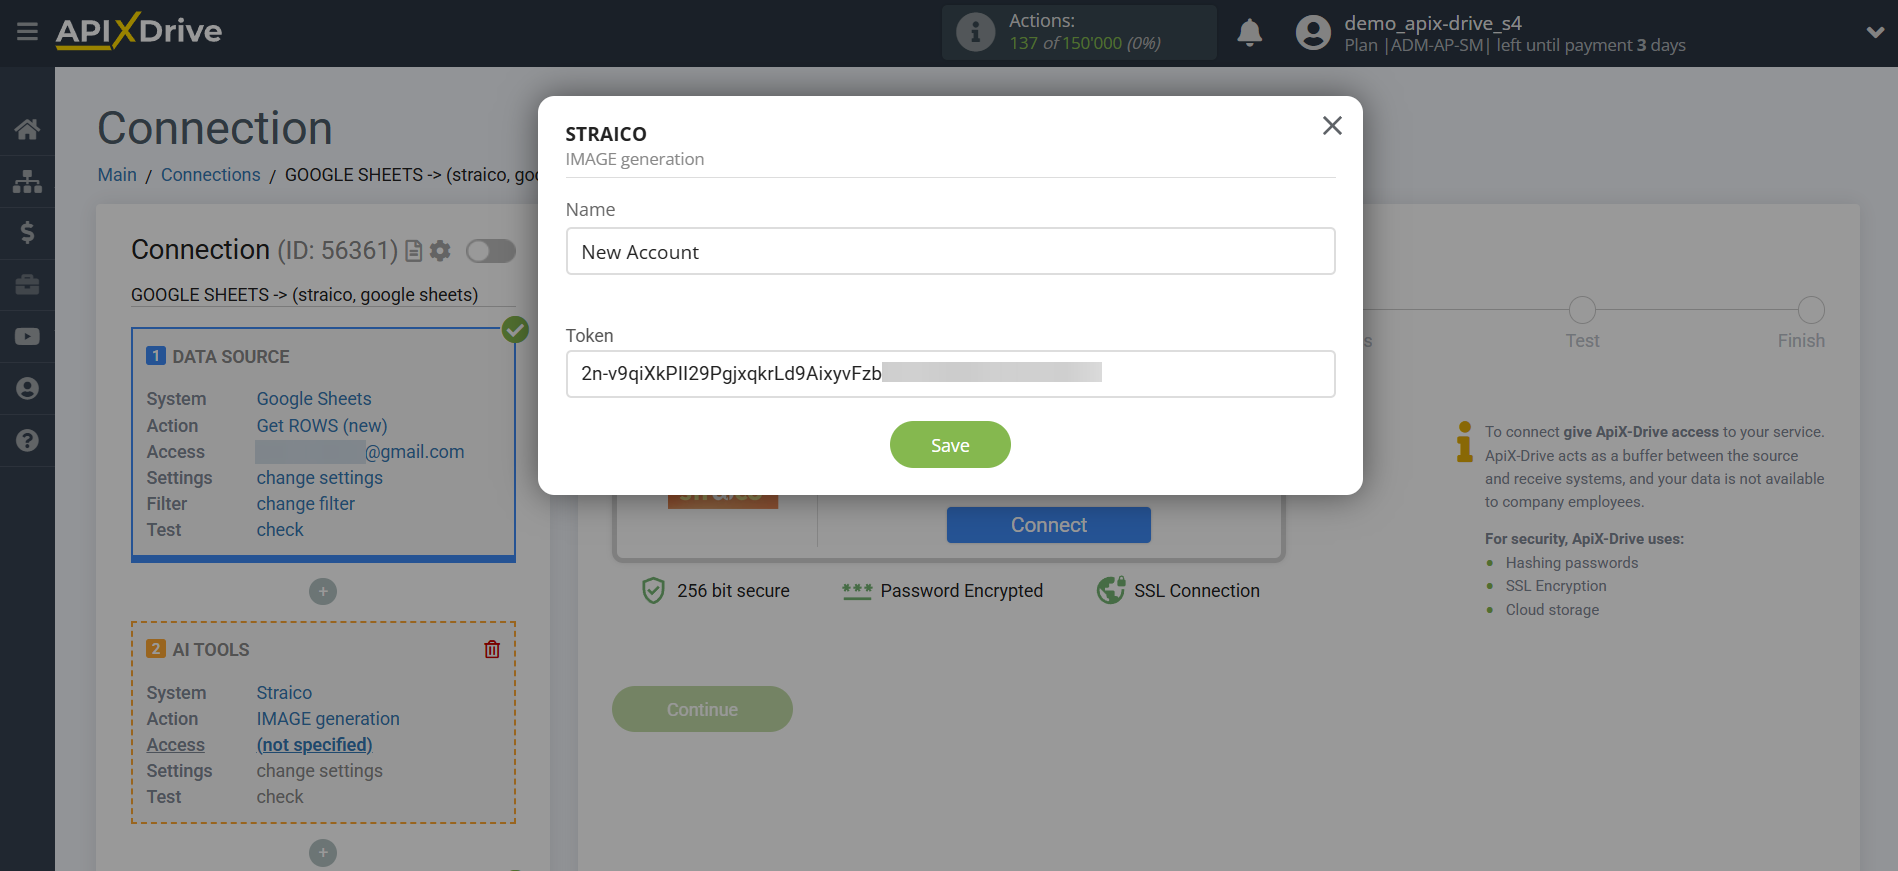
Once the connected account appears in the "active accounts" list, select it for further work.
Attention! If your account is listed as "inactive accounts," please verify your access to this account.
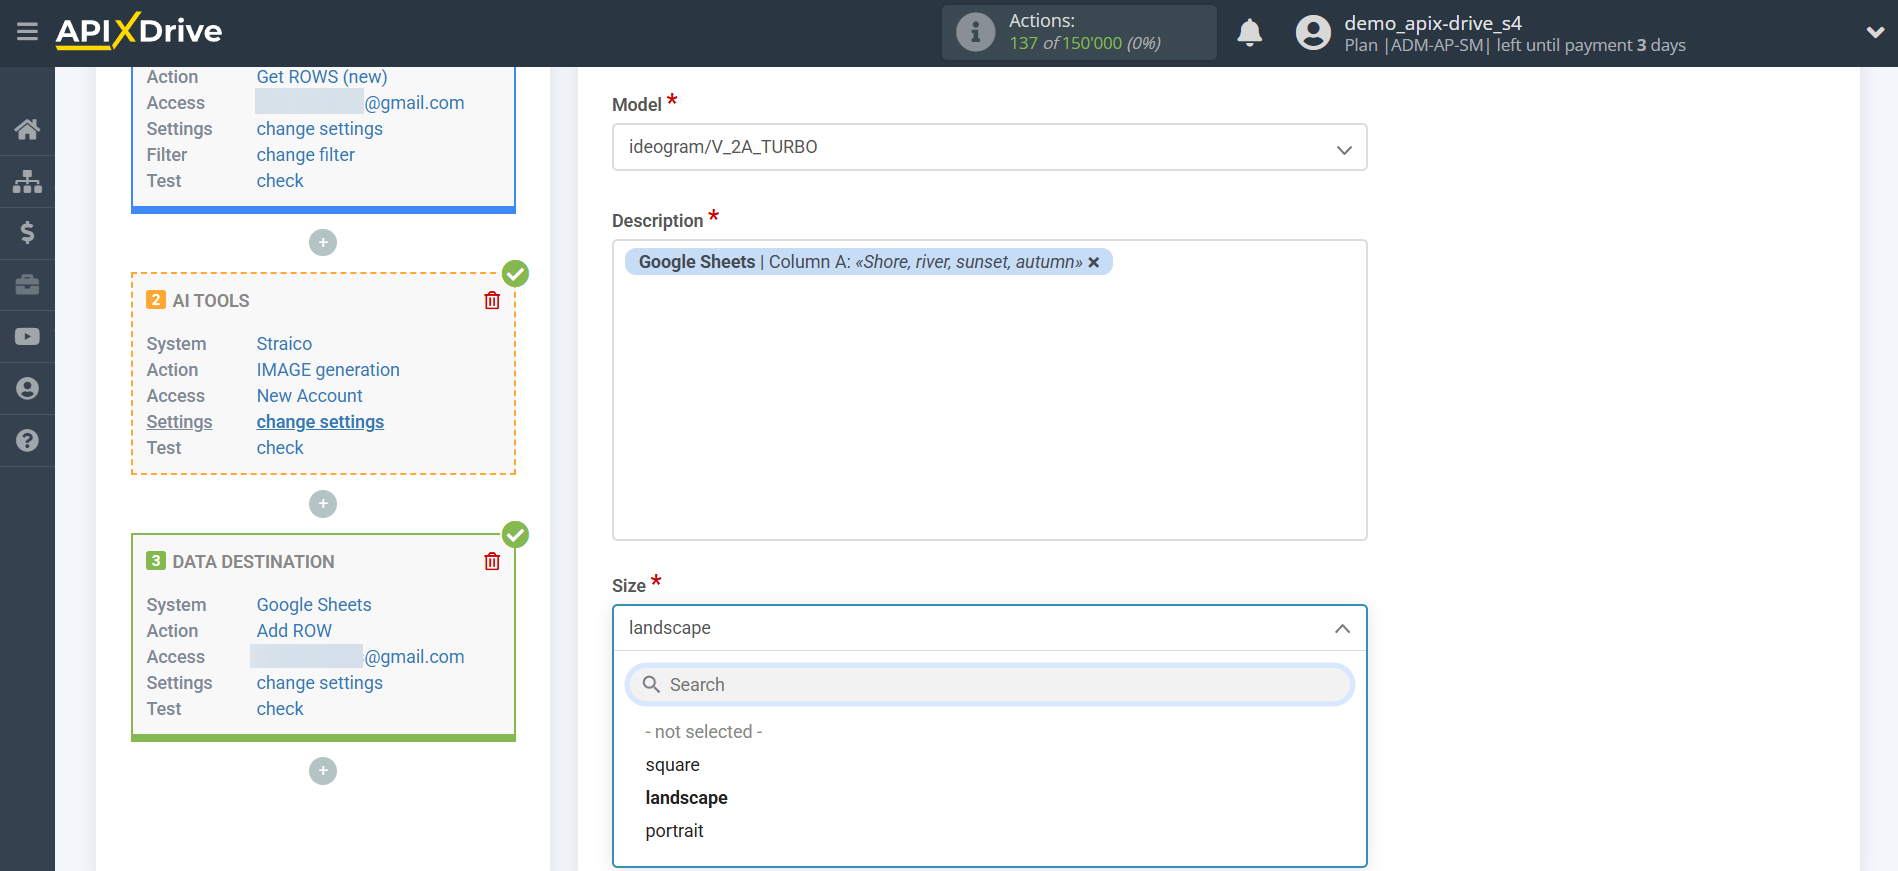
Now you need to select the Straico Model. The choice depends on your needs.
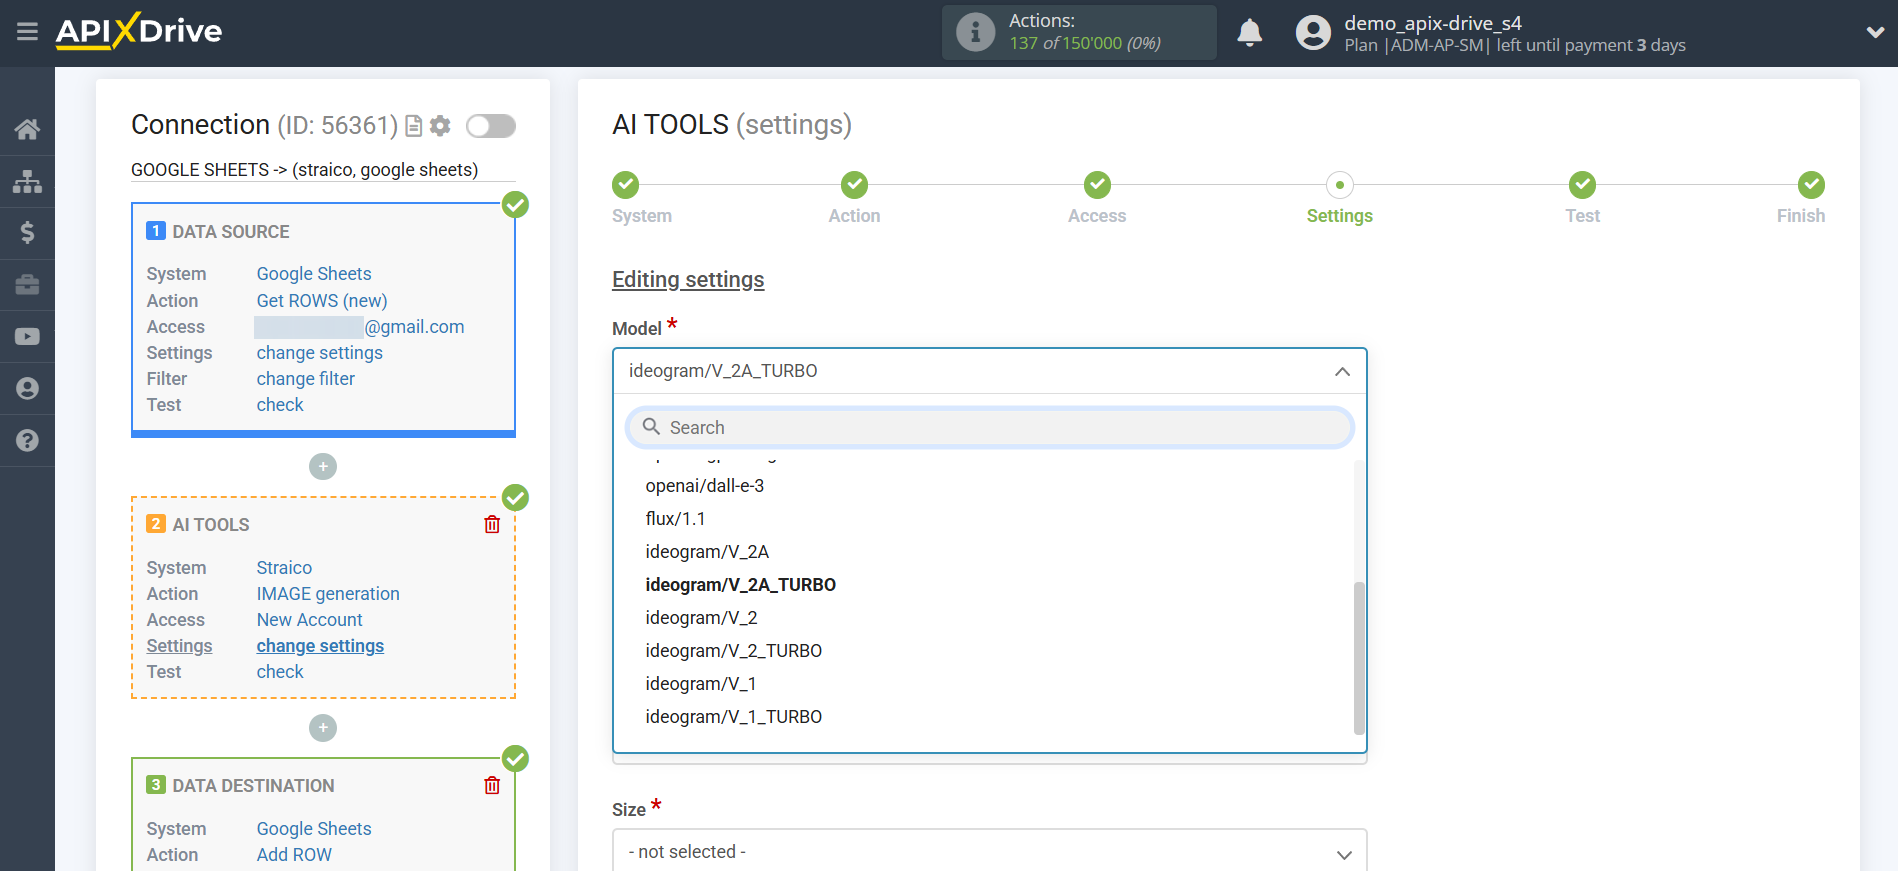
Ideogram/V_2A_TURBO is an artificial intelligence model for generating images from text descriptions. It enables the creation of realistic, artistic, or graphic illustrations for projects of any complexity. The V_2A_TURBO version features increased speed, detail, and accuracy in conveying text and style in images.
Fal-ai/imagen4/preview is an AI model for generating images from text descriptions from Google, available through the Fal.ai platform. It offers high image quality, rich detail, and accurate style reproduction.
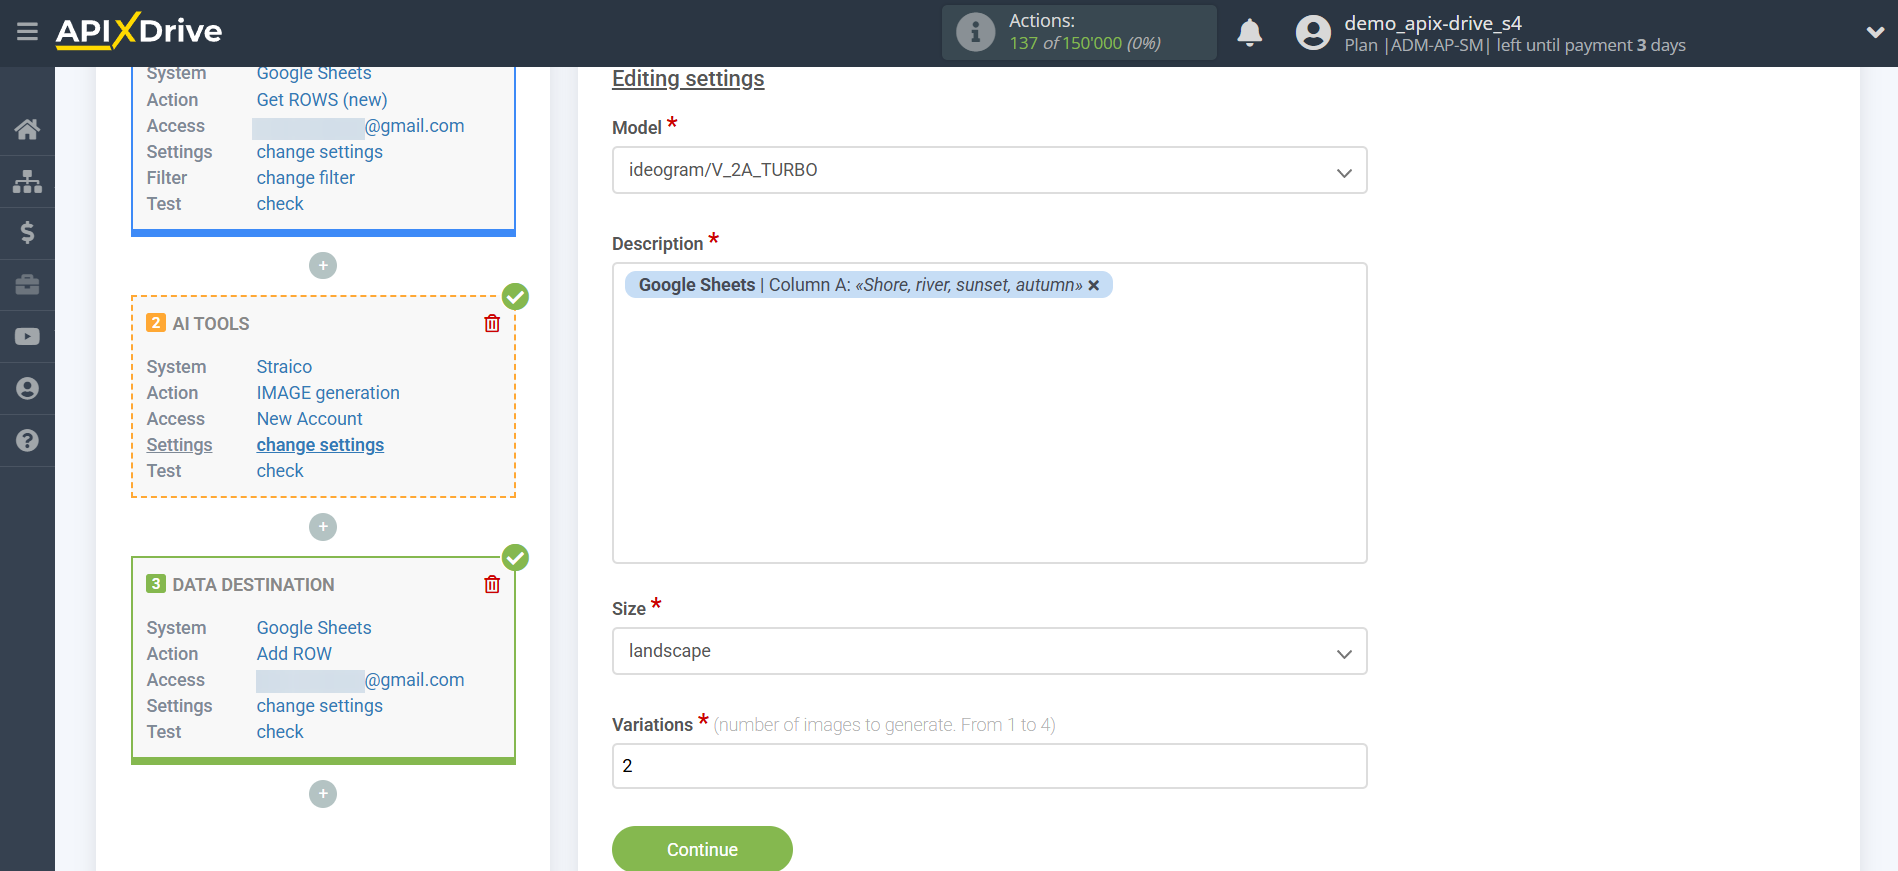
In this case, select "ideogram/V_2A_TURBO".
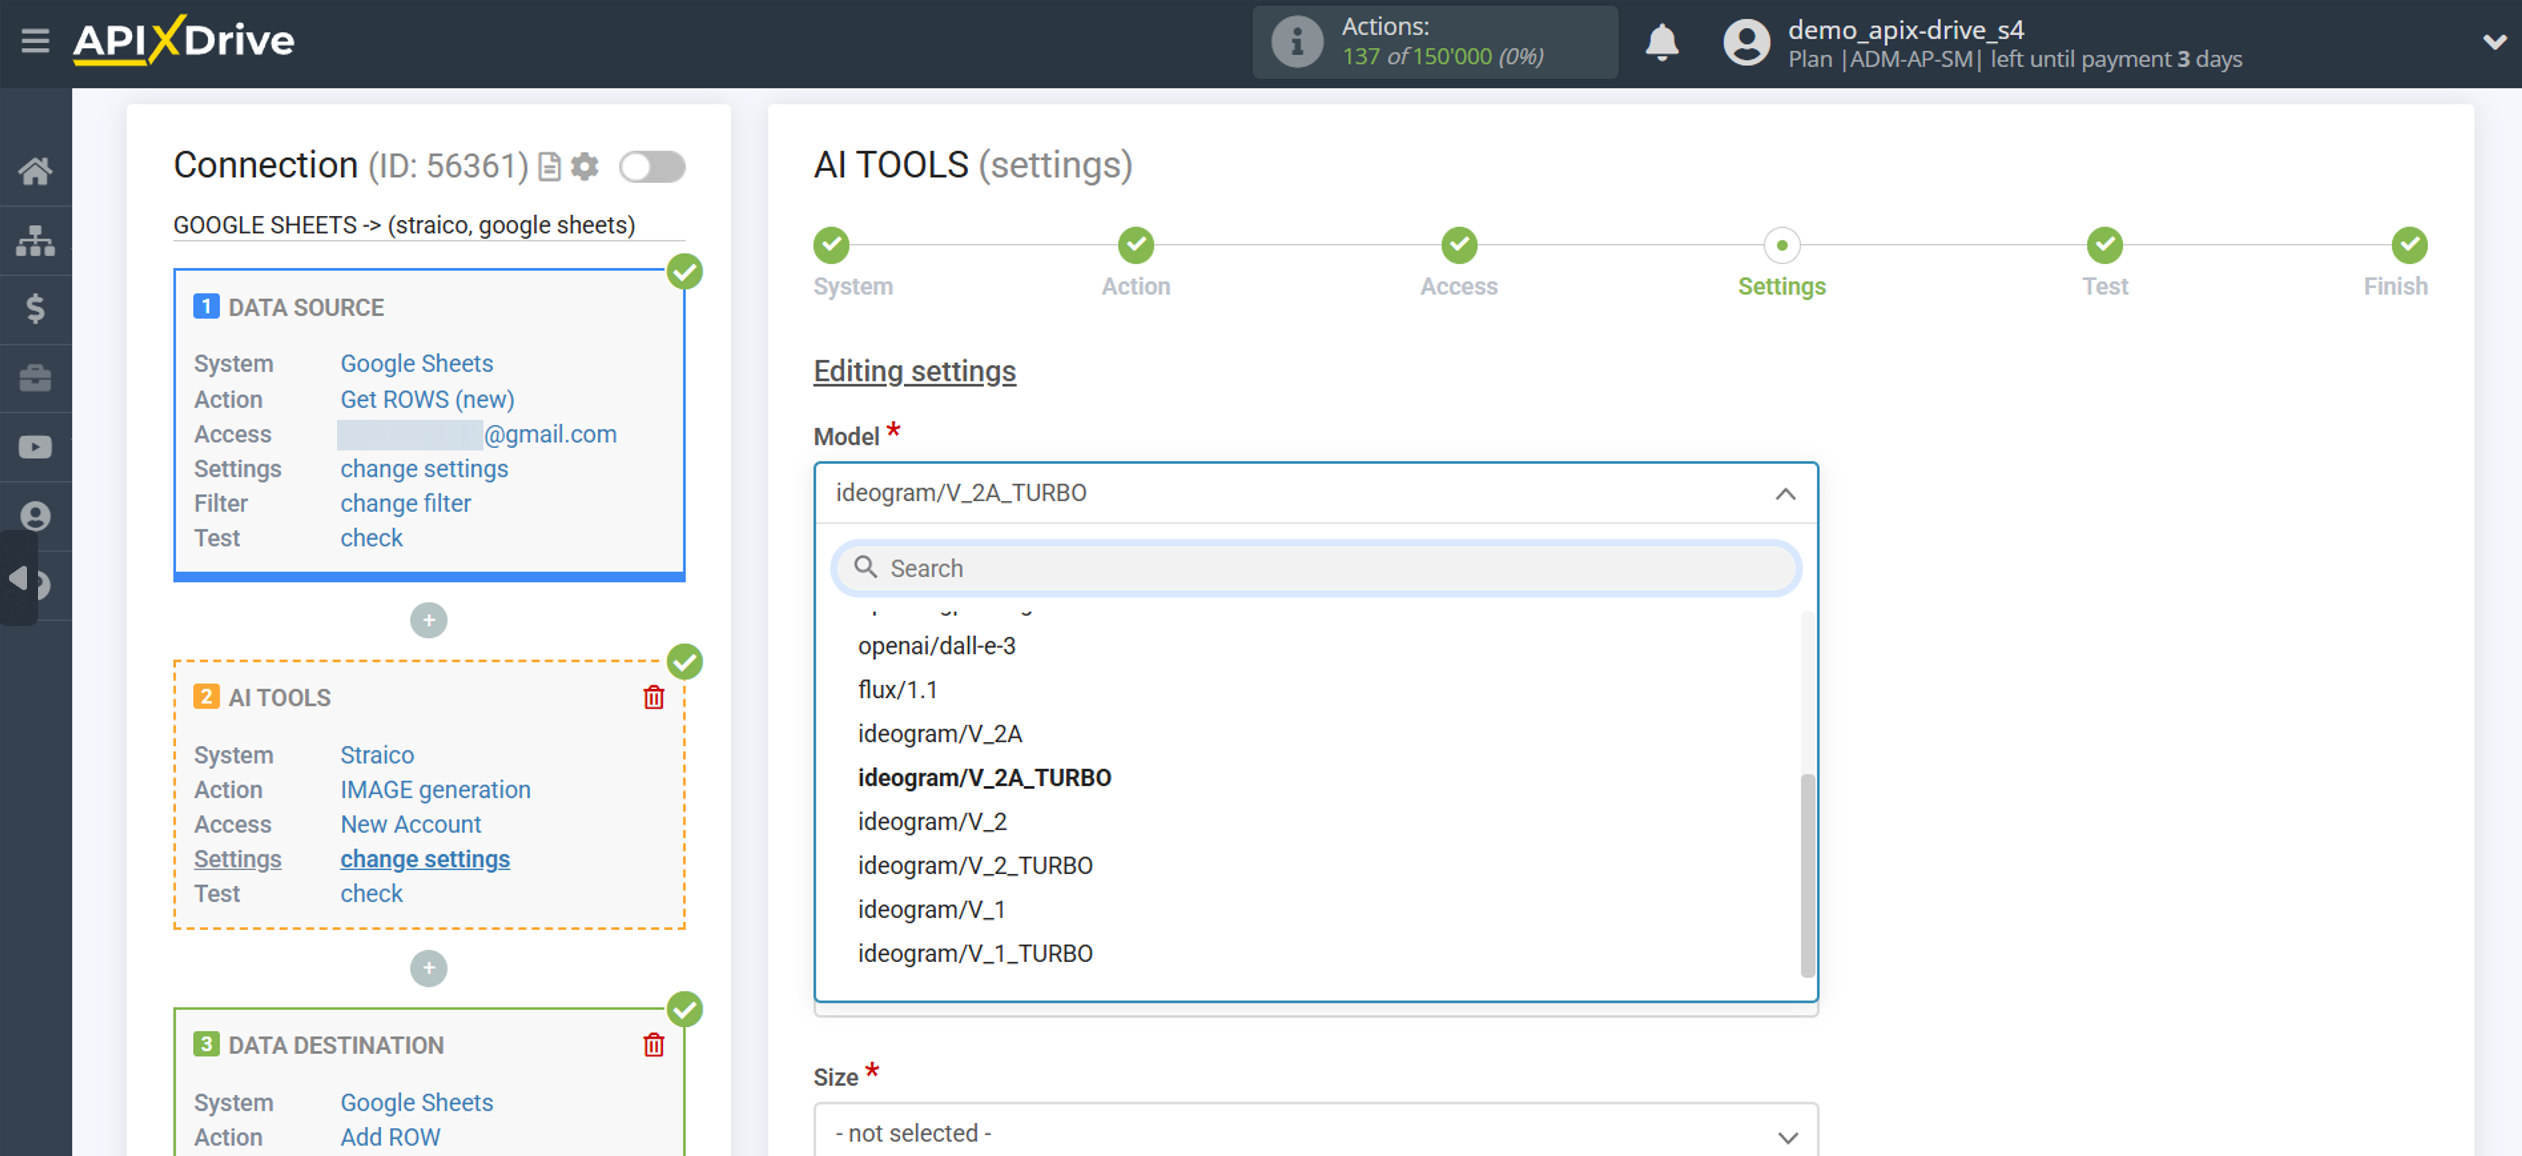
- Description - in this field you need to specify which variable of the Data Source table contains the data that will be used to query the Straico server; in our case, this is column "A".
- Size - determines the aspect ratio of the image, helping to obtain an image of the optimal format for specific needs without additional cropping.
-Variations - can take values from 0 to 4. This parameter specifies the number of generated images. Displays one to four alternative versions of a single prompt.
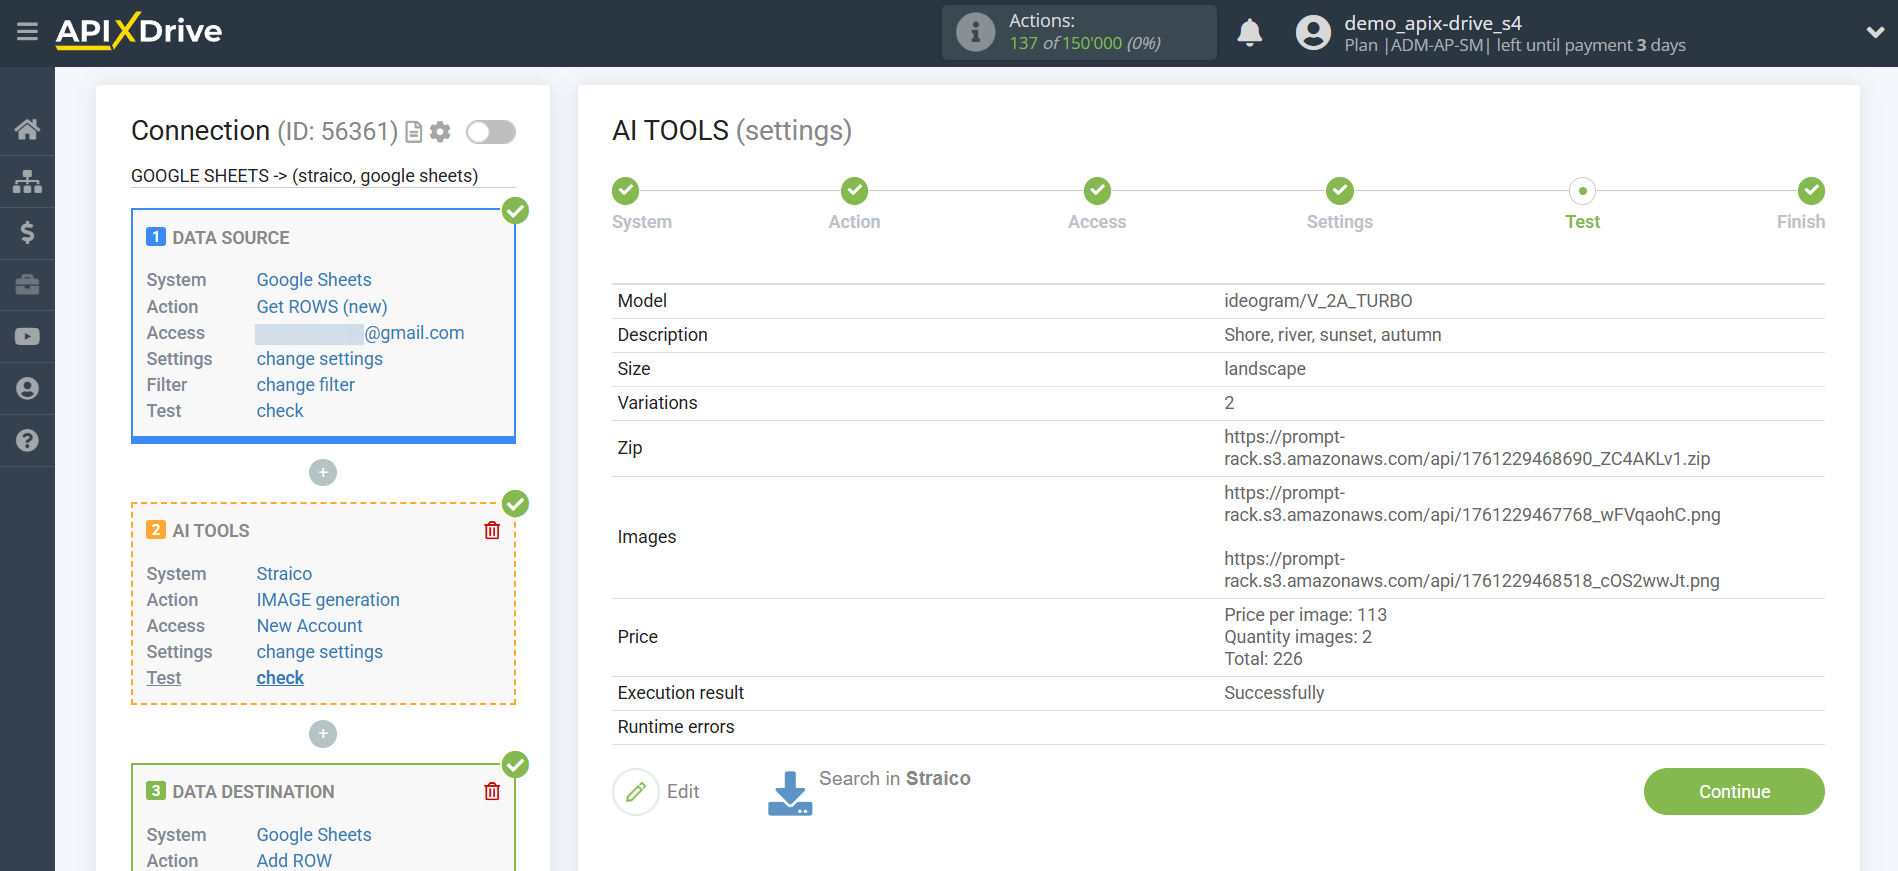
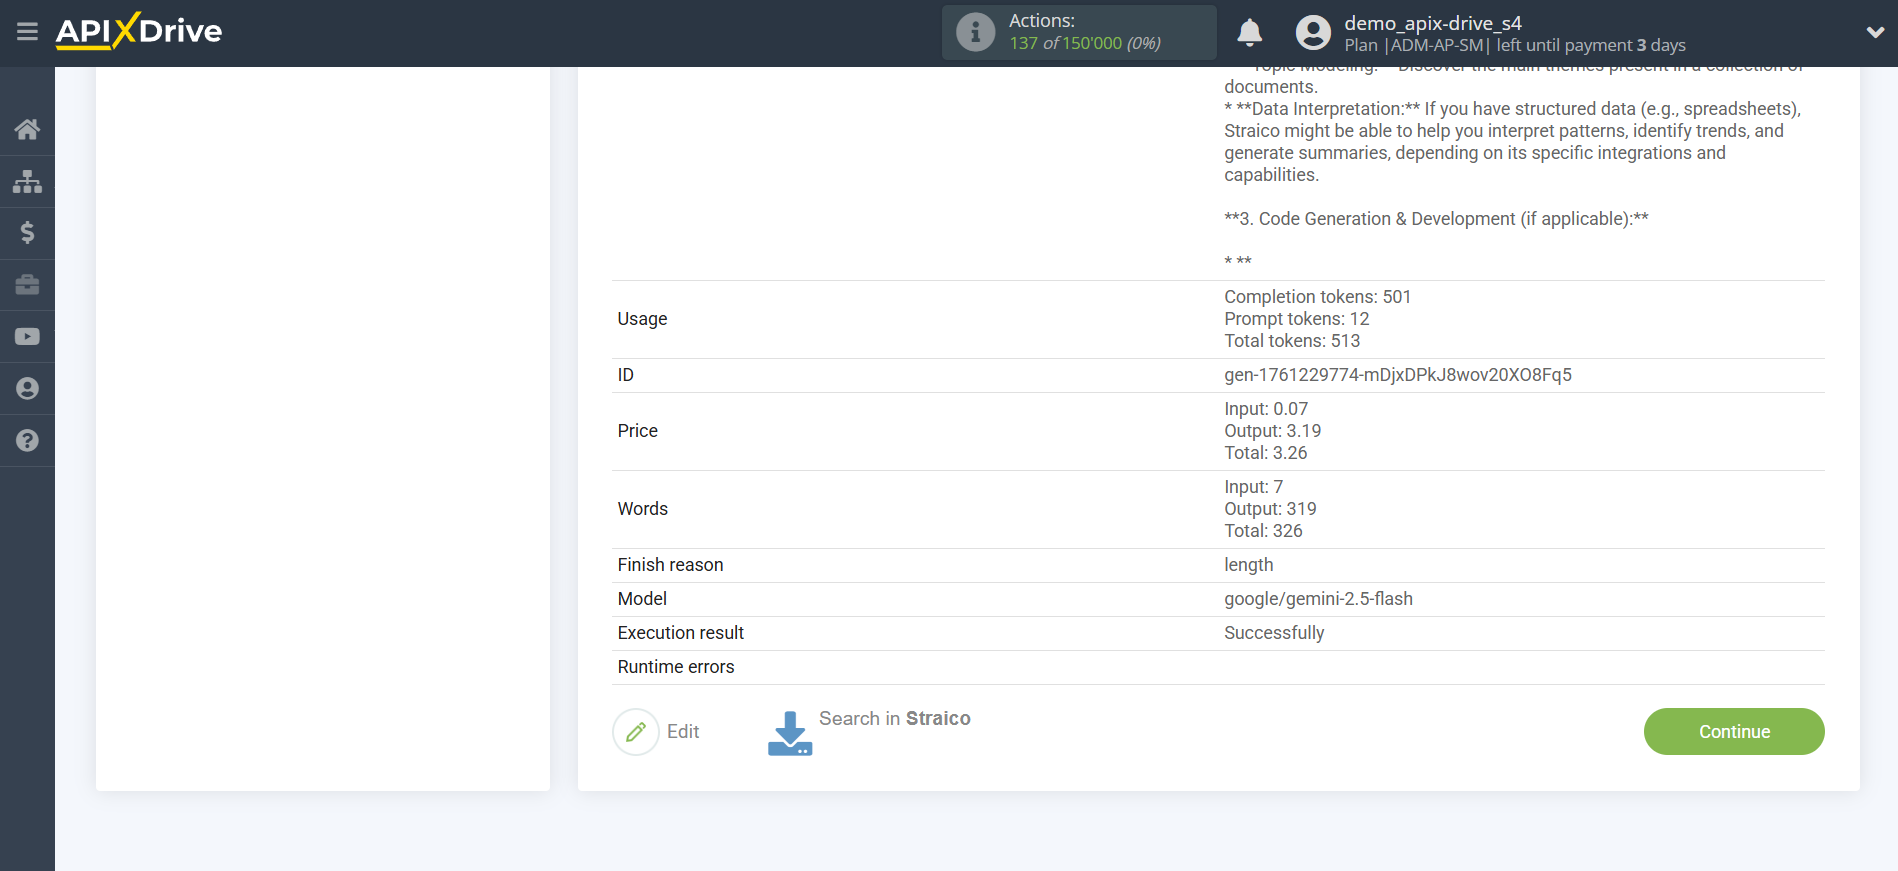
Now you see test data for your request. You can transfer this data to your Data Destination table.
If the test data does not appear automatically, click "Search in Straico".
If you're not happy with something, click "Edit," go back a step, and change the search field settings.
Example of field settings and test data for the "Chat Completion" action
You need to select a Straico model. The choice depends on your needs.
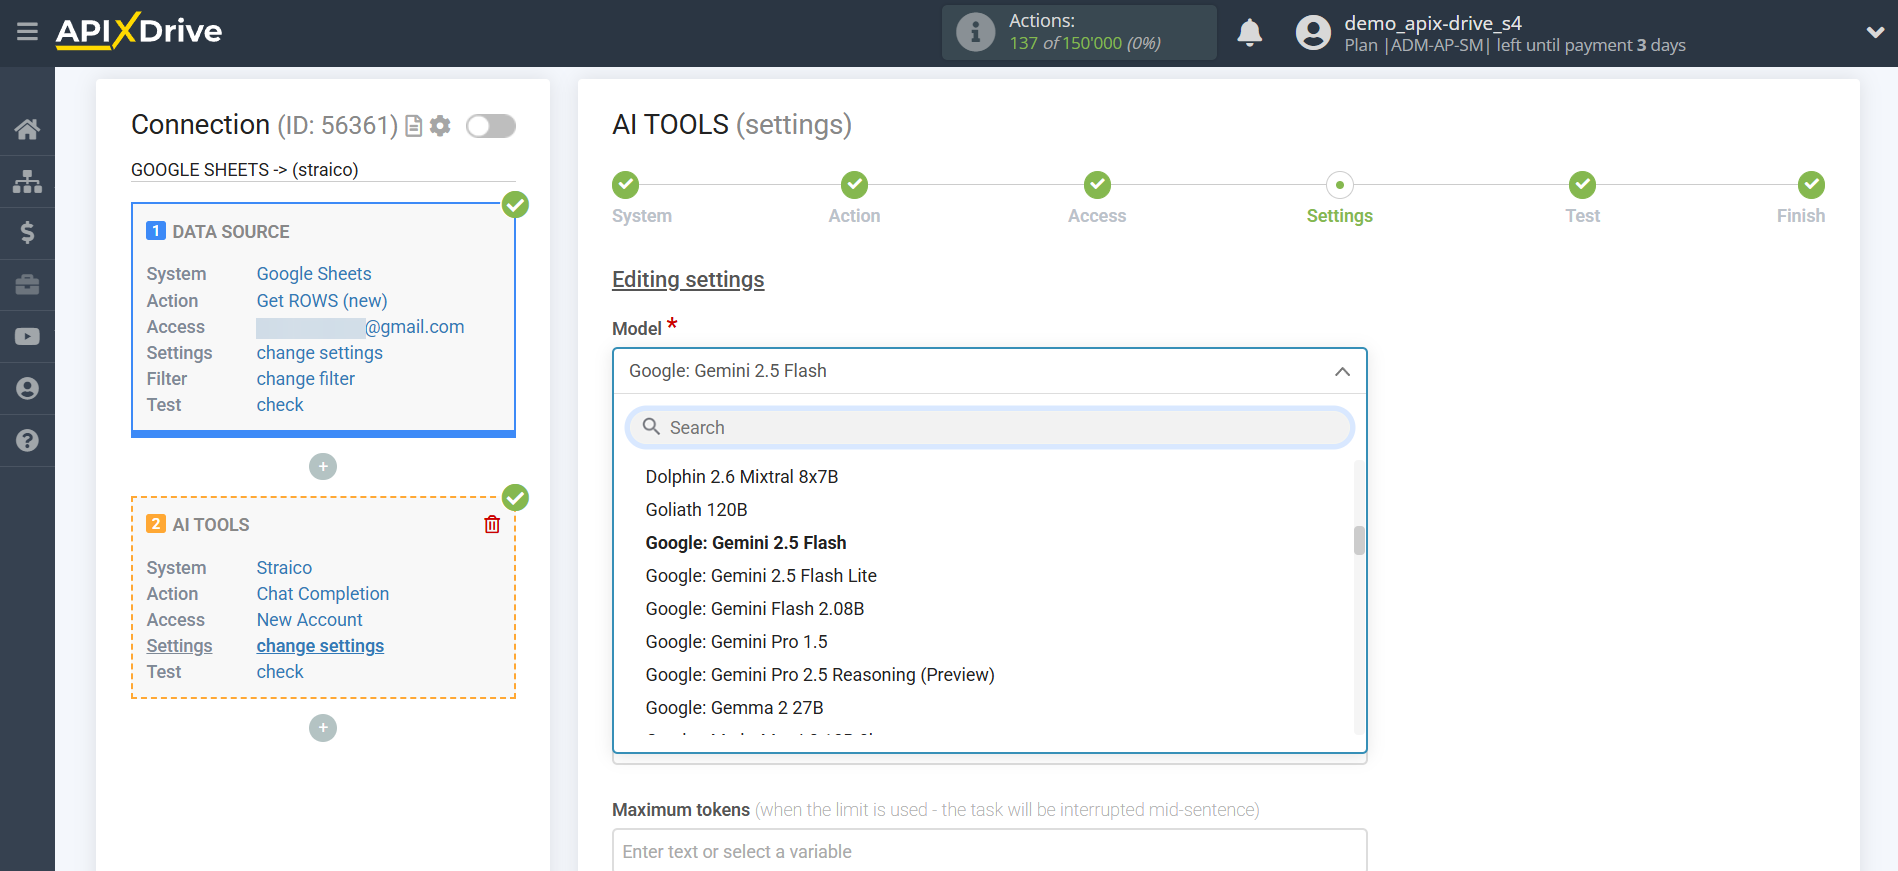
Google Gemini 2.5 Flash is a hybrid AI model that combines high speed, efficiency, and reasoning capabilities. It allows the thinking process to be turned on or off, optimizing the balance between speed and accuracy depending on the complexity of the task.
- DeepSeek V3 – enables rapid generation of large volumes of text thanks to its efficient Mixture-of-Experts architecture. It supports very long contexts of up to 128,000 tokens, making working with large texts and complex tasks as convenient as possible.
In this case, select "Google: Gemini 2.5 Flash".
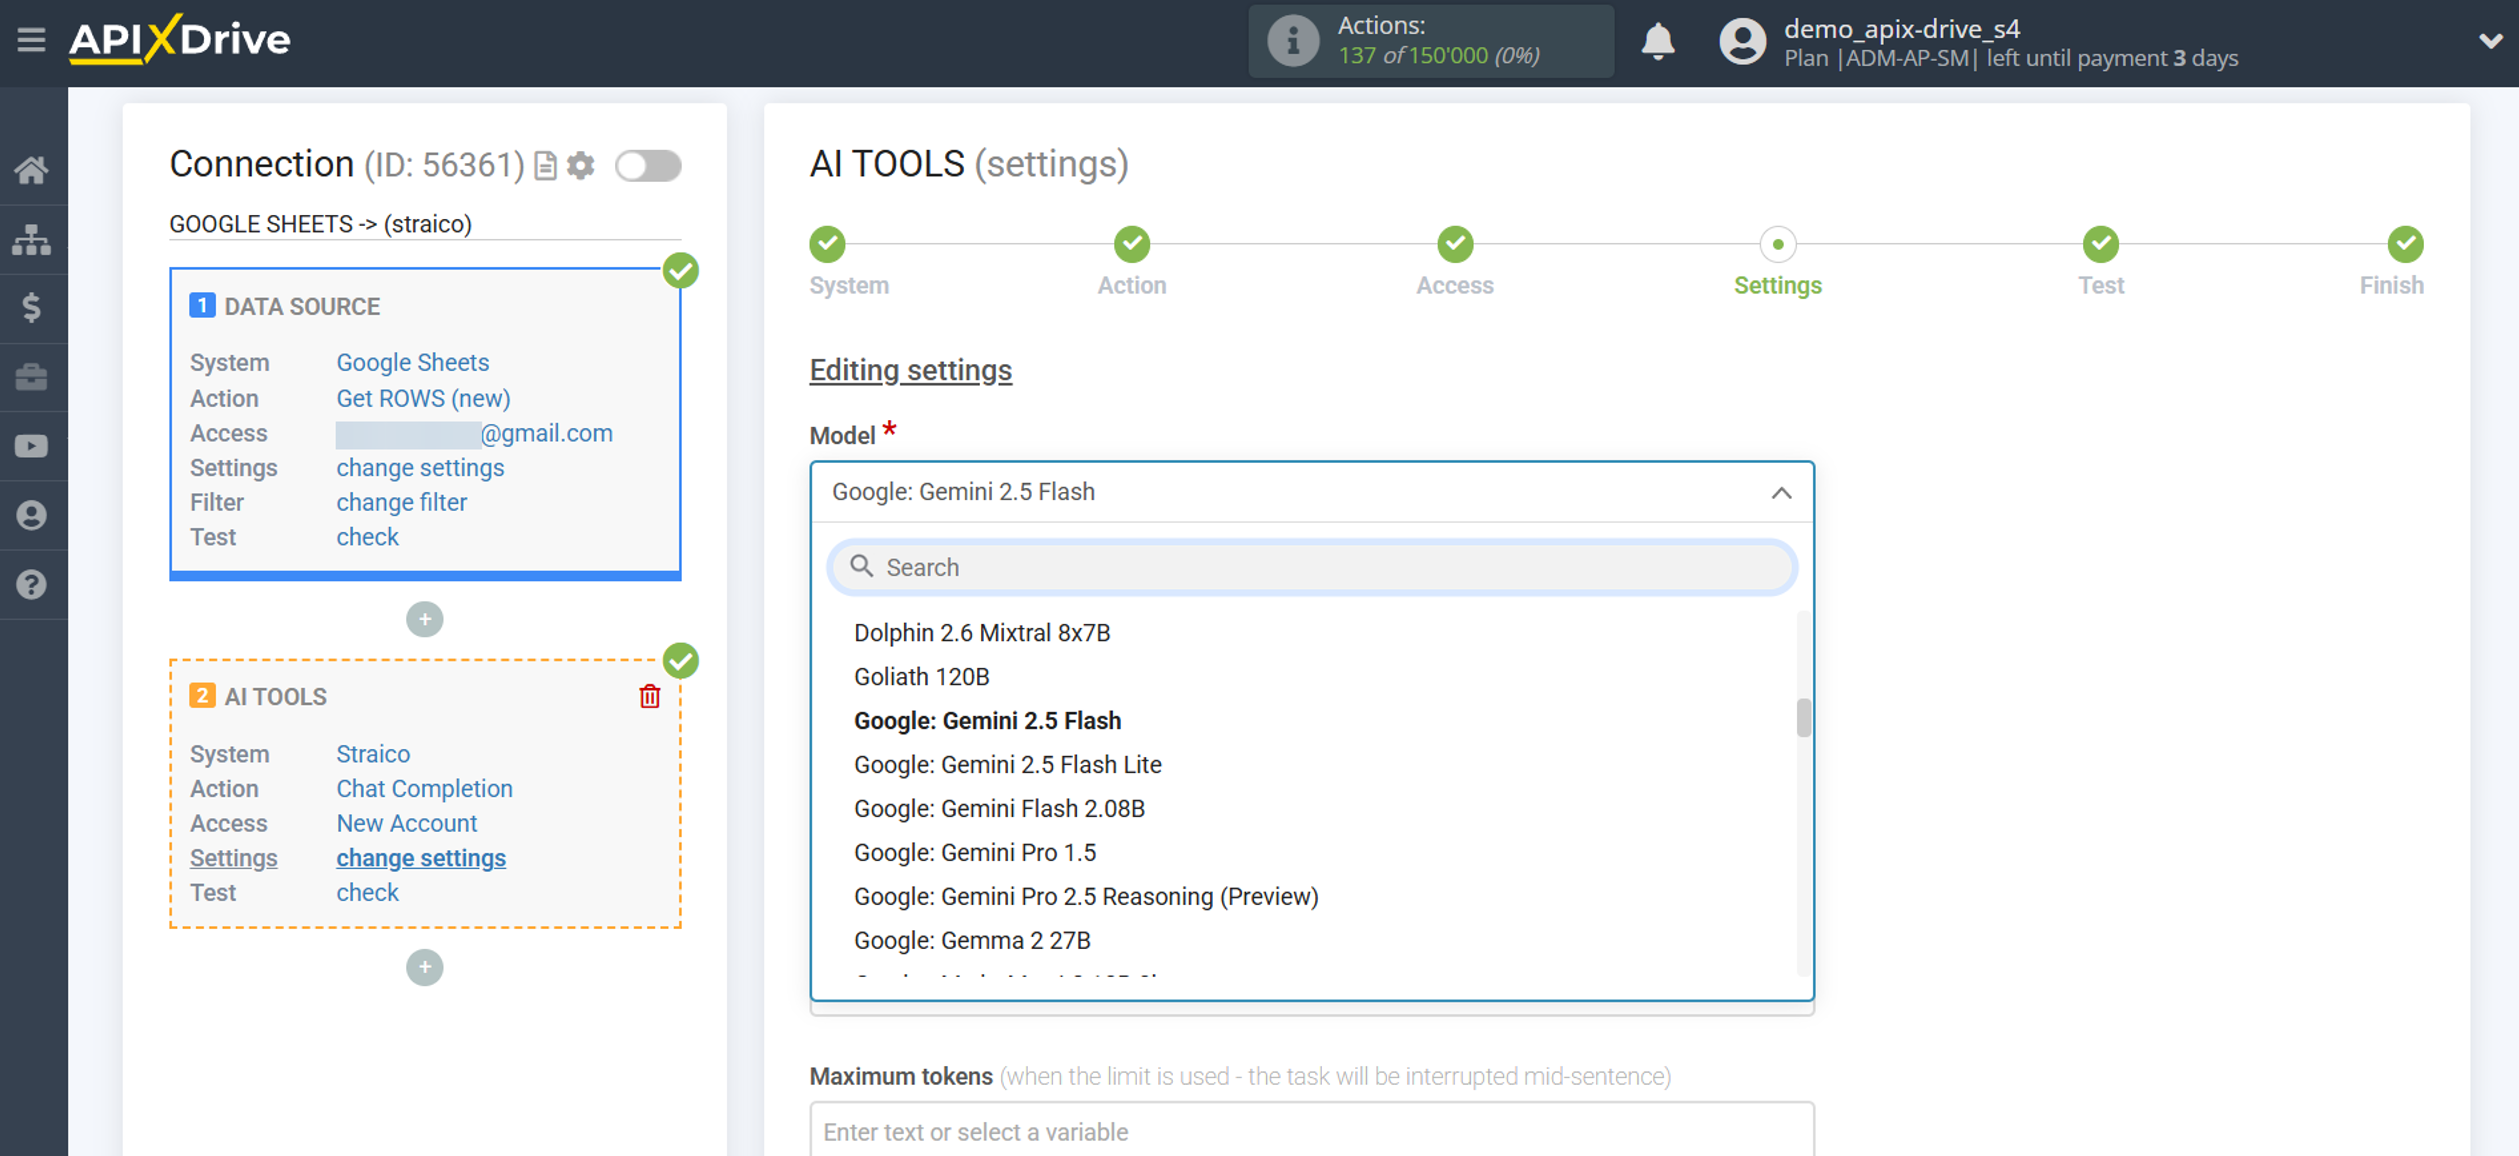
- Prompt - in this field you need to specify which variable in the Data Sources table contains the data that will be used to query the Straico server; in our case, this is column "A".
- Maximum tokens is the maximum number of words Straico will generate. 1000 tokens = 750 words.
-Temperature - can take values from 0 to 2. Higher values, such as 0.8, will make the output more random, while lower values, such as 0.2, will make it more focused and deterministic.
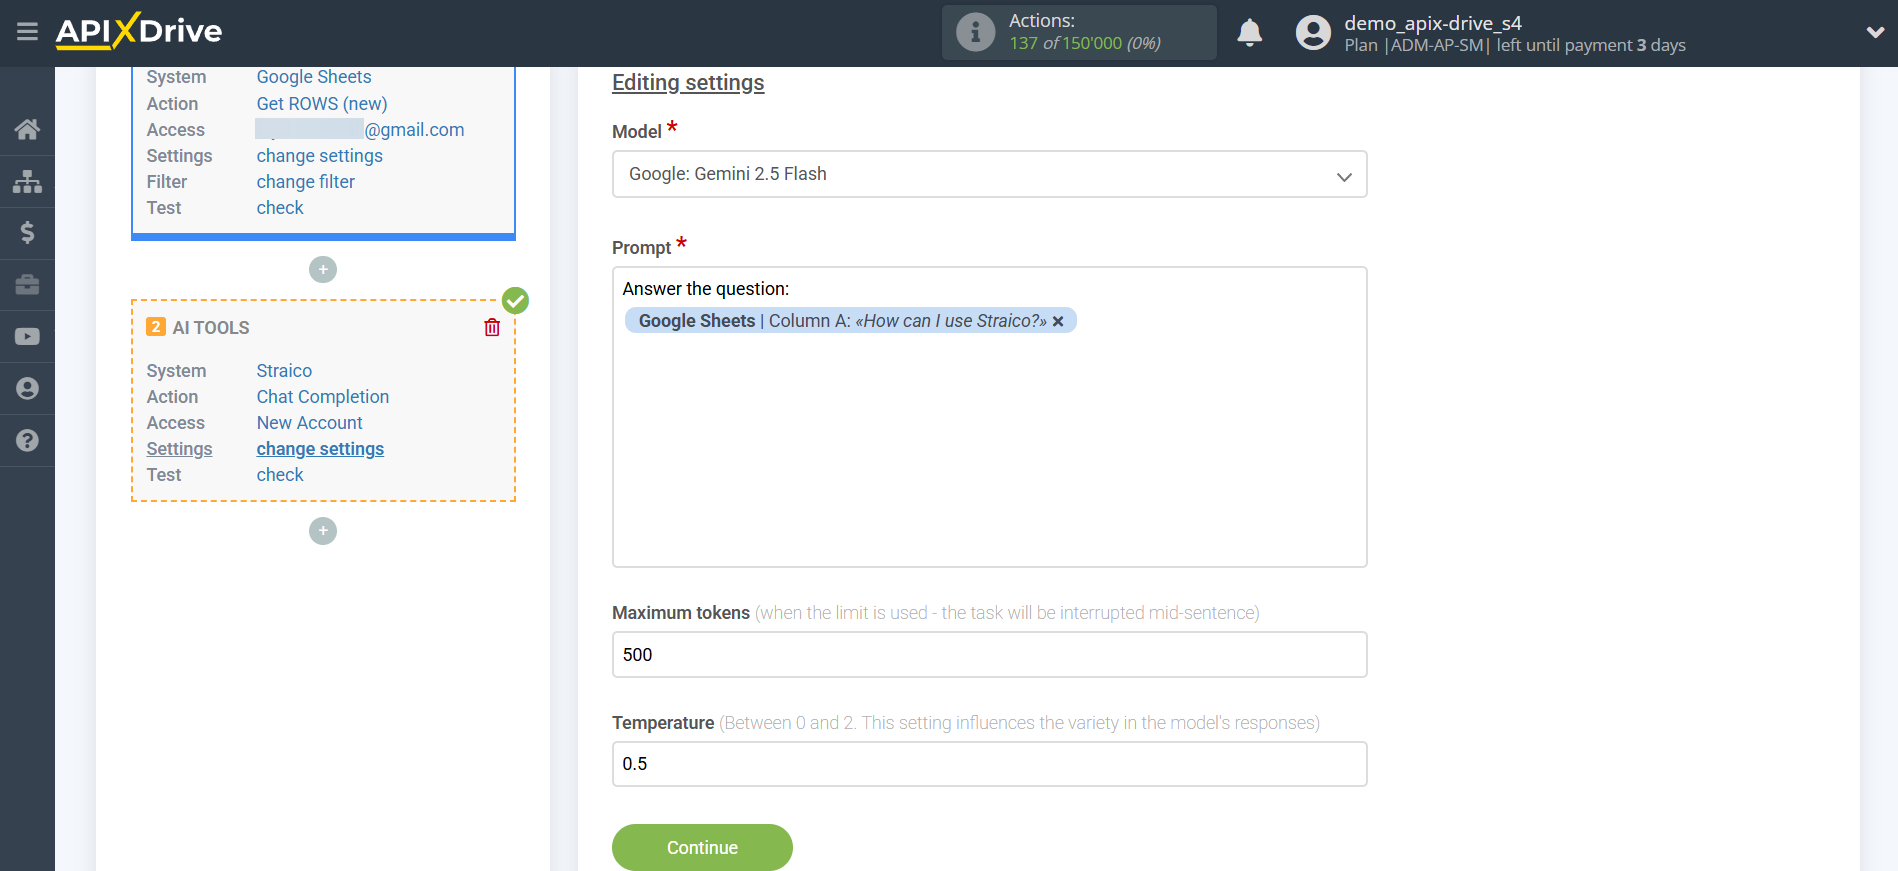
Now you see test data for your request. You can transfer this data to your receiving table.
If the test data does not appear automatically, click "Search in Straico".
If you're not happy with something, click "Edit," go back a step, and change the search field settings.
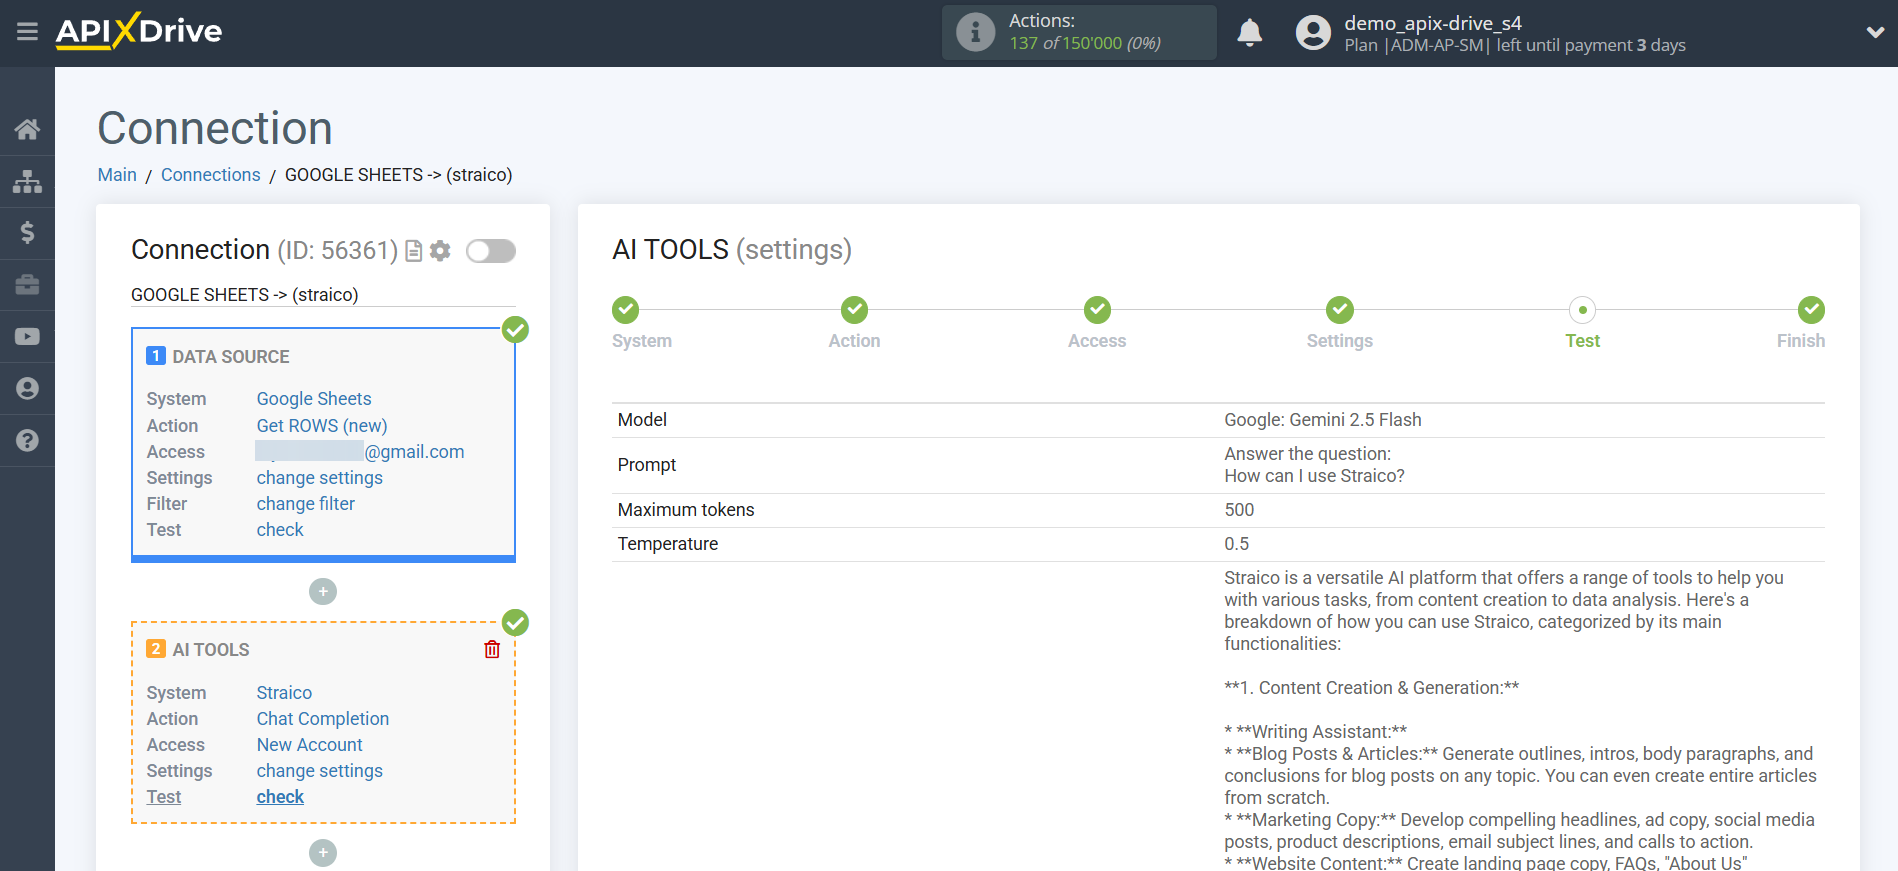
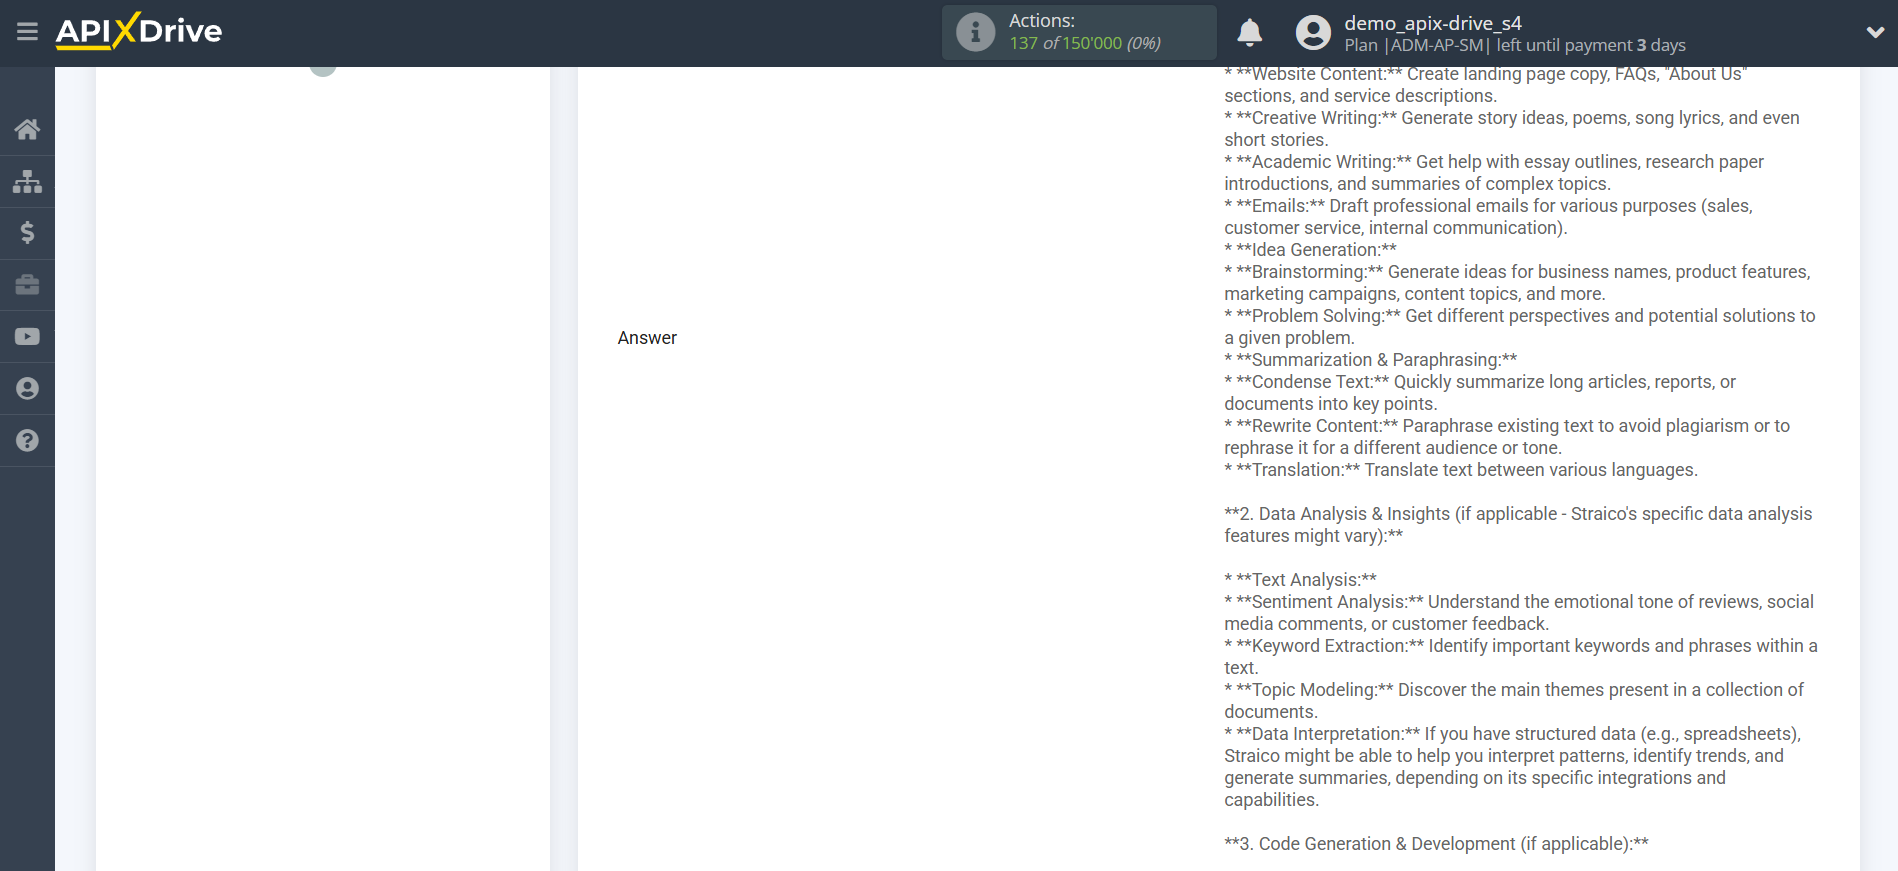
This completes the Straico data setup!
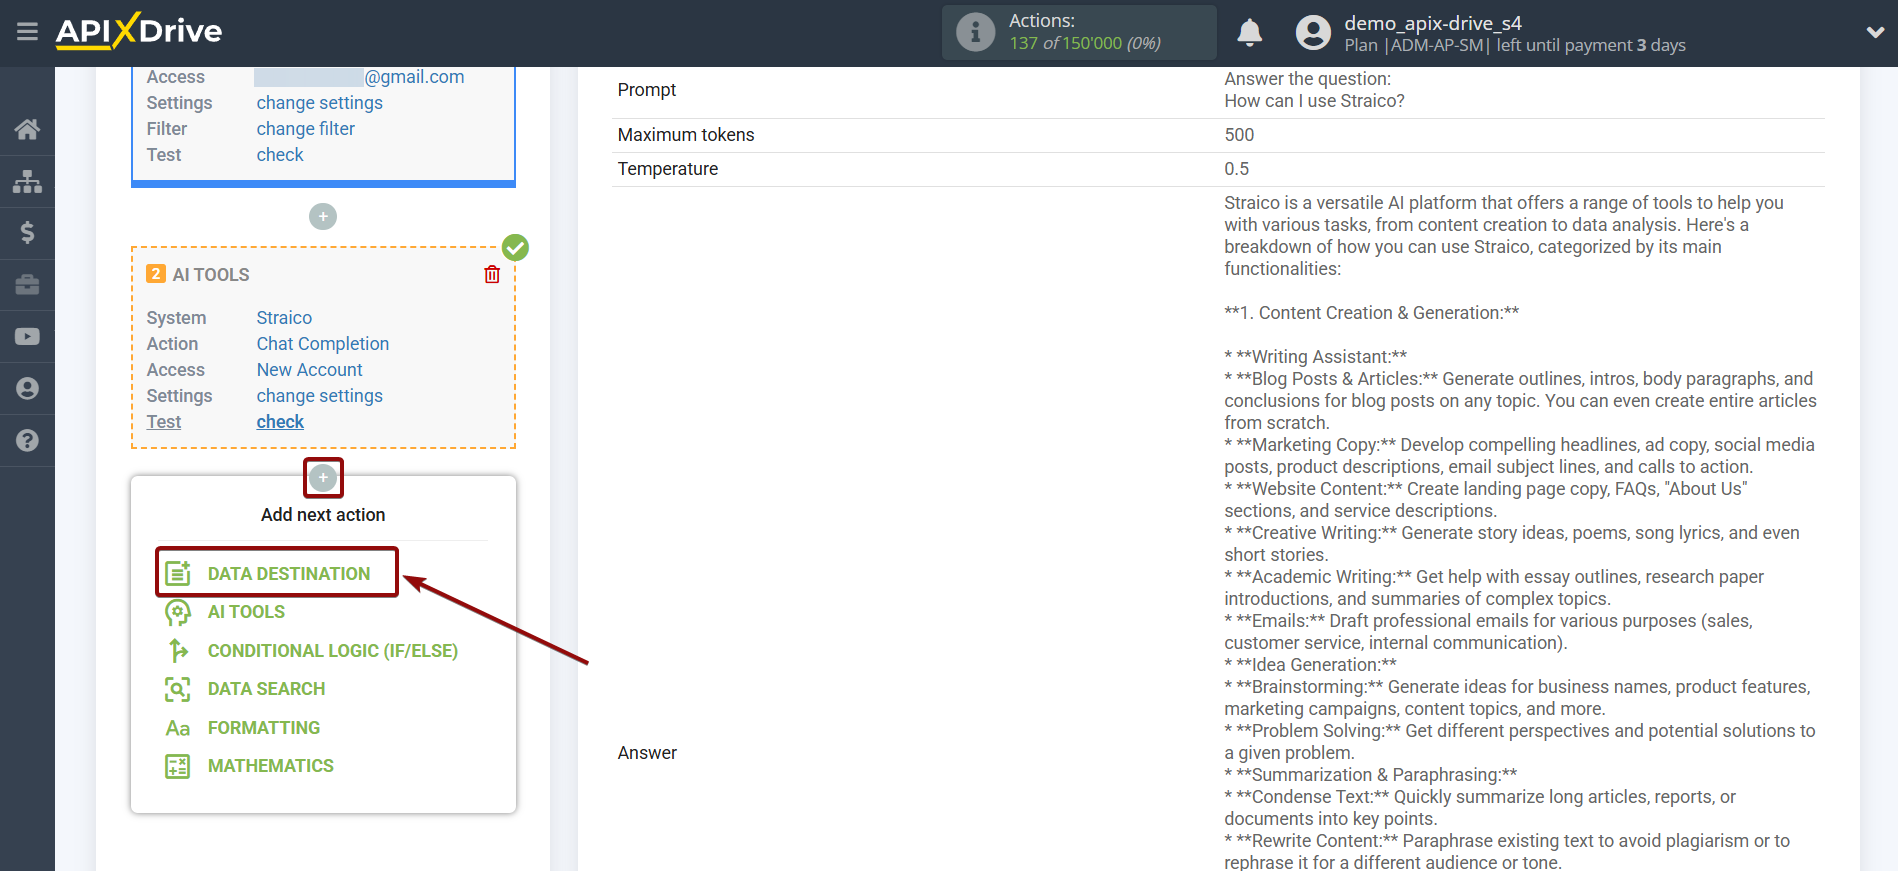
Now we can begin setting up Google Sheets as a Data Destination system.
To do this, click "Data Destination".
Setting up Data Destination: Google Sheets
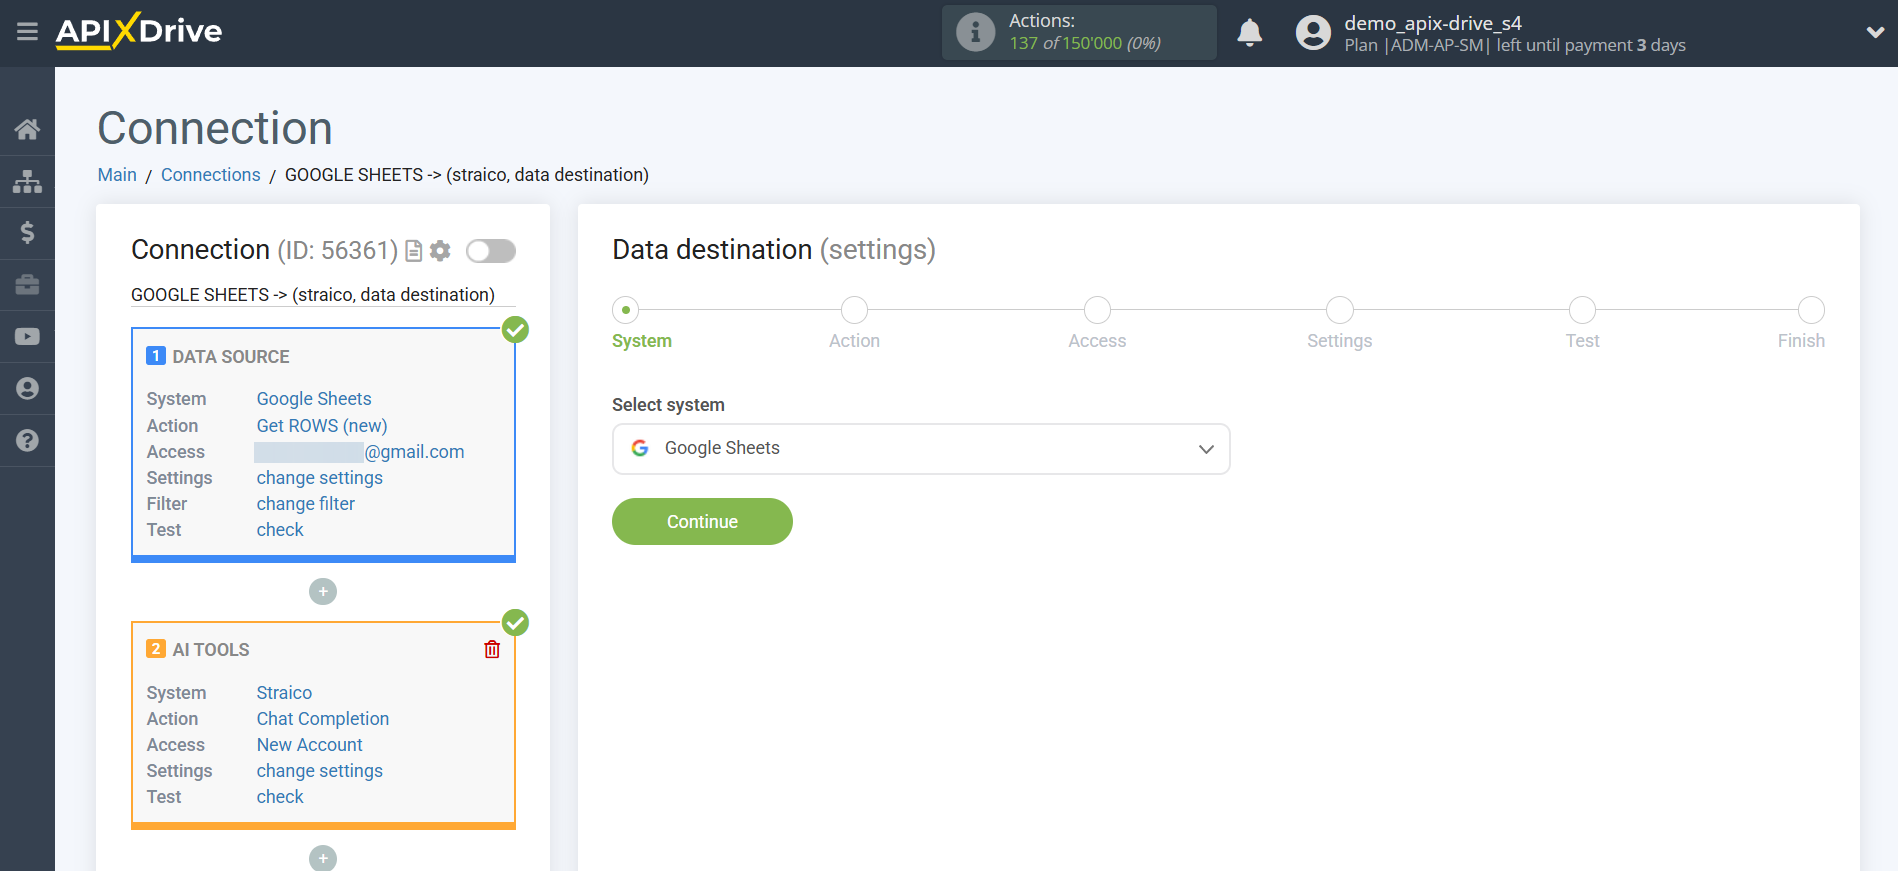
Select the system for Data Destination. In this case, you need to select Google Sheets.
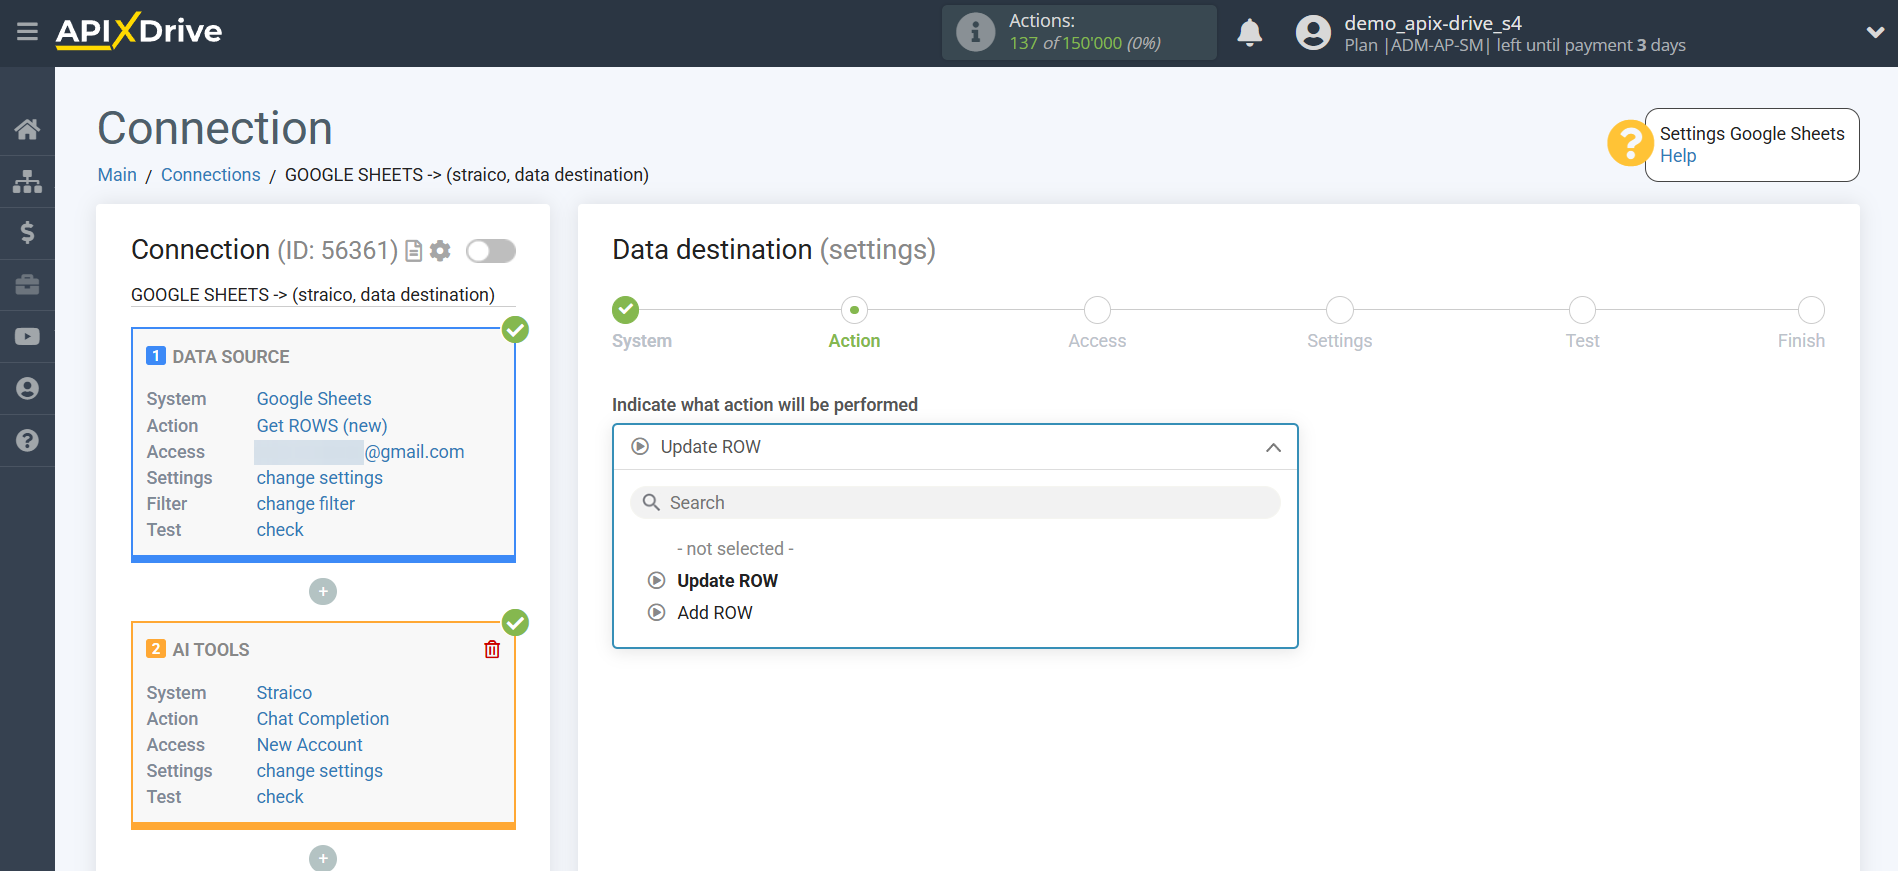
Next, you need to specify the action "Update ROW".
The next step is to select the Google Sheets account to which the Straico query results will be transferred. If this is the same account, select it.
If you need to connect another account to the system, click "Connect account" and repeat the same steps, described when connecting Google Sheets as a Data Source.
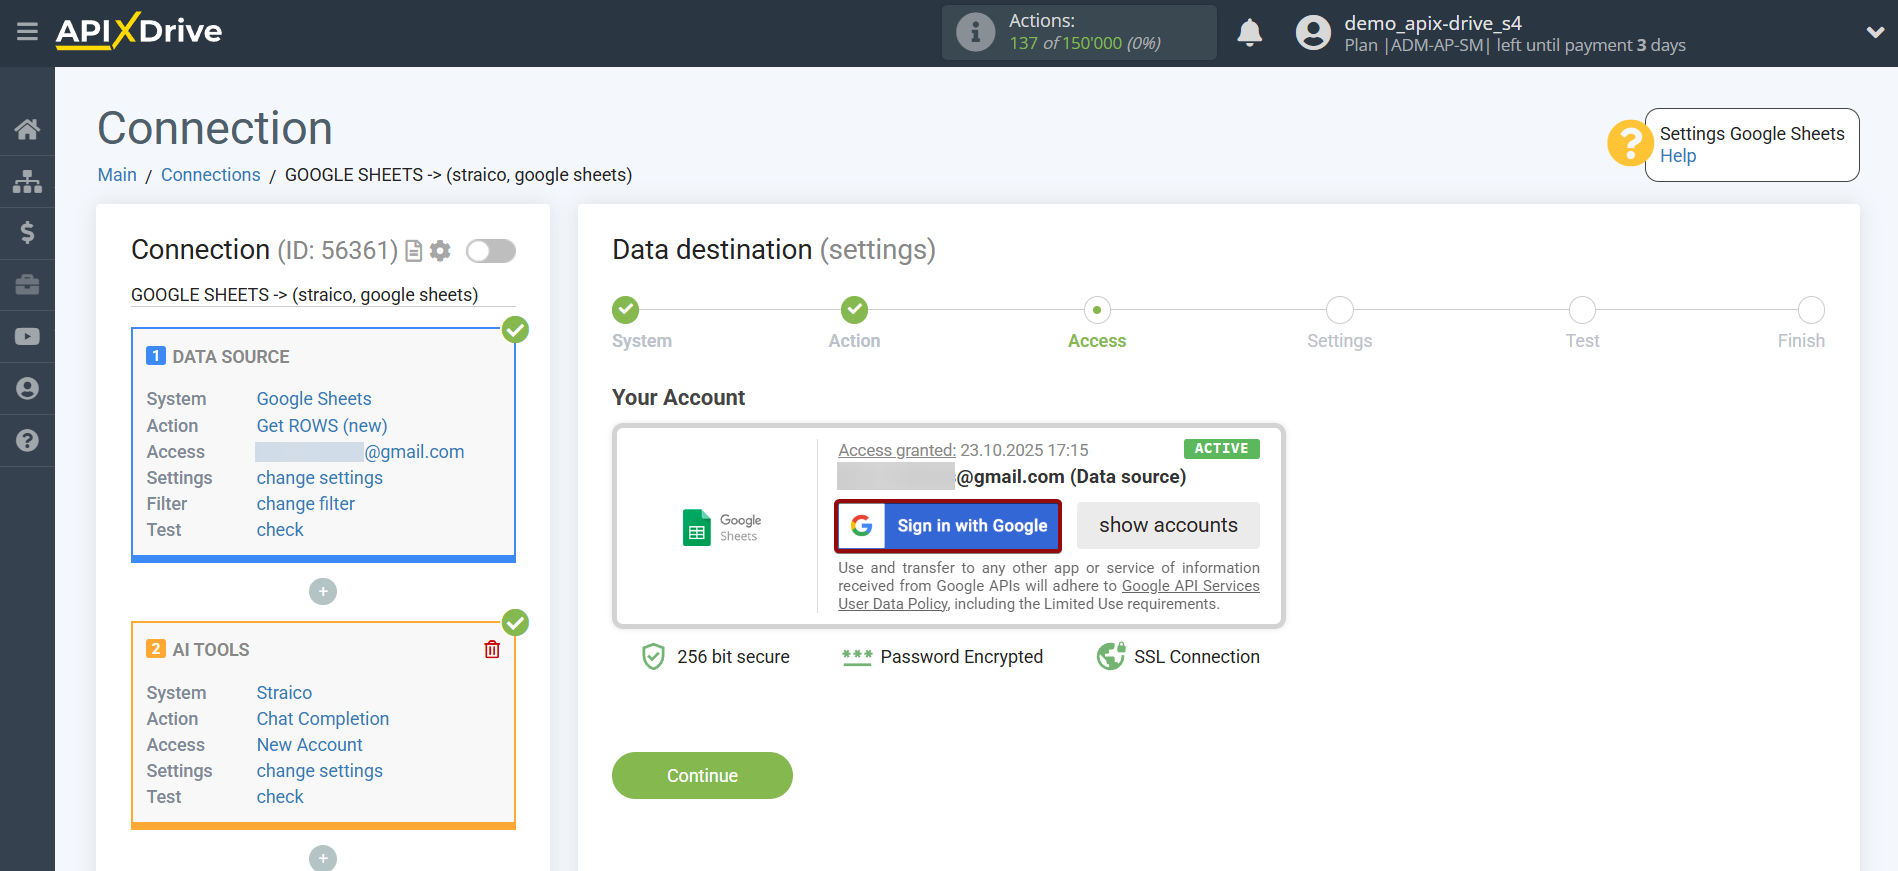
Now you need to select the File (Table) and Sheet in which the search result will be updated in Straico.
In the "Search Column" field, select the column by which to search for data. This means where to look for data in the table.
Next, in the "What to Search" field, you need to select a variable from the drop-down list or enter the data manually. This is the value the system will search for to update the row you need. In our case, we'll select column "A," which contains the request data. The system will update the data in the required row only if it matches the requested data.
You also need to specify the Search Type in case multiple lines with the same query are found:
"First found row" - data search and updating will occur in the first found row that satisfies the search conditions.
"Last found row" - the search and update of data will occur in the last found row that satisfies the search conditions.
"All found rows" - the search and data update will occur for all found rows that meet the search conditions.
Now you need to assign the variable containing the query result, which we retrieve from the Data Search block, to the empty column. This column will subsequently be updated with data based on your query.
After setting up, click "Continue".
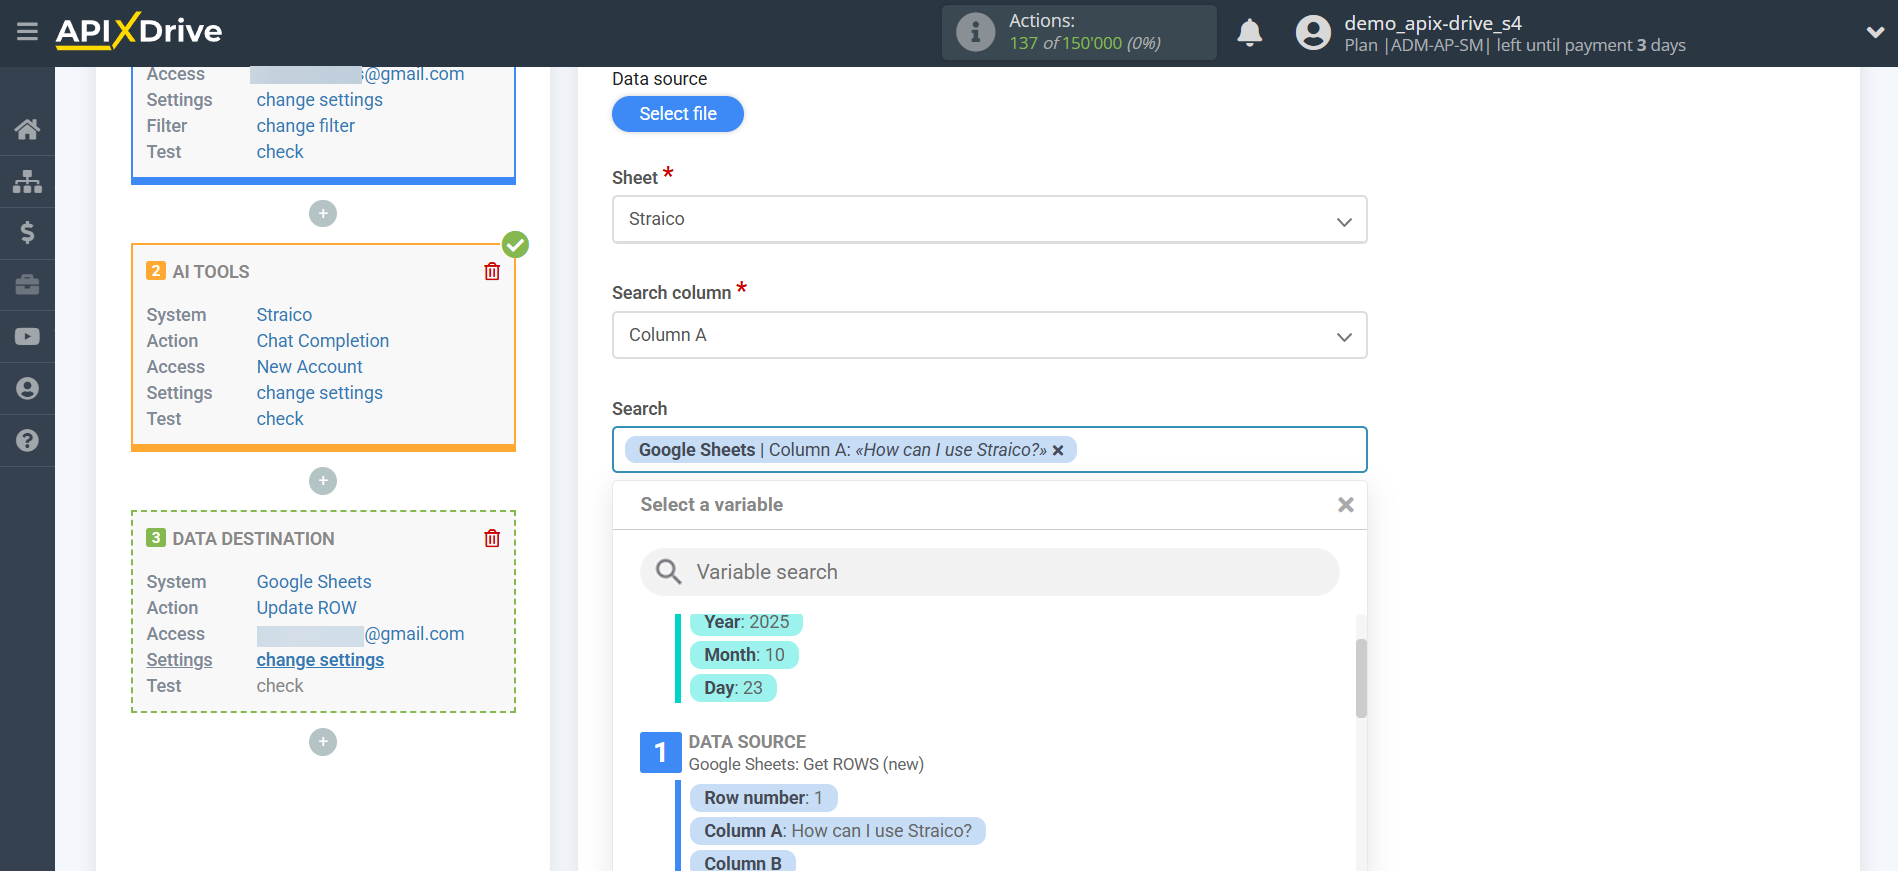
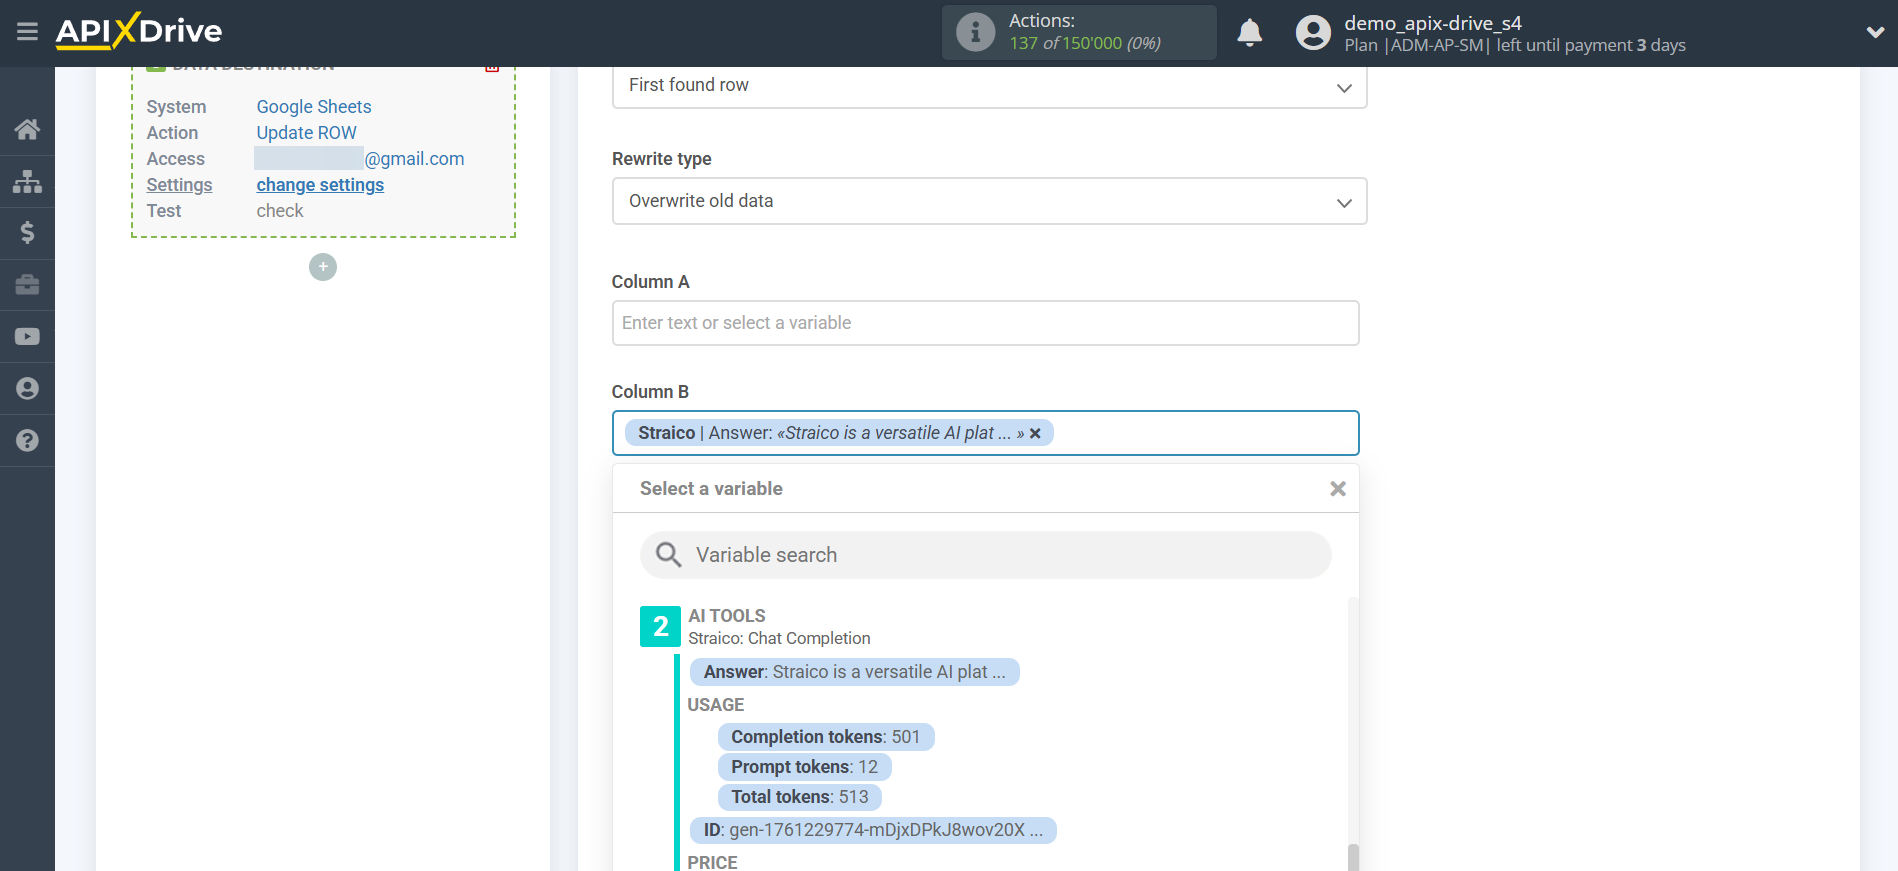
Thus, the Straico block takes the field in the Data Source in which you have written the query text, queries the Straico server for the result of this query and transfers this data to the Data Destination field, for example, to column "B".
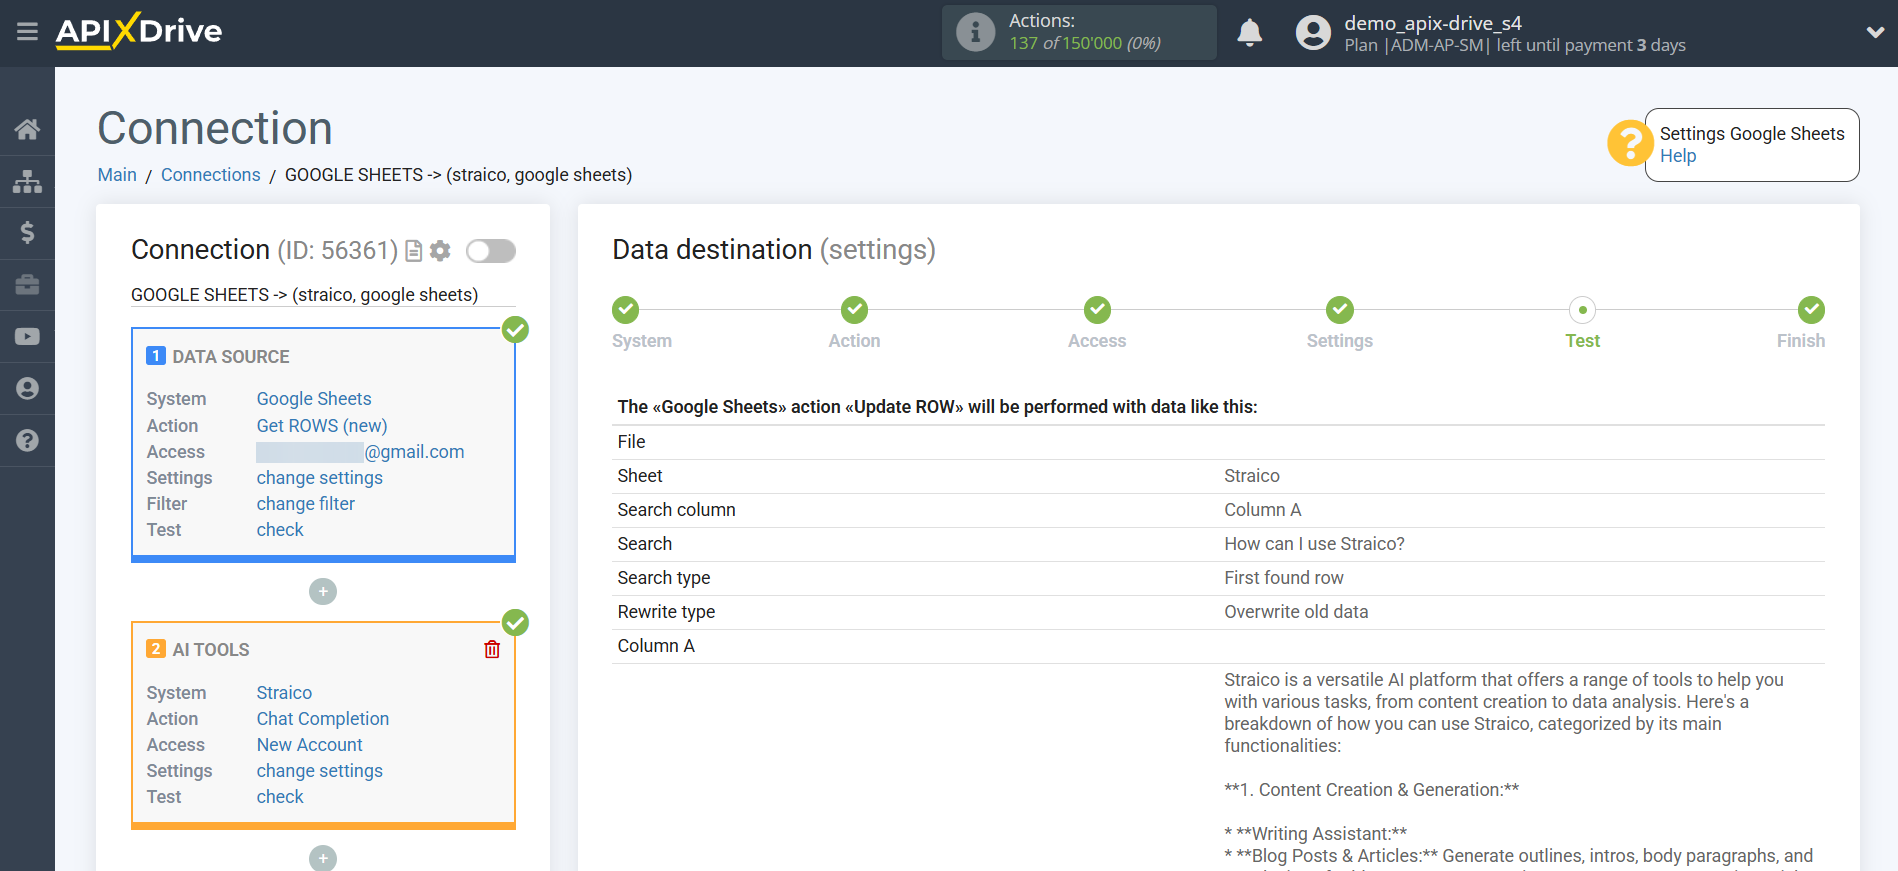
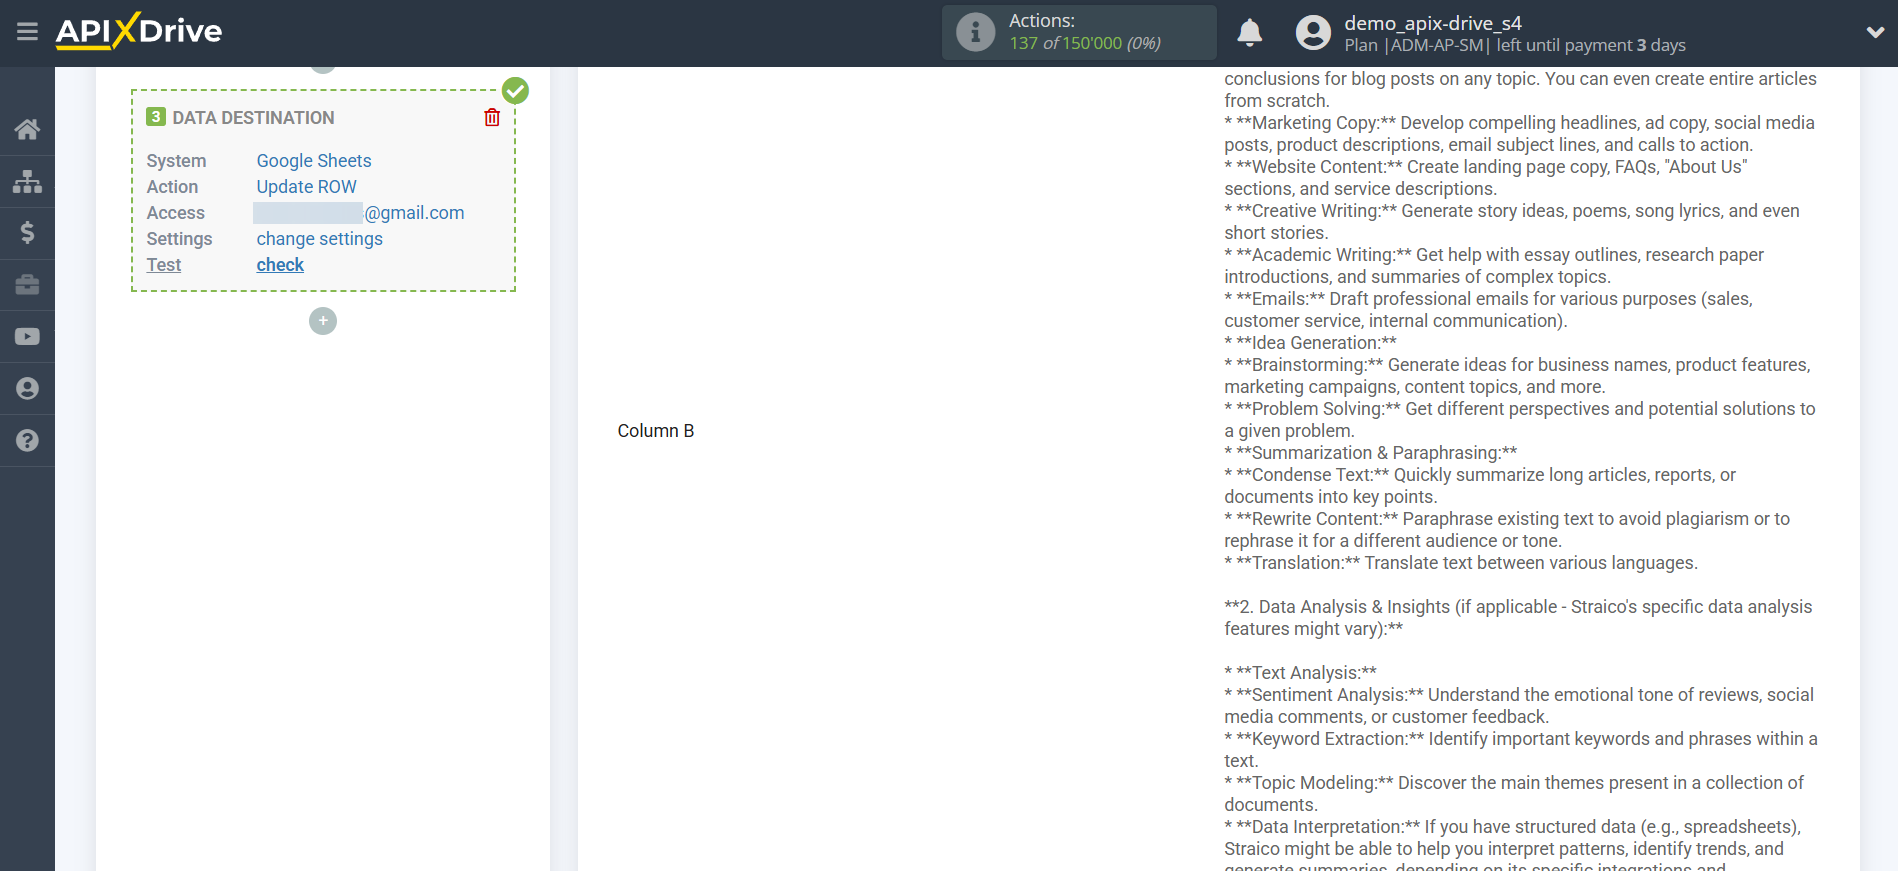
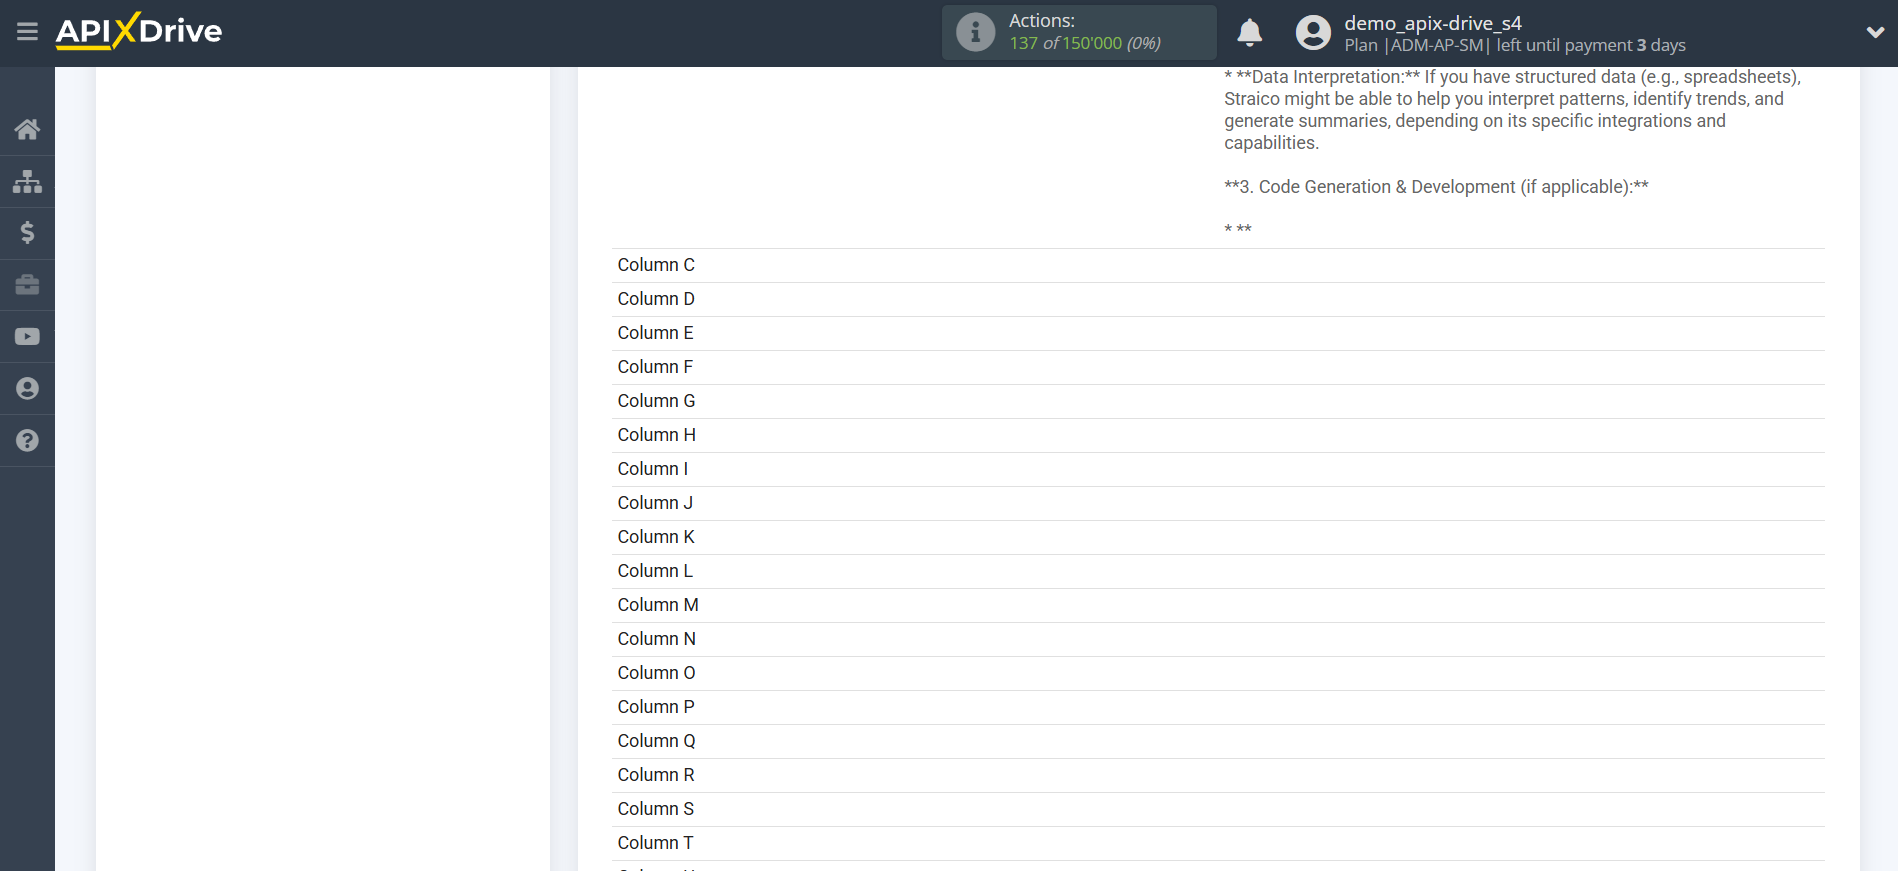
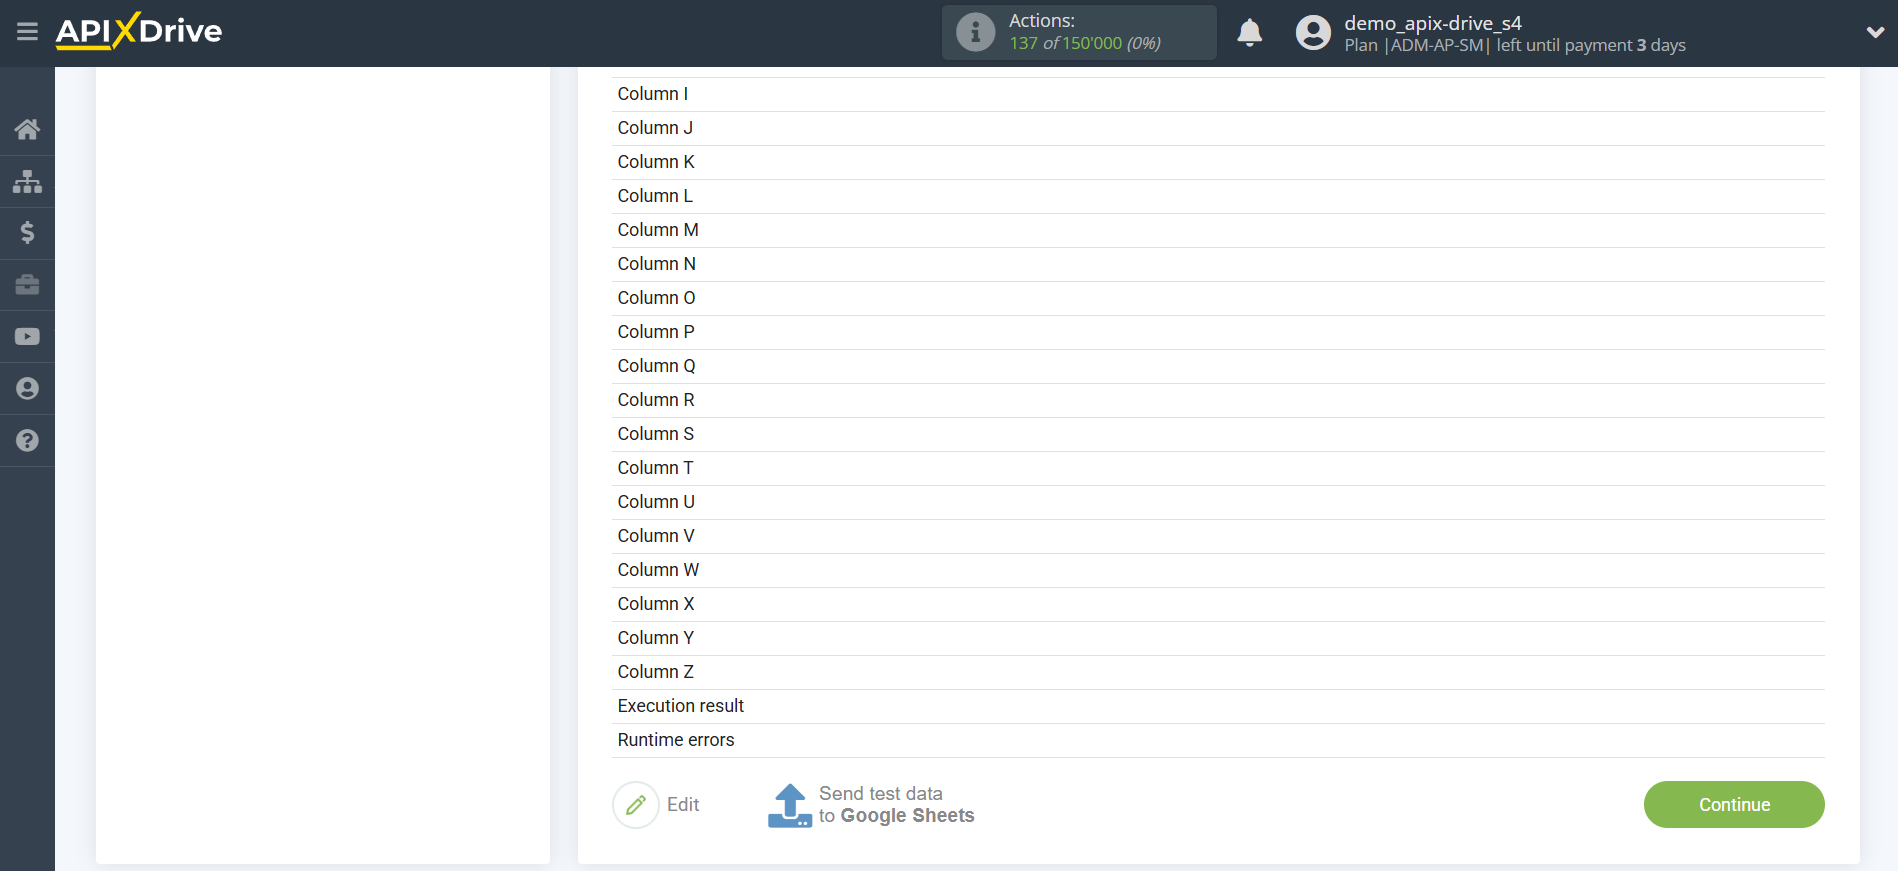
This completes the Data Destination system setup!
Now you can proceed to choosing the update interval and enabling automatic updates.
To do this, click "Enable update".
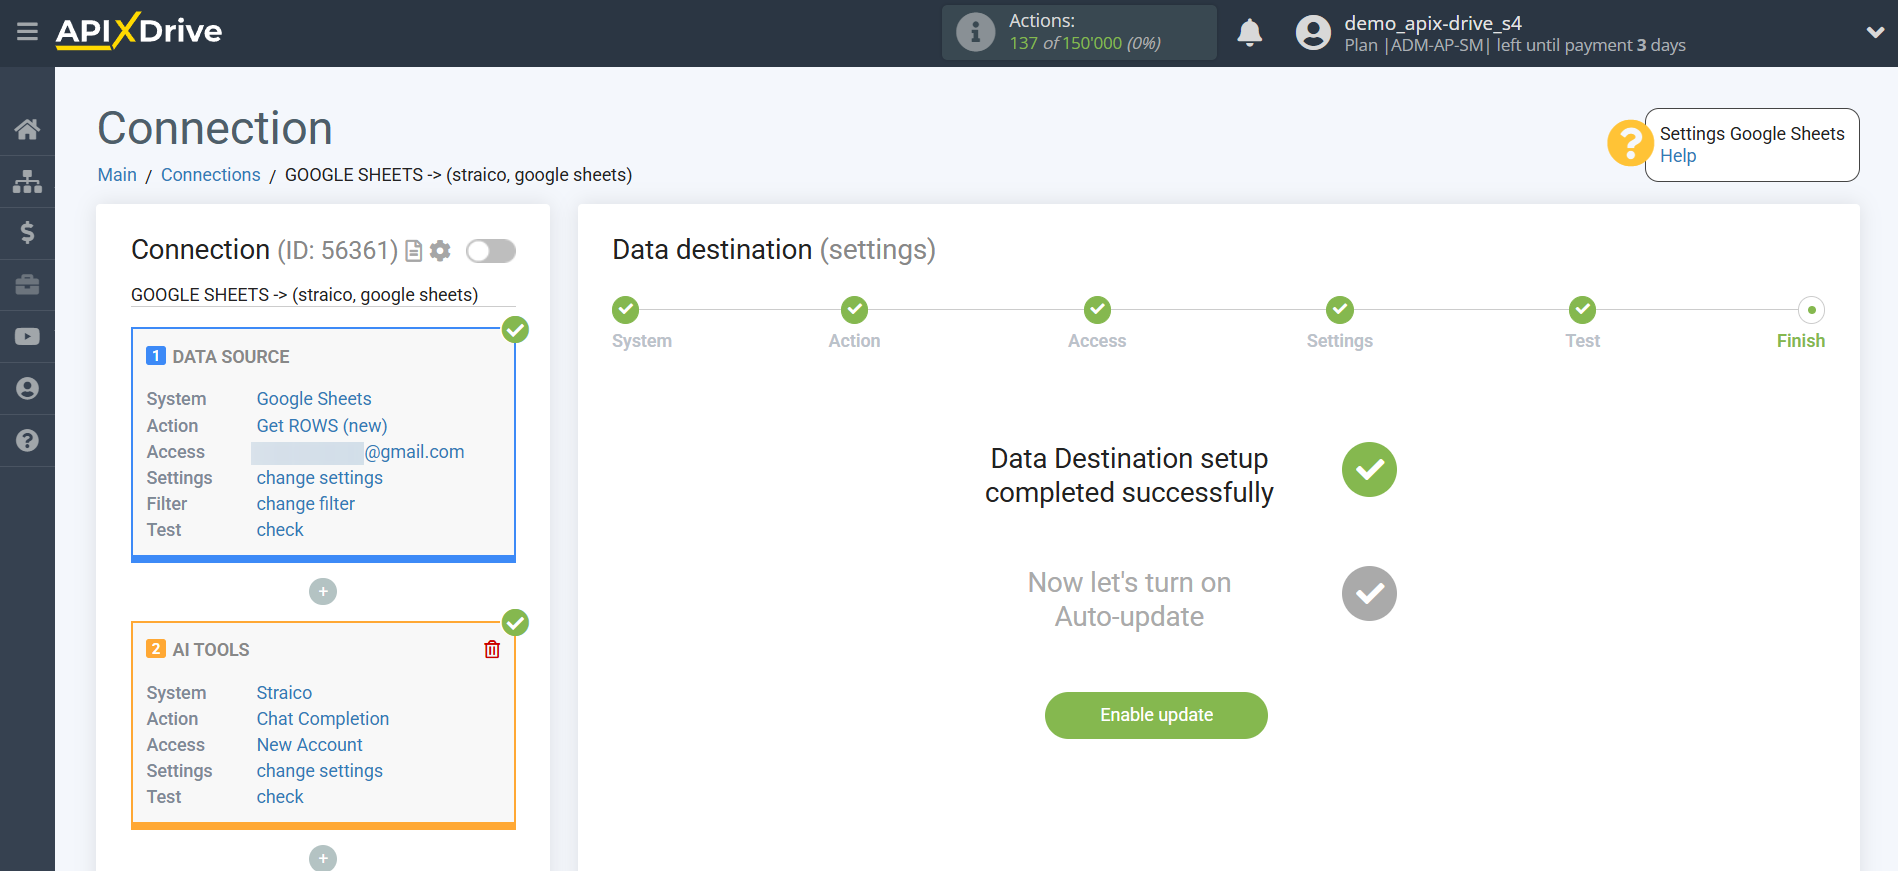
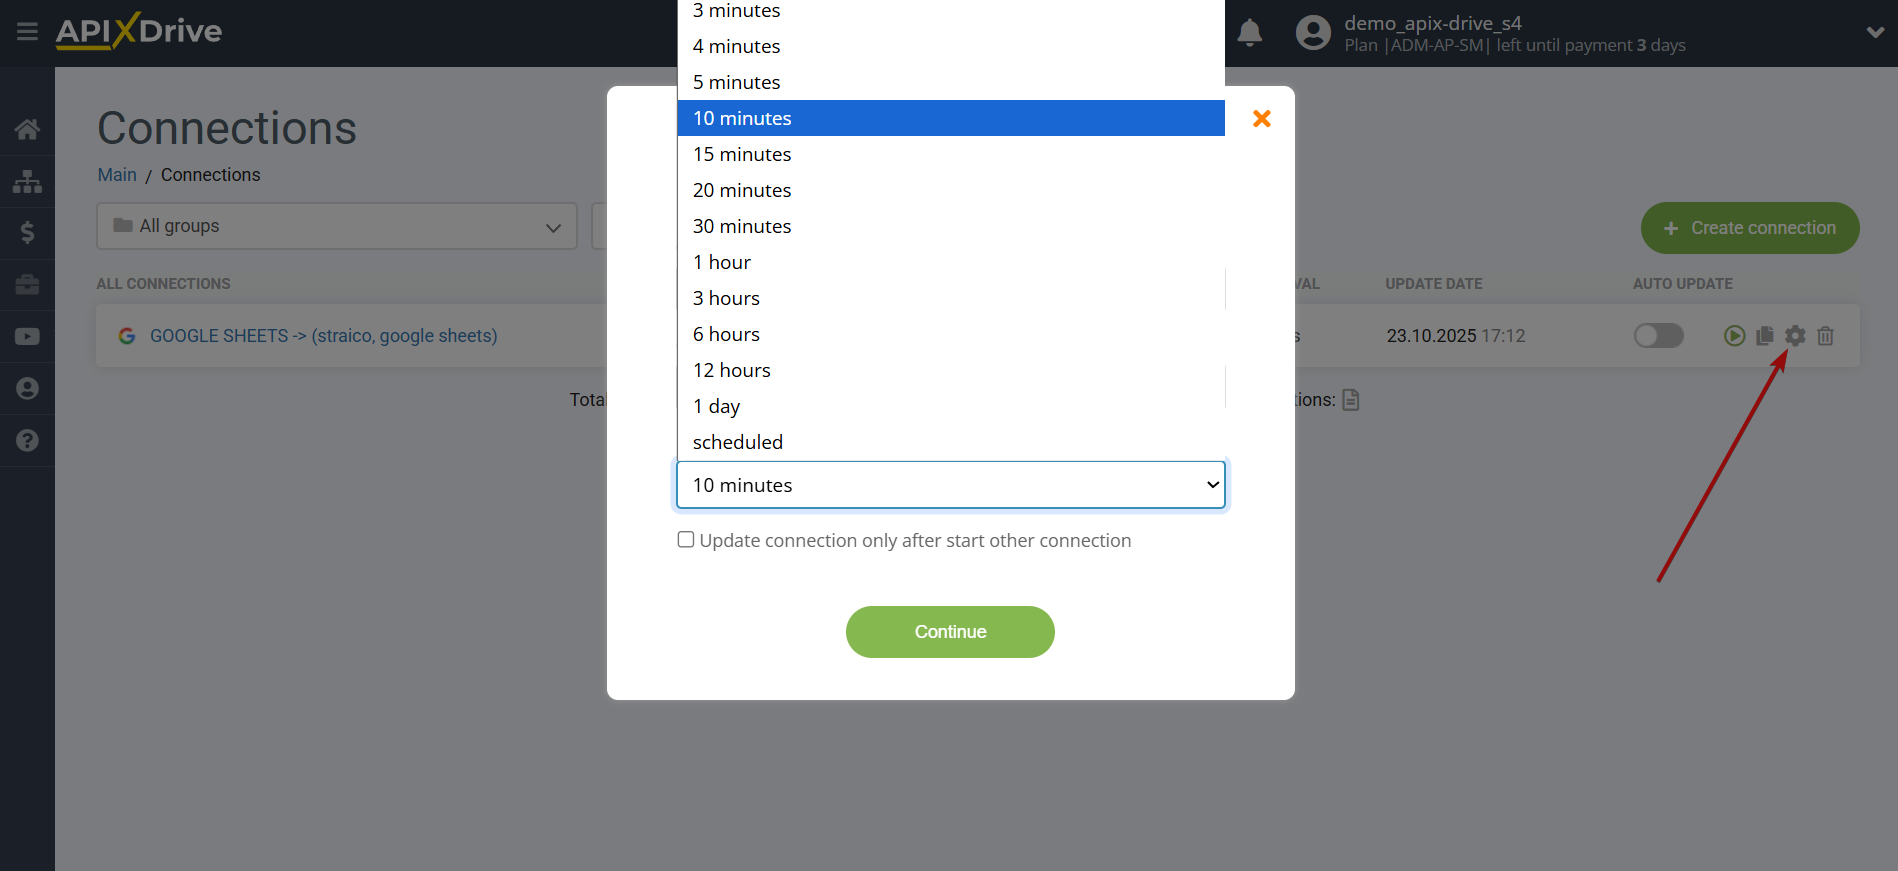
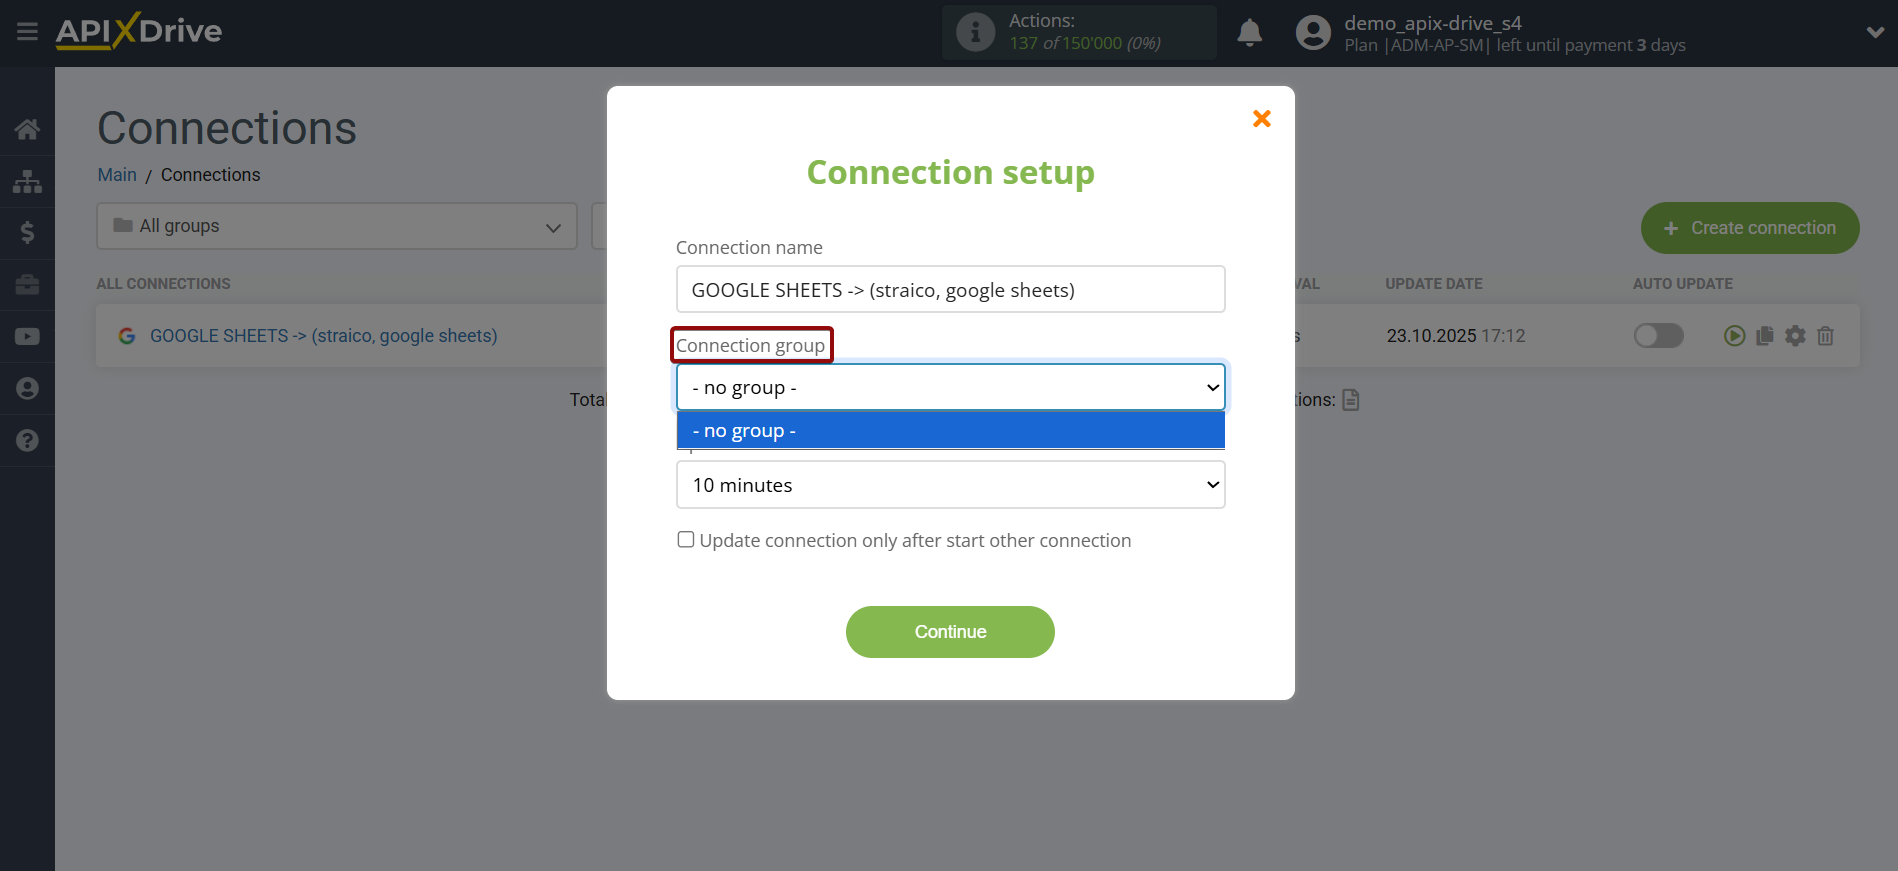
On the main screen, click the gear icon to select the desired update interval or set up Scheduled Run. To schedule the connection, select Scheduled Run and specify the desired connection update time, or add multiple times at once.
Important! For the Scheduled Start to run at the specified time, the interval between the current time and the specified time must be more than 5 minutes. For example, if you select 12:10 PM and the current time is 12:08 PM, the automatic connection update will occur at 12:10 PM the next day. If you select 12:20 PM and the current time is 12:13 PM, the automatic connection update will occur today and every day thereafter at 12:20 PM.
To make the current connection trigger after another connection, check the "Update only after connection" box and specify the connection after which the current one will trigger.
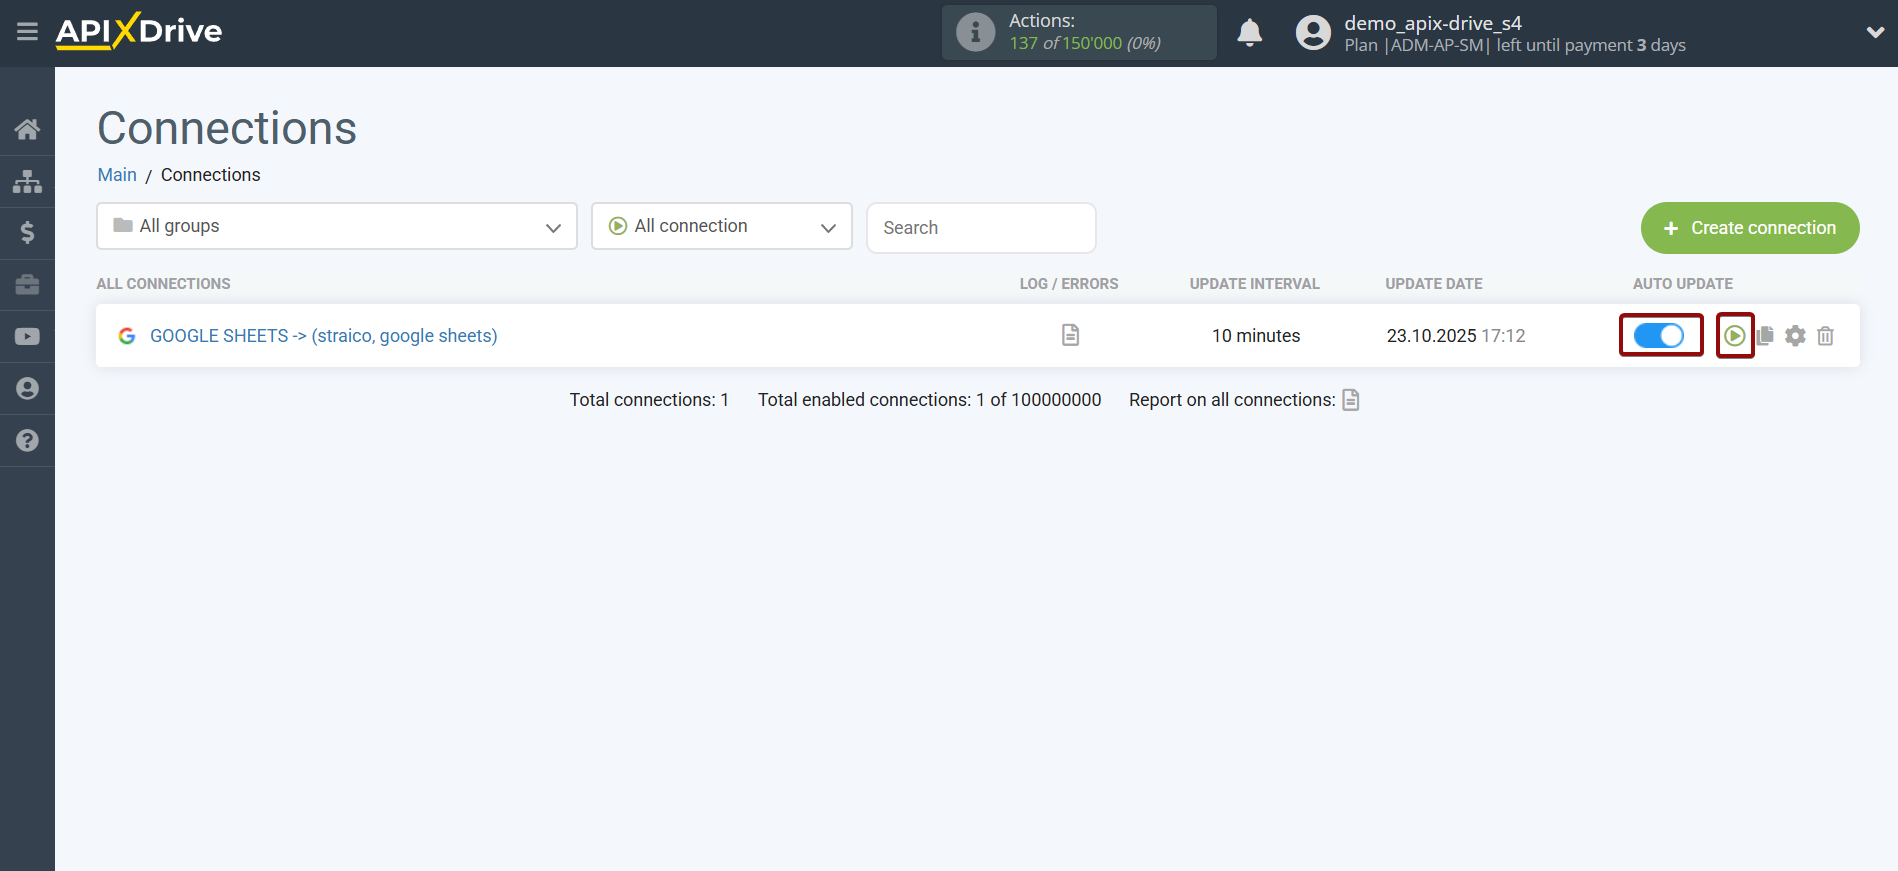
To enable auto-update, move the slider to the position shown in the figure.
To force a connection, click on the arrow icon.
This completes the Straico Data Search setup! It's quite simple!
Now you don’t have to worry, ApiX-Drive will do everything else on its own!