Mistral AI
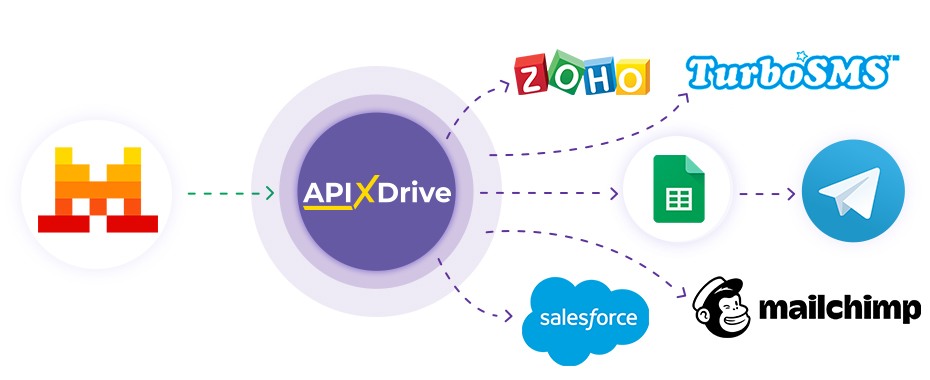
Integration with Mistral AI is implemented as a separate Mistral AI block, which can be placed between the Source and the Data Destination. This will allow you to create a query based on data from the Data Source and transfer data from Mistral AI to the Data Destination fields. This way, you can automatically receive data from Mistral AI and transfer it to the services and systems you use.
The function allows you to analyze data from the Data Source using Mistral AI and pass the query result to the Data Destination.
Navigation:
Connecting Google Sheets as a Data Source:
1. What data can you get from Google Sheets?
2. How to connect Google Sheets account to ApiX-Drive?
3. Select the table and sheet from which the rows will be unloaded.
4. An example of data that will be transferred from Google Sheets.
Connecting Mistral AI:
1. What data can be obtained from Mistral AI?
2. How to connect Mistral AI account to ApiX-Drive?
3. How do I set up a data search in Mistral AI in a selected action?
4. An example of the data that will be transmitted from Mistral AI.
Setting up row updates in Google Sheets:
1. What will the Google Sheets integration do?
2. How to connect Google Sheets account to ApiX-Drive?
3. How do I configure the selected action to transfer data to Google Sheets?
4. An example of the data that will be sent to your Google Sheets.
5. Auto-update and communication response interval.
Setting up DATA SOURCE: Google Sheets
Let's take a look at how the function queries Mistral AI for data and sends the result to Google Sheets.
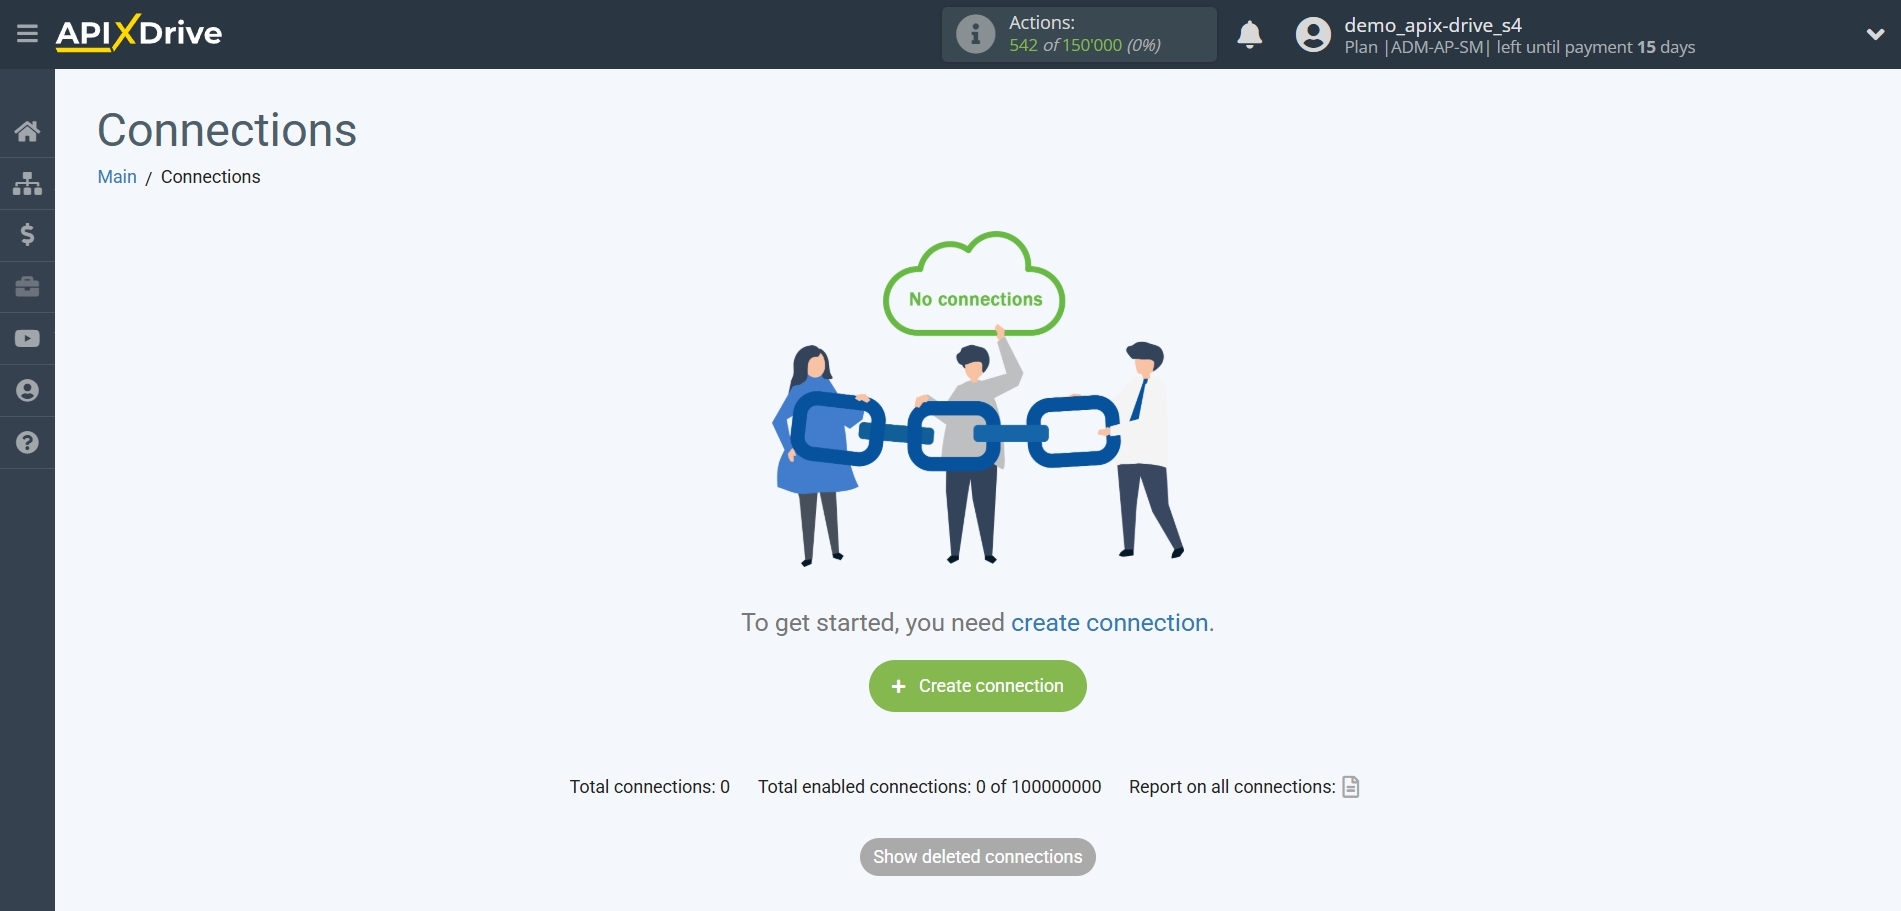
First, you need to create a new connection.
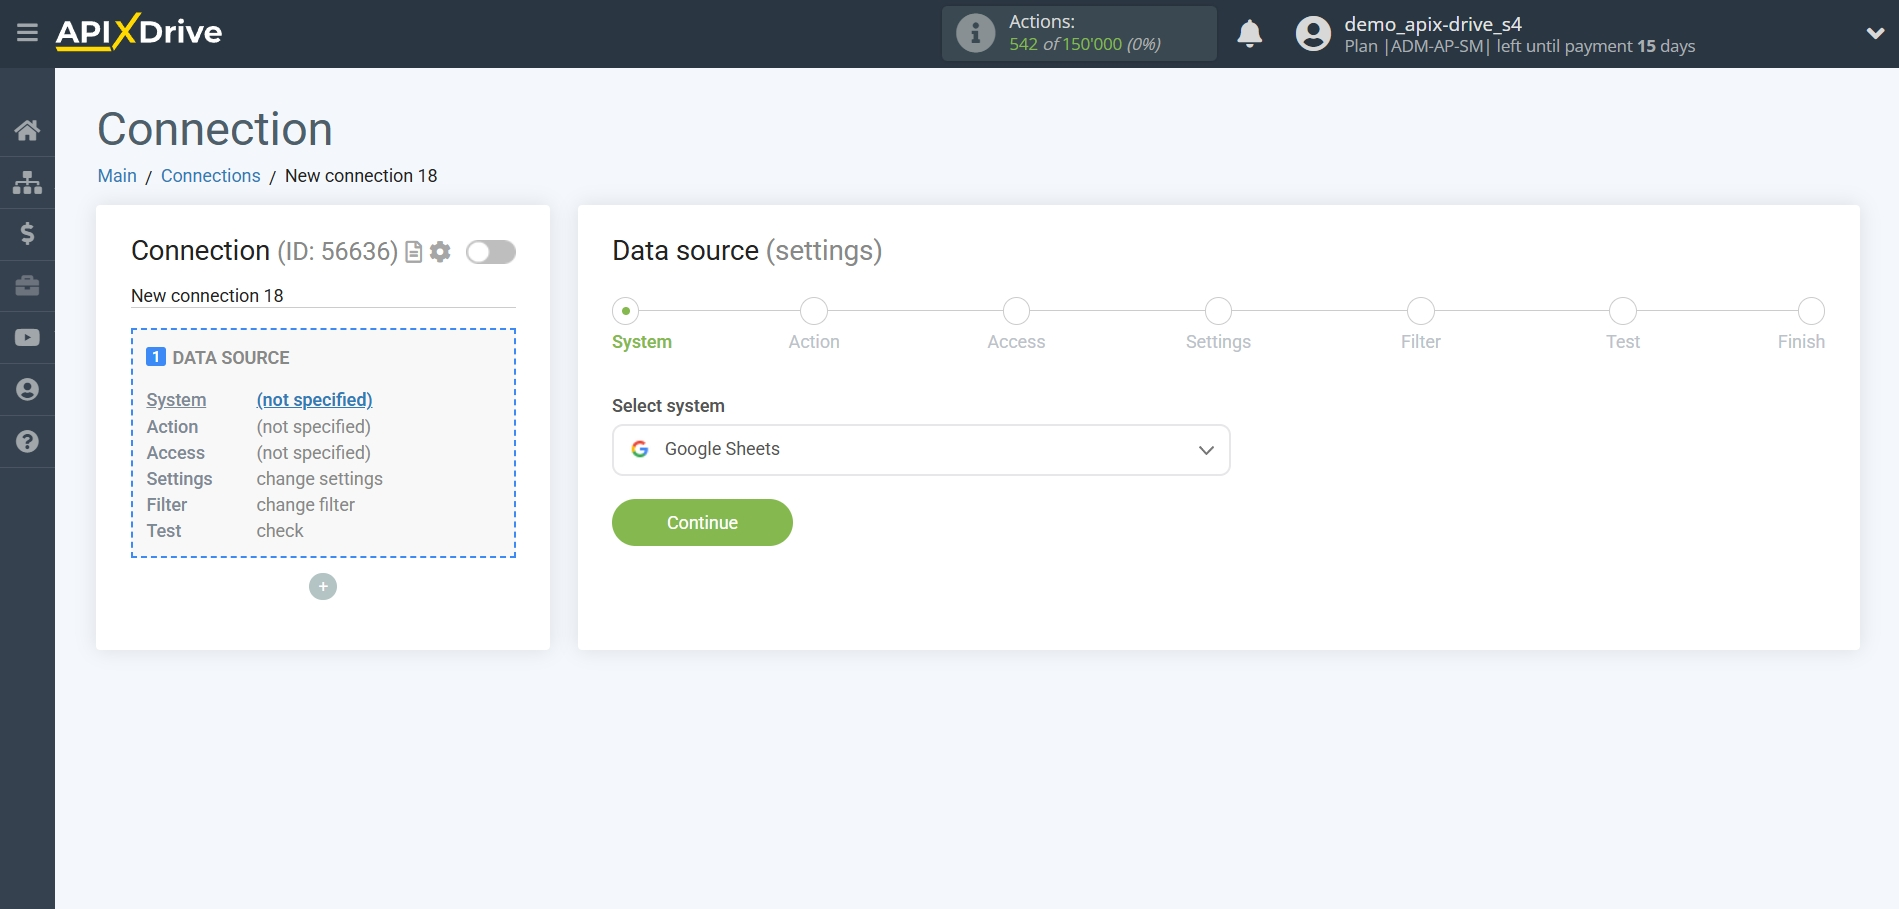
Select the system as the Data Source. In this case, you need to specify Google Sheets.
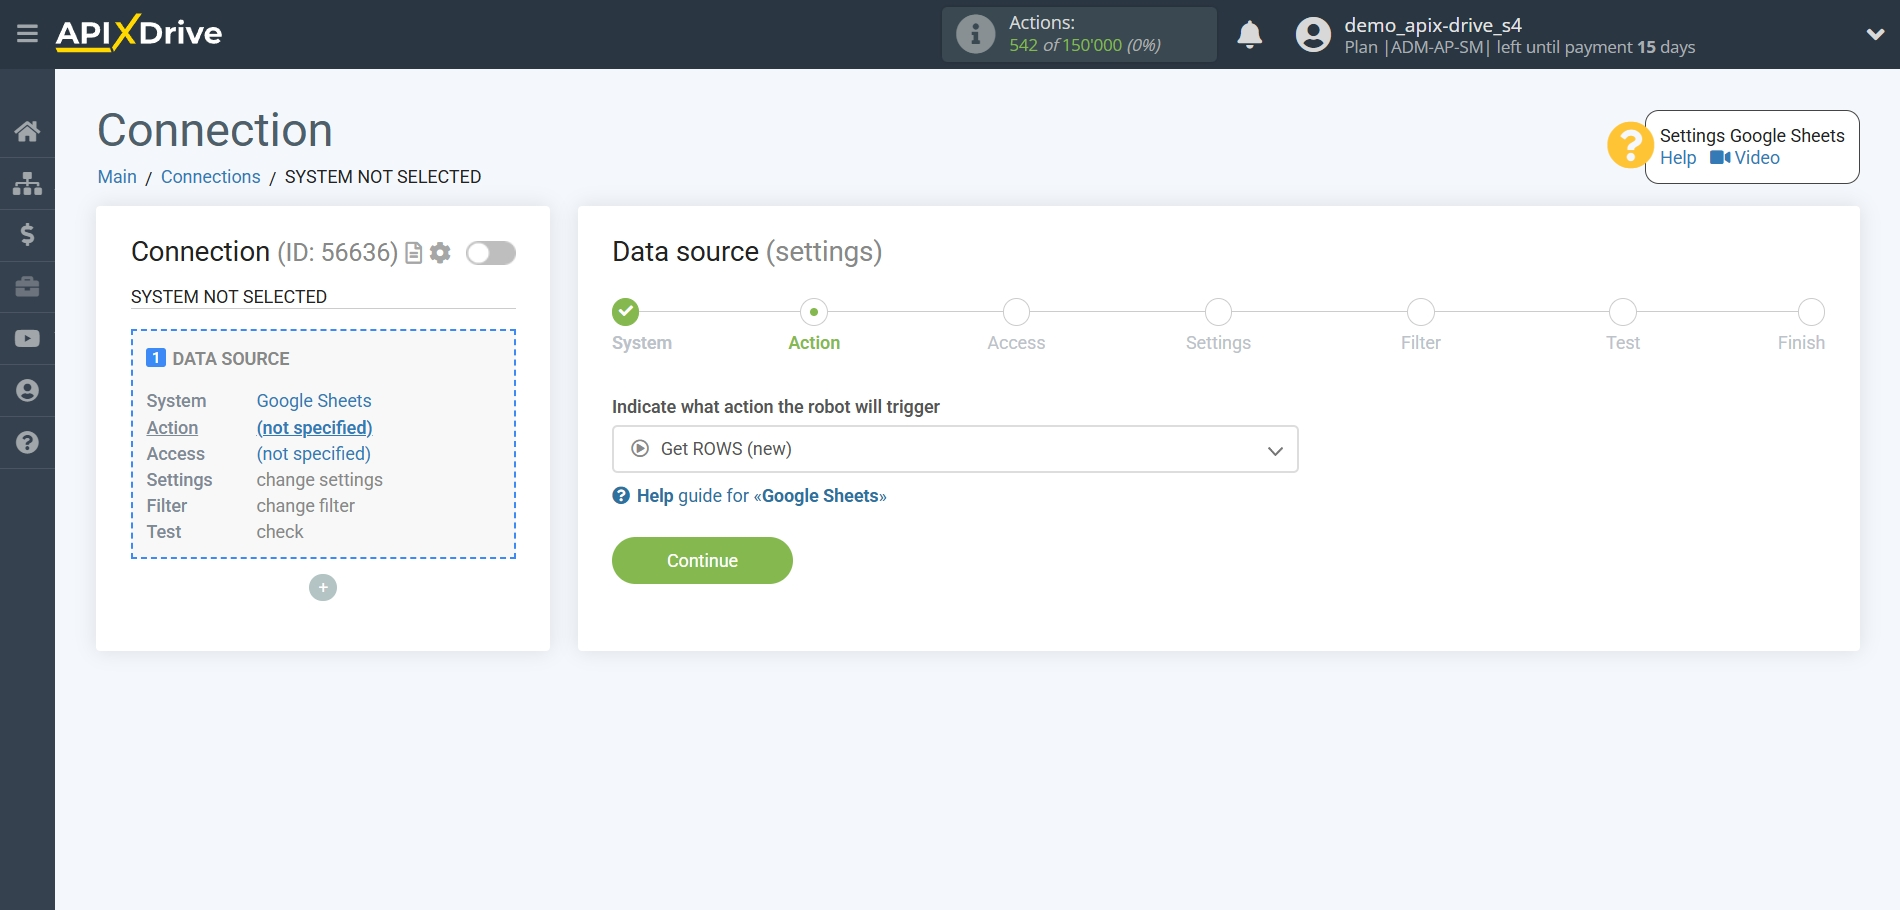
Next, you need to specify the action "Get ROWS (new)".
The next step is to select the Google Sheets account from which the data will be downloaded.
If there are no logins connected to the system, click "Connect account".
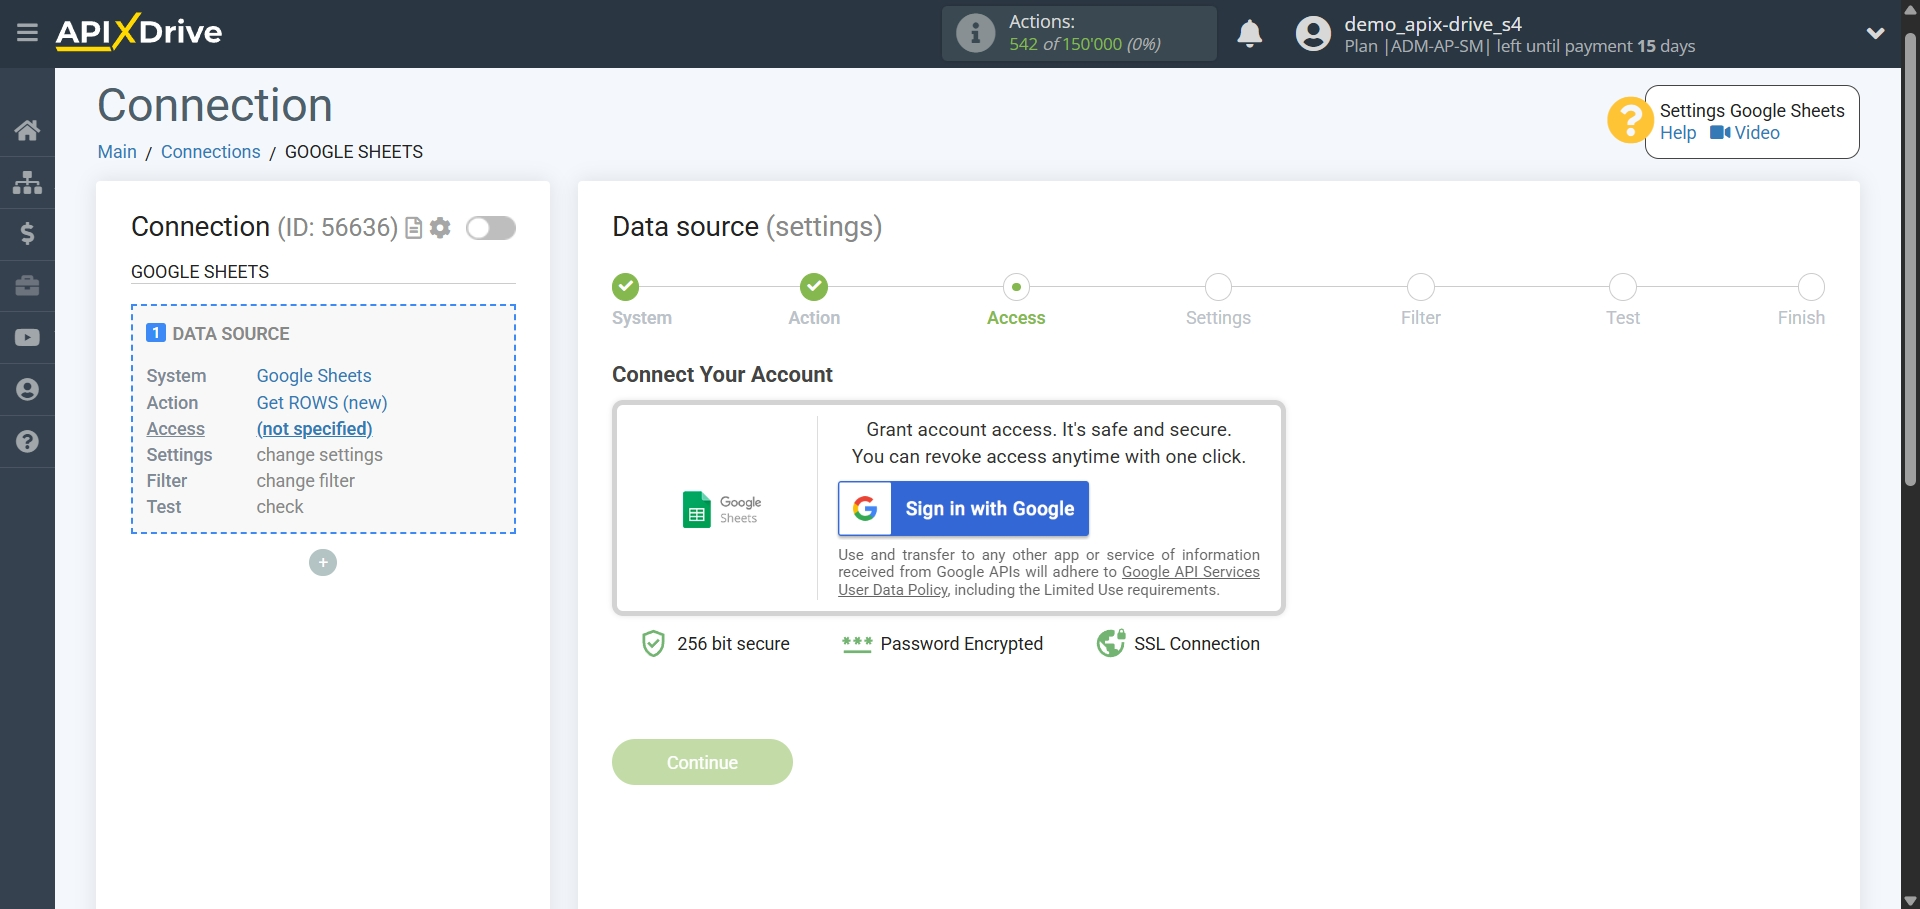
Select which account you want to connect to ApiX-Drive and provide all permissions to work with this account.
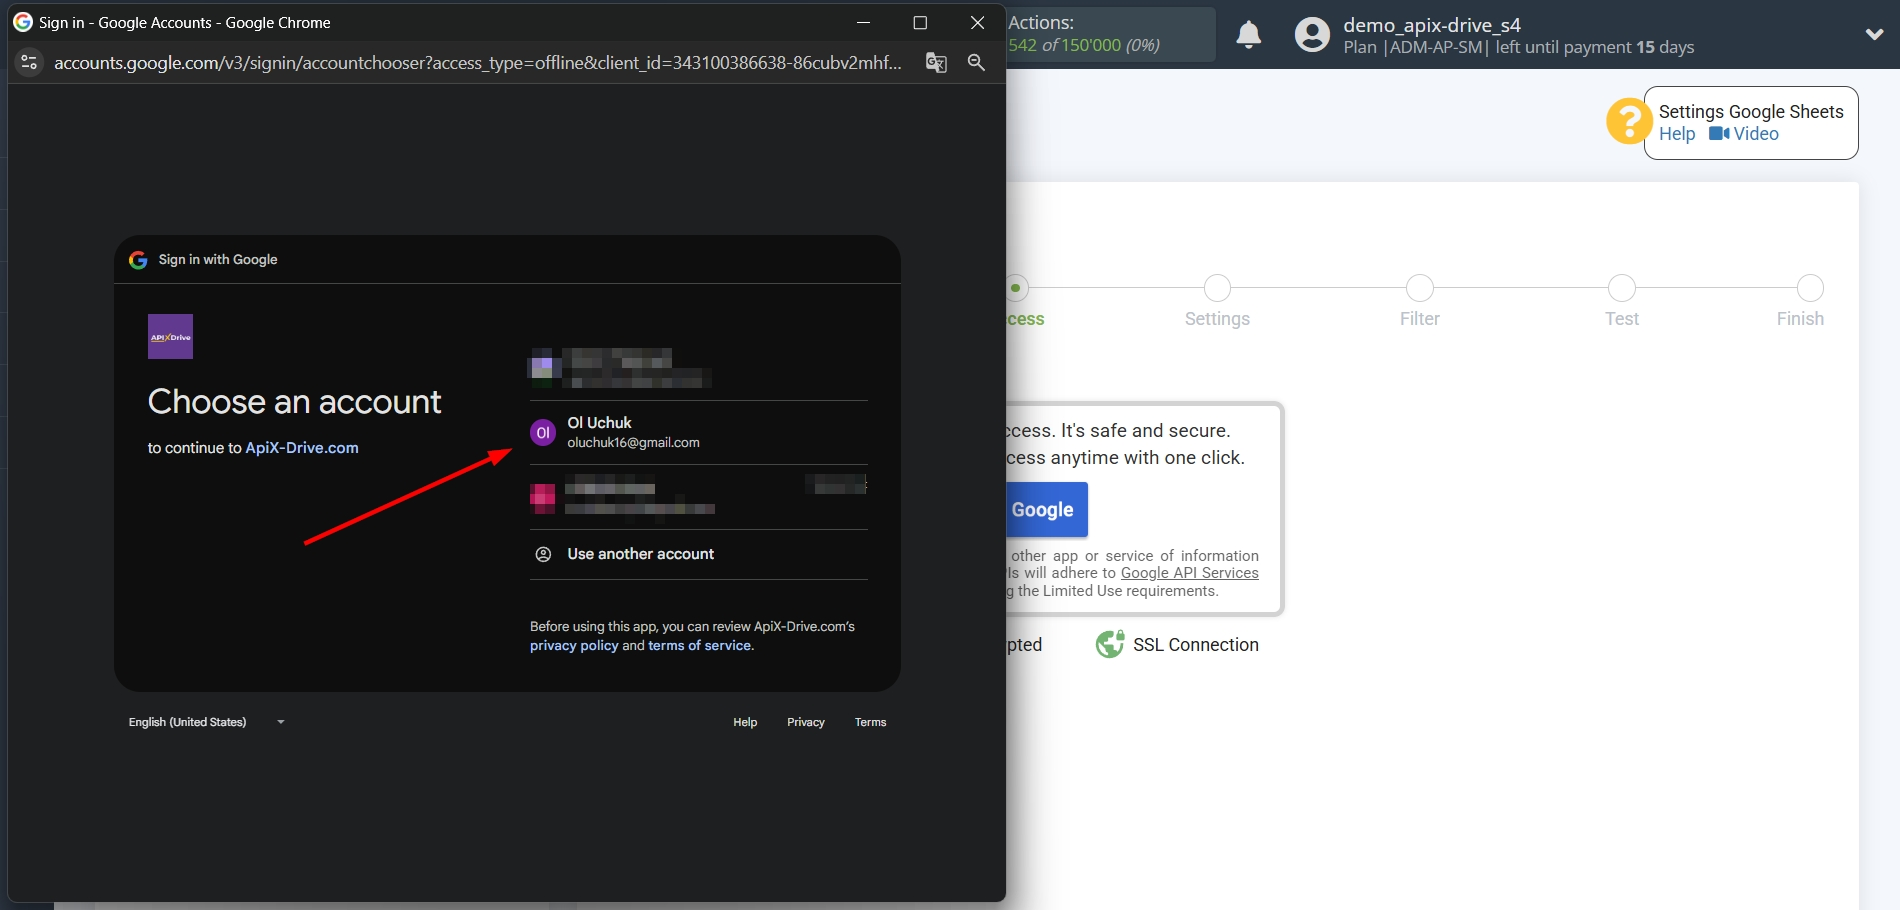
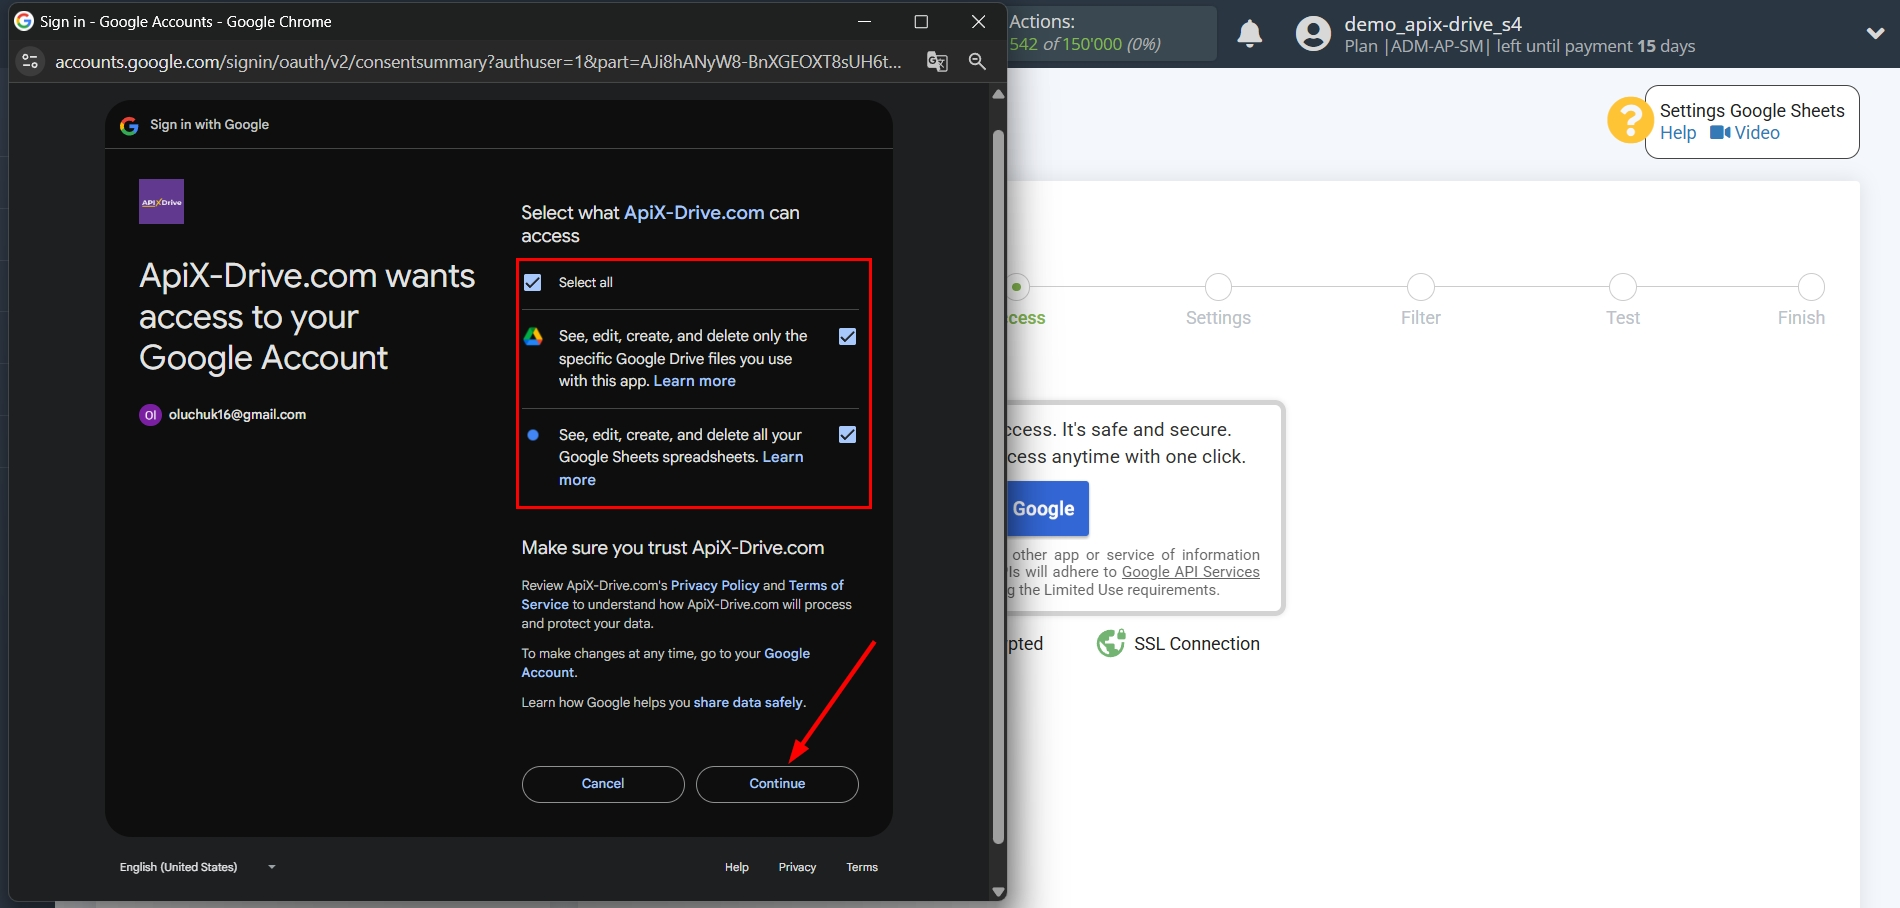
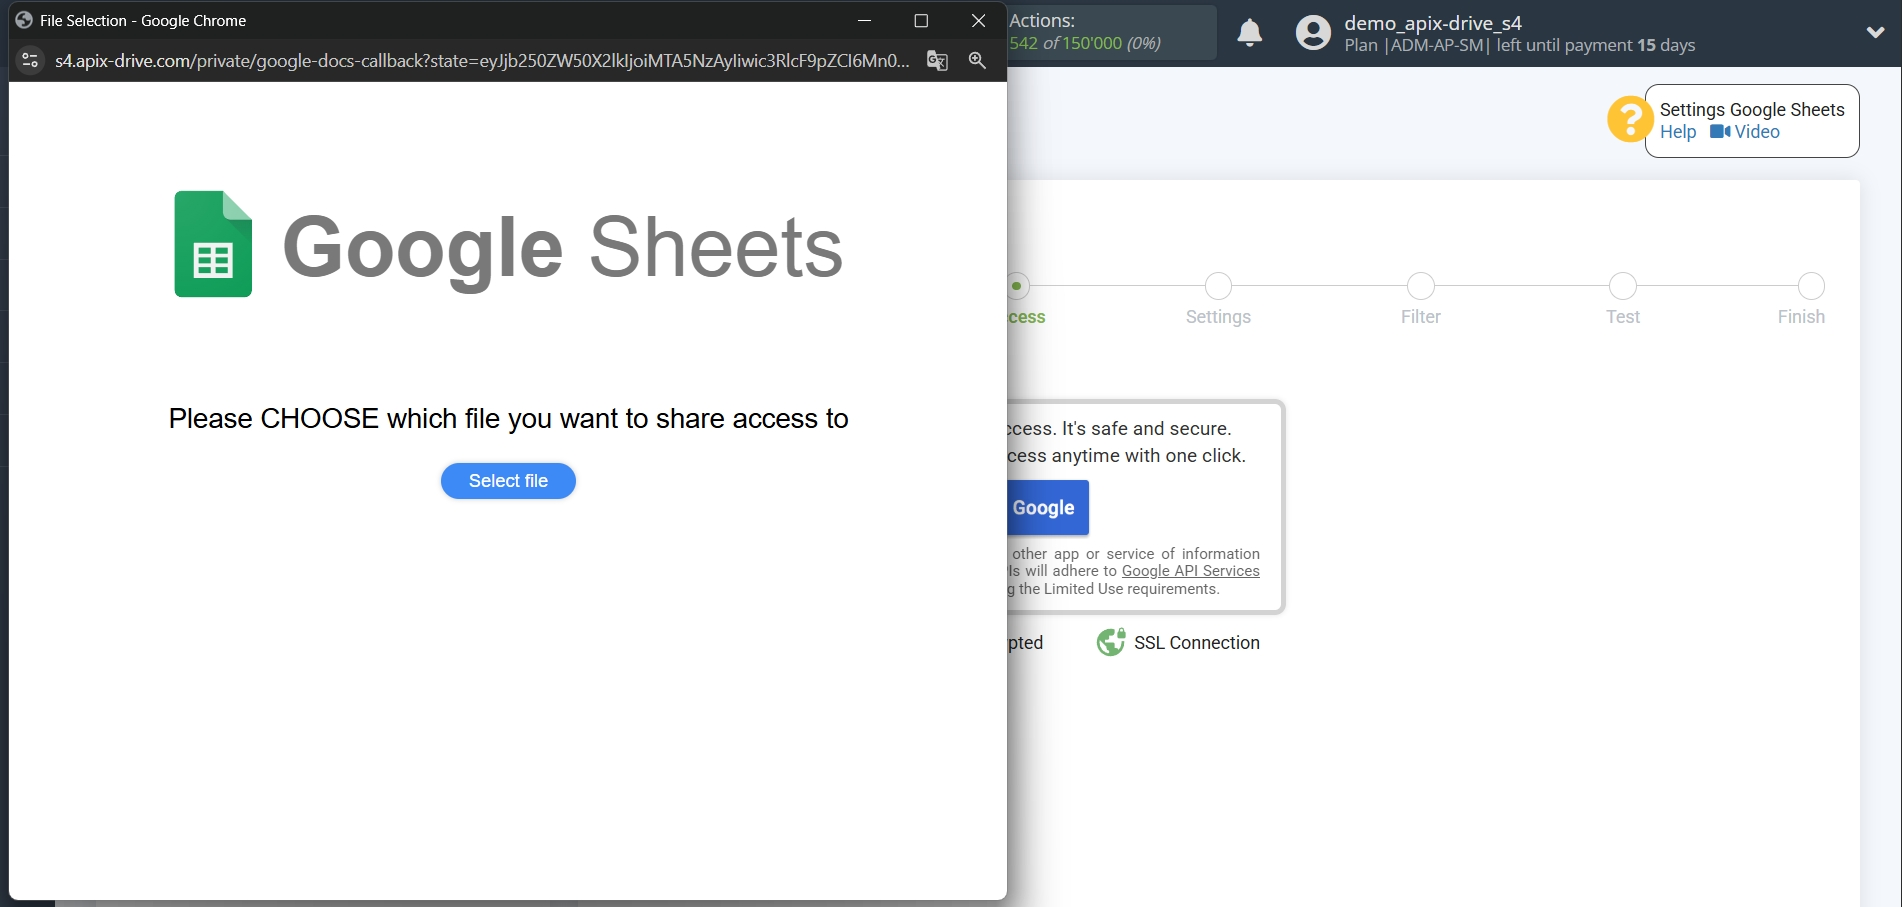
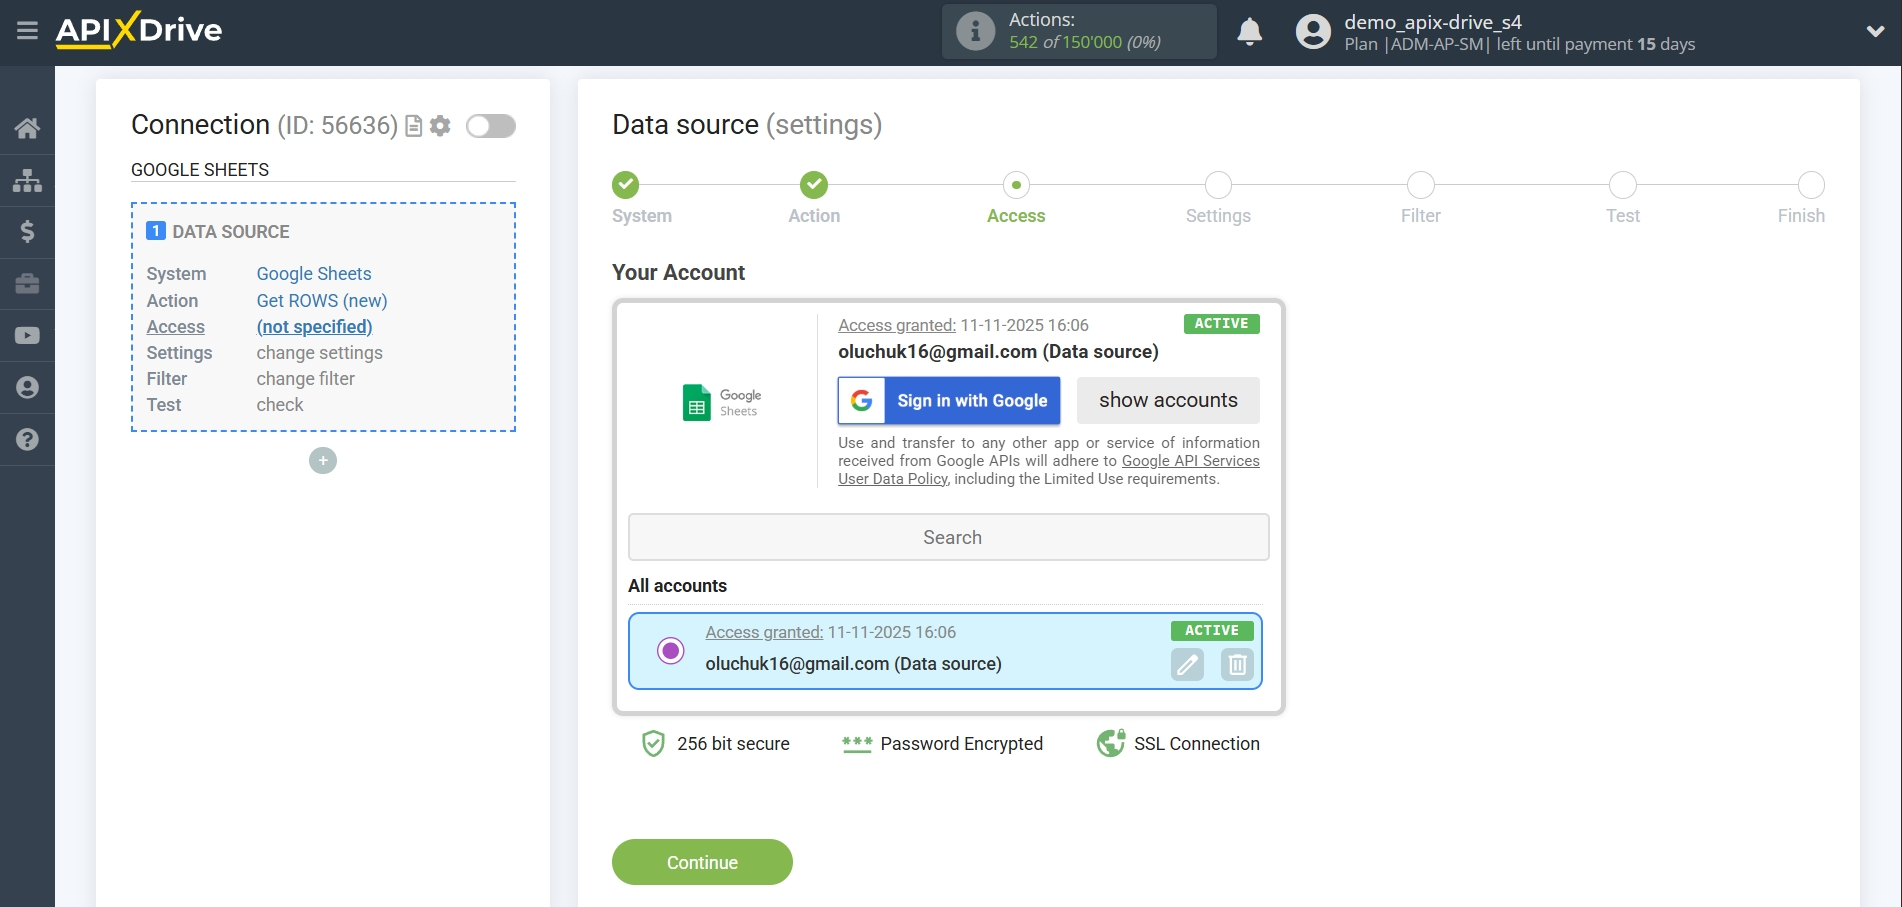
When the connected account appears in the list of "active accounts", select it for further work.
Attention! If your account is in the list of "inactive accounts" check your access to this account!
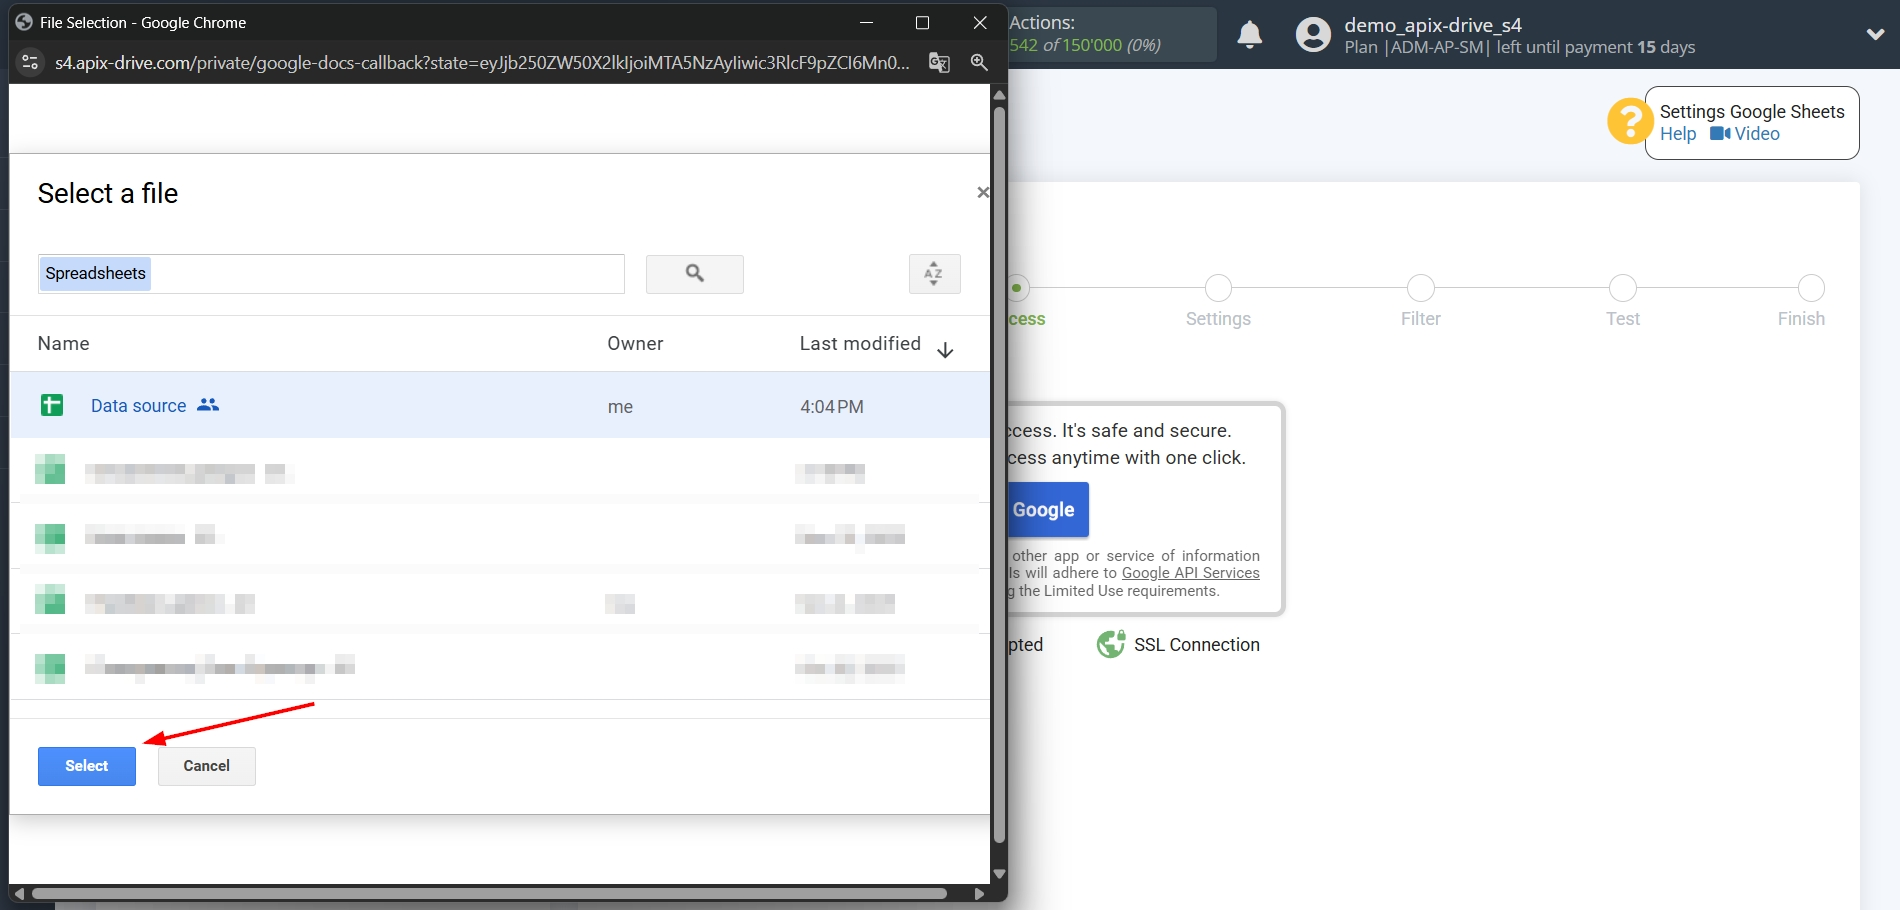
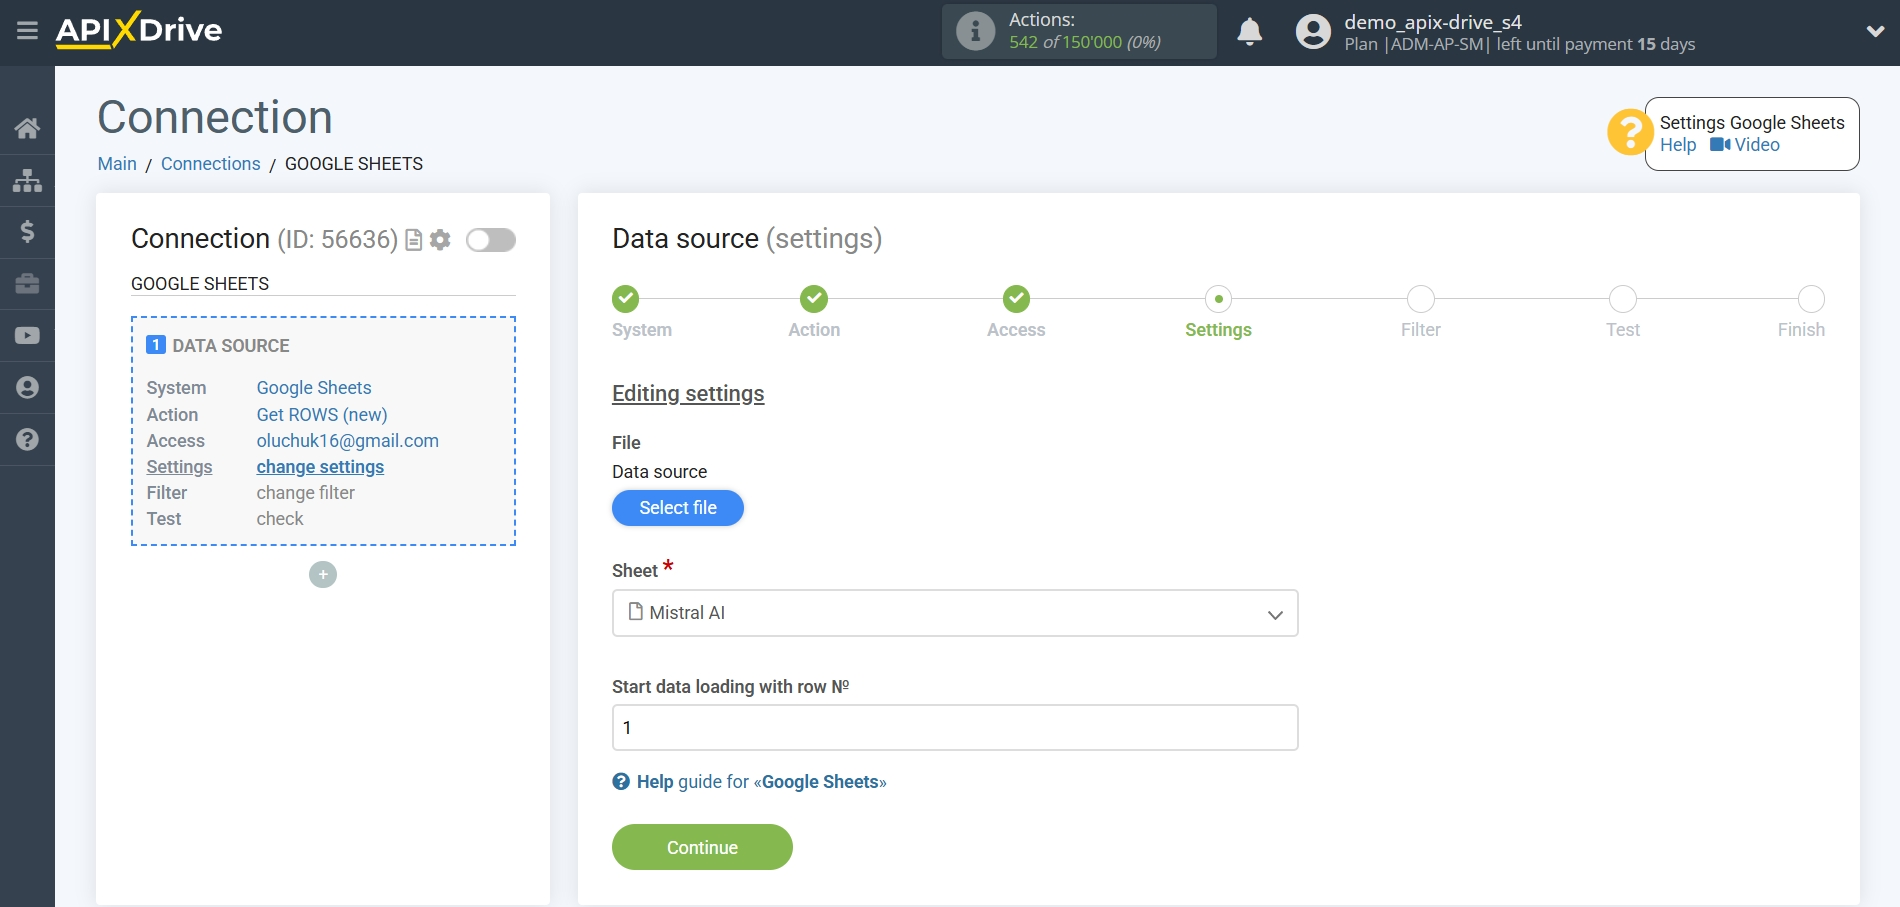
Select the Google Sheets table and sheet where the data you need is located.
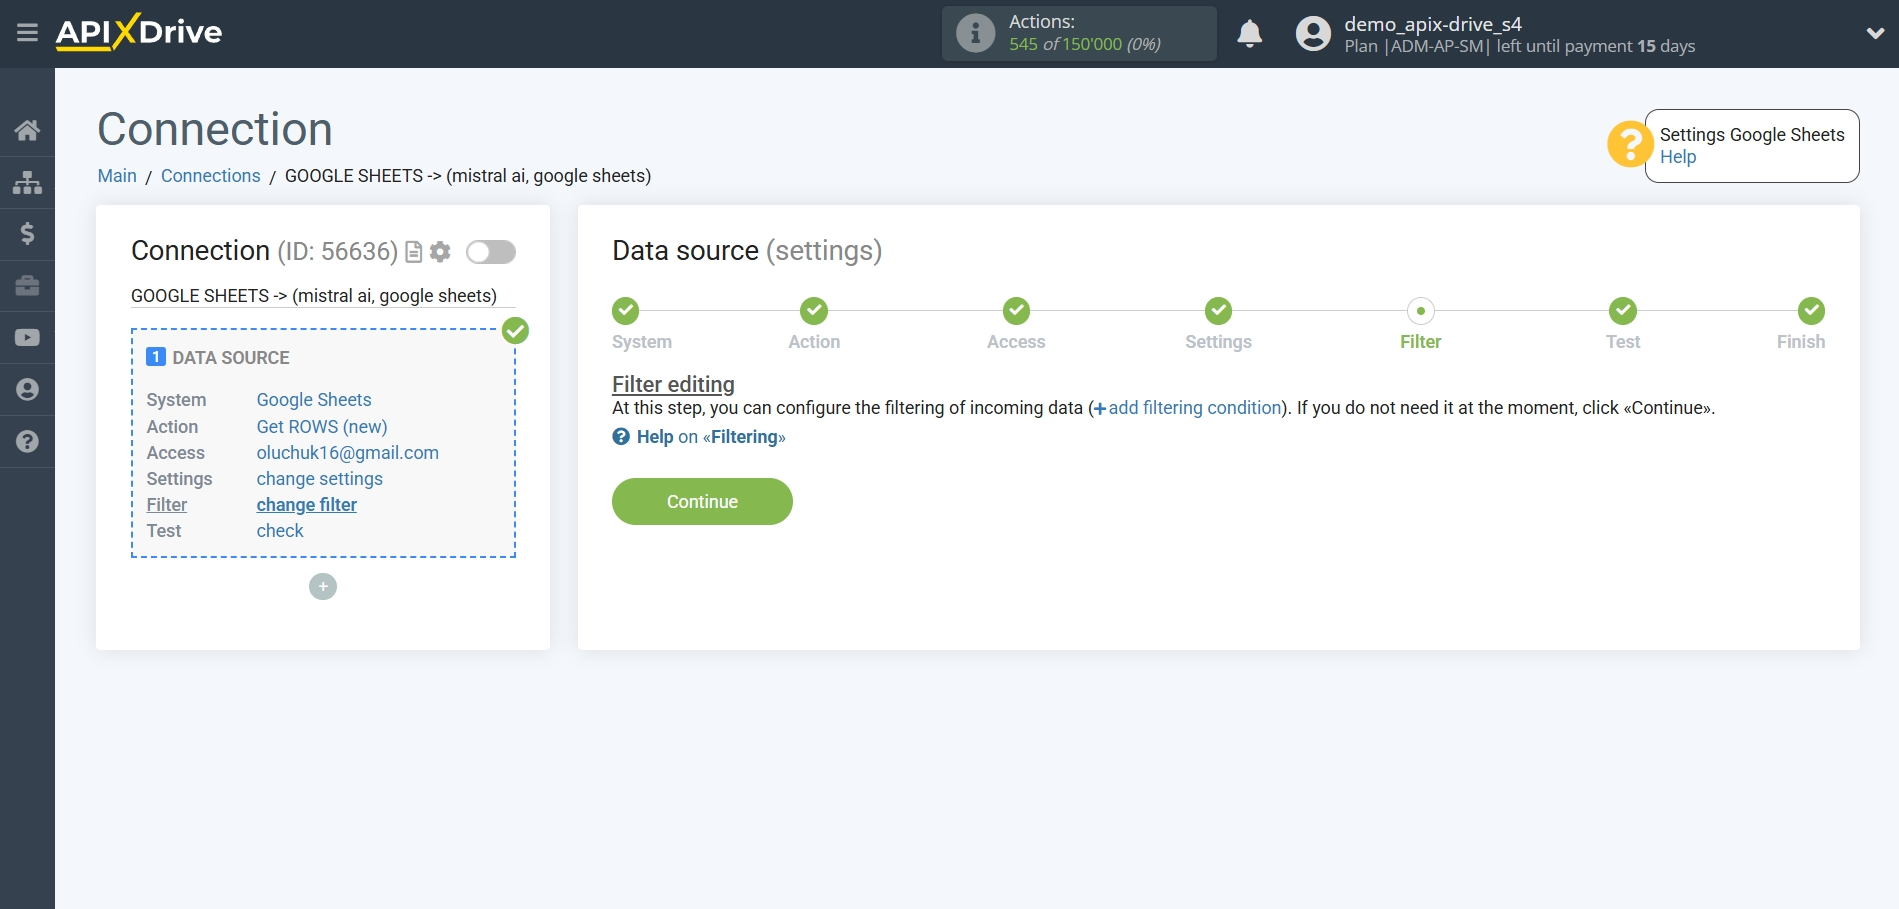
If necessary, you can adjust the Data Filter, or click "Continue" to skip this step.
To find out how to configure the Data Filter, follow the link: https://apix-drive.com/en/help/data-filter
Now you can see the test data for one of the rows in your Google Sheets spreadsheet.
If you want to update the test data, click "Download test data from Google Sheets".
If you want to change the settings, click "Edit" and you will go back one step.
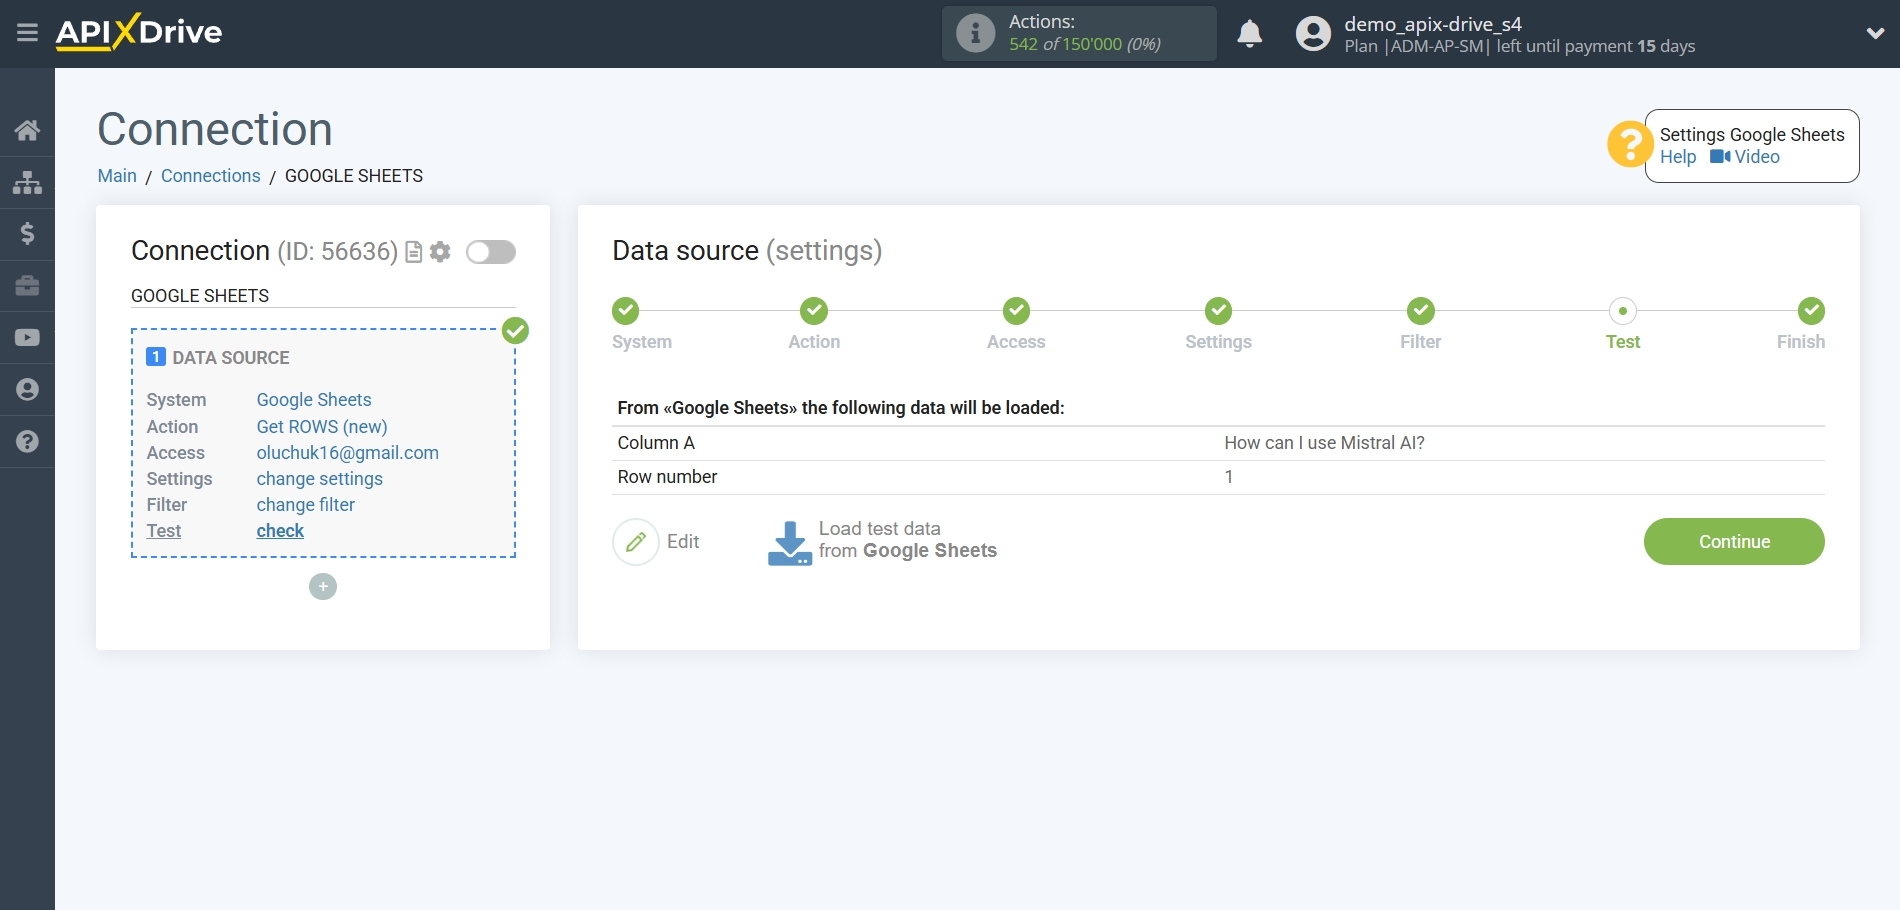
Now we connect the additional Mistral AI block. To do this, click on "+" and select "AI TOOLS" from the list.
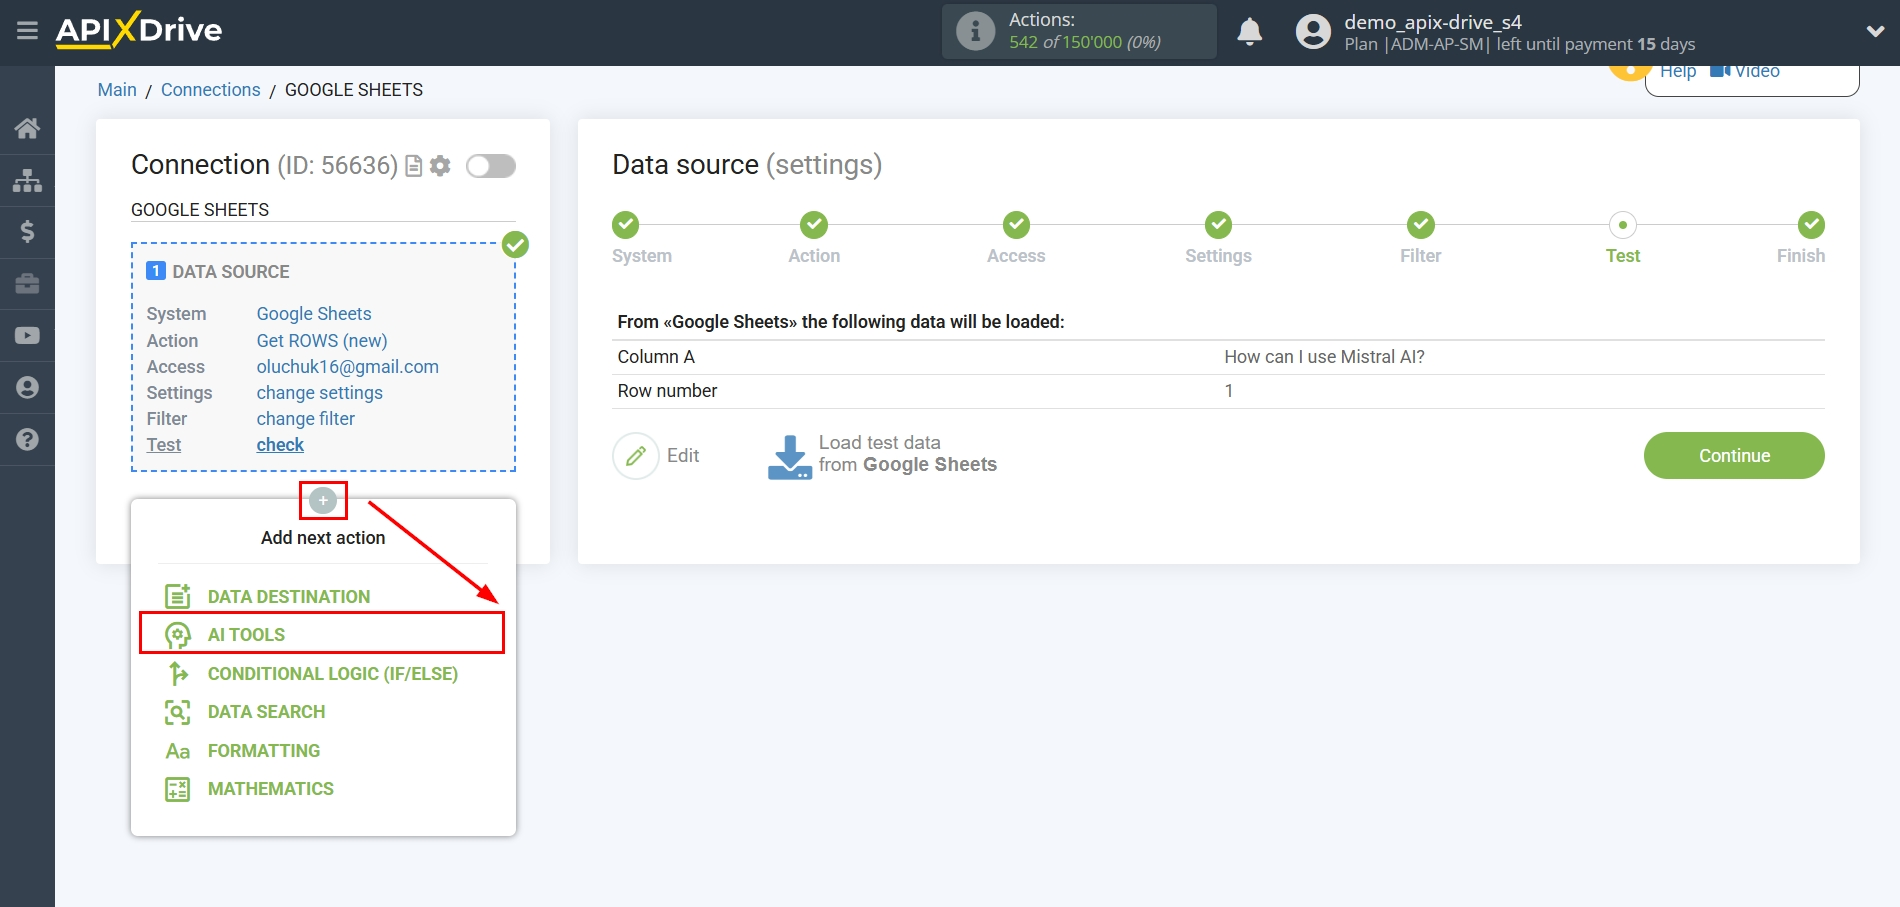
Mistral AI setup
As the system in which the search will be performed, we select "Mistral AI".
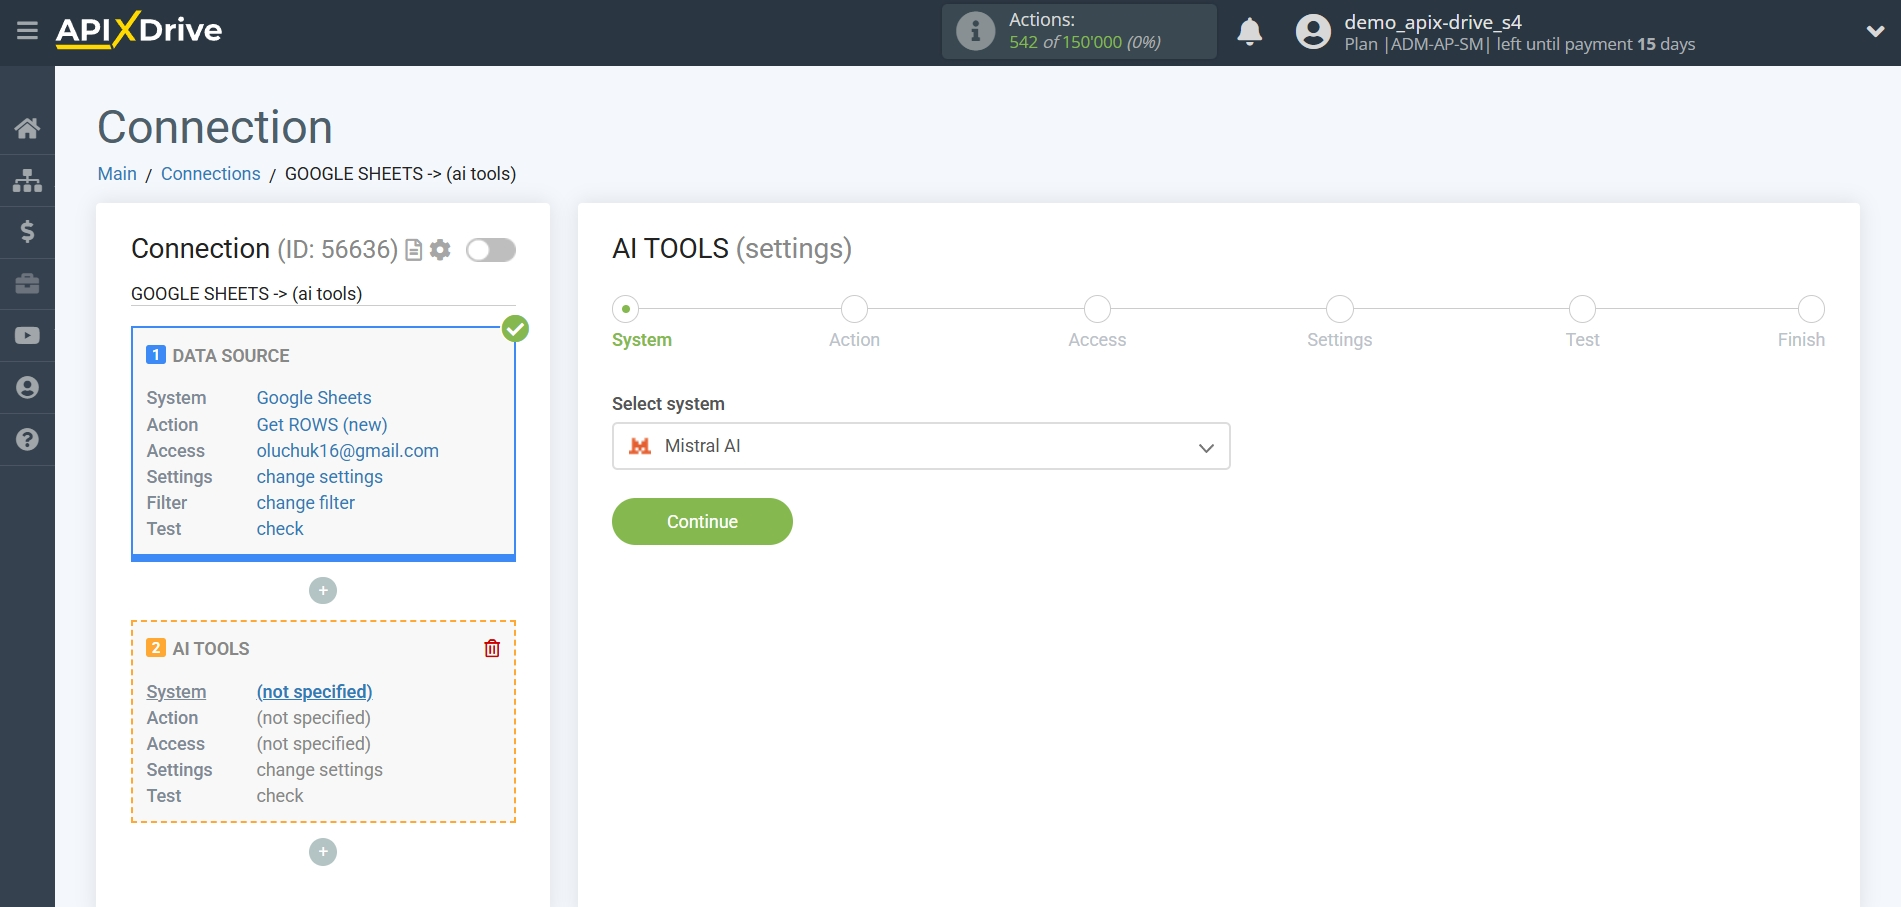
Next, you need to specify the action "Send PROMPT".
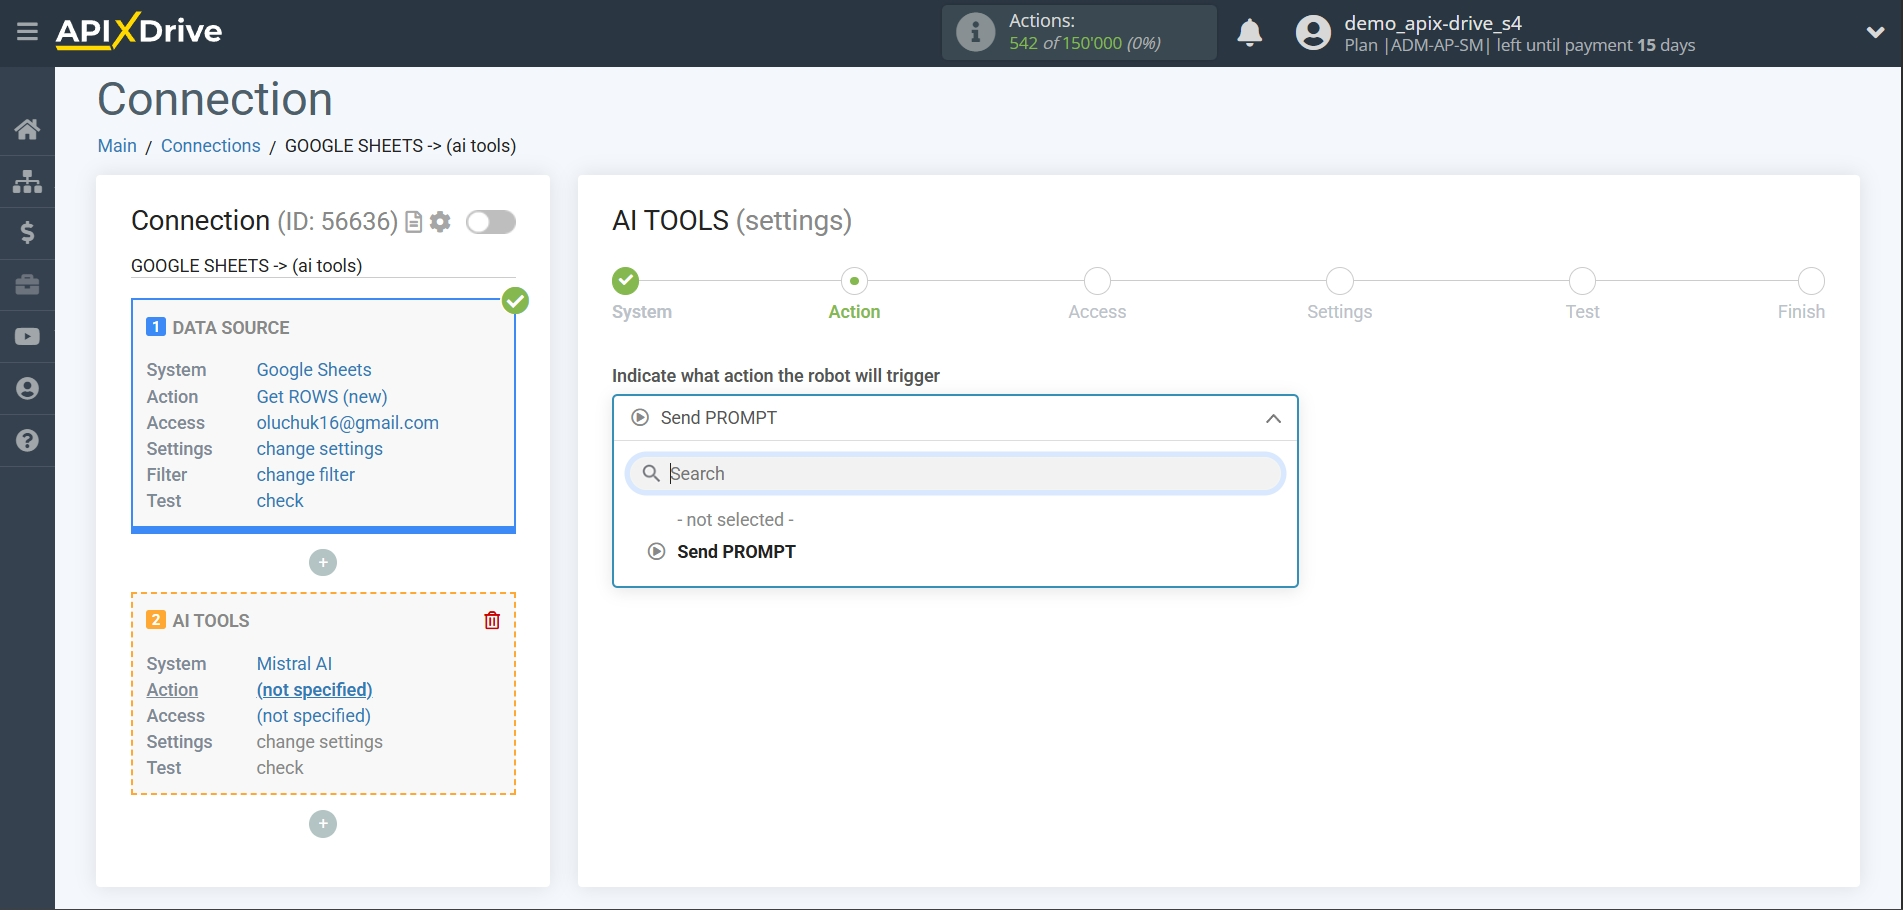
- Send PROMPT - allows you to send a request to Mistral AI to generate, edit and translate data.
The next step is to select a Mistral AI account.
If there are no logins connected to the ApiX-Drive system, click "Connect account".
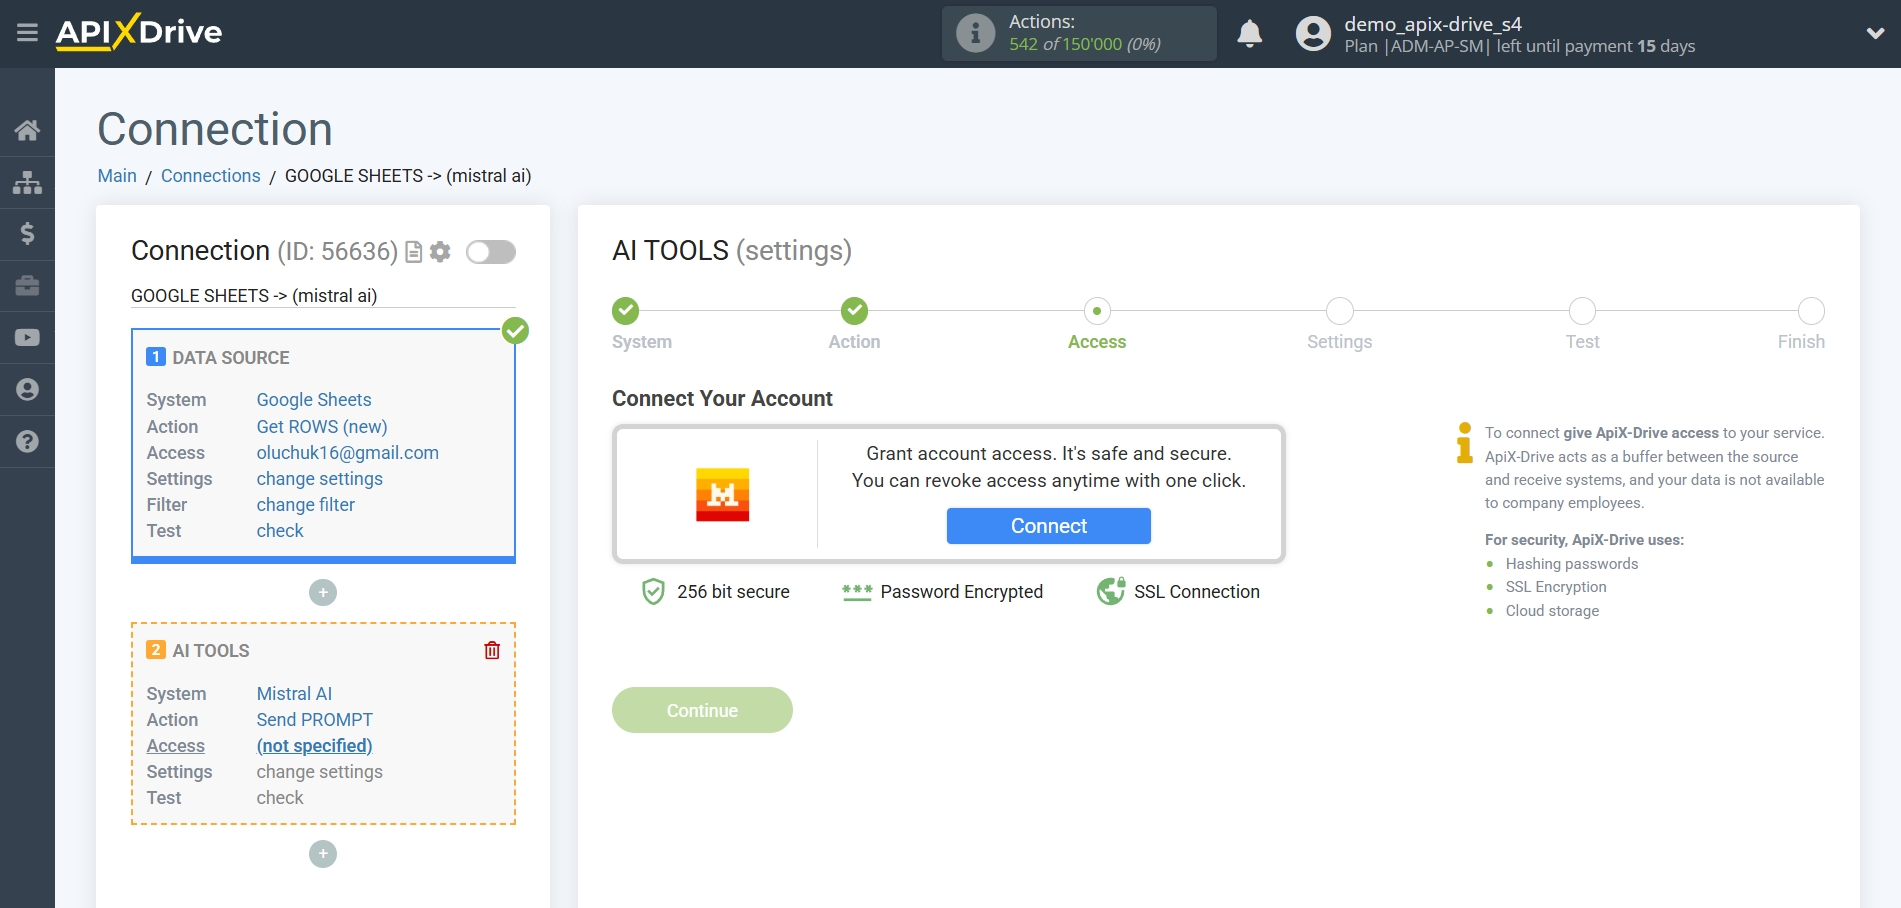
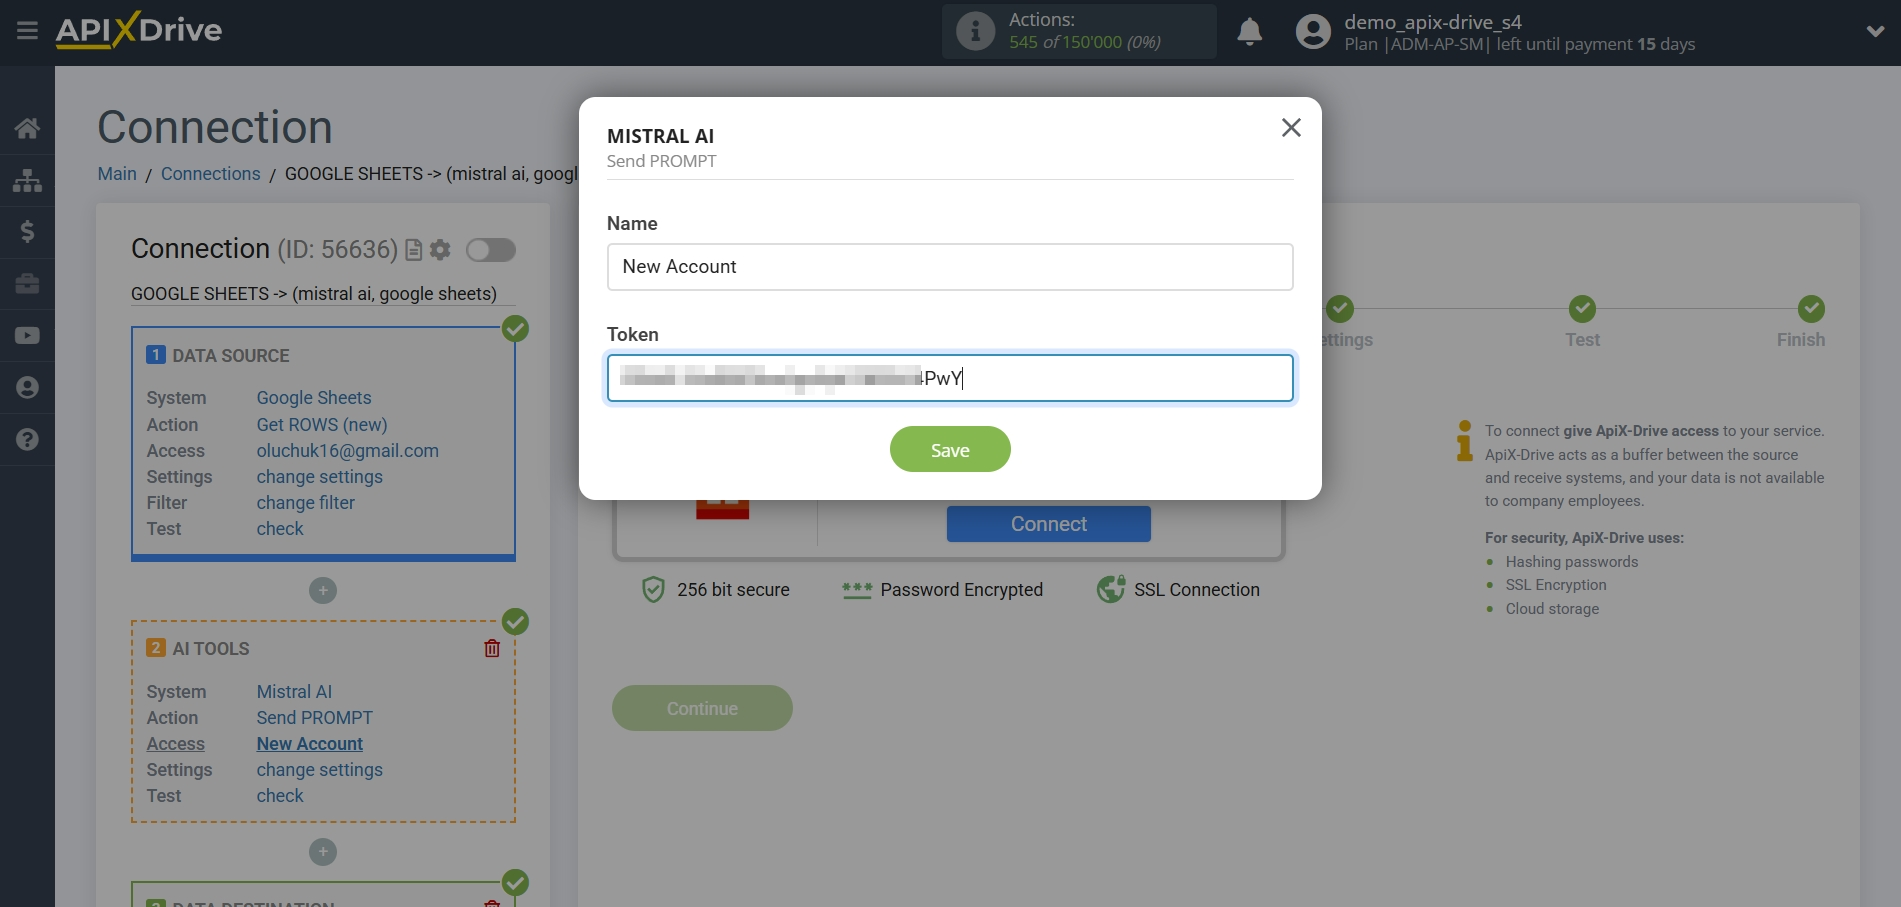
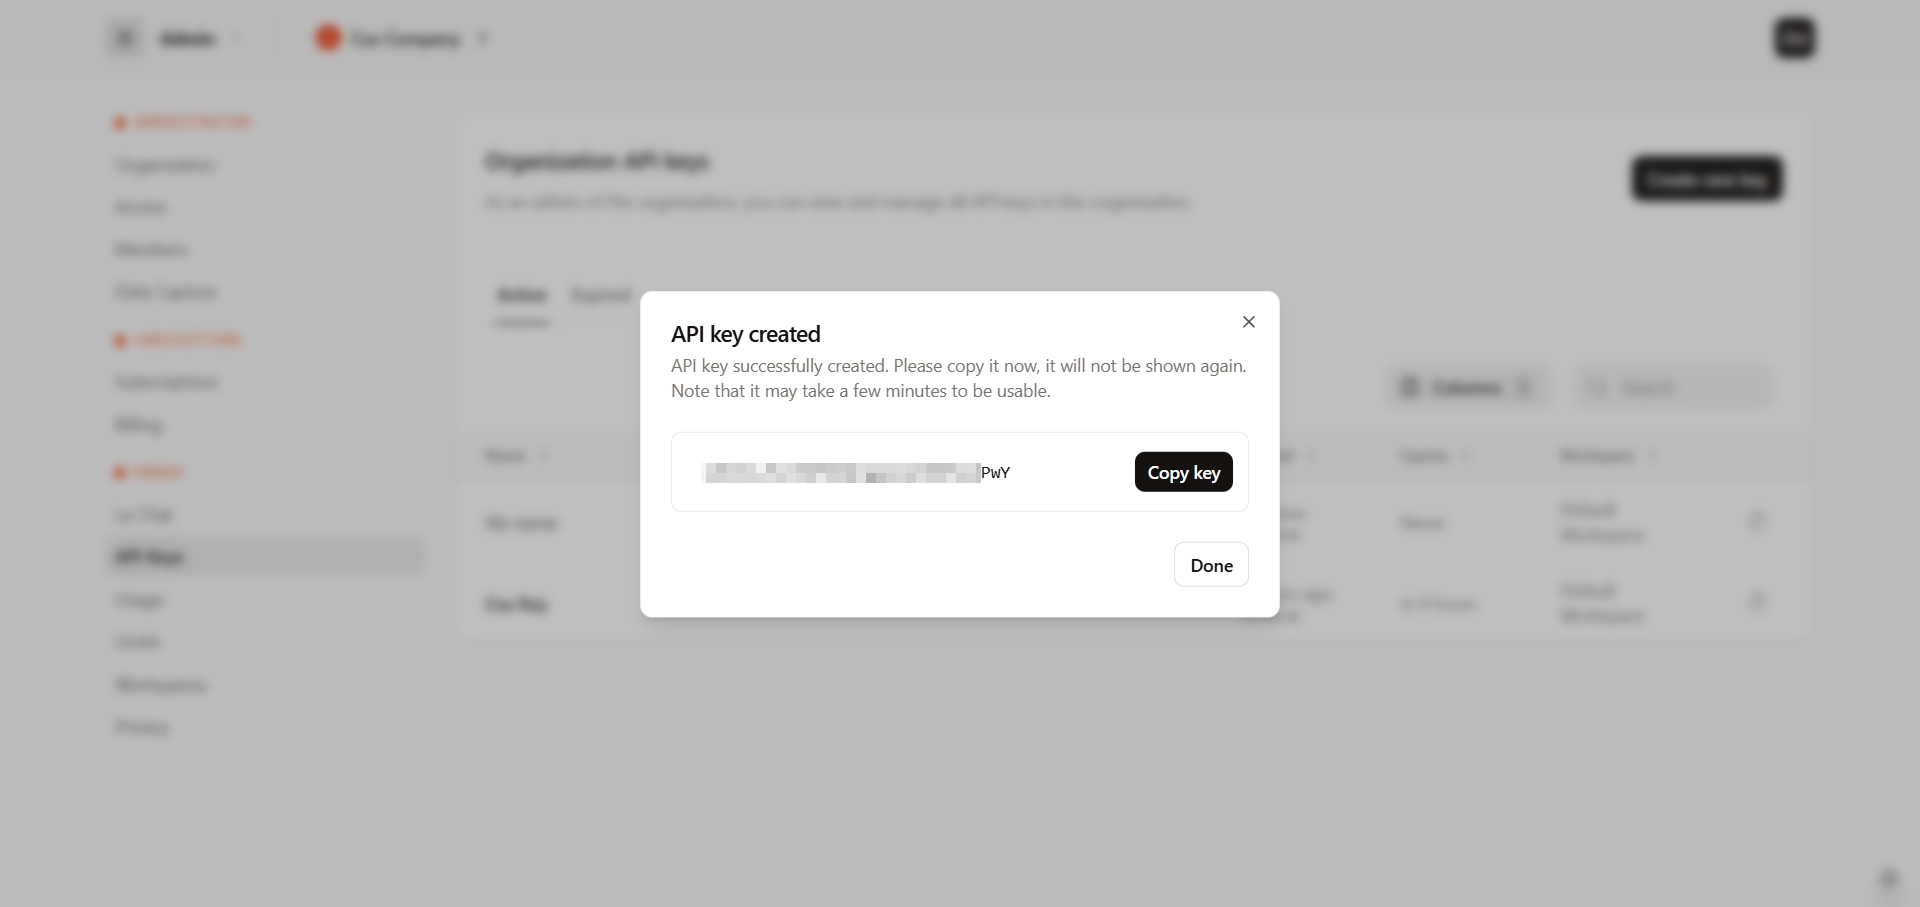
Enter the API key, which is located in the settings of your Mistral AI personal account.
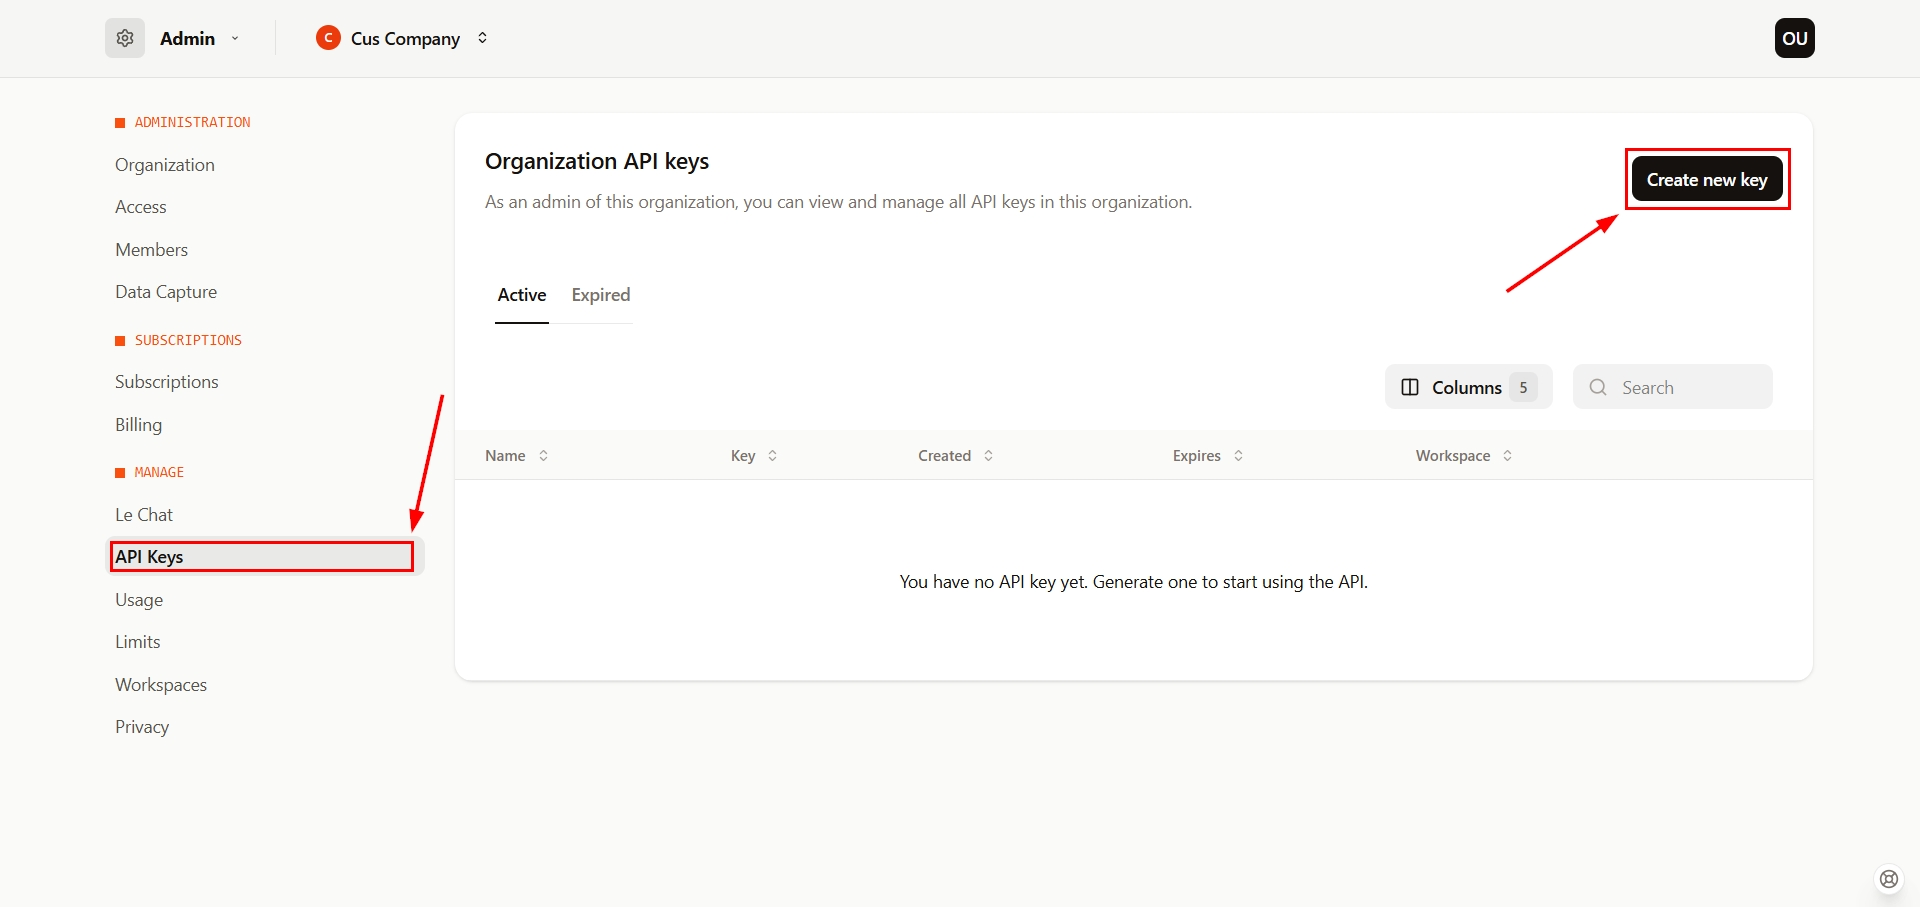
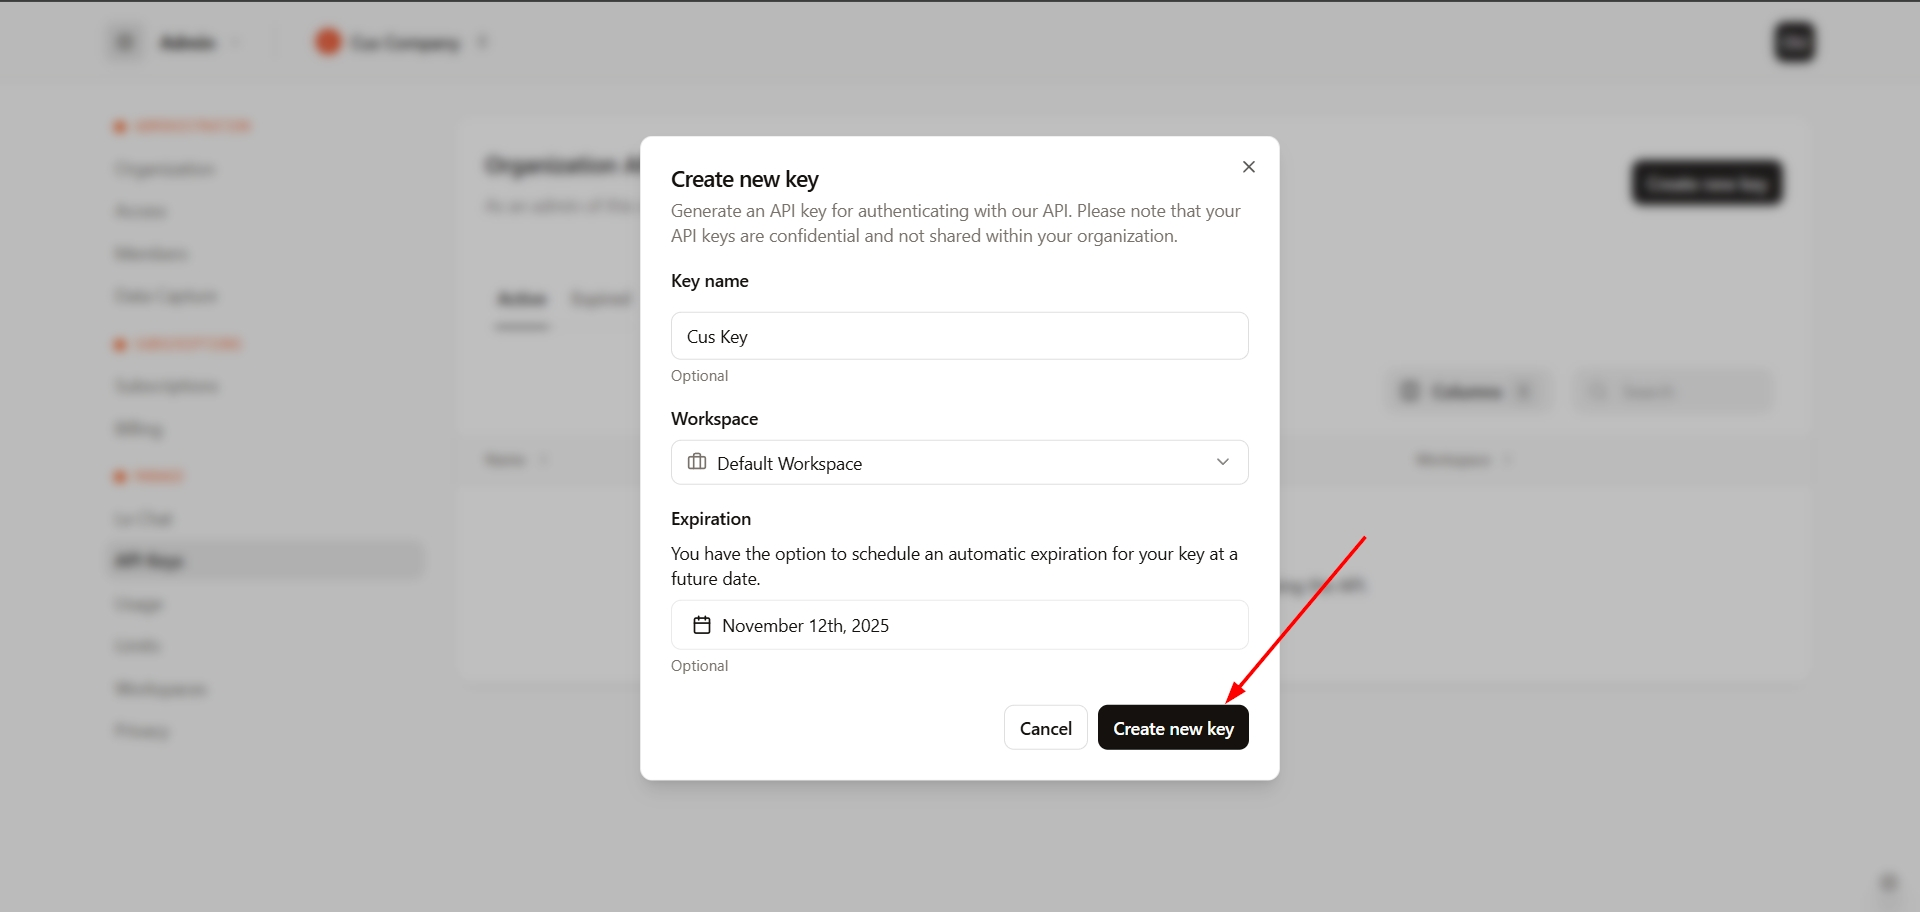
Go to your Mistral AI account, in the left panel click on "Account", then "API", then in the "API keys" section click "Create key" and enter a name for your key. Copy the API key and paste it into the corresponding field of the account connection window in the ApiX-Drive system.
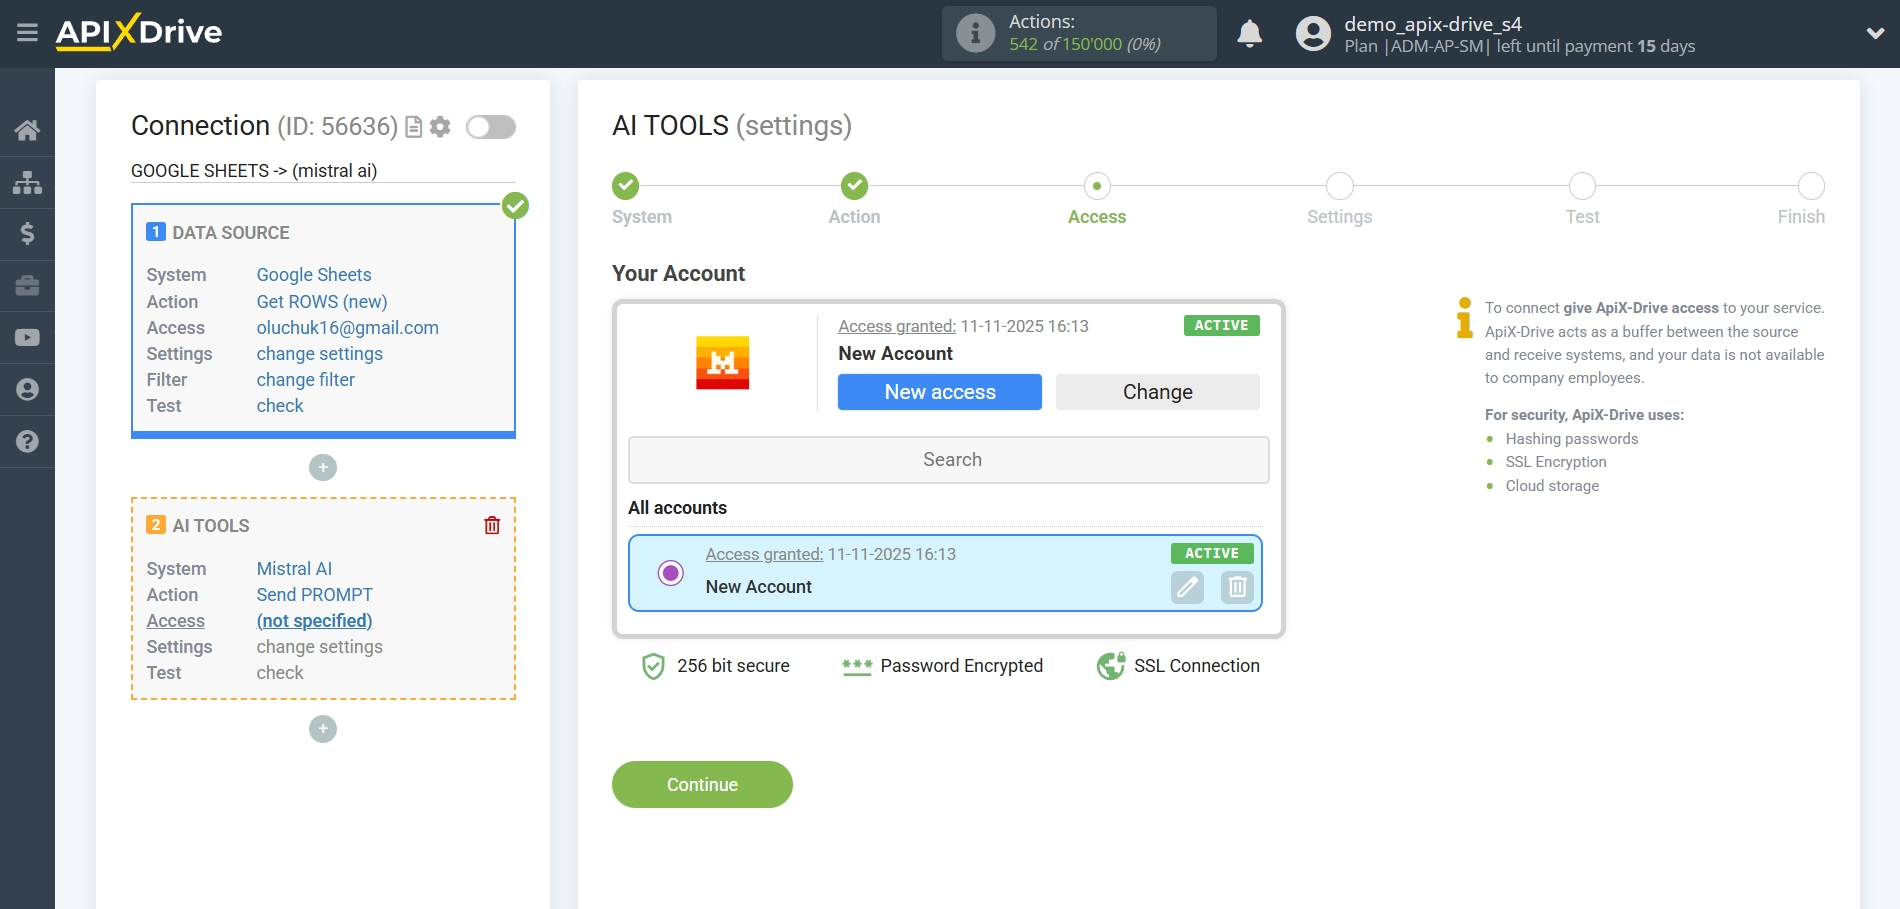
Click "Save" and select your connected Mistral AI account from the drop-down list.
When the connected account appears in the list of "active accounts", select it for further work.
Attention! If your account is in the list of "inactive accounts" check your access to this account!
Now you need to select the Mistral AI Model. The choice of model depends on your task.
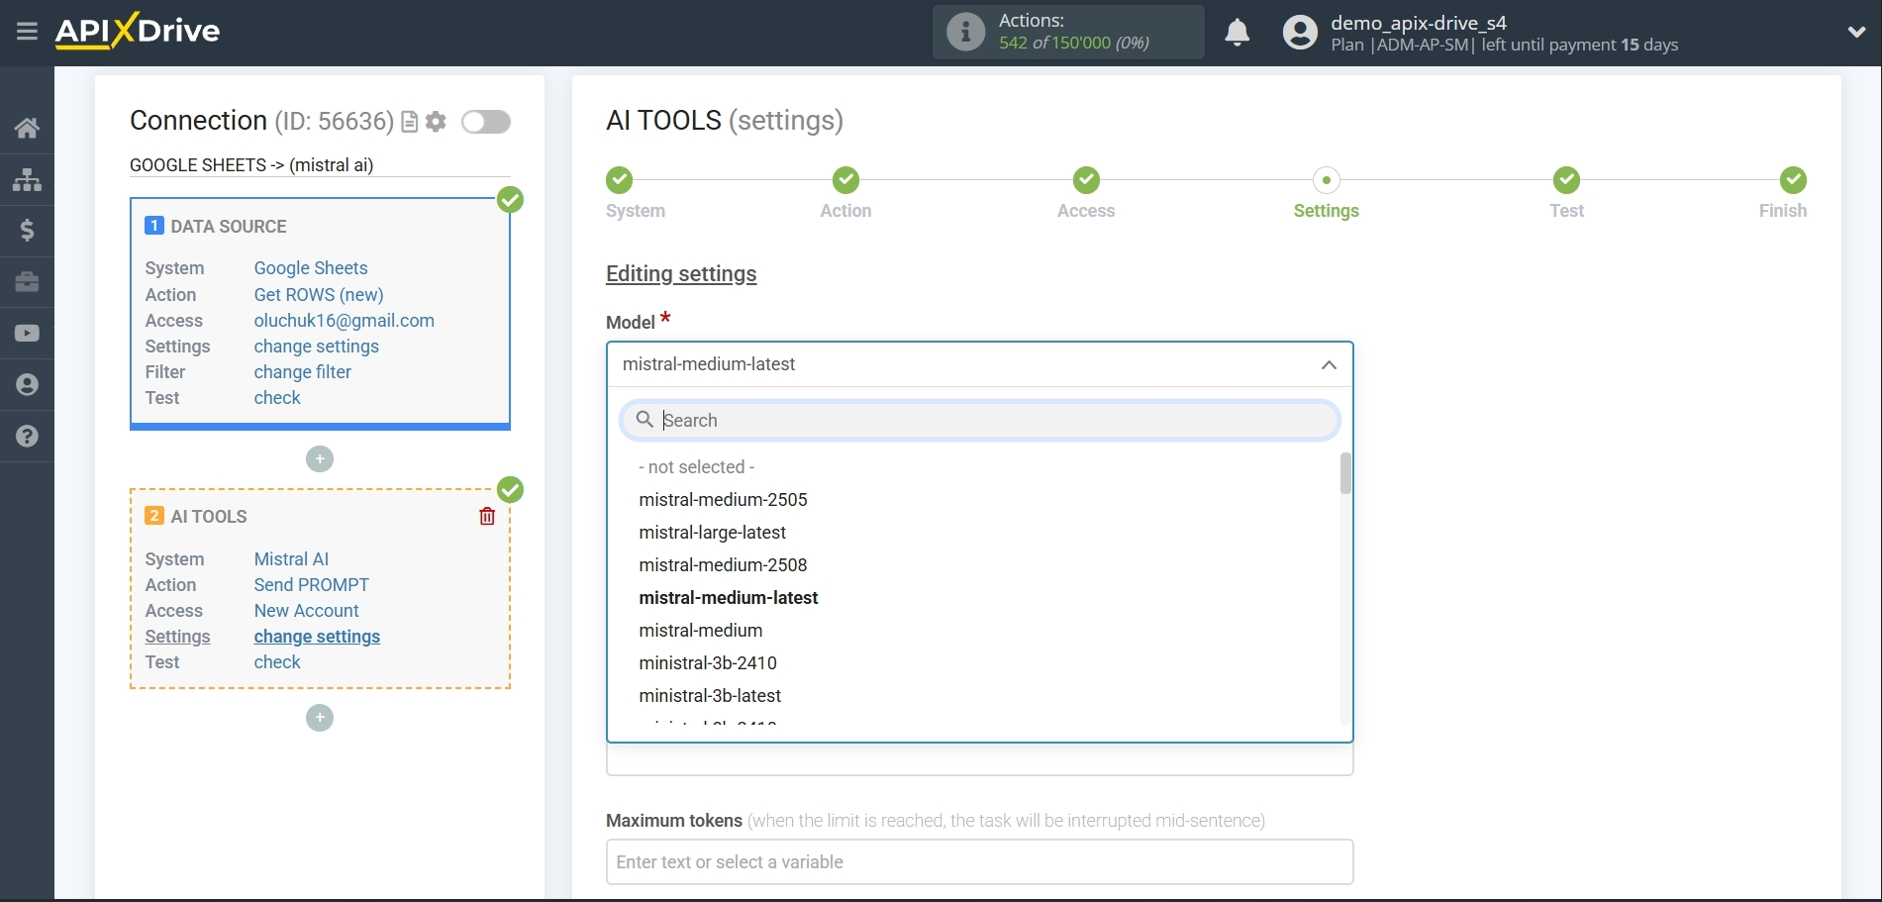
mistral-large-latest - the most powerful and advanced Mistral AI model. Optimized for complex tasks: deep text analysis, creating high-quality content, working with large amounts of data. Suitable for professional and corporate tasks.
mistral-medium-latest - a balanced model: a good ratio of performance and resources. Suitable for a wide range of tasks - from chatbots to analytics. Often used in business solutions.
ministral-3b-latest - a compact model with 3 billion parameters. Fast and economical, ideal for devices with limited resources (mobile applications, IoT). Suitable for simple tasks: answering questions, generating short texts.
mistral-tiny - the lightest model. Minimal resource requirements, but limited capabilities. Used for testing or embedding in simple applications.
open-mistral-nemo-2407 - an experimental model developed in collaboration with Nemo. Specializes in multimodal tasks (text and other data). Suitable for research.
pixtral-large-latest – a multimodal model focused on working with images and text. Used for creating images, describing pictures, creating visual content.
devstral-small-2507 – a test model for developers. Optimized for rapid prototyping and experiments. Not intended for a production environment.
pixtral-12b-latest – a multimodal model with 12 billion parameters. Combines text and image generation. Suitable for creative tasks design, advertising, data visualization.
mistral-small-2506 – a compact model for everyday tasks: chatbots, natural language processing, short text generation. Economical and fast.
magistral-medium-latest – an improved version of mistral-medium. Optimized for working with large amounts of data and complex queries. Used in analytical systems.
magistral-medium-2506 – previous version of magistral-medium. Less relevant, but stable for tasks that require reliability.
voxtral-mini-latest – specialized model for working with voice data and language. Suitable for transcription, voice assistants, audio analysis.
mistral-ocr-latest – model for optical character recognition (OCR). Converts text images to editable format. Used for scanning documents, recognizing text in pictures.
Answering Mistral AI Knowledge Base Questions and Generating Text
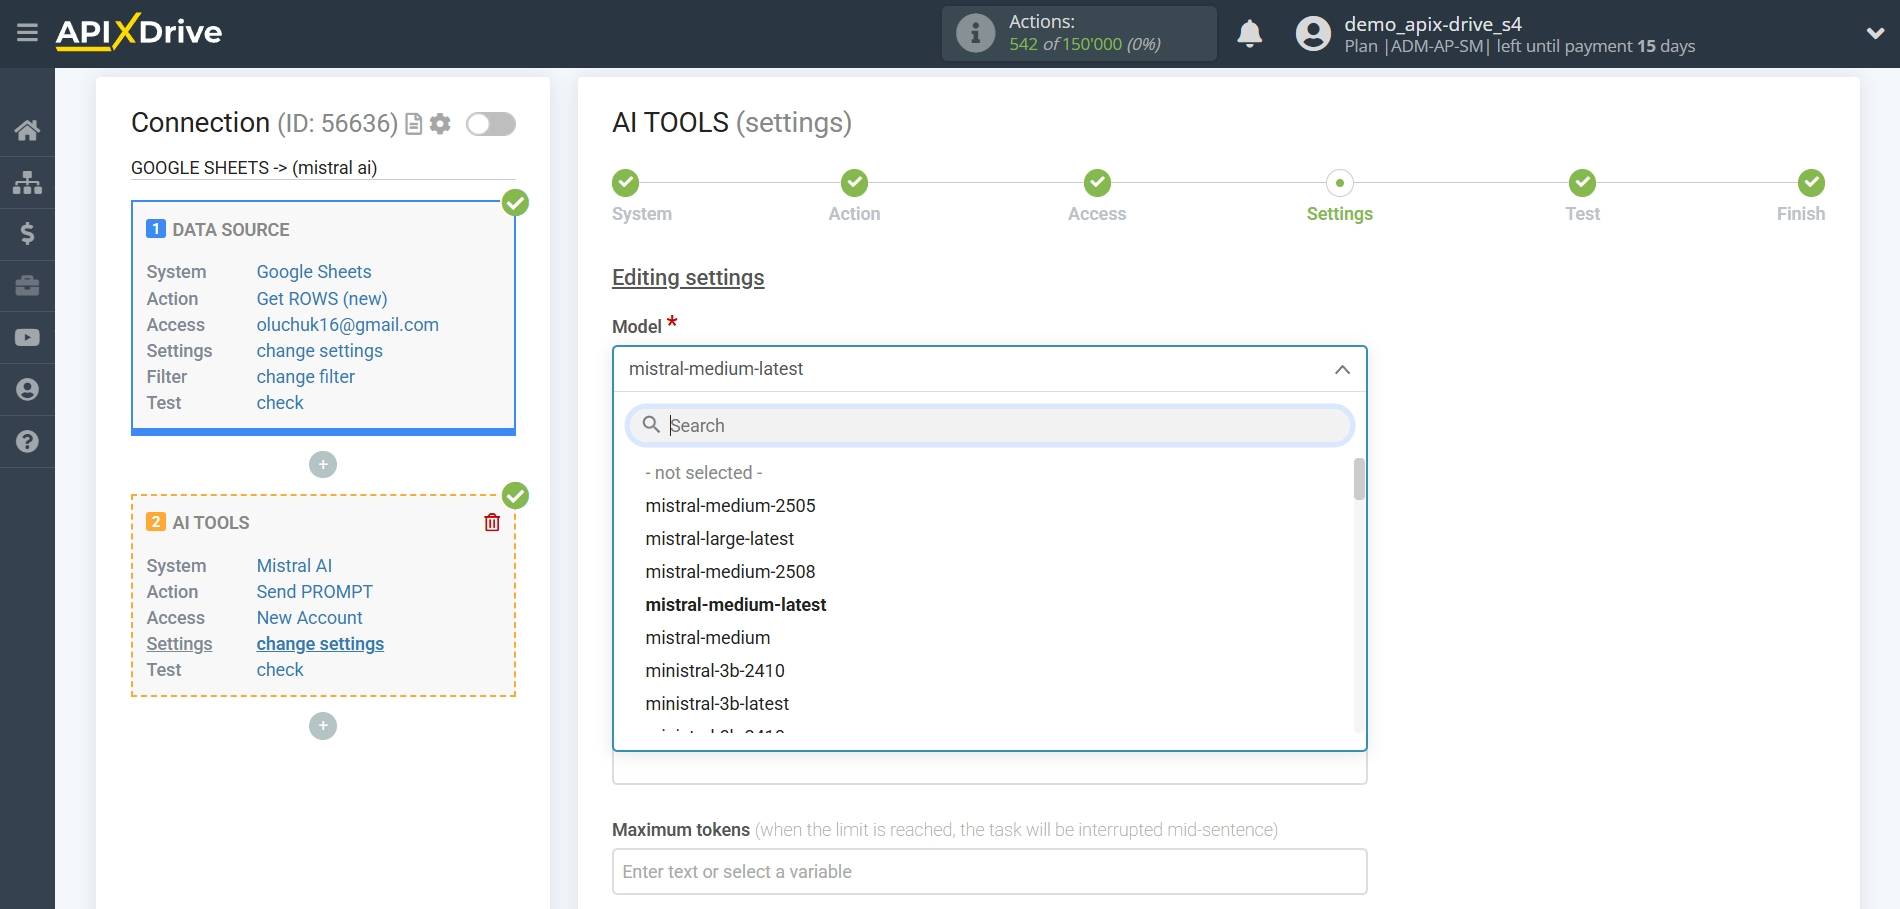
For example, choose "mistral-medium-latest".
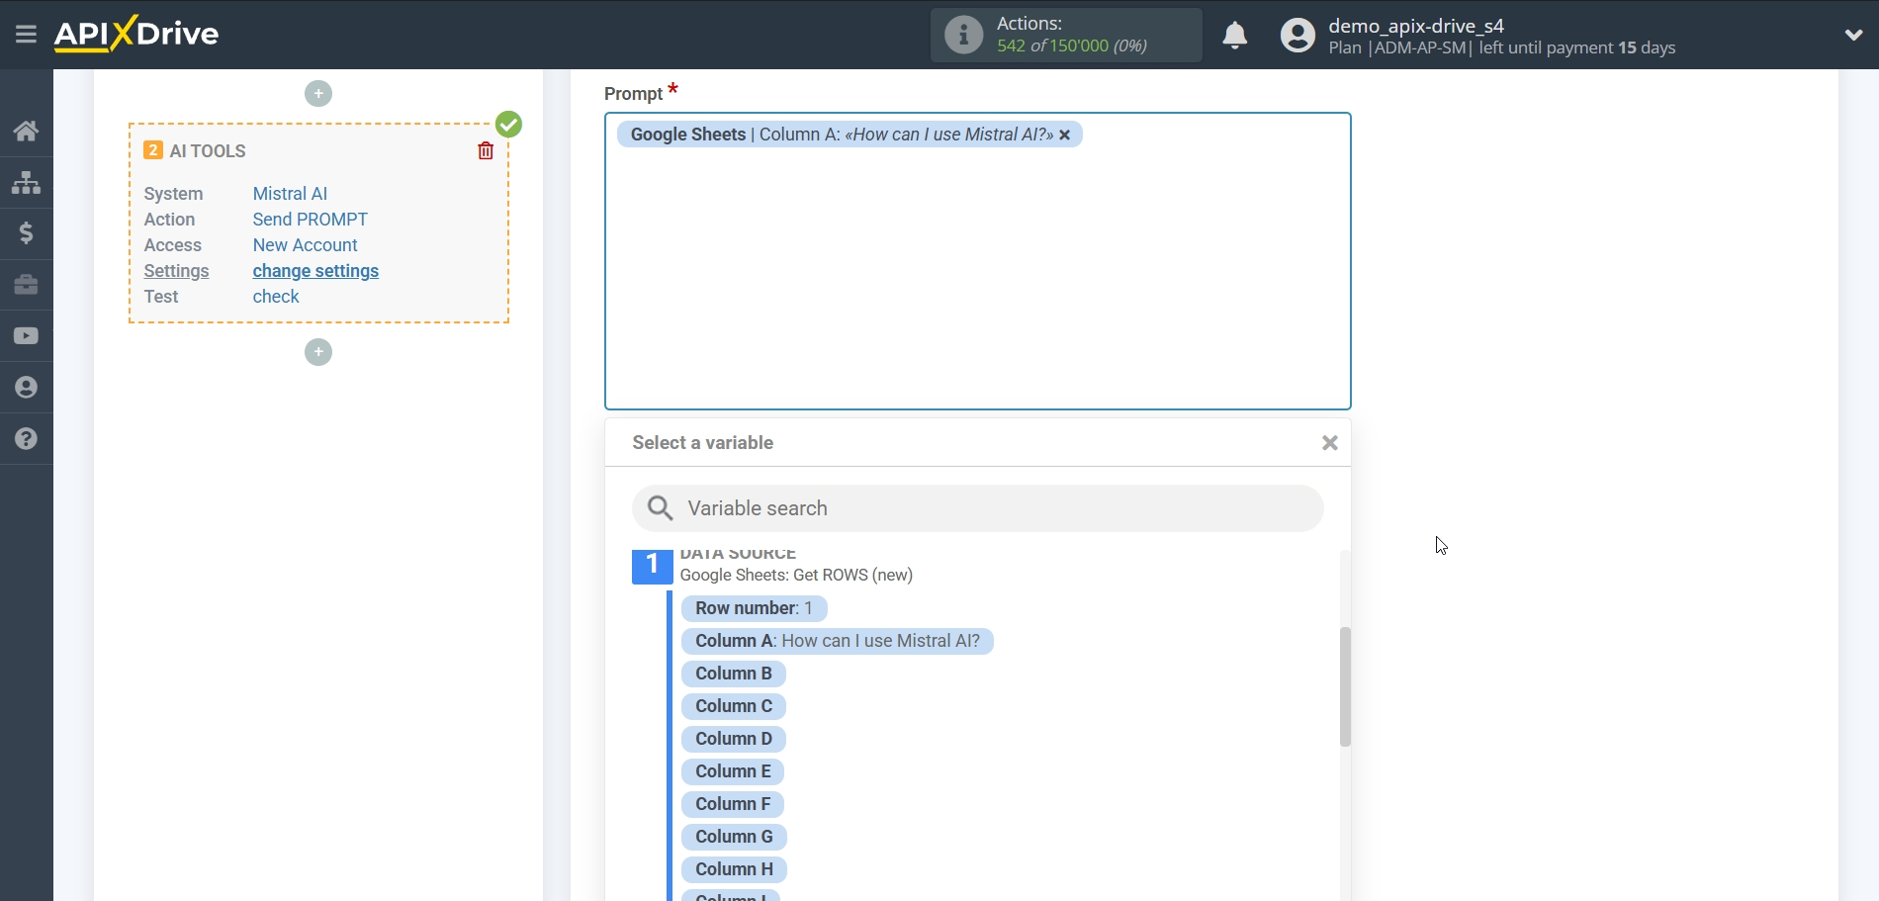
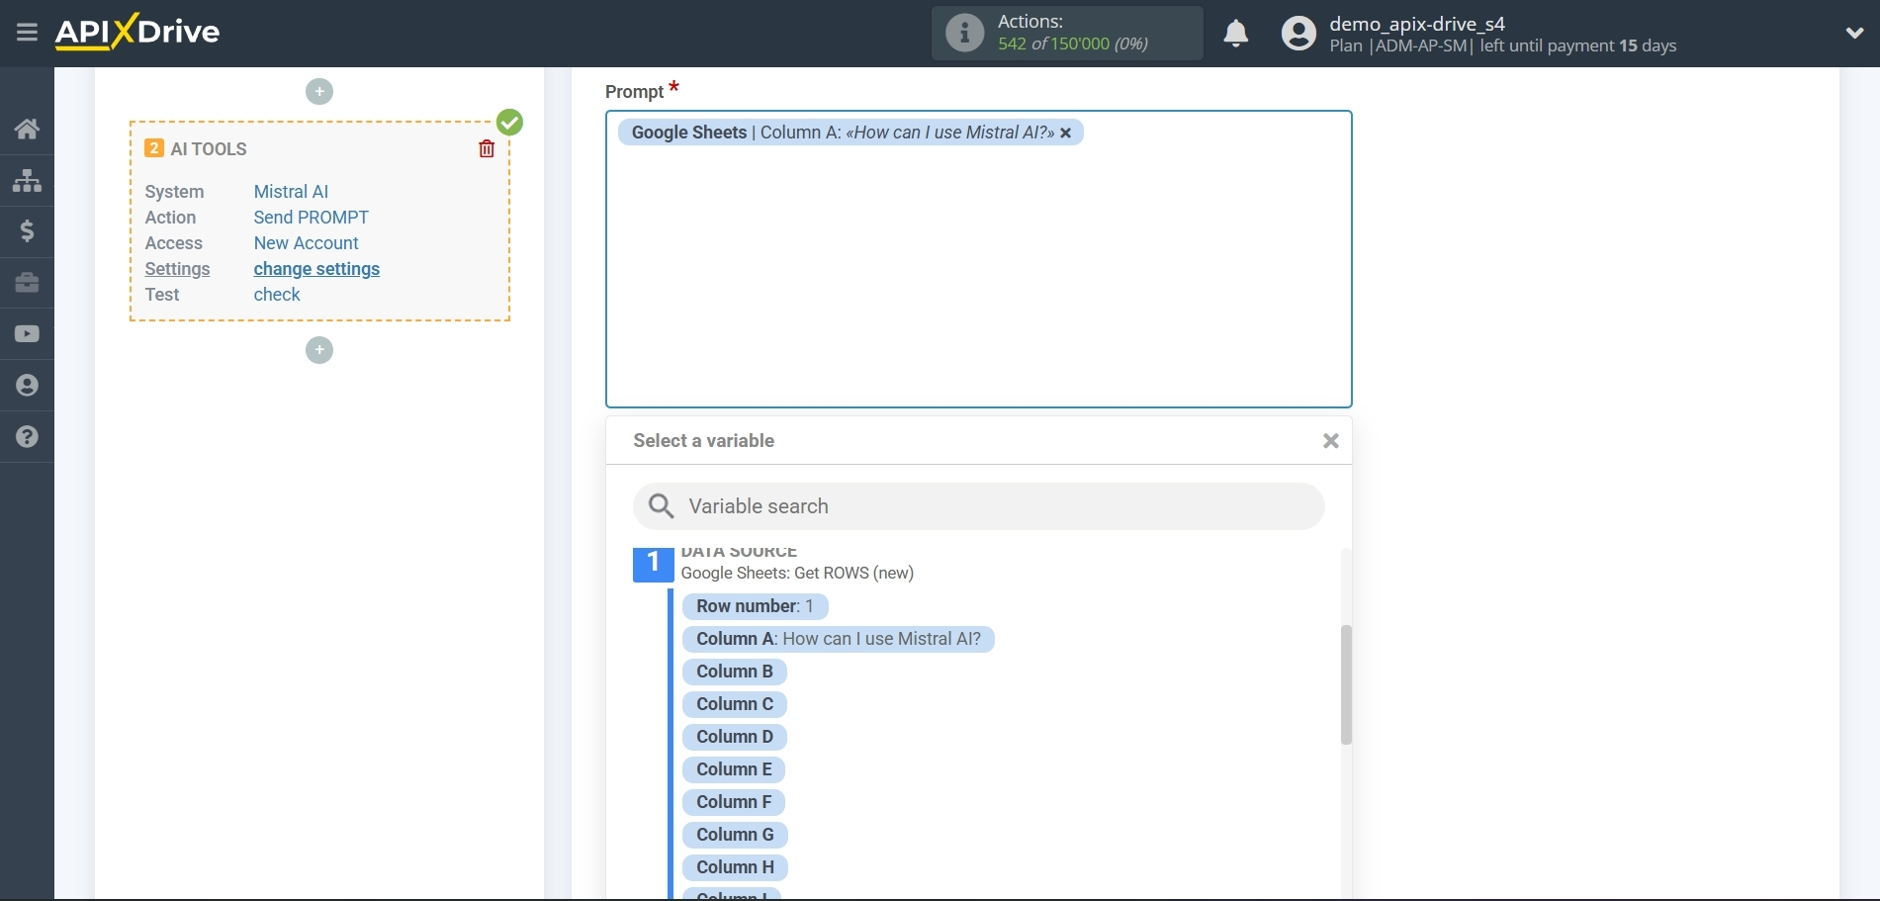
- Prompt - this field must be assigned in some variable table Data sources data for which the query will be made on the Mistral AI server, in our case it is column "A".
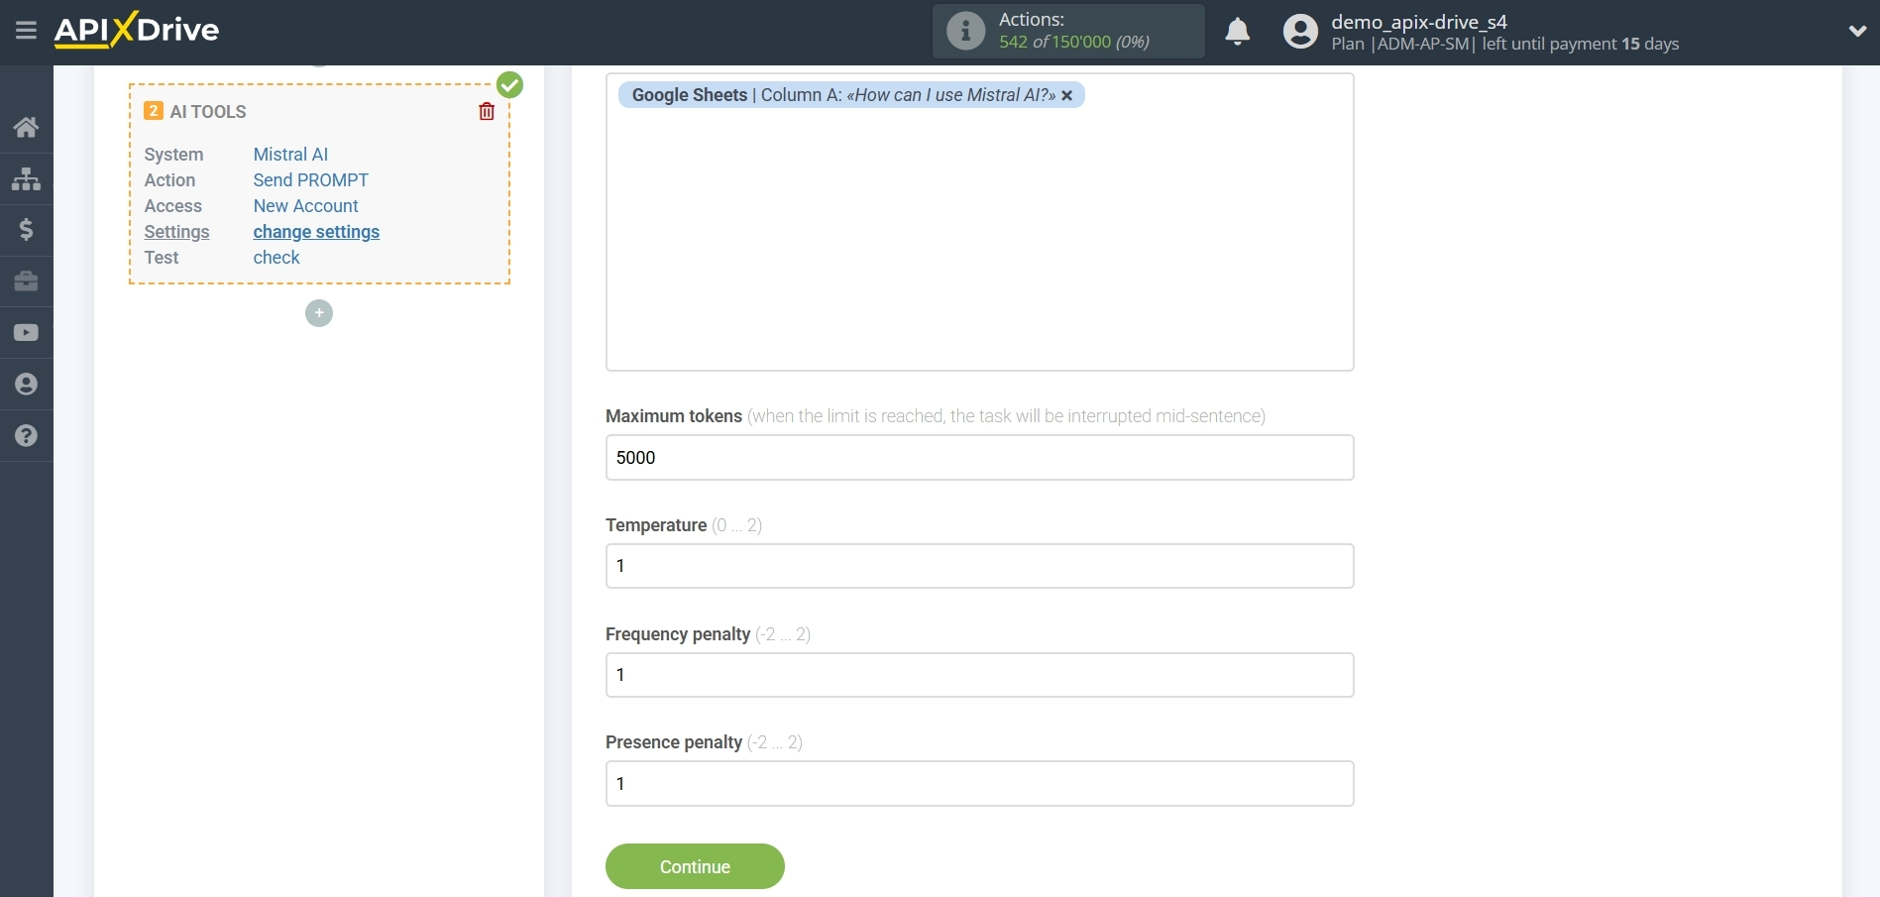
- Maximum tokens - this is the number of words up to which the generation in Mistral AI will continue. 1000 tokens - 750 words
- Temperature - can take values from 0 to 2. Higher values, such as 0.8, will make the conclusion more random, and lower values, such as 0.2, will make it more focused and deterministic.
- Frequency penalty - this is a parameter that controls how much the model avoids repeating words or phrases. The value is set from -2 to 2: at a higher value (1-2) the model repeats less, at a lower value (0 or negative) - it can duplicate phrases more often.
- Presence penalty (repetition penalty) is a parameter that reduces the possibility of reusing already mentioned words in text generation. The higher its value, the more actively the model avoids repetitions, making the text more diverse. The value is set from -2 to 2: at a higher value (1-2) it reduces the chance of repetitions, the text becomes more diverse, at a lower value (0 or negative) it increases the chance of repetitions, the text becomes more monotonous.
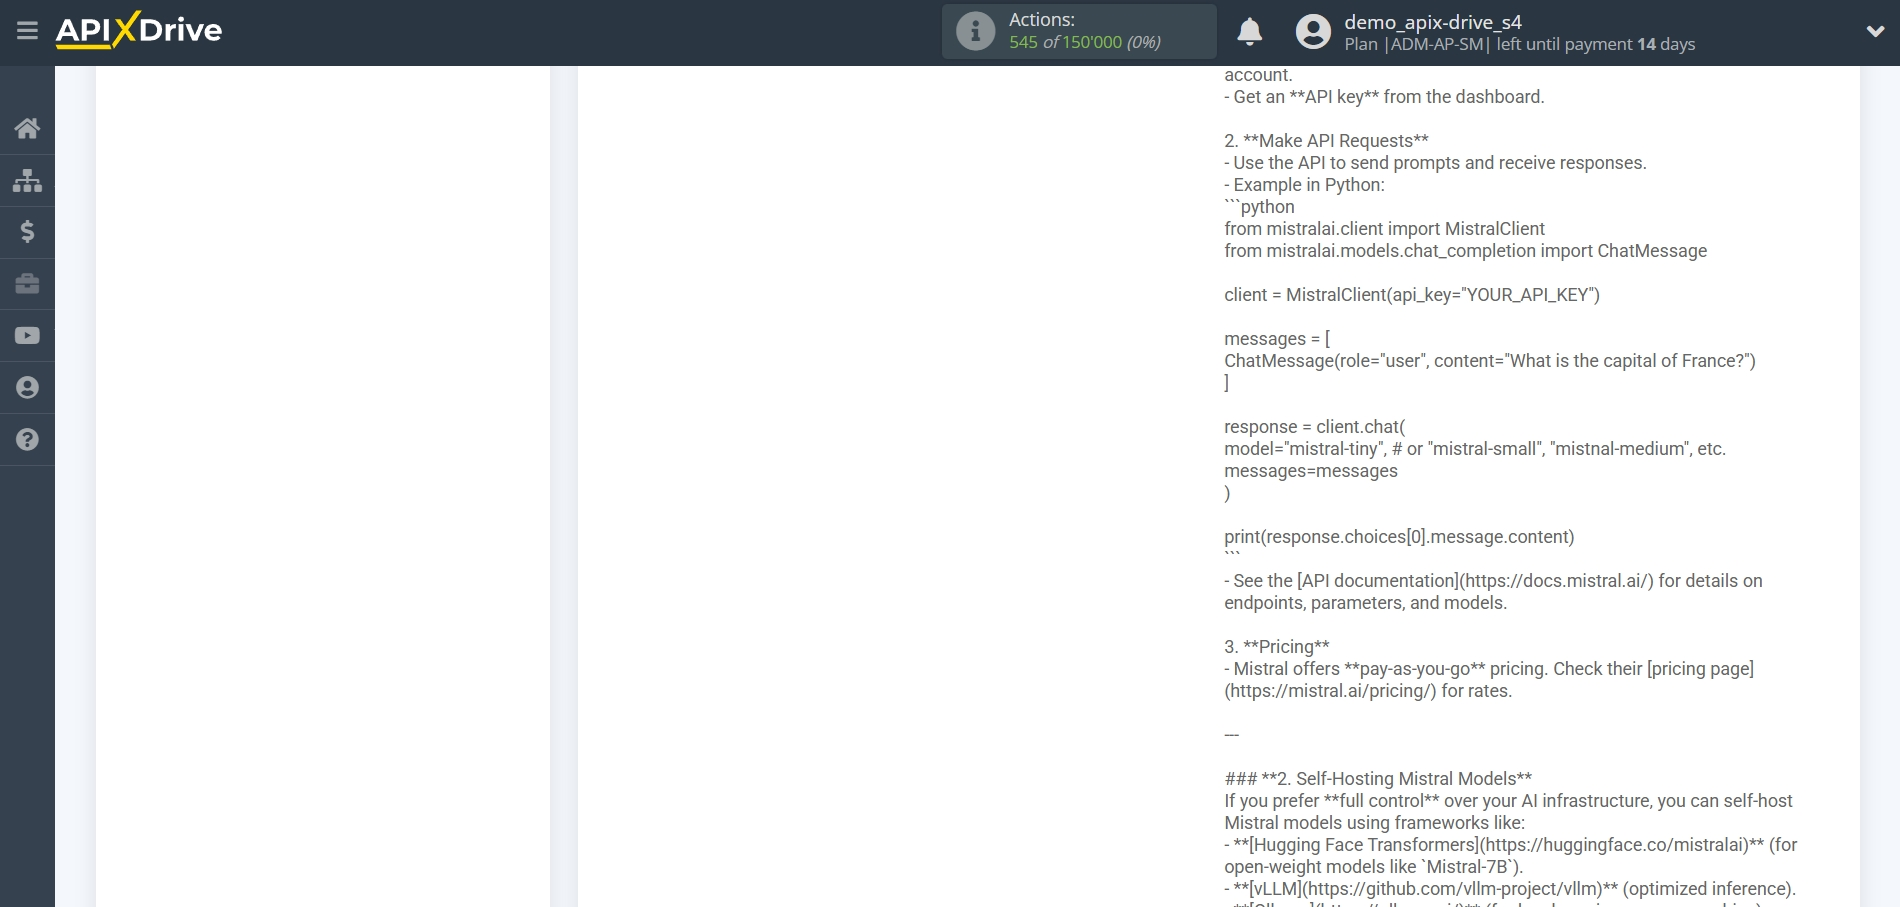
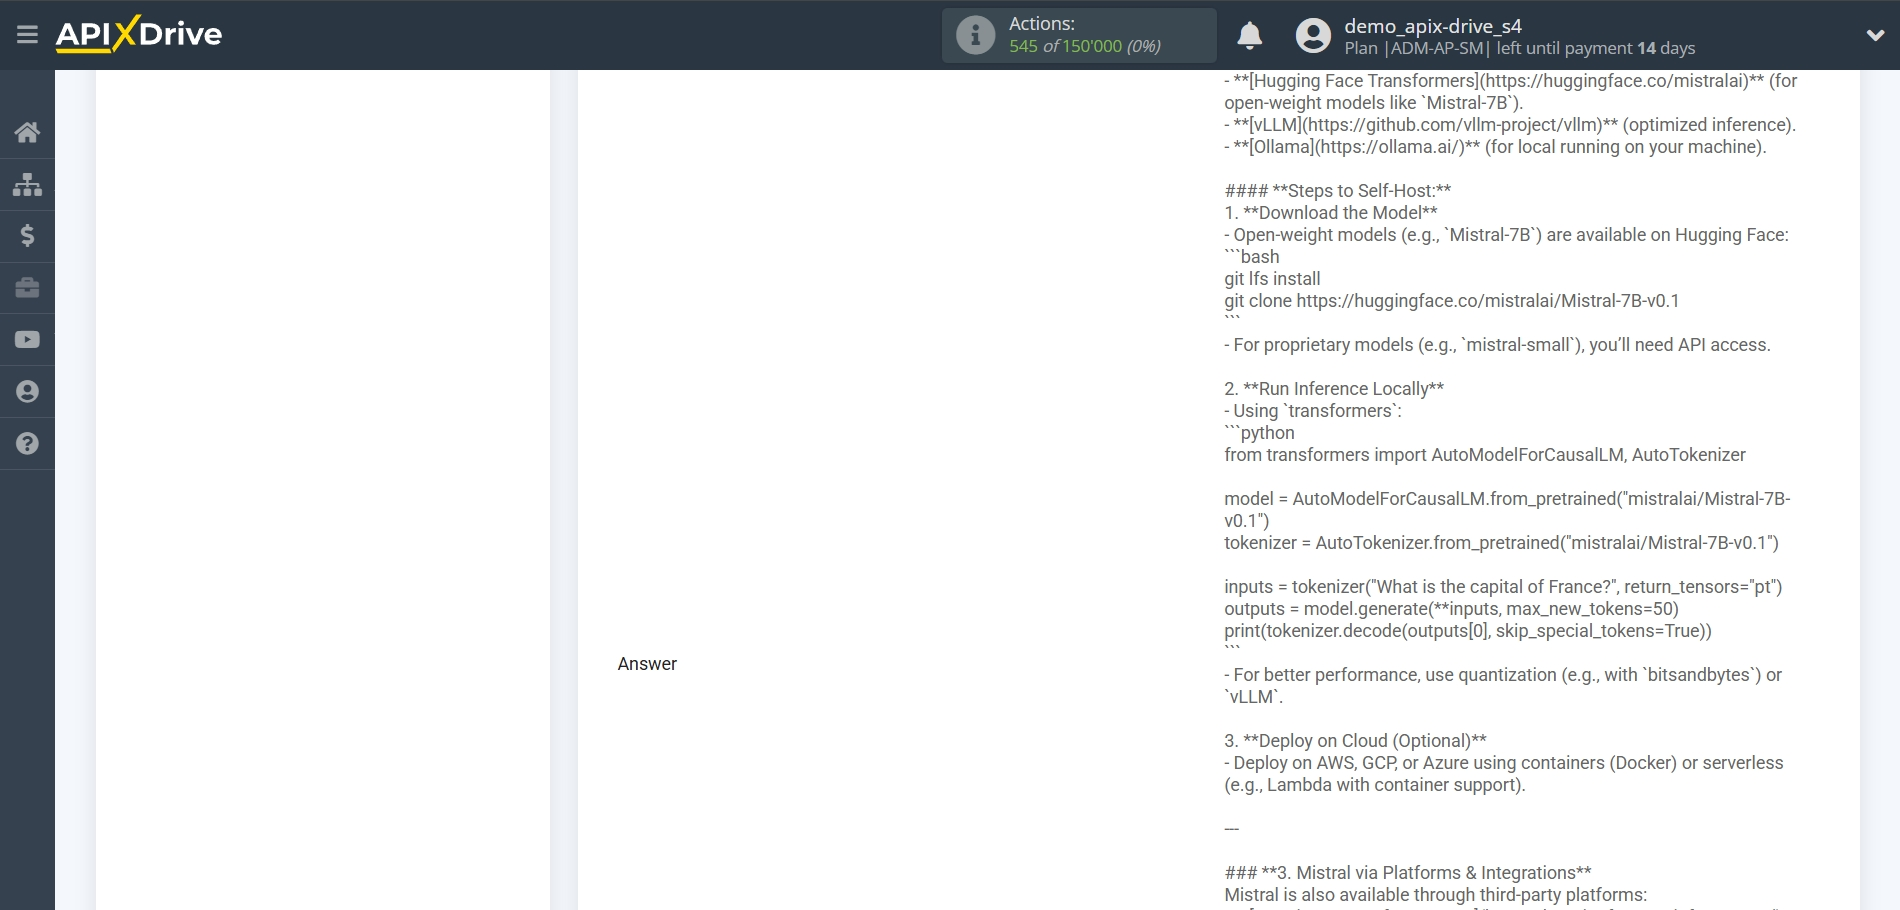
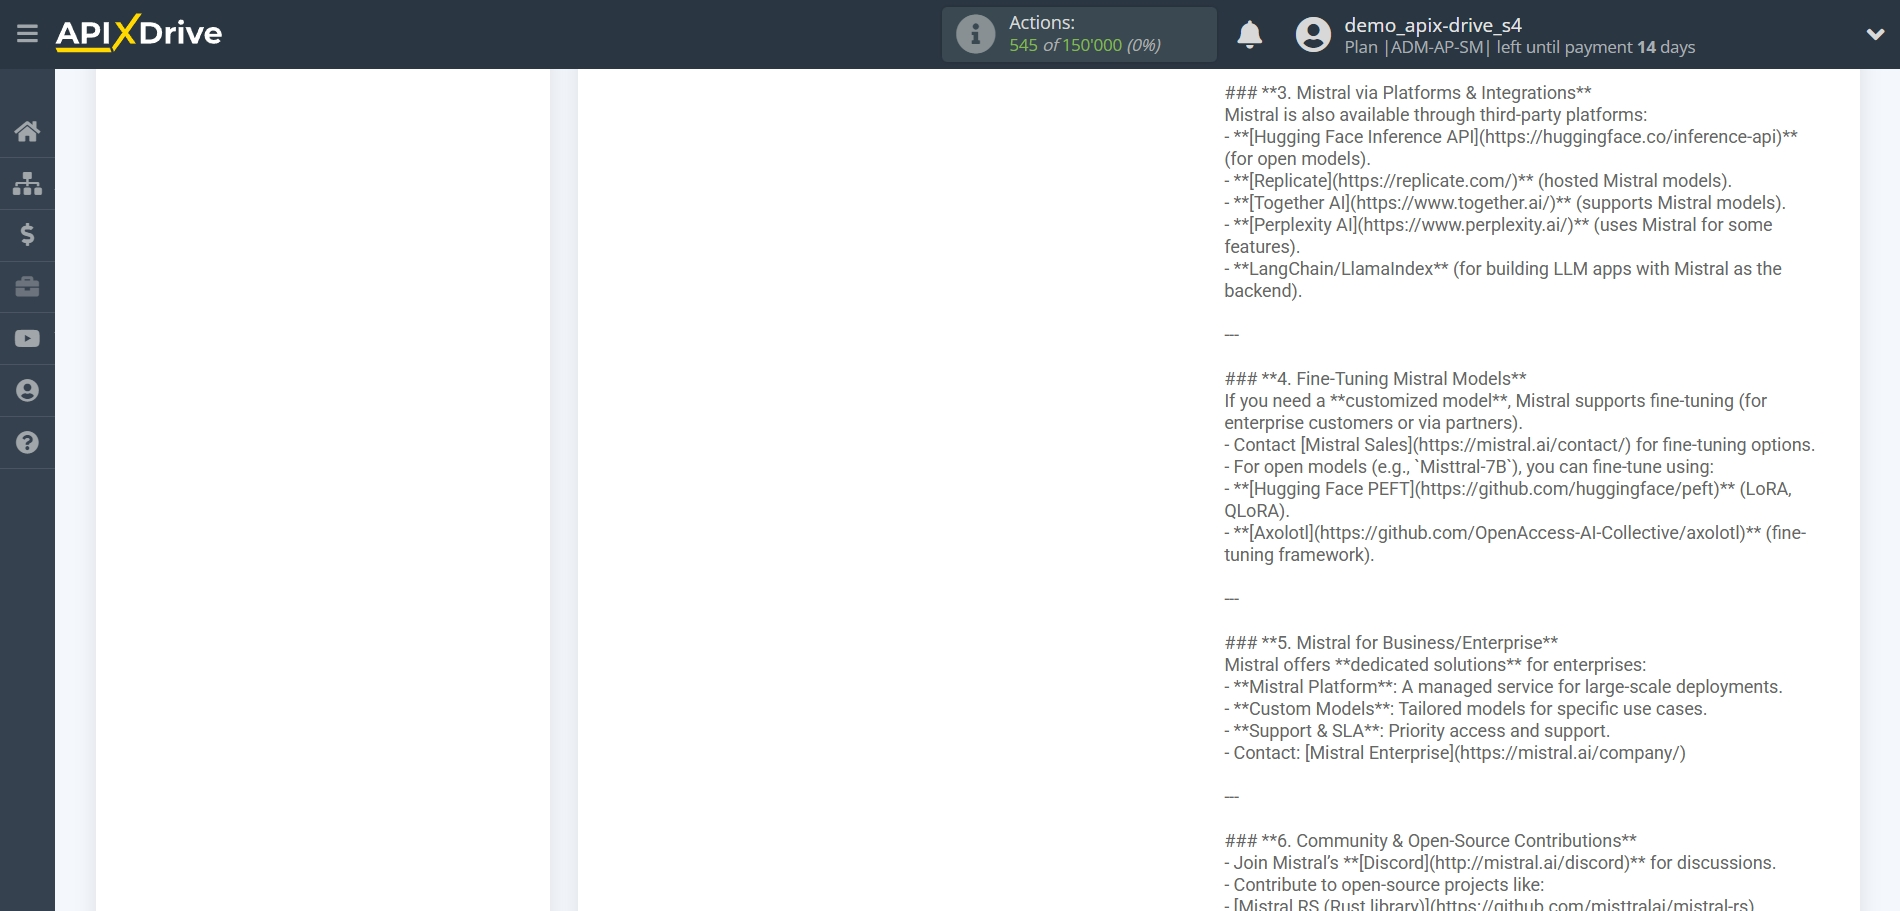
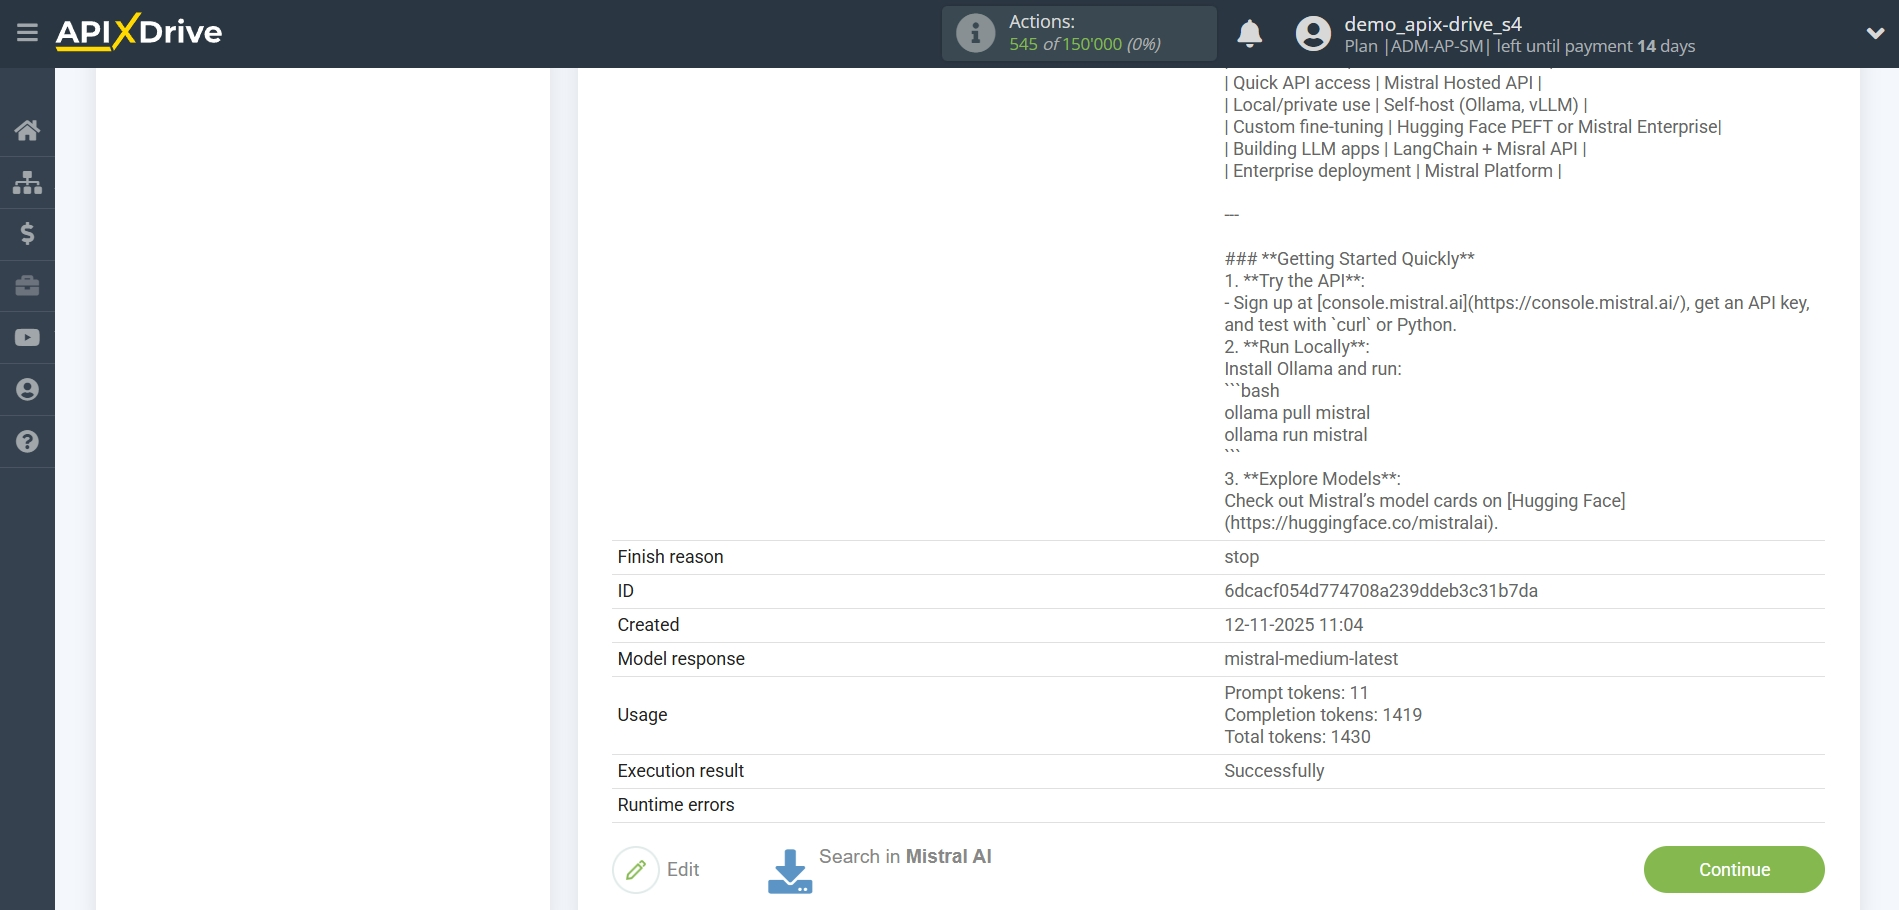
Now you see test data for your request. You can transfer this data to your receiving table.
If the test data does not appear automatically, click "Search Mistral AI".
If you are not satisfied with something, click "Edit", go back one step and change the search field settings.
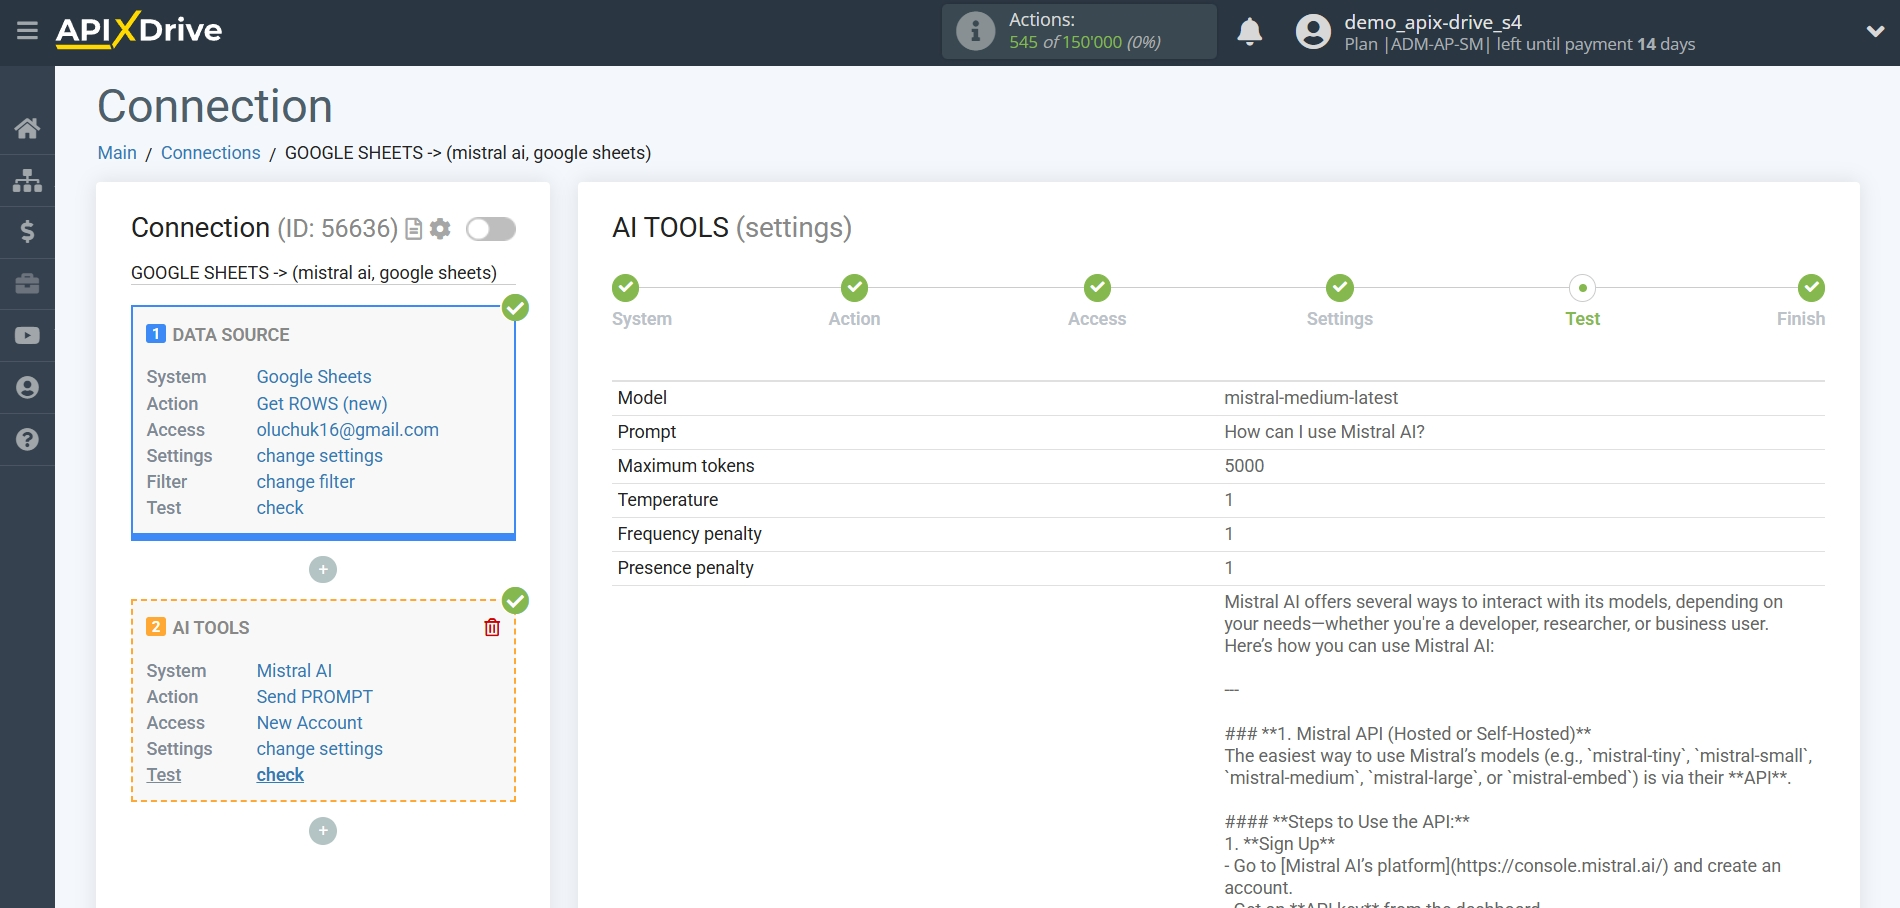
This completes the setup of Mistral AI data!
Now we can start setting up Google Sheets as a Data Destination system.
To do this, click "Add Data Destination".
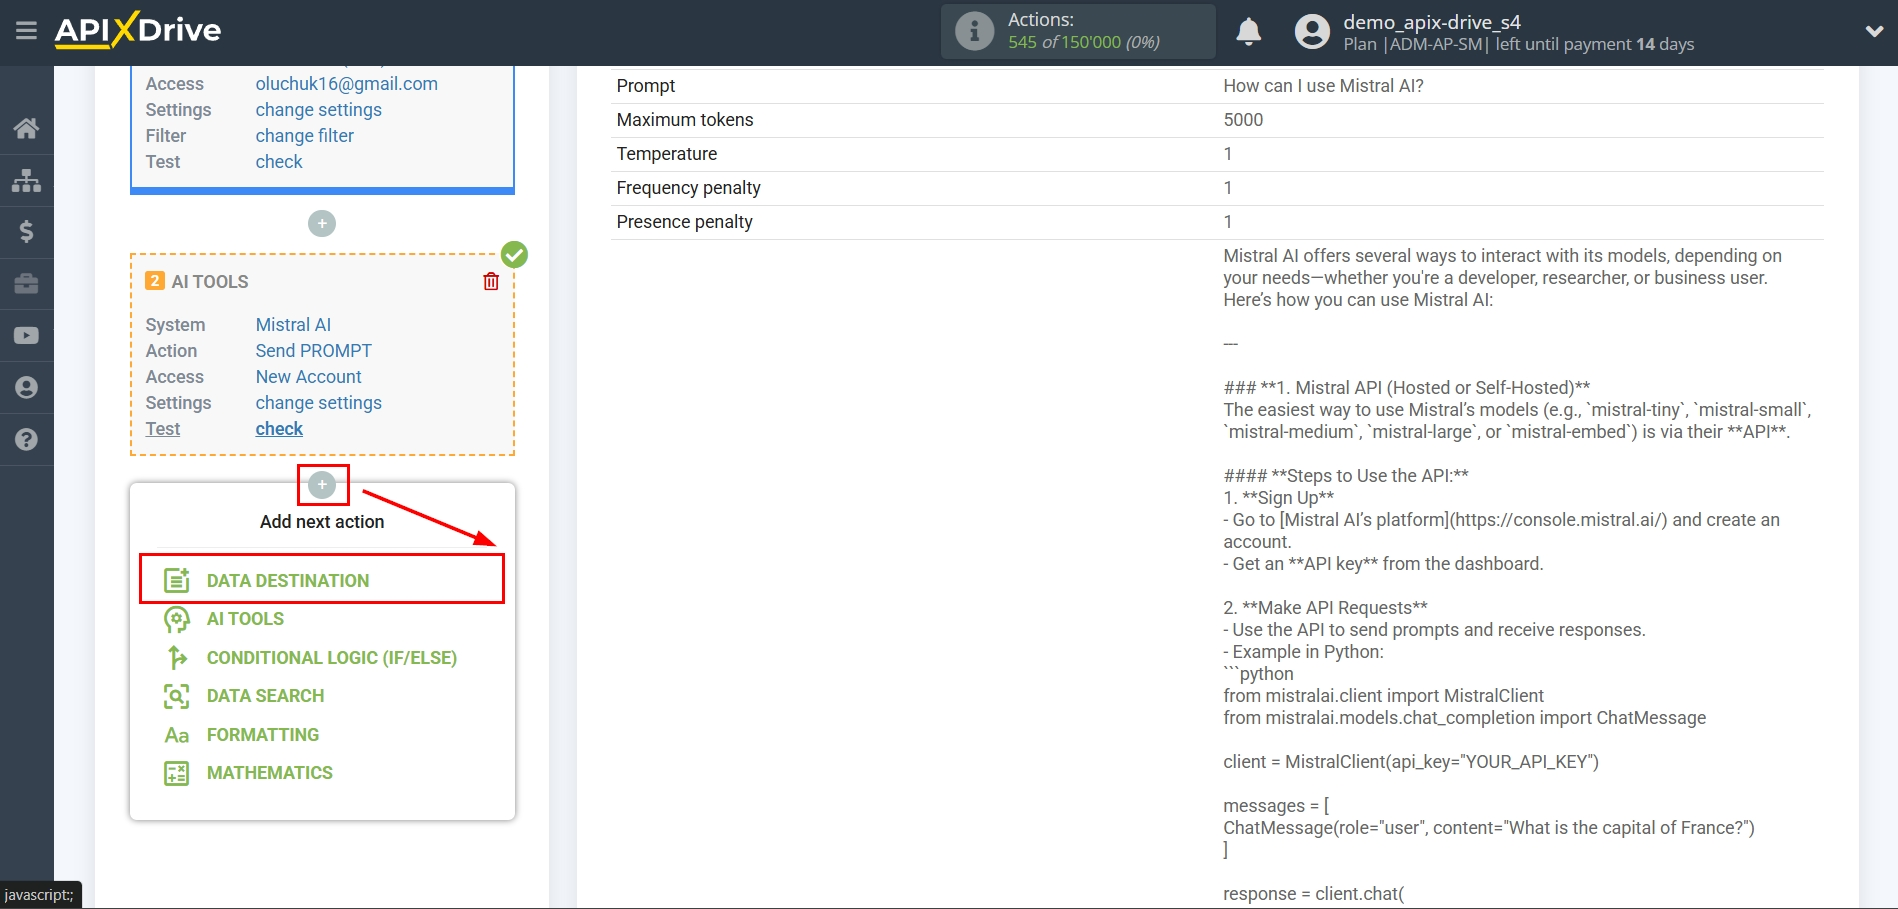
Setting up DATA DESTINATION: Google Sheets
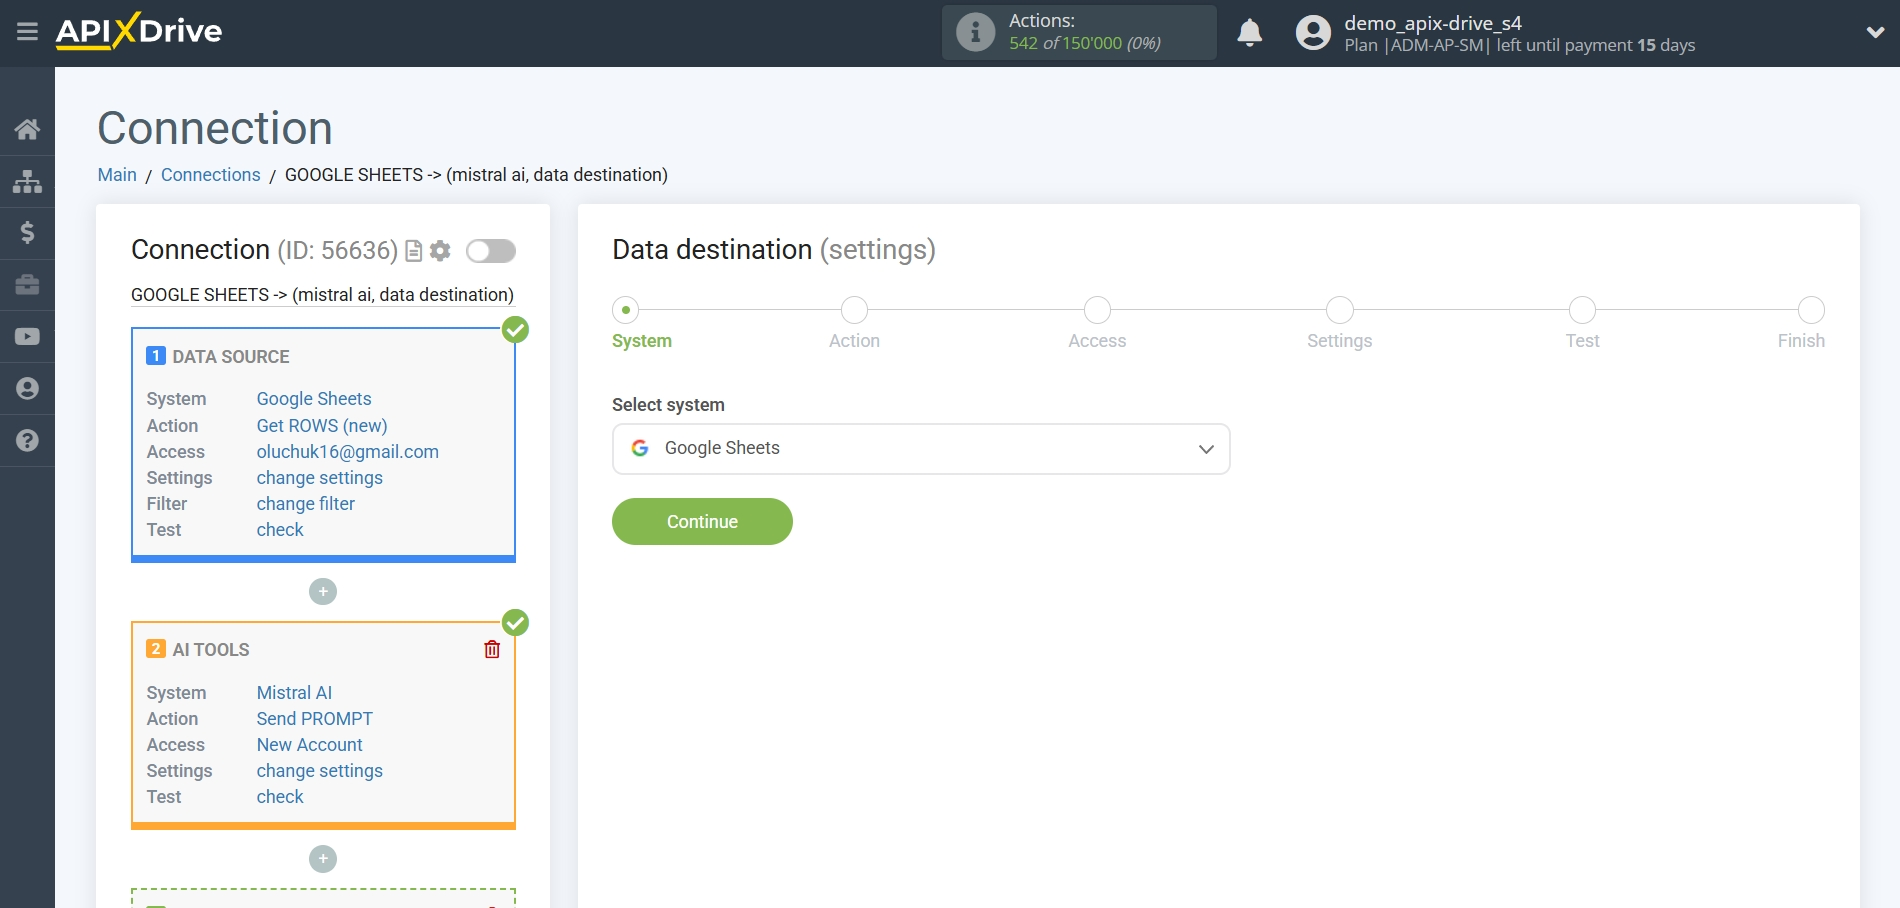
Select the system as the Data Destination. In this case, you need to specify Google Sheets.
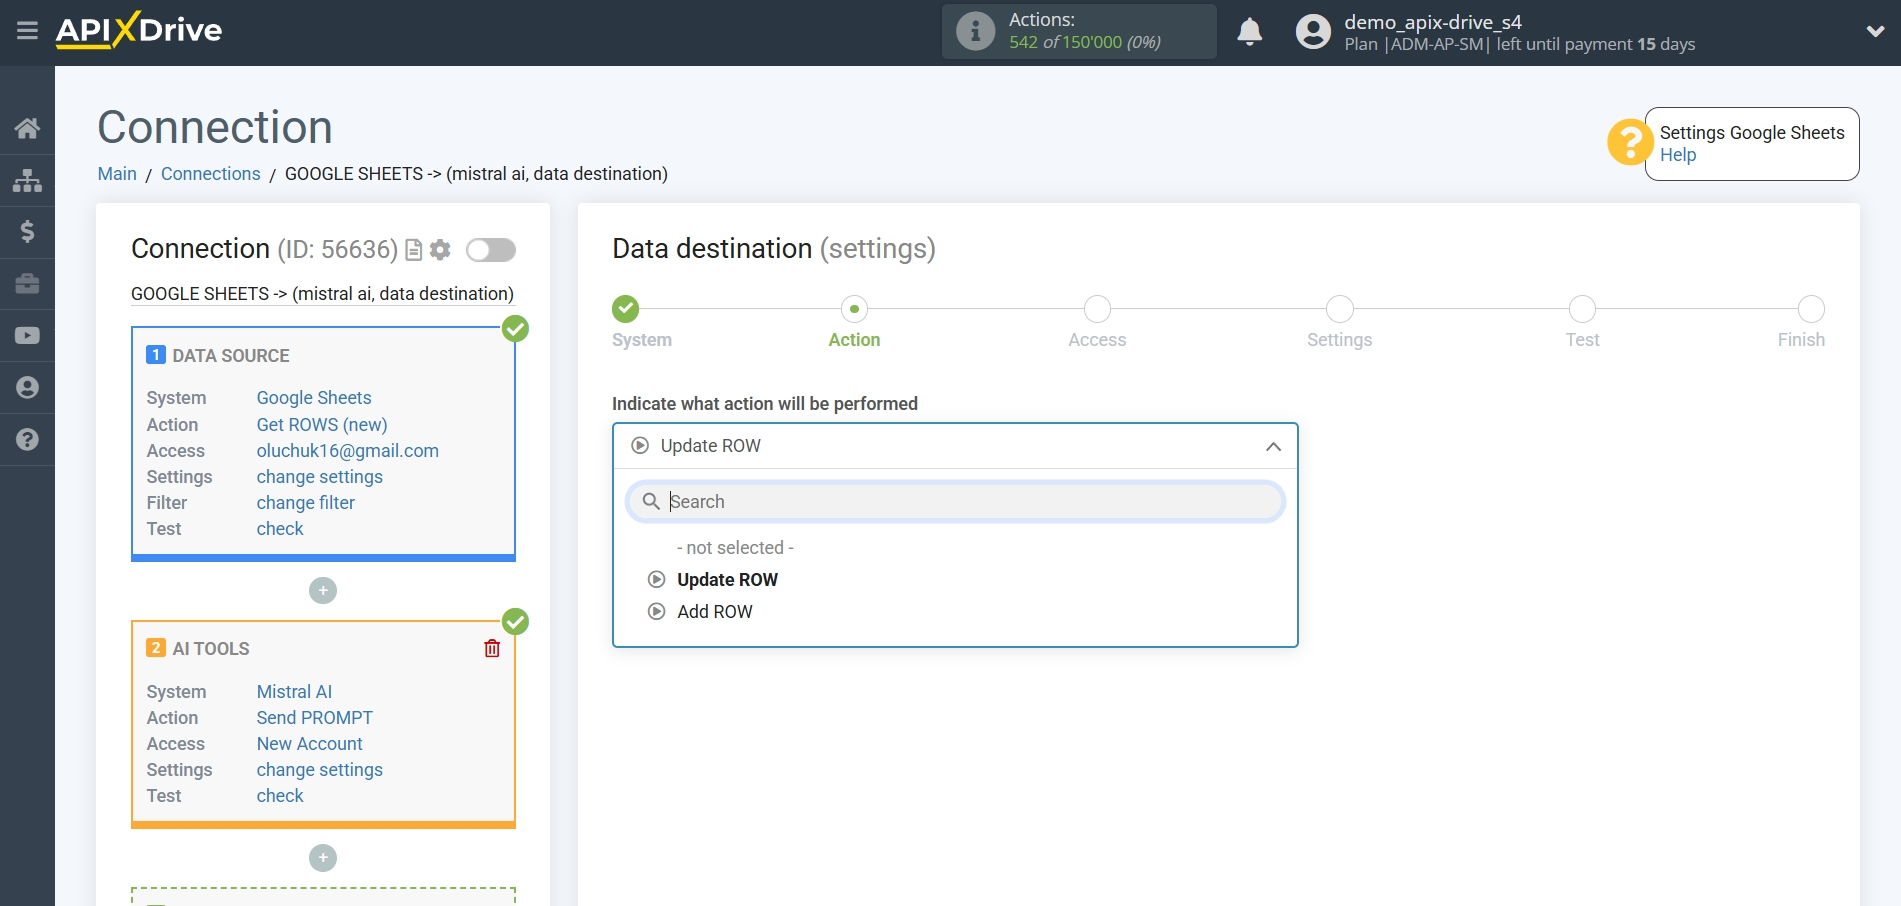
Next, you need to specify the action "Update ROW".
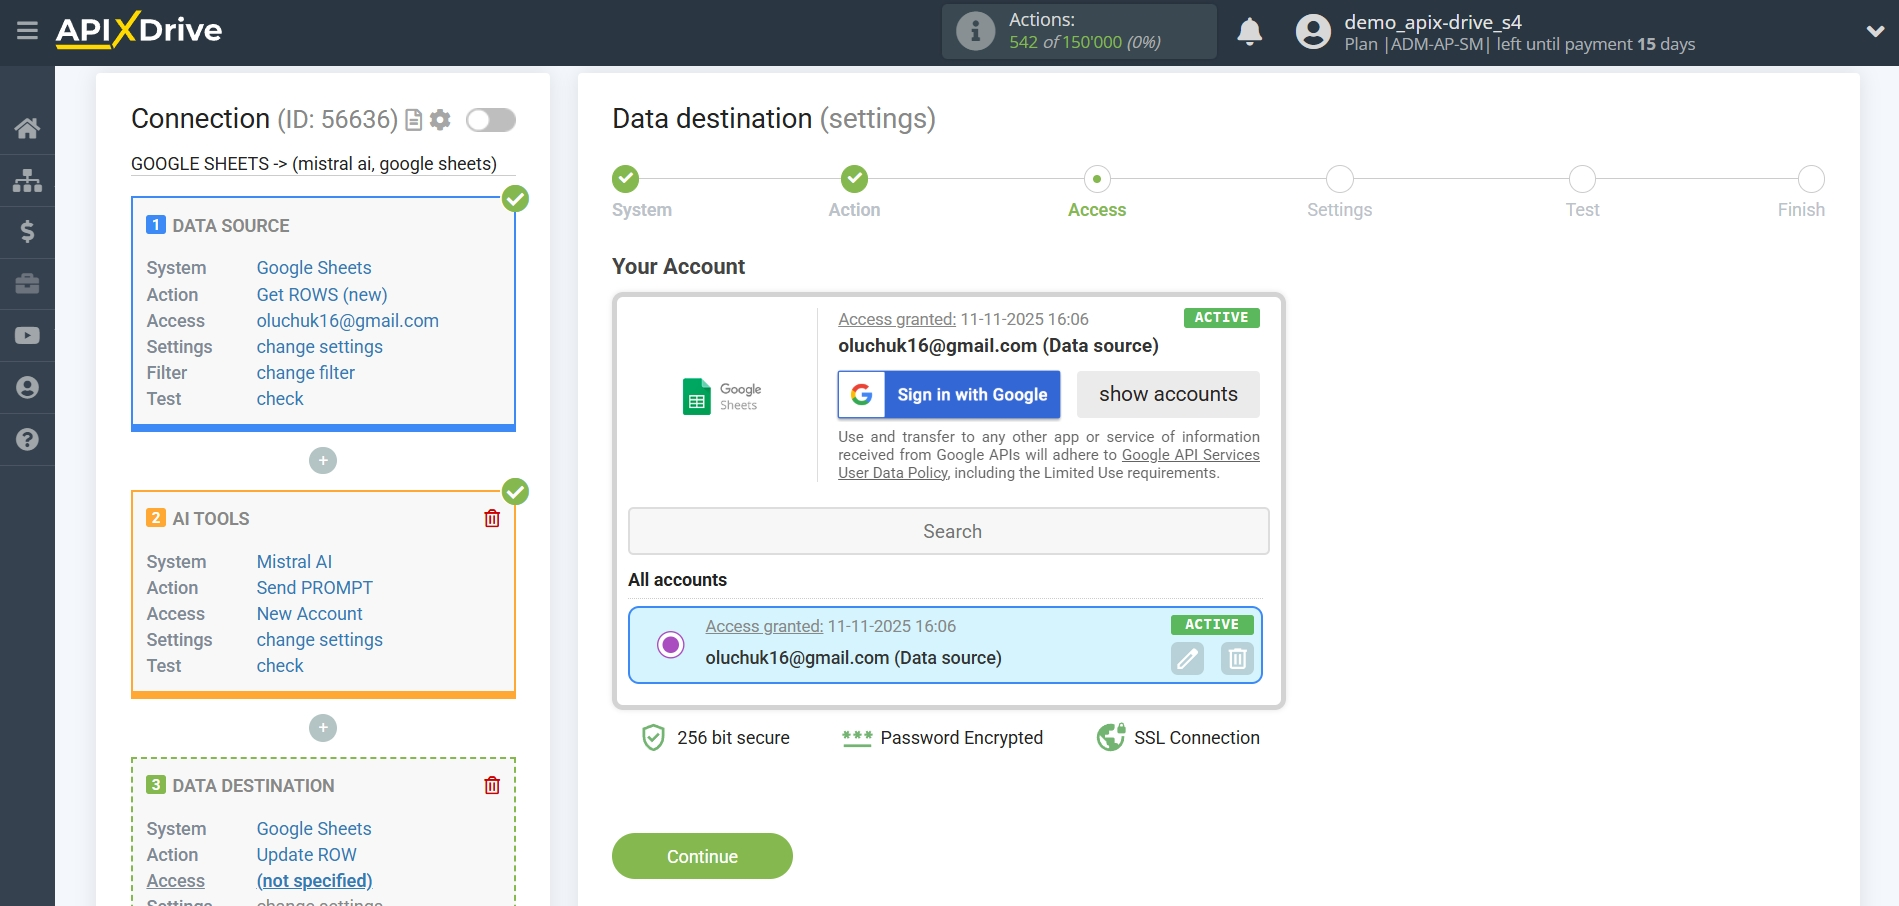
The next step is to select the Google Sheets account to which the Mistral AI query result will be transferred. If this is the same account, then select it.
If you need to connect another login to the system, click "Connect account" and repeat the same steps, description when connecting Google Sheets as a Data Source.
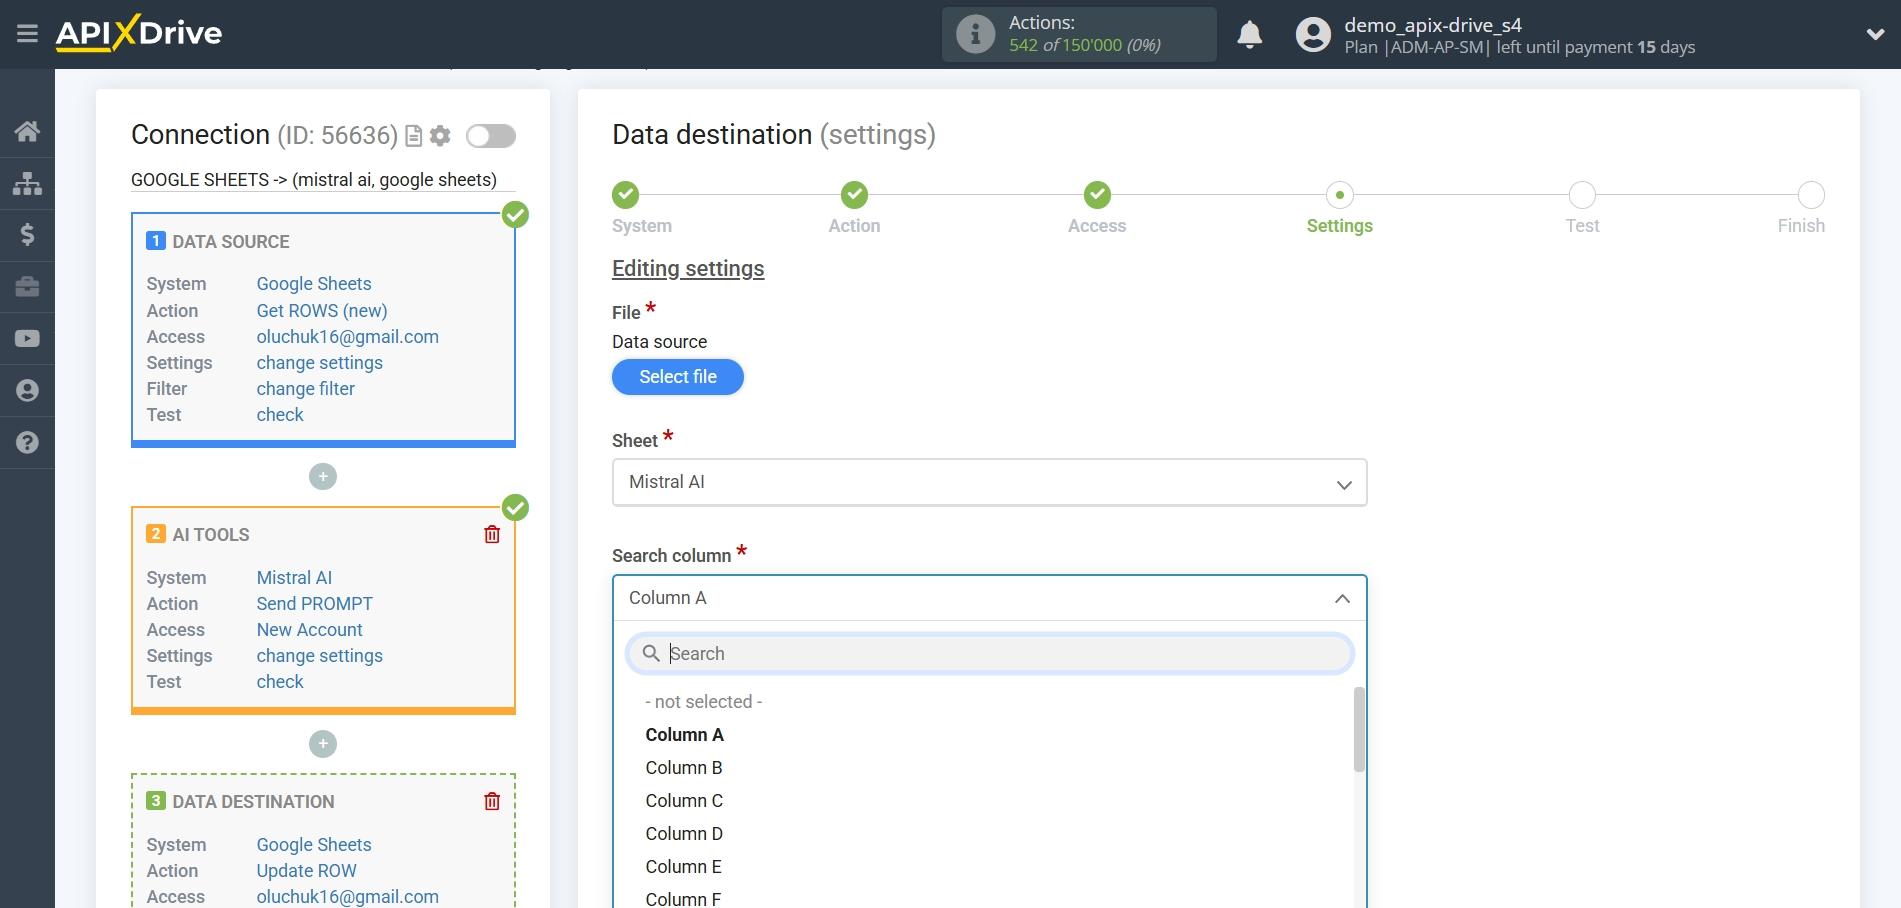
Now you need to select the File (Table) and Sheet in which the Mistral AI status will be updated.
In the "Search Column" field, you need to select the column by which the data search will occur. That is, where to look for data in the table.
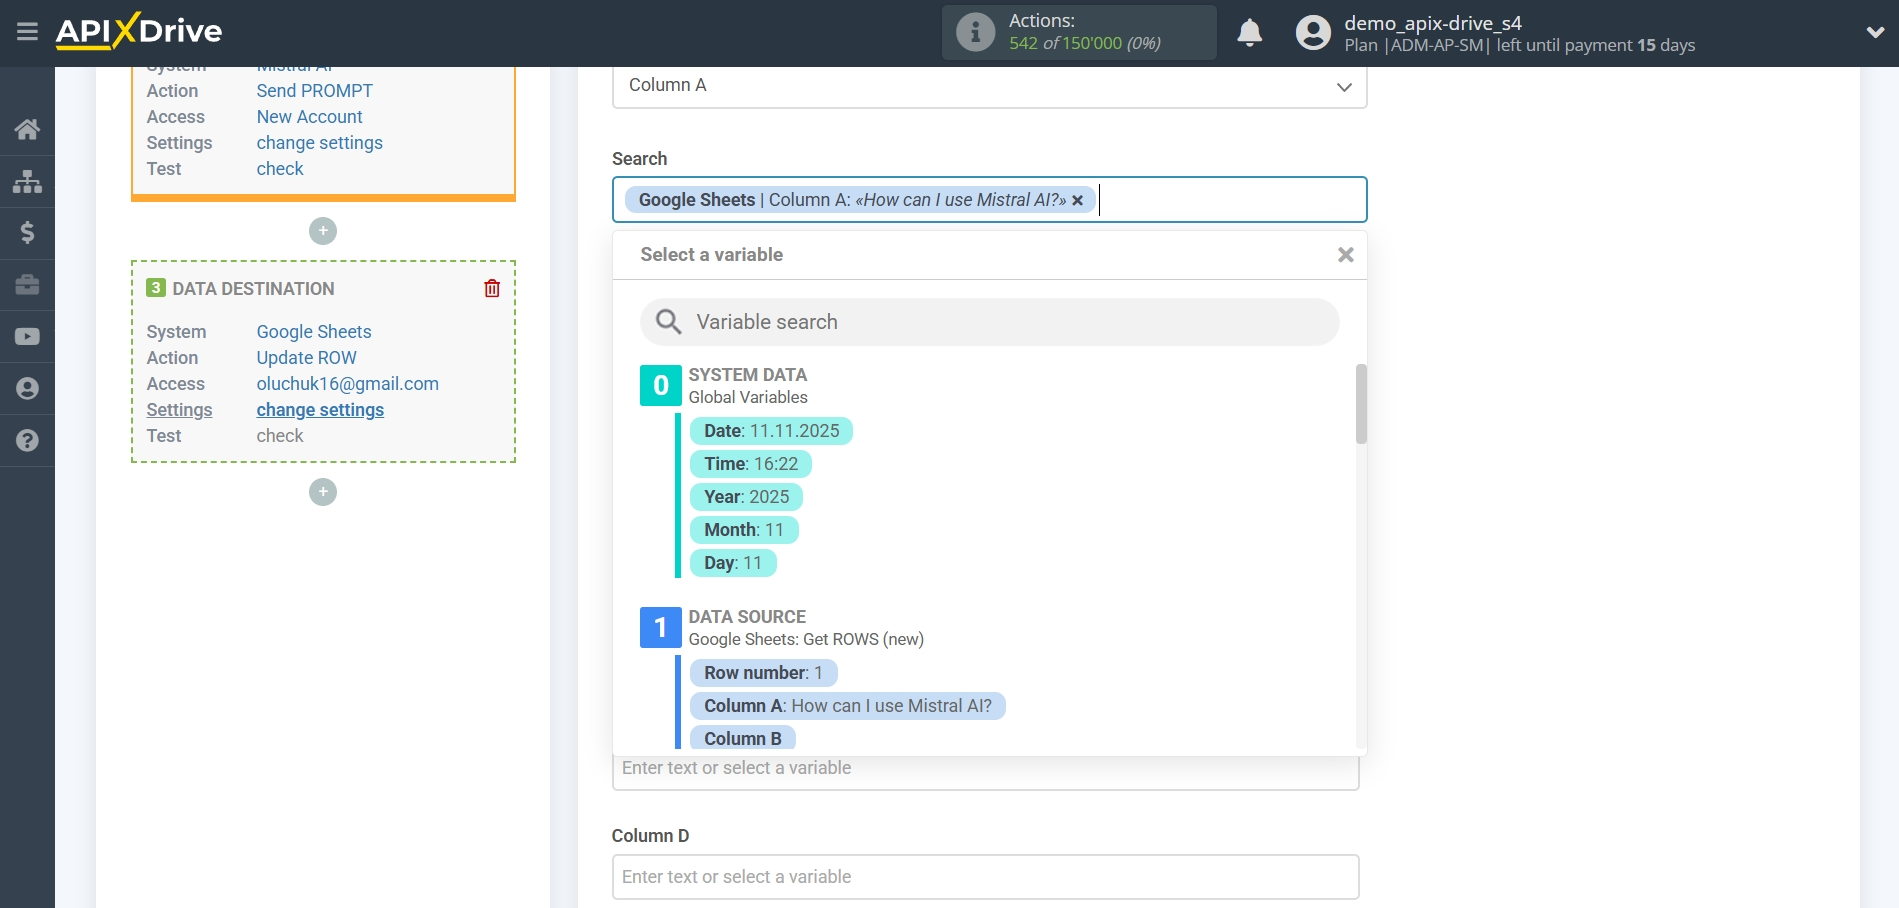
Next, in the "What to search for" field, you need to select a variable from the drop-down list or enter the data manually, by which value the system will search for data to update the row you need. In our case, we select column "A", which contains the request data. The system will update the data in the required row only if the requested data matches.
Also, you need to specify the Search Type, in case multiple lines with the same query are found:
"Take the first found row" - search and update of data will occur in the first found row that satisfies the search conditions.
"Take the last found row" - search and update of data will occur in the last found row that satisfies the search conditions.
"Take all found lines" - search and update of data will occur for all found lines that satisfy the search conditions.
Now you need to assign a variable with the query result, which we take from the Data Search block, to the empty column. In the future, this column will be updated with data according to your query.
After setting up, click "Continue".
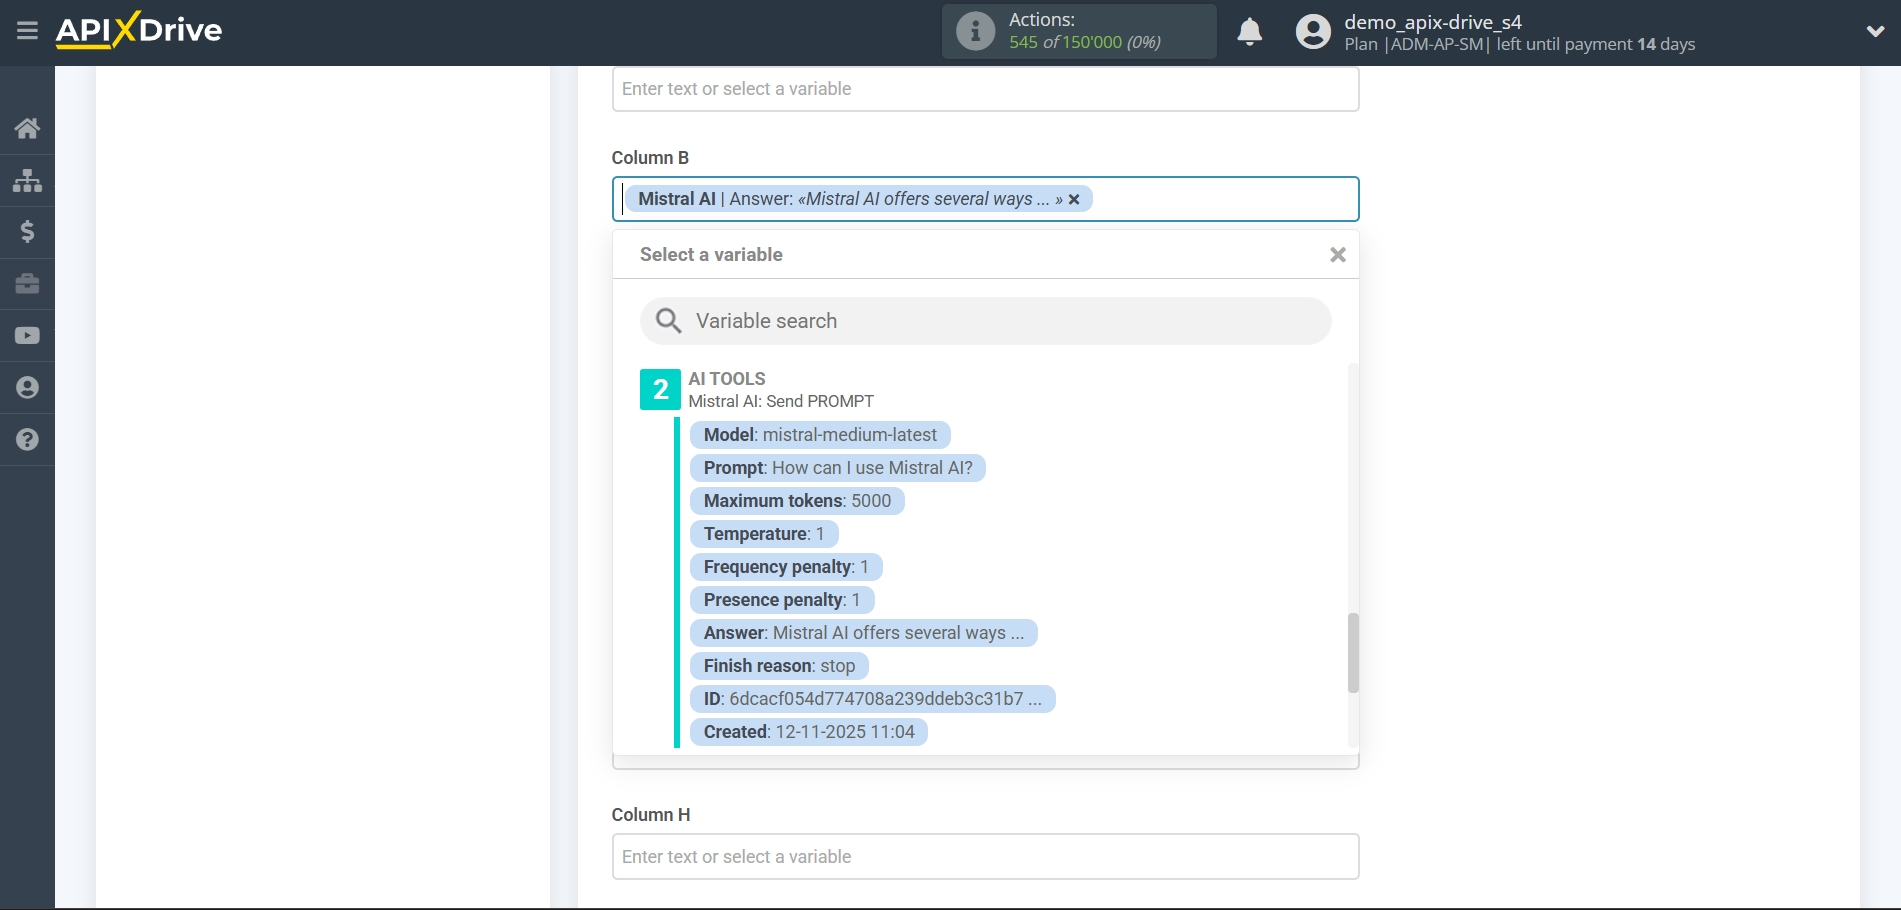
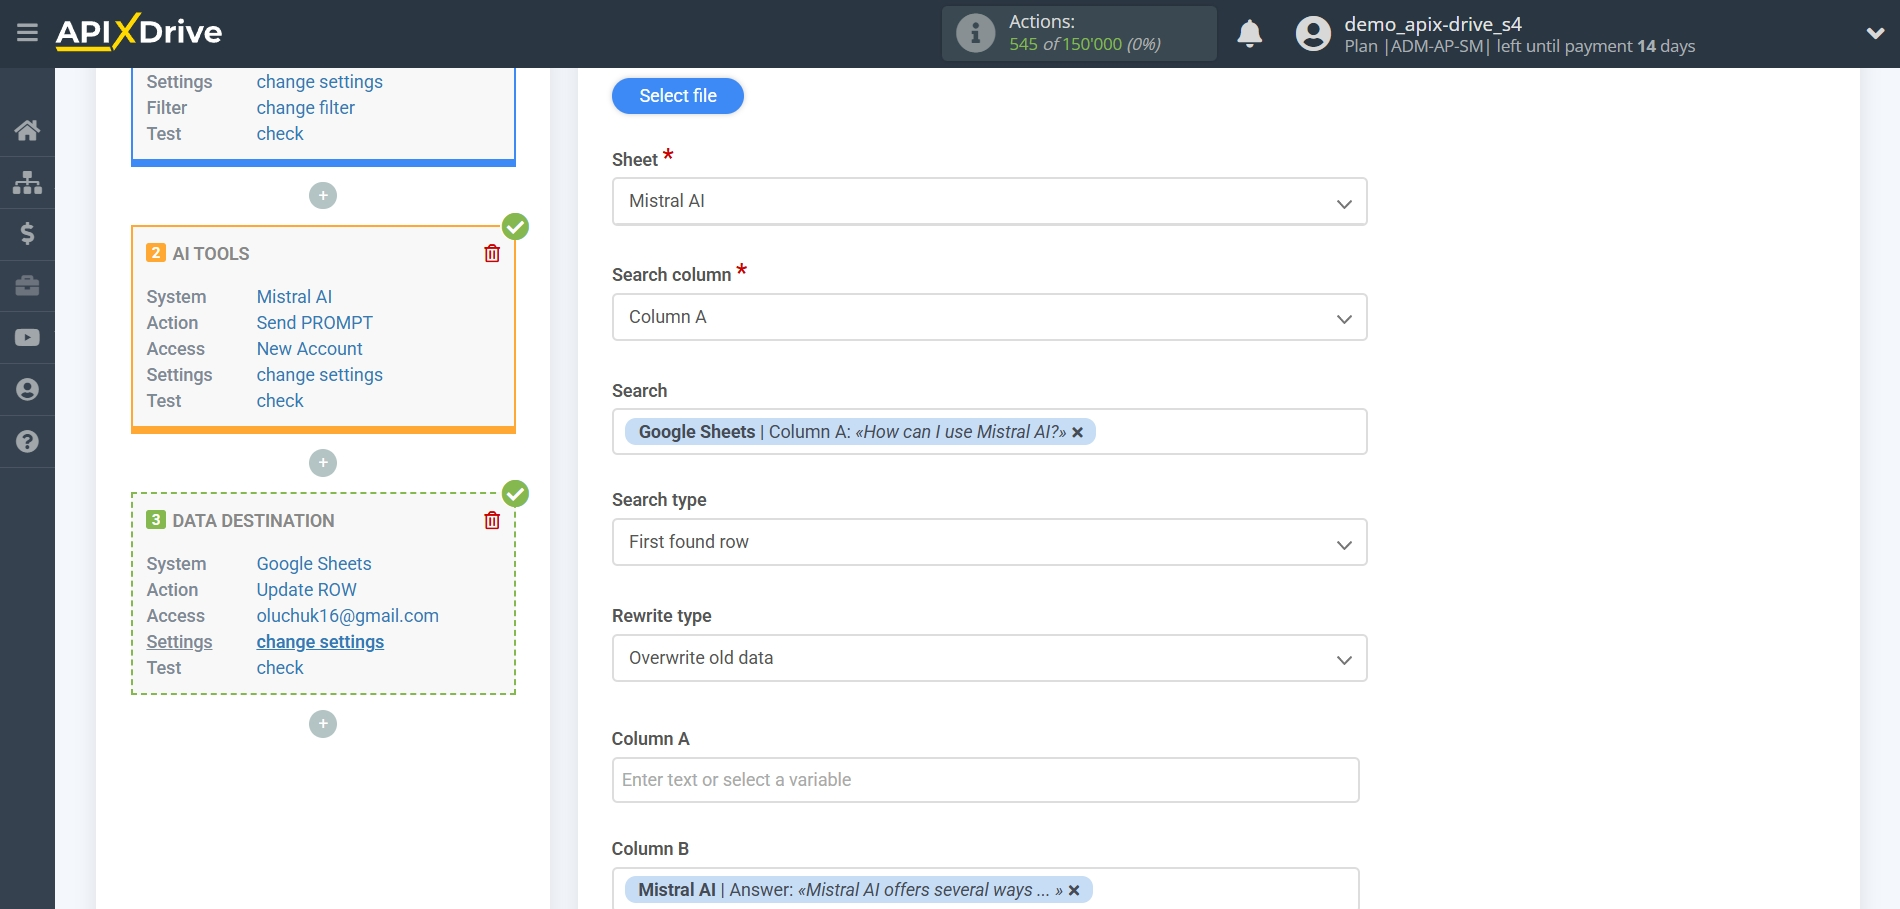
Thus, the Mistral AI block takes the field in the Data Source in which you have written the query text, queries the Mistral AI server for the result of this query and transfers this data to the Data Destination field, for example, to column "B".
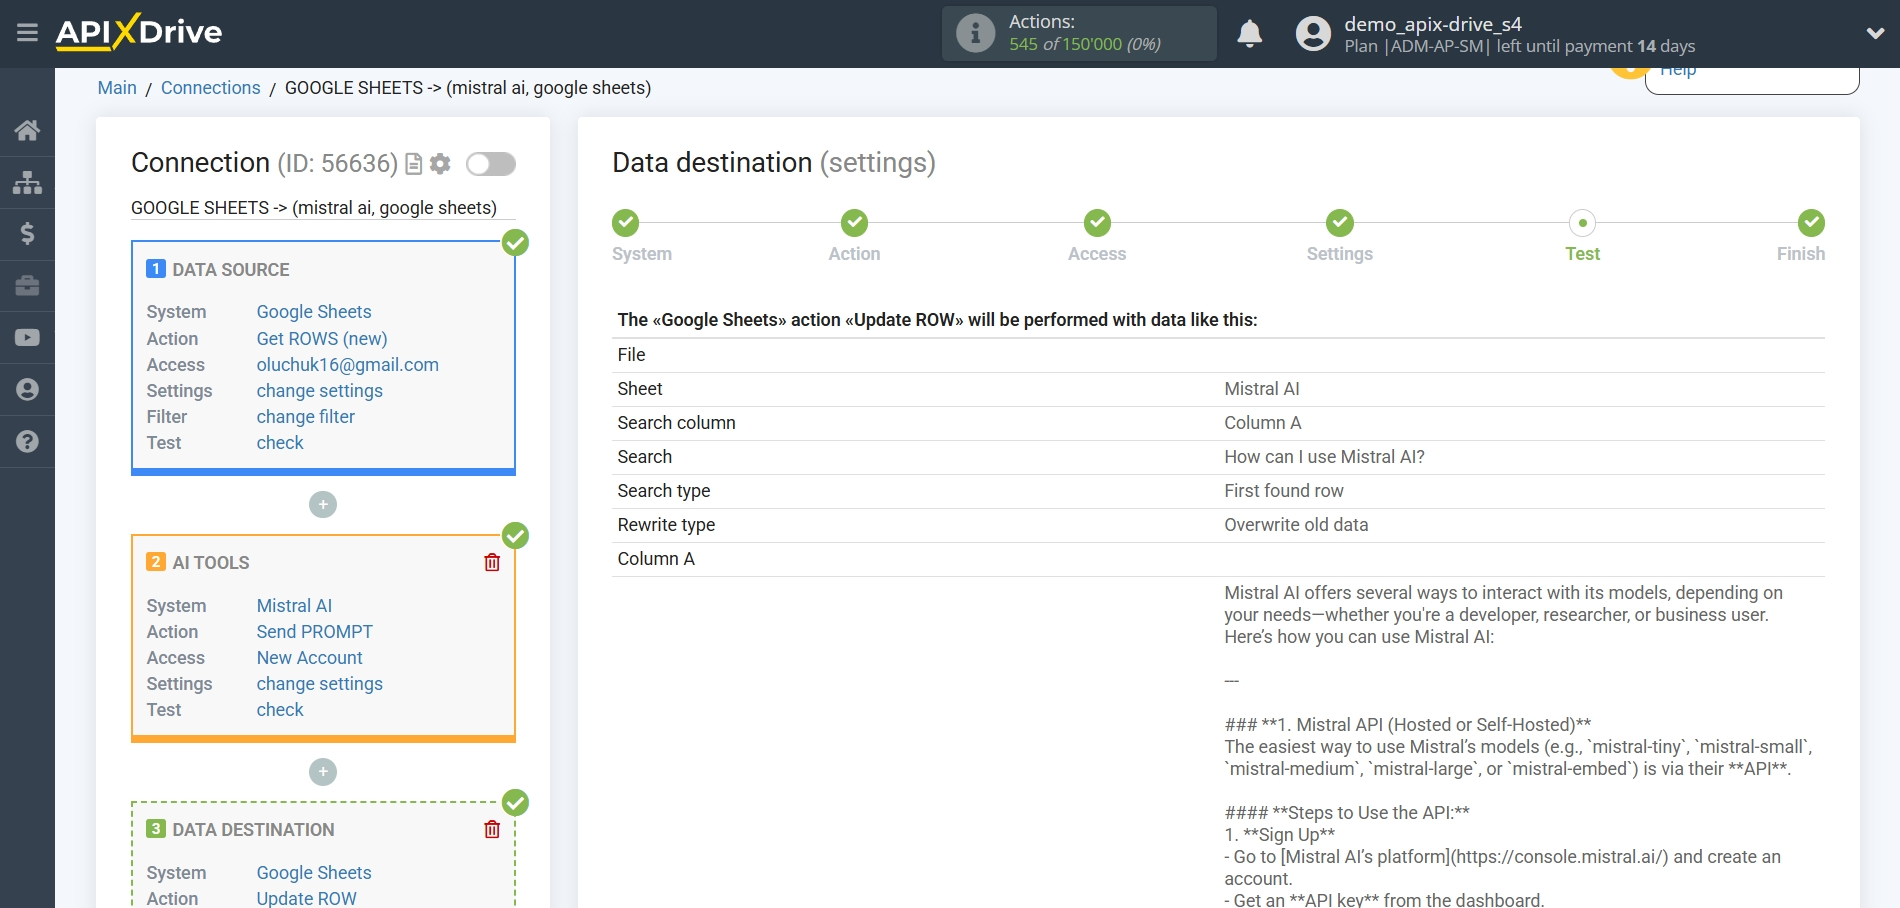
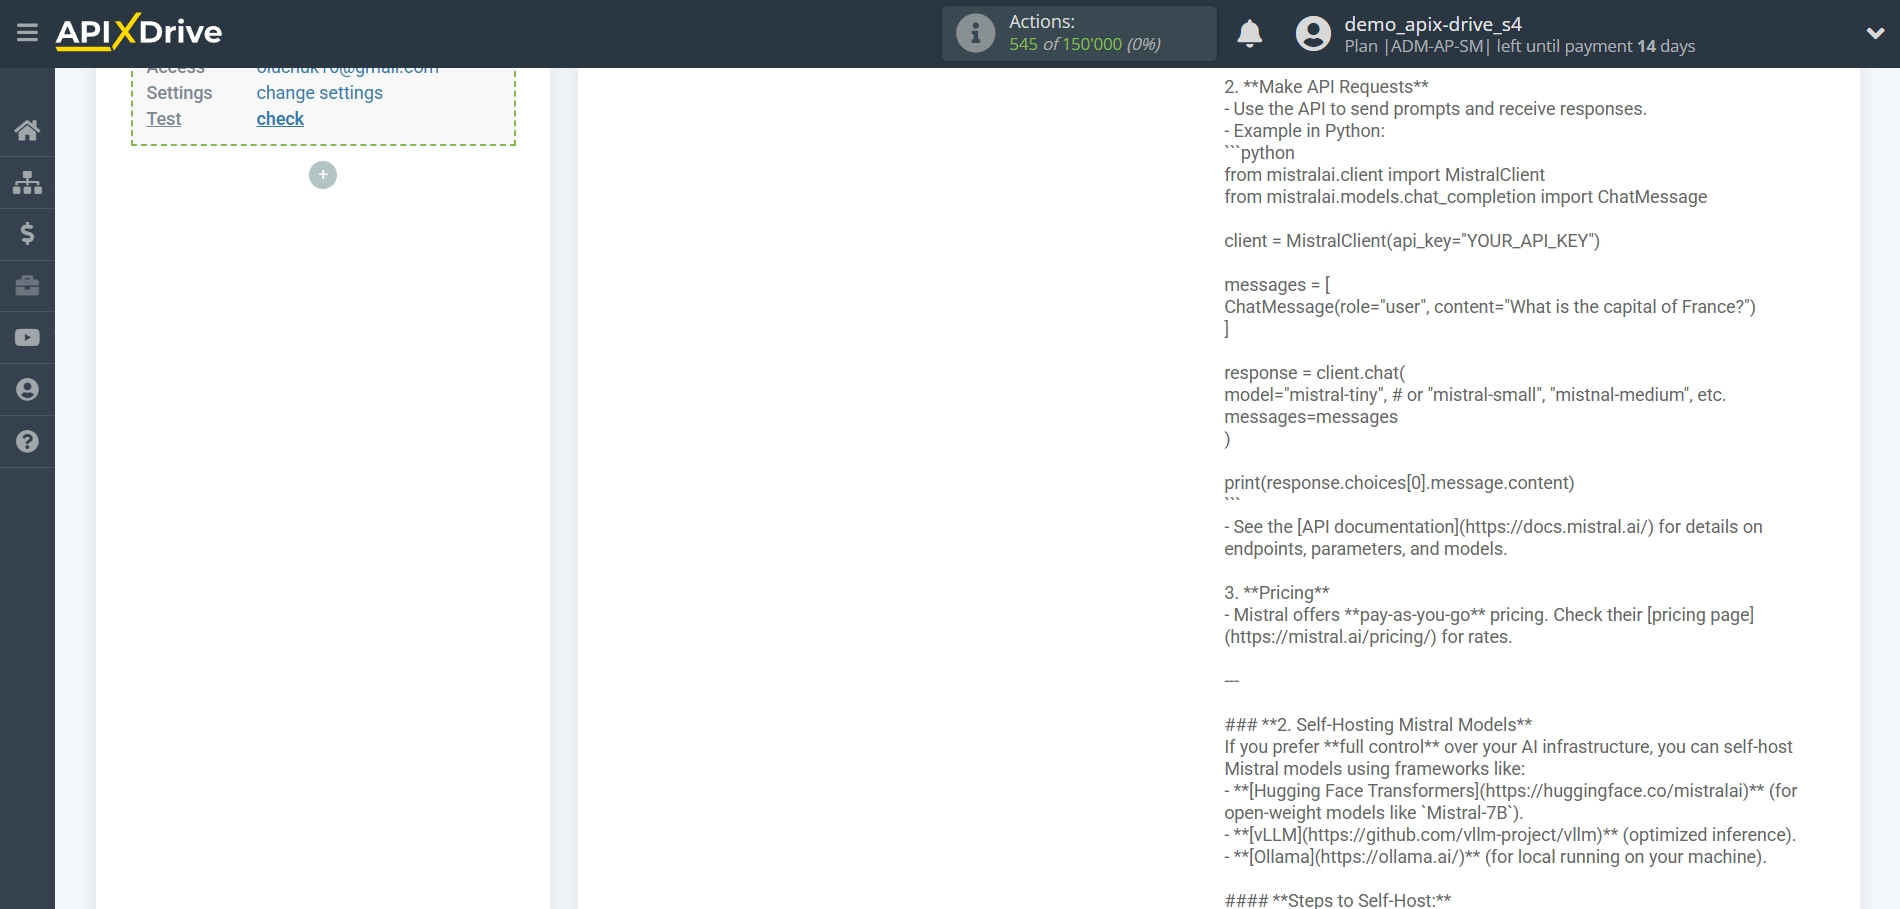
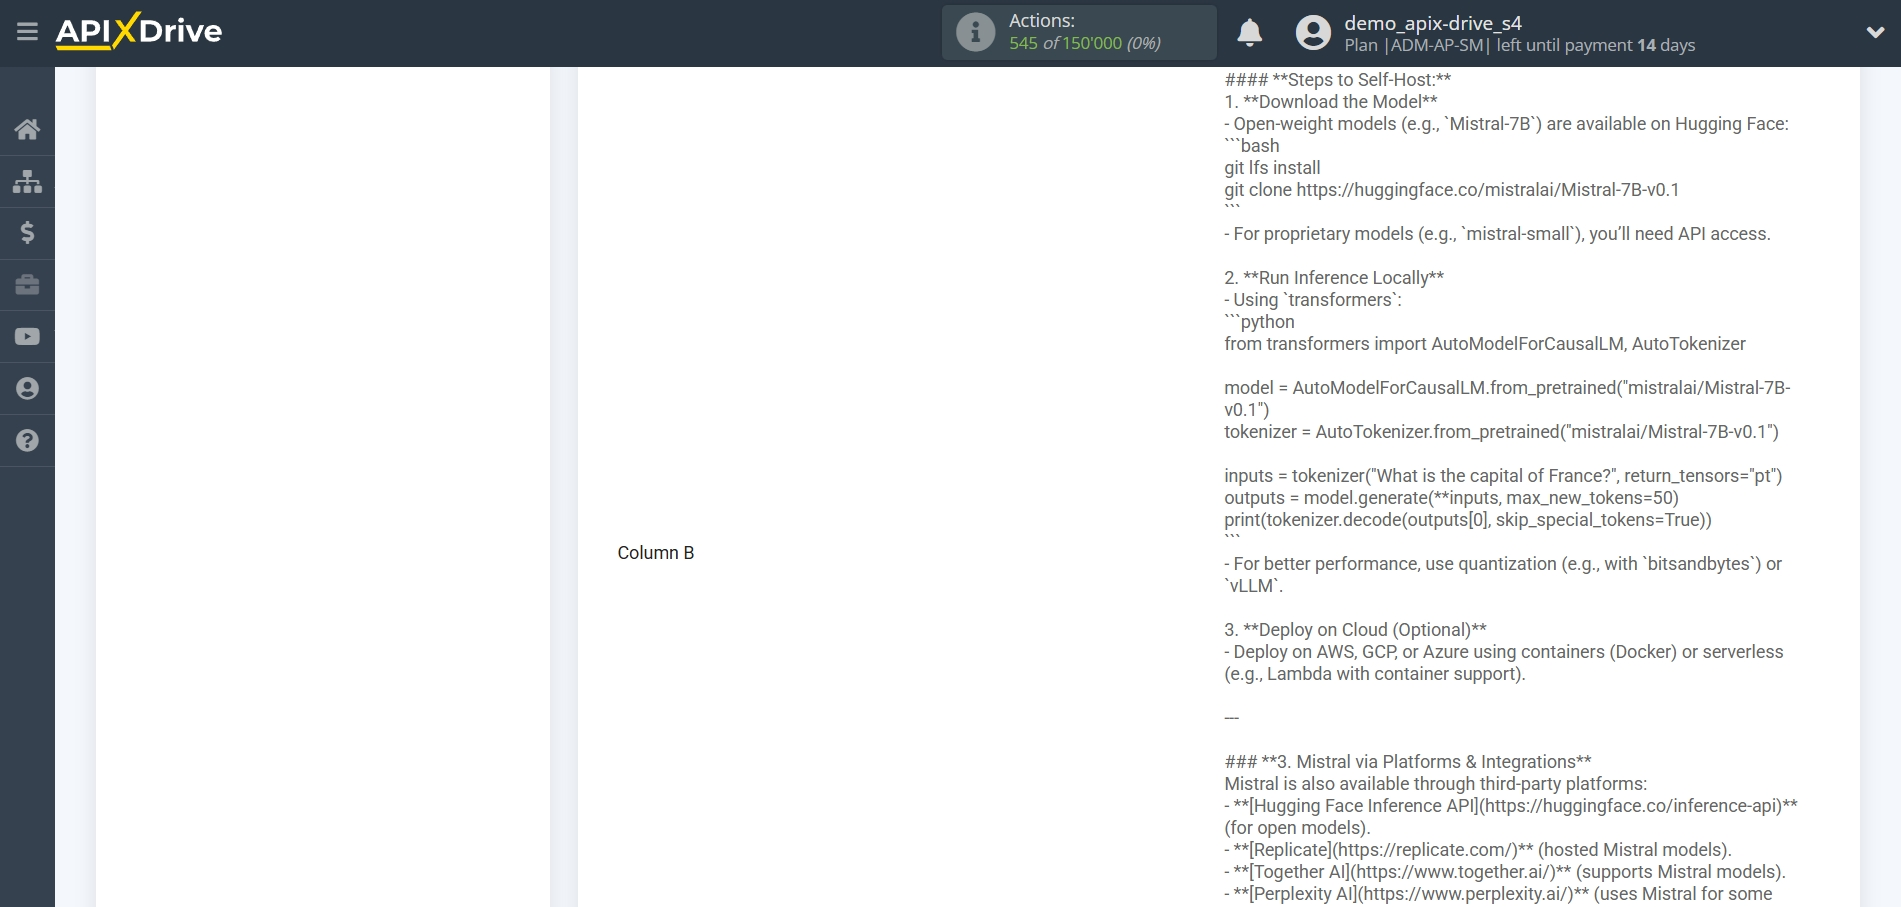
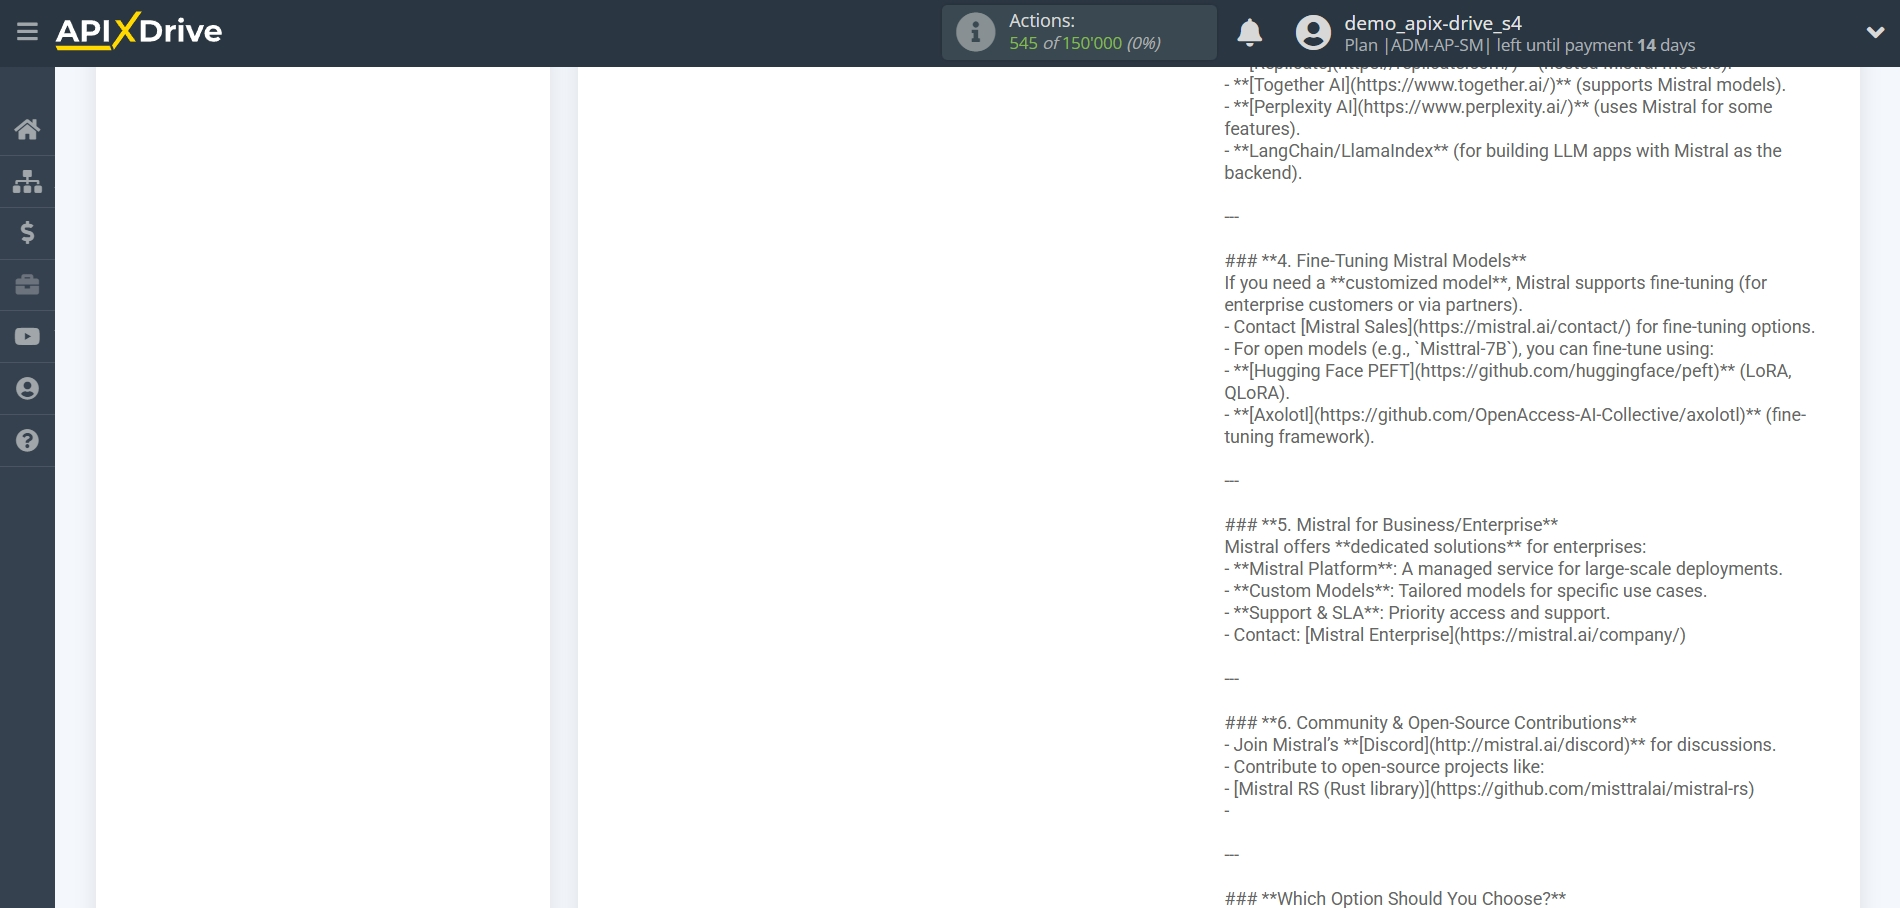
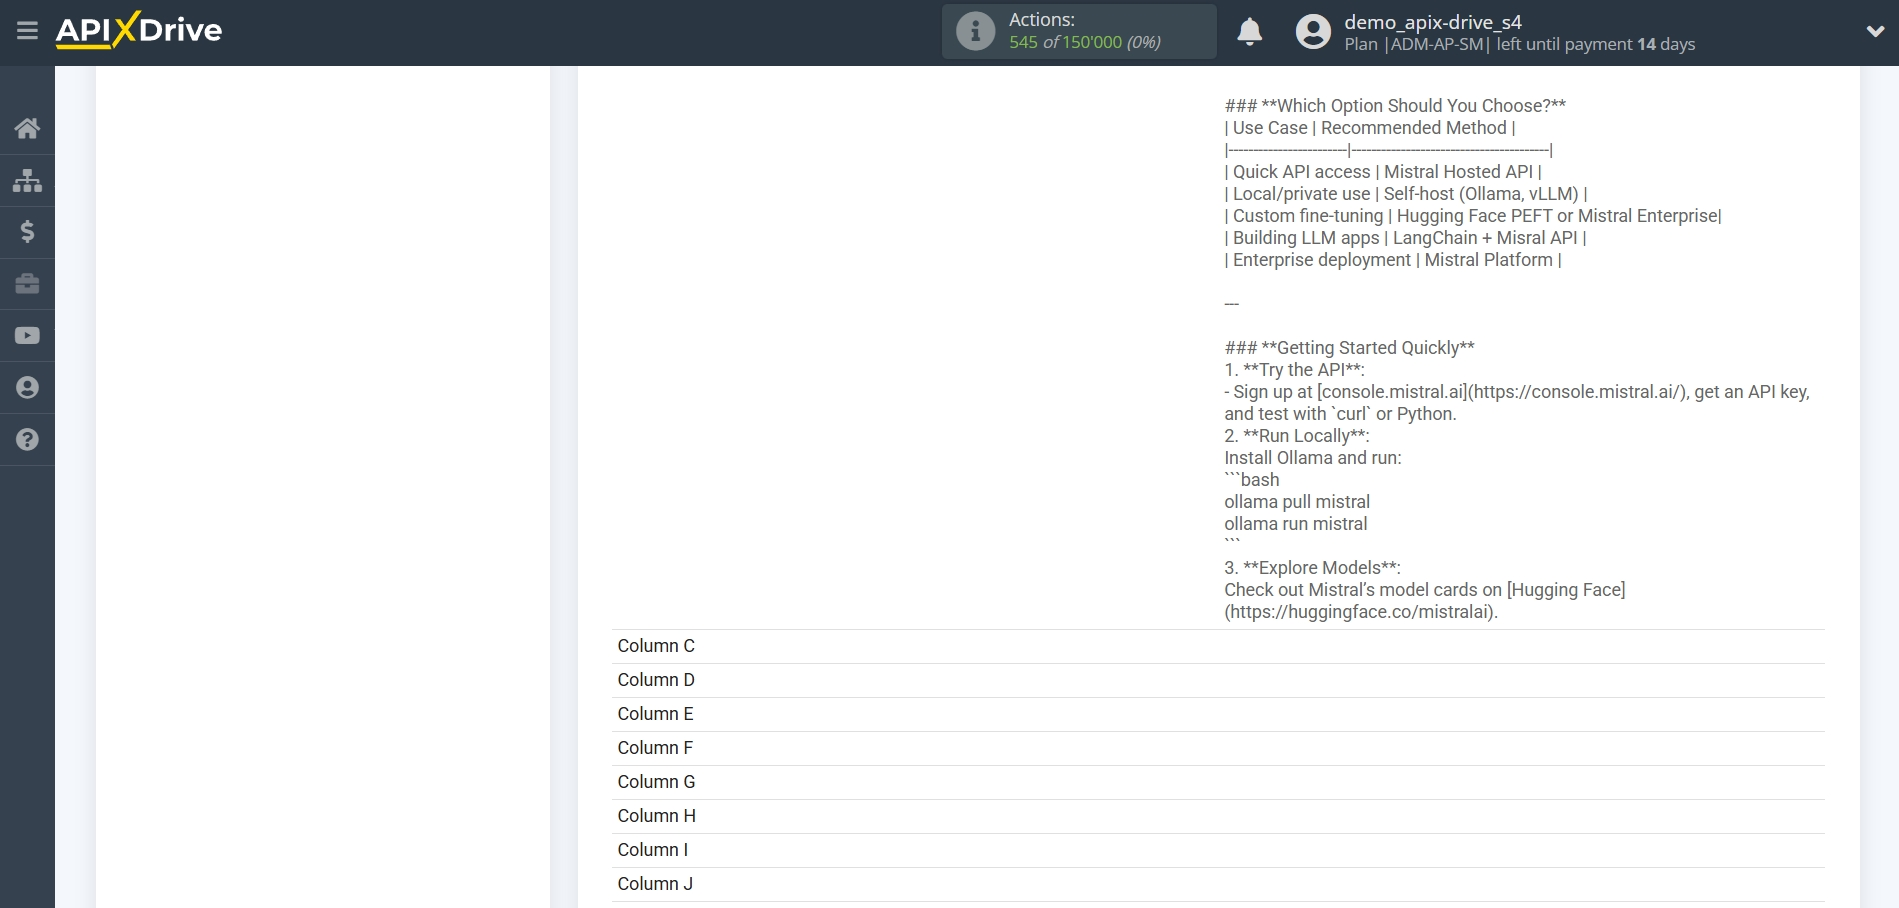
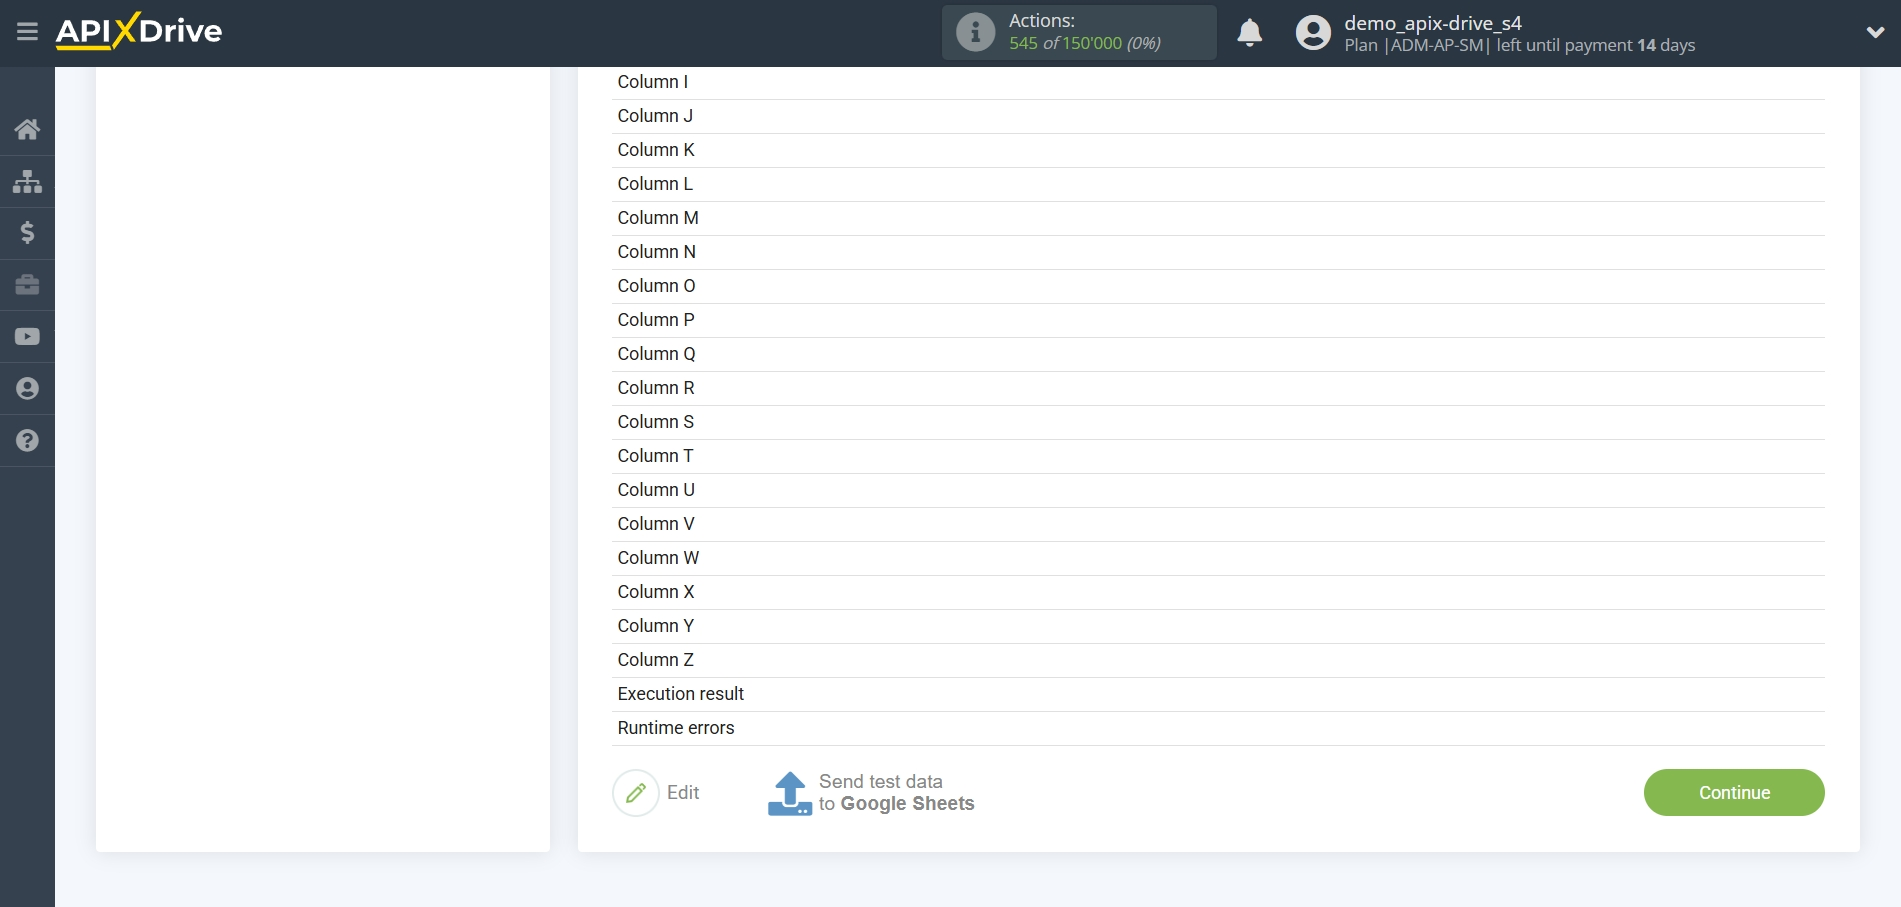
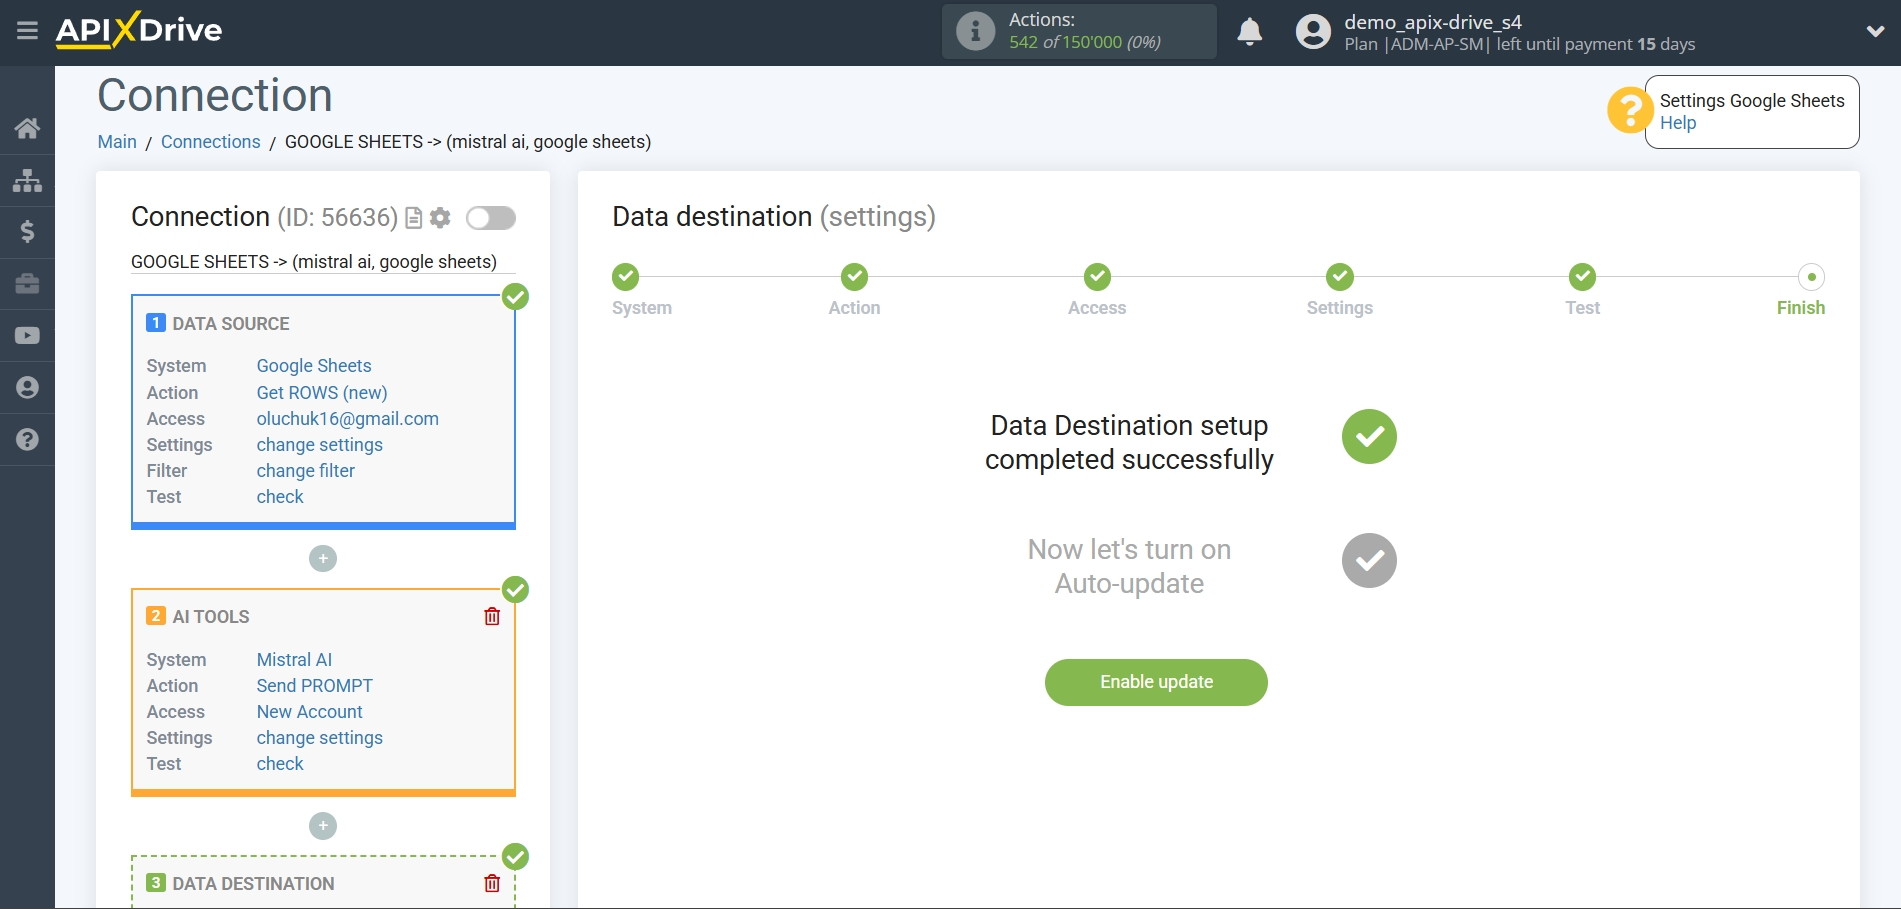
At this point, the setup is complete!
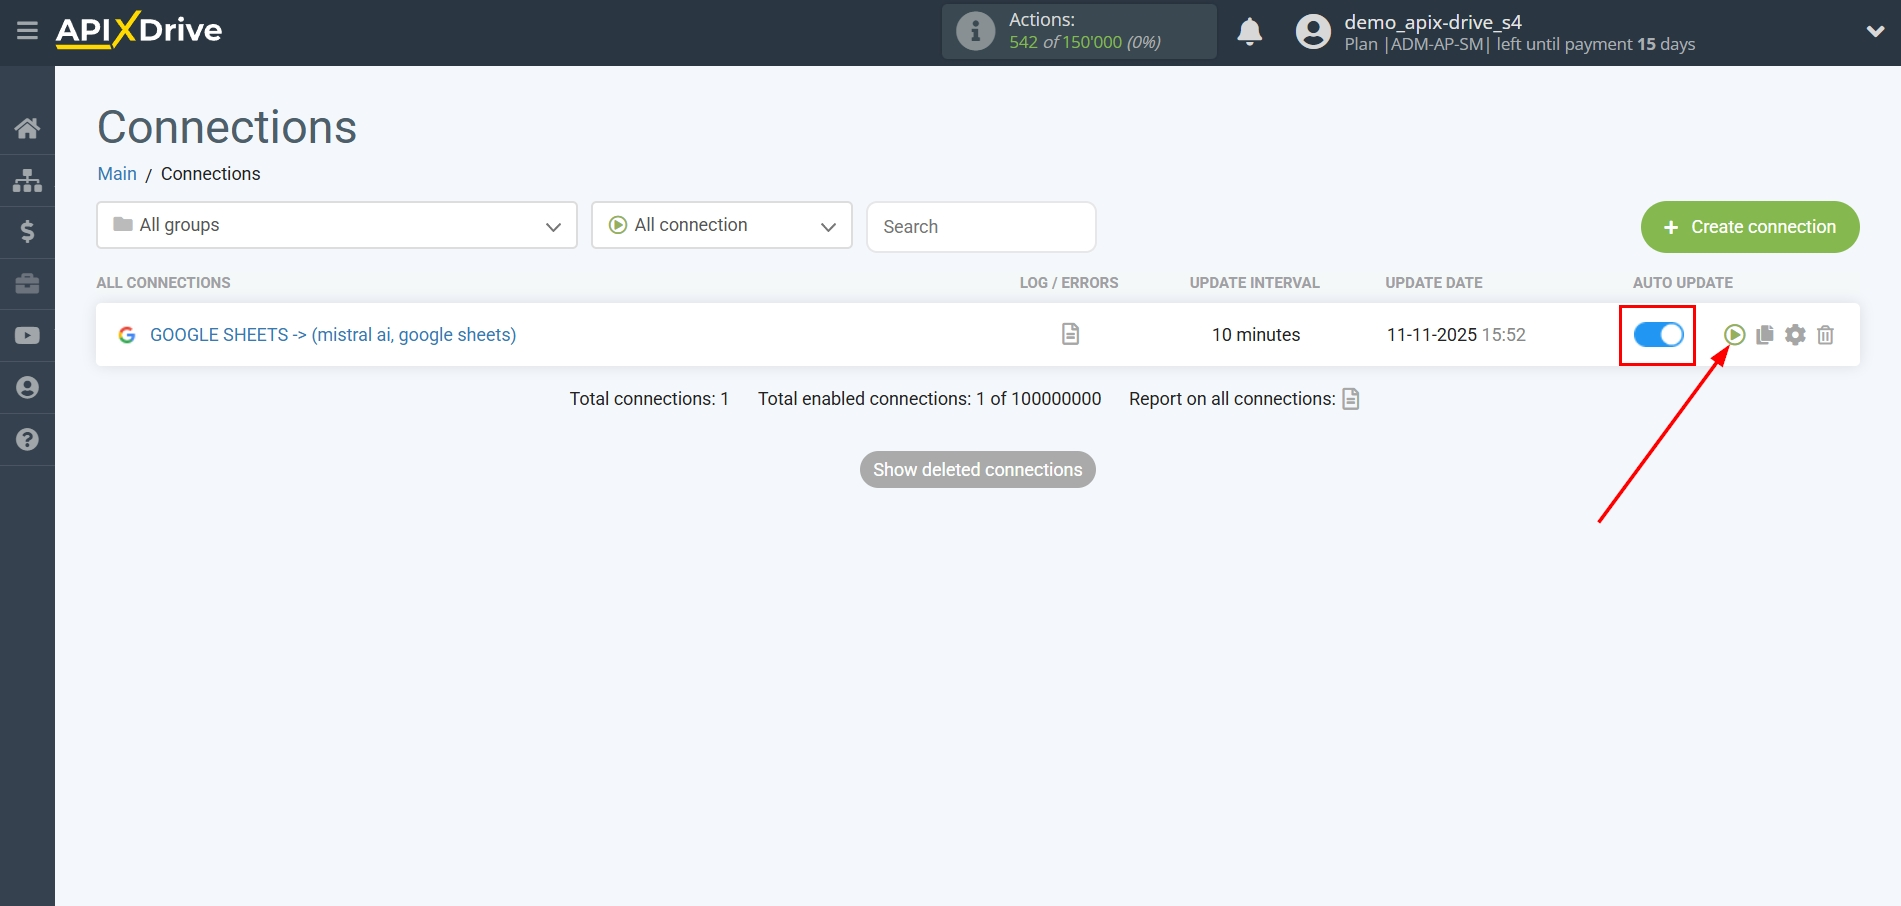
Now you can proceed to choosing the update interval and enabling auto-update.
To do this, click "Enable auto-update".
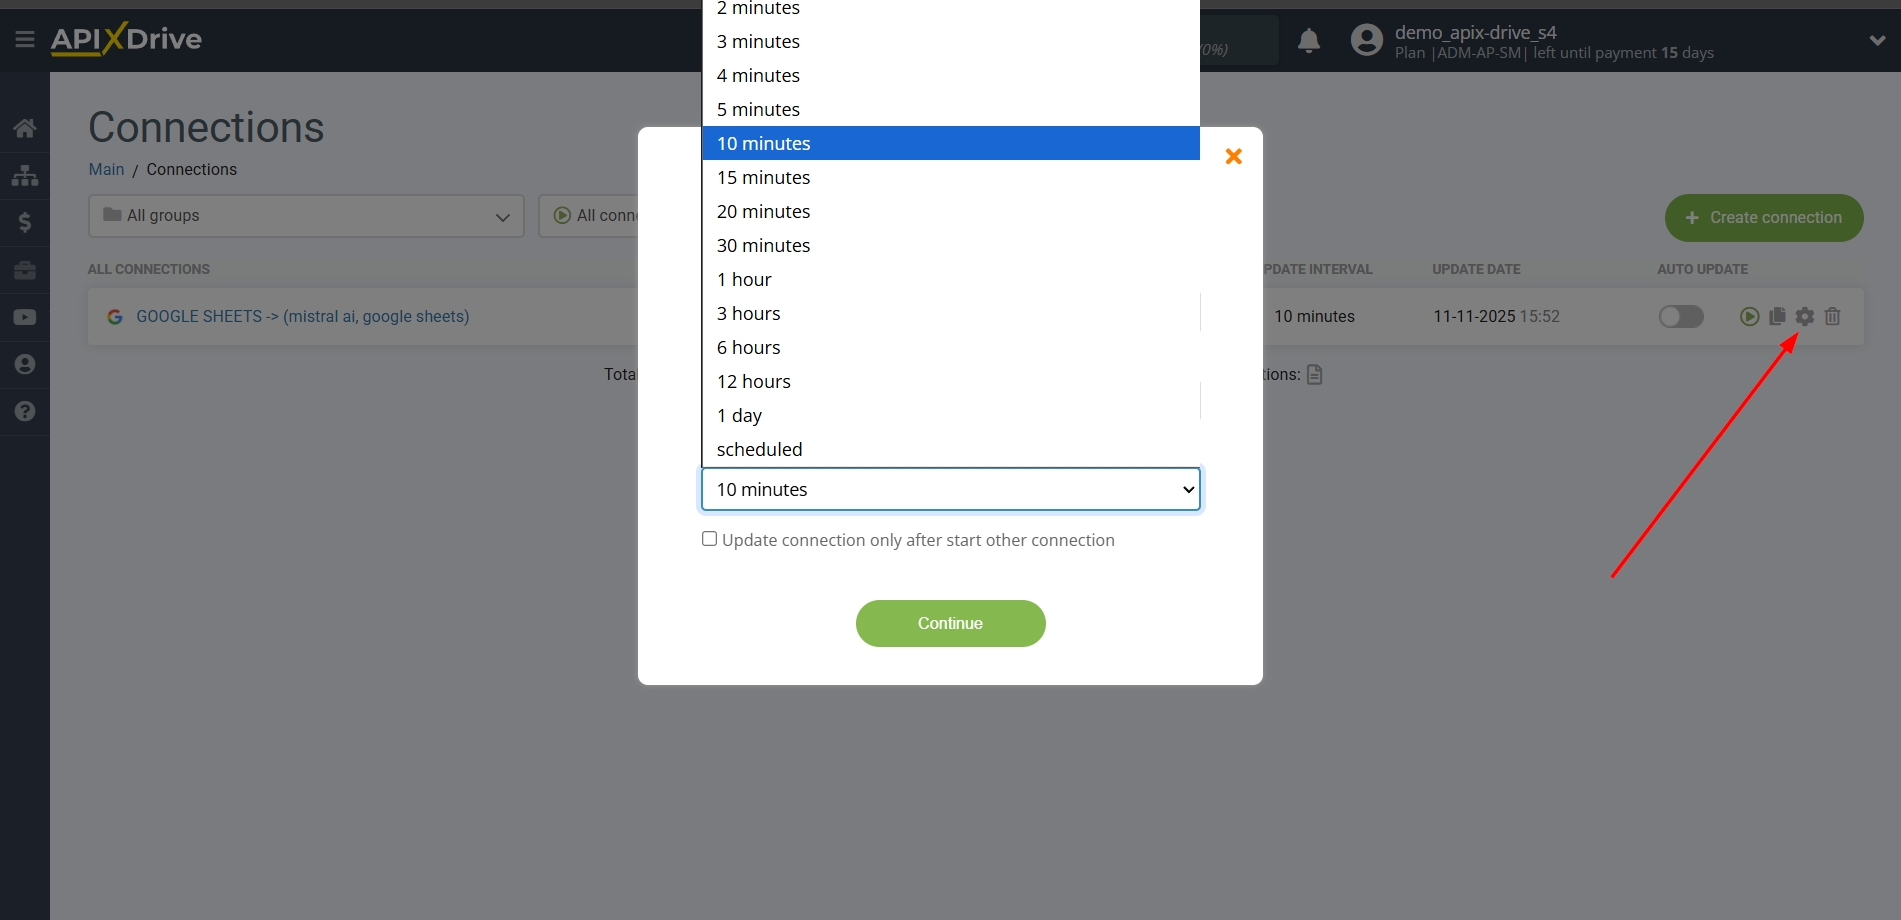
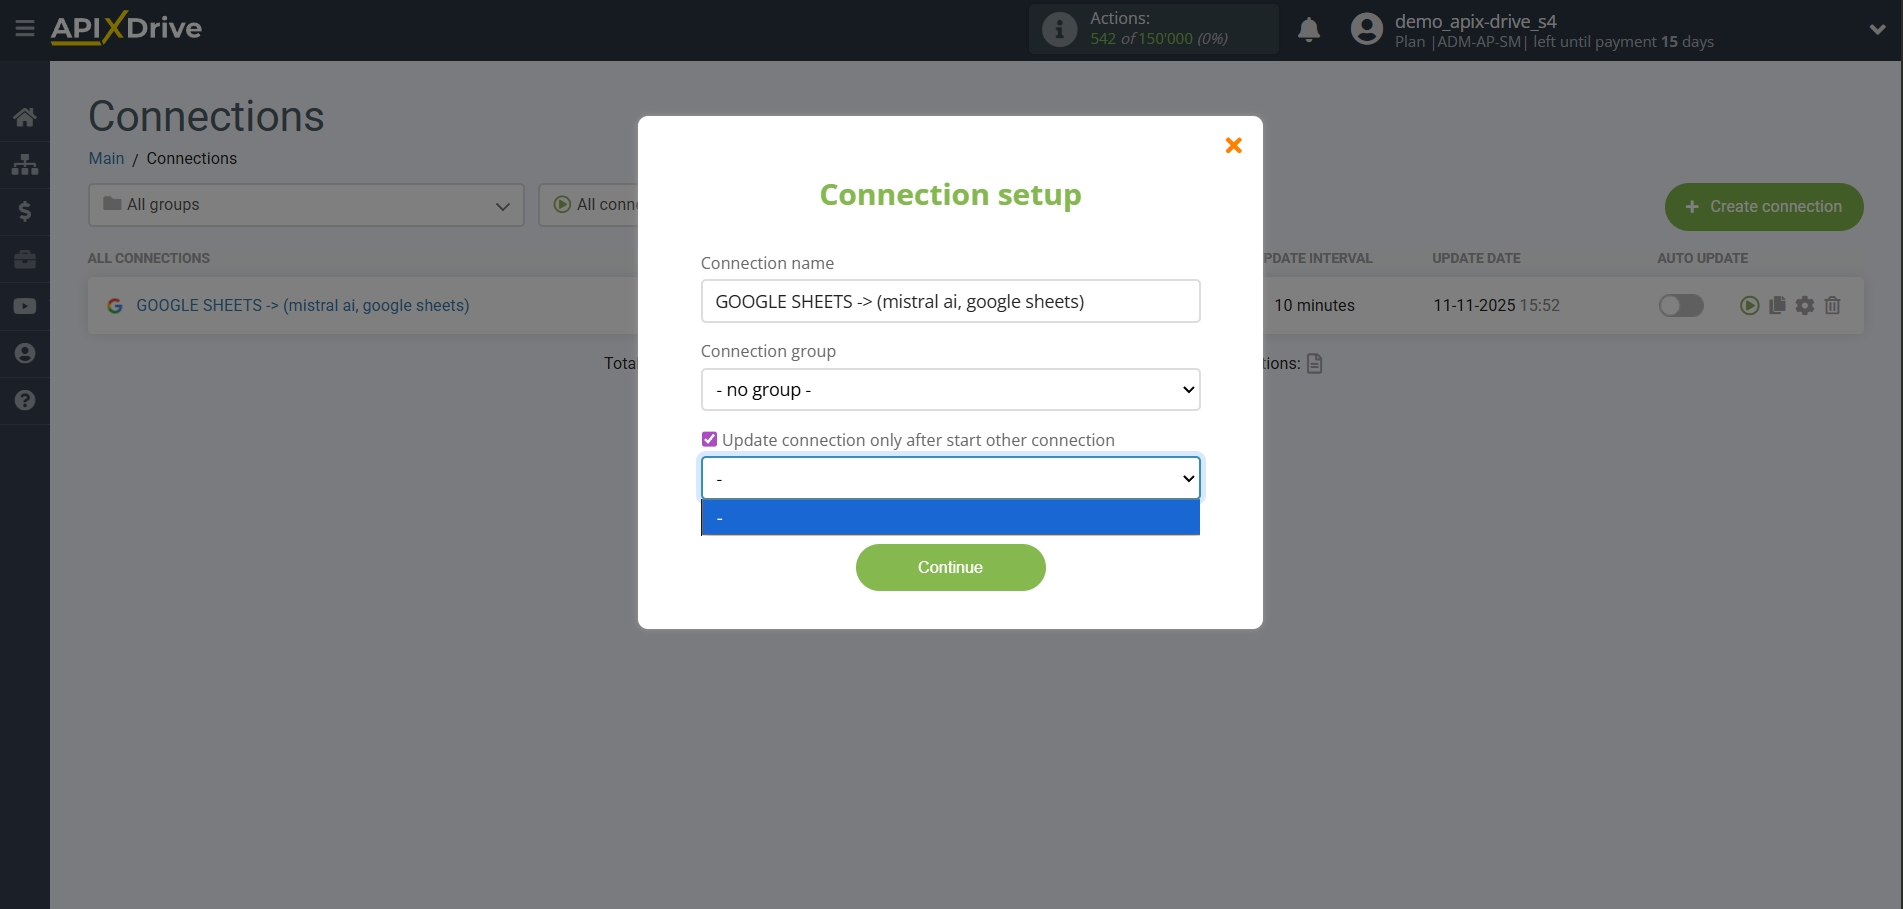
On the main screen, click the gear icon to select the required update interval or set up Scheduled launch. To launch the connection by time, select Scheduled launch and specify the desired time for the connection update to trigger, or add several time options at once when you want the connection to trigger.
Attention! For Scheduled Start to work at the specified time, the interval between the current time and the specified time must be more than 5 minutes. For example, you select the time 12:10 and the current time is 12:08 - in this case, the automatic connection update will occur at 12:10 the next day. If you select the time 12:20 and the current time is 12:13 - the automatic connection update will work today and then every day at 12:20.
To make the current connection trigger after another connection, check the box "Update only after connection" and specify the connection after which the current one will trigger.
This completes the Mistral AI Data Search setup! It's pretty simple!
Now you don't have to worry, ApiX-Drive will do everything else on its own!