Hubspot and Afilnet integration: How to Automate SMS Sending
Tired of sending messages manually? Set up automatic SMS sending based on various events: from purchasing an item in an online store to changing the status of an order in CRM. You can handle ApiX-Drive in a few minutes and without the help of a programmer.
Content:
1. Benefits of Hubspot and Afilnet integration
2. What is ApiX-Drive and how it works
3. How to setup automatic sending of SMS using ApiX-Drive
4. Connecting and configuring Hubspot
5. Connecting and configuring Afilnet
6. Launching the connection between Hubspot and Afilnet
Benefits of Hubspot and Afilnet integration
Getting rid of routine. Auto-forwarding eliminates the need to monitor events and send related SMS to clients. All these processes take place without your participation, and you can spend the freed up time on other tasks.
Communication without delay. Thanks to automation, the message is sent immediately after the monitored event occurs. This is especially important when it comes to transactions. After all, if the client needs your SMS to complete the transaction, then any delay can become a problem.
Continuous work. Auto-mailing works 24/7. You can rest easy after business hours knowing that messages are still being sent.
Minimum mistakes. If you send messages manually, it is easy to confuse characters and write to the wrong number. Especially with a large flow of customers. Automation minimizes the likelihood of such errors.
What is ApiX-Drive and how it works
This is a simple tool with which you can quickly set up auto-sending of SMS based on events from various services: CRM, project managers, analytics services, advertising systems, CMS, bot platforms, spreadsheet editors, and etc.
The mailing works as follows: as soon as a selected event occurs in one of the services, the connector initiates sending a message through Afilnet. You can customize the SMS content to your liking.
Each service maintains an individual list of events that can trigger dispatch. Let's take a look at how this might work in specific operational scenarios.
Sending SMS about successful registration for the event. Let's say you collect applications for a lecture through the Facebook lead form. As soon as the user leaves their phone number in the form, Afilnet automatically sends an SMS with the time and location of the event.
Sending an SMS about ordering. You sell products through a store built on Wix, a fairly popular CMS. Immediately after making a purchase, the client receives an SMS with order confirmation and the approximate response time of the manager.
Sending invoice SMS. You manage deals in Salesforce CRM. As soon as the manager assigns the “Invoiced” status to the order, the client receives an SMS with the details and the amount.
Sending an SMS about sending the goods. You are using Hubspot CRM to manage your orders. As soon as the manager transfers the goods to the "Sent to the client" status, the buyer receives an SMS notification of the shipment and a tracking number for the parcel.
Recall that we have listed only a few typical examples. With ApiX-Drive, you can set up auto-feeds for these or many other events in a wide variety of services.
How to set up automatic sending of SMS using ApiX-Drive
To set, you need to connect the required service to Afilnet and select an event in it that will trigger the message to be sent. The configuration takes place on the ApiX-Drive website and on average takes up to 15 minutes. No technical knowledge is required for this - the user is assisted by the hints built into the interface.
Within the framework of one mailing list, sending messages can be based on only one event from one service. If you want to configure auto-sending of messages in response to several events, you will need to create several mailings for each.
To make it easier for you to figure it out, we will describe how to create an automatic mailing list in ApiX-Drive step by step. As an example, let's set up auto-sending of messages about the shipment of goods. The triggering event will be the assignment of the “Sent to Client” status to the product in the Hubspot CRM service.
Let's assume that our Afilnet and Hubspot accounts have already been created and configured.
Connecting and configuring Hubspot
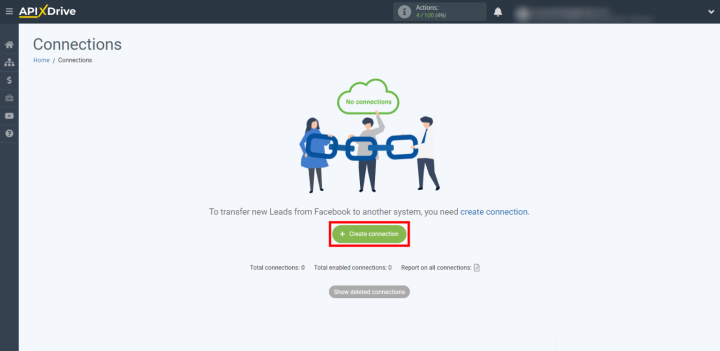
Register on the ApiX-Drive website. We enter your personal account and click "Create connection".
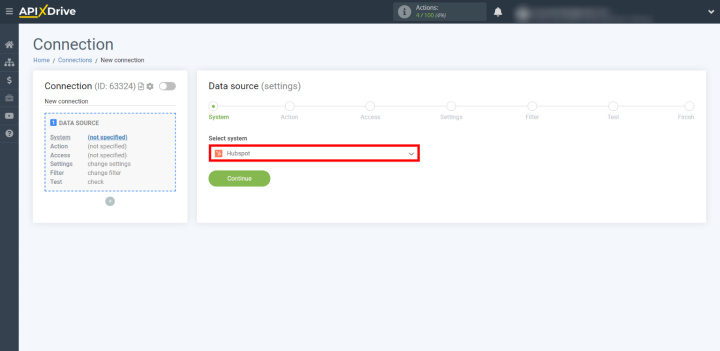
Select the event source service: Hubspot.
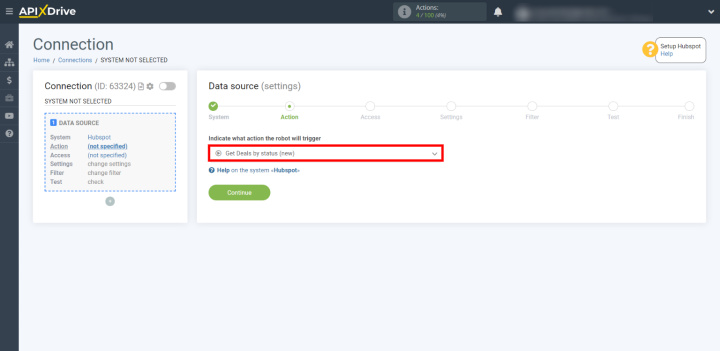
We indicate what action ApiX-Drive should perform on the side of the source service. To send a message, the connector needs to download the customer's phone number and other data from each order transferred to a certain status. Therefore, we select the action Get Deals by status (new).
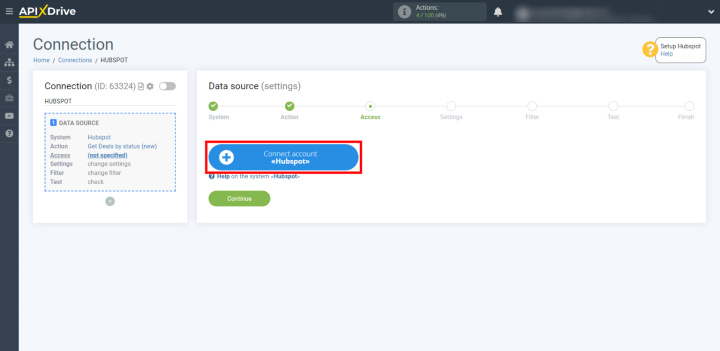
Let's start connecting Hubspot: click on the blue button.
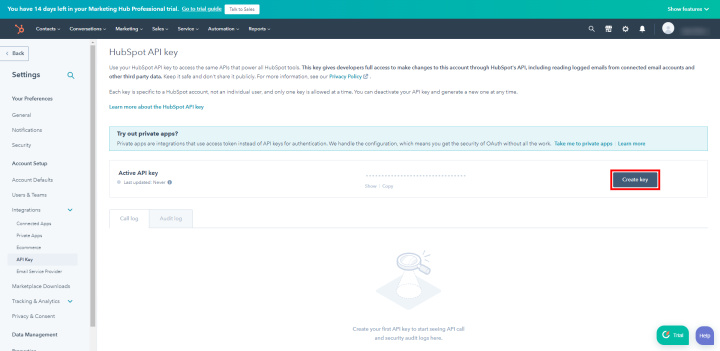
Open your Hubspot account in a new browser tab. We go to the account settings and on the left we click "Integration" - "API key". After we click "Create key".
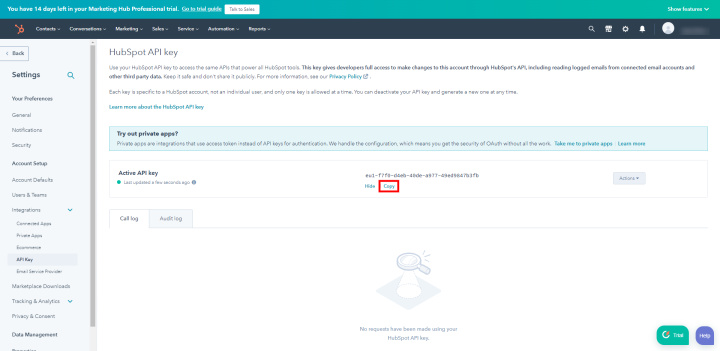
Copy the key that appears.
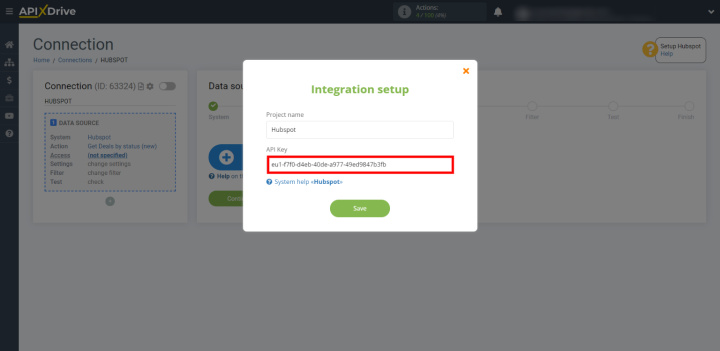
Go back to configuring ApiX-Drive and enter the key you just copied.
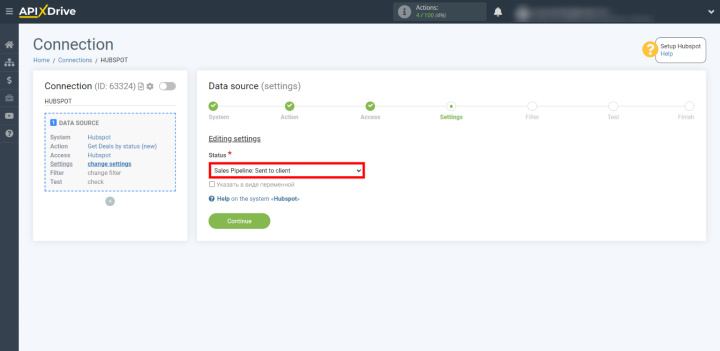
Now we select the status, after the transfer to which, the message will be automatically sent. In our case, this is "Sent to client".
Set up filtering if necessary. This feature allows you to make the connector send messages only when certain conditions are met. For example, you can set up mailing only for products from certain categories.
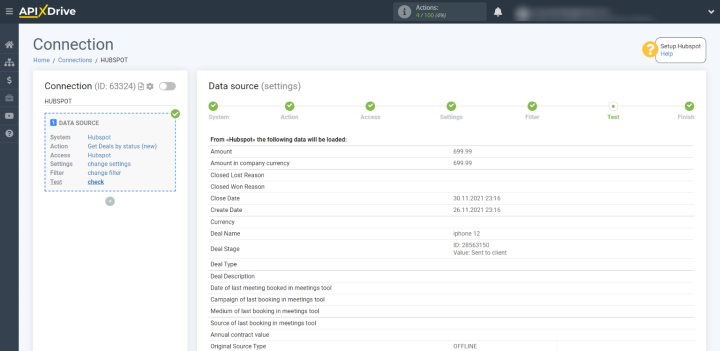
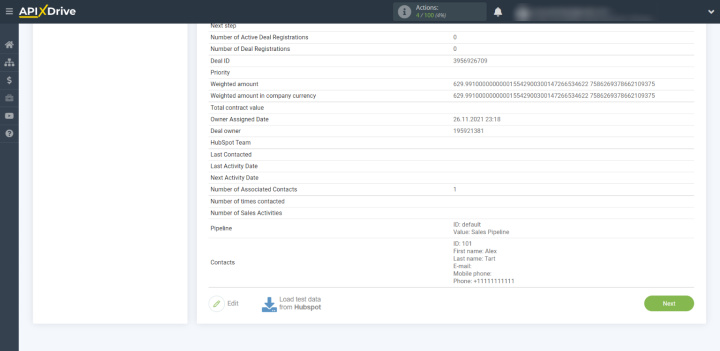
To test the connector's operation, add a test product to Hubspot, indicate your phone number in it and transfer it to the “Sent to client” status. After that, we return to configuring ApiX-Drive and update the page. If everything is done correctly, the connector will download the data from our product card.
Connecting and configuring Afilnet
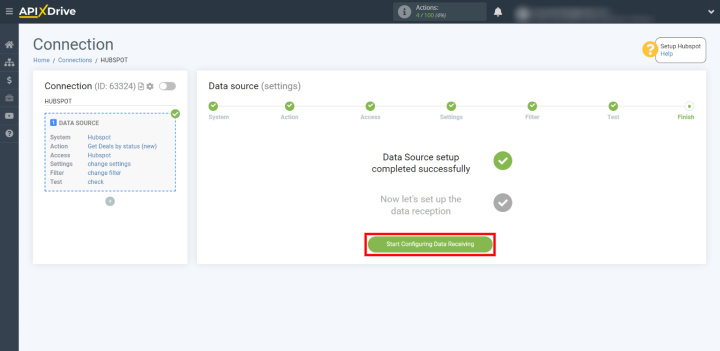
Click "Start Configuring Data Receiving".
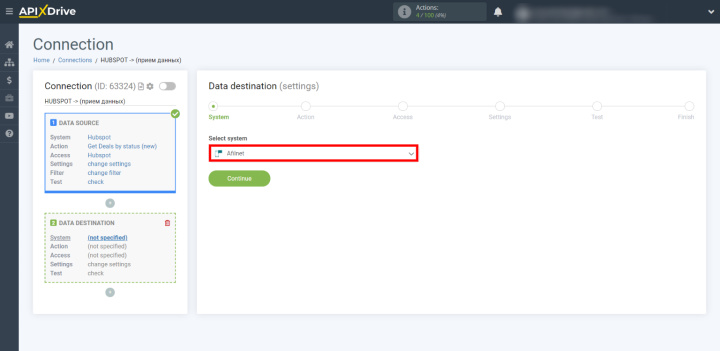
We choose Afilnet as the data receiver.
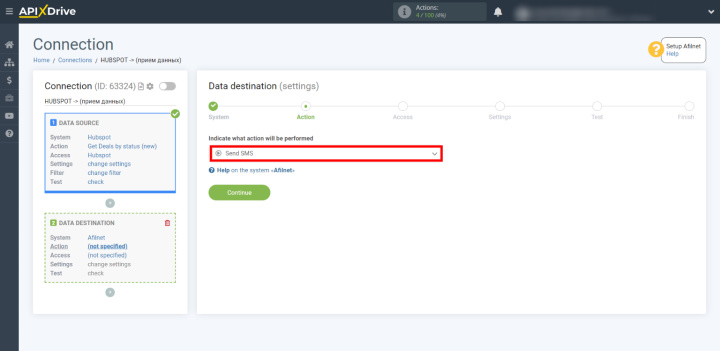
We indicate what action the connector should automate on the receiver side. In our case, this is "Send SMS".
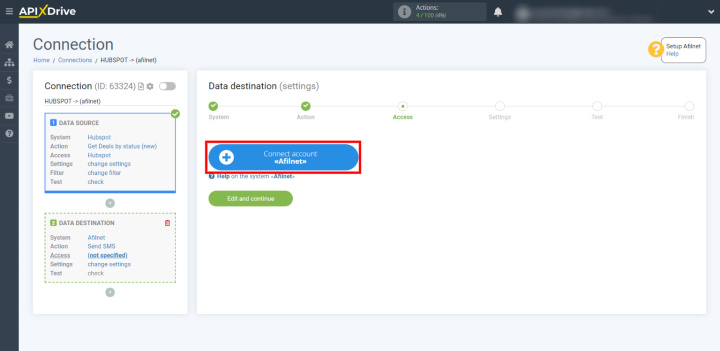
Click Connect account "Afilnet".
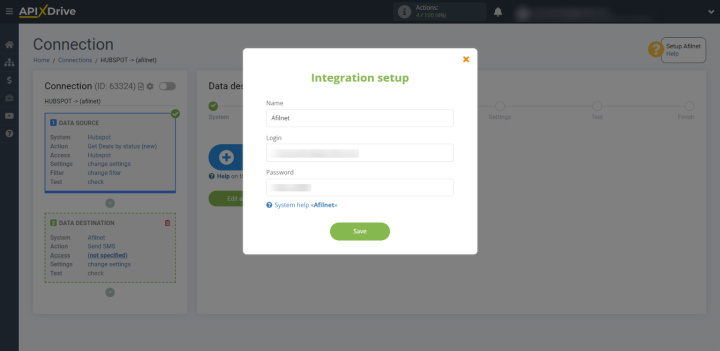
We enter the username and password from our account.
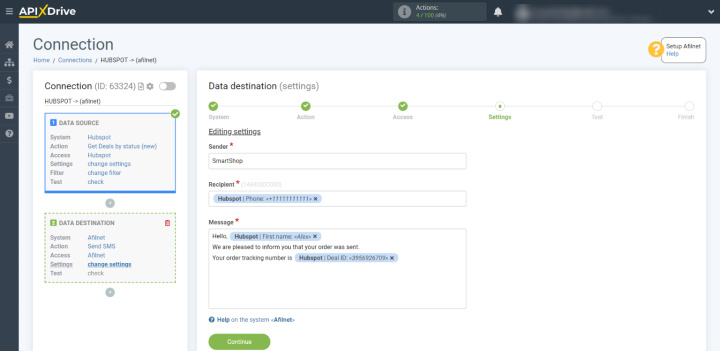
Now we are setting up the SMS template. To do this, fill in the current text blocks. For the connector to automatically fill in the Recipient block, click on it and select the variable with the phone number. As a result, the system will load it from each order. If necessary, you can configure the insertion of other data in the same way: customer name, order tracking number, and so on.
Let's check an example with a message generated based on our template. If you need to change something, click "Edit" and make the changes.
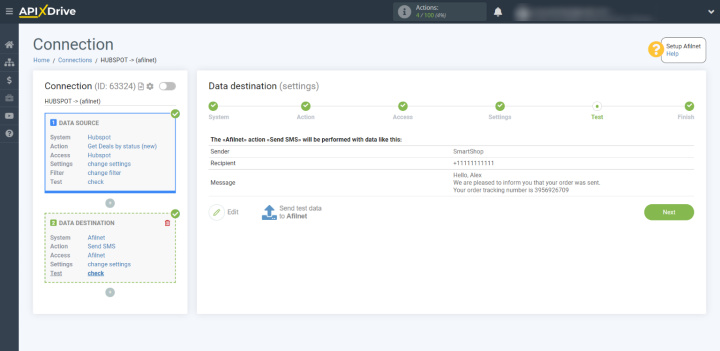
If everything suits you, click "Send test data to Afilnet". As a result, a notification about the dispatch of a test product should be sent to our number.
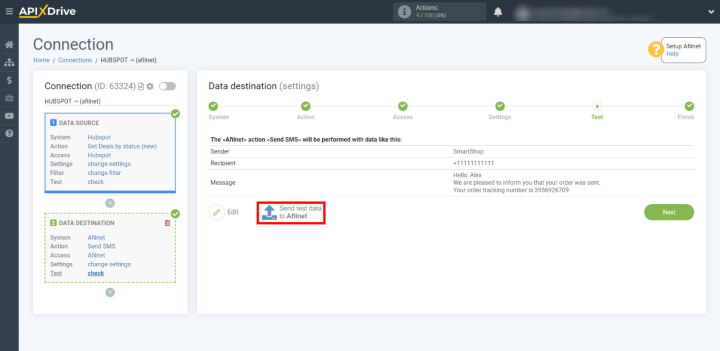
If the message does not come, we check the correctness of the previous steps.
Launching the connection between Hubspot and Afilnet
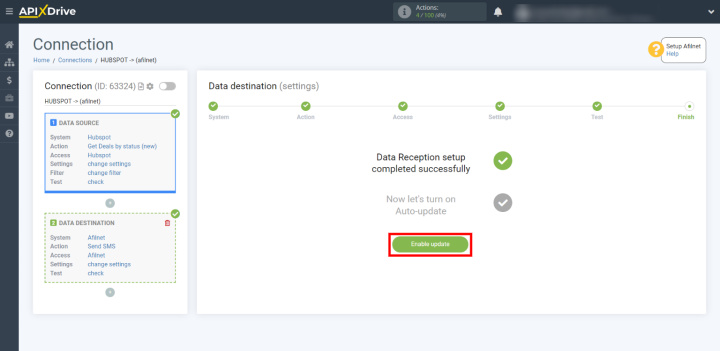
Clicking "Enable update" to start automatic sending of messages.
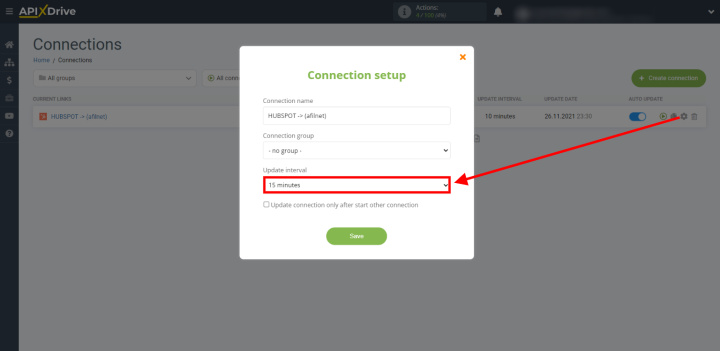
Click on the gear and set the data transfer interval. The smaller it is, the less will be the delay between the occurrence of the event and the sending of the message.
That's all. ApiX-Drive will initiate automatic delivery notifications via Afilnet. Similarly, you can configure mailings for other services and events. Good luck with your work.
