Facebook And Google Sheets Integration: Automatic Download Leads
The Facebook social network is an effective platform for promoting a business of any size and expanding its customer base. Using lead forms, you can collect user contacts and take orders. In this article, we'll show you how to automatically upload leads from your Facebook ad account to a Google Sheets file.
Content:
1. How to set up Facebook and Google Sheets integration
2. Connect Facebook
3. Connect Google Sheets
4. Automate data update
5. The result of Facebook and Google Sheets integration
Spreadsheets are often used as a simple CRM system for storing and processing leads. Google Sheets is free and easy to use. You can work with tables both using a desktop and via a smartphone. Any employee can access information on orders and leads.
For high-quality processing of requests through Facebook, response speed is important. Often it is quick feedback that is the key to a successful transaction. Orders and appeals in social networks are often situational in nature, so it is necessary to respond to the appeal while the potential buyer remains interested. You need to constantly check your Facebook ad account for new hits. However, not always all responsible employees can regularly access the social network to receive information on new orders. Often, one person manages a Facebook business account, while other employees are responsible for communicating with customers and fulfilling requests.
The problem of synchronizing and updating information on new requests from Facebook can be solved by automatically uploading leads from the social network to the Google Sheets file. As a result, each new hit will be added to the spreadsheet. Employees involved in processing need only access to the Google Sheets file. All the necessary data gets into the table from the Facebook advertising account automatically.
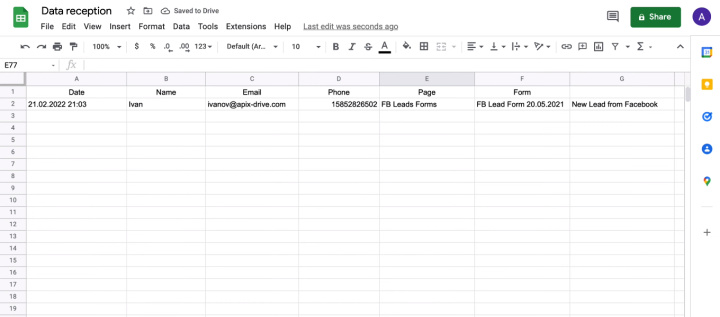
How to set up Facebook and Google Sheets integration
Our task is to ensure that leads from Facebook are automatically added to the Google Sheets file. Thus, data on new orders will be available in a convenient format, for example, for a sales manager, warehouse worker or director. To get up-to-date information, you do not need to go to the Facebook advertising account.
We can solve our problem using the ApiX-Drive service. This is an online connector that allows you to connect different systems in a few minutes. ApiX-Drive will track new Facebook leads and automatically add them to your spreadsheet. To create such an integration, no special knowledge or knowledge of the API is required. Communication is extremely easy to set up.
Connect Facebook
To get started, register and go to your ApiX-Drive personal account. Now we can create a new connection.
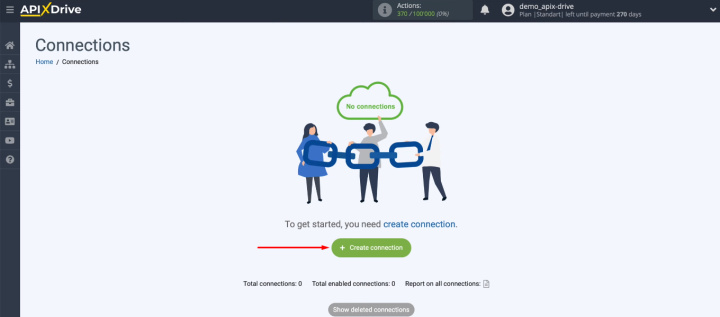
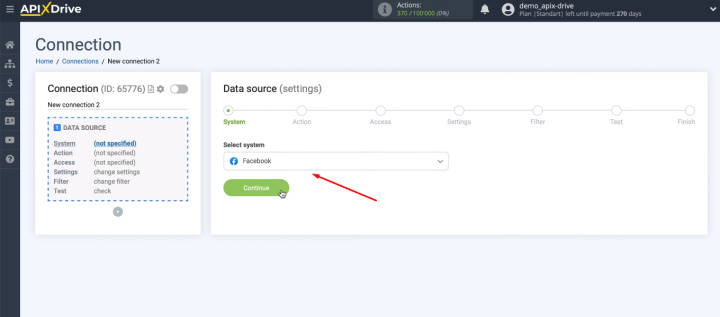
Select the data source - Facebook.
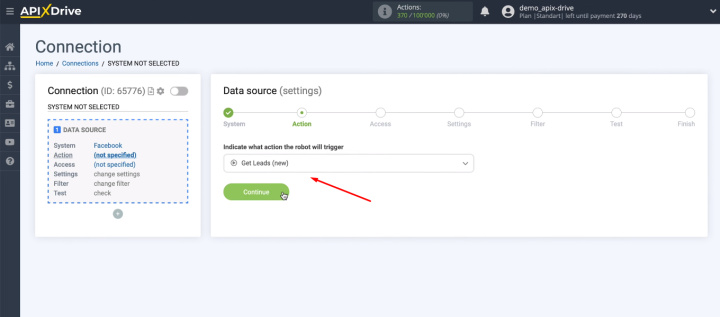
Choose an action — Get Leads (New).
Now we need to connect our Facebook account to the ApiX-Drive system.
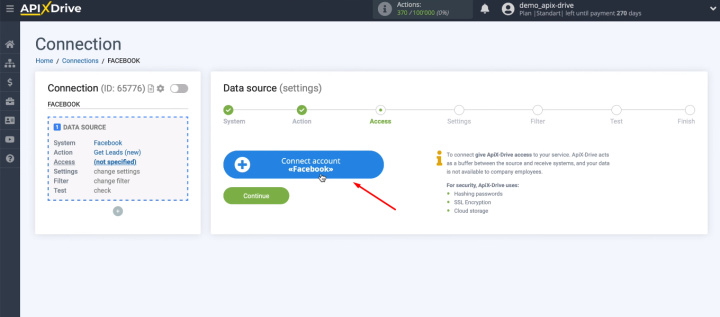
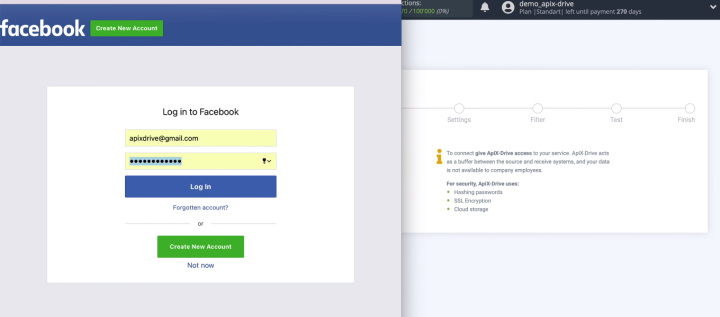
Log in to Facebook.
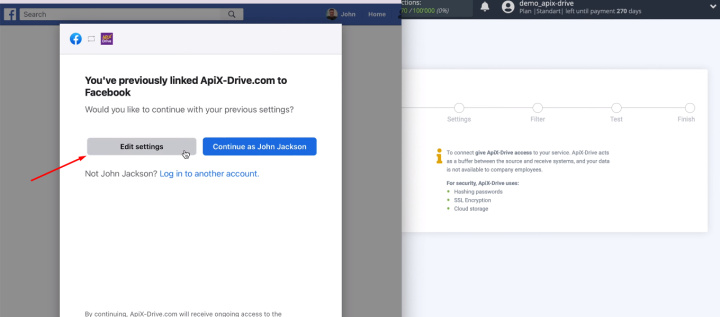
Let's go to the settings.
We select advertising pages from which we will download data on leads.
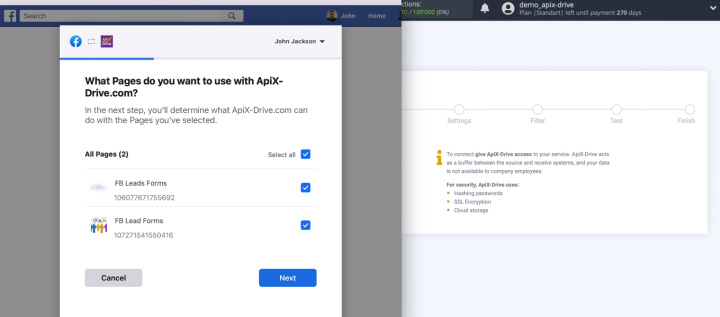
If later there are new pages from which you need to download leads, you should return to this stage and connect the necessary pages. You can also select all ad pages at once.
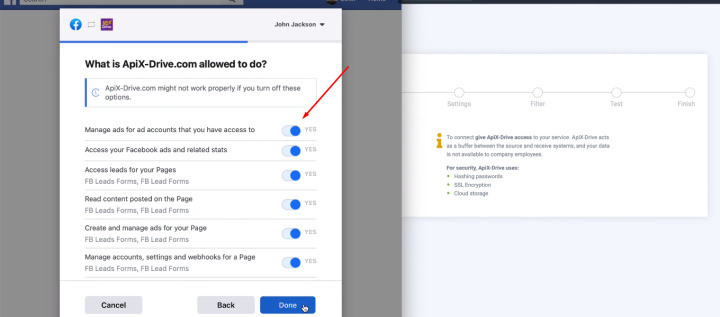
Leave all checkboxes enabled.
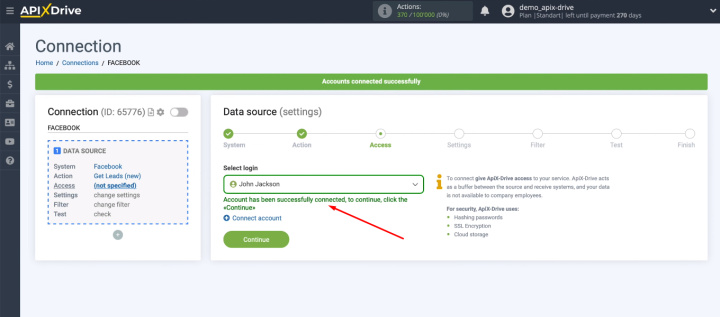
The connected account appeared in the list of available ones. Select it and proceed with the setup.
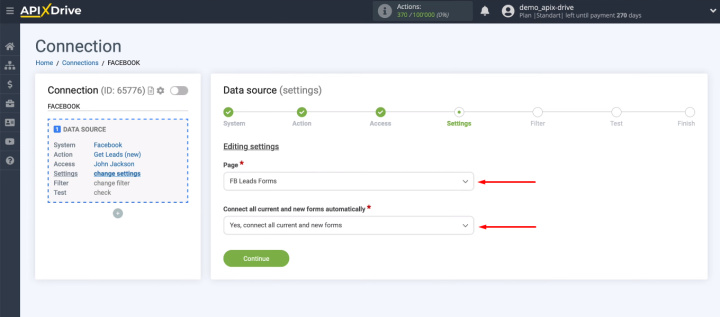
The next step is to define the page and forms from which the data will be transferred. All current and new forms can be selected.
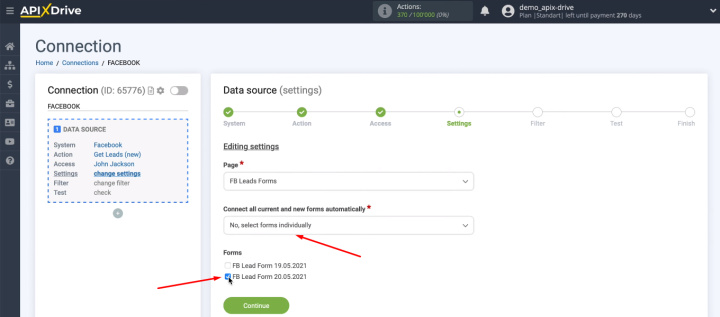
It is also possible to select forms manually.
The next step is to set the conditions for filtering the data. This is not required for our task.
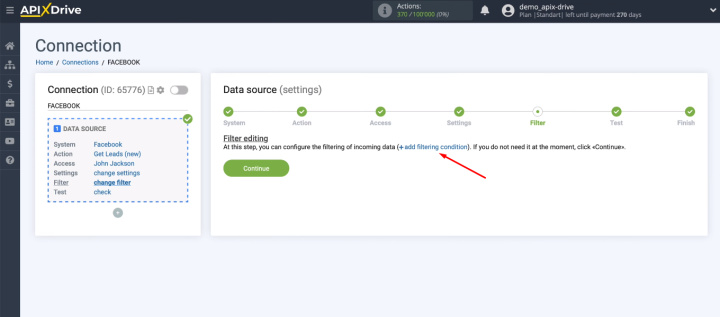
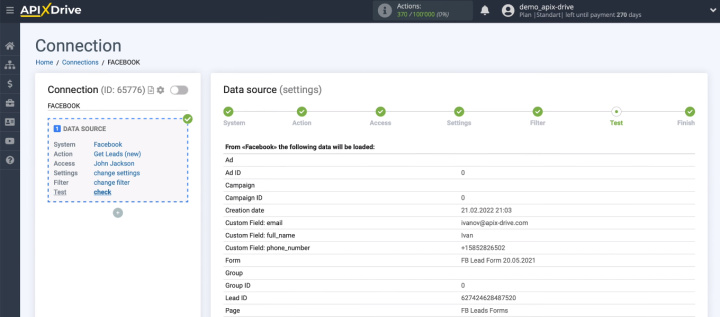
The system offers us an example of the data that will be loaded from Facebook. We check the information and continue the setup.
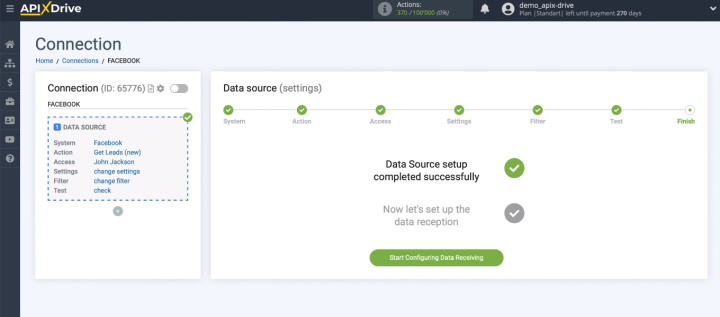
The data source has been successfully configured.
Connect Google Sheets
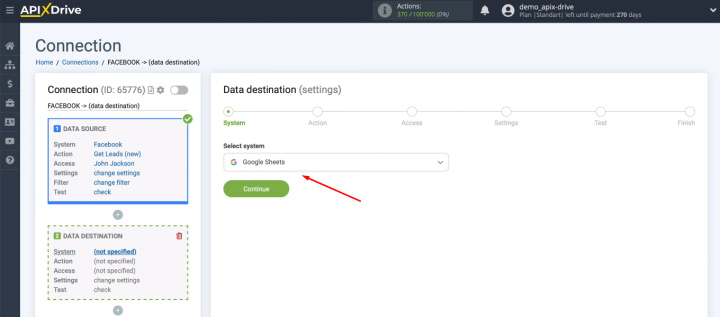
We select the Google Sheets service as the data receiver.
Define an action - Add Row.
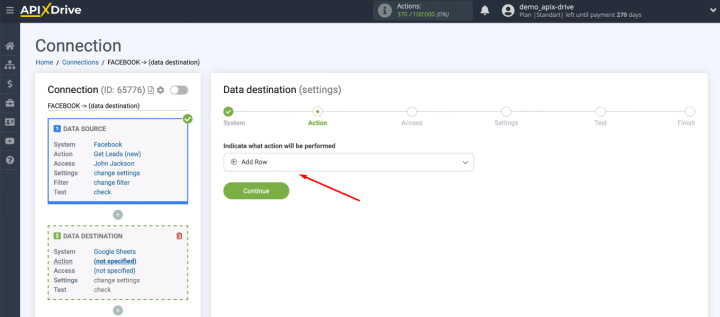
We connect the Google Sheets account to the ApiX-Drive service.
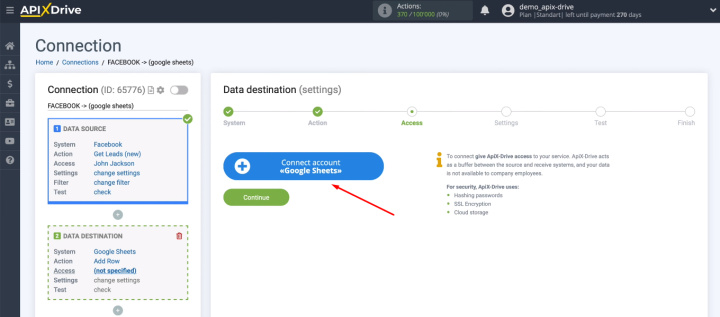
Log in to Google Sheets.
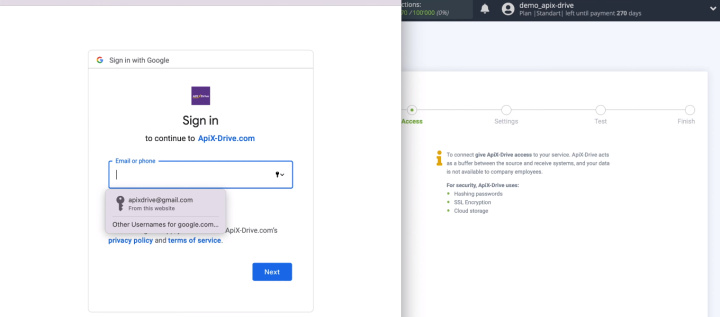
We provide access to the online connector.
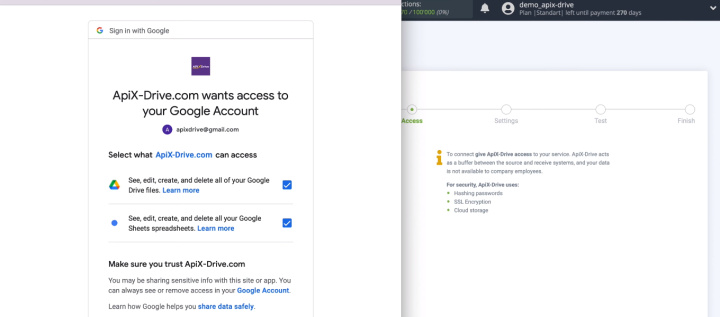
The connected account appeared in the list of available ones. Select it and proceed with the setup.
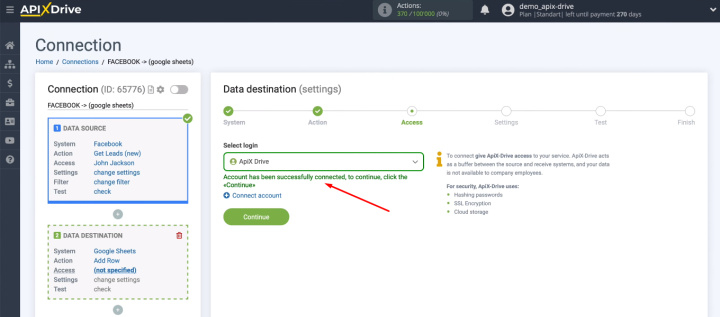
Now we need to select the table and sheet to which new leads will be added.
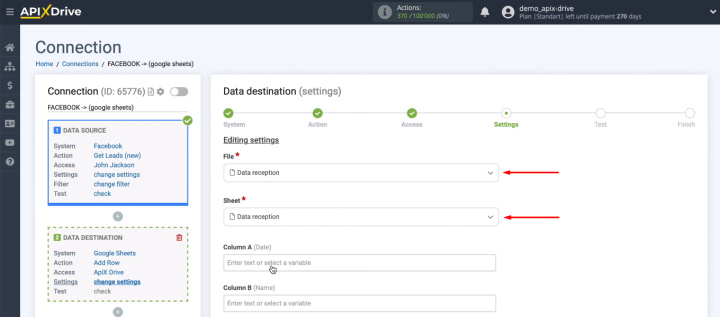
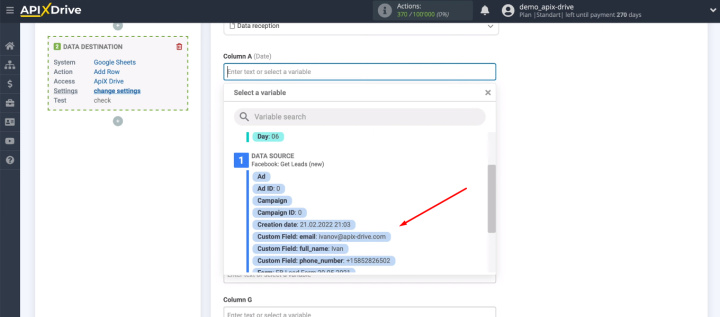
We define the contents of the columns using the variables from the drop-down list. You can also fill in the columns manually.
In the next step, we see an example of the data that will be passed to the table.
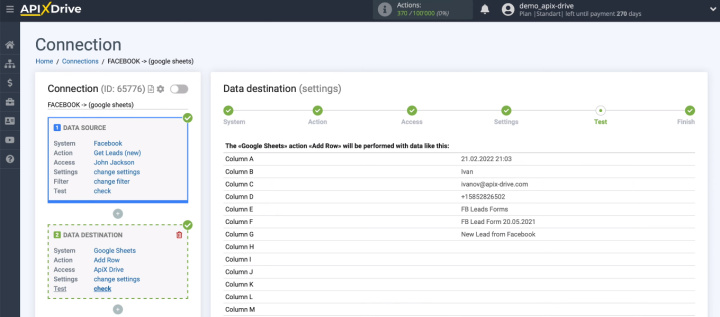
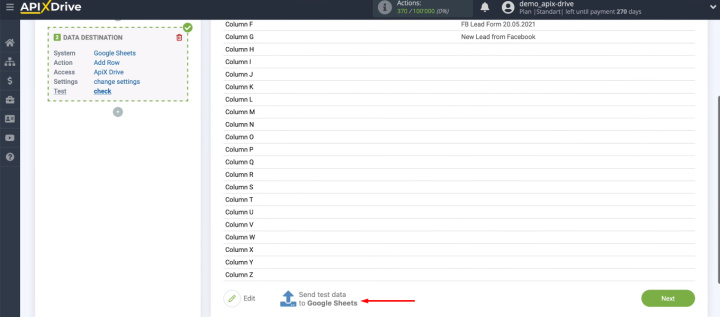
Let's send a test lead to our Google Sheets file.
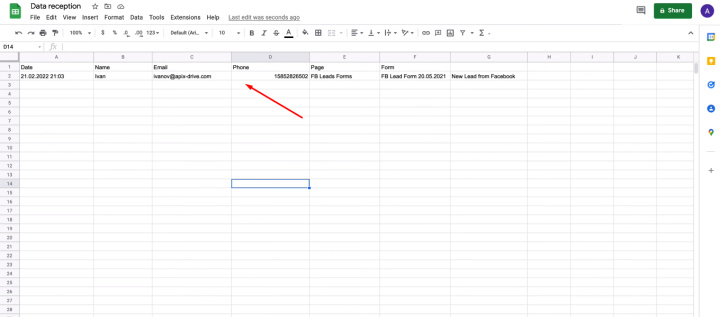
We check the correctness of adding a lead to the table.
Automate data update
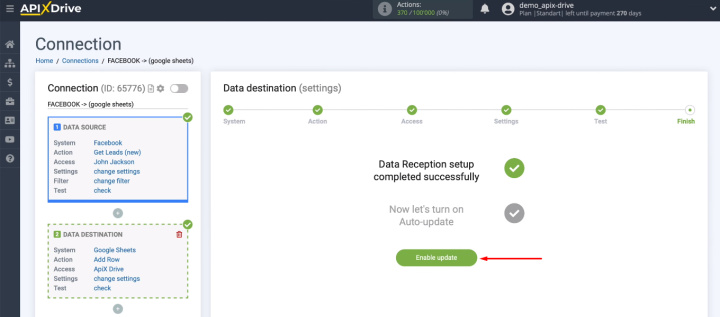
The data transfering has been successfully configured. Now we need to enable automatic connection activation.
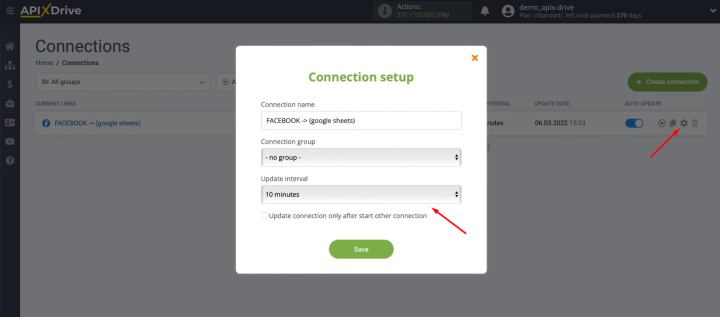
The data source check interval can be changed. This parameter is set via communication settings.
The result of Facebook and Google Sheets integration
Using the ApiX-Drive online connector, in a few minutes we set up automatic uploading of leads from the Facebook advertising account to Google Sheets. This did not require any involvement of programmers or special skills. Automatic transfer of applications from Facebook to a spreadsheet will greatly simplify workflows. Data on new leads from the social network gets into the Google Sheets file and becomes available to anyone who has a link to the spreadsheet.
