How to connect Google Sheets and Intercom
The Intercom service is a platform that provides communication with customers and helps automate sales and marketing. In this article, we will tell you how to automatically upload users from the Google Sheets table to the Intercom system.
Content:
1. How to create a Google Sheets and Intercom intergation
2. Connect Google Sheets
3. Connect Intercom
4. Enable auto-update
5. The result of the integration of Google Sheets and Intercom
Google Sheets is a popular spreadsheet service. This platform is quite easy to use and at the same time offers a wide range of functionality. An important advantage of Google Sheets is the ability to collaborate in real time. Given the fact that leads are generated from different channels, there is a need to collect them in one service. Often, Google Sheets is chosen for such a basic data storage tool.
Effective sales and high-quality communication with customers in modern realities is impossible without automation. There are special platforms that help provide quick feedback as well as implement different types of marketing campaigns. The Intercom platform provides a whole range of solutions for customer support and product/company promotion. Among the important tools of this service are its own messenger, chat bot constructor and functionality for creating various mailing scenarios.
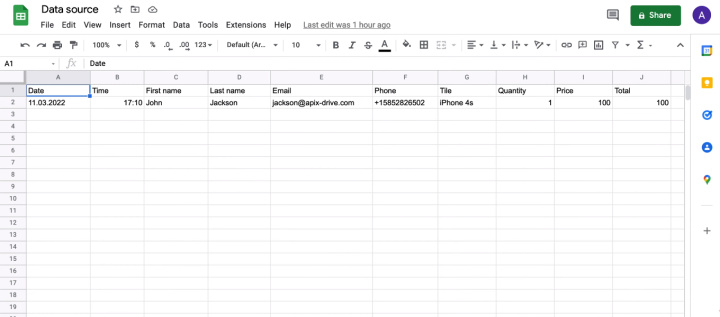
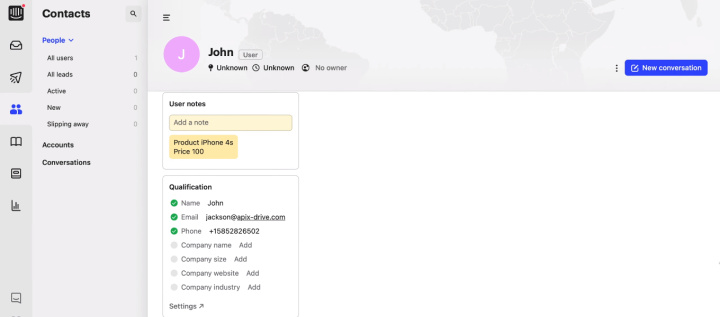
One of the key elements of the Intercom platform is the user base. Let's say there is a Google Sheets file that collects all the customers and requests. A marketer needs to constantly monitor the table and create new users in the Intercom account. But there is a solution that fully automates this process. Using the ApiX-Drive online connector, you can set up a connection between a Google Sheets file and the Intercom platform. Each new entry in the spreadsheet will be automatically added as a user on the Intercom side.
How to create a Google Sheets and Intercom integration
Almost all popular services involve integration with other systems to improve work efficiency. Typically, a connection is created using an API. To set up the integration of Google Sheets and Intercom, you can use the services of programmers. However, there are no-code solutions that allows you to create a connection without special skills or knowledge.
The ApiX-Drive online connector is a handy tool with a simple interface that allows you to connect different systems in a few minutes and ensure automatic data transfer. To create an integration between Google Sheets and Intercom, you do not need to learn the API or follow its updates. The integration setup process is extremely simple and consists of only three steps.
Connect Google Sheets
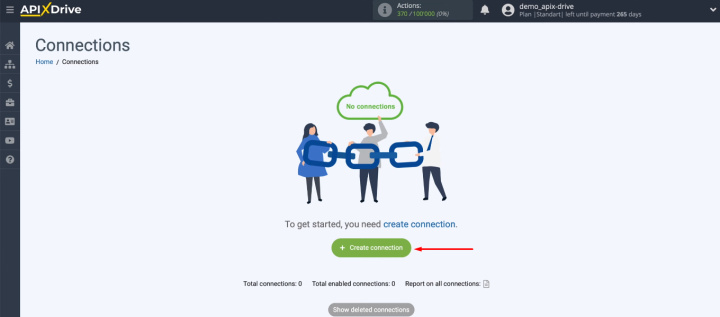
To start working with the online connector, you need to register on the website of the ApiX-Drive service. Create a new connection in your personal account.
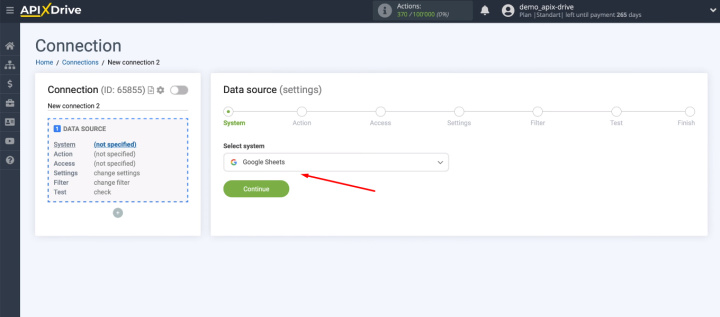
First, let's define the data source. Choose Google Sheets.
Now we need to define an action. We will be downloading new records from the spreadsheet, so we select the “Get Rows (New)” option.
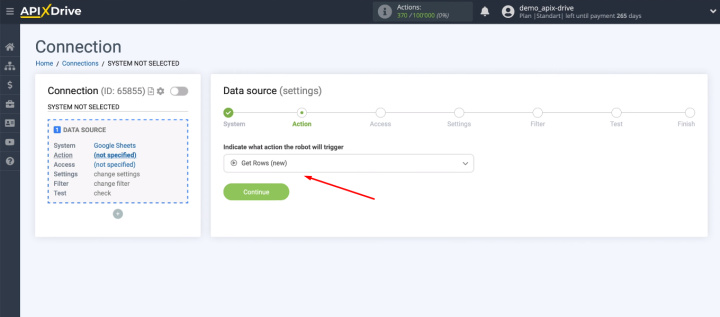
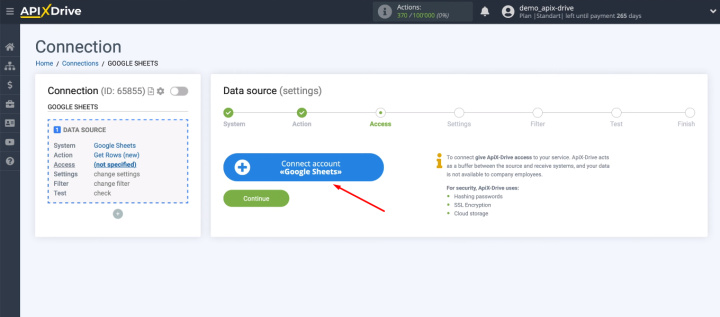
Let's connect Google Sheets to the ApiX-Drive system.
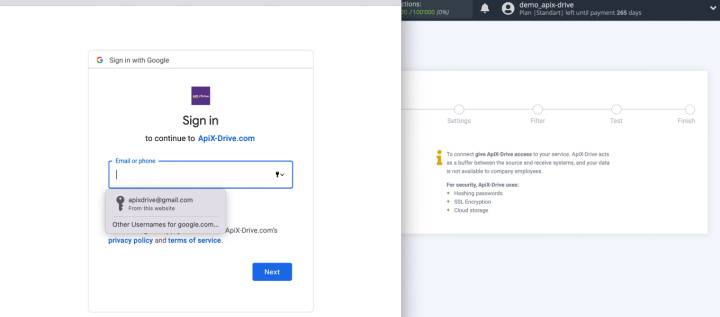
Login to personal Google Sheets account.
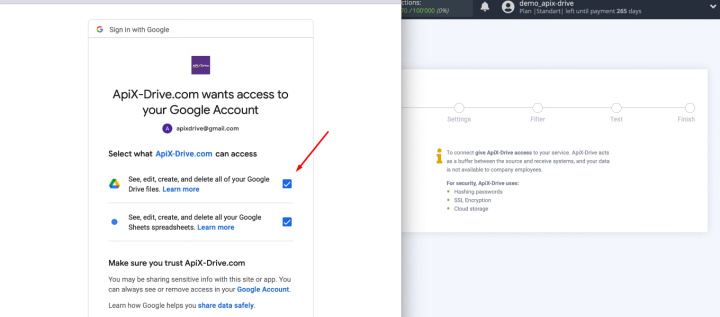
We provide the ApiX-Drive service with the necessary access.
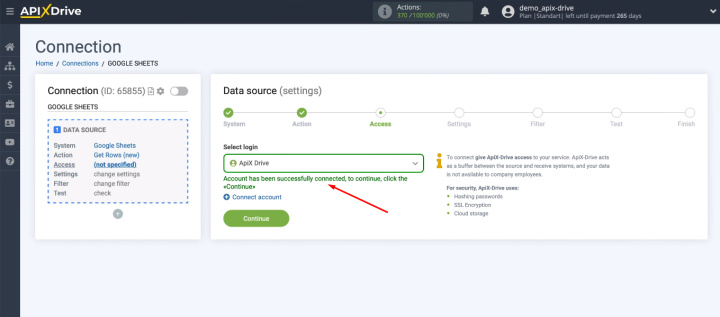
Select the connected login.
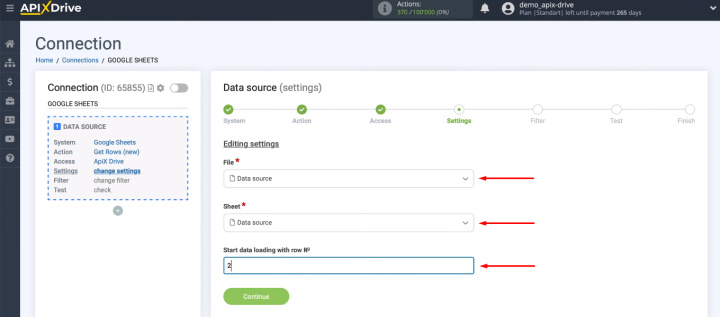
Select the file and sheet of the spreadsheet. We determine the row number from which the data upload will begin.
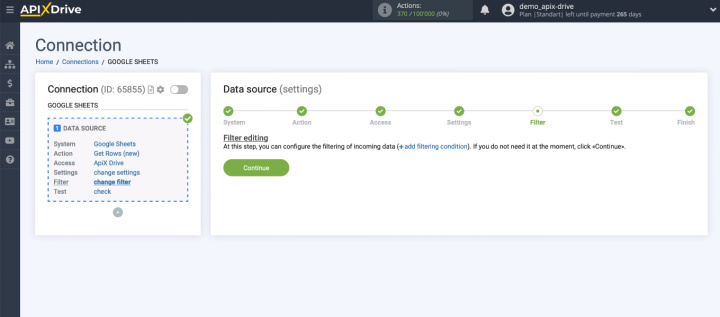
The ApiX-Drive online connector provides functionality for filtering data. We do not have such a need, so we skip this step.
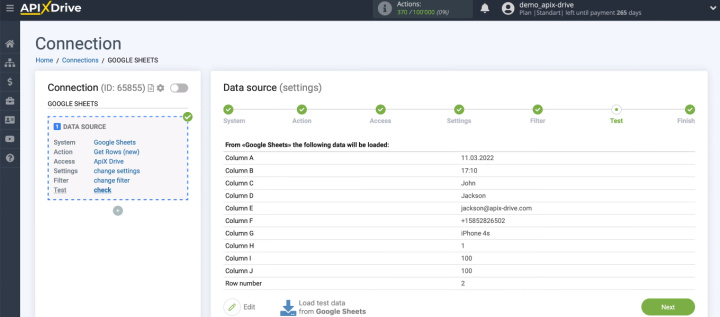
Now you need to check the data set that will be unloaded from the spreadsheet. If everything suits, we continue the configuration further.
Google Sheets service has been successfully connected as a data source.
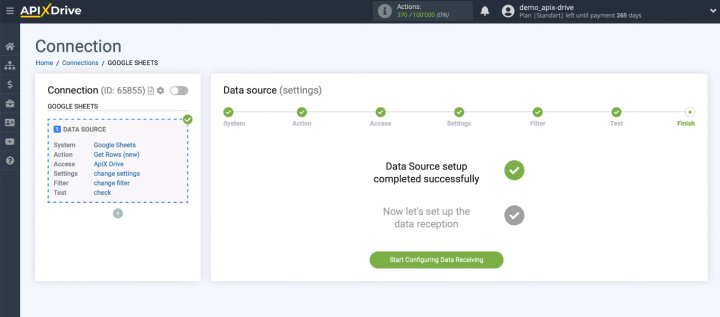
Connect Intercom
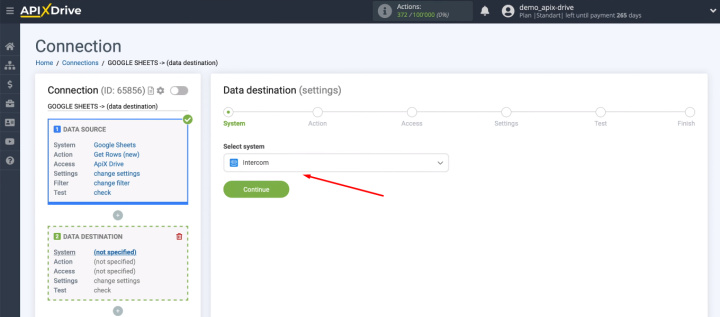
Now you need to configure the receiving system. We select the Intercom platform as the receiver.
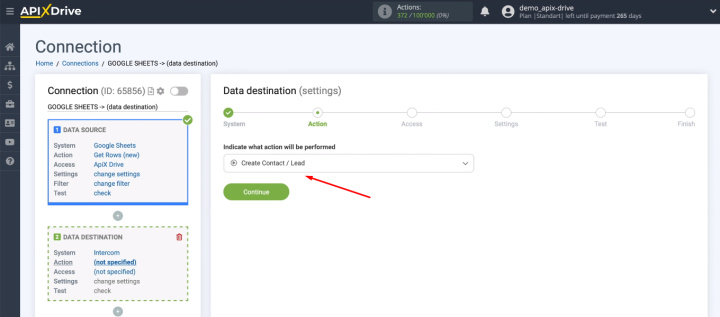
Define the action — Create Contact/Lead.
Connect the Intercom account to the ApiX-Drive service.
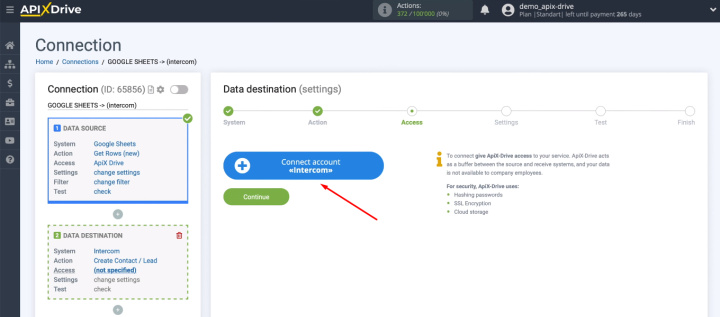
Log in to the Intercom system.
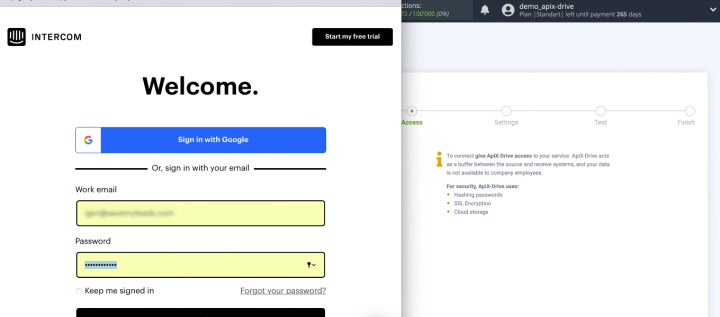
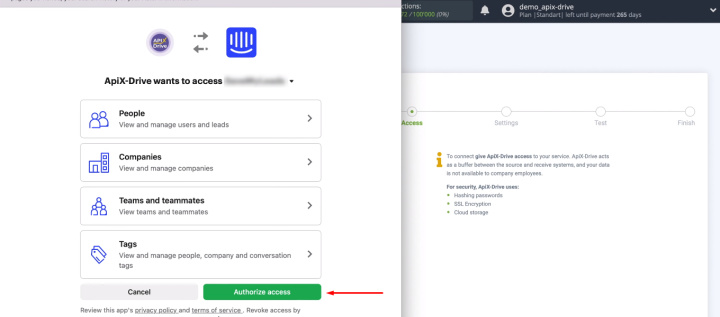
At the next stage, you need to provide access for ApiX-Drive to work with the Intercom platform.
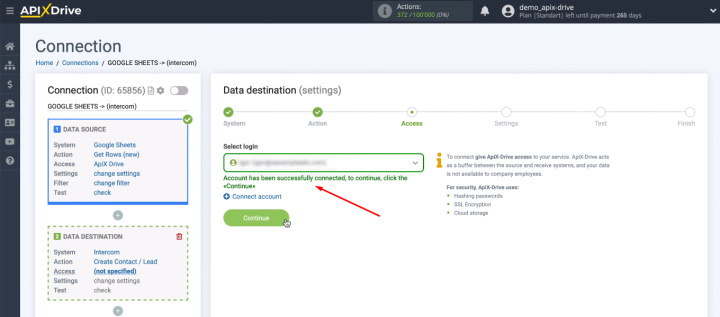
The connected account is available for further configuration.
Now we need to define the data that will be sent to the Intercom service.


We will add new contacts to the list of users. Therefore, in the “Contact type” column, you must select the appropriate item.
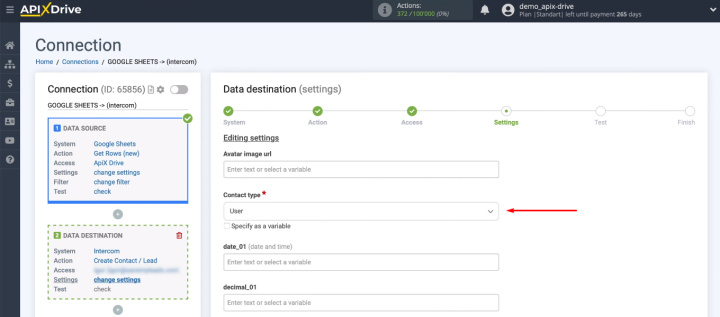
Next, we define other data using the variables we got from Google Sheets.
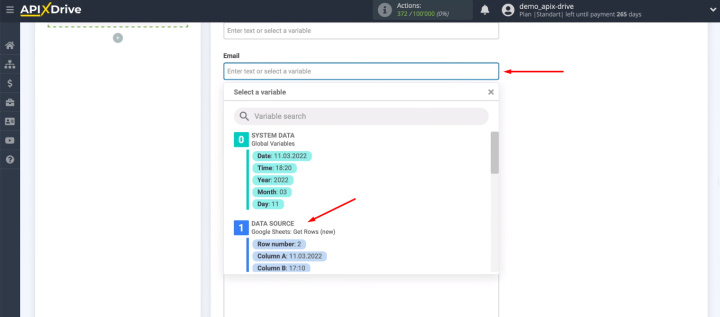
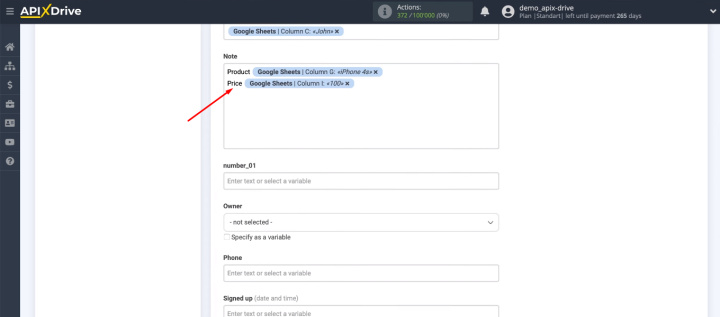
When filling in the fields, you can also use your own text entered manually.
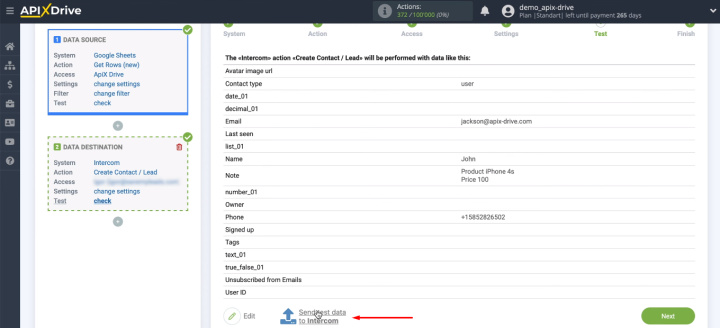
At the next stage, we check an example of data that will be sent to the Intercom platform. If something does not suit you, then you can go back a step and make the necessary adjustments. If all is well, we send a test contact to Intercom.
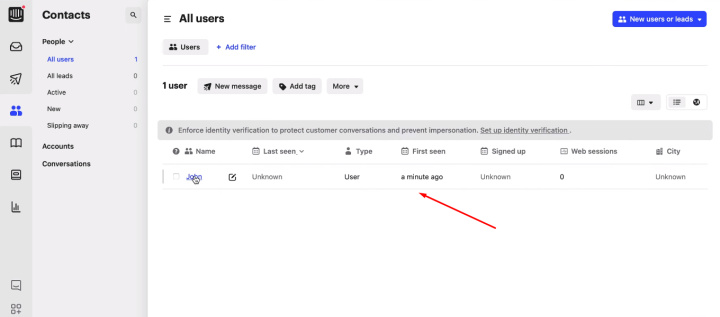
Go to the Intercom personal account and check for a new entry in the list of users.
Return back to the ApiX-Drive workspace.
Enable auto-update
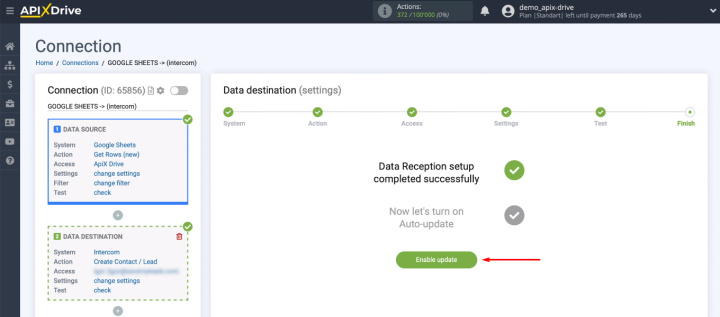
We have set up the receiver. Now you need to turn on automatic updates.
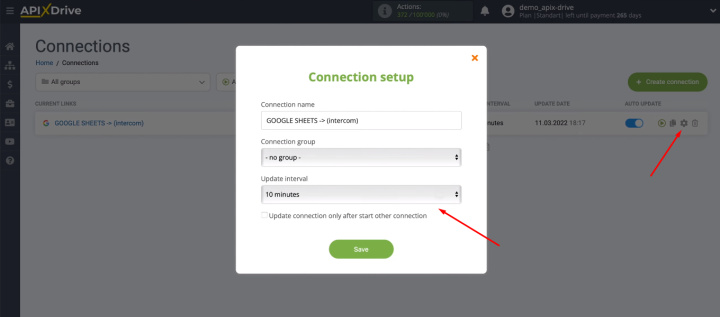
To change the communication interval, you need to go to the integration settings and set the appropriate value.
The result of the integration of Google Sheets and Intercom
Such integration will be useful if you use the Google Sheets service for storing and processing contacts, and the Intercom platform for communication with customers and marketing automation. In just a few minutes, you can set up a connection between these two tools and forget about regularly updating the list of users manually.
With the help of the ApiX-Drive online connector, every digital marketer can set up the connection between Google Sheets and Intercom. Integration helps to save an impressive time resource every day. Specialists get rid of the routine operation of transferring data from one system to another and can focus on more important tasks.
