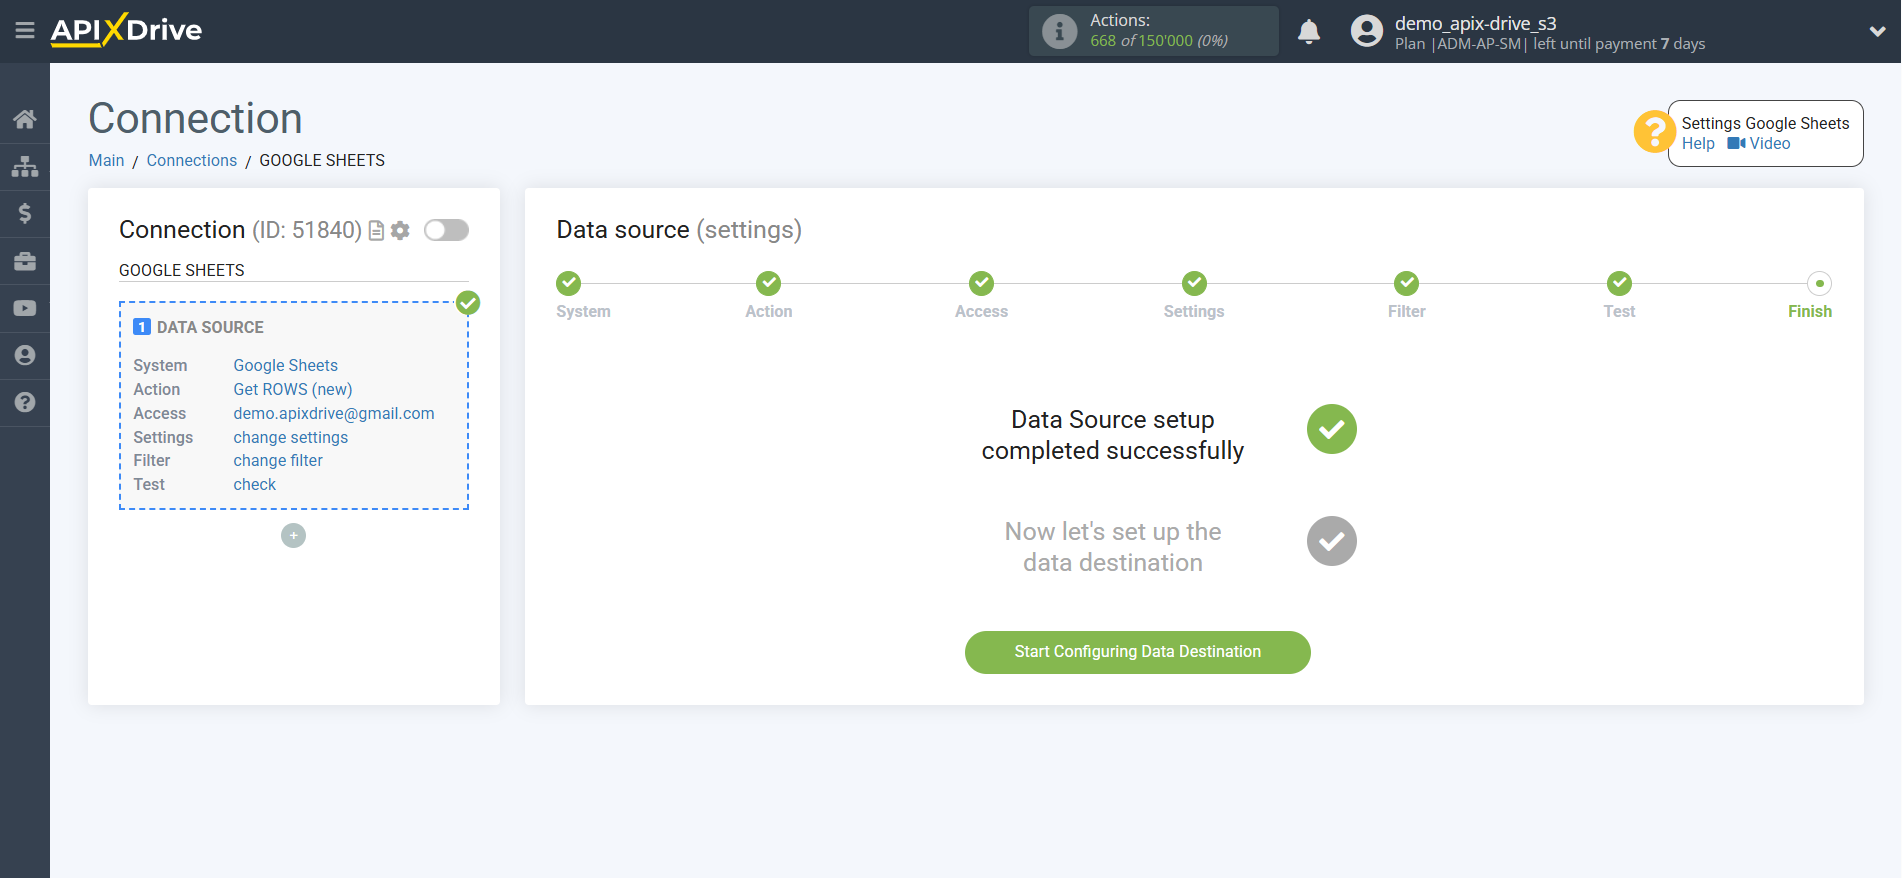
Adding a data source
Connection settings begins with adding a data source and is divided into several stages:
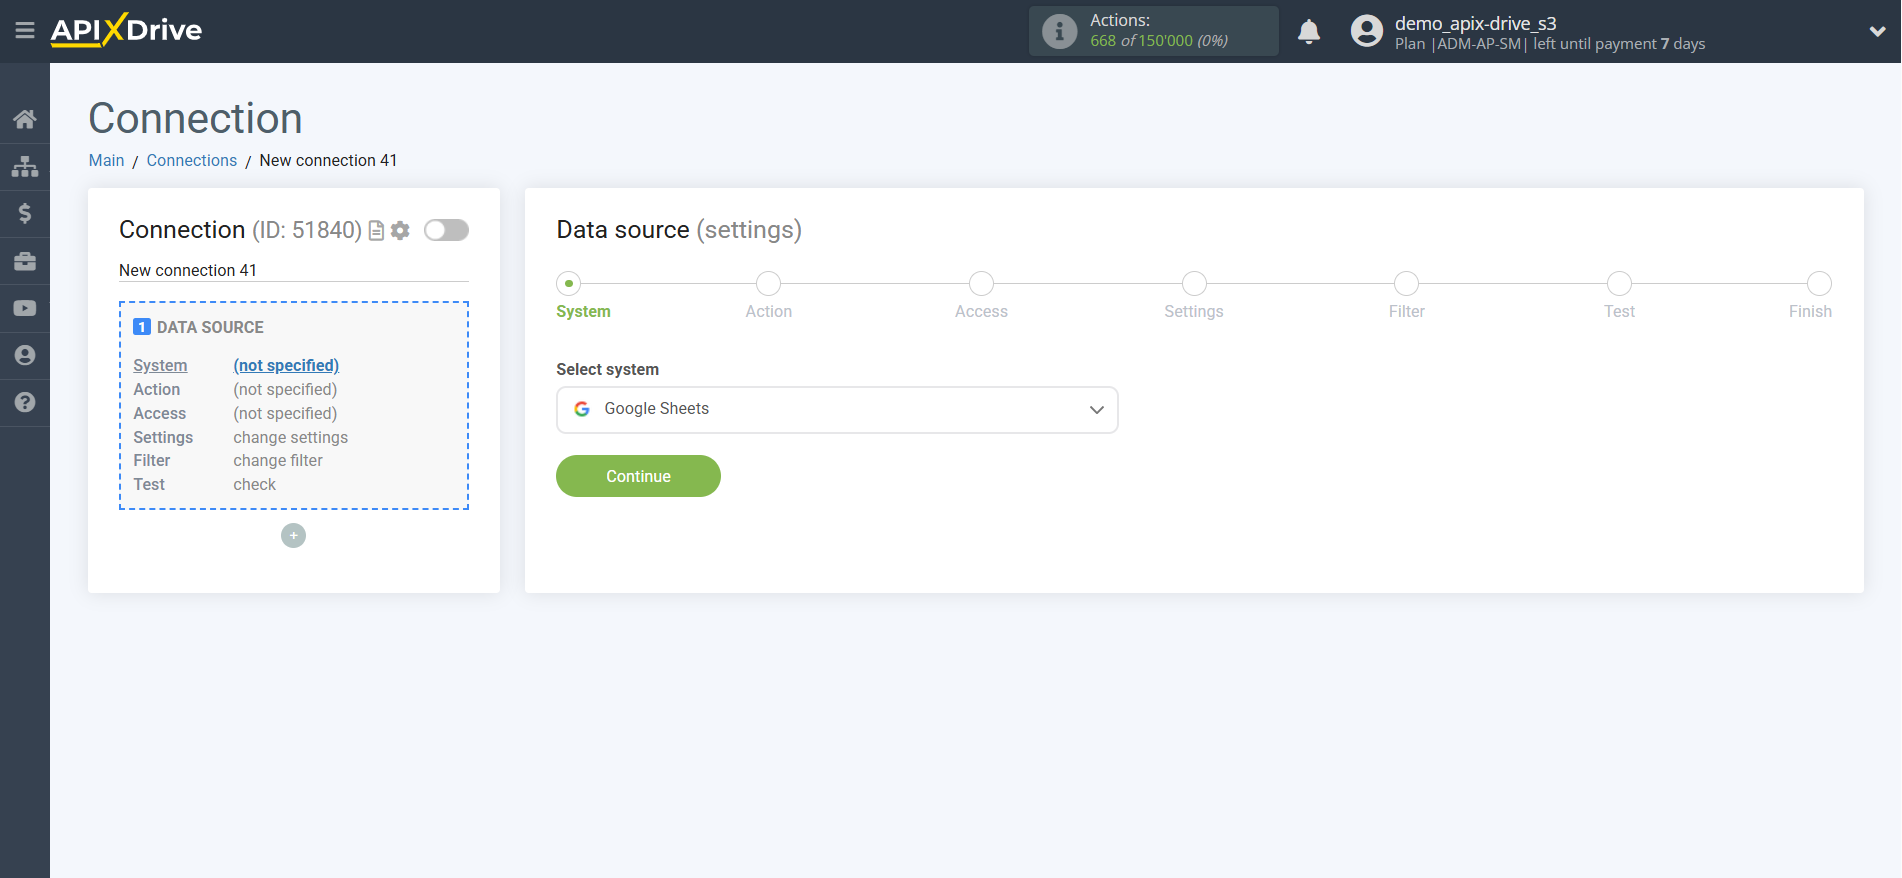
1. Selecting a system or service as a data source.
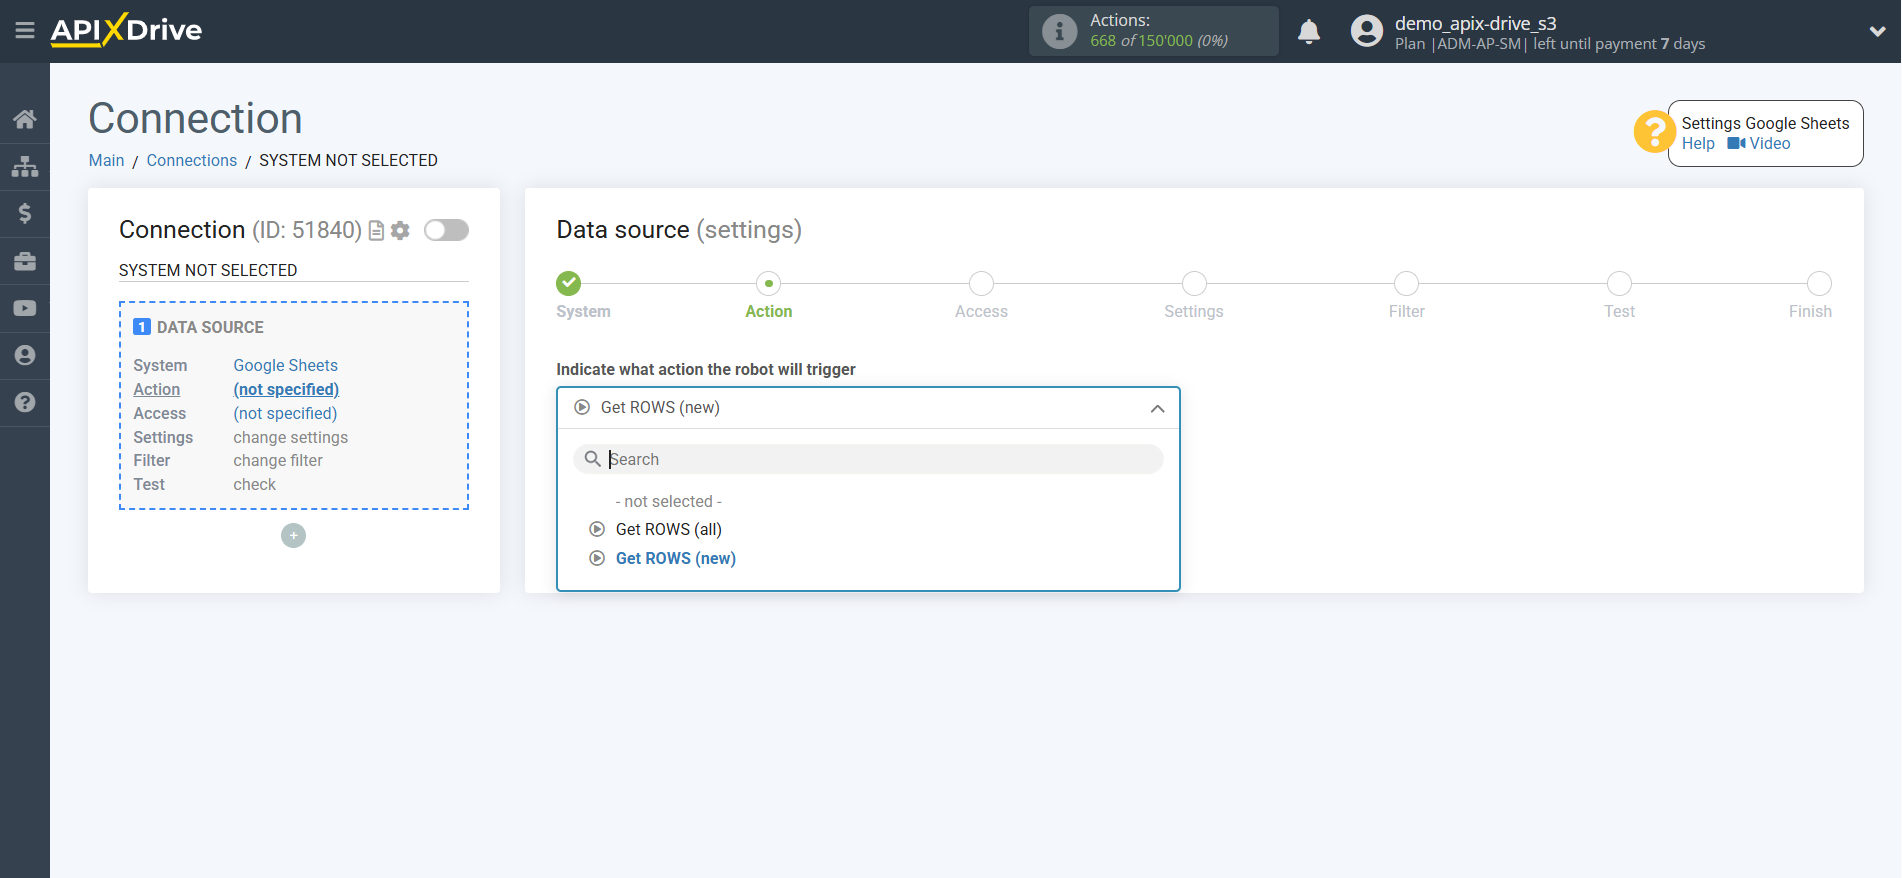
2. Select the action on which the connection will be triggered.
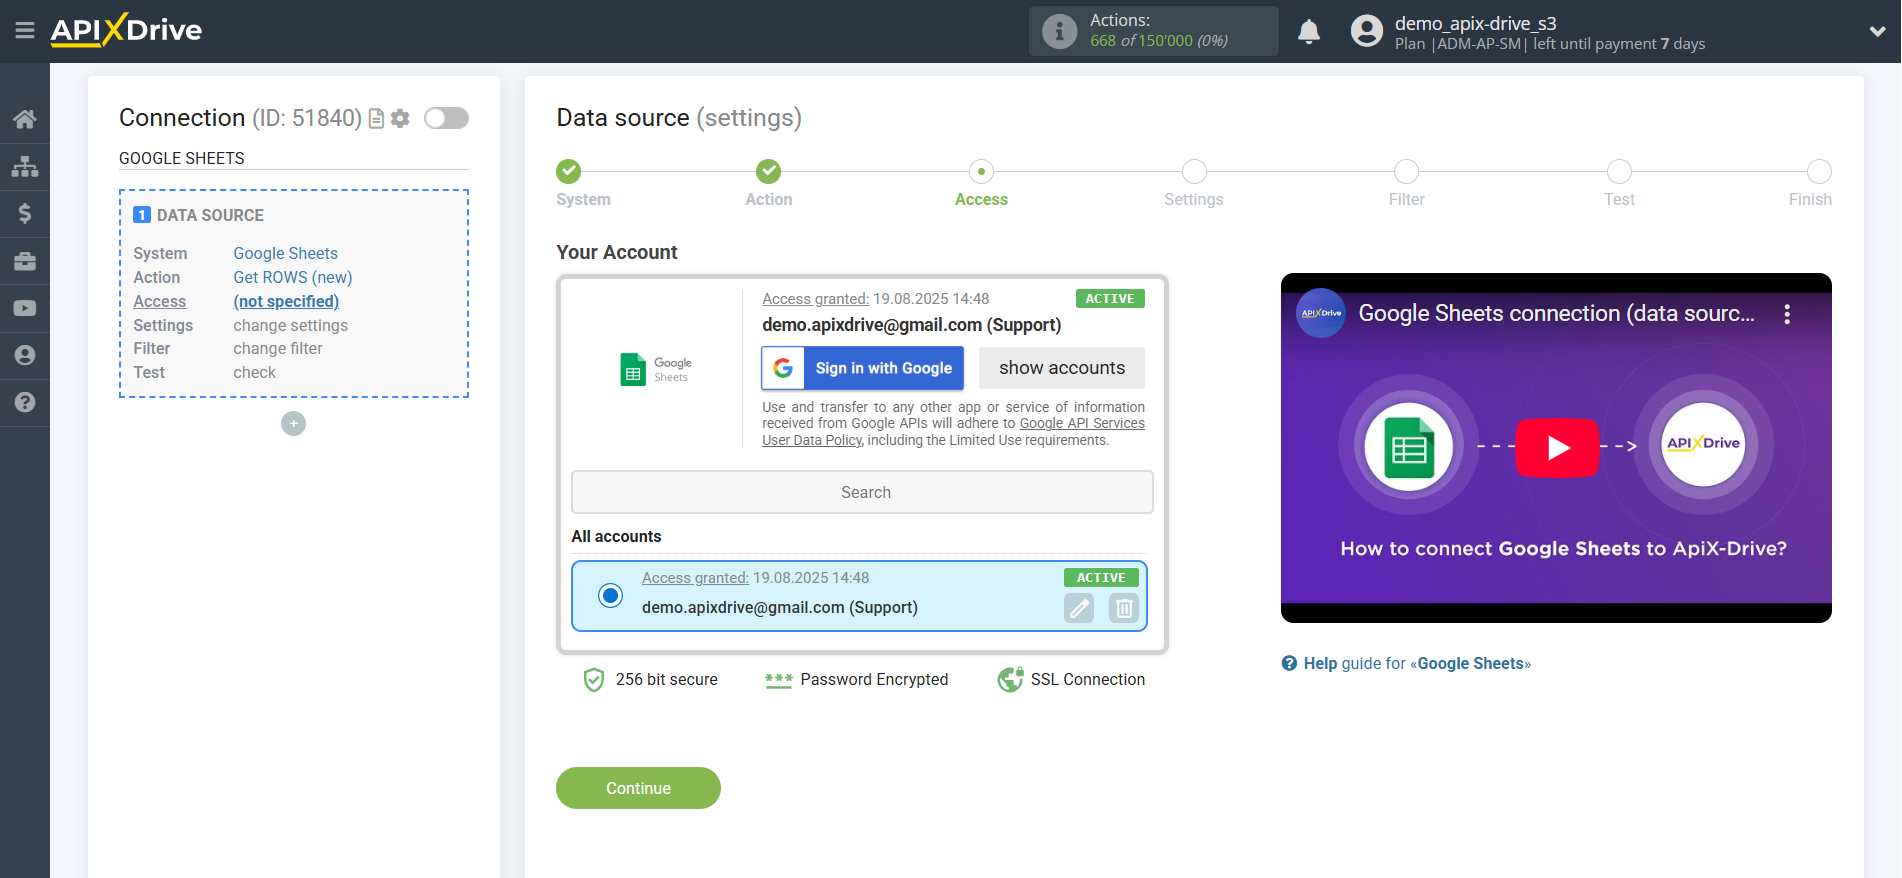
3. Selecting a system account as a data source or connecting a new account.
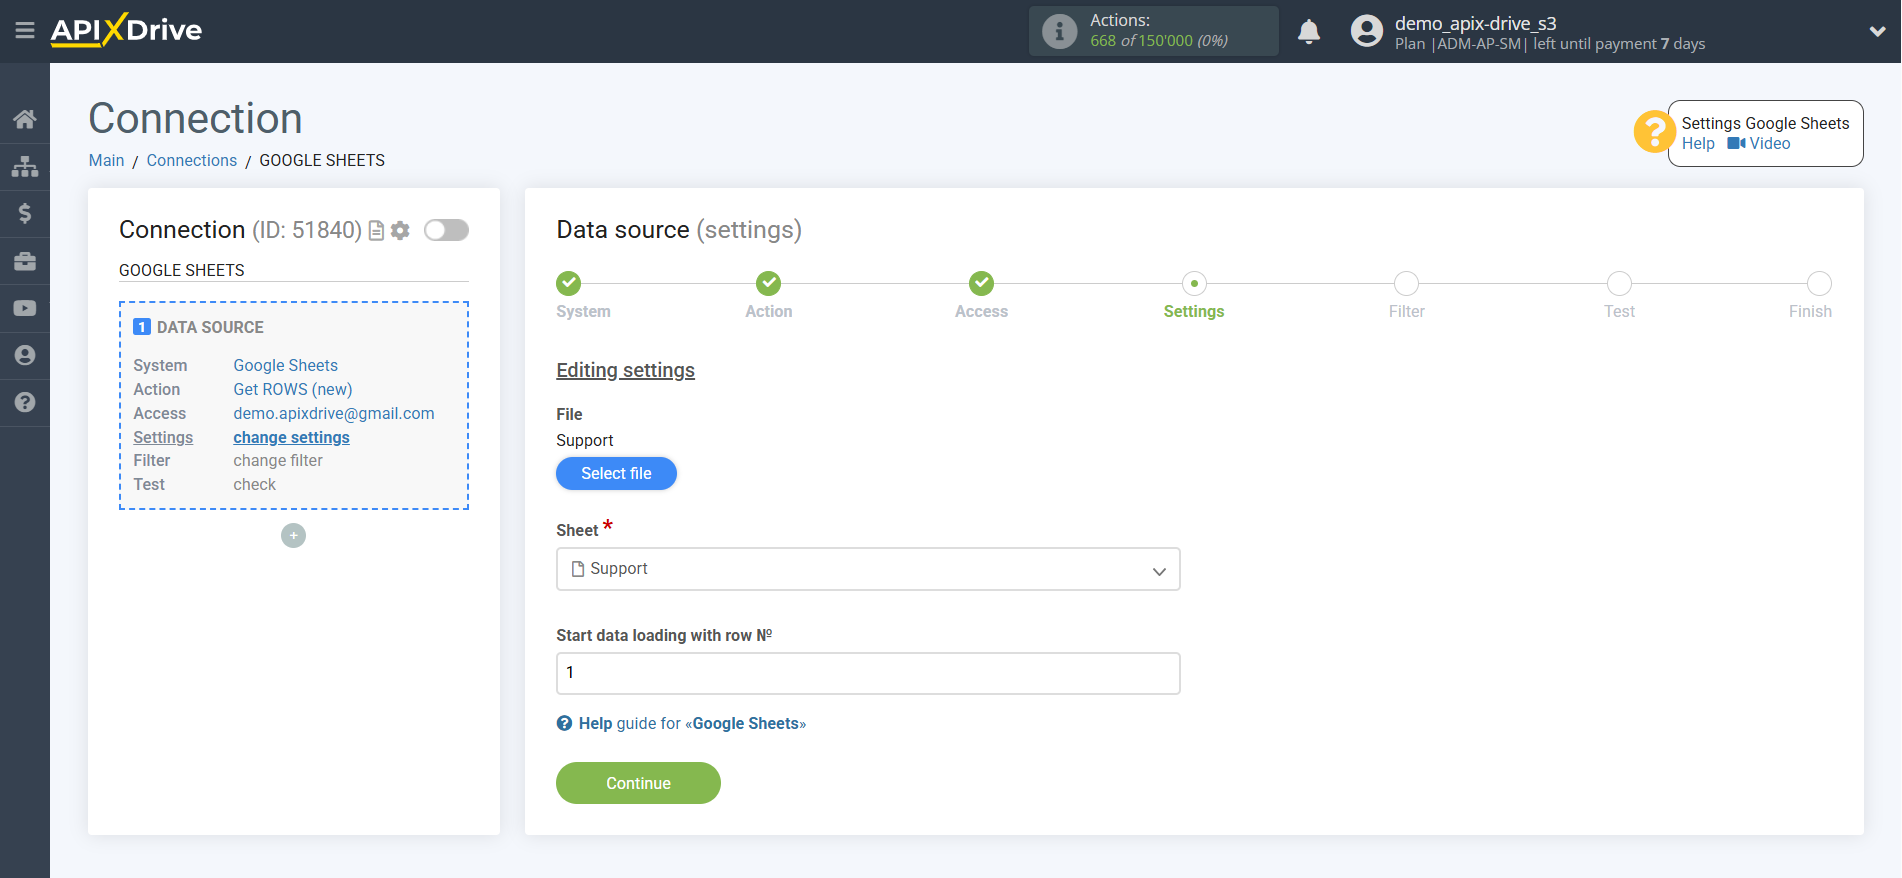
4. Setting up functions in the data source system.
These settings may differ for each service.
5. Filter settings in the data source system
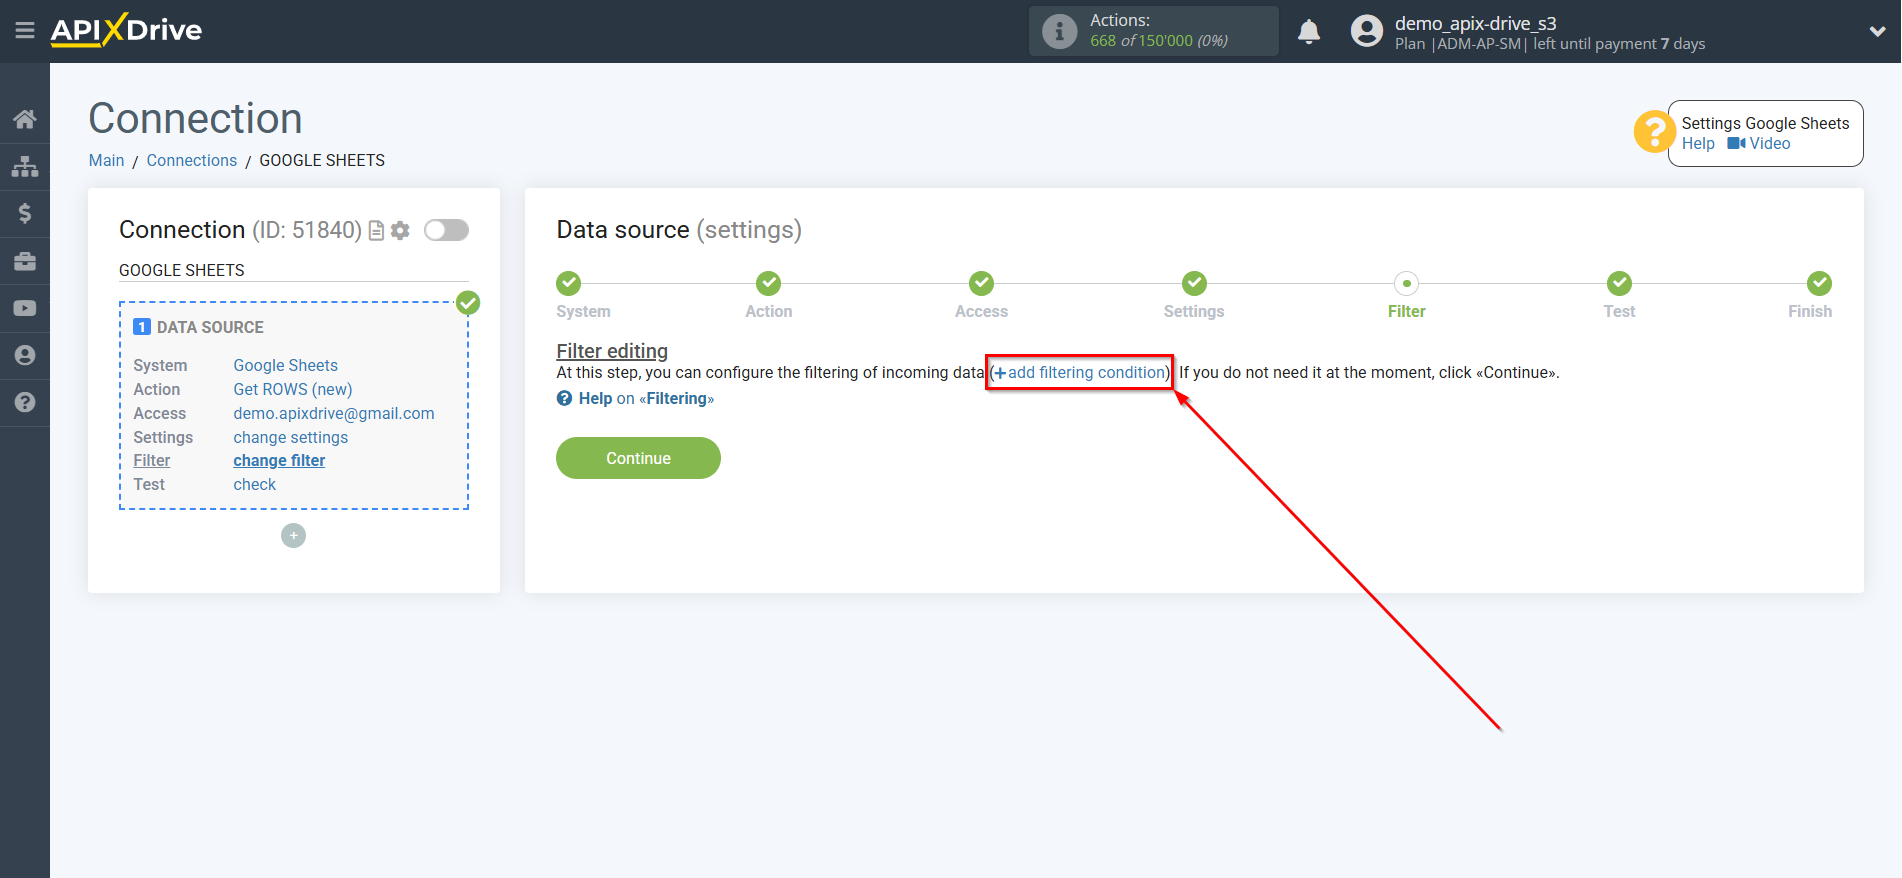
To set up a filter, go to Filter section and click Add filtering condition .
In this example, the filter is not used.
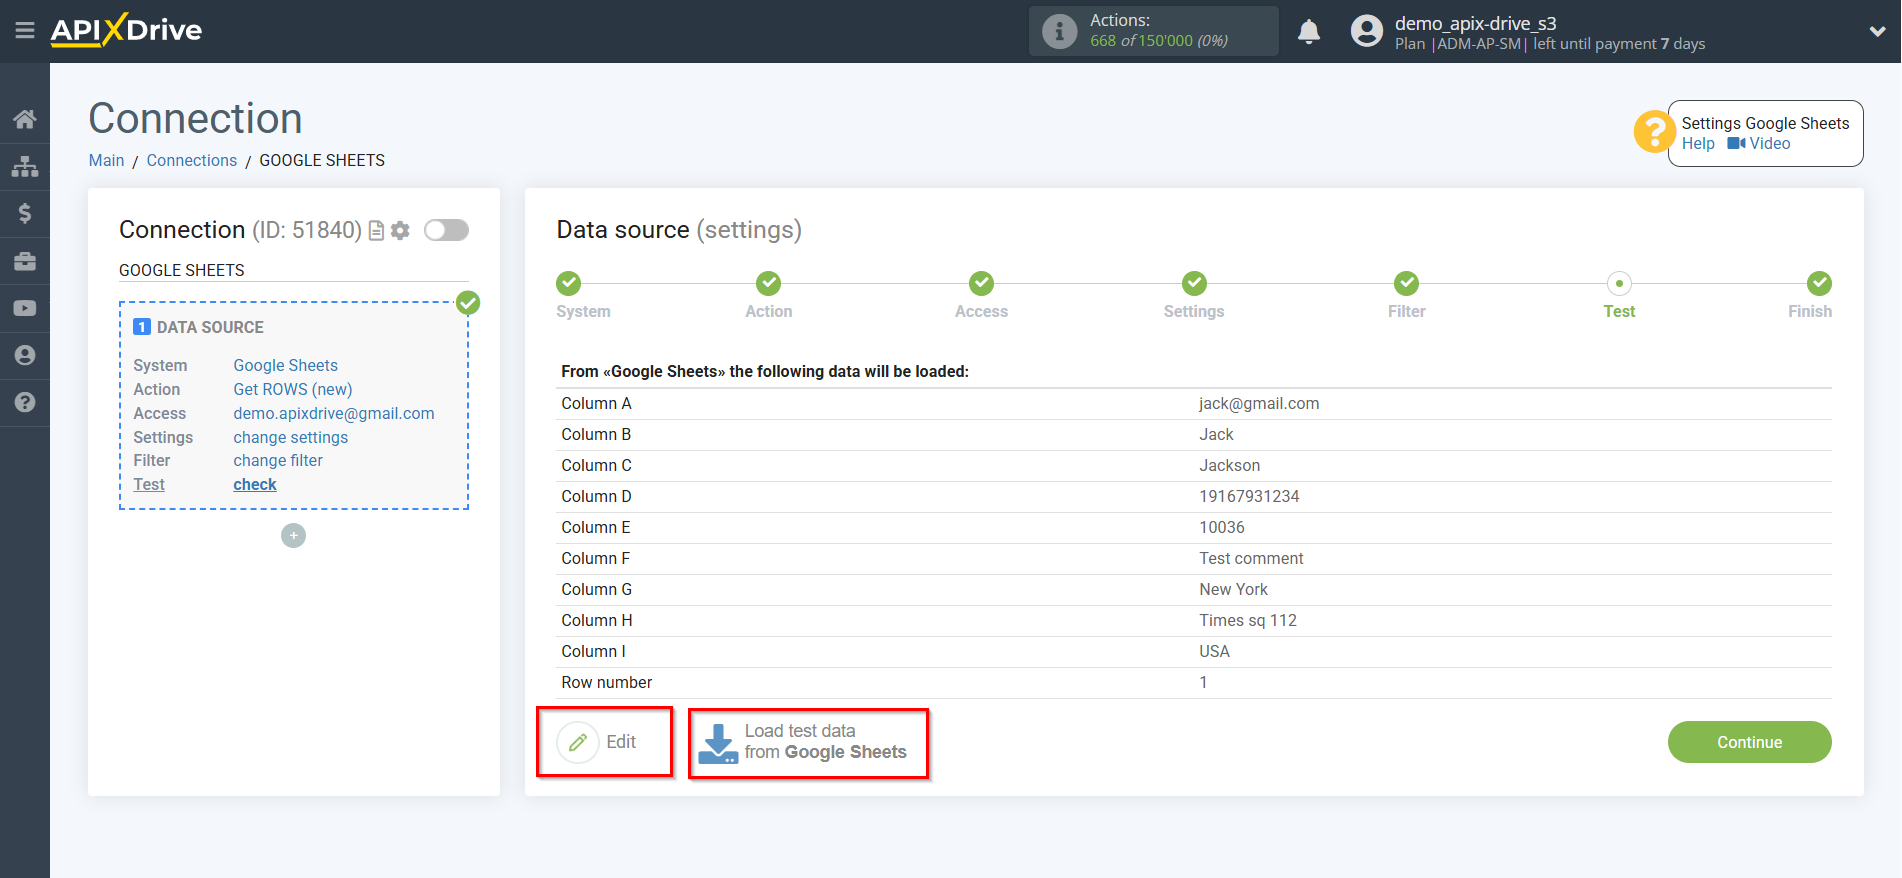
6. Loading and visualizing data that is available for processing
- If the data is not loaded automatically, click "Load test data"
- If you want to return to the step of setting up the functions of the data source system, click on "Edit"
- or "Next" to complete the setup.
7. This completes the data source setup.
To proceed to setting up the Data Destination system, click "Start Configuring Data Destination".
