Resending data after error in Data Destination
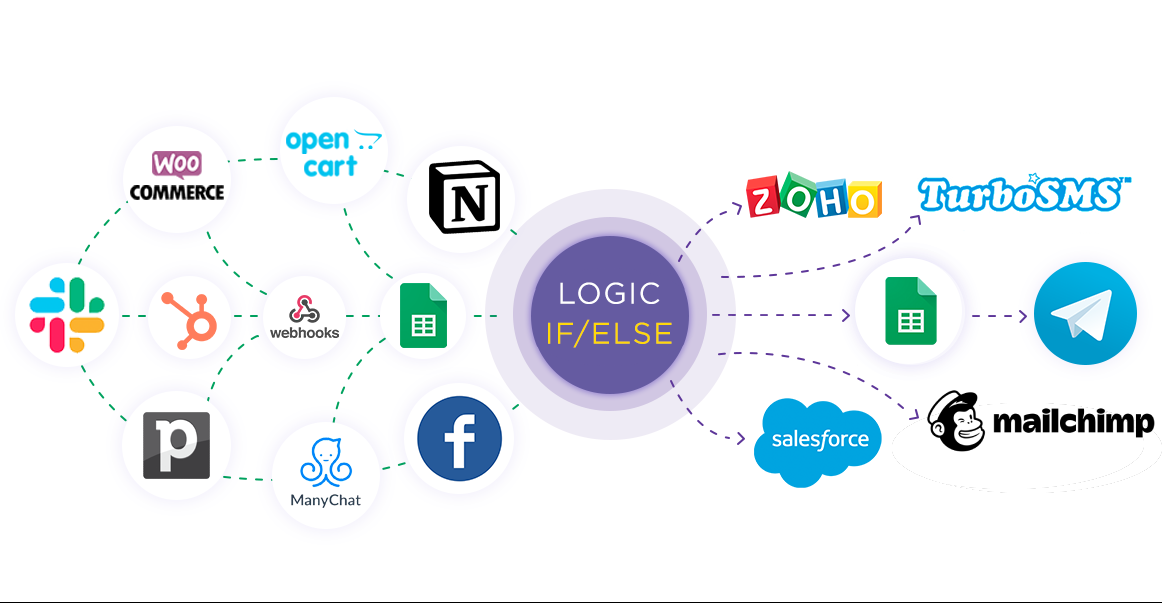
If/Then logic allows you to customize data transfer scenarios based on specific conditions under which certain actions should be performed in various Data Destination systems, for example, you can re-transmit data to your system when a situational error occurs.
Let's set up resending data after error in Data Destination, which we will implement using If/Then Logic!
Navigation:
1. Why configure re-sending of data to the same Data Destination?
2. If/Then Logic settings
3. Create a second connection with Webhooks as Data Source
4. How to set up variables for retransmitting data via Webhooks?
5. How to set up variables to re-pass data to the Google Sheets?
6. The result of setting data resending
Do you have a connection where errors occur periodically when receiving data in the Data Destination? Then you should configure retransmission of data in case of an error to the same Data Destination and if the Data Destination responds with an error again, then you should configure data transmission to another Data Destination, as described in our help.
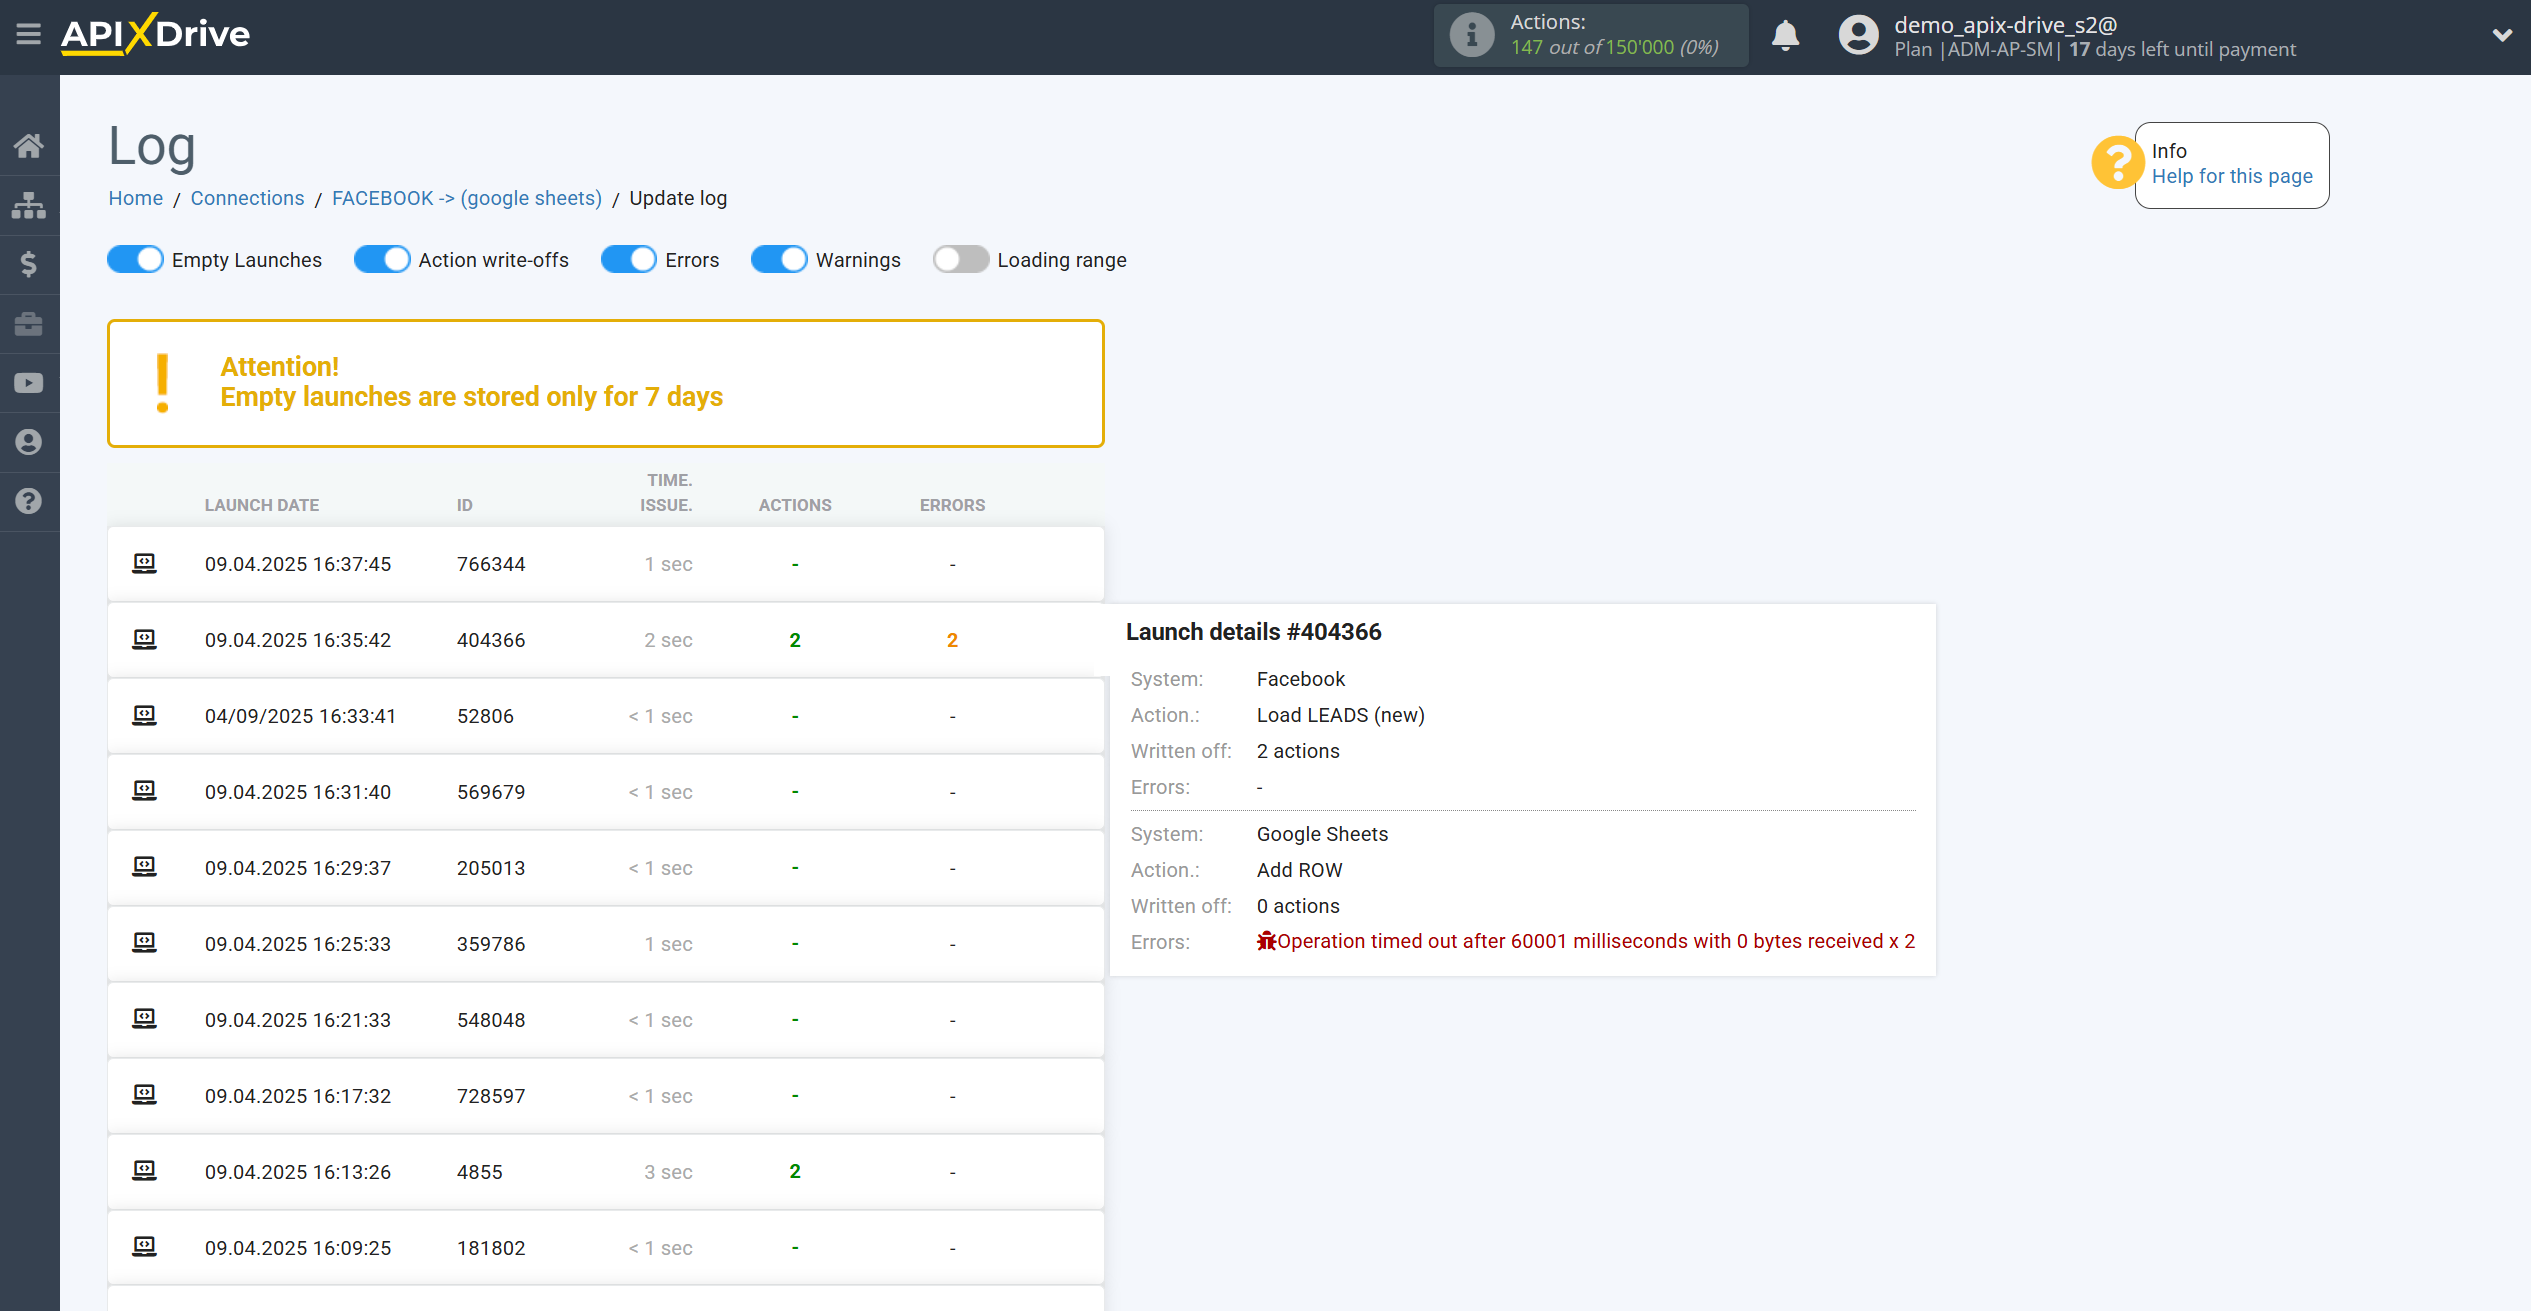
Let's show the logic of data transfer to the same Data Destination using the example of a Facebook – Google Sheets connection, where Google Sheets periodically responds with an error related to the Google server's inability to accept a lead at the current moment of the request.
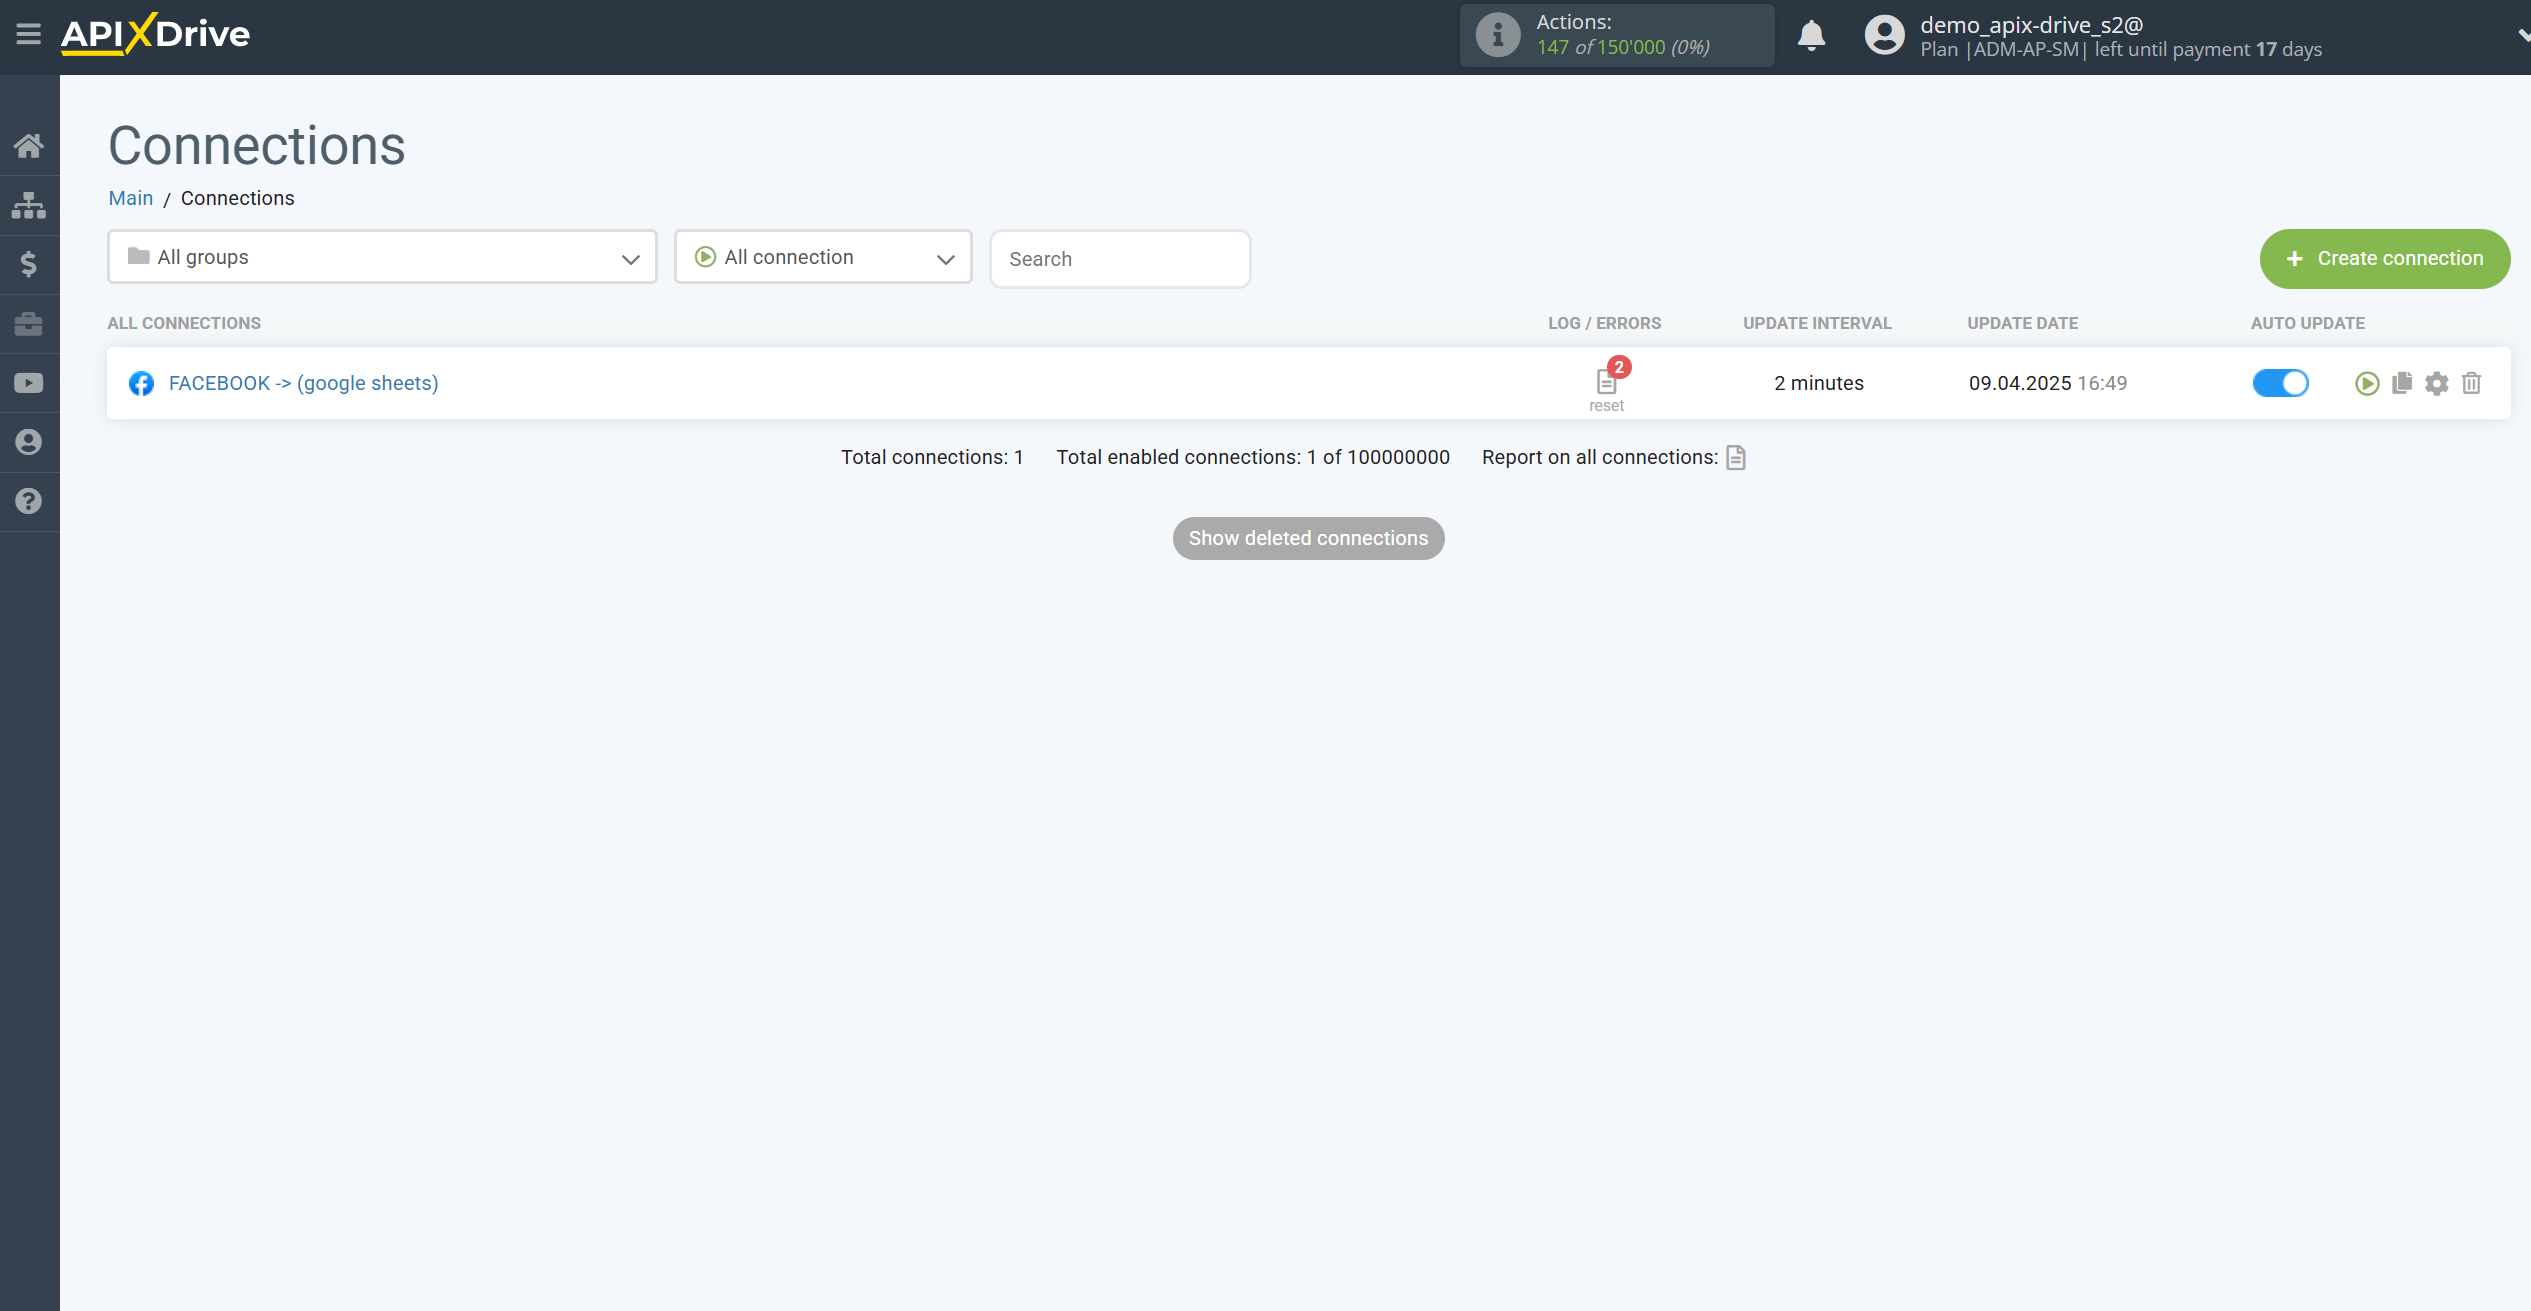
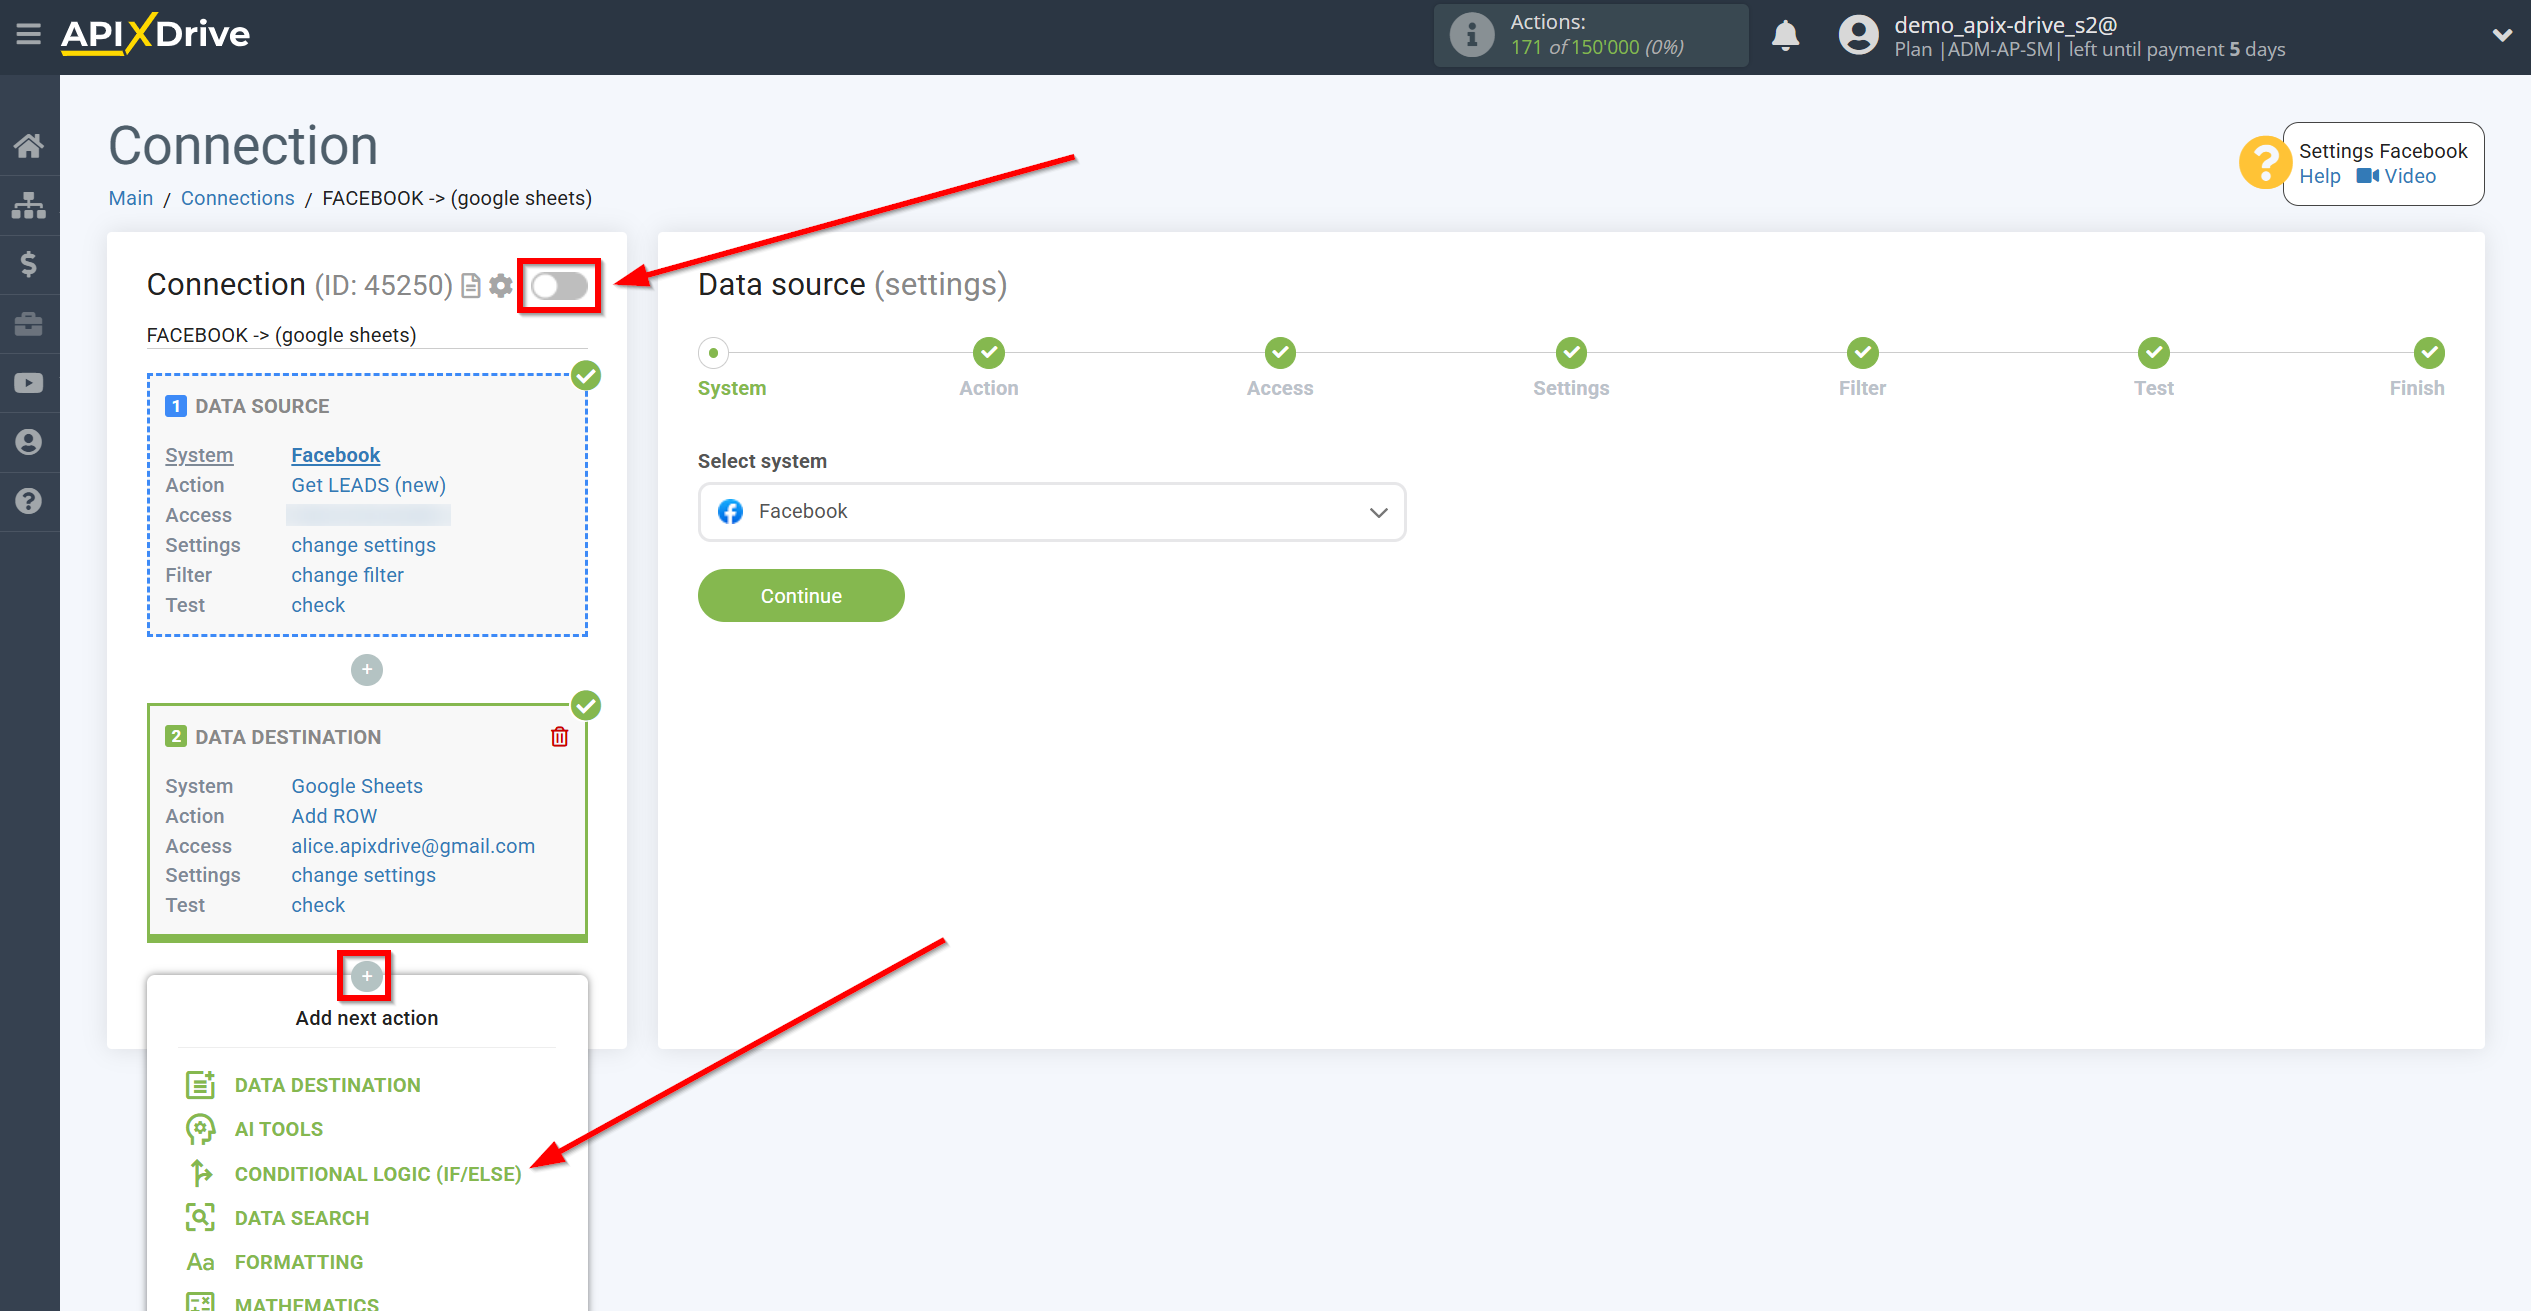
We go to the required connection, where errors periodically occur in the Data Destination, turn off auto-update and click on + under the Data Destination block and select the If/Then Logic item.
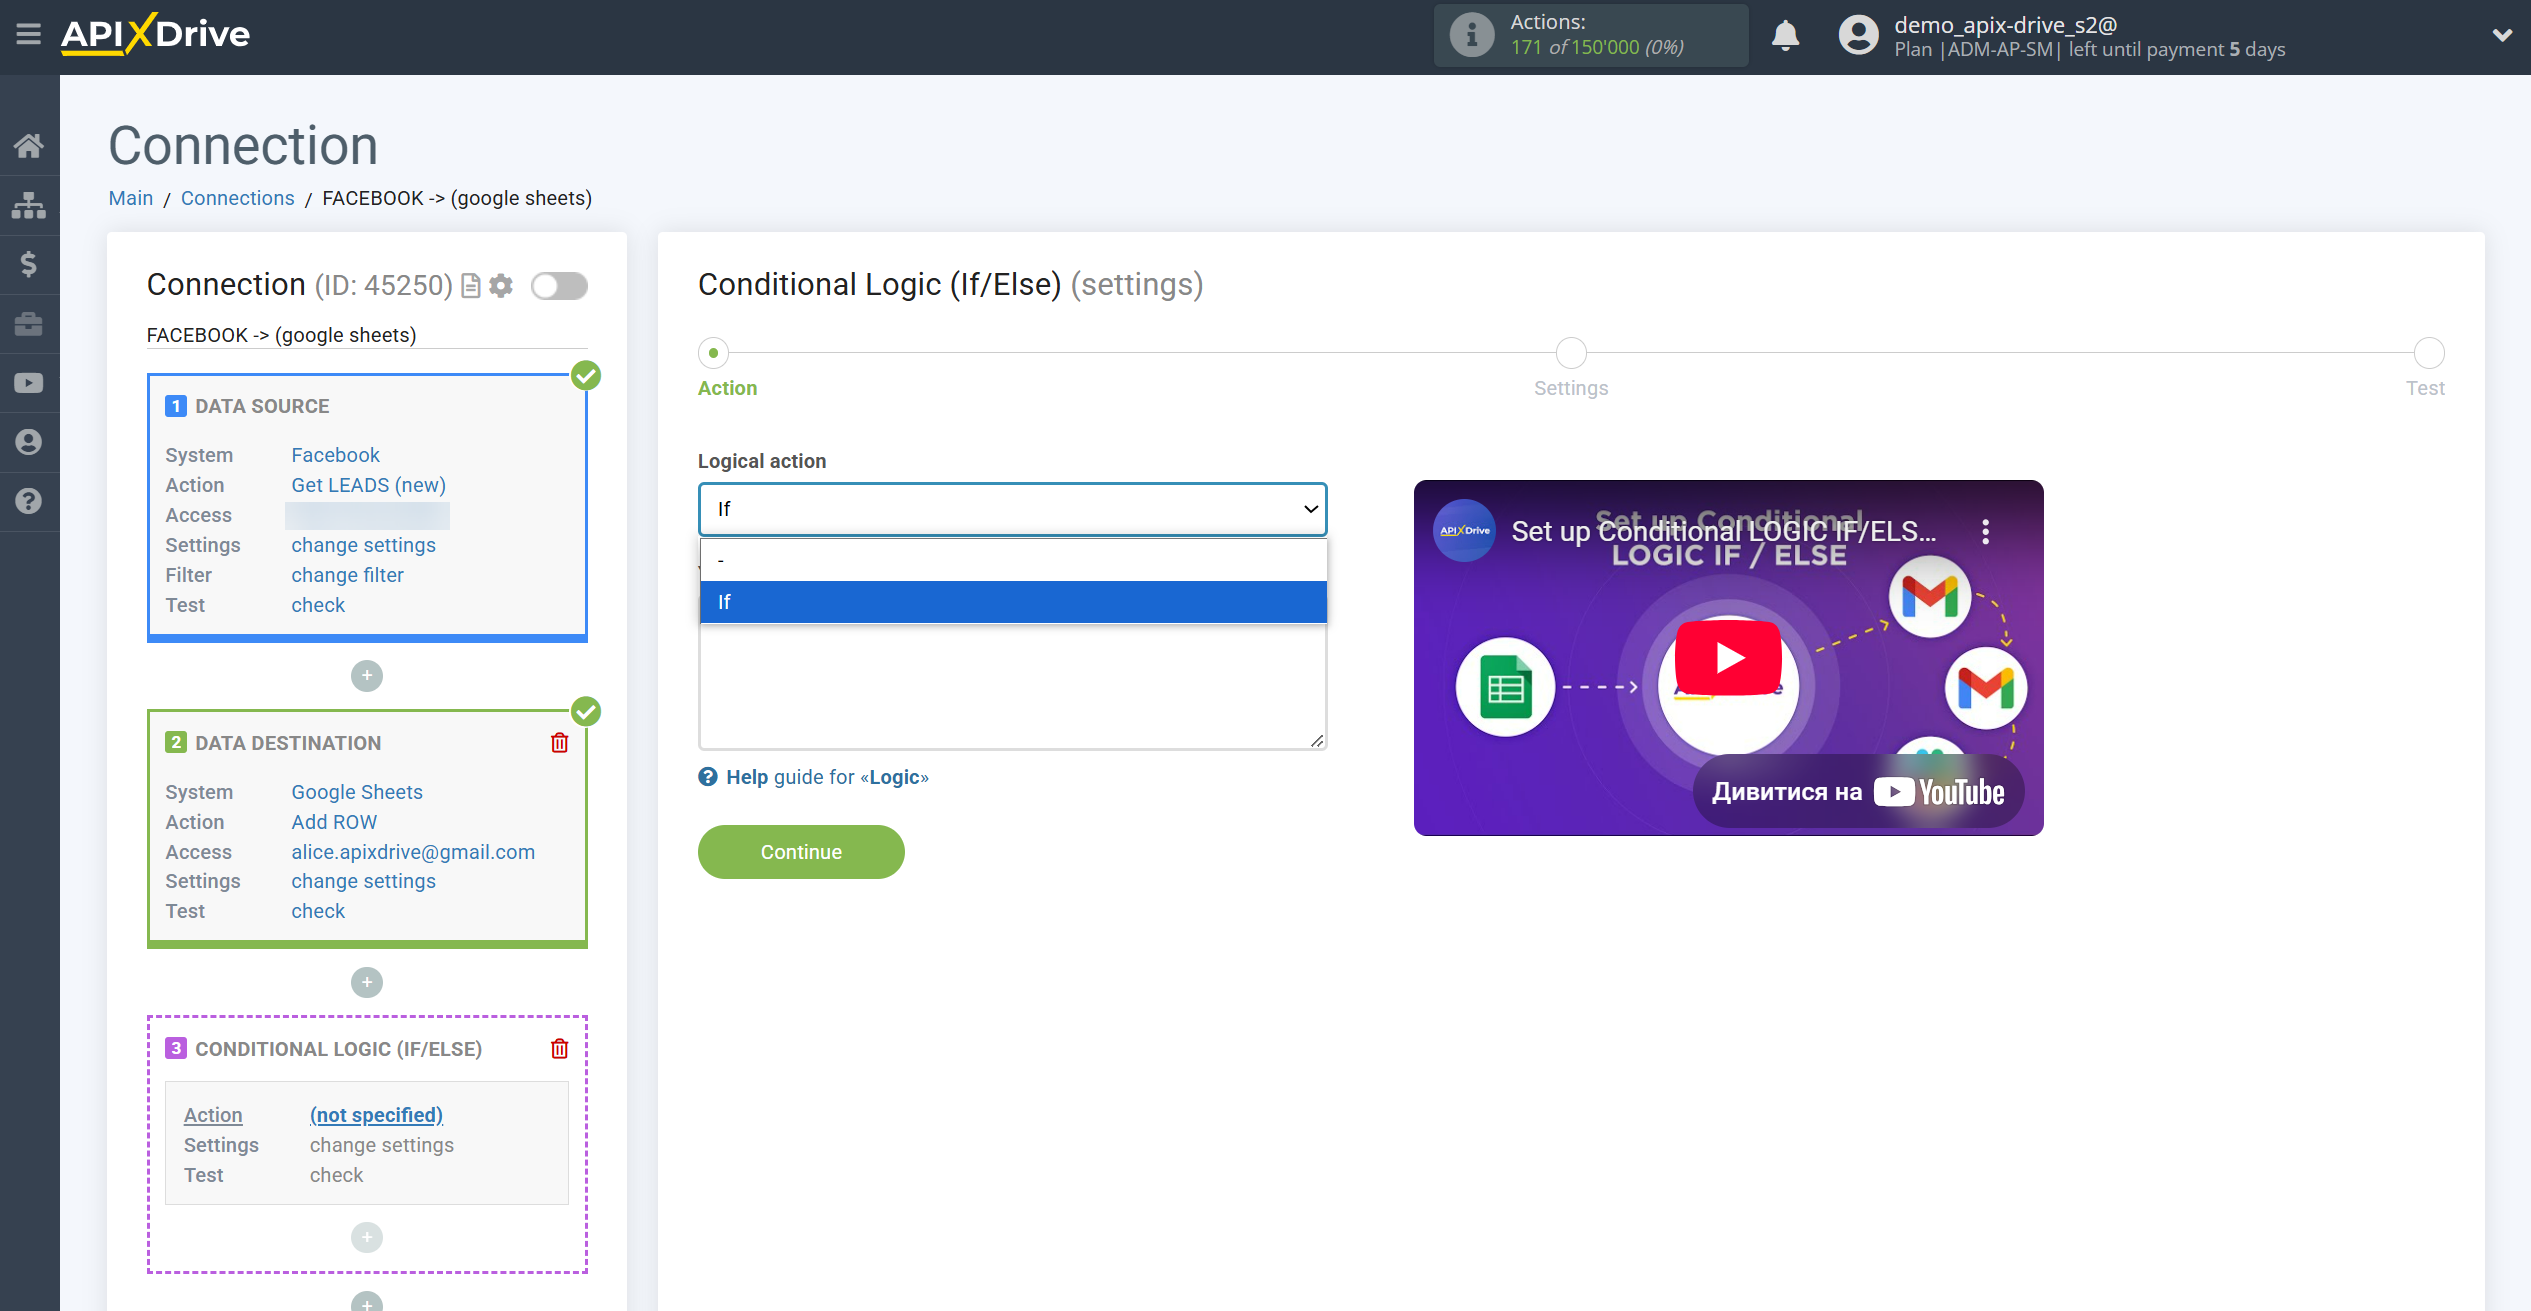
Next, select the If action and click Continue.
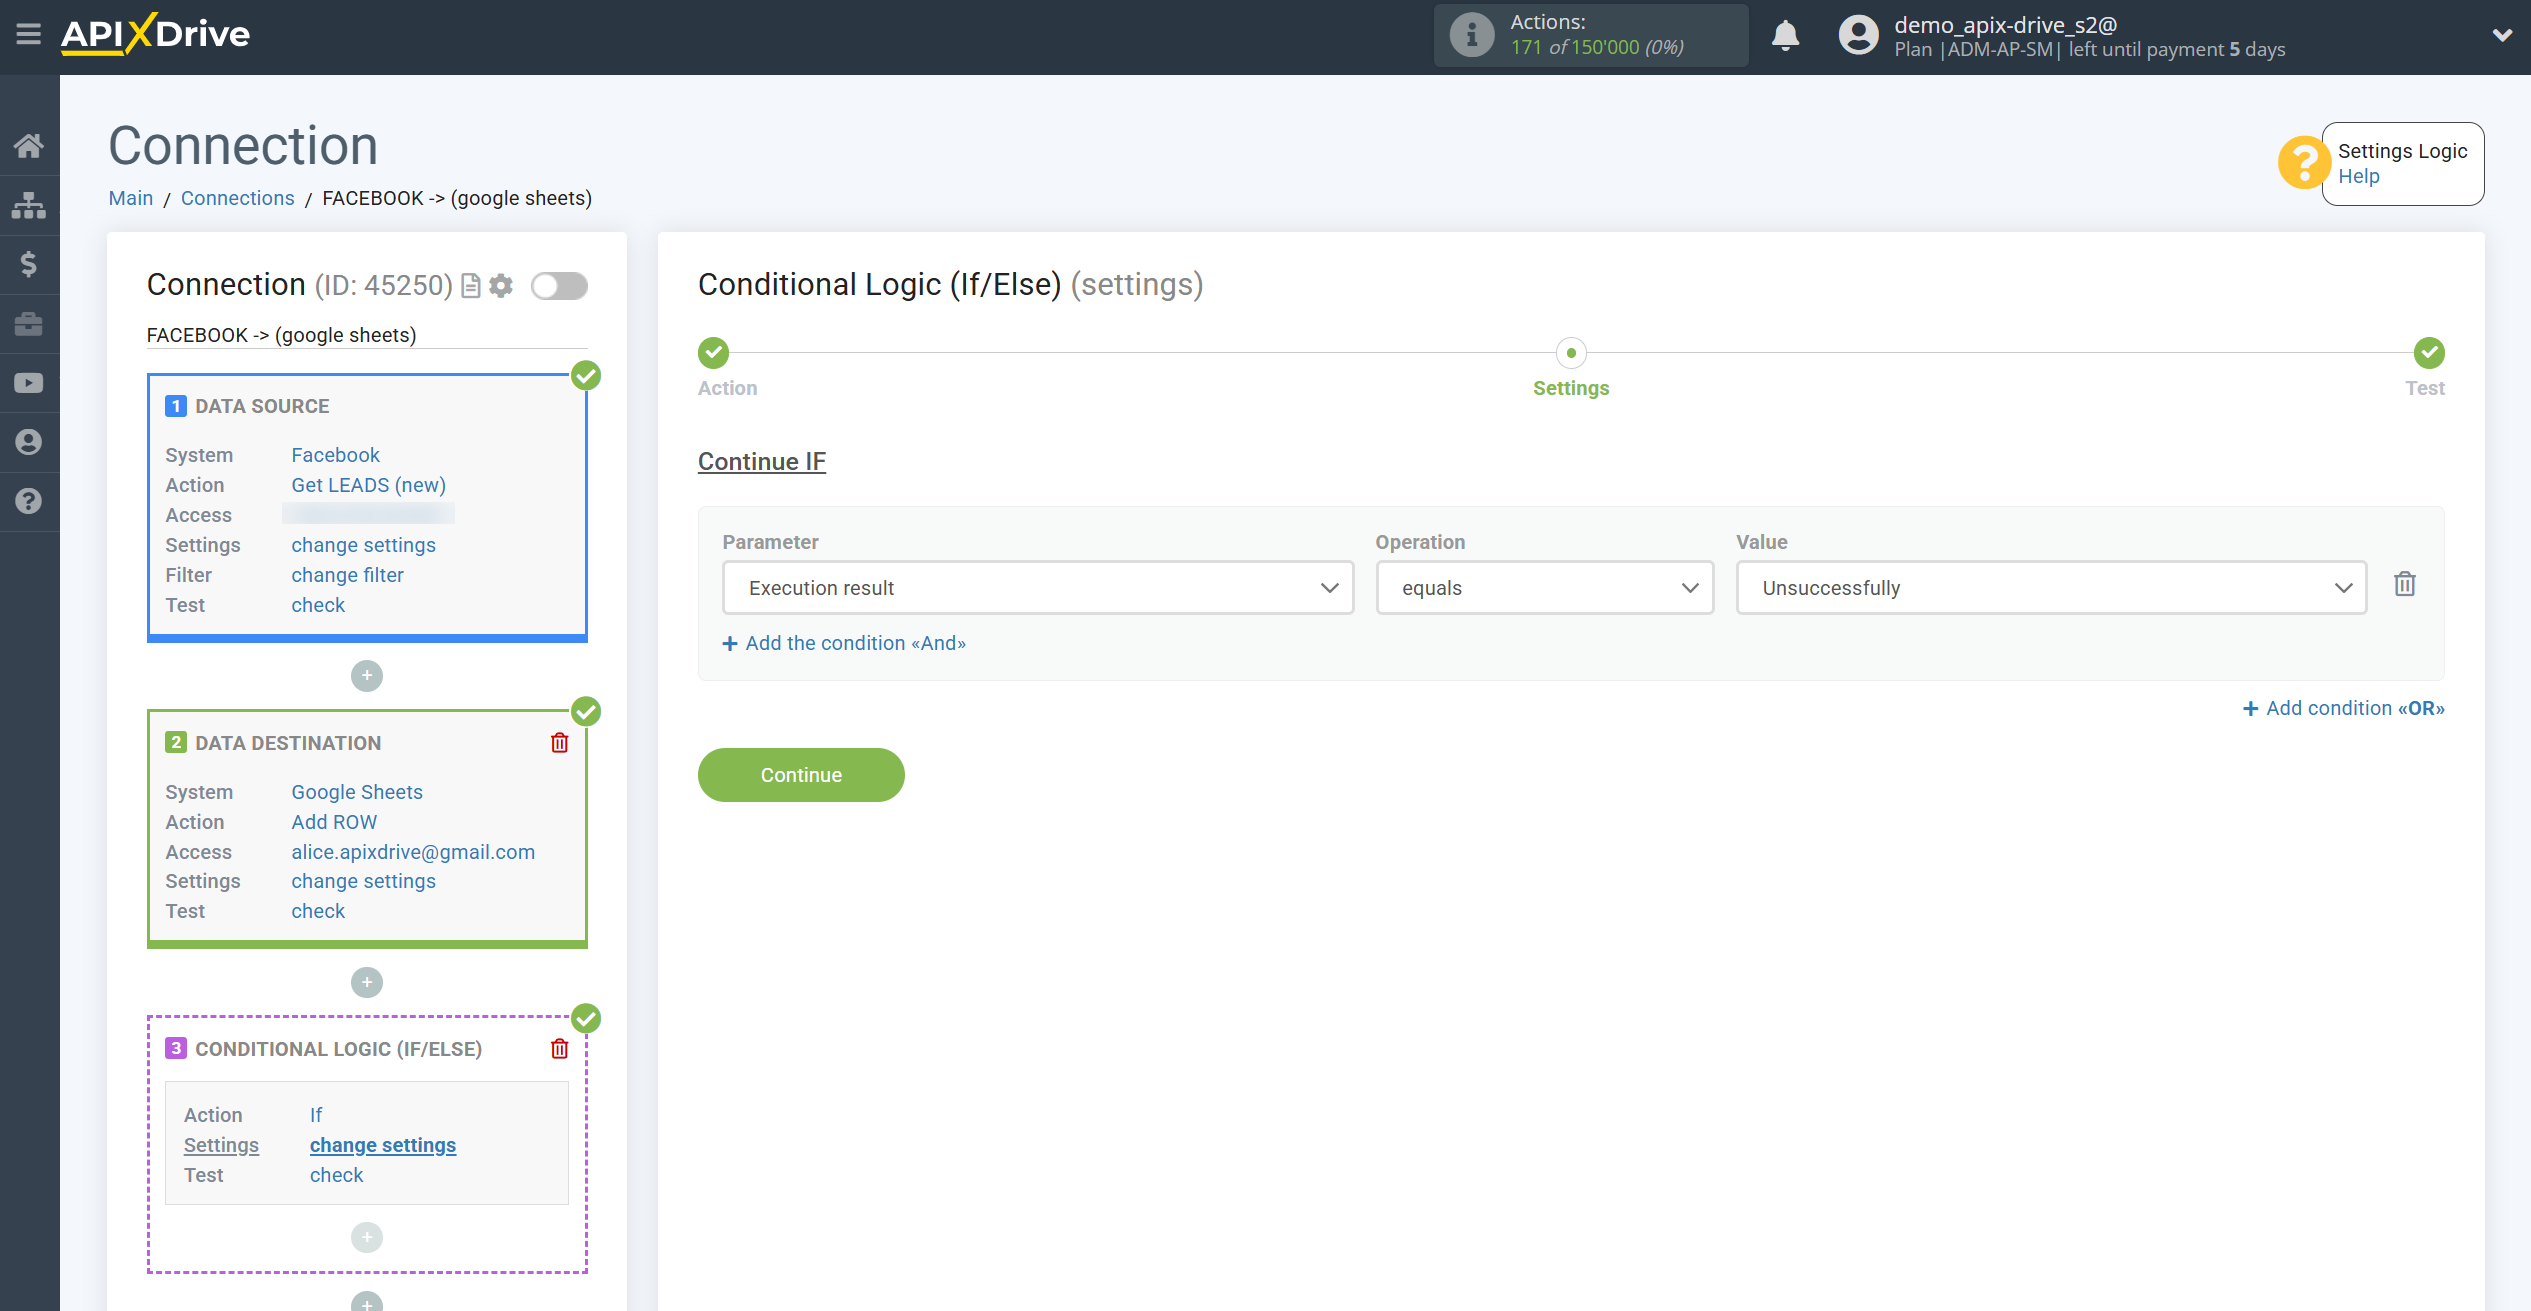
We leave the condition as the one suggested by the system - Execution result of Data Destination Equals Unsuccessful, and click Continue again.
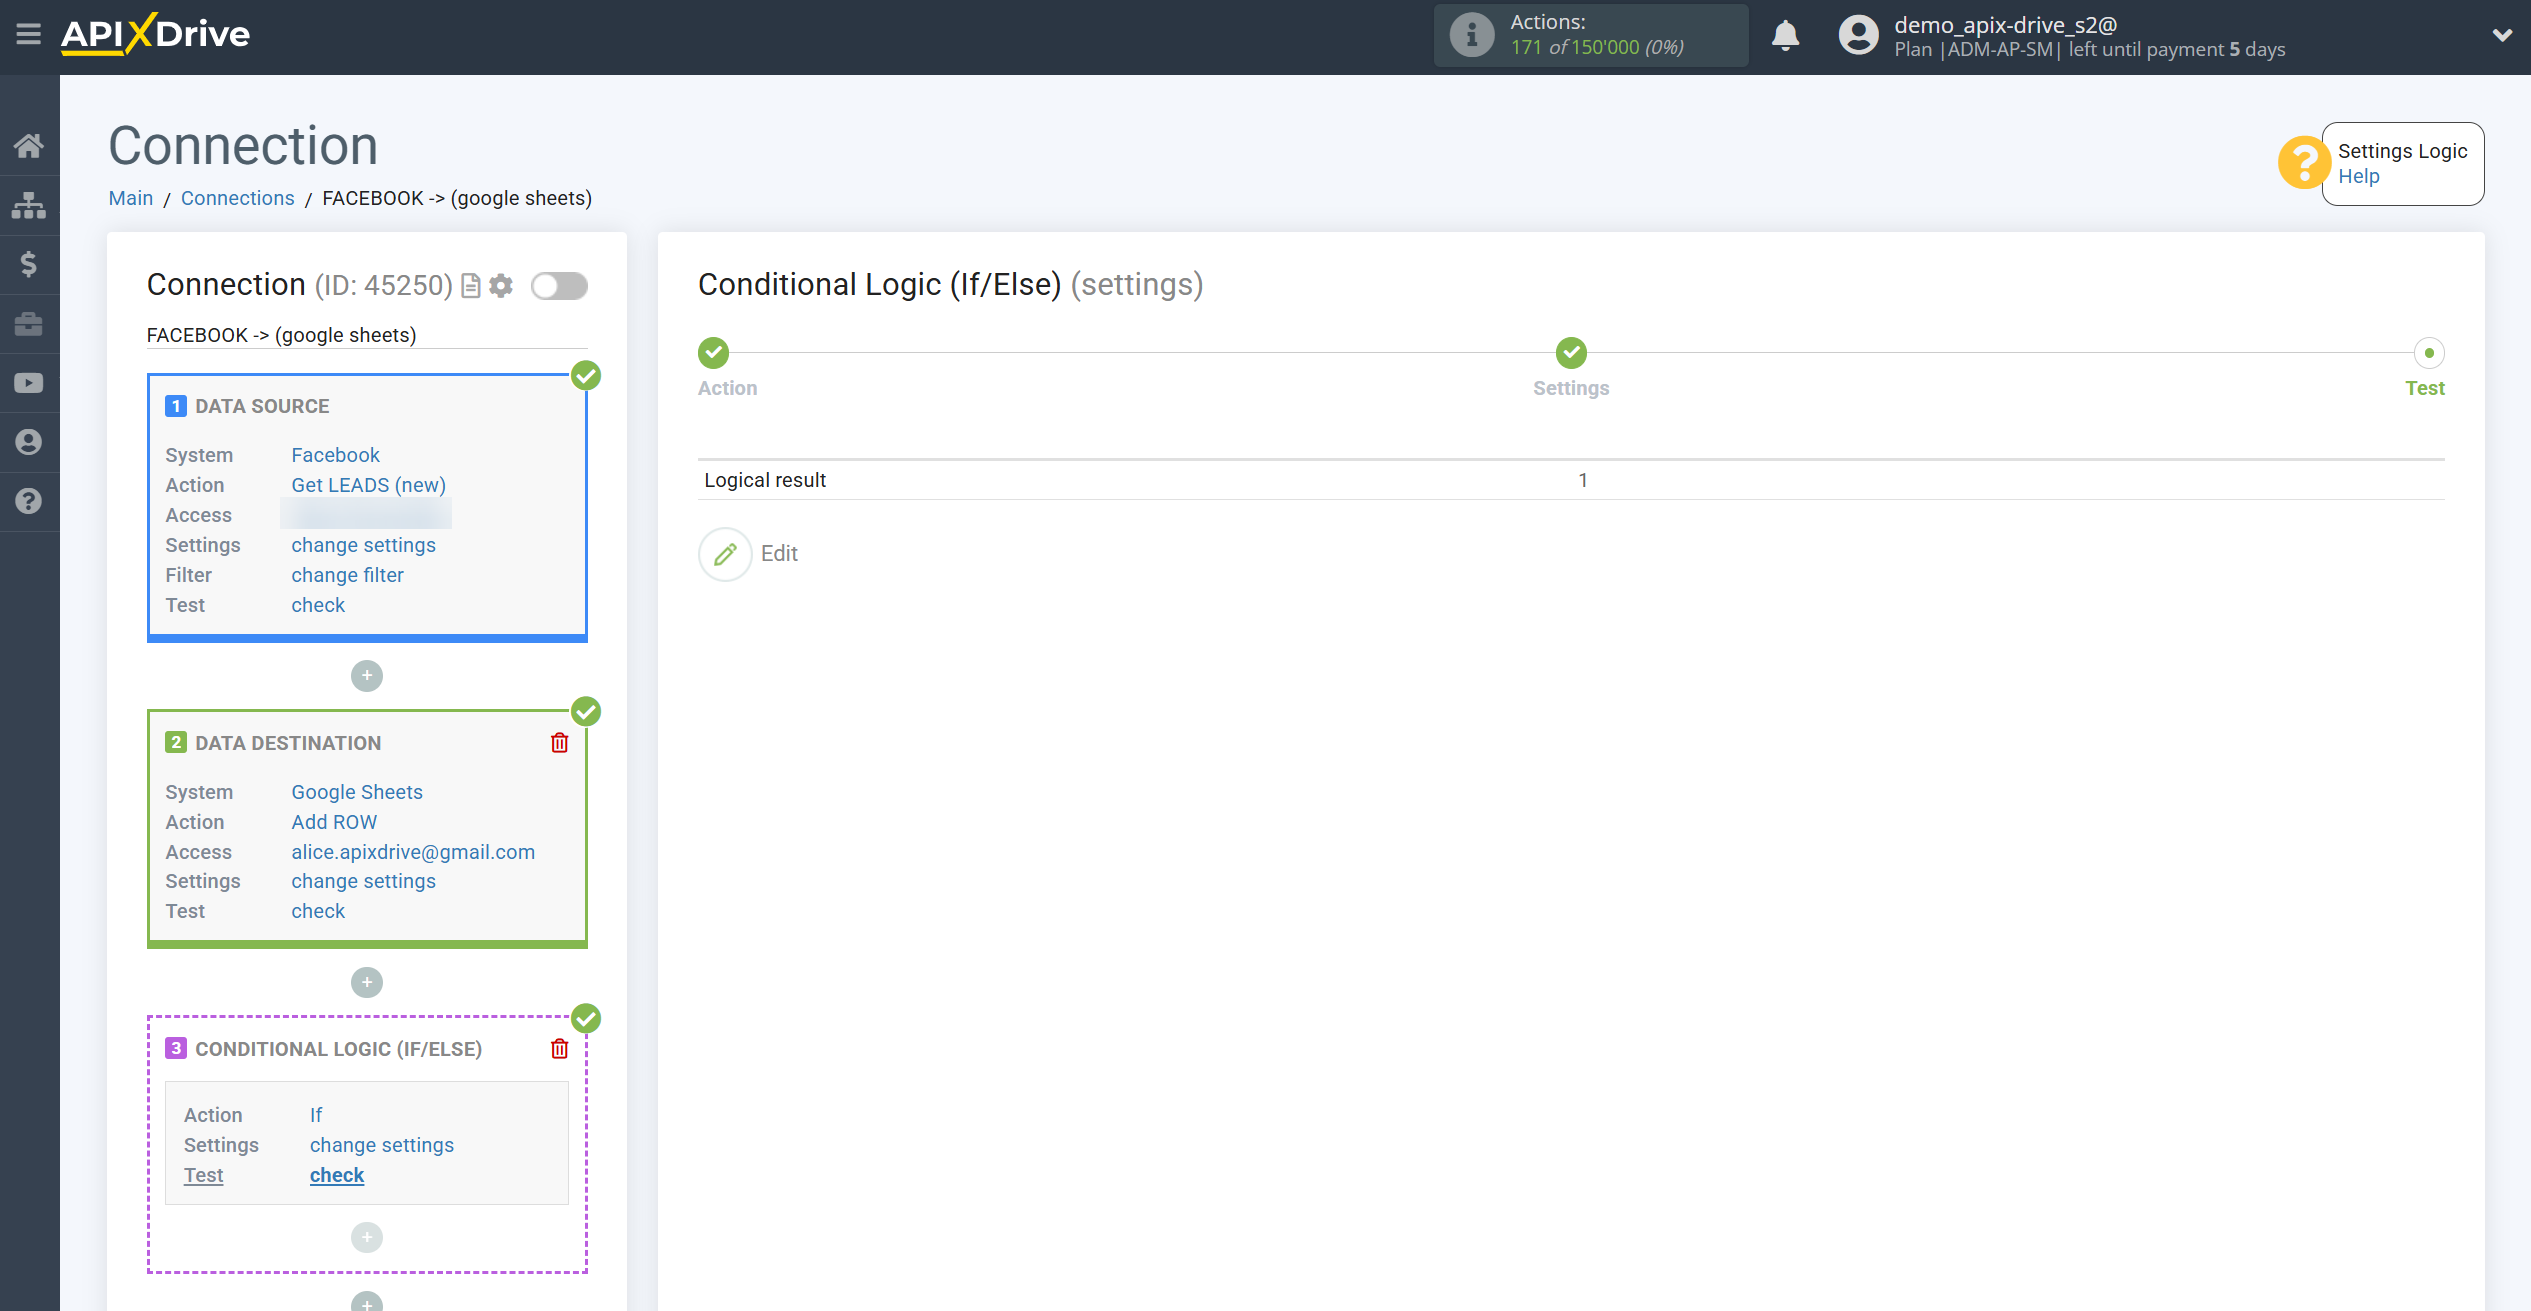
After this, the If/Then Logic condition is configured, then we add Webhooks as Data Destination inside the Logic. Click on + and select Data Destination.
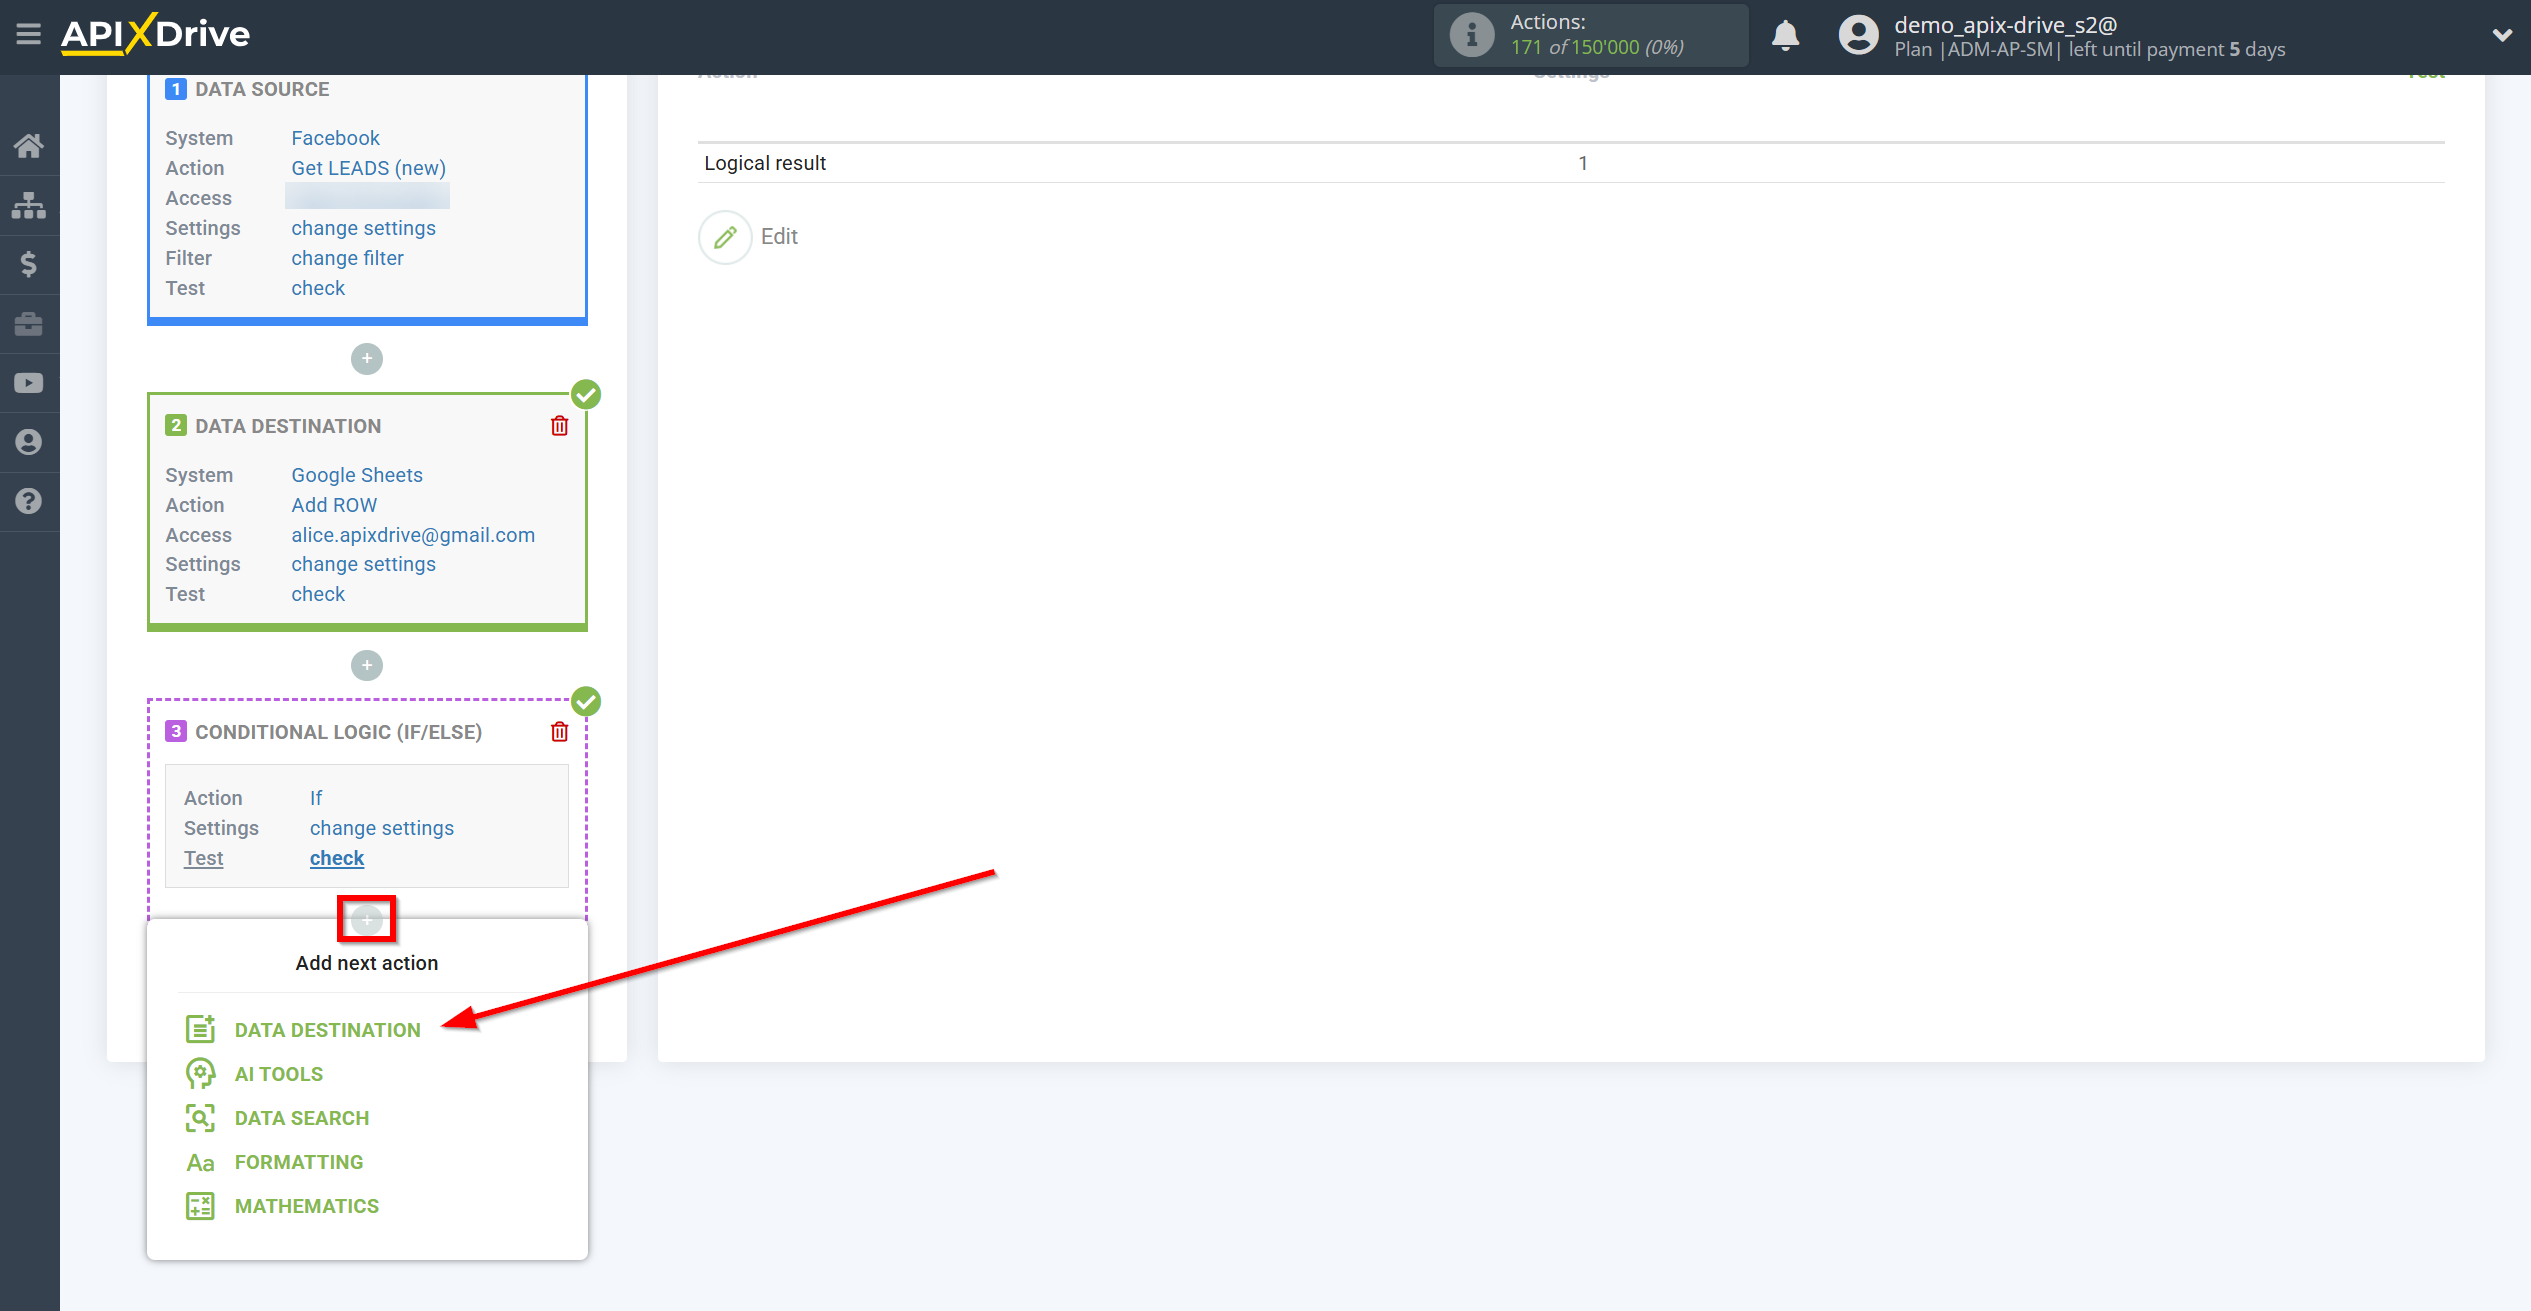
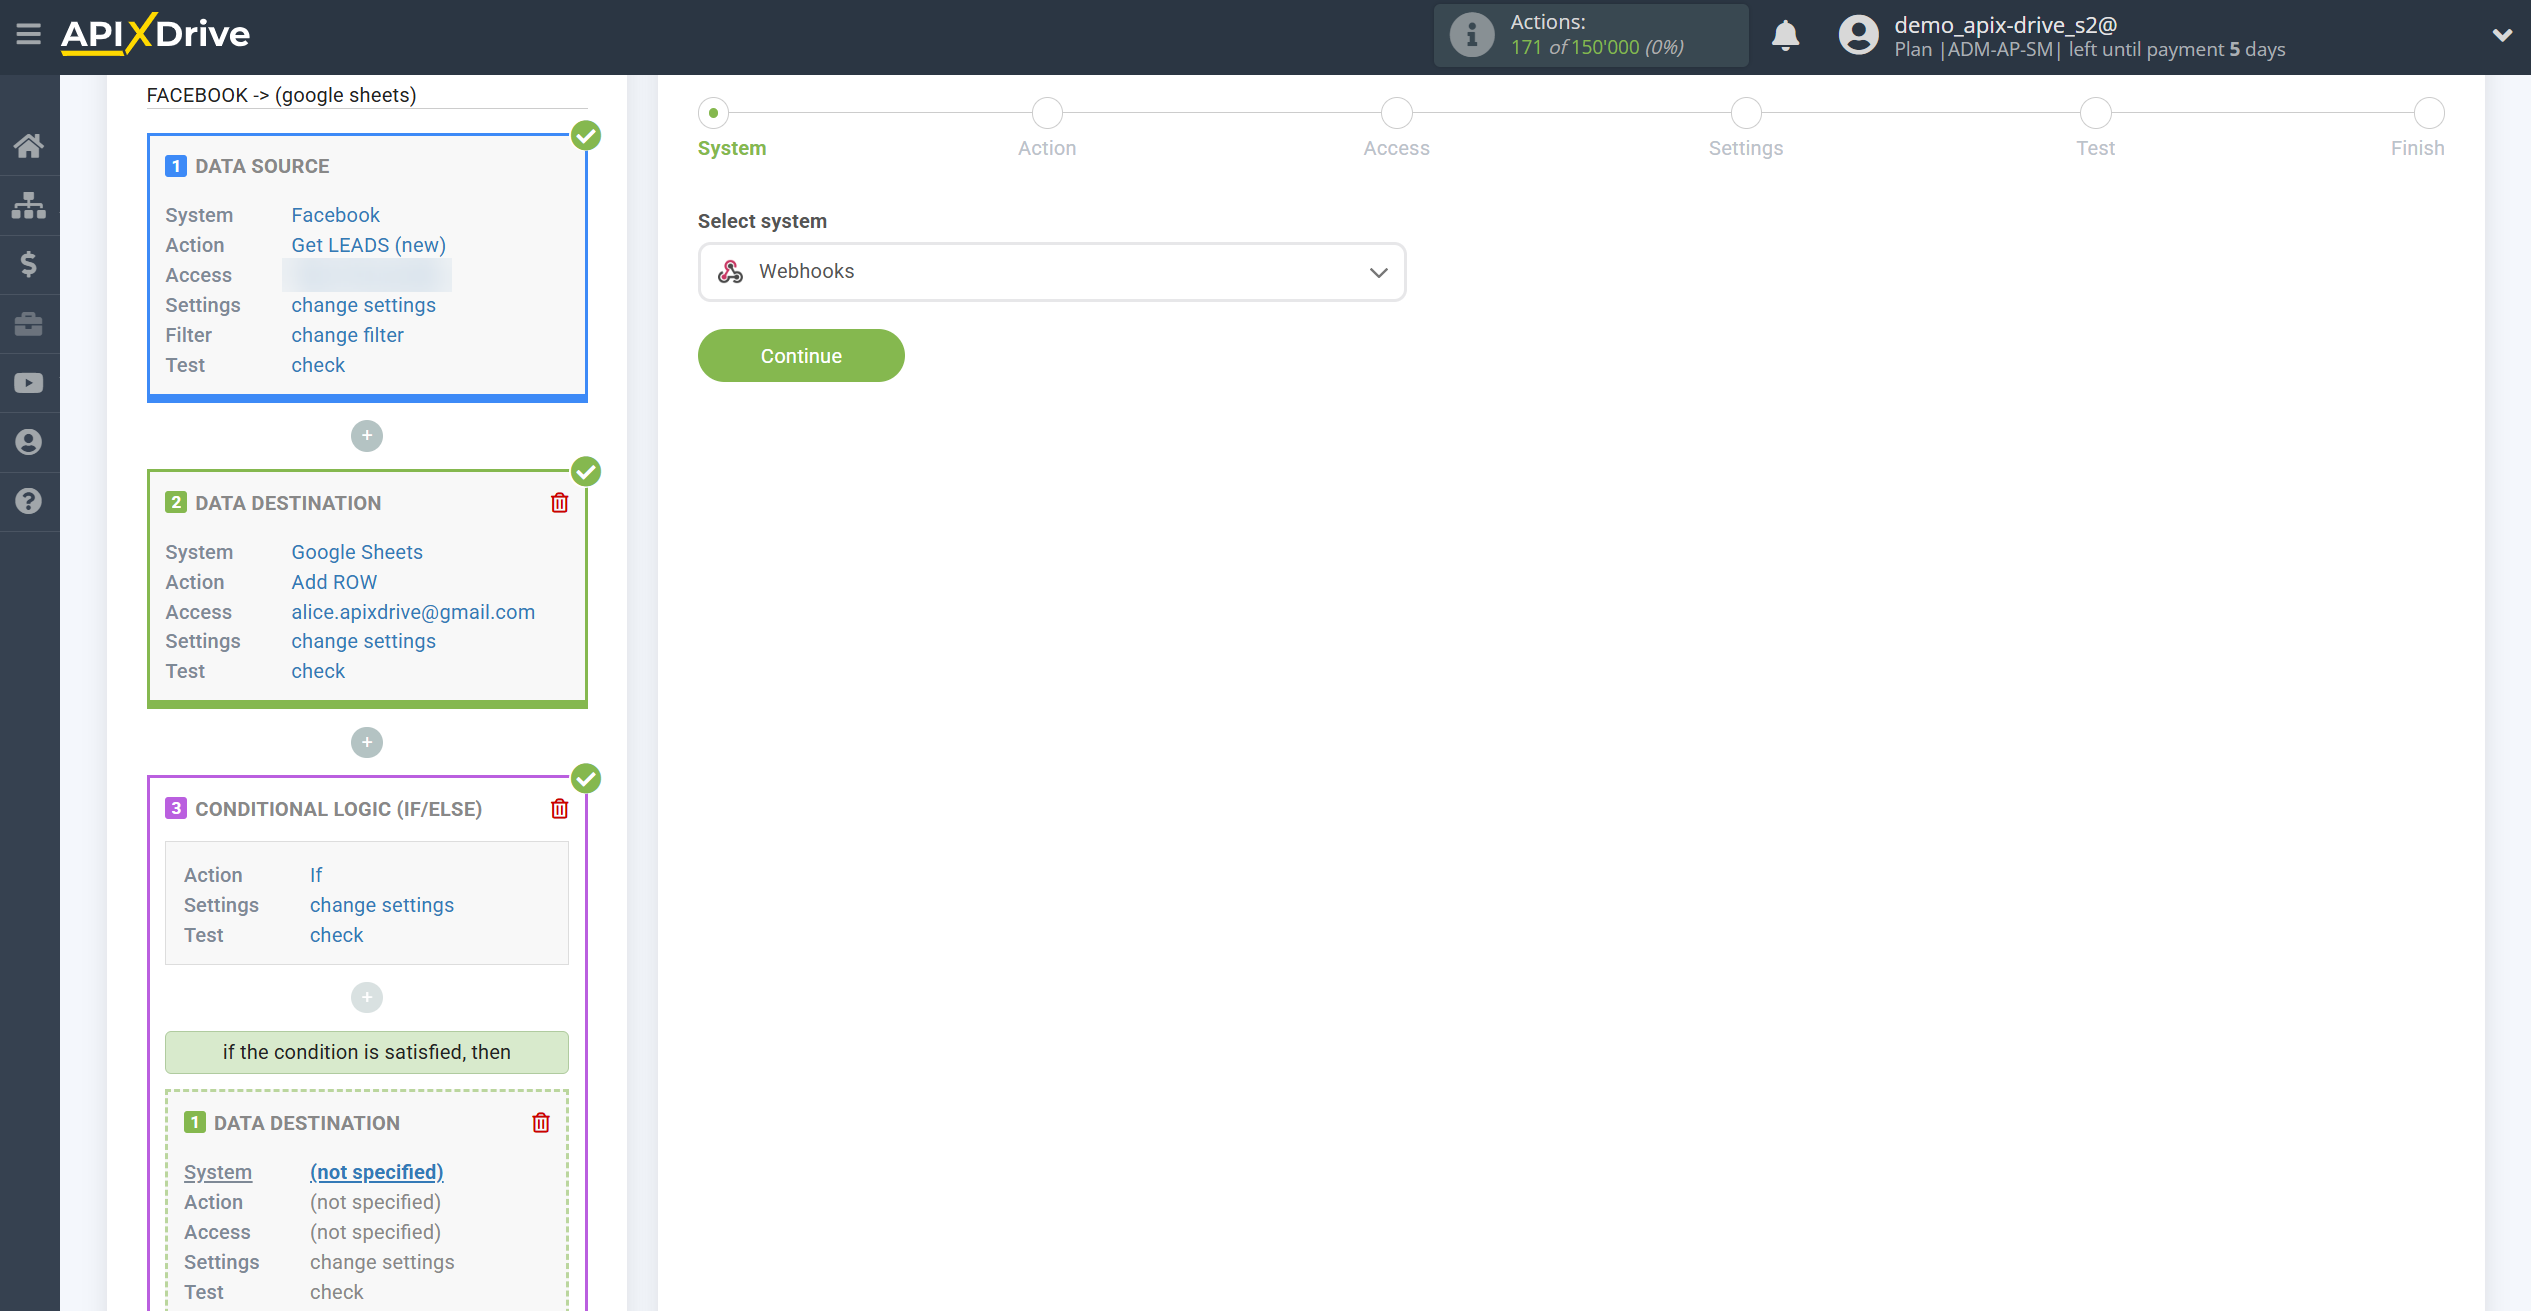
Next, we select the Webhooks system.
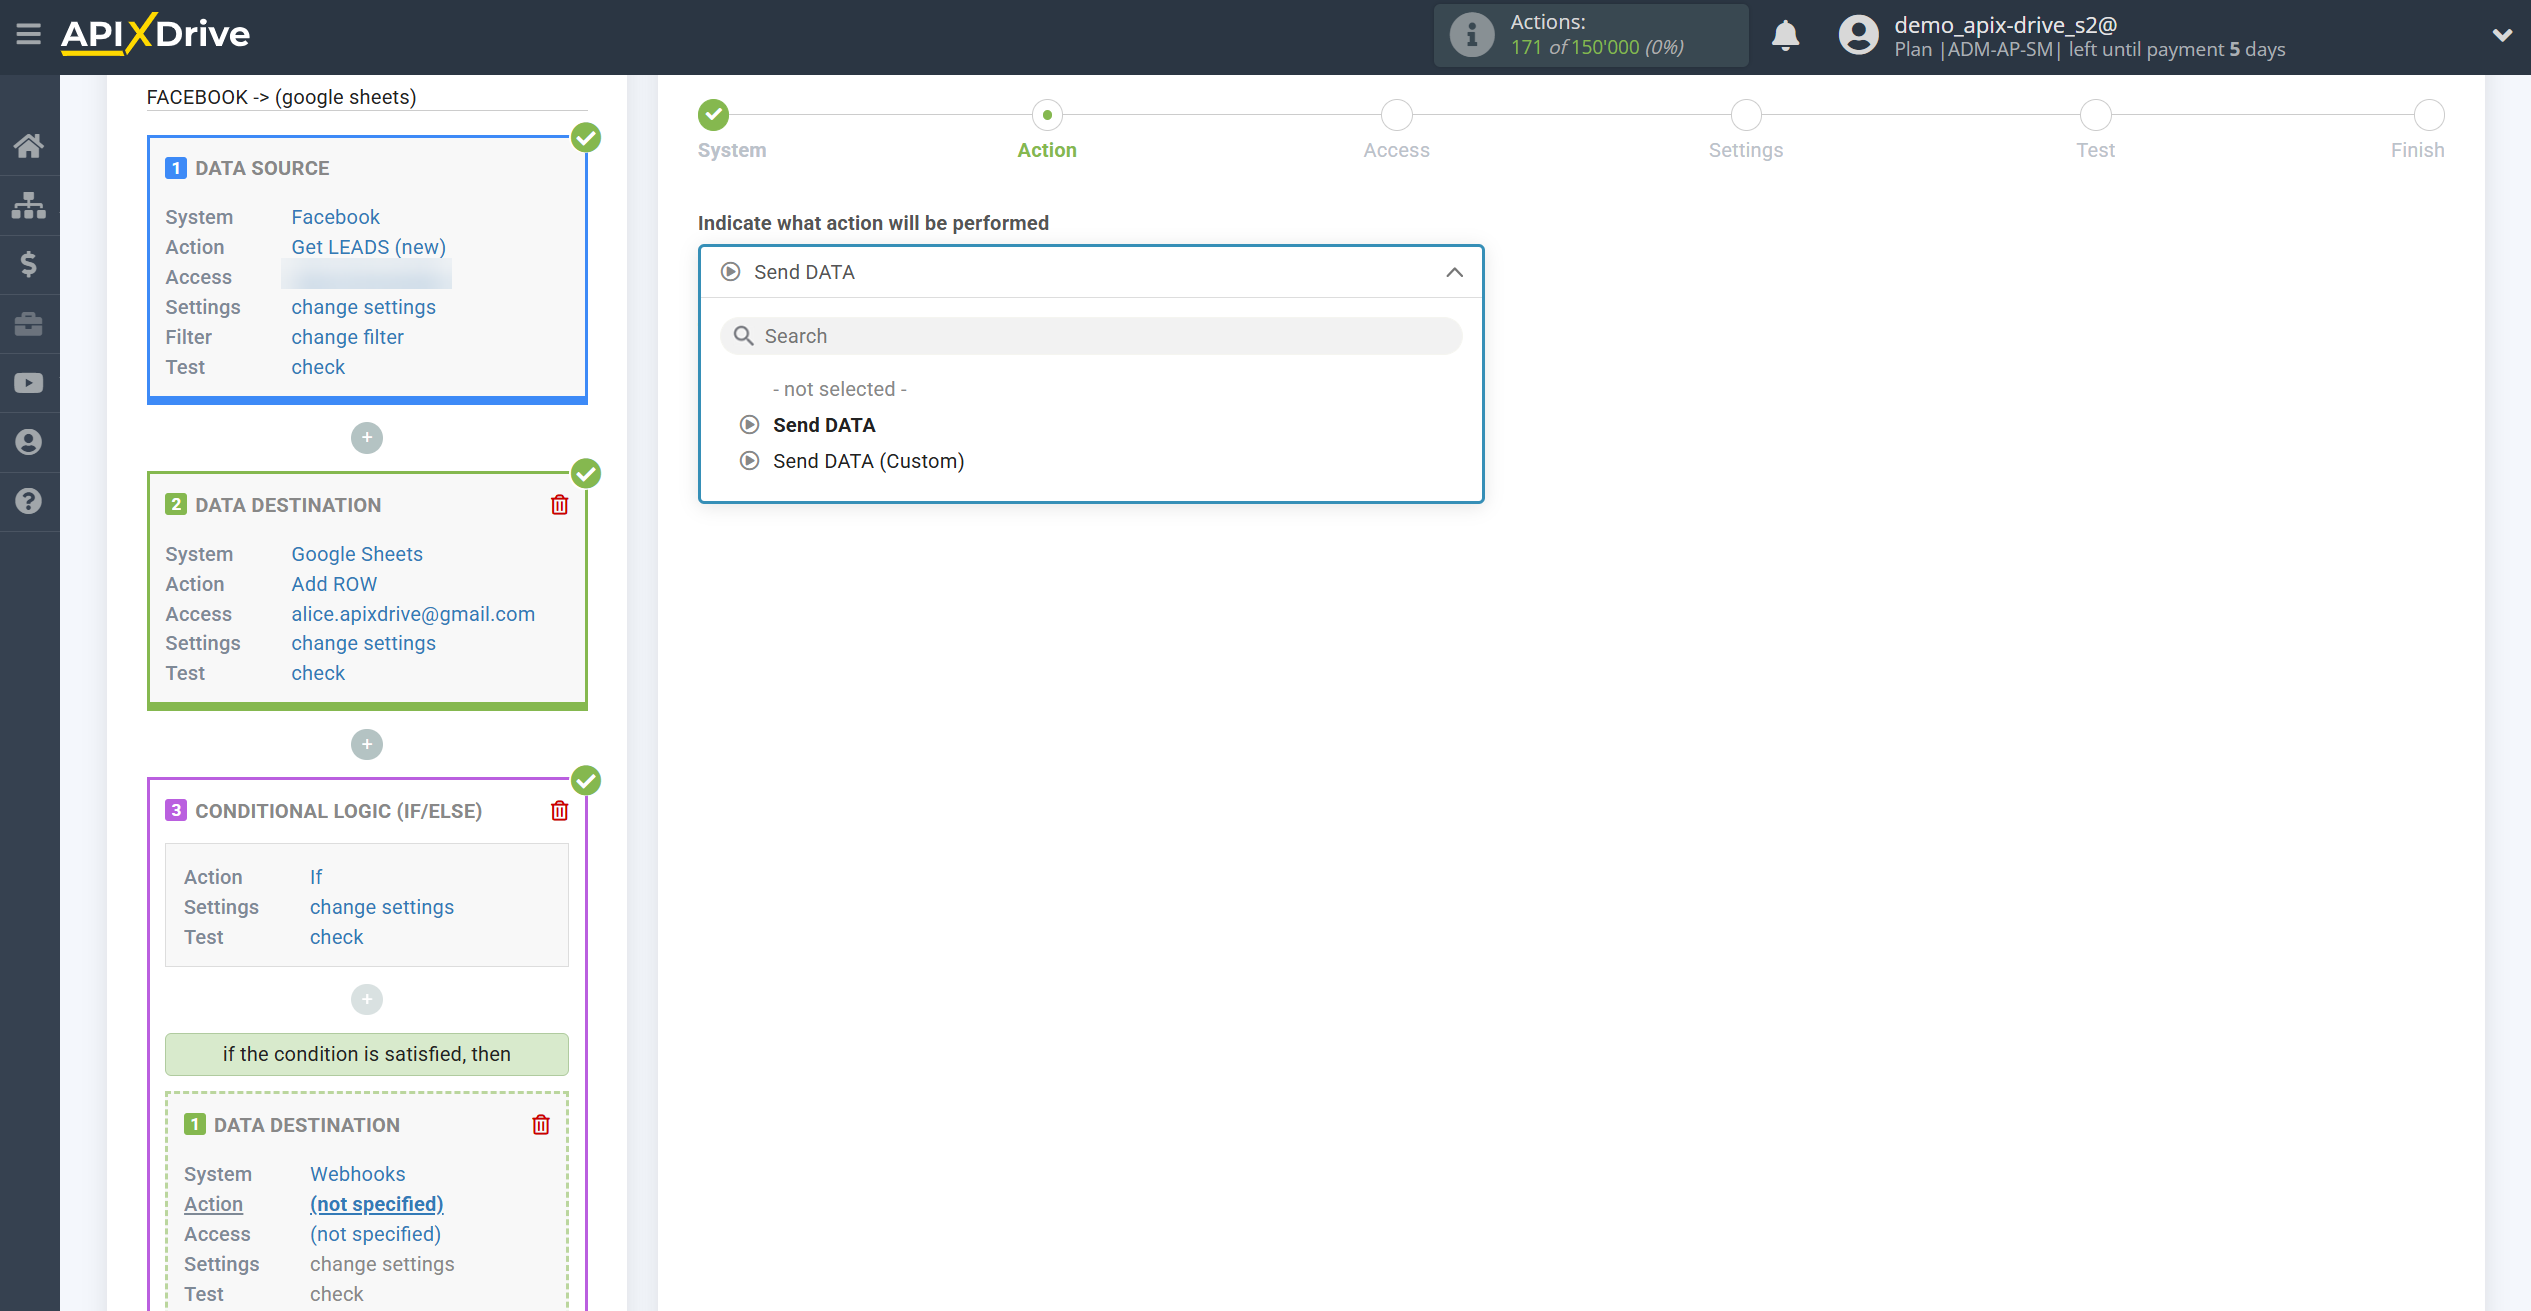
Next, you should select the Send DATA action.
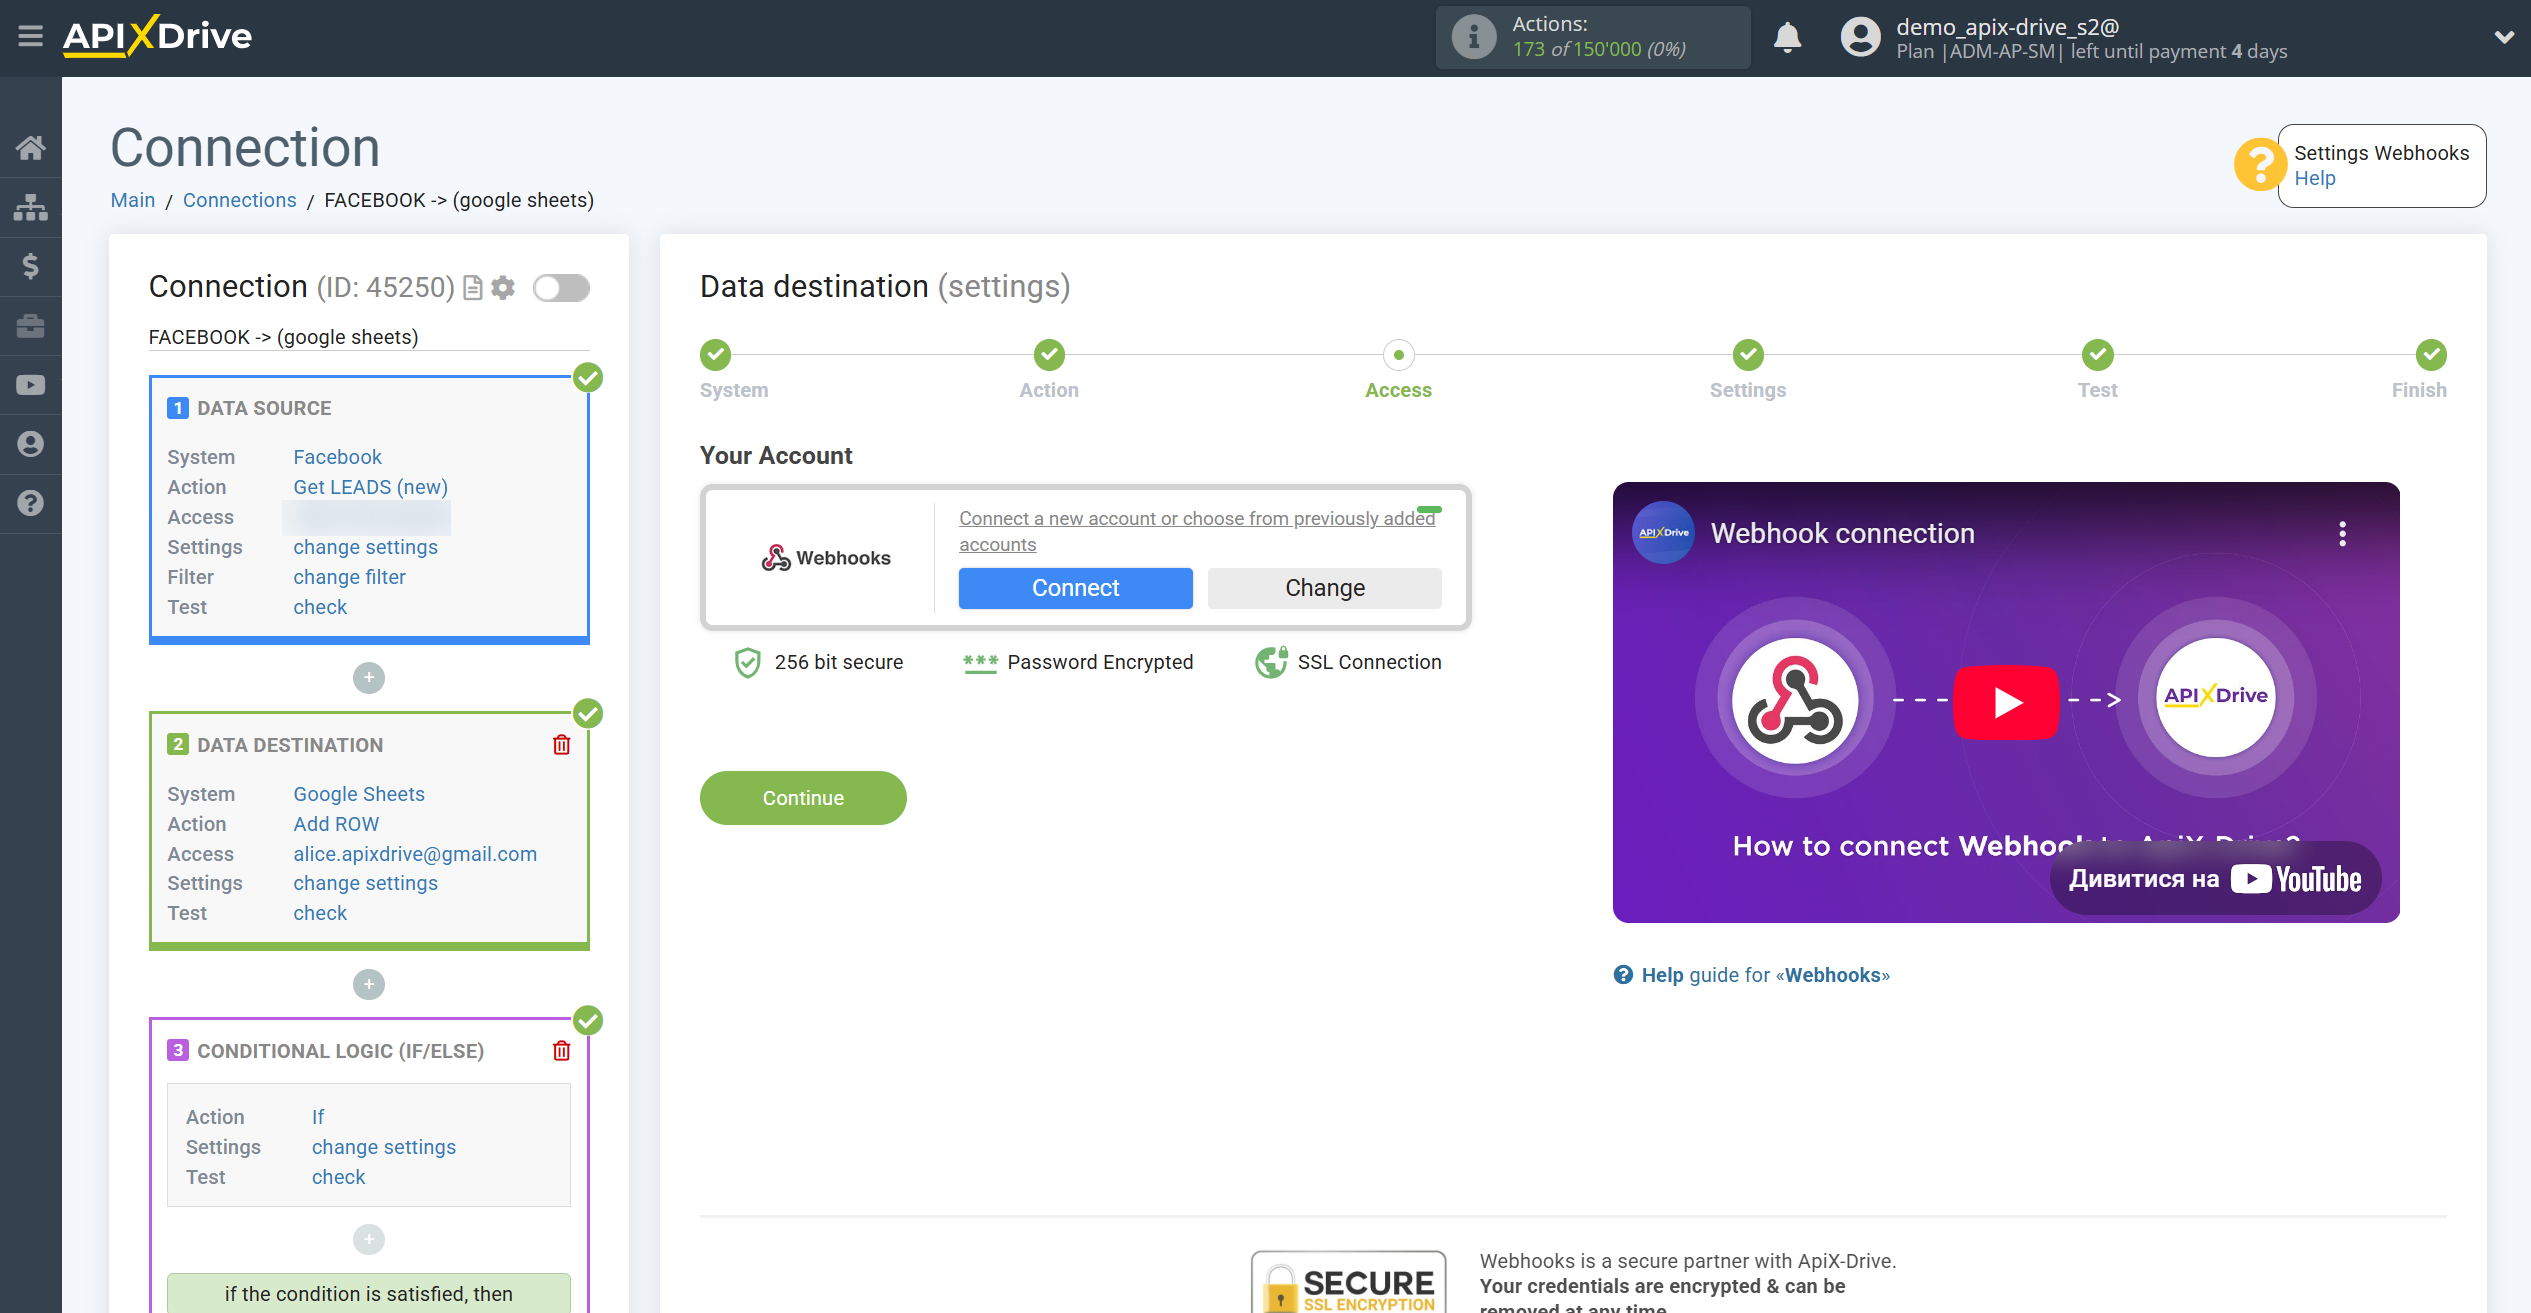
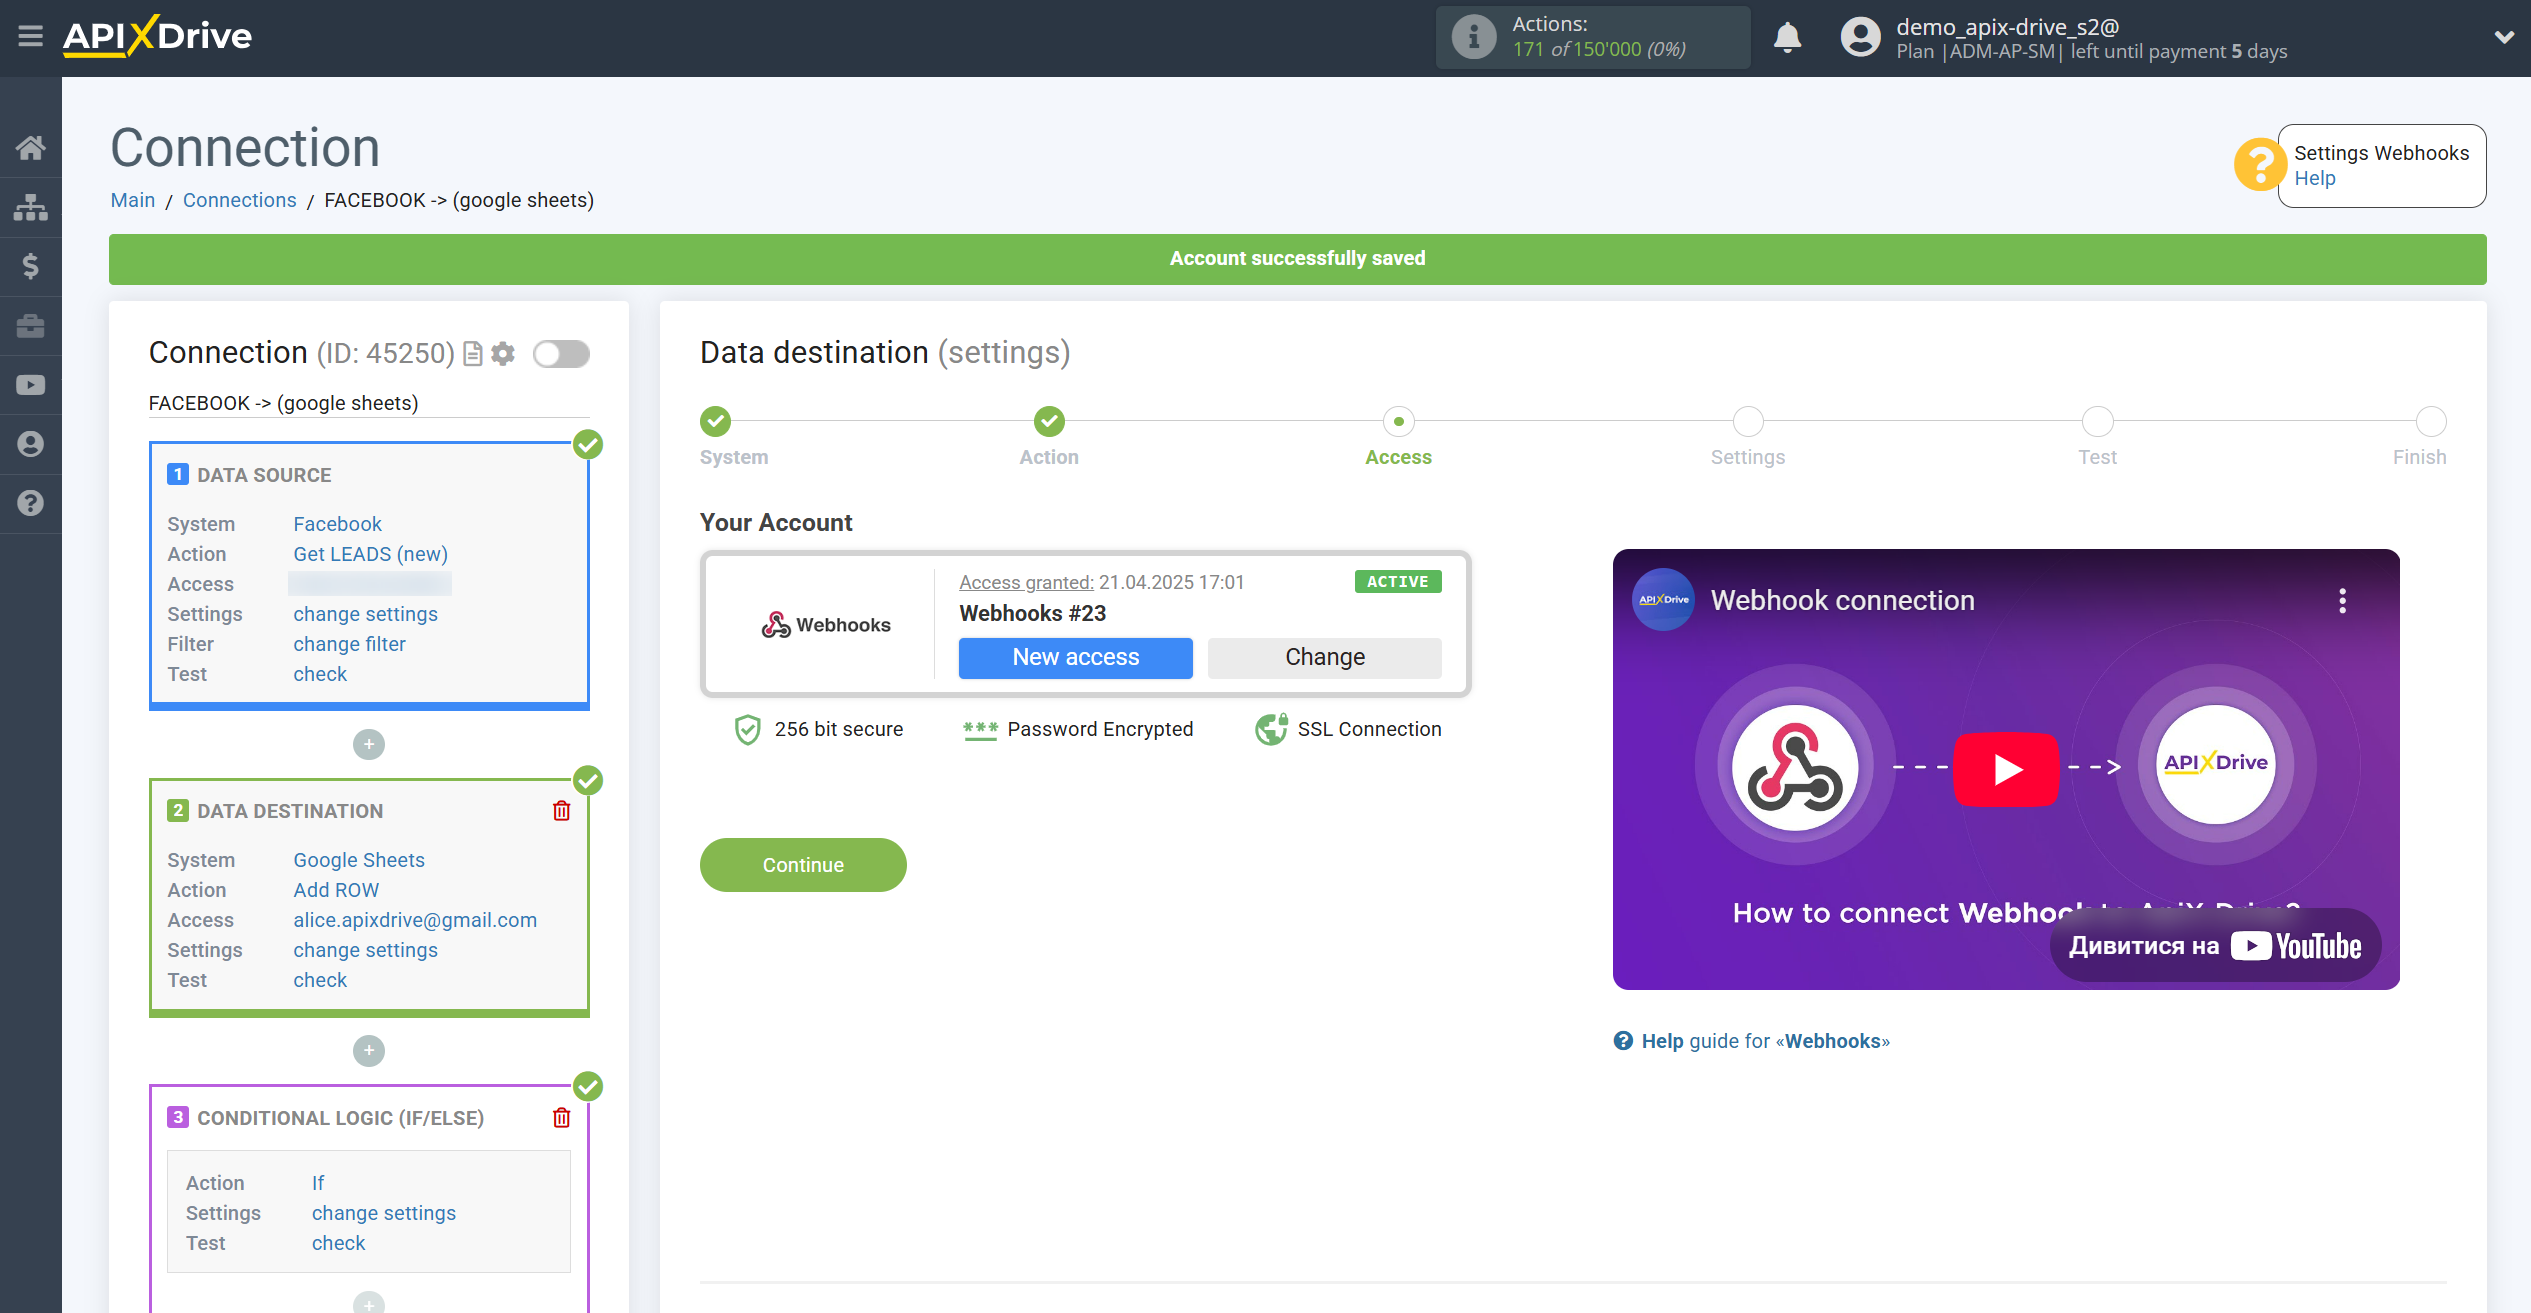
At the access stage, click Connect.
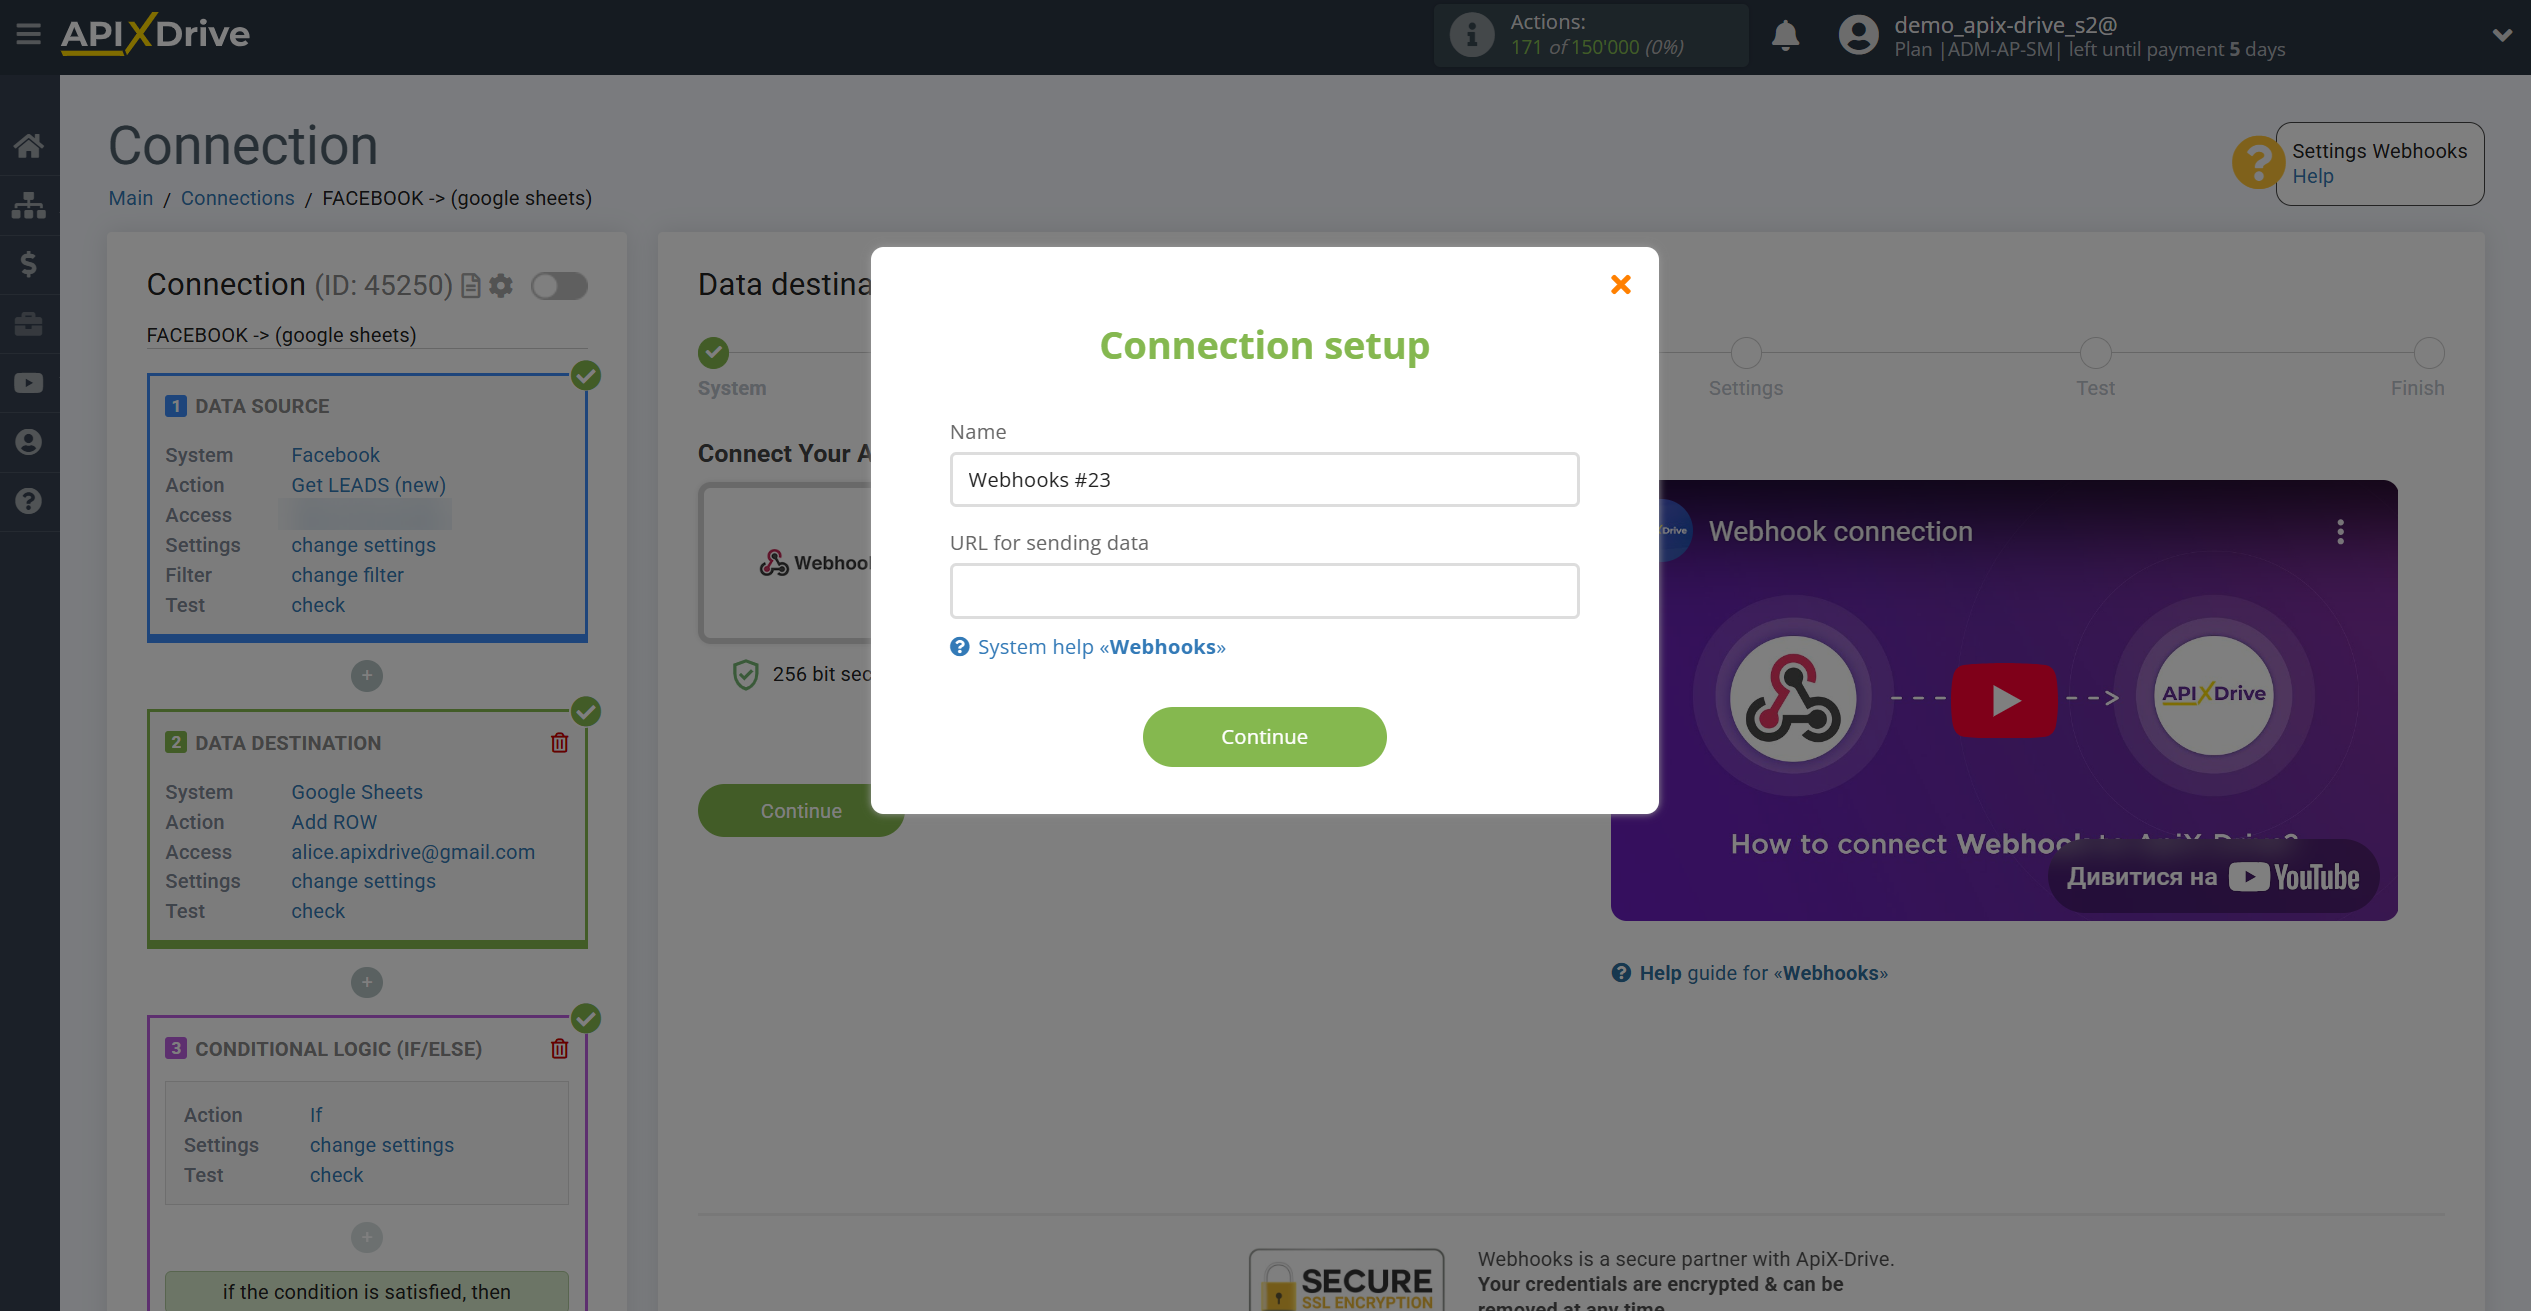
Now you need to insert a link to which data will be sent in case of an error in the main Data Destination. To do this, you need to create a new connection, where the Data Source will be Webhooks.
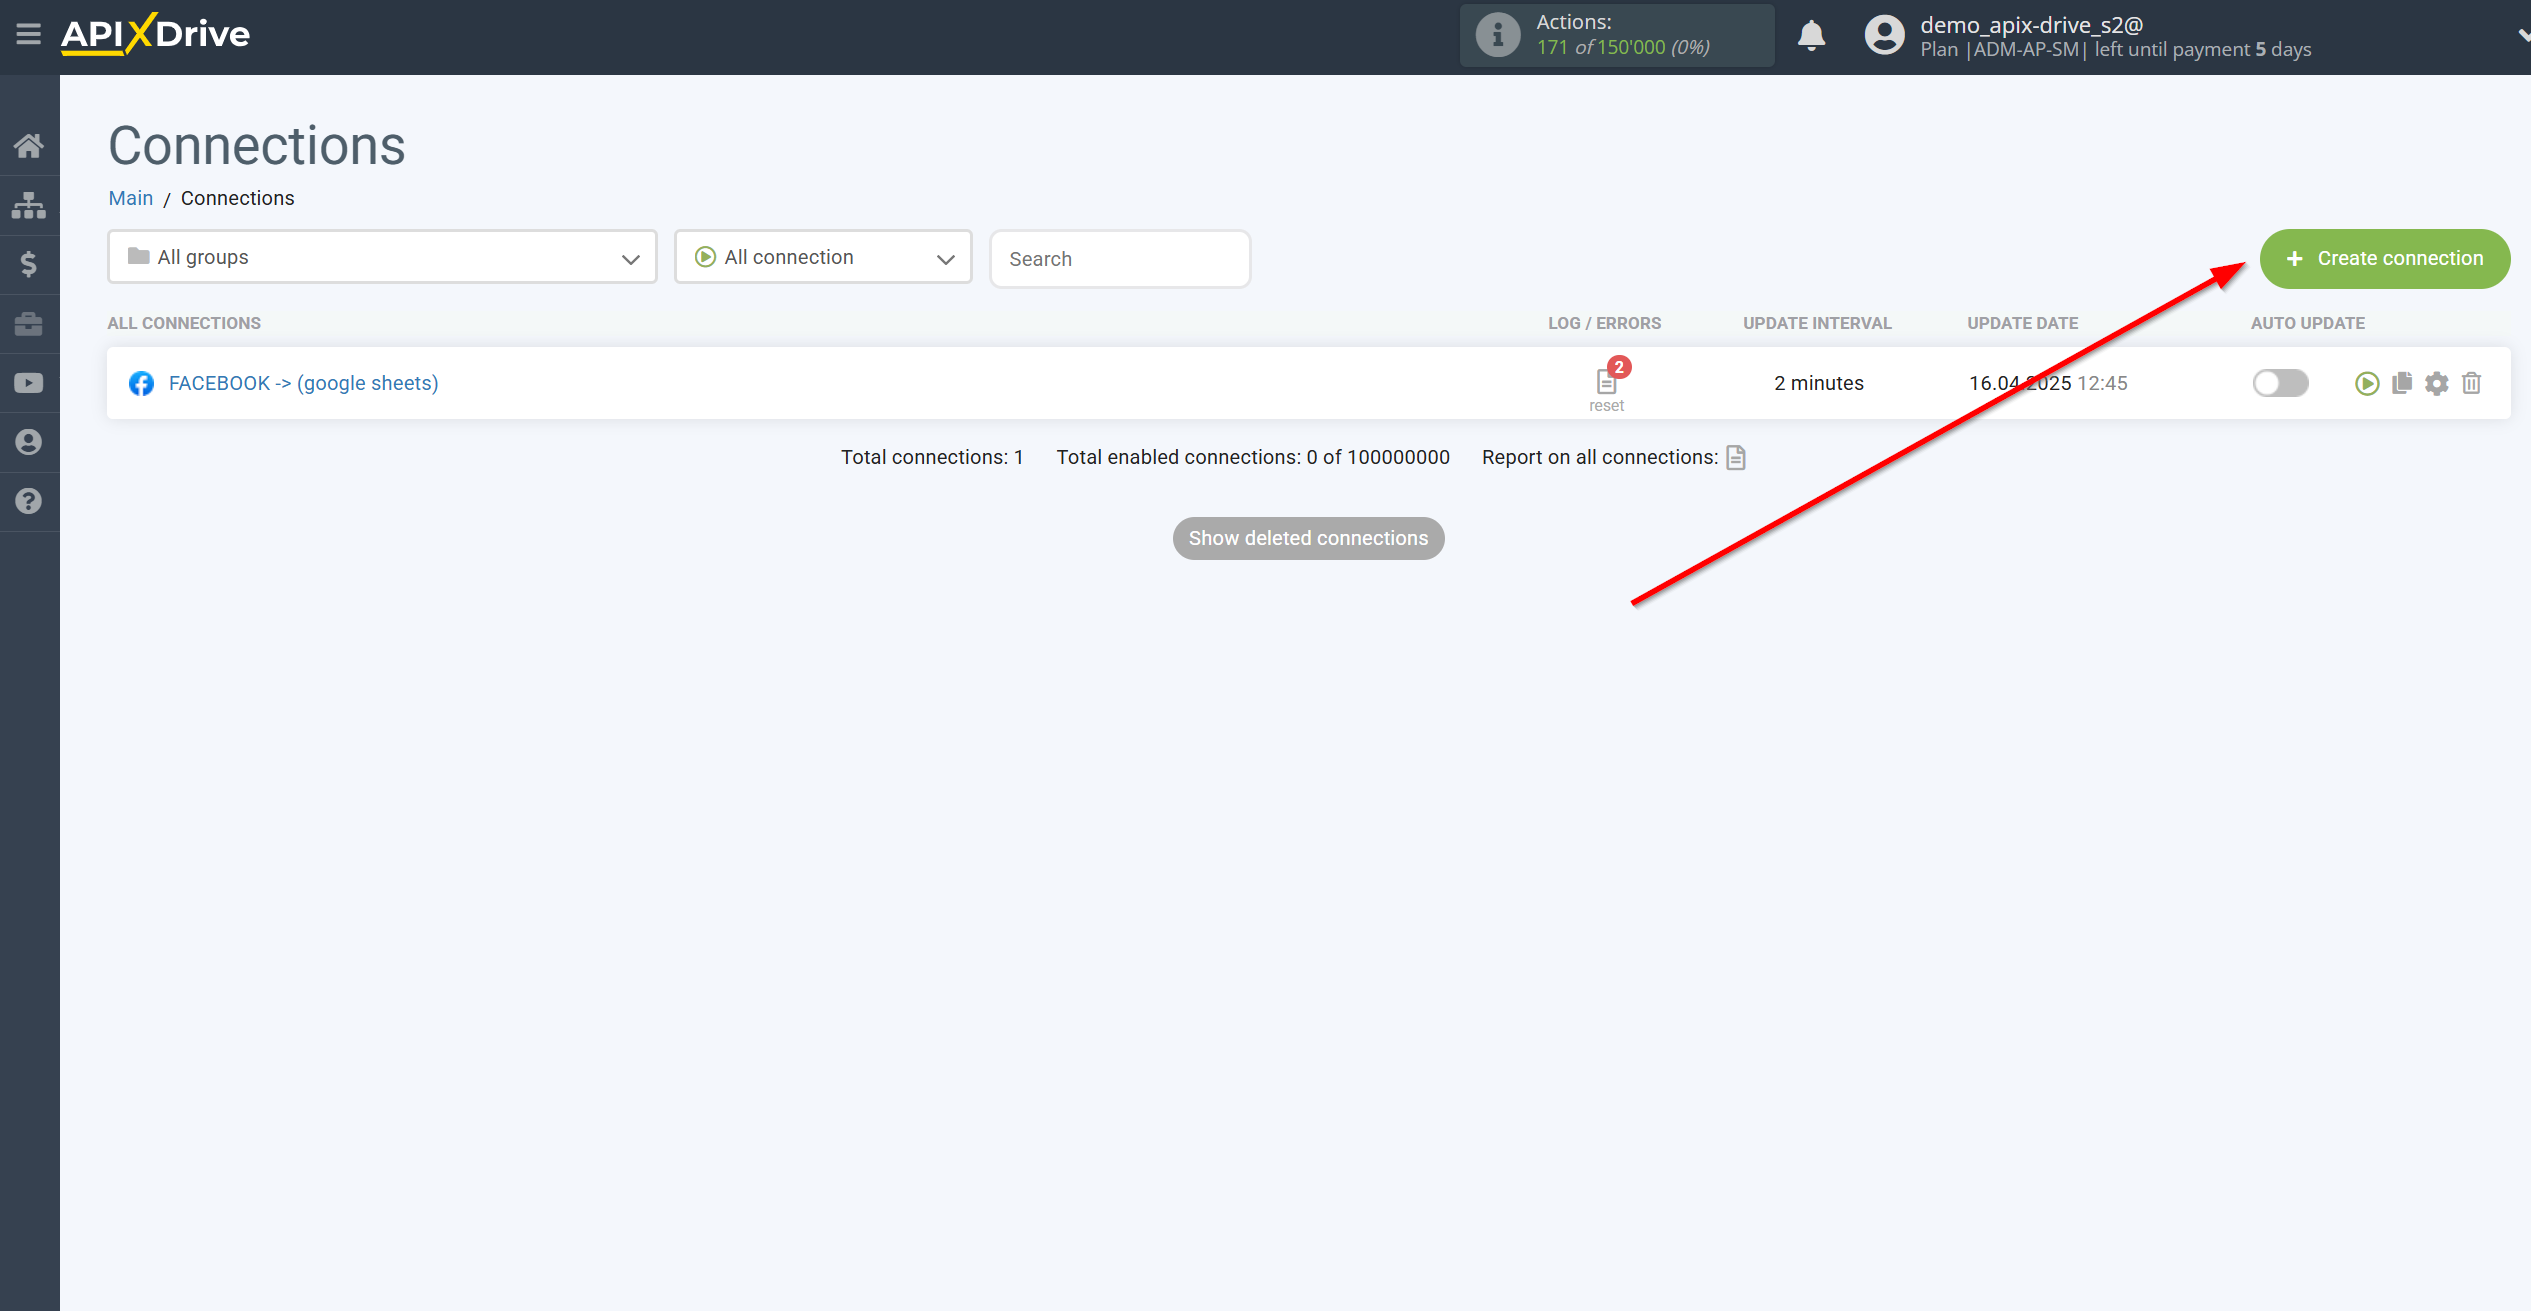
In a new tab, go to the main page of the ApiX-Drive account and click Create a connection.
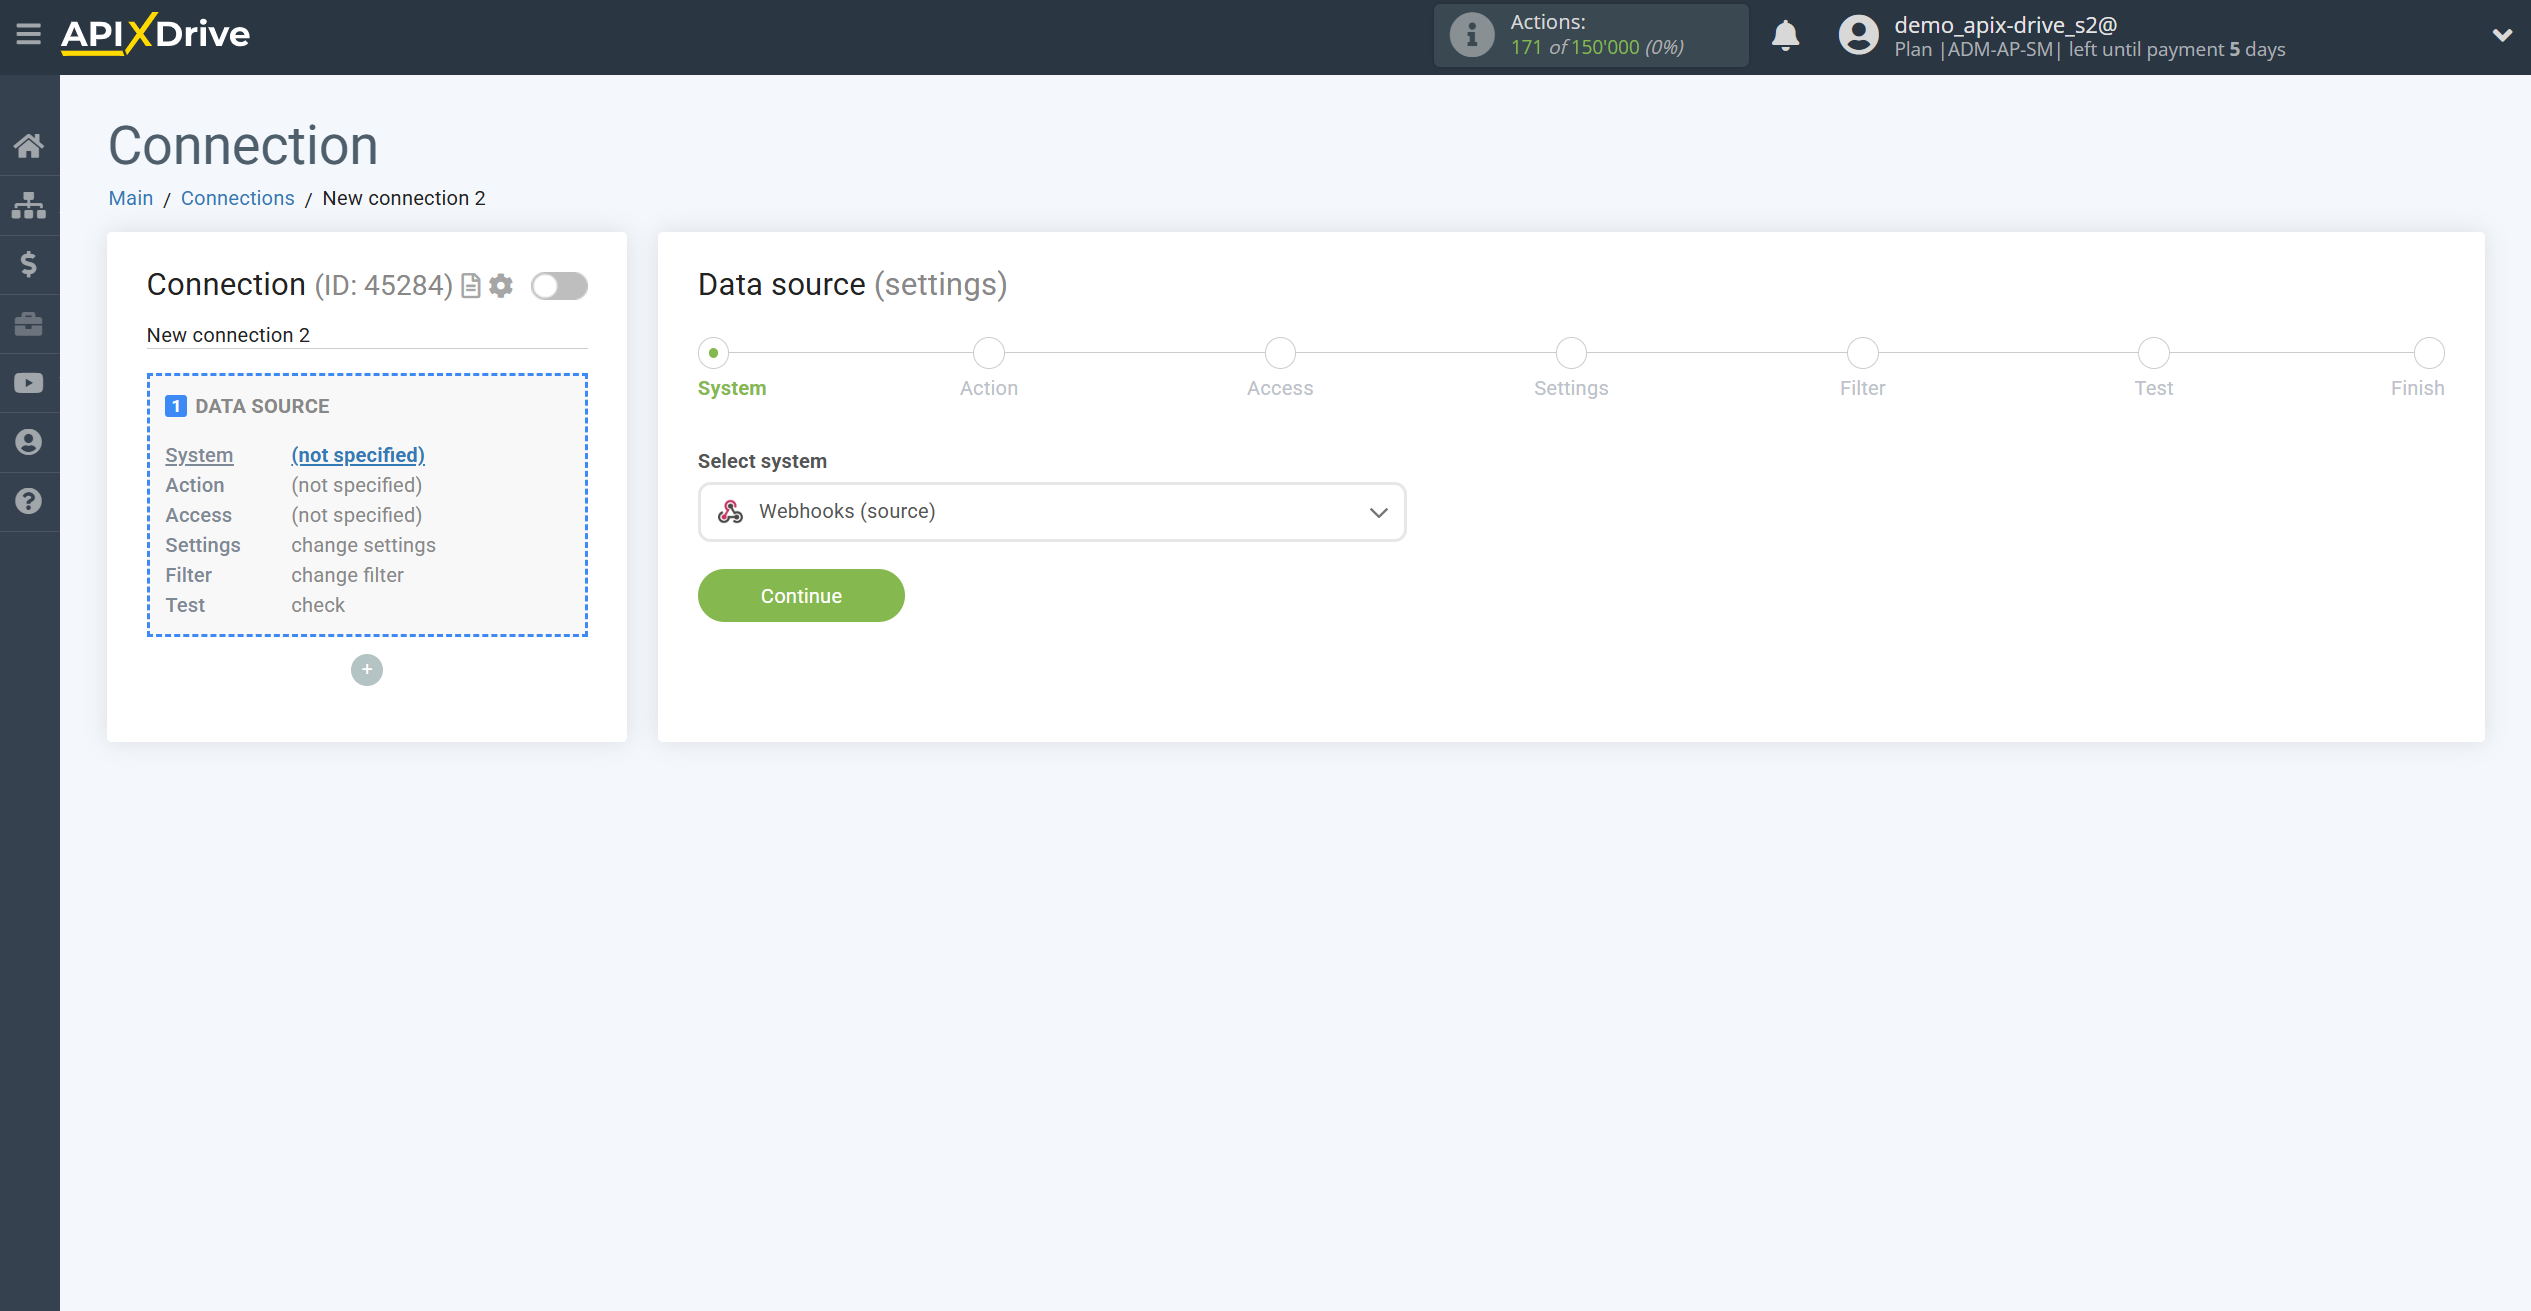
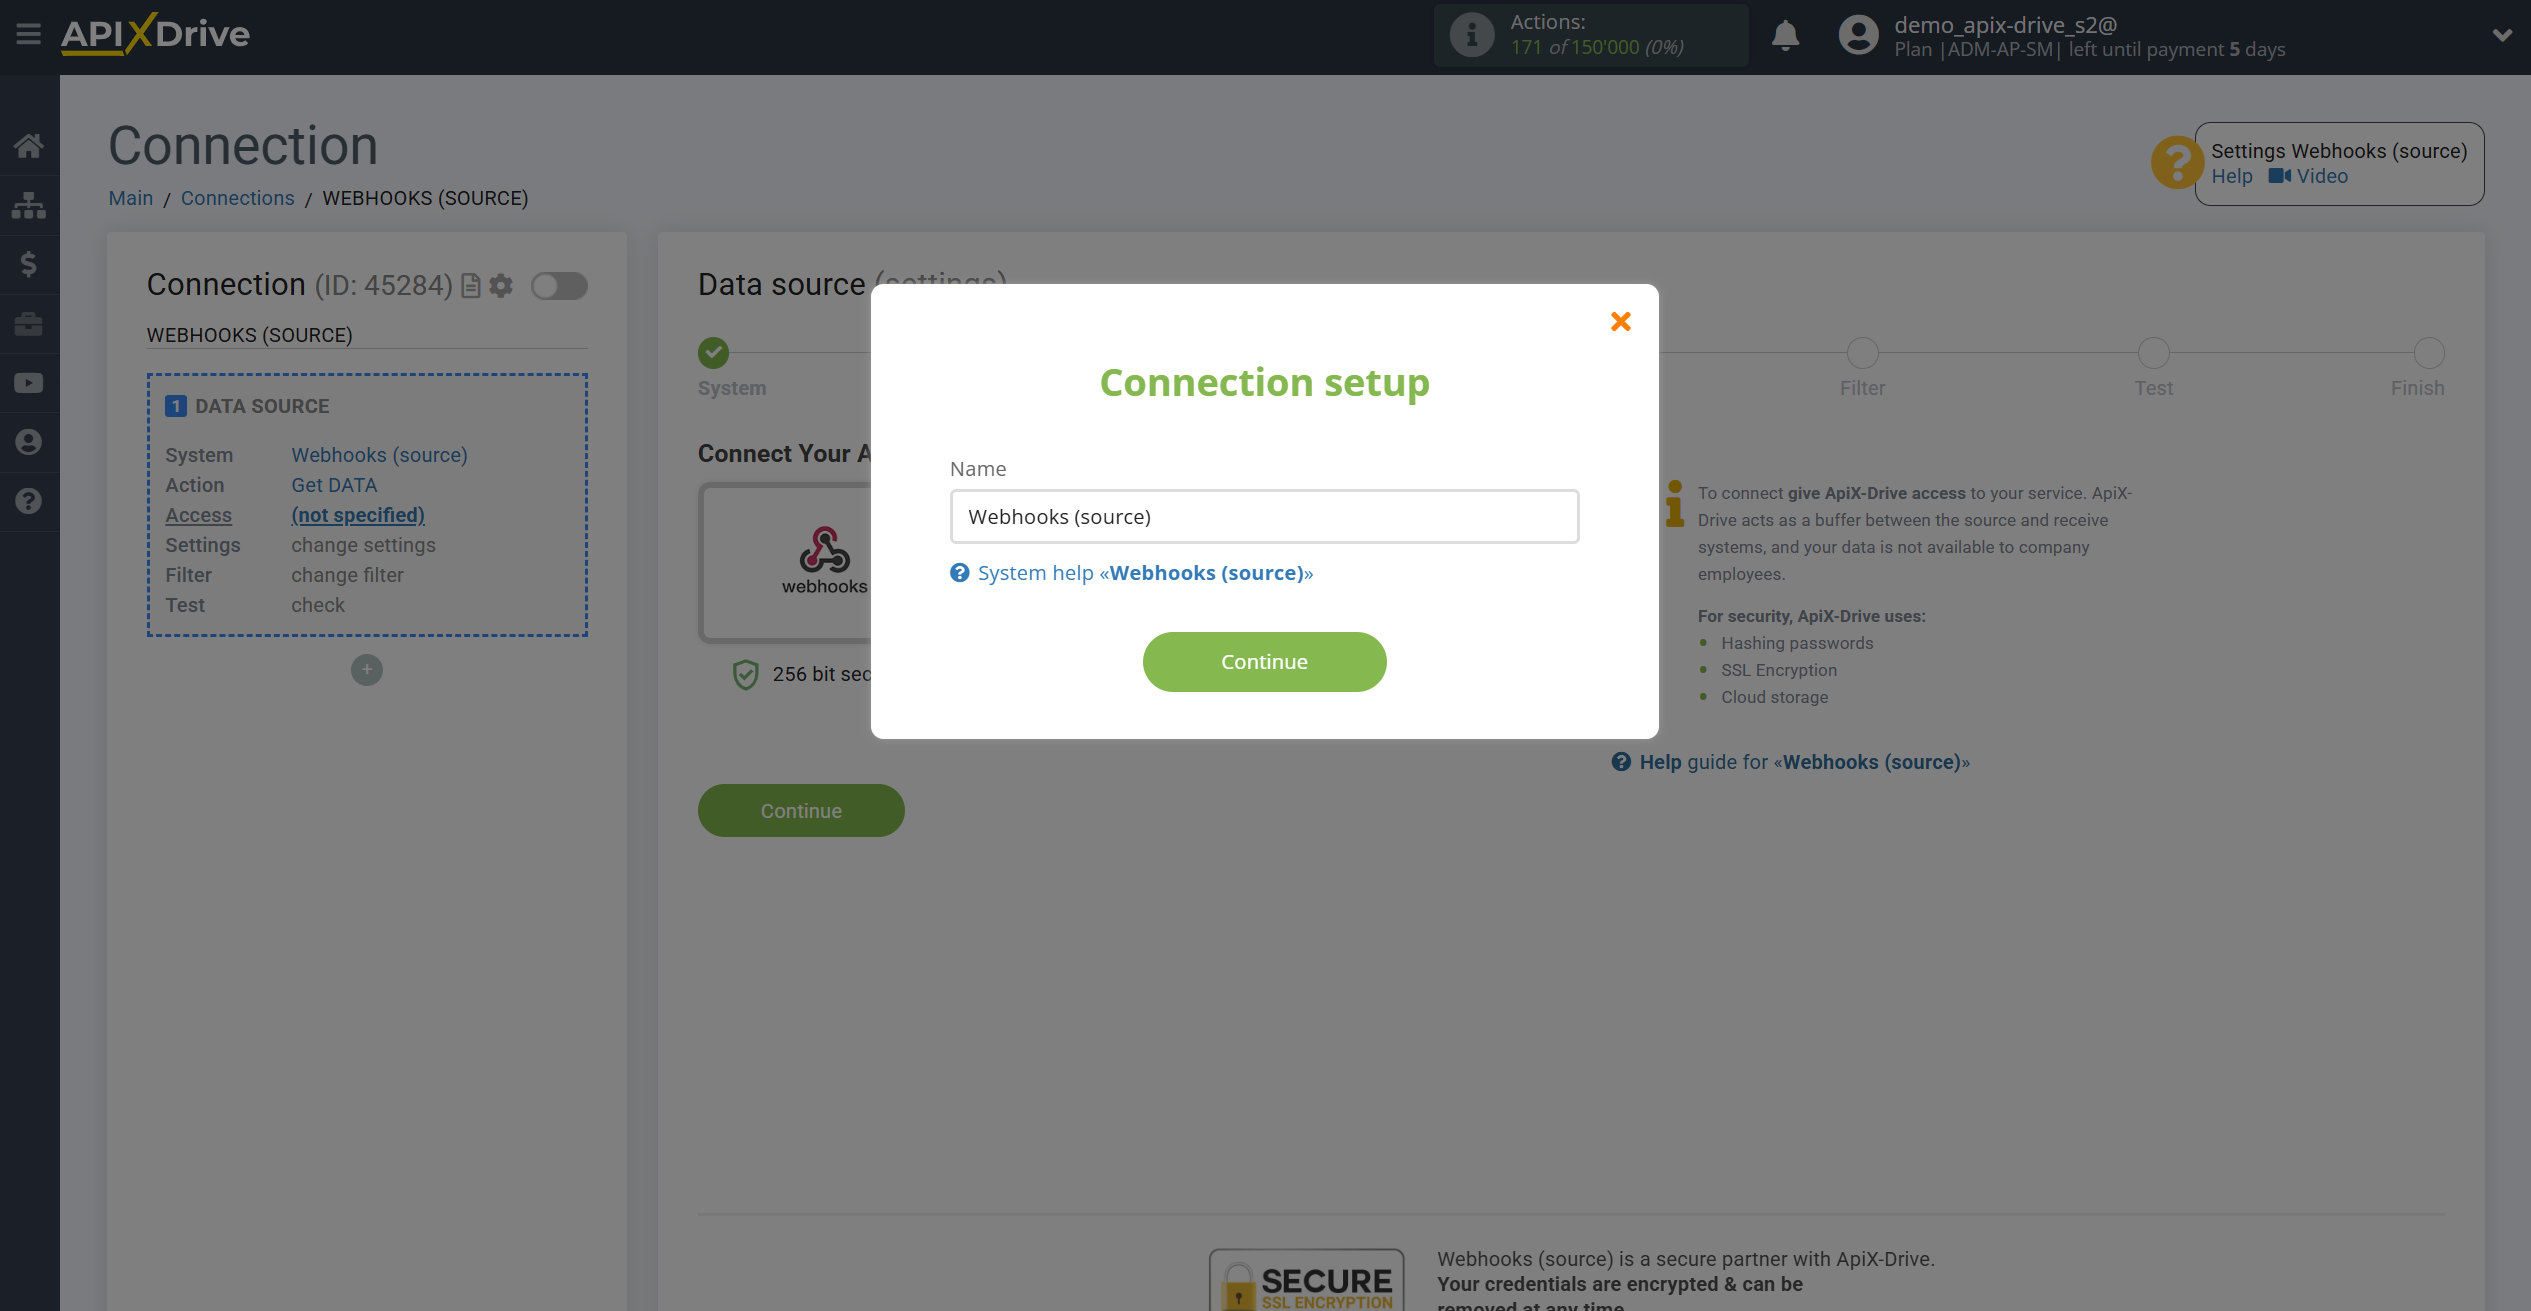
We select the Webhooks system (source).
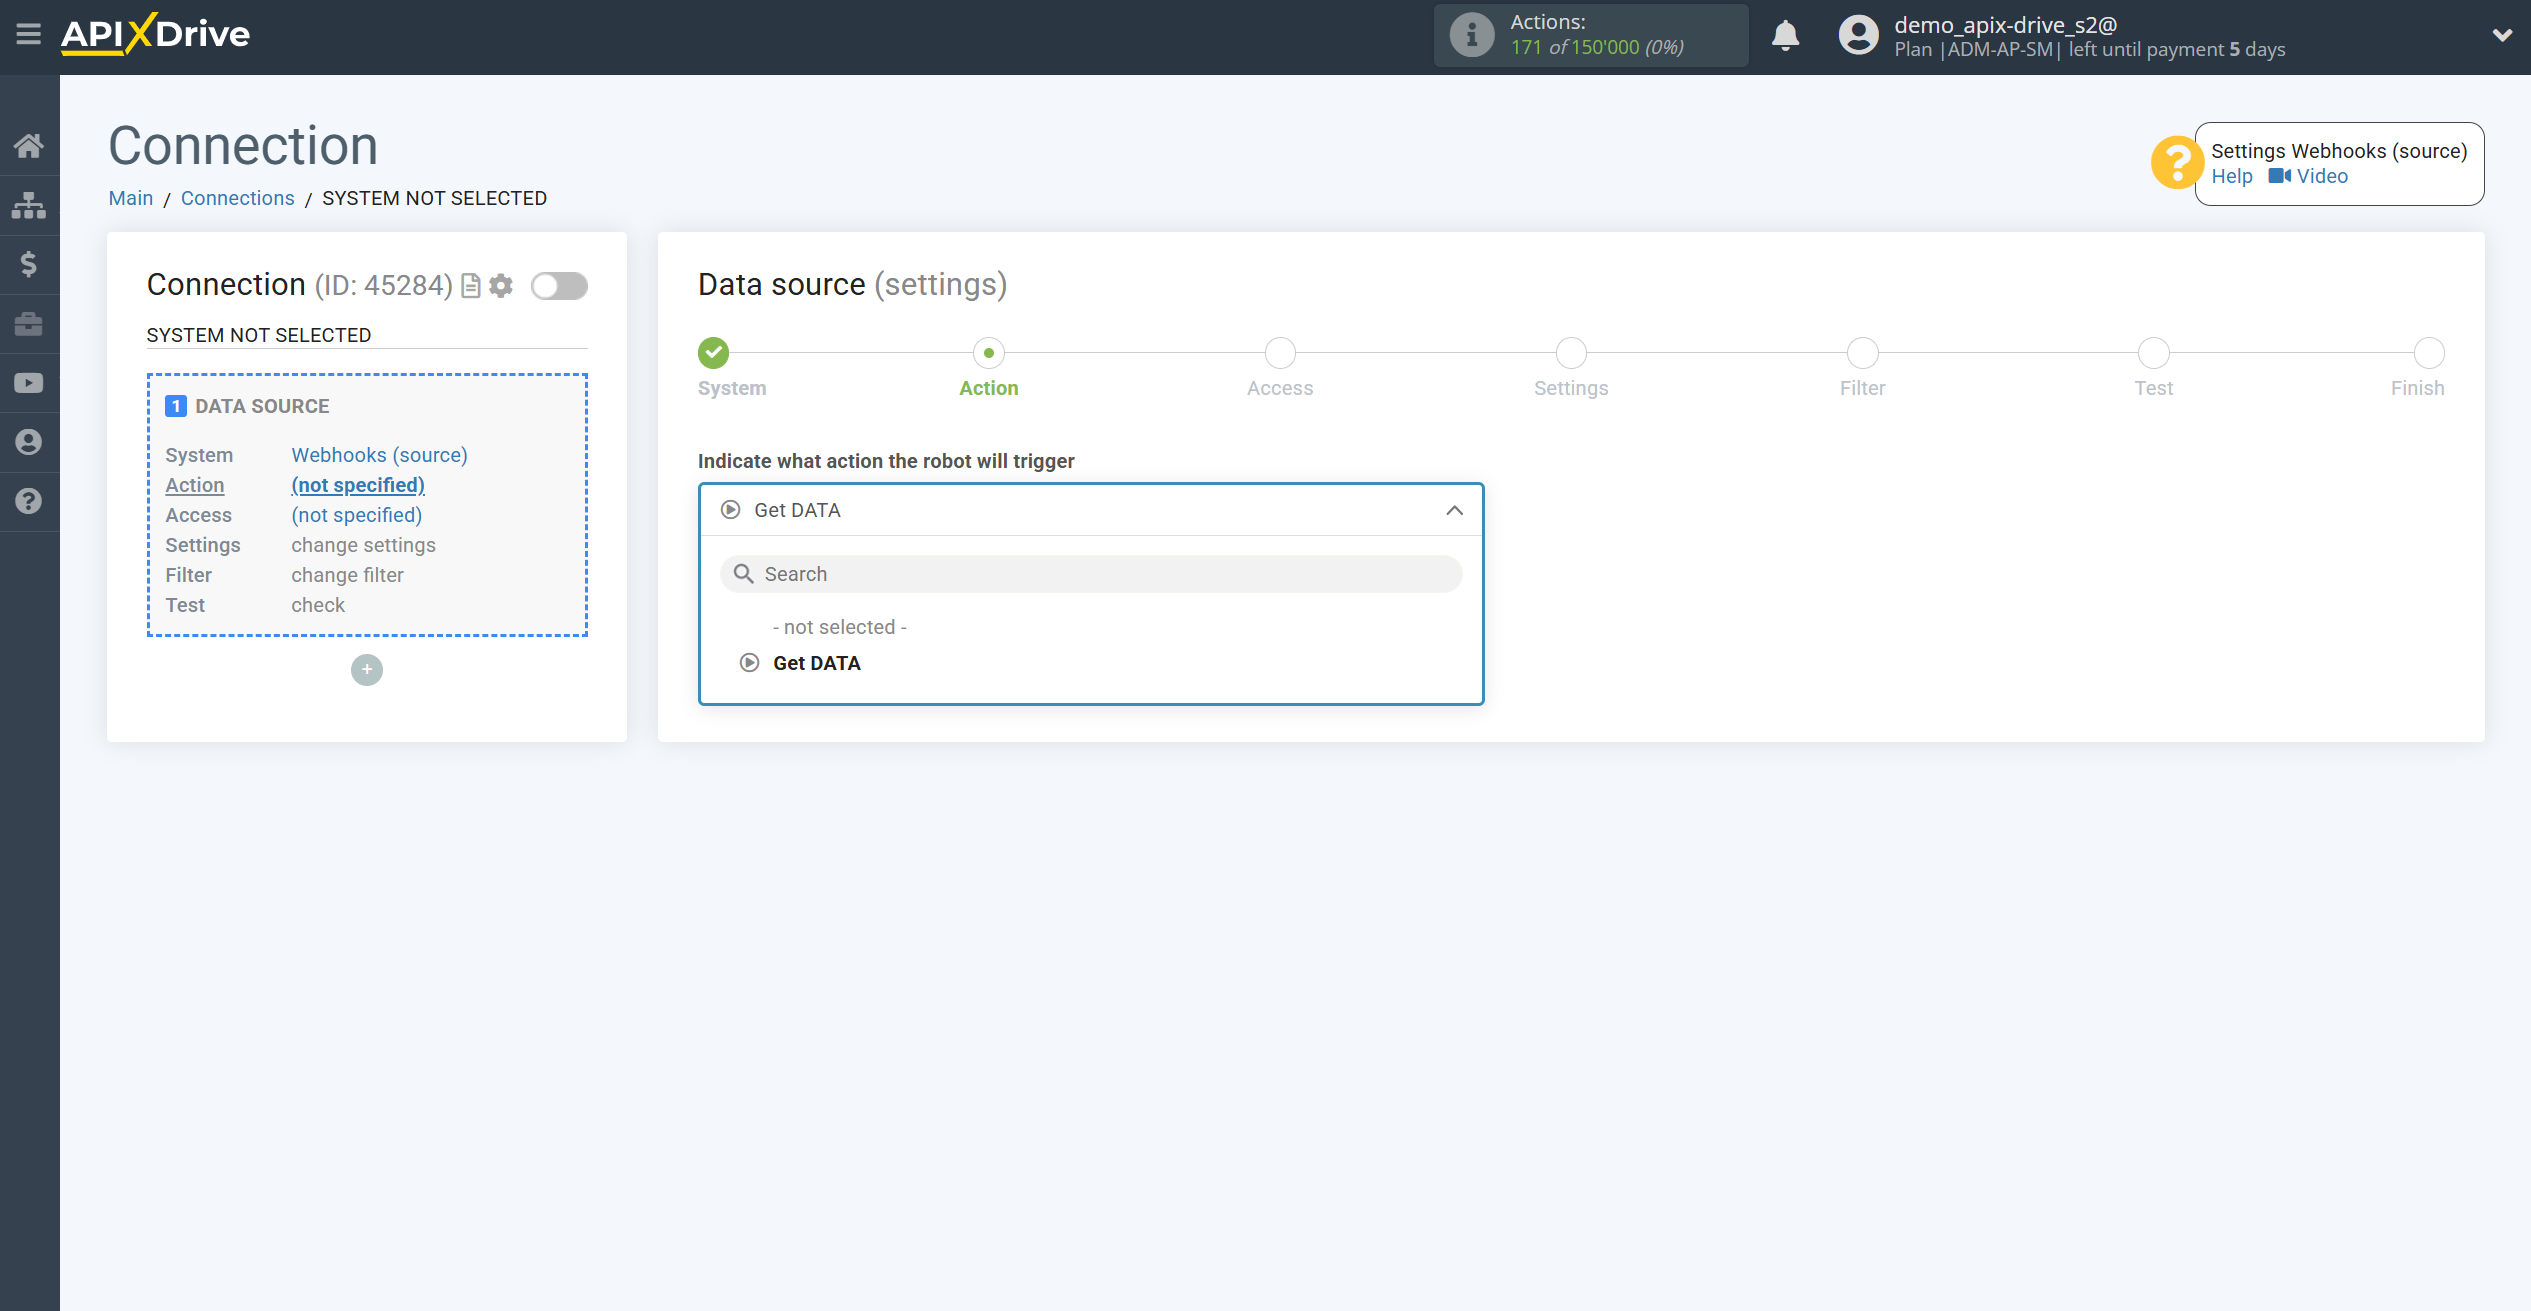
Next, select the Get DATA action.
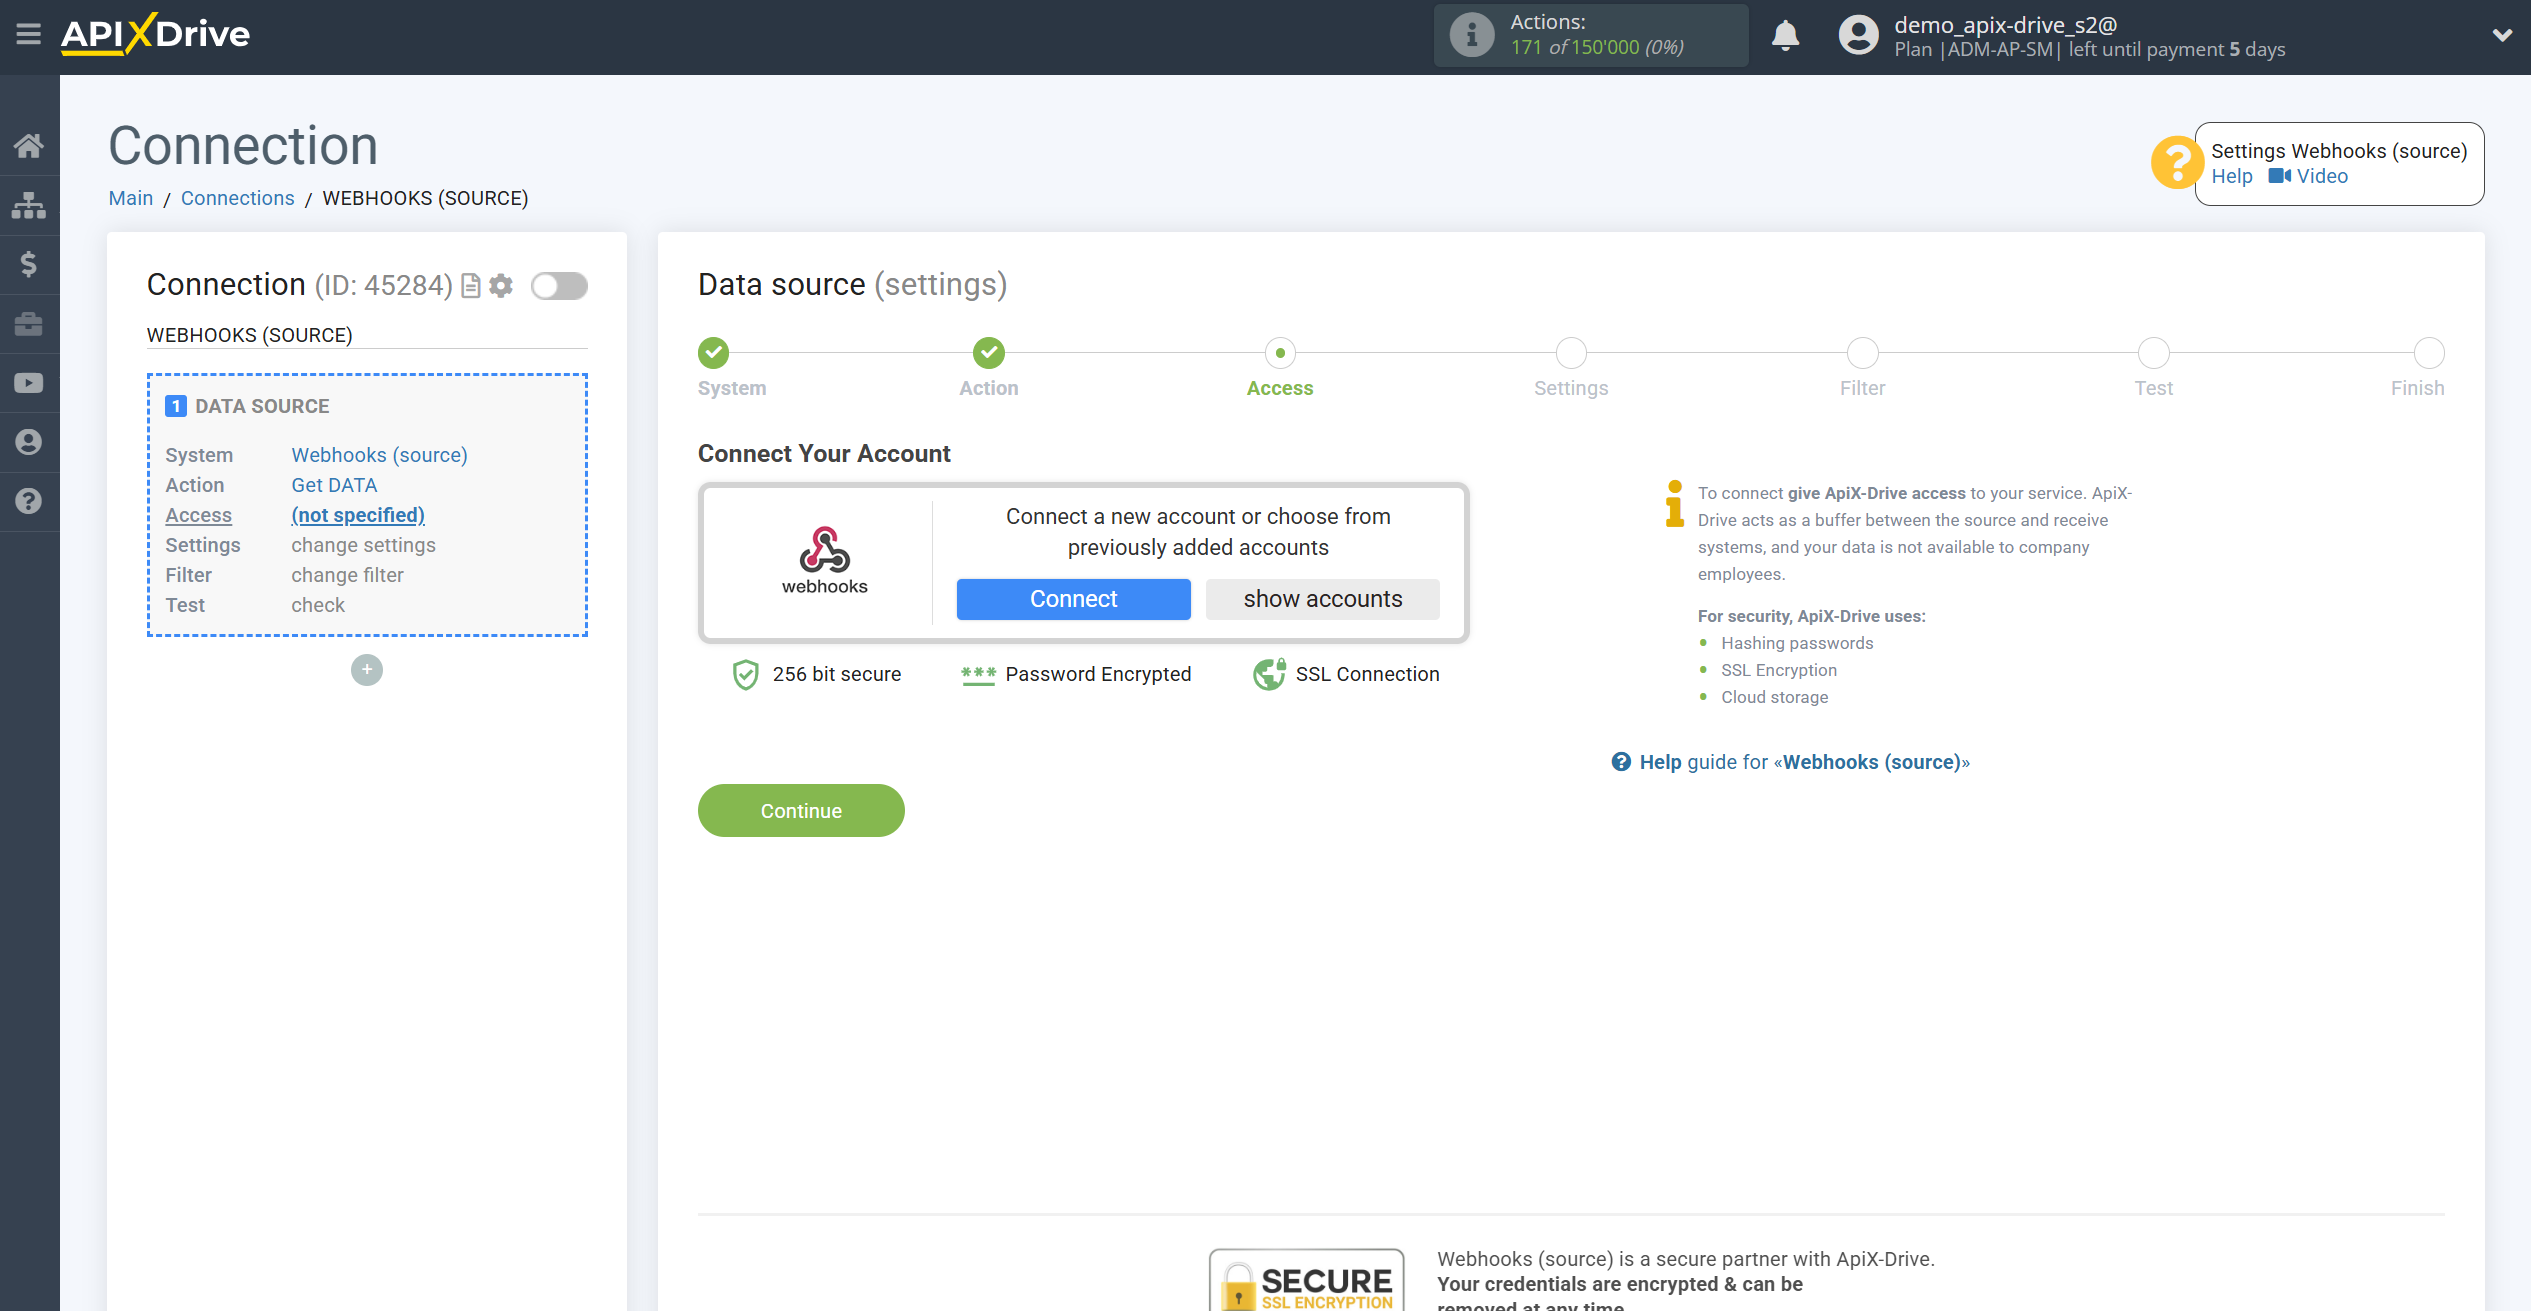
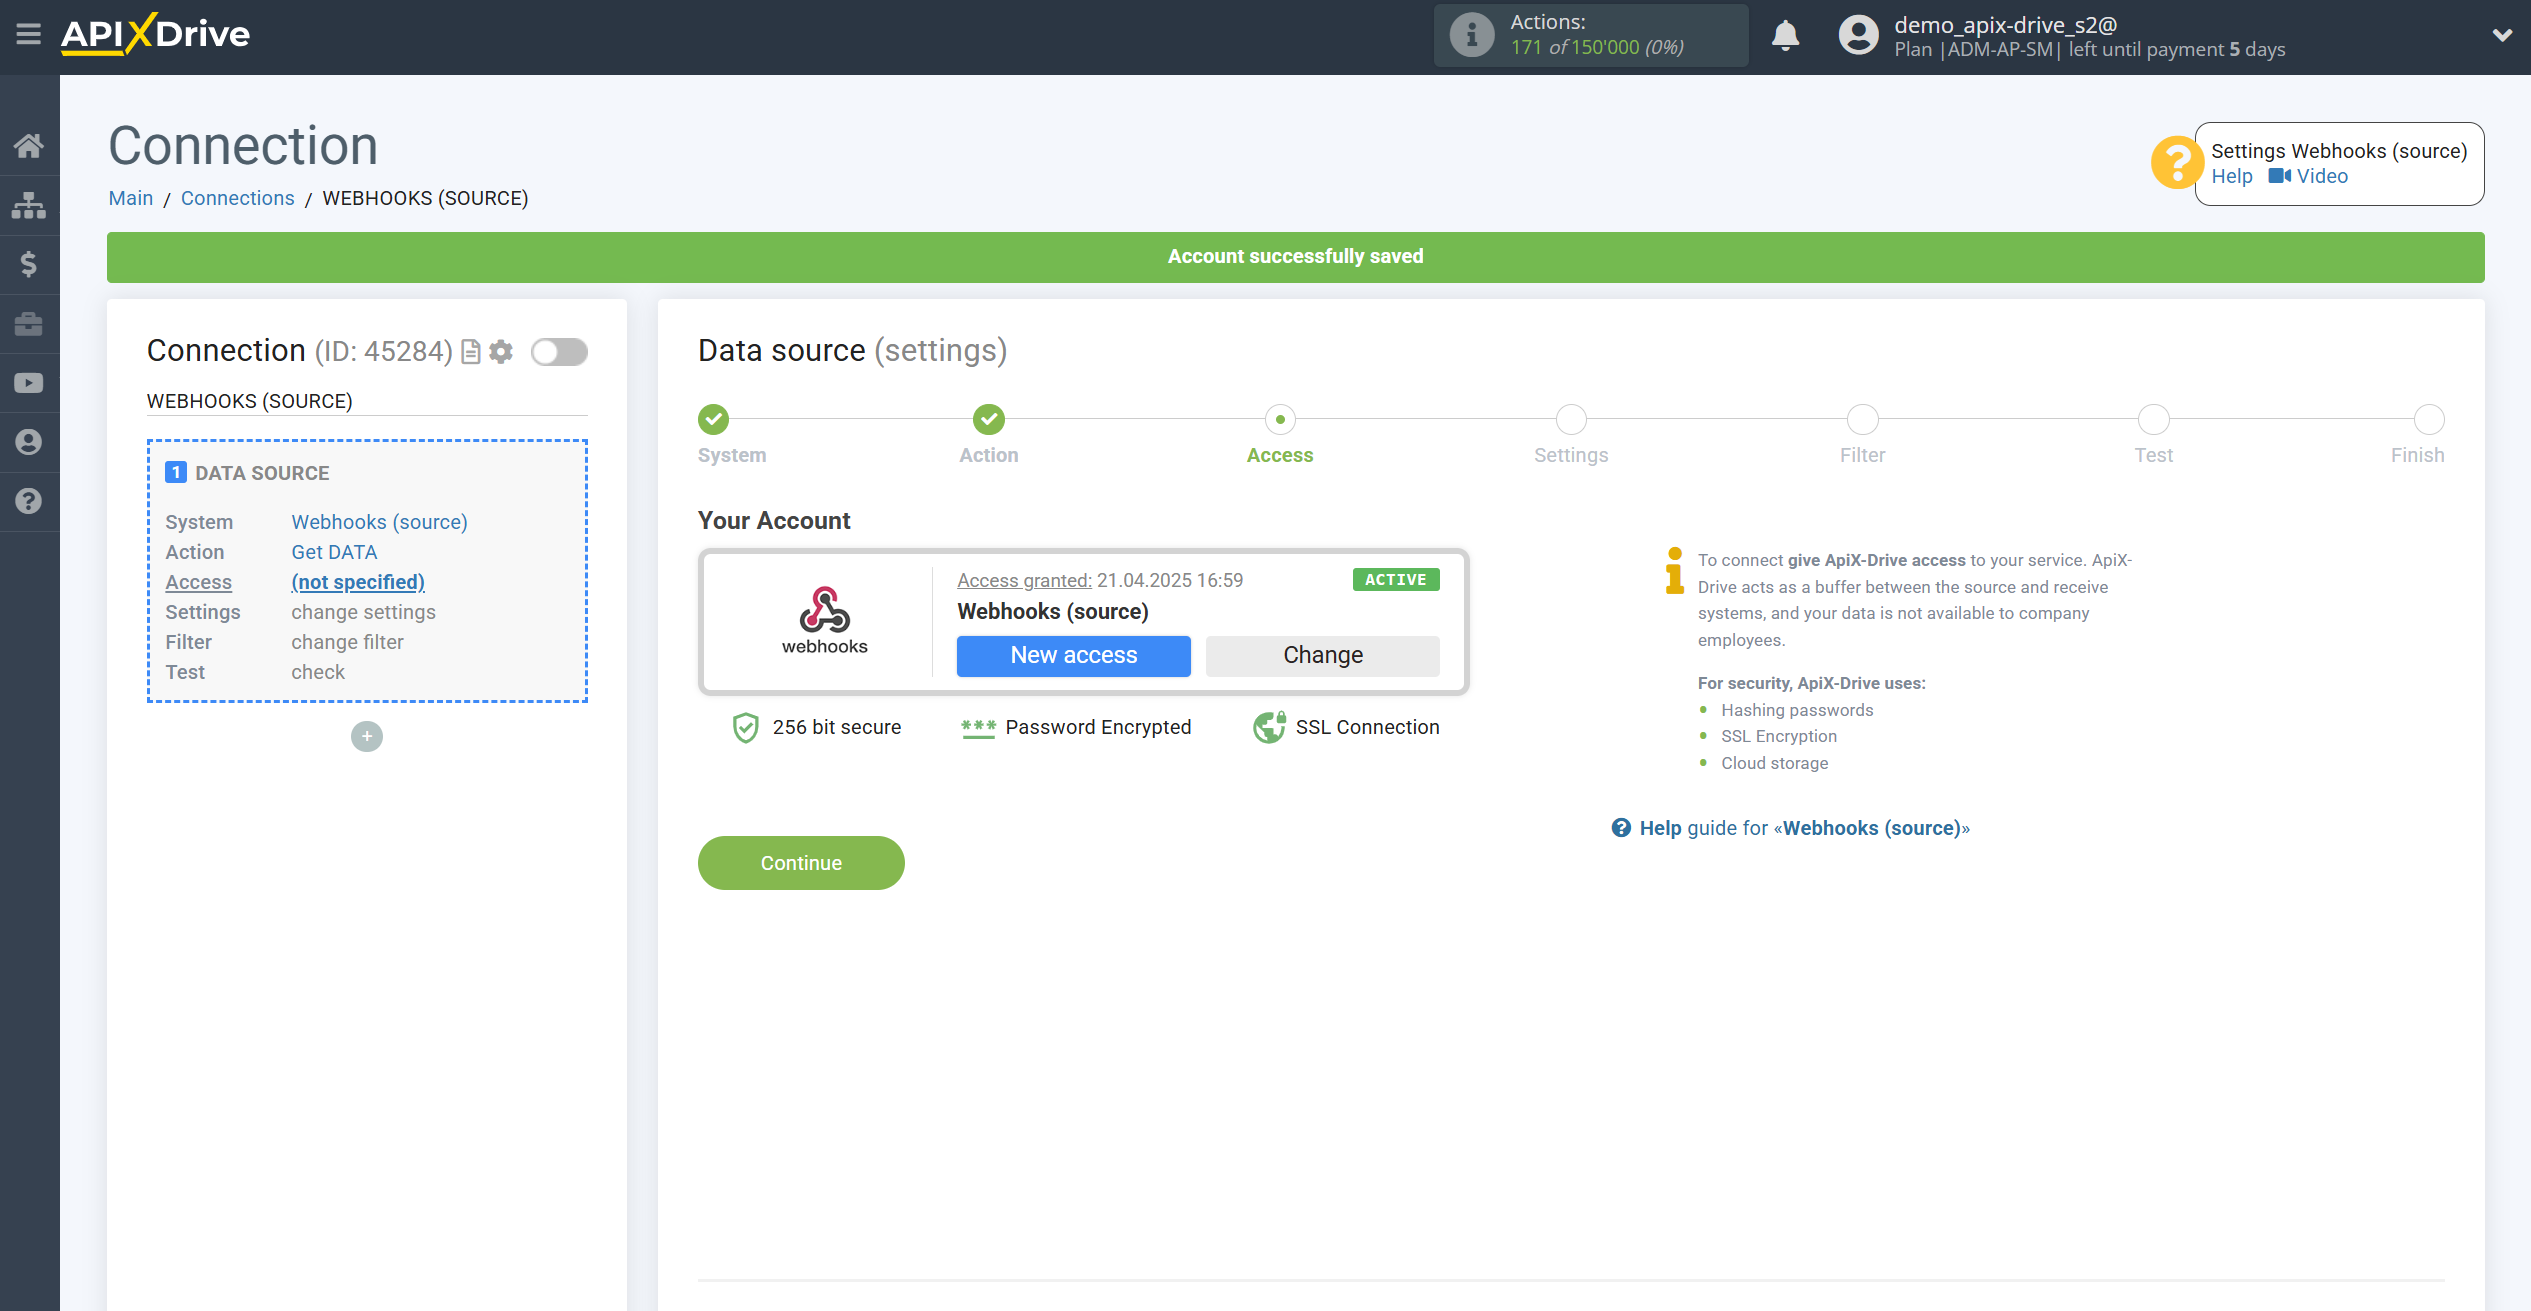
At the Access stage, click Connect and Continue.
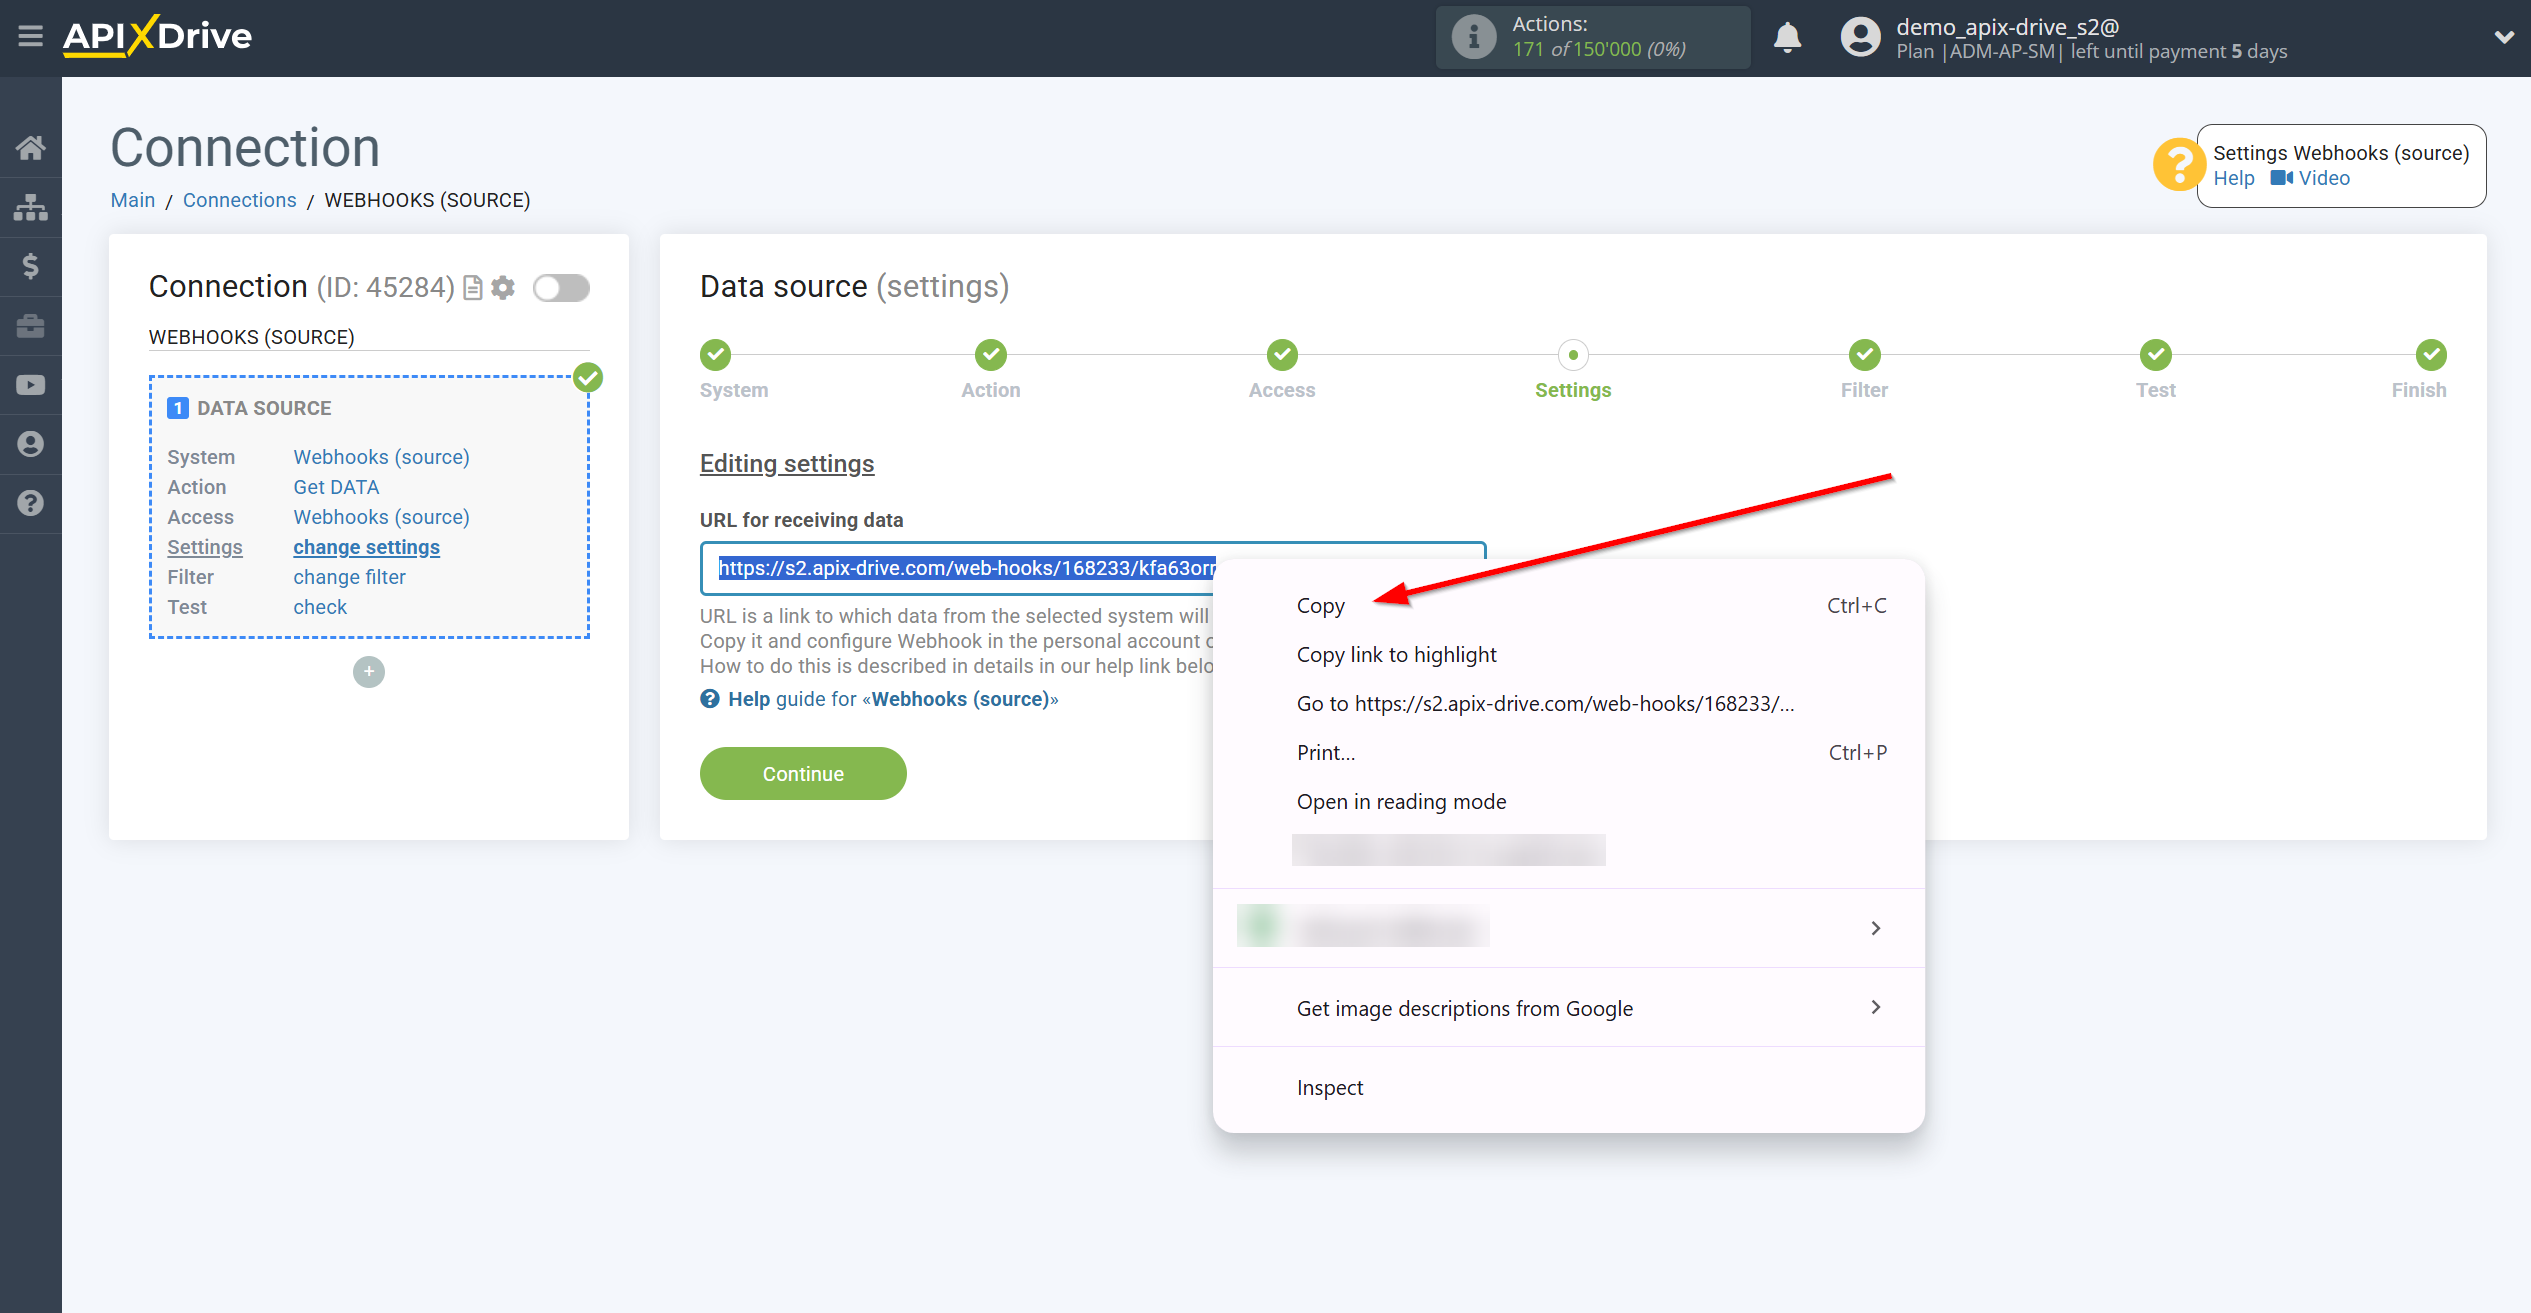
At the Settings stage, we copy the link and return to our connection with If/Then Logic, where we paste this link.
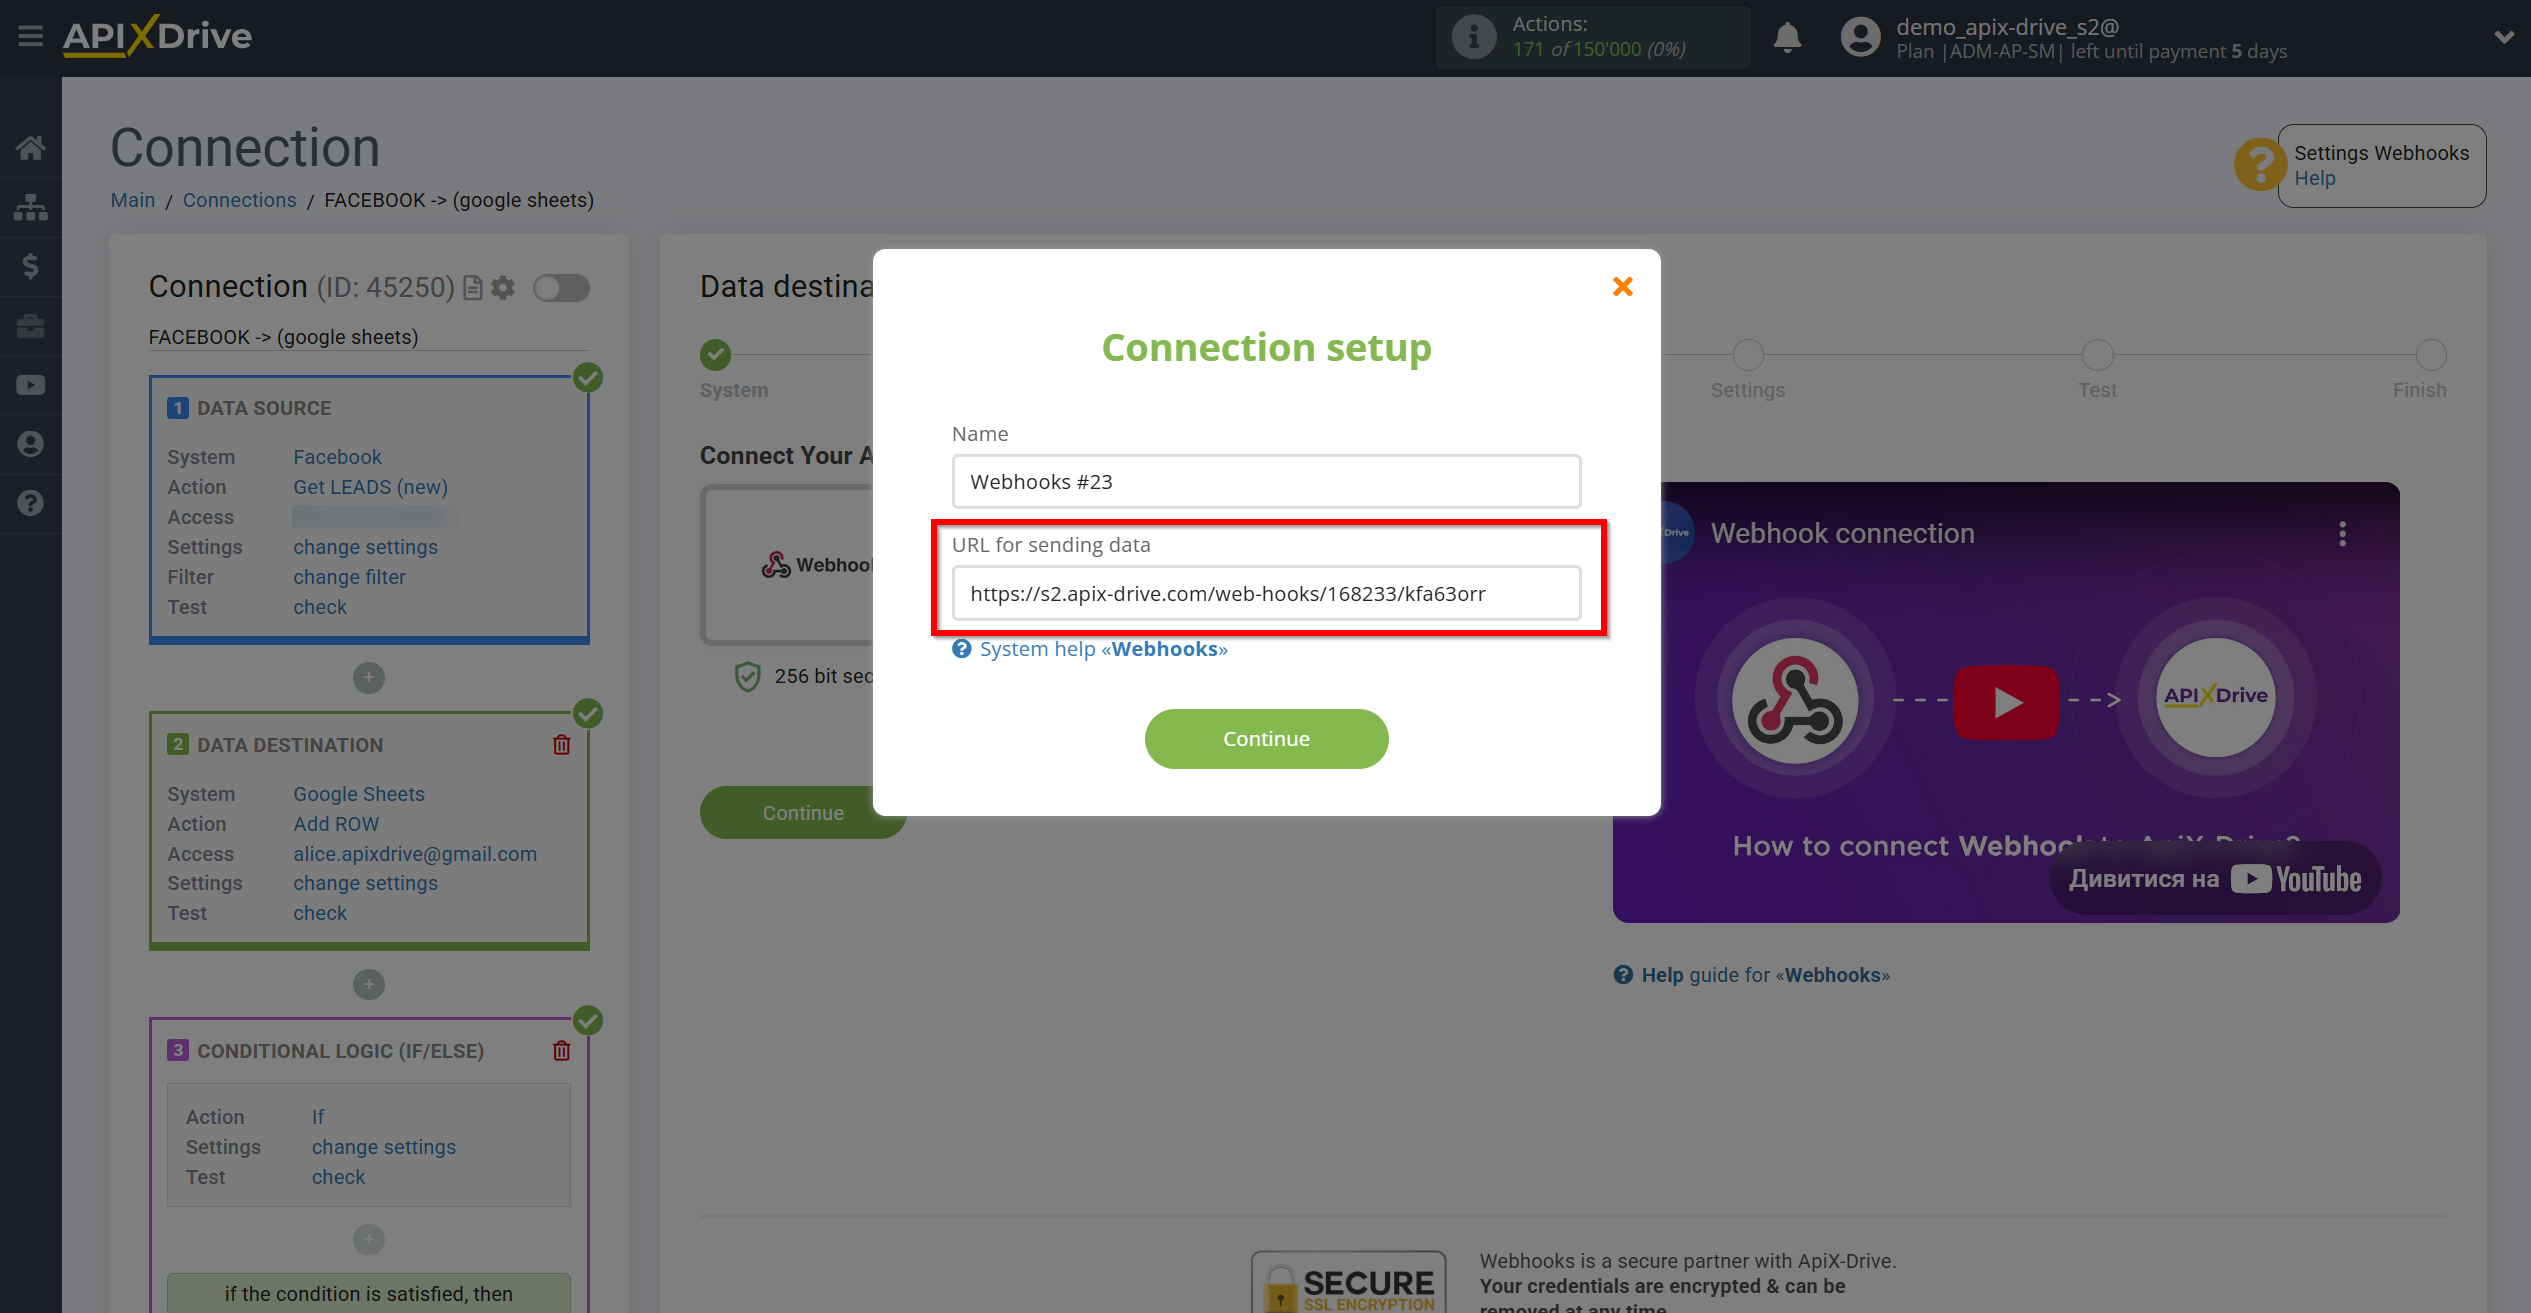
Next, in our main connection, click Continue and proceed to the Settings stage.
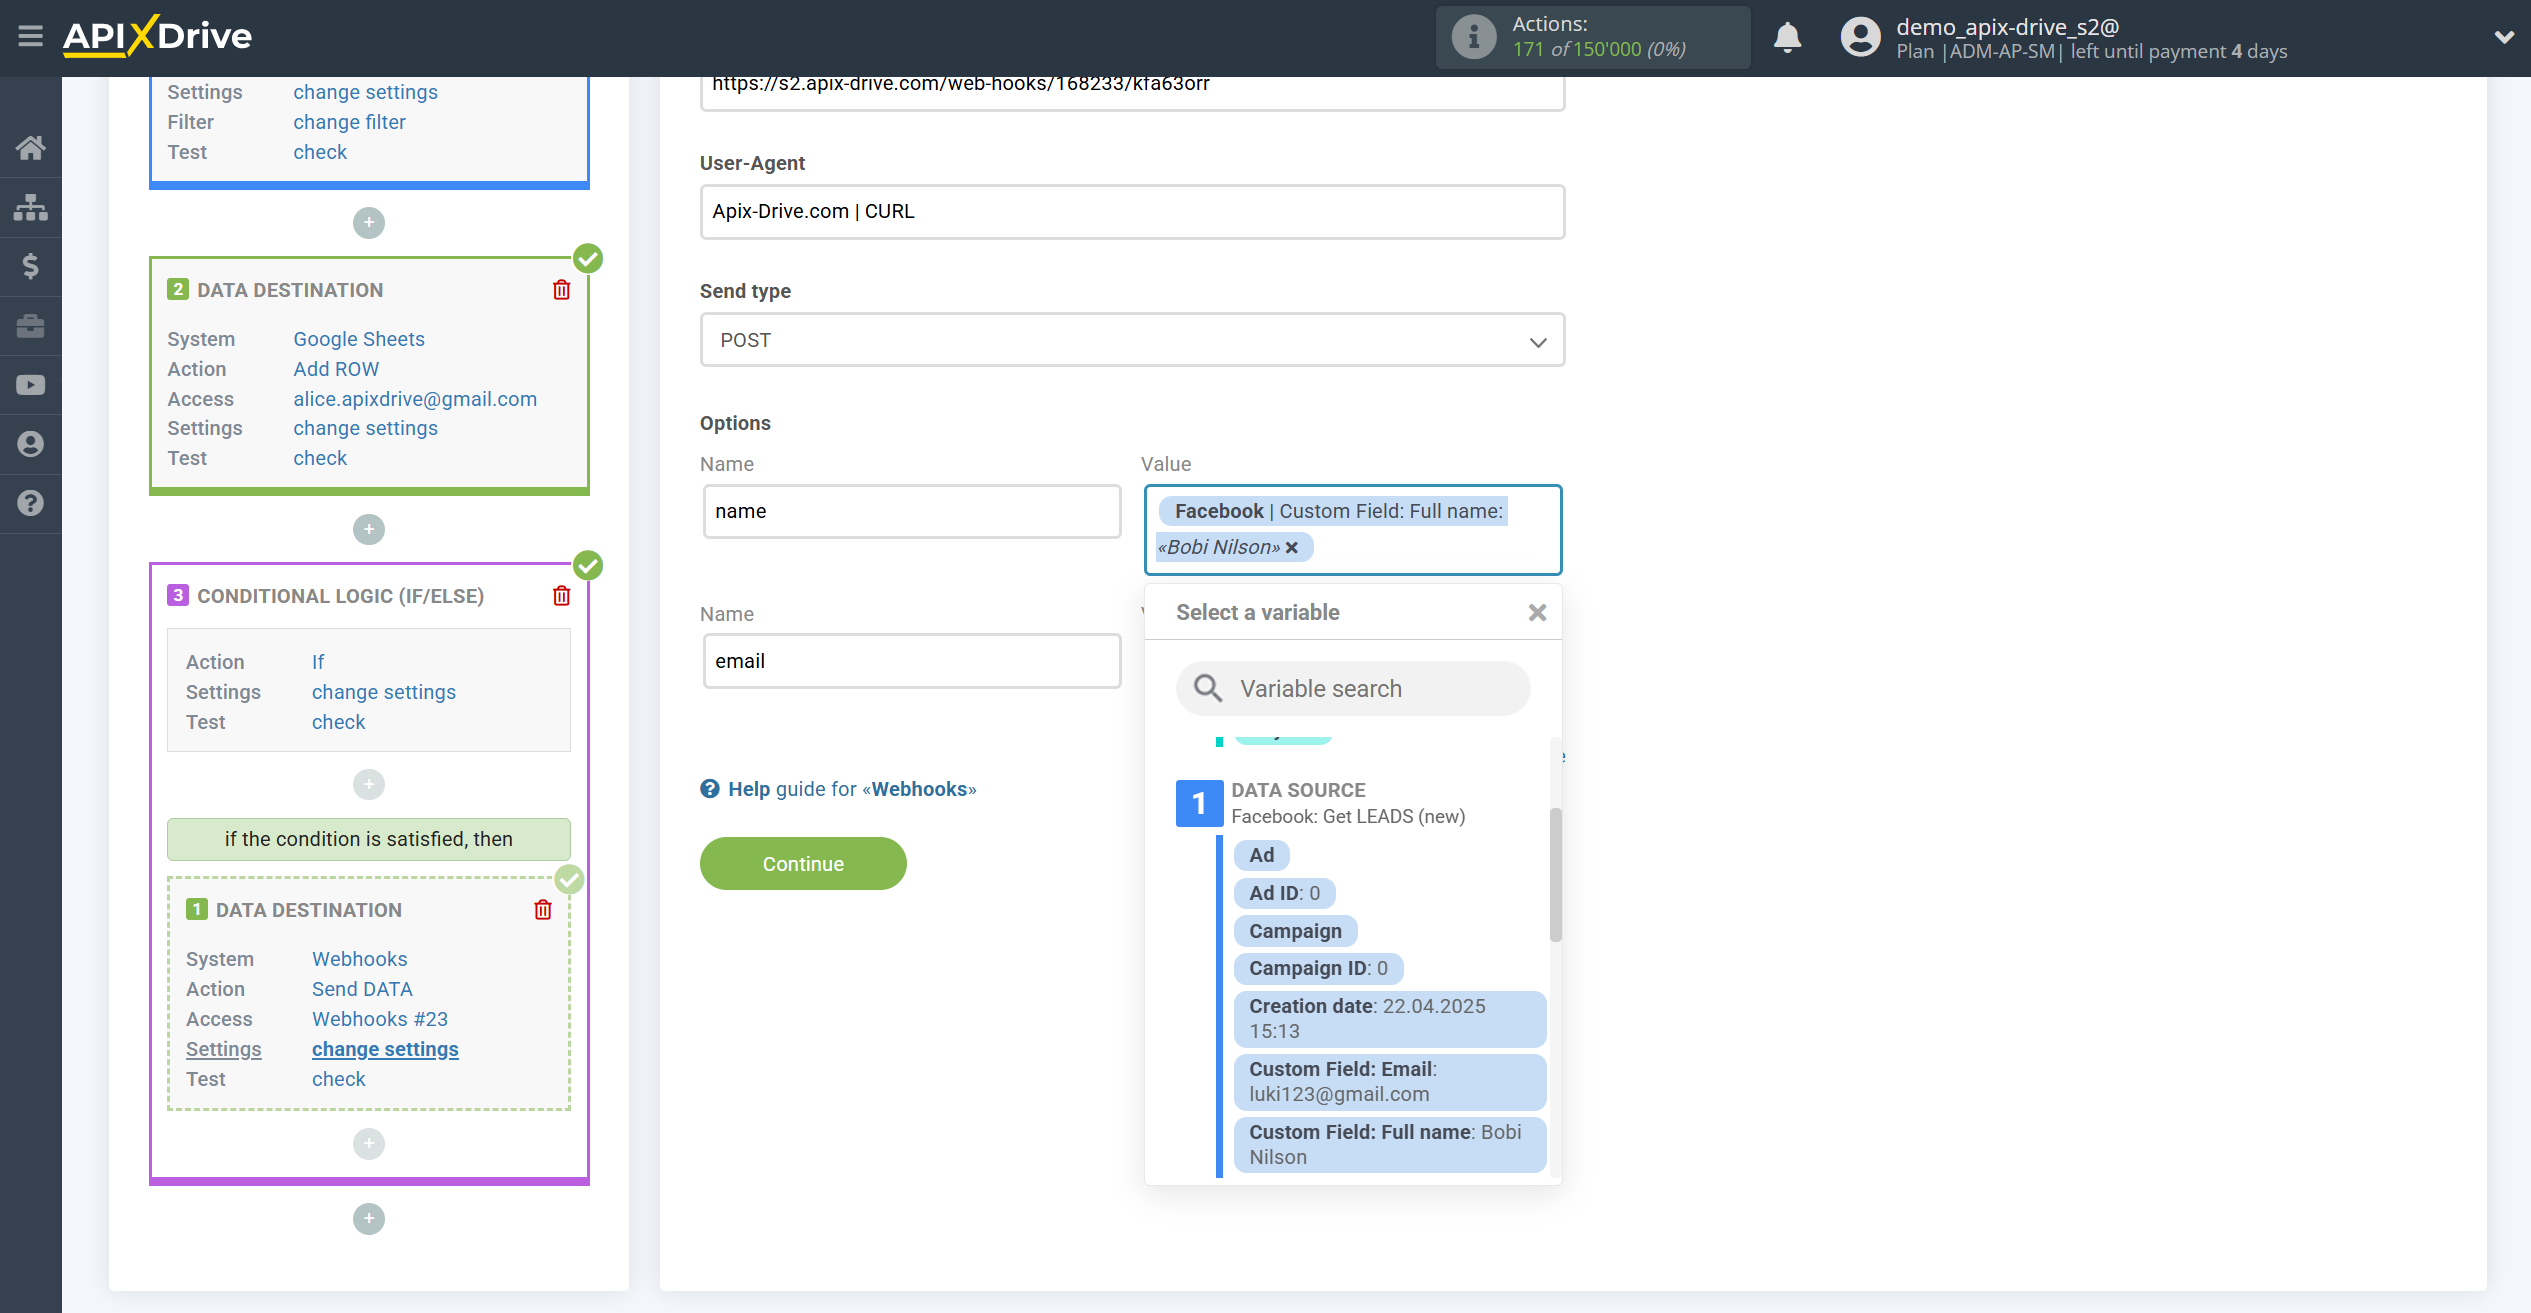
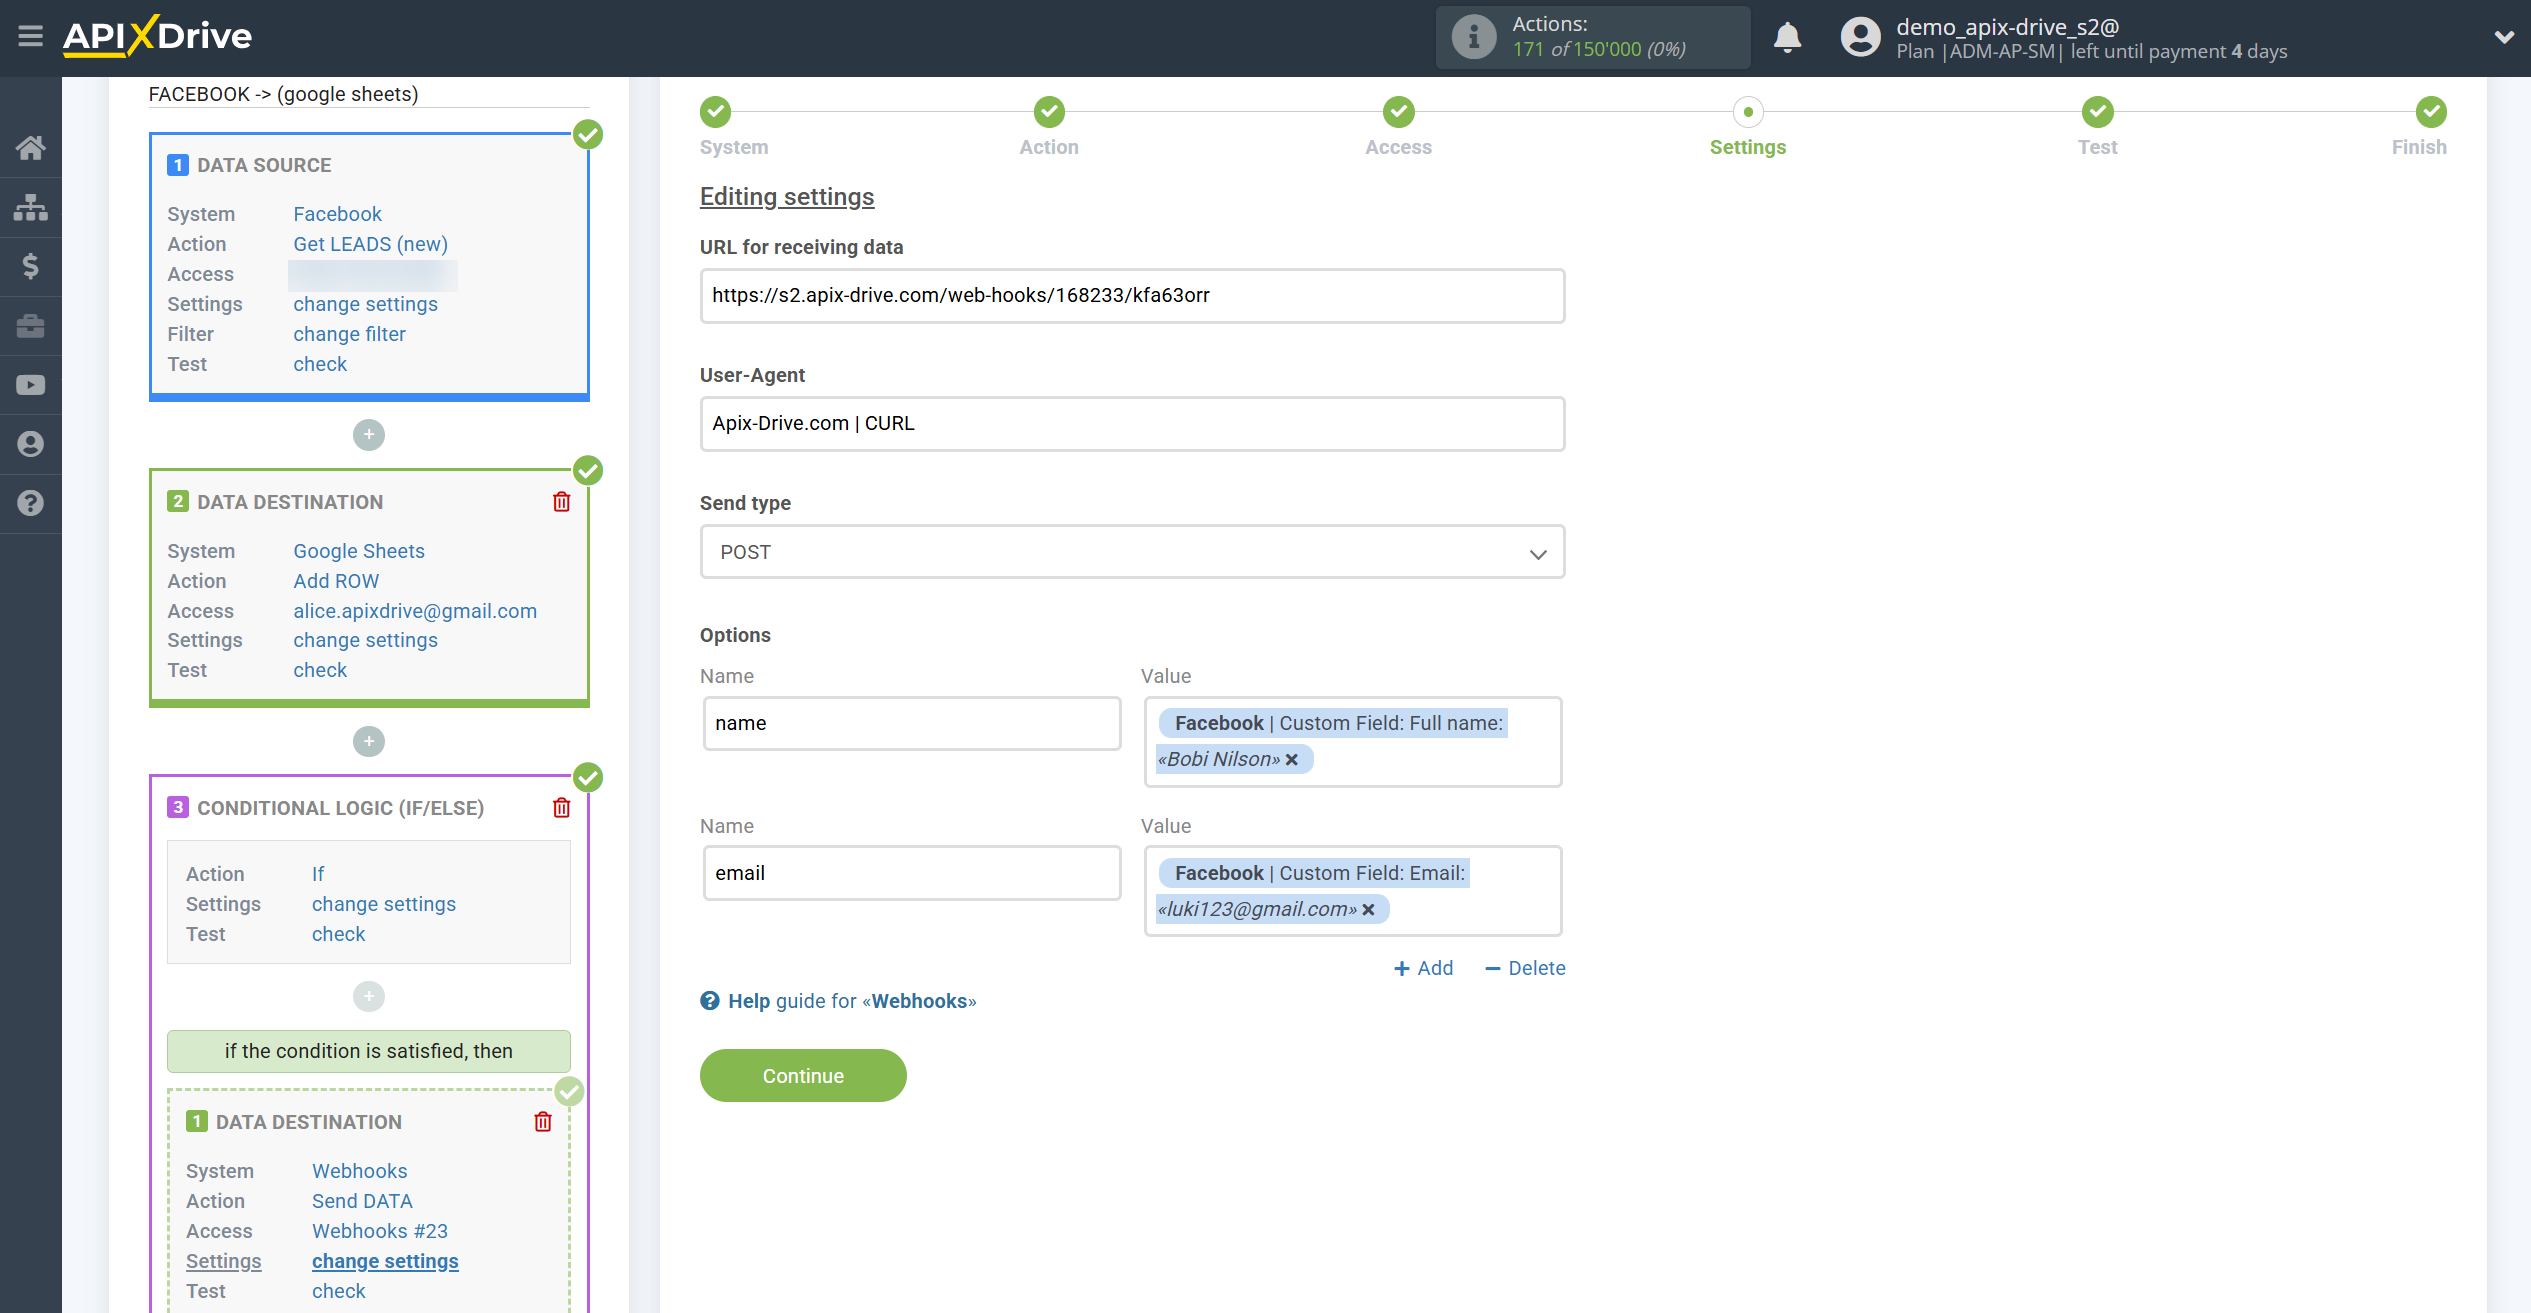
At this stage, we name the variables as we like and assign data from the Facebook Data Source to them, and click Continue.
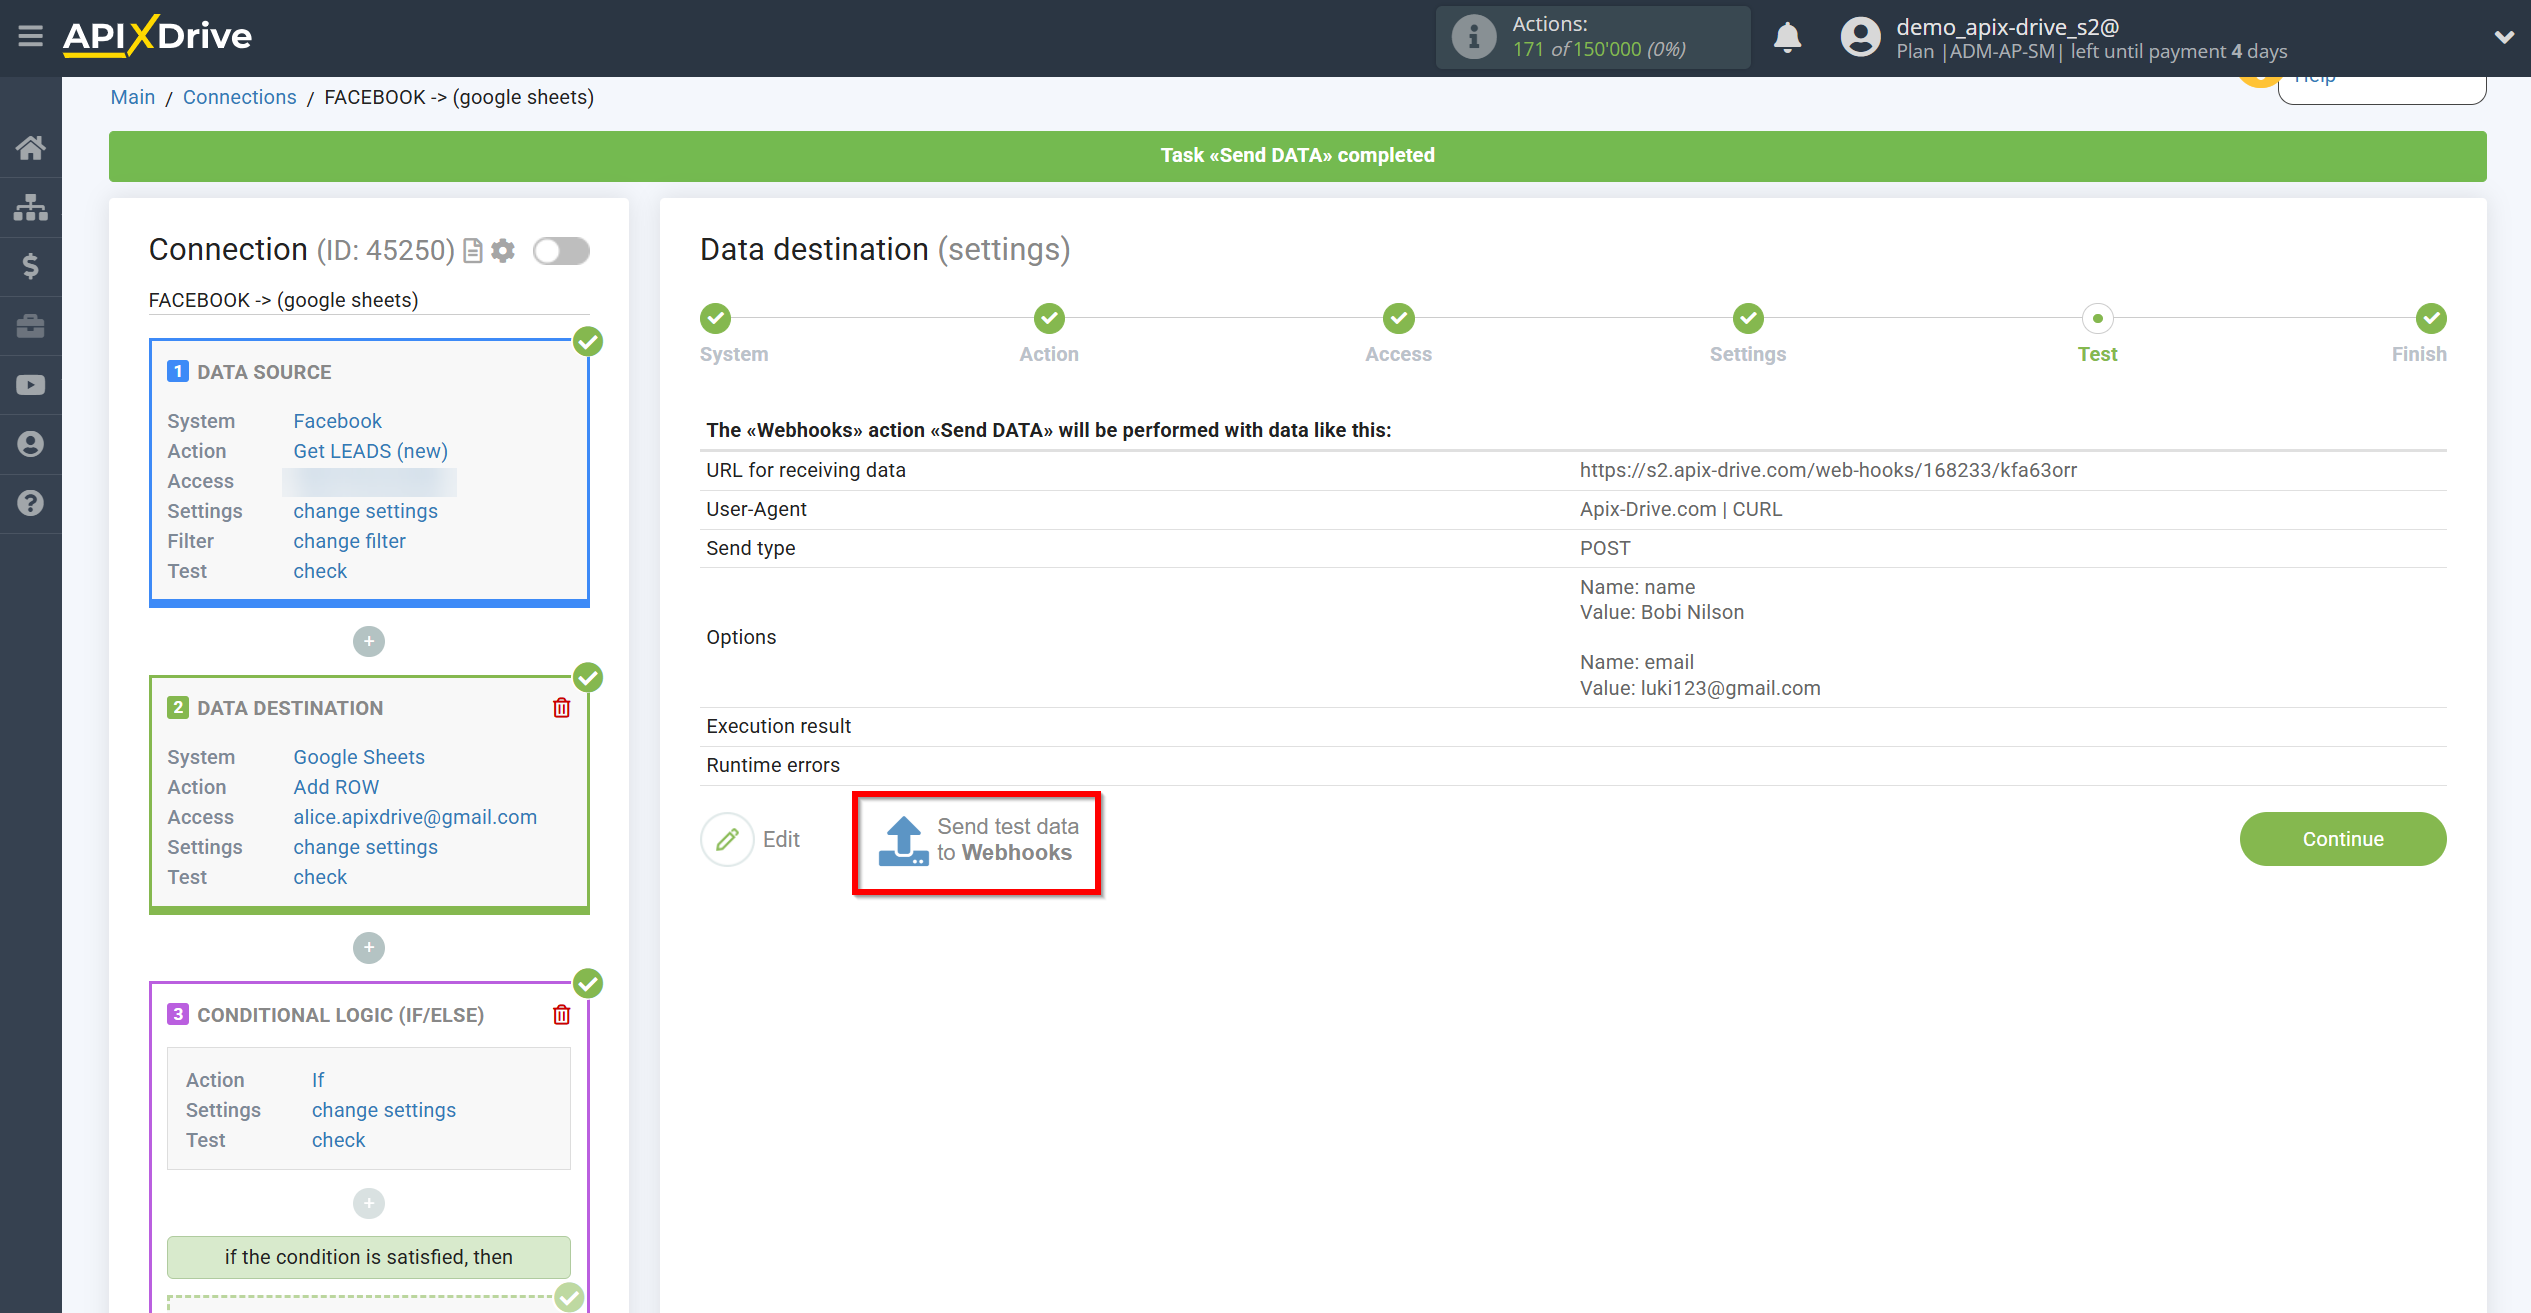
In the Test step, click Send test data to Webhooks to get the variables we need to assign them in the resend and return to the main screen, where we go to our second connection to the Webhooks Data Source.
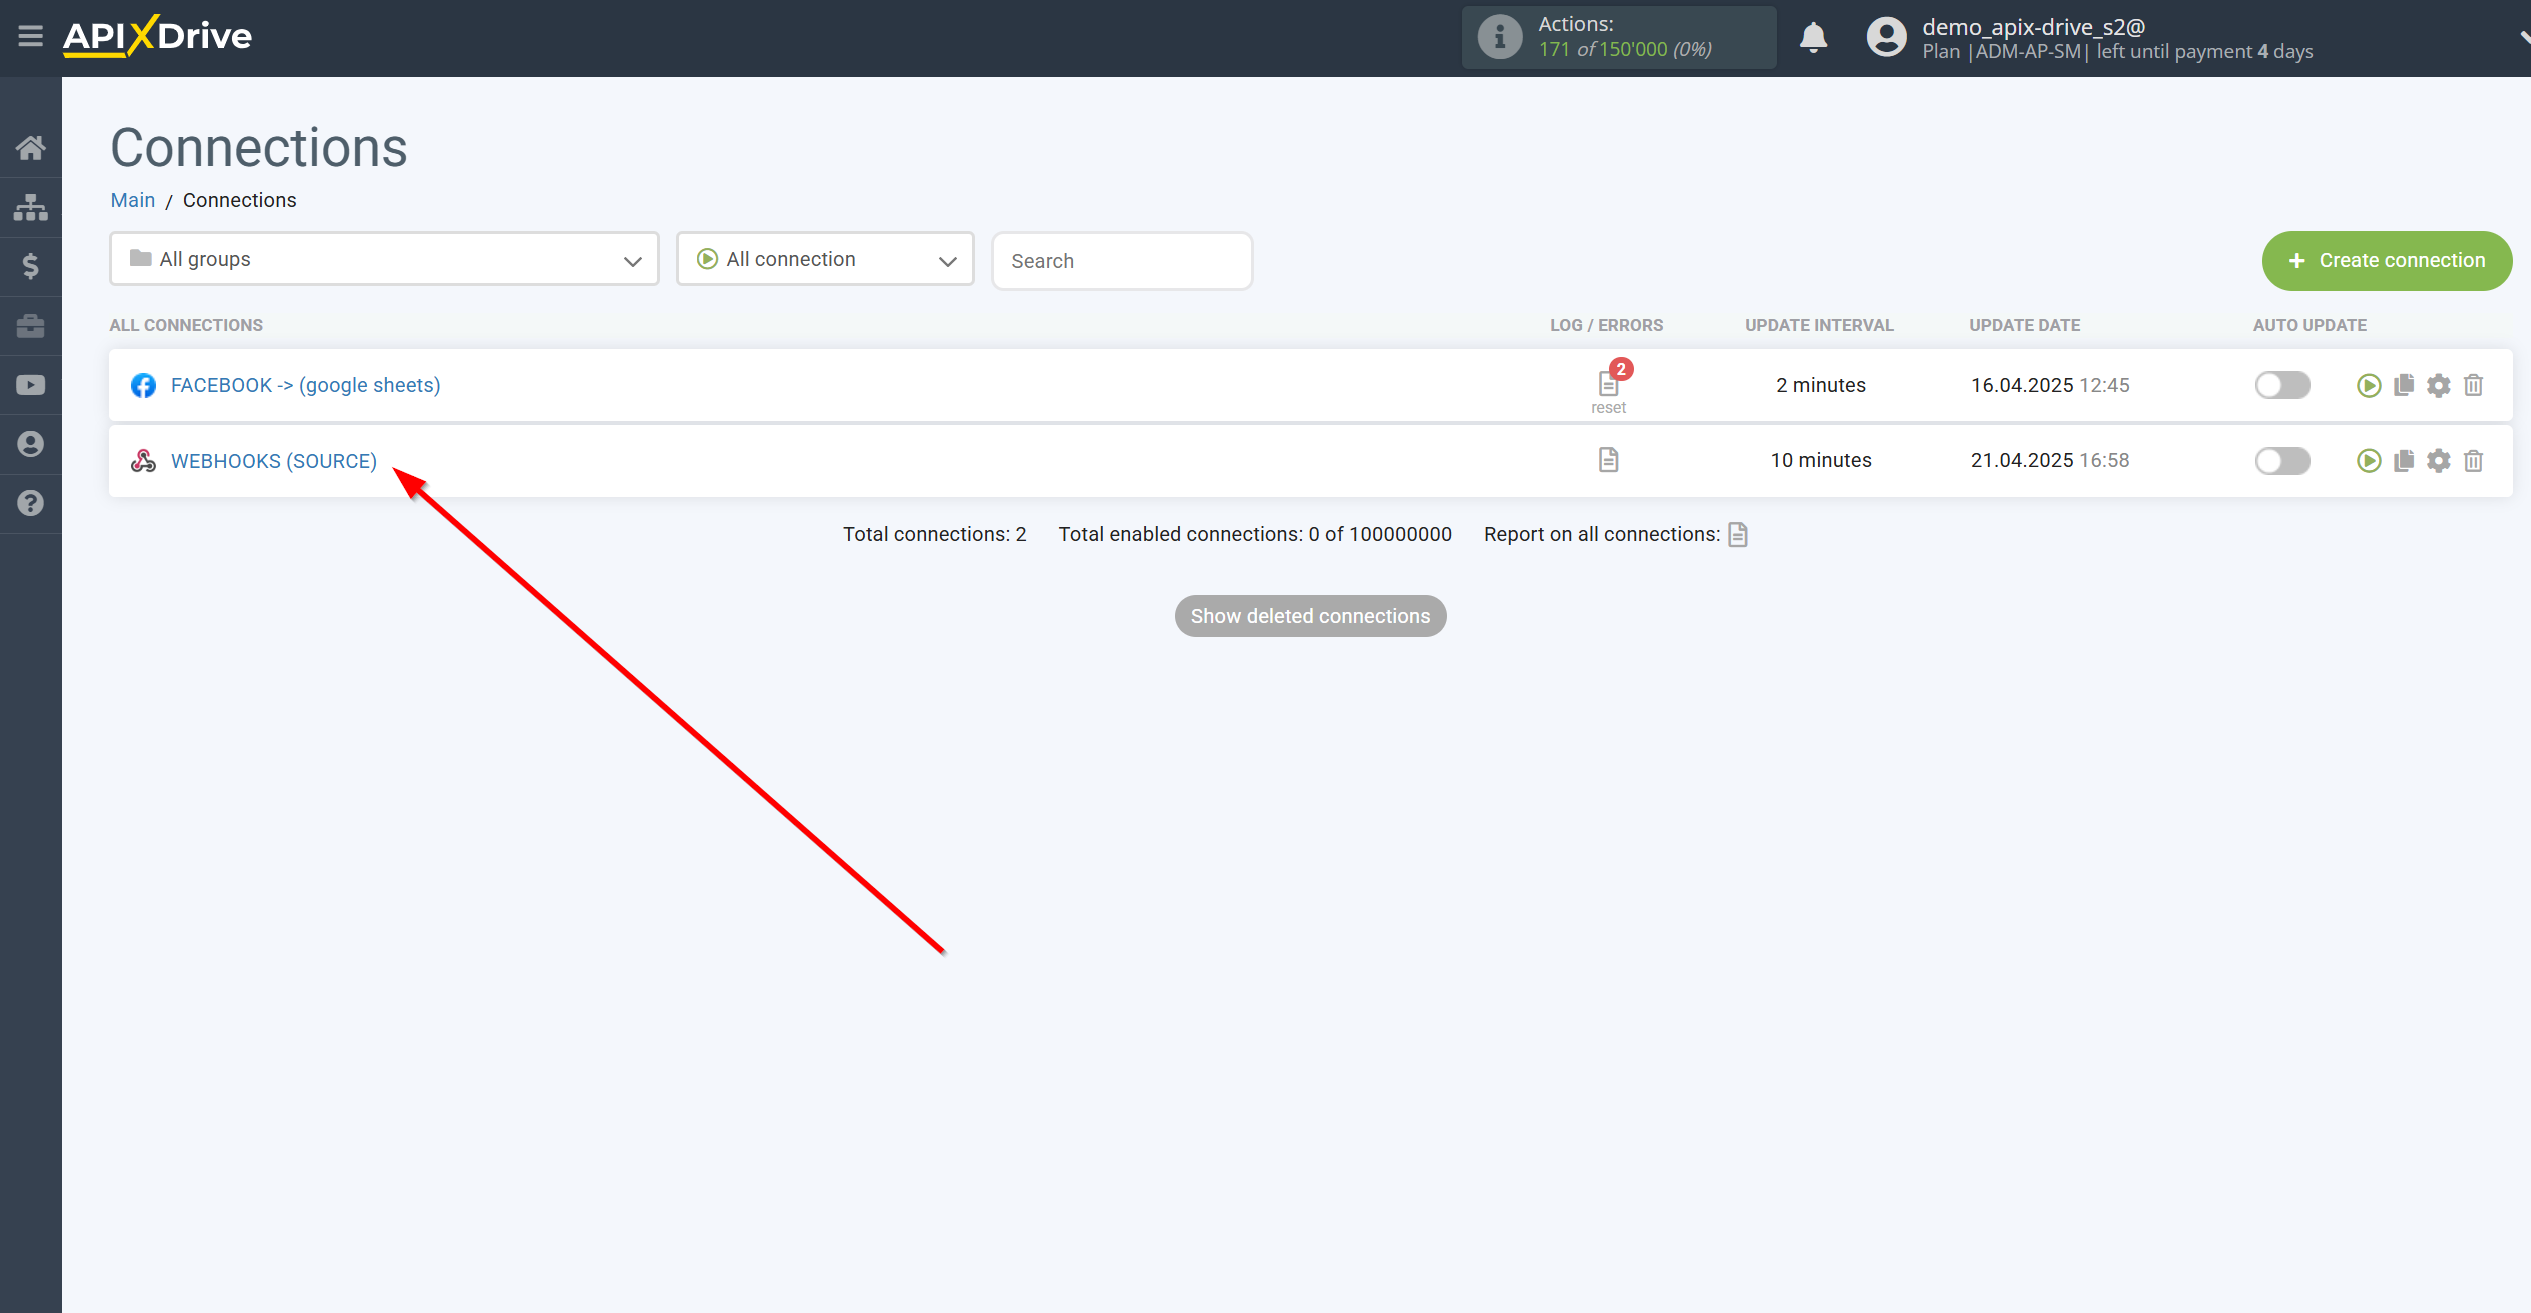
In this connection, go to the Test stage and click Load test data, the data that you sent from the main connection should be displayed.
If the data is not displayed, you need to check if the link you have set up to retrieve the data is correct.
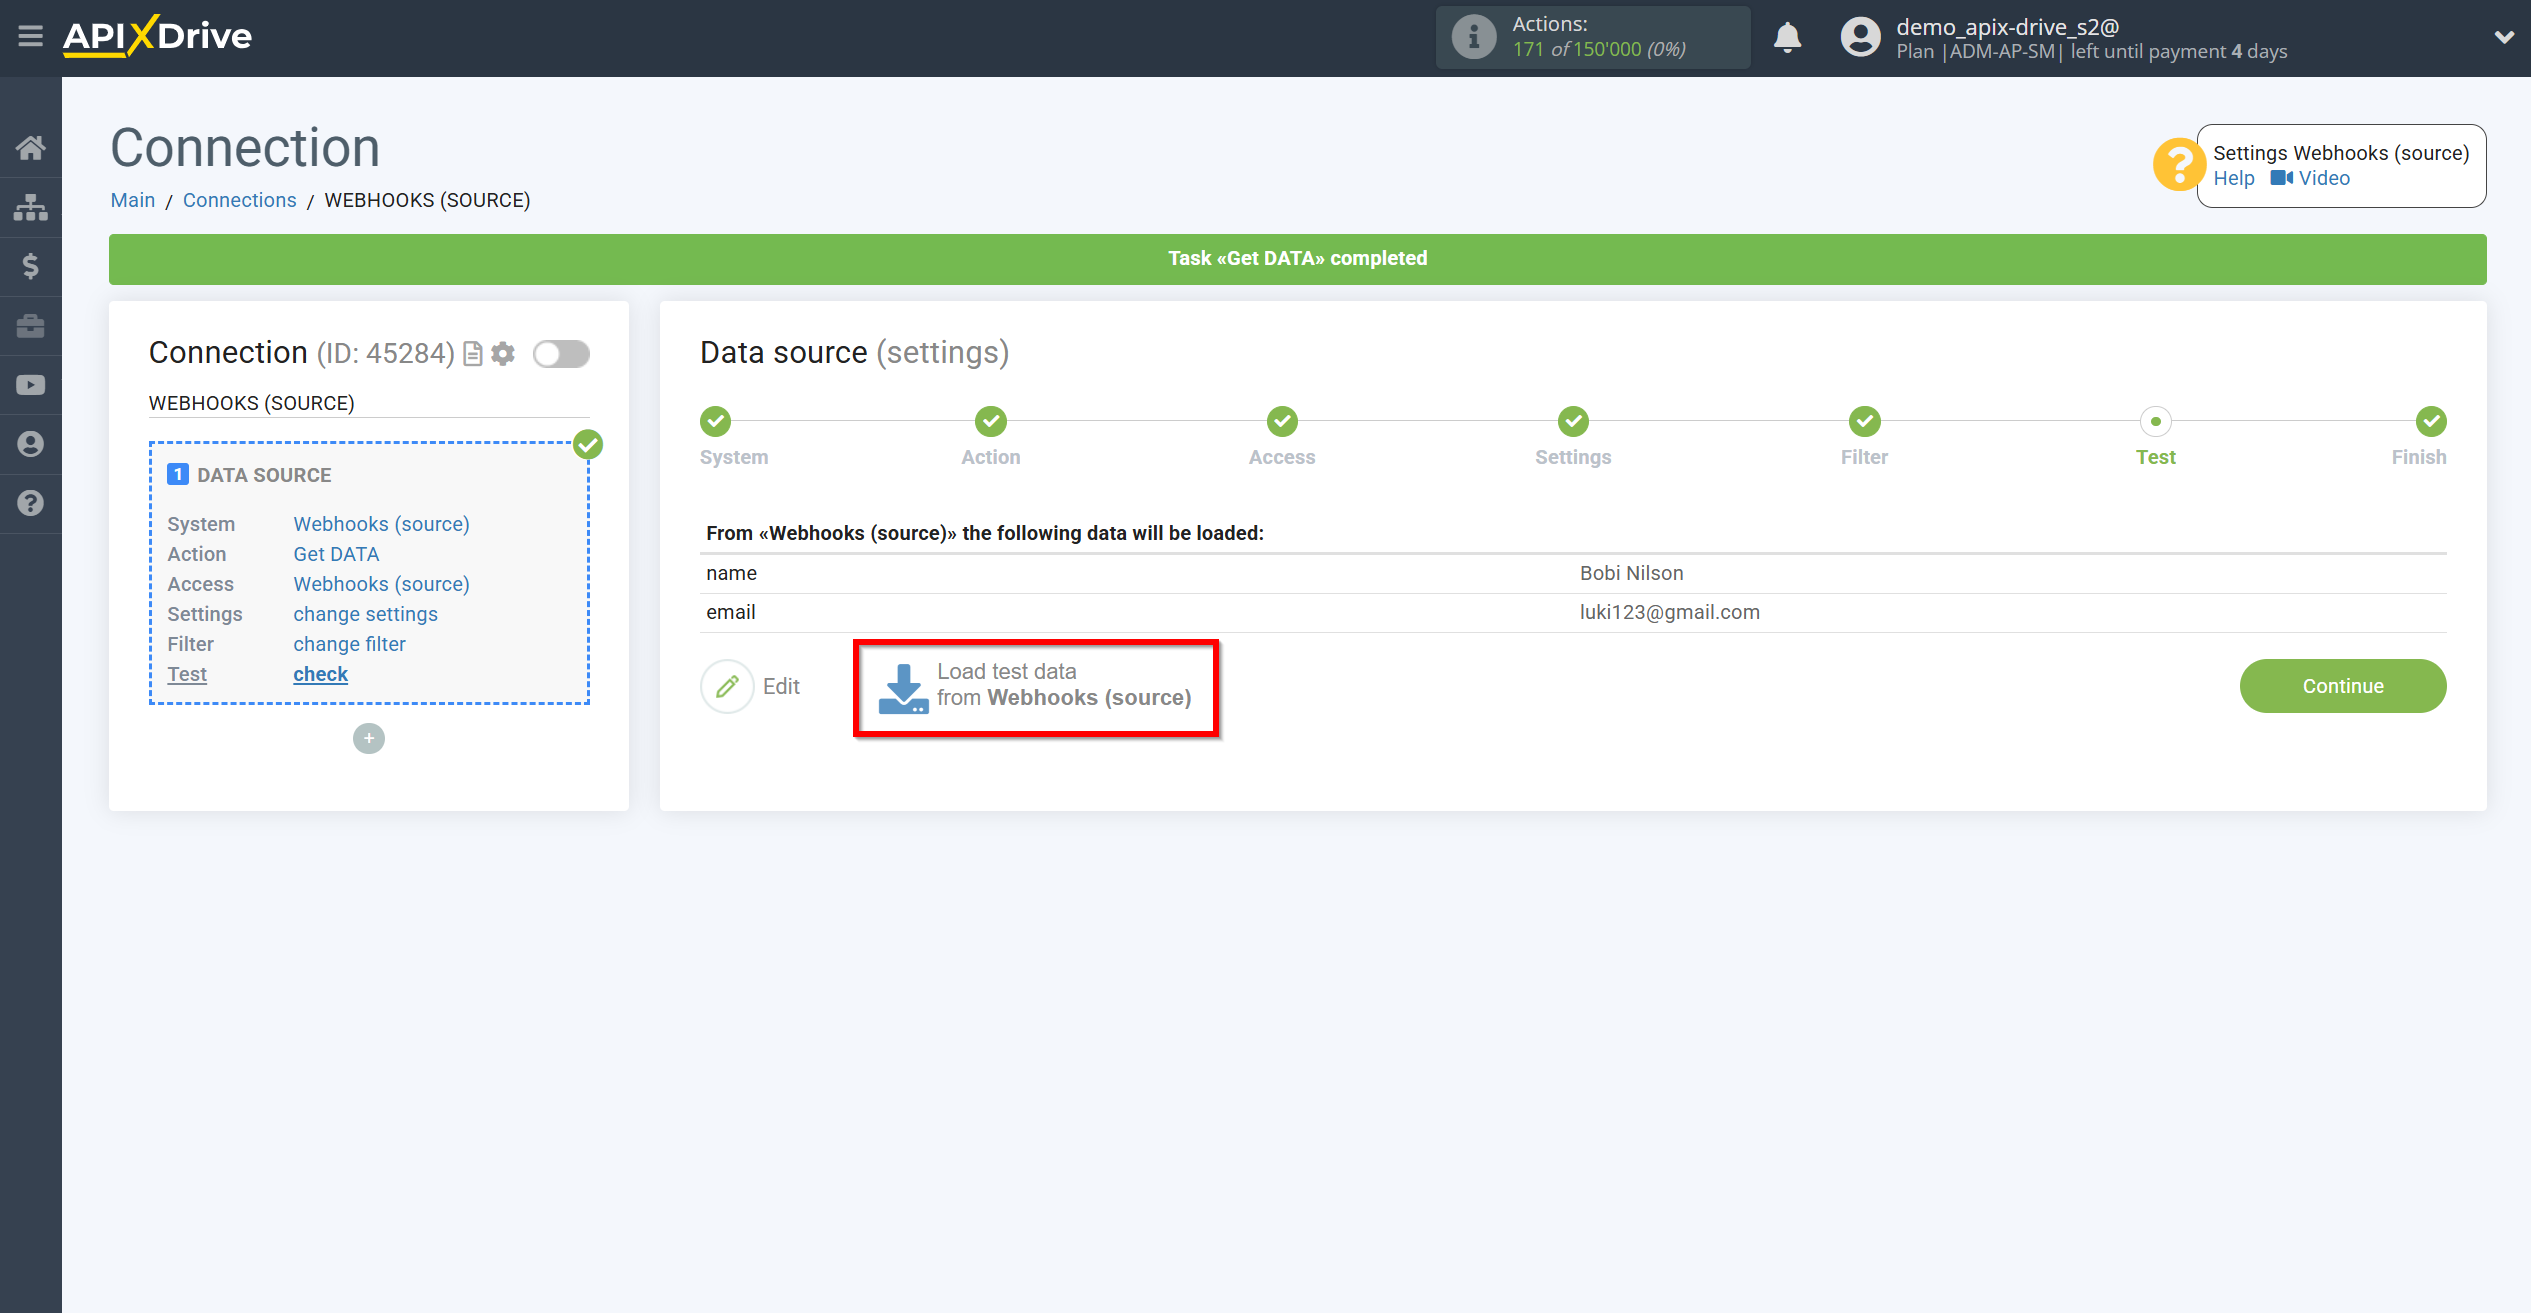
After successfully loading the test data, we proceed to the Data Destination settings, click on + and add the Data Destination.
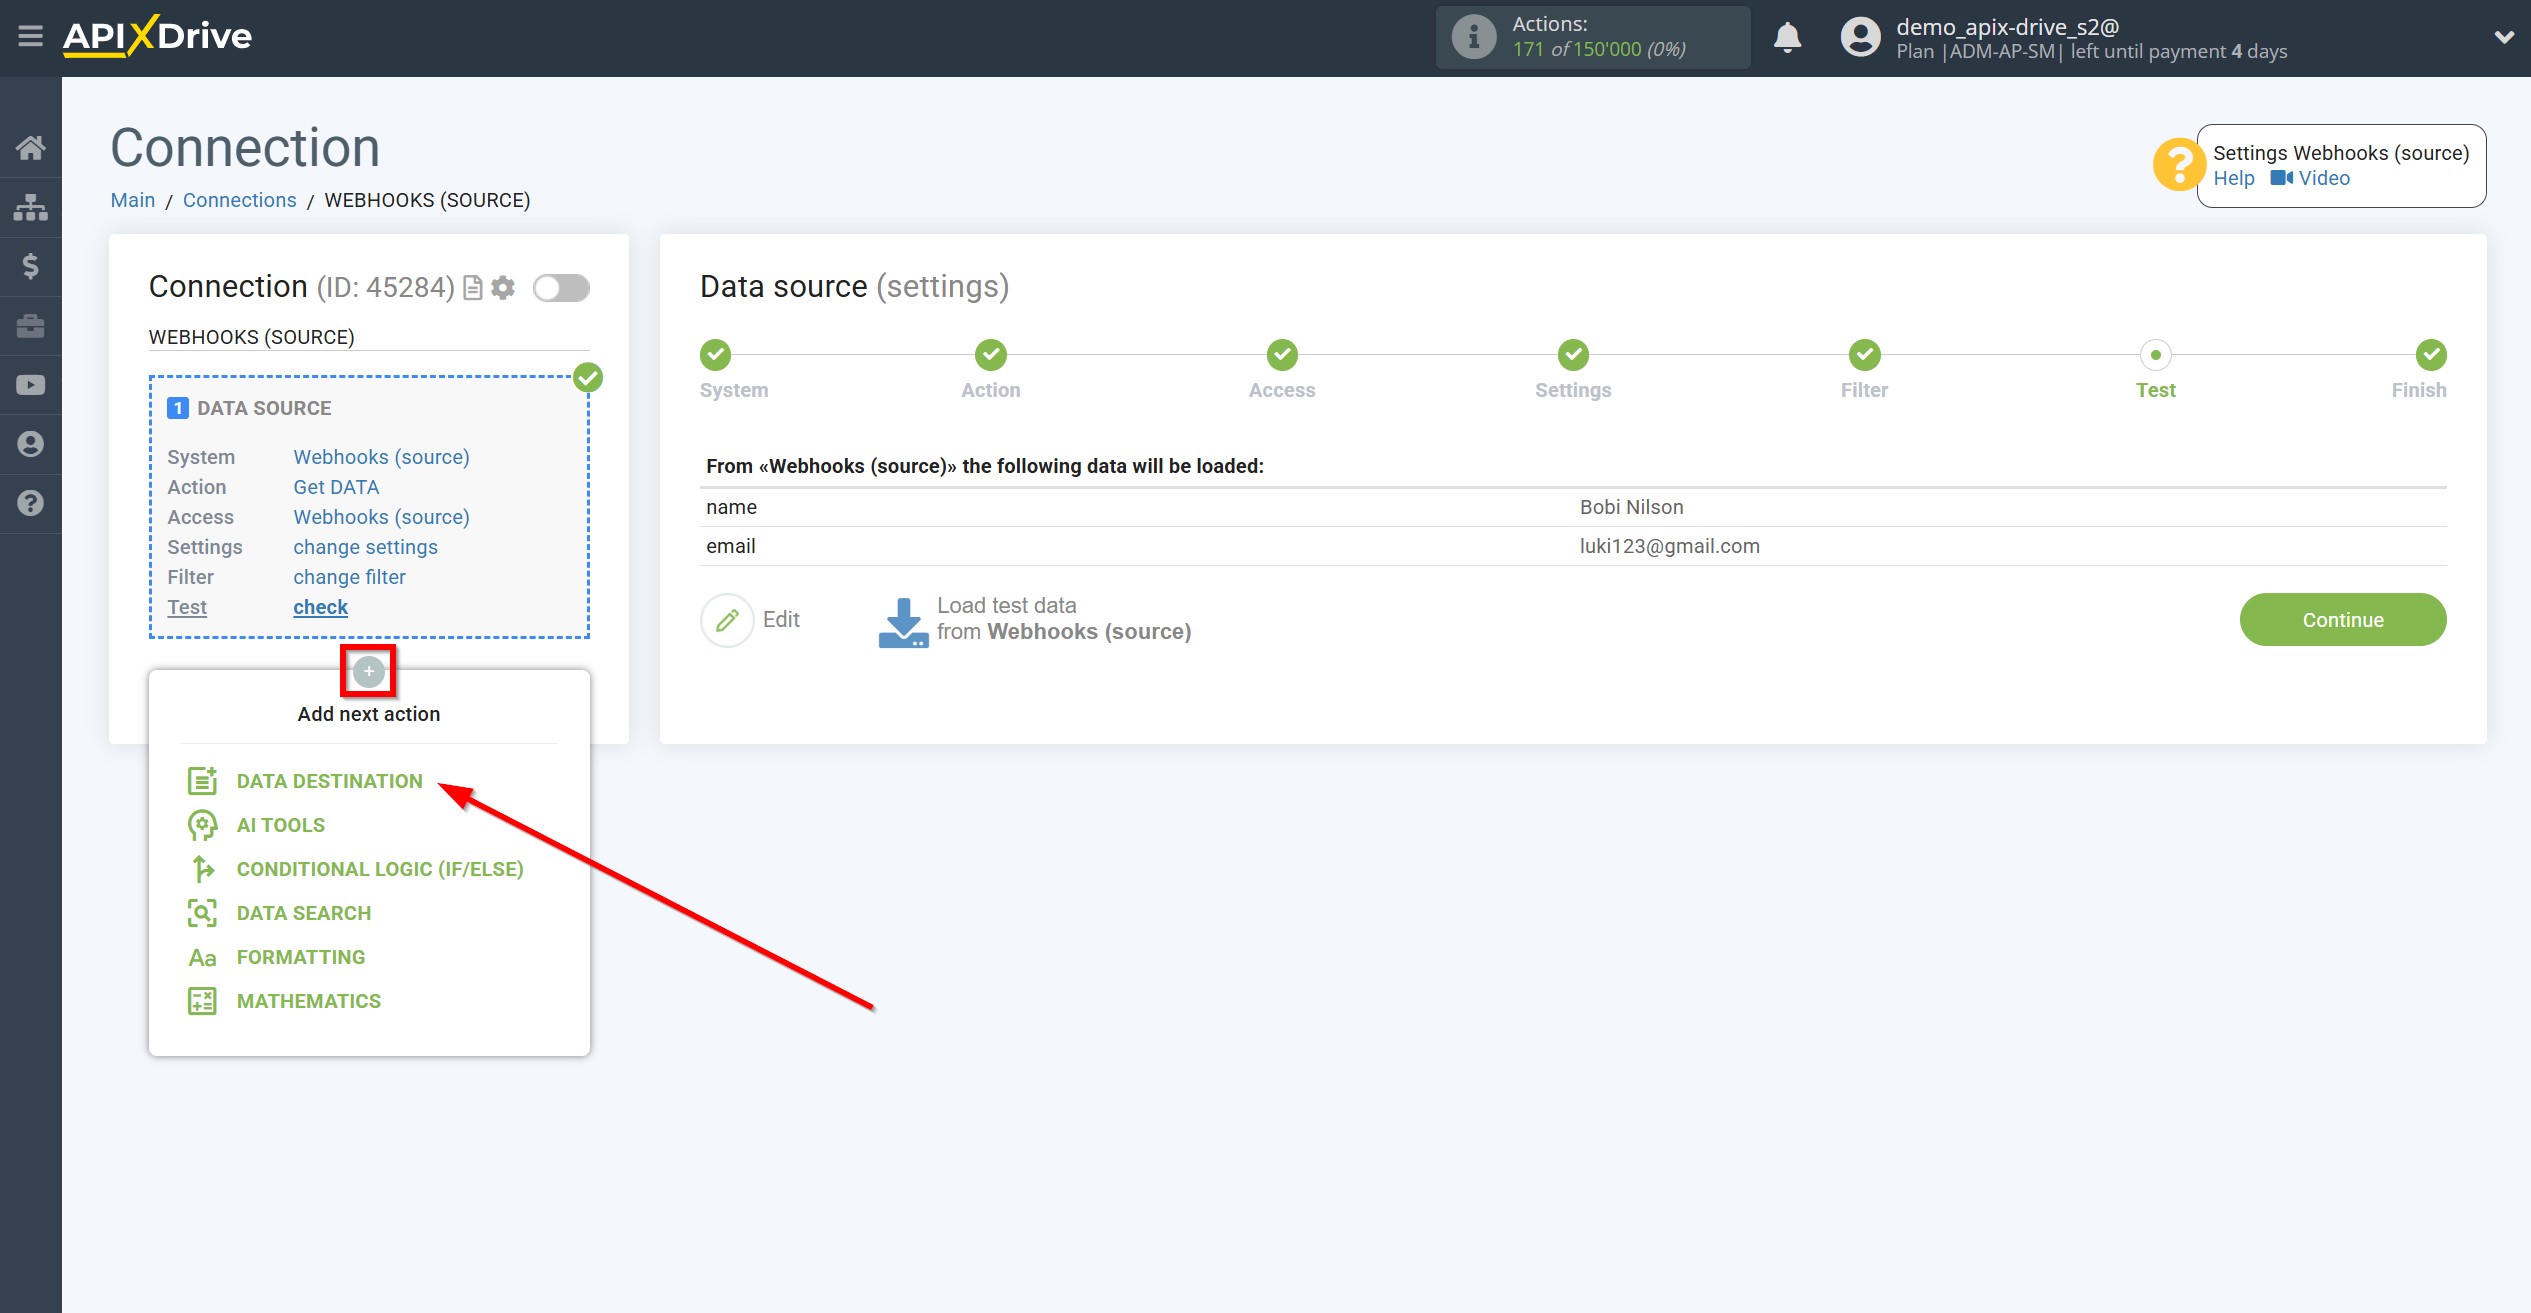
Select Google Sheets.
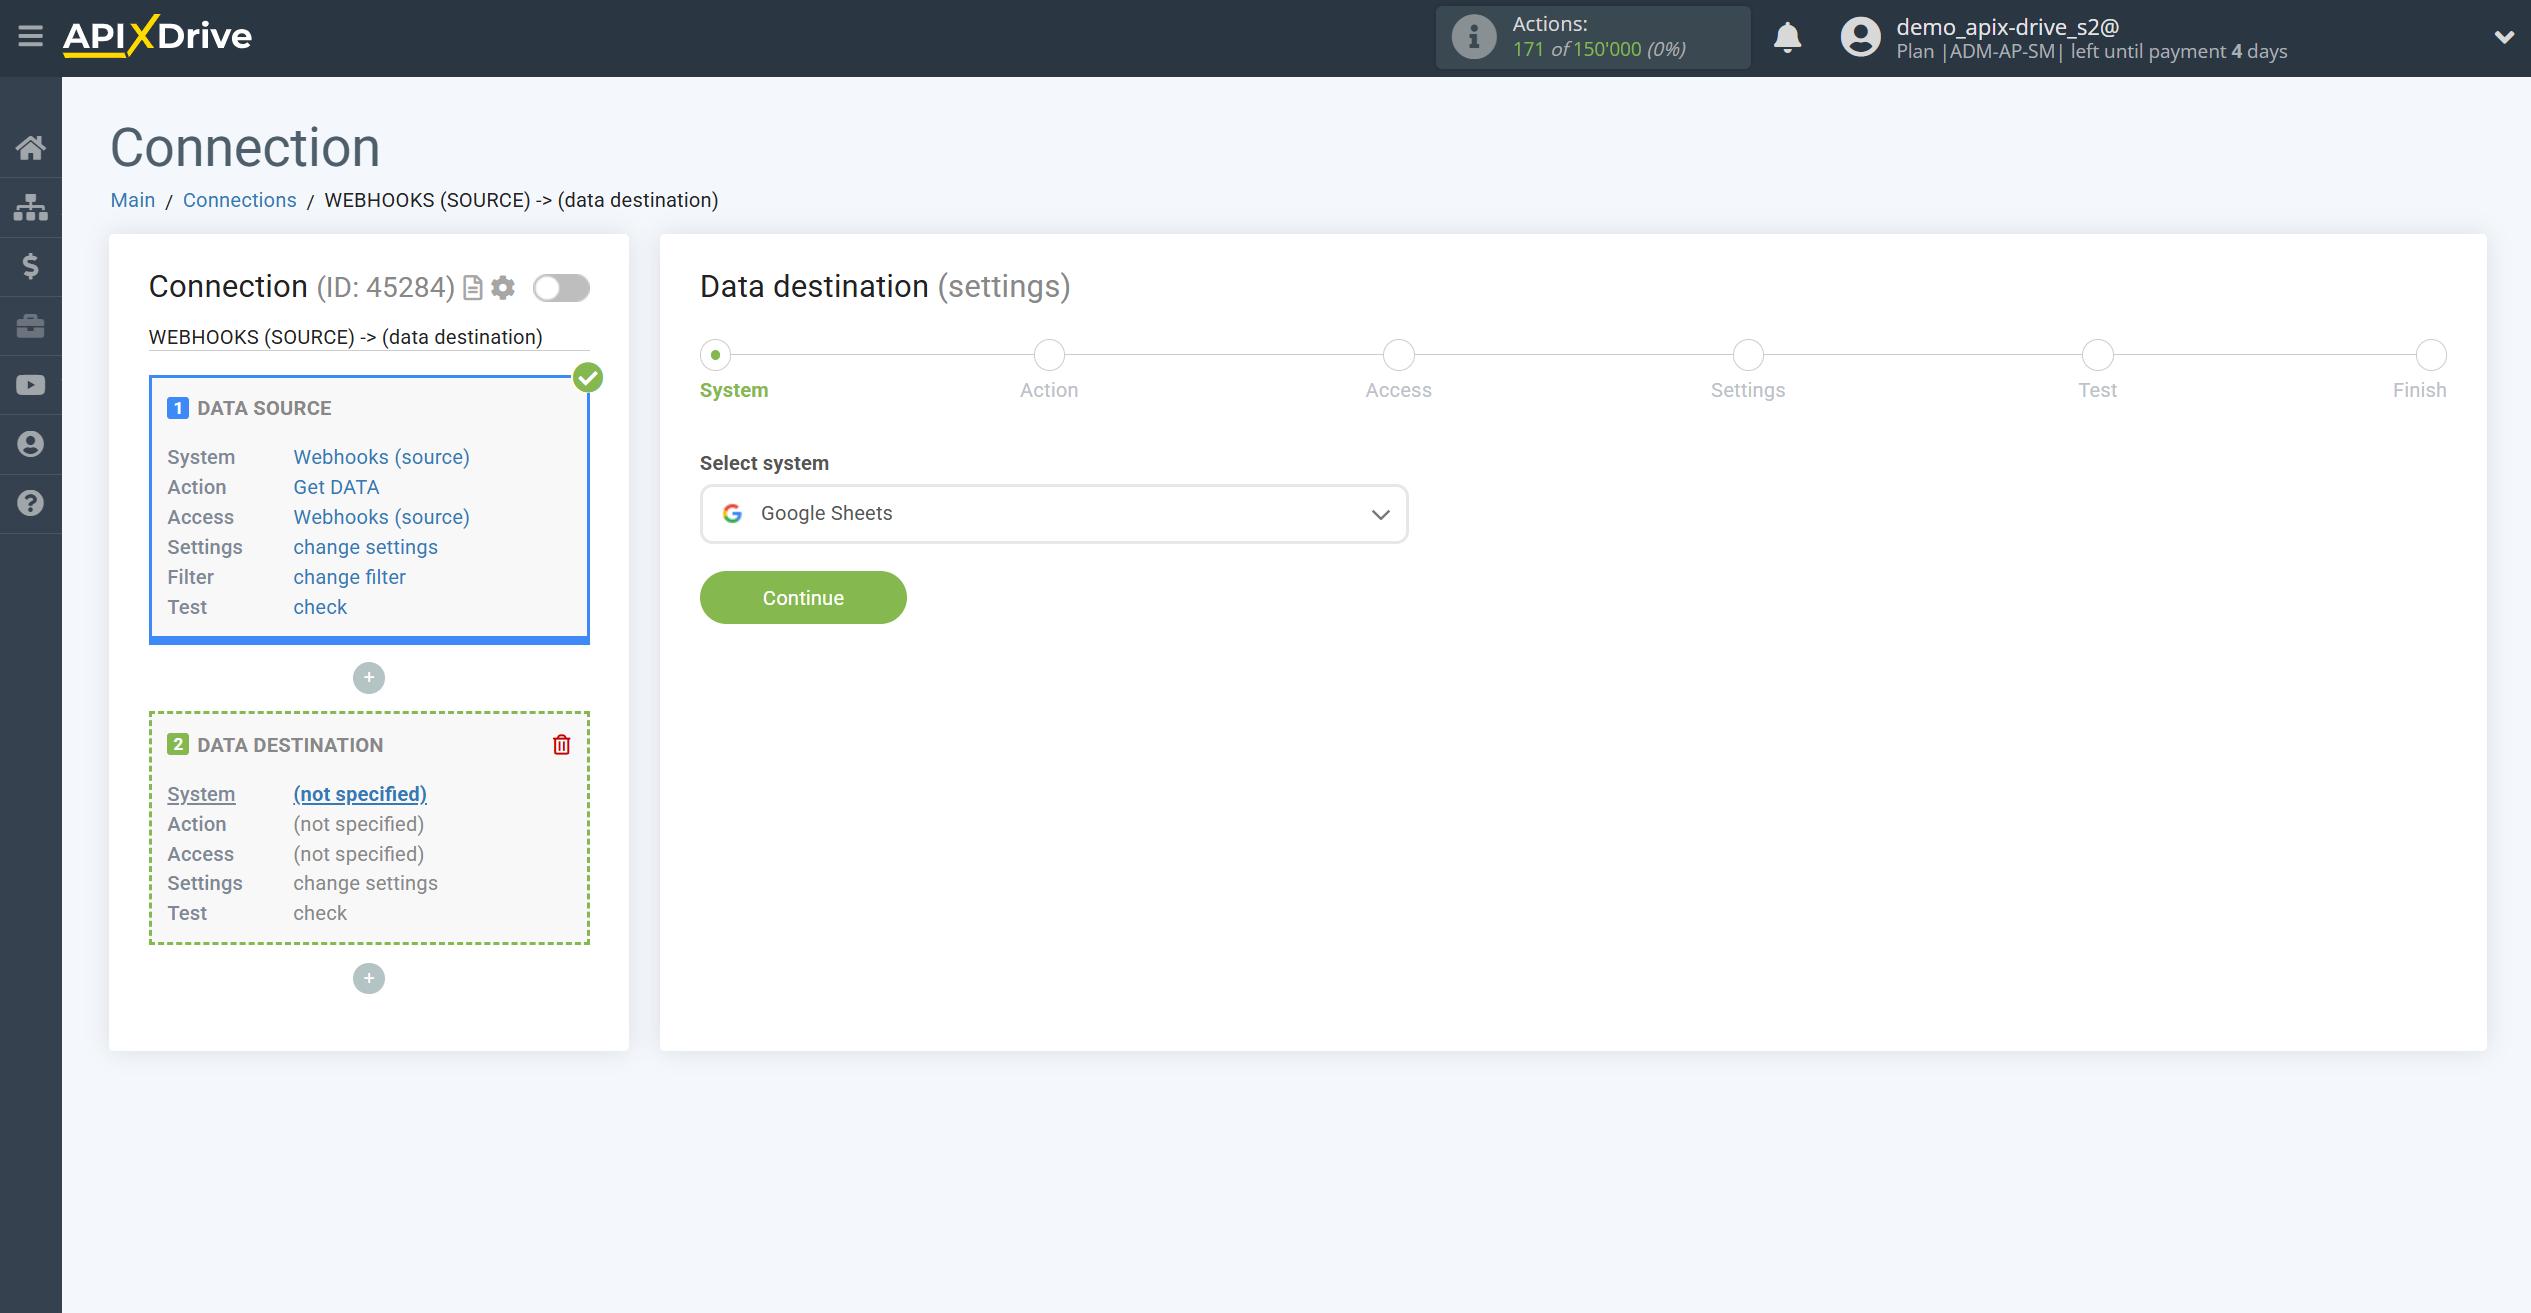
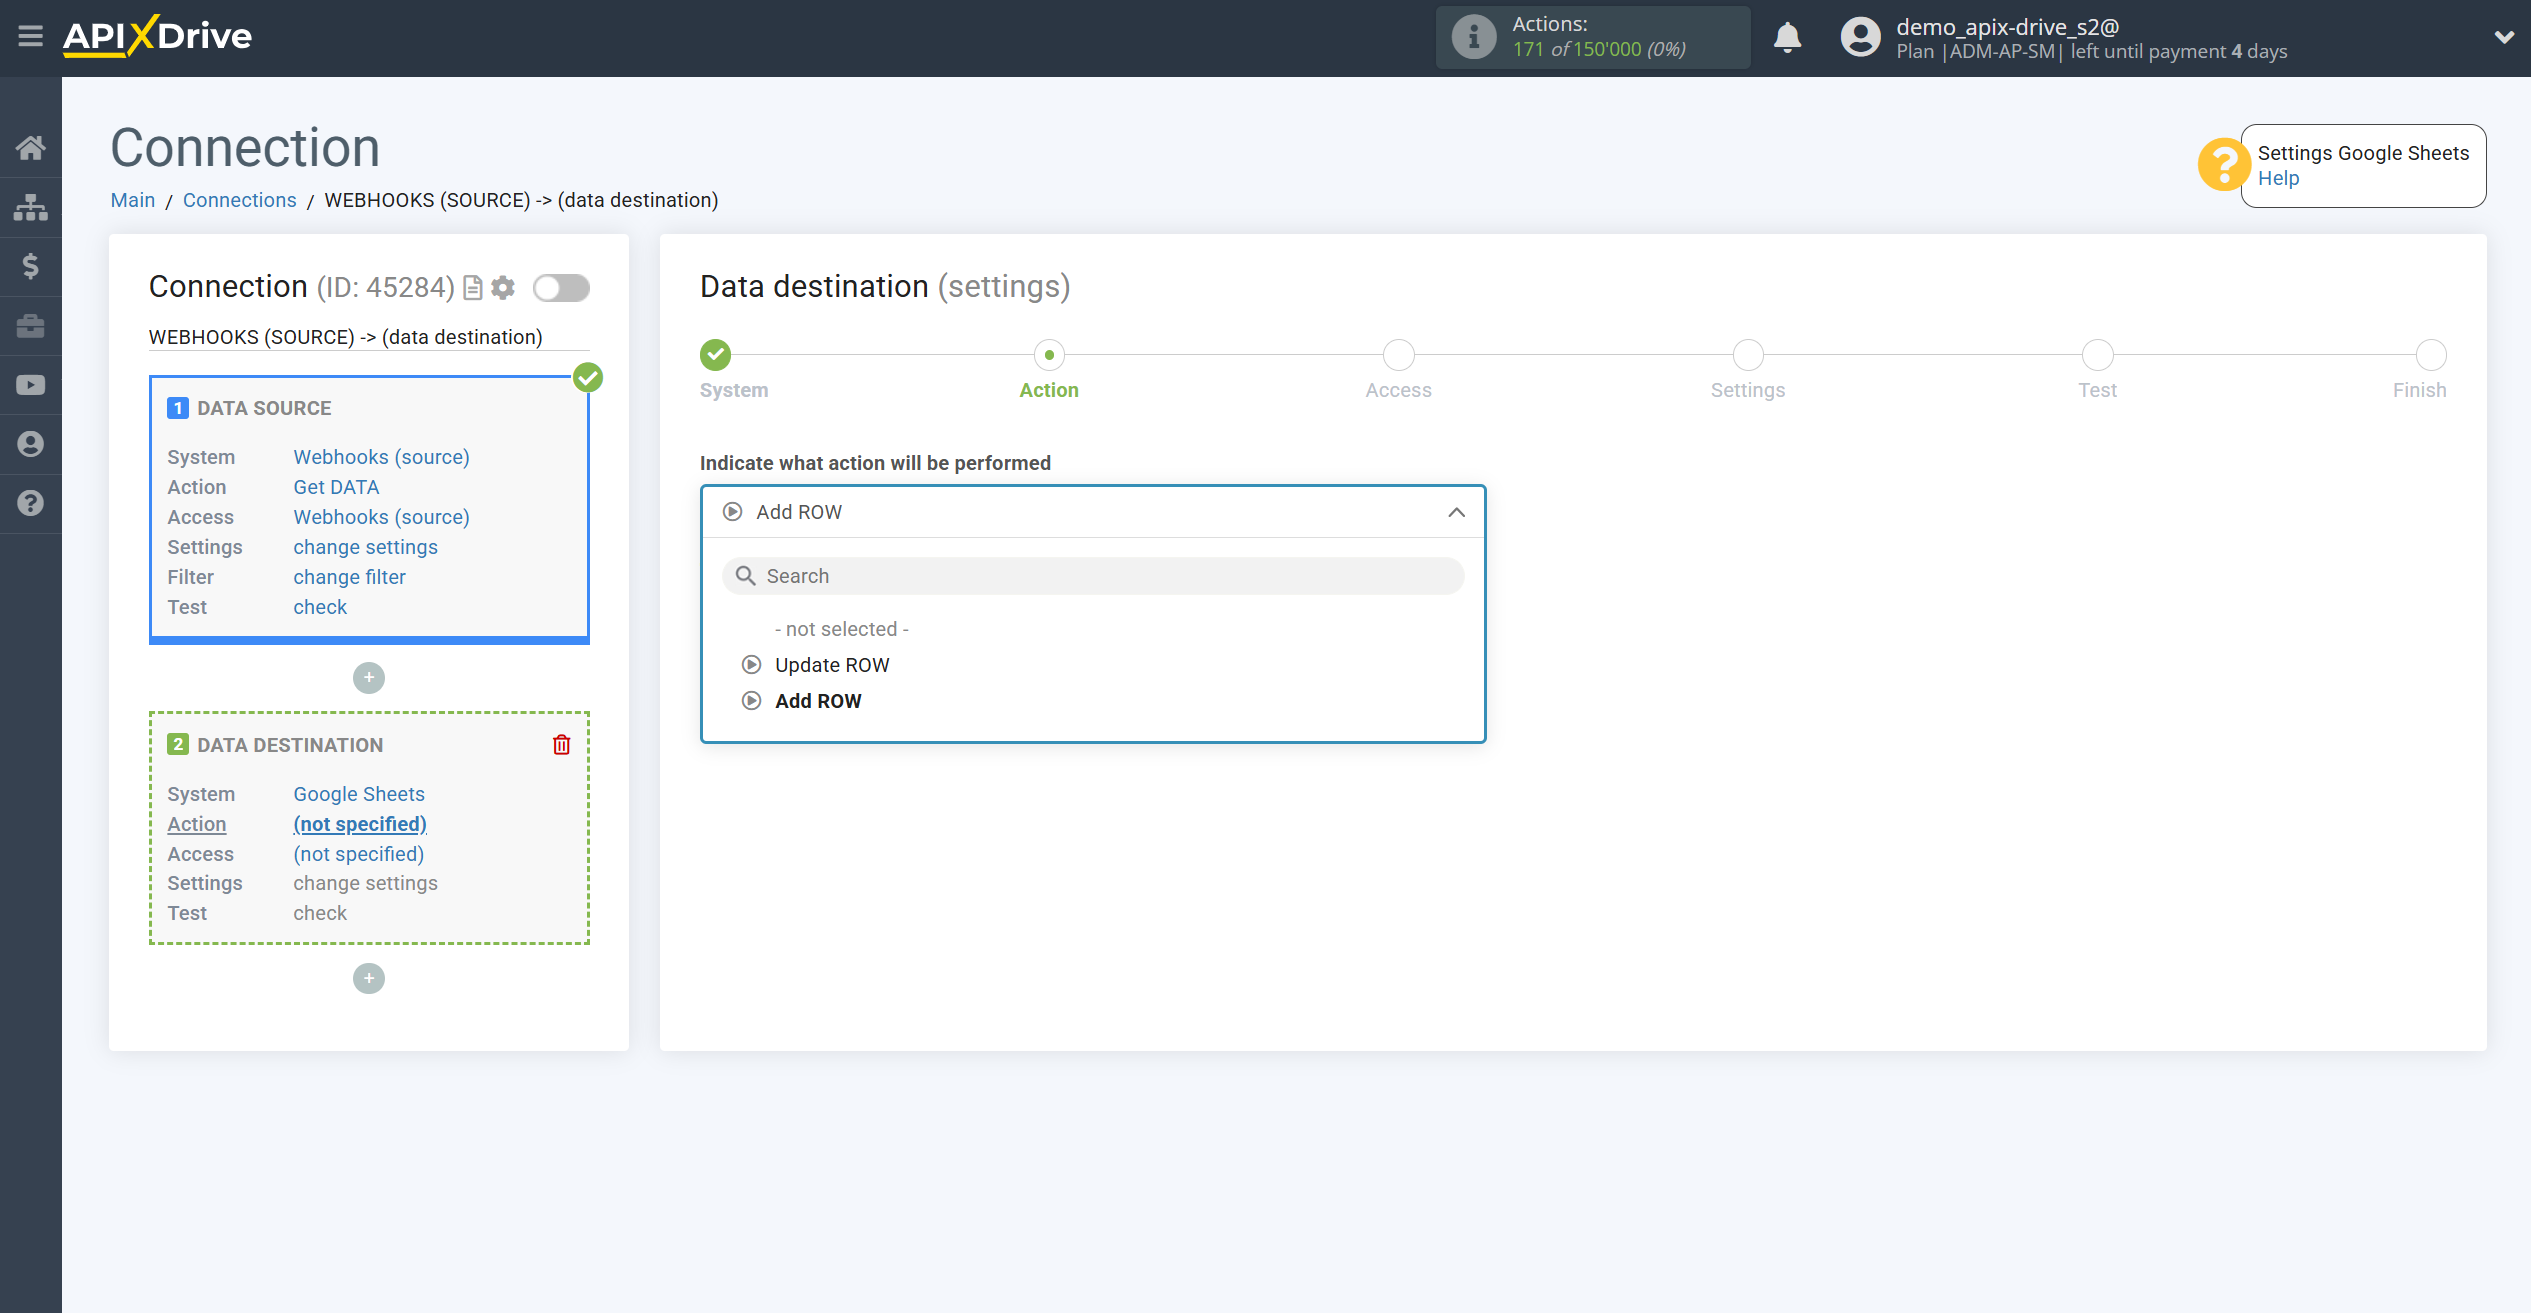
Next, select the Add Row action.
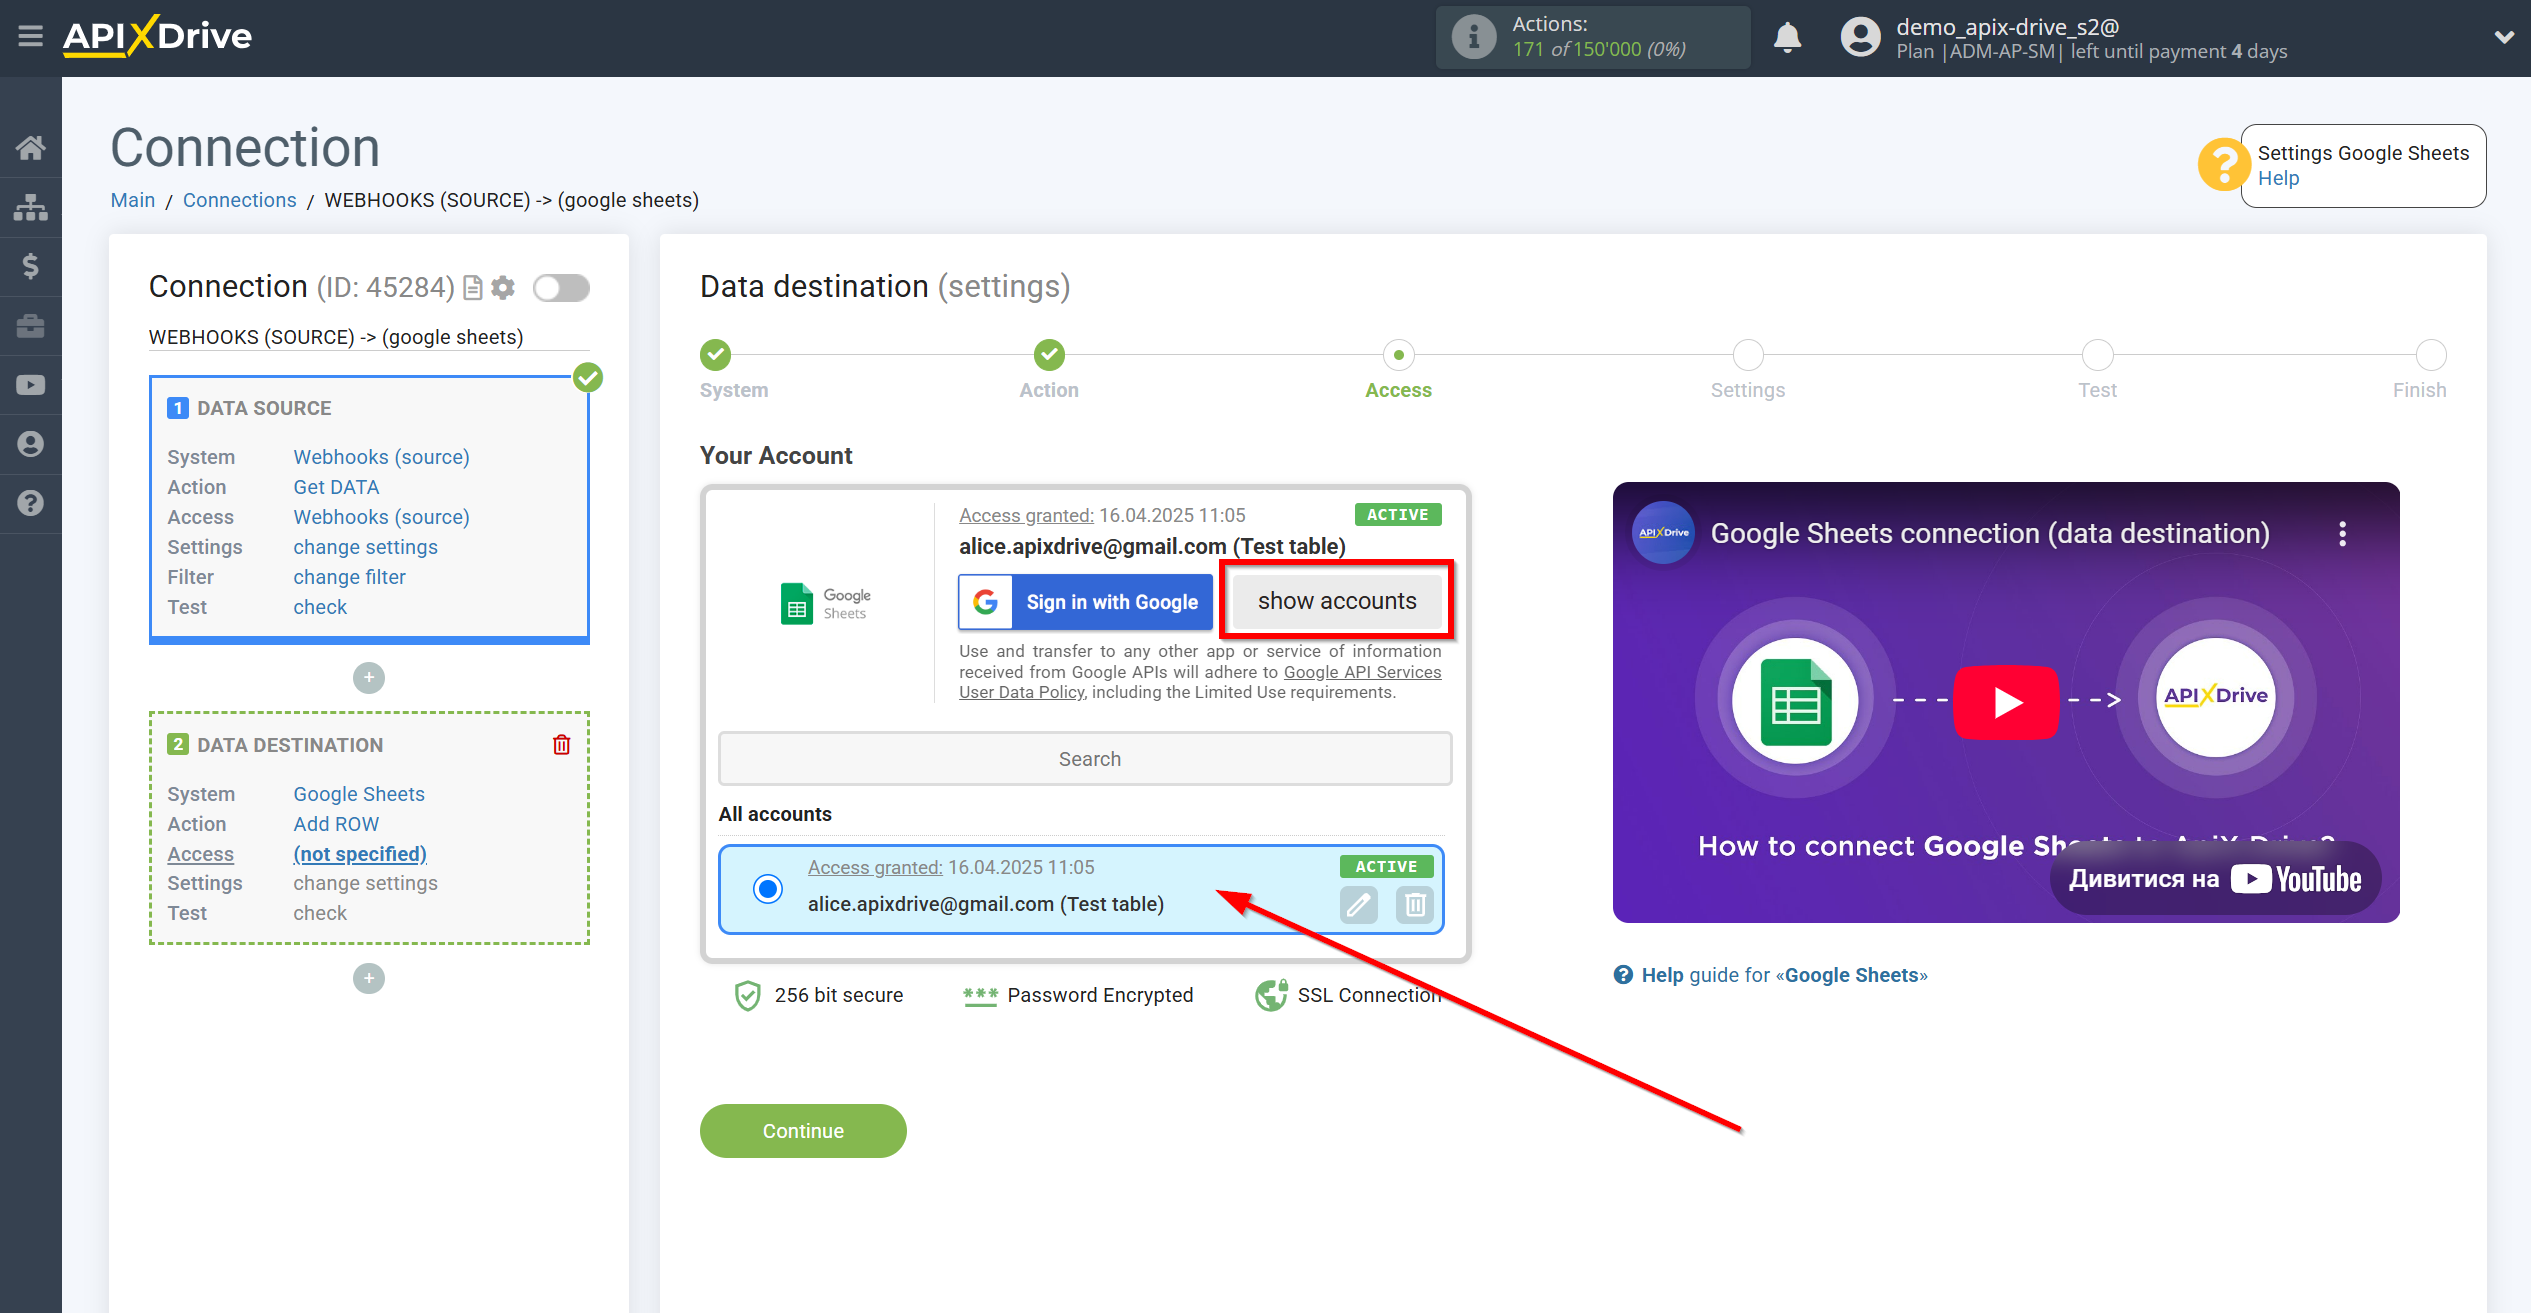
At the Access stage, click Show accounts and select the same table as in the main connection settings.
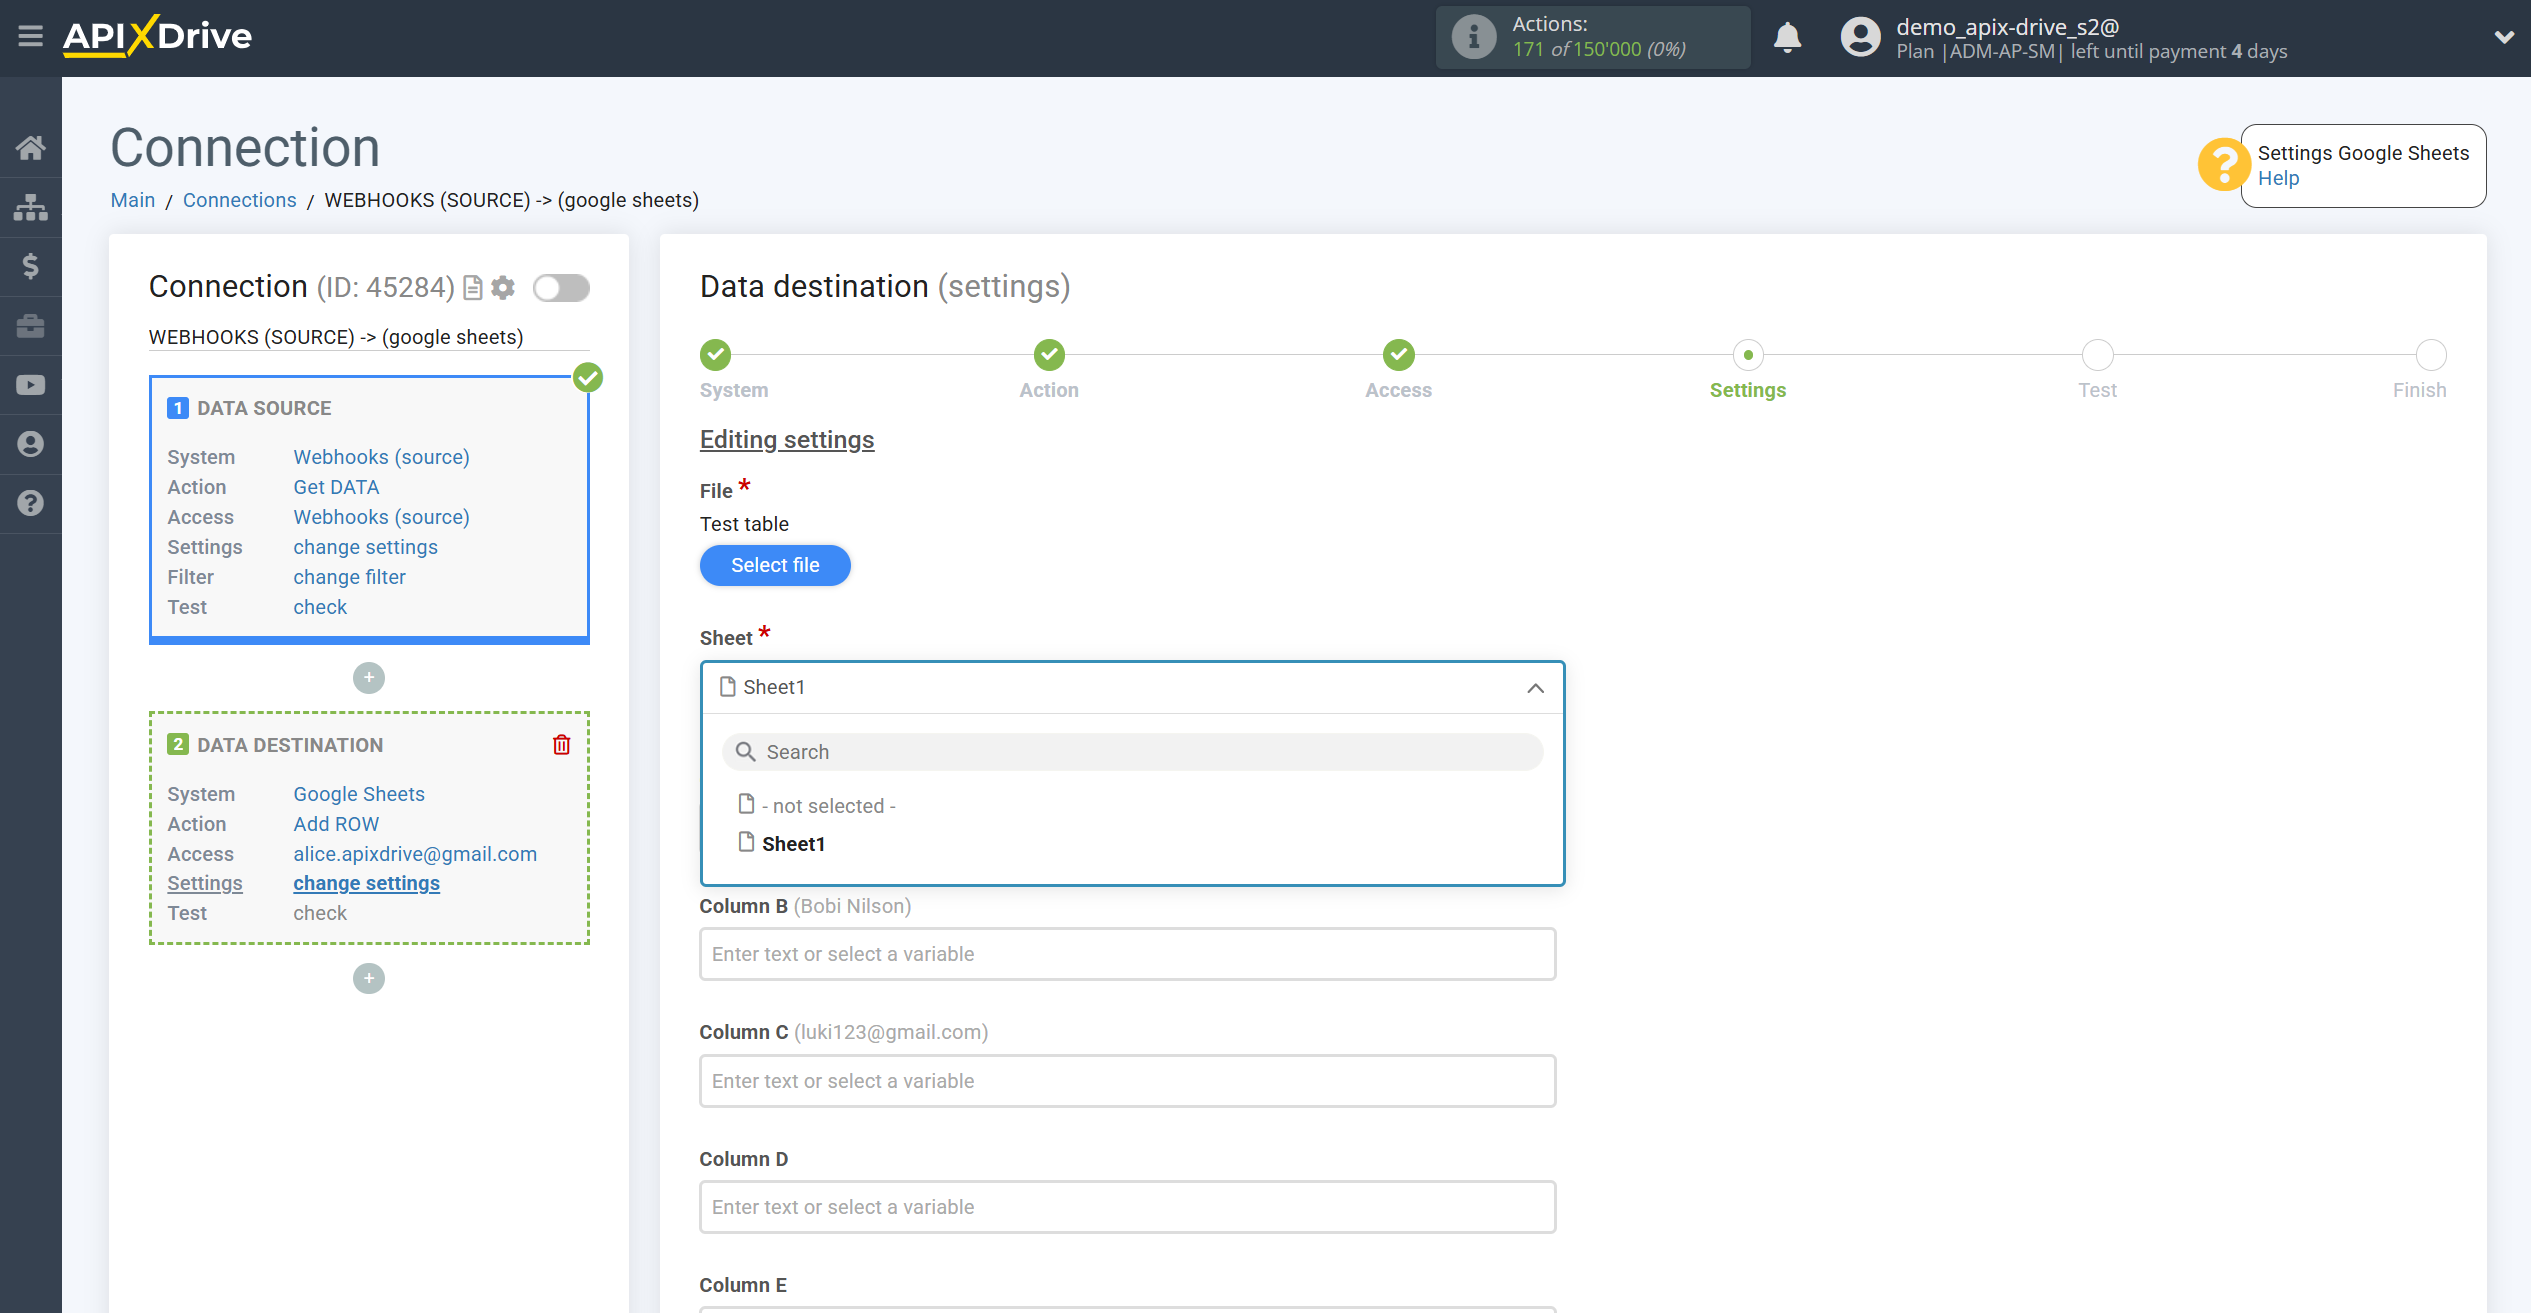
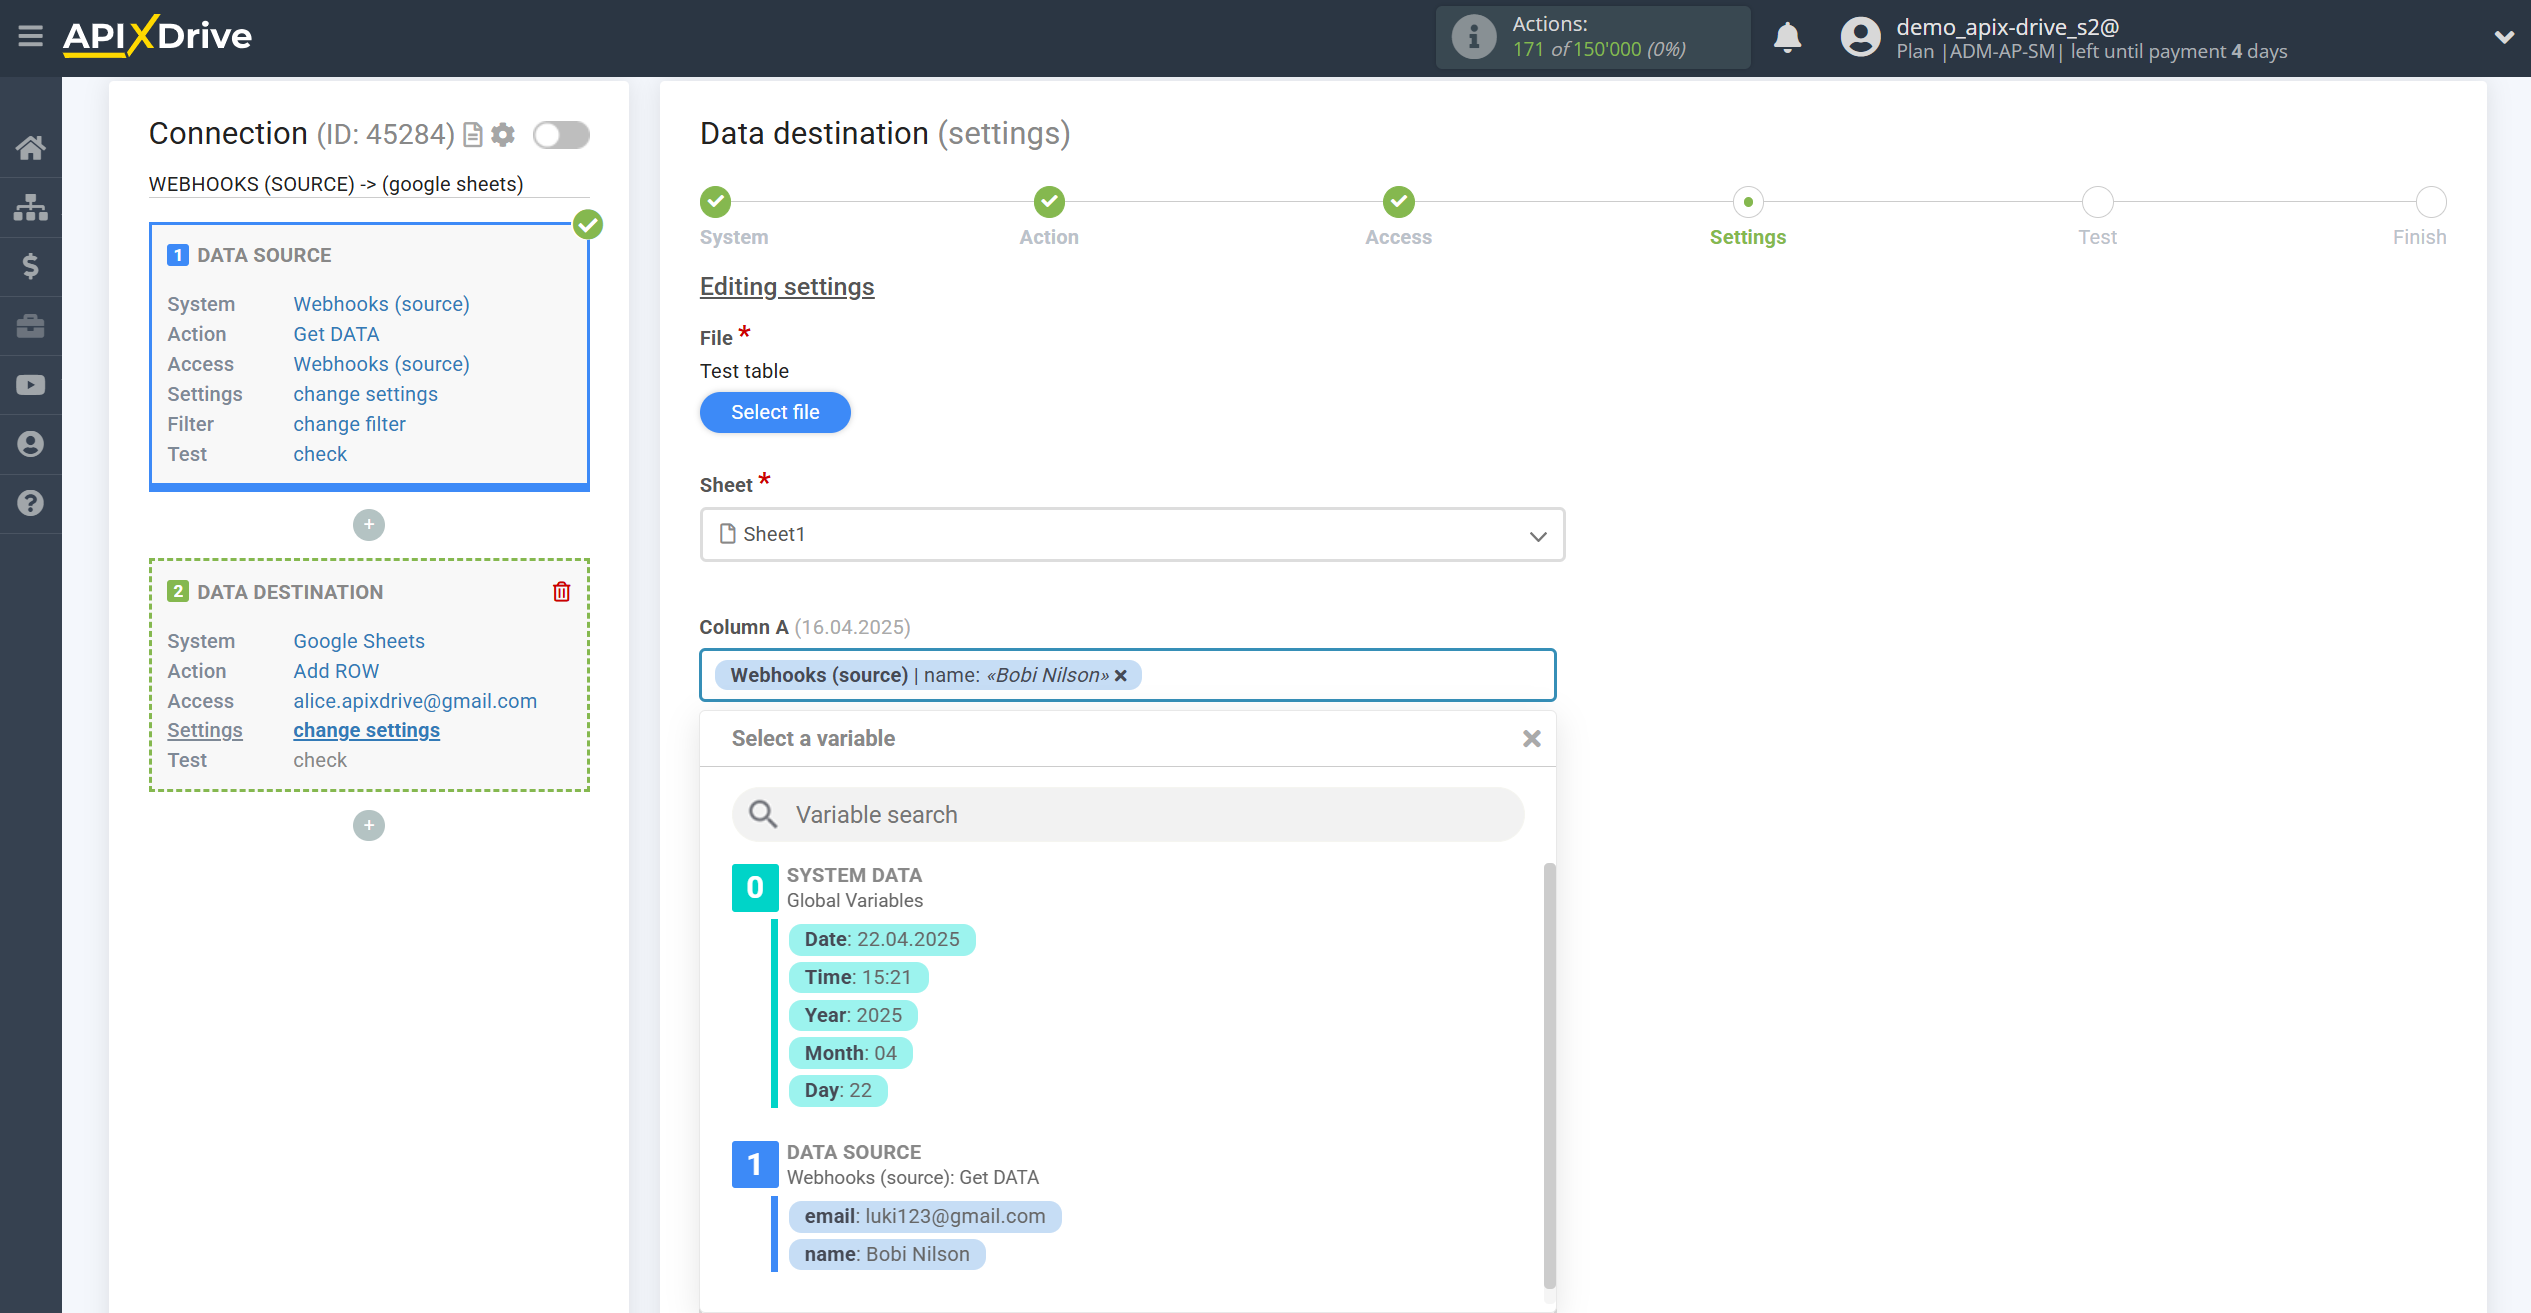
Next, we set up data destination. Select the desired Sheet from the drop-down list, then assign the data to the desired columns and click Continue.
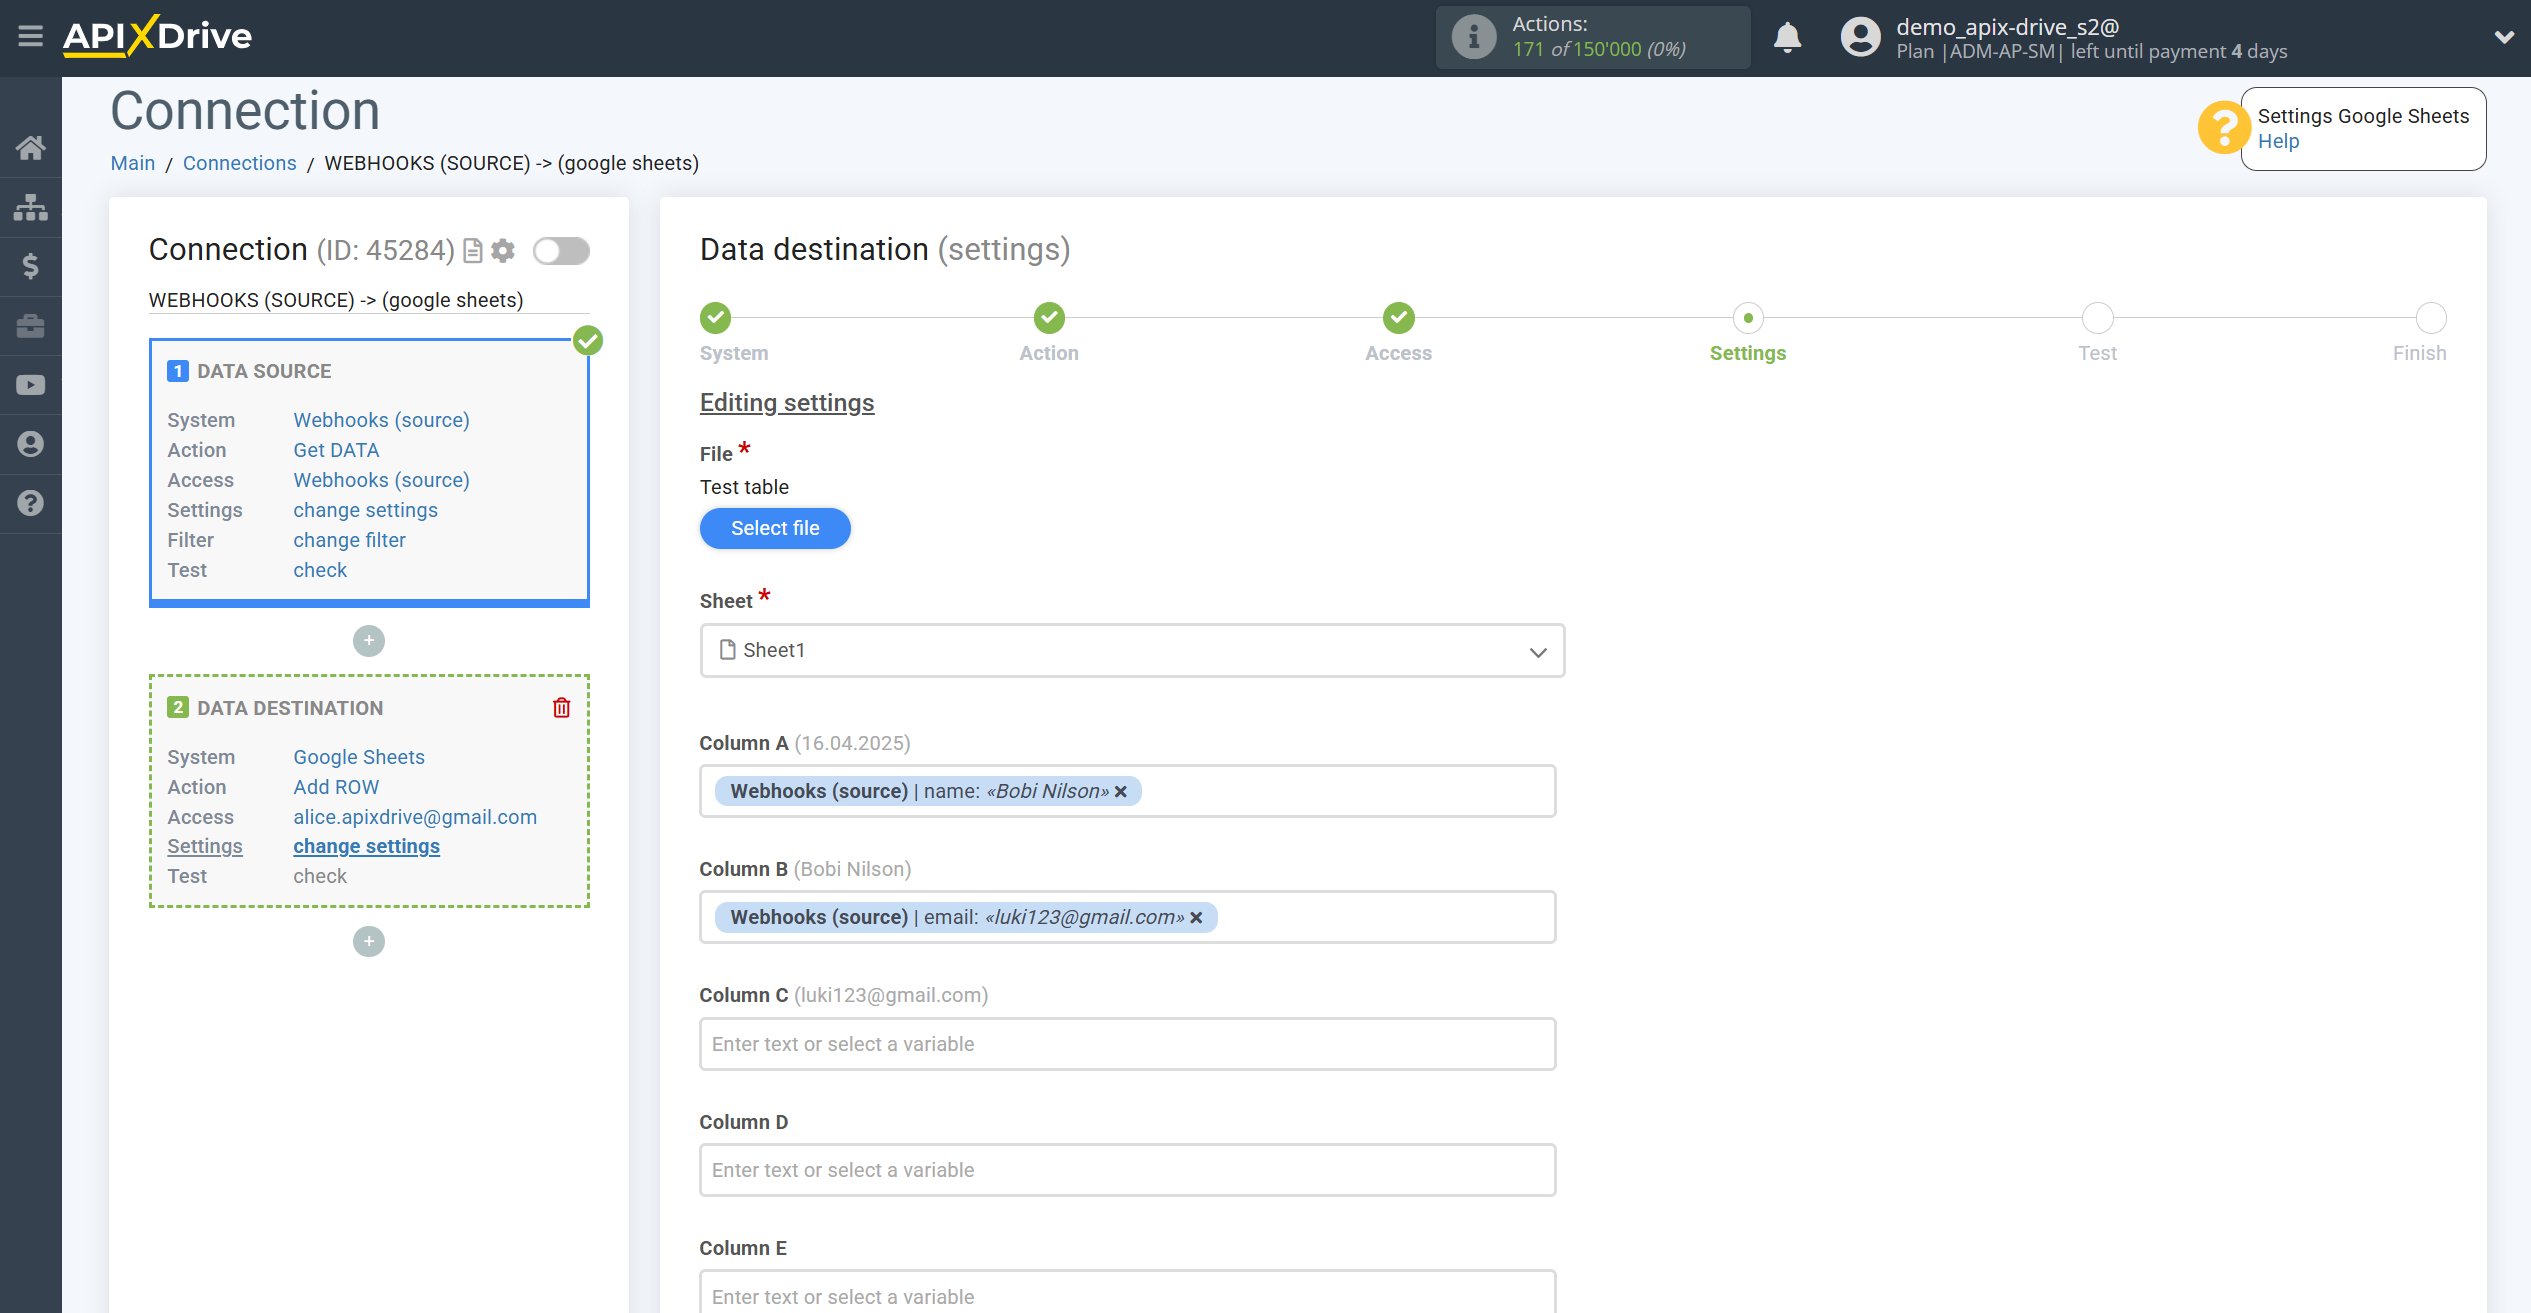
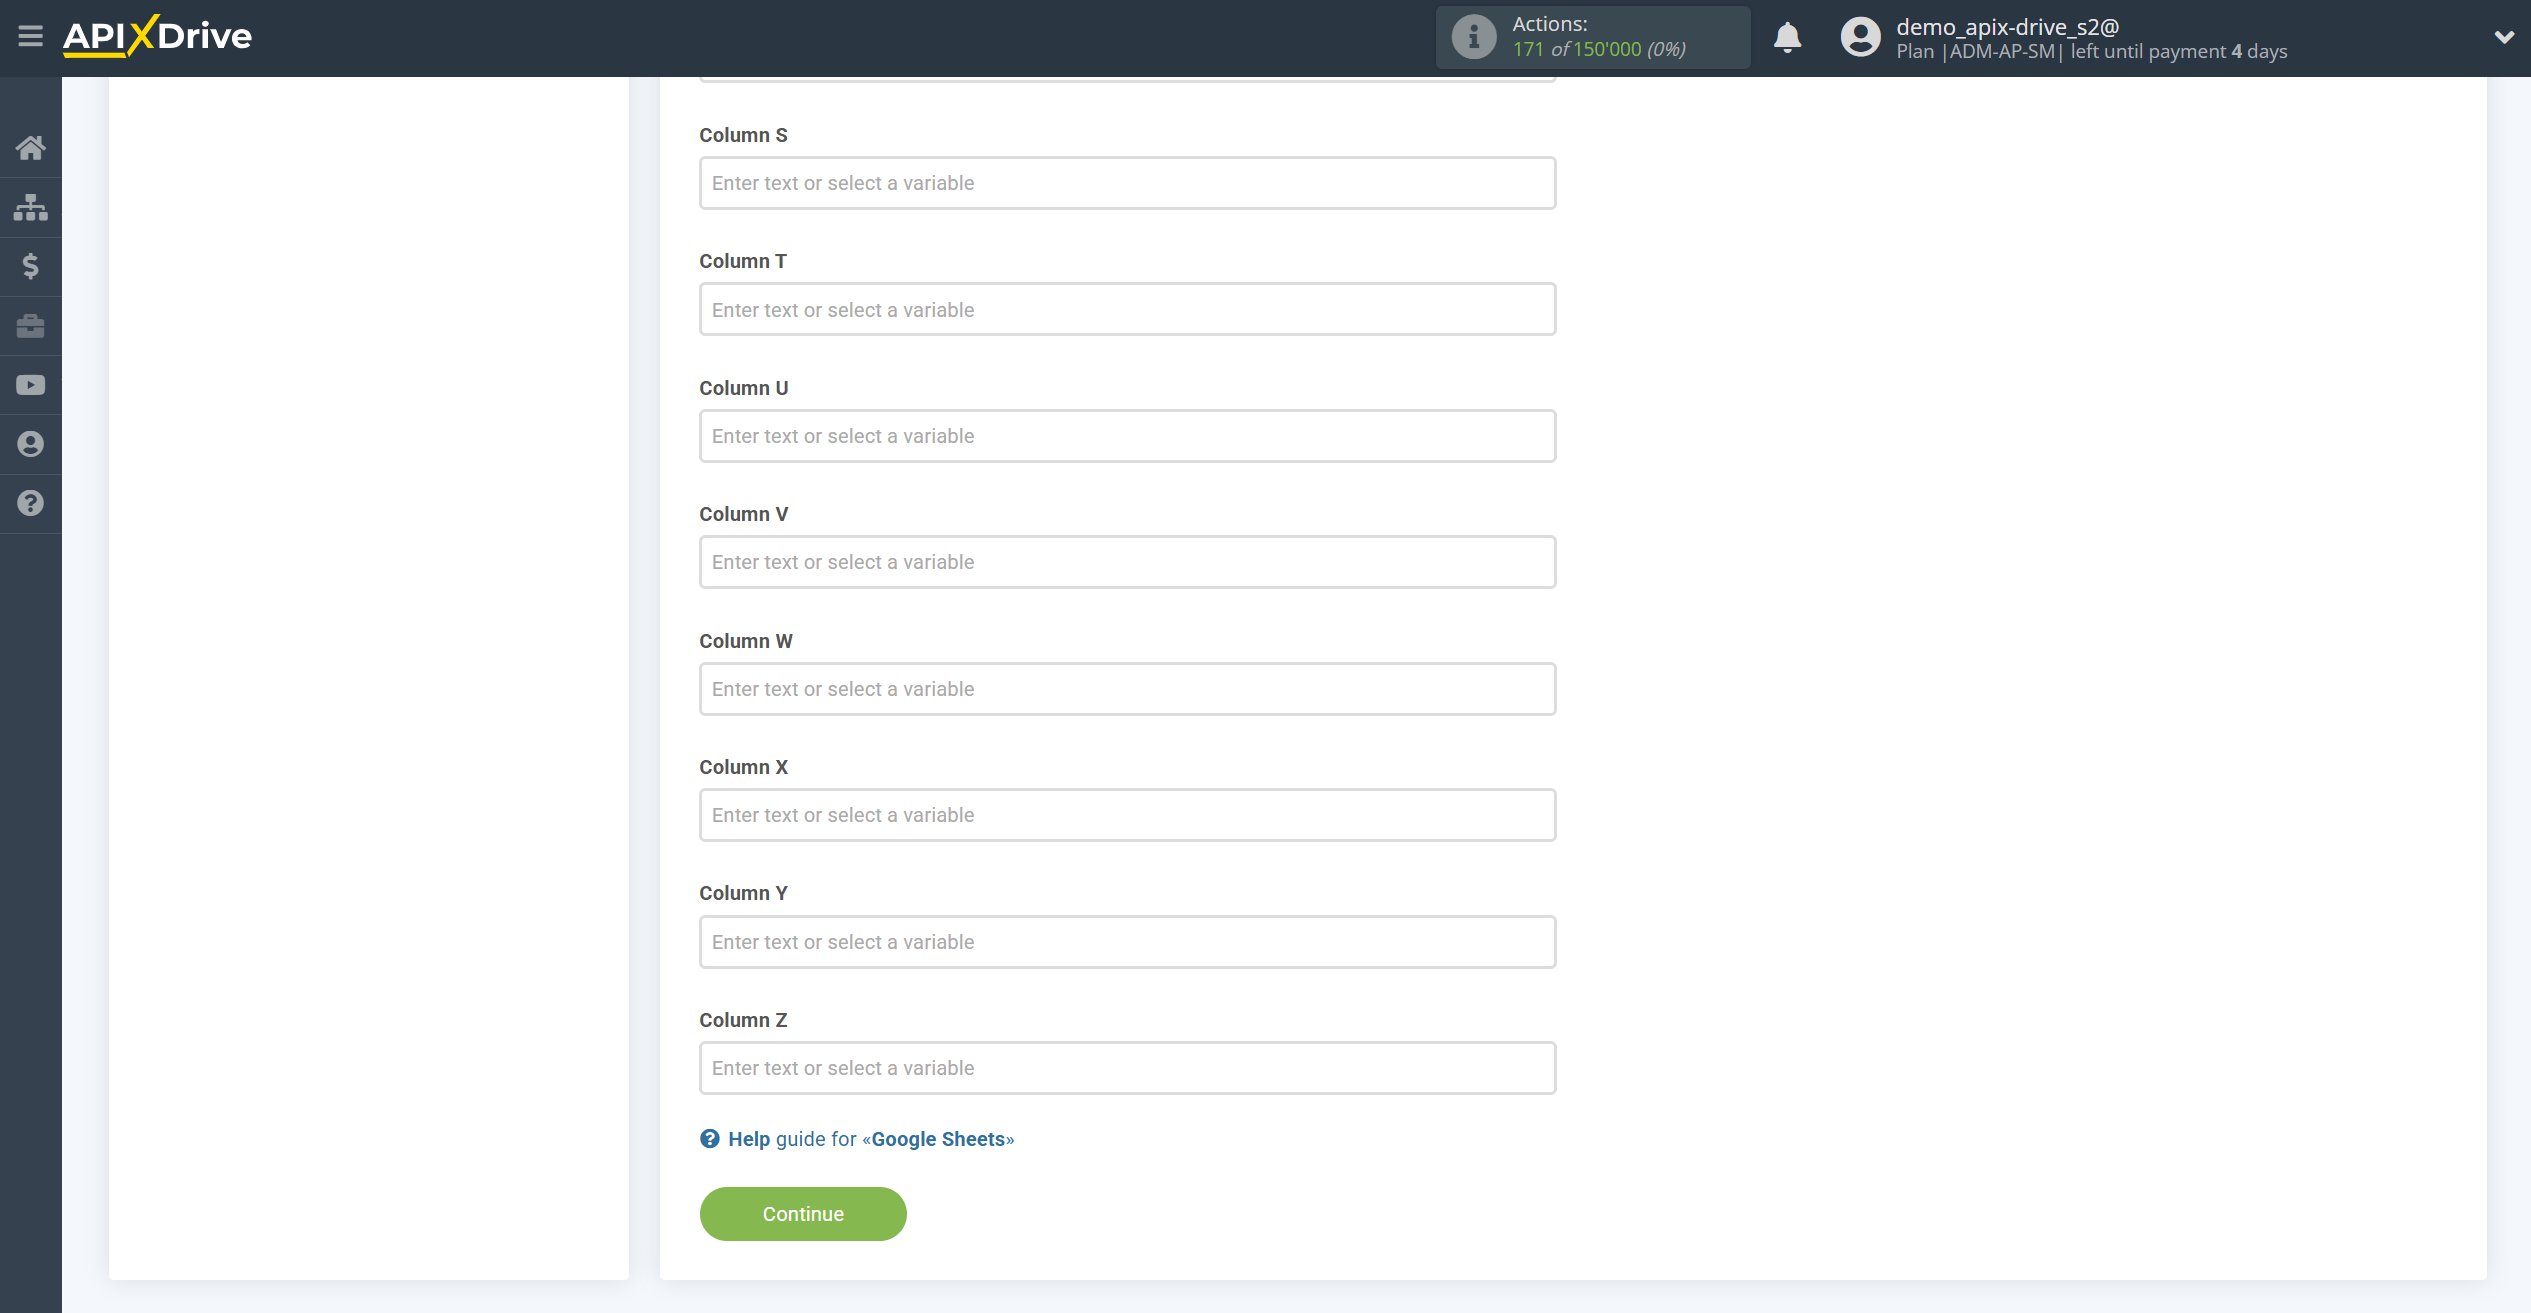
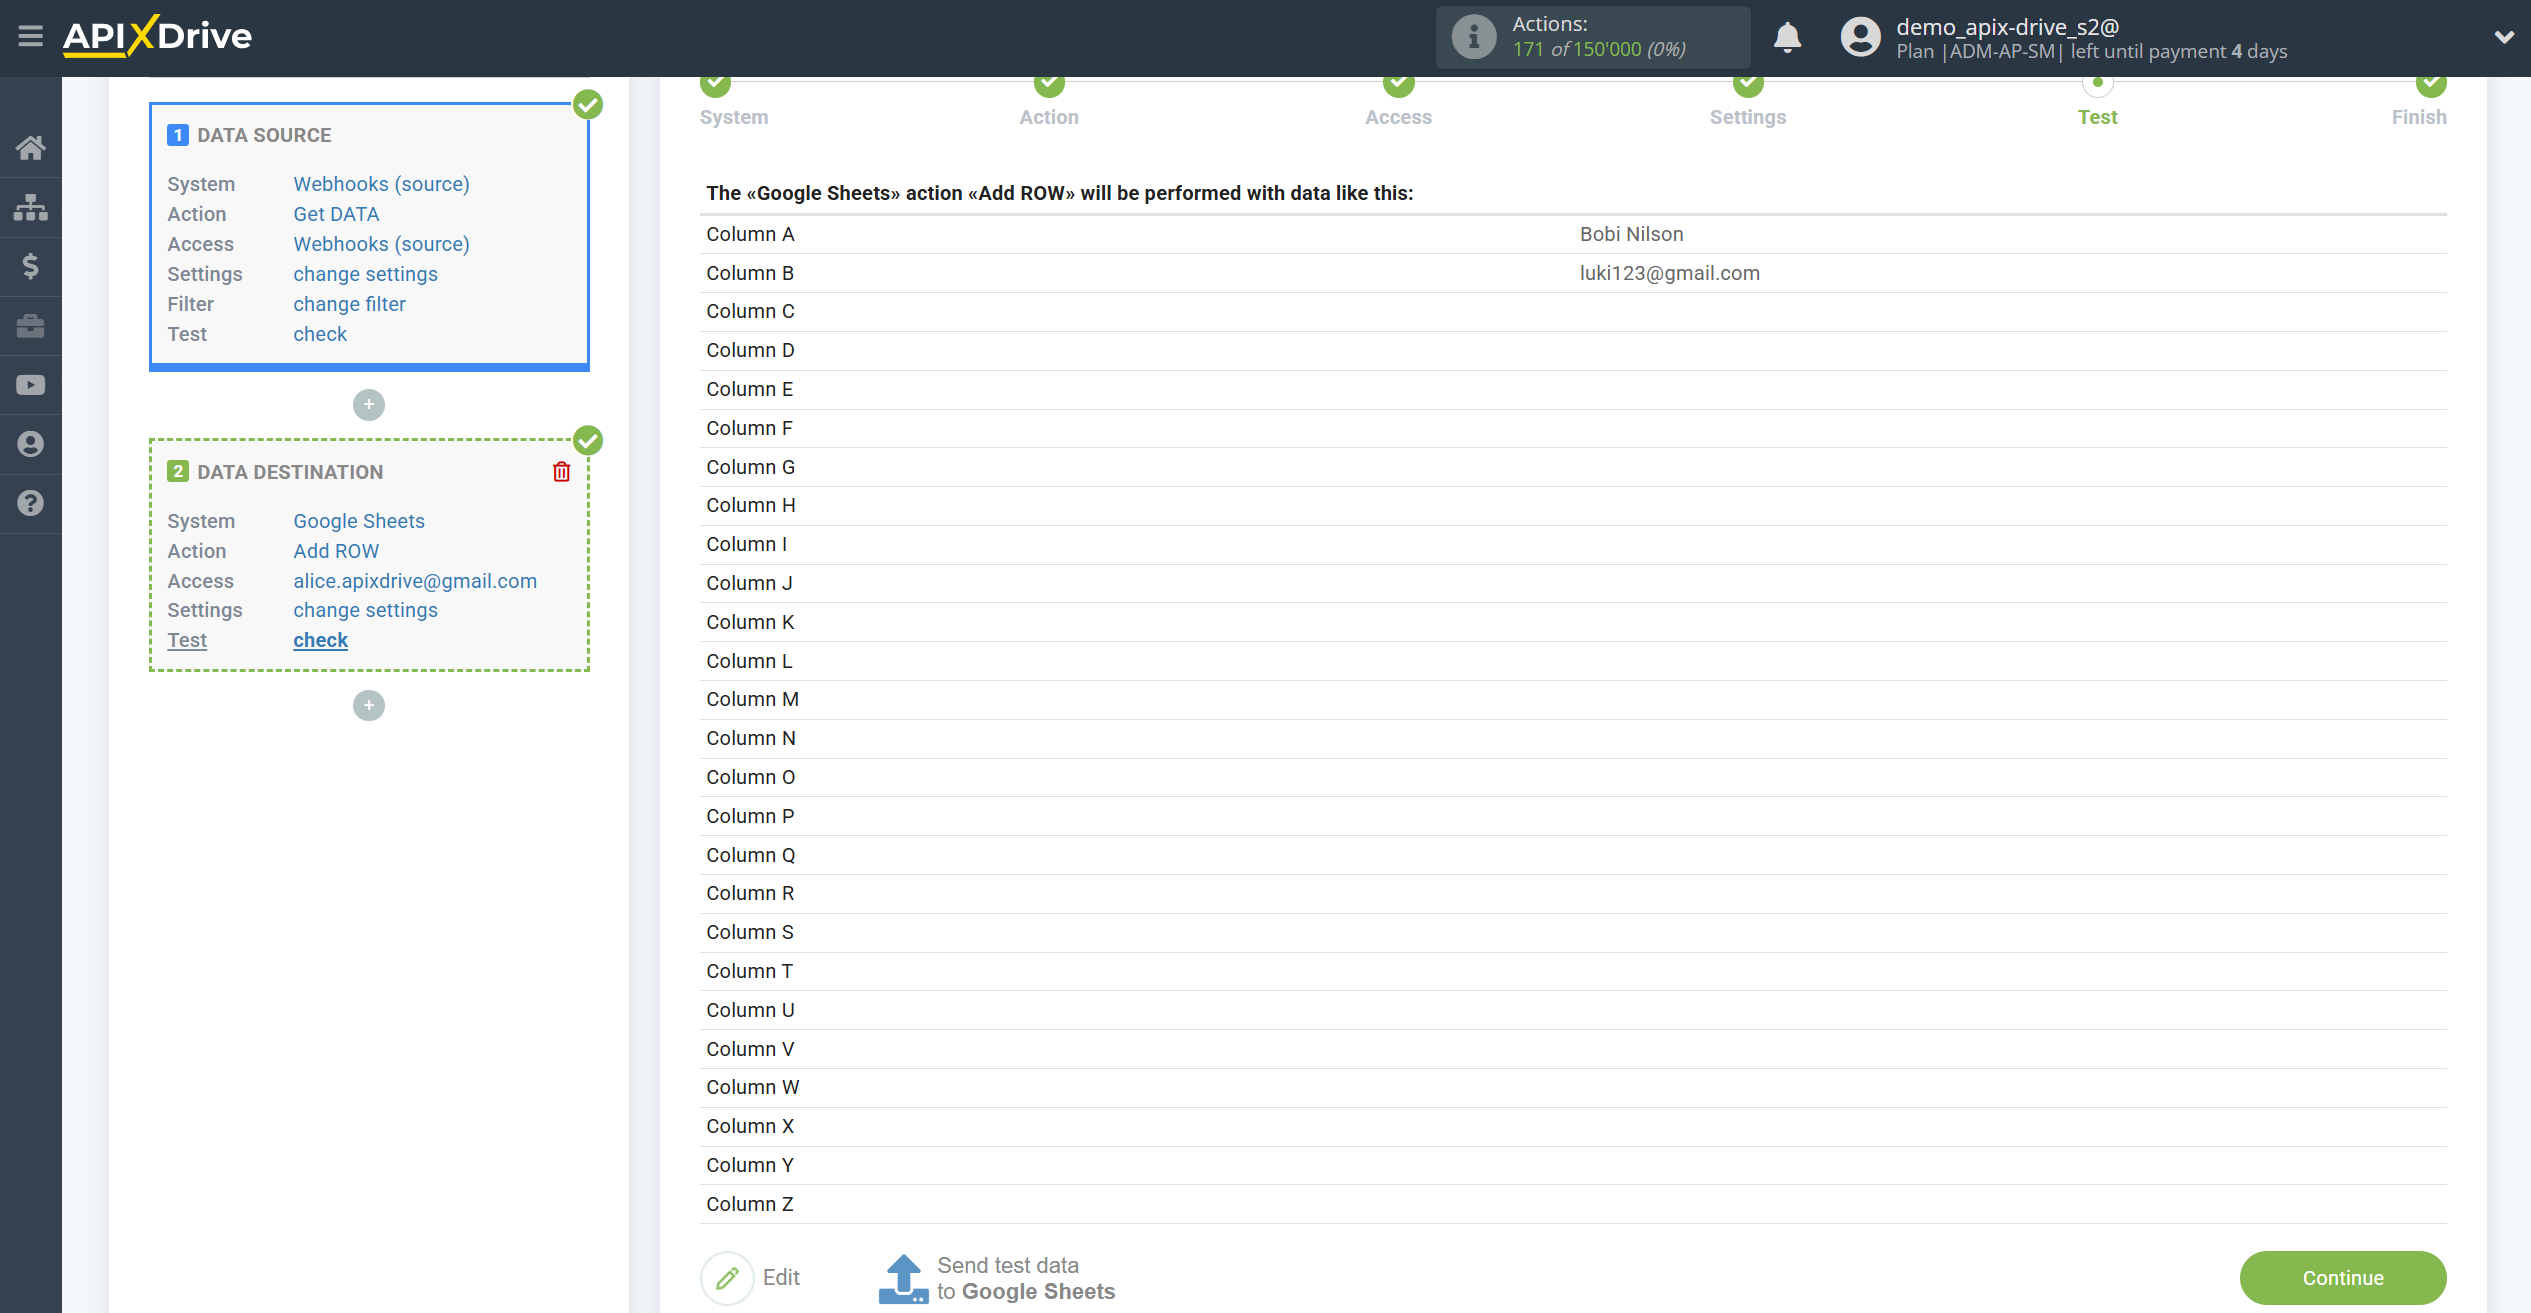
After this we see the test data, click Continue and this completes the setup of the second connection.
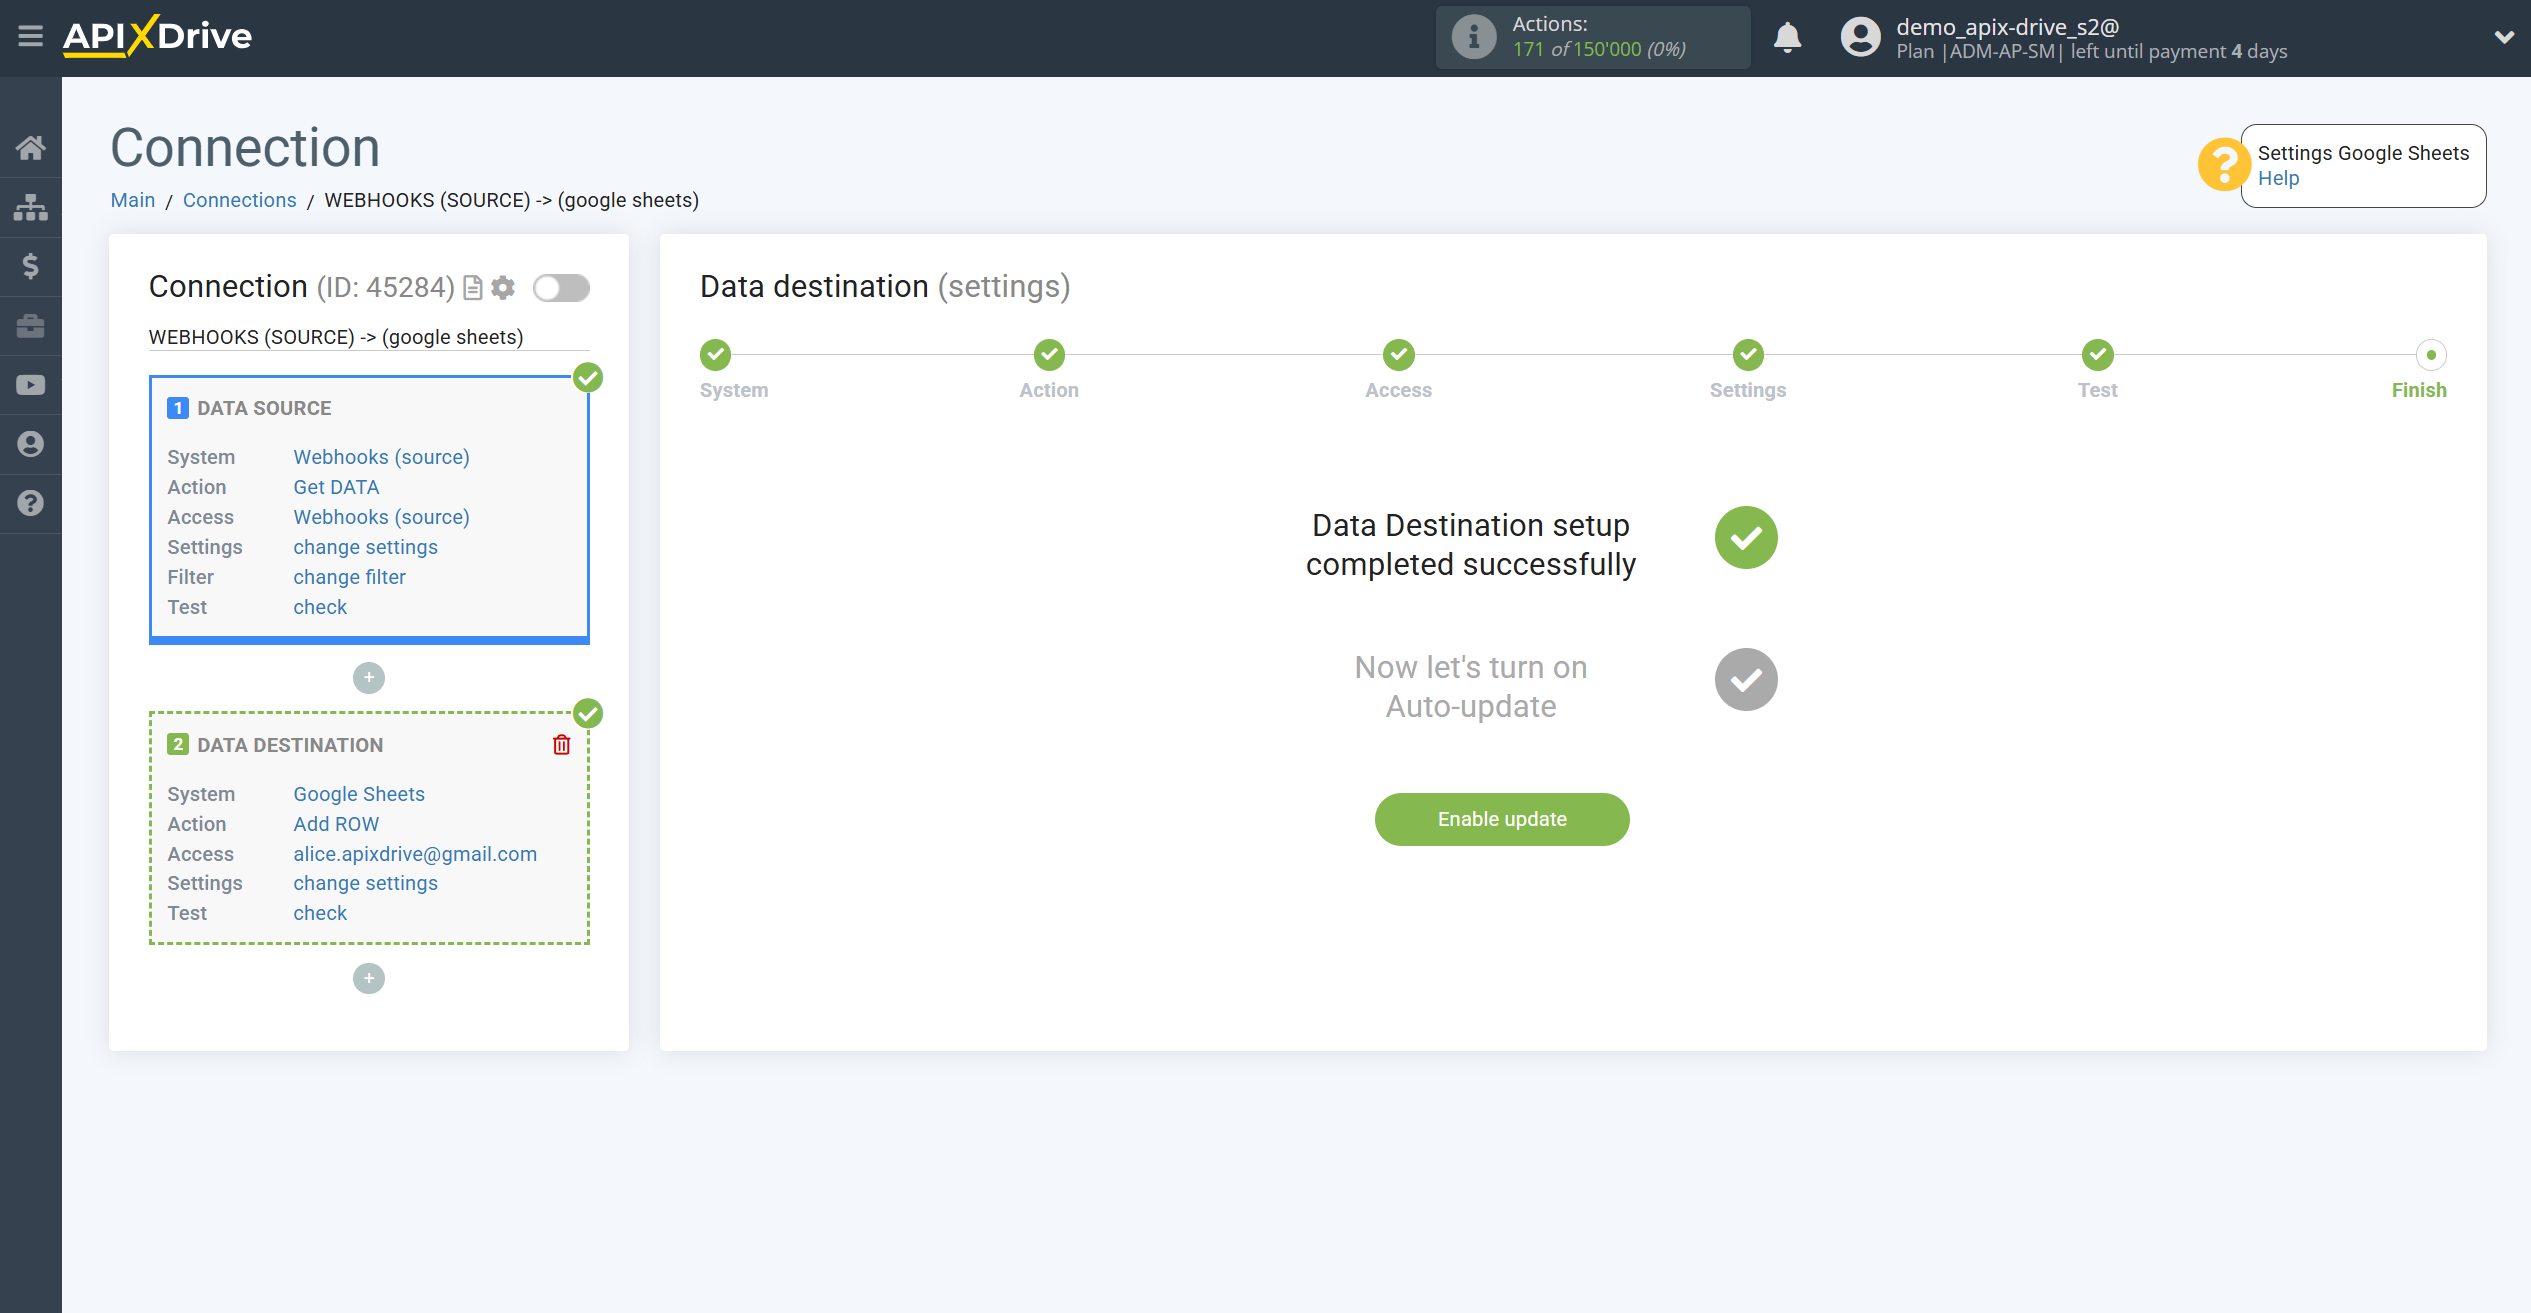
Now you need to select the auto-update interval for the second connection, to do this, click on the gear opposite this connection.
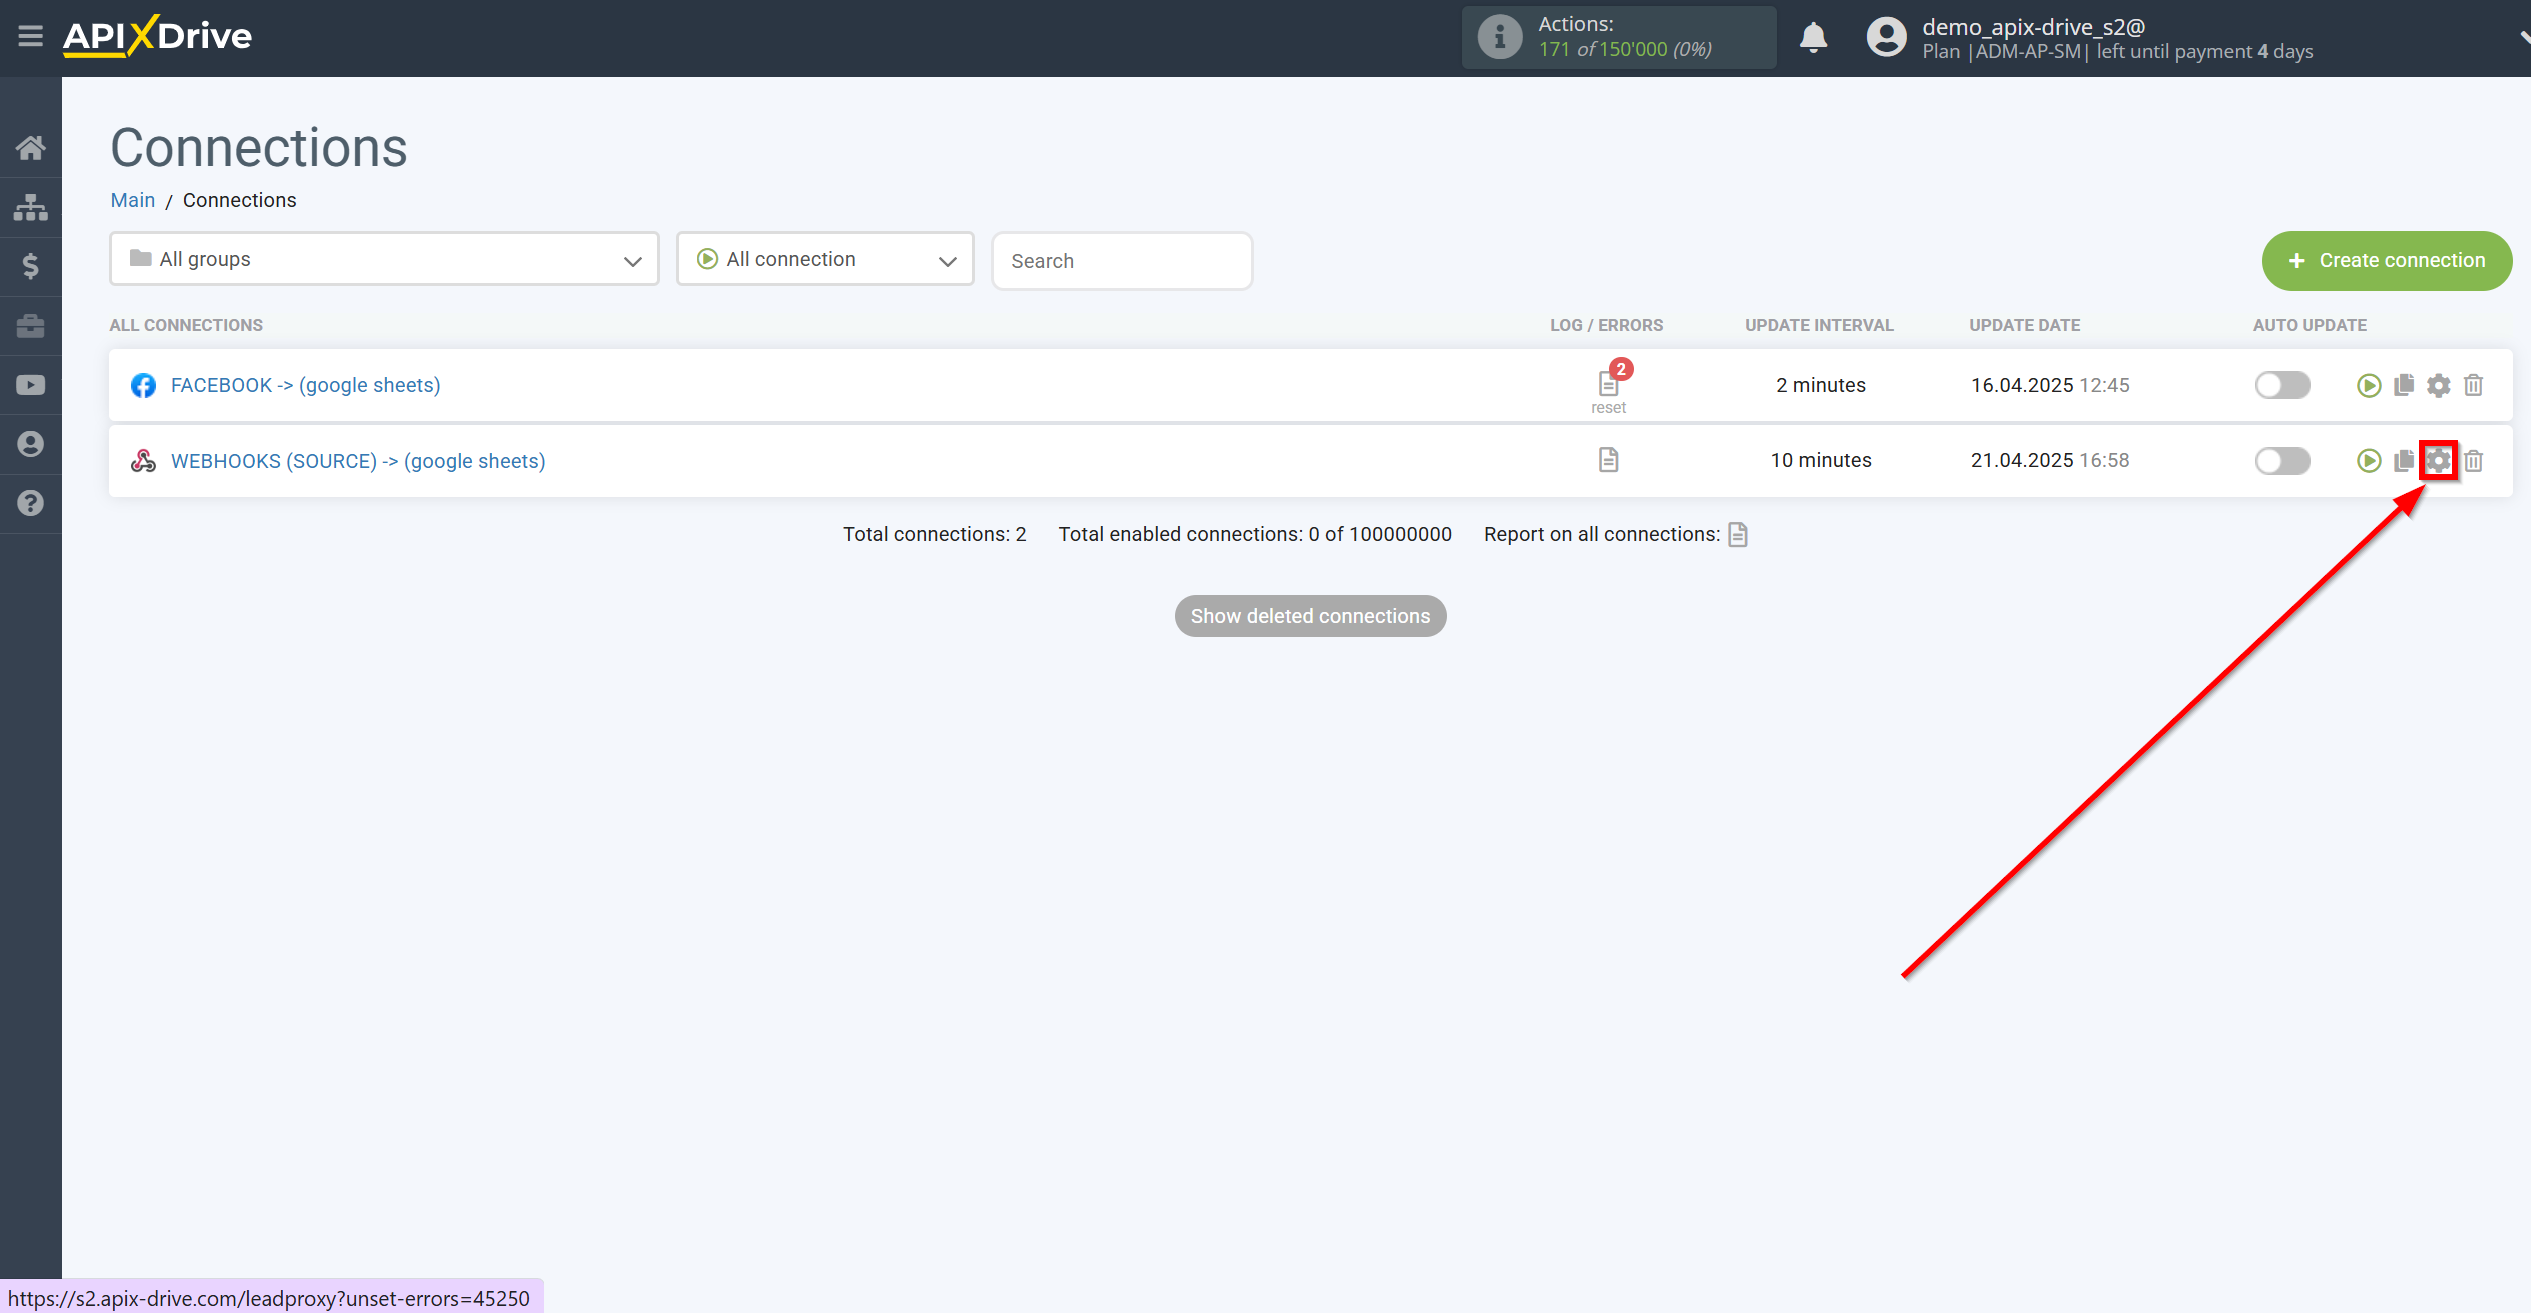
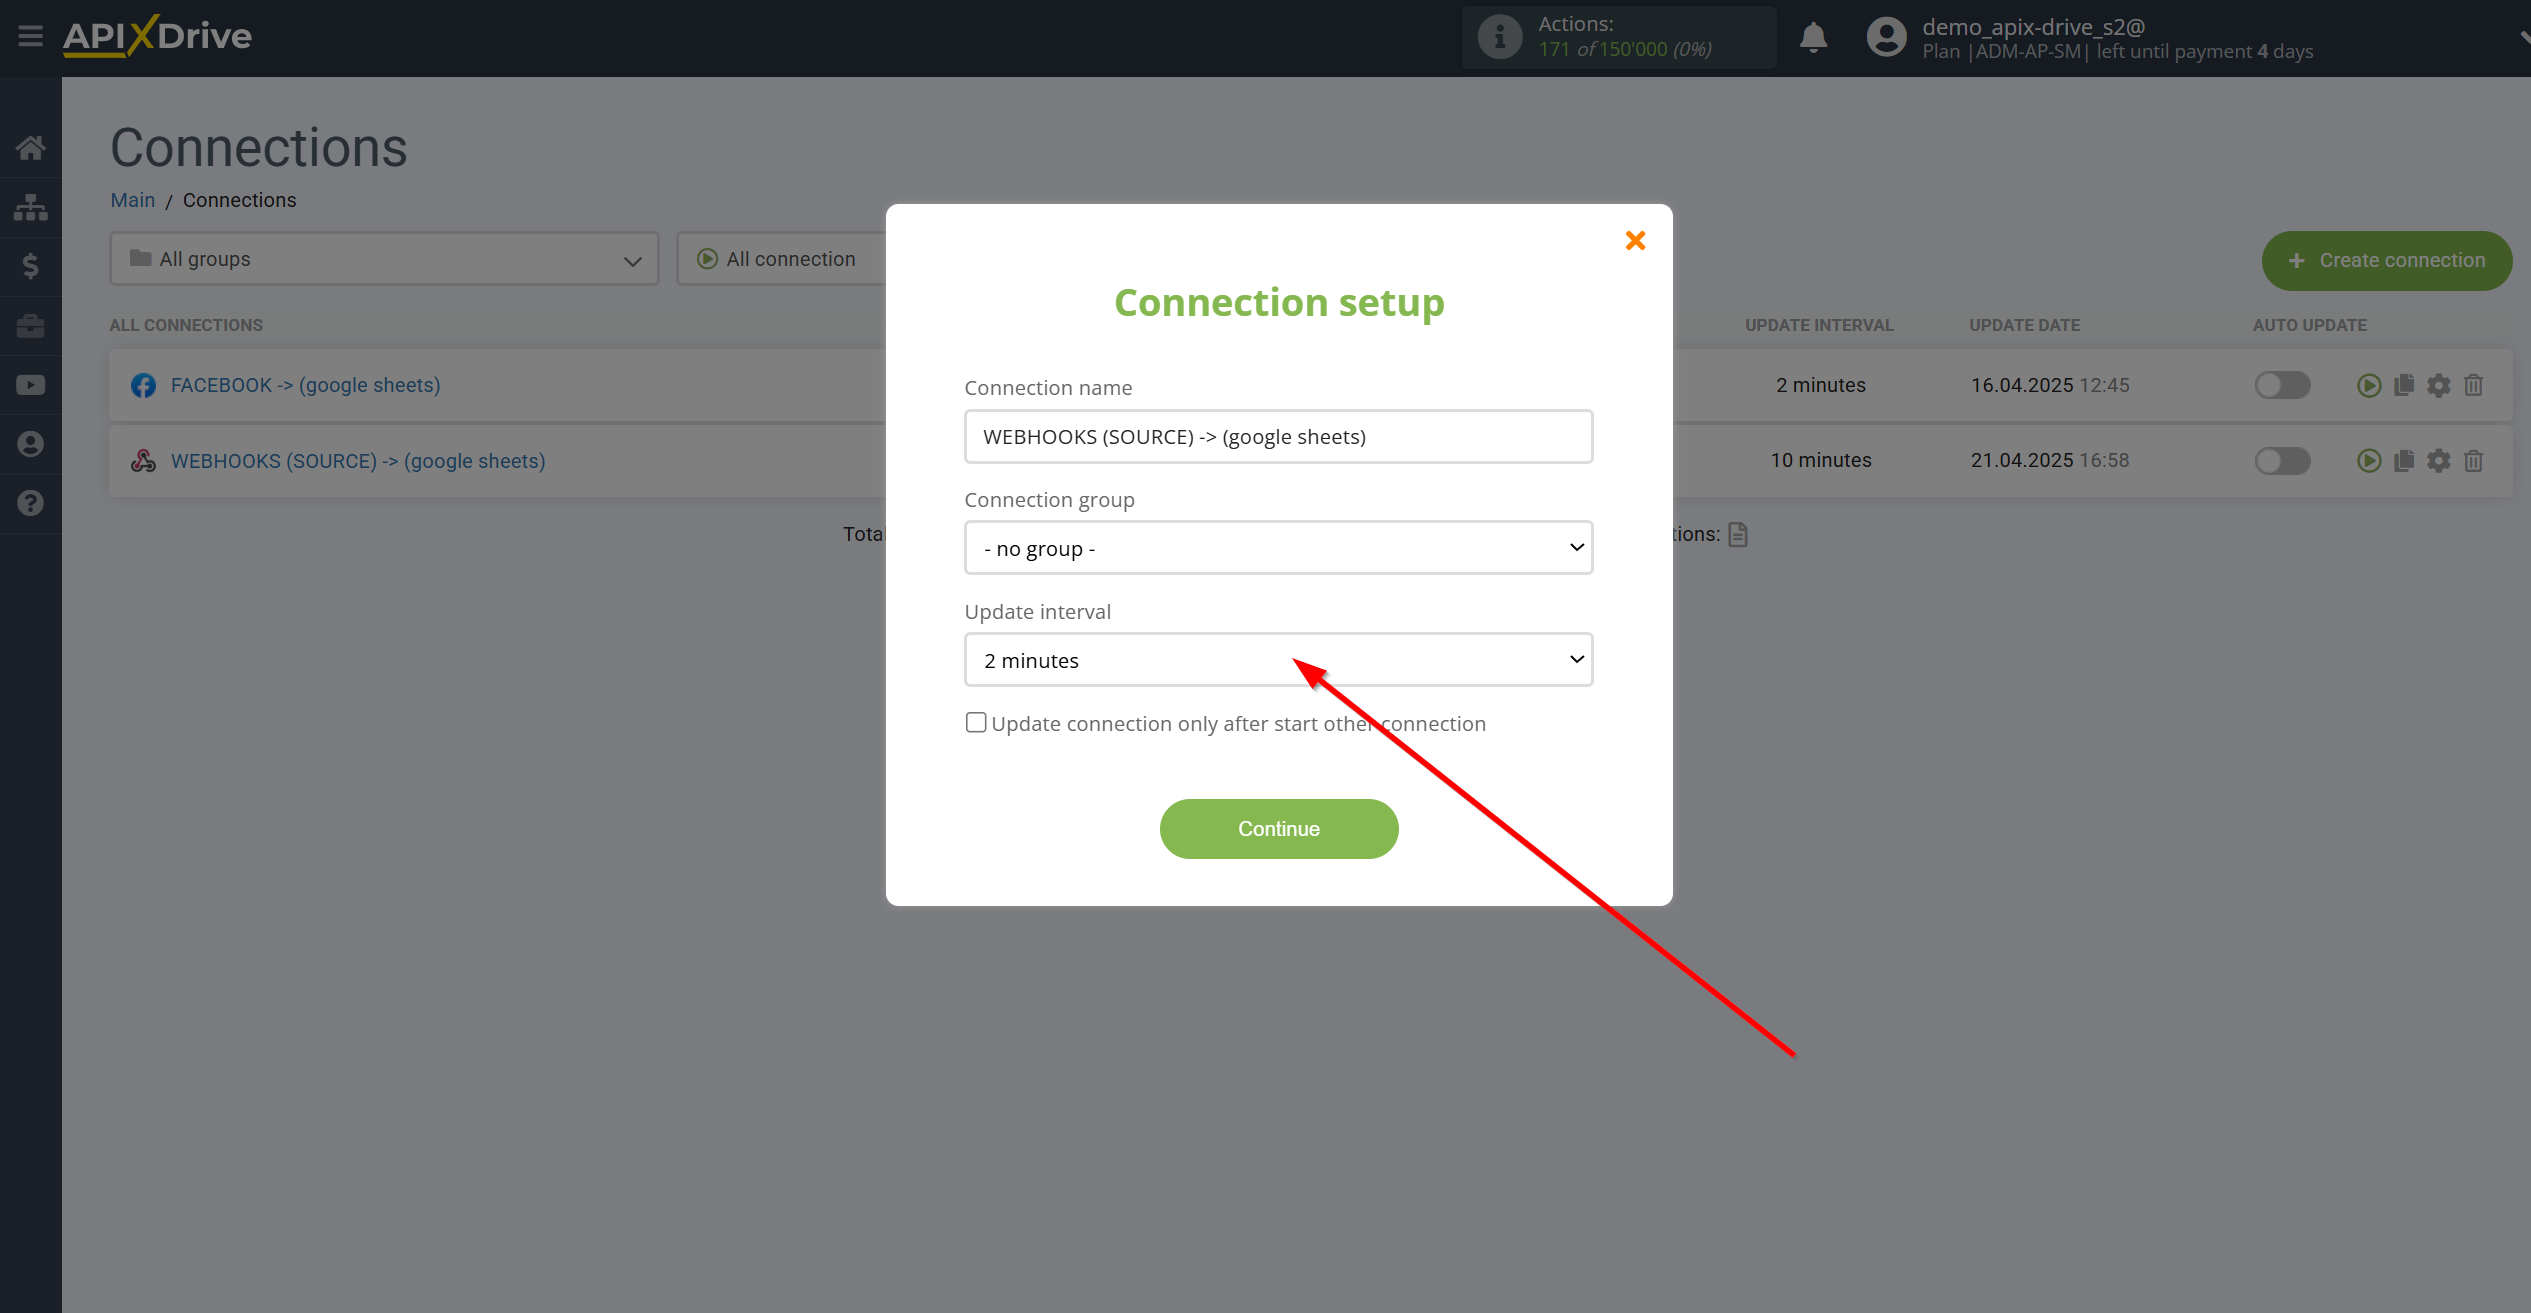
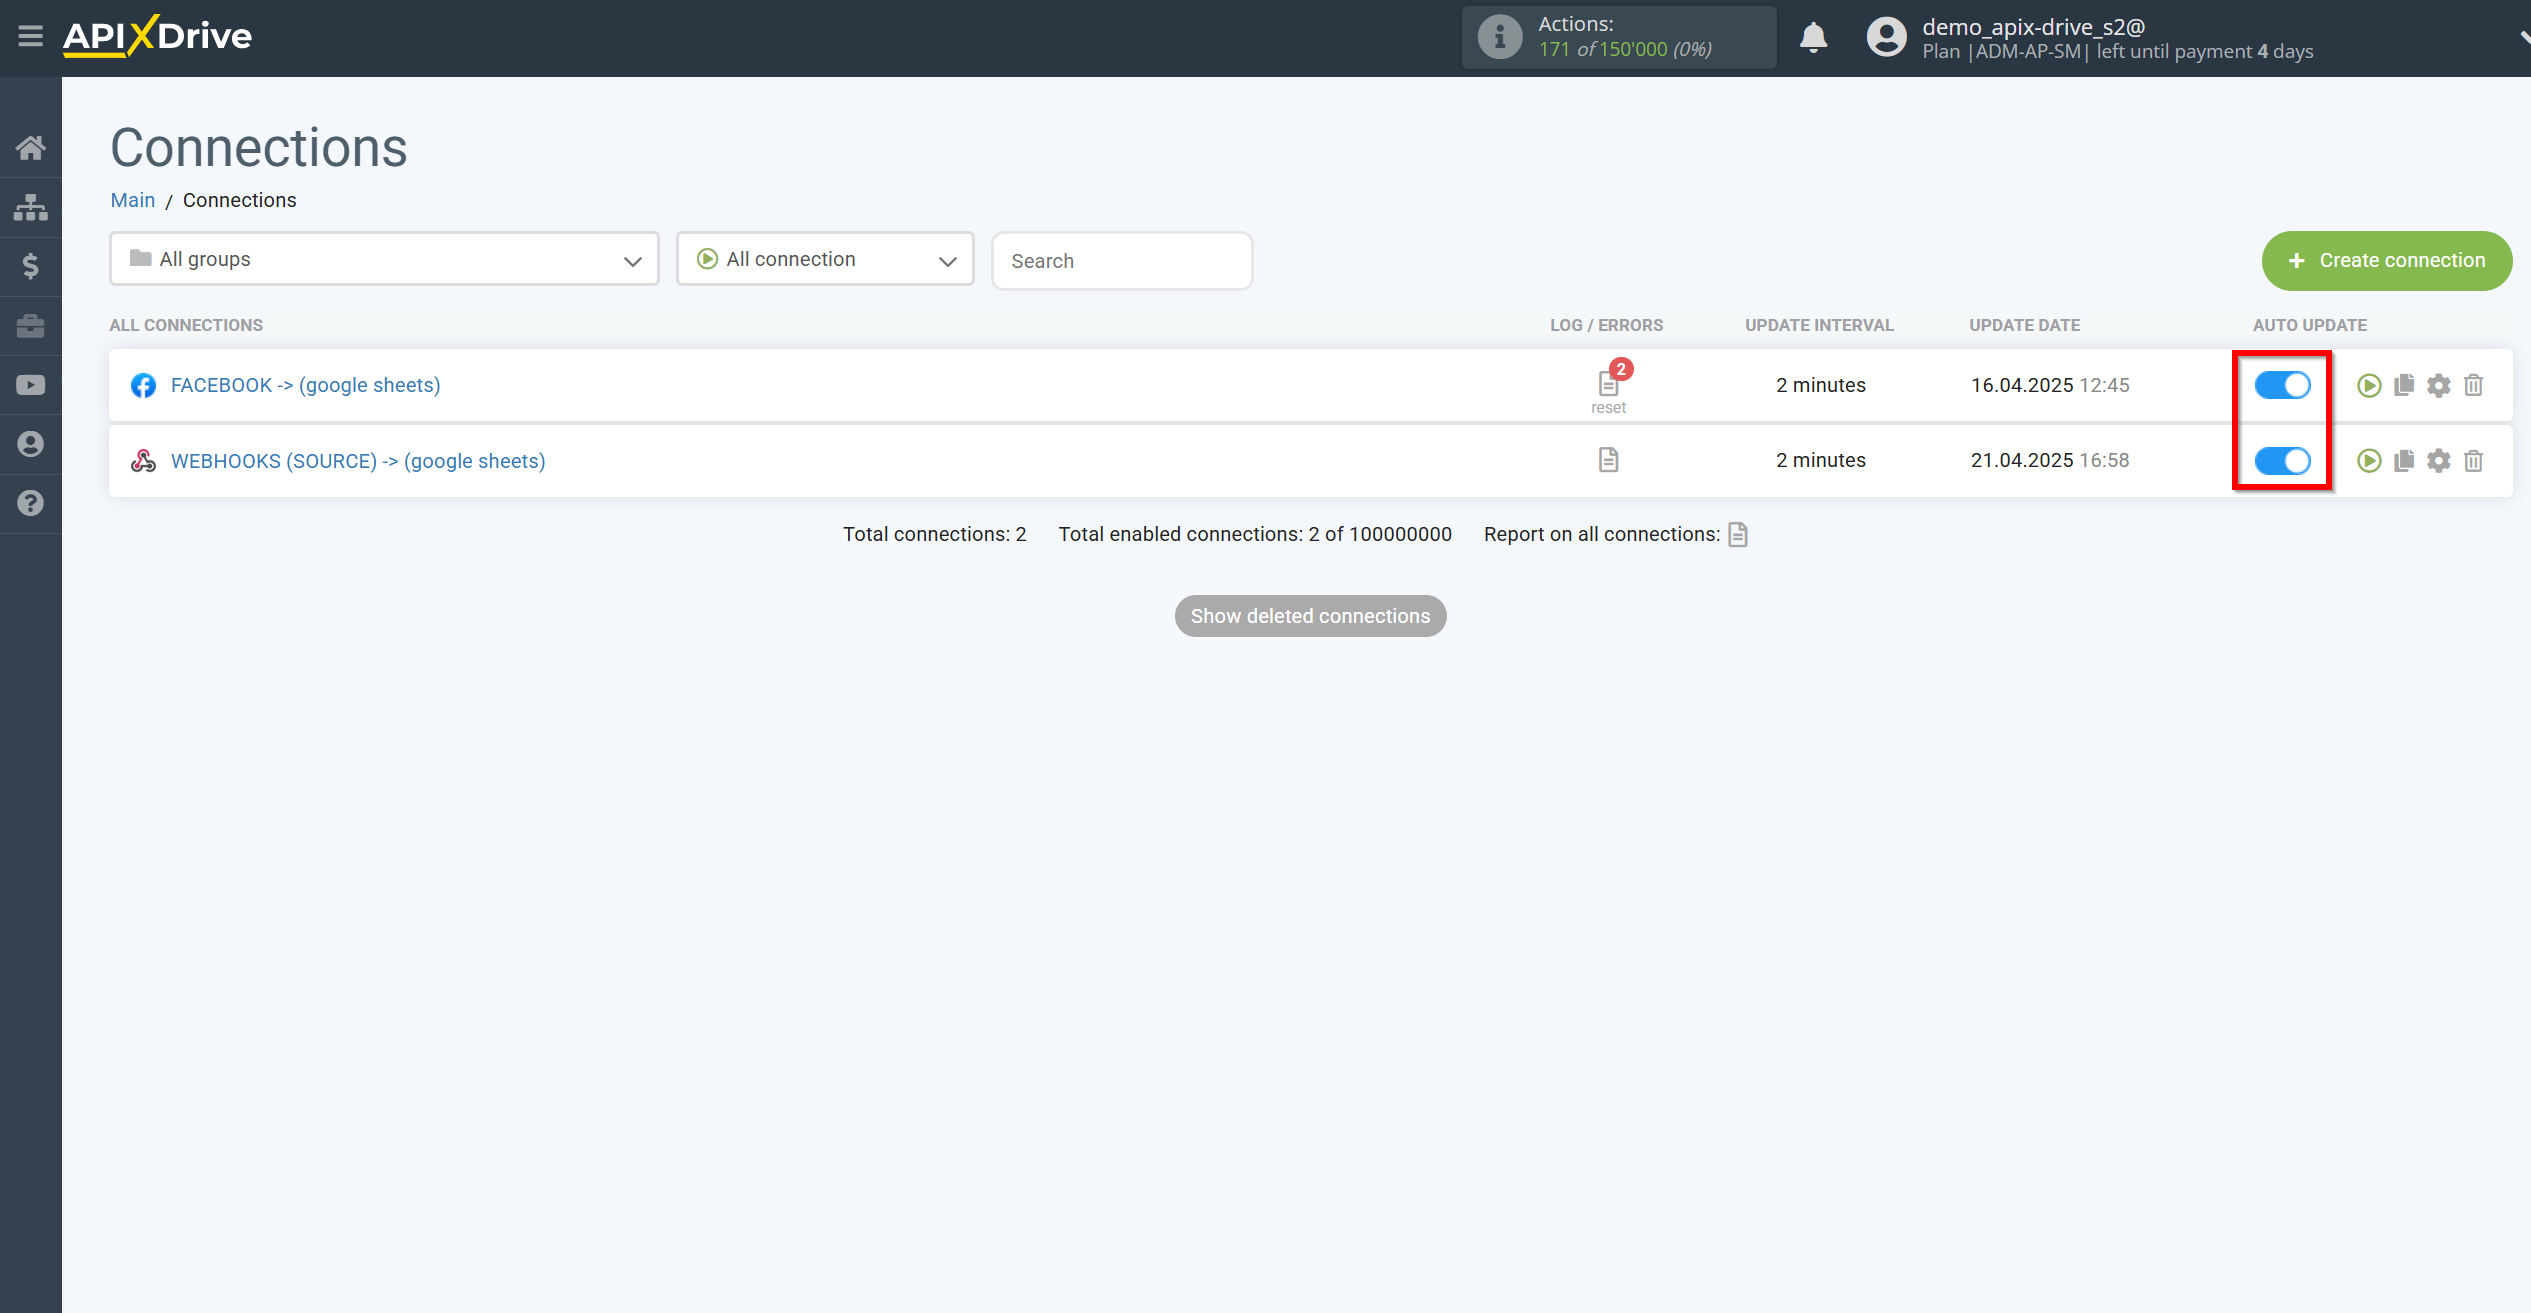
After all the settings, enable auto-update of both connections, to do this, click on the slider icons, they should turn blue.
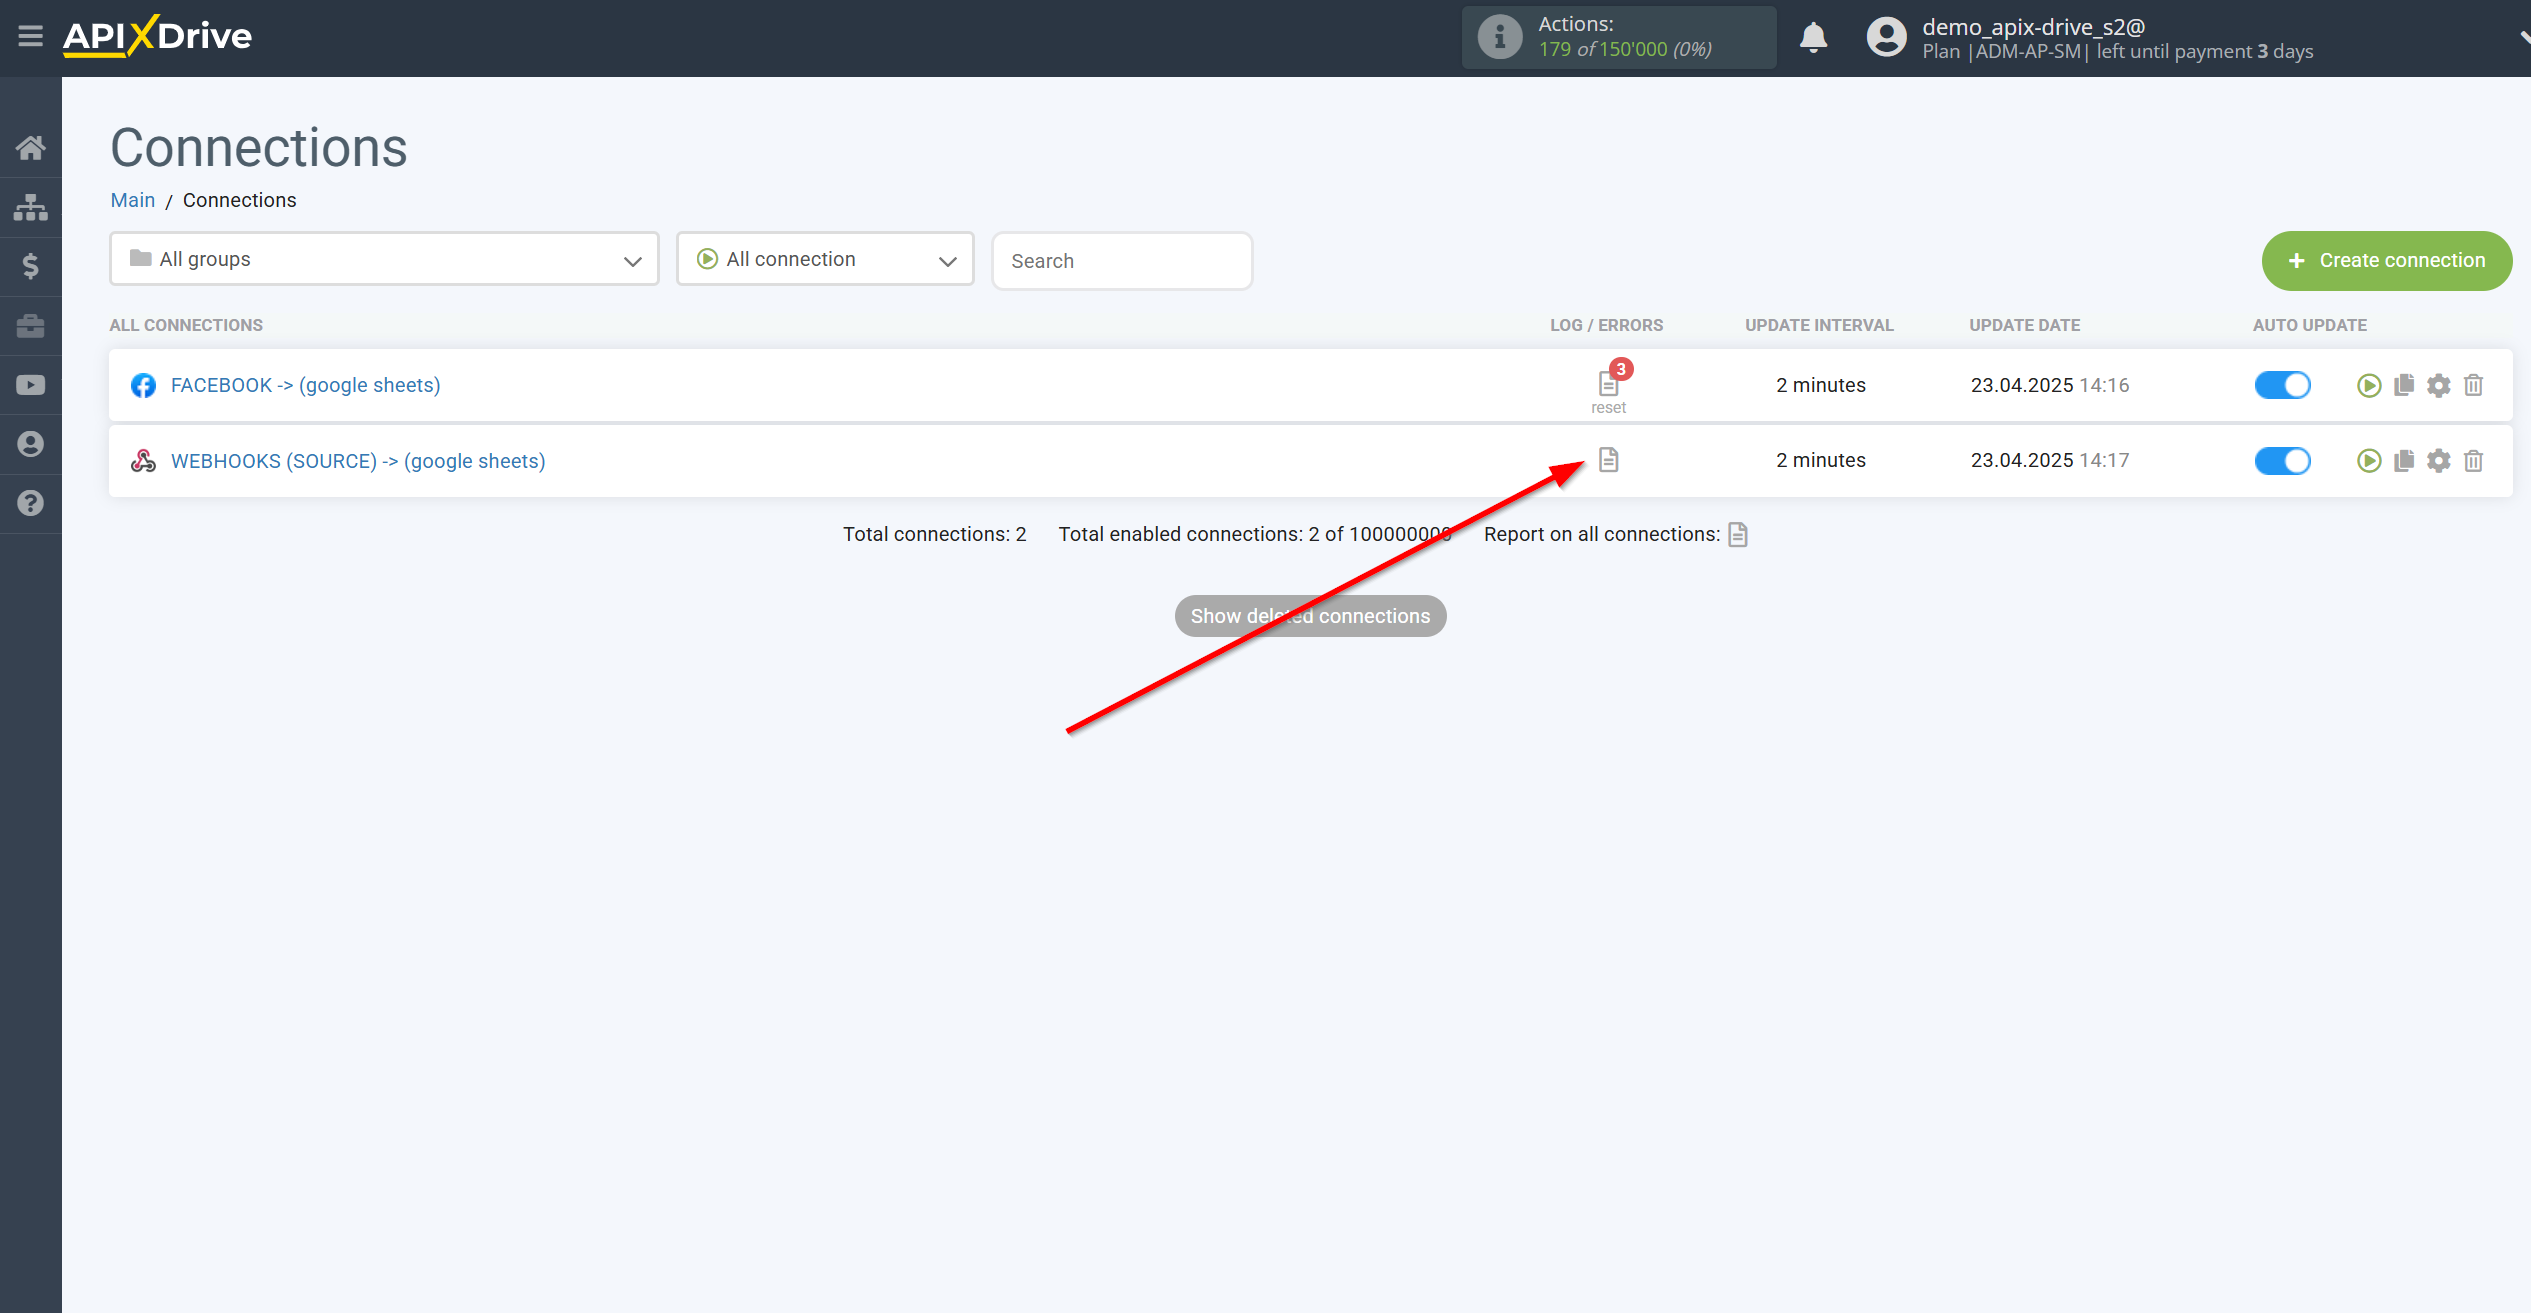
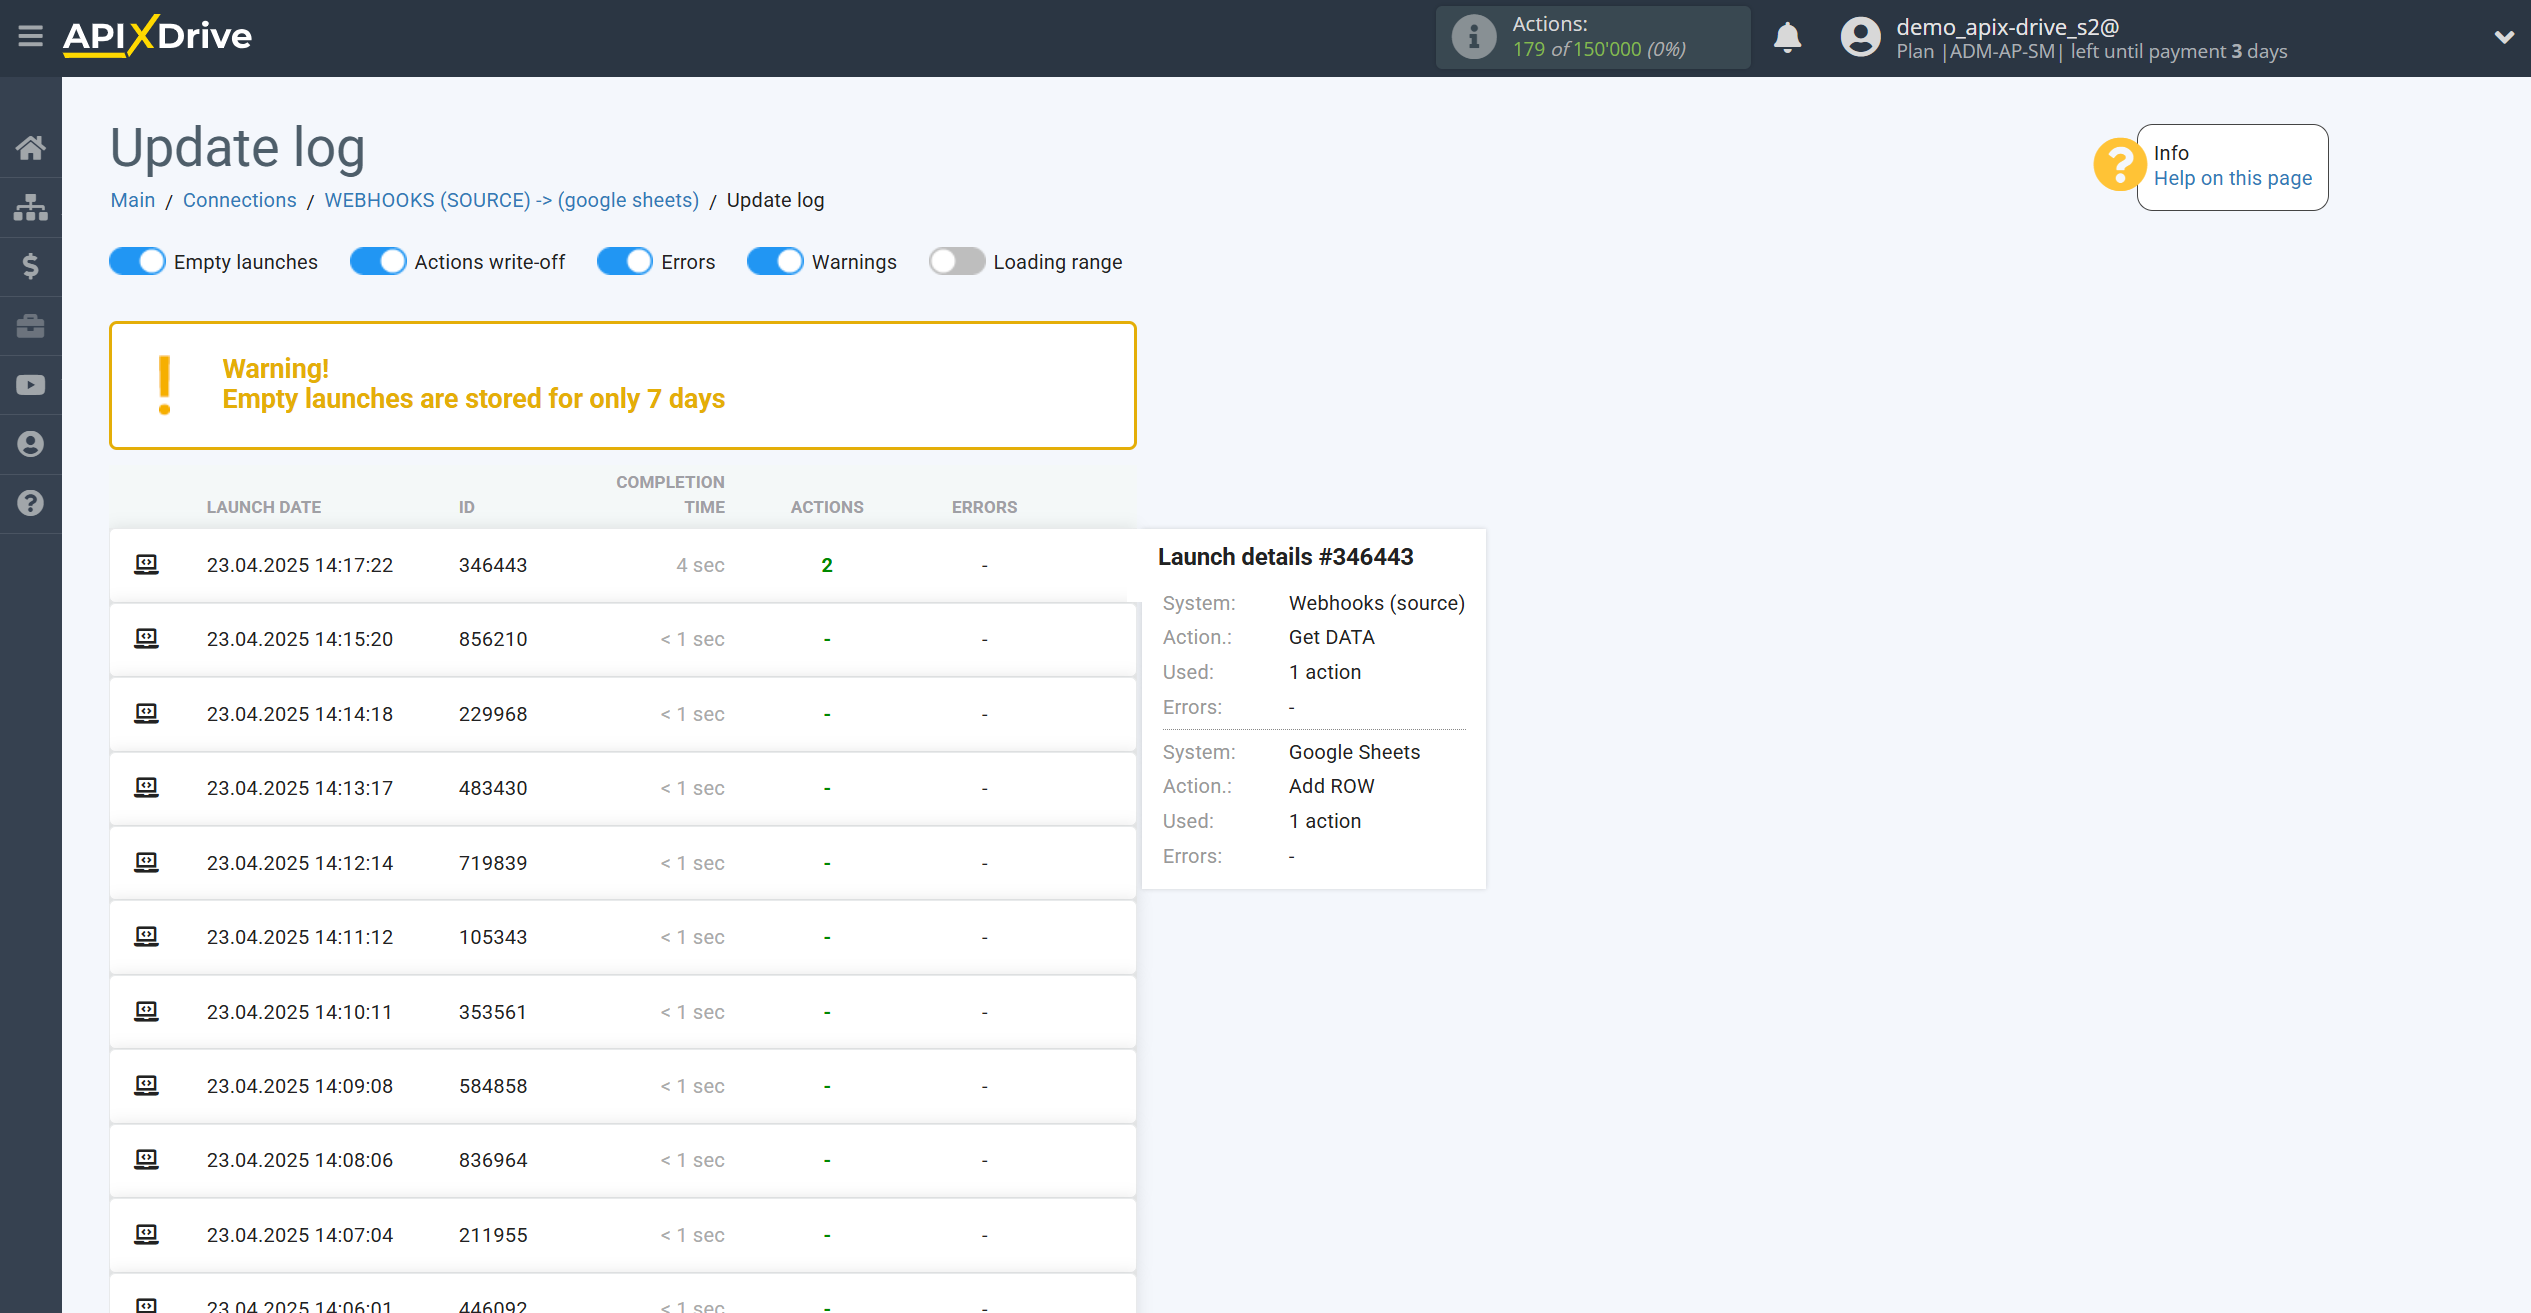
Now we show the principle of operation of what we have set up. When transferring 2 leads, we received an error from Google Sheets, which is related to the fact that their server cannot accept data at the moment and these 2 leads were sent to our configured Webhooks using If/Then Logic.
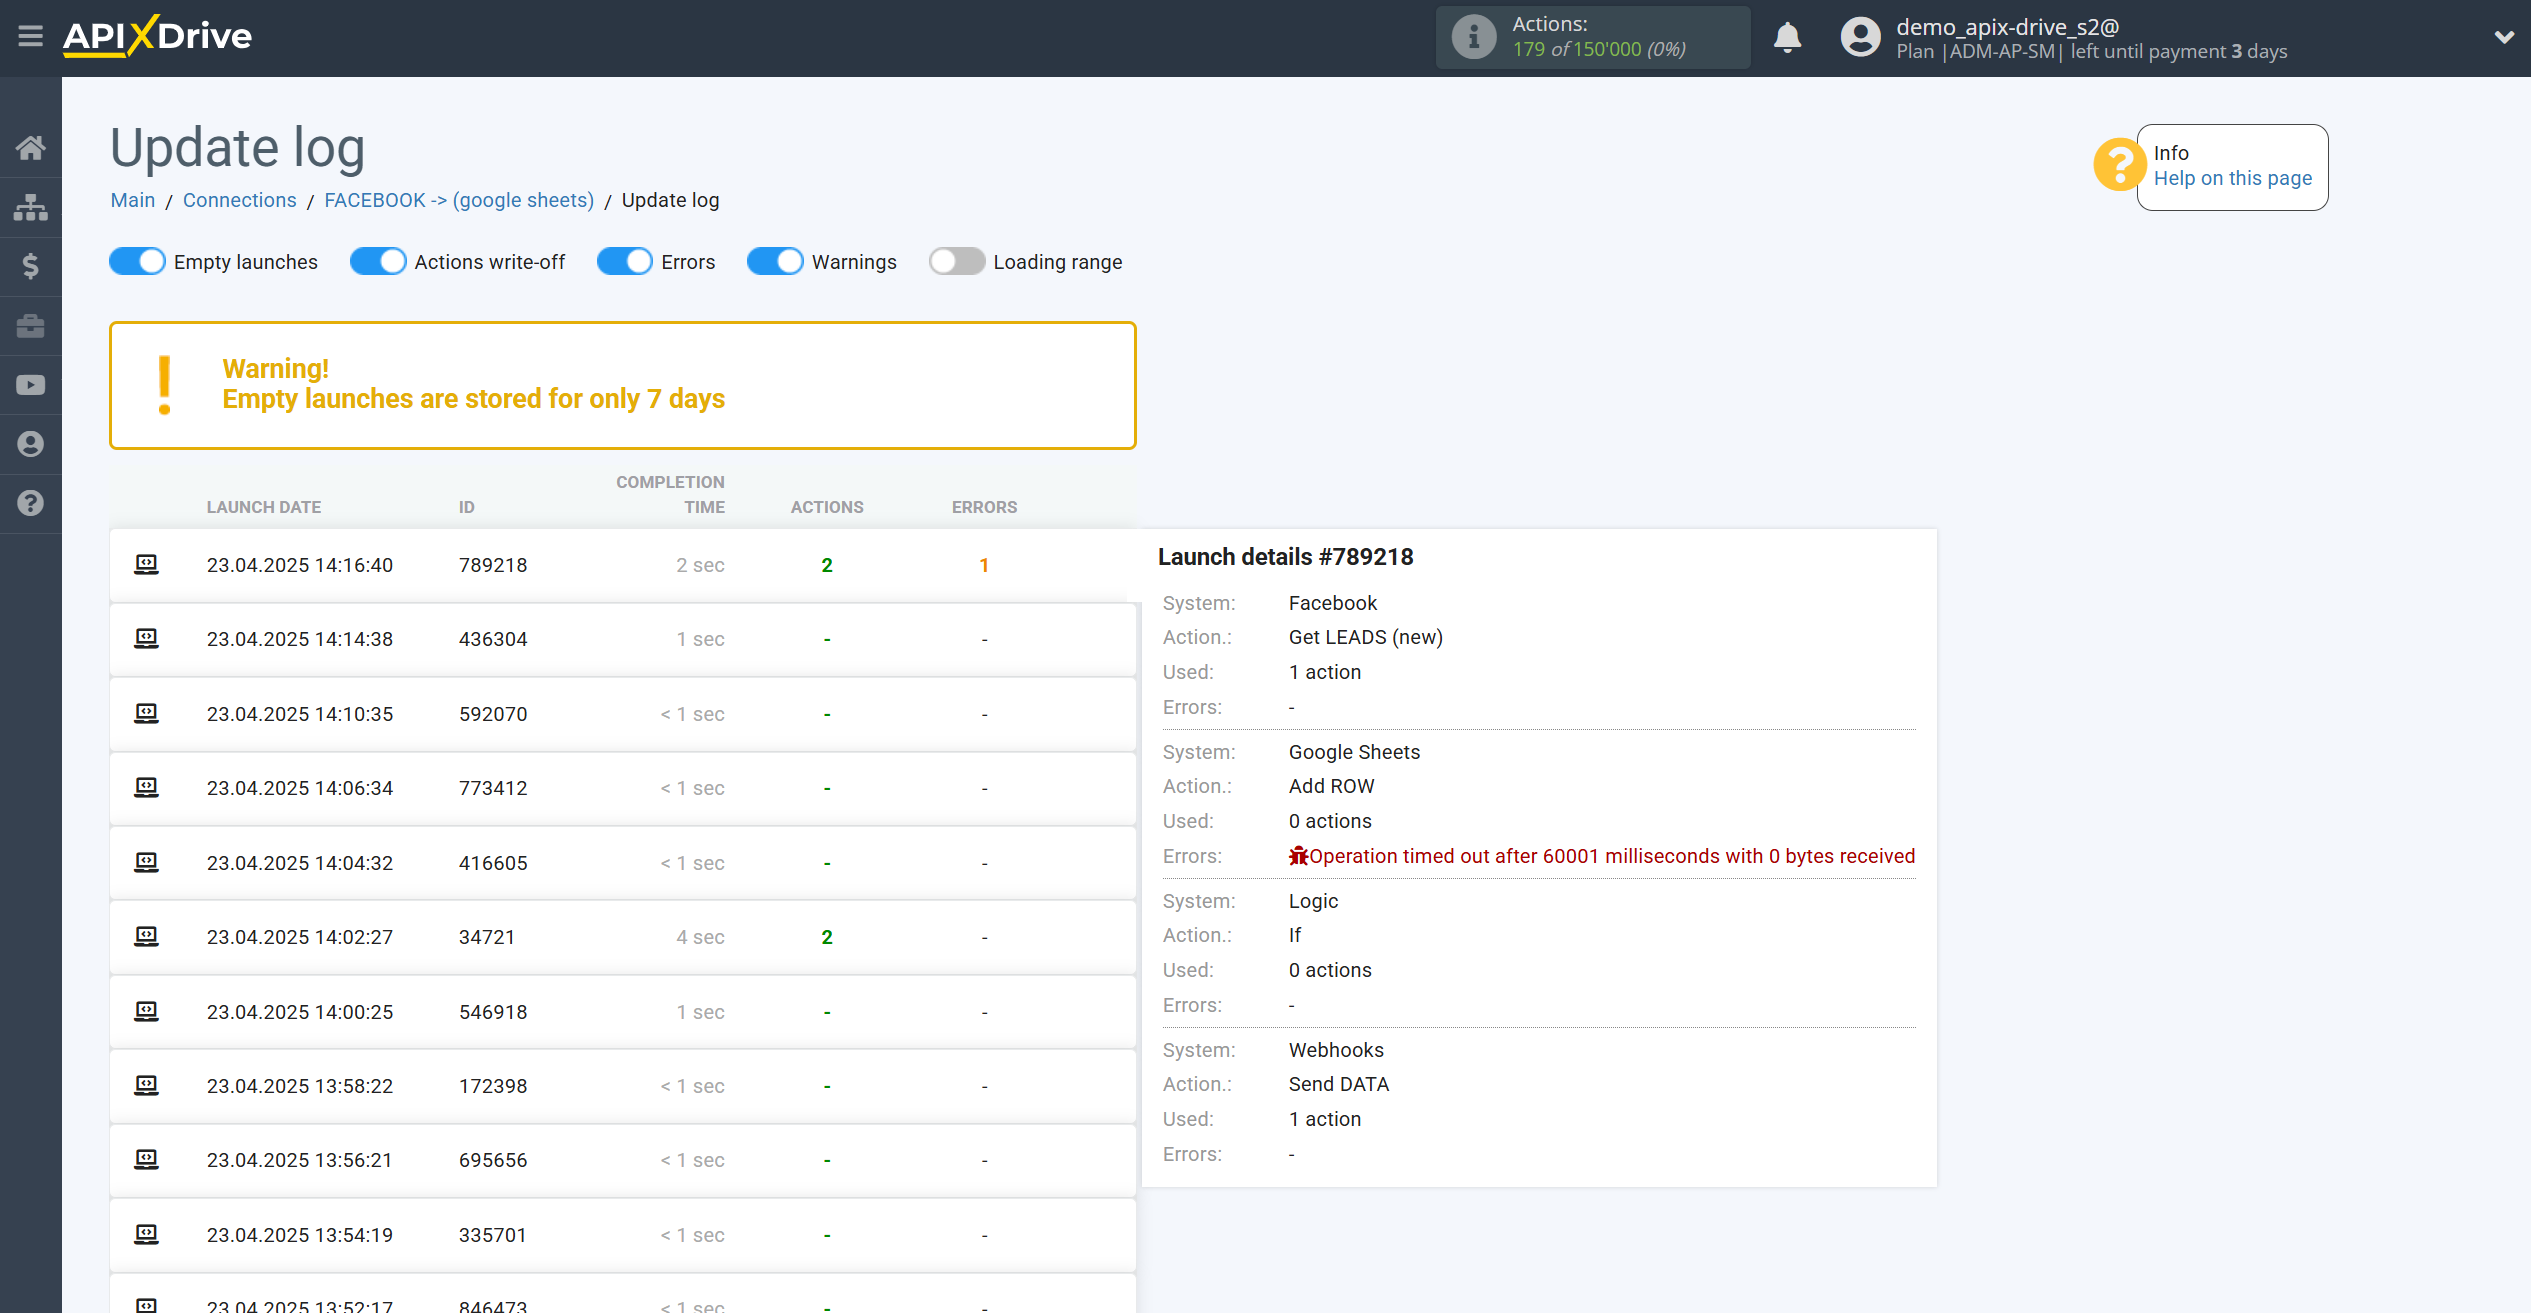
We check the log of the second connection and see that the table has now successfully received this data.
This completes the set up Resend data after error in Data Destination! See how easy it is!
Now you don't have to worry, ApiX-Drive will do everything else on its own!