How to Connect Stripe as Data Source
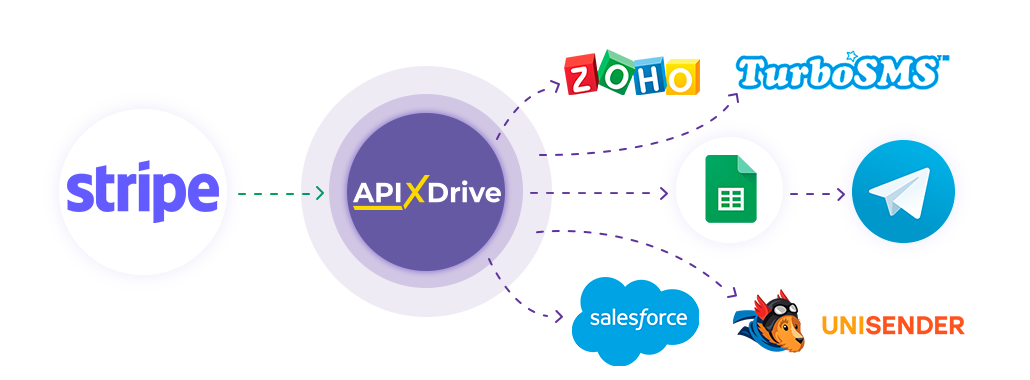
The integration will allow you to get payment, balance, or new user data from Stripe, transferring this data to other systems. For example, you can transfer data to CRM, Google Sheets, or send it as notifications to a Discord. This way you can automate the process of interaction between Stripe in conjunction with the services you use and store all the information in one place convenient for you.
Let's go through the entire Stripe setup steps together!
Navigation:
1. What data can you get from Stripe?
2. How to connect your Stripe account to ApiX-Drive?
3. Select settings.
4. Example of payment data.
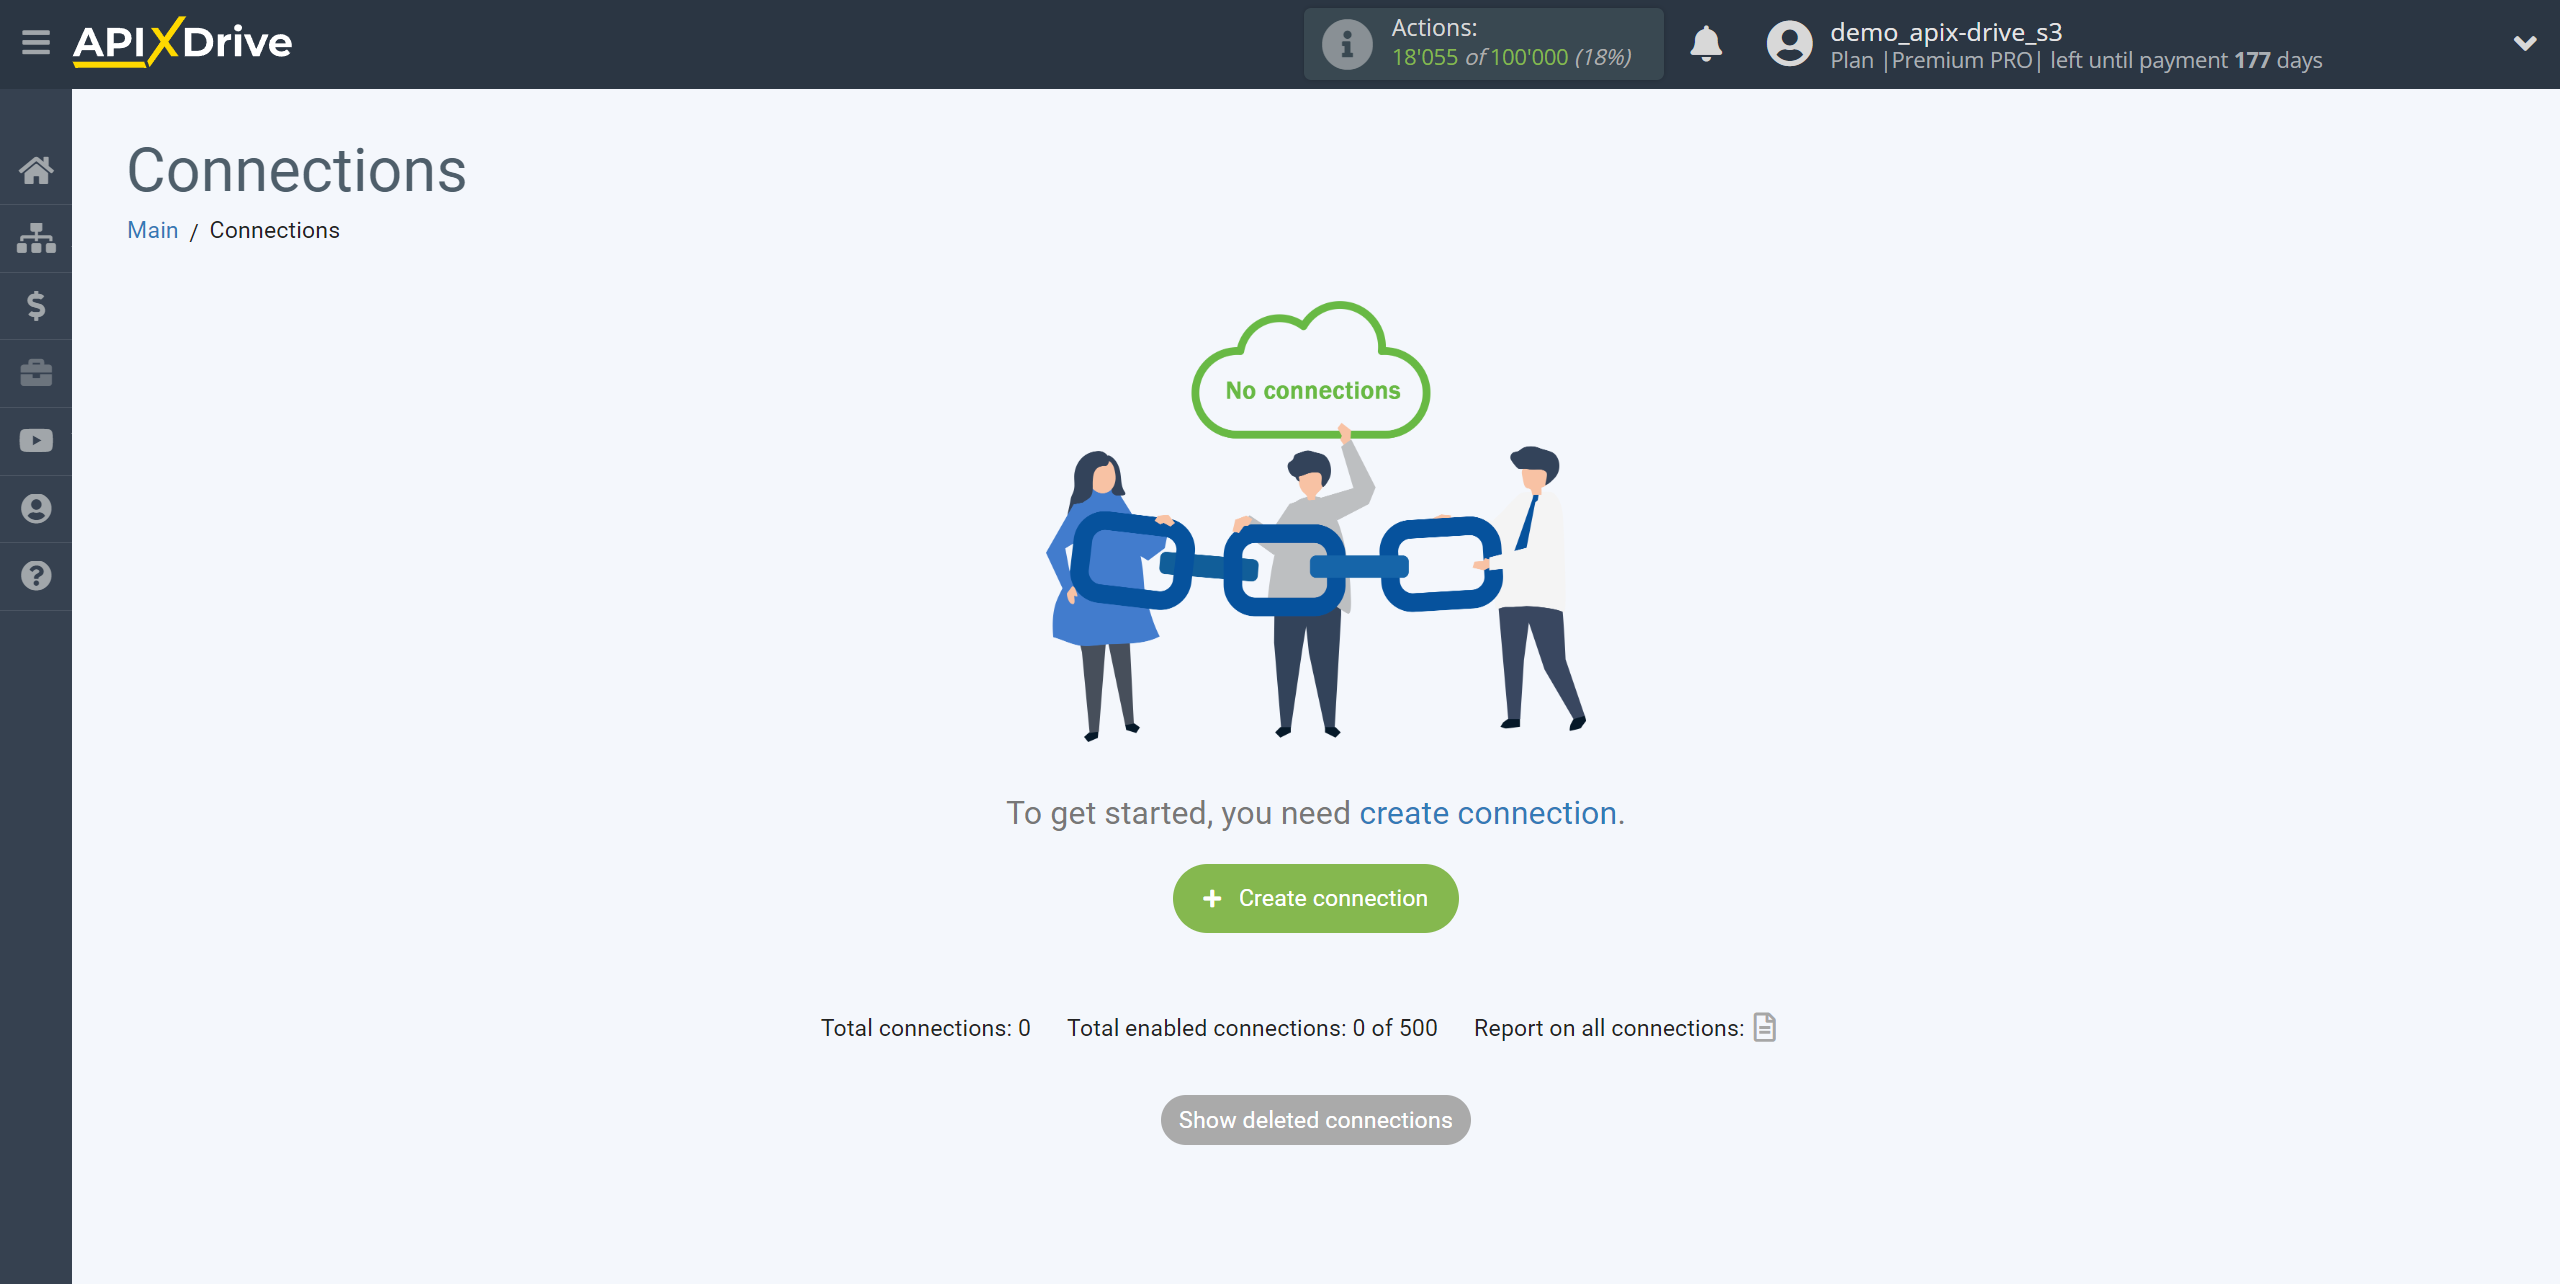
To start setup a new connection, click “Create connection”.
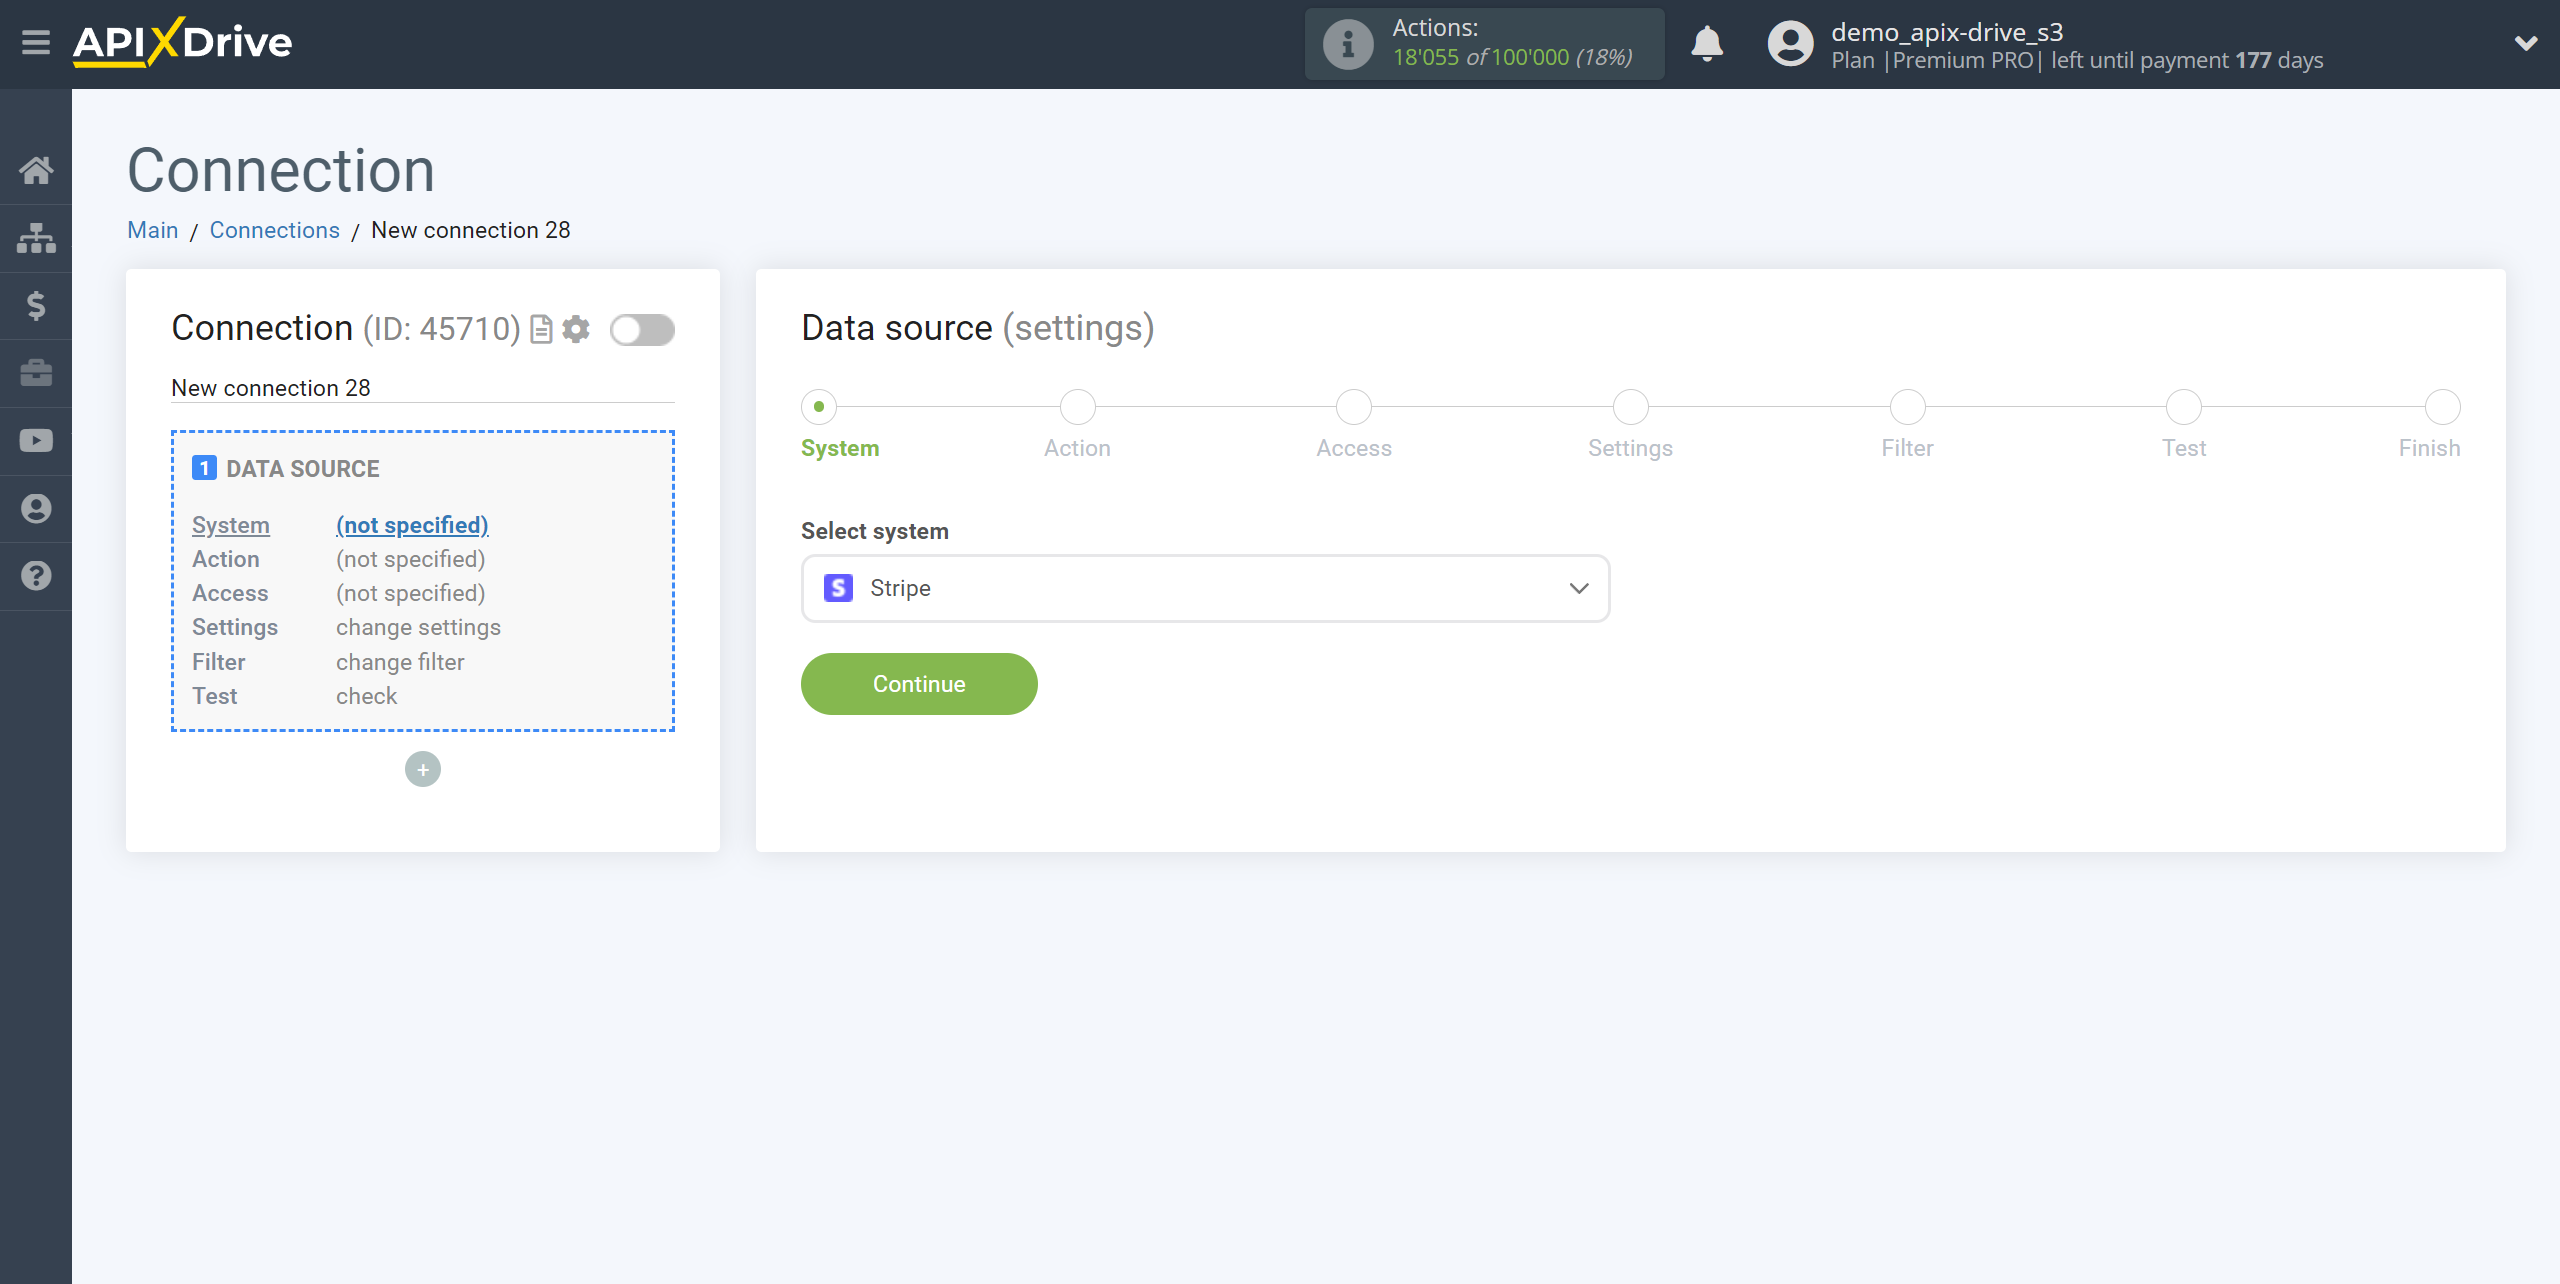
Select the system as the Data Source. In this case, you must specify Stripe.
Next you need to specify an action, for example, “Get PAYMENTS (new)”
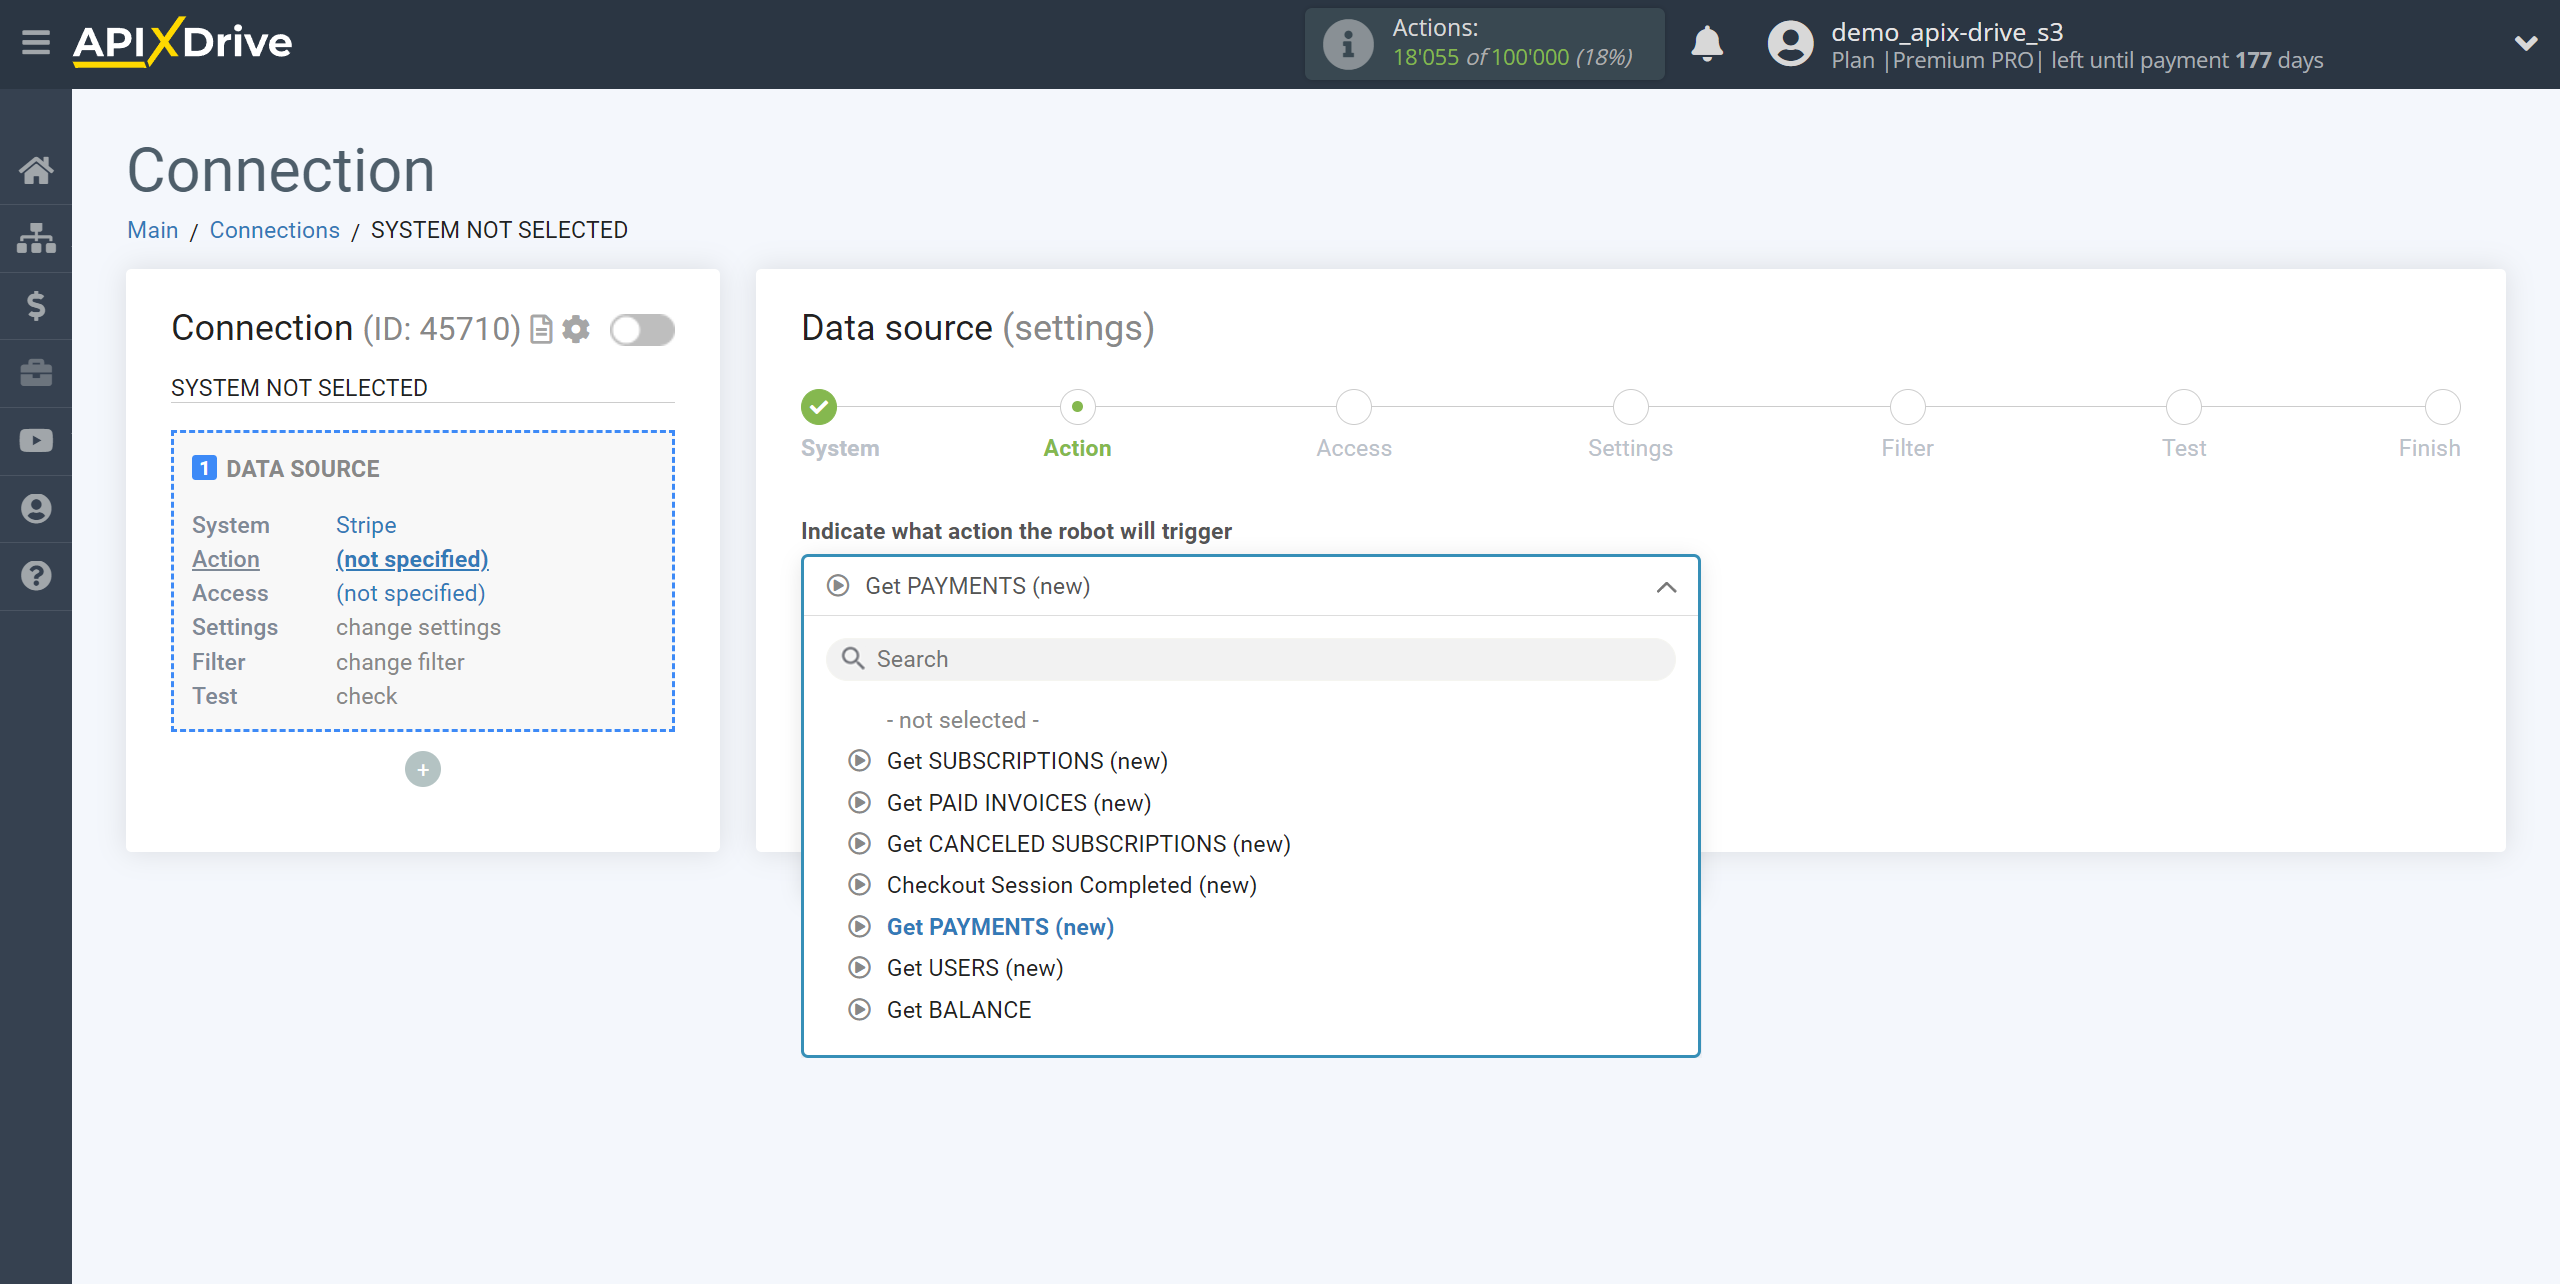
Get PAYMENTS (new) - Apix-Drive will get from your Stripe account all new payment data after setting up the connection and running auto-update.
Get USERS (new) - Apix-Drive will get from your Stripe account all new data about users after setting up the connection and running auto-update.
Get BALANCE - Apix-Drive will get from your Stripe account data on the current balance after setting up the connection and running auto-update.
Get SUBSCRIPTIONS (new) - Apix-Drive will get from your Stripe account all new subscriptions after setting up the connection and running auto-update.
Get PAID INVOICES (new) - Apix-Drive will get from your Stripe account all new paid invoices after setting up the connection and running auto-update.
Get CANCELED SUBSCRIPTIONS (new) - Apix-Drive will get from your Stripe account all new canceled subscriptions after setting up the connection and running auto-update.
Checkout SESSION Completed (new) - Apix-Drive will get from your Stripe account data on completed successful sessions that resulted in payment, after setting up the connection and running auto-update.
The next step is to select the Stripe account, from which Apix-Drive will get the data.
If there are no accounts connected to the system, click “Connect account”.
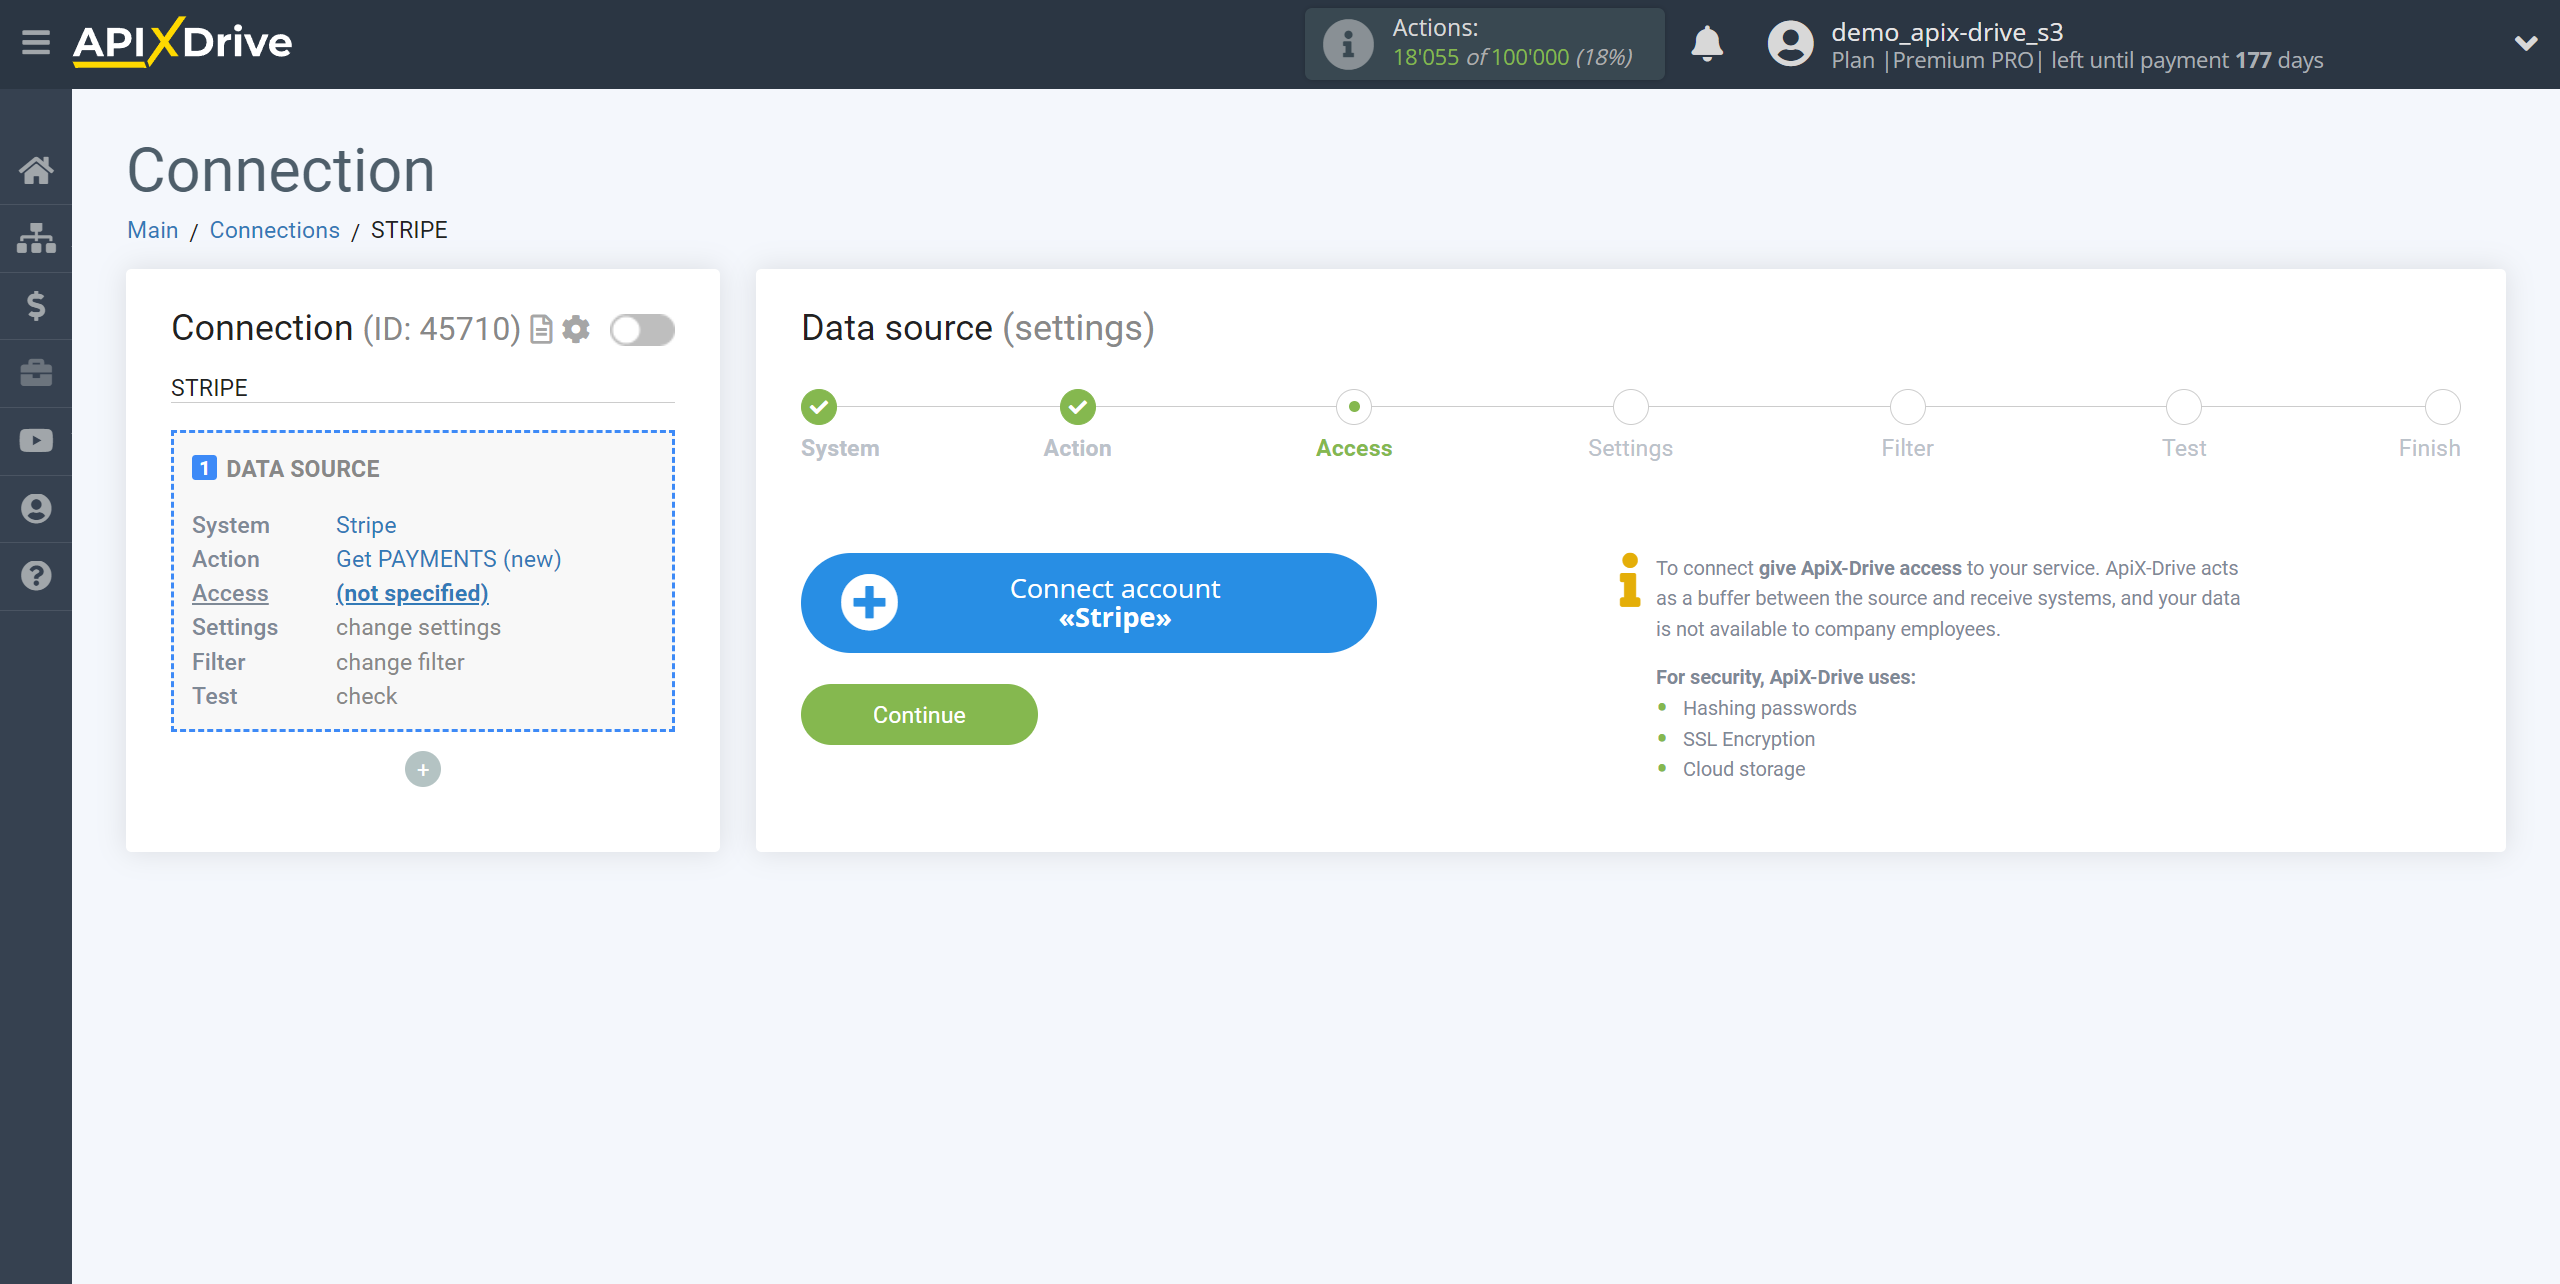
Fill in the fields with the appropriate values, where:
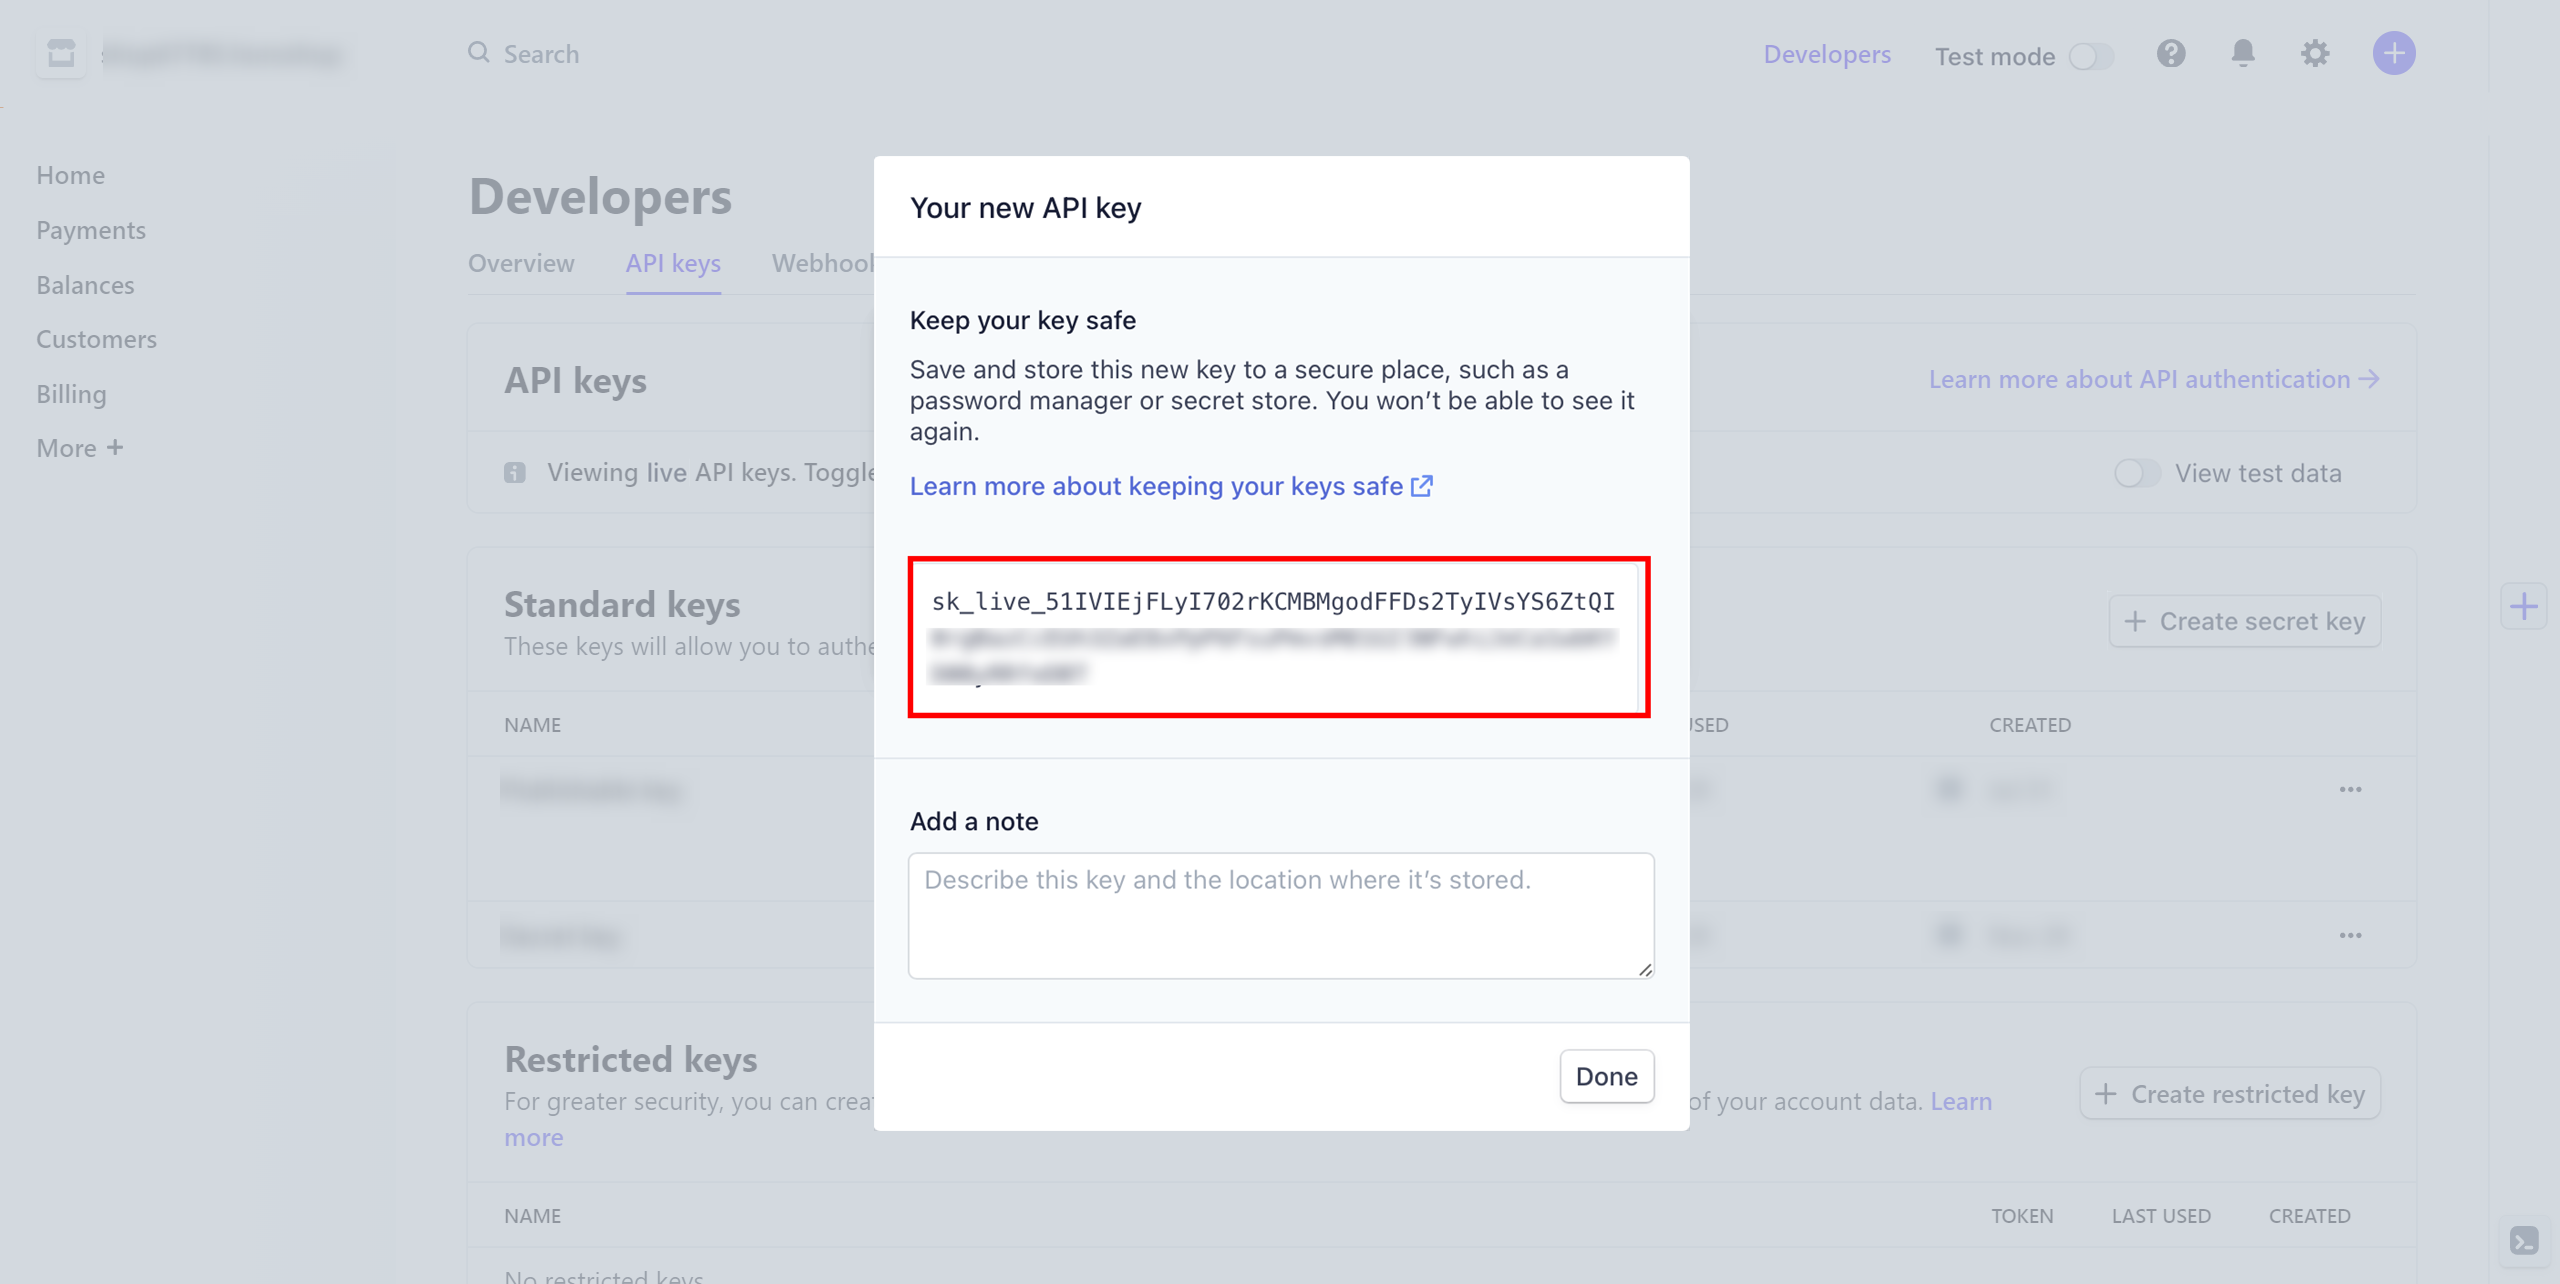
API key is a secret key to your Stripe account.
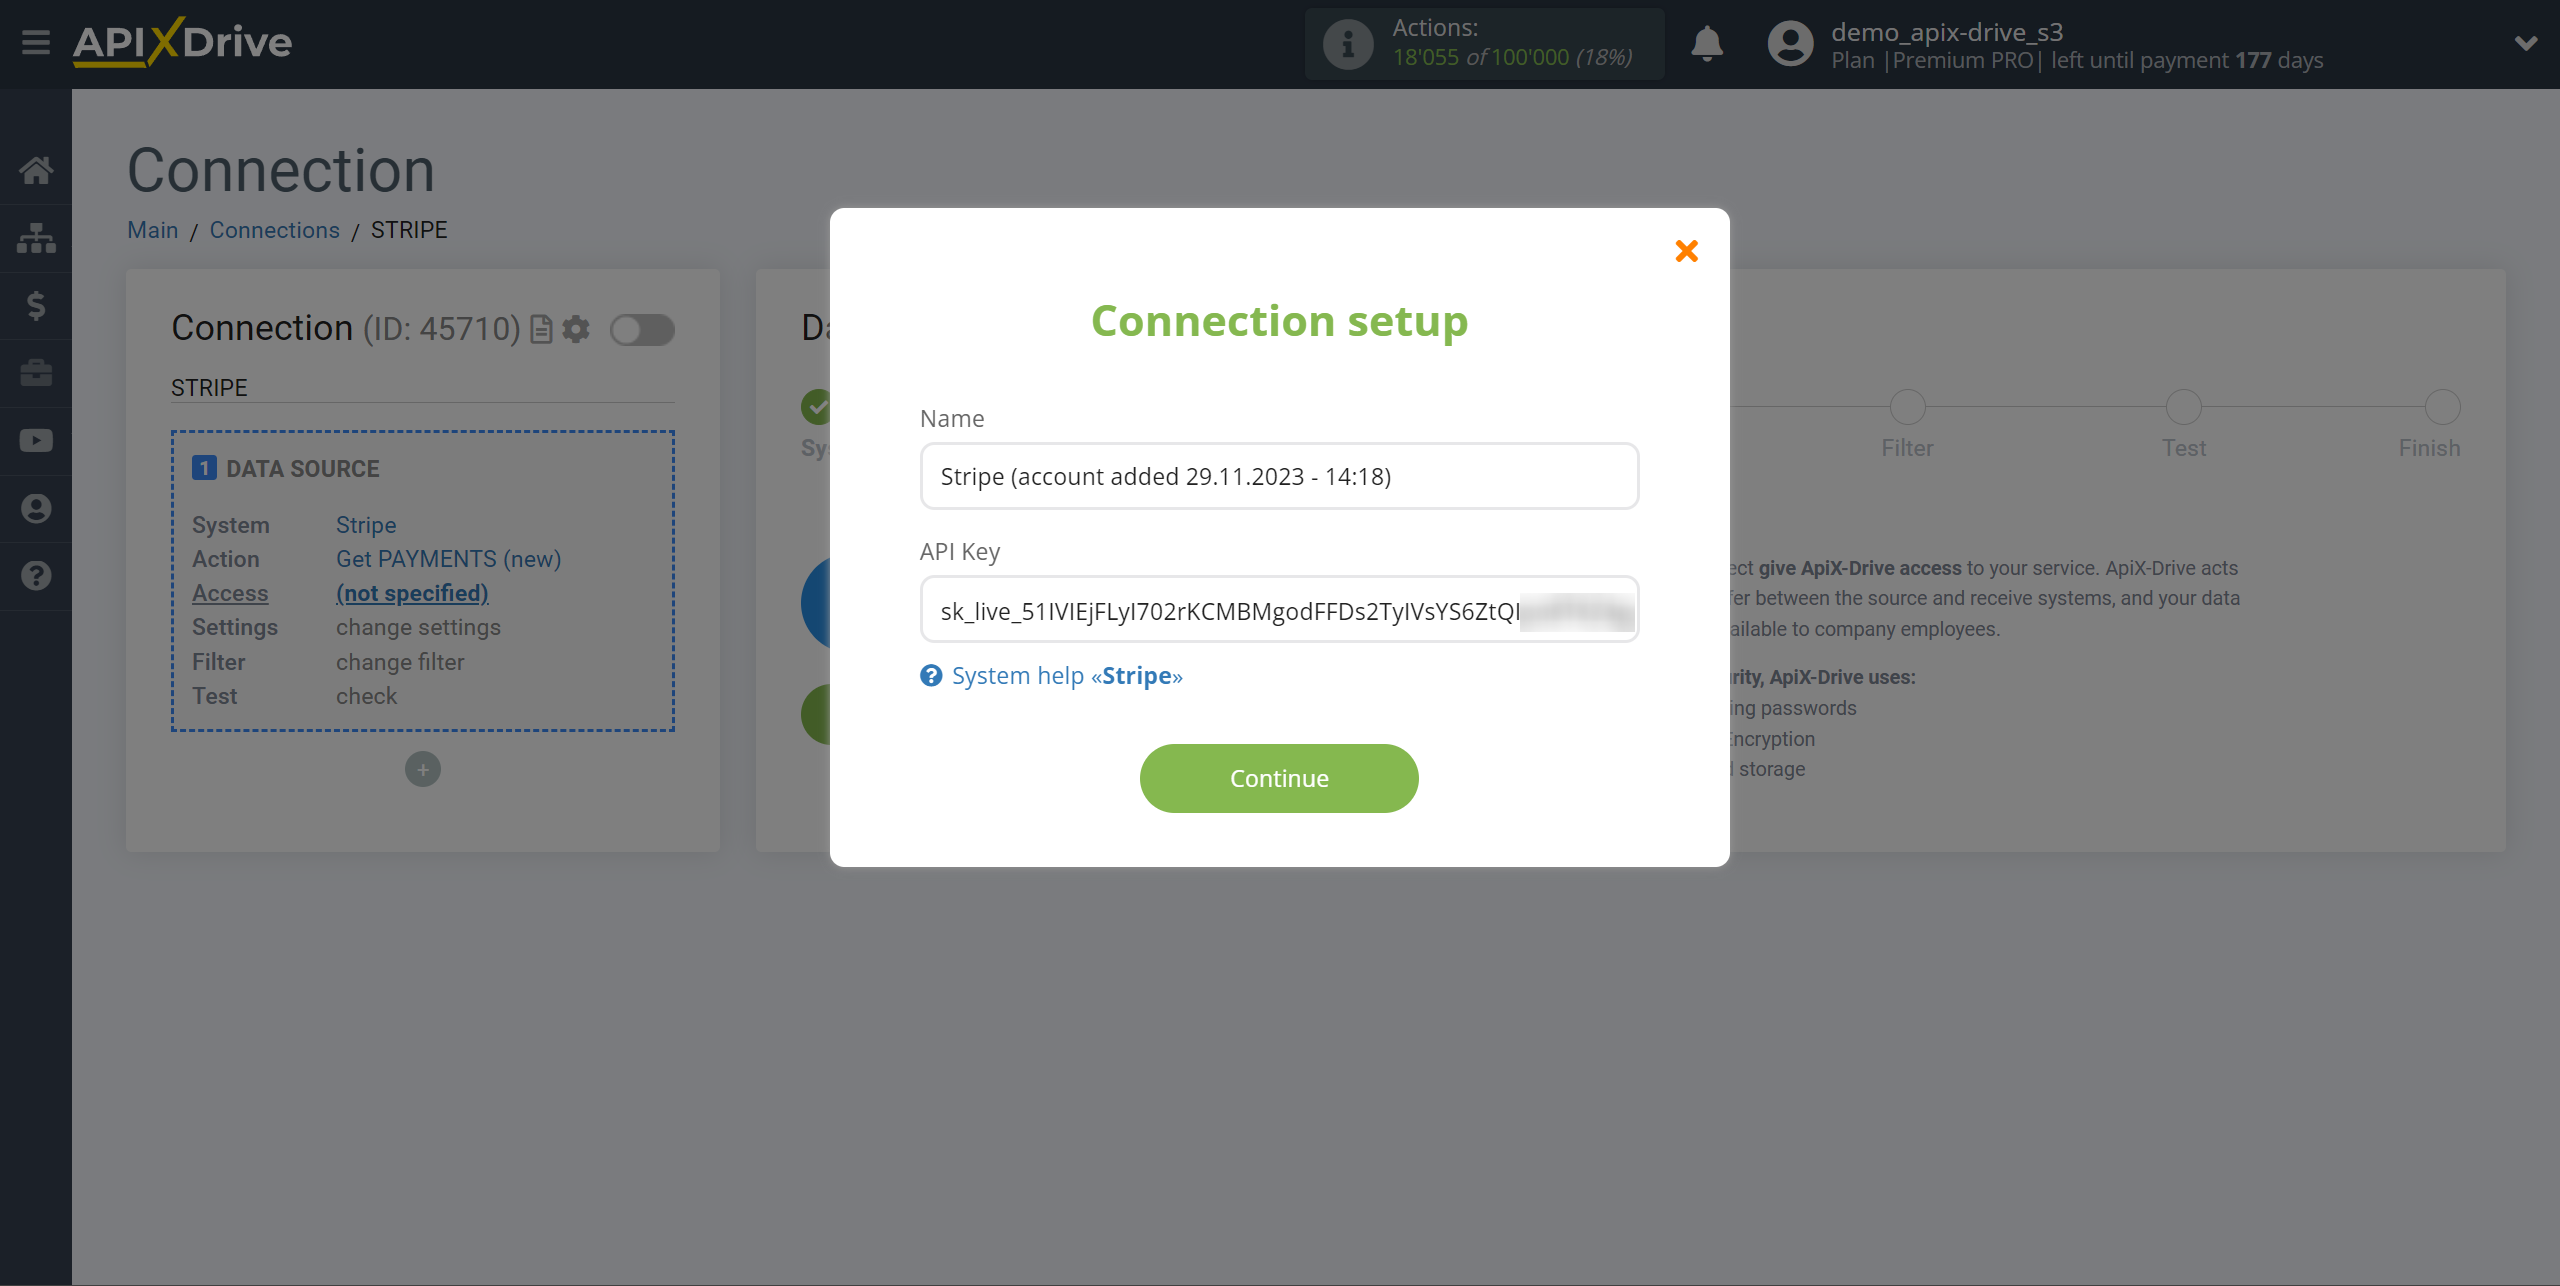
In your Stripe personal account, be sure to turn off the “Test mode” and “View test data” switches. Next go to the "Developers" section and then to the "API keys" tab and click the "Create secret key" button.
Write down the name of your "API Key" and click the "Create" button.
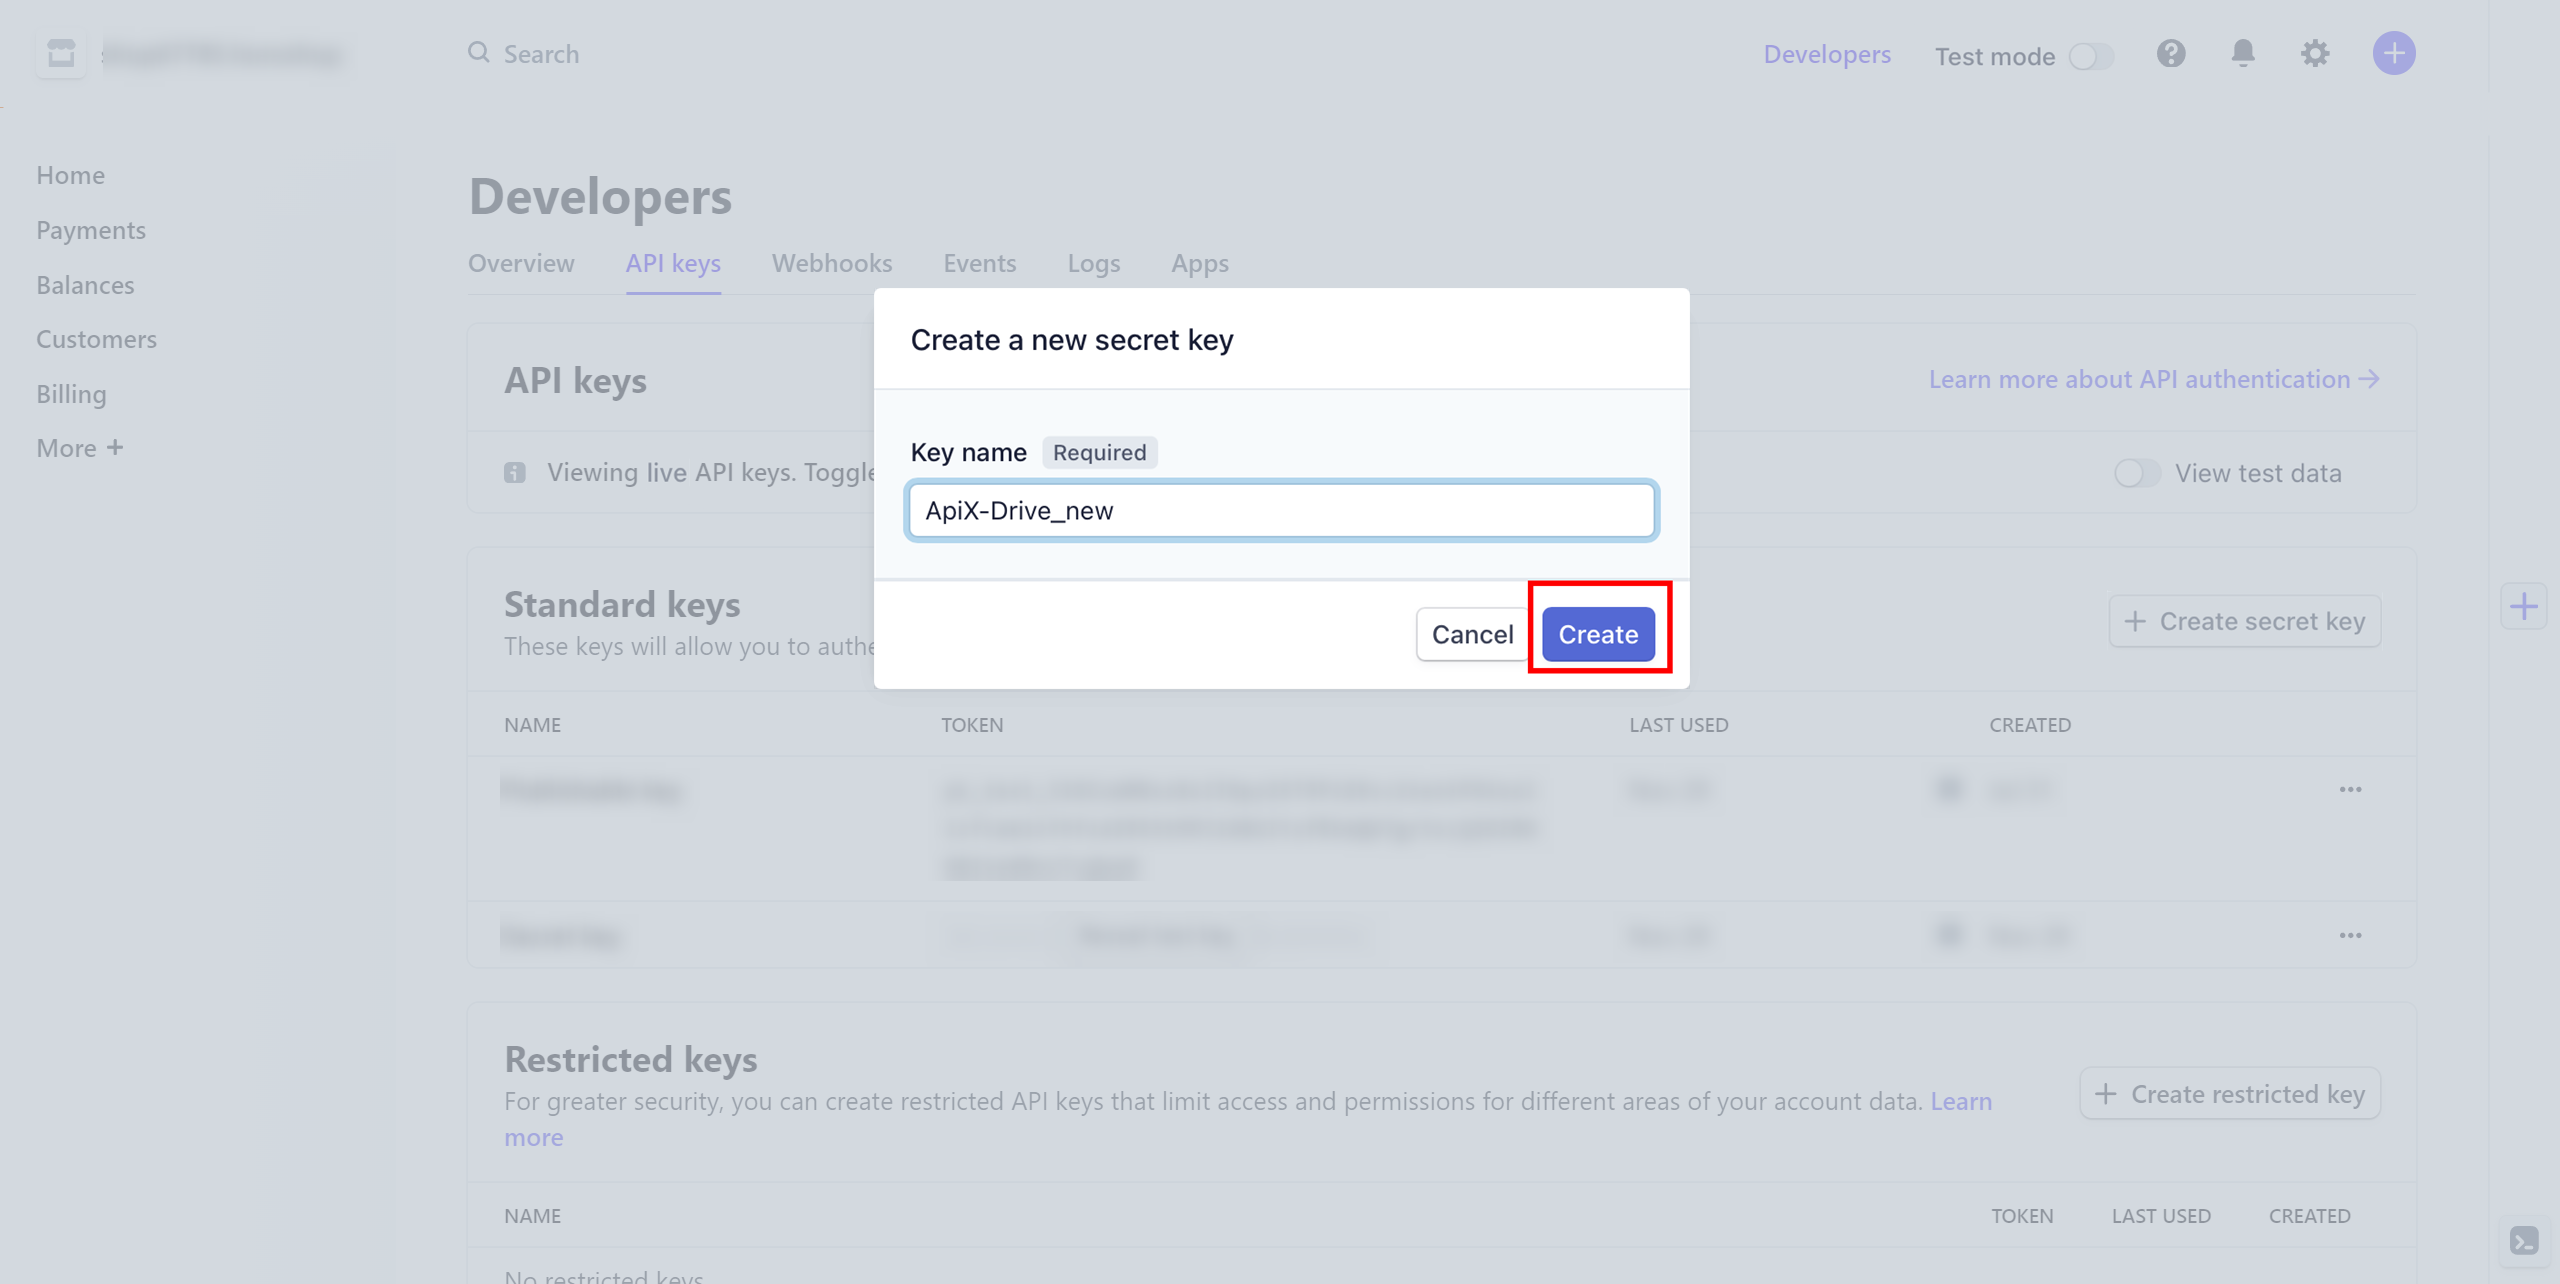
Copy the required data and paste it into the appropriate field in your ApiX-Drive account.
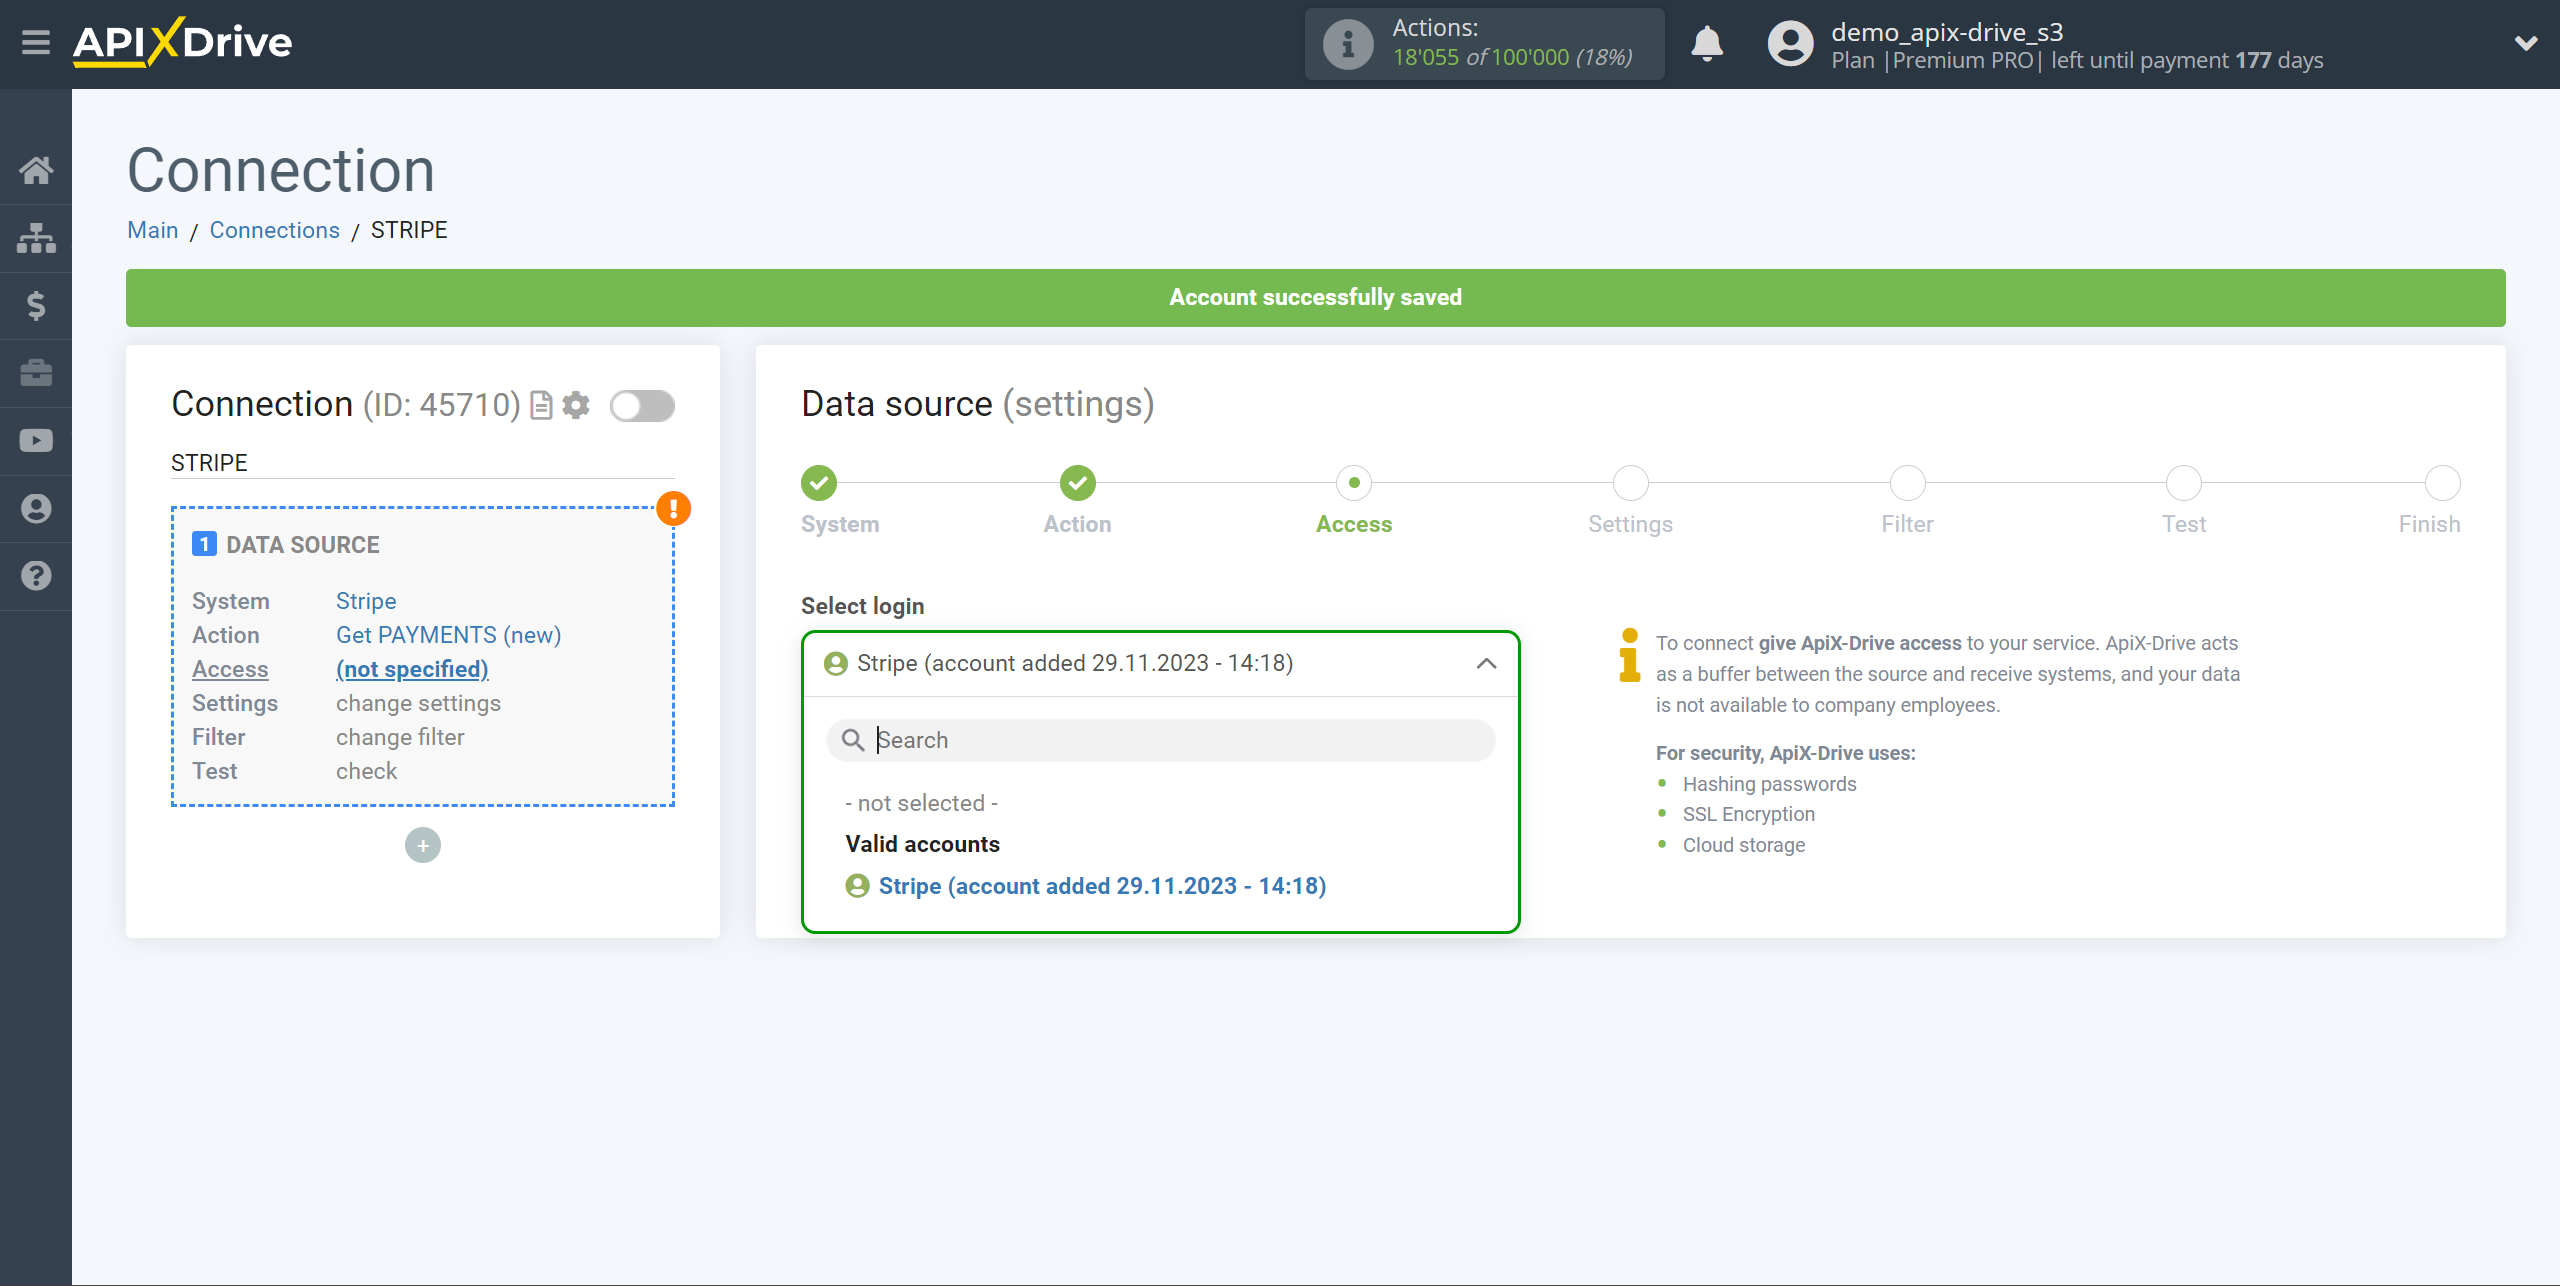
When the connected account appears in the "active accounts" list, select it.
Attention! If your account is on the "inactive accounts" list, check your access to this login!
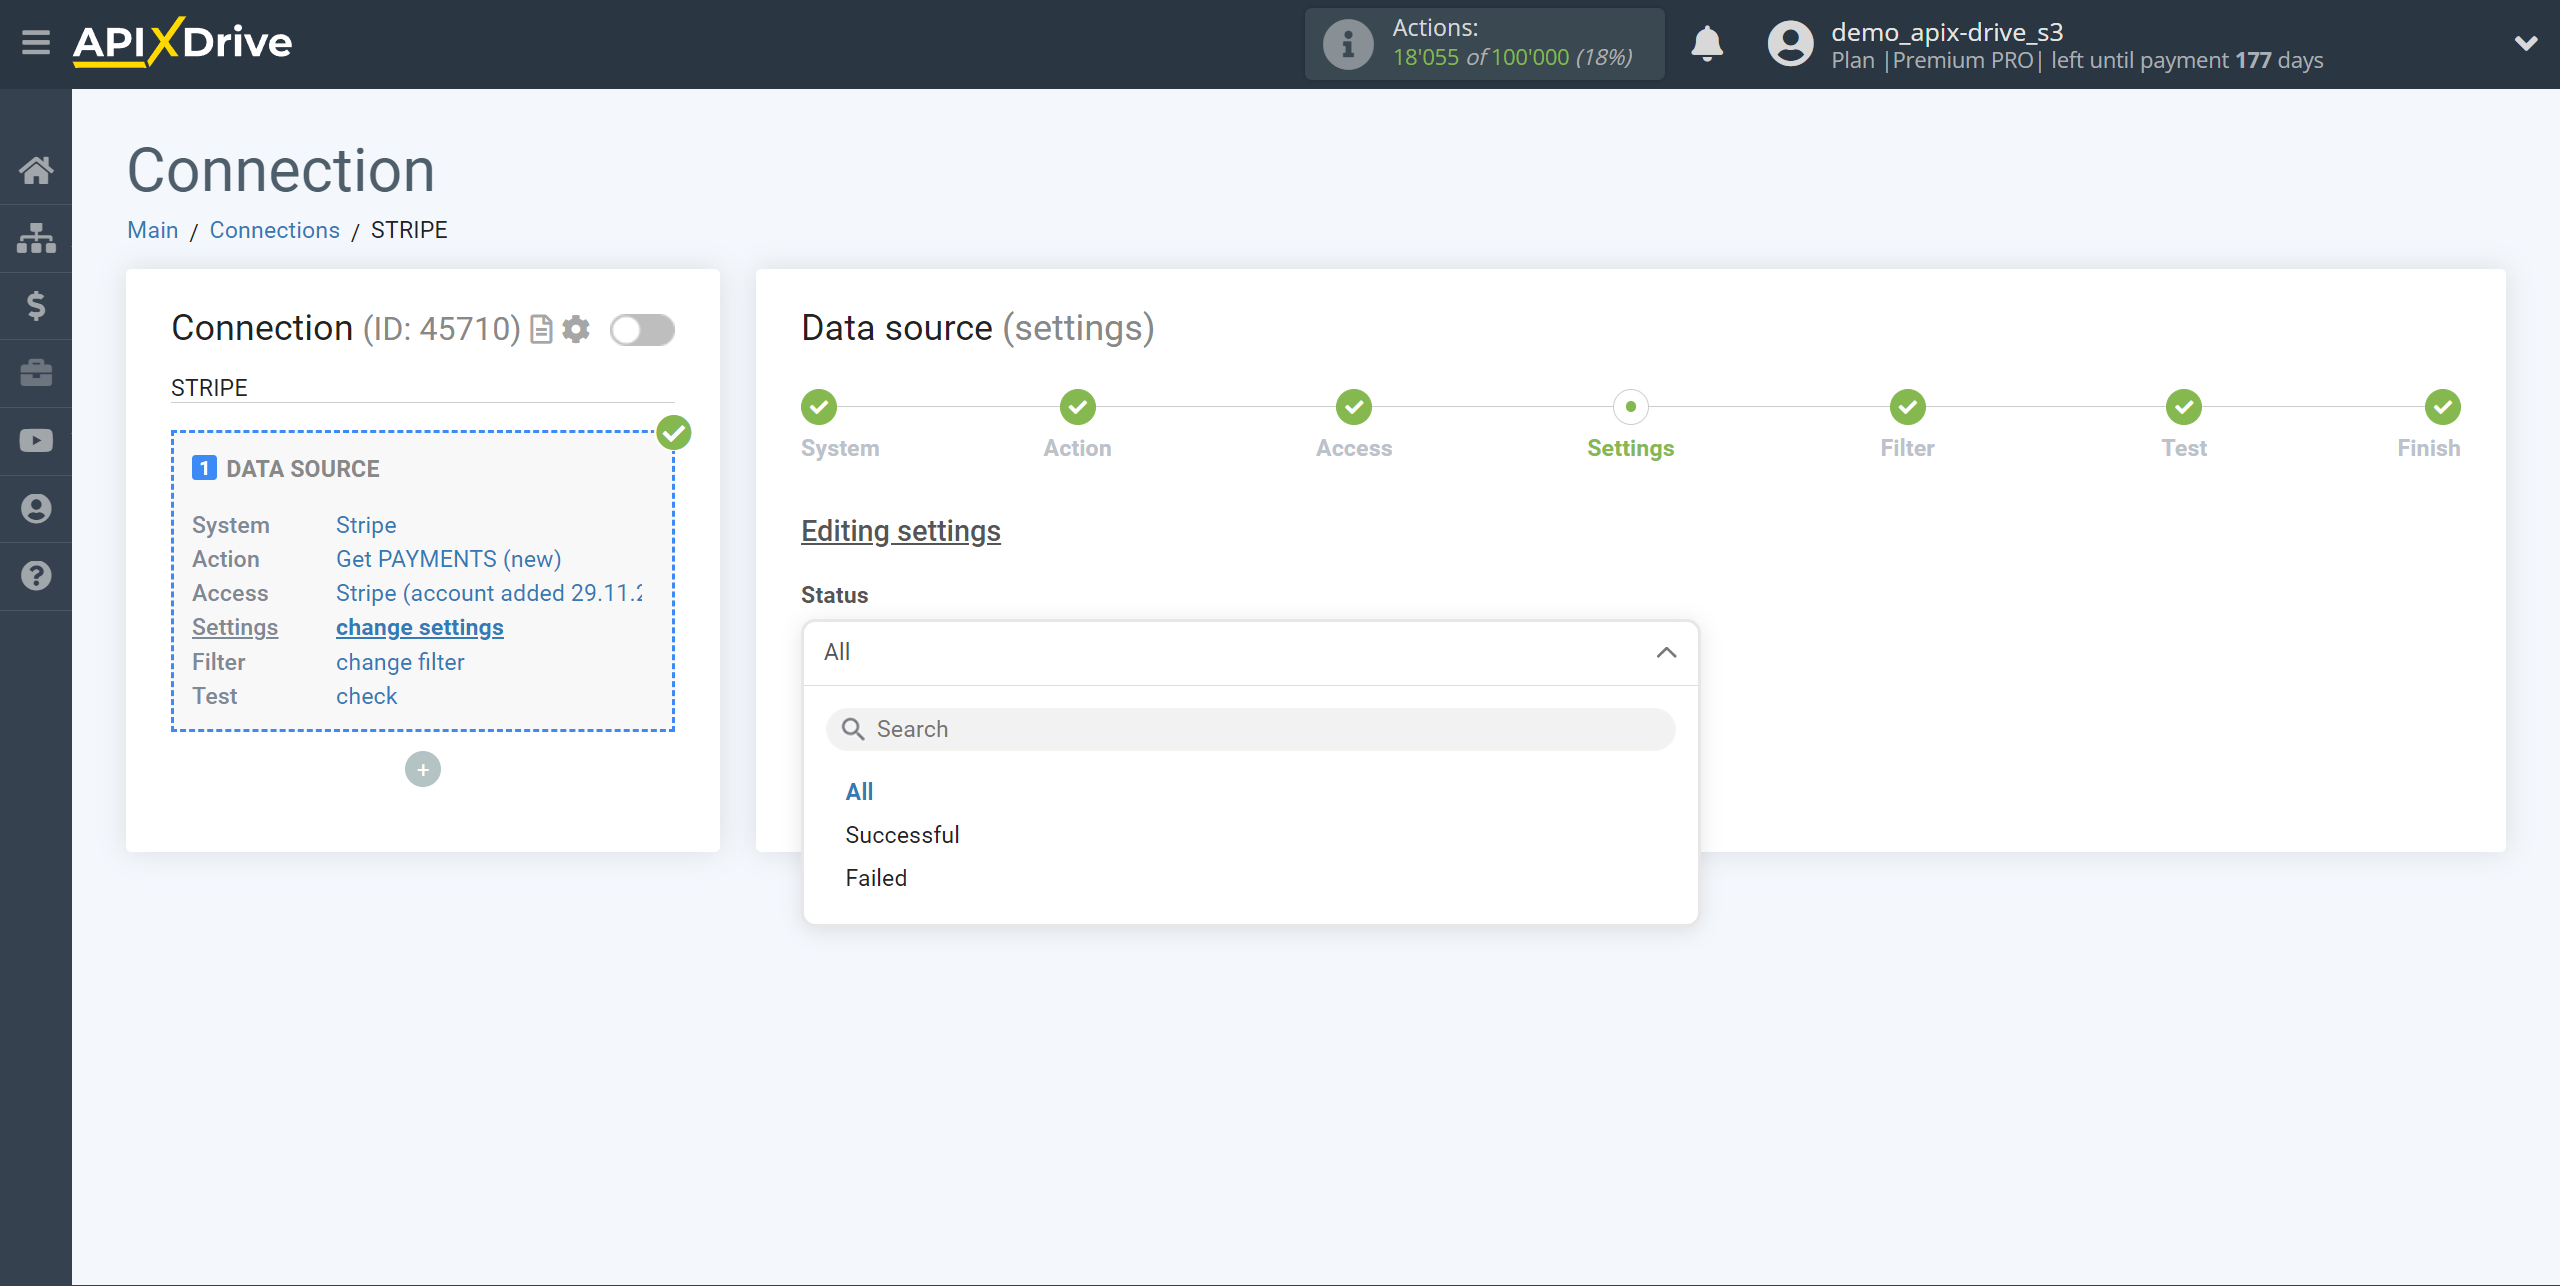
At this stage select the status from which you want to download payment data.
All - payments data from all statuses will be get.
Successful - payments data will be get only from the "Successful" status.
Failed - payments data will be get only from the "Failed" status.
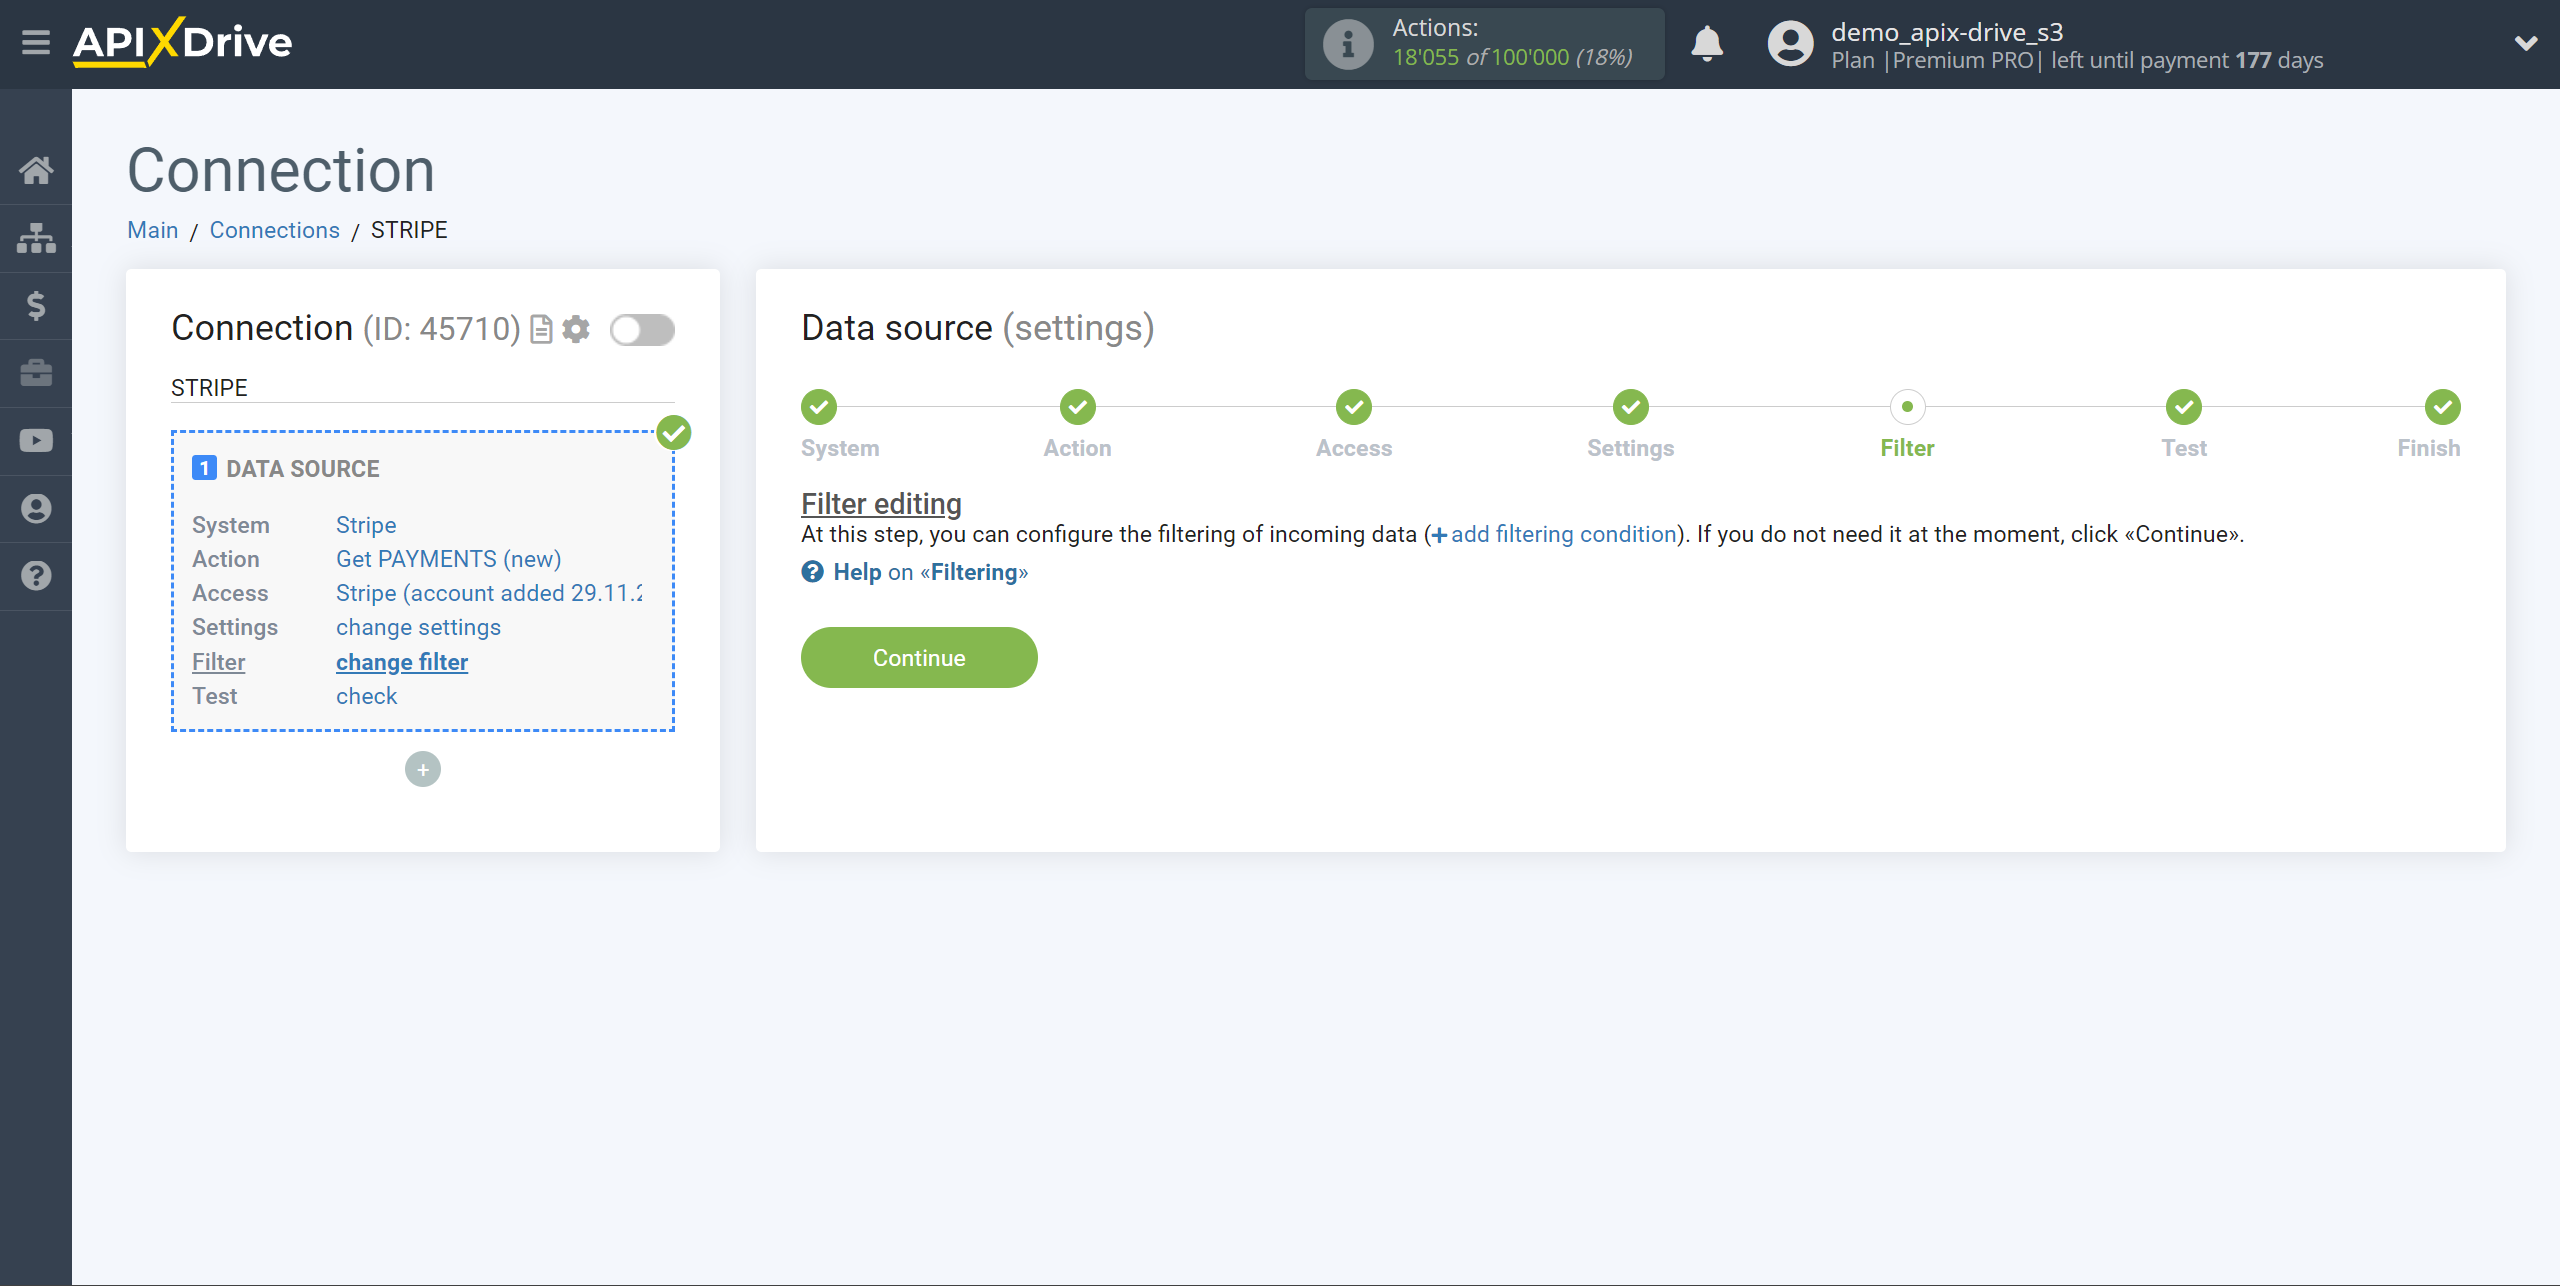
Note! There is a new function "Data filtering".
If necessary, you can set up a Data Filter, or click "Continue" to skip this step.
To find out how to setup the Data Filter, follow the link: https://apix-drive.com/en/help/data-filter
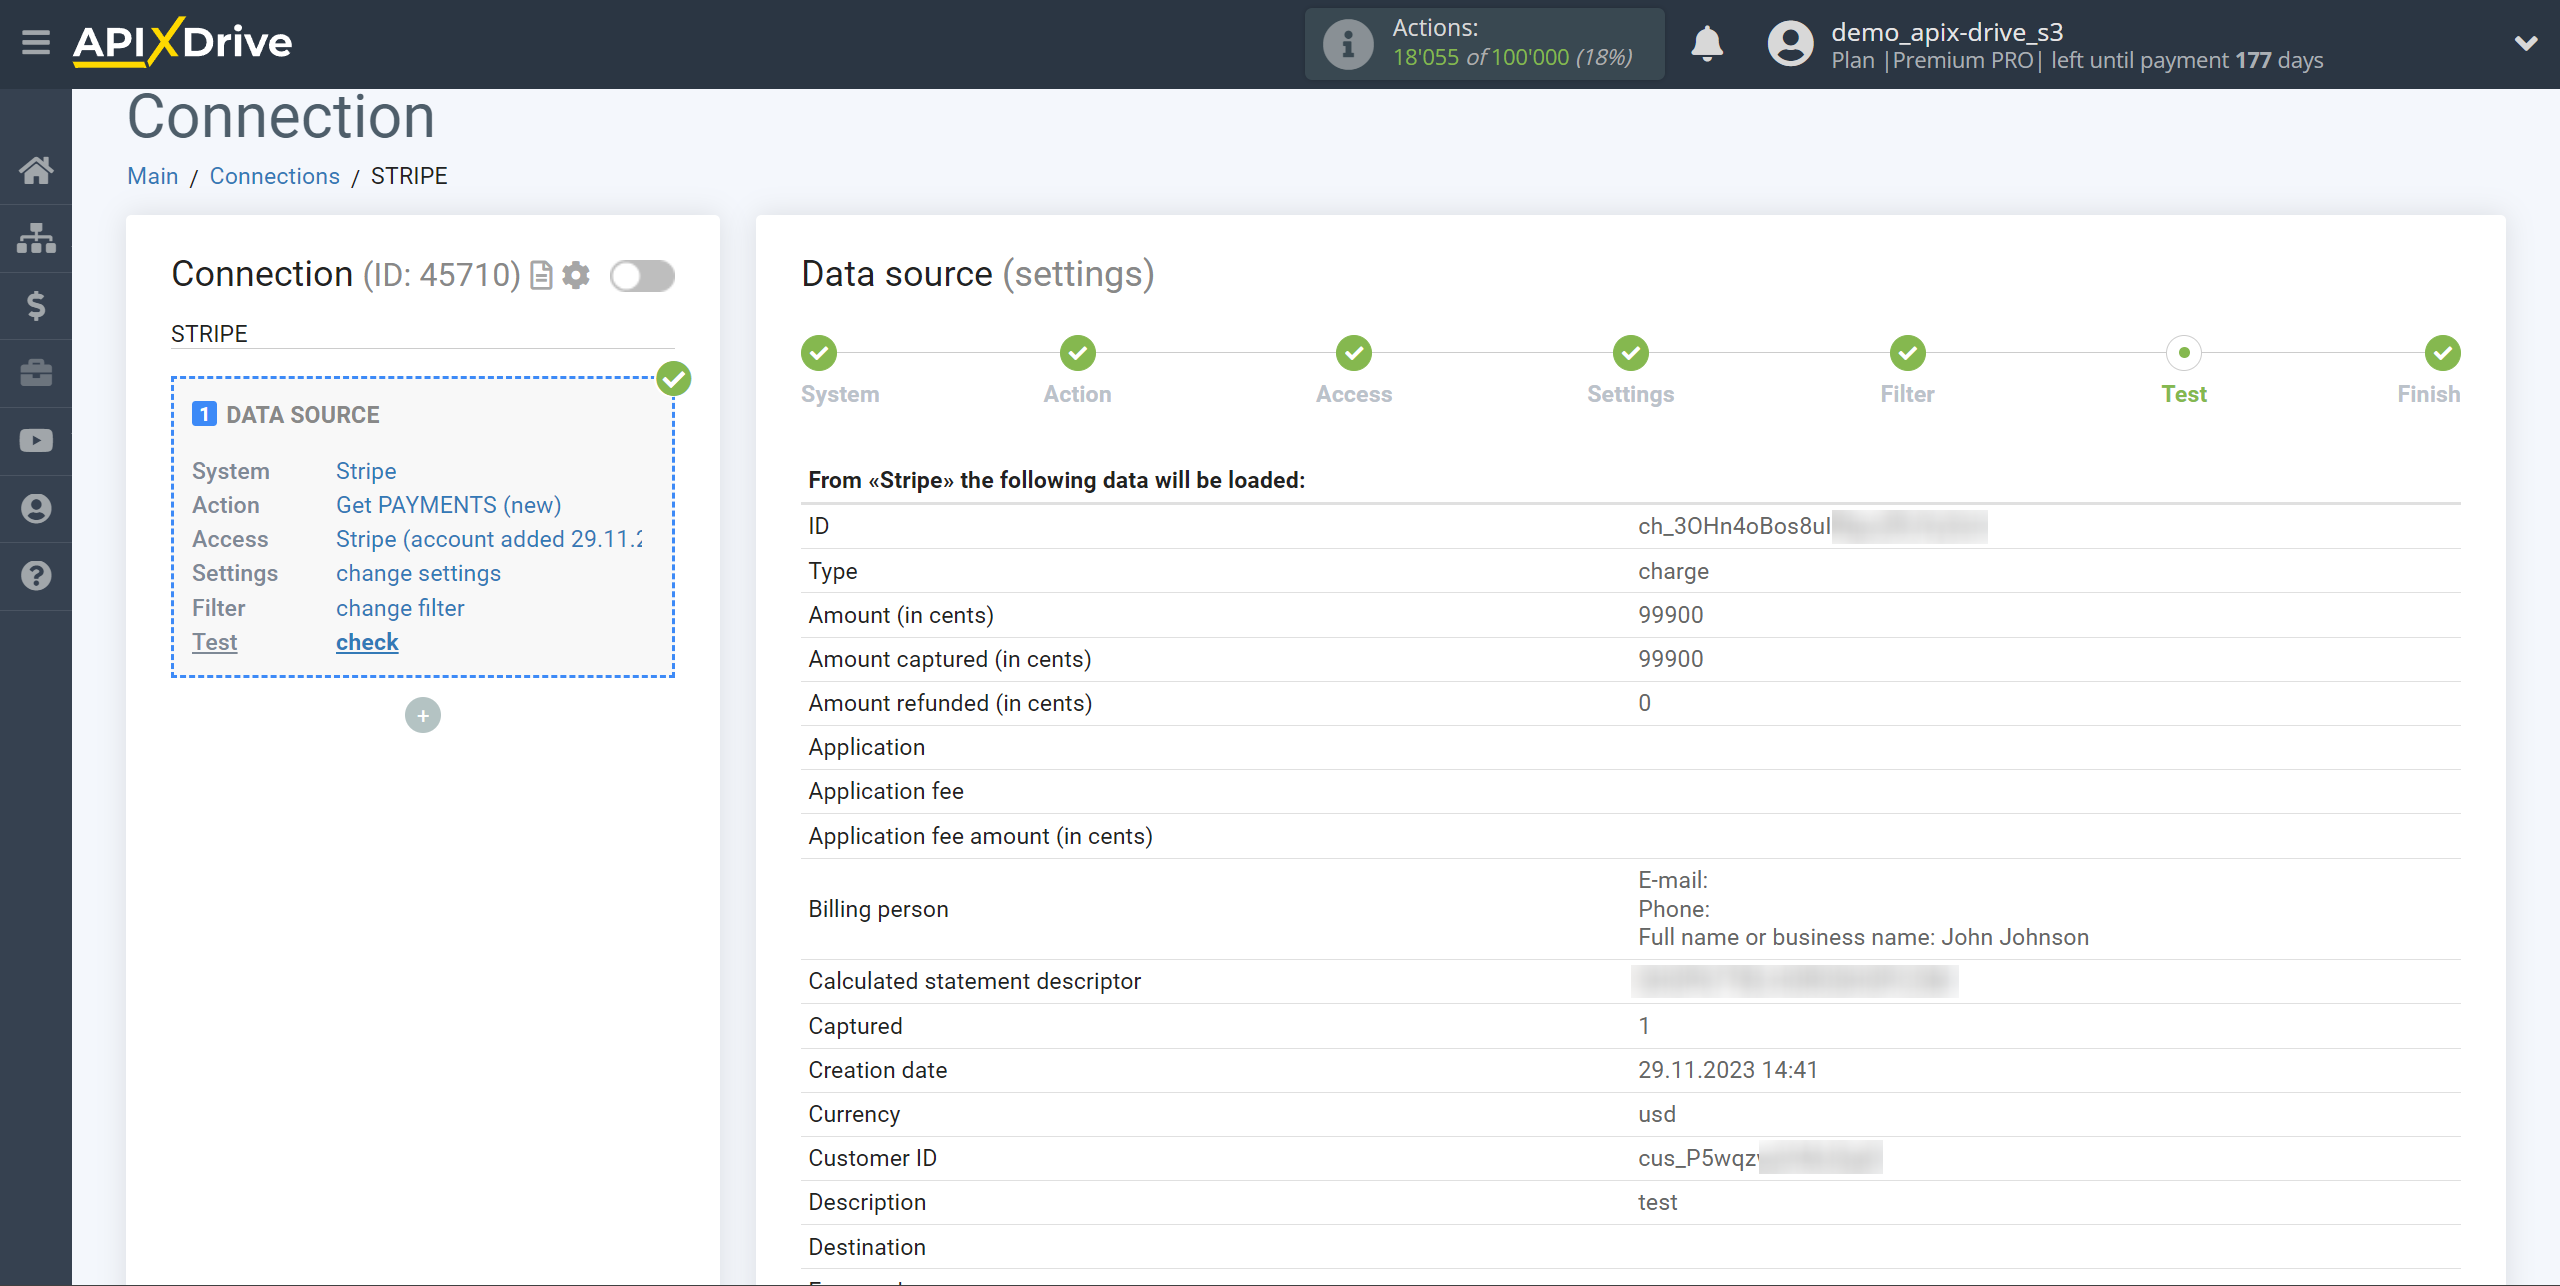
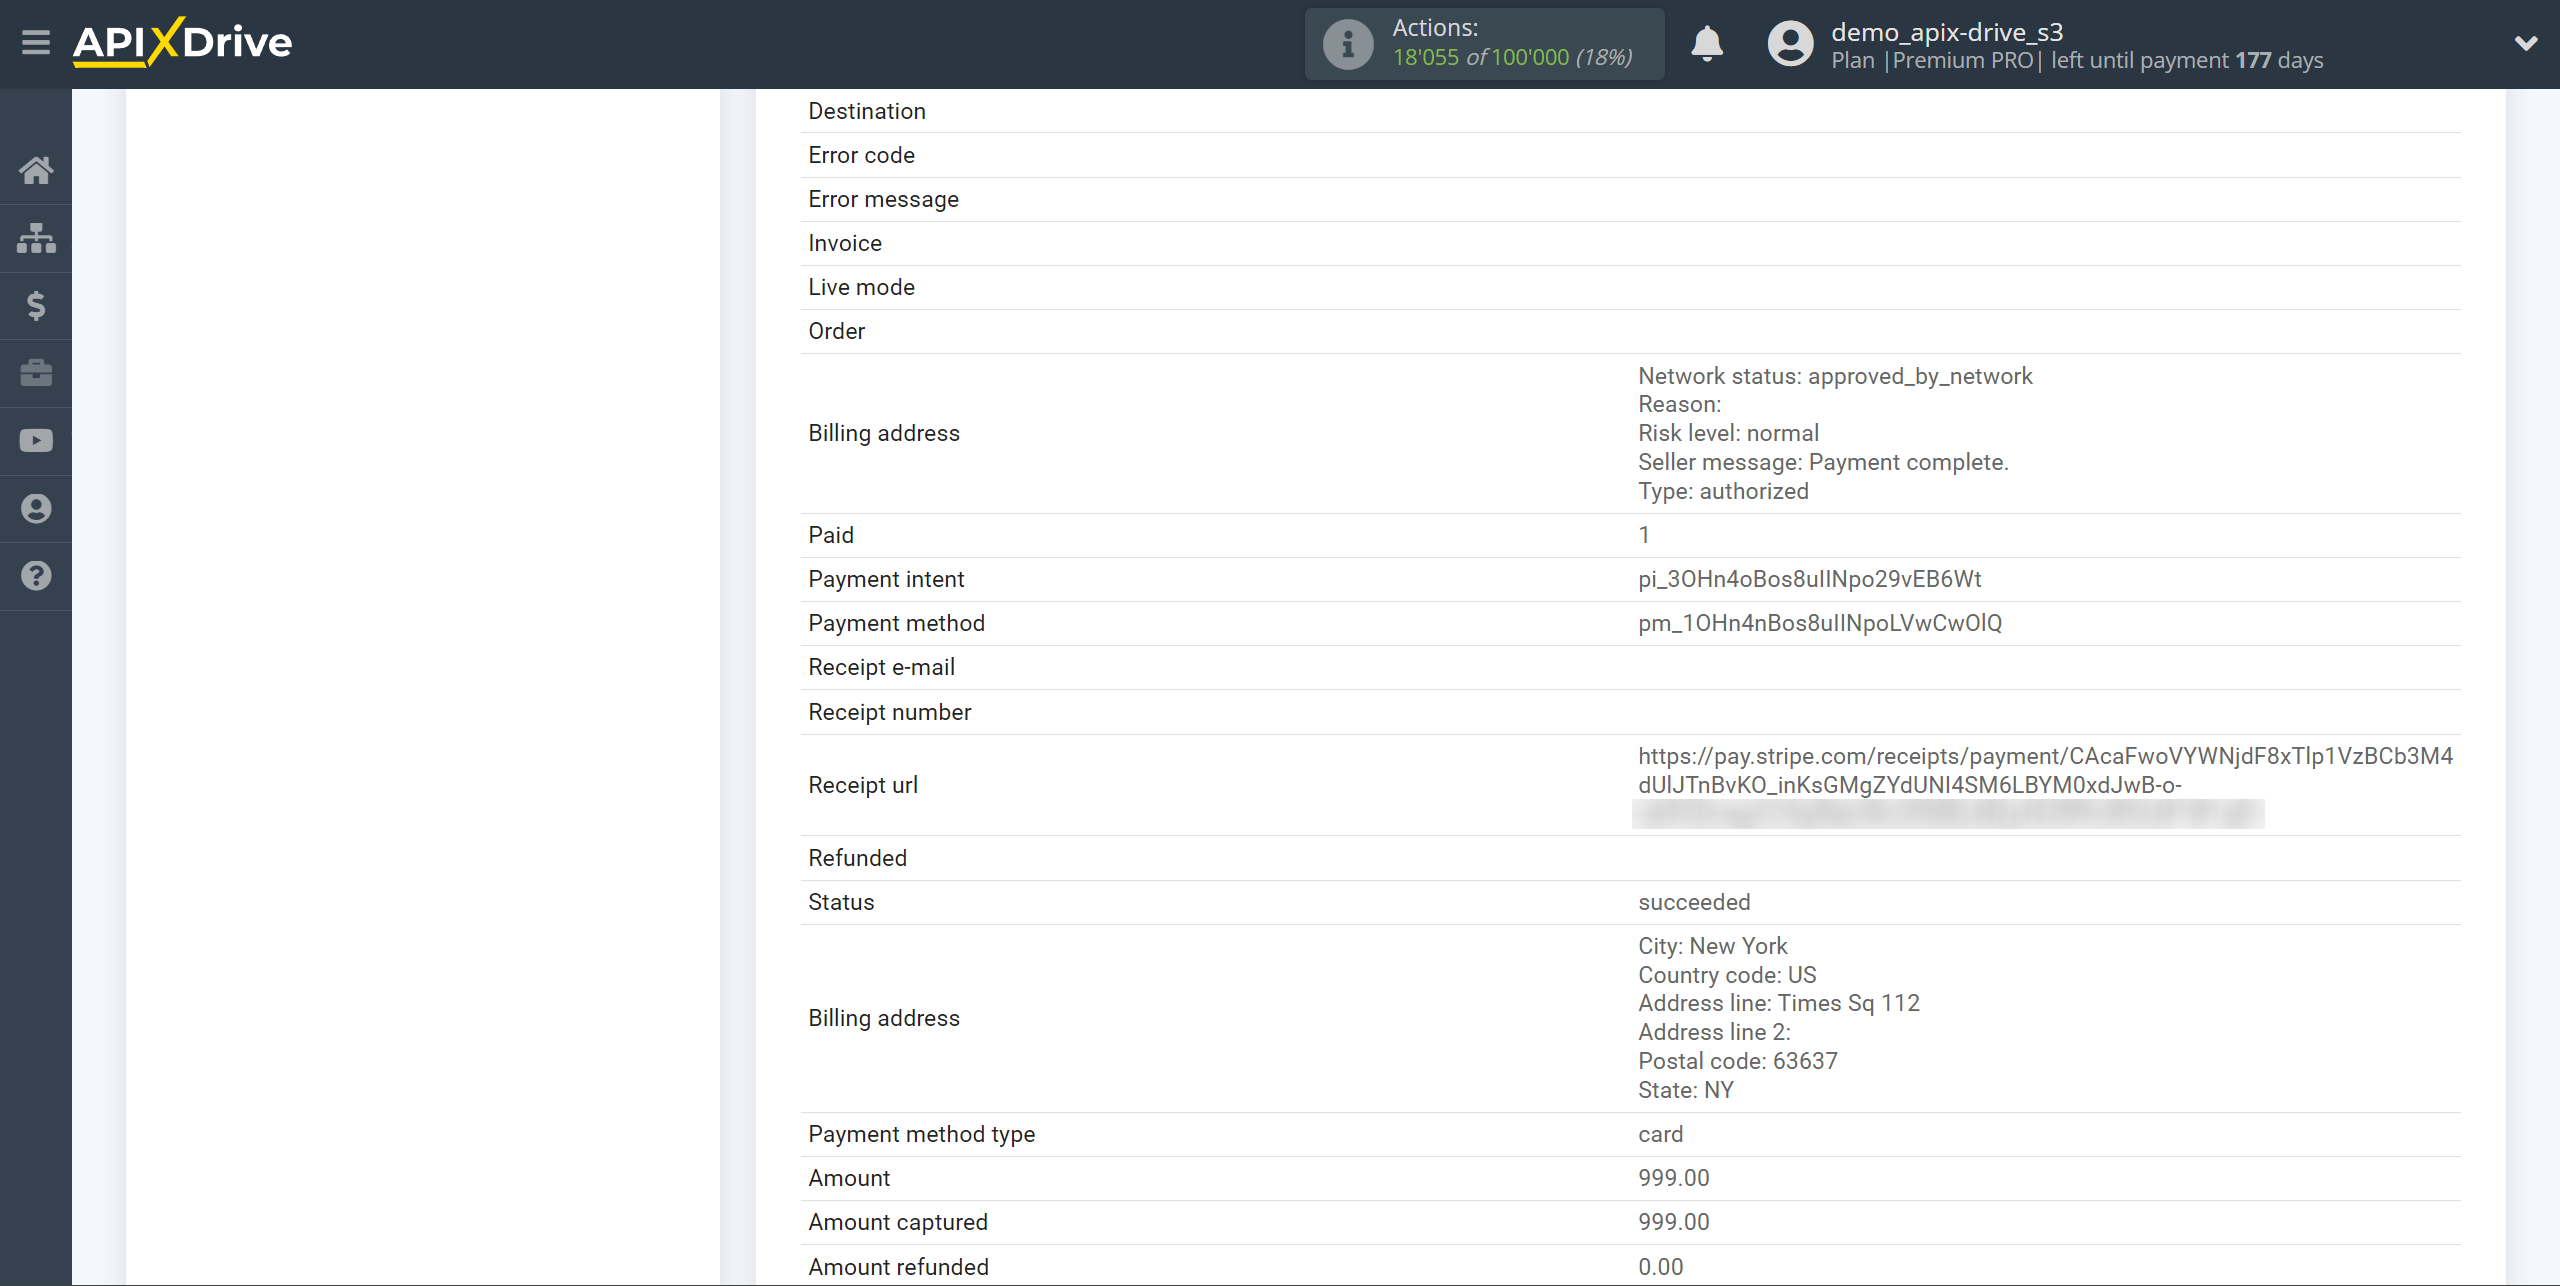
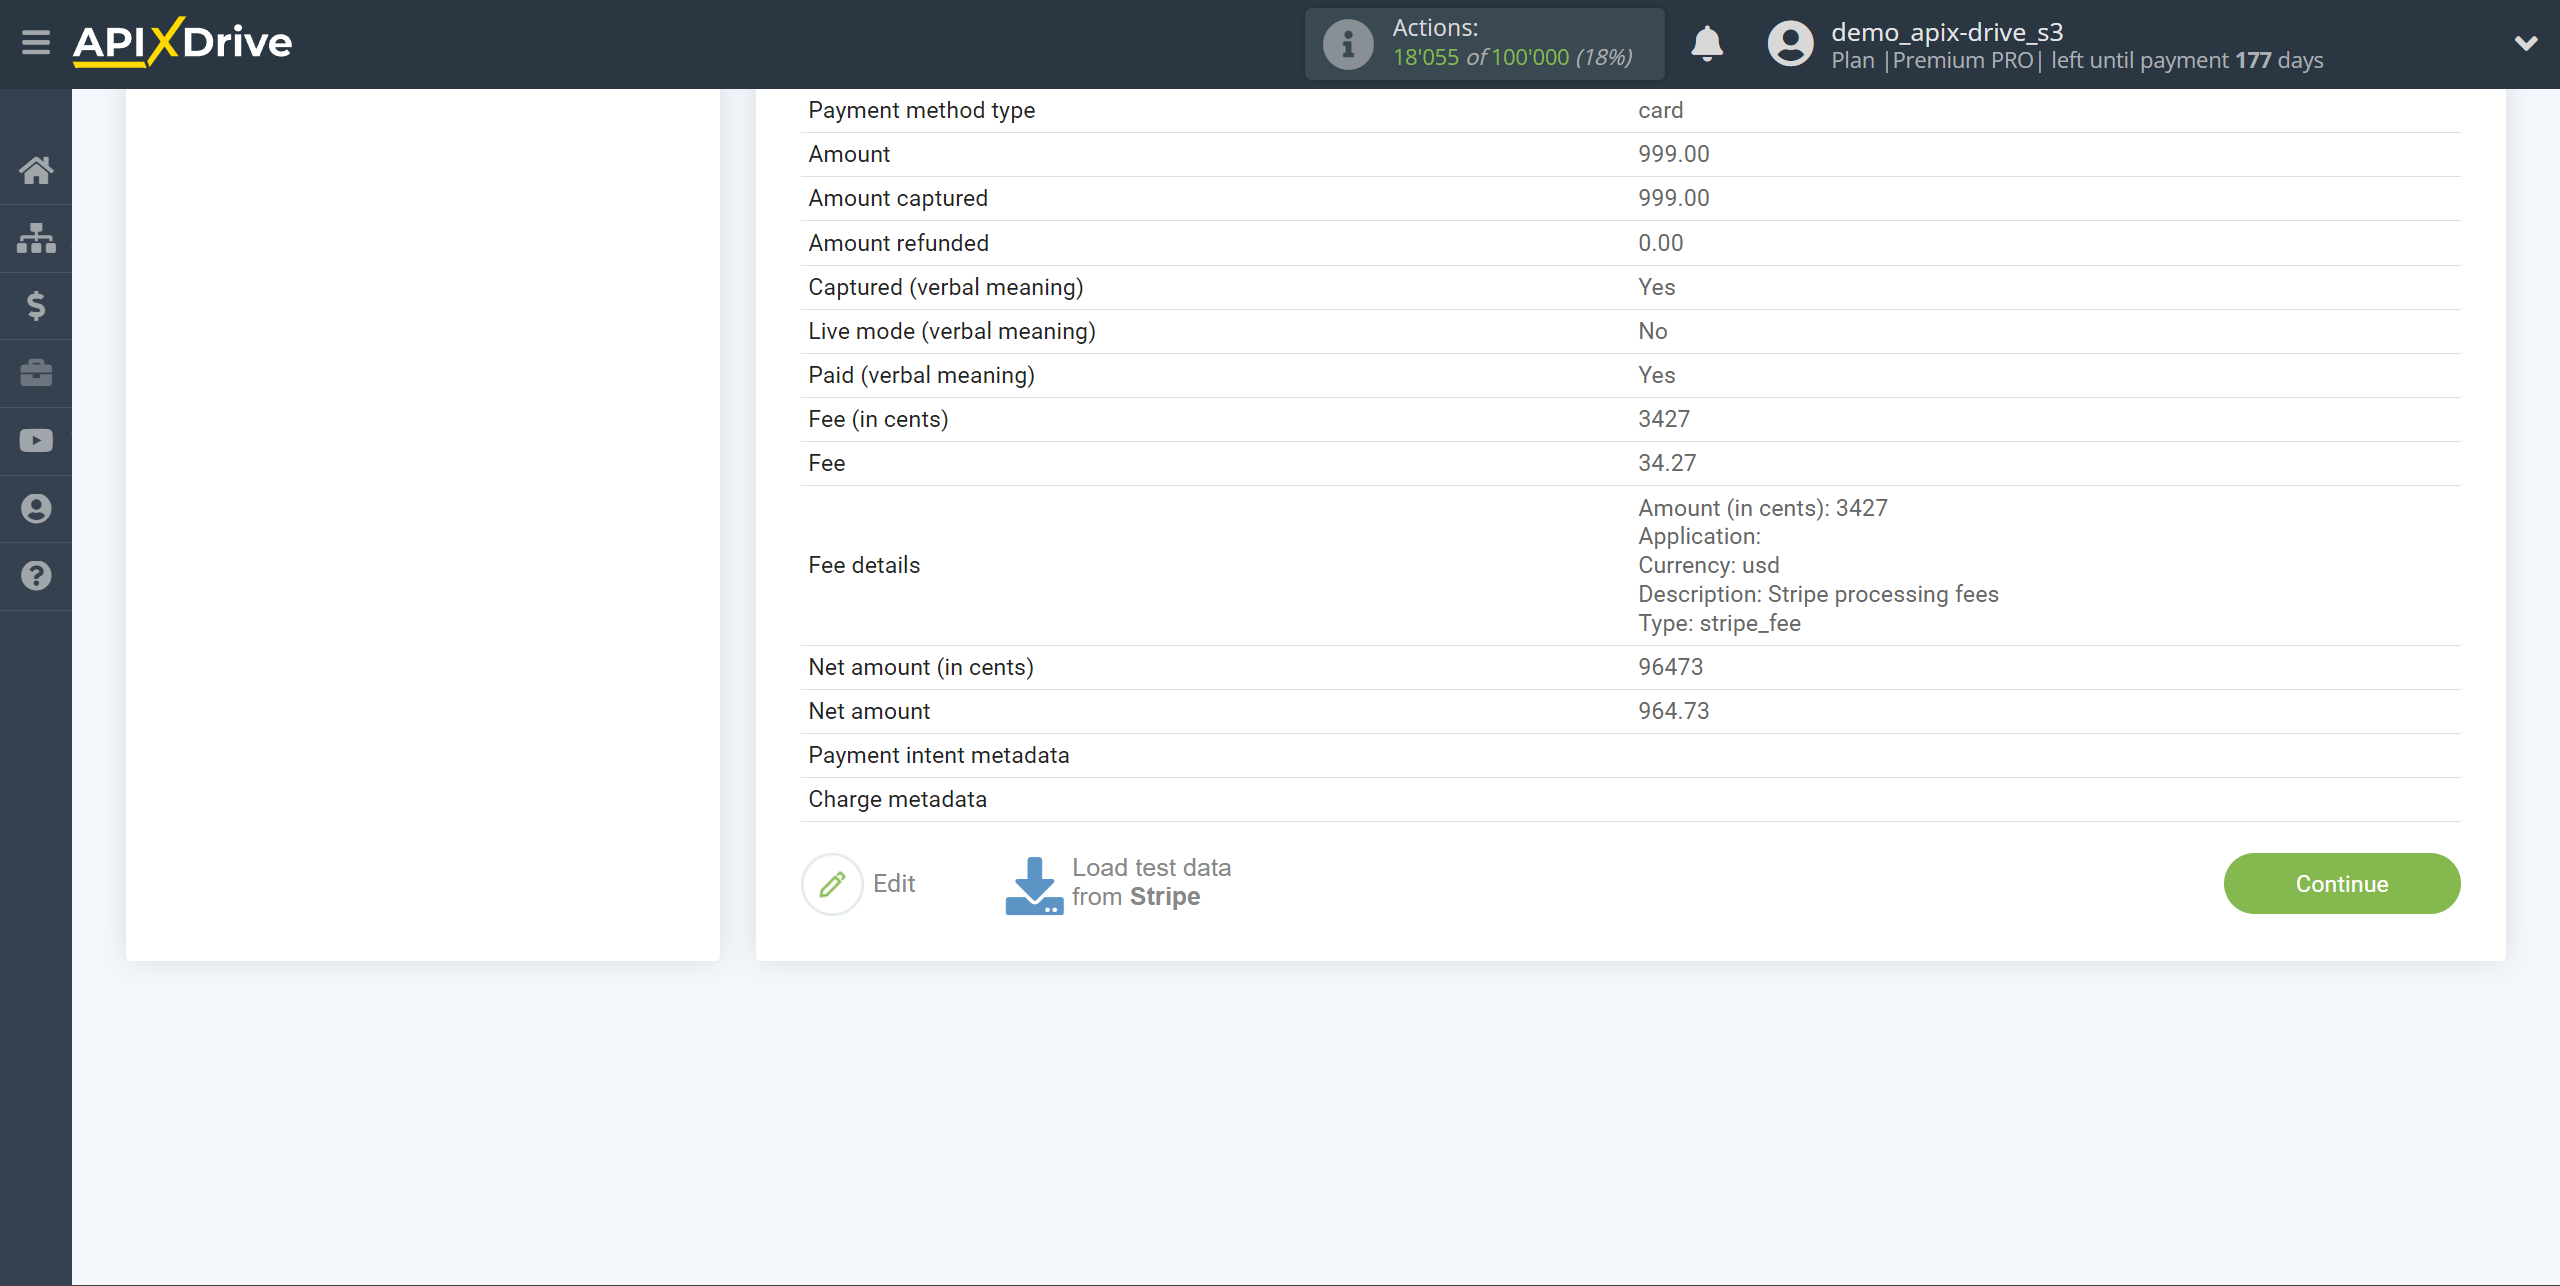
Now you can see test data for one of the payments.
If you want to update your test data, click "Load test data from Stripe".
If you want to change the settings, click "Edit" and you will go back a step.
If you are satisfied with everything, click “Next”.
Please note that at this step it is important to obtain test data and load the list of fields. Further, these fields will be used in the Data Destination system for settings.
This completes the entire Data Source setup! See how easy it is!?
Now you can start setup the Data Destination system.
To do this, setup it yourself or go to the help section "Data Destination", select the service you need as Data Destination, and follow the setup recommendations.
Good luck!
