How to Connect PrestaShop as Data Source
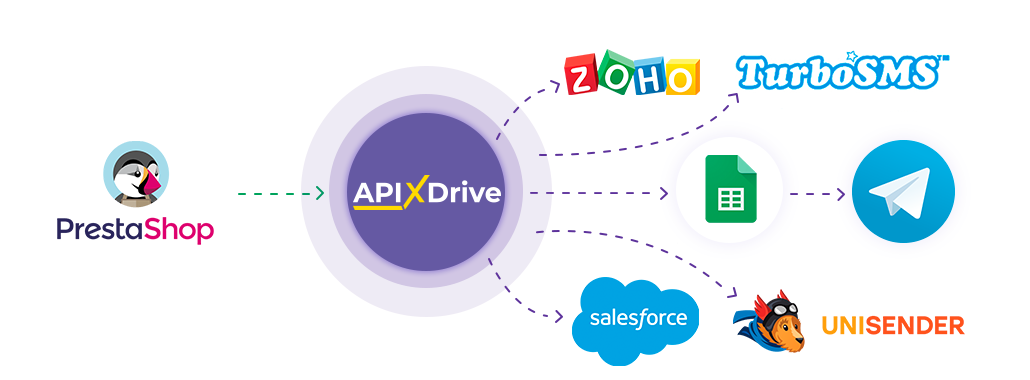
The integration will allow you to get new and modified orders, as well as orders by stage from PrestaShop. For example, you can transfer new orders to CRM or Google Sheets, send them as notifications to yourself or to a group of managers so as not to miss a single order. You can also send new orders to the SMS or Email mailing service. So you can automate the order processing process as efficiently as possible using the different services that you use.
Let's go through the entire PrestaShop setup steps together!
Navigation:
1. What data can I get from PrestaShop?
2. How to connect PrestaShop account to ApiX-Drive?
3. Sample order data.
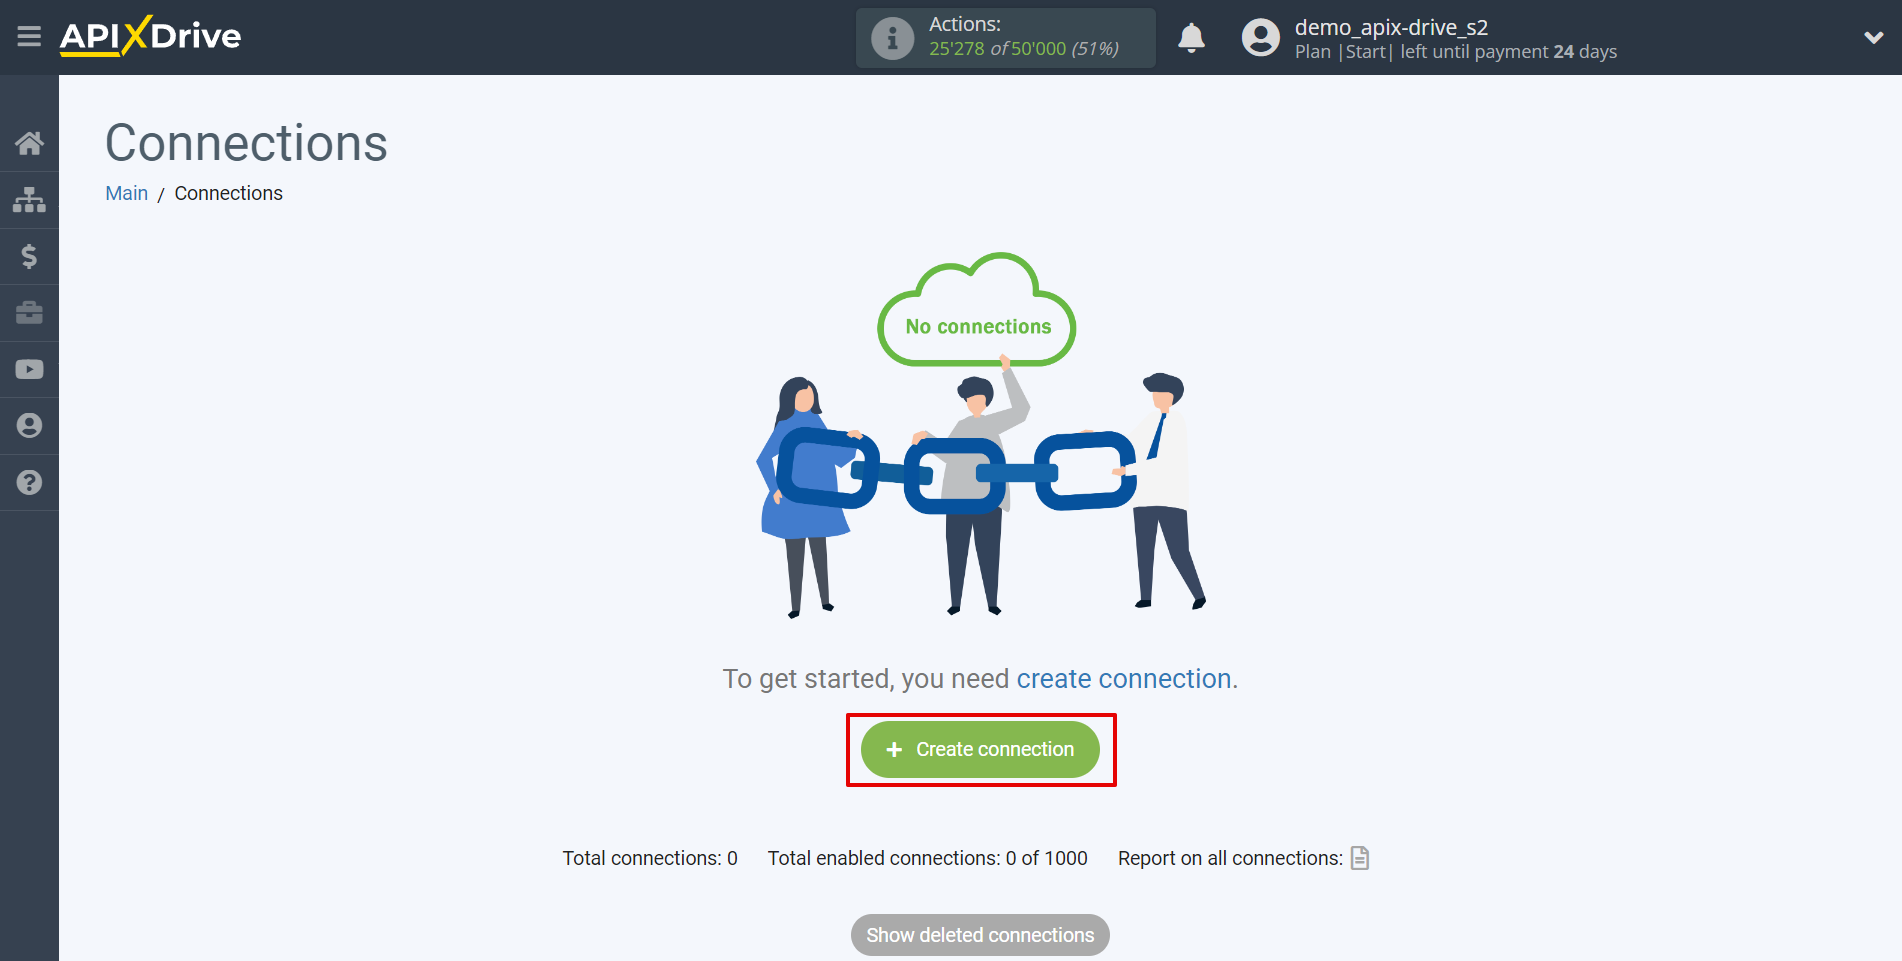
To start setup new connection, click "Create connection".
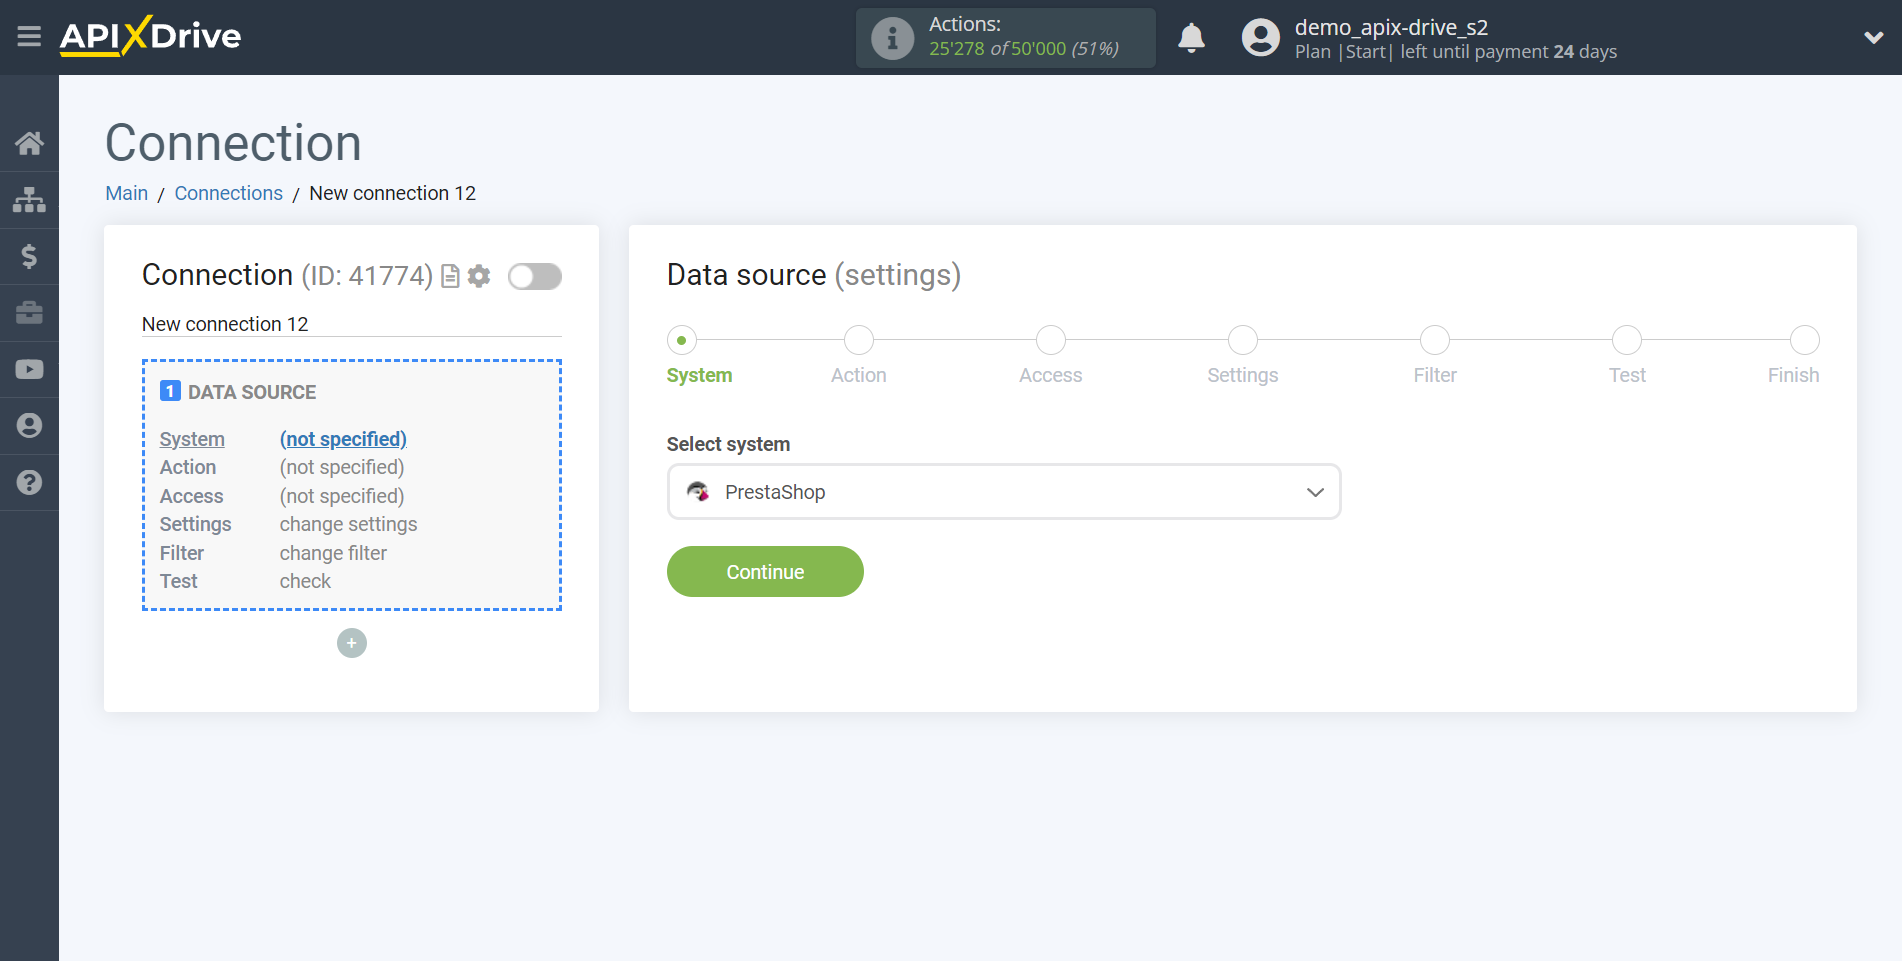
Select a system as the Data Source. In this case, you need to specify PrestaShop.
Next, you need to specify an action, for example, "Get ORDERS (new)".
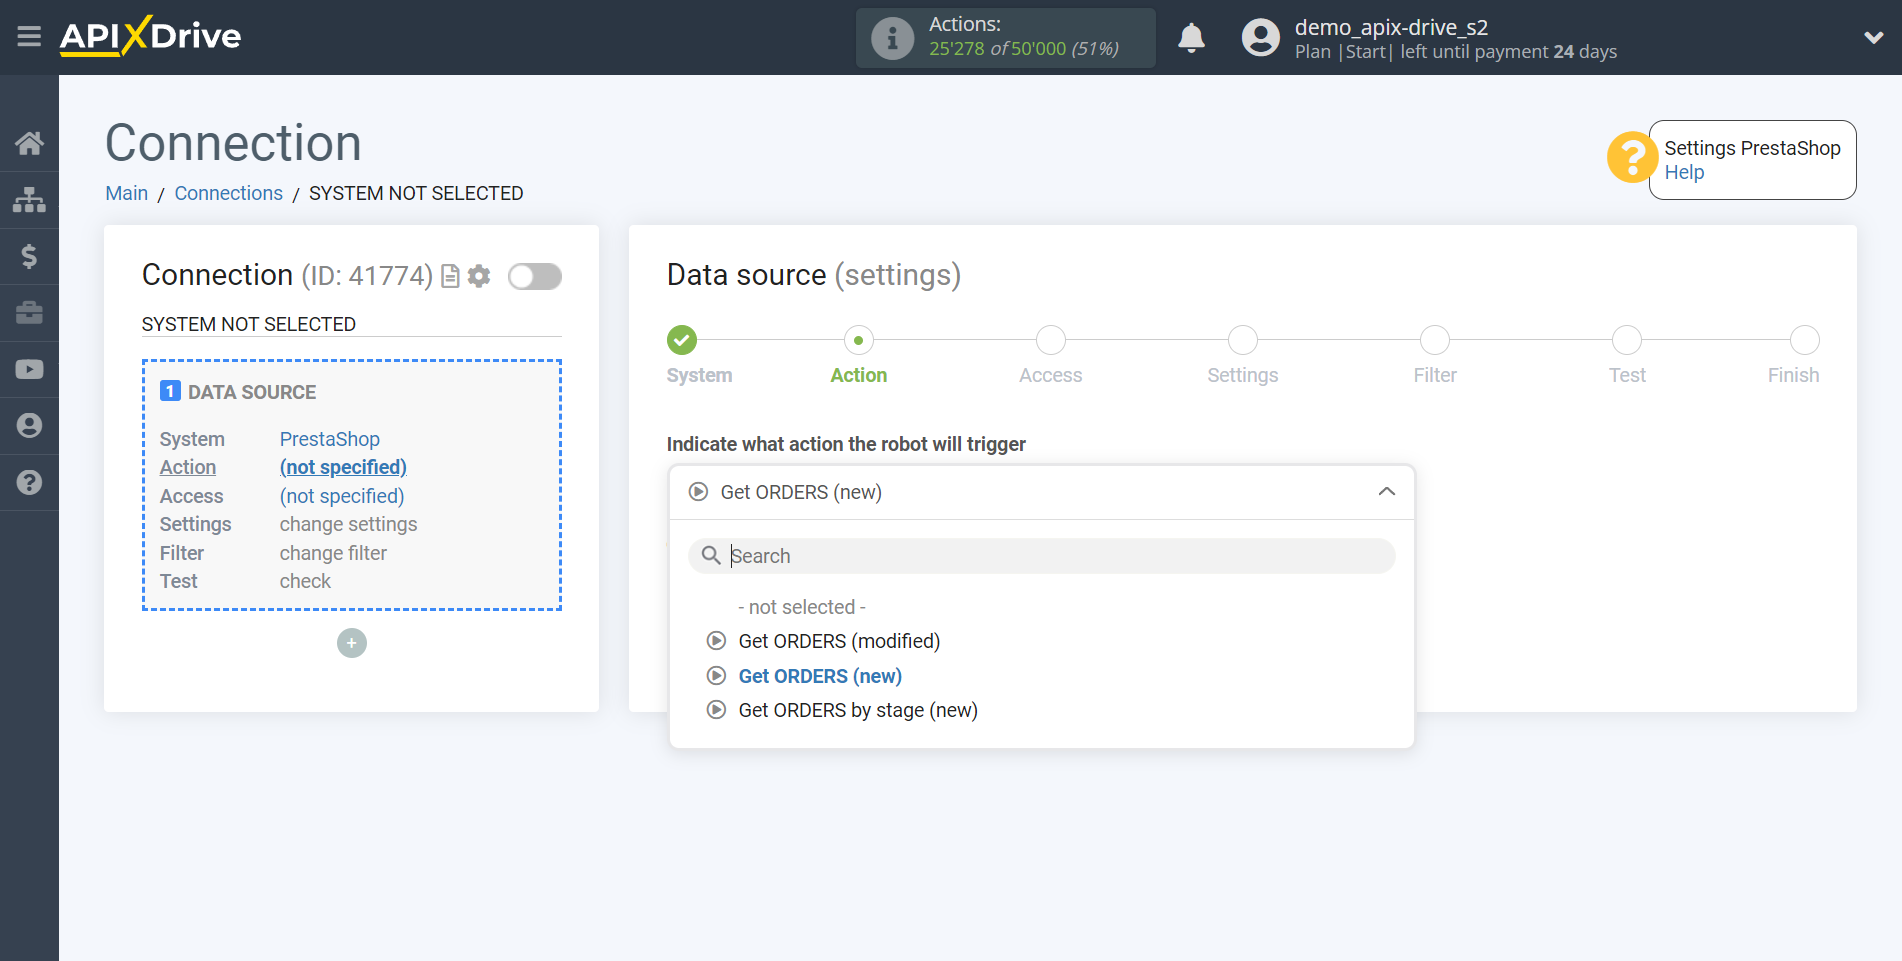
- Get ORDERS (new) - ApiX-Drive will get all new orders from PrestaShop, which will appear after setup the connection and starting auto-update.
- Get ORDERS (modified) - ApiX-Drive will get all orders from PrestaShop, which will have some changes after setup the connection and starting auto-update.
- Get ORDERS by stage (new) - ApiX-Drive will get all new orders in the selected stage from PrestaShop, which will appear in it after setup the connection and starting auto-update.
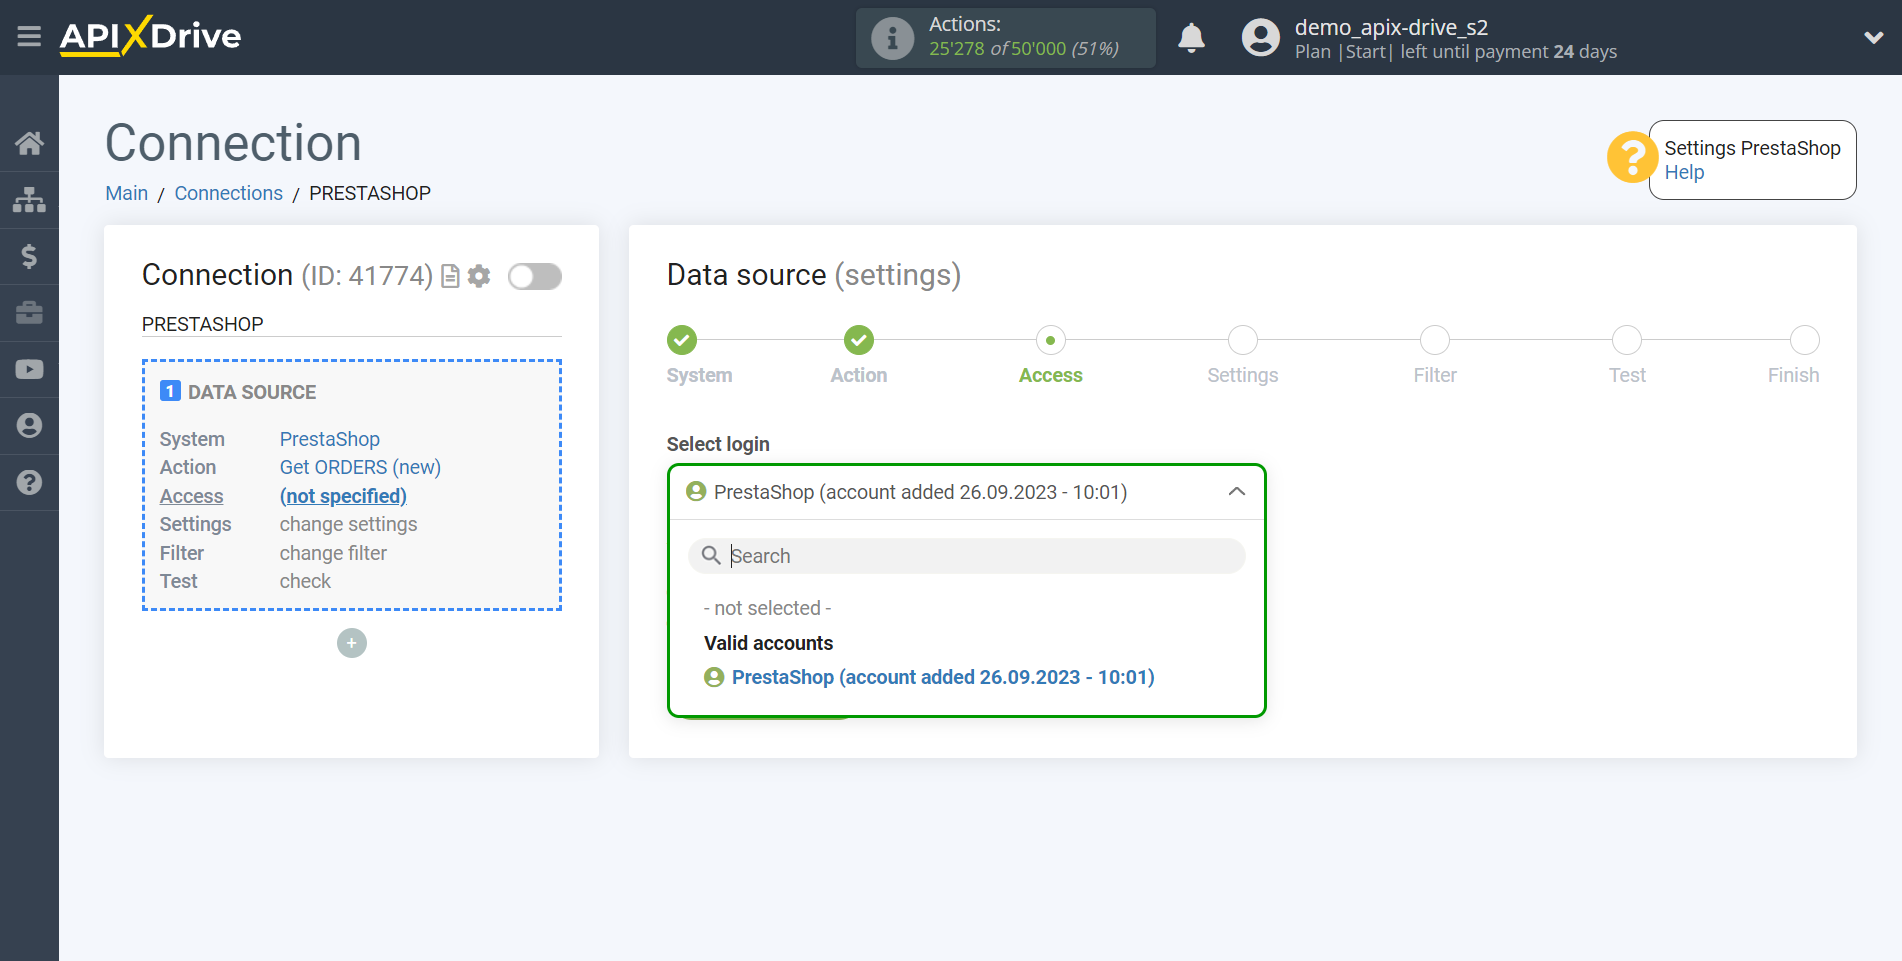
The next step is to select the PrestaShop account from which ApiX-Drive will get the data.
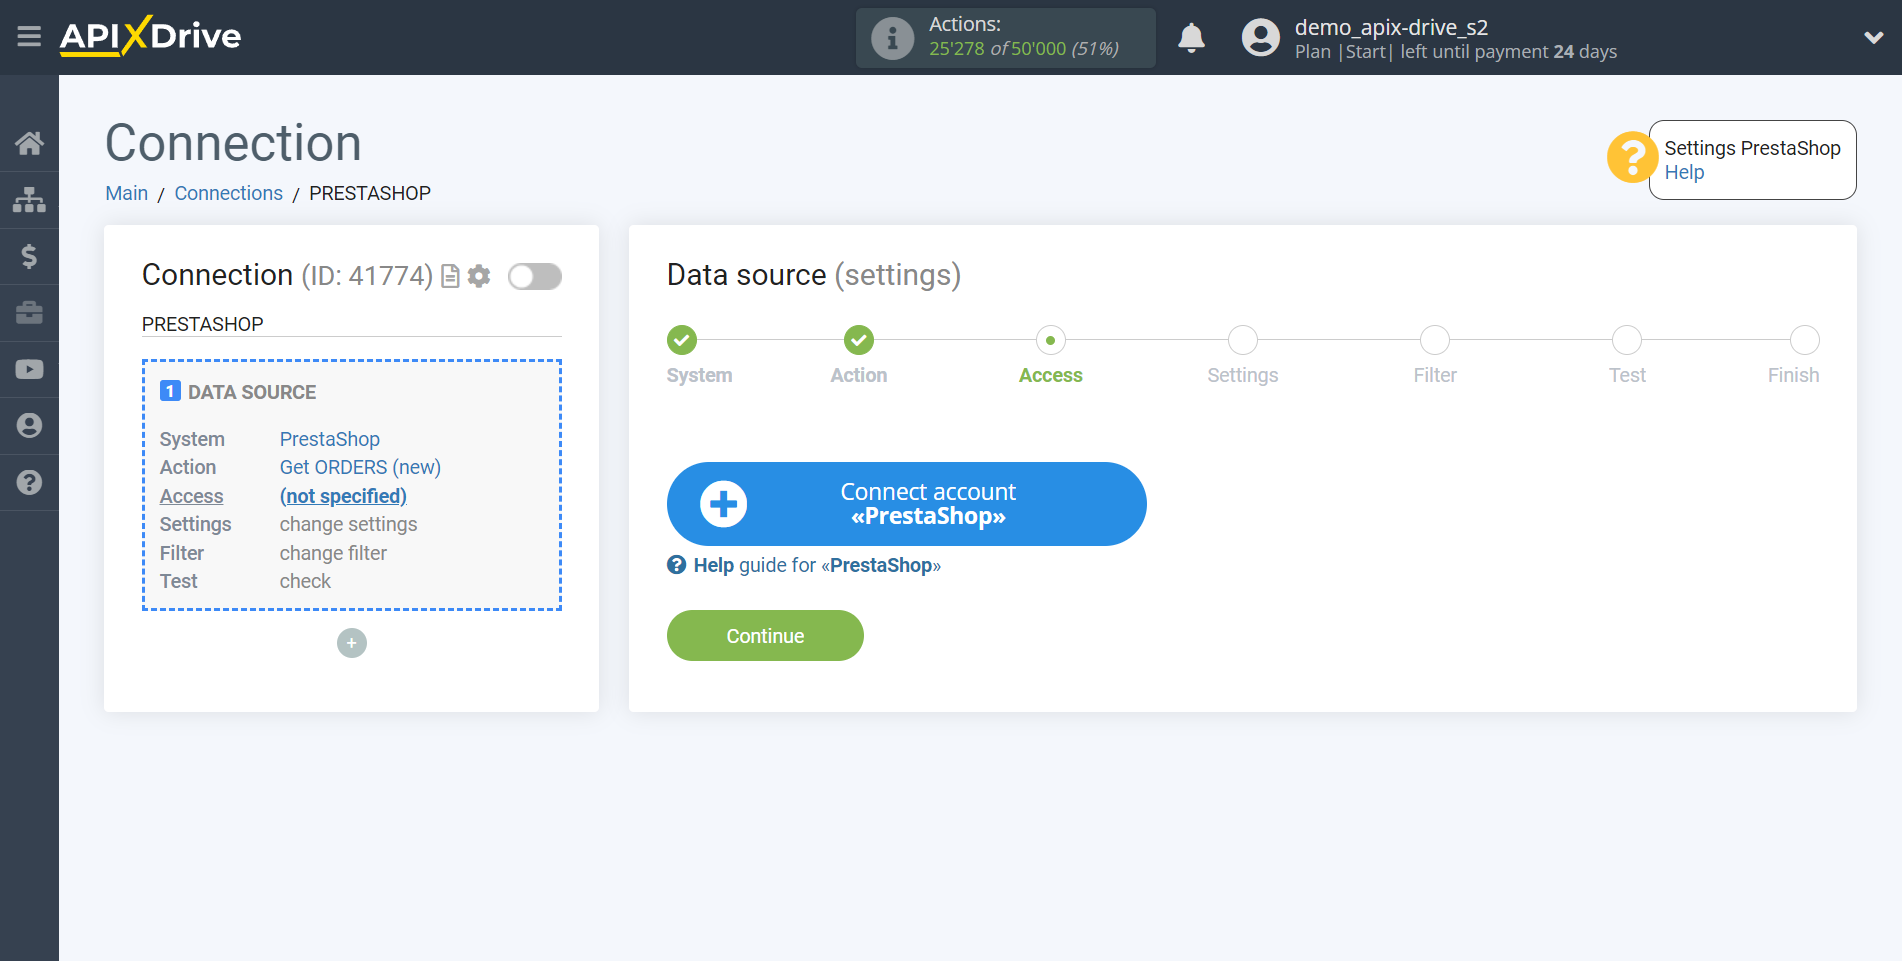
If there are no accounts connected to the ApiX-Drive system, click "Connect account".
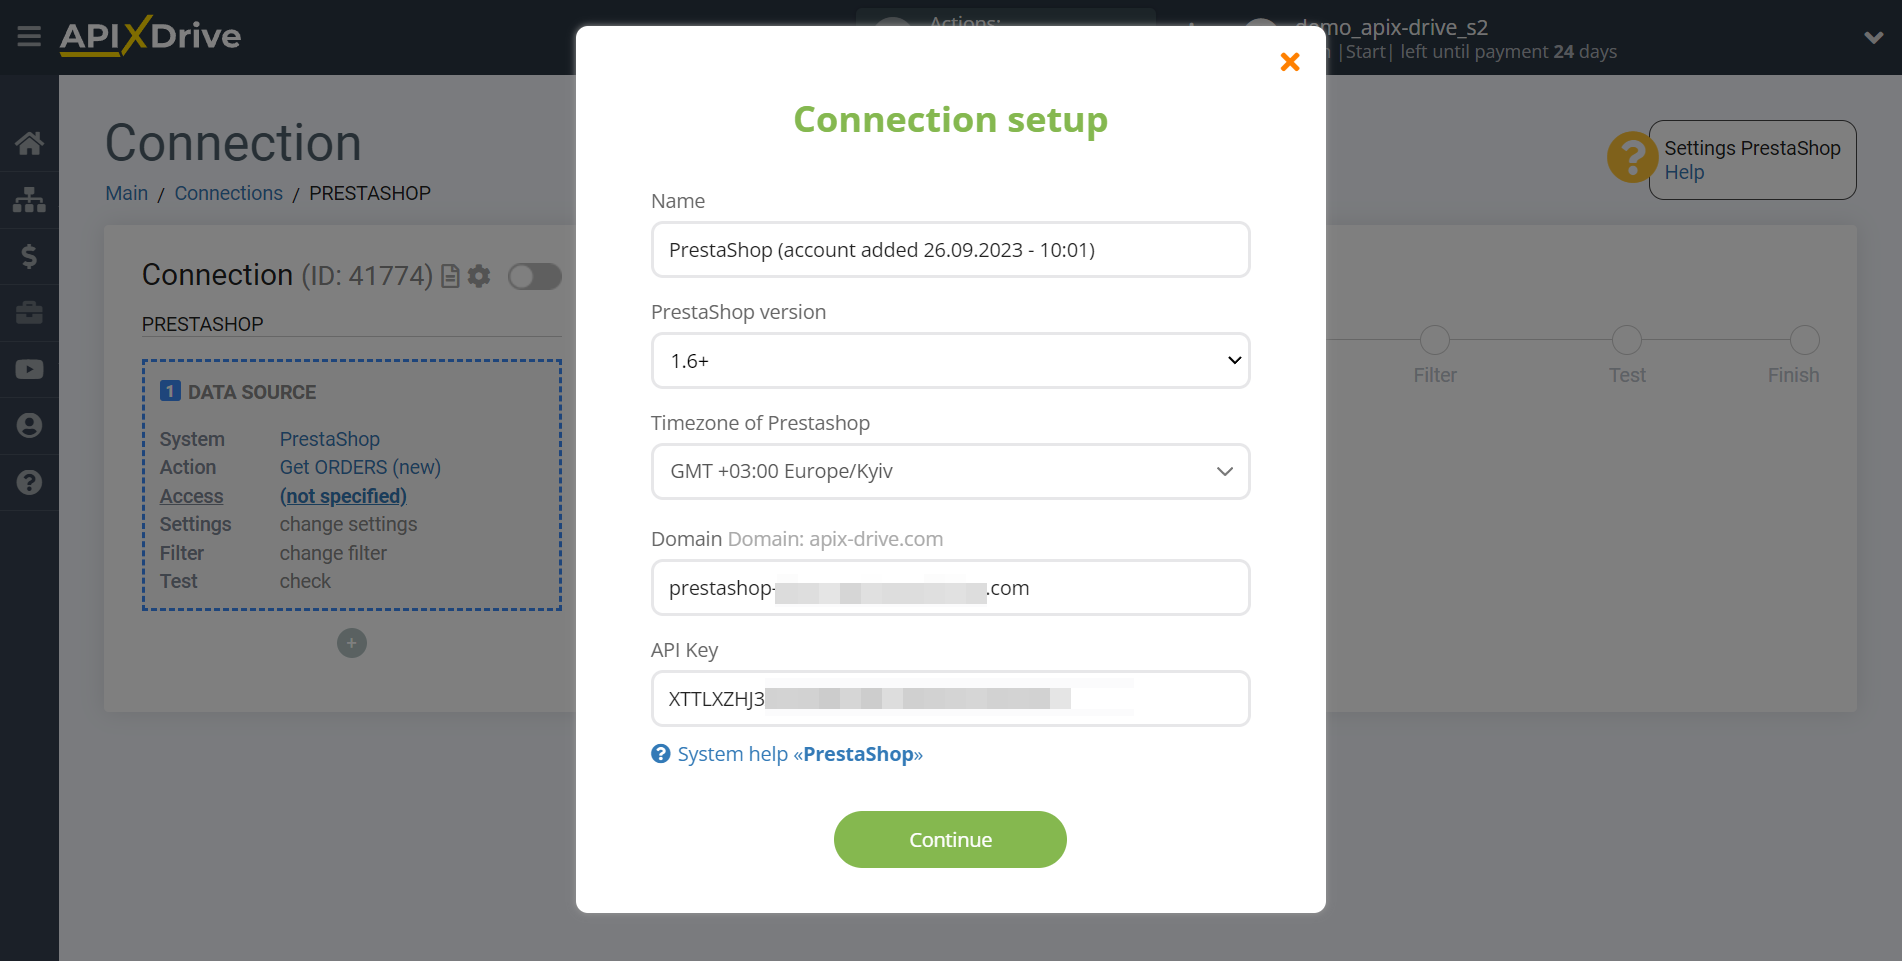
Next, you need to fill in the fields with the appropriate data, where:
- PrestaShop version - select your PrestaShop version
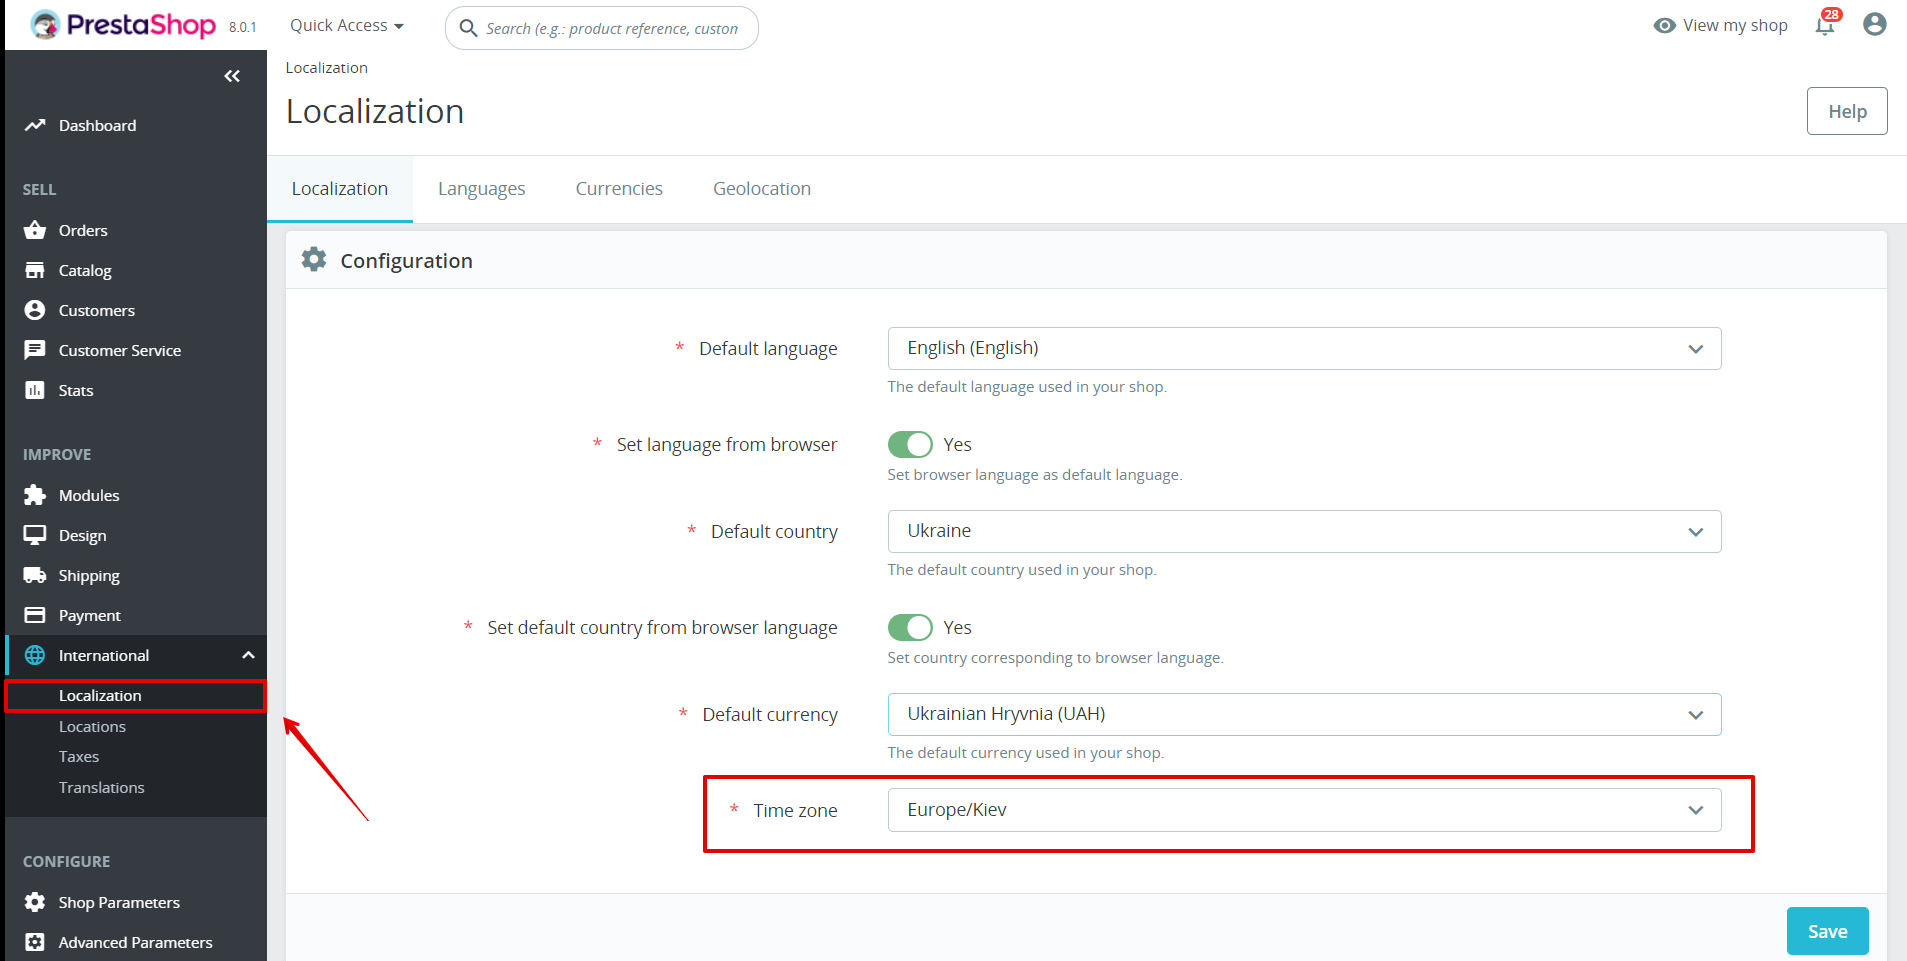
- Time zone of PrestaShop - select the time zone of your PrestaShop
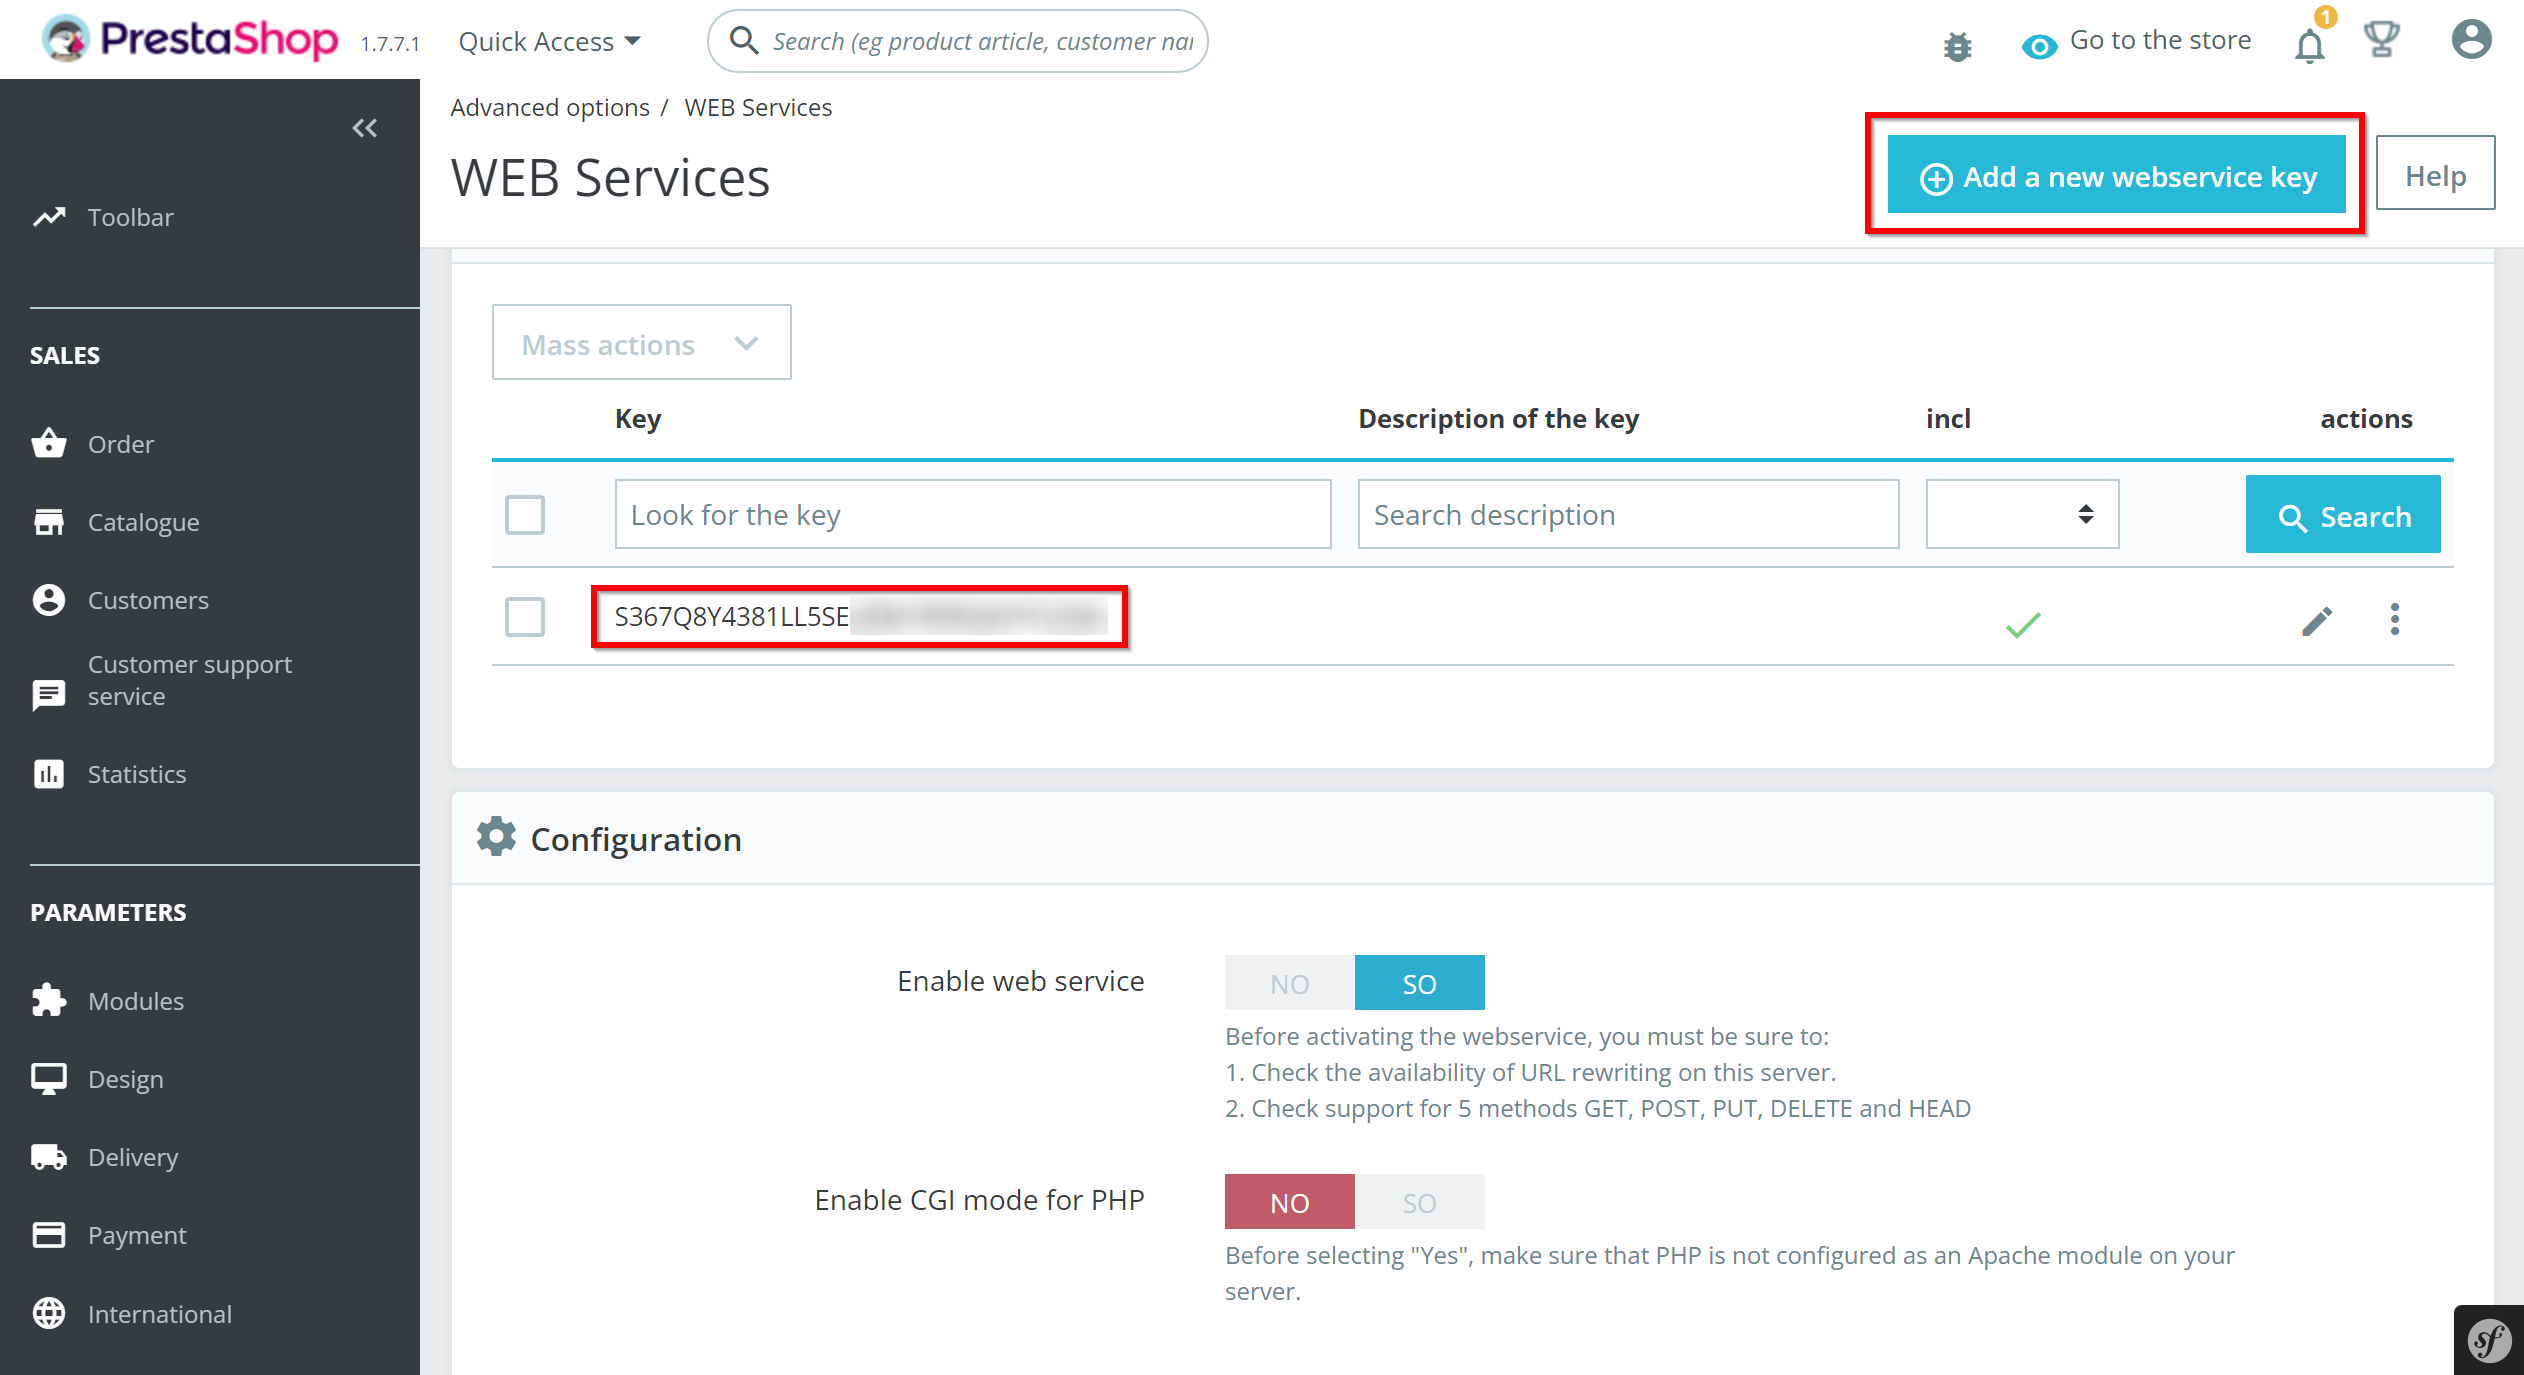
- Domain - domain address of your PrestaShop
- API key - a key to connect to your PrestaShop, which can be generated in your PrestaShop account
After filling in the fields, click "Continue" and reload the page.
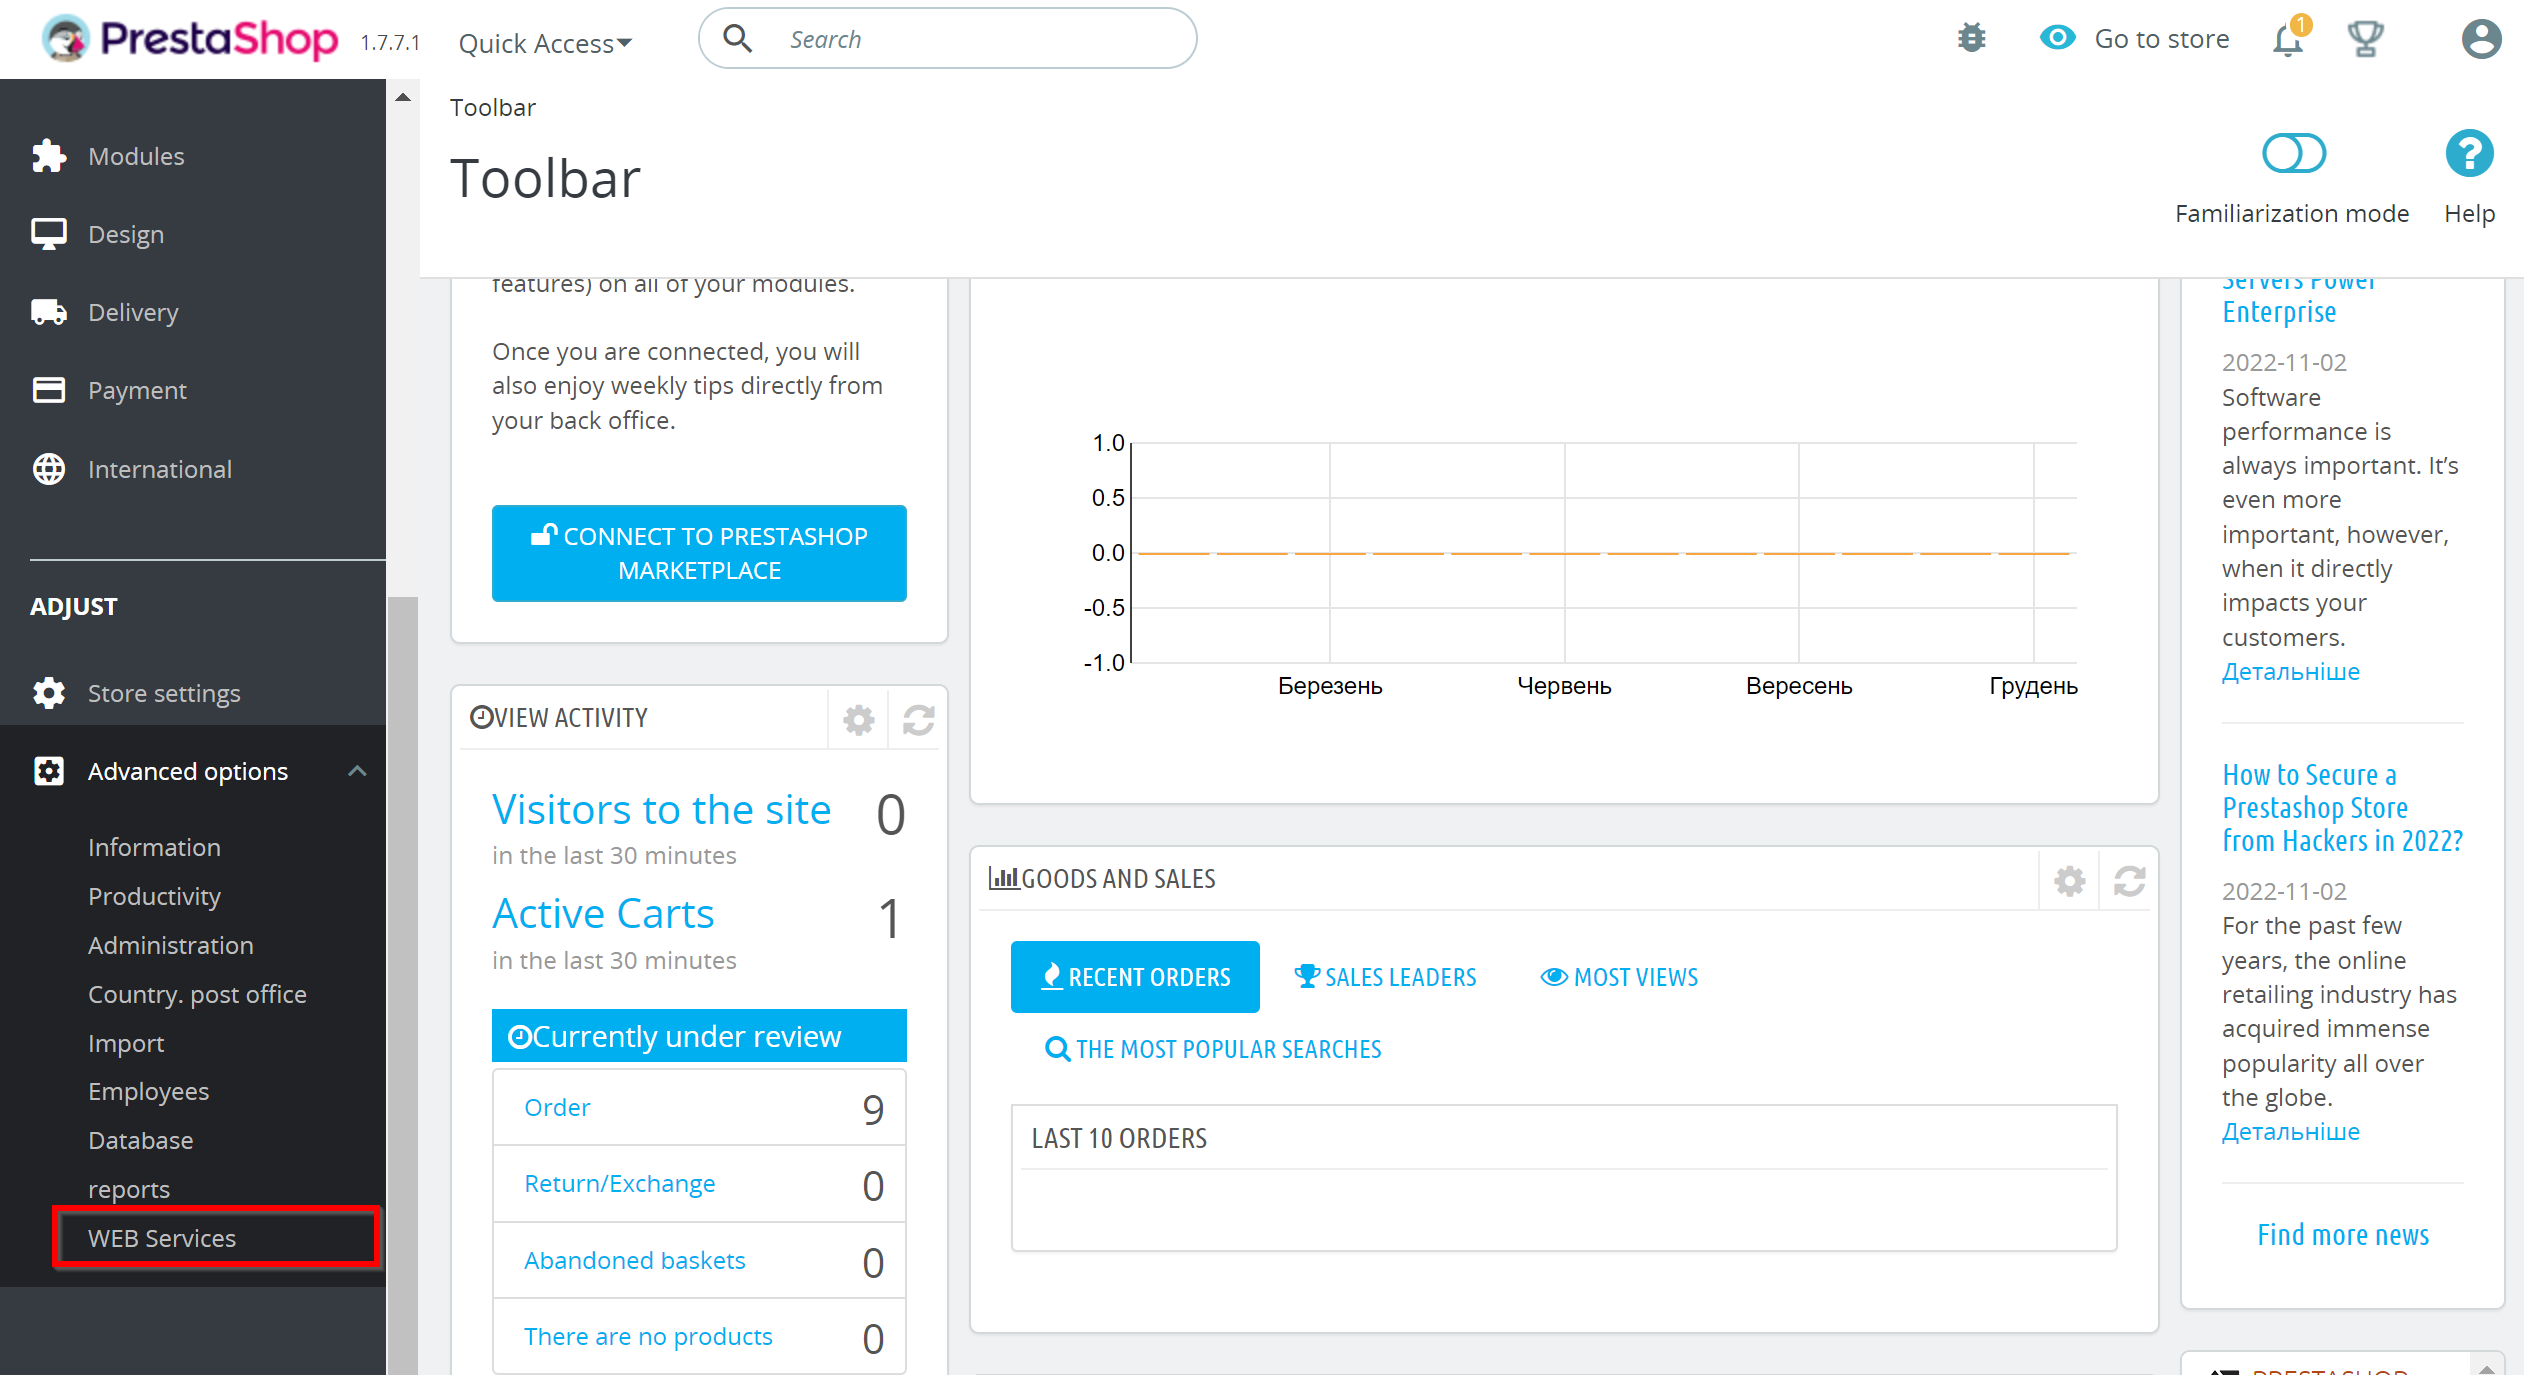
When the connected account is displayed in the "active accounts" list, select it.
Before starting the configuration, you need to make sure that the user has the access right from * ip or the host of the ApiX-Drive server from which the connection is made *.
The API address depends on the address bar in your ApiX-Drive account if you have:
s1.apix-drive.com - 157.230.117.136
s2.apix-drive.com - 164.90.220.66
s3.apix-drive.com - 142.93.106.250
s4.apix-drive.com - 206.81.27.39
s5.apix-drive.com - 68.183.219.78
s6.apix-drive.com - 64.226.126.14
a1.apix-drive.com - 164.92.182.124
Also make sure that the time zone in PrestaShop cabinet is specified in Europe/Kyiv format.
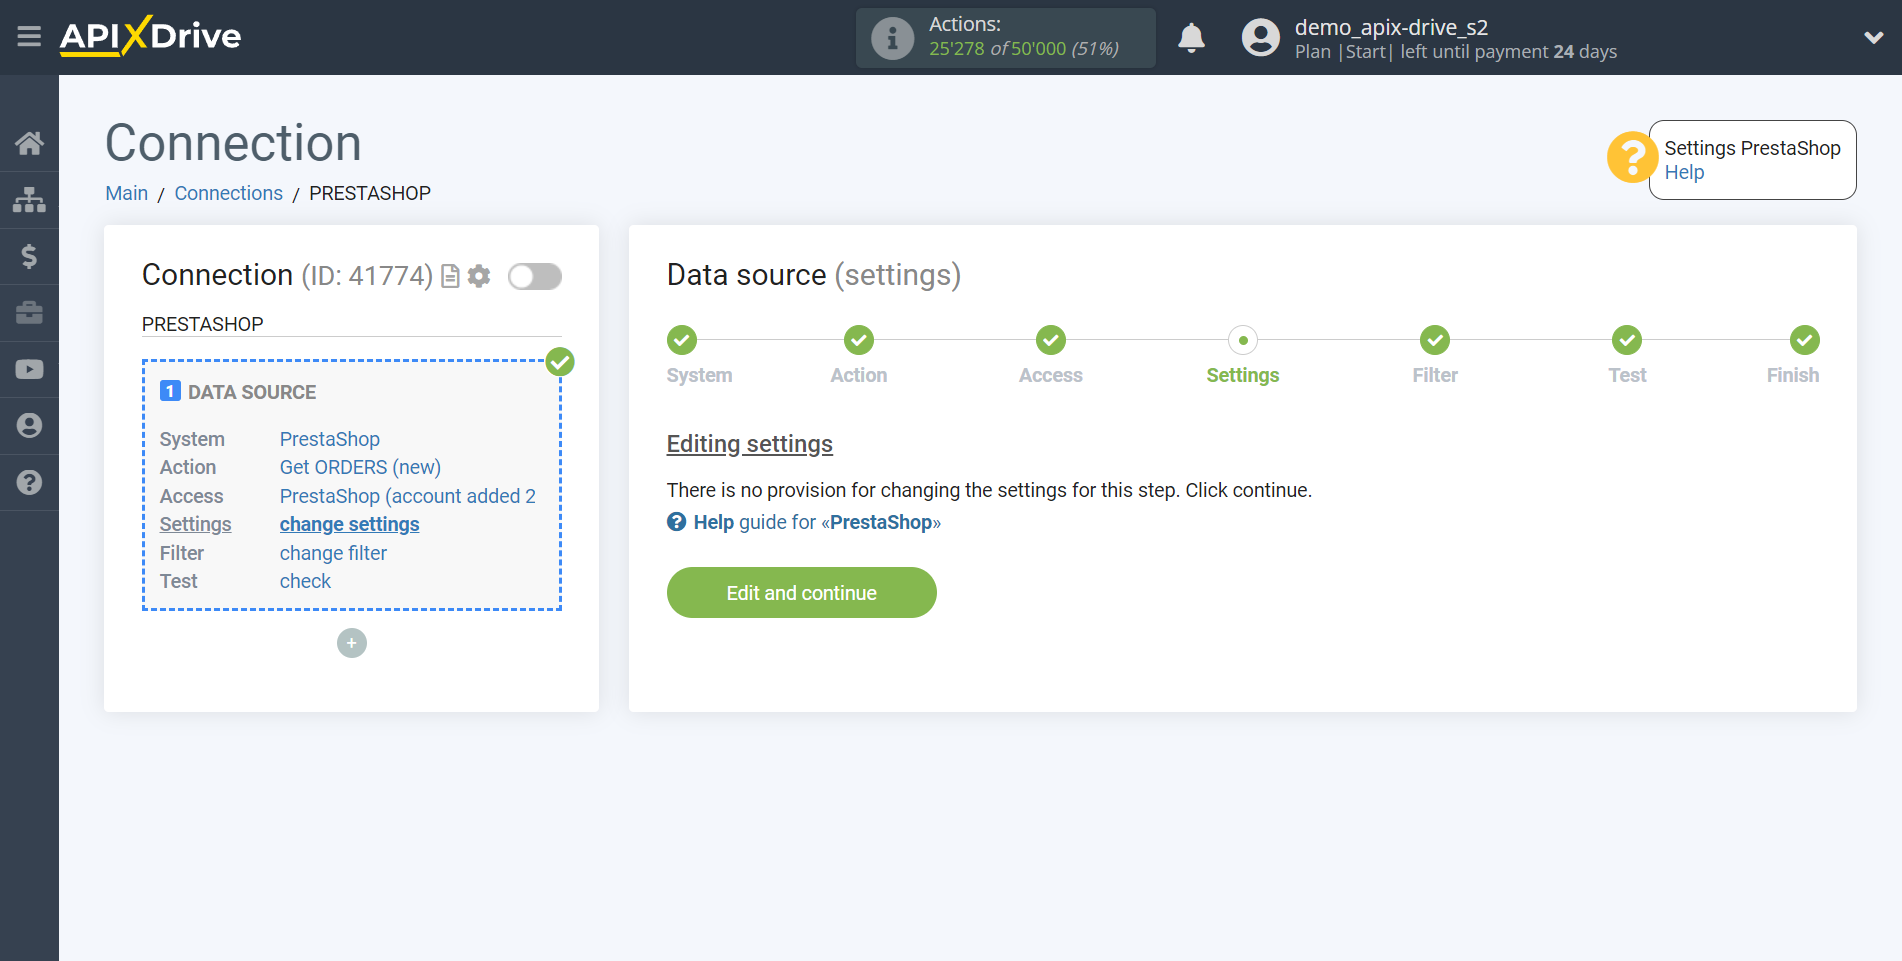
If there are no settings for the selected action, click Edit and continue.
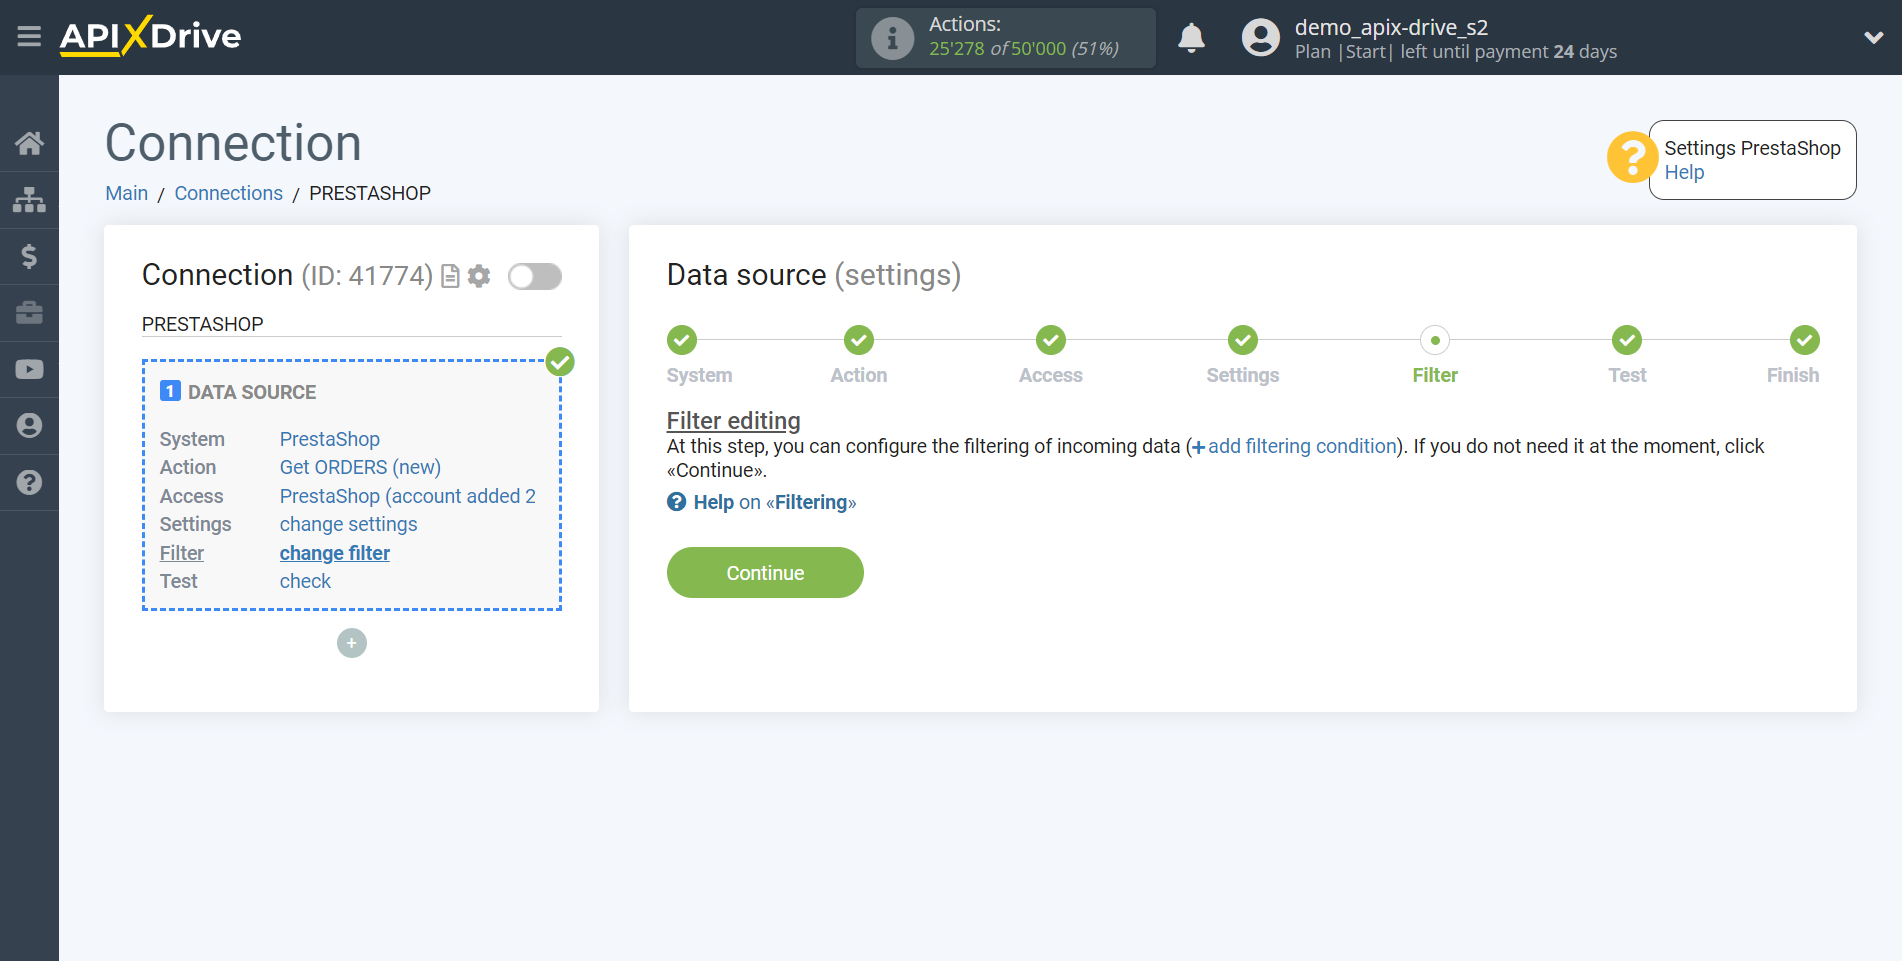
If necessary, you can set up a Data Filter, or click "Continue" to skip this step.
To find out how to setup the Data Filter, follow the link: https://apix-drive.com/en/help/data-filter
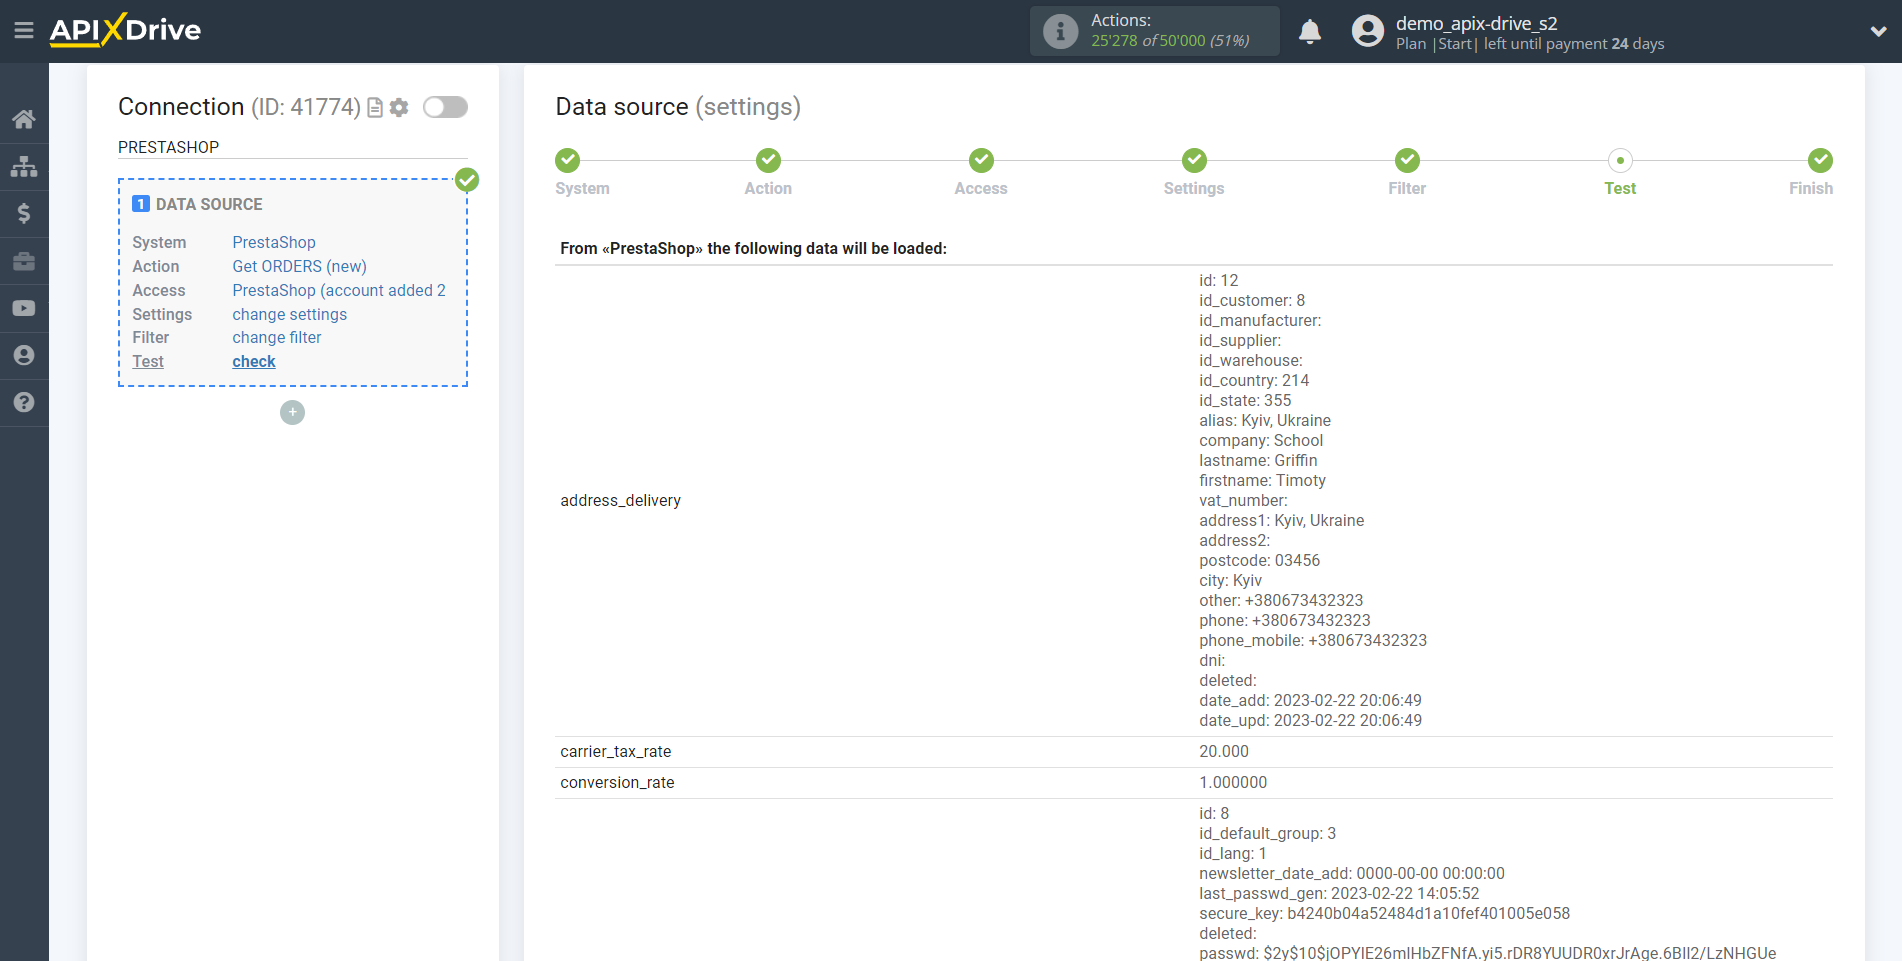
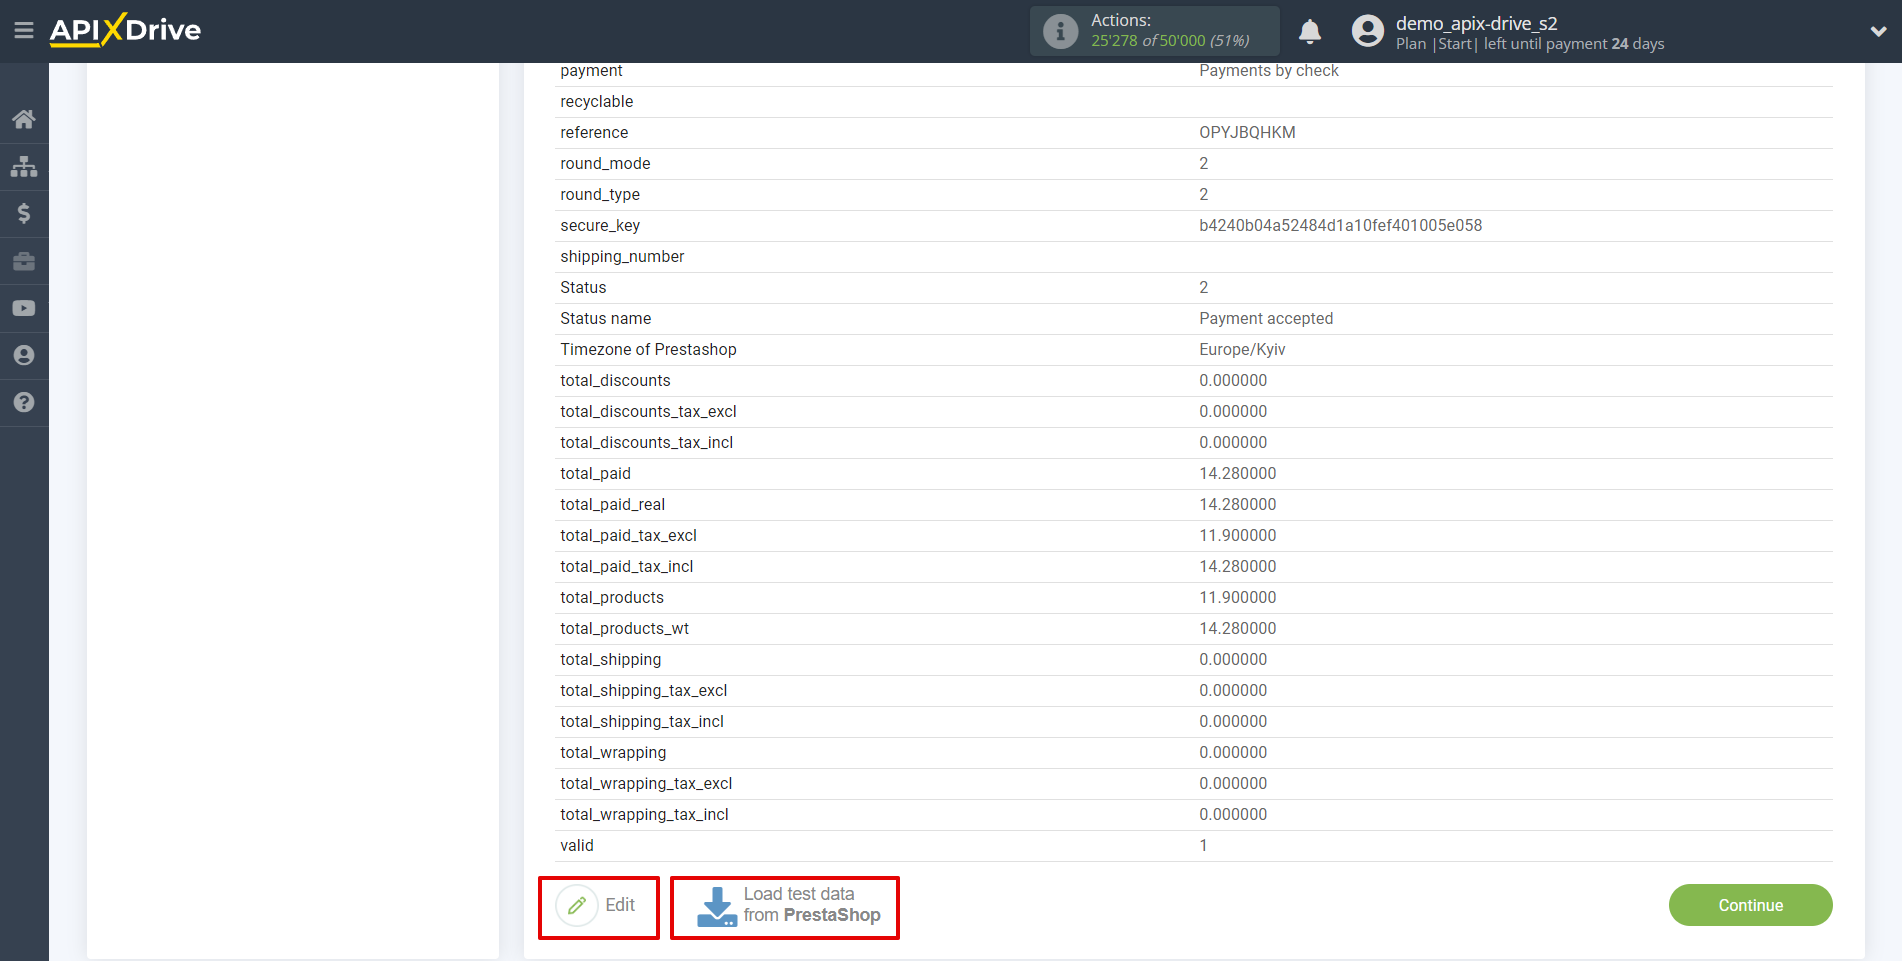
Now you can see the test data.
If the test data does not appear automatically - click "Load test data from PrestaShop".
If everything suits you, click "Next".
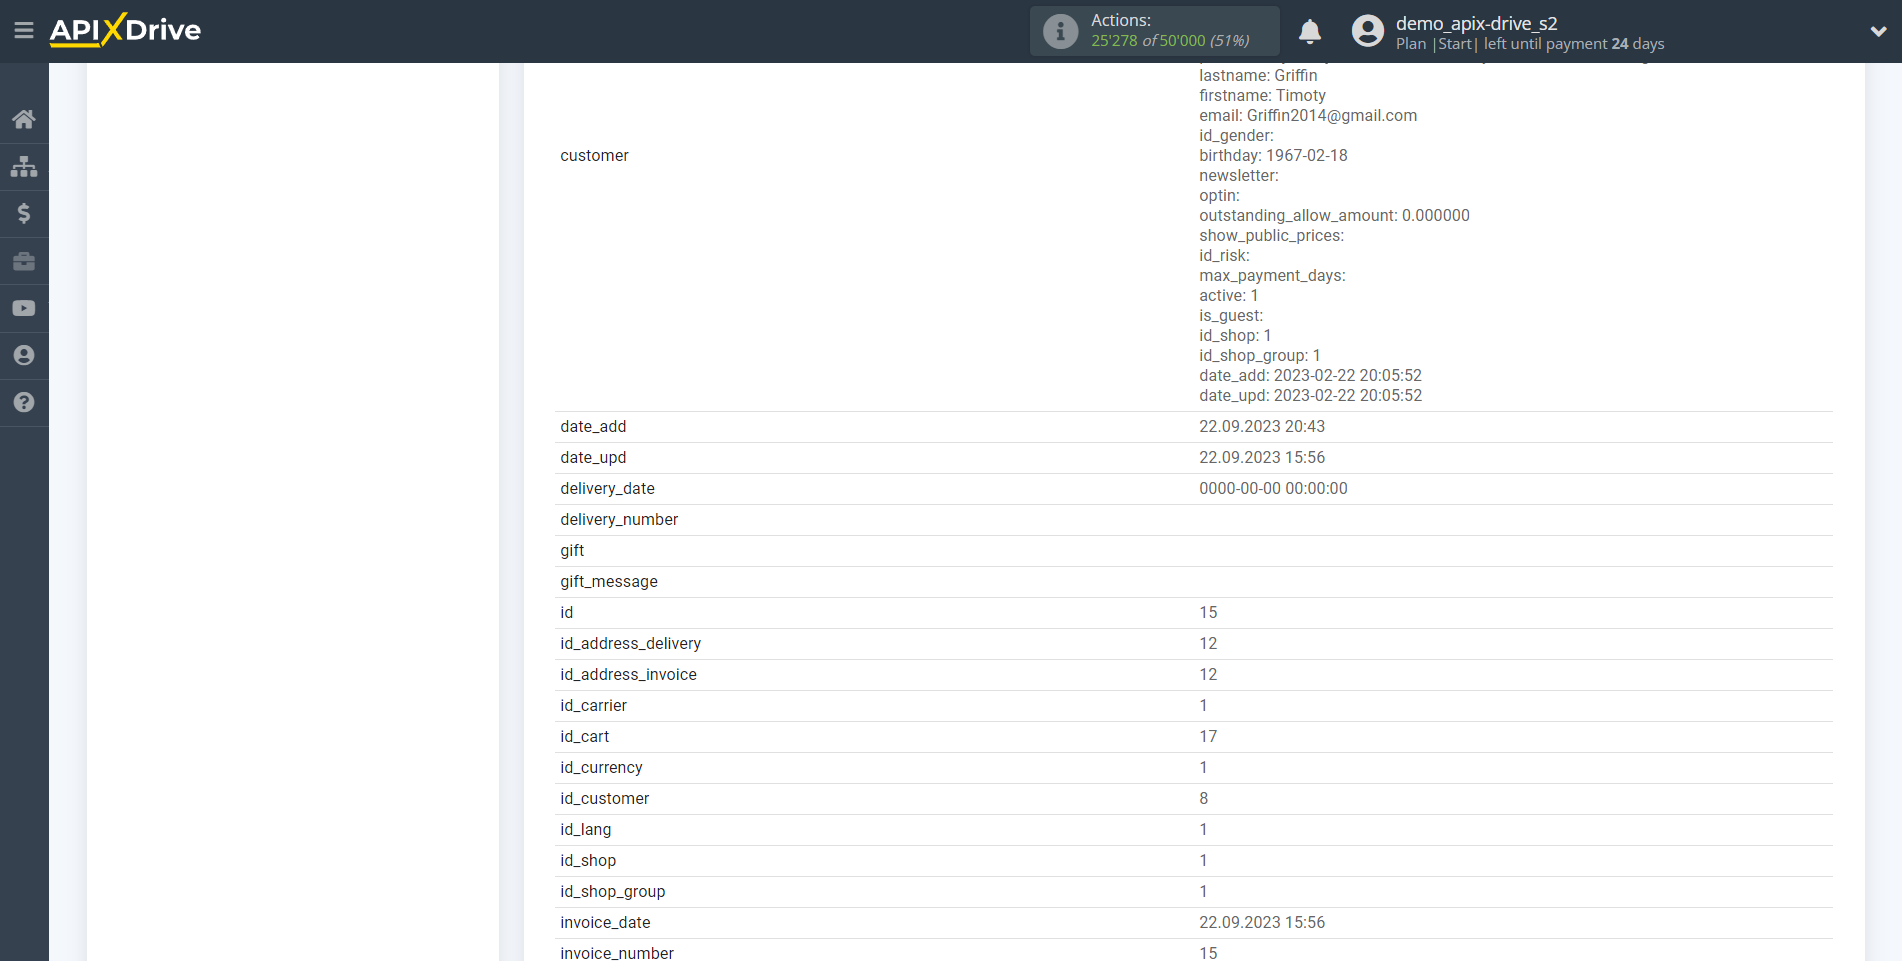
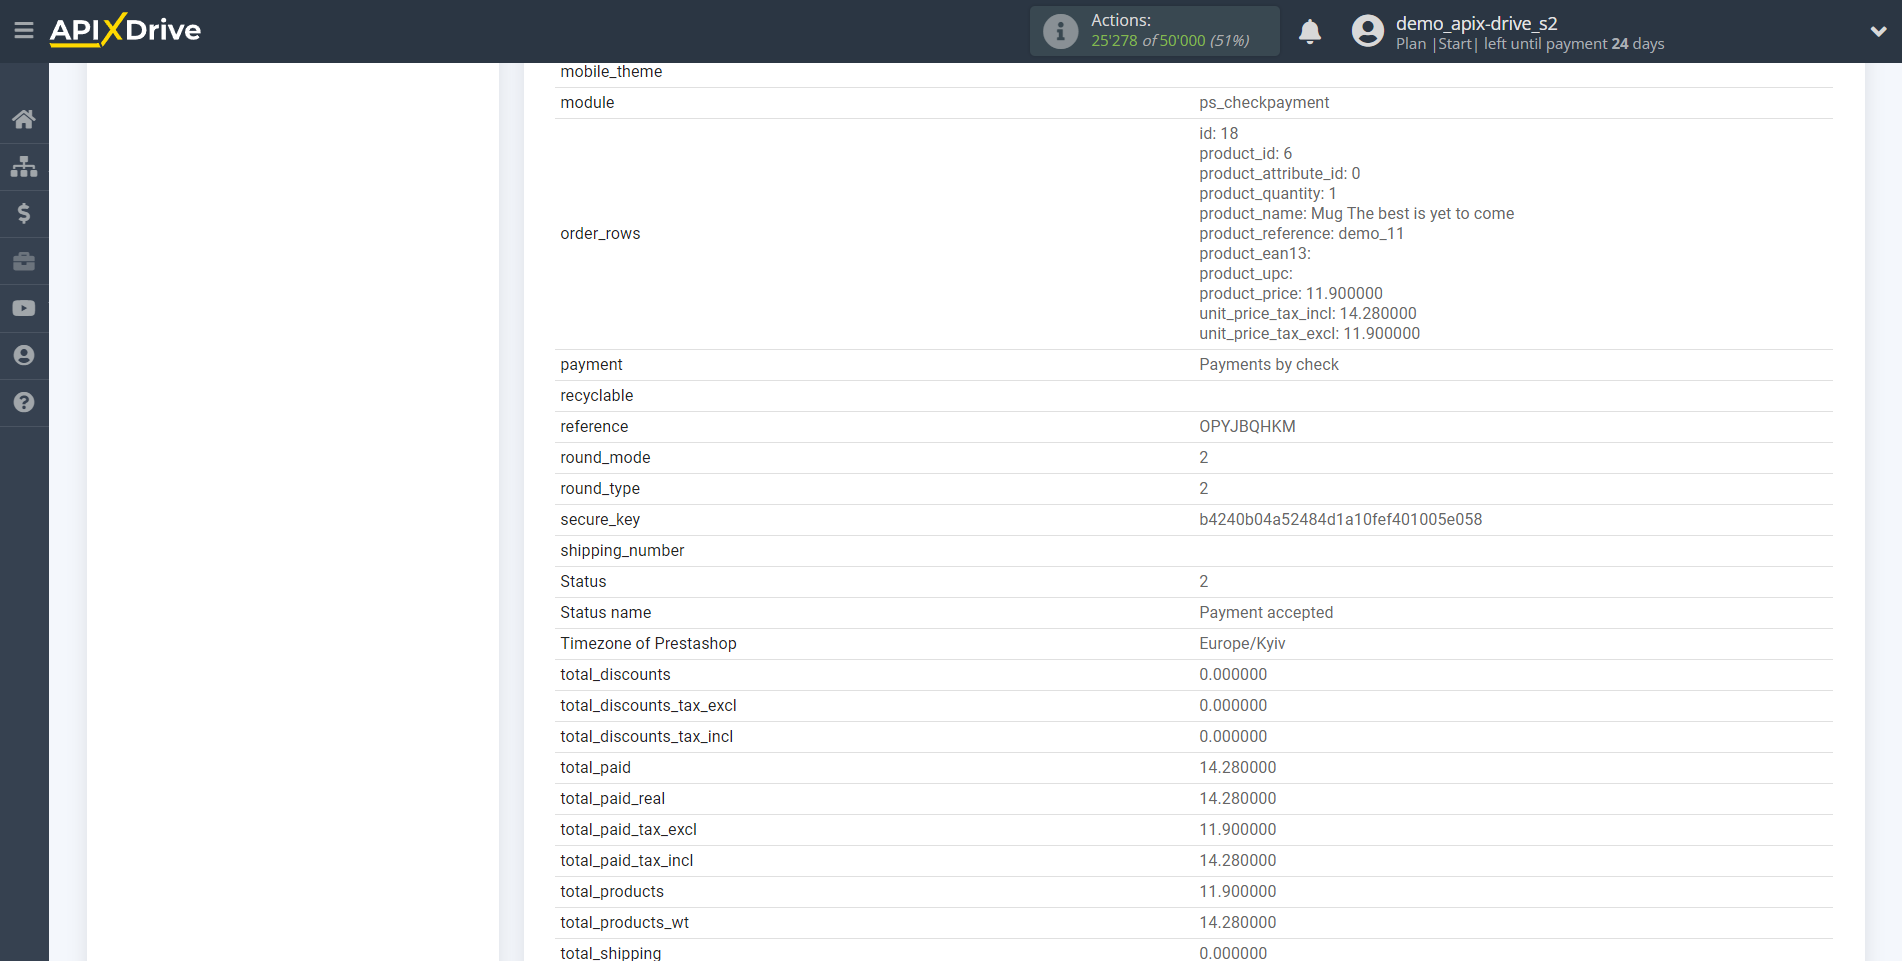
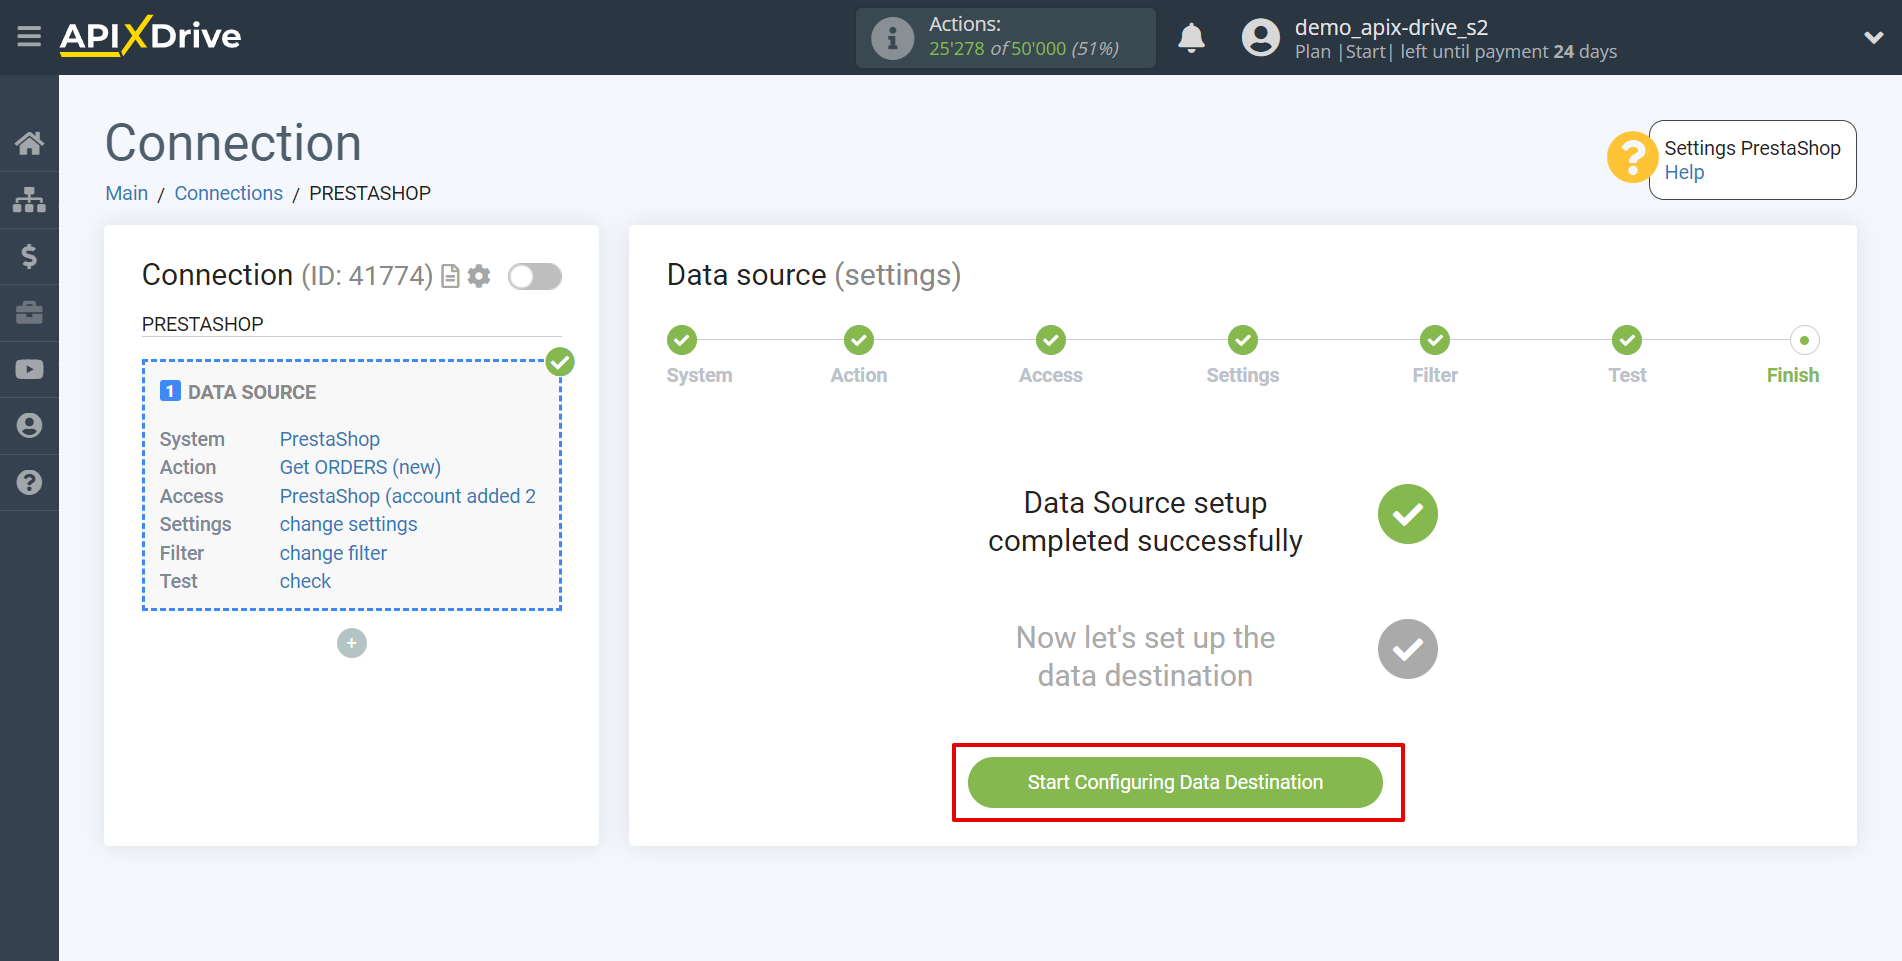
This completes the entire Data Source setup! See how easy it is!?
Now you can start setup the Data Destination system.
To do this, setup it yourself or go to the help section "Data Destination", select the service you need as Data Destination, and follow the setup recommendations.
Good luck!
